kaffi311
Active Member

Posts: 283 
Likes: 98
1963 Shasta 16 SC
Currently Offline
|
Post by kaffi311 on Jan 26, 2019 14:40:36 GMT -8
Well- I worked on that frame piece today- and she is in! Also installed the interior wooden piece that holds the table brackets. Thanks to you all for the help- I so appreciate it! Would not have known to install the metal if I didn't ask! K 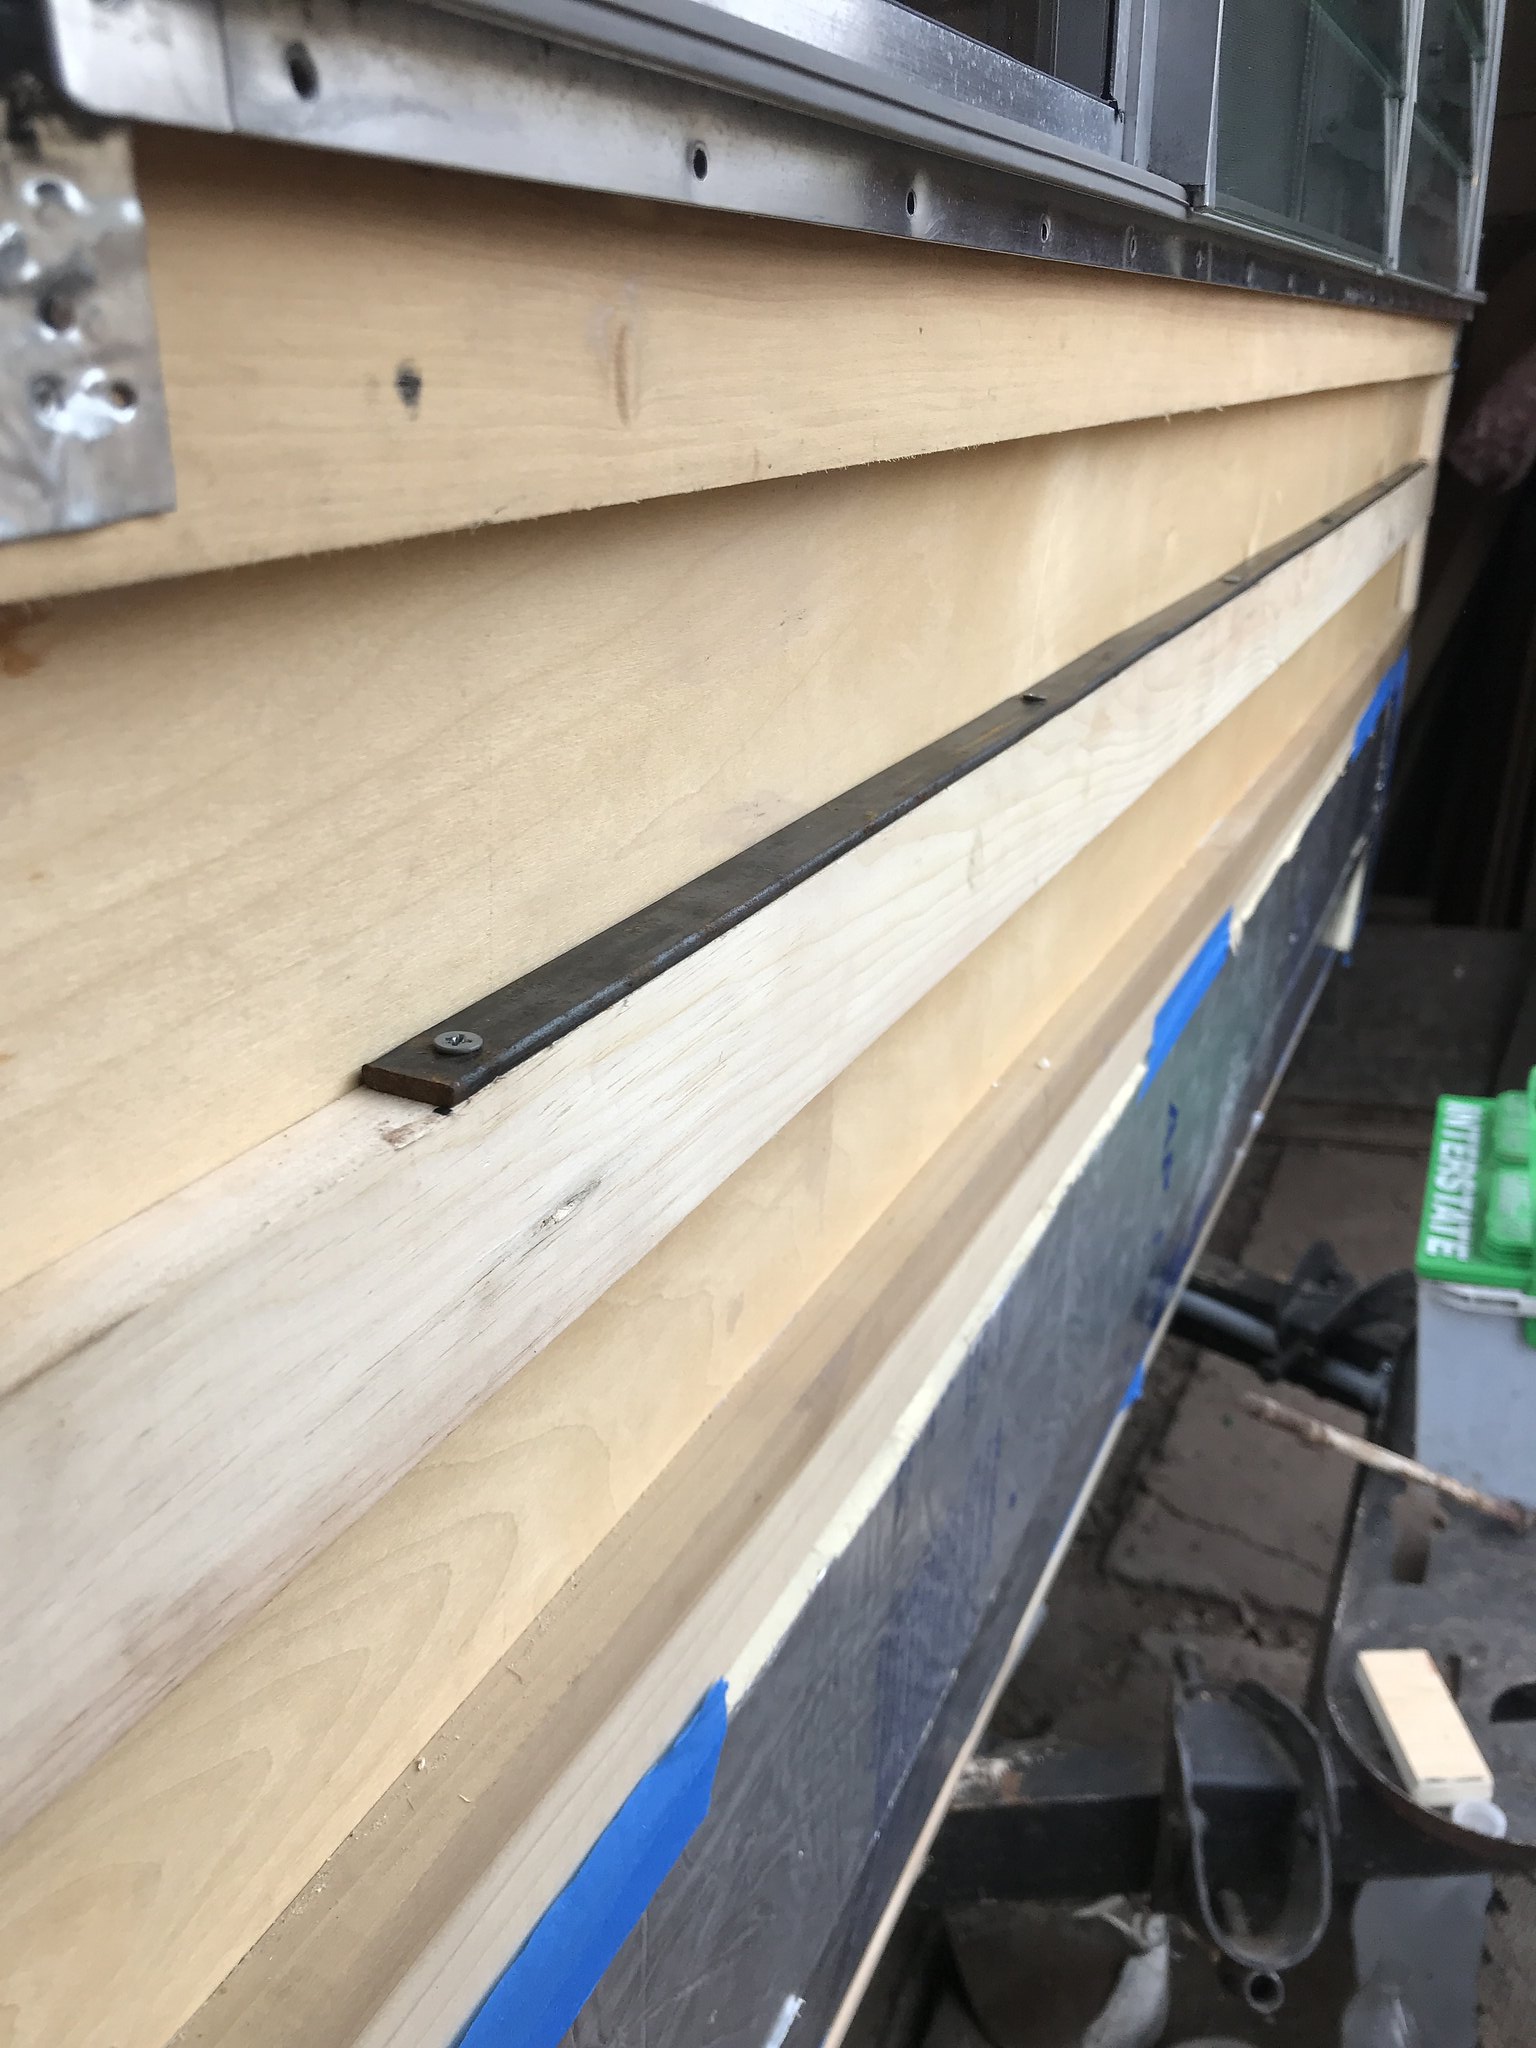 IMG_5820 IMG_5820 by kathy, on Flickr 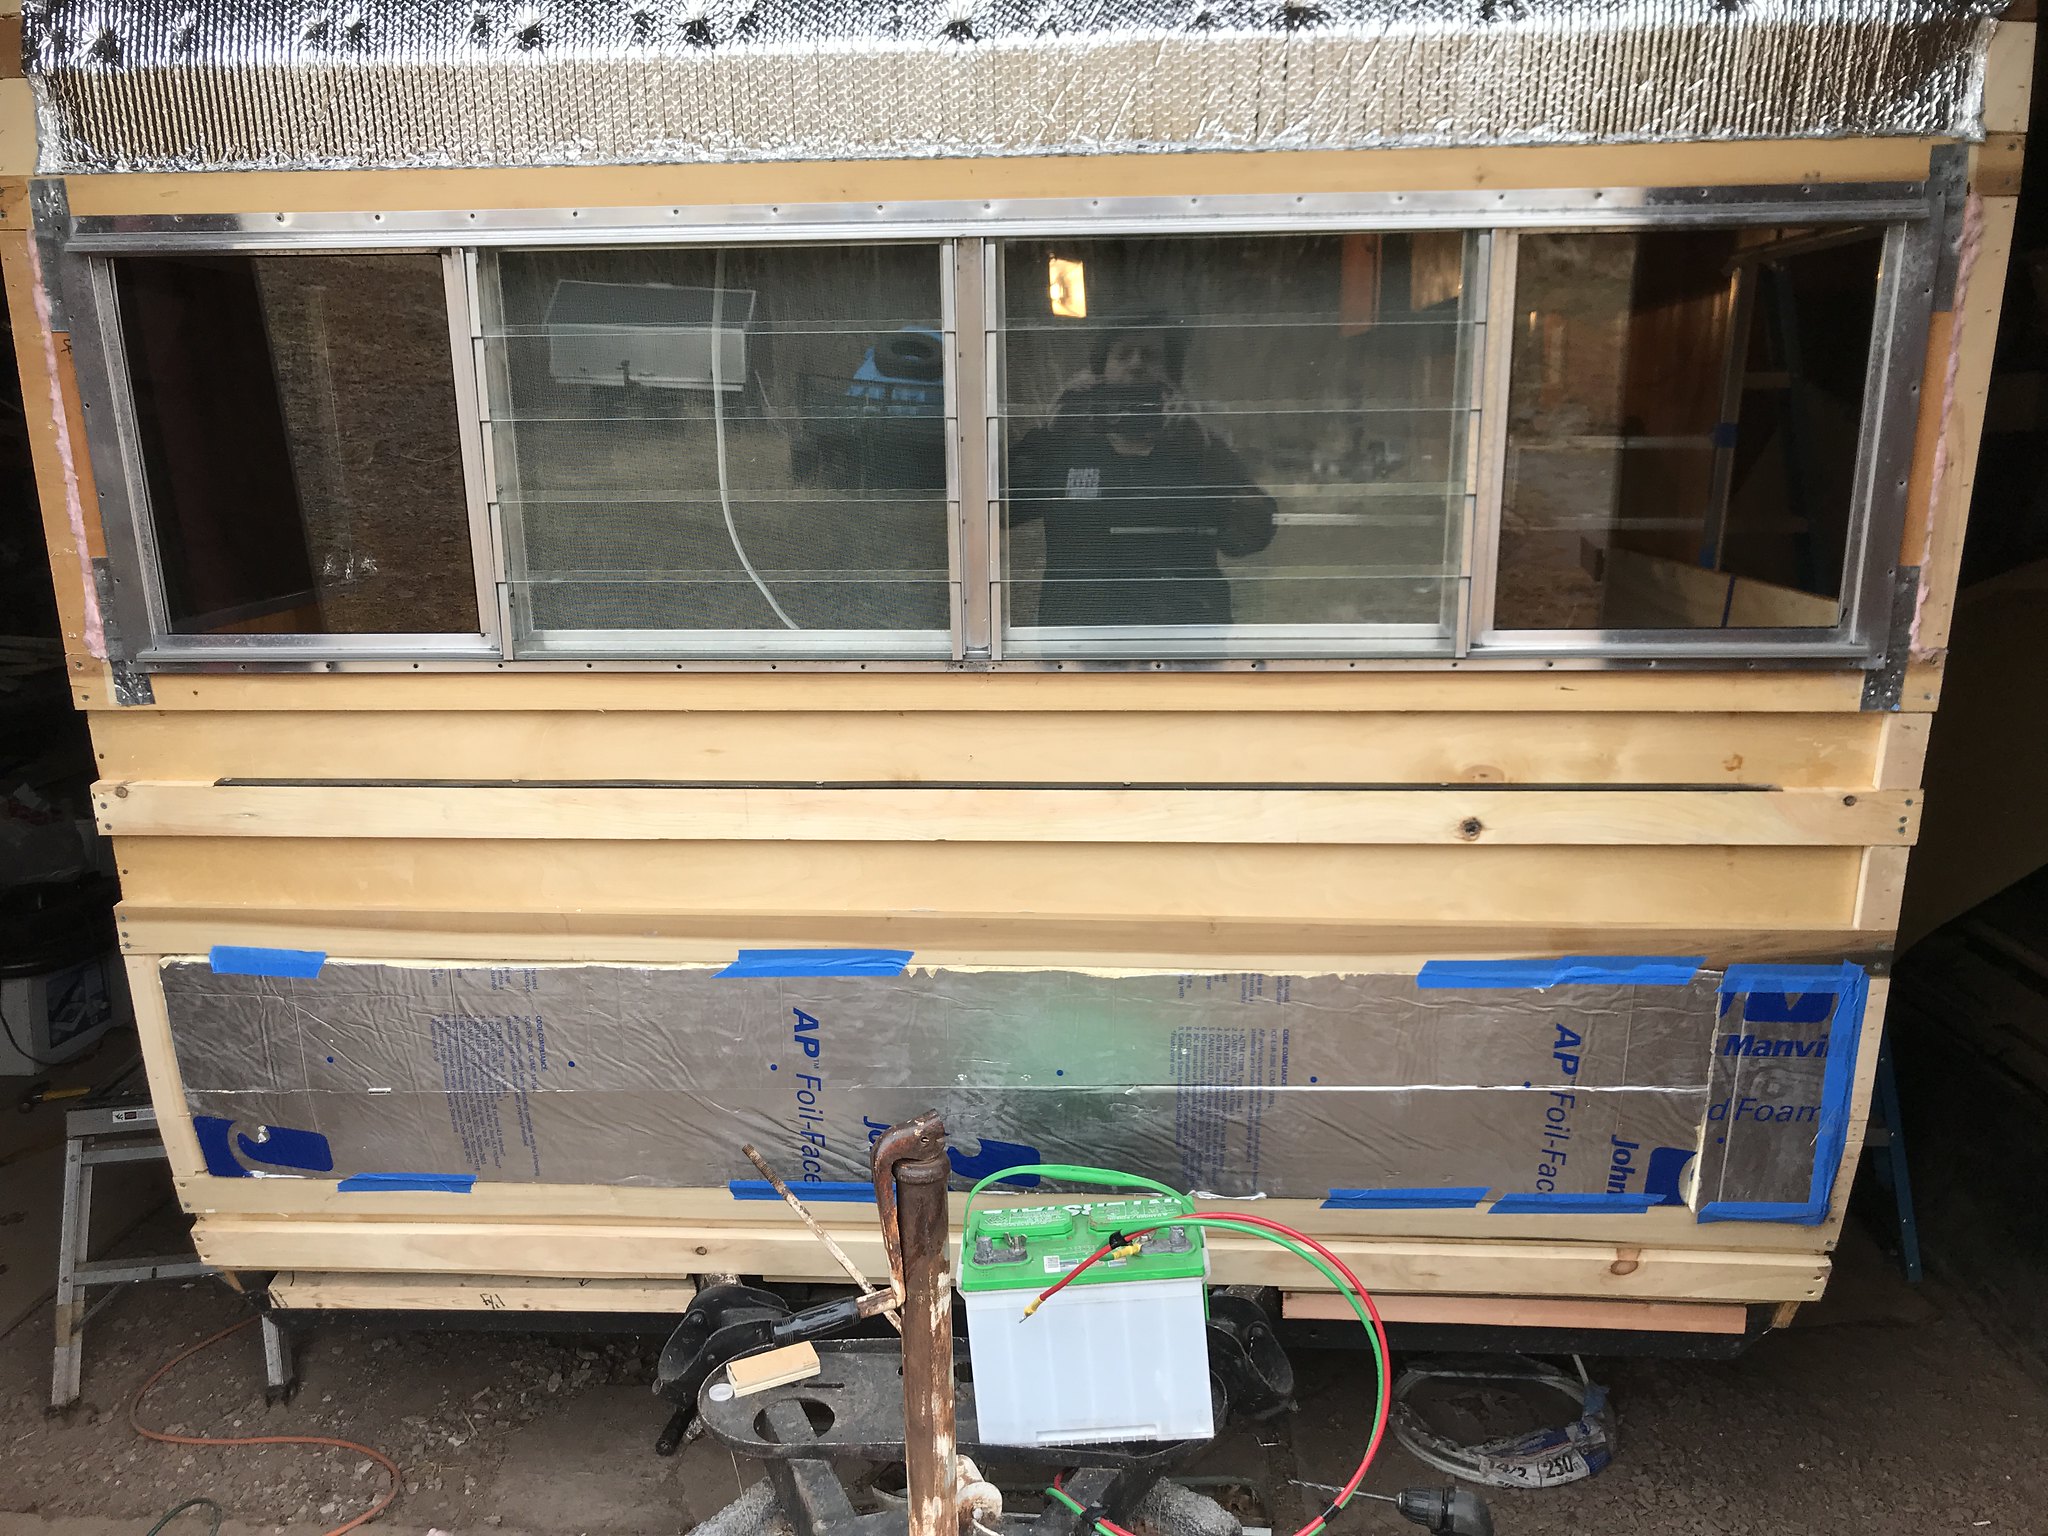 IMG_5821 IMG_5821 by kathy, on Flickr 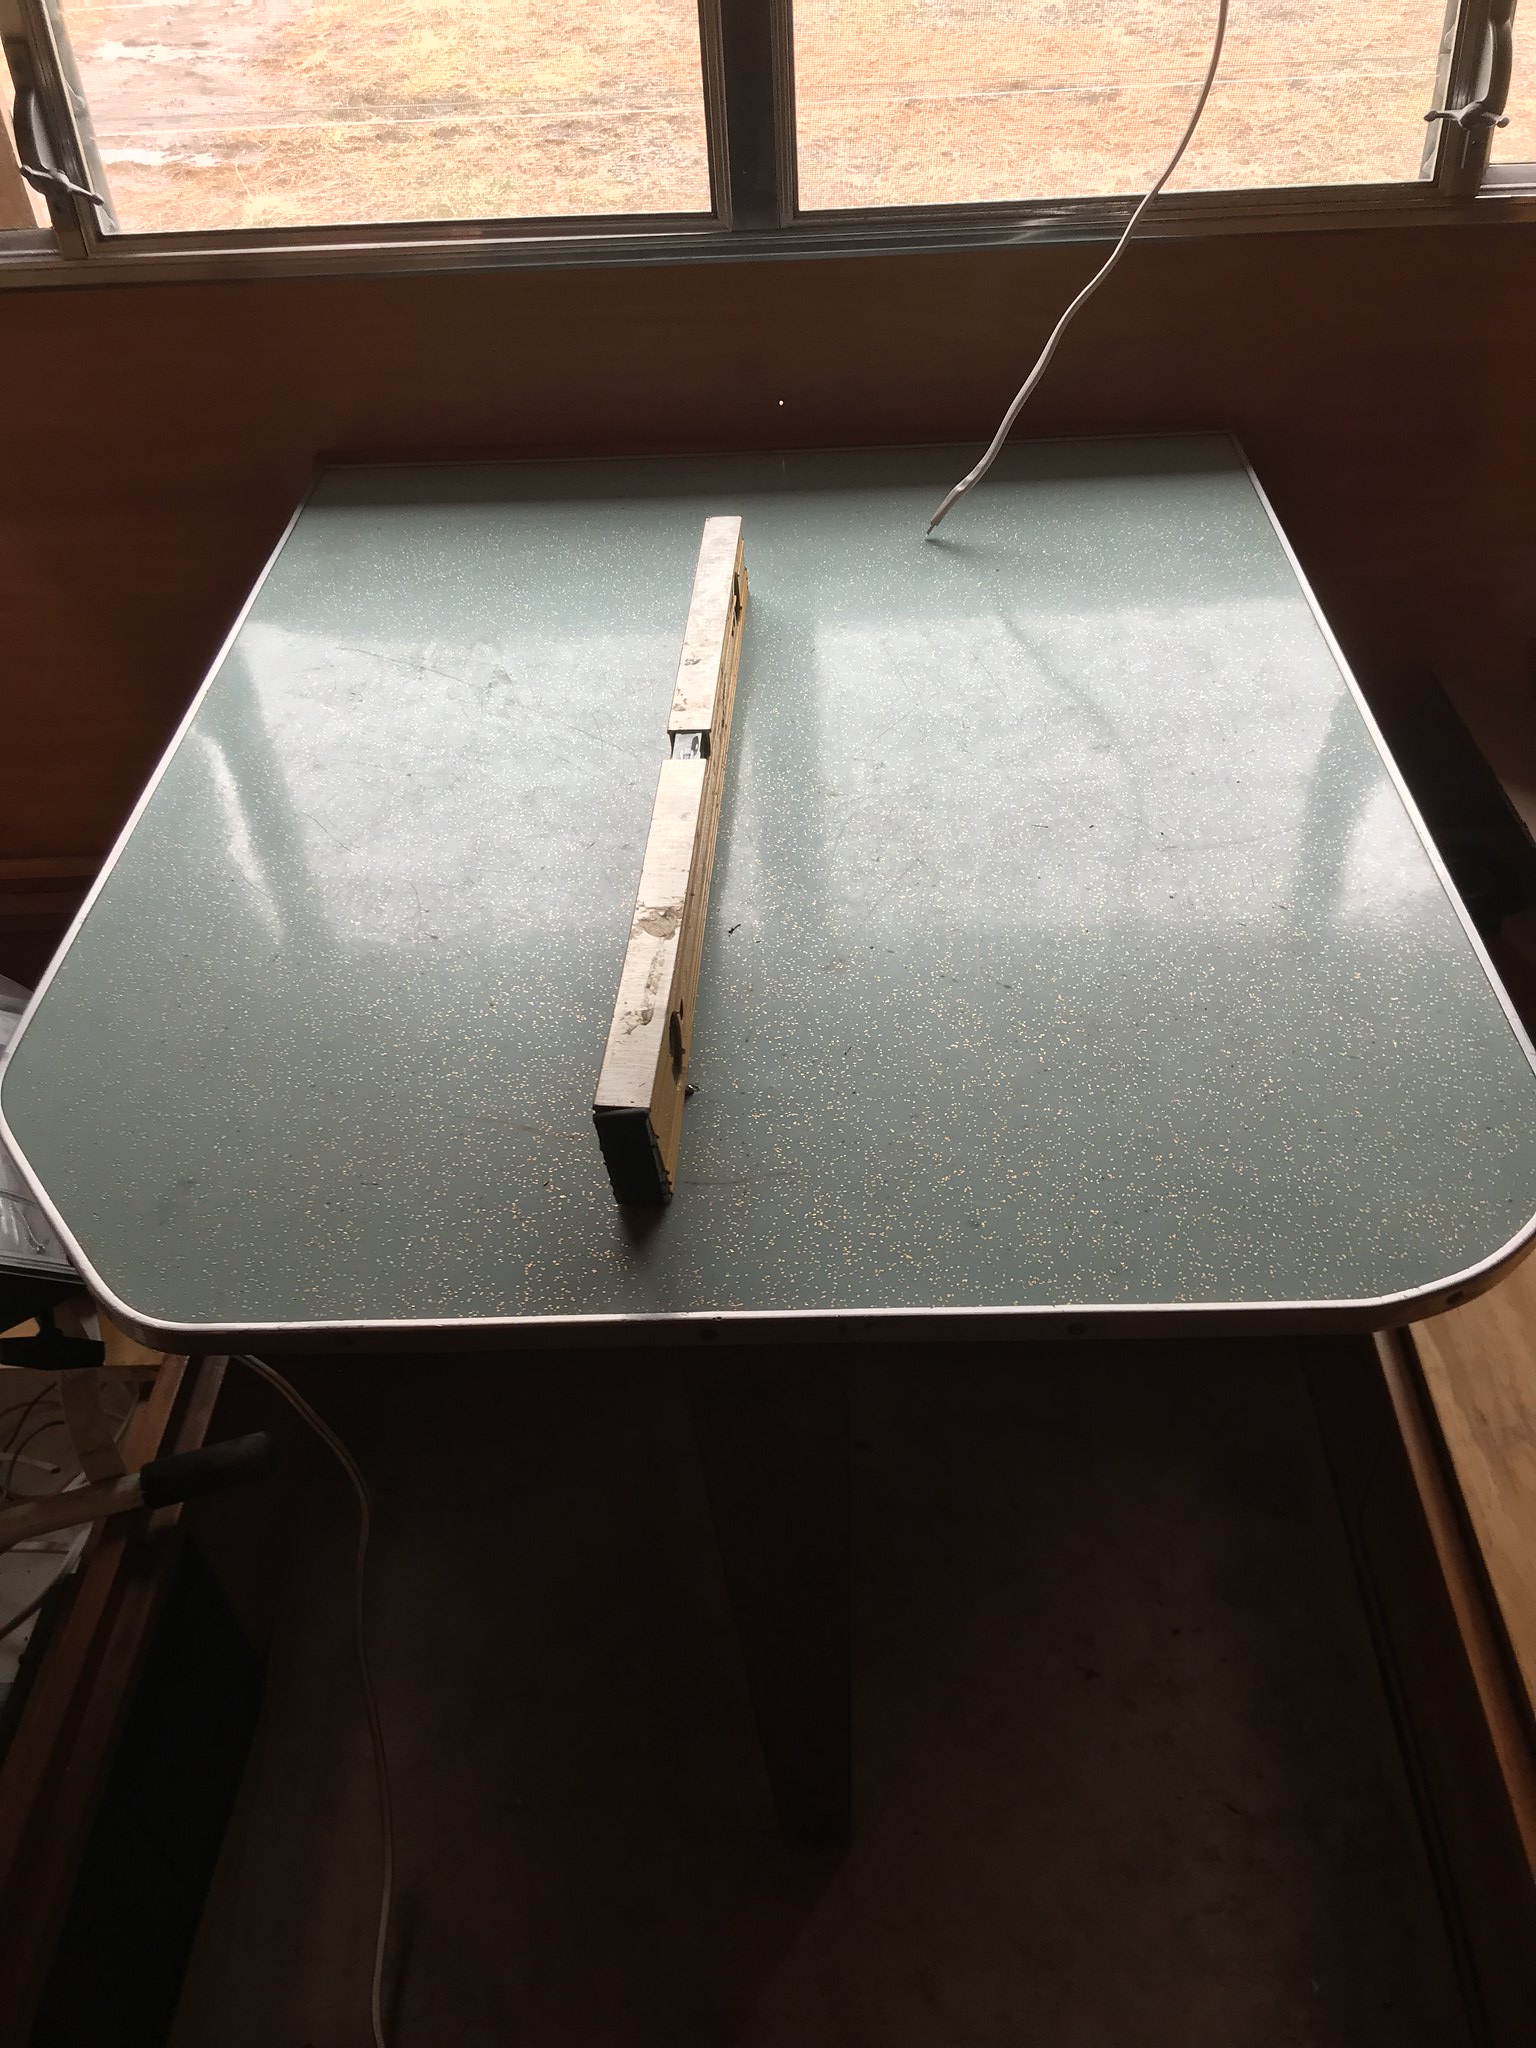 IMG_5819 IMG_5819 by kathy, on Flickr I need to remake the longer piece for the interior just below the window- That's tomorrows job:) |
|
kaffi311
Active Member
Posts: 283
Likes: 98
1963 Shasta 16 SC
Currently Offline
|
Post by kaffi311 on Jan 26, 2019 9:33:33 GMT -8
I built a shelf under the Compact rear window. It makes great storage, supports the wall and covers a water stain. It matched the shelf above the window. Our Forester front window has a ledge/shelf we use a lot.
Can you show me a close up of your COmpact shelf ?- I want to do that, but dont know how to go about it. THanks |
|
kaffi311
Active Member
Posts: 283
Likes: 98
1963 Shasta 16 SC
Currently Offline
|
Post by kaffi311 on Jan 26, 2019 9:29:02 GMT -8
I like it Ten, What have you plugged into this outlet? Kathy, what did you want to plug into this outlet? Thanks, Rod Perhaps a radio outside, or lights for the awning. Things like that. K |
|
kaffi311
Active Member
Posts: 283
Likes: 98
1963 Shasta 16 SC
Currently Offline
|
Post by kaffi311 on Jan 21, 2019 9:40:36 GMT -8
Can someone share how they added a vent to the water tank? I have a new tank- and just don't have an idea of what it should look like. Here's my tank  IMG_3620 IMG_3620 by kathy, on Flickr Thanks ! |
|
kaffi311
Active Member
Posts: 283
Likes: 98
1963 Shasta 16 SC
Currently Offline
|
Post by kaffi311 on Jan 21, 2019 9:36:23 GMT -8
I'd use the angled pieces again. That's what I did on our 63 Shasta. They solve a problem and I think they look good. I think I jus might do that- as I did not take into account the added inches when ordering my new skins- and I doubt they will cover the extra. Have any photos of that area after you reinstalled the pieces? Thanks K |
|
kaffi311
Active Member
Posts: 283
Likes: 98
1963 Shasta 16 SC
Currently Offline
|
Post by kaffi311 on Jan 21, 2019 9:31:24 GMT -8
Great story! Great looking trailer too- sorta a longer version of mine!! Welcome to the forum- cant tell you how much awesome help I have gotten with my rebuild! -Kathy |
|
kaffi311
Active Member
Posts: 283
Likes: 98
1963 Shasta 16 SC
Currently Offline
|
Post by kaffi311 on Jan 21, 2019 9:28:43 GMT -8
So- I found a photo of the front framing before ripping it out. Here it is:  IMG_0682 IMG_0682 by kathy, on Flickr And here's what it looks like now: 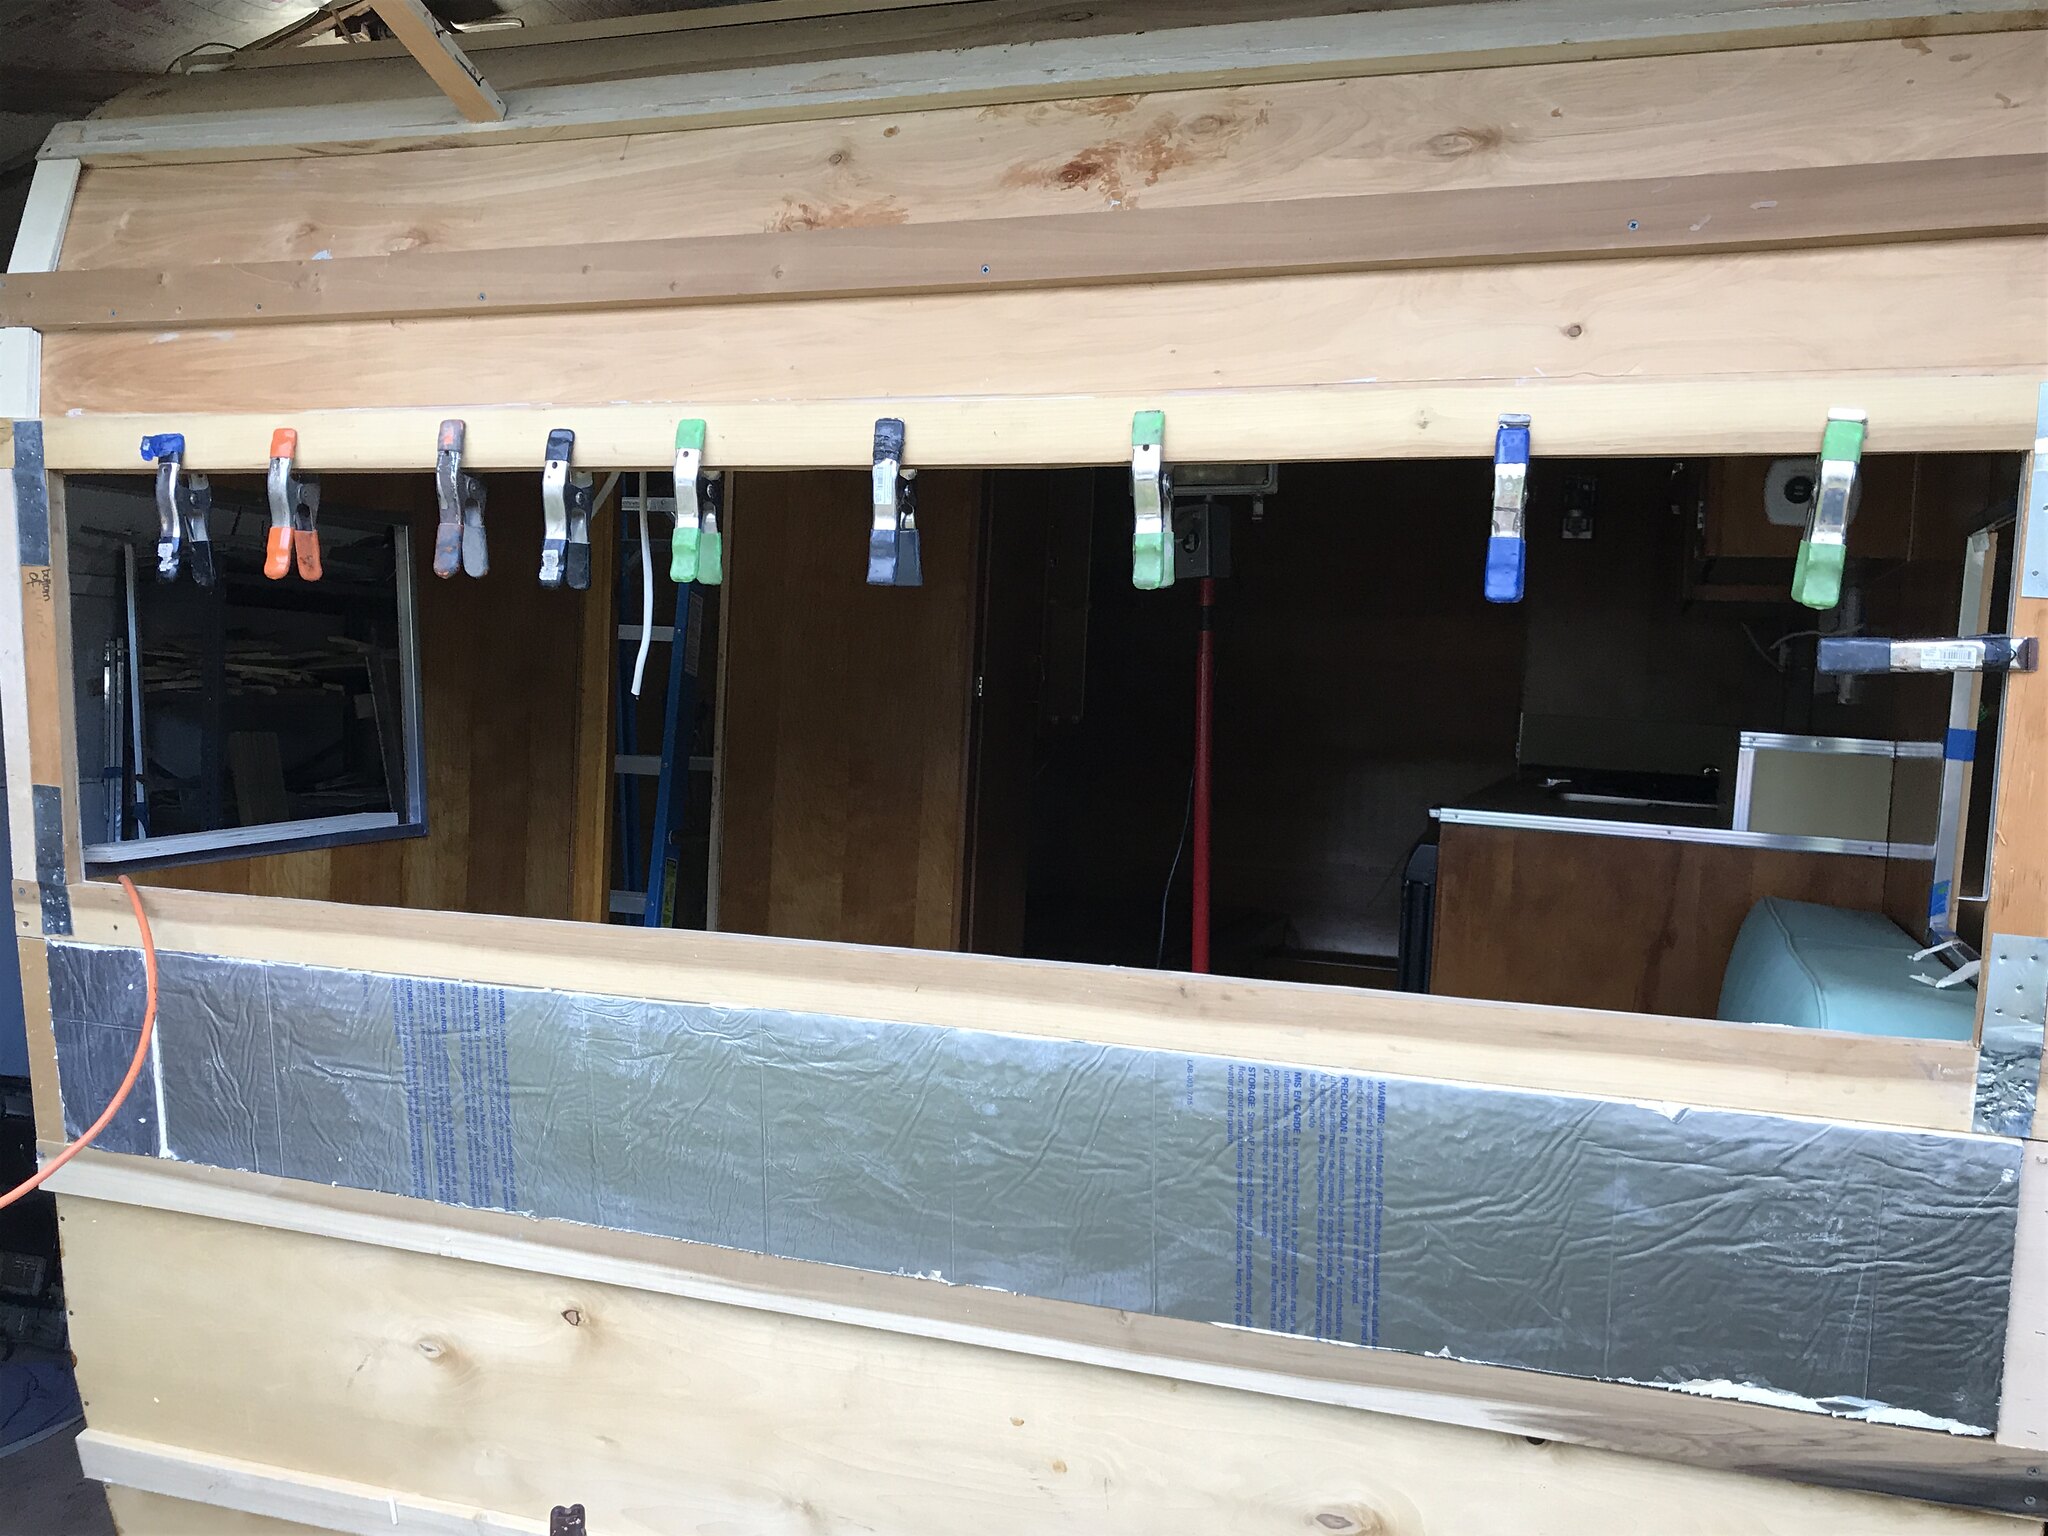 IMG_4742 IMG_4742 by kathy, on Flickr Looks like I will be adding another framing member- with metal piece- at the point where table support is inside. Thanks so much for all this info everyone- really makes sense ! Love this place !! ha ha |
|
kaffi311
Active Member
Posts: 283
Likes: 98
1963 Shasta 16 SC
Currently Offline
|
Post by kaffi311 on Jan 21, 2019 8:22:46 GMT -8
Just to clarify one point... Thank you!! I am so glad I asked !! K |
|
kaffi311
Active Member
Posts: 283
Likes: 98
1963 Shasta 16 SC
Currently Offline
|
Post by kaffi311 on Jan 20, 2019 18:31:55 GMT -8
I’d just use the plastic one. If you drill holes in a weather proof box it’s no longer weather proof and no different than the plastic one. Well that makes sense to me! THanks K |
|
kaffi311
Active Member
Posts: 283
Likes: 98
1963 Shasta 16 SC
Currently Offline
|
Post by kaffi311 on Jan 20, 2019 13:46:33 GMT -8
January Update: Well, my metal skins arrived! For now- they will sit in the garage until Spring- as its COLD here in PA! Kinda bummed I can't do it now- but I can wait!! Just good to know they are here and ready when the temps warm up. 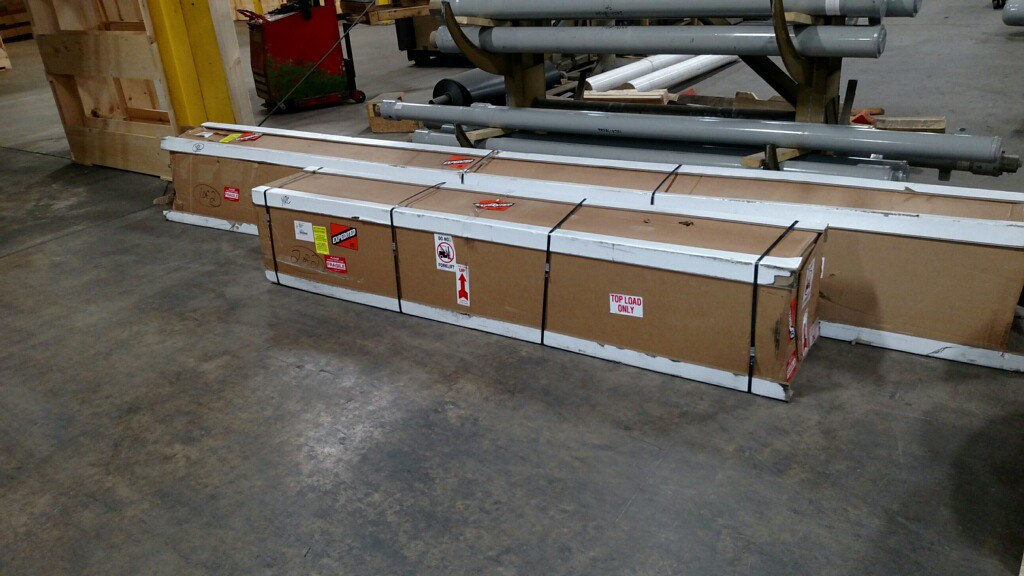 1) I FINALLY got most of my electric done. My friend John volunteered to help after the 2 guys I had lined up fell through. He spent time reading up on my convertor and the great info here on the forum- and at the end of the day the 12v is done- and the 110 is just about there!  I have lights!!! 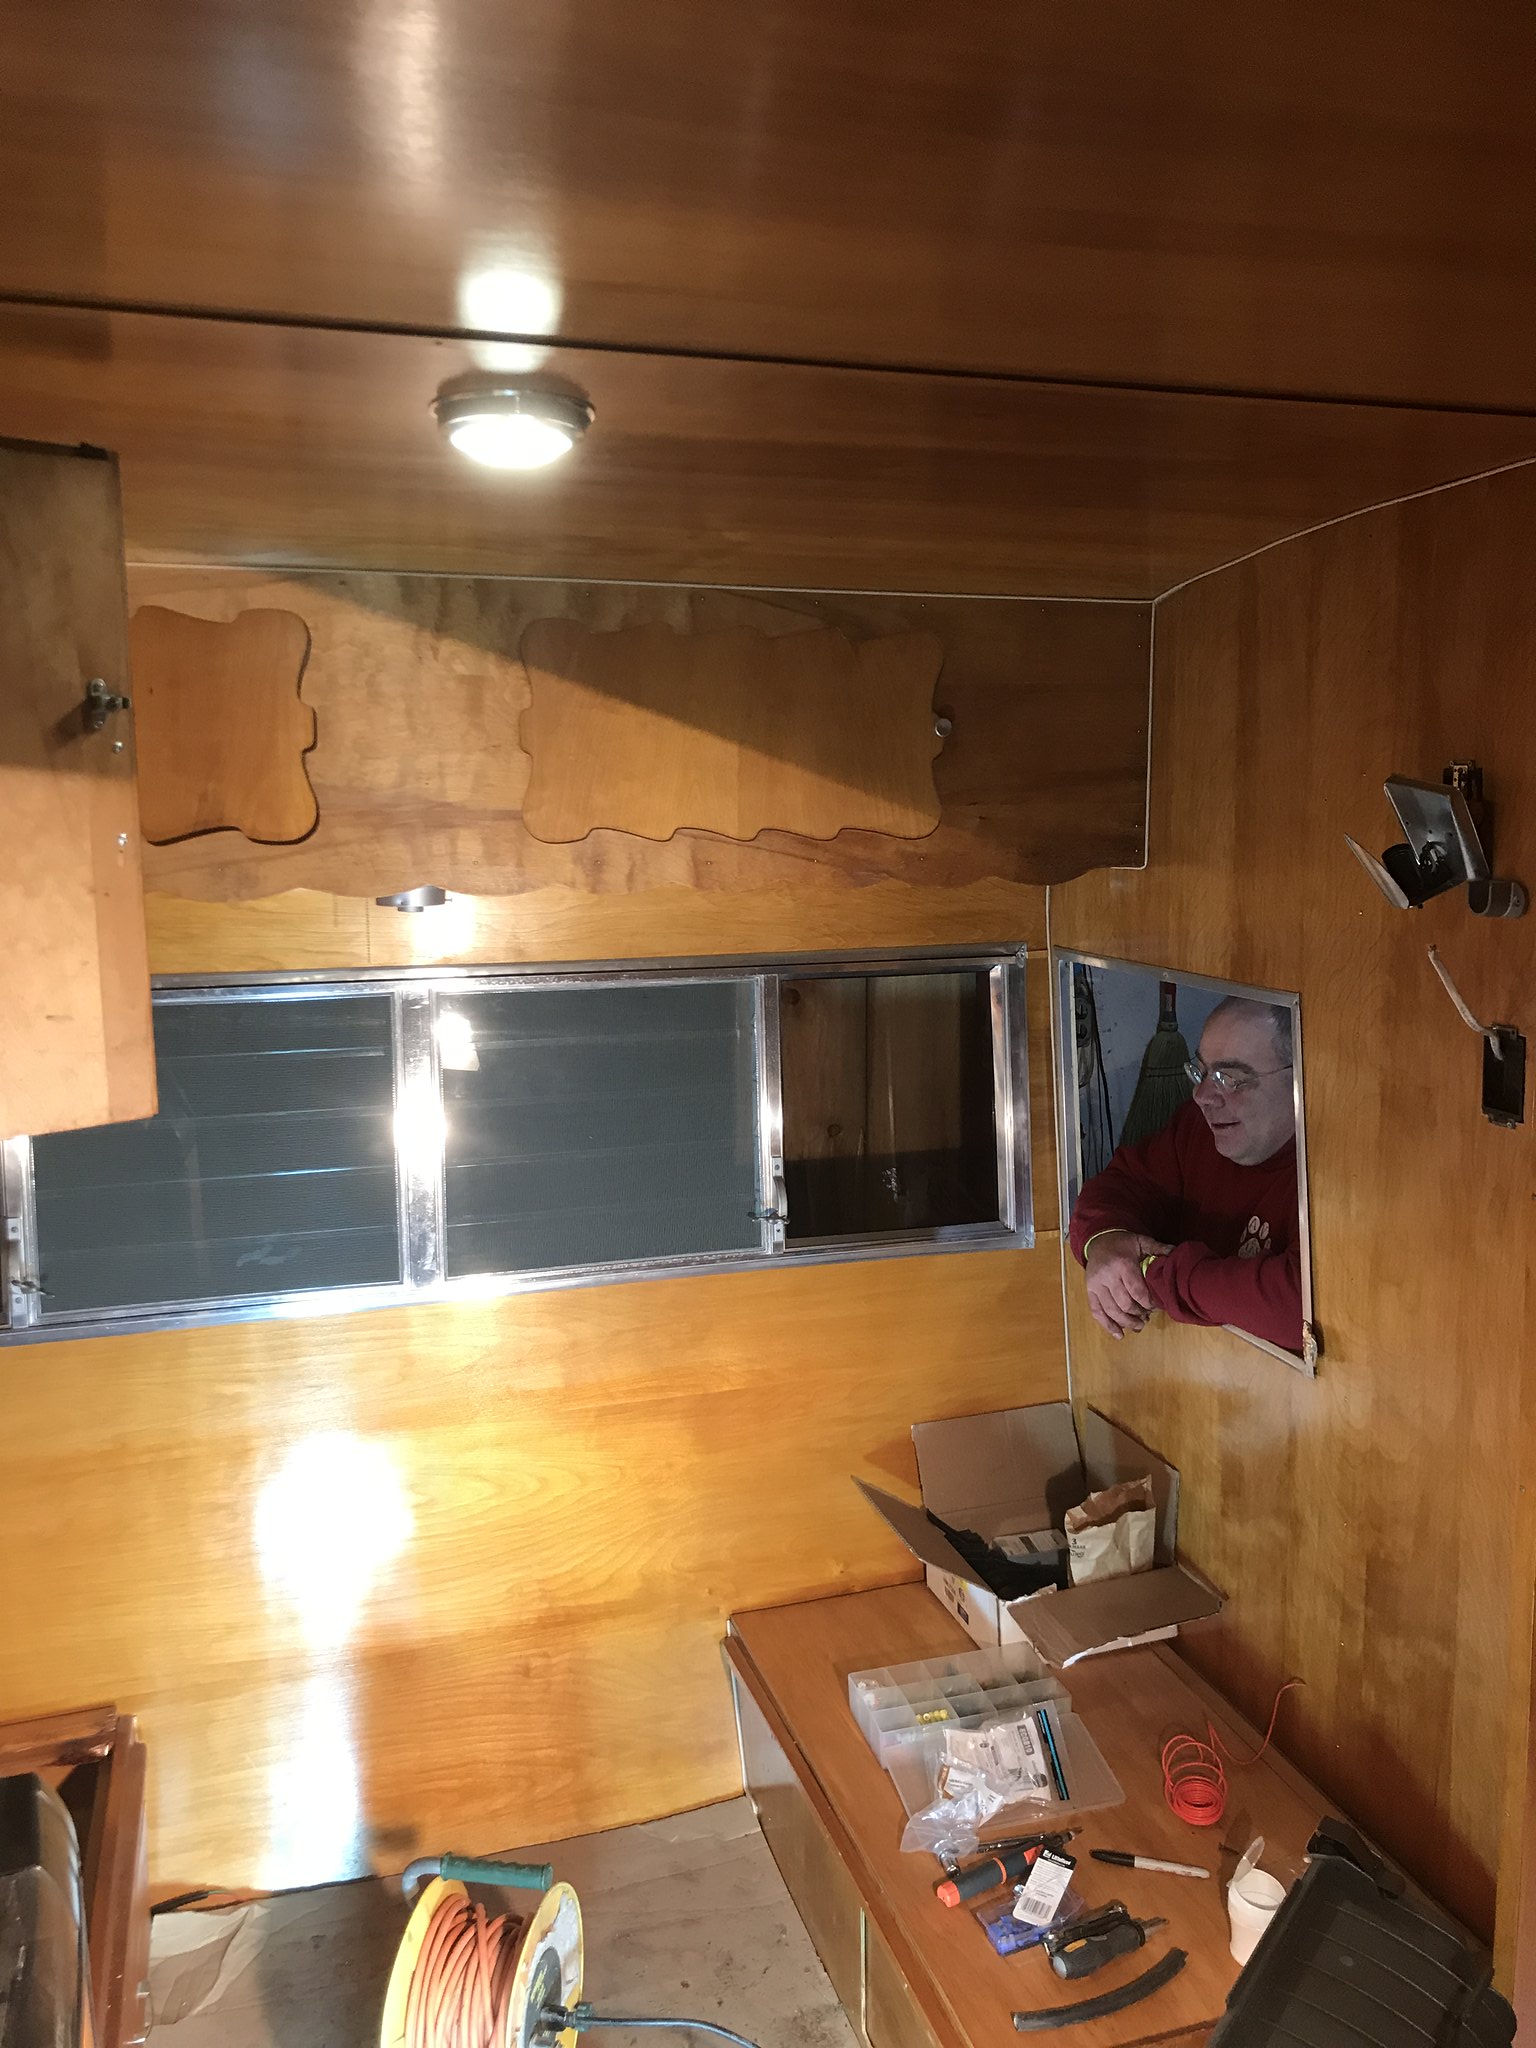 Can't tell you how happy I am to get this system just about done.  2) I have been working on cleaning up some of the metal items from the exterior of my camper- the door handle, the license plate light, and the emblems. They are all quite pitted-and re-chroming is just too expensive. 
IMG_4491 by kathy, on Flickr  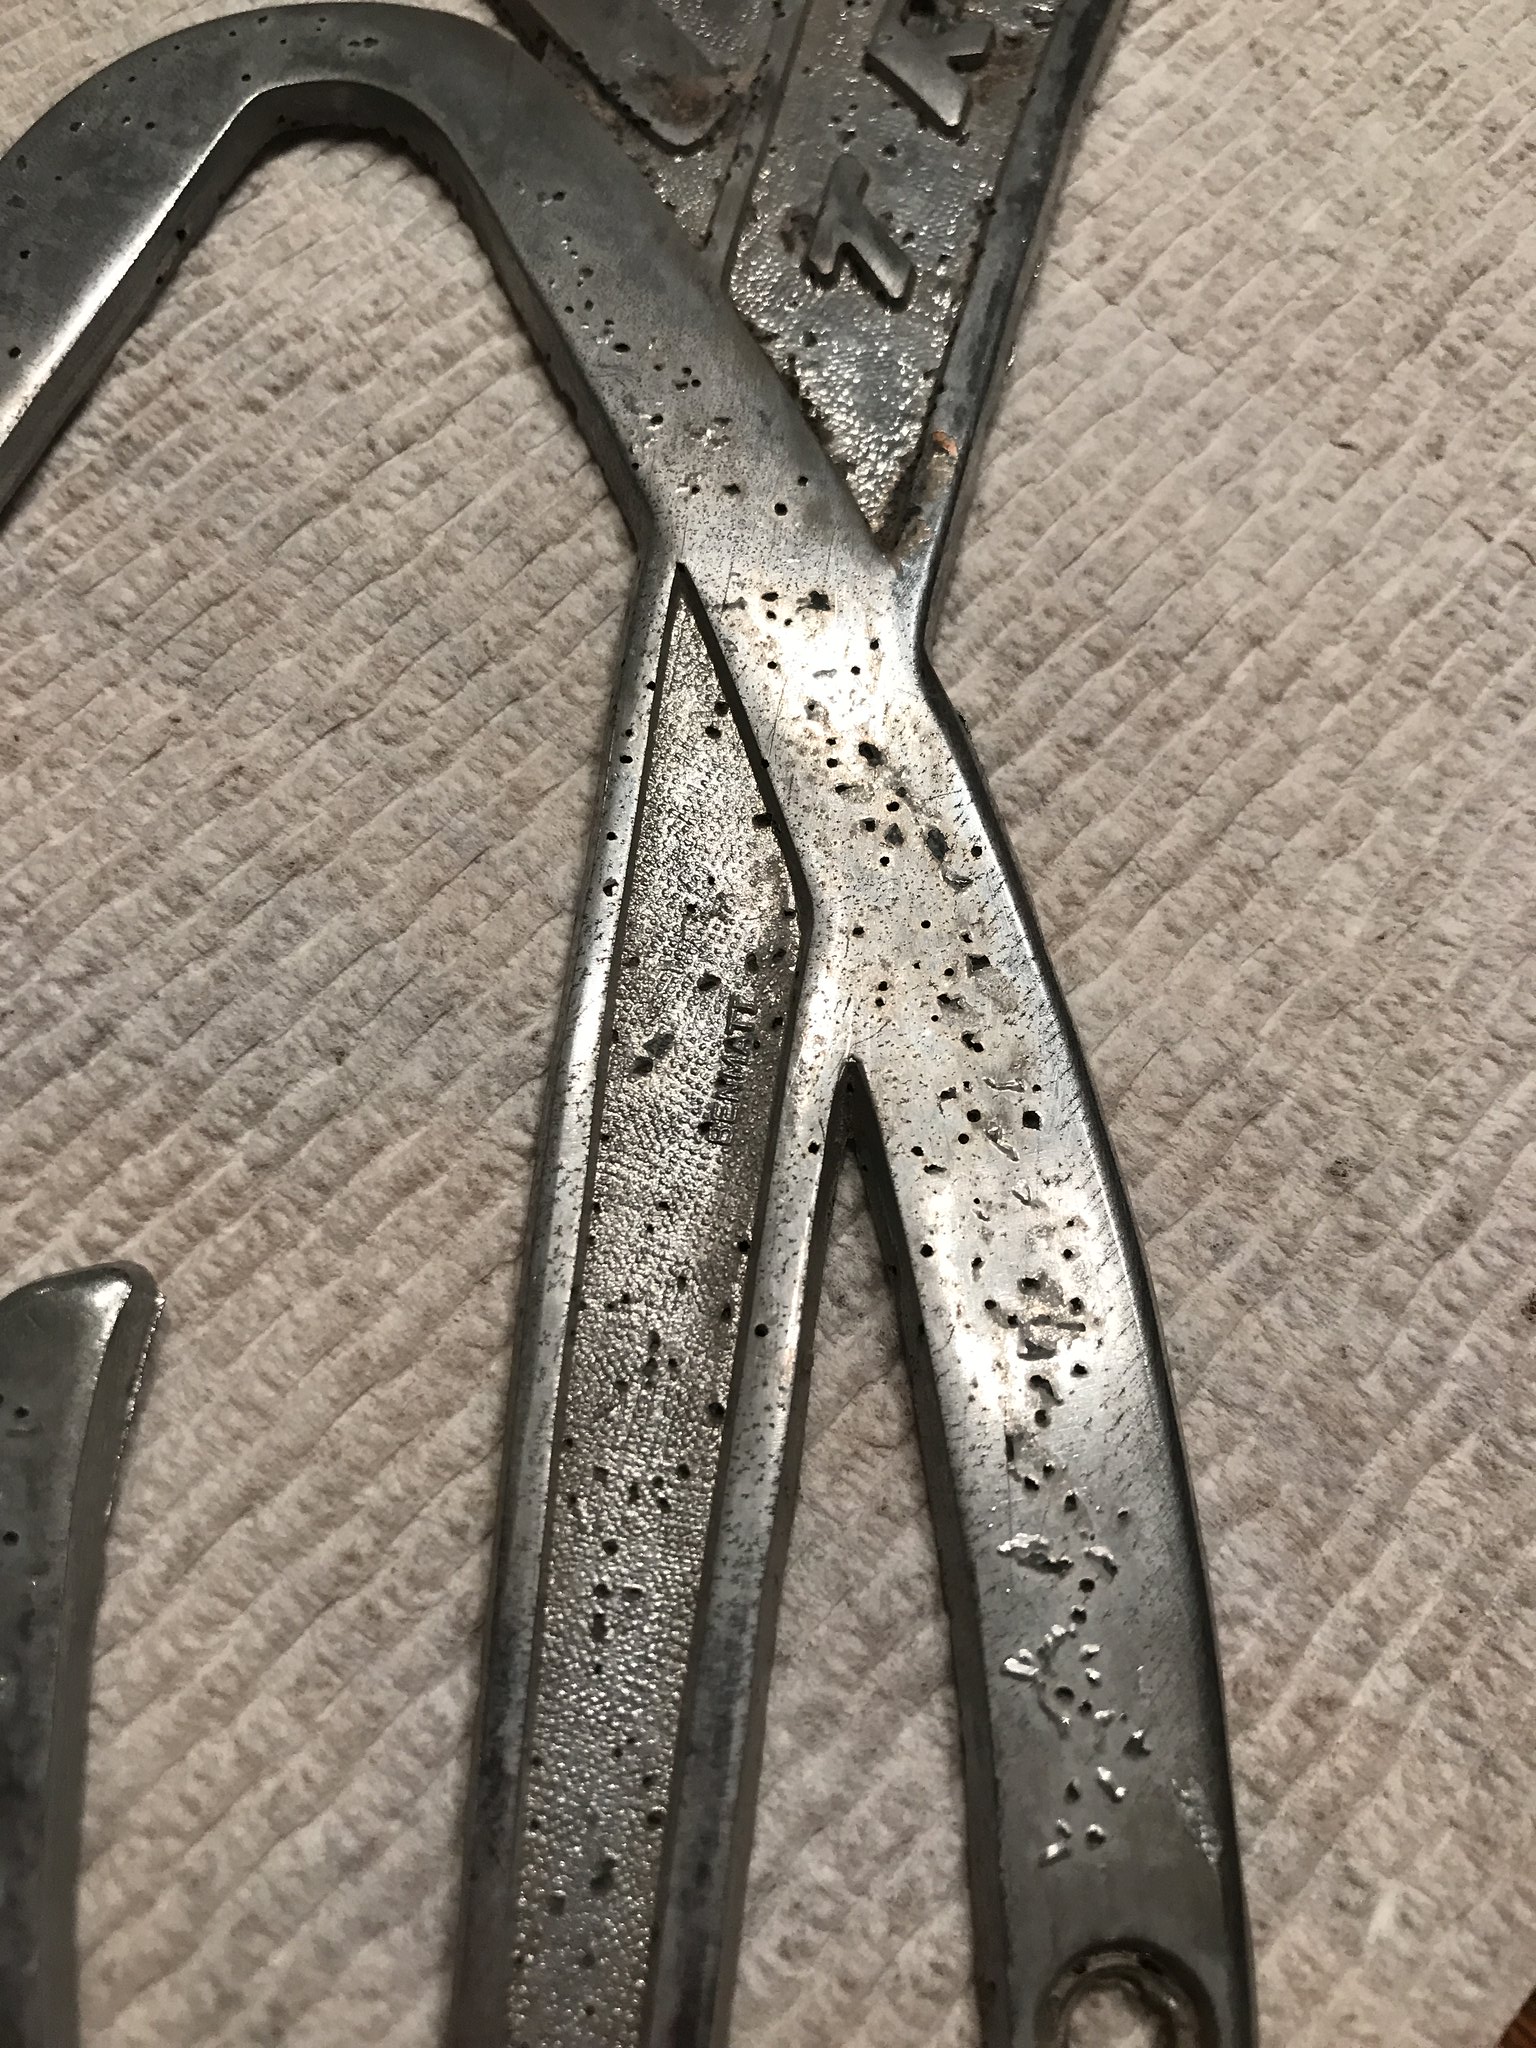  I decided to try and clean them up by first sanding and then using Glazing putty used in auto body to fill in the pits. I applied several thin layers, and sanded in between- followed by primer and then chrome colored paint. [ Putty applied in thin layers:] 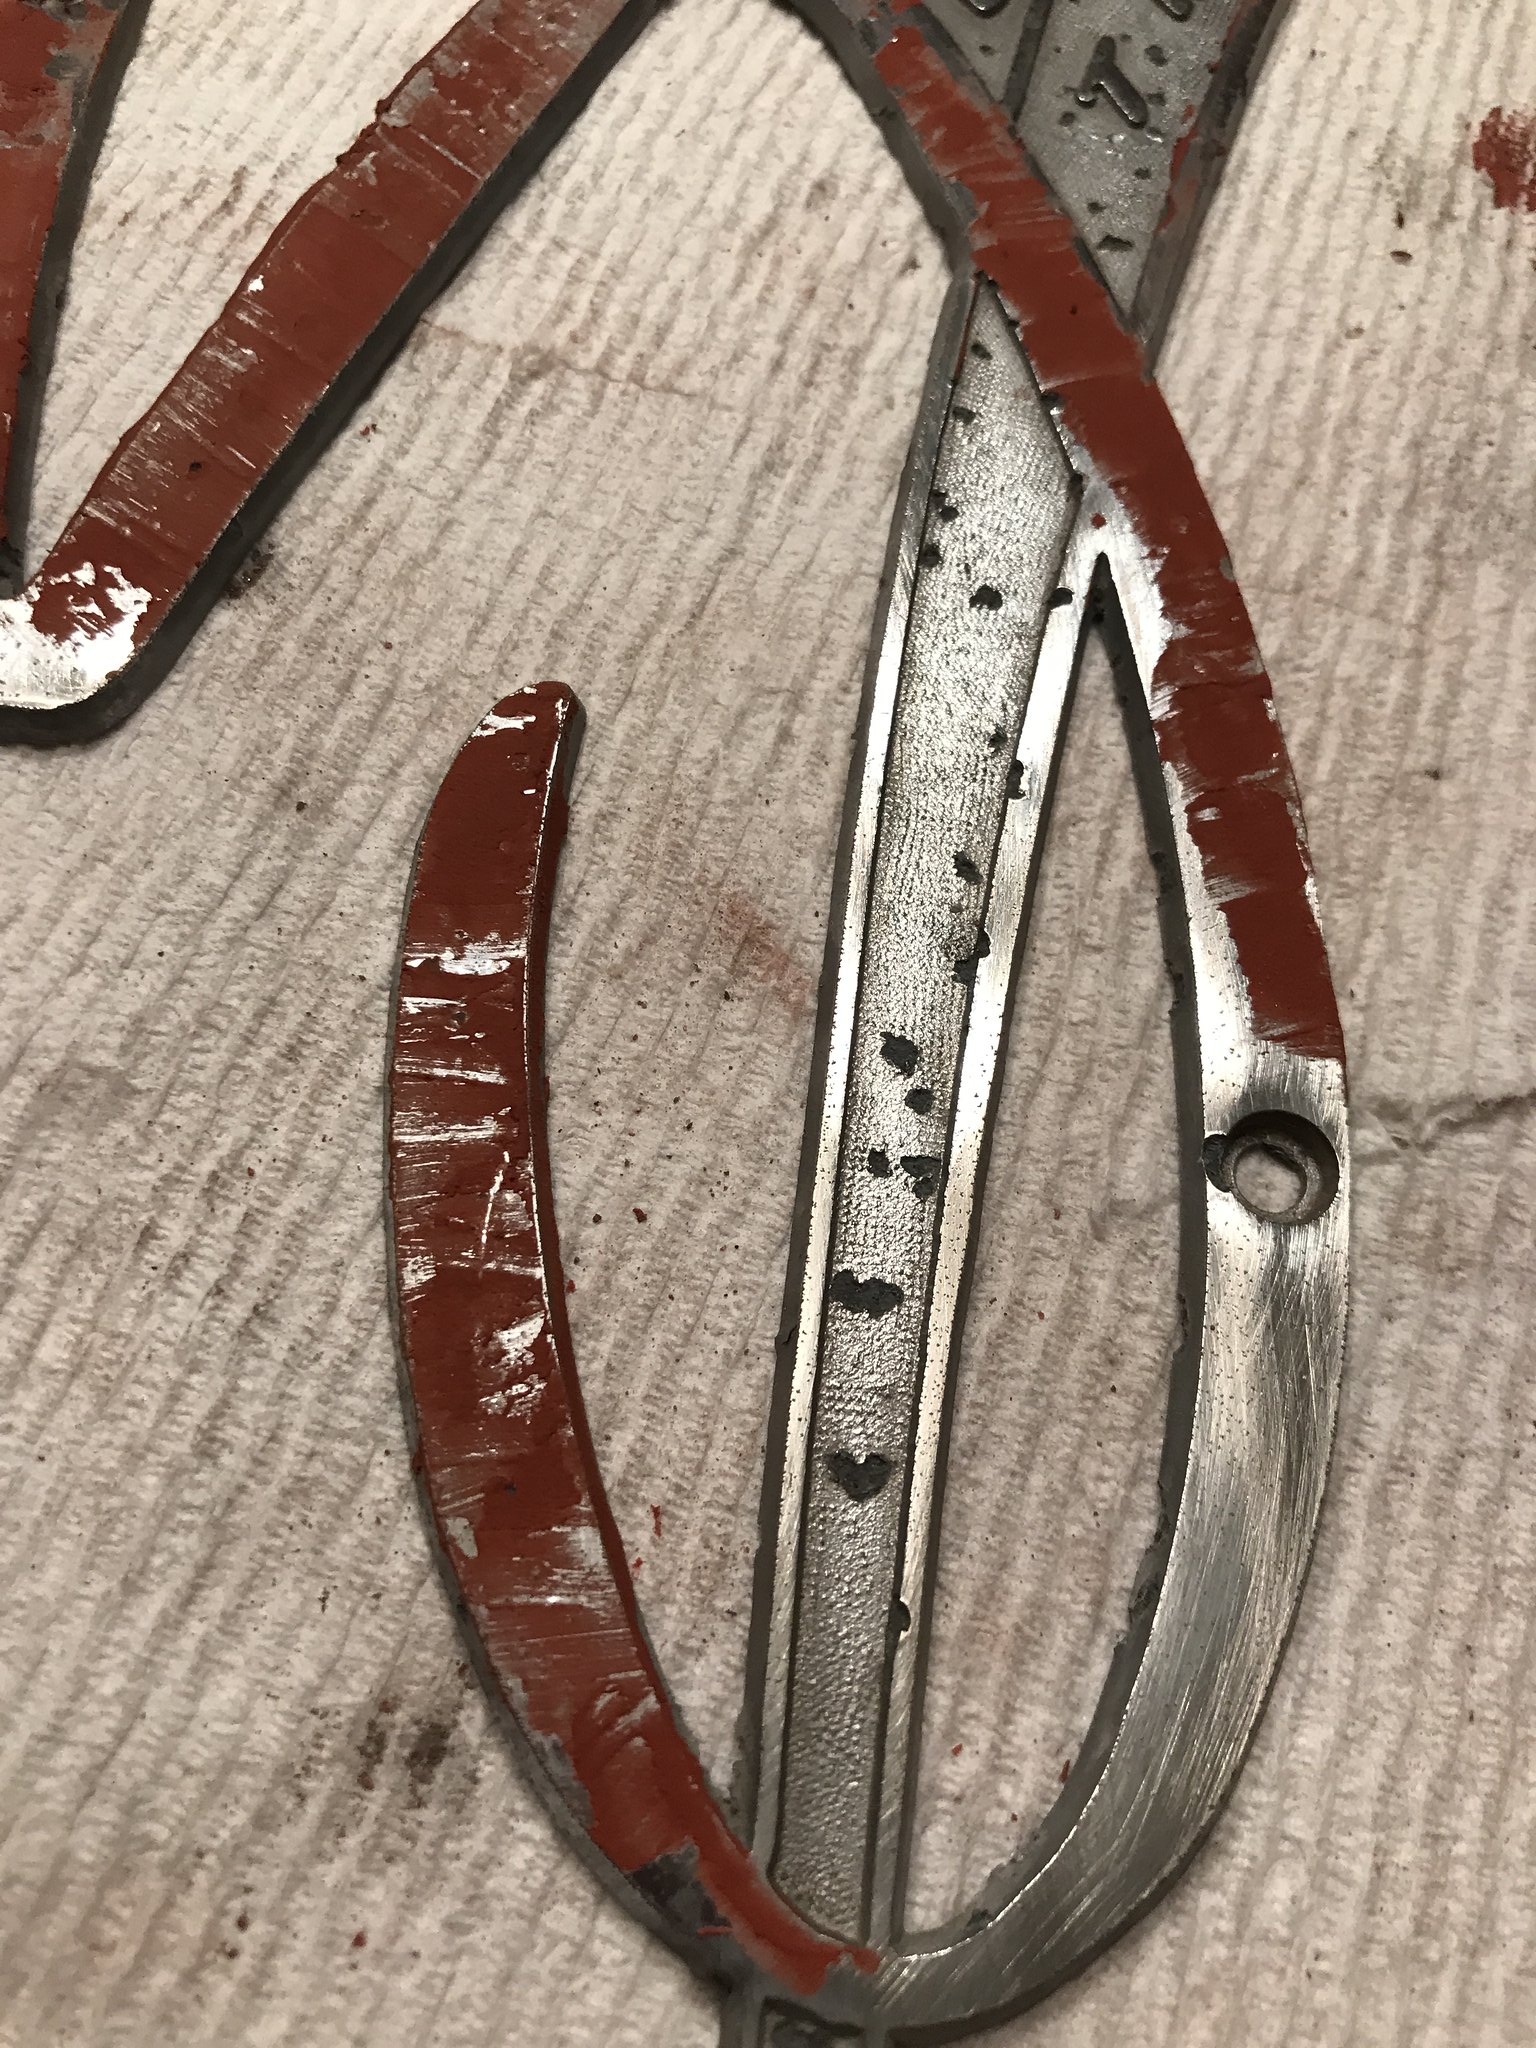
[Primer applied] 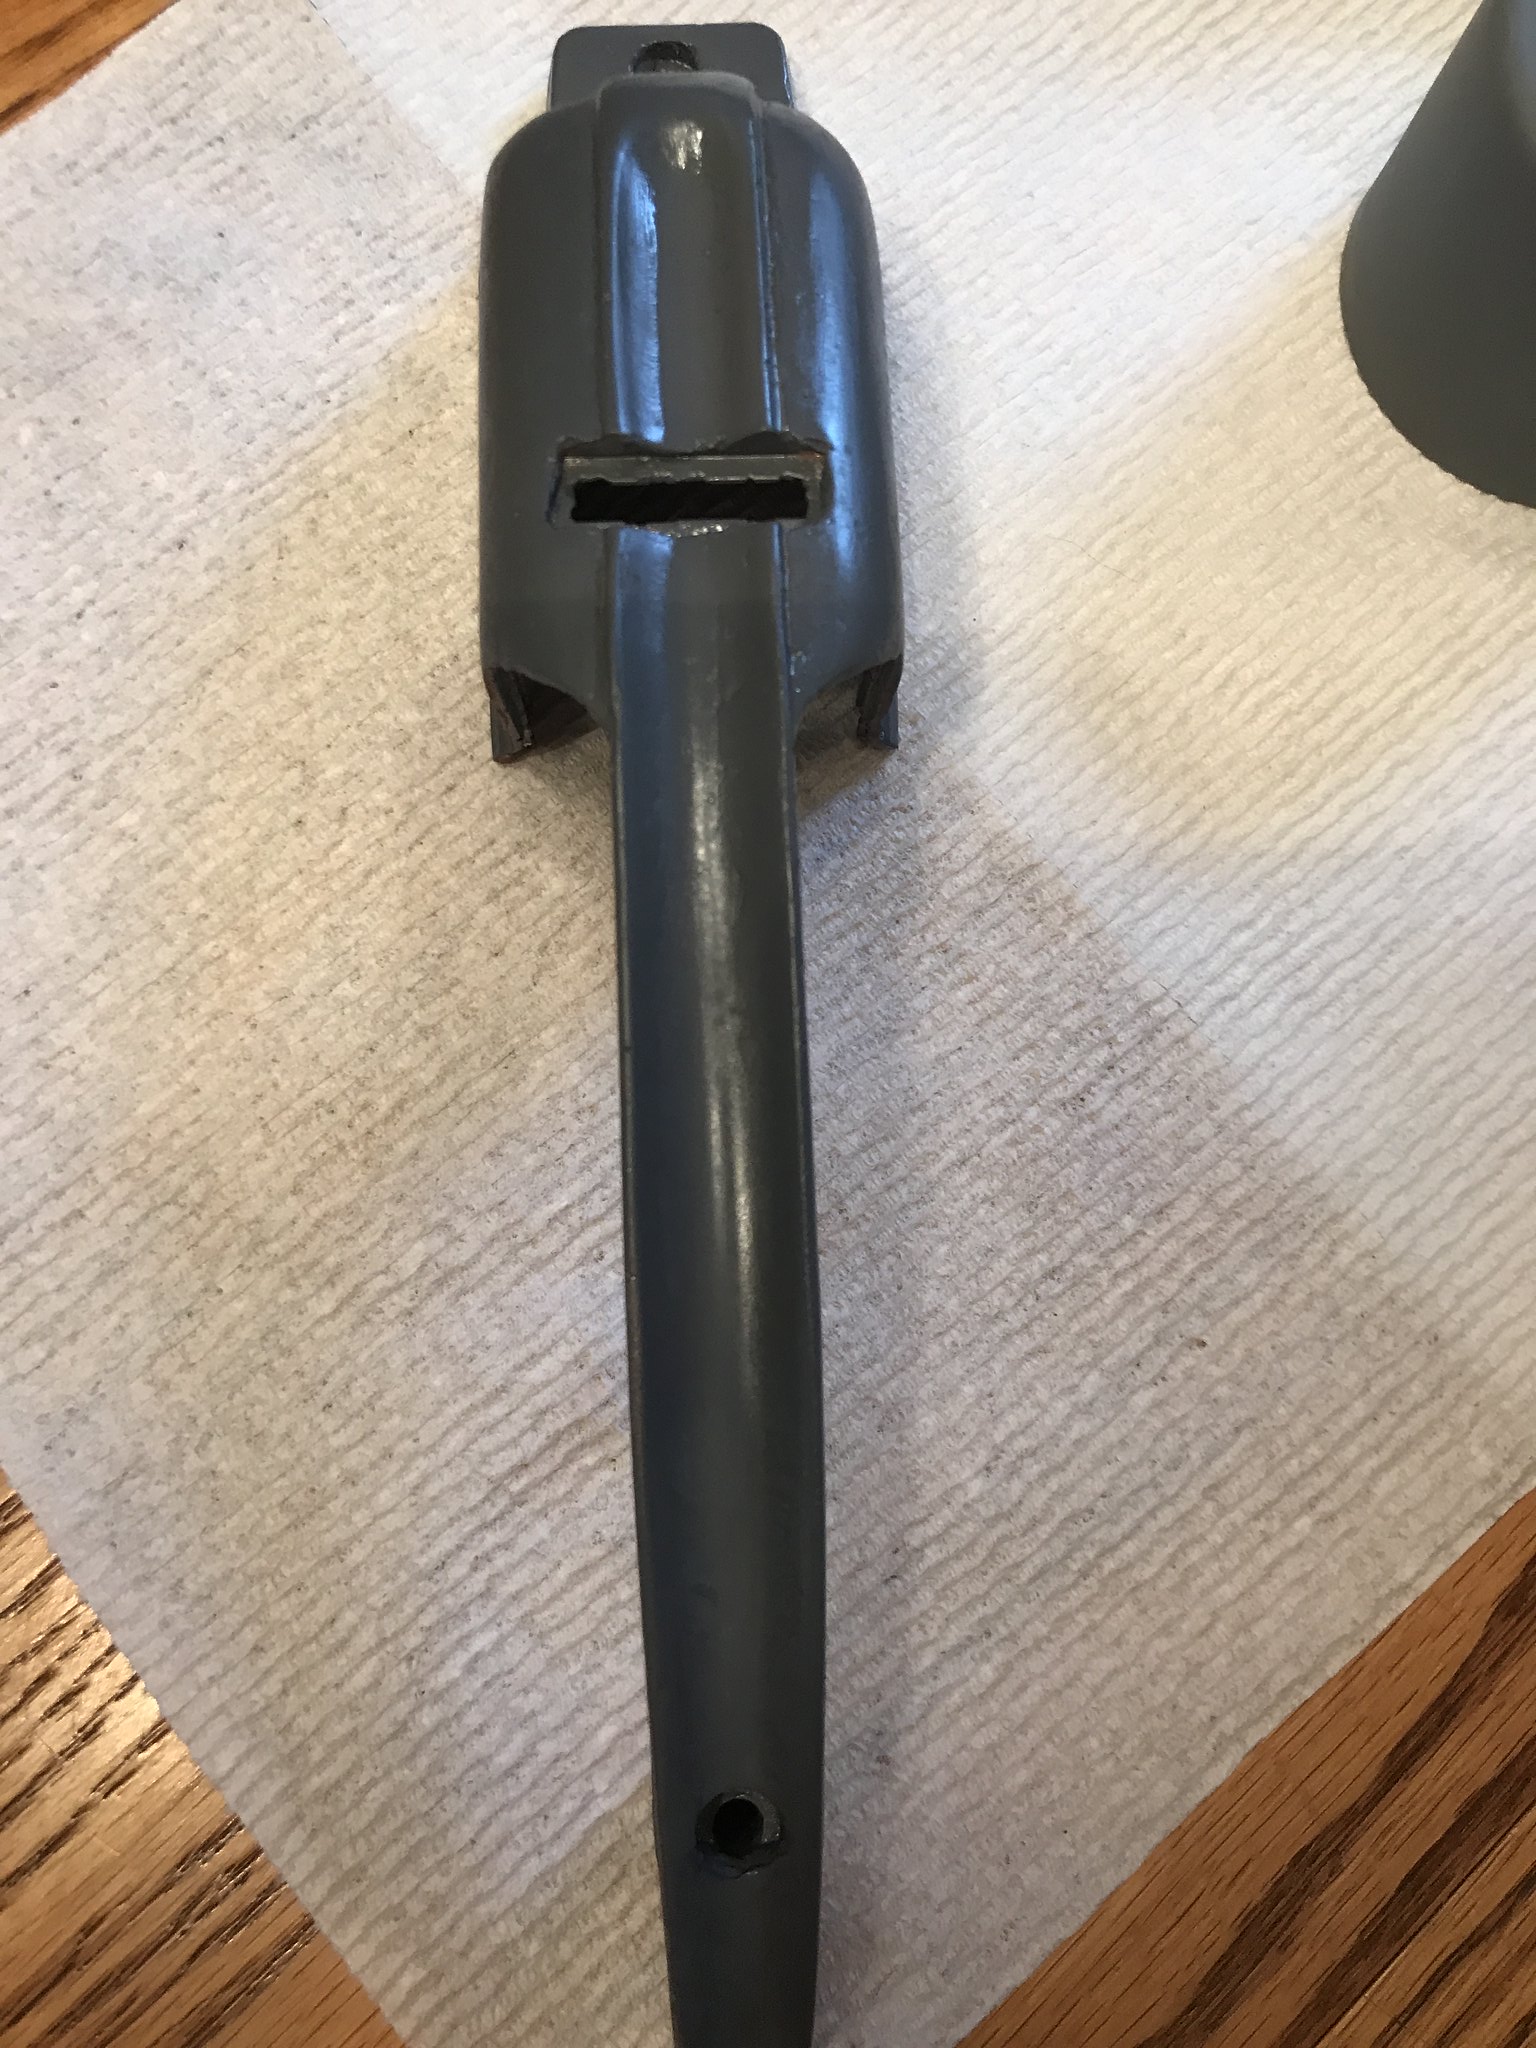 [Chrome colored spray paint]: 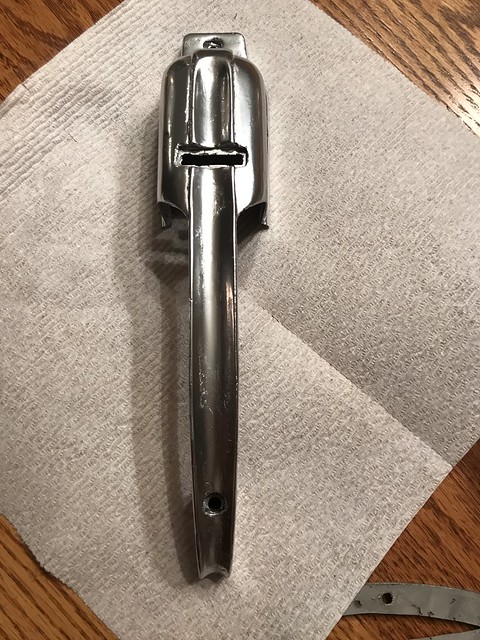 IMG_5764 IMG_5764 by kathy, on Flickr What do you think? I am quite pleased with the finished product. So much better than before- and much cheaper than buying new or getting them chromed. Hoping they hold up for a few years- but if not, wont take much to redo the process! 3) I finished running the trailer wiring to the back lights- thanks to the info I got from Mobiltec's class. Just need to add insulation and the back is ready for vapor barrier and skins!  I ordered new tail lights and marker lights from VTS- so I am looking forward to the day they all light up!! 4) I purchased my gaucho bed foam and material to make my cushions. I cut the foam and glued the layers together ( 4" foam. 2" topper)- not too tough. Couldn't find an electric knife- but my mom's new tomato knife worked really well. LOL  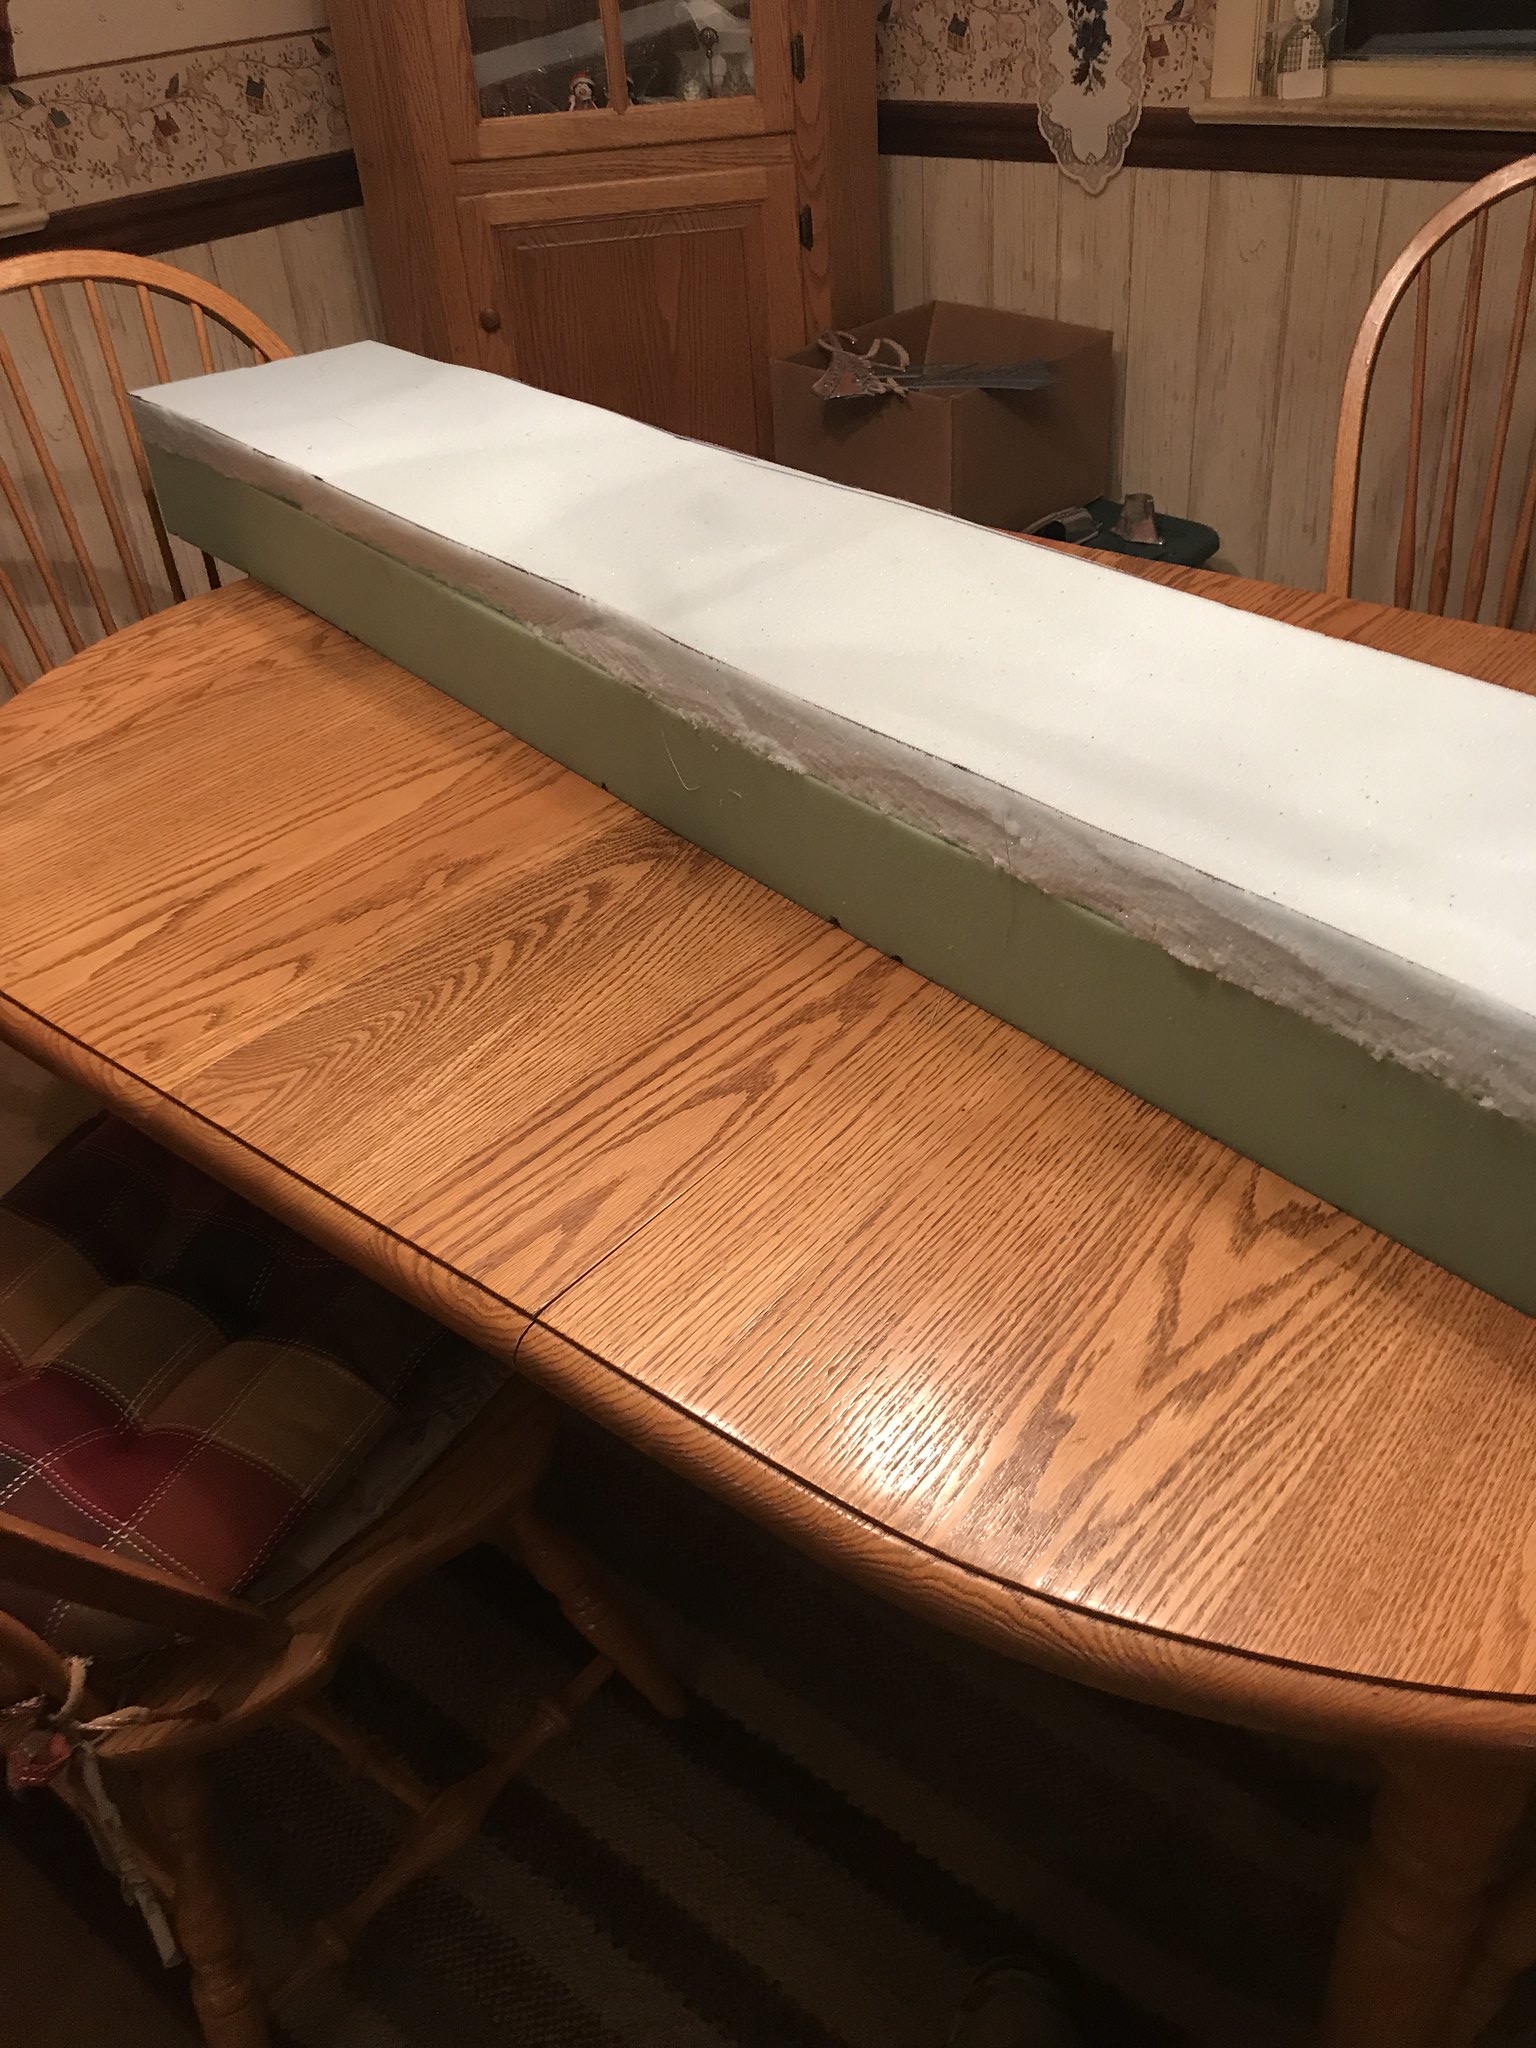 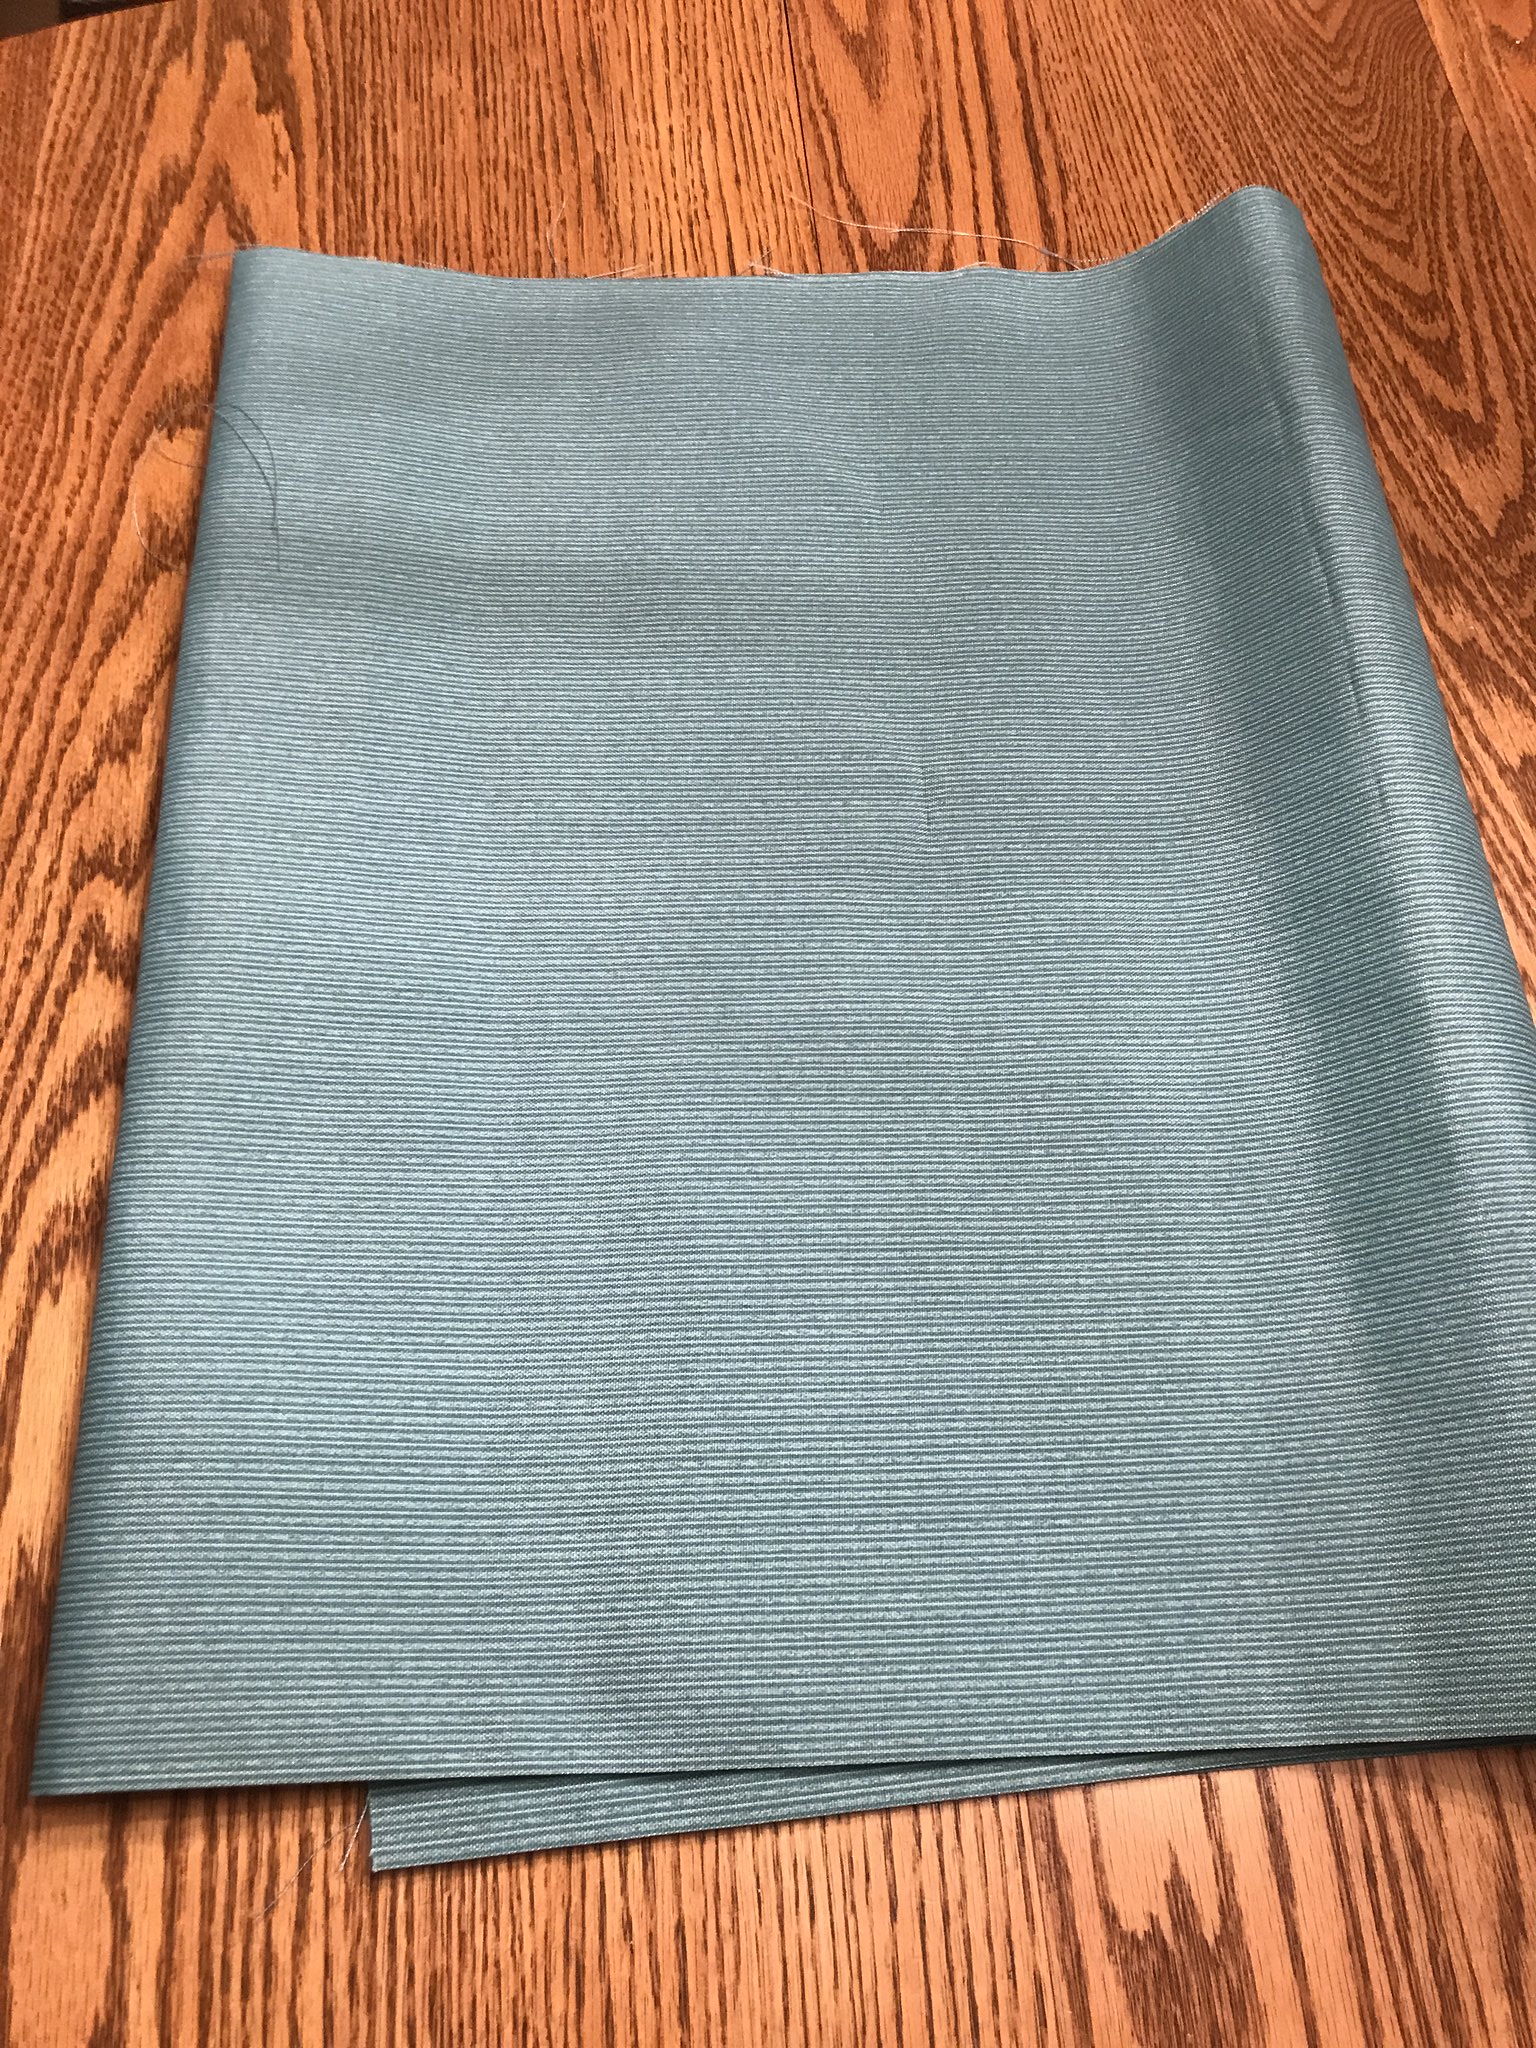 My mom, who is 83, attempted to sew up the covers for the cushions- but was pulling her hair out when it got too difficult (she sews really well- but upholstery is quite the job- the corners did her in!)  Luckily- I have a friend whose mom is an upholsterer- so she is going to help me get them finished. Thanks for trying- mom !! LOL That's about all for now. Thanks for following this journey- all of your help and support are really very much appreciated!! -Kathy |
|
kaffi311
Active Member
Posts: 283
Likes: 98
1963 Shasta 16 SC
Currently Offline
|
Post by kaffi311 on Jan 20, 2019 13:21:12 GMT -8
Do you remember the pattern name and manufacturer of your floor tiles? The tiles are Armstong VCT. Here's the green I ordered- the white was just off the shelf from Home Depot. Forget the color name for that one. Hope that helps!  tile tile by kathy, on Flickr |
|
kaffi311
Active Member
Posts: 283
Likes: 98
1963 Shasta 16 SC
Currently Offline
|
Post by kaffi311 on Jan 20, 2019 10:34:28 GMT -8
nccamper is correct, this piece along with the metal strip piece inside the wall is there to give lateral strength to the wall, against wind and other stress. It helps keep that big long window from being popped out of its framework,or breaking the putty seal around it. Can I add the metal piece to the bottom of the framing piece under my window? Obviously I cant add it to the top- as it would interfere with the window placement. This makes sense to me- as the piece inside is right under the window. I just never took a picture of it I guess- glad I asked ! I guess the other option is to add another frame member under the one that is there- if the metal needs to be on top of that board?? Thanks K IMG_4742 by kathy, on Flickr |
|
kaffi311
Active Member
Posts: 283
Likes: 98
1963 Shasta 16 SC
Currently Offline
|
Post by kaffi311 on Jan 20, 2019 10:22:02 GMT -8
The metal one is fine. See those little round dots in the box? Those are knock outs for the screws... drill or knock and screw into your backer. Easy peasy. THanks- Got that- but I would like to mount it at a 90 degree angle- so I can SEE the plugs. Rather than mounting it parallel to the framing. Solution? K |
|
kaffi311
Active Member
Posts: 283
Likes: 98
1963 Shasta 16 SC
Currently Offline
|
Post by kaffi311 on Jan 19, 2019 19:49:34 GMT -8
I'm having to rebuild the entire front of my Shasta 1500, without any template. Can you share pictures of what the framing is supposed to look like, including the metal support? Thanks! I unfortunately cant find any photos of original front framing before I ripped it out- but this is one as I was finishing the front. I have not added the metal support- but do have it here to add. I need to add a frame piece to back up the wood that holds the table too. Hope this helps a little- I am sure others will chime in with more experience. K IMG_4742 by kathy, on Flickr |
|
kaffi311
Active Member
Posts: 283
Likes: 98
1963 Shasta 16 SC
Currently Offline
|
Post by kaffi311 on Jan 19, 2019 16:09:33 GMT -8
See the long piece of wood directly under the front window? (Not the one below where the table connects). Is there a purpose for this piece? Just wondering- I am replacing- but just curious. Thanks Kathy 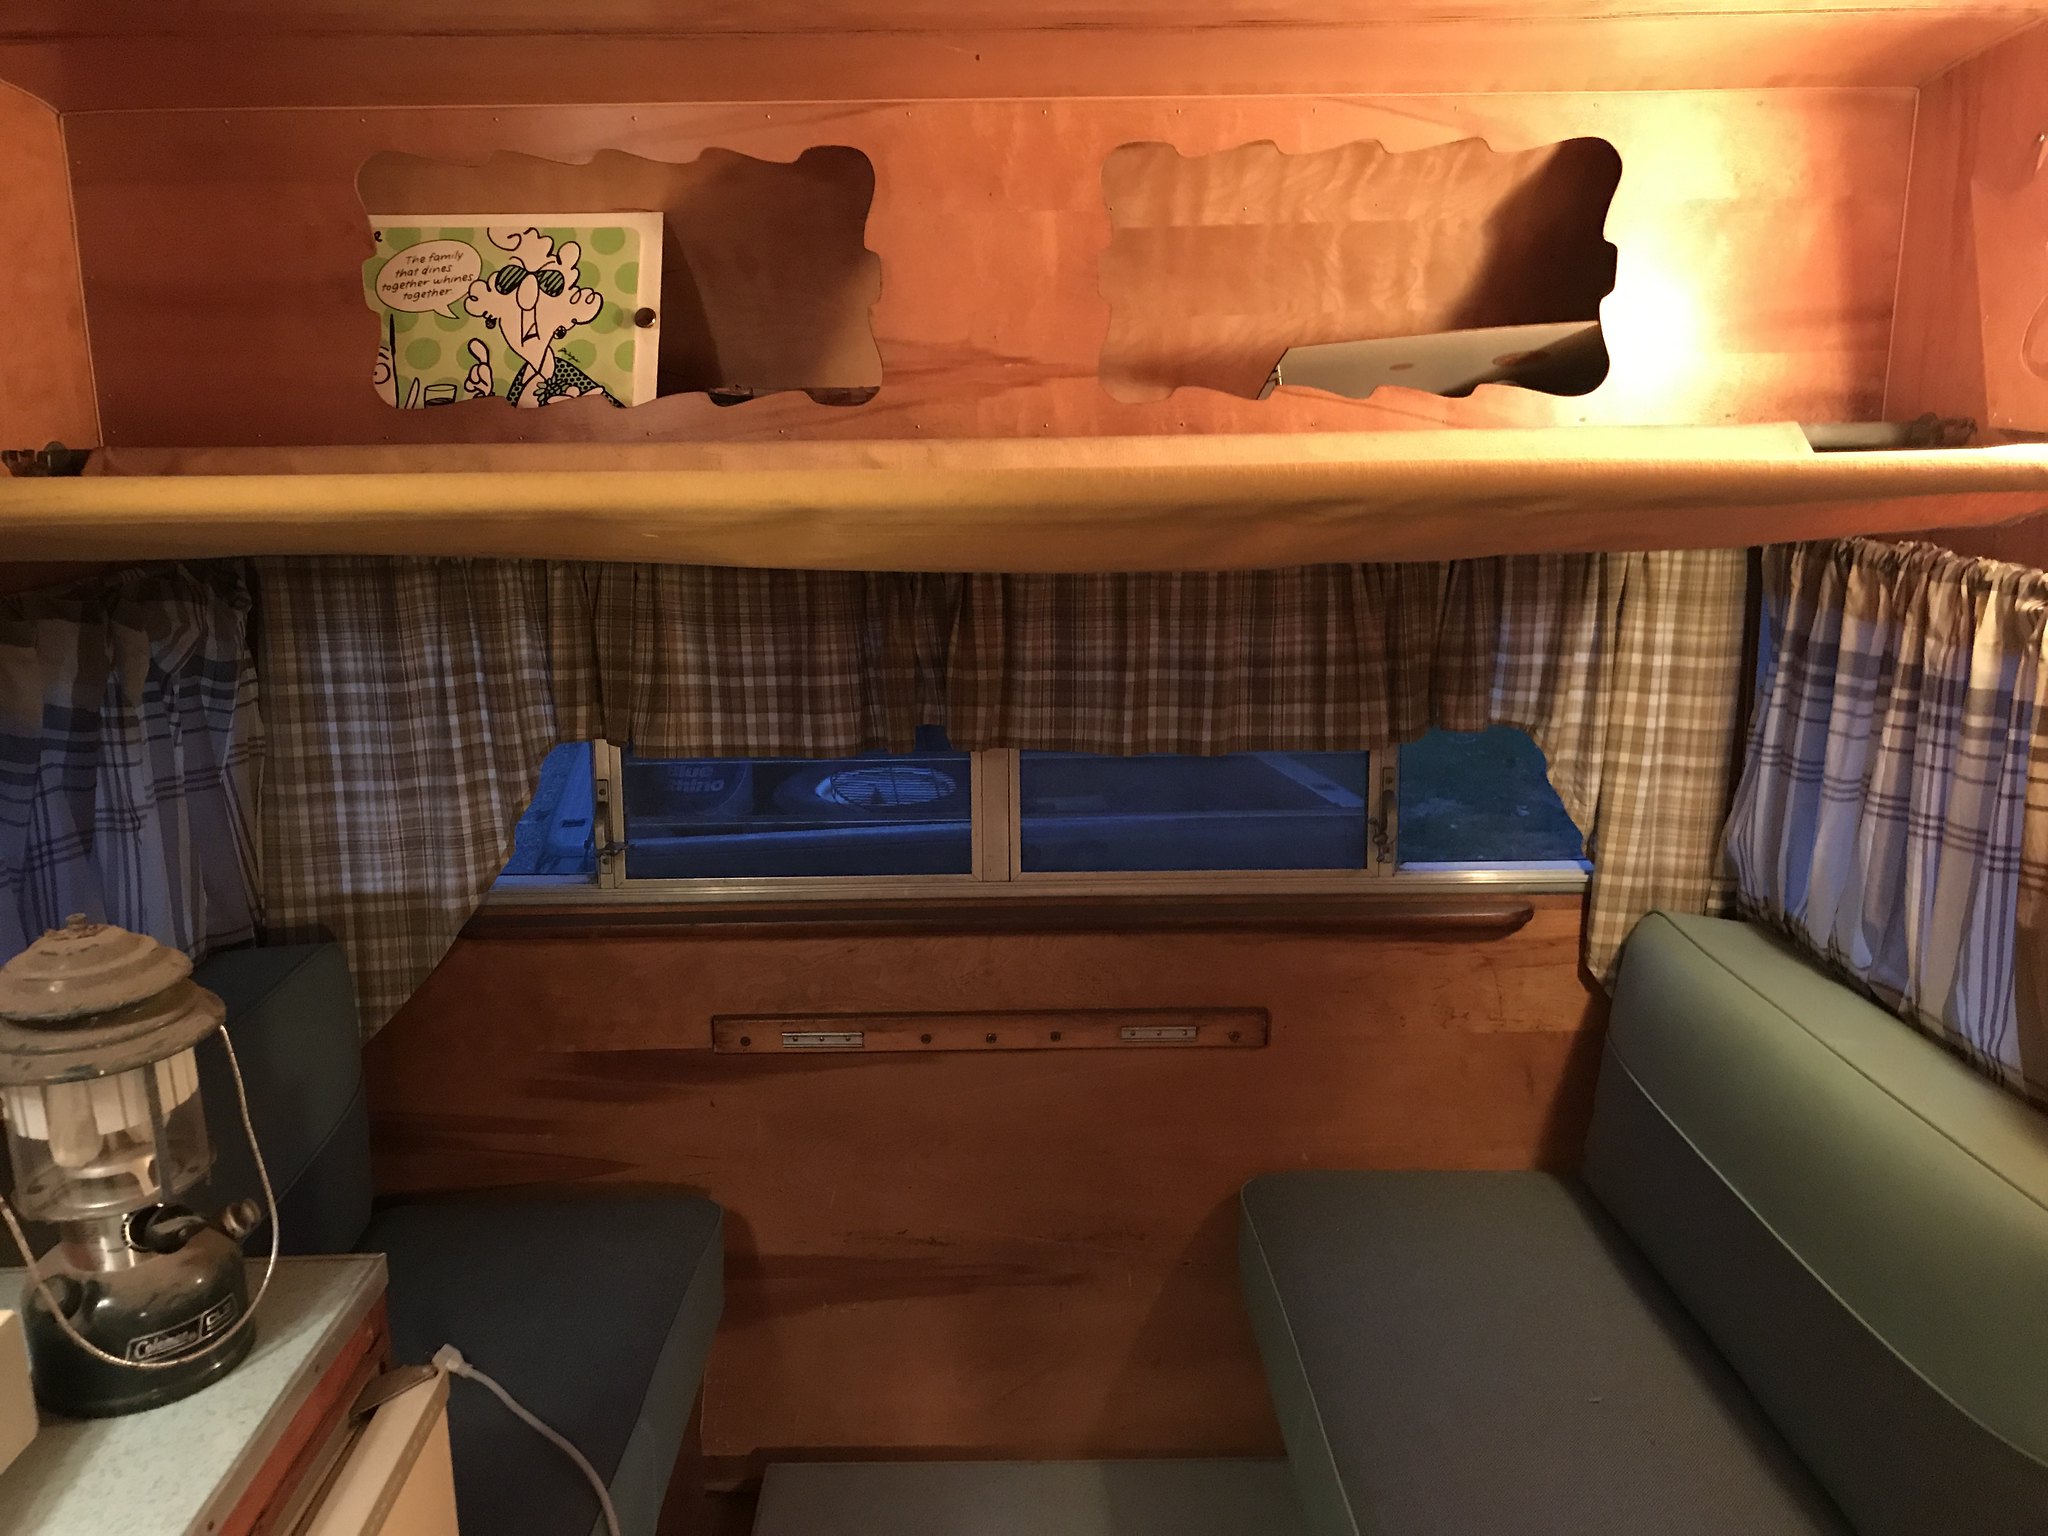 IMG_0159 IMG_0159 by kathy, on Flickr |
|


