kaffi311
Active Member

Posts: 283 
Likes: 98
1963 Shasta 16 SC
Currently Offline
|
Post by kaffi311 on Jan 19, 2019 13:40:01 GMT -8
I am putting an outlet in my rear curbside storage area- and wondering how to mount the box. Can anyone show me how they did this? The metal box I got has holes on its sides for mounting I presume- but how the heck do I get a screw from its inside into the framing? 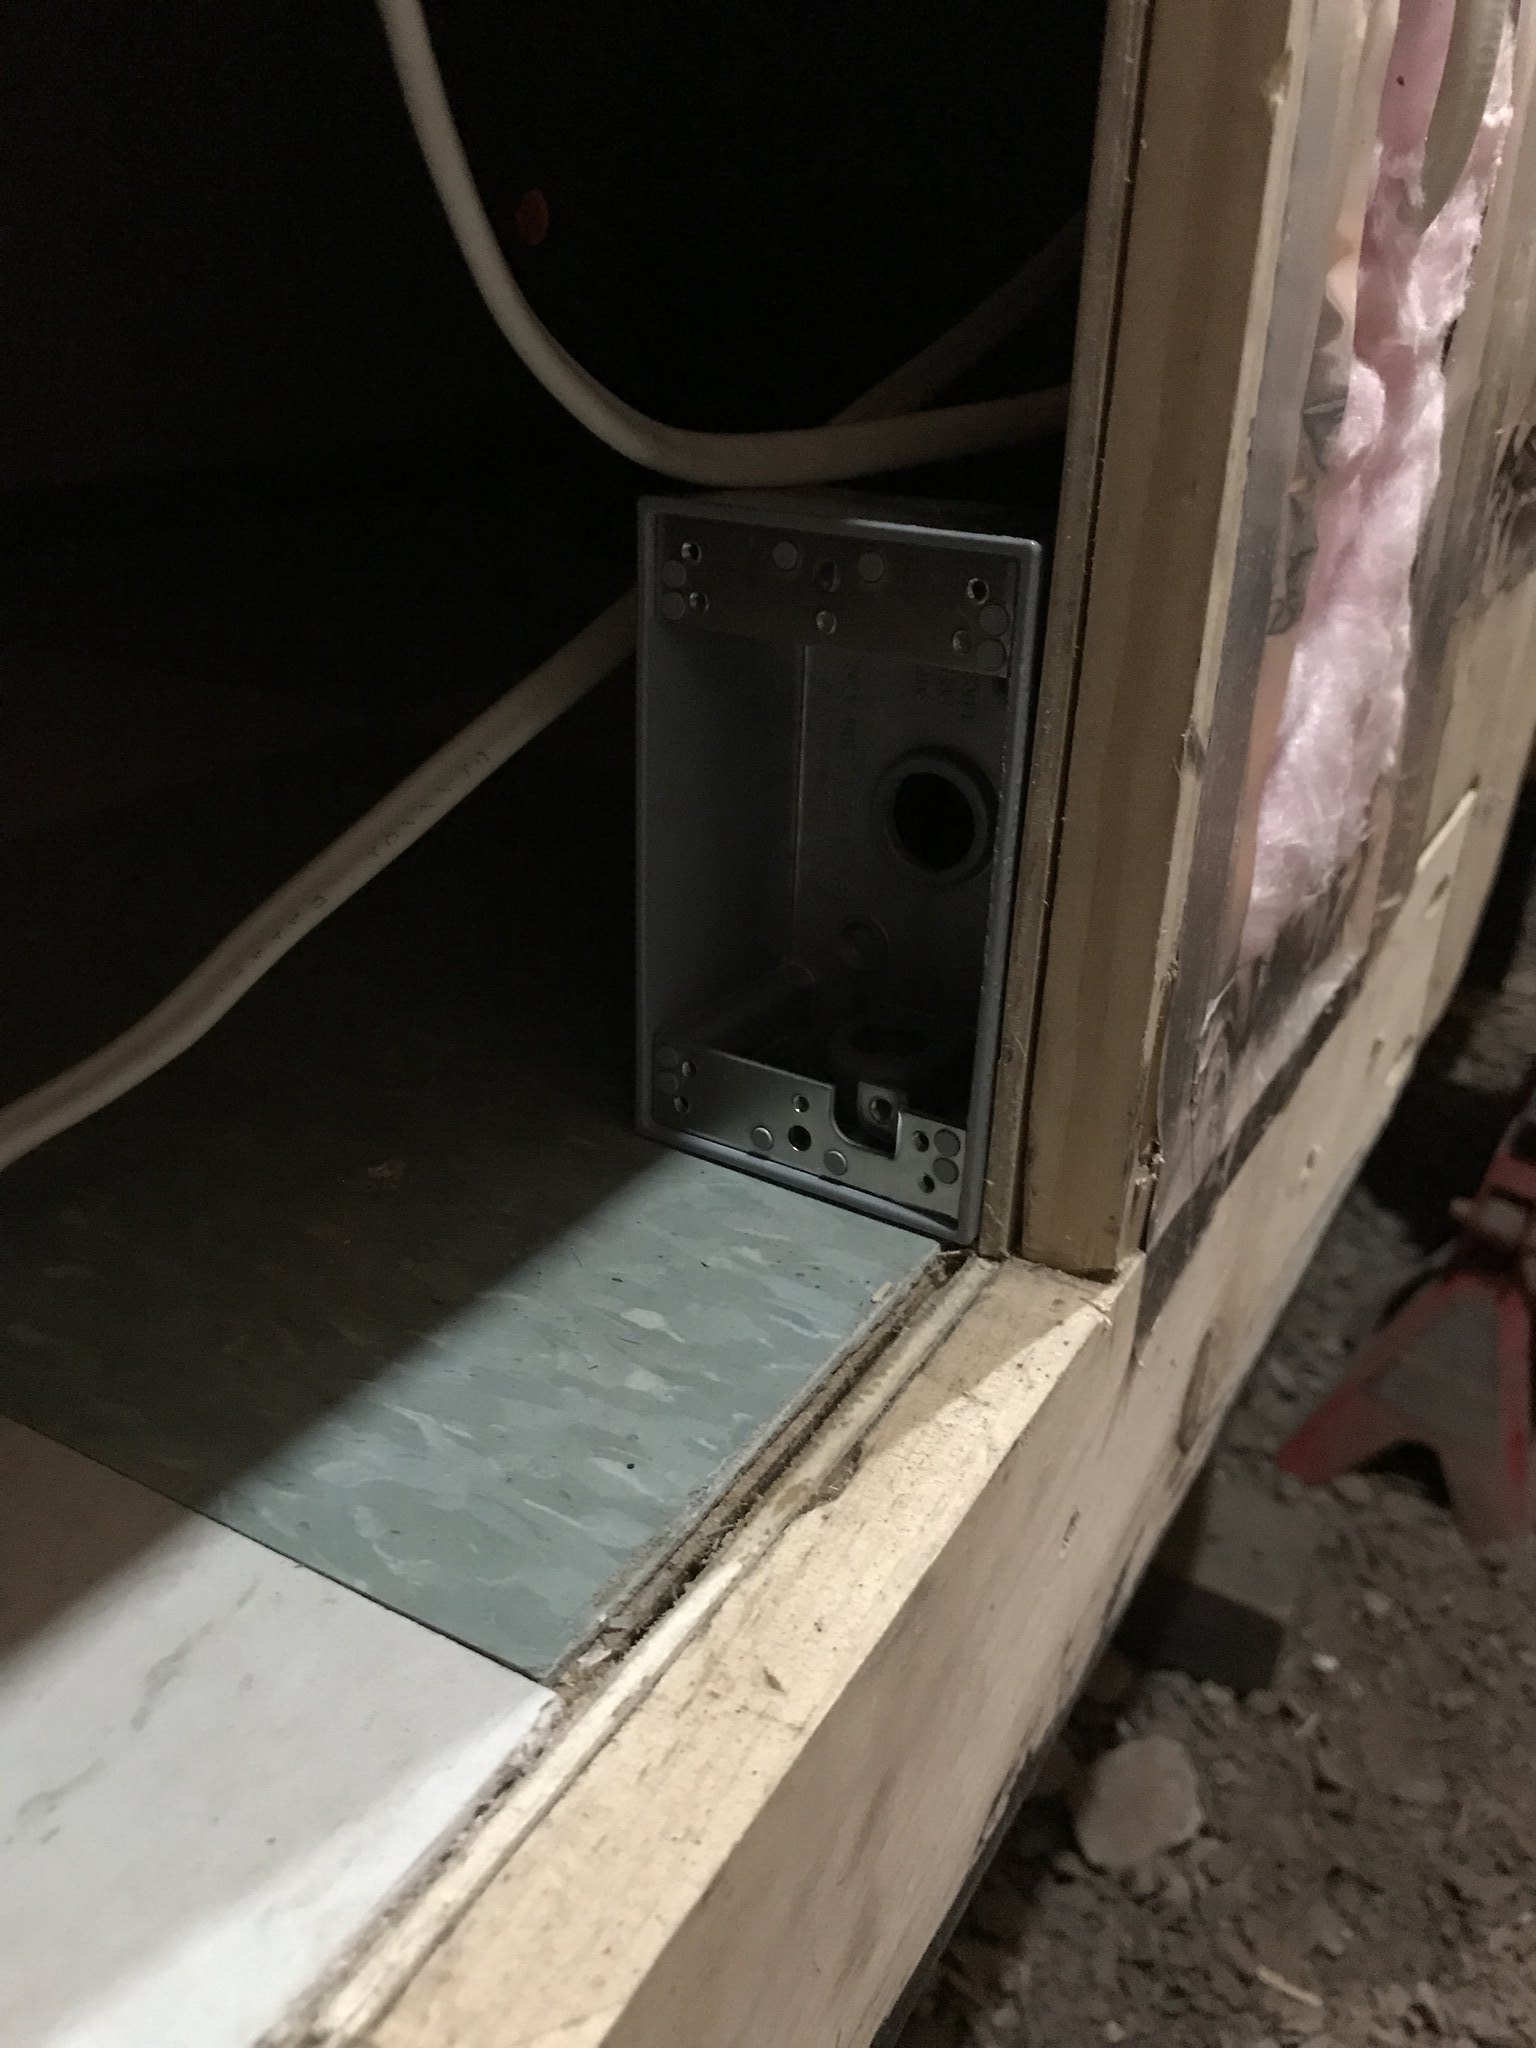 IMG_5682 IMG_5682 by kathy, on Flickr 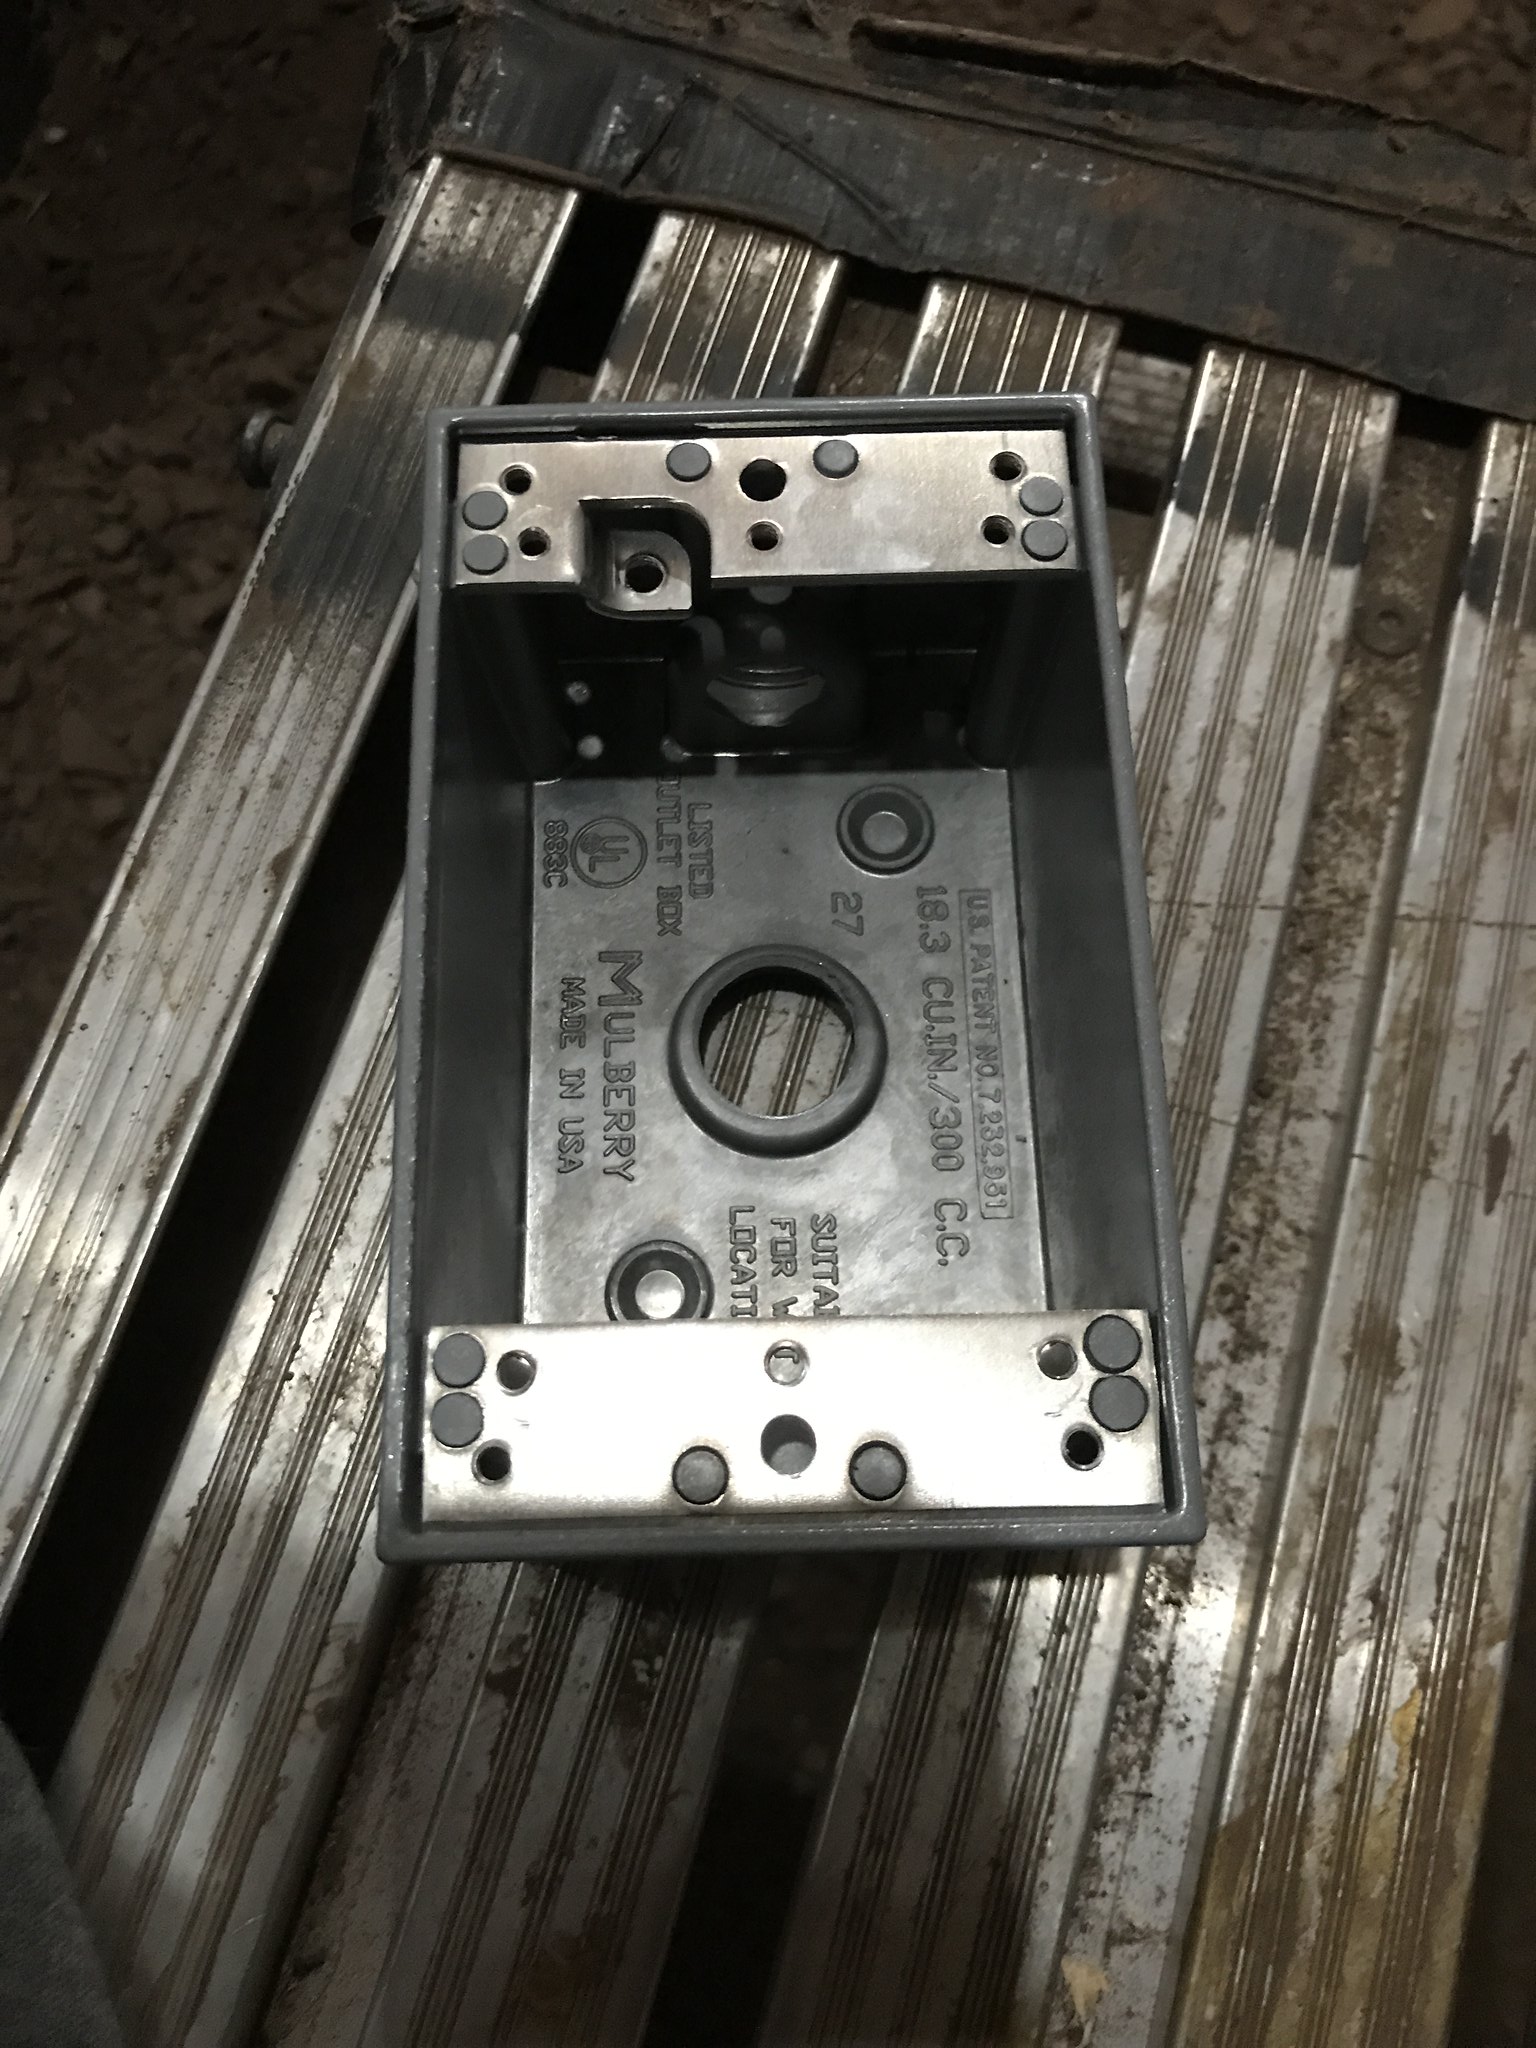 IMG_5683 IMG_5683 by kathy, on Flickr Or can I add this plastic one- which has tabs to mount? 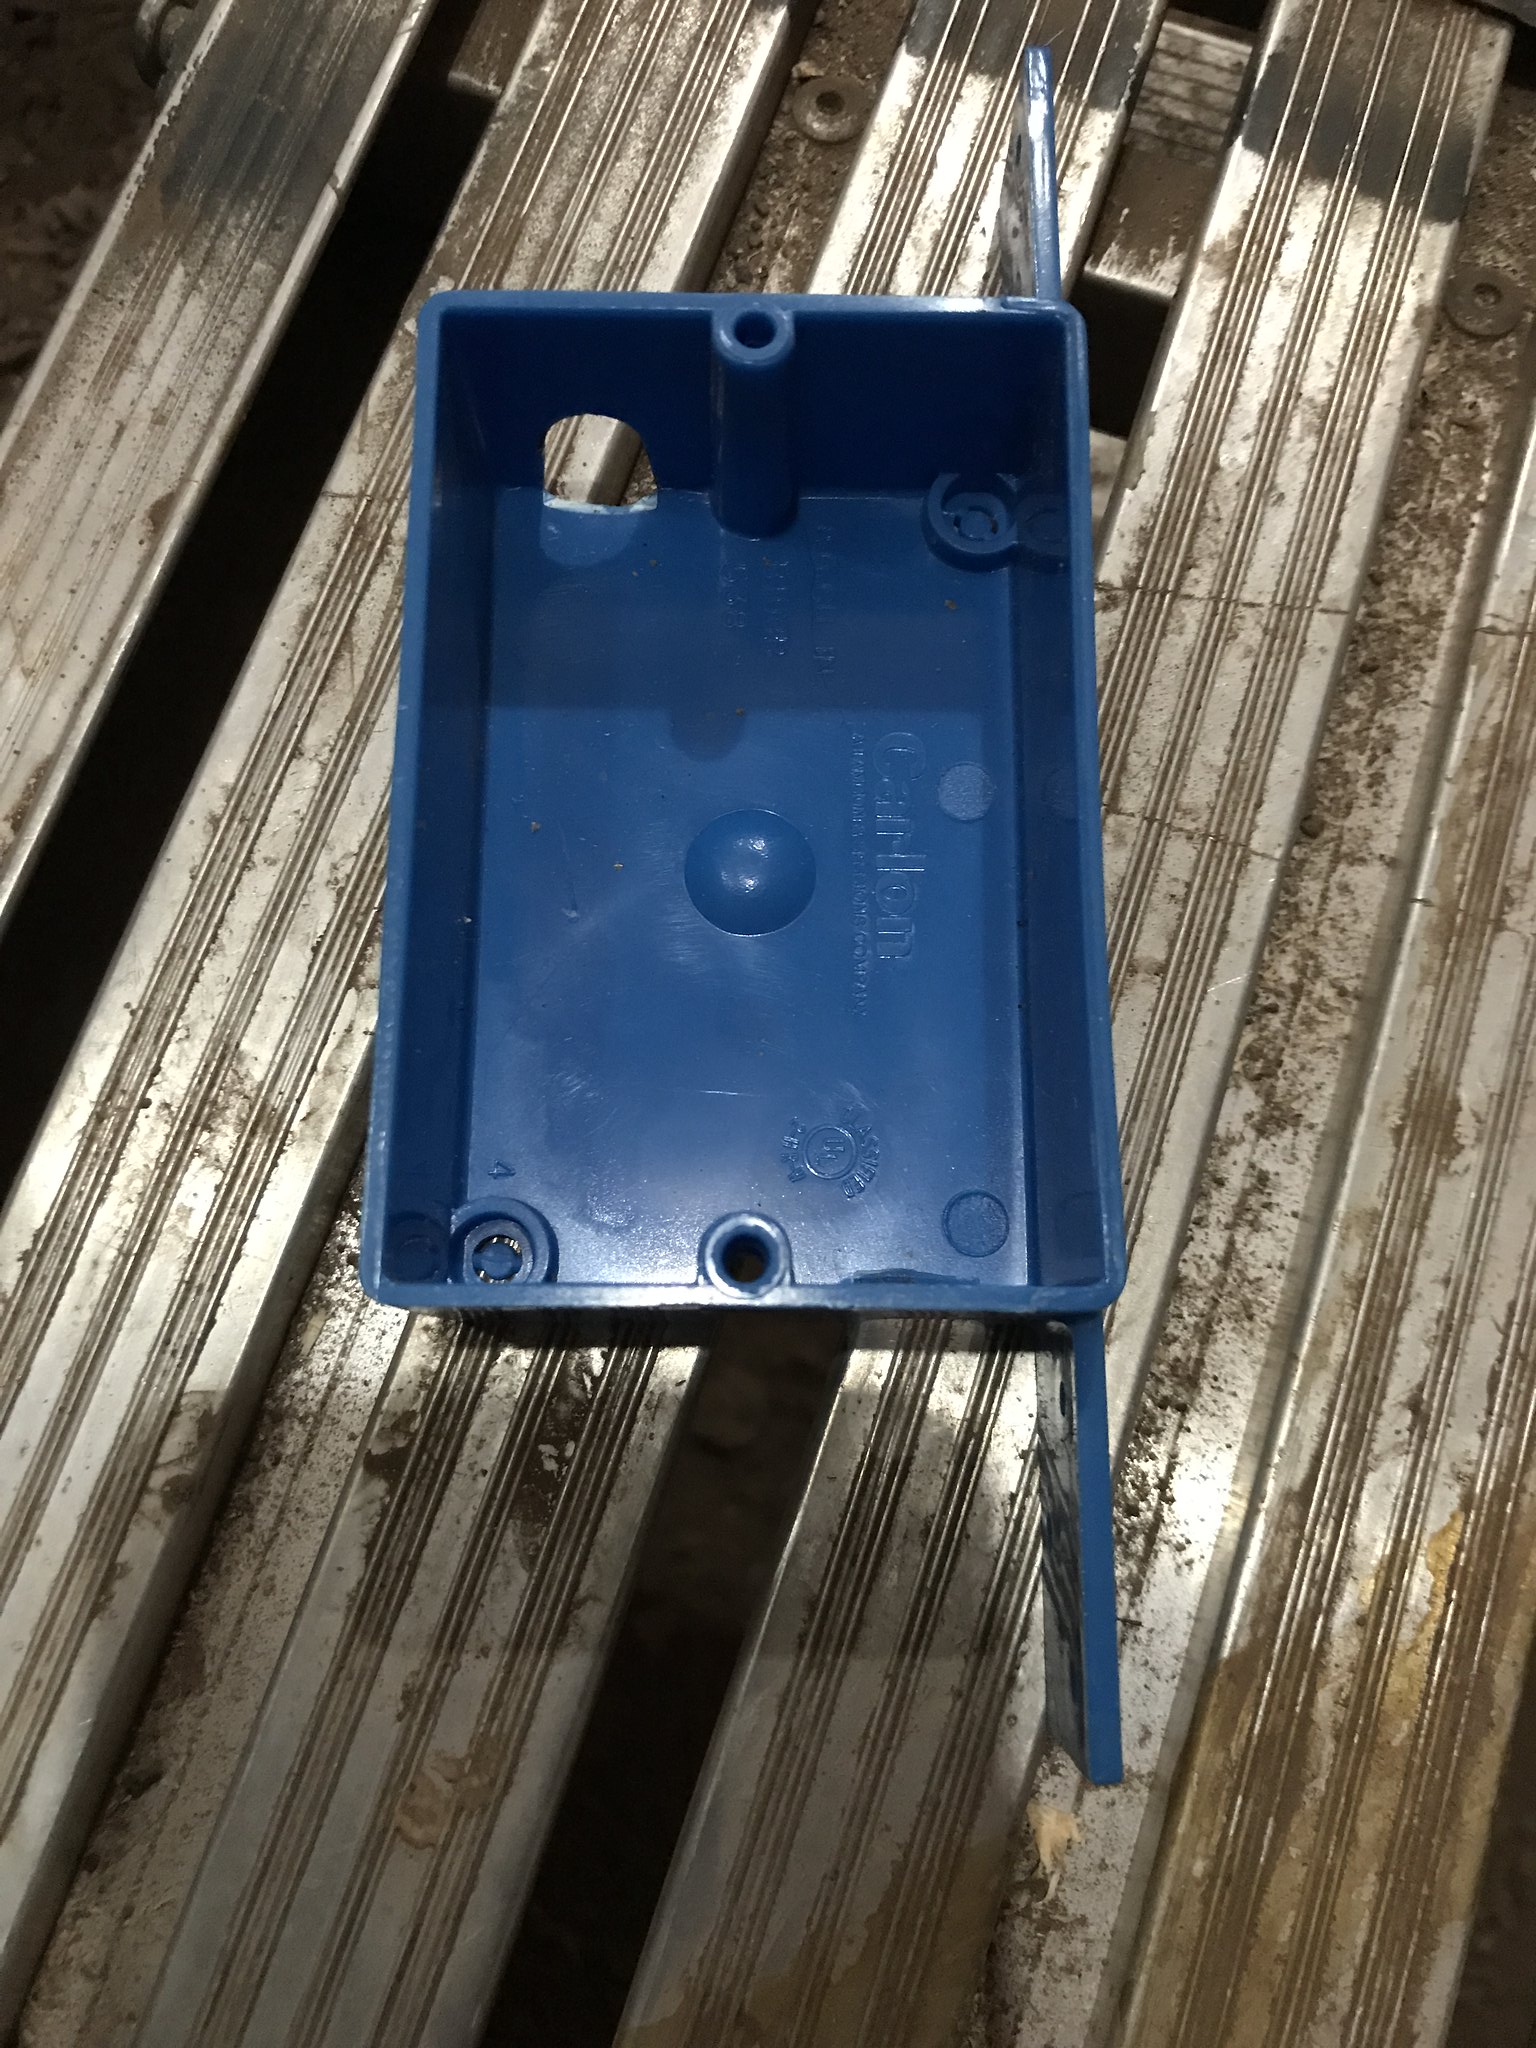 IMG_5684 IMG_5684 by kathy, on Flickr Don't know if metal one is best? Also- I want to mount it so the plugs are showing - rather than the plugs facing the inside of the trailer which would be harder to use. Thanks for any help you can give- I am not an electrician ! ha ha Kathy |
|
kaffi311
Active Member
Posts: 283
Likes: 98
1963 Shasta 16 SC
Currently Offline
|
Post by kaffi311 on Jan 19, 2019 13:29:40 GMT -8
I am trying to figure this out: The very bottom of my back skin actually sat on the bumper supports- there were no cut outs for the metal bumper supports (like in the front skins- where there are notches cut out) 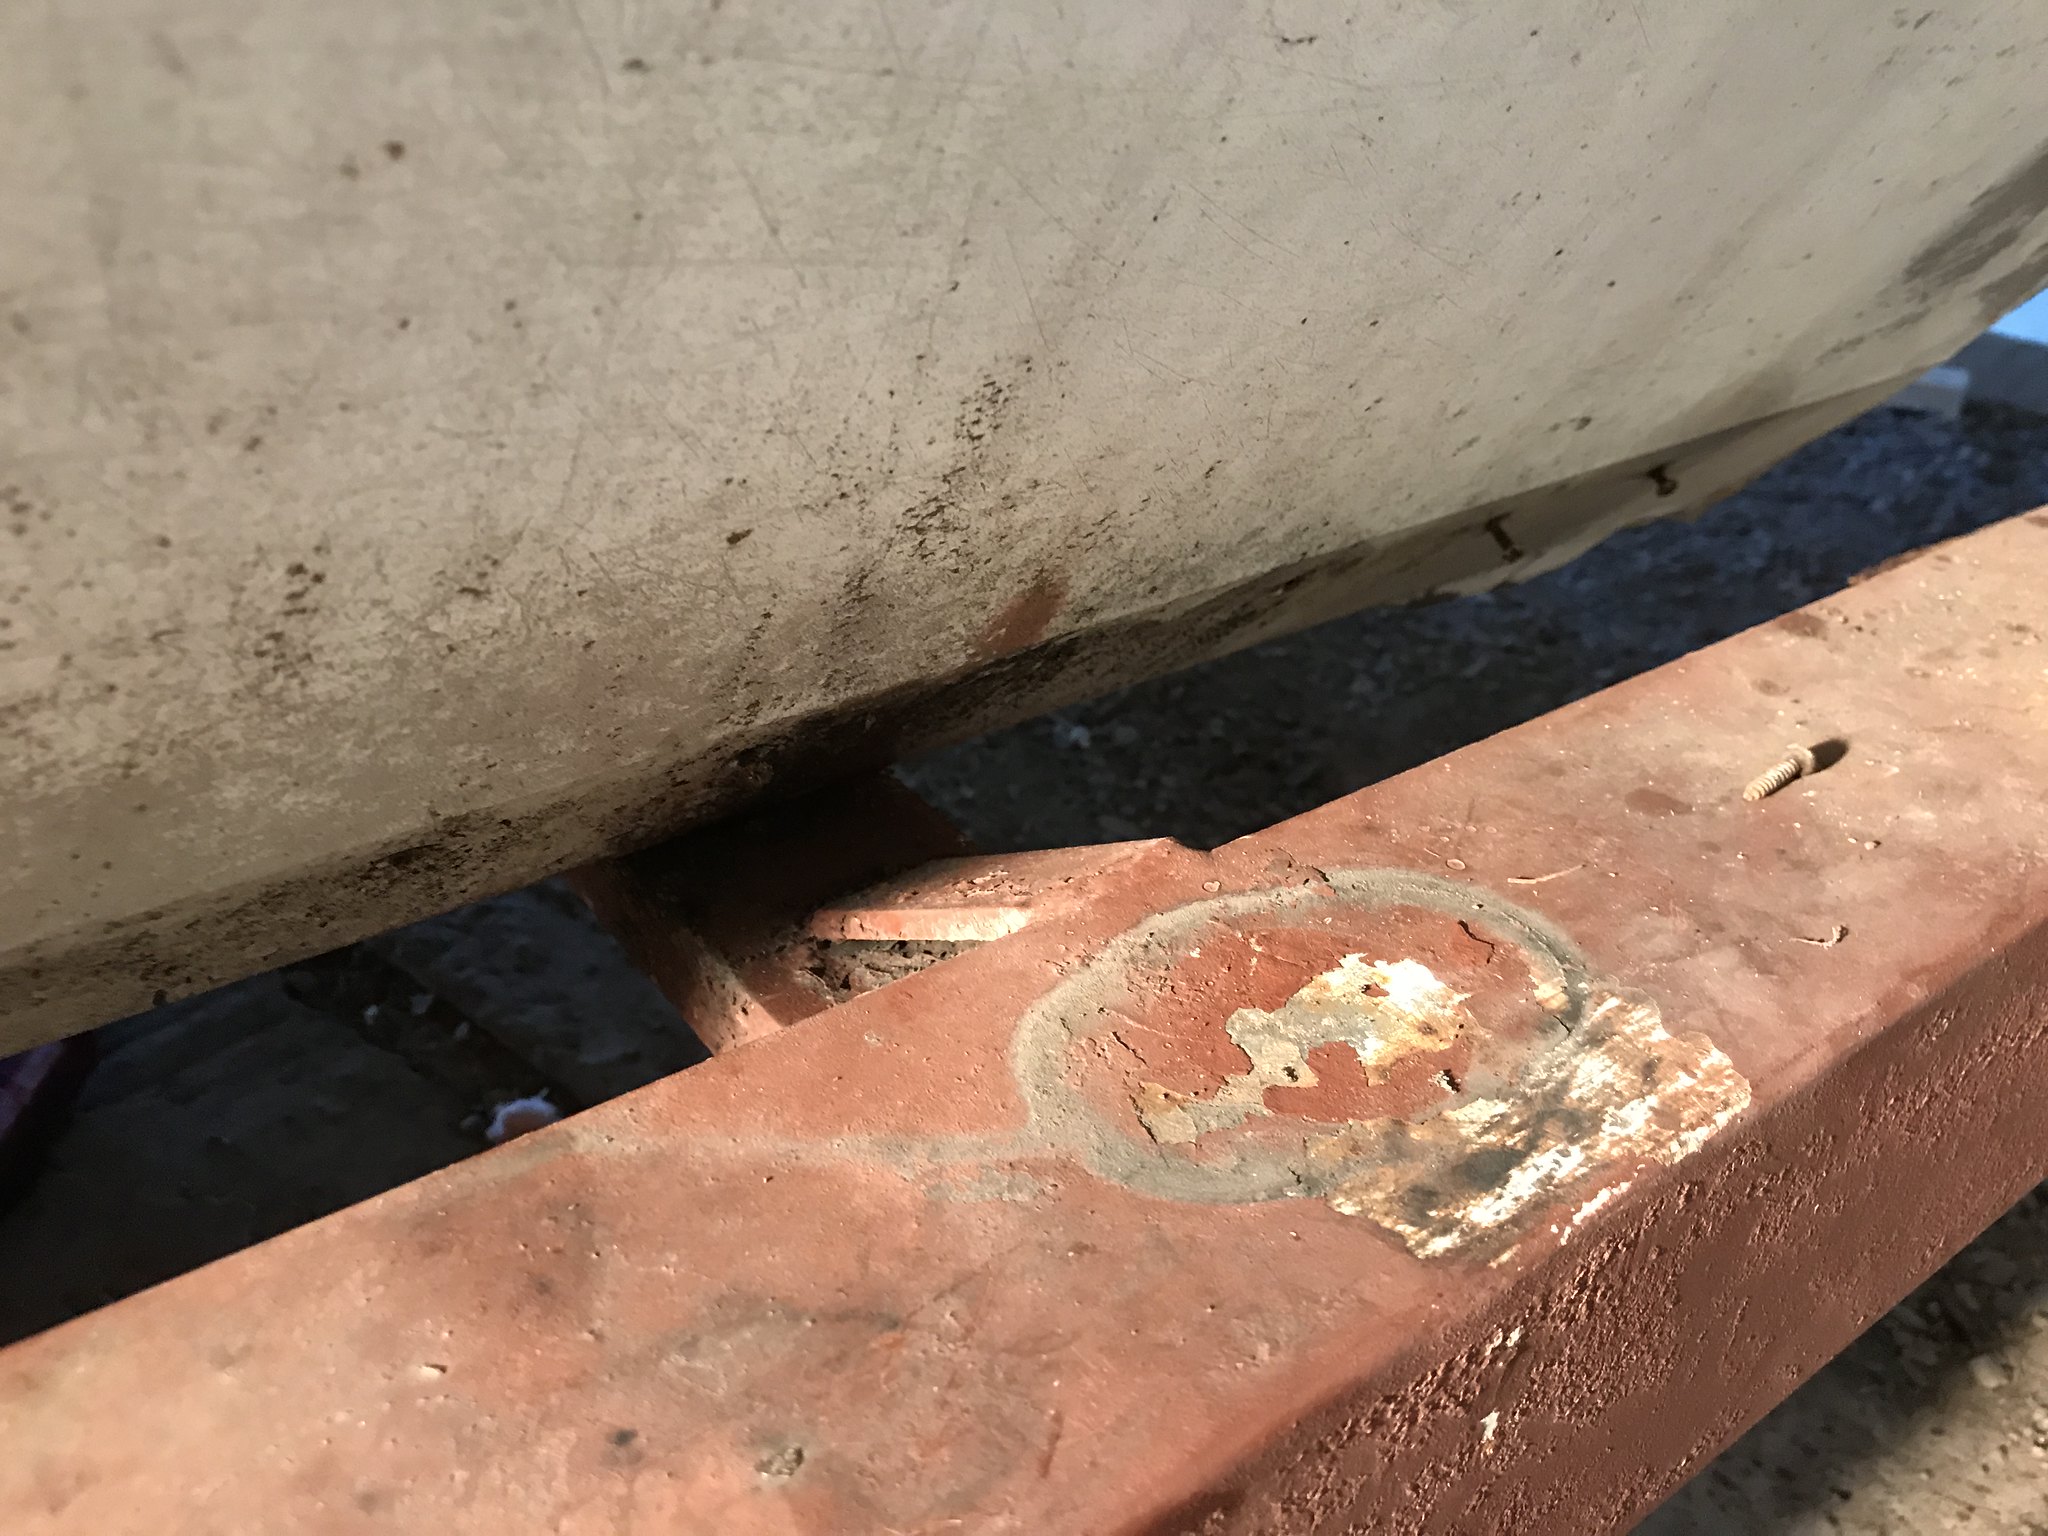 IMG_0618 IMG_0618 by kathy, on Flickr However, the bottom of the side framing was actually below the bottom of the back skin. They seemed to have rectified this by adding a piece of metal to each side of the back to make up the difference. (Make sense?) You can see the bottom of the back skin here- and the added metal underneath it: 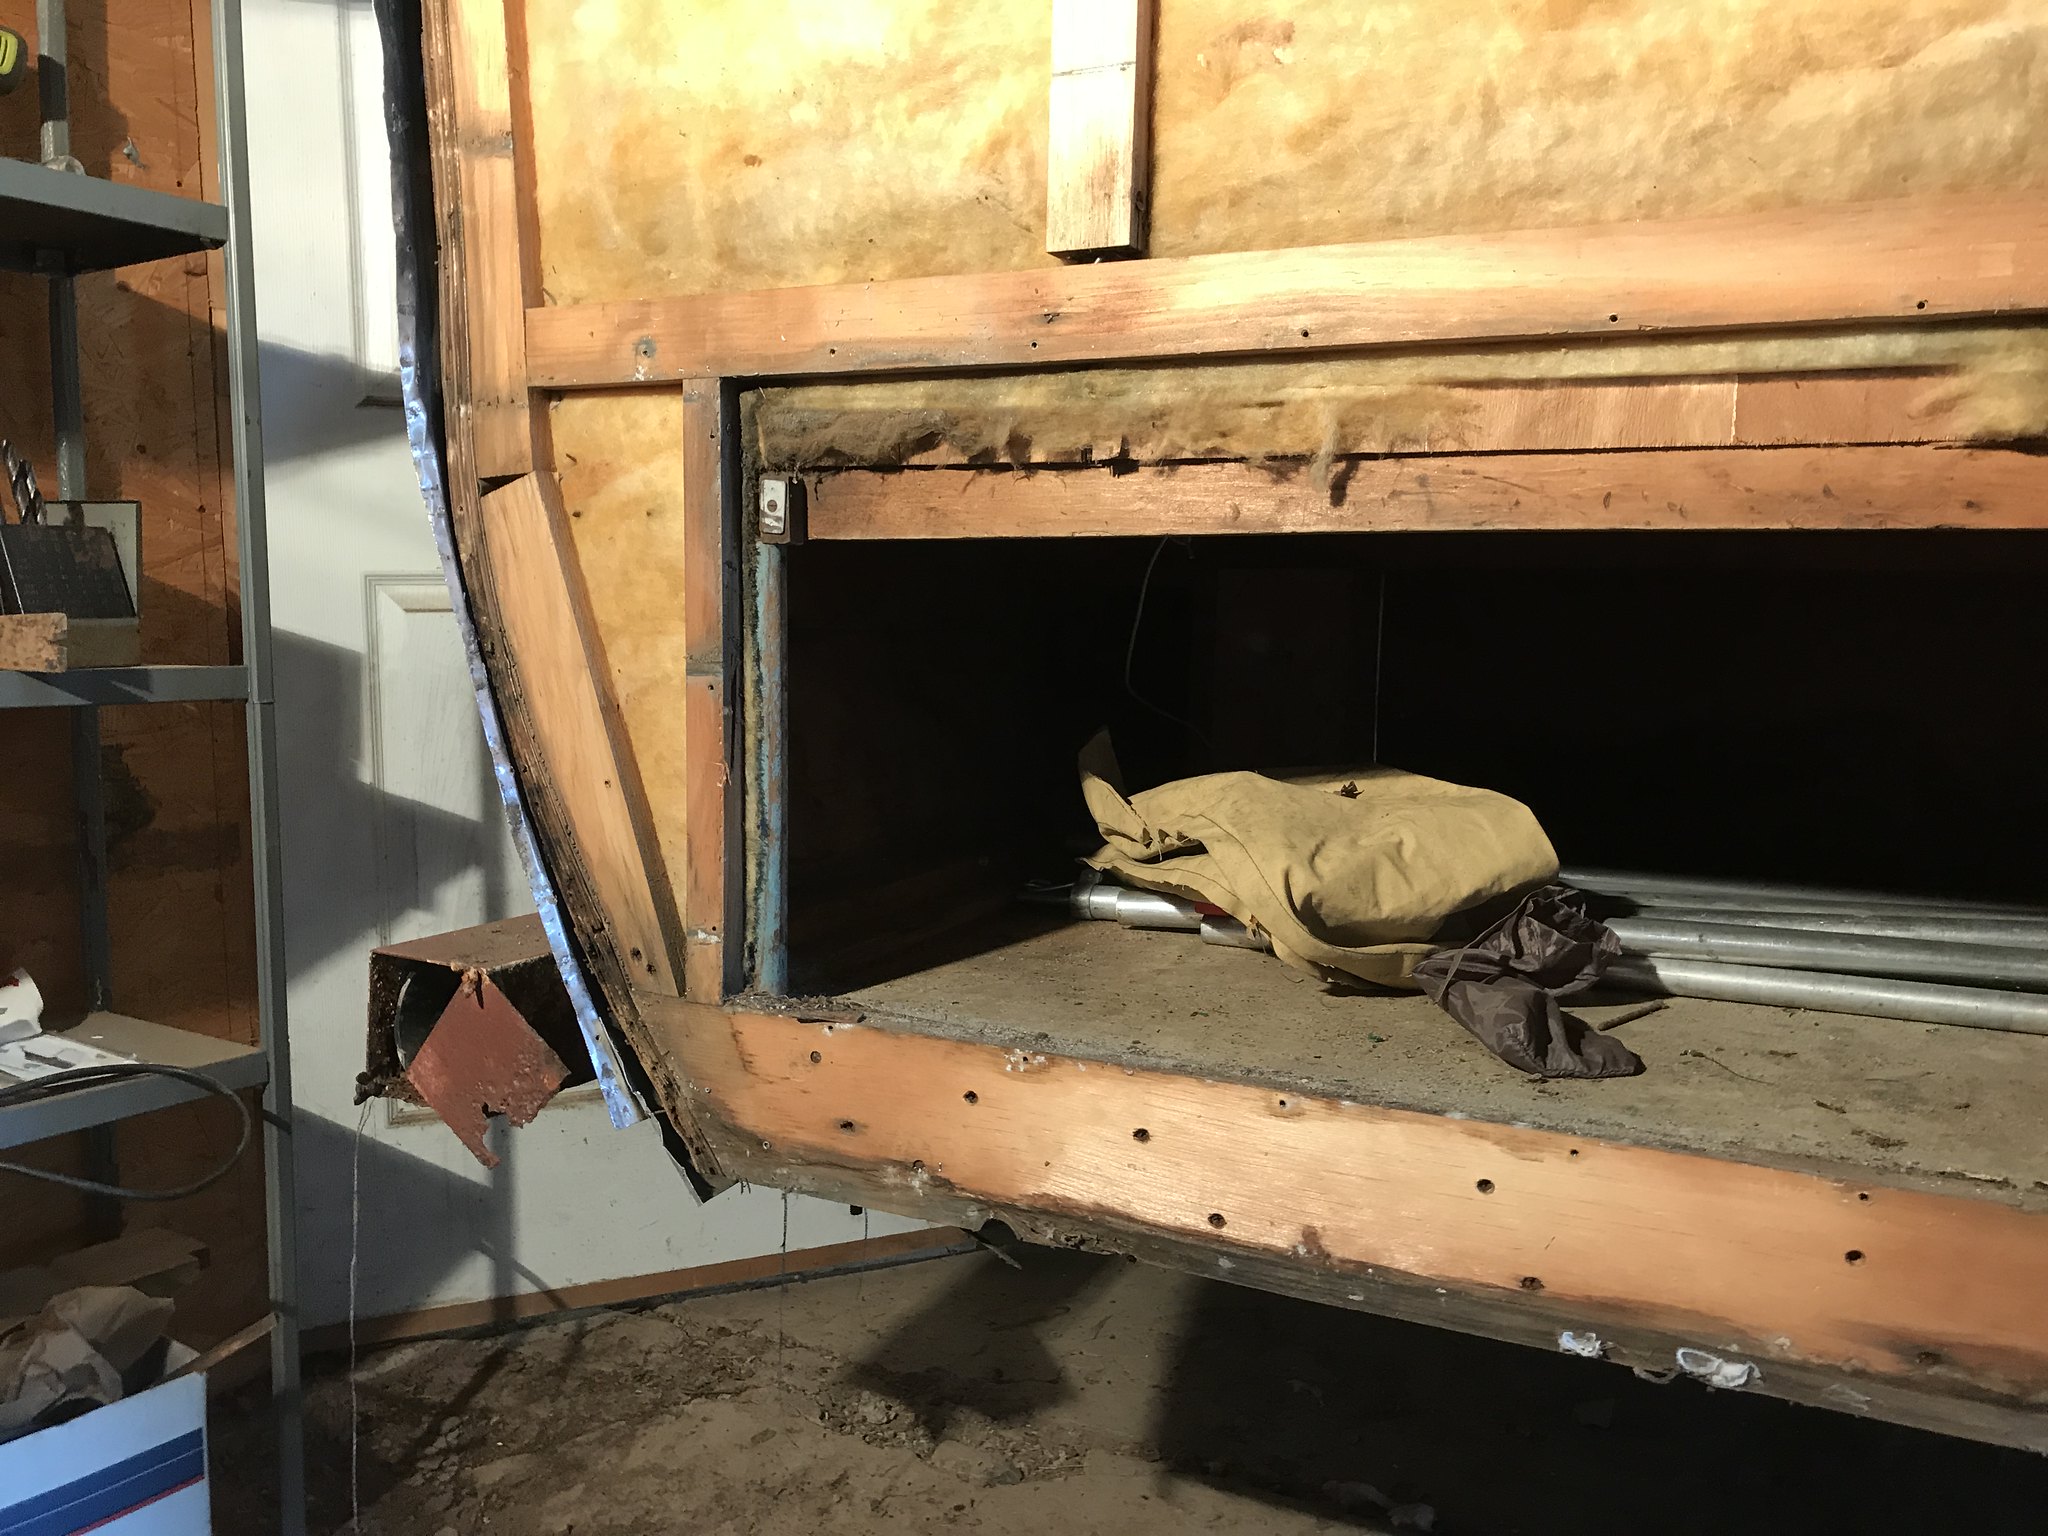 IMG_0561 IMG_0561 by kathy, on Flickr Each side in the back had this: 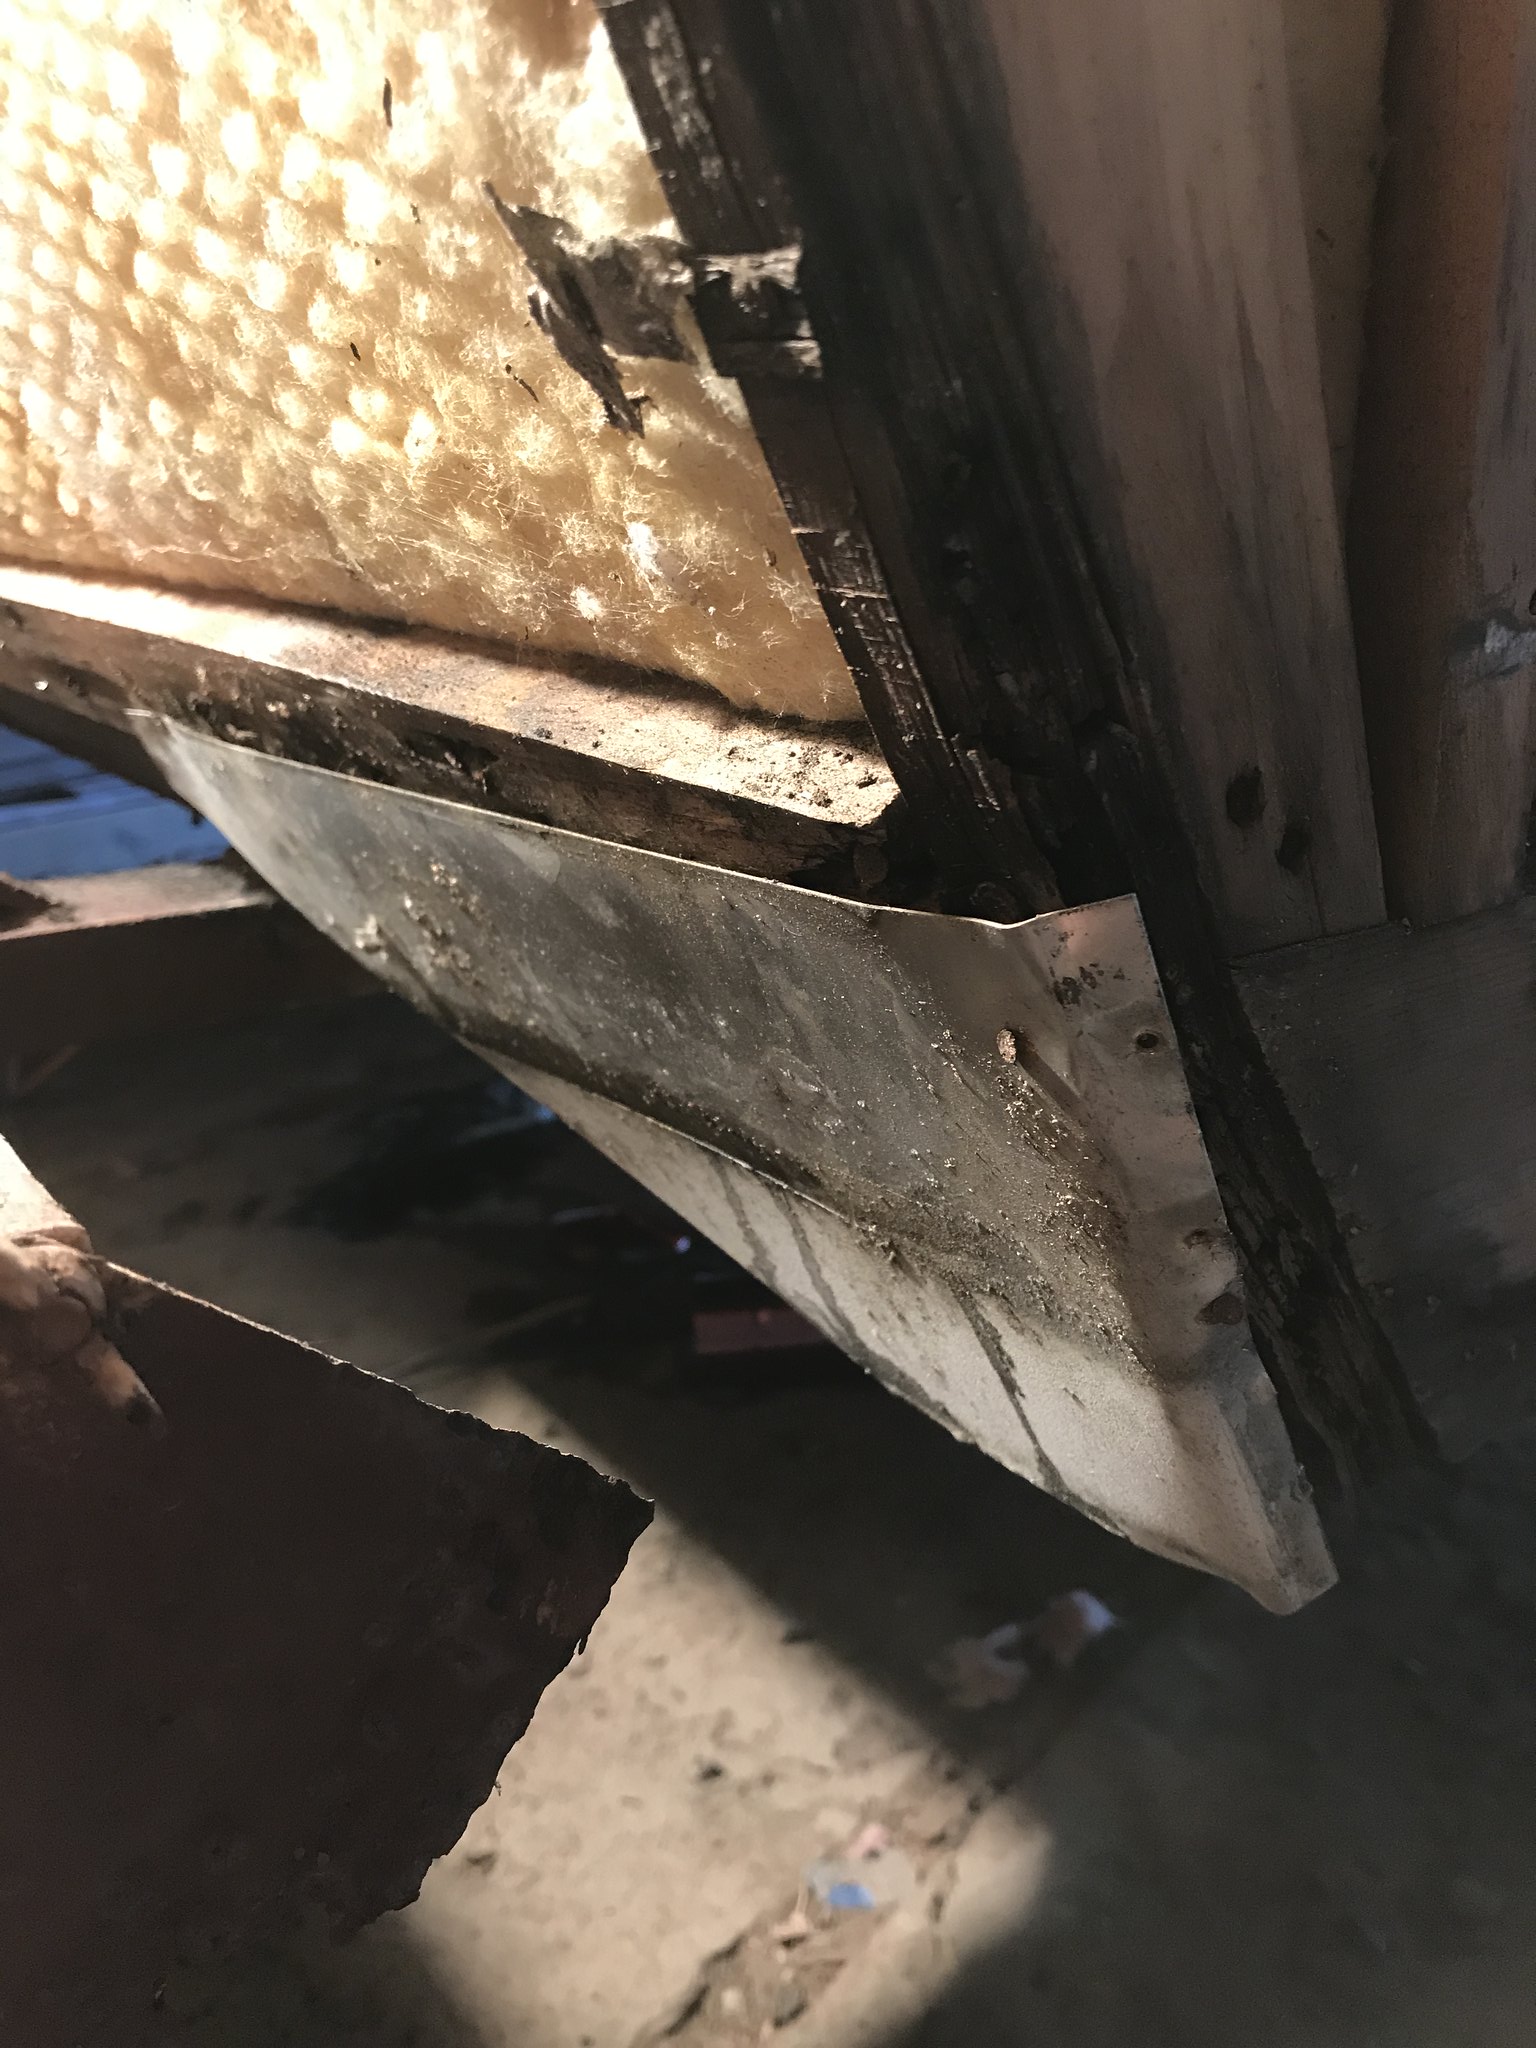 IMG_0626 IMG_0626 by kathy, on Flickr  IMG_0623 IMG_0623 by kathy, on Flickr I have added a piece of wood across the very bottom of the back- so I can attach the skin bottom to it. 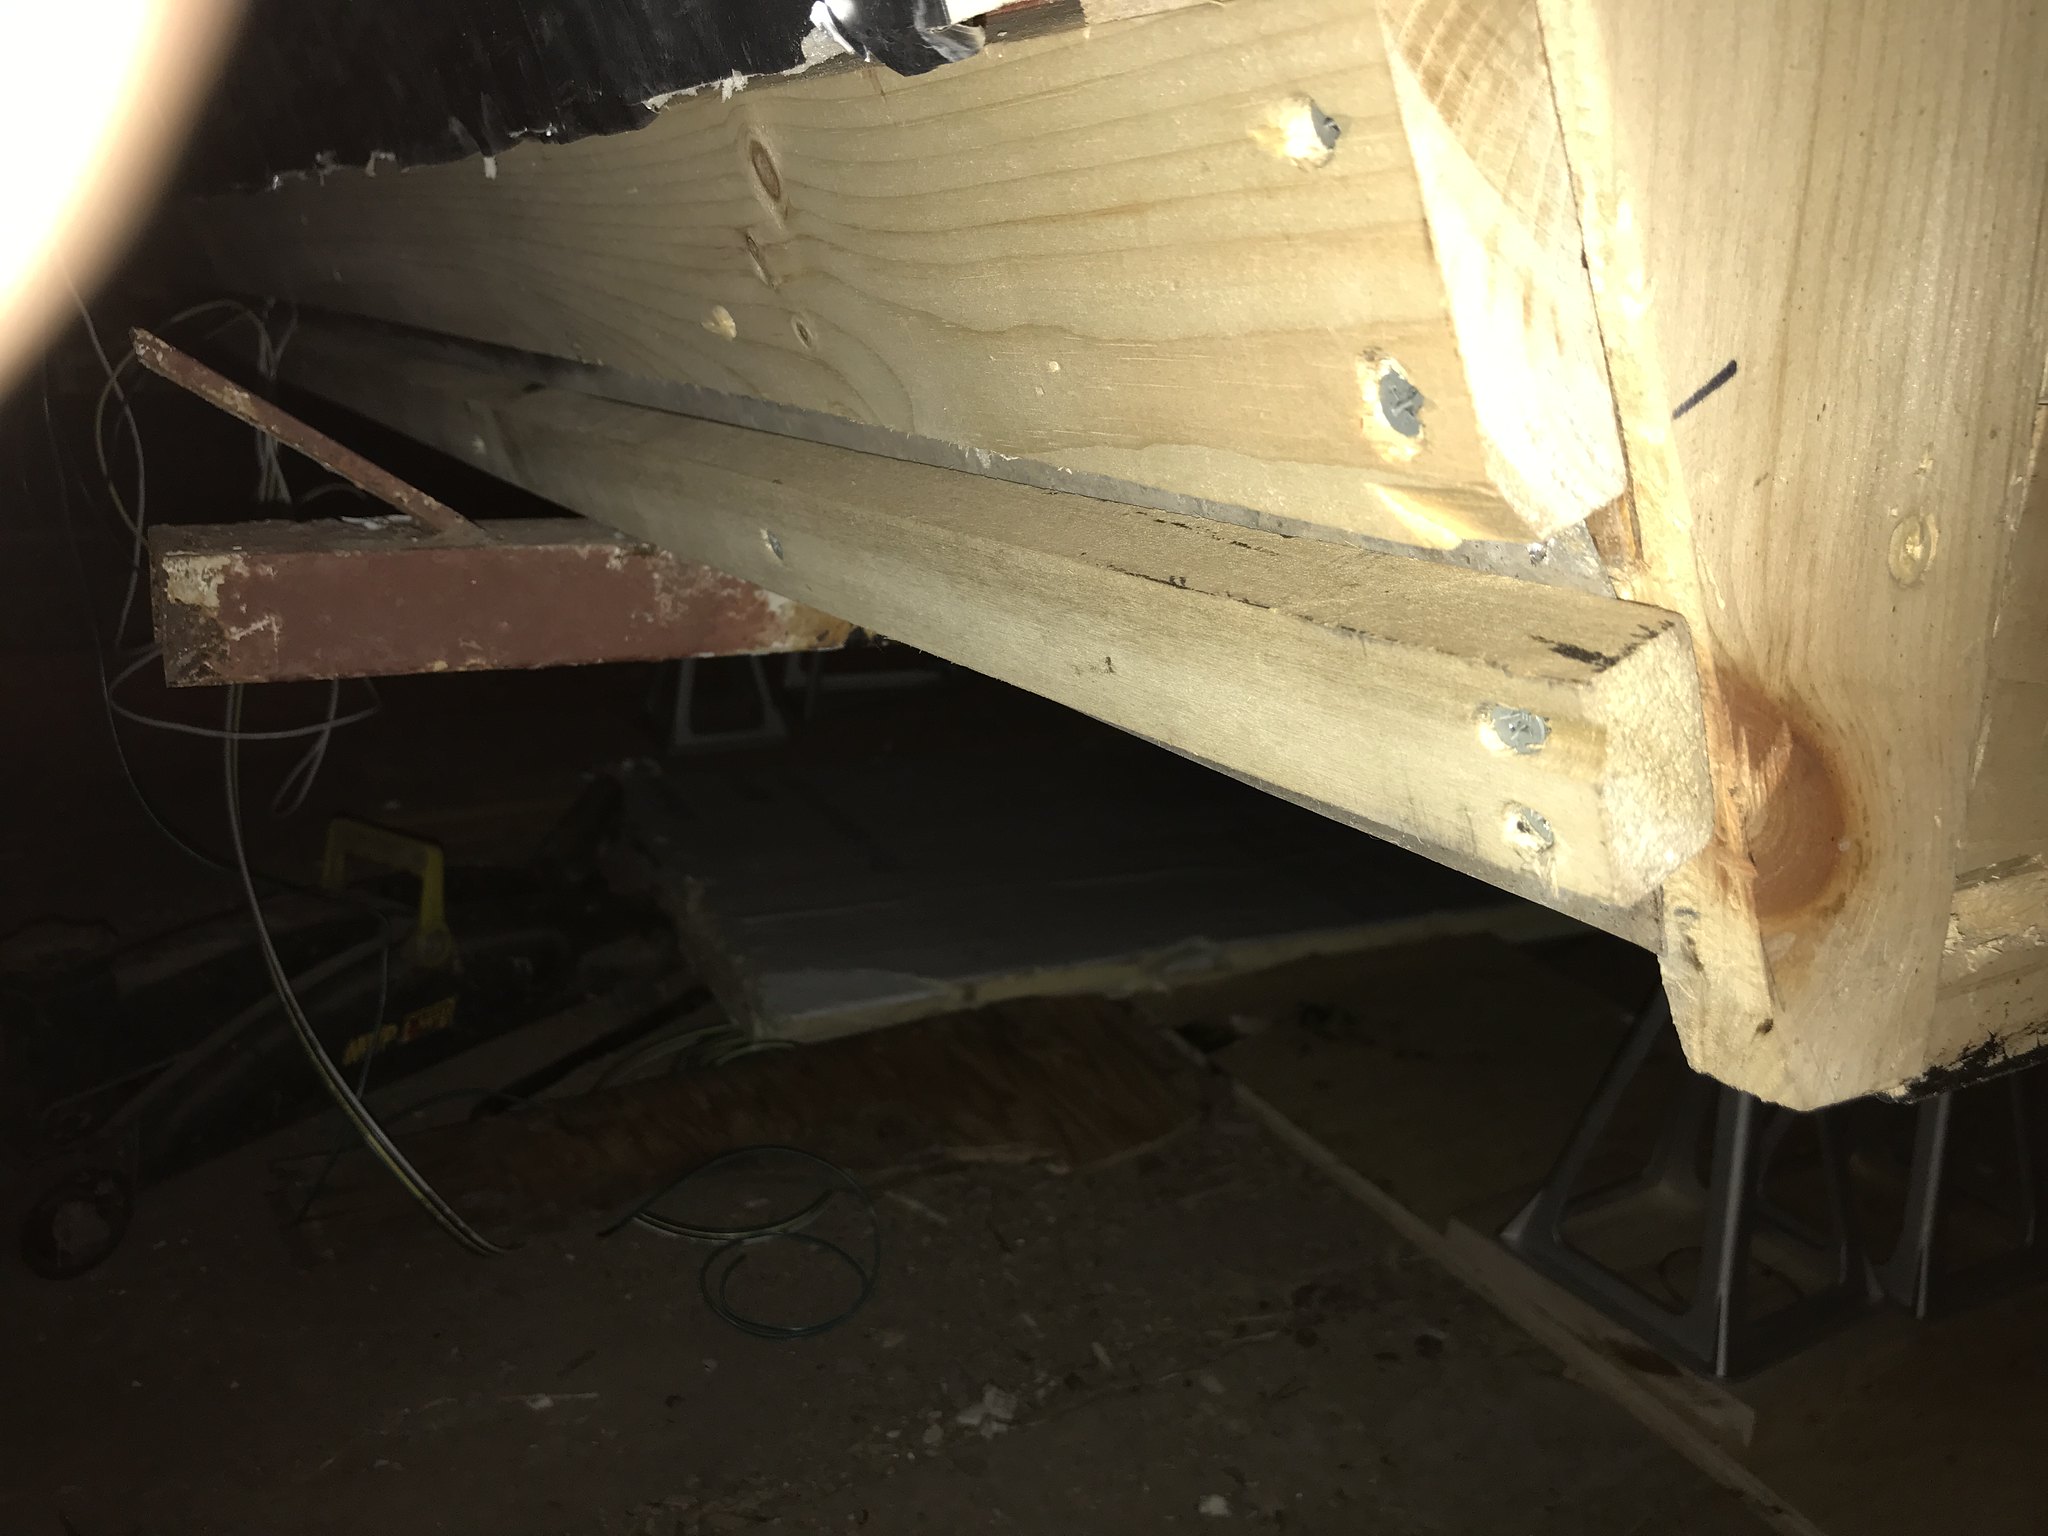 IMG_5678 IMG_5678 by kathy, on Flickr As you can see- this piece does not match up to the framing on the sides at the bottom. 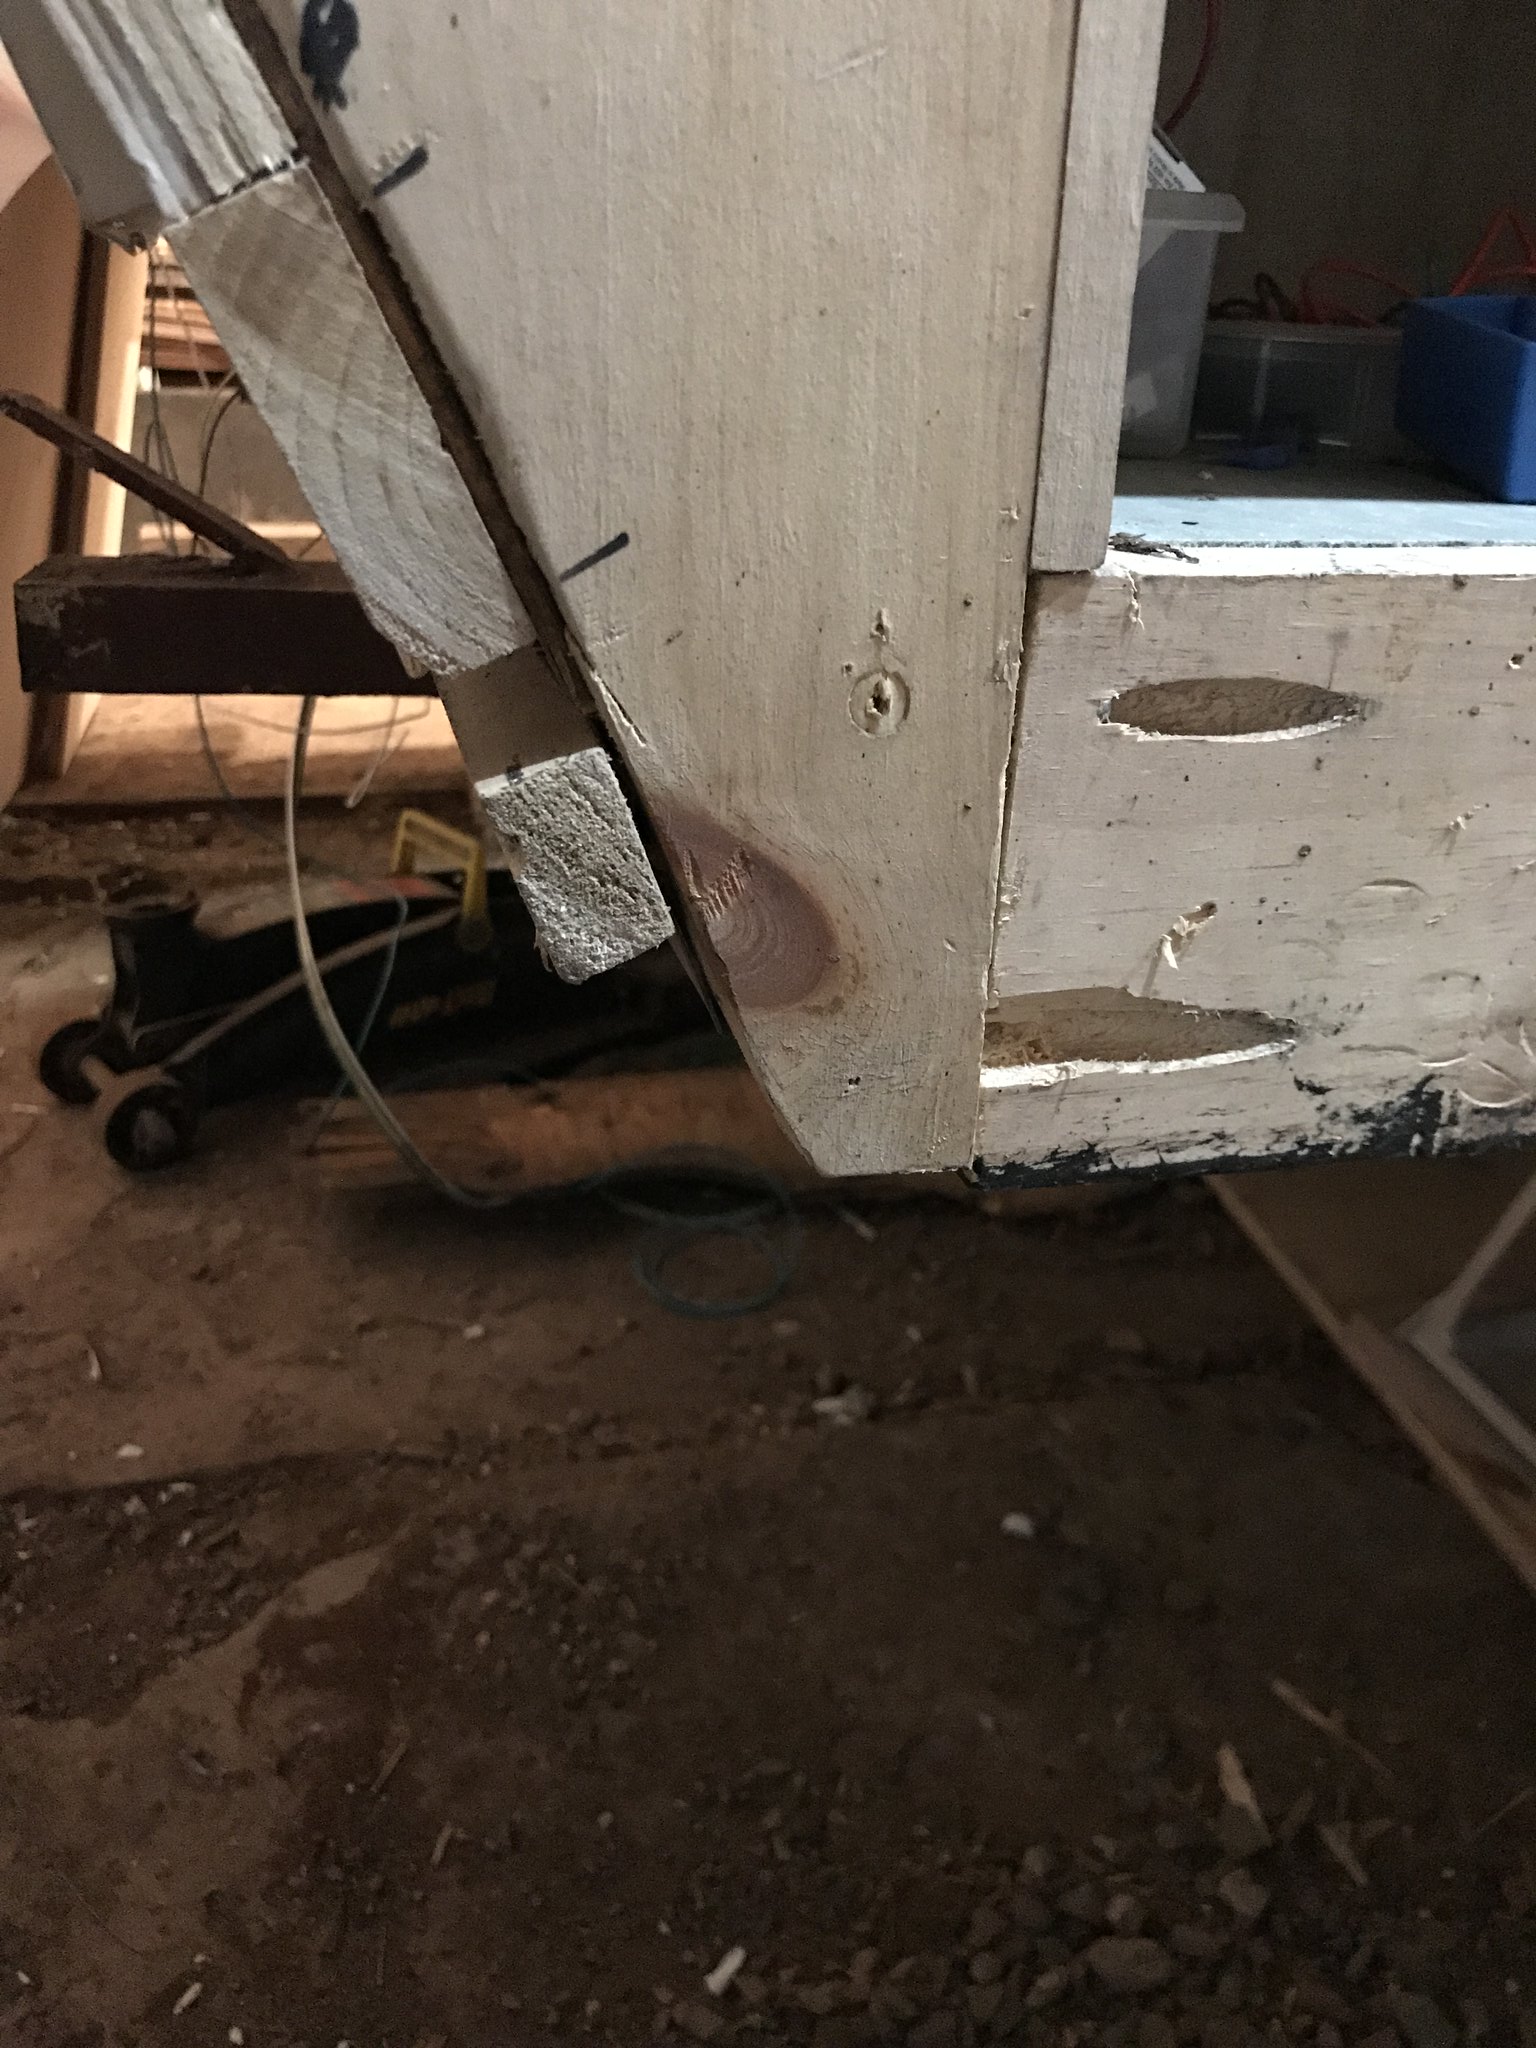 IMG_5680 IMG_5680 by kathy, on Flickr 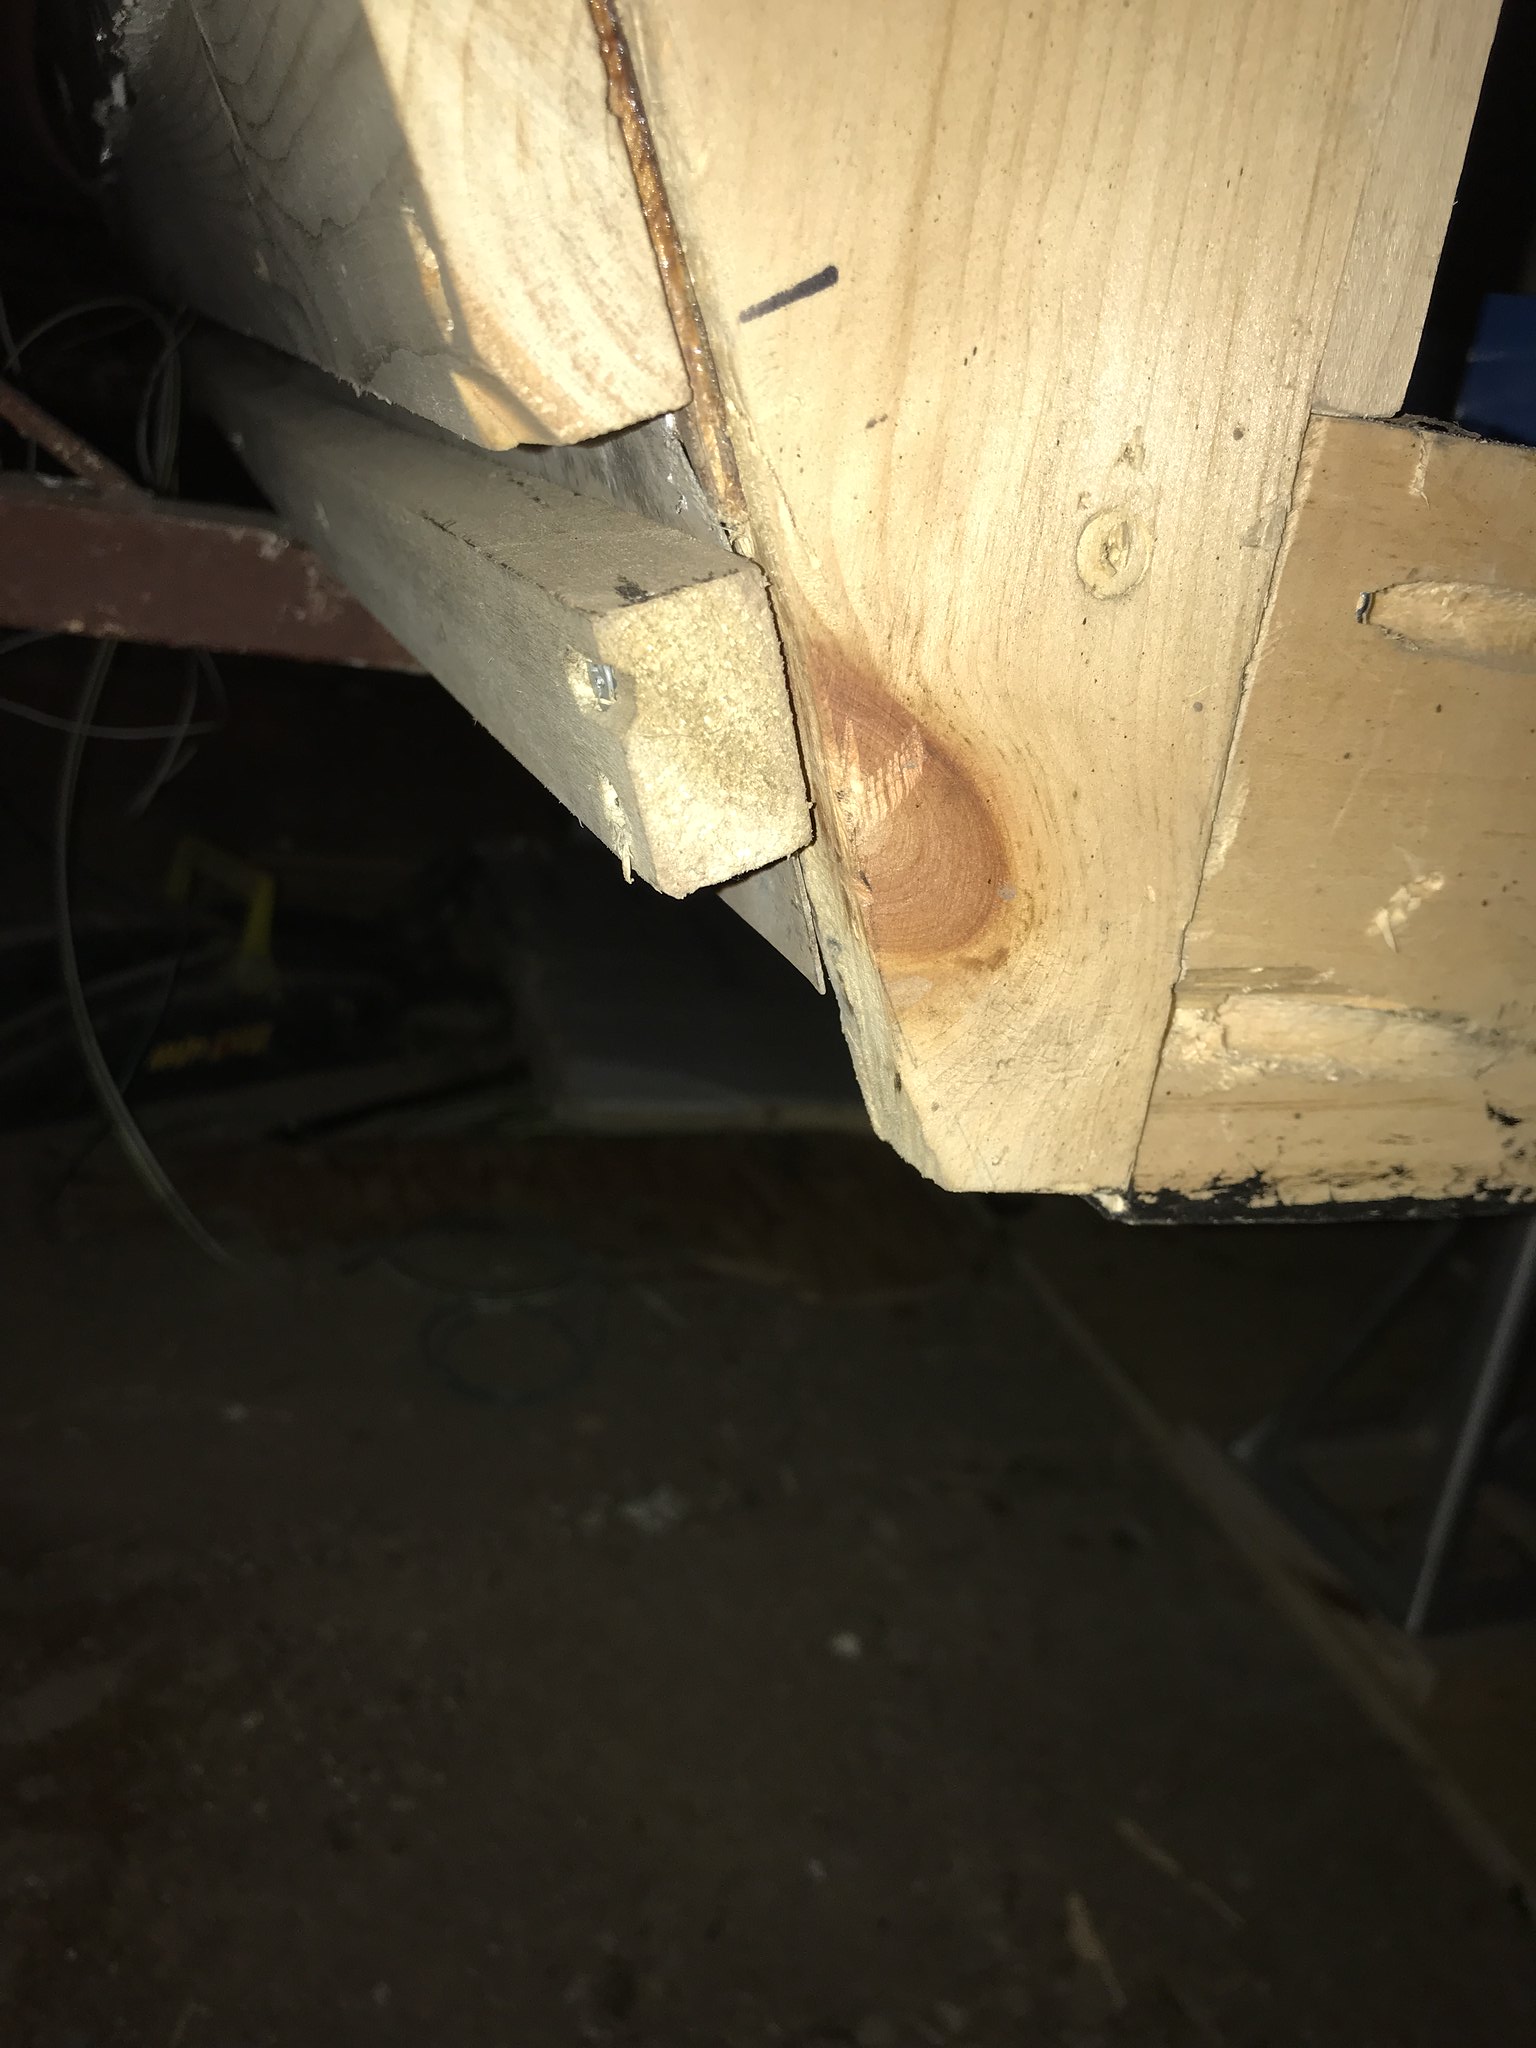 IMG_5676 IMG_5676 by kathy, on Flickr How do I manage this difference? Would you add the metal pieces back that were there originally? Or would you cut out notches in the bottom of the back metal so that its bottom matches the bottom of the sides? I know this is hard to understand- hopefully you can see what I am asking! Thanks Kathy |
|
kaffi311
Active Member
Posts: 283
Likes: 98
1963 Shasta 16 SC
Currently Offline
|
Post by kaffi311 on Jan 9, 2019 20:25:18 GMT -8
Kaffi makes me so proud... She's doing such a good job. When this is done, Larry, I am coming to Nevada and taking you out for a top notch dinner. Your help has been just amazing- and you are SO very much appreciated  A year ago, I would never have even thought I was able to undertake something like this. Look at me now!! ha ha!!! |
|
kaffi311
Active Member
Posts: 283
Likes: 98
1963 Shasta 16 SC
Currently Offline
|
Post by kaffi311 on Jan 8, 2019 17:32:17 GMT -8
If you can, add wood to attach the skins. Thanks- Ive decided that is what I am going to do at both the front and the rear. Yesterday I added wood at the very bottom of the rear after I cut off my bumper ( it is being remade)- and that made it very easy to secure the wood. I am planning on doing the same to the front- as I feel the same and do not like the way the skin just sits there unsecured to anything. Ill take photos when I am done Thanks Kathy |
|
kaffi311
Active Member
Posts: 283
Likes: 98
1963 Shasta 16 SC
Currently Offline
|
Post by kaffi311 on Jan 8, 2019 17:25:47 GMT -8
Do you remember the pattern name and manufacturer of your floor tiles? I'll look it up and let you know BTW- when you respond to a post- Ive been asked to not copy all the previous pictures. It takes up space on the forum. Just some info for you! Ill be in touch re: the tile Kathy |
|
kaffi311
Active Member
Posts: 283
Likes: 98
1963 Shasta 16 SC
Currently Offline
|
Post by kaffi311 on Jan 6, 2019 16:31:19 GMT -8
Welcome to the forum!! This forum is amazing! I am a 53 year old gal restoring a 1964 Shasta from the frame up. Ive done it all myself with the help of Mobiltec (Larry), Vikx and many members of this forum. Ask questions- you will be amazed at how helpful everyone is!
Have fun
Kathy
|
|
kaffi311
Active Member
Posts: 283
Likes: 98
1963 Shasta 16 SC
Currently Offline
|
Post by kaffi311 on Jan 3, 2019 14:39:22 GMT -8
Vikx- got your pictures- thanks!! I am wondering if you do anything to the VERY bottom of the skin in the front and back- where it folds under. Do you staple it to the framing? Think I need to do more searching to get the procedure right. Just picked up my new skins today!! I understand the screws above the bottom of the skin (about 6" up from bottom bend)- but nothing secures the very bottom? Is that the right way? Thanks  IMG_4802 IMG_4802 by kathy, on Flickr |
|
kaffi311
Active Member
Posts: 283
Likes: 98
1963 Shasta 16 SC
Currently Offline
|
Post by kaffi311 on Jan 3, 2019 14:36:06 GMT -8
I didn't reuse my stove- so I'm sorry I can't help you. Search the forums and I am sure you can find some more info. Good luck- and welcome to the forum!! i have learned so much here !! Kathy |
|
kaffi311
Active Member
Posts: 283
Likes: 98
1963 Shasta 16 SC
Currently Offline
|
Post by kaffi311 on Jan 1, 2019 17:12:17 GMT -8
I'm installing new skin. At the front and rear are the two main frame members, and the skin will extend below it. How do most people trim around the frame? Do I staple around the frame cutout? If so, what do I cover the Staples with? Originally there was nothing, the skin was just cut around the frame. Not sure if that was a previous owner or the factory. Following- as I have the same question. k |
|
kaffi311
Active Member
Posts: 283
Likes: 98
1963 Shasta 16 SC
Currently Offline
|
Post by kaffi311 on Dec 28, 2018 17:42:43 GMT -8
Well, it's been 3 months since my last update- so here goes! -In September I finally put up my last wall- the front- and closed my baby all up. Every panel in my camper has been redone except the side wall of the bath- which was in good shape and cleaned up well. I am so happy to have finally finished this part of the build- as I was so darn tired of shellac!    -The front window was fit and looks great all cleaned up with new glass and screens. Quite a bear to handle by myself- but I did it ! 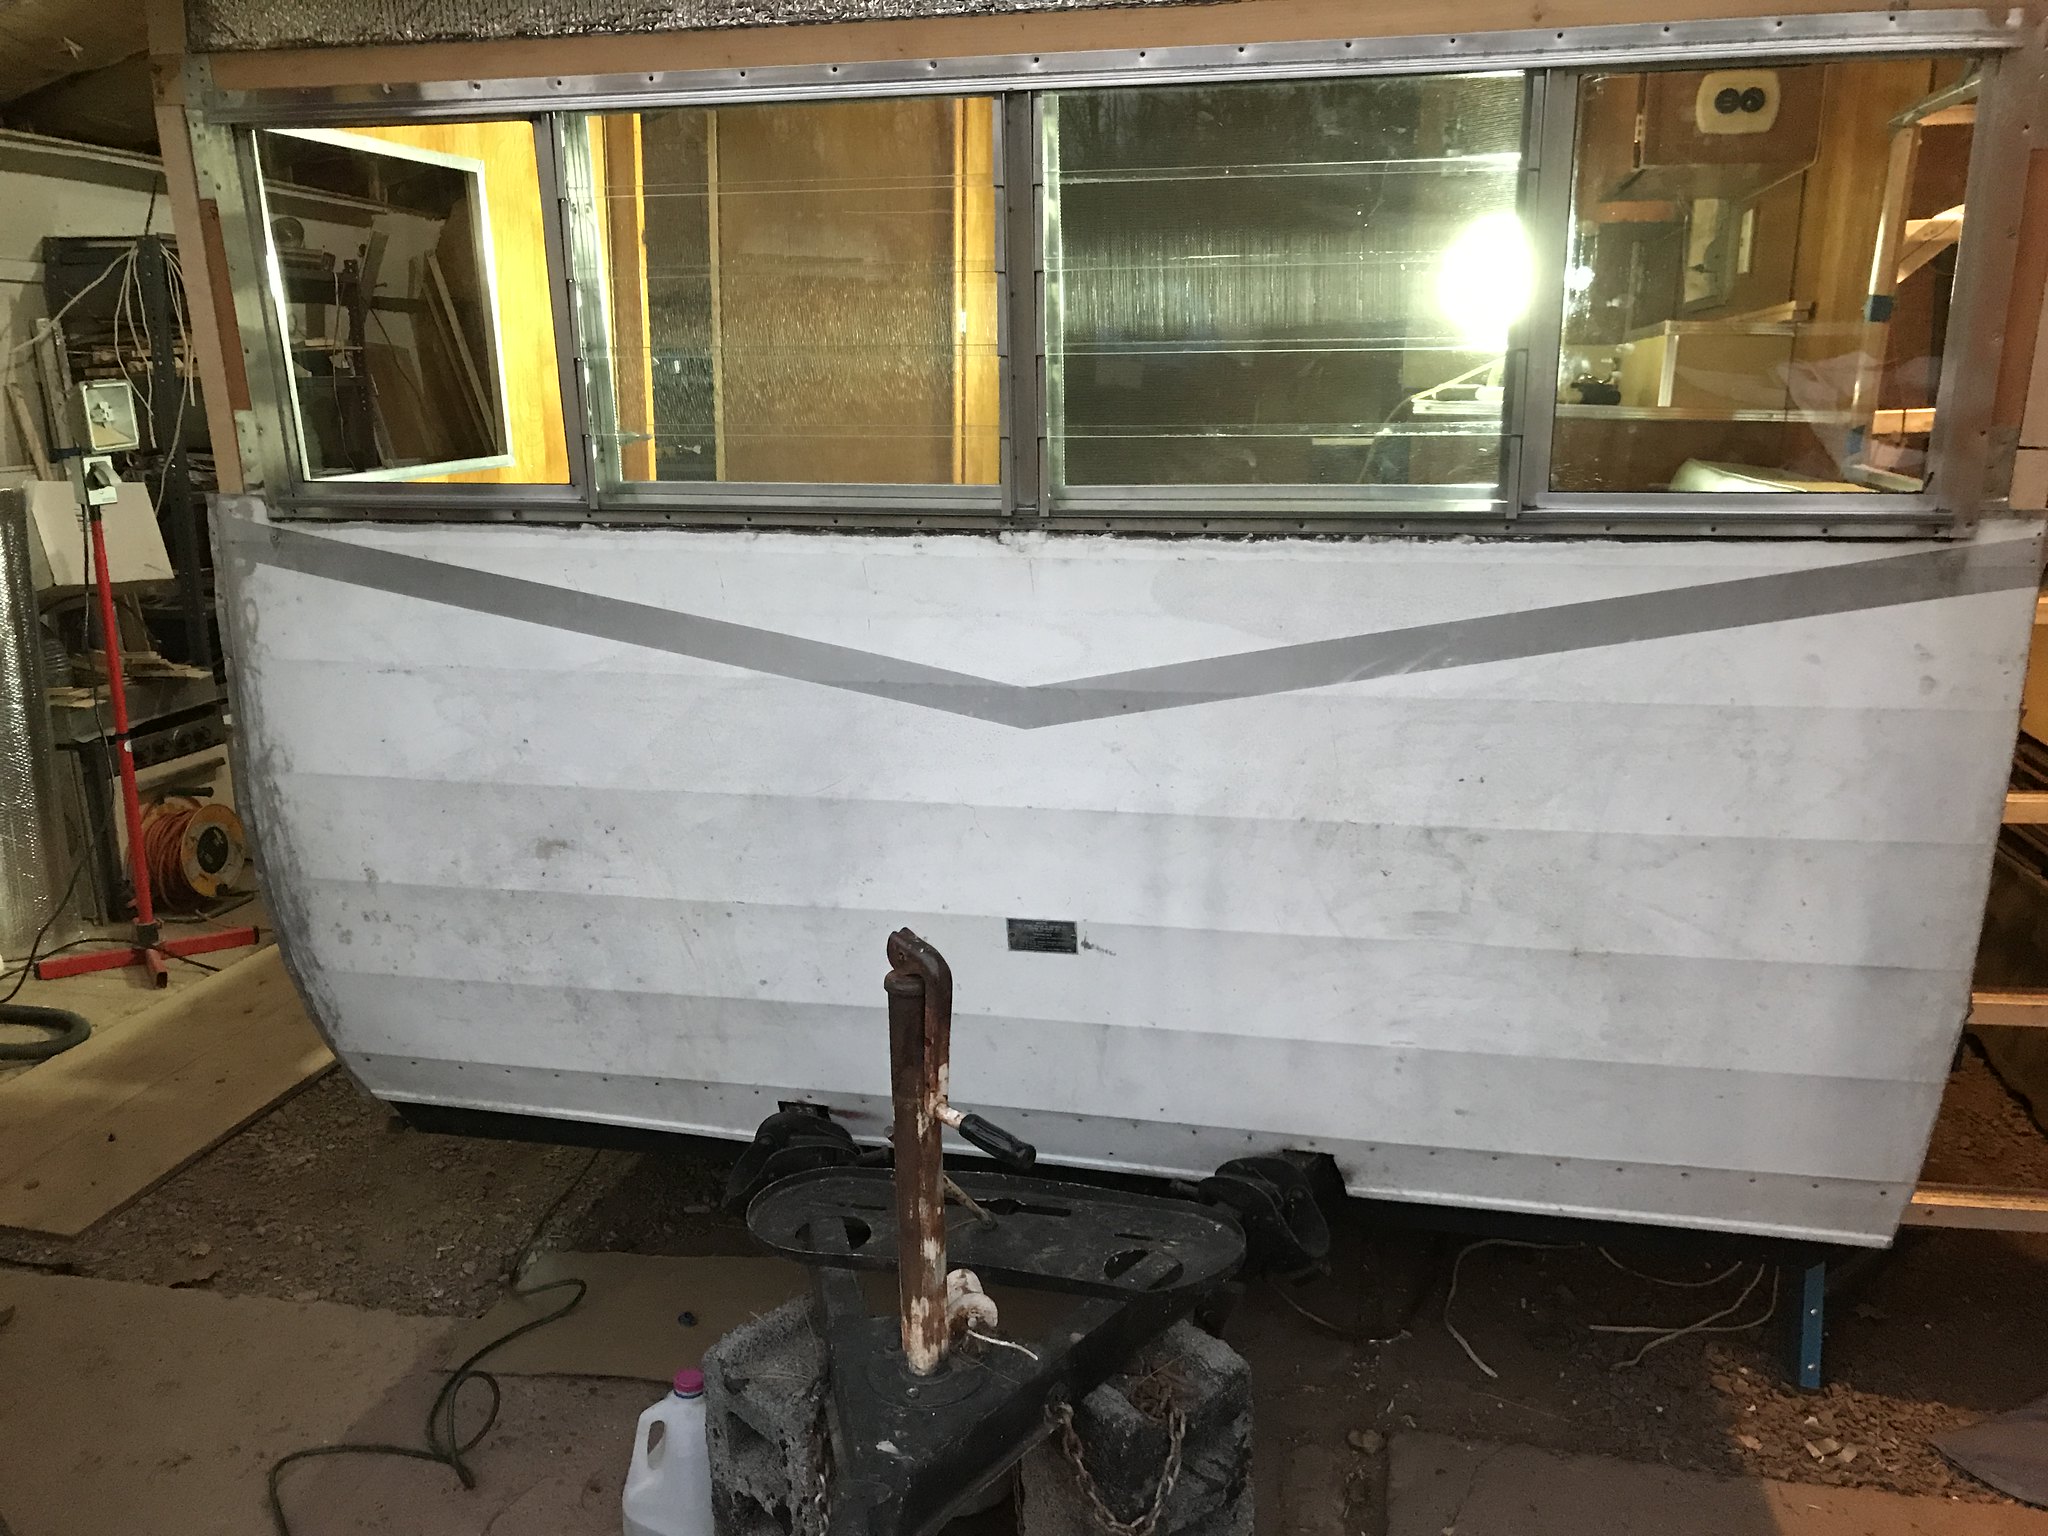 - I cut one last hole in the beautiful paneling for my window in the rear- and it fit great after some finagling of the framing.  -I installed my new Dometic refrigerator - and added the front panel from the wood I had left over. It's not hooked up yet- but I think the work I did on making it fit in the cabinet turned out great! So happy!!  -I have completed all the edge board on the entire trailer. I used 3/4" strips on the straight runs, and then 1/4" strips glued and stapled for the curves. Took some time for sure- but it turned out nice! 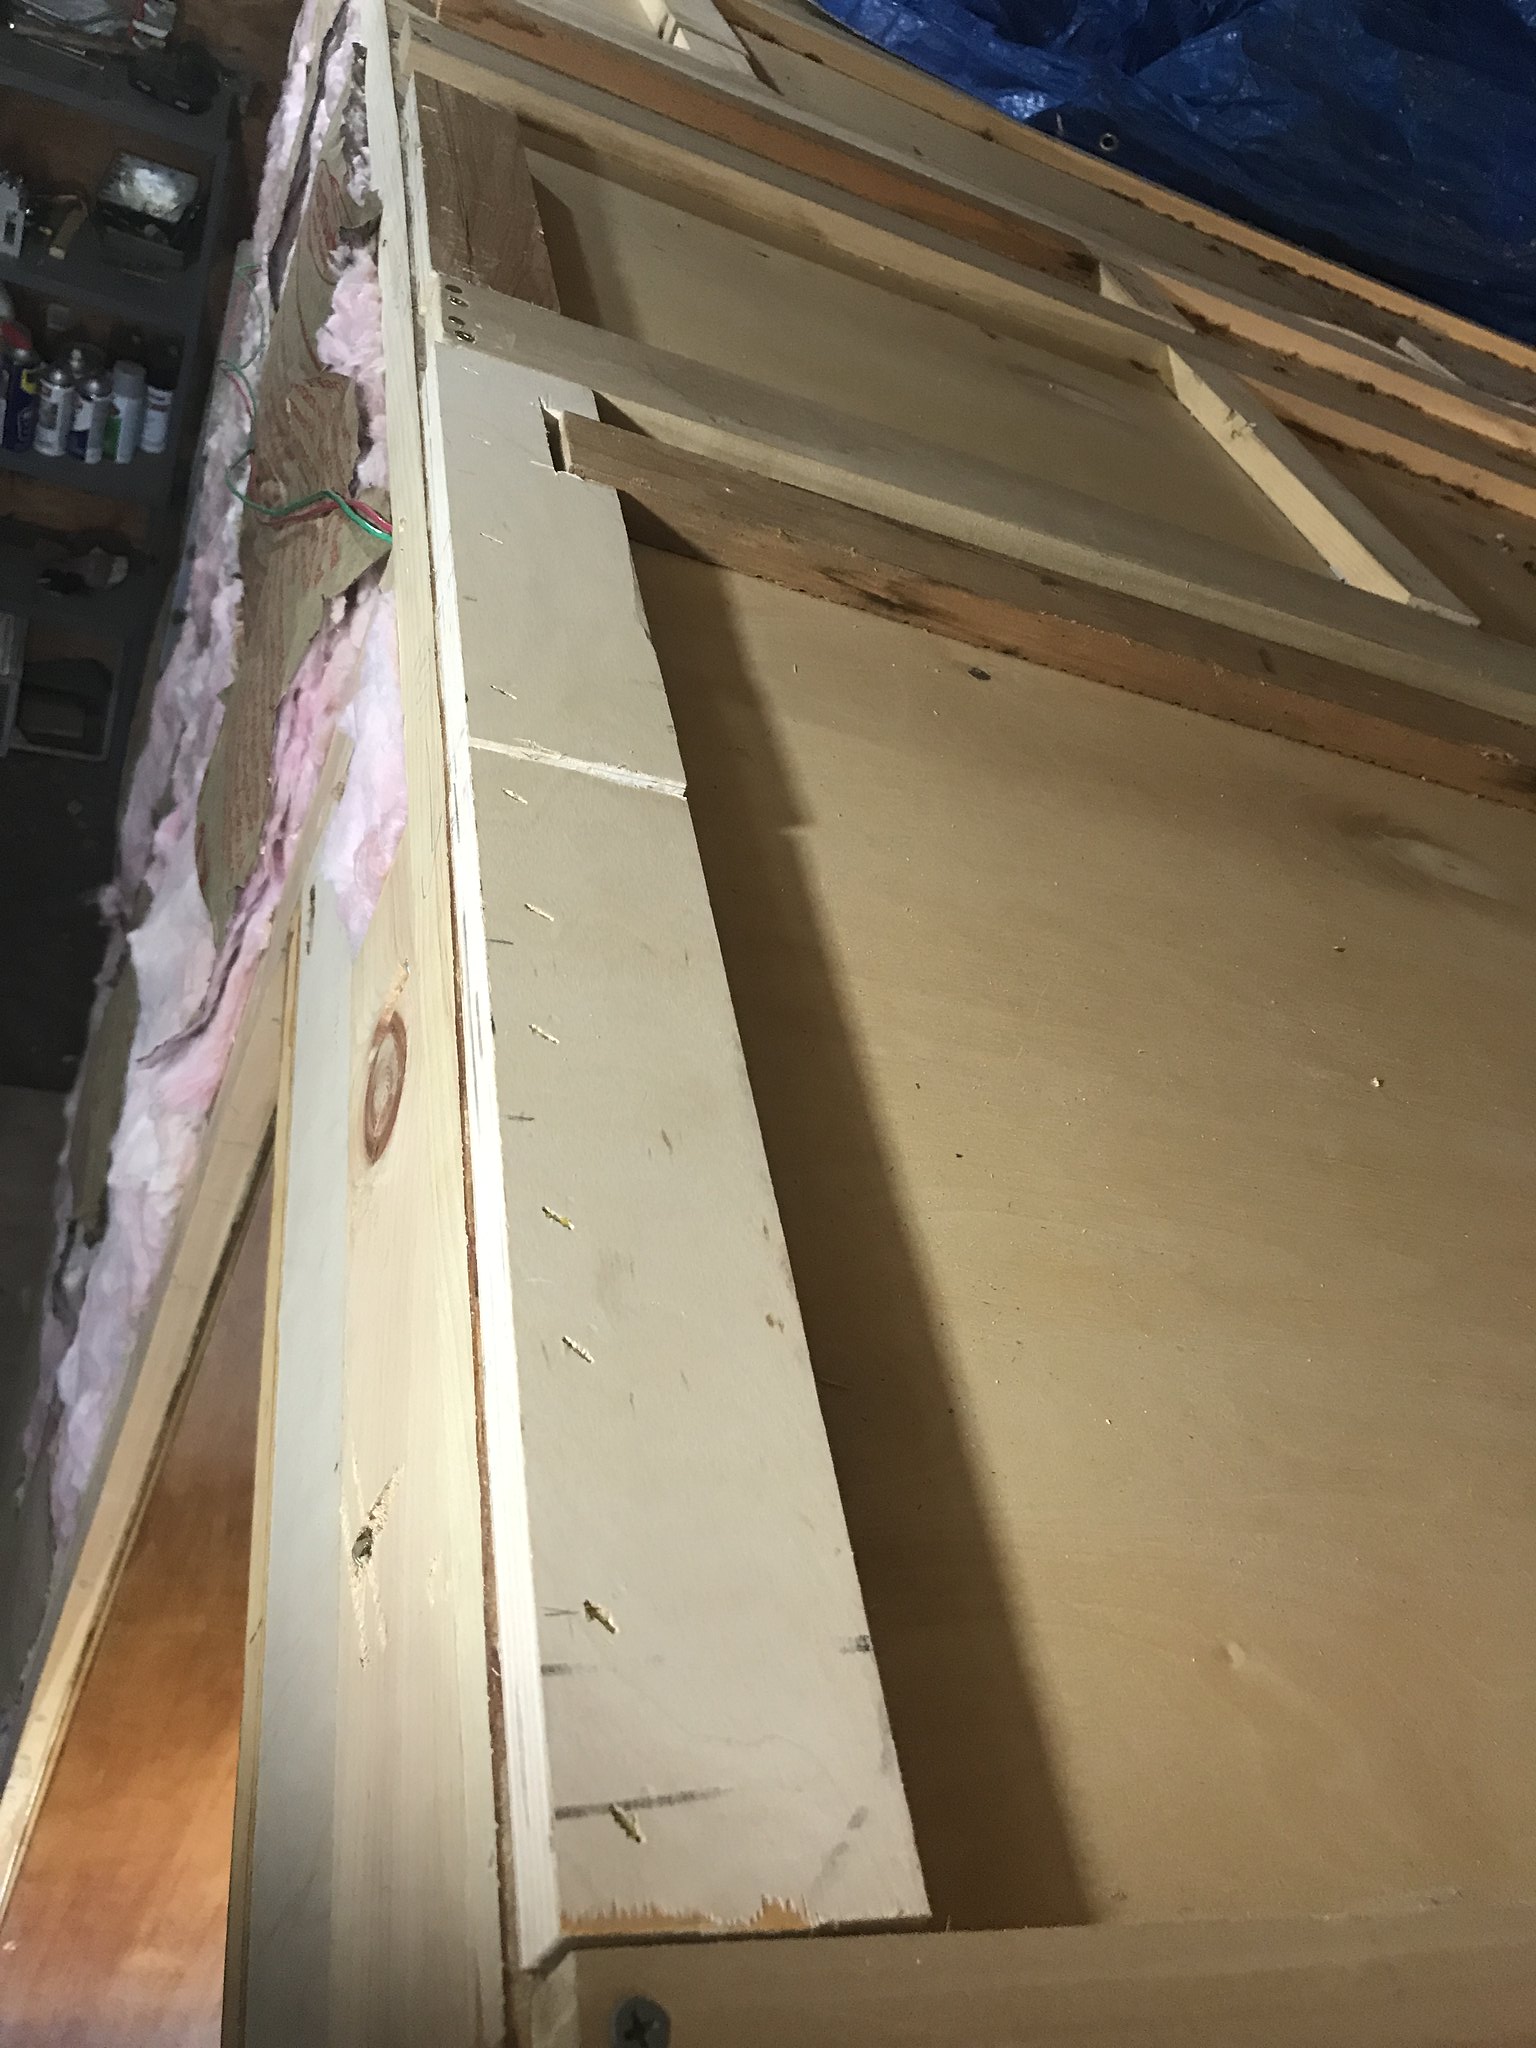 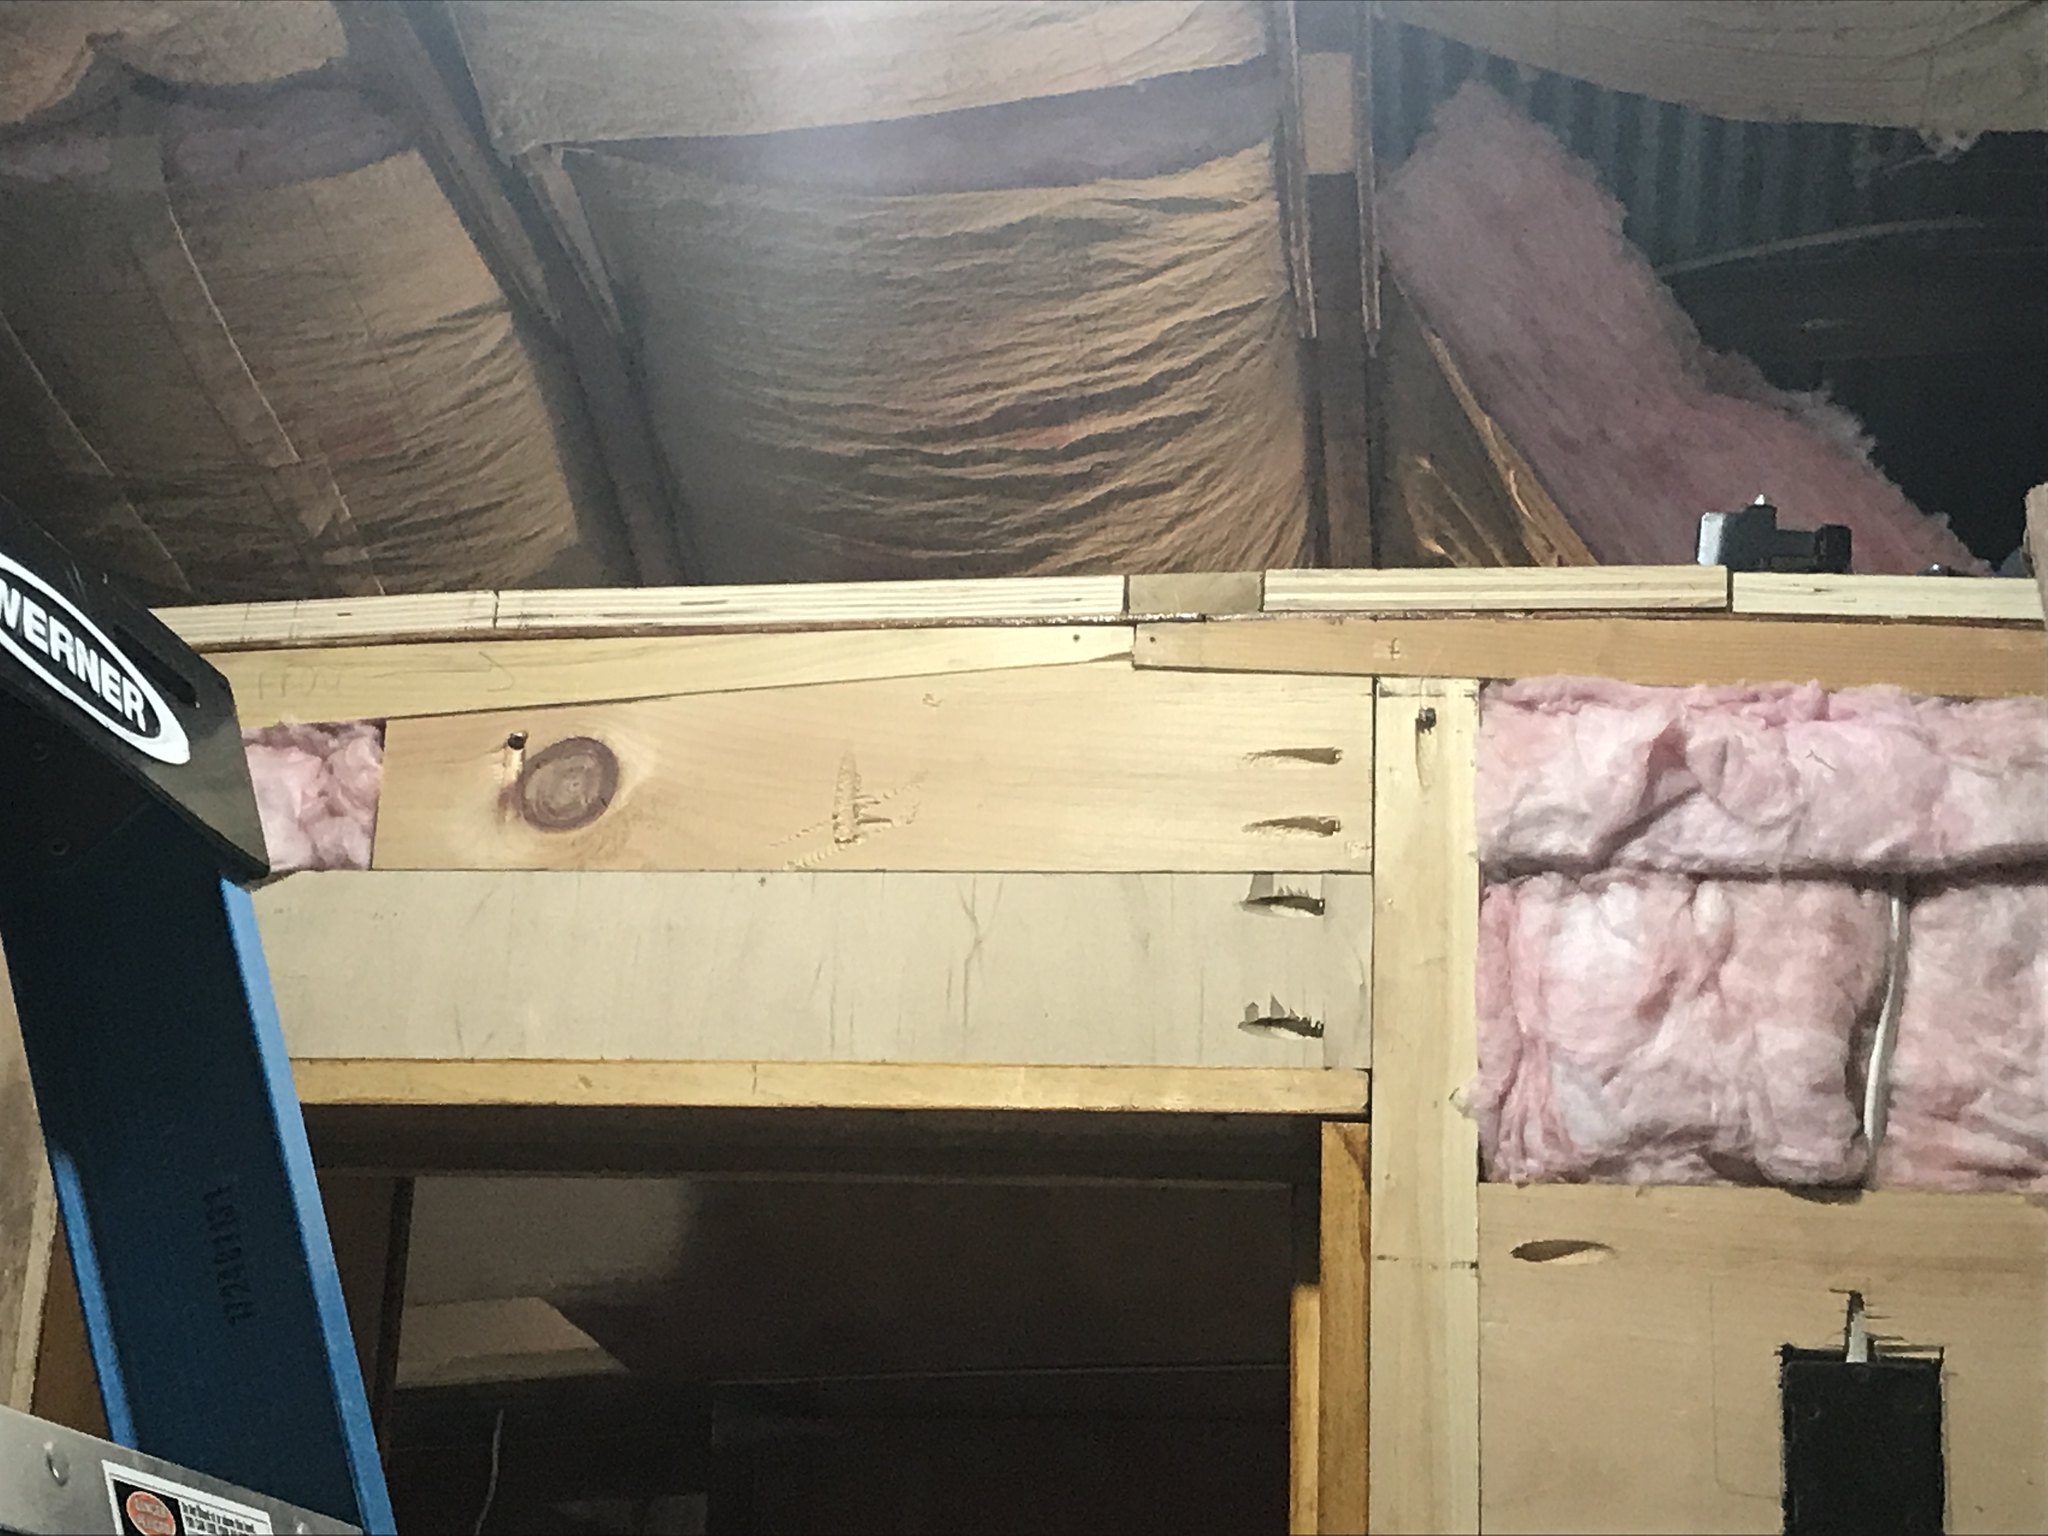  -I've just about completed running all my 12v wiring. I added 2 new led dome lights in the ceiling (VTS), a reading light above the bed, a charge port on the side of the kitchen cabinet, the 12v pump and switch, and the wires and a light switch for my door handle light. 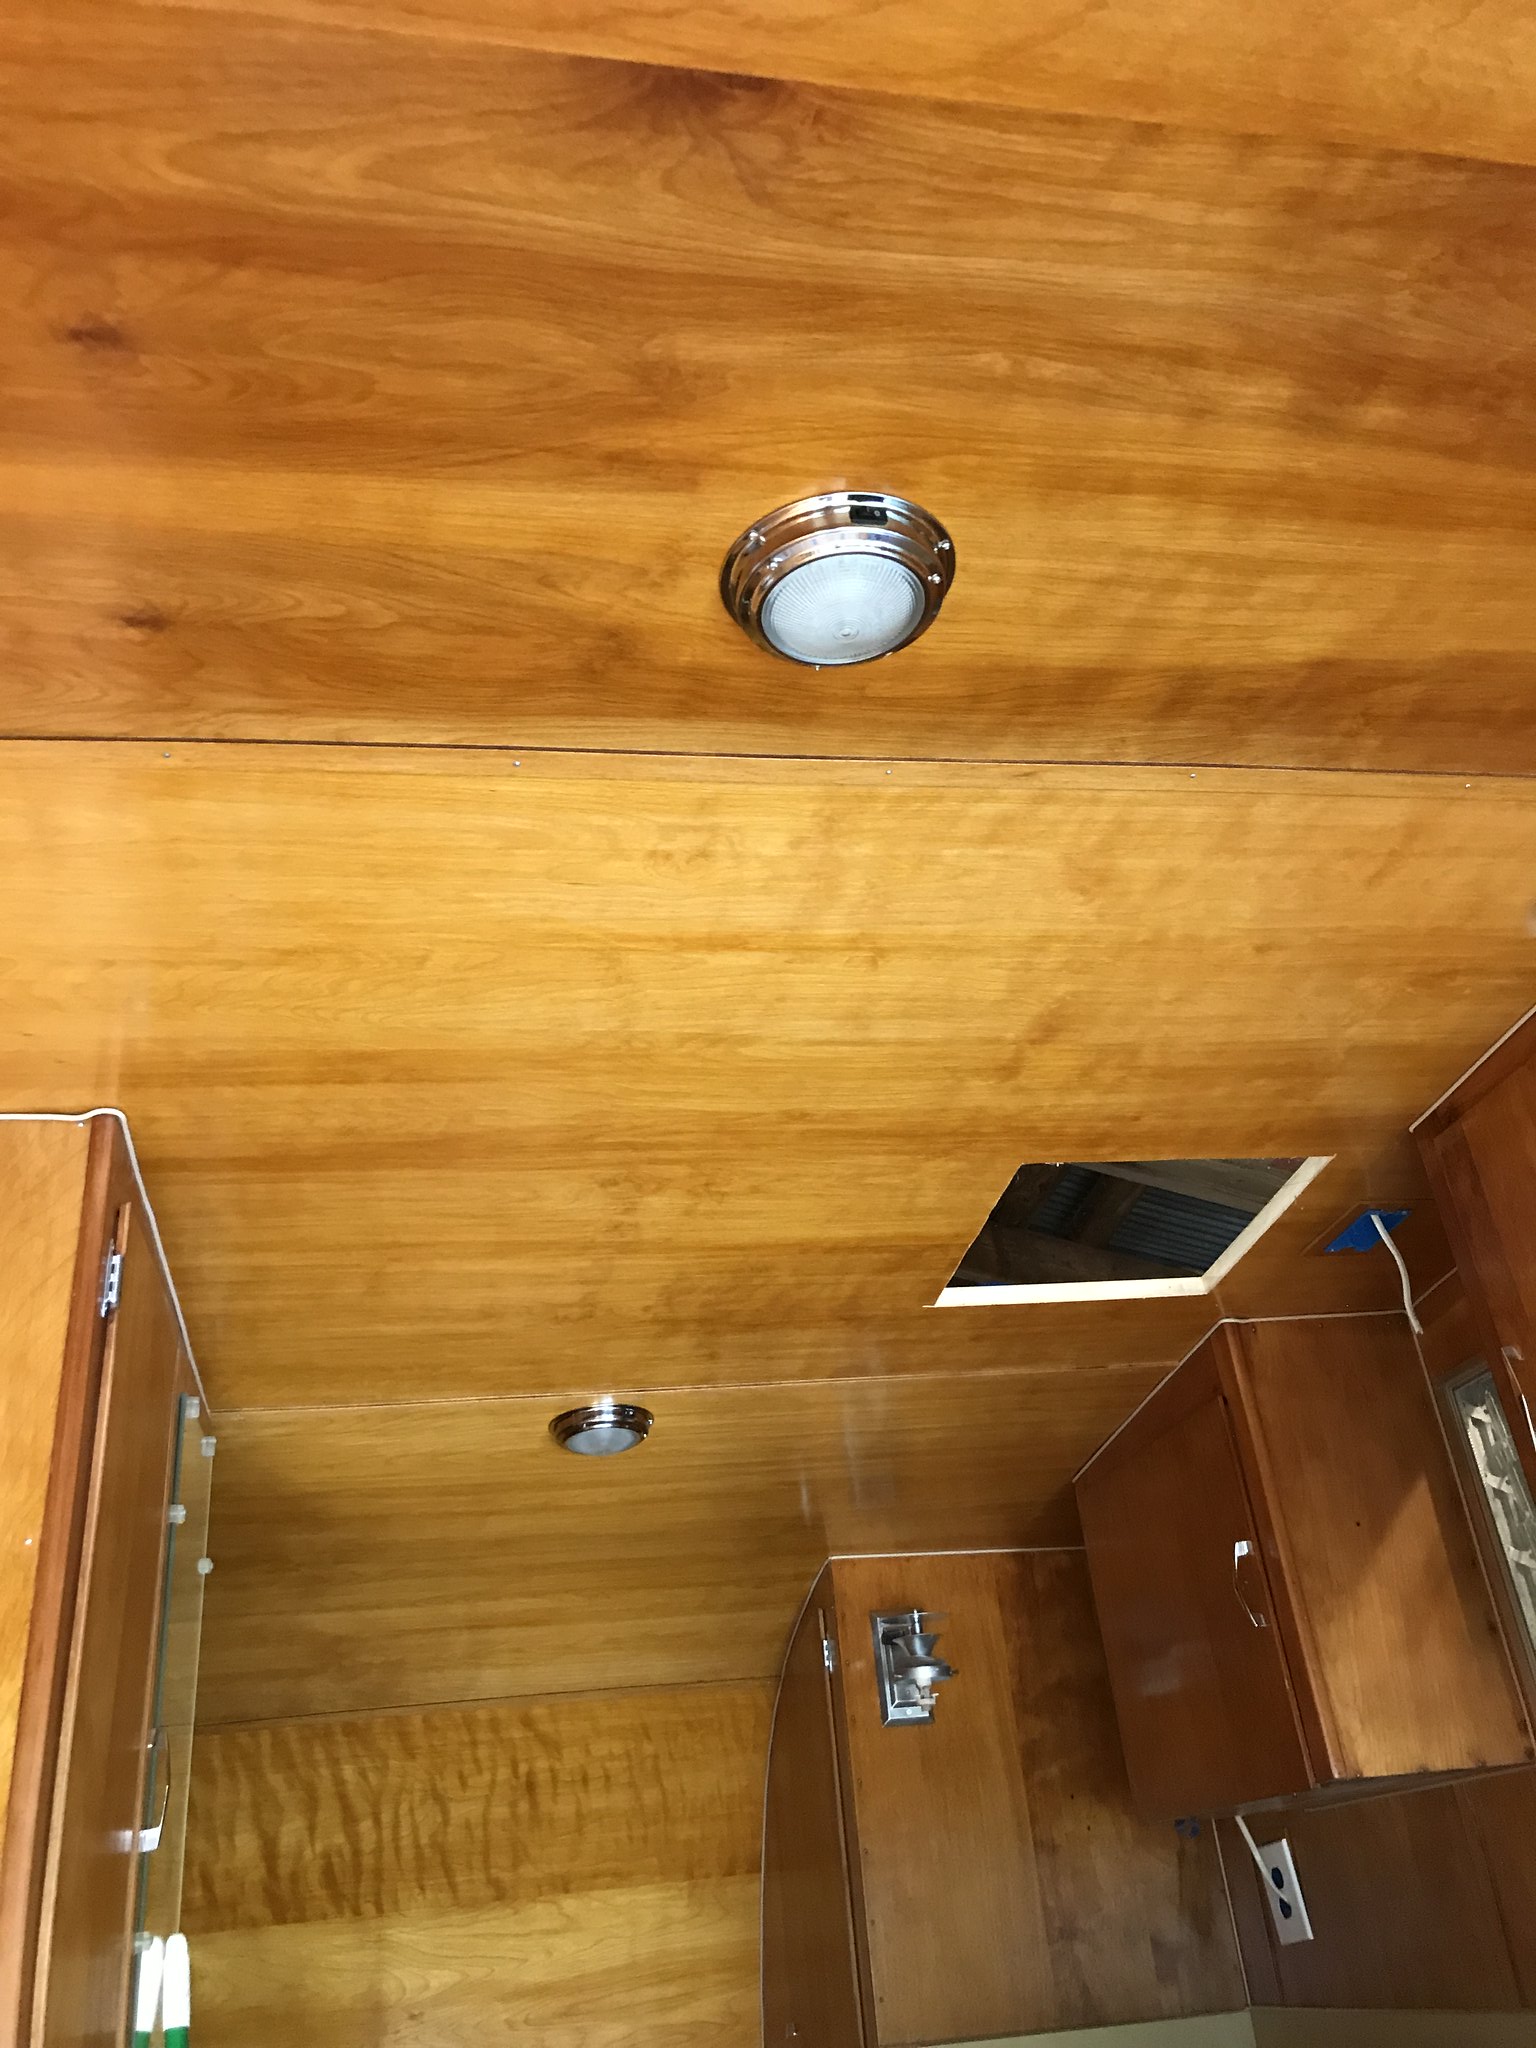 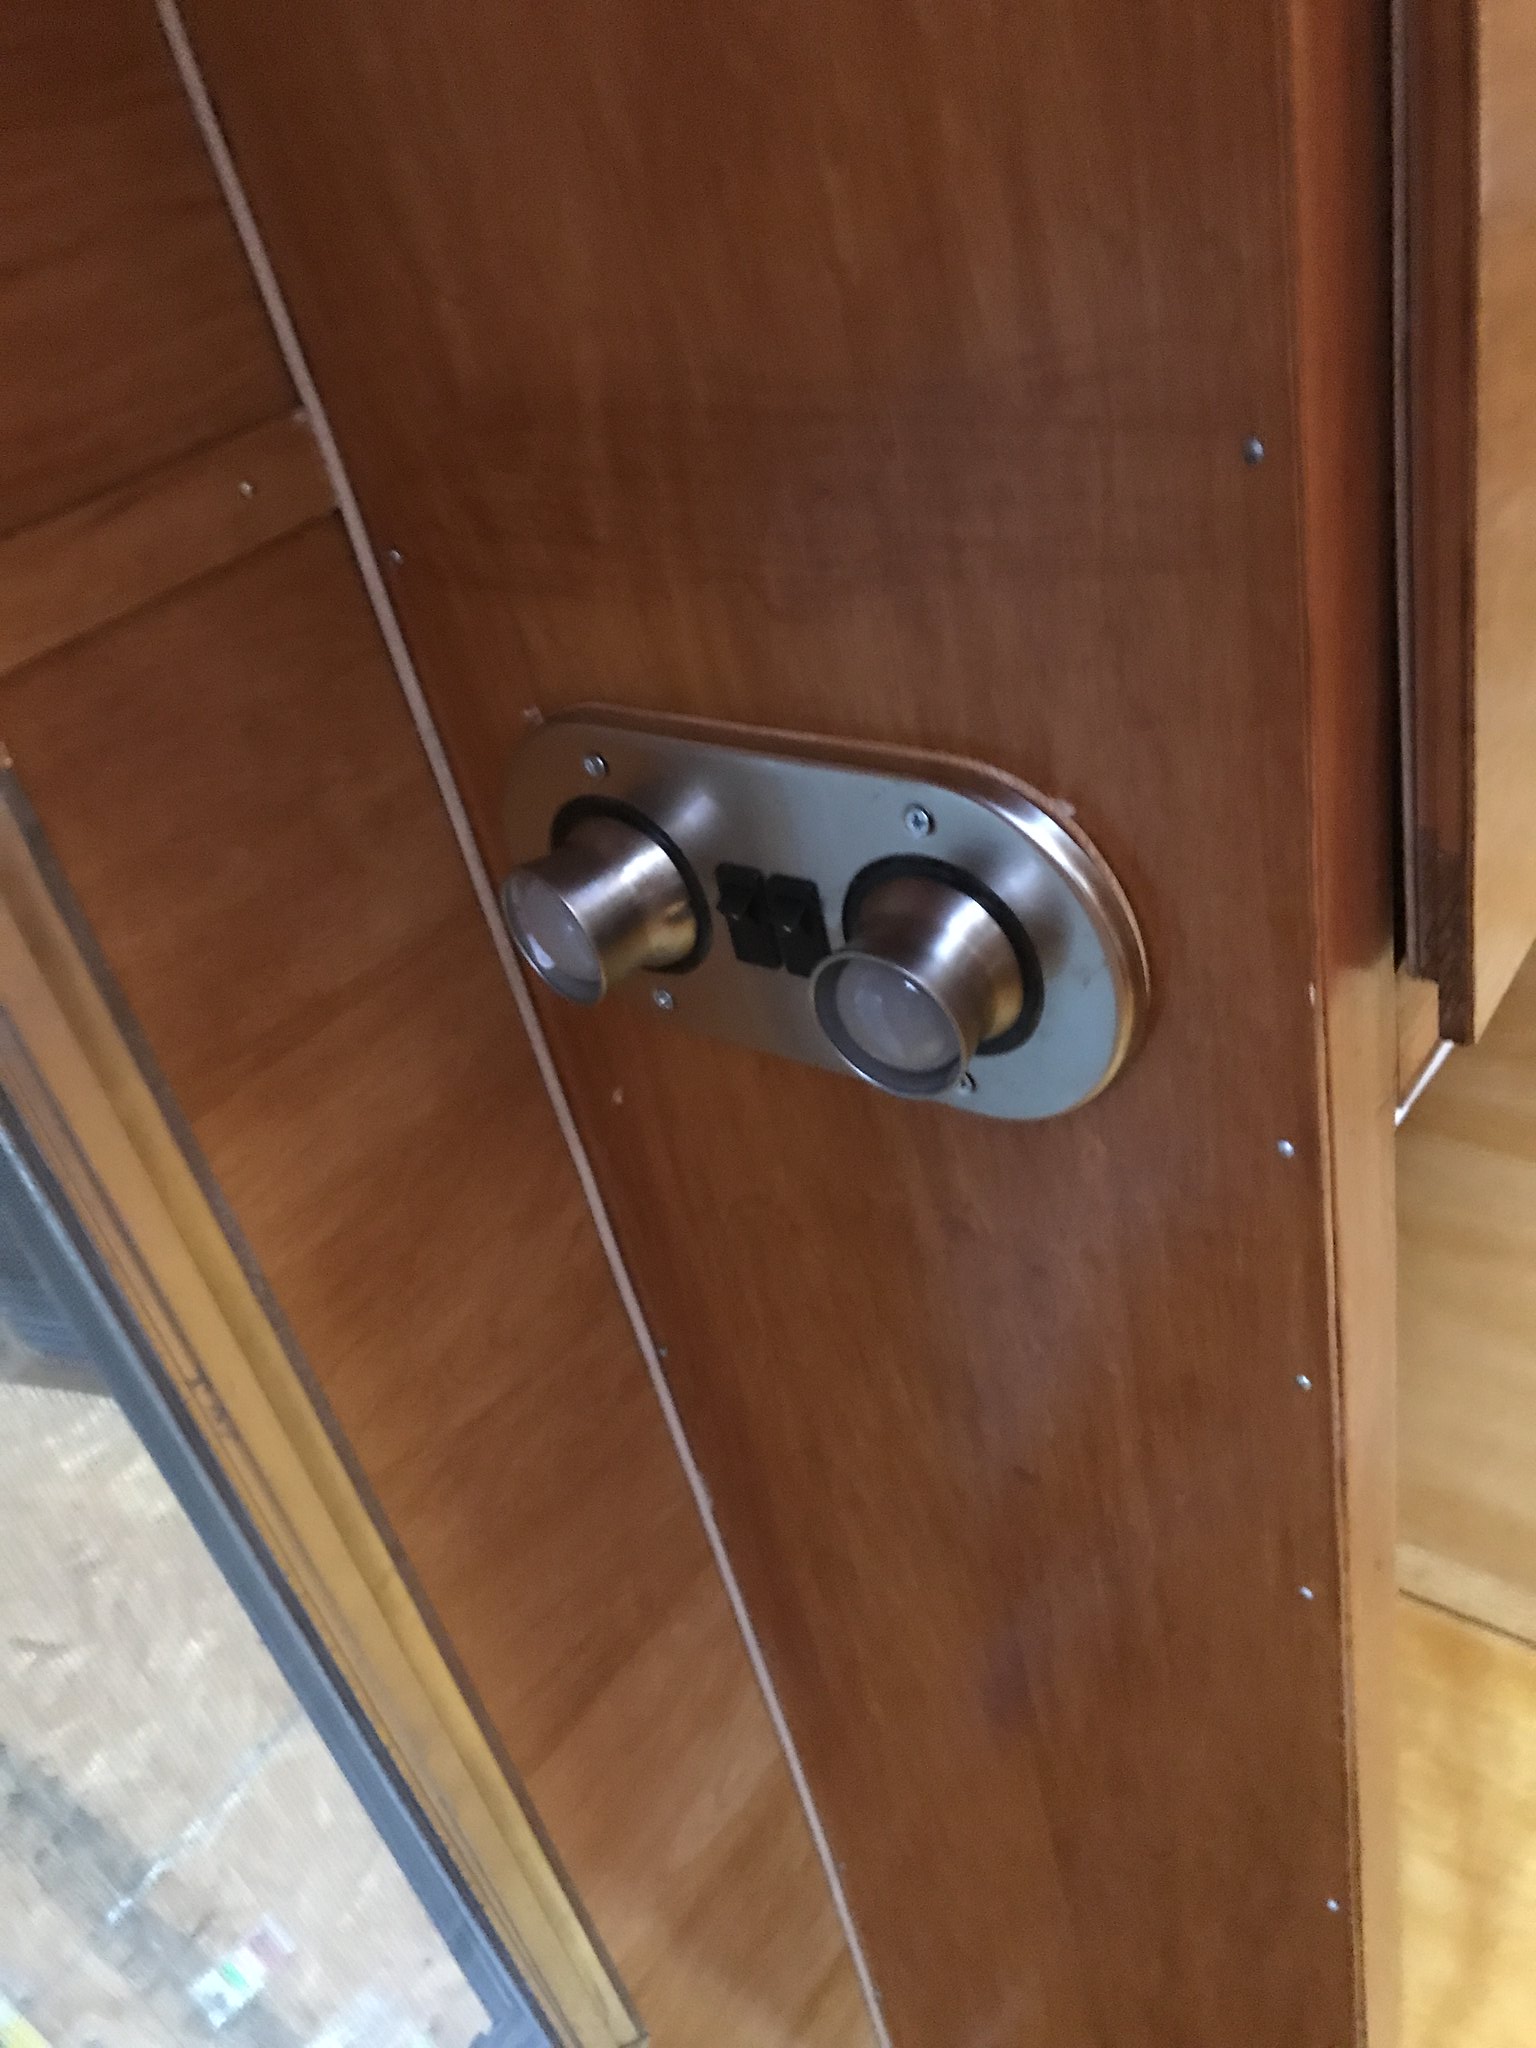 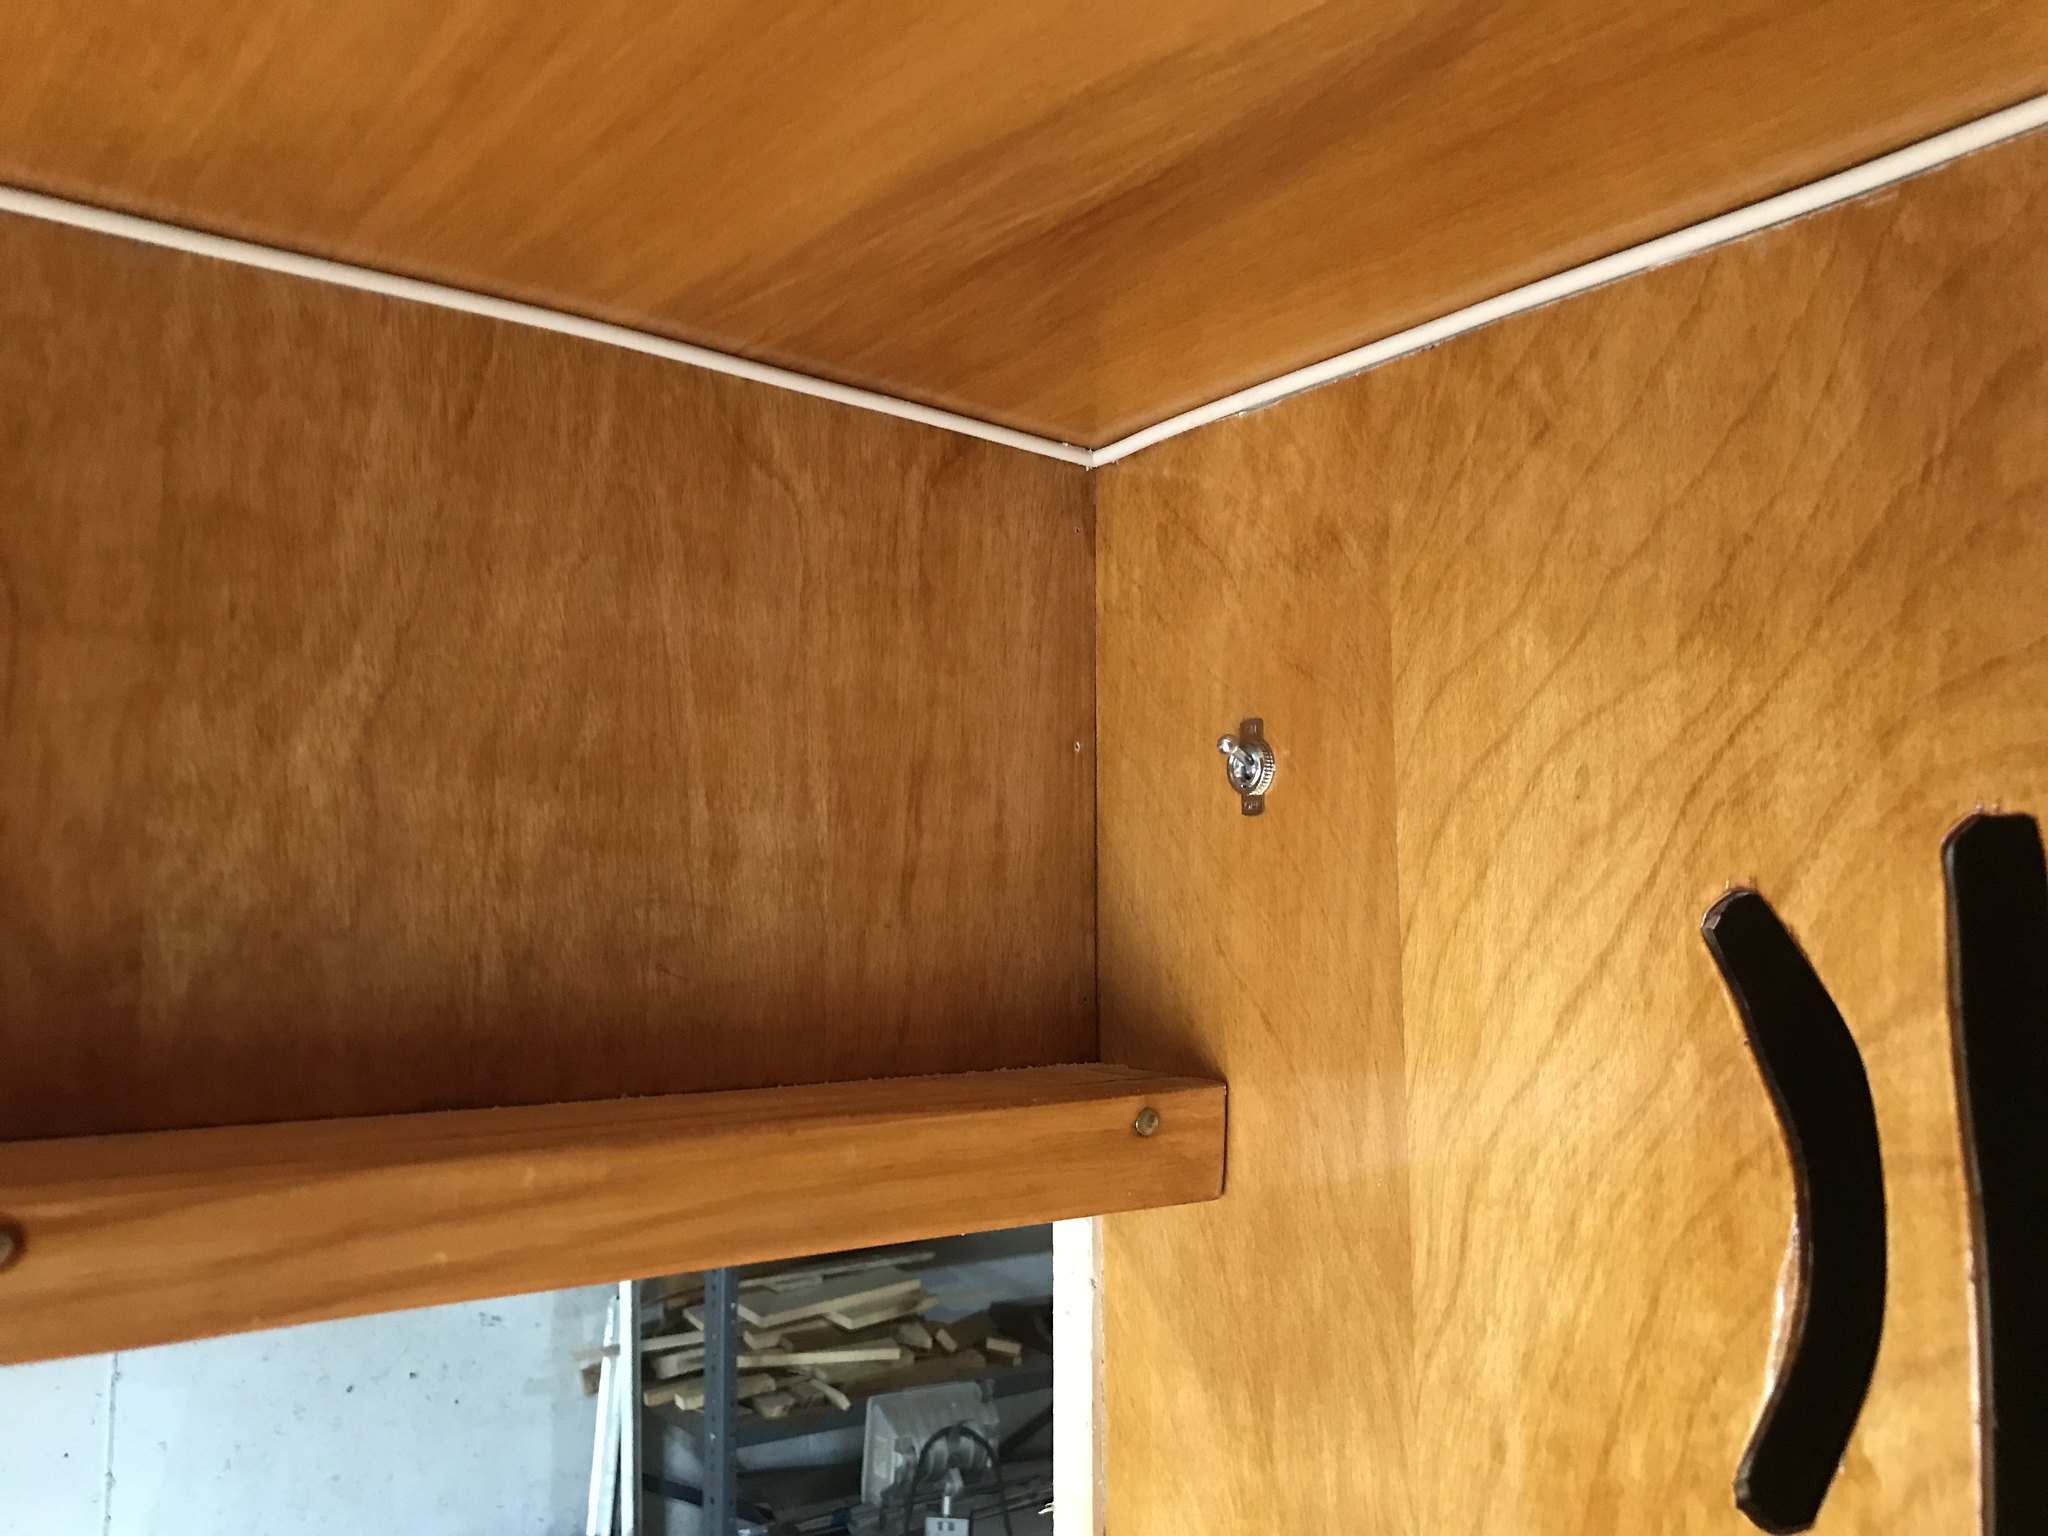 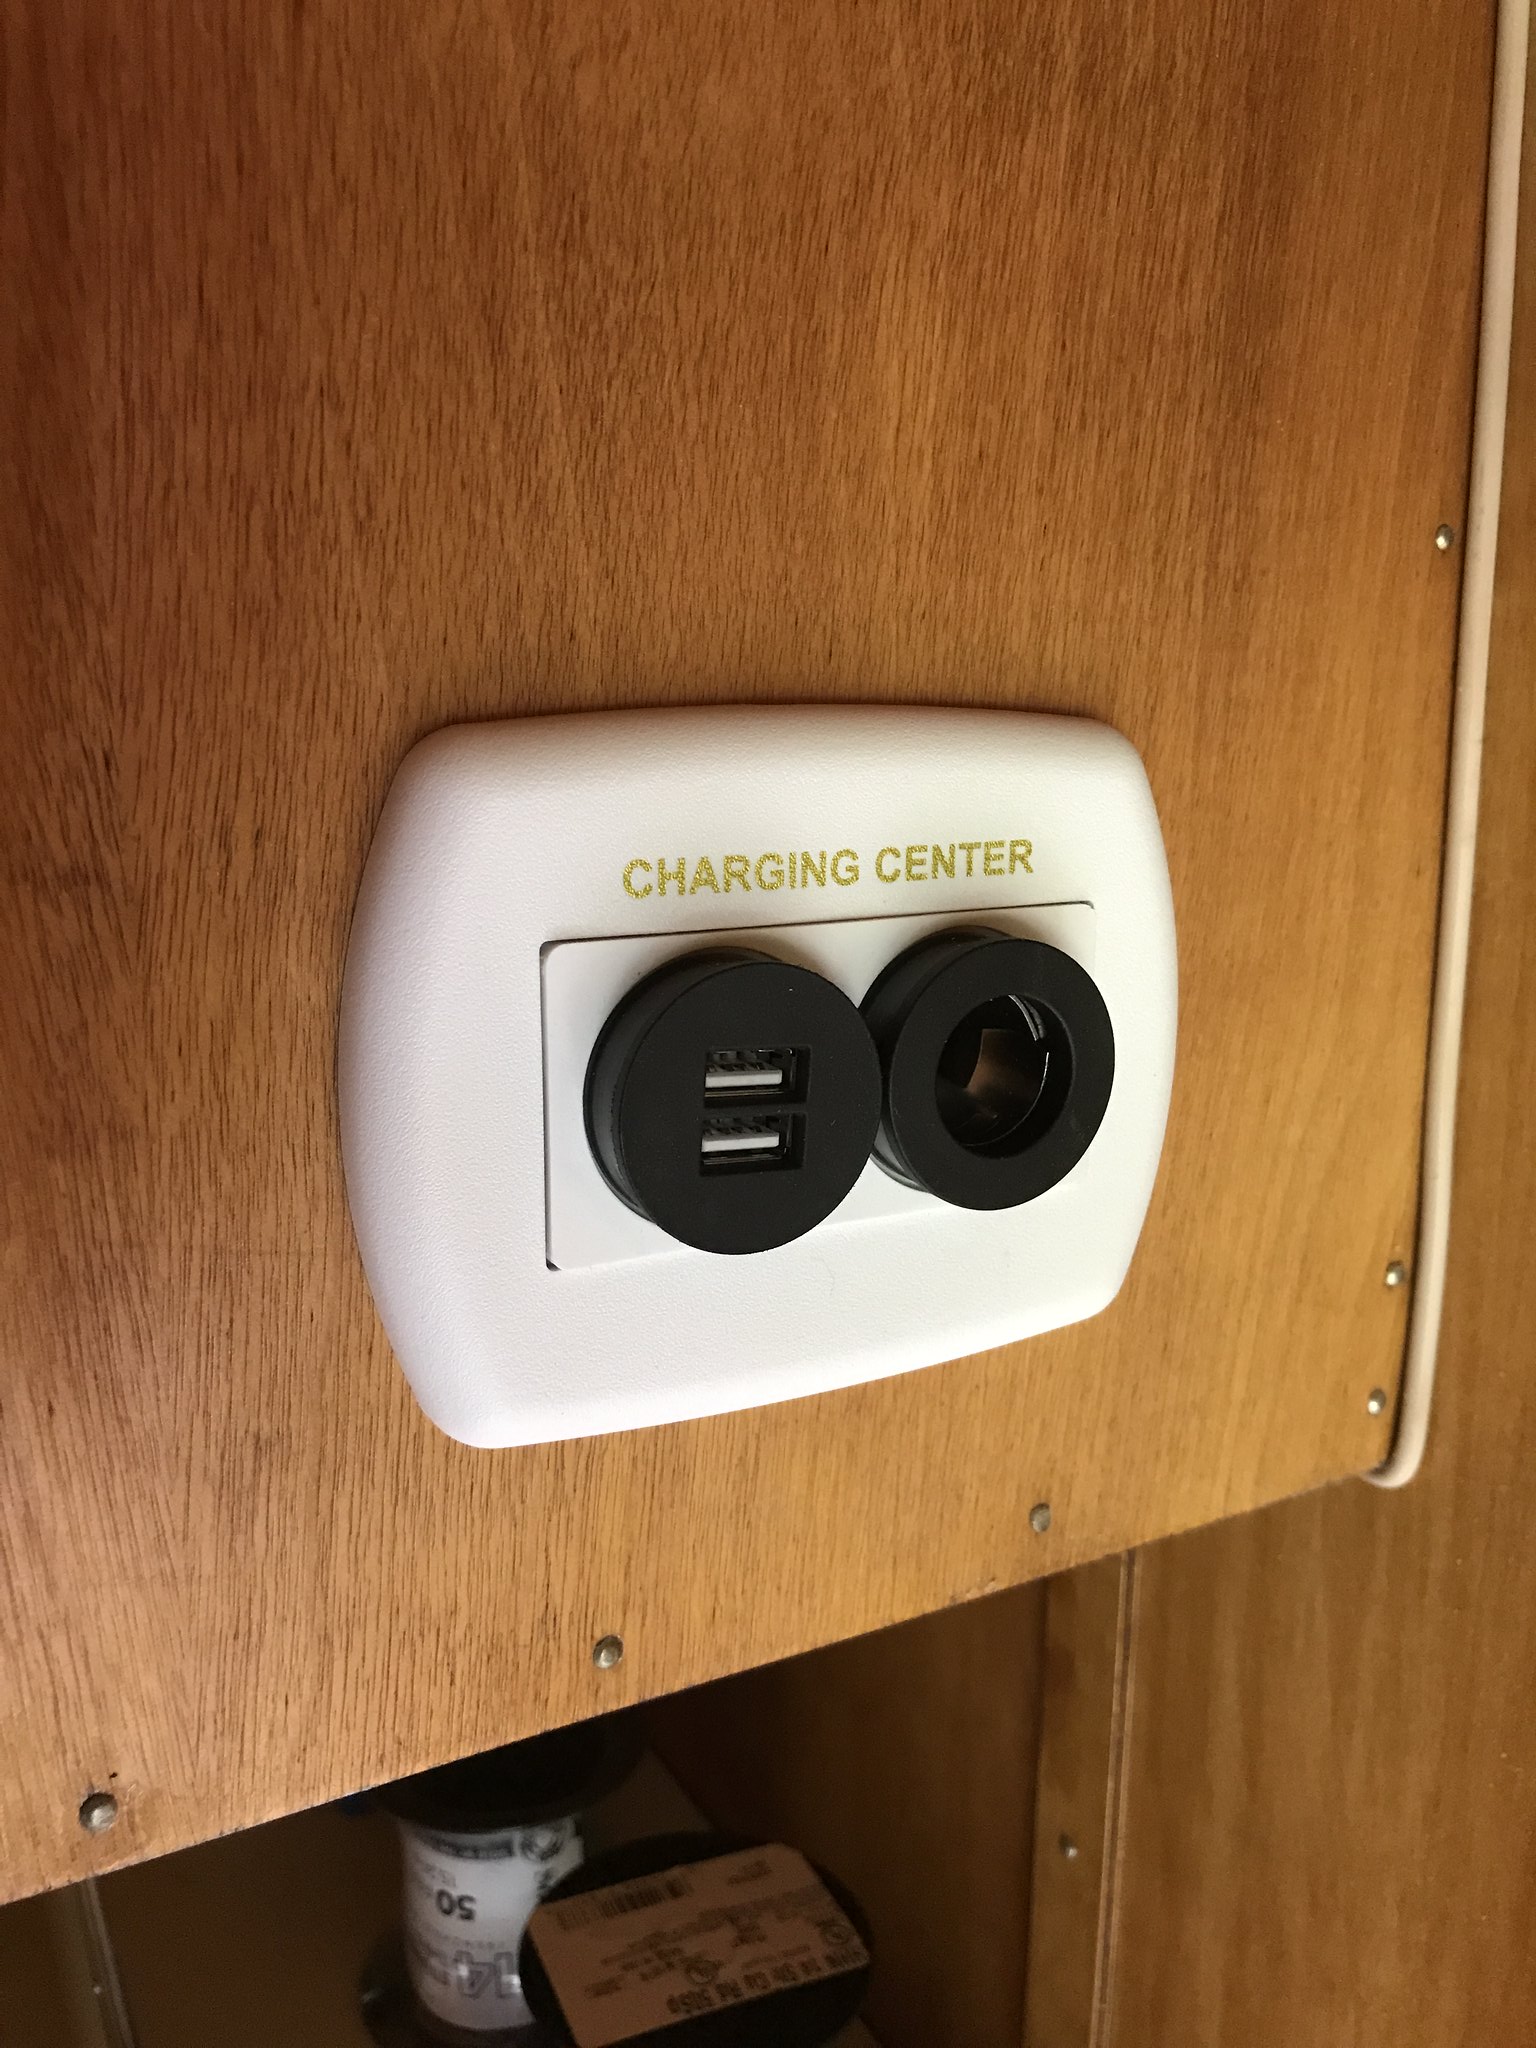
And, after much thought, (I can't believe I am saying this) I took the plunge and ordered ALL NEW METAL SKINS!!!! AHHHHH! After looking at my old metal, I just knew it would be so much better to forgo all the patched holes, tears and huge bends plus old paint and putty and just put new skins on this ole' gal. It was costly for sure, but I think she's worth it! Ha ha I ordered my metal from Hemet Valley RV - thanks to Mobiltec's recommendation- and Steve there worked with me to get the right measurements and info (and I did beat his price increase that is coming in January!). It will be here in a week- and although I cannot install now (winter here in PA)- I am so excited to know that the day will come when she is put on. My metal can sit until I am ready....which will be a day to celebrate for sure! Party at my house in PA anyone??? Ha ha ha That's about all for now. Lots more to do- but I am getting there. Still on my own doing this all- so things are slow....but oh how far I have come!!!  Onward I go....... Kathy |
|
kaffi311
Active Member
Posts: 283
Likes: 98
1963 Shasta 16 SC
Currently Offline
|
Post by kaffi311 on Dec 11, 2018 15:20:33 GMT -8
So- I was anxious to see some of my 12v lights turn on- so I got a battery and hooked some circuits up. So excited that my over the bed reading lights, porch light and even water pump switch worked (don't worry- shut that off instantly)! ( I am easily excited at this point in the build). However, when I went to check on the ceiling light circuit- I hooked up ground to negative post, and then 'hot' to positive post- and the 'hot' wire started to spark and even smoke. I stopped immediately- and wanted to check here as to what could be going on. Is it possible there was a light on and the draw caused this? (I did not check- didn't want to risk damage.)
Just wanted your thoughts.
Thanks
kathy
|
|
kaffi311
Active Member
Posts: 283
Likes: 98
1963 Shasta 16 SC
Currently Offline
|
Post by kaffi311 on Dec 6, 2018 17:07:35 GMT -8
So...I am trying to get the back skin together - the bottom is giving me trouble. I am reviewing the photos I took of disassembly- but for the life of me can't tell what's up. Asking for some help. Here's the scoop: 1) This is the very bottom of the back- right after I took the metal skin off. Note metal pieces- which were on both sides.  IMG_0623 IMG_0623 by kathy, on Flickr 2) After removing these metal pieces- and the framing cross member, insulation, interior wall panel, this is what was under it- another piece of metal that ran from side to side:  IMG_2123 IMG_2123 by kathy, on Flickr  IMG_2165 IMG_2165 by kathy, on Flickr My questions 1) Do I need to replace these pieces? What was their purpose? 2) Was the long piece under the interior paneling or on top of it - I can't remember and can't tell from the photo as the interior wall is off. Looks like it might have been under the interior wall- or else the holes in the panel (in the background) would have been ripped in order to get the wall panel out- correct? Boy- I am feeling confused even with photos  Thanks for any help you can give. kathy |
|
kaffi311
Active Member
Posts: 283
Likes: 98
1963 Shasta 16 SC
Currently Offline
|
Post by kaffi311 on Dec 6, 2018 16:24:32 GMT -8
Sooo....my back skin is in good shape other than these holes the PO put in to add crappy lights:  IMG_5325 IMG_5325 by kathy, on Flickr   IMG_5326 IMG_5326 by kathy, on Flickr I would like to reuse the back metal skin. Ideas for a fix? I am going to order the reproduction wedding cake lights from VTS- and their diameter is 6.5"- and are surface mounted. Can you give me some ideas for how to best fix this? Put metal behind hole I presume and seal...but need specifics from the pros ! Thanks all Kathy |
|
kaffi311
Active Member
Posts: 283
Likes: 98
1963 Shasta 16 SC
Currently Offline
|
Post by kaffi311 on Nov 11, 2018 18:06:02 GMT -8
My 63 Shasta has 3 marker lights above both the front and back windows. The front appear to be amber (orange) lenses- correct? What would the 3 in the back be? Red? They were missing lenses when I got her. Thanks !!  IMG_0336 (1) IMG_0336 (1) by kathy, on Flickr  IMG_0164 IMG_0164 by kathy, on Flickr |
|
kaffi311
Active Member
Posts: 283
Likes: 98
1963 Shasta 16 SC
Currently Offline
|
Post by kaffi311 on Oct 28, 2018 11:05:20 GMT -8
I did Thanks all ! Kathy |
|


 A year ago, I would never have even thought I was able to undertake something like this. Look at me now!! ha ha!!!


