shastatom
Full Member
    I can chase women or fix campers, I choose to fix what I understand........... campers.
Posts: 745 
Likes: 420
Shasta 54,57 1500 58 Airflyte
Currently Offline
|
Post by shastatom on Oct 5, 2018 13:48:33 GMT -8
Mobiltec,
Thanks for pointing that out because I just noticed I put the insulation up all the way to the ends on the wall pieced I replaced. I would have caught that at some point. Nothing has been glued at this point so I just will need to do a bit of trimming. Most of the camper has the edge board.
|
|
|
|
Post by vikx on Oct 5, 2018 19:39:20 GMT -8
Been there, done that with the edge boards. We learn everyday...
|
|
shastatom
Full Member
    I can chase women or fix campers, I choose to fix what I understand........... campers.
Posts: 745 
Likes: 420
Shasta 54,57 1500 58 Airflyte
Currently Offline
|
Post by shastatom on Oct 8, 2018 4:07:41 GMT -8
Took Saturday off, but Sunday worked from 10 am to 9 pm in the garage with a couple hour road trip to pick up more insulation and some plywood to make edge boards. Needs to stop raining hear so I can cut these outside. Got the camper insulation cut and now the roof pieces need to be glued in. I than started putting up some tyvek and ran some 110 volt wire on the inside. Almost forgot, ran the trailer light wiring from front to back. Just for future reference it take 7 sheets of insulation to do this. If you don't want to piece some stuff together then you would need 8. 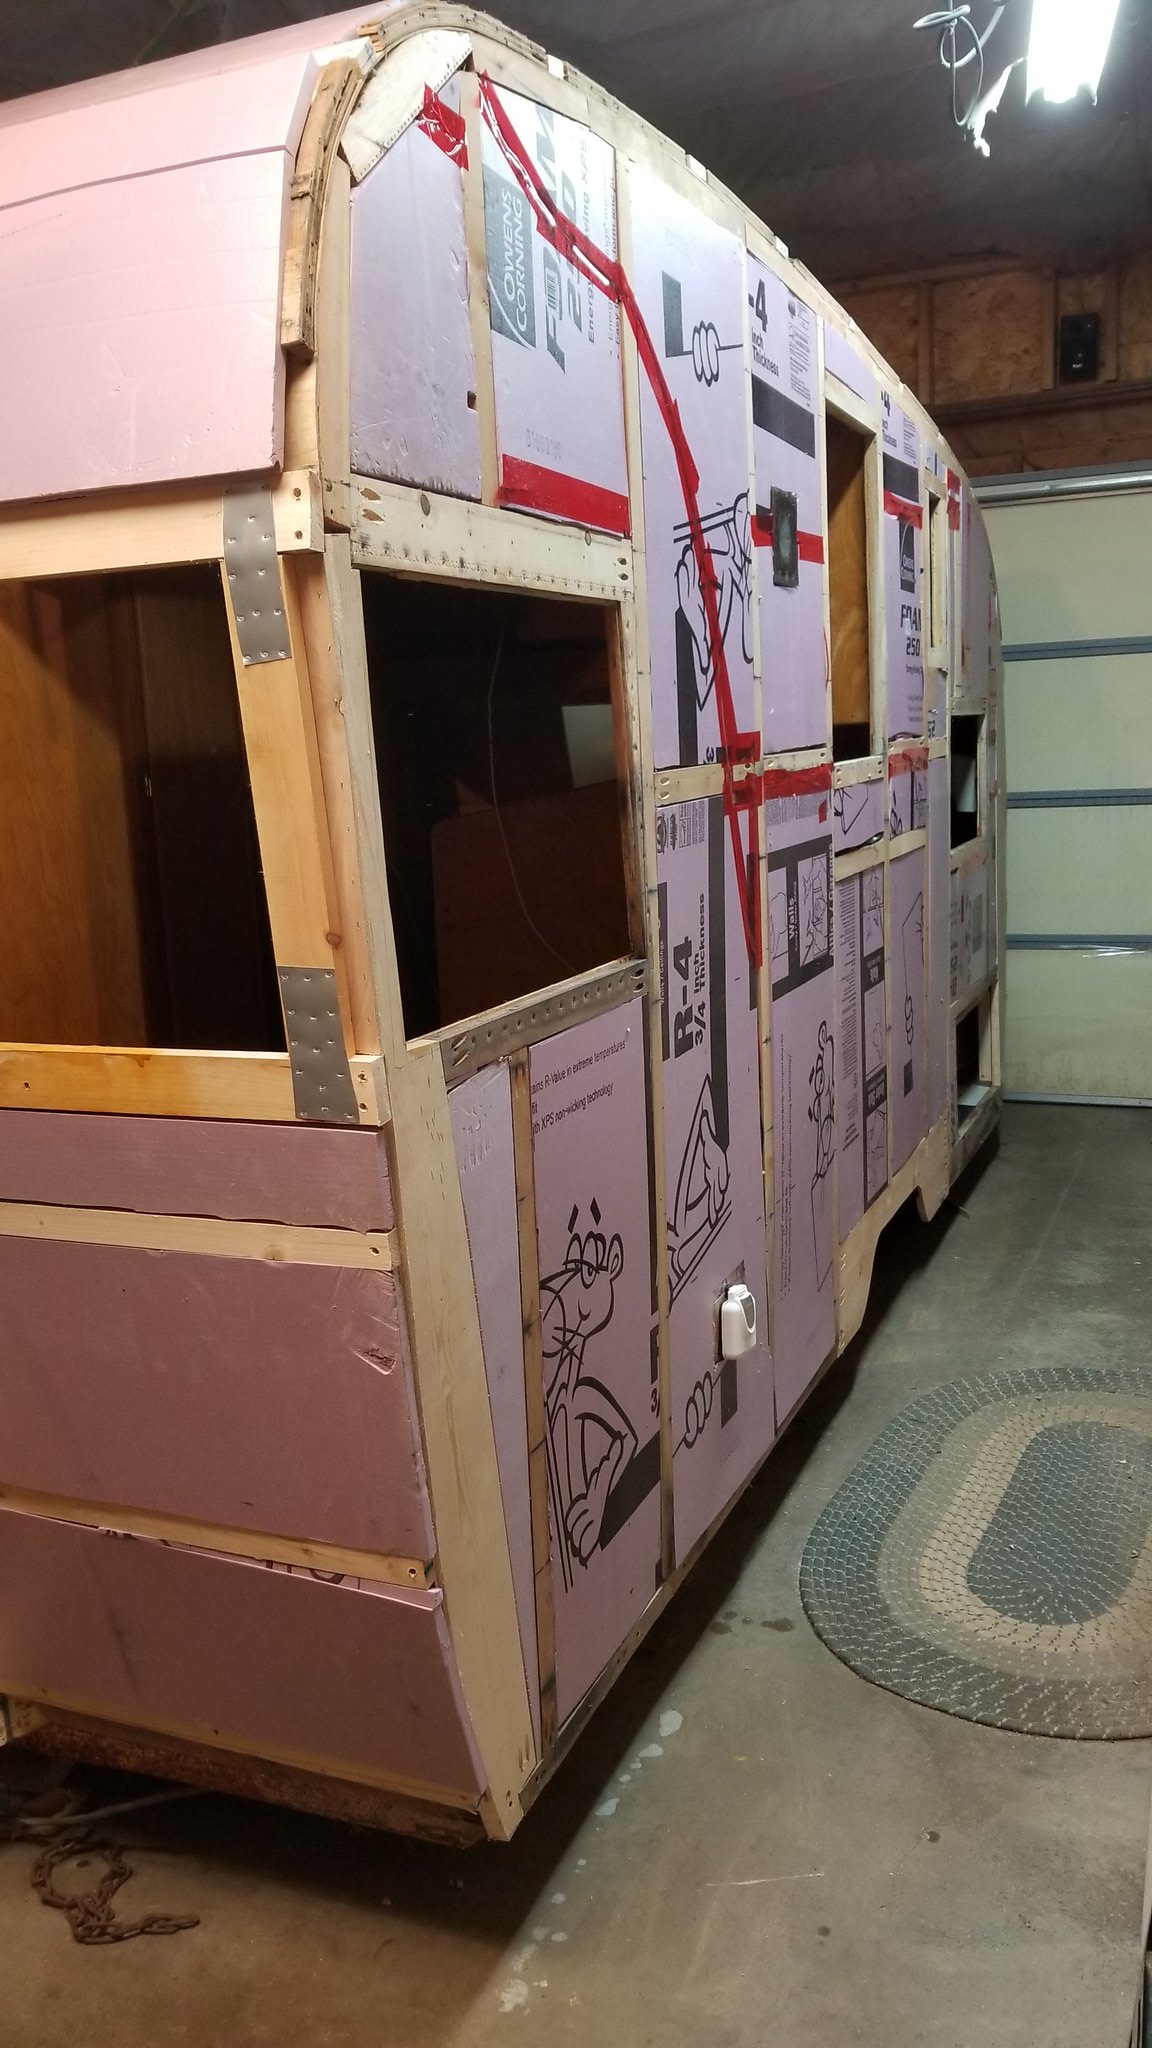 20181007_180038 20181007_180038 by Tom Ress, on Flickr 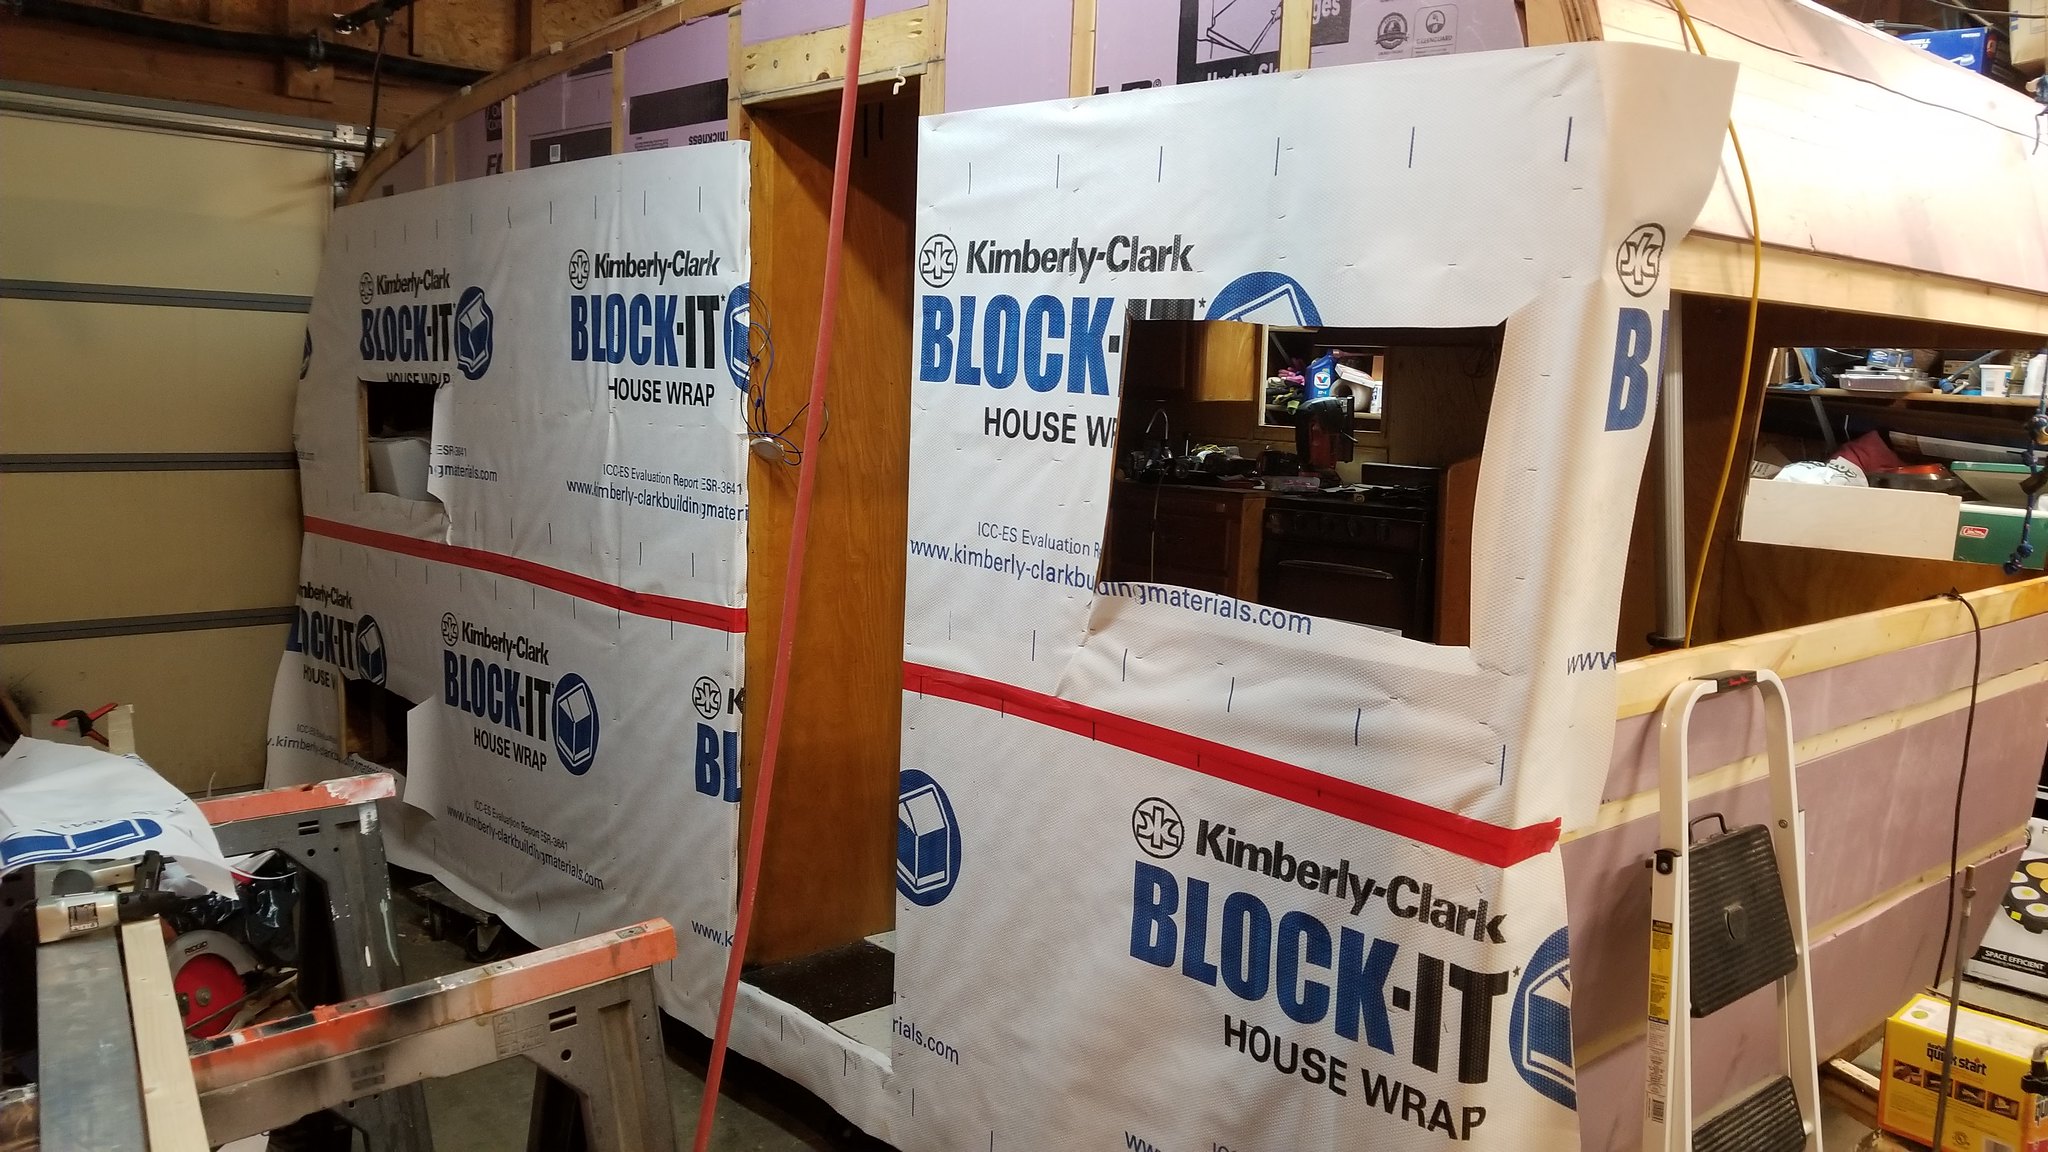 20181007_205901 20181007_205901 by Tom Ress, on Flickr |
|
shastatom
Full Member
    I can chase women or fix campers, I choose to fix what I understand........... campers.
Posts: 745 
Likes: 420
Shasta 54,57 1500 58 Airflyte
Currently Offline
|
Post by shastatom on Oct 9, 2018 3:53:04 GMT -8
Last night I did a puttzy job of putting up the edge board that was missing as well as building up around the roof vent opening. I hope I can open the garage door tonight and finish gluing the insulation down.
|
|
shastatom
Full Member
    I can chase women or fix campers, I choose to fix what I understand........... campers.
Posts: 745 
Likes: 420
Shasta 54,57 1500 58 Airflyte
Currently Offline
|
Post by shastatom on Oct 10, 2018 4:06:13 GMT -8
Did a bit more last night. Got the insulation glue to the camper. Then strapped it down across the curves and then finished putting up tyvek on the street and curb sides. 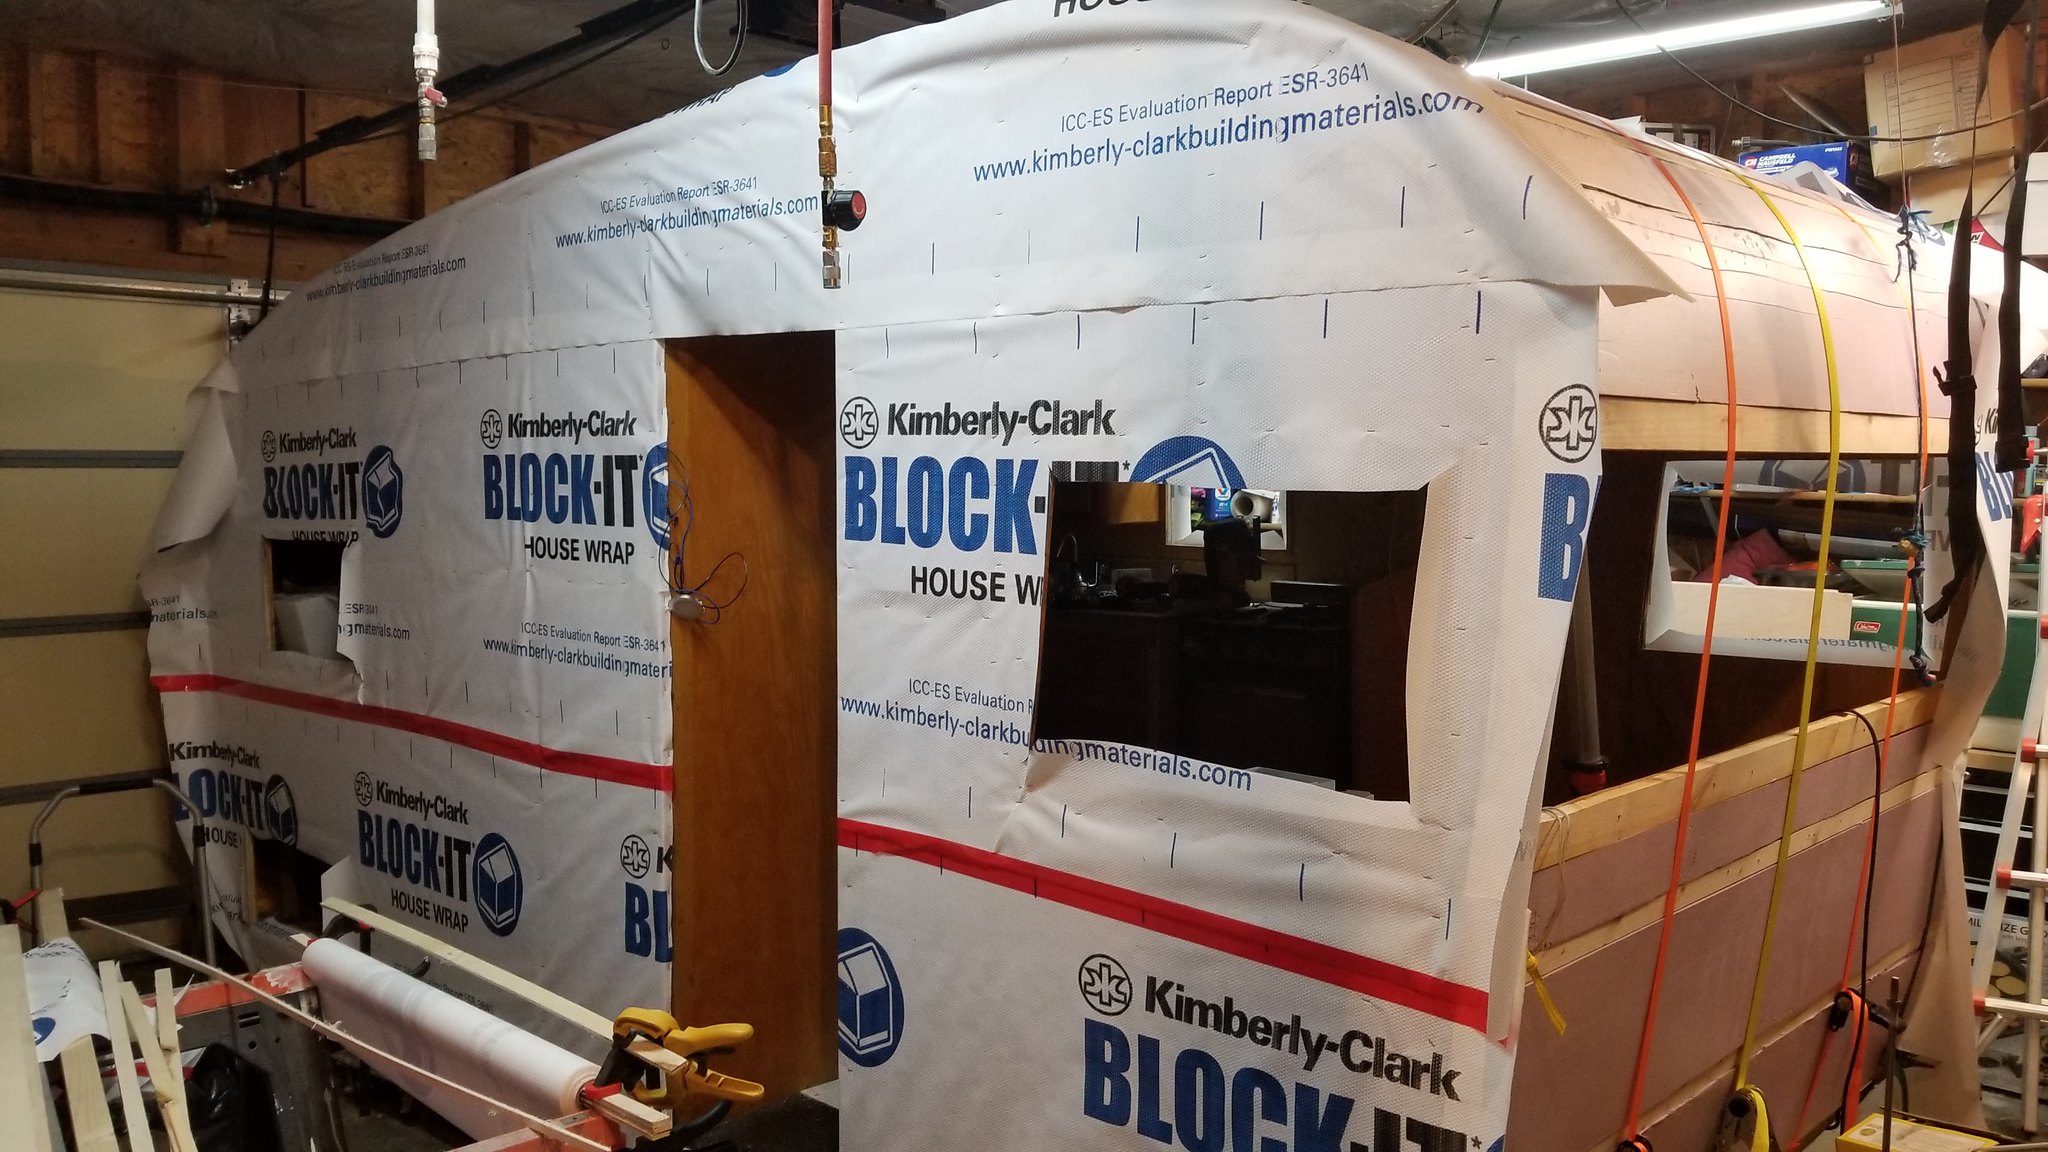 20181009_205946 20181009_205946 by Tom Ress, on Flickr |
|
shastatom
Full Member
    I can chase women or fix campers, I choose to fix what I understand........... campers.
Posts: 745 
Likes: 420
Shasta 54,57 1500 58 Airflyte
Currently Offline
|
Post by shastatom on Oct 12, 2018 3:49:11 GMT -8
Got progress. The camper is now fulling enclosed in tyvek. Will start putting metal on this weekend if my wife lets me. 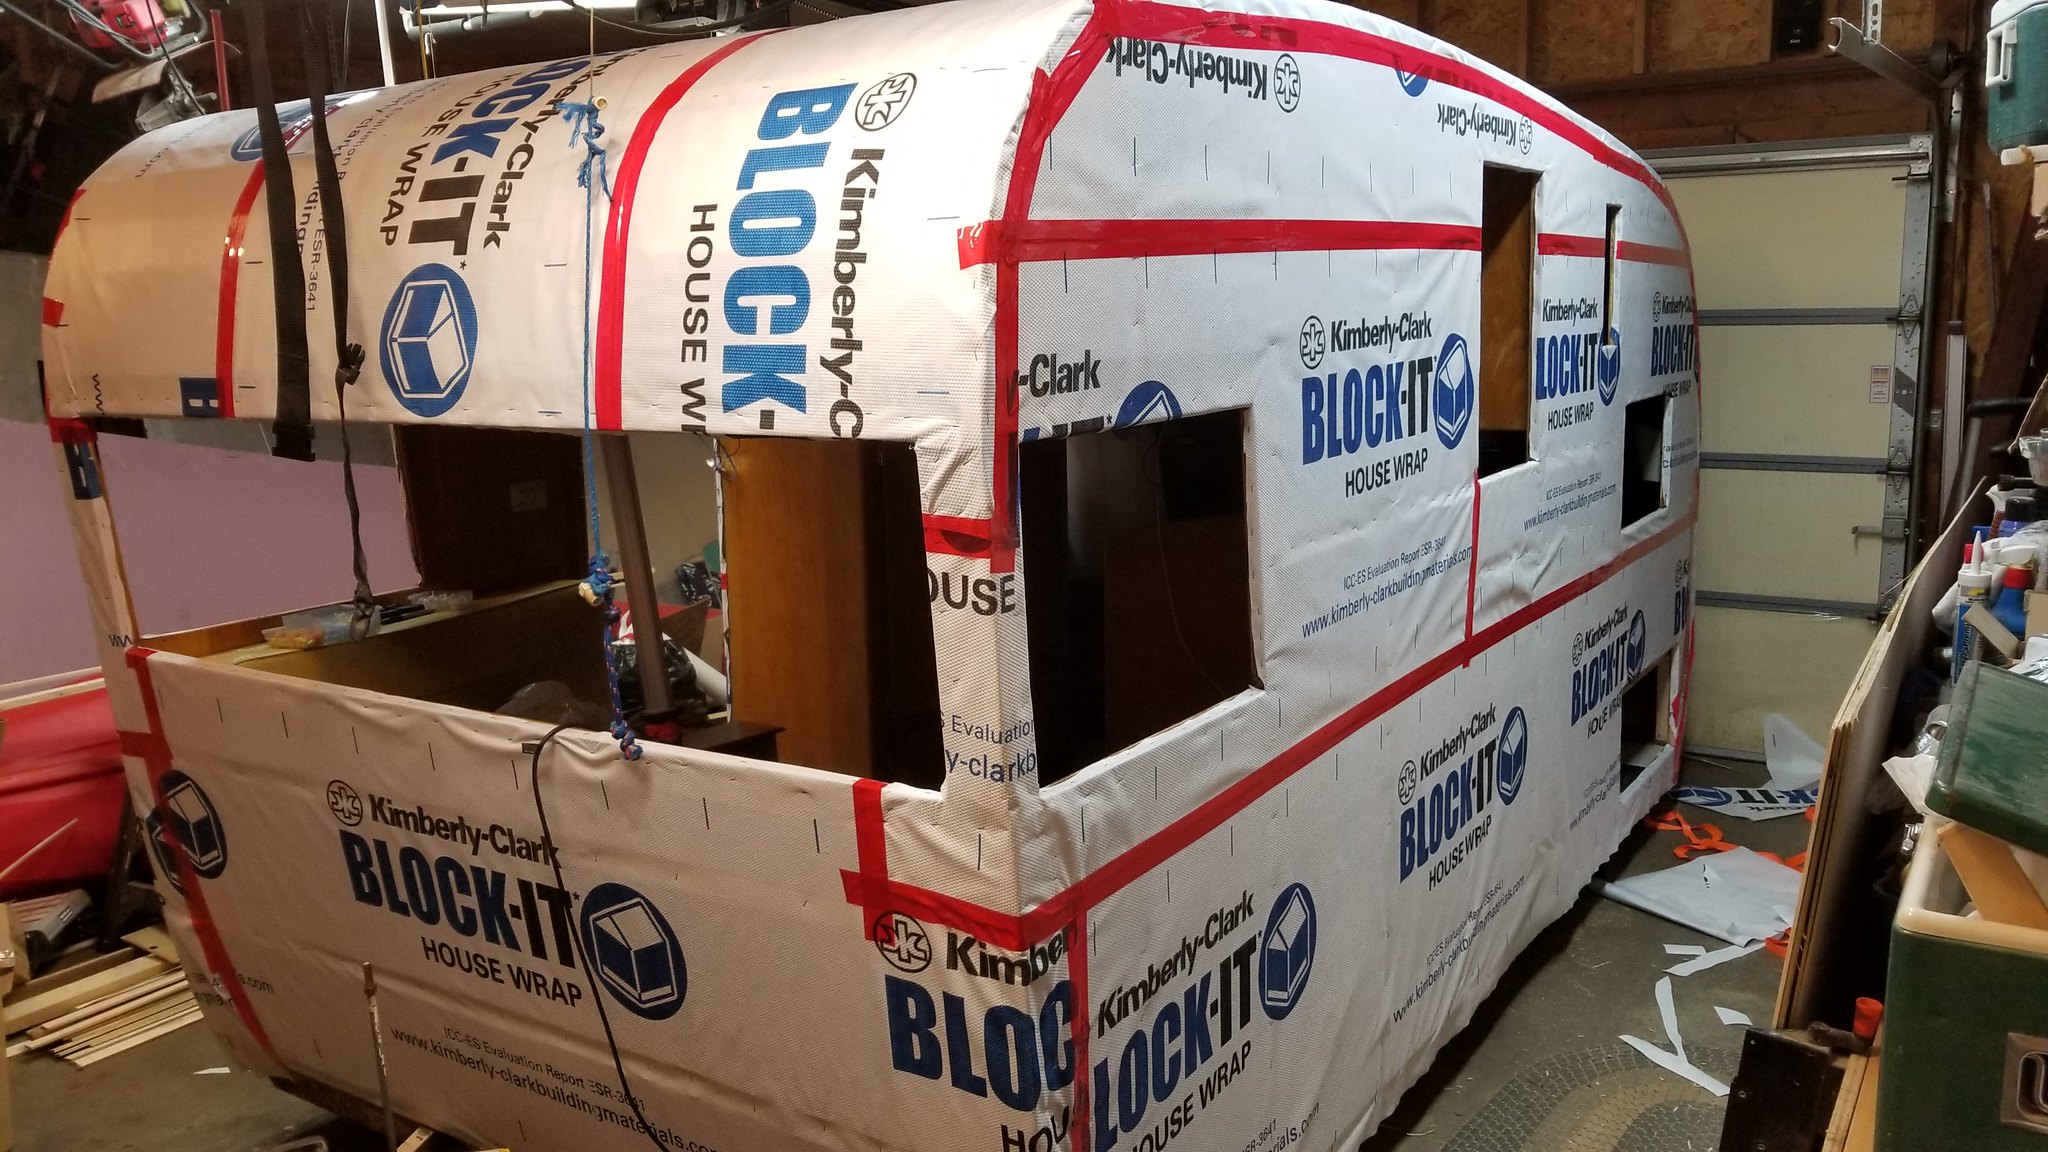 20181011_215456 20181011_215456 by Tom Ress, on Flickr |
|
|
|
Post by vikx on Oct 12, 2018 19:29:08 GMT -8
Looks like a present!!
|
|
shastatom
Full Member
    I can chase women or fix campers, I choose to fix what I understand........... campers.
Posts: 745 
Likes: 420
Shasta 54,57 1500 58 Airflyte
Currently Offline
|
Post by shastatom on Oct 14, 2018 15:59:39 GMT -8
Since I couldn't go camping this weekend due to cold weather and then snow today. I worked in the garage on the other camper. As you can see the skin has been off this poor camper all summer. It is now ready to get it back on. I forgot that I have a bunch of cleaning to do with tape and caulk. 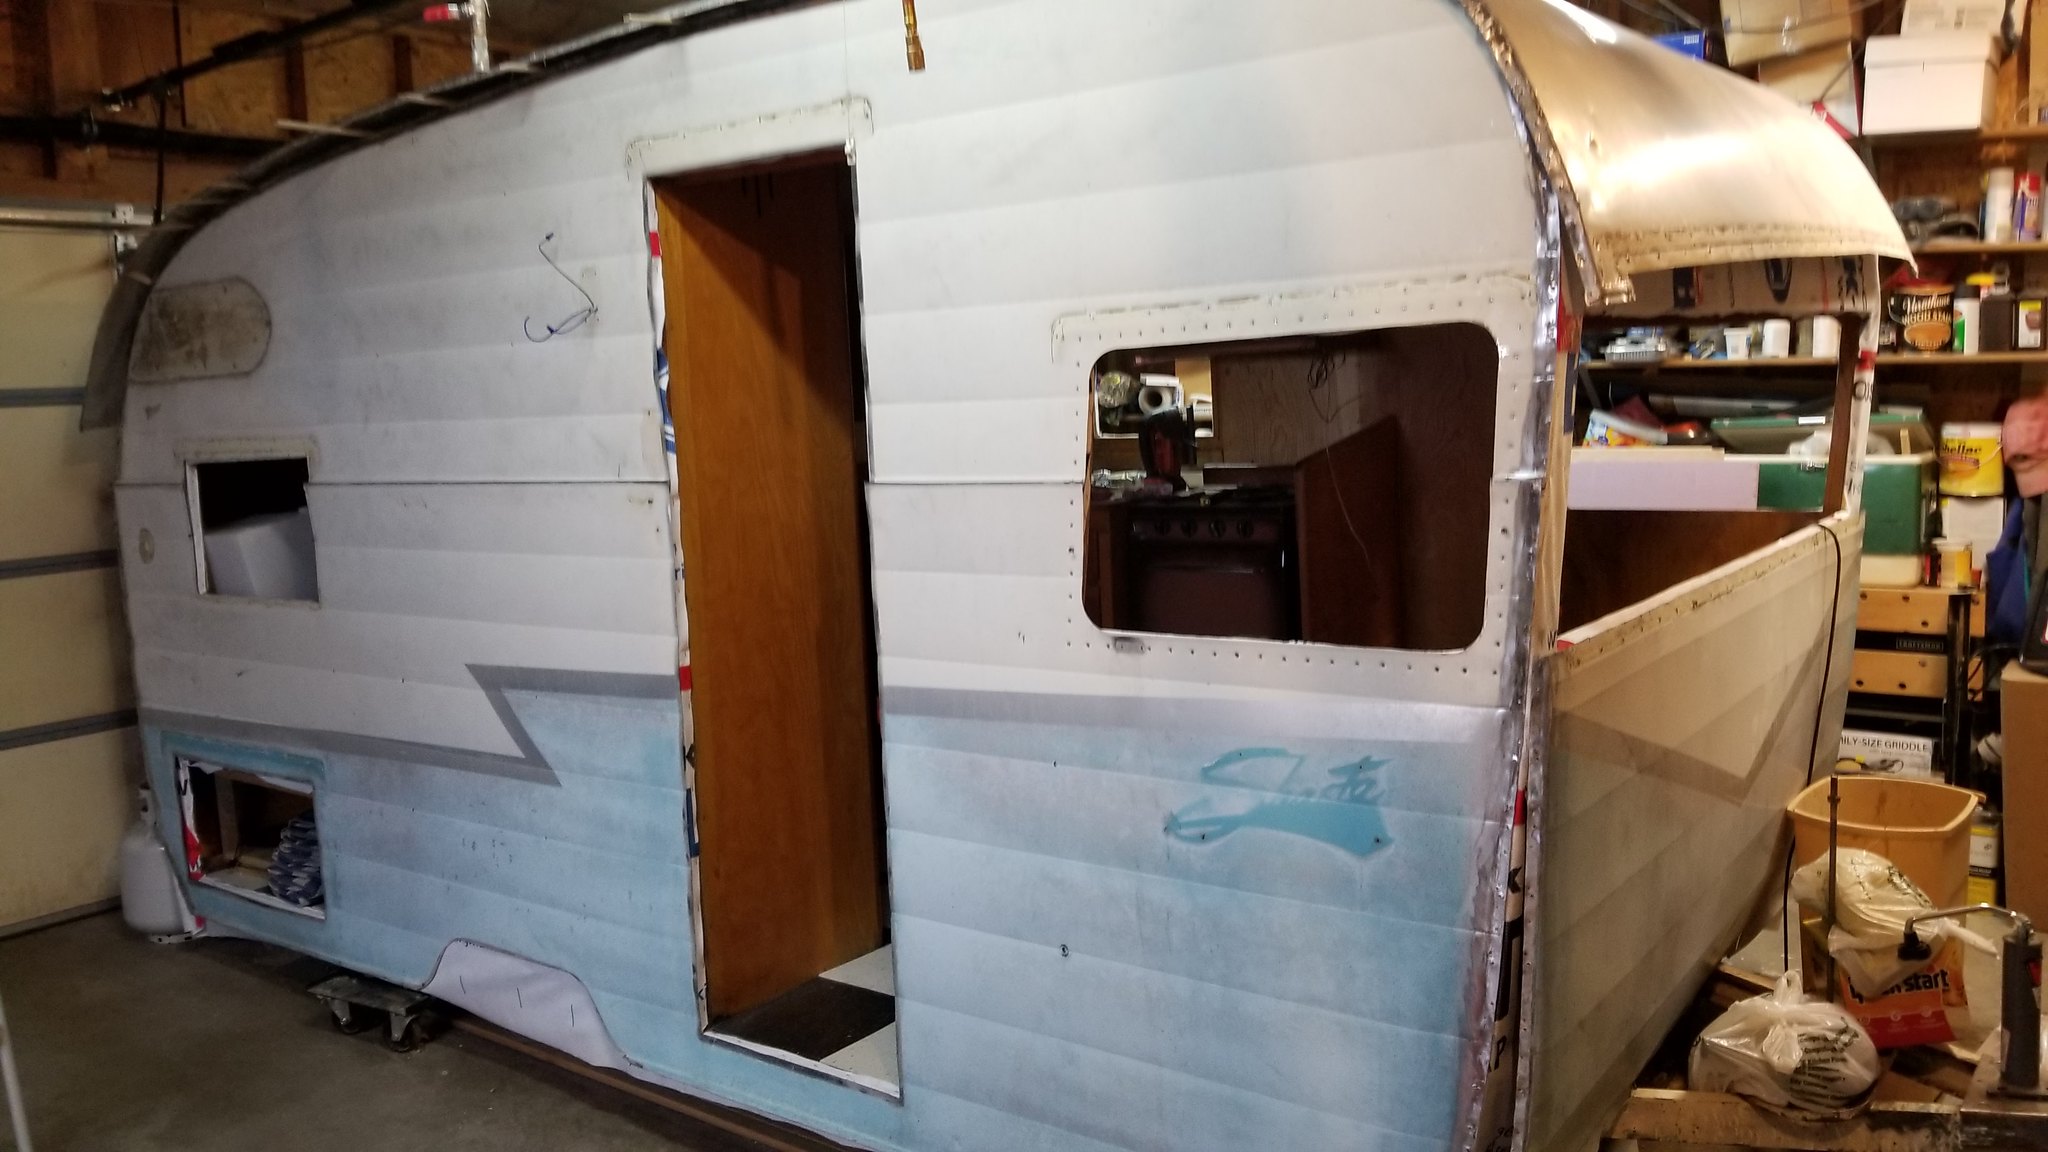 20181014_165054 20181014_165054 by Tom Ress, on Flickr |
|
shastatom
Full Member
    I can chase women or fix campers, I choose to fix what I understand........... campers.
Posts: 745 
Likes: 420
Shasta 54,57 1500 58 Airflyte
Currently Offline
|
Post by shastatom on Oct 23, 2018 4:03:06 GMT -8
After being out of town for a week on business I was able to get back to some work on the camper. Got the sides attached and the roof lined up. Did lots of cleaning of old putty and caulk. I found a wire wheel on the drill will take the silicone off very well but it does also take any paint. Also started taking the door apart. The door is toast, I will have to rebuild the entire thing, good thing that I can save the tin, edging and door handle. If you look close you will see a 2015 reproduction window. Did have to fix some window glass as well this weekend. The front window street side was interesting to take apart and fix. 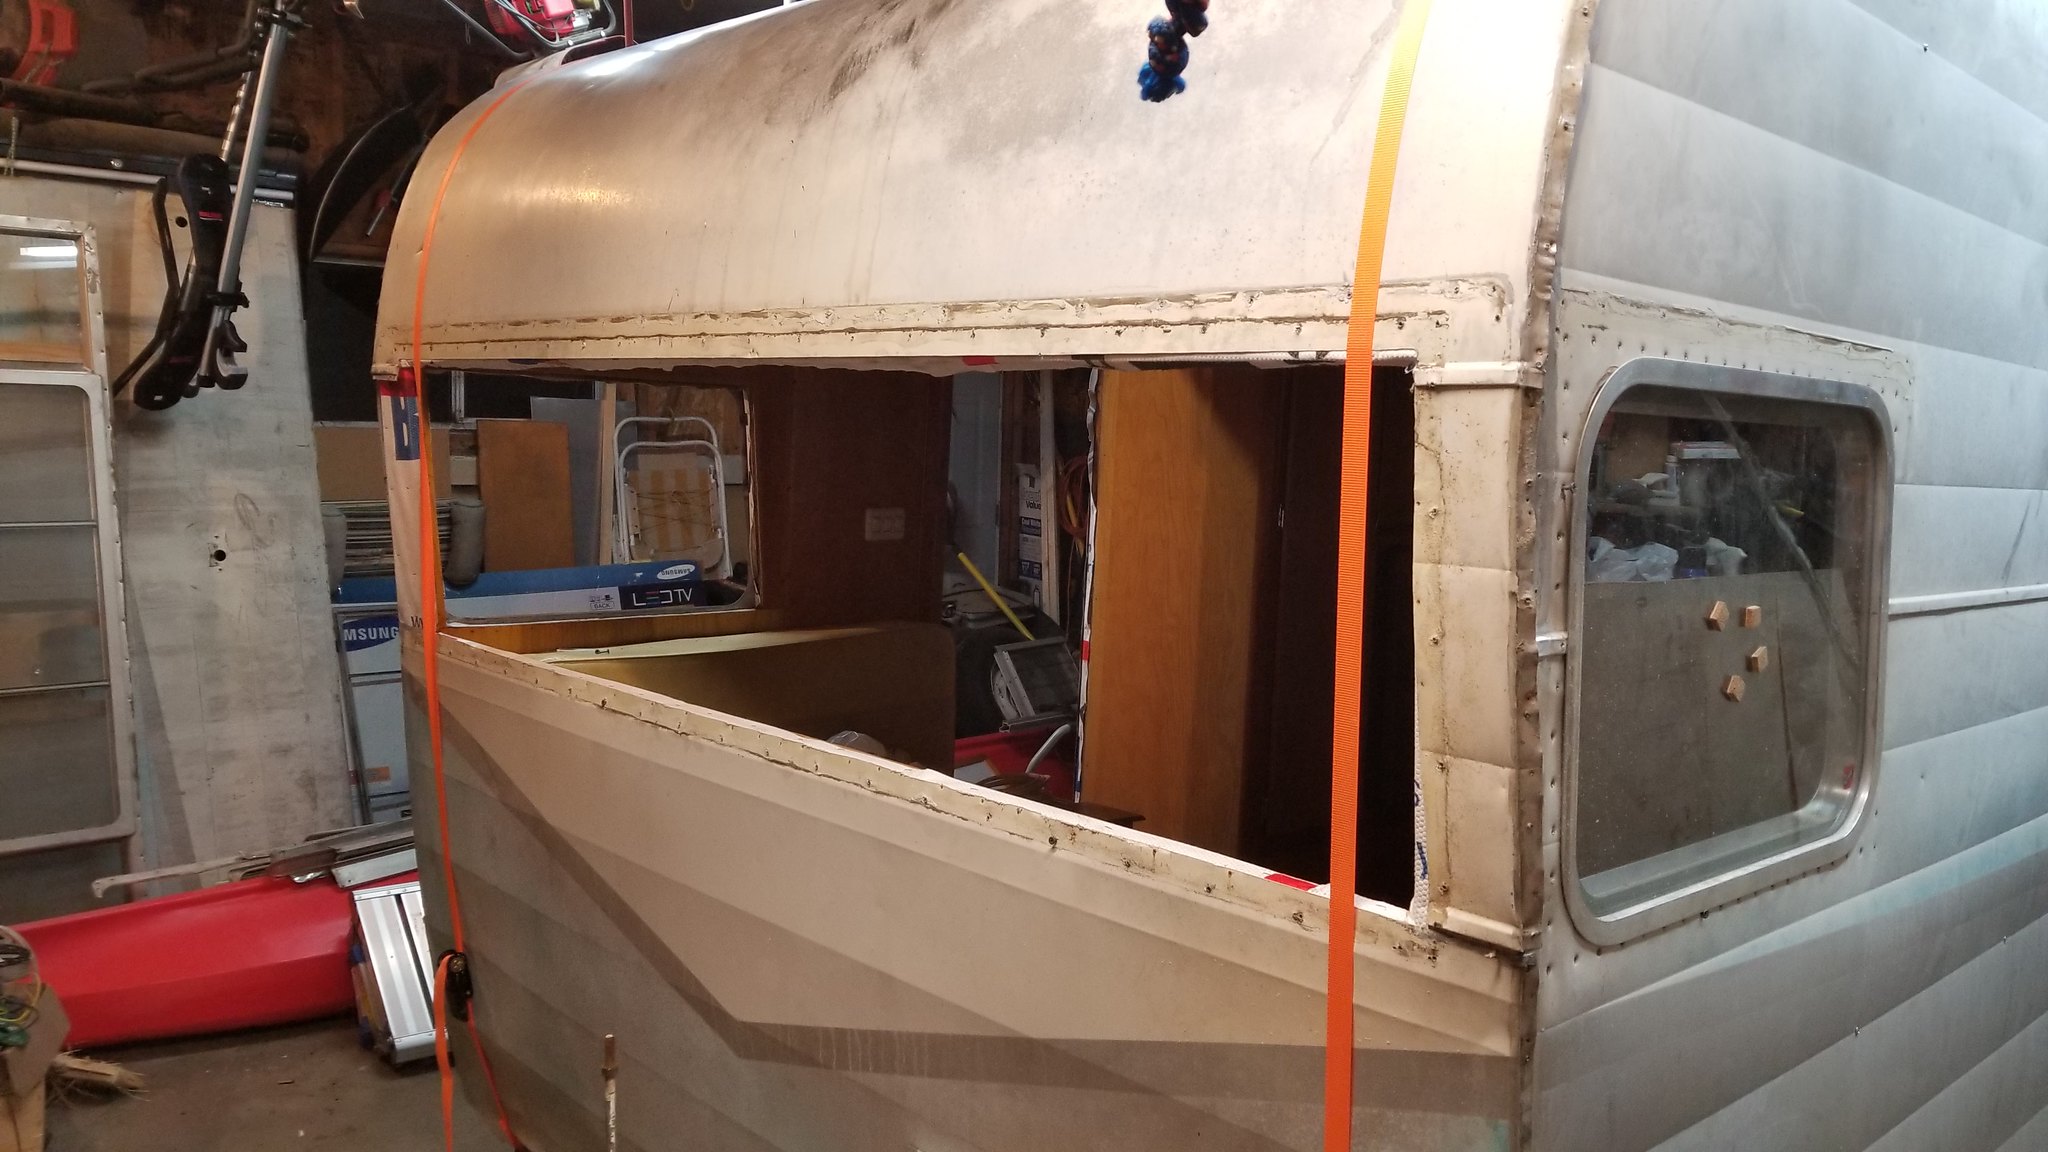 20181022_212609 20181022_212609 by Tom Ress, on Flickr |
|
mobiltec
5K Member
     I make mistakes so you don't have to...
Posts: 9,885 
Likes: 3,810
1954 Jewel In Progress...
Currently Offline
|
Post by mobiltec on Oct 23, 2018 7:45:22 GMT -8
I would have taken that retro window out and gone back to the old style. Yes they are a funnel for leaks but if done right with glass seal gasket they can be made to be water proof. I have done that on two Shastas now and both are sealed tight and tested.
|
|
shastatom
Full Member
    I can chase women or fix campers, I choose to fix what I understand........... campers.
Posts: 745 
Likes: 420
Shasta 54,57 1500 58 Airflyte
Currently Offline
|
Post by shastatom on Oct 24, 2018 4:12:02 GMT -8
Last nights work effort: Got street side roof cleaned and bend over, taped and nailed. Test fit all the windows since I replaced front and back walls and corners. Had to make adjustments to the front and back window frames. 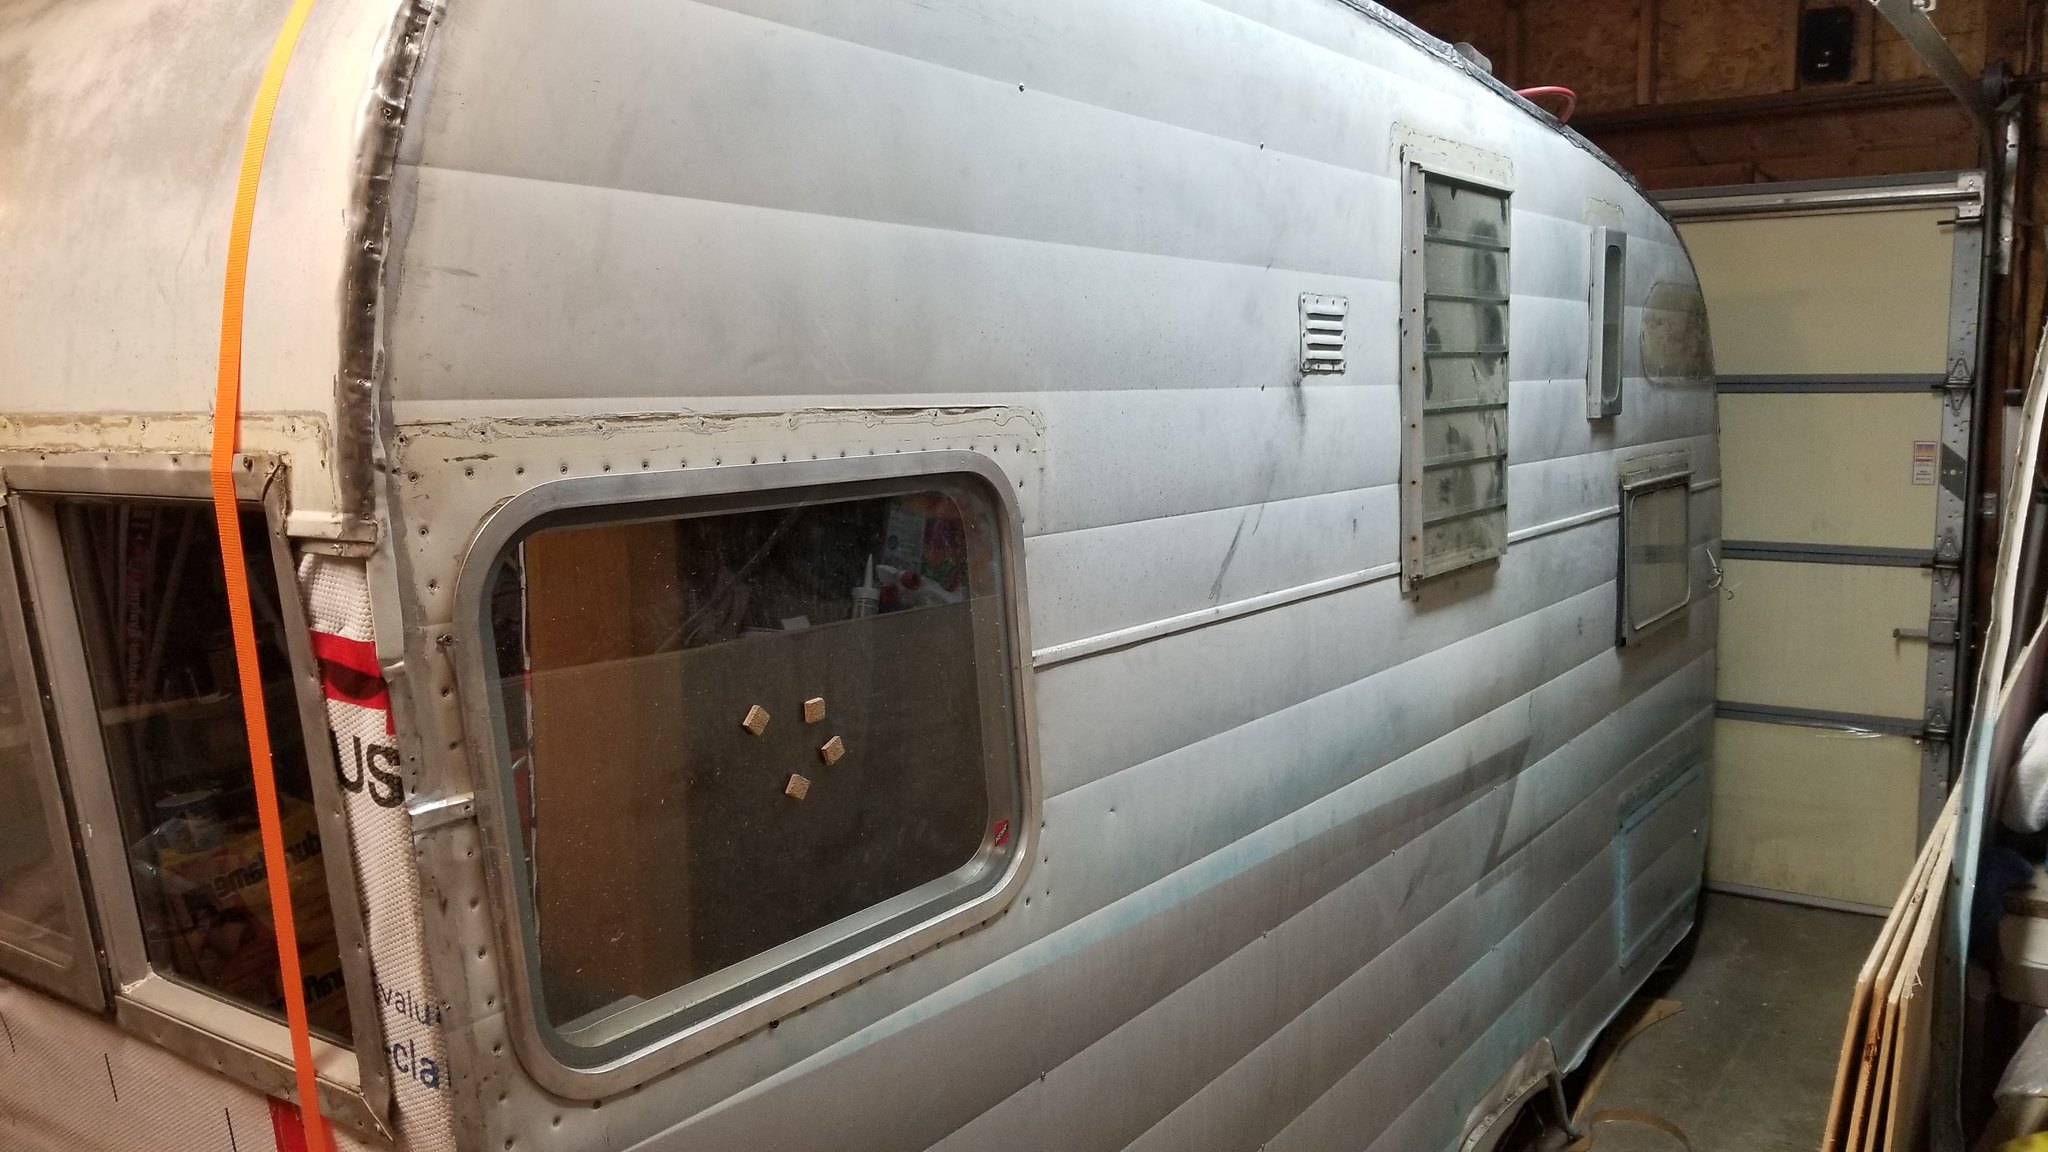 20181023_192745 20181023_192745 by Tom Ress, on Flickr |
|
shastatom
Full Member
    I can chase women or fix campers, I choose to fix what I understand........... campers.
Posts: 745 
Likes: 420
Shasta 54,57 1500 58 Airflyte
Currently Offline
|
Post by shastatom on Oct 25, 2018 3:58:00 GMT -8
Last night I worked on the curb side window. Since I am already to far down the rabbit hole I am staying with the retro window for this project. My next Shasta I will do the plexiglass solution that you have done Mobiltec. But to make this even more of a rabbit hole here is what I had to do for the curbside window. Since I couldn't get a curb side window I bought 2 street side windows. The next question I know you have is why would you do that? The plan, bend the street side window frame to work on the curbside. I cut the glass out of the frame, got the stretcher\shrinker metal tool and started changing the curve of the window to a curbside window, after about an hour of moving between the stretcher and shrinker tools and flipping the glass over here is my end result. A curbside window. 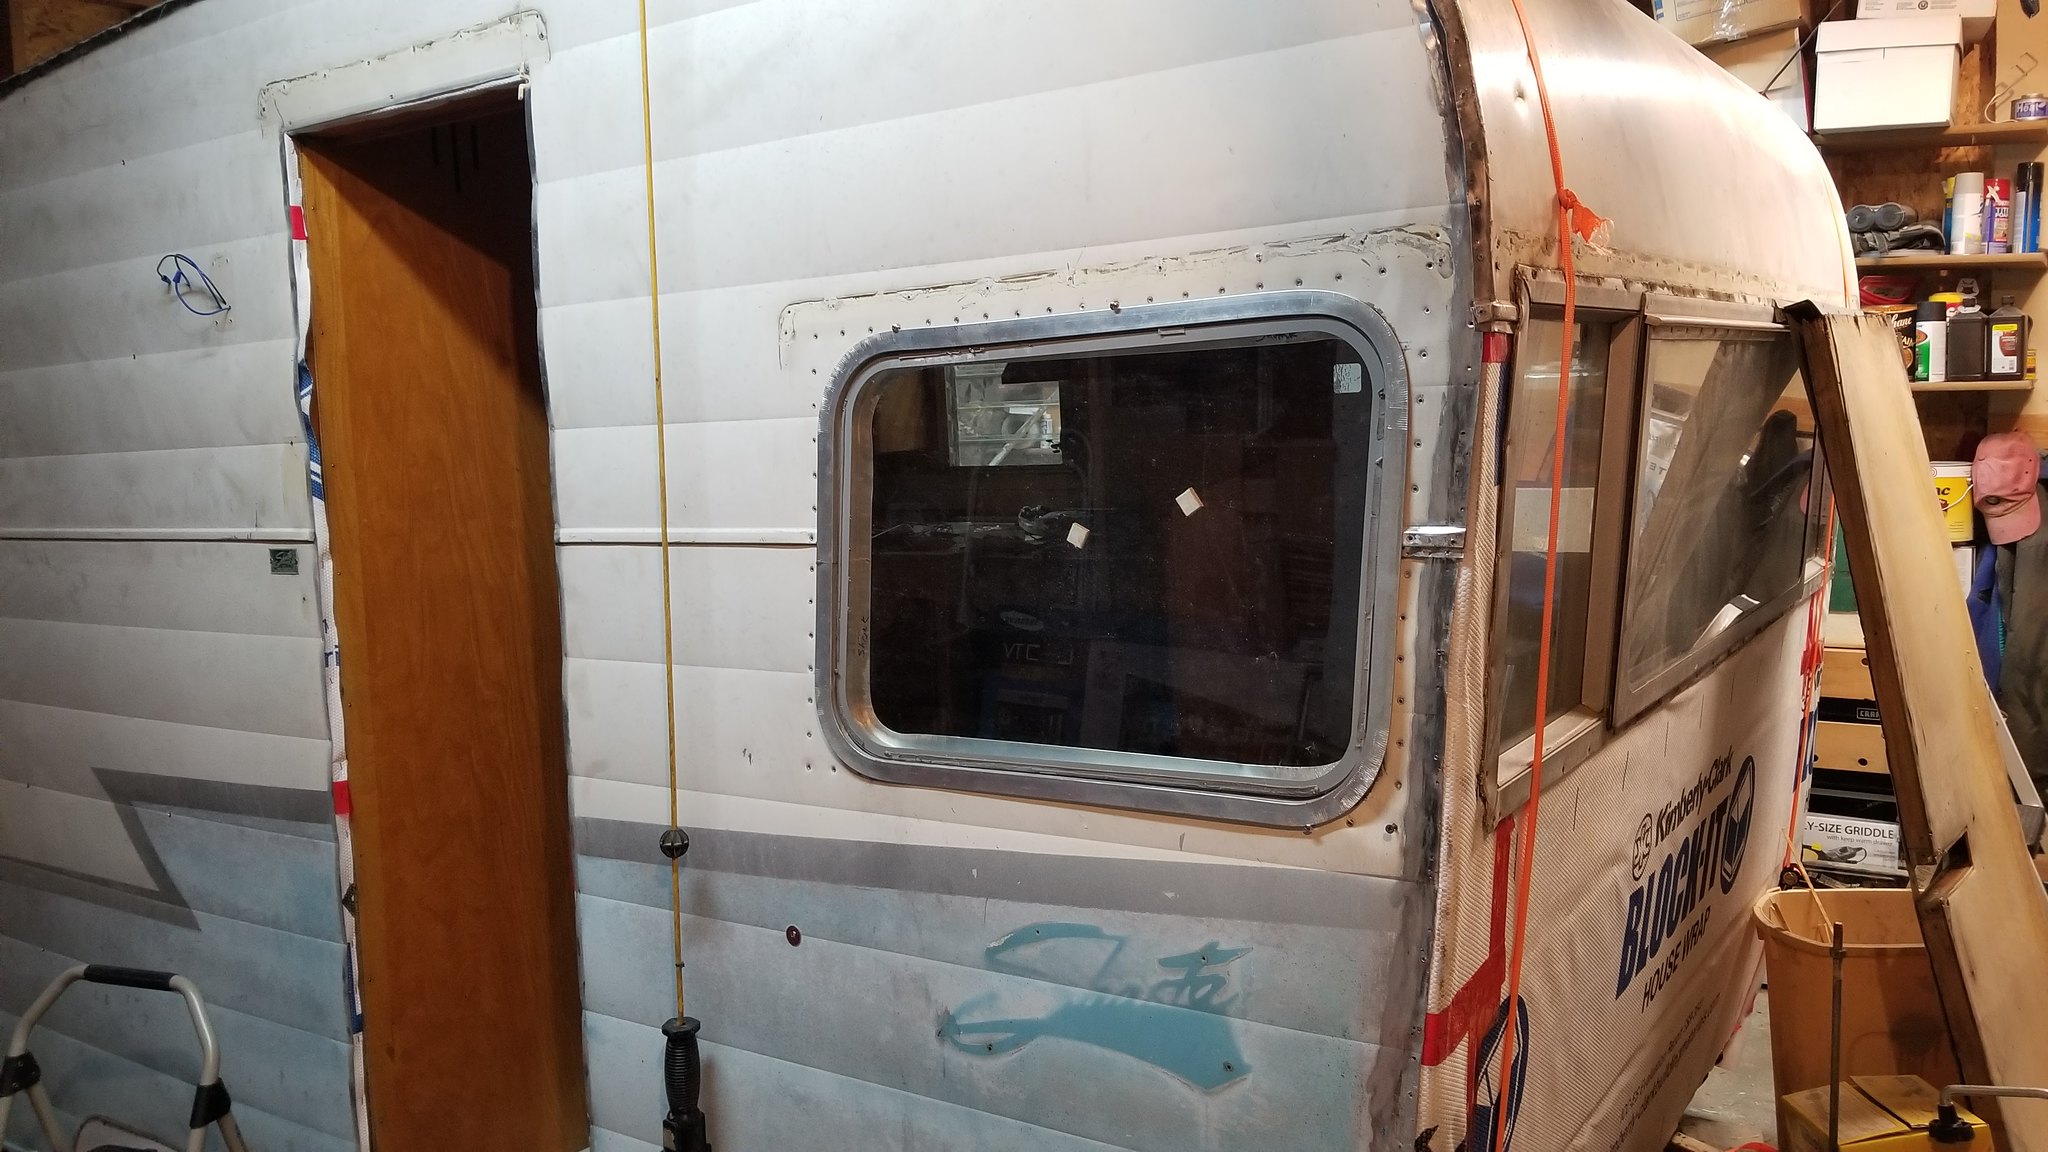 20181024_211625 20181024_211625 by Tom Ress, on Flickr |
|
|
|
Post by vikx on Oct 25, 2018 18:09:02 GMT -8
It looks pretty good, Tom. What will you do with the screw holes?
|
|
shastatom
Full Member
    I can chase women or fix campers, I choose to fix what I understand........... campers.
Posts: 745 
Likes: 420
Shasta 54,57 1500 58 Airflyte
Currently Offline
|
Post by shastatom on Oct 26, 2018 4:12:24 GMT -8
Vikx, I plan to put screws back into the holes at this point. It may not look the best but I don't see any other good alternative. Some of the holes get covered by the window trim.
Last nights progress,
Spent 2 hours cleaning and 5 minutes putting a part on. Or that is what it always feels like.
Got the rest of the roof nailed down.
Got the glass in the curbside window put into the frame
Went through all the odds and end trim parts and got those put by each opening
Worked the door frame trim
Worked the curbside window a bit more and have a plan set to create some blocks at the corners to help firm thing up for both sides.
Things left to do before I get it dragged out of the garage:
Build a new door
Finish trim around doors and wheel wells
Finish front and back panels
Wire trailer lights
Clean and redo the window rubber
Mount the windows
Mount inside window trim before mounting windows
Put on j and c rail
I am sure I am missing a few items but then grab the logging chain and drag the camper into the driveway. Then mount the roof vent and it should be (I hope) water tight. (as water tight as any camper can or ever has been)
|
|
|
|
Post by vikx on Oct 26, 2018 17:47:37 GMT -8
I think the screws will work. They are original after all...
|
|