strange1
Active Member

Posts: 159 
Likes: 103
1965 Shasta Airflyte
Currently Offline
|
Post by strange1 on Feb 5, 2018 9:28:16 GMT -8
It's a propane light that came with the trailer. I've had others question the originality...but is was plumbed with 1/4" copper tubing from the stove below and built into the walls and upper cabinet. The original glass globe had survived all these years and through my entire restoration only to be broken when I accidentally dropped a carriage bolt on it...This is a replacement glass from Vintage Trailer.
So I've got propane lighting in addition to the electric lights...
|
|
strange1
Active Member
Posts: 159
Likes: 103
1965 Shasta Airflyte
Currently Offline
|
Post by strange1 on Feb 3, 2018 20:56:25 GMT -8
I was able to pick up the cushions right on time as promised Friday... Very subtle but they match the colors in our laminate...Excited to see how they look inside the trailer. 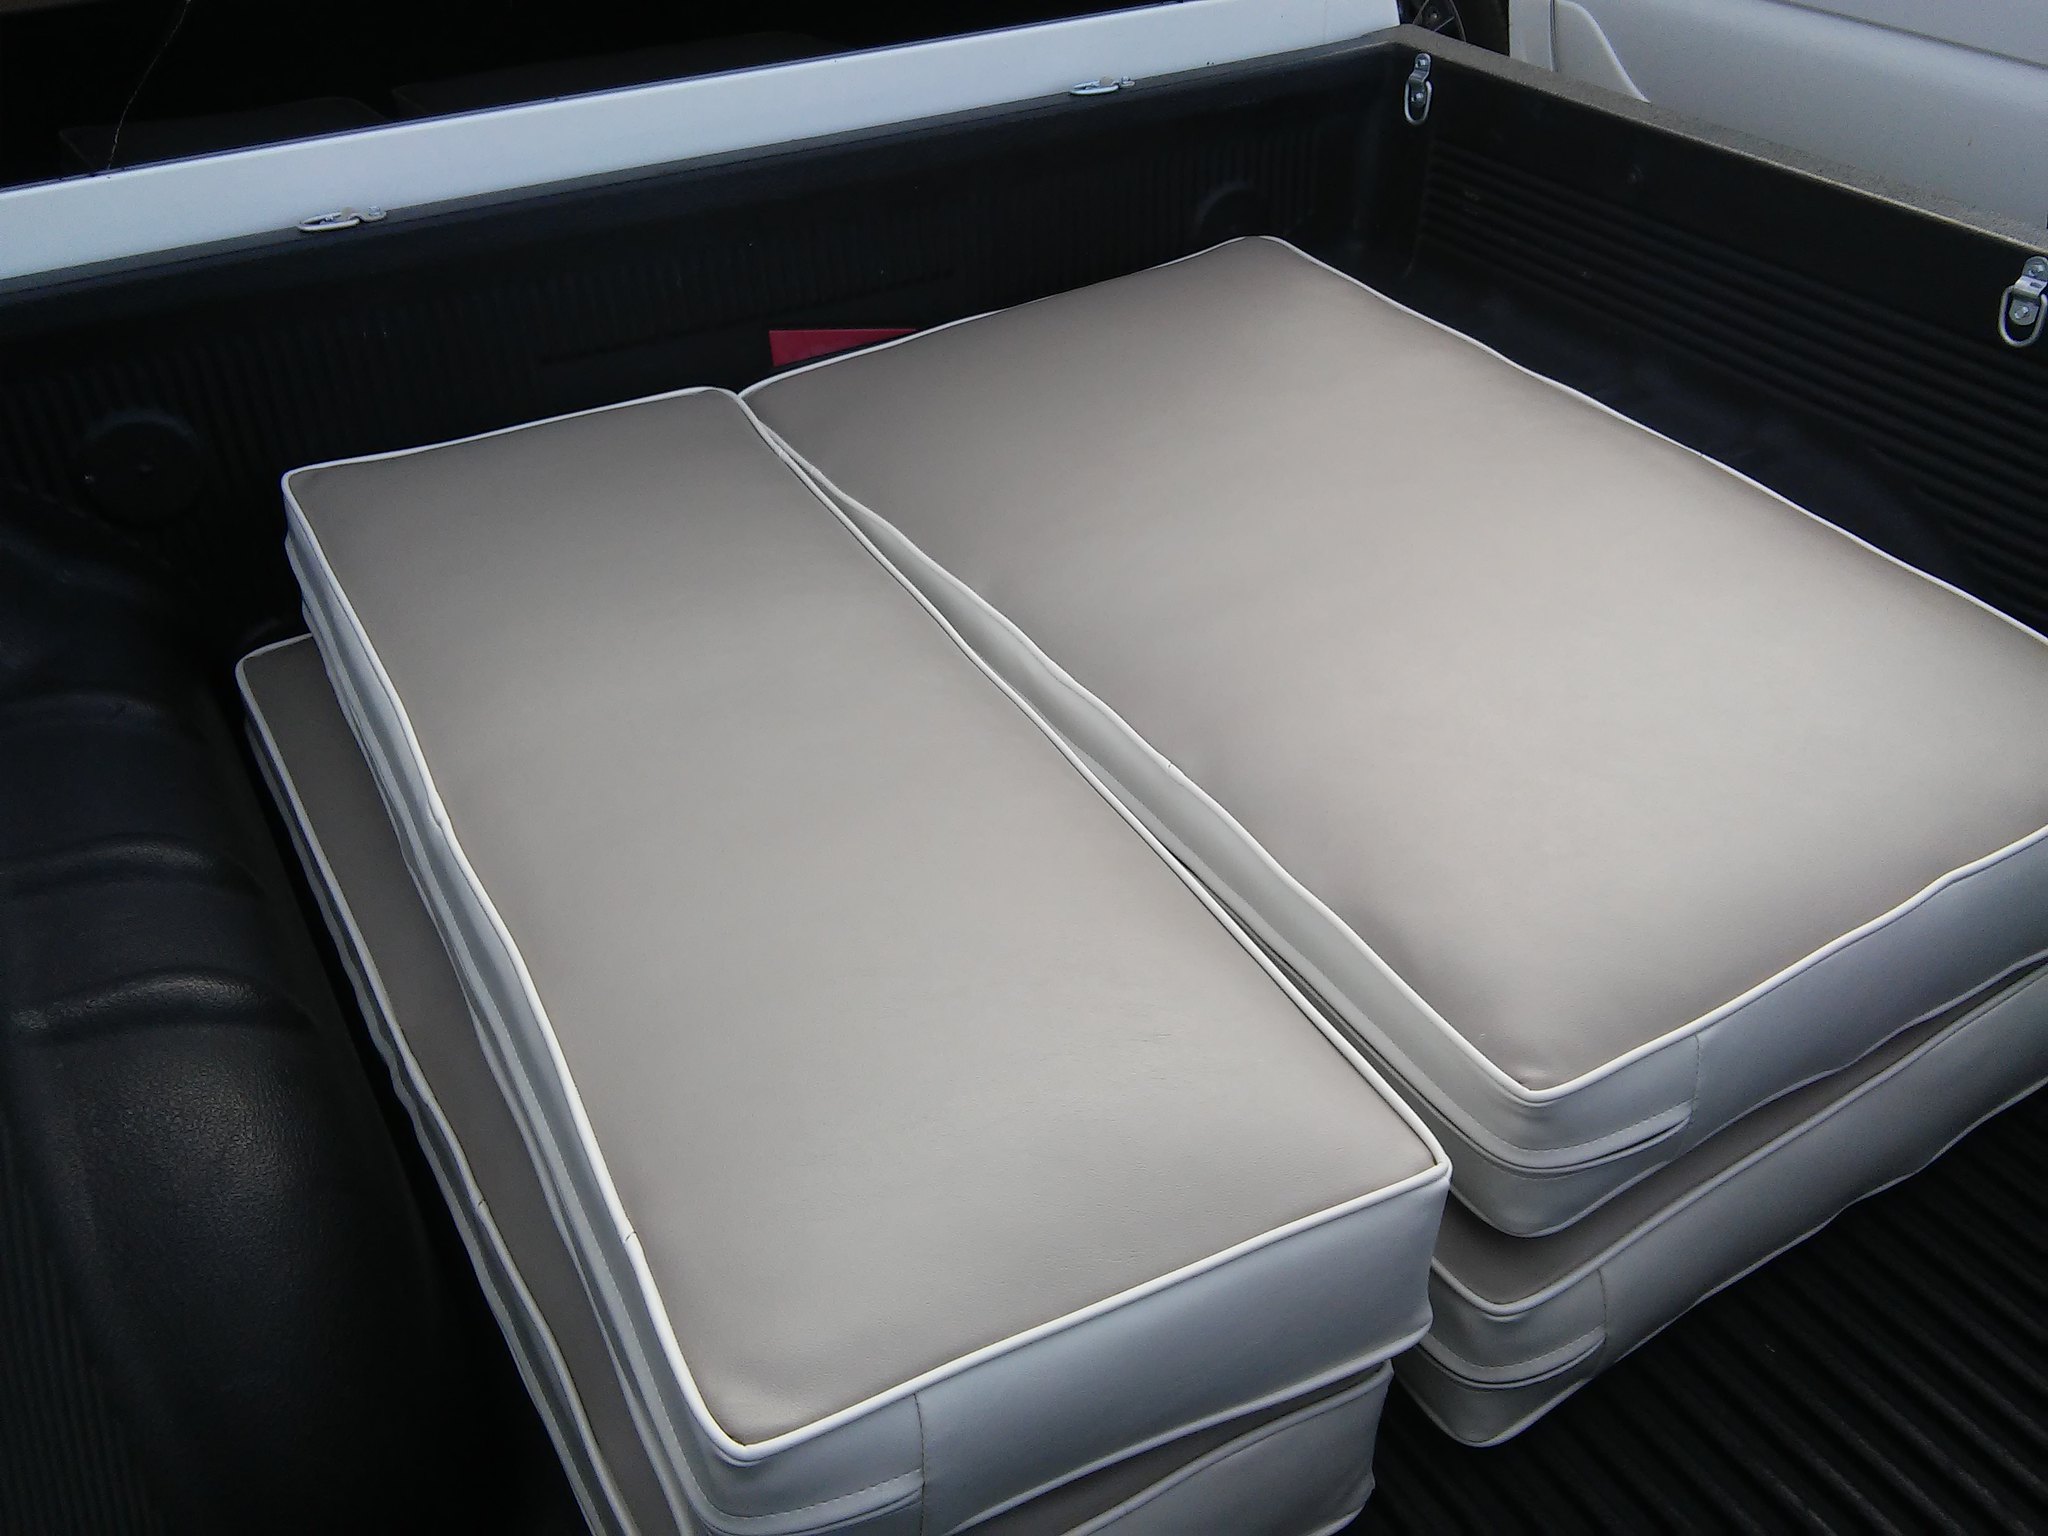 And now they're in. Great fit and great color match...thanks to my wife's color eye! 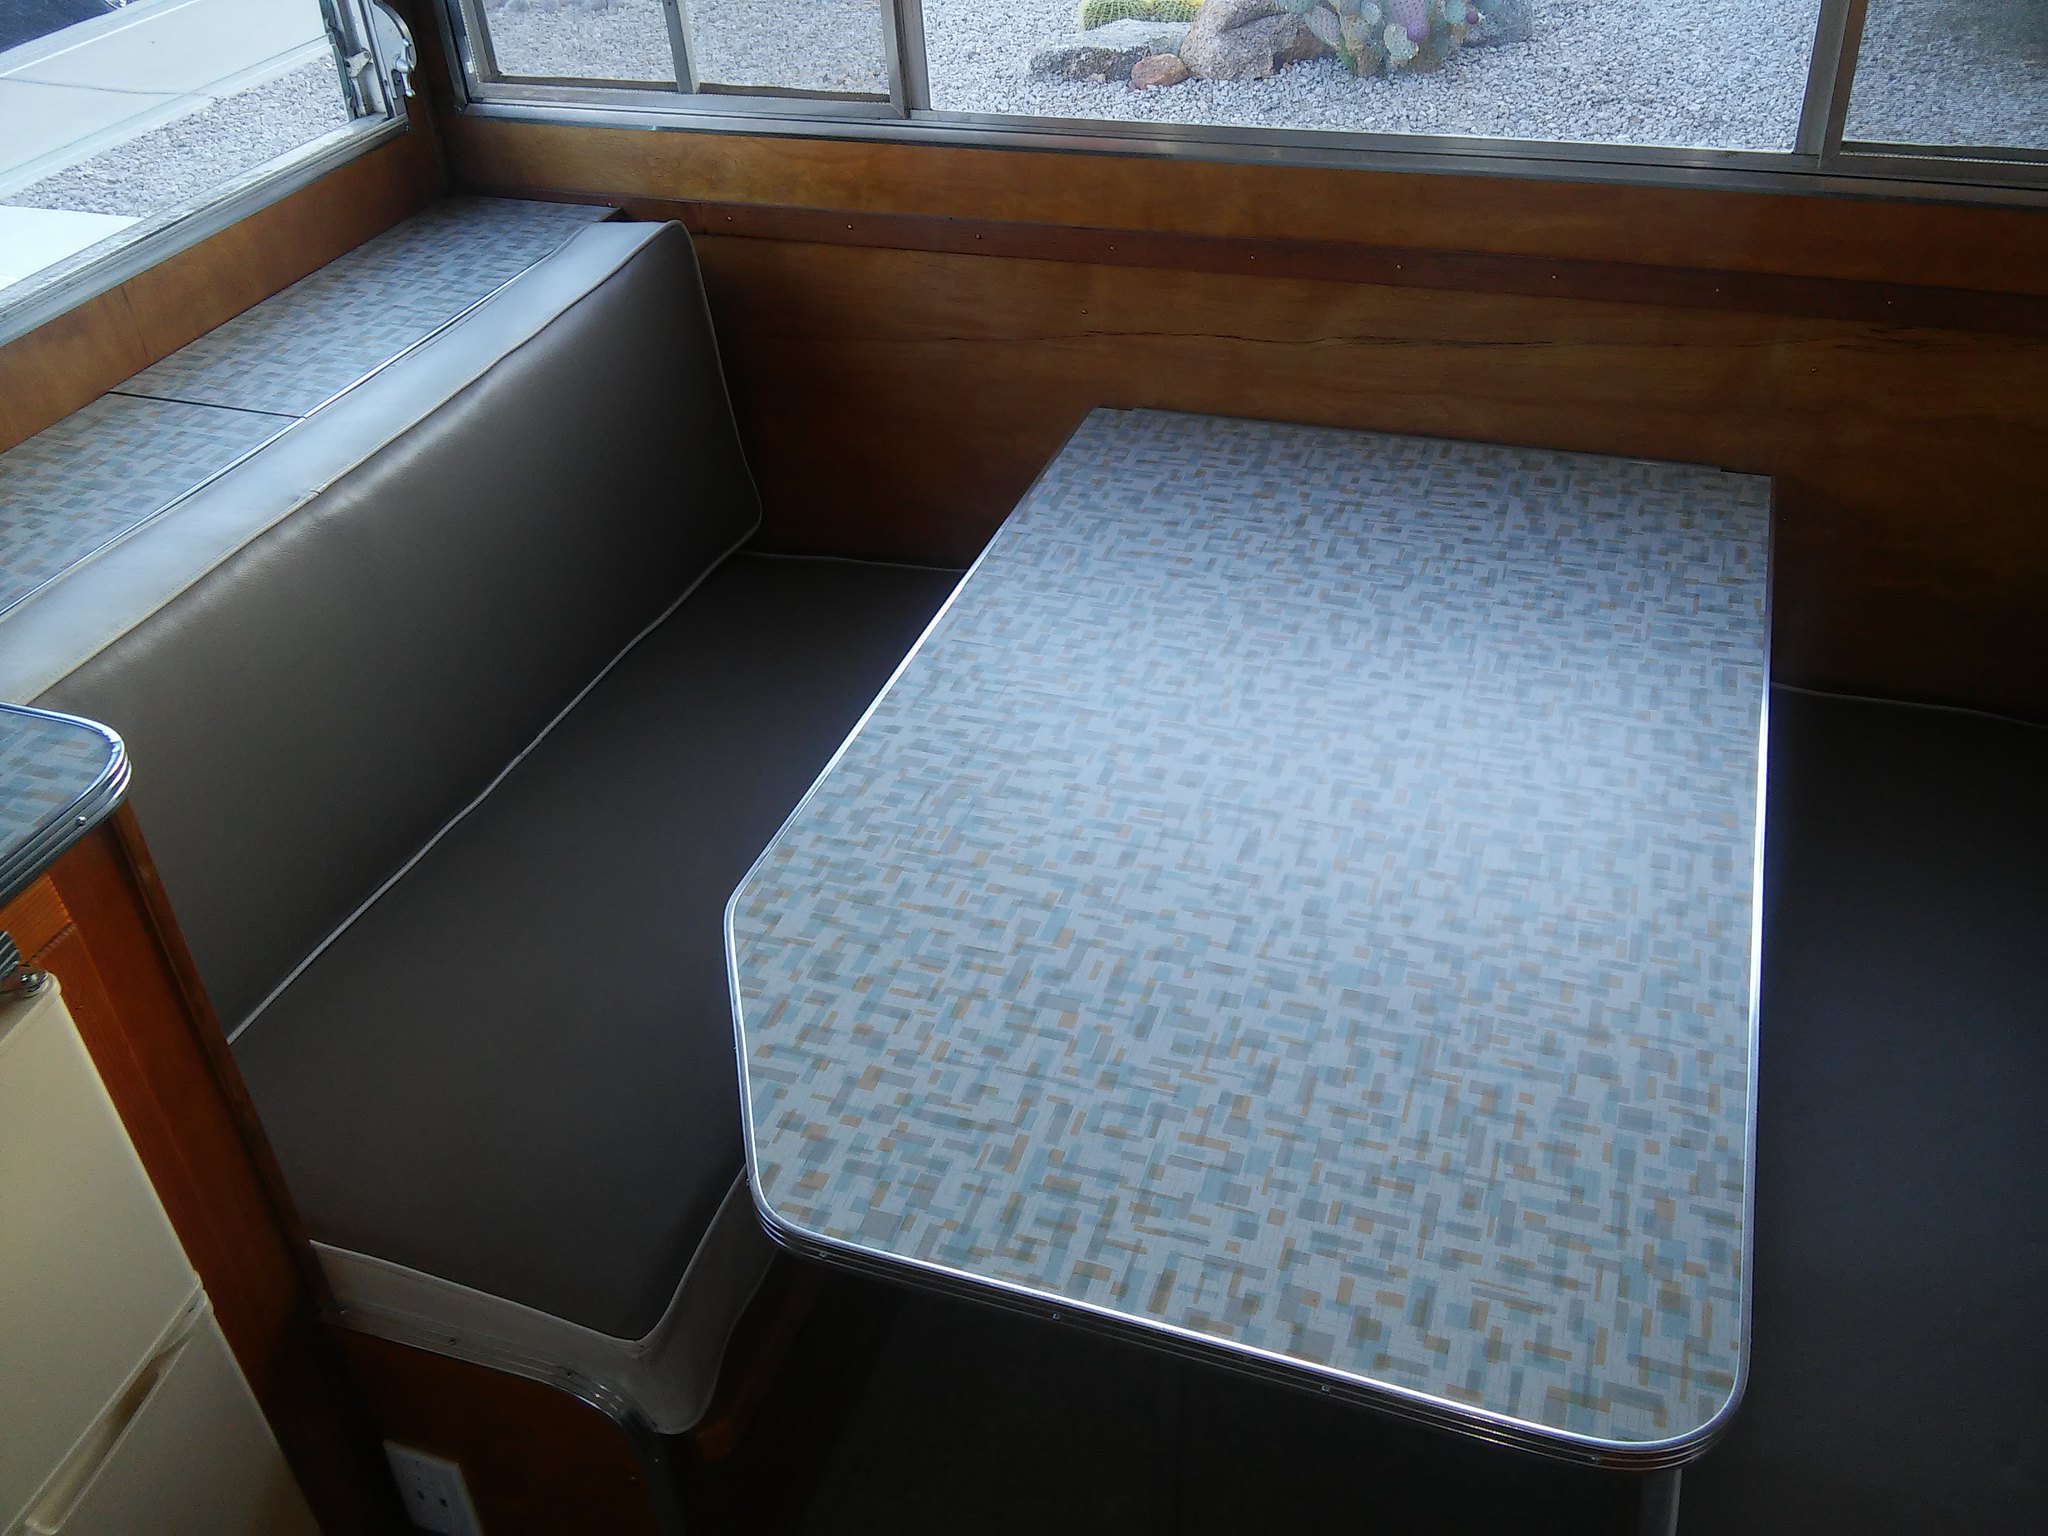 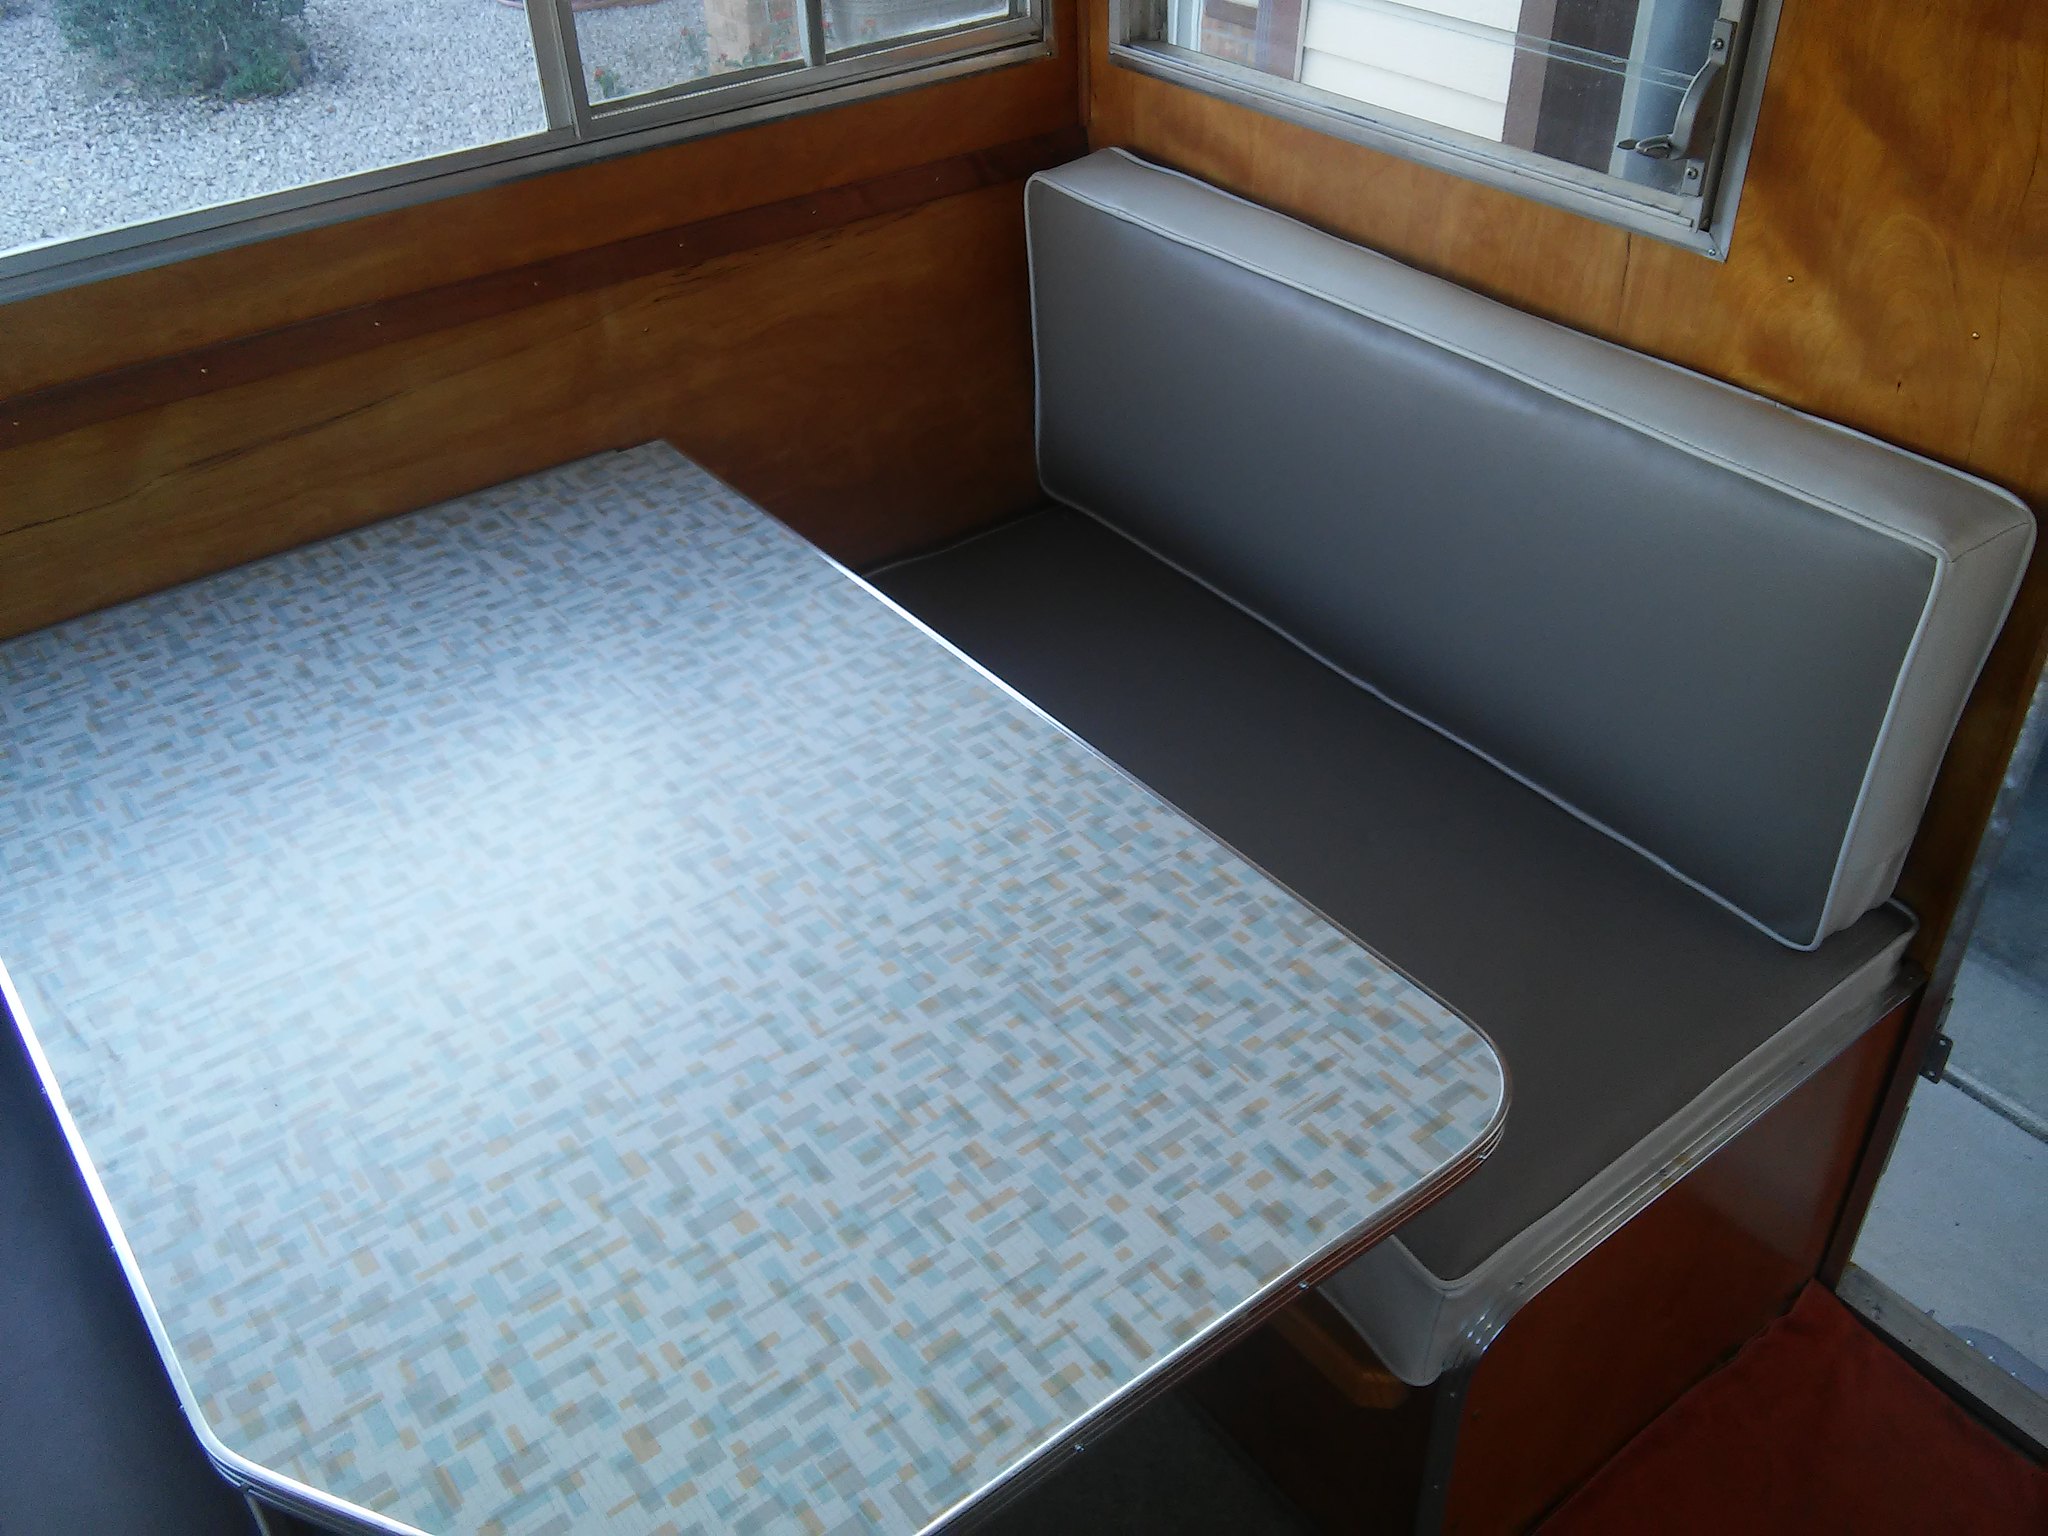 I thought this would complete the interior...but I guess I still have to change out the roof vent. I'm installing one with a fan...to be continued. |
|
strange1
Active Member
Posts: 159
Likes: 103
1965 Shasta Airflyte
Currently Offline
|
Post by strange1 on Jan 31, 2018 18:08:56 GMT -8
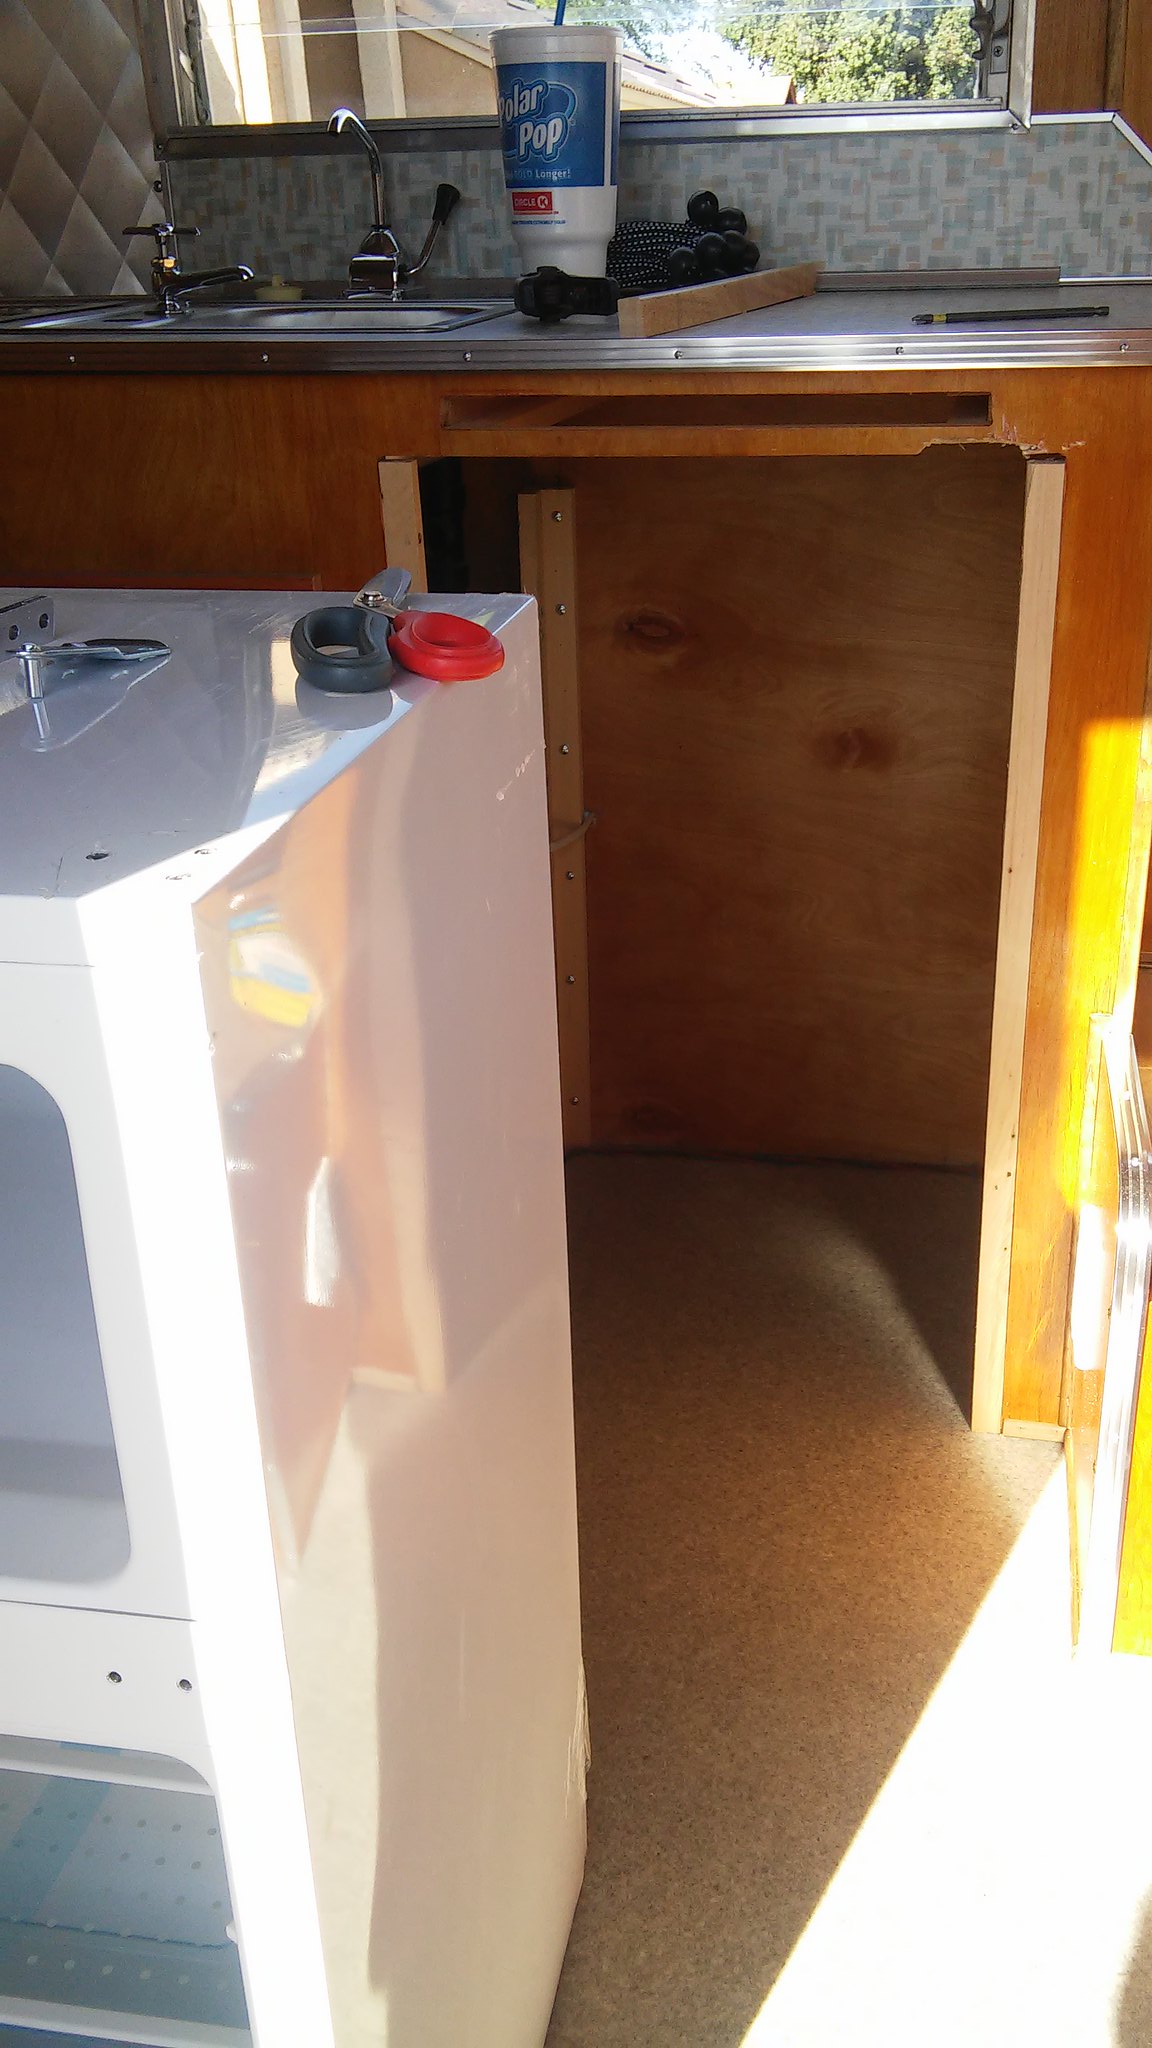
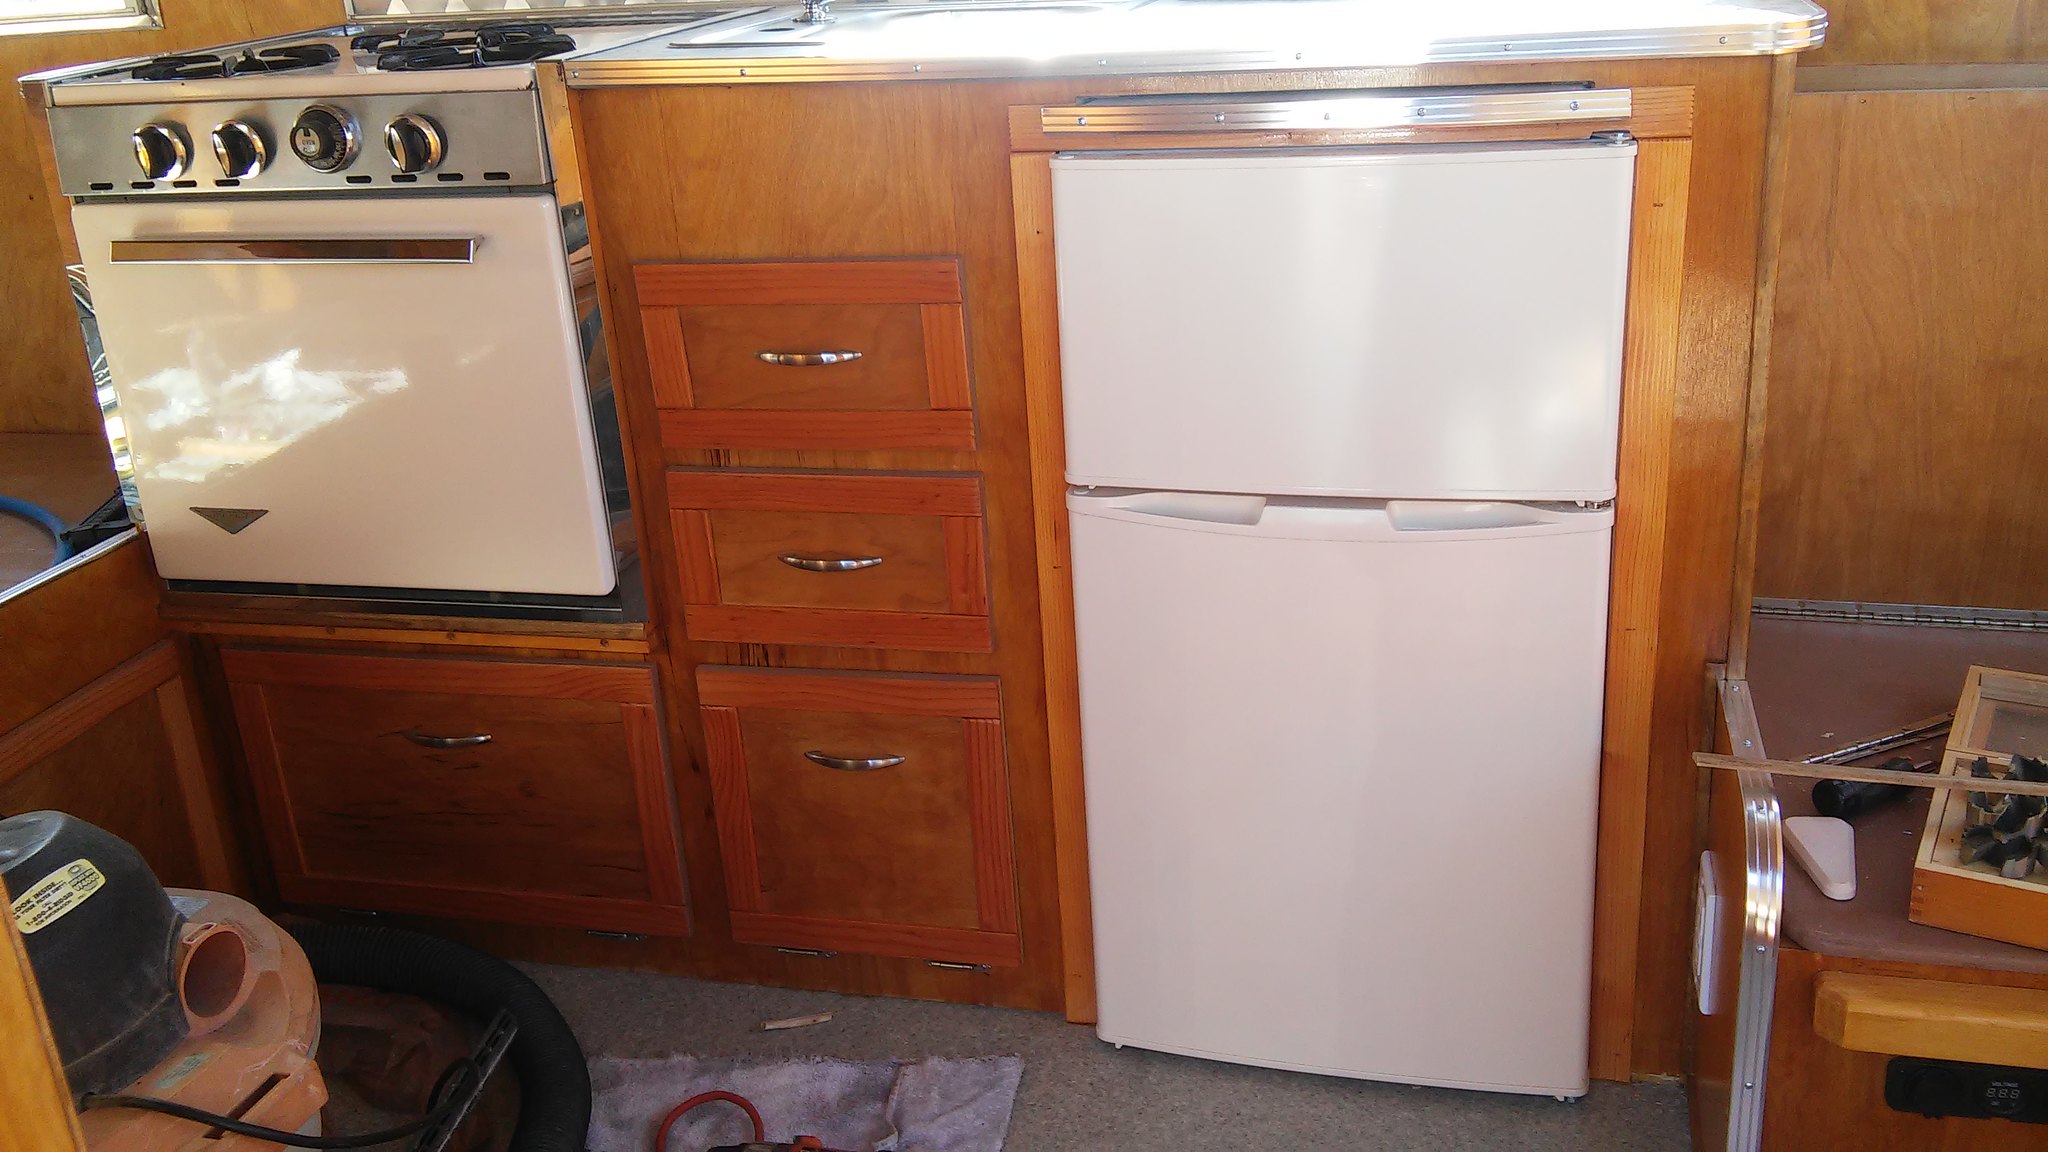
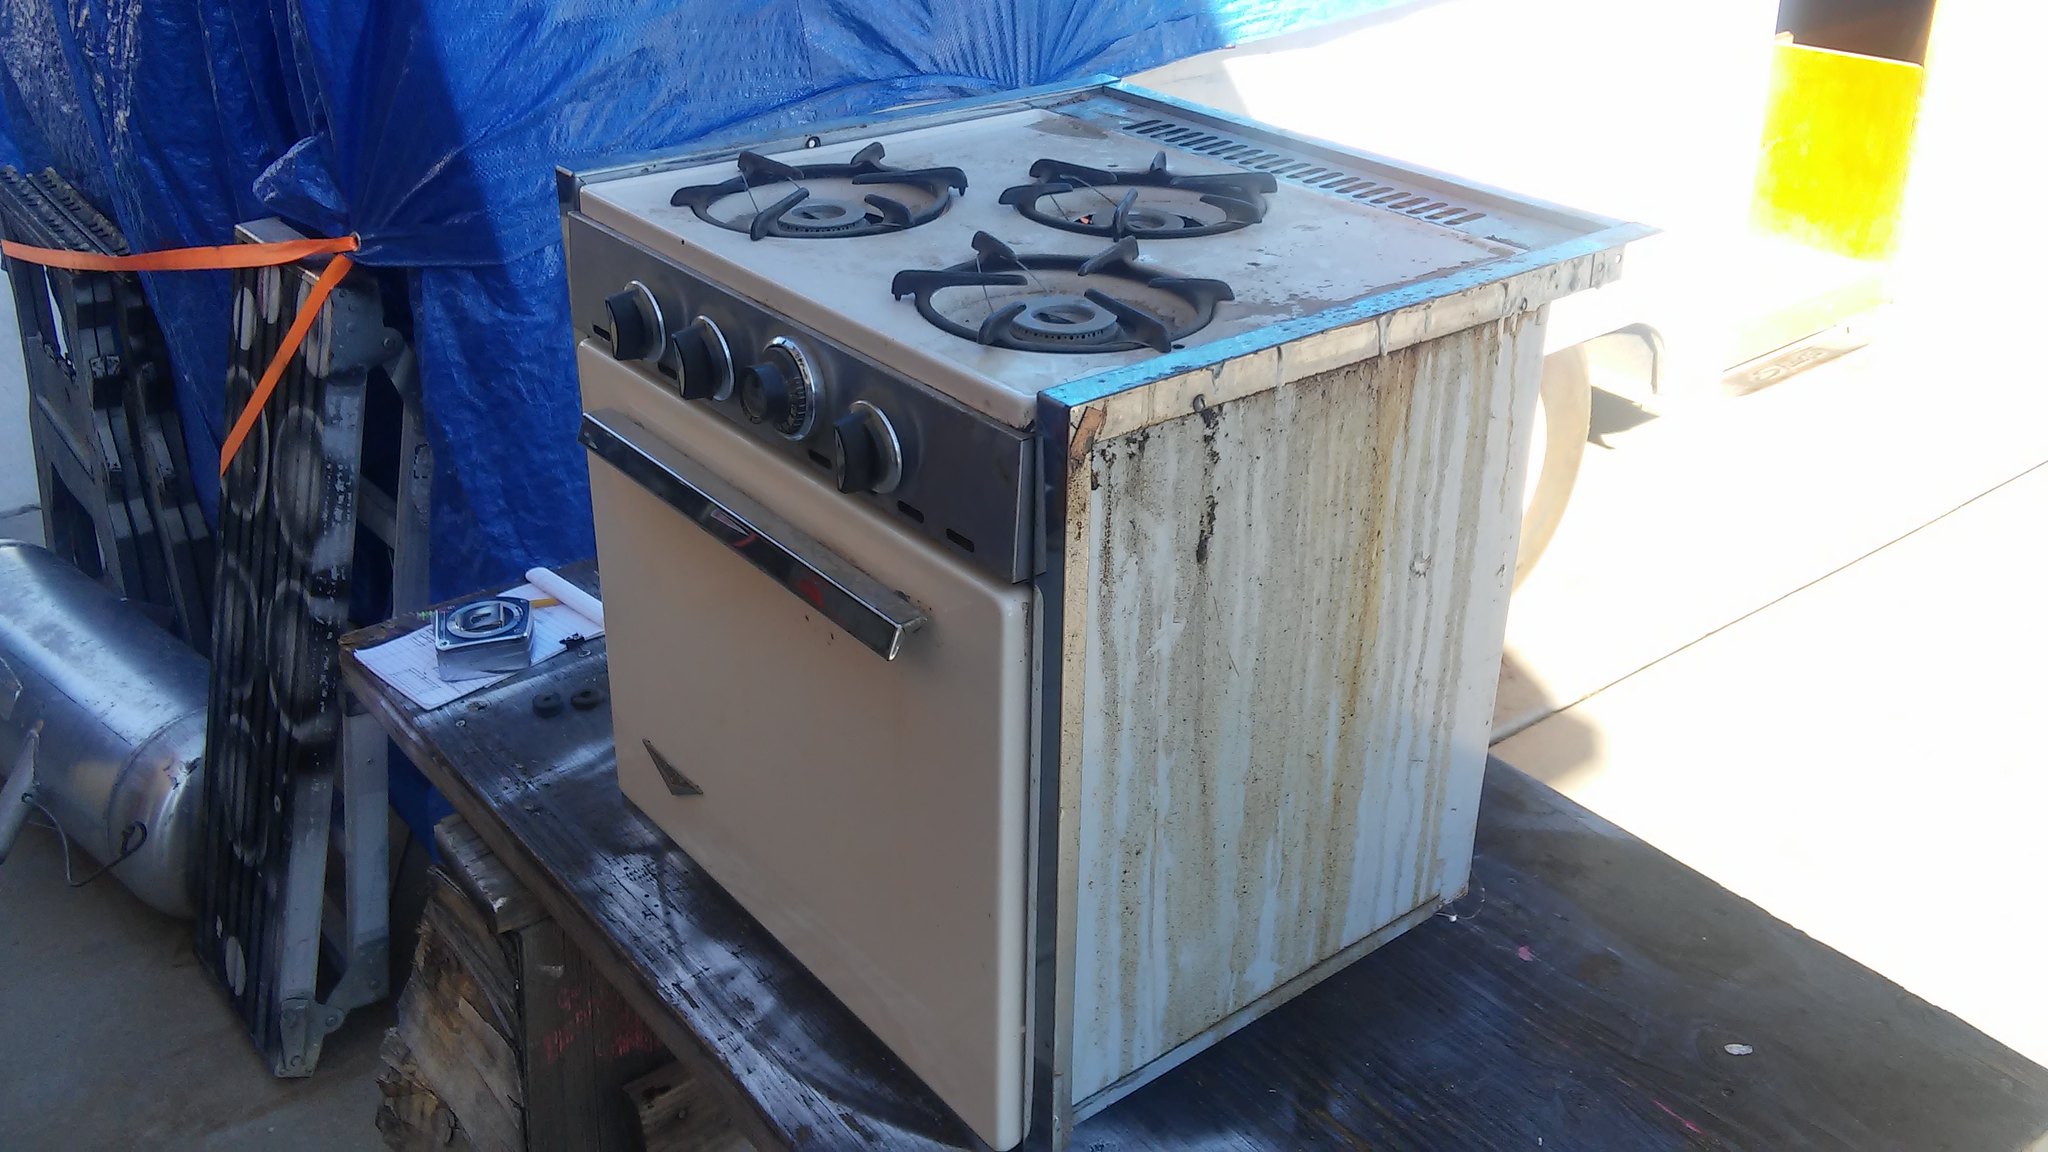
Well the interior is officially done... waiting for the dinette cushions to come back from the upholsterer on Friday...but I'm almost ready to go camping. Here are some shots of the completed upper cabinets. FRONT  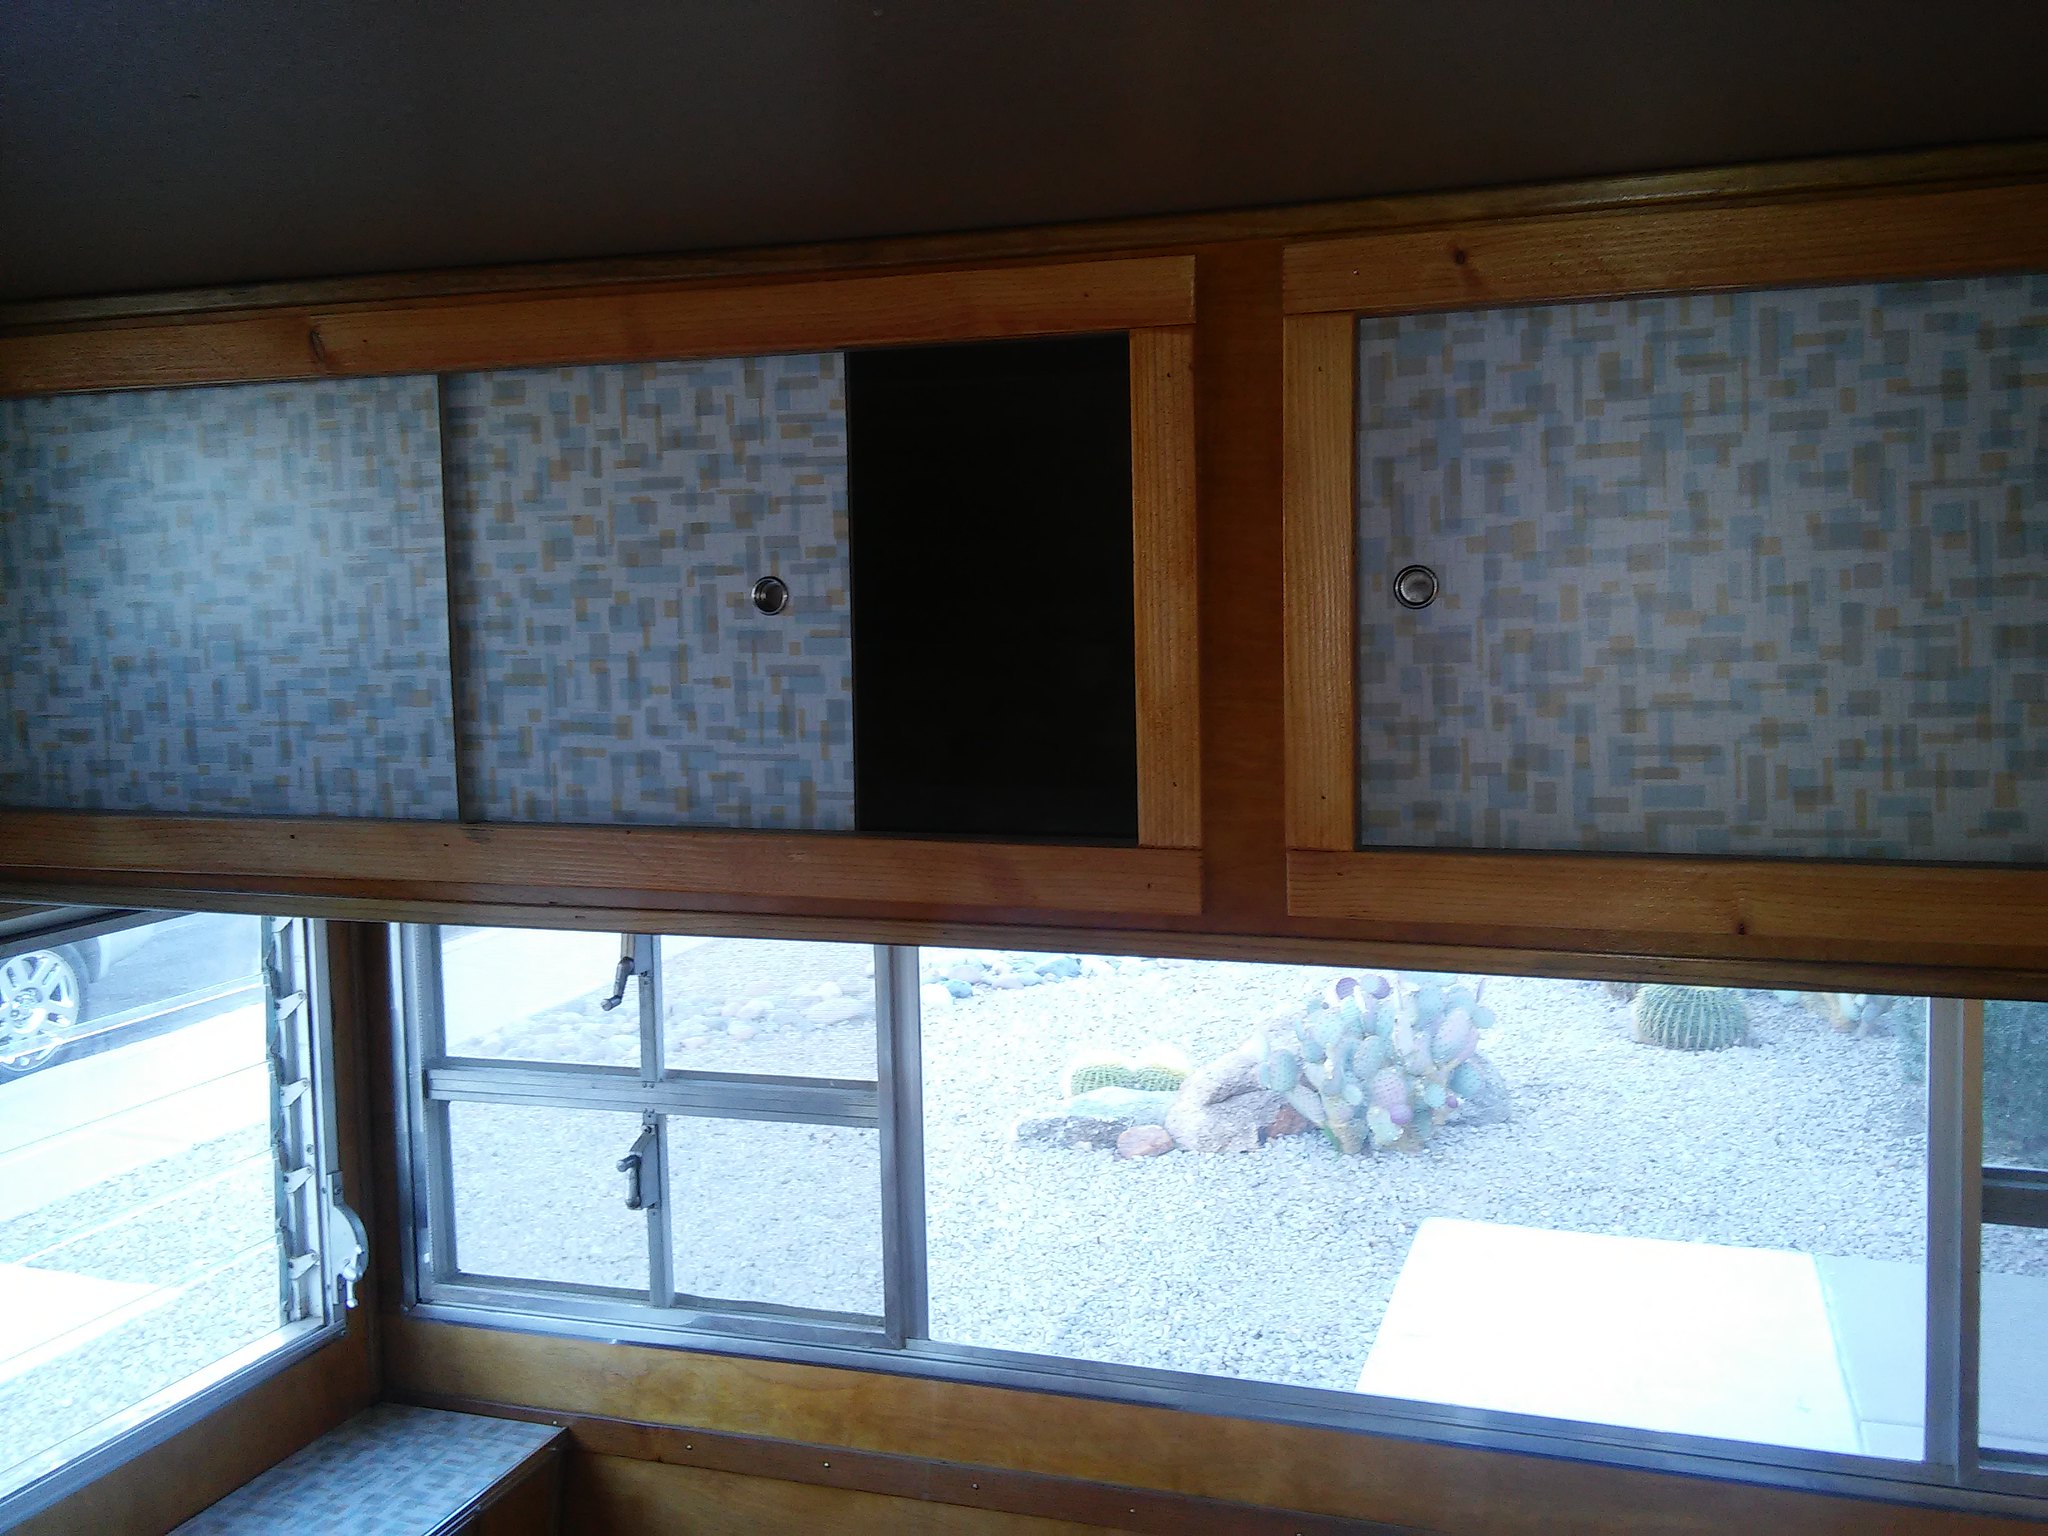 REAR 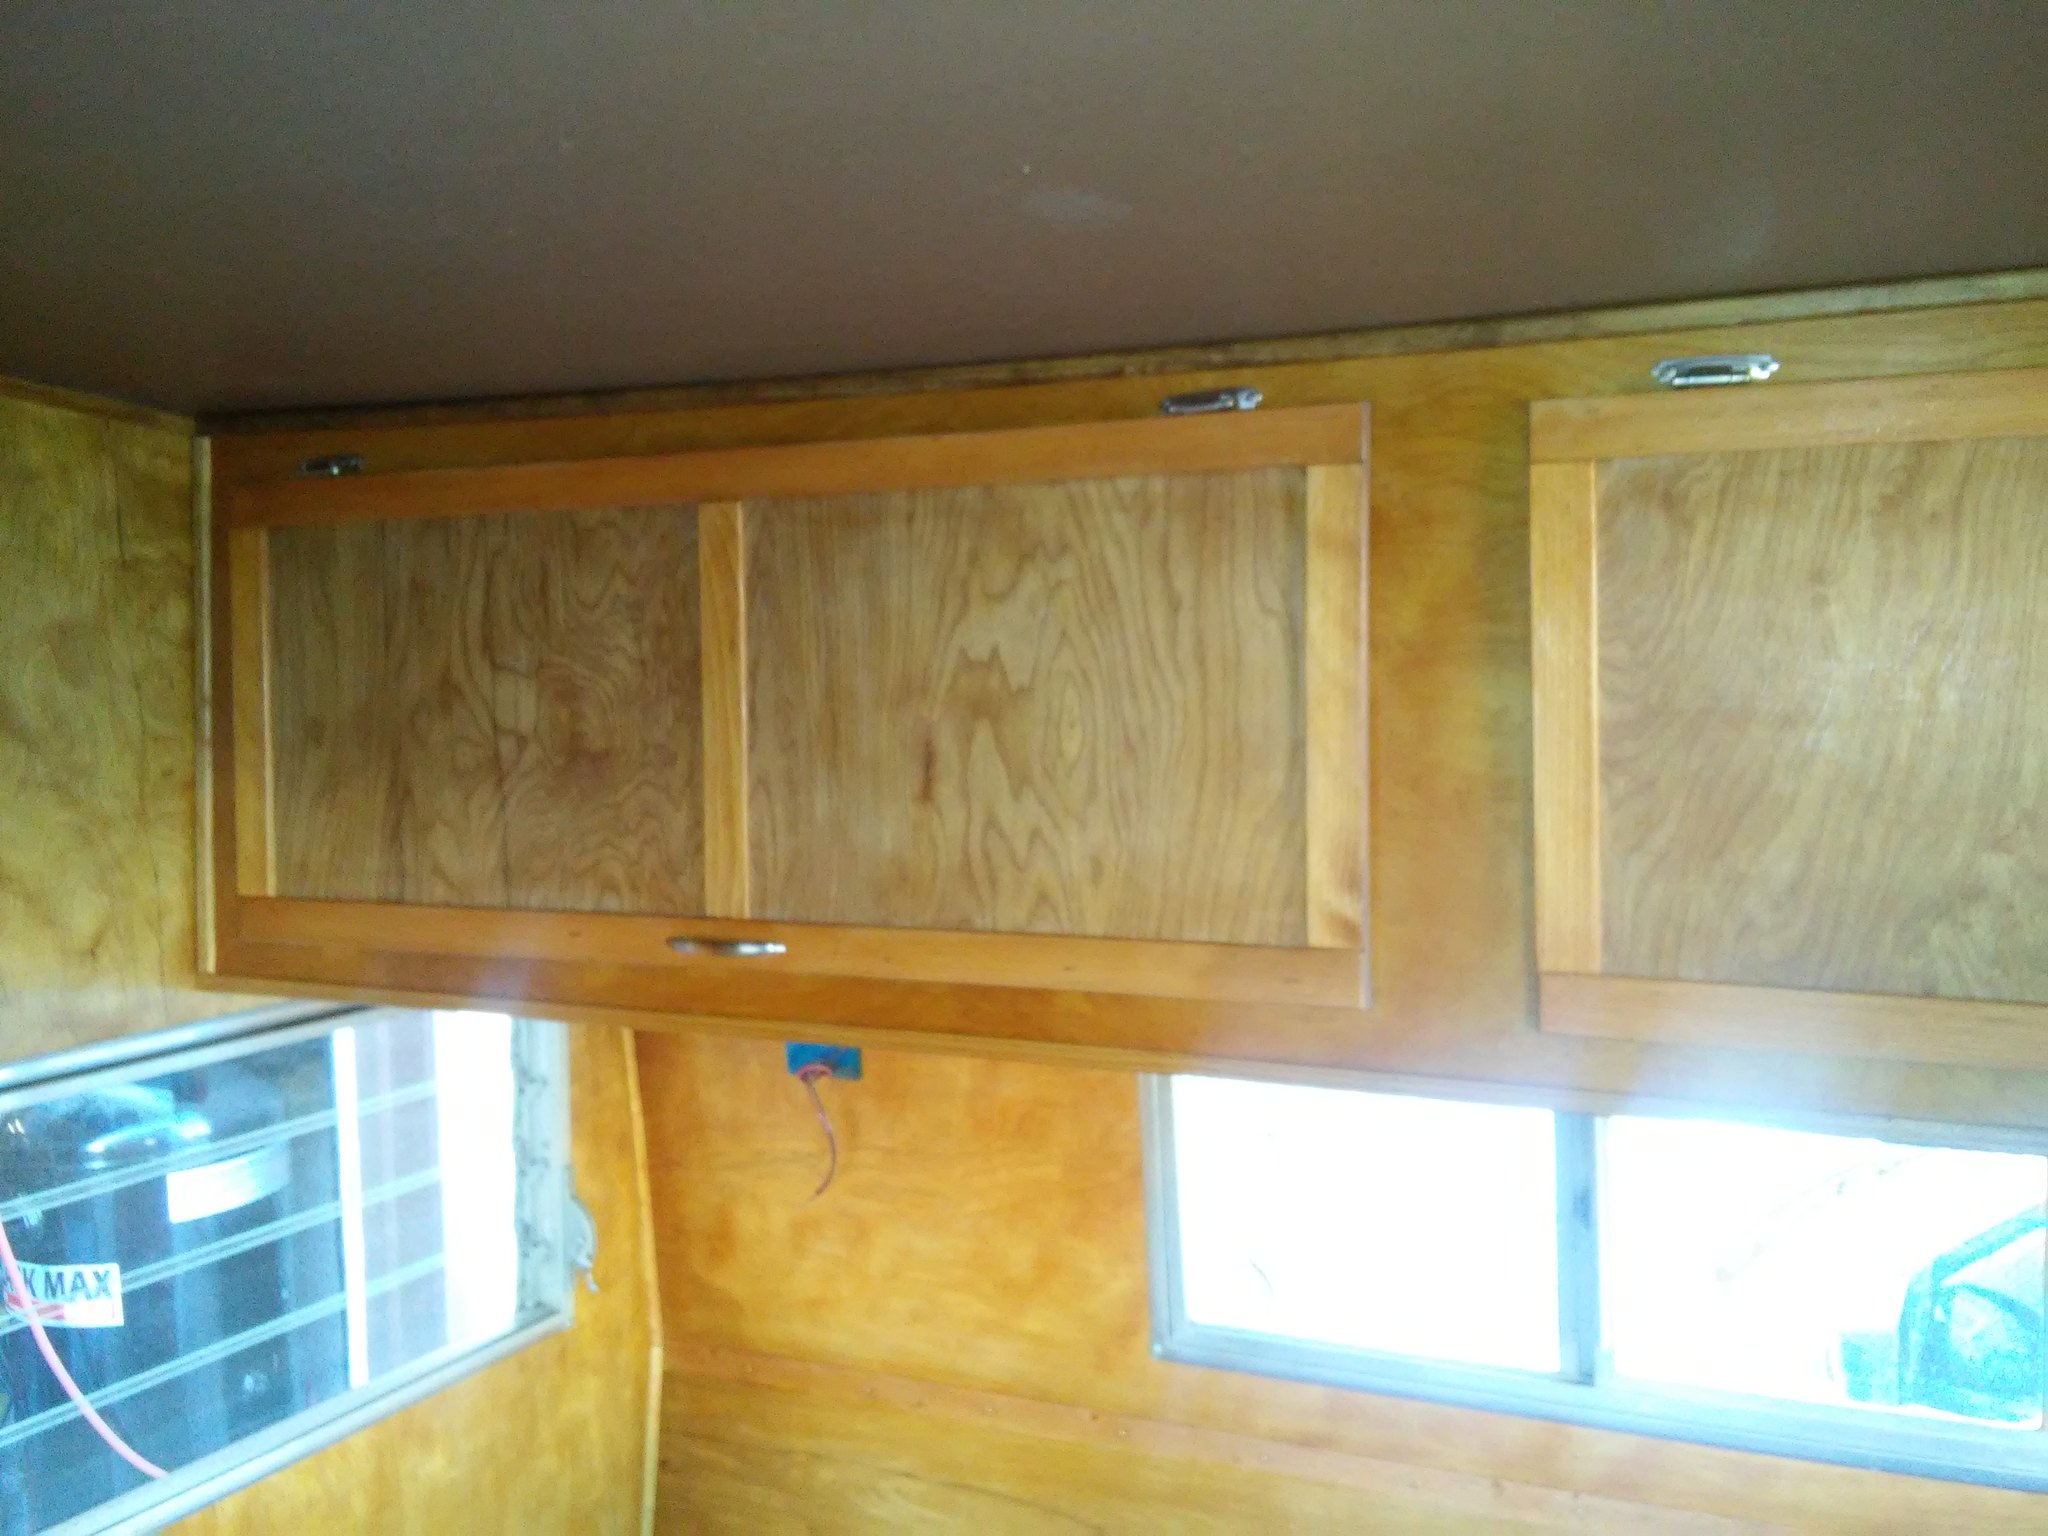 KITCHEN 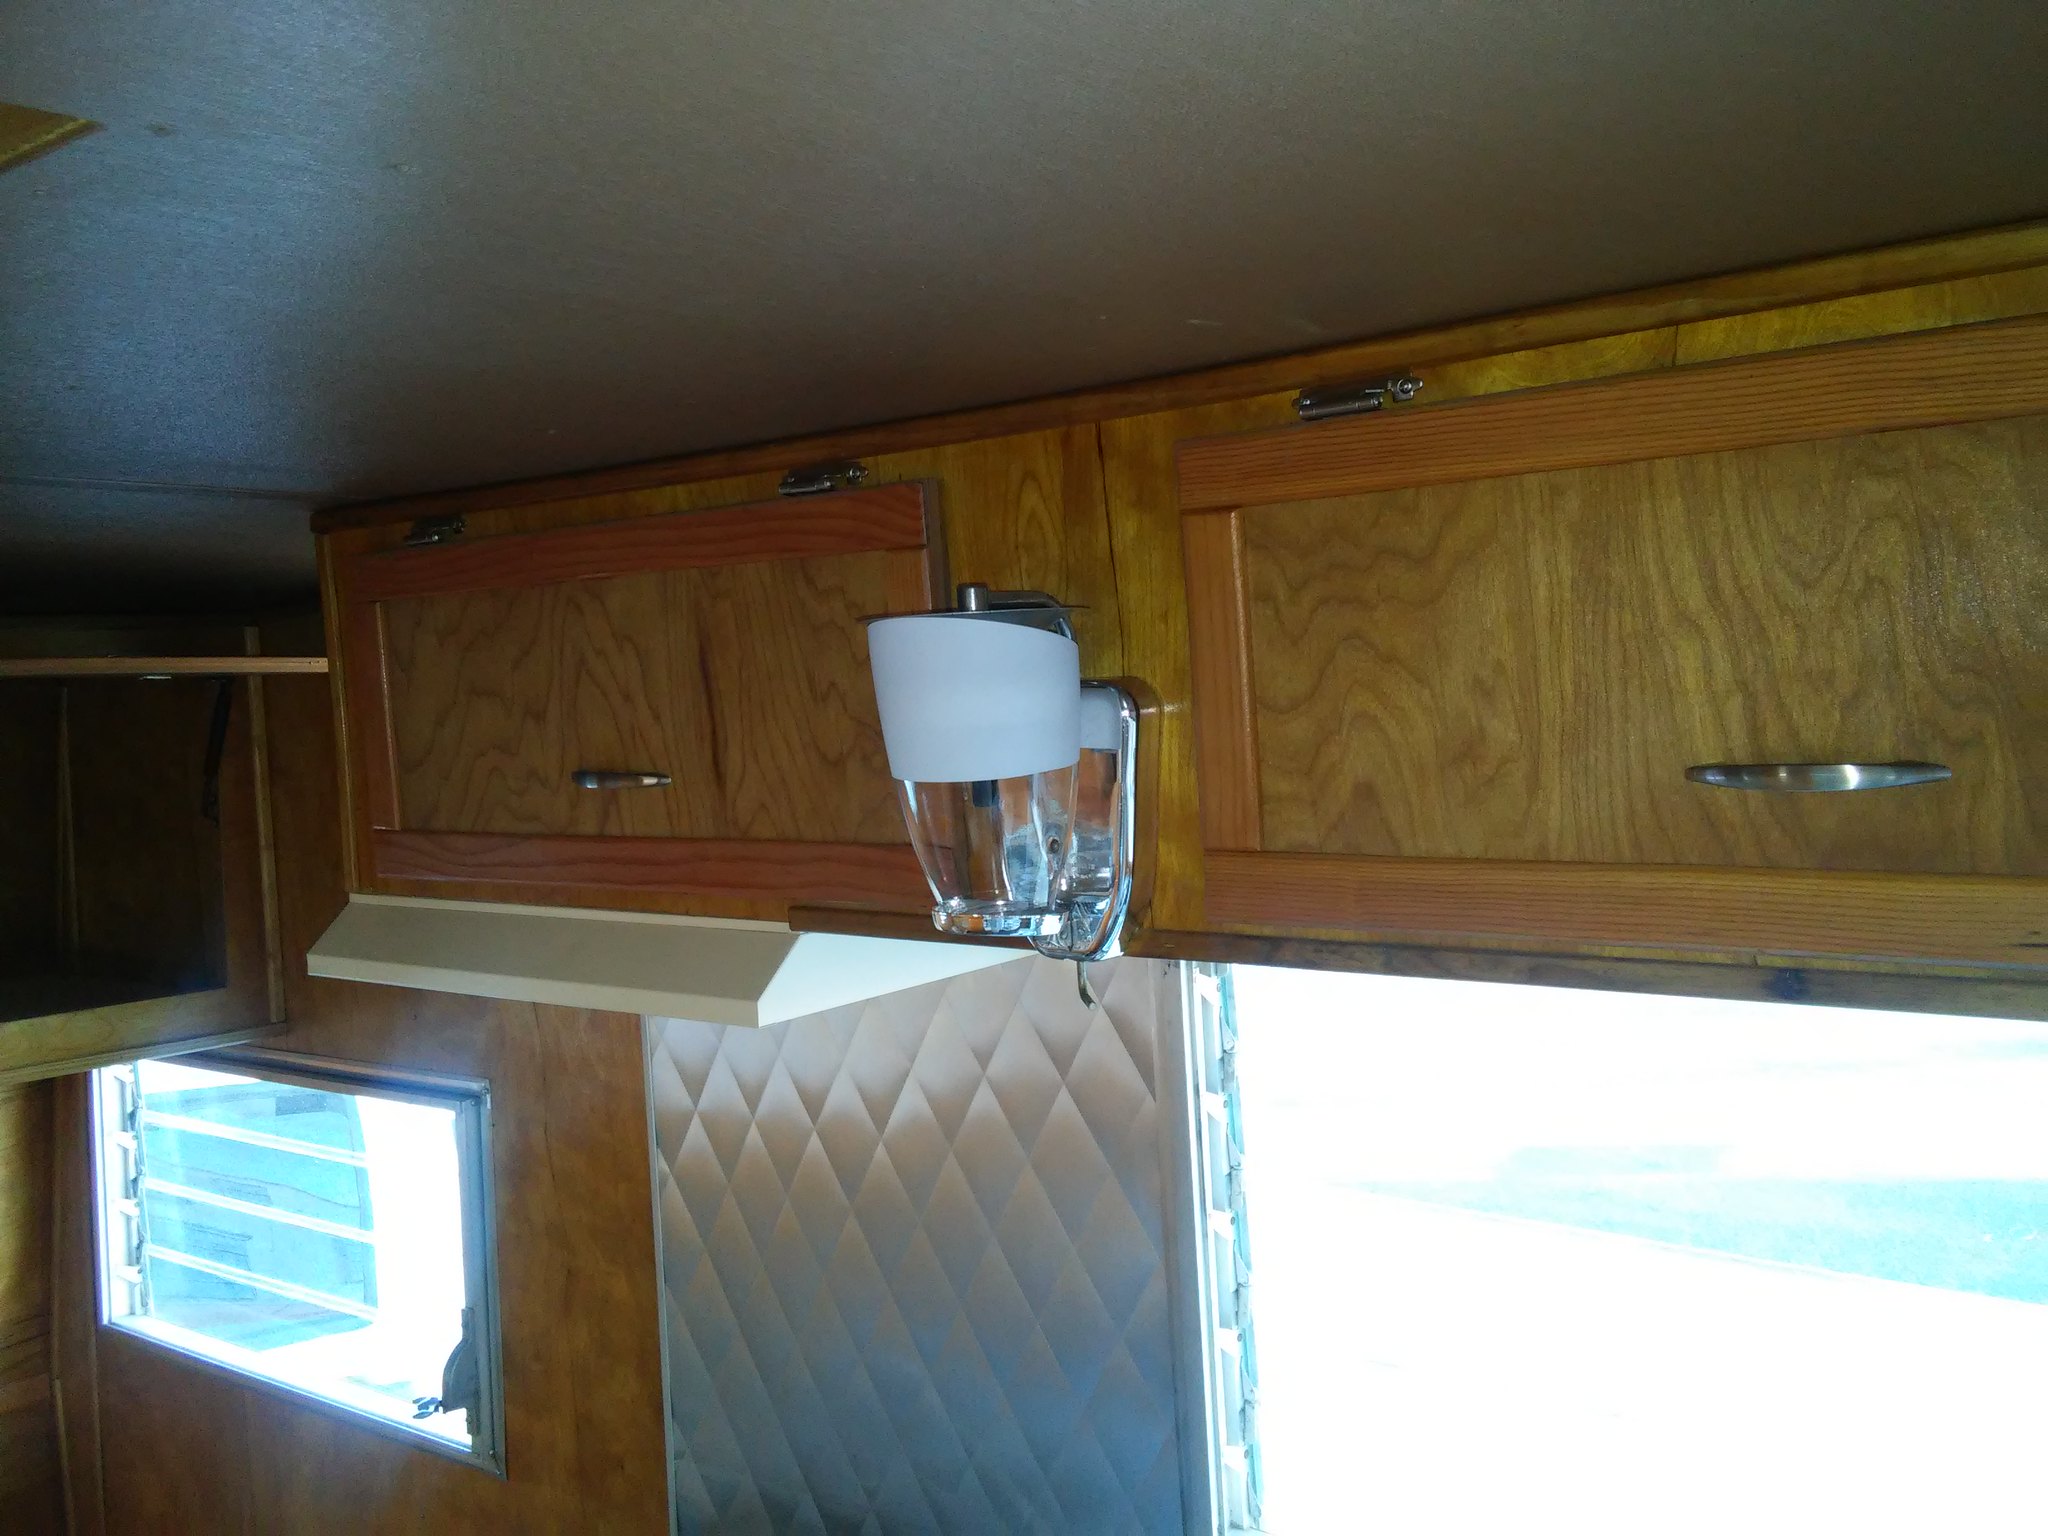 Here is the sink counter. I made a nice little sink cover to give us a little more counter space 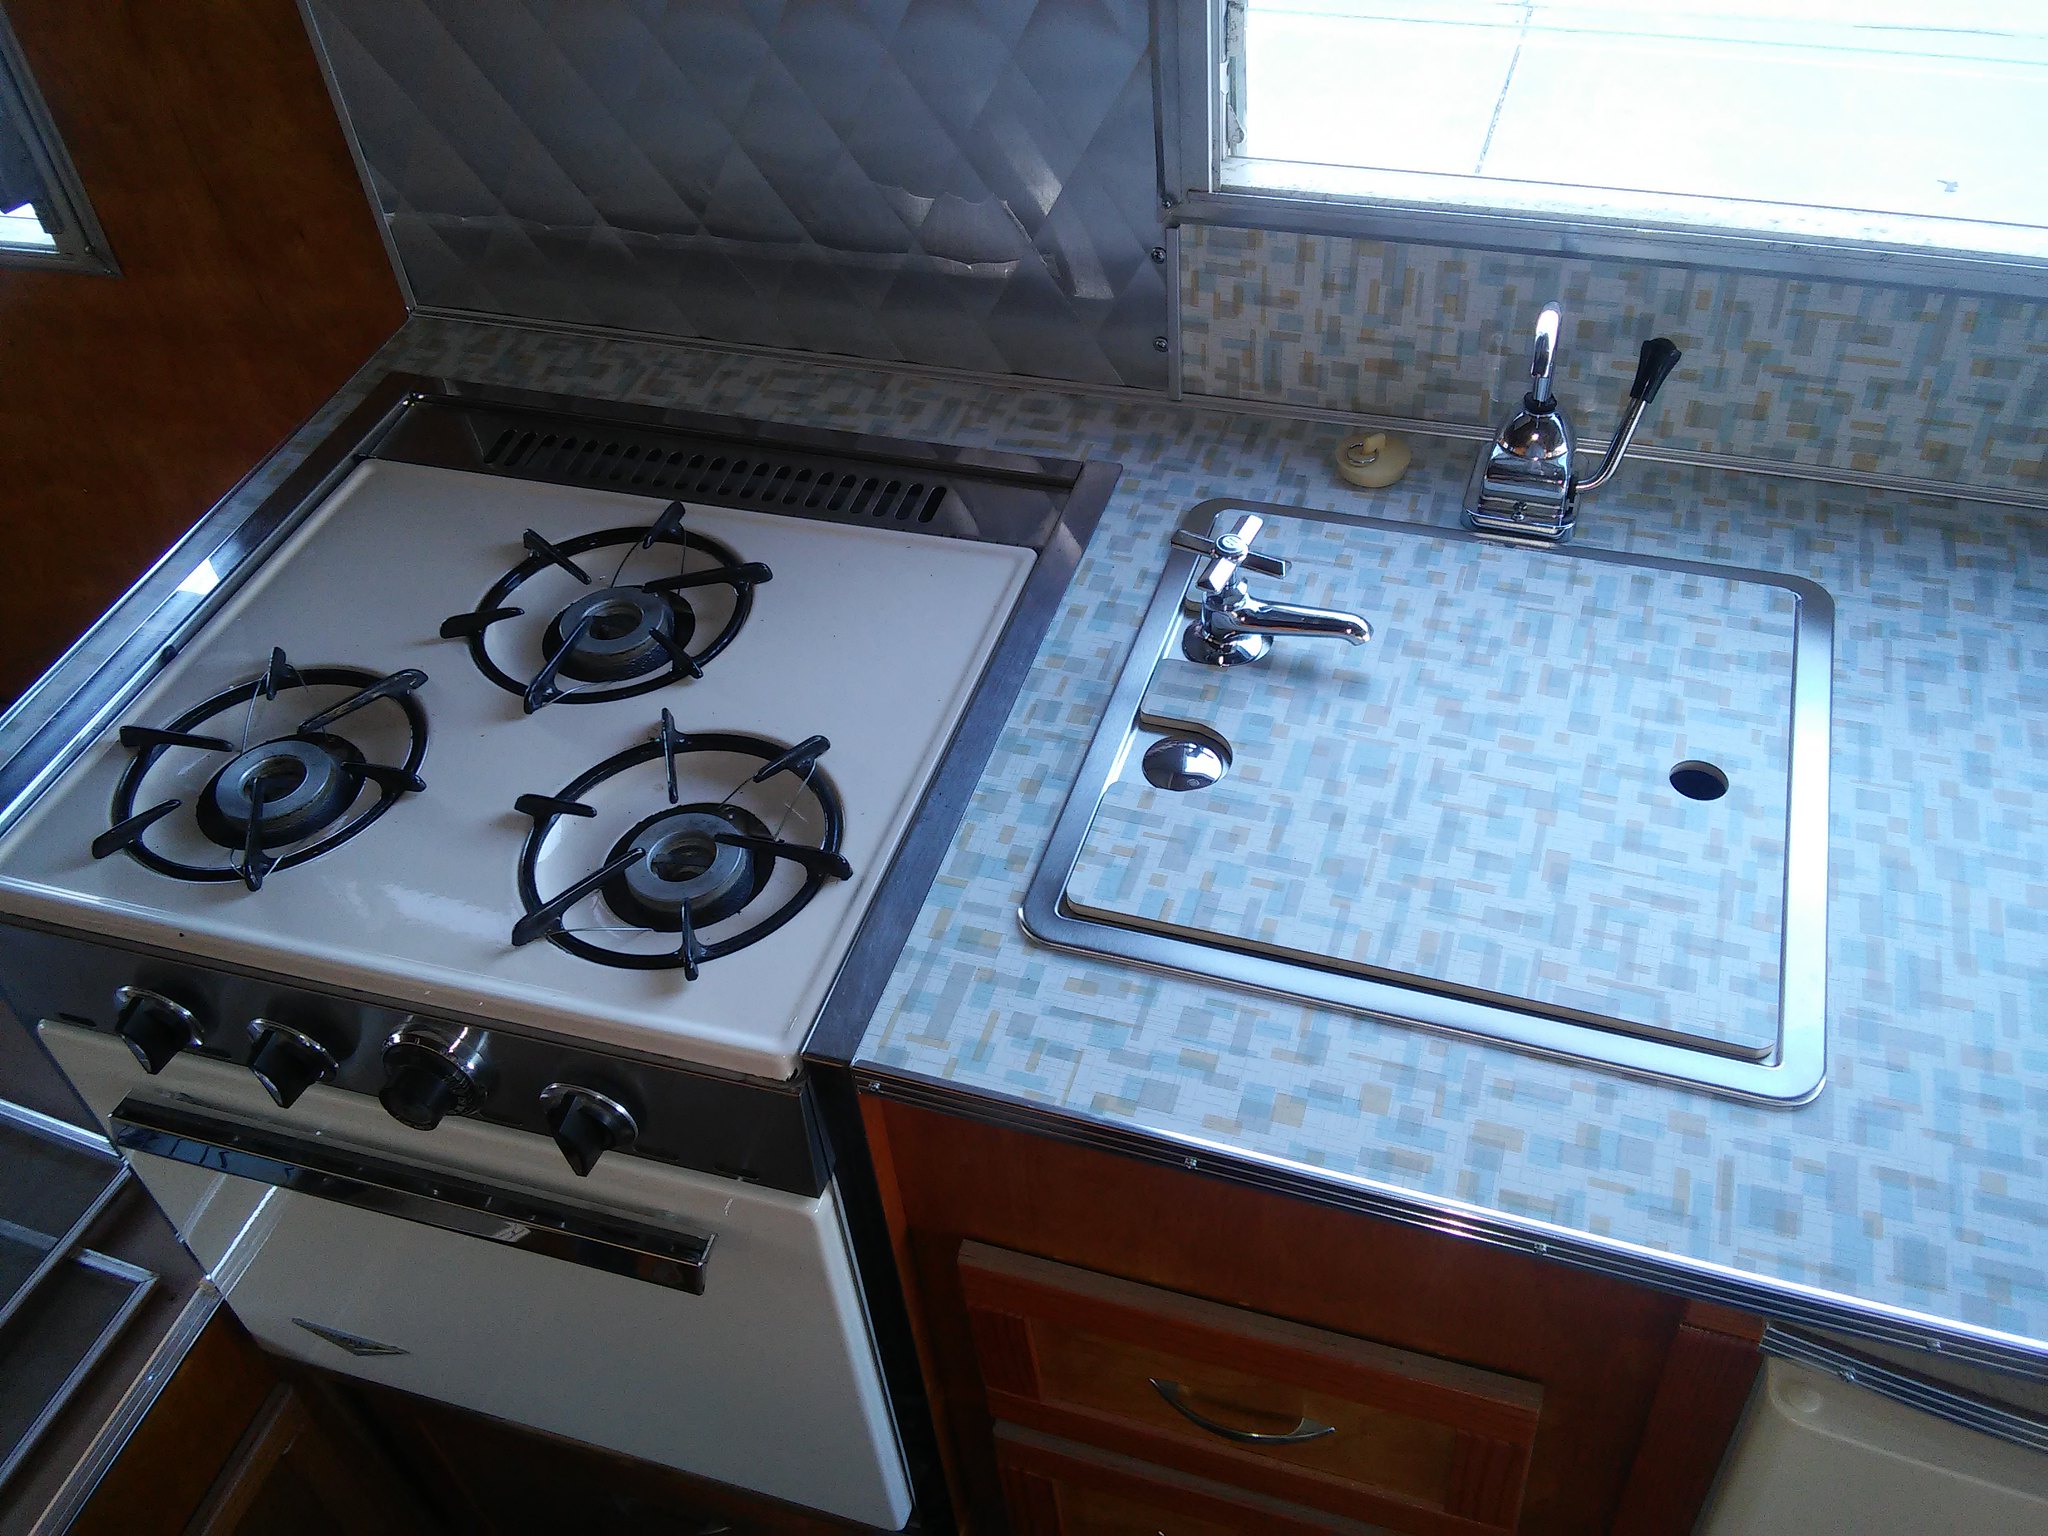 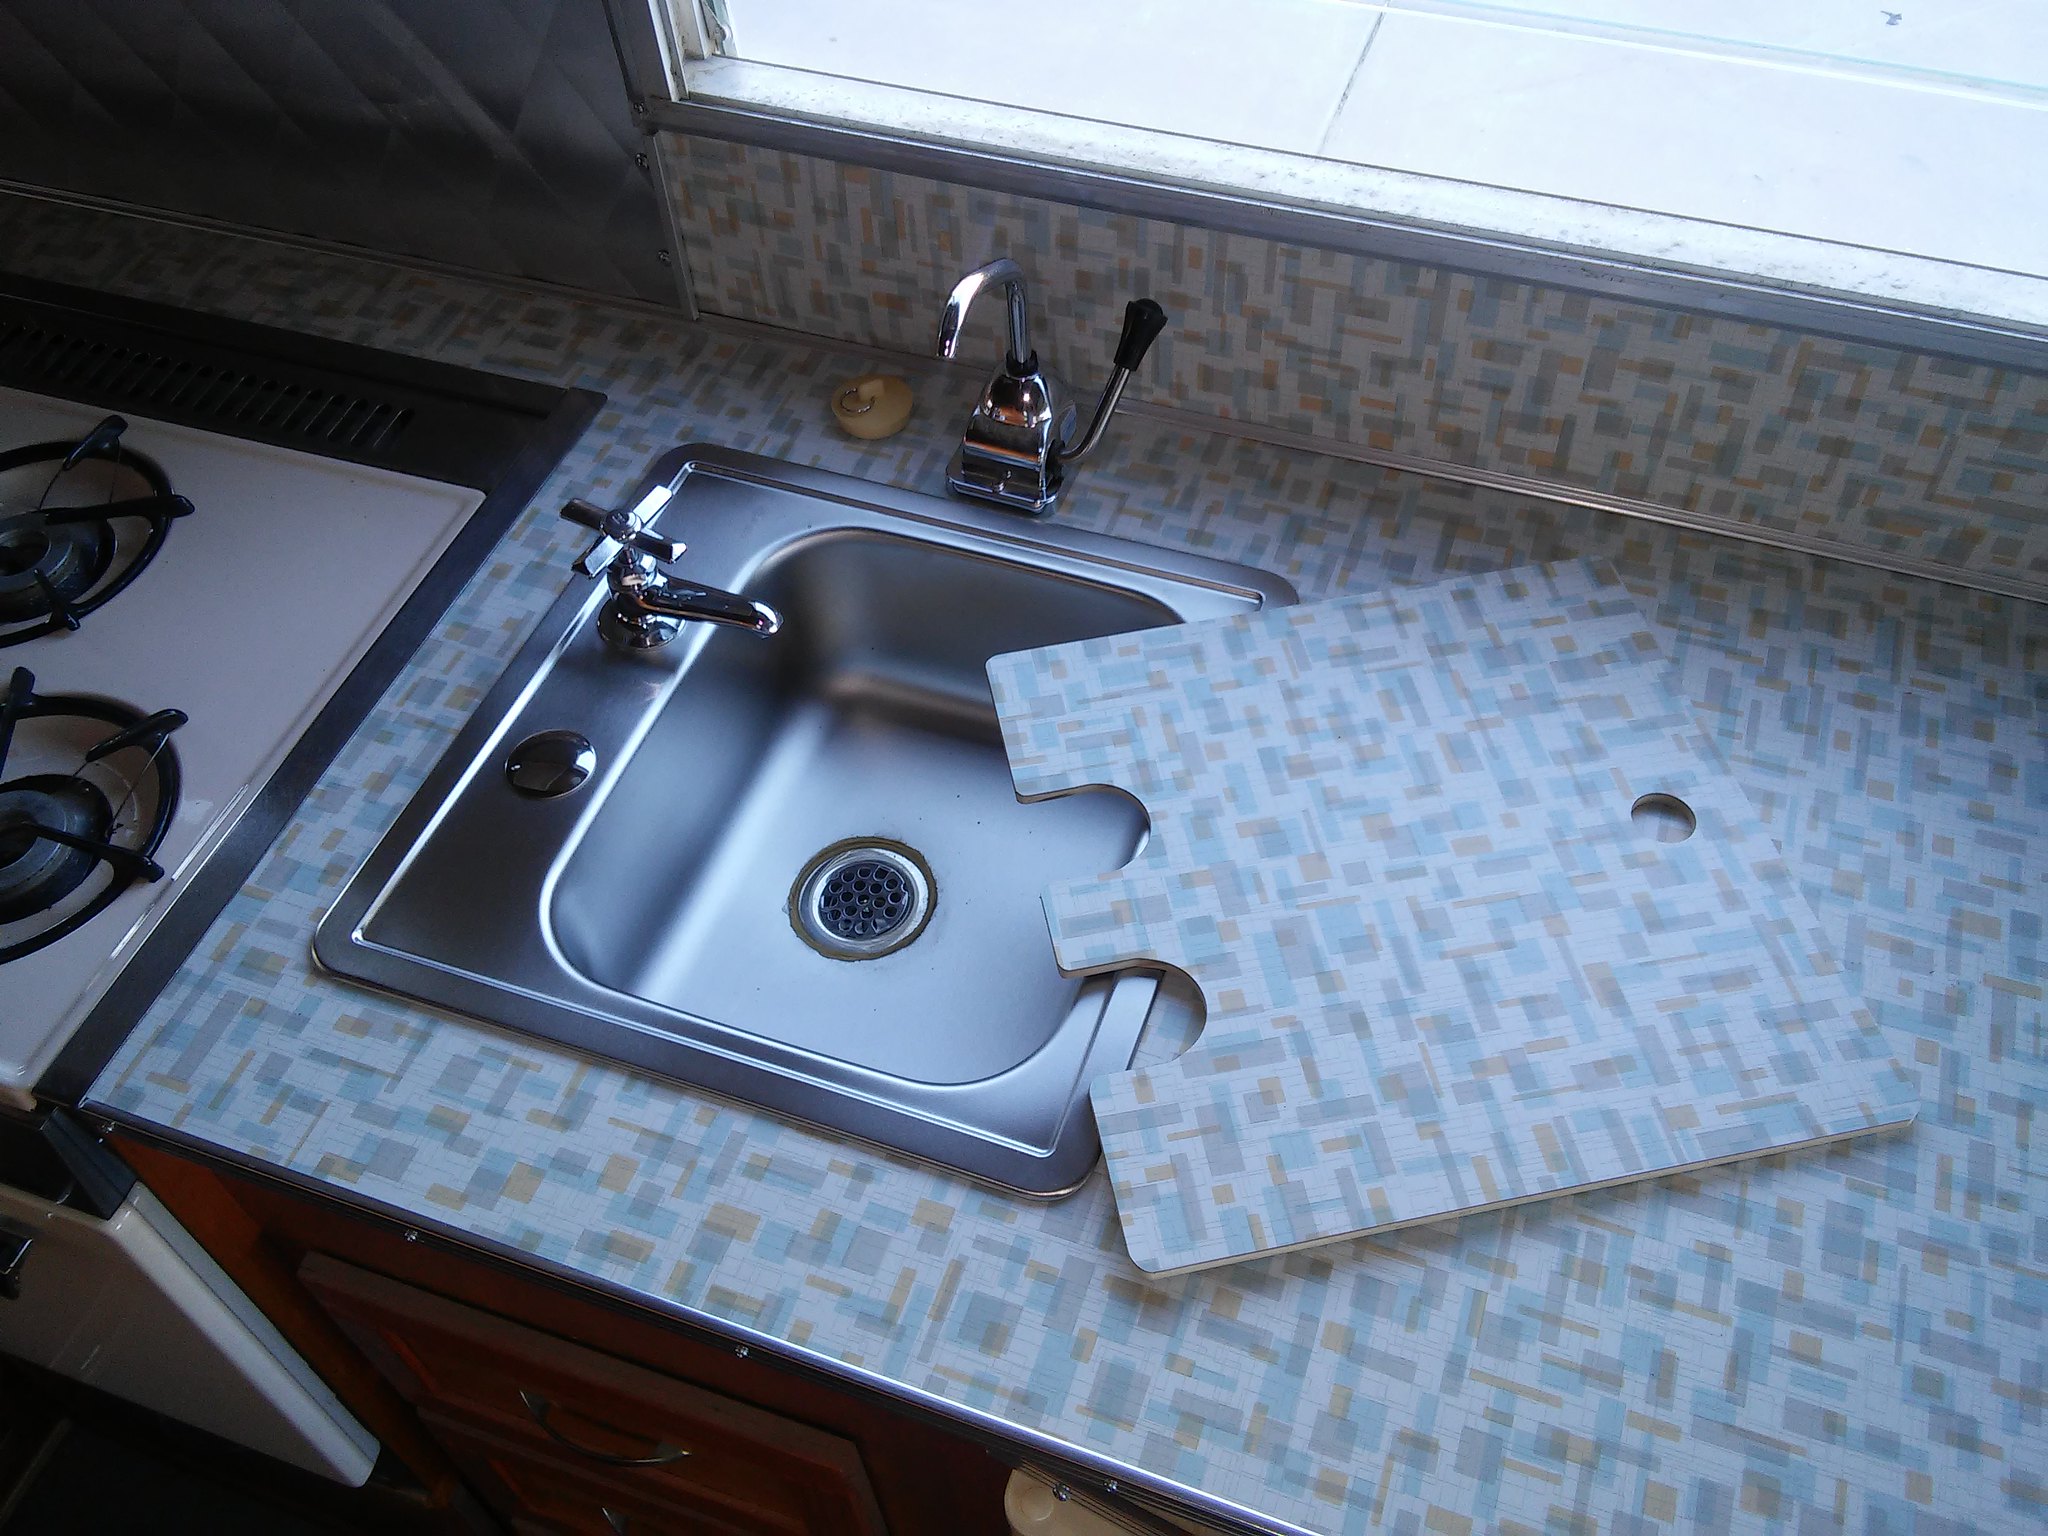 Fridge is installed, bolted down & trimmed out.  I made a little top over the cabinet on the street side dinette from the trim & laminate I had left over... 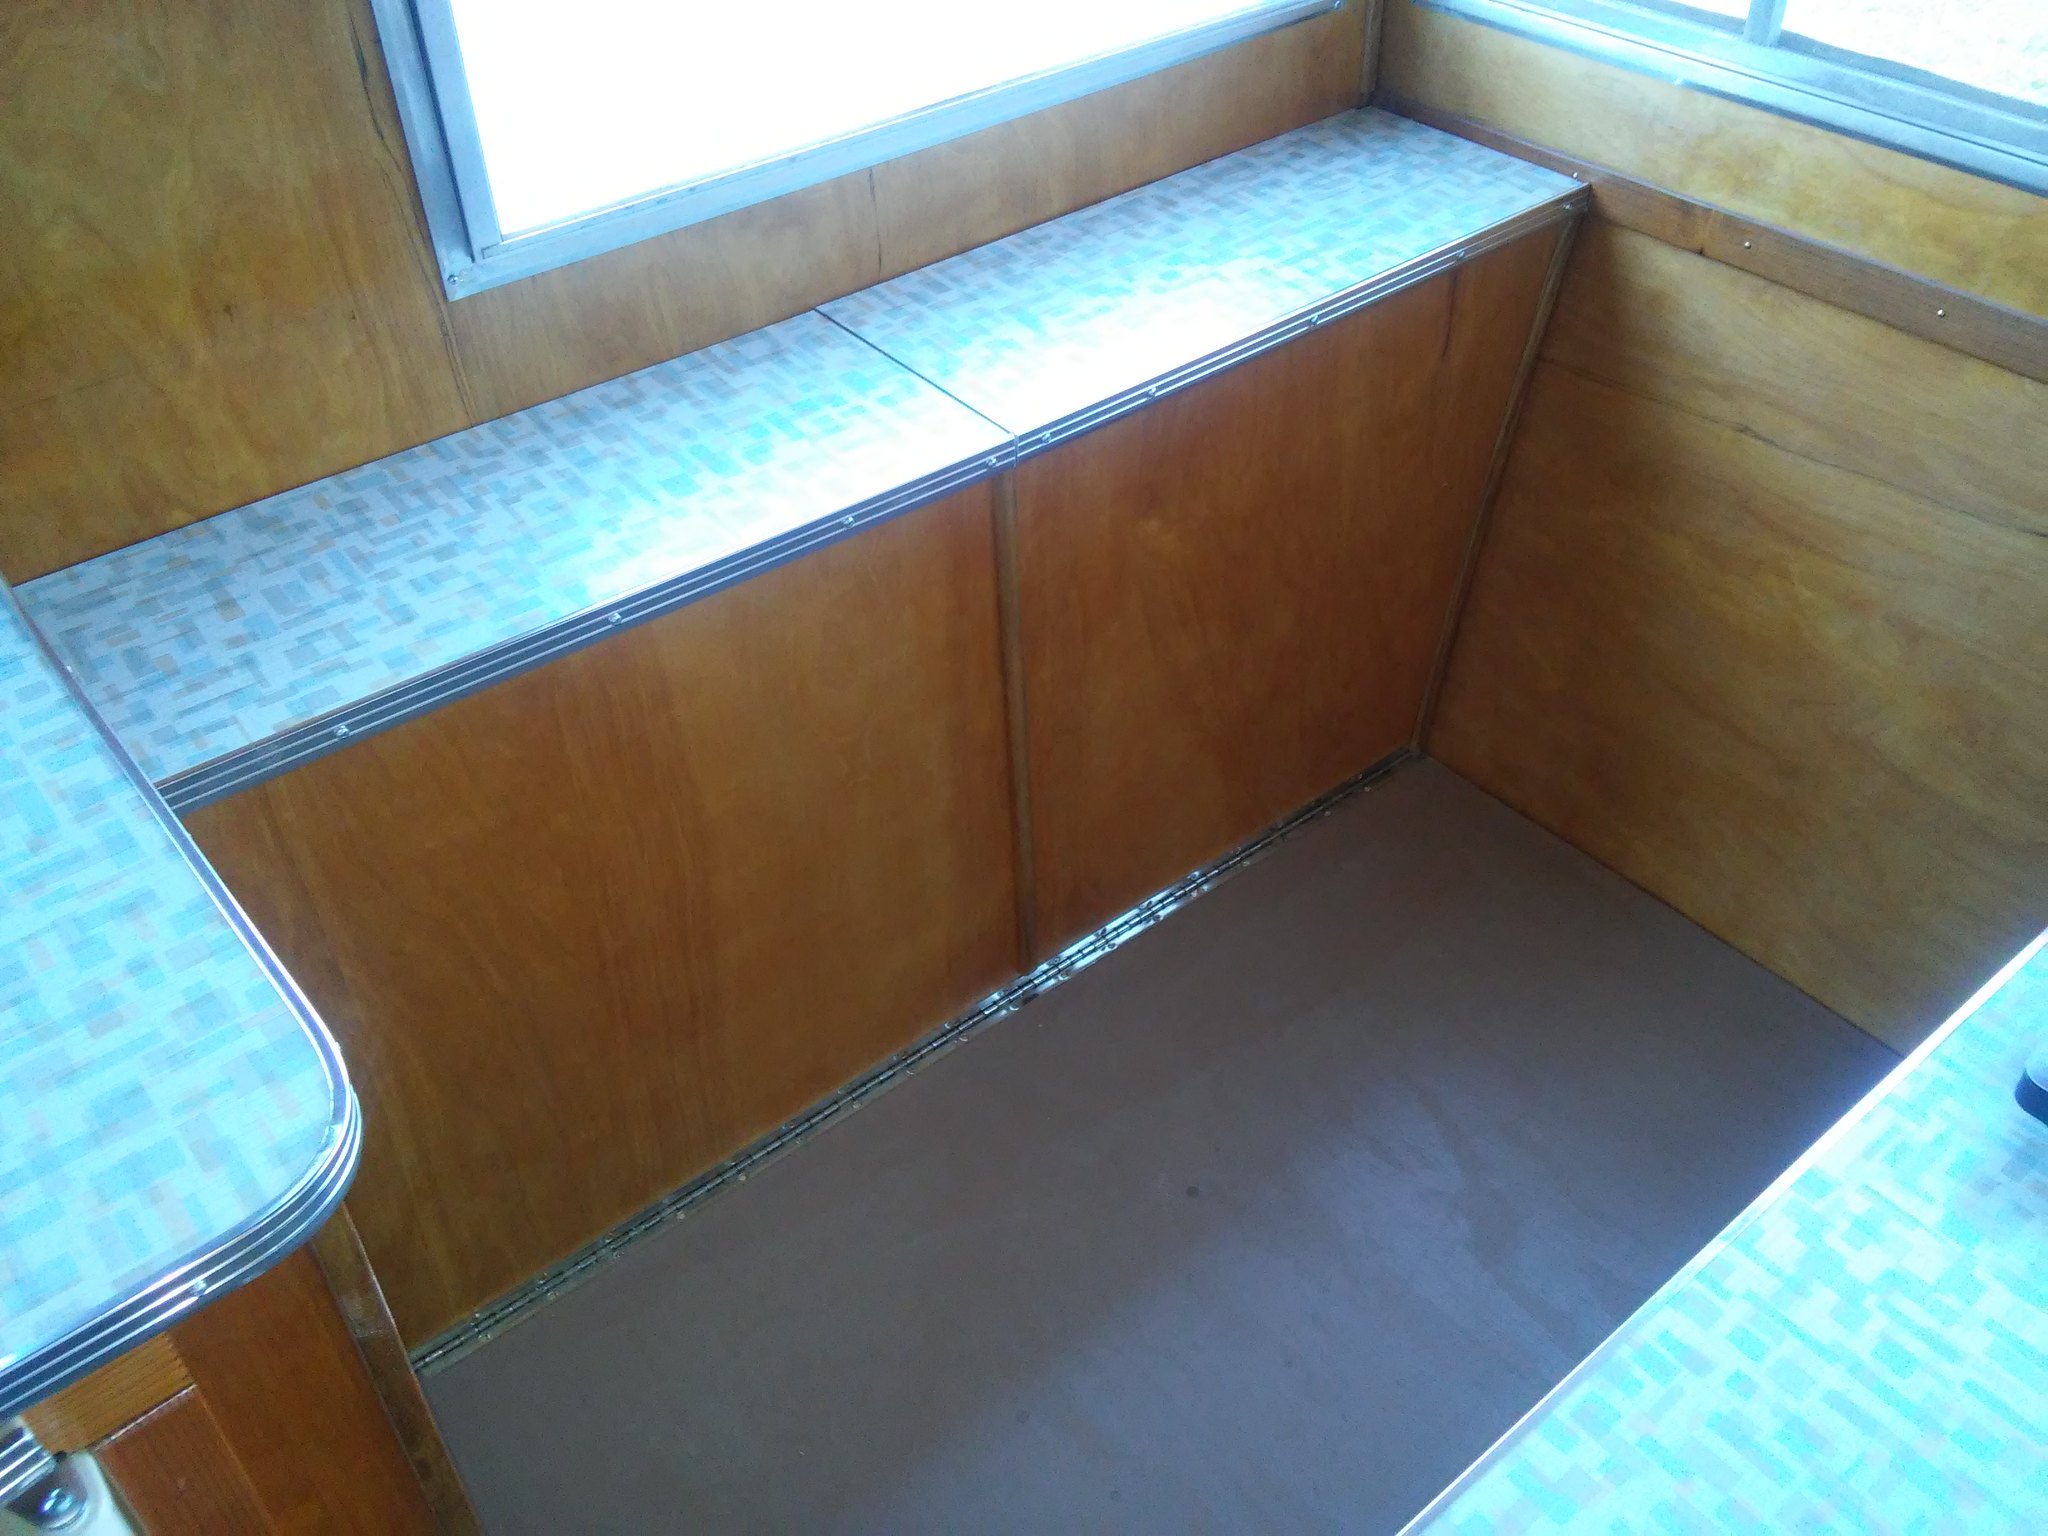 Here is the wardrobe cabinet...original mirrors back up. 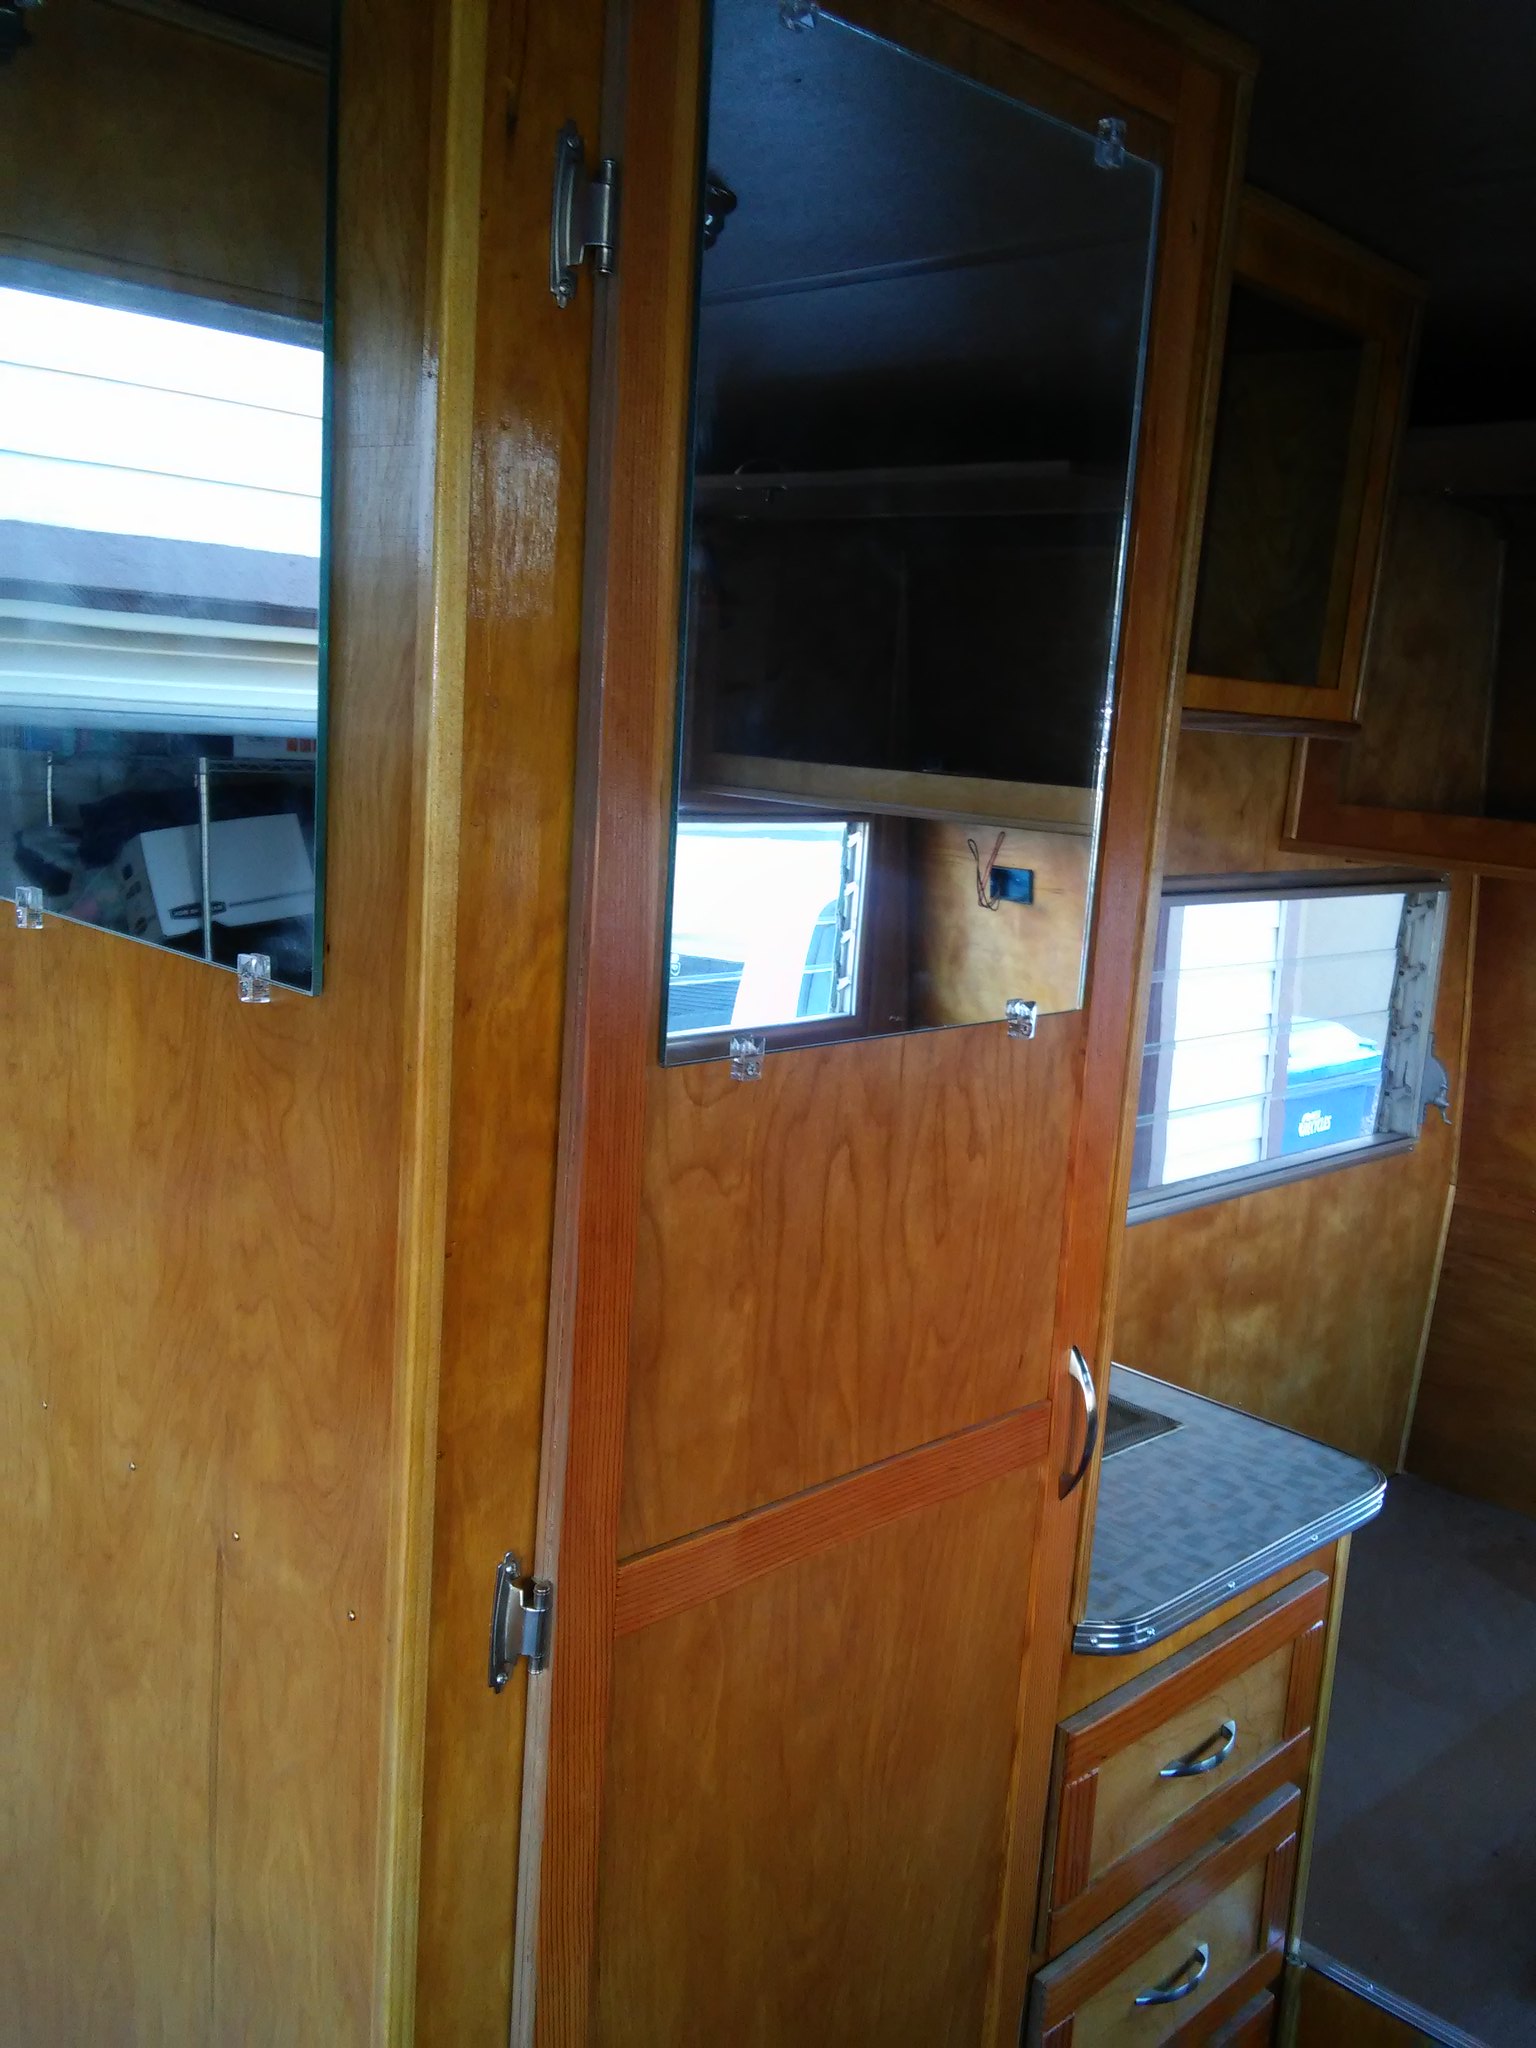
Excited to get the dinette cushions on Friday. I bought a mattress online...it's a weird size. Not the 3/4 (48" x 75") everyone has talked about. It's actually for a truck sleeper, a little longer and I built the bed to match (48" x 80" x 6.5"). Not sure how it's gonna be to sleep on it??? I may have to add 3" of memory foam... |
|
strange1
Active Member
Posts: 159
Likes: 103
1965 Shasta Airflyte
Currently Offline
|
Post by strange1 on Jan 25, 2018 14:28:13 GMT -8
Went to the upholstery shop today to get the dinette cushions built. We went with BLUE "High Density" foam...hopefully we got the right stuff. We're getting much closer to getting to enjoy this little gem. Excited to finally get it out on the road. Next week this time the interior should be completed.
|
|
strange1
Active Member
Posts: 159
Likes: 103
1965 Shasta Airflyte
Currently Offline
|
Post by strange1 on Jan 19, 2018 21:07:37 GMT -8
|
|
strange1
Active Member
Posts: 159
Likes: 103
1965 Shasta Airflyte
Currently Offline
|
Post by strange1 on Jan 19, 2018 11:48:19 GMT -8
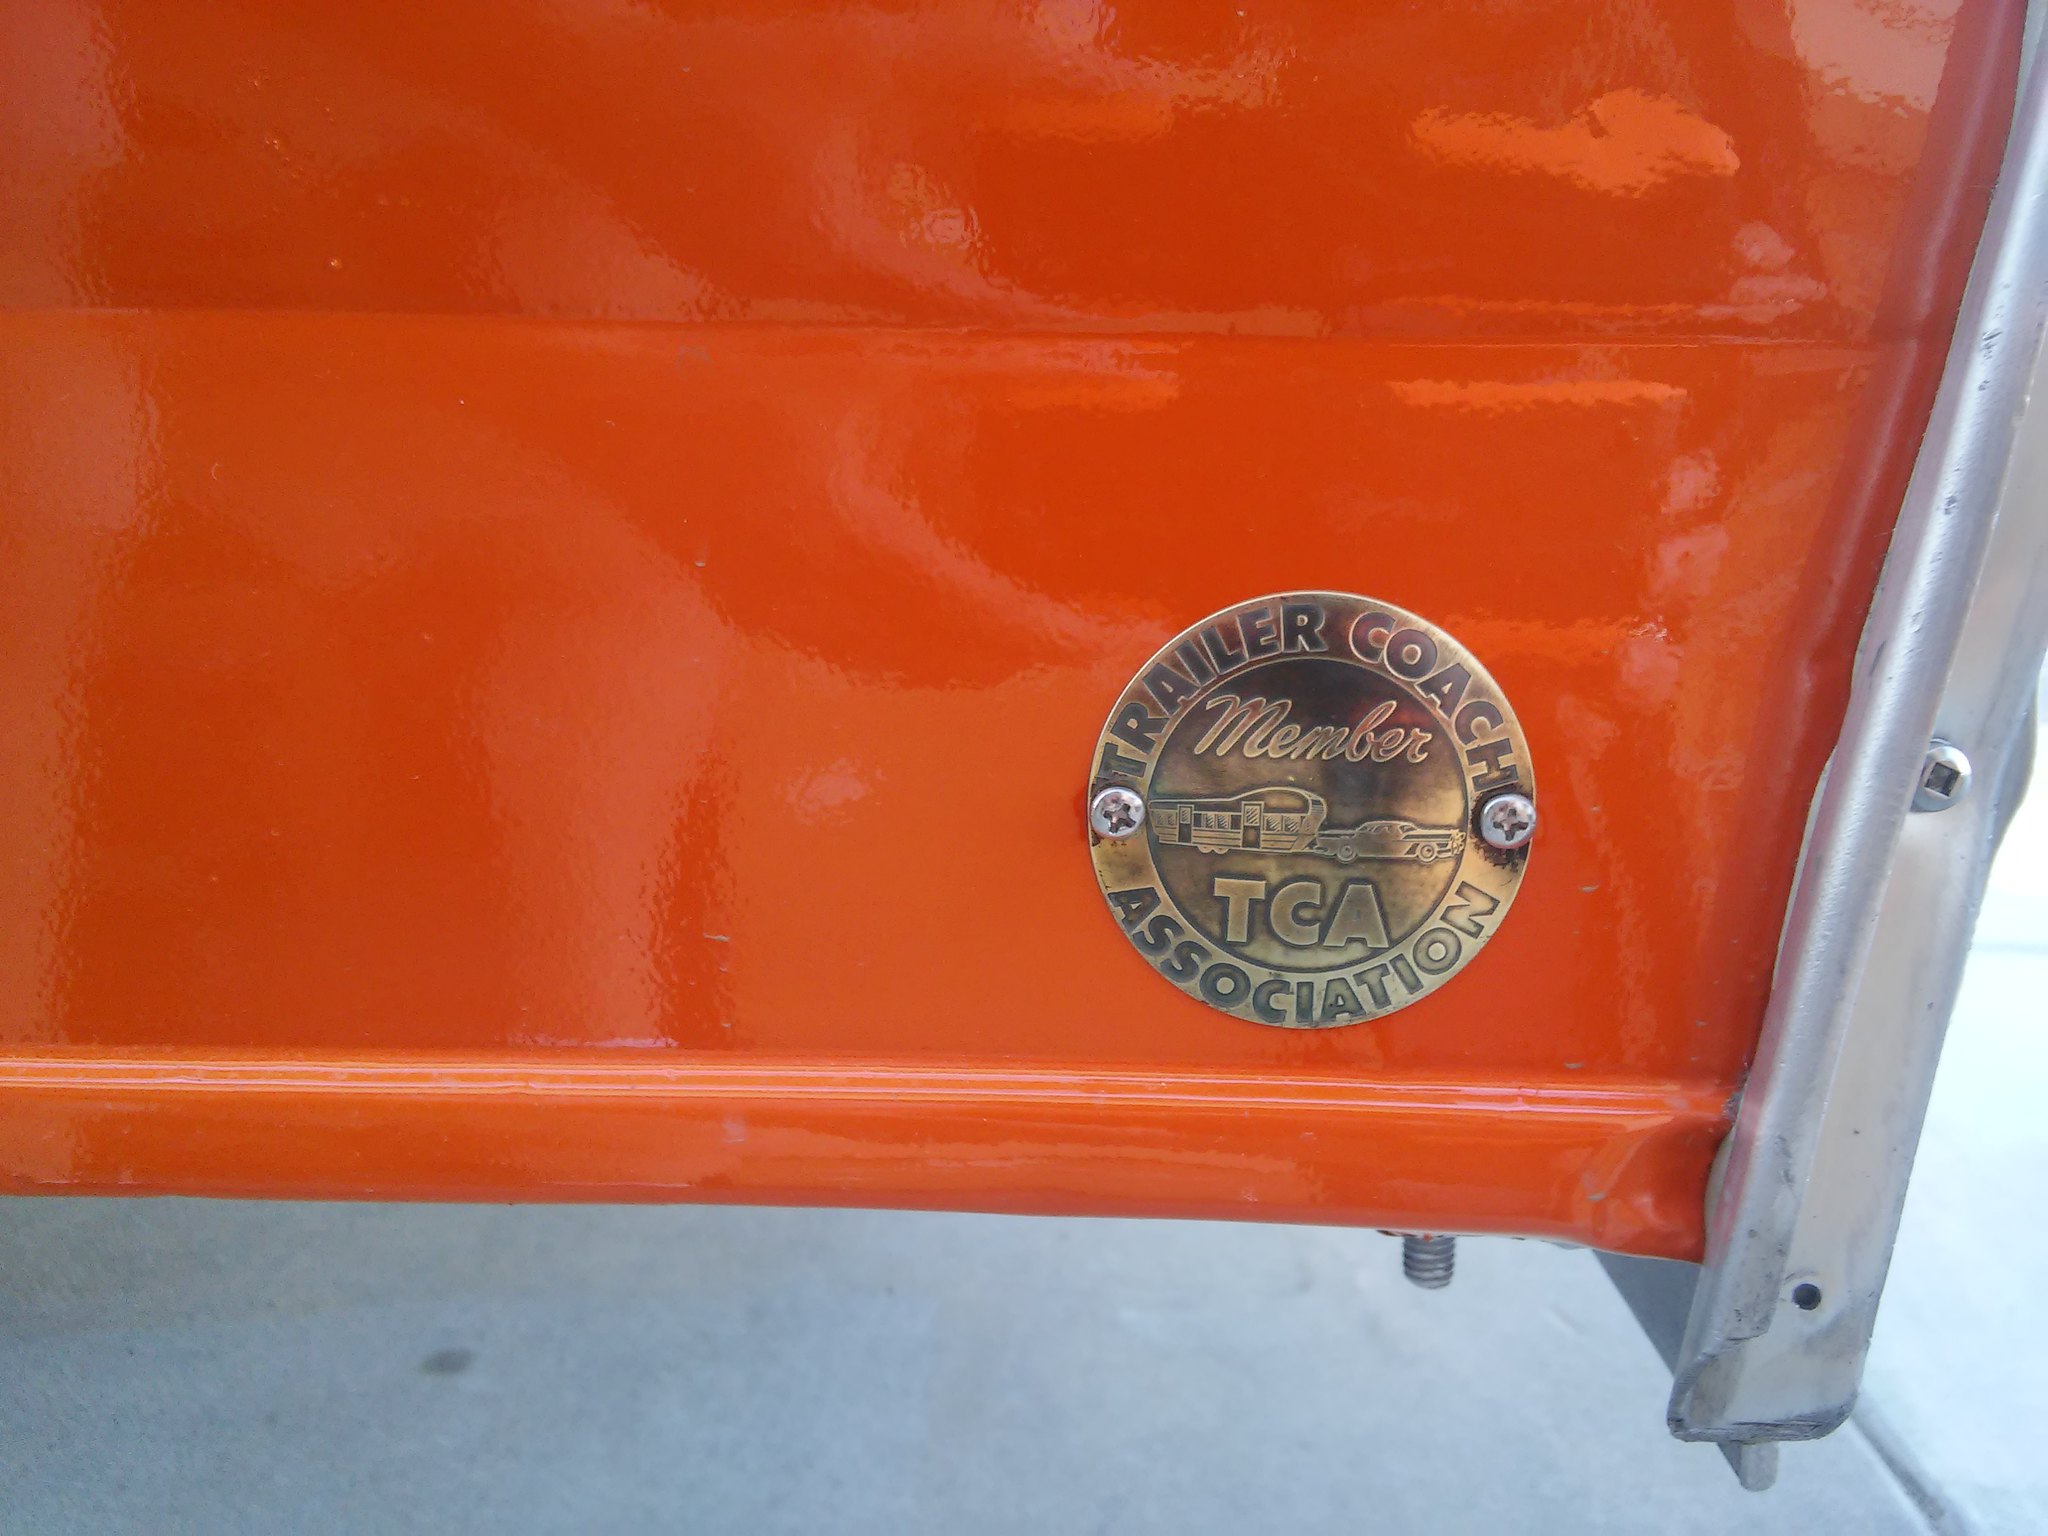
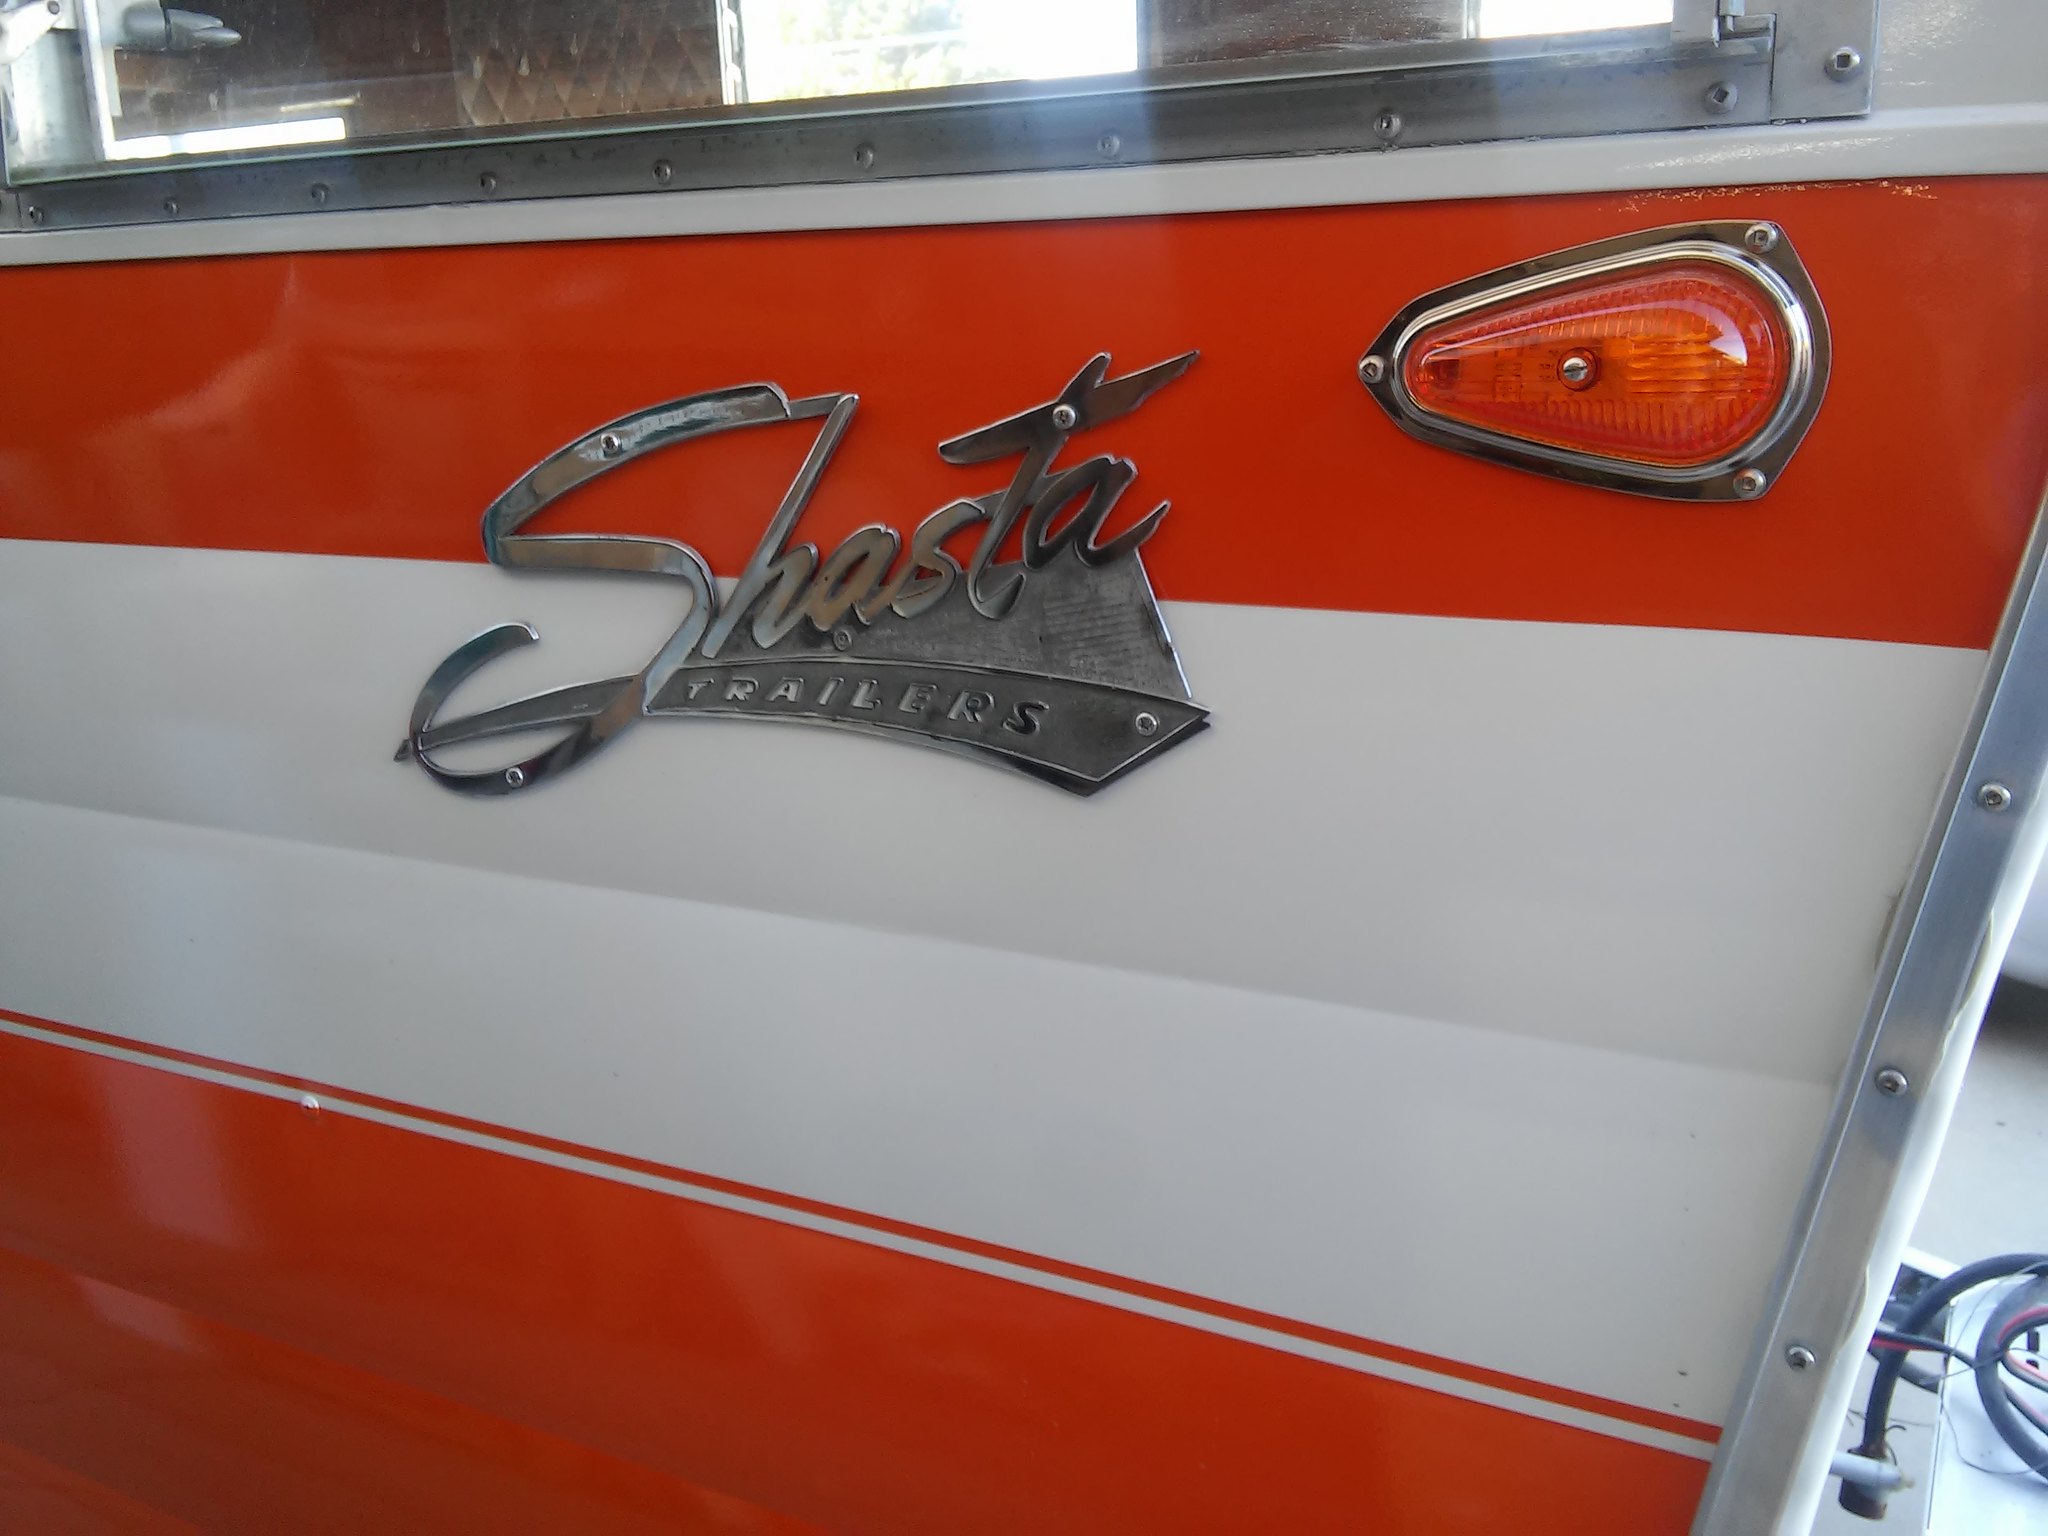
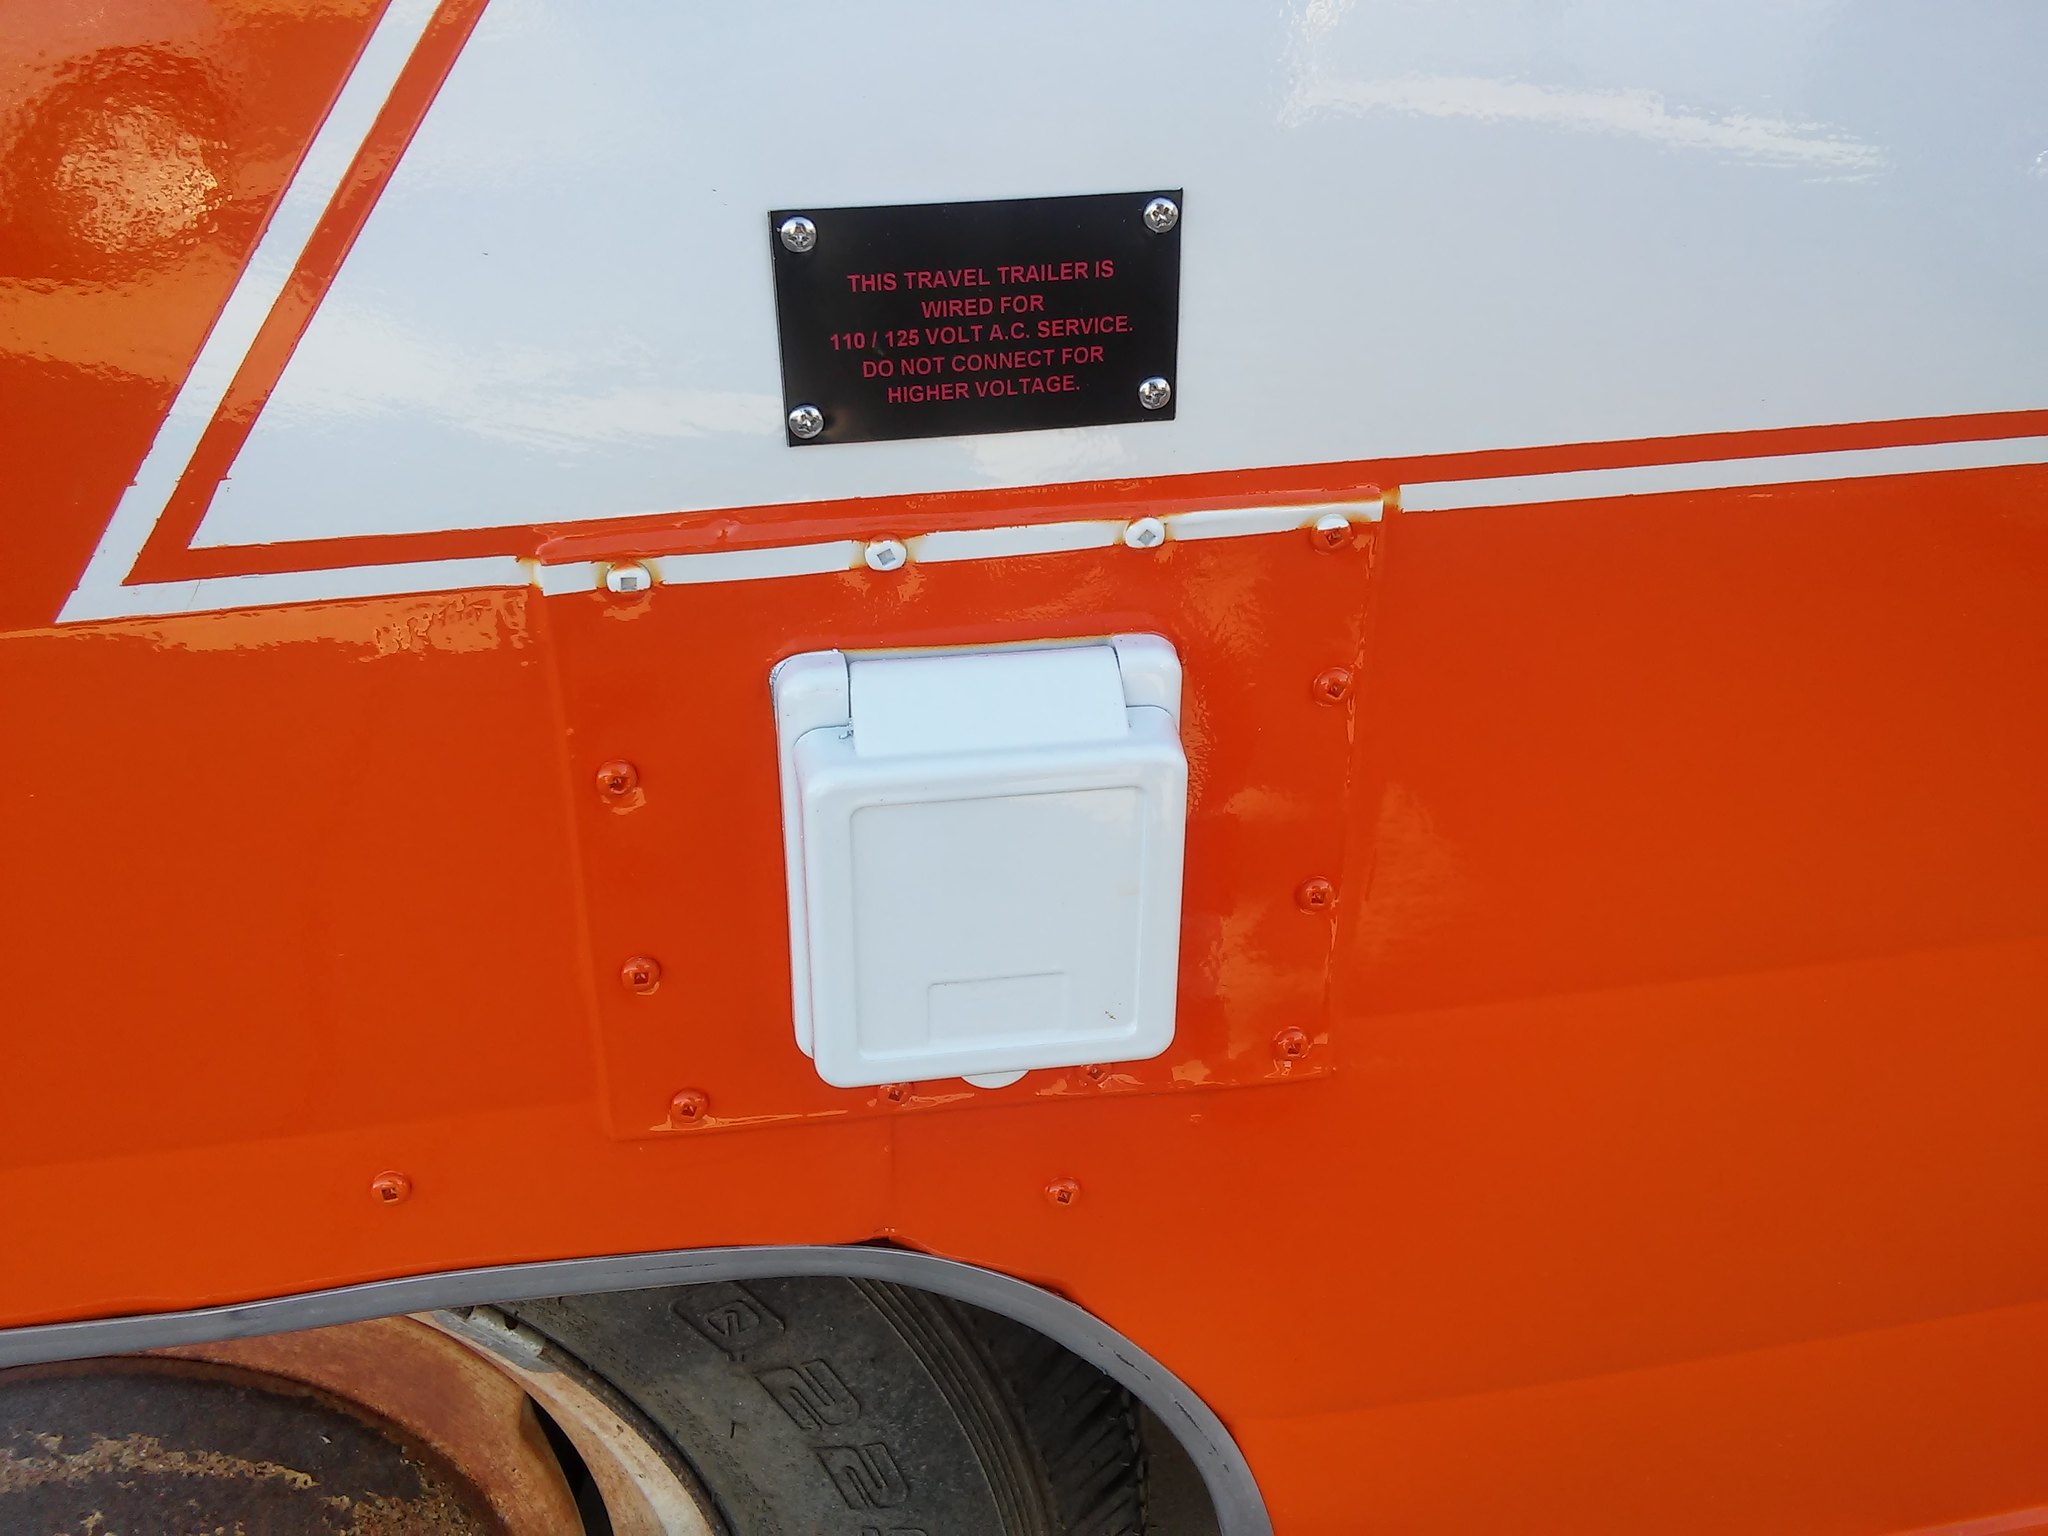
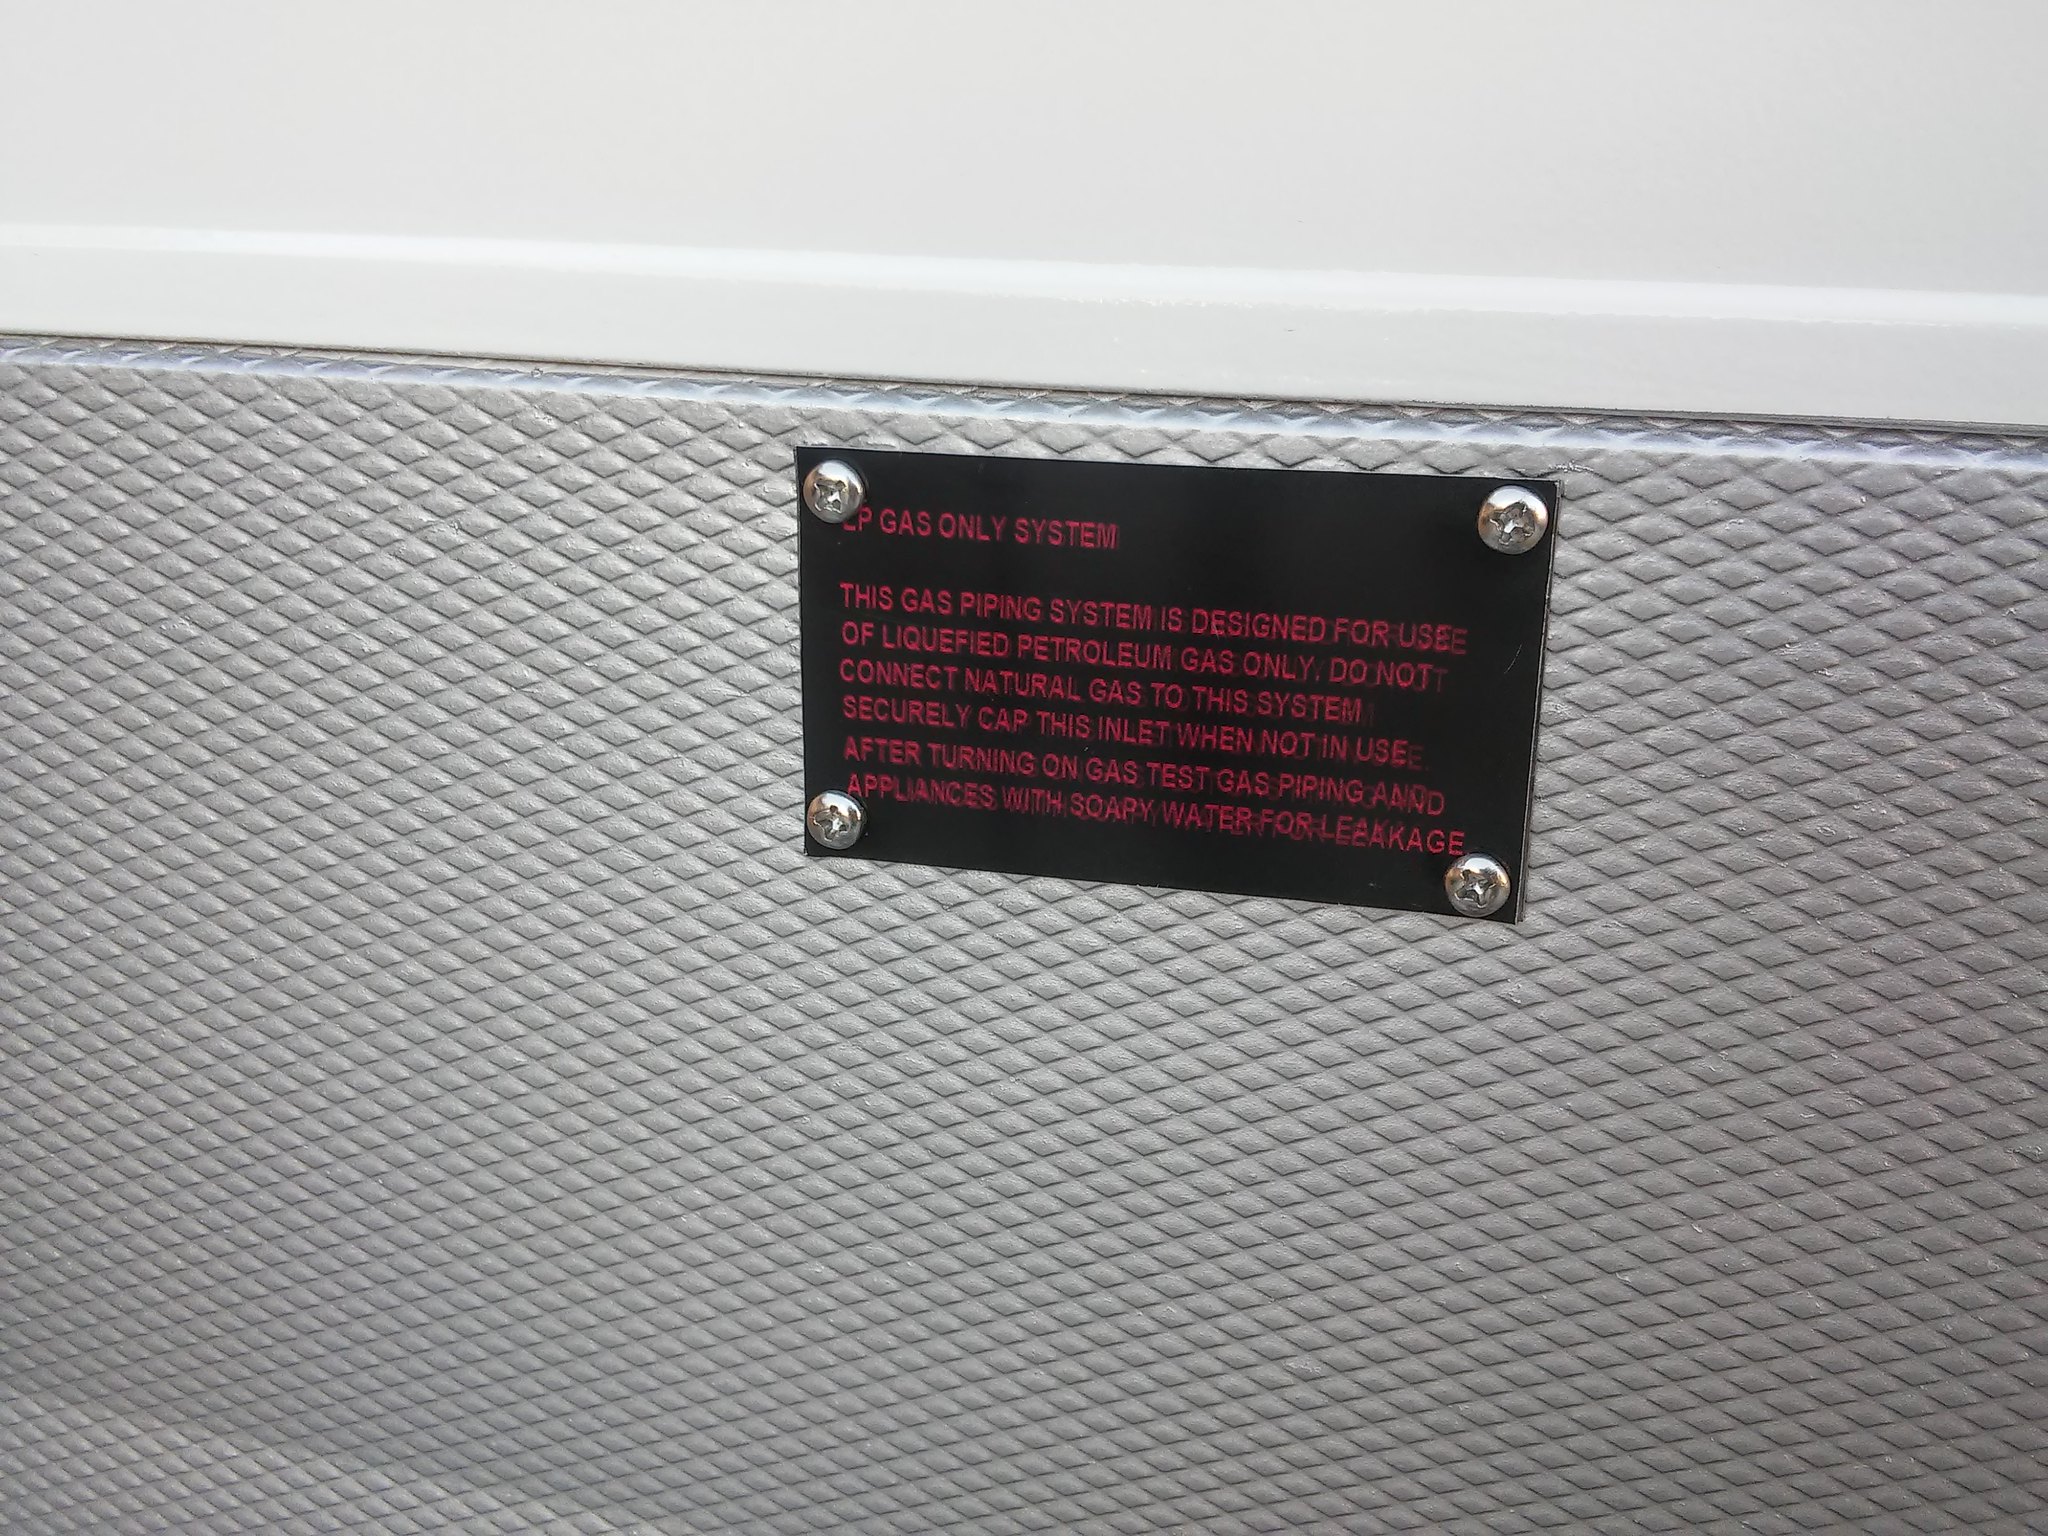
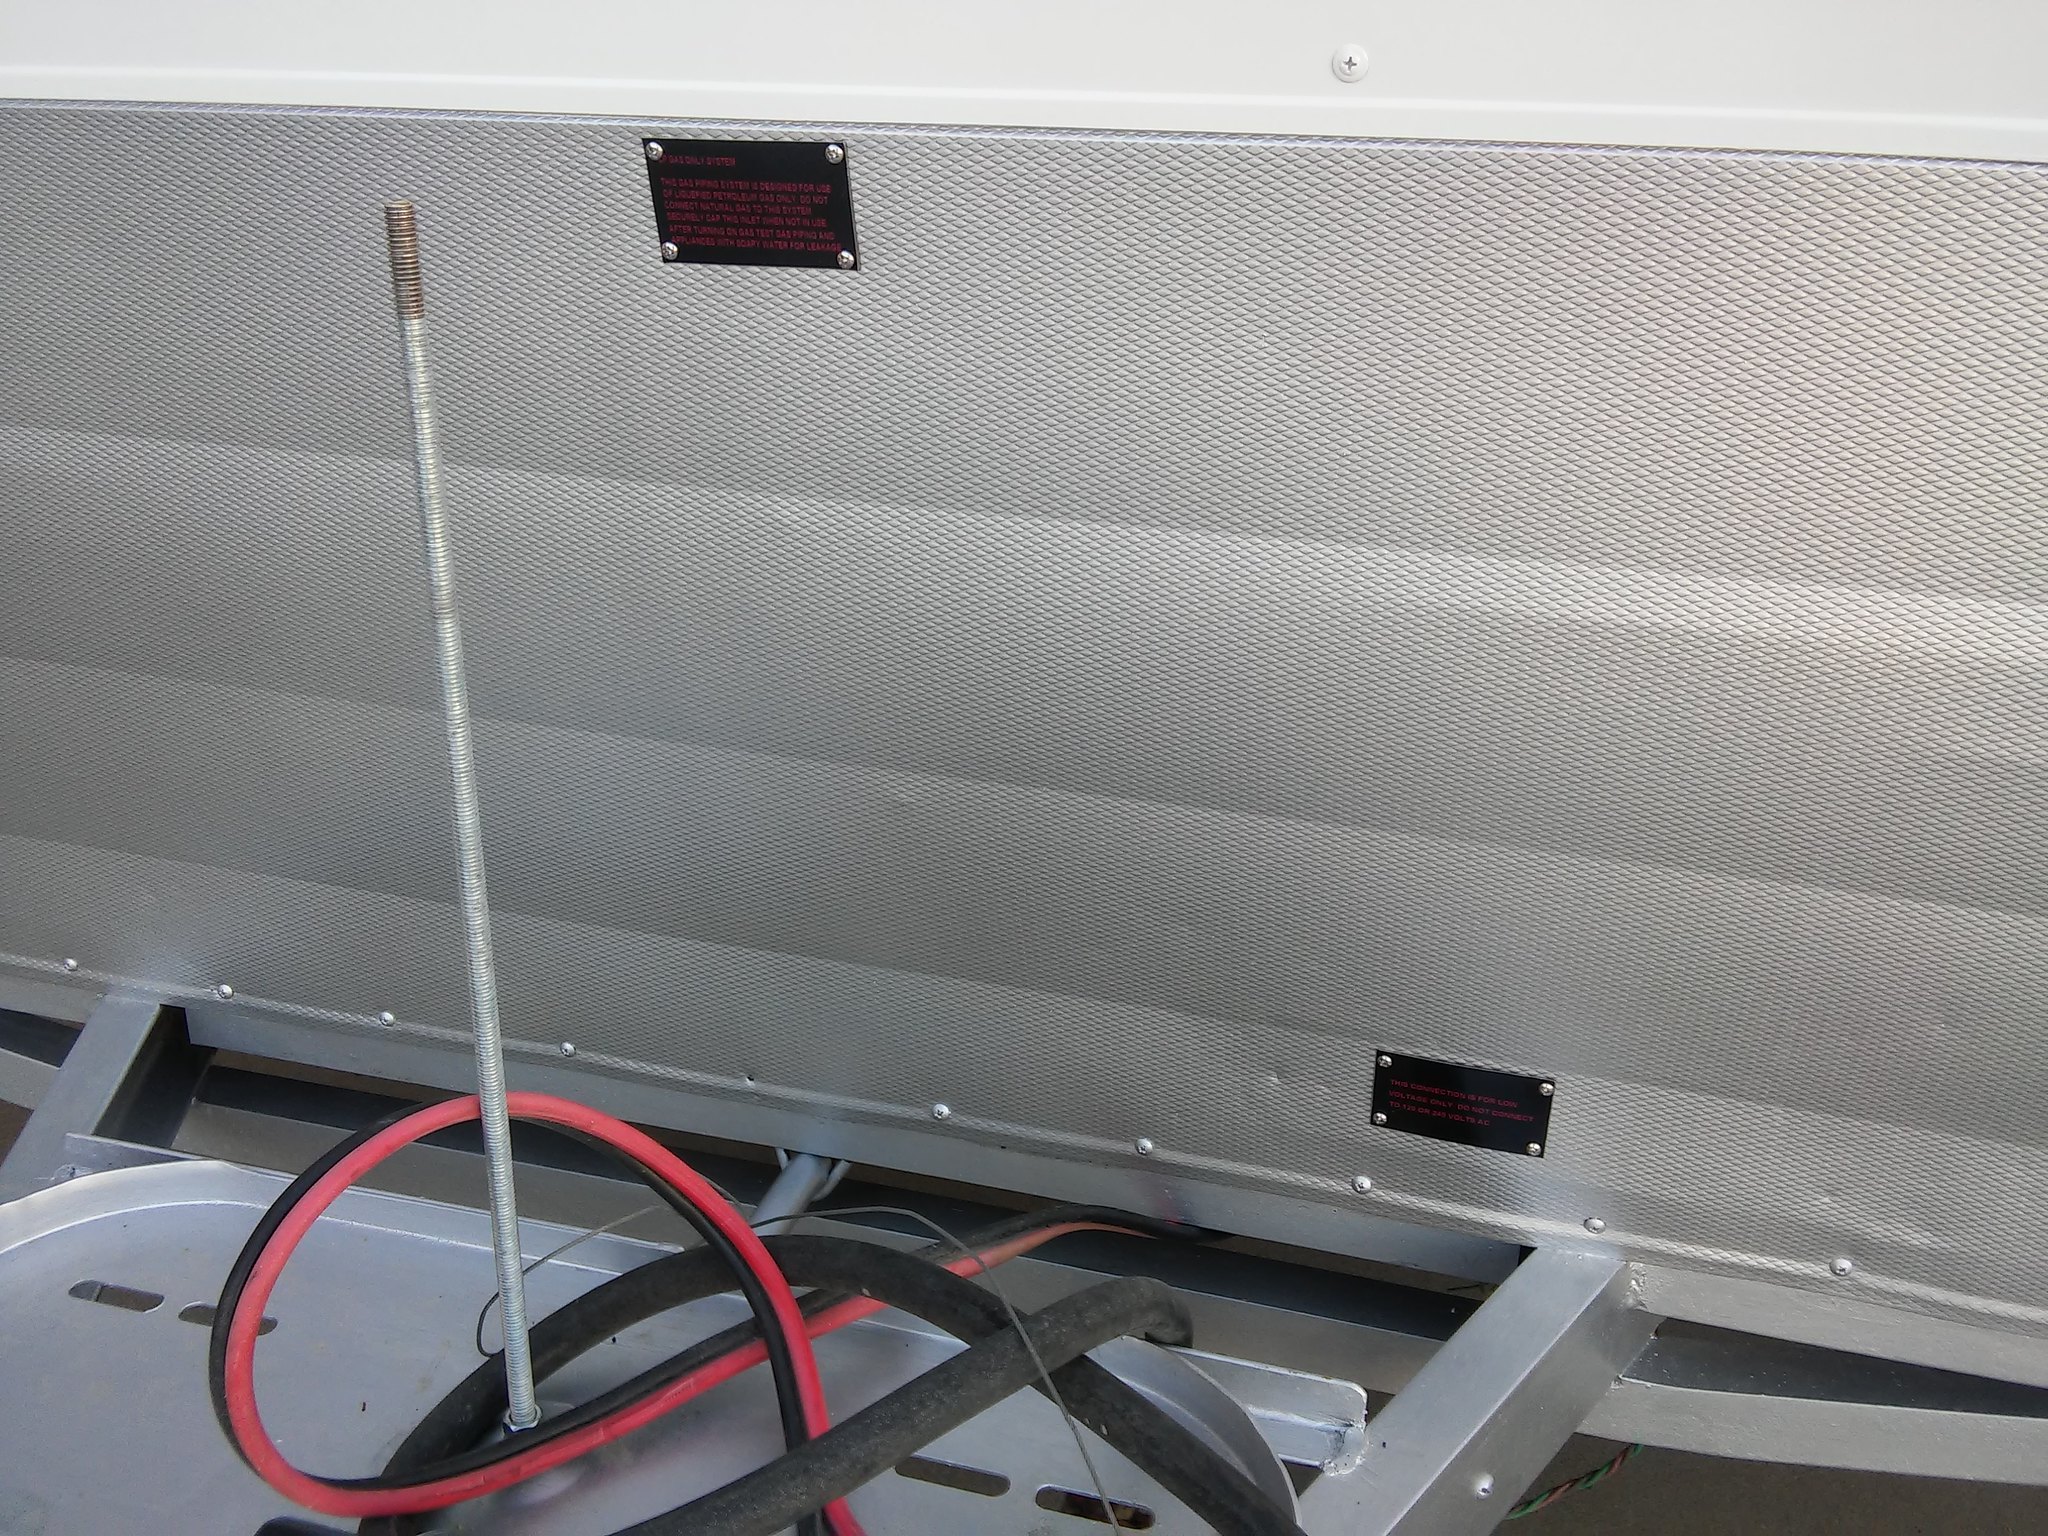
I was able to get my Shasta decals applied to the front & rear of the trailer. I love the color and I think they look great. Easy to apply...let's hope they stand up to the elements... 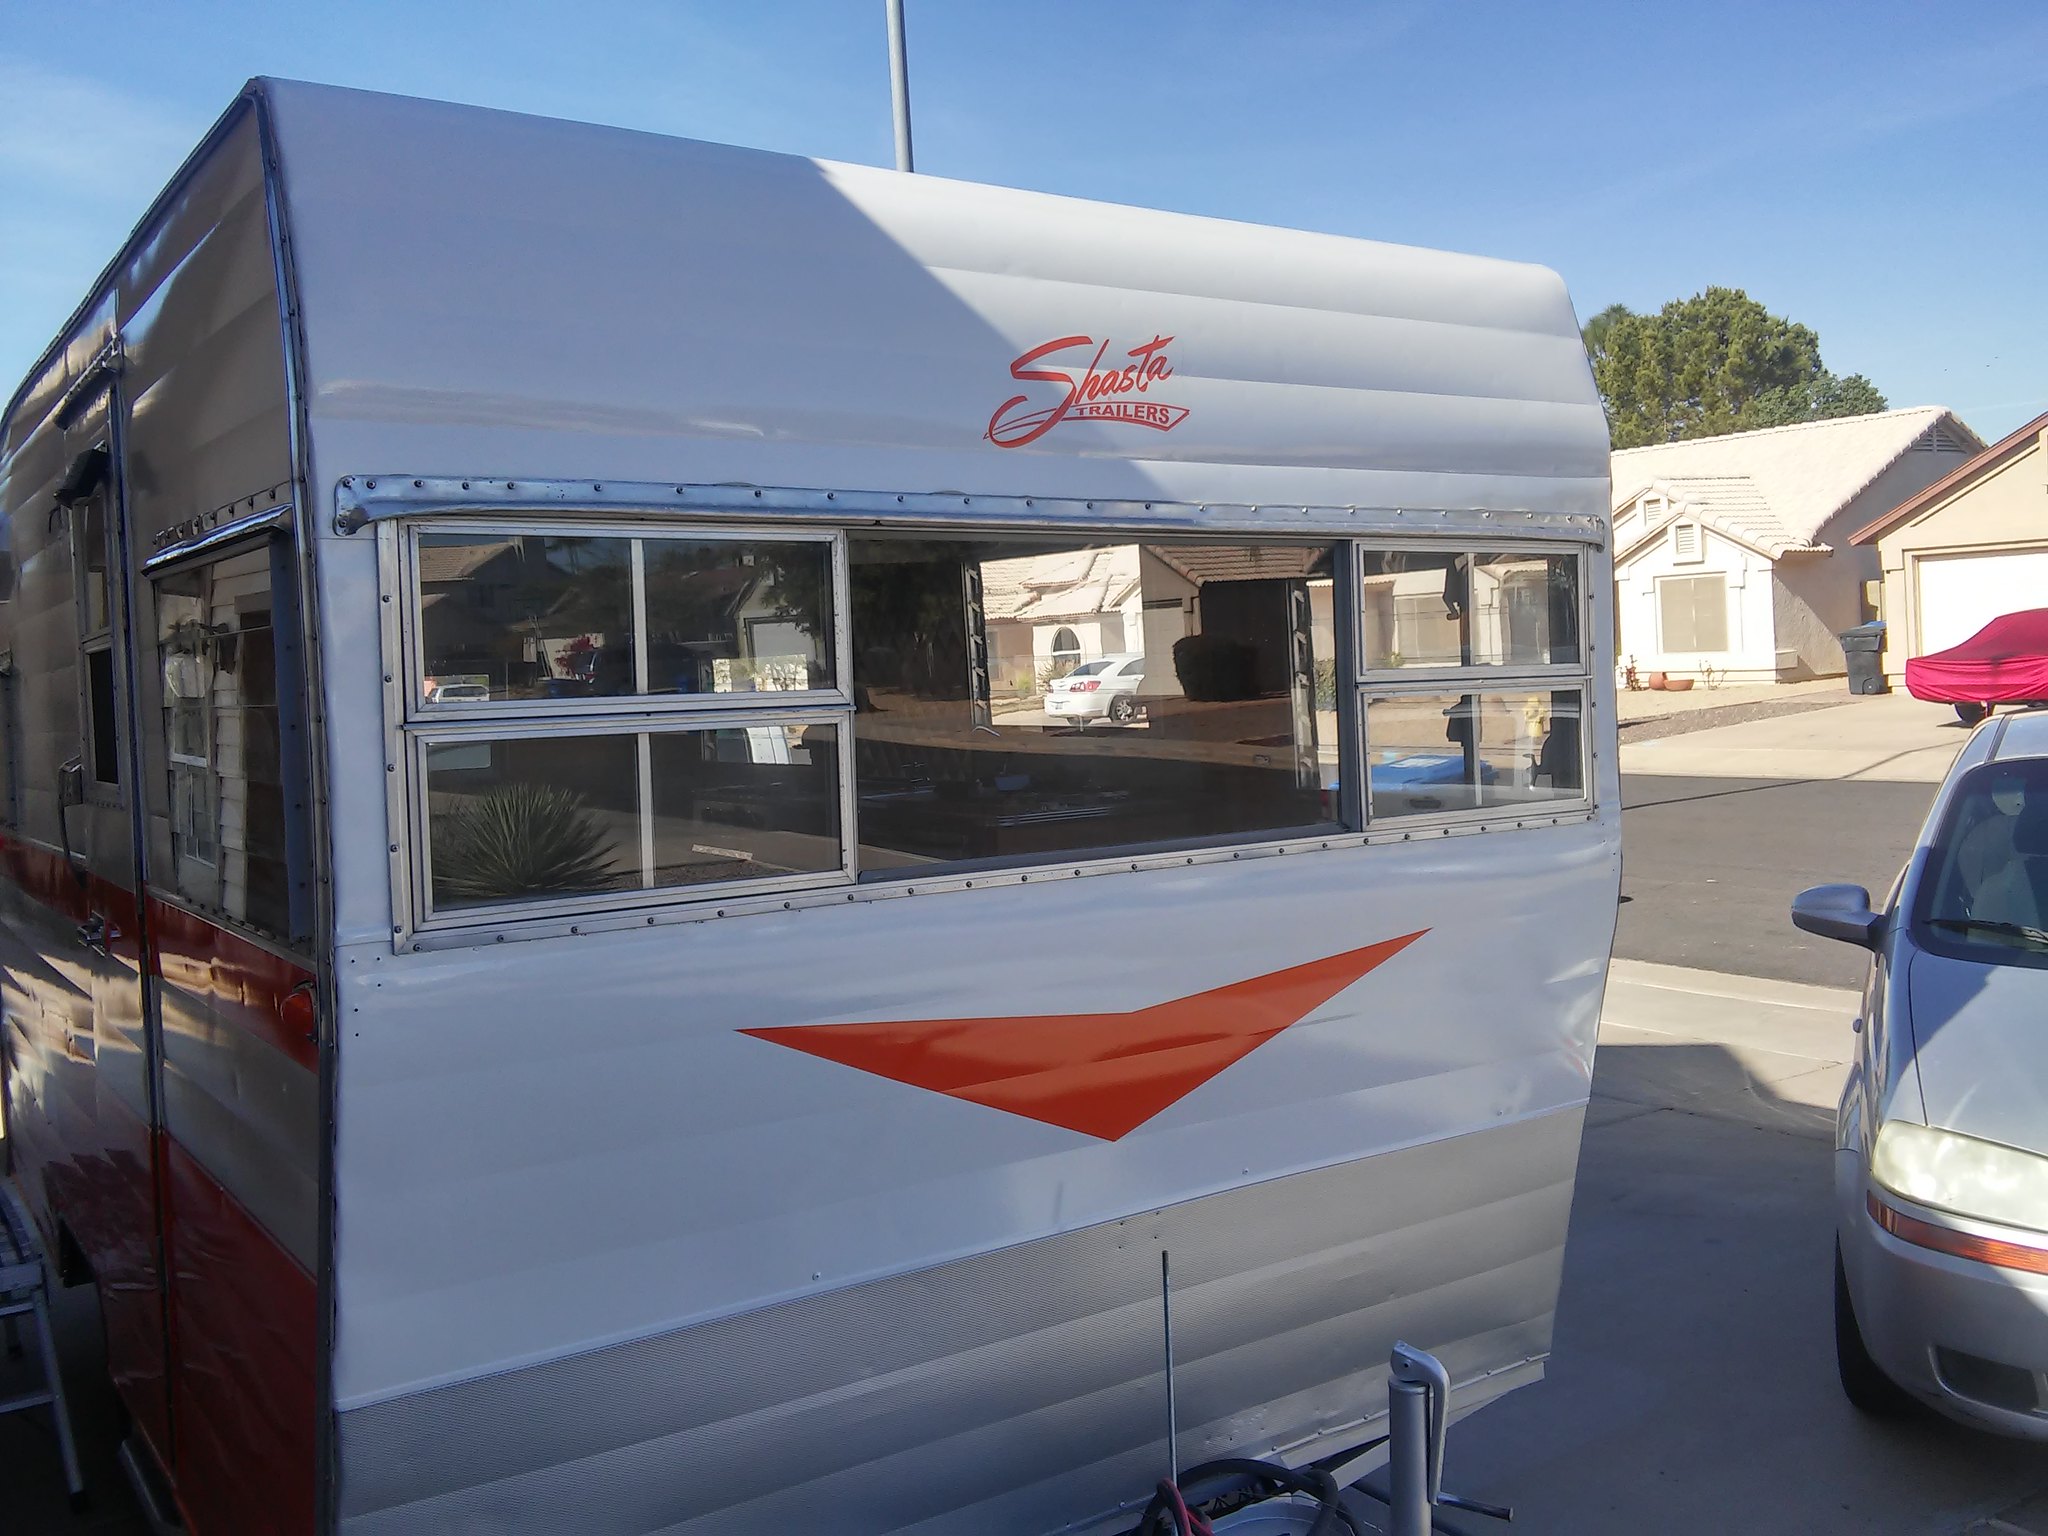 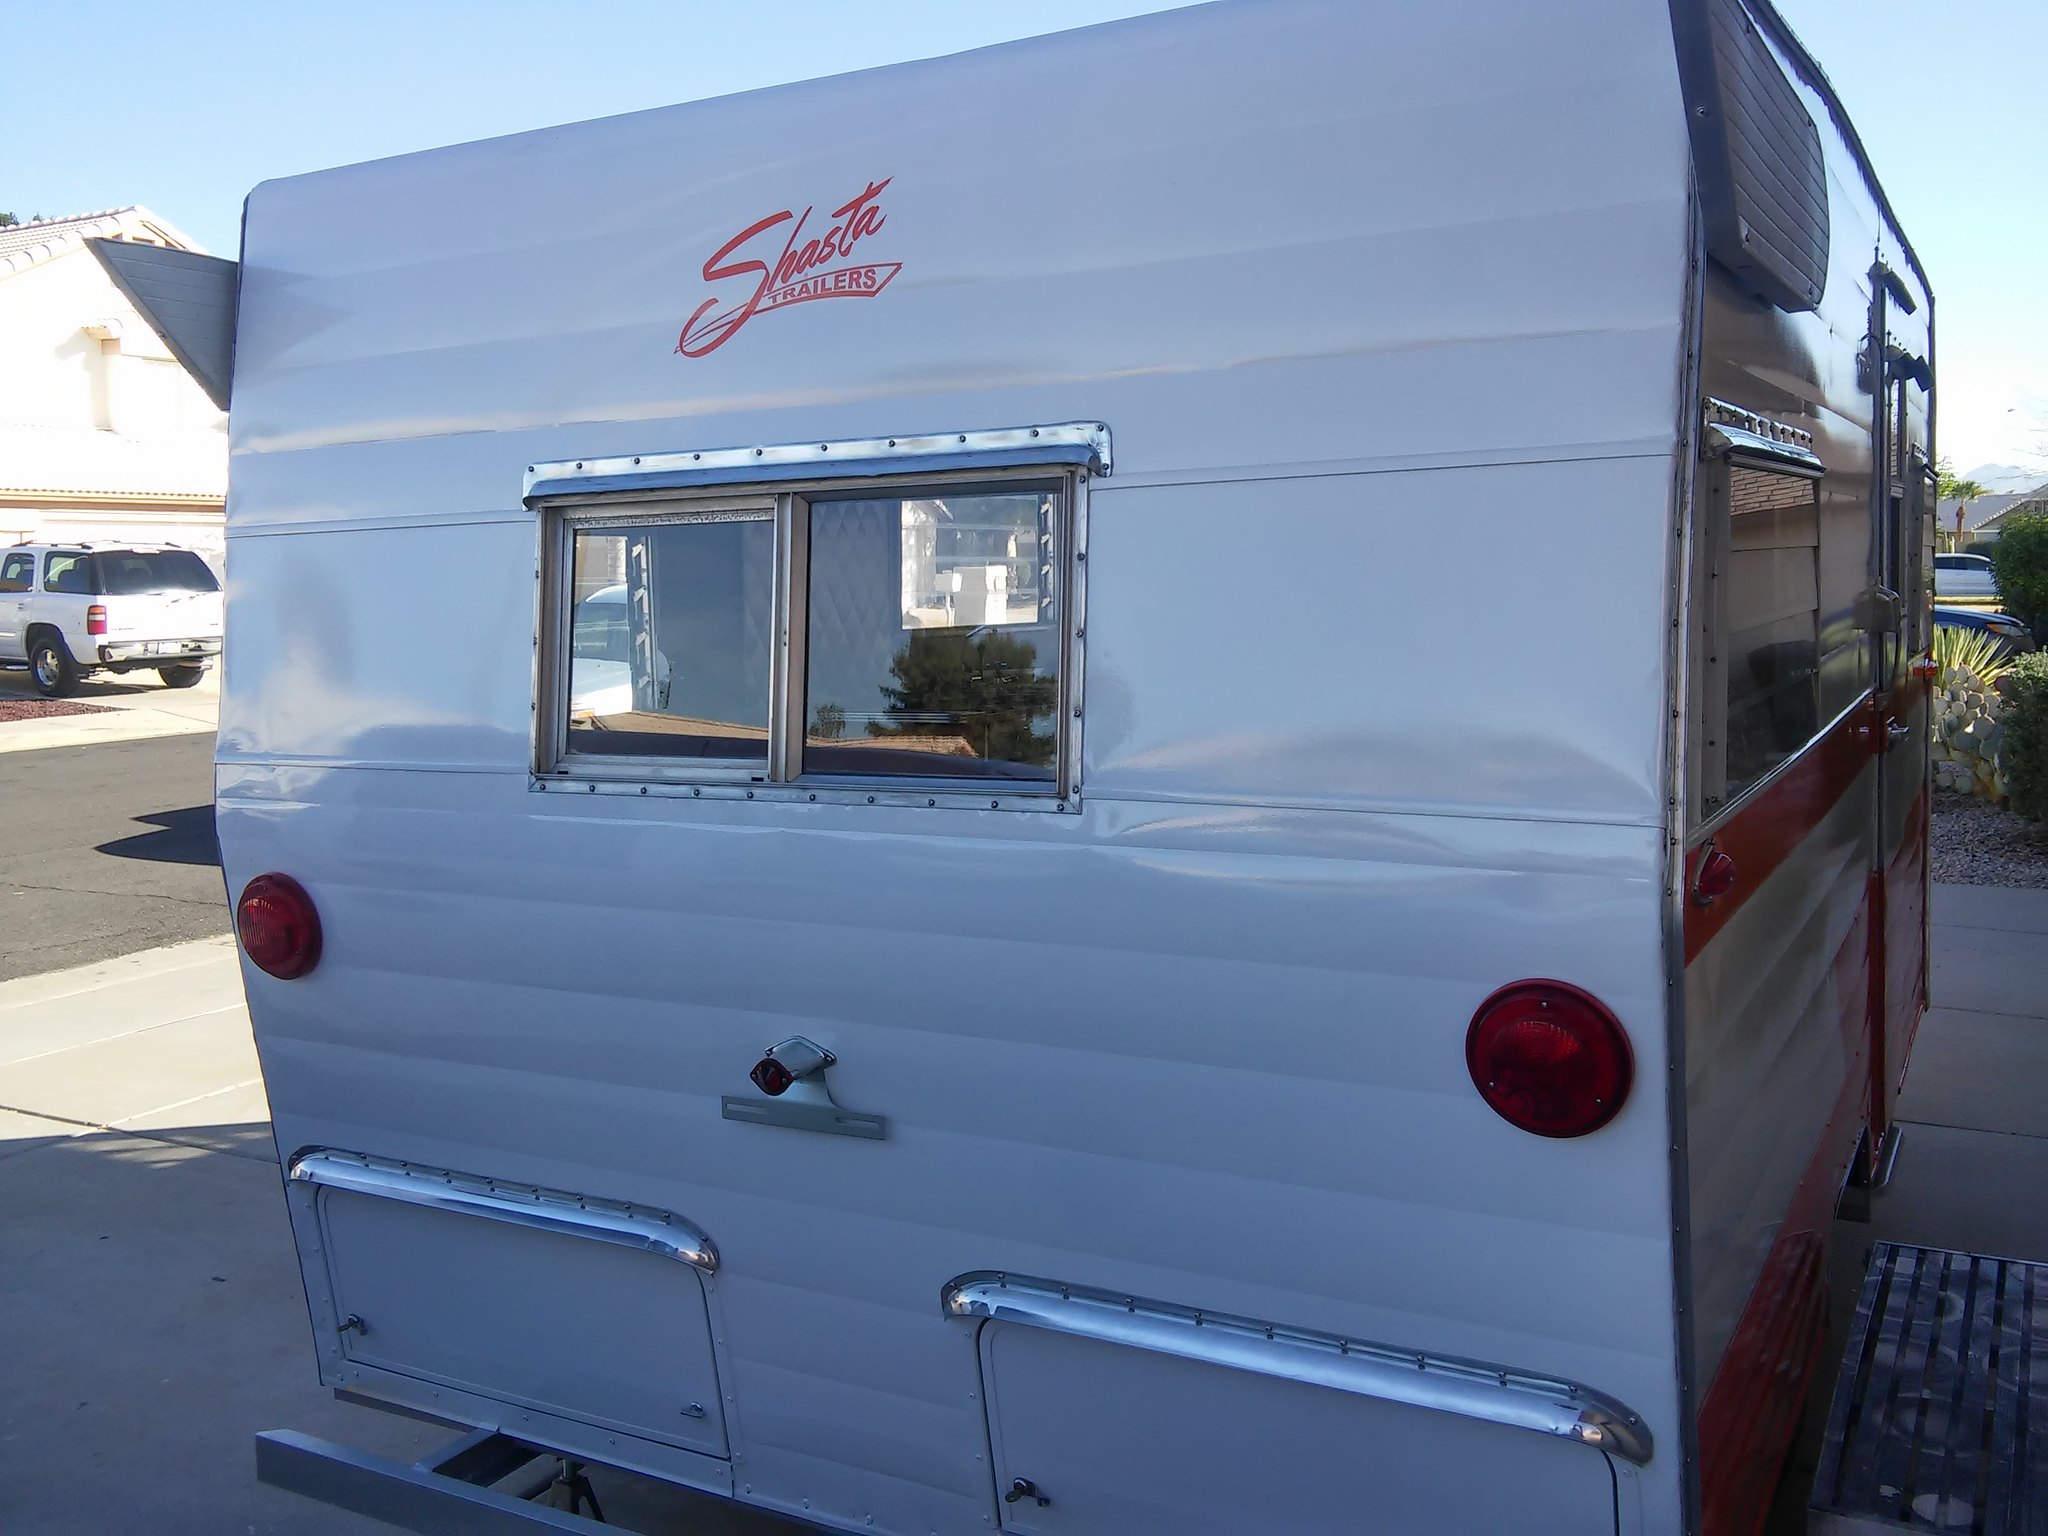 I also got the vinyl decals I ordered for the different faded & painted over plaques. 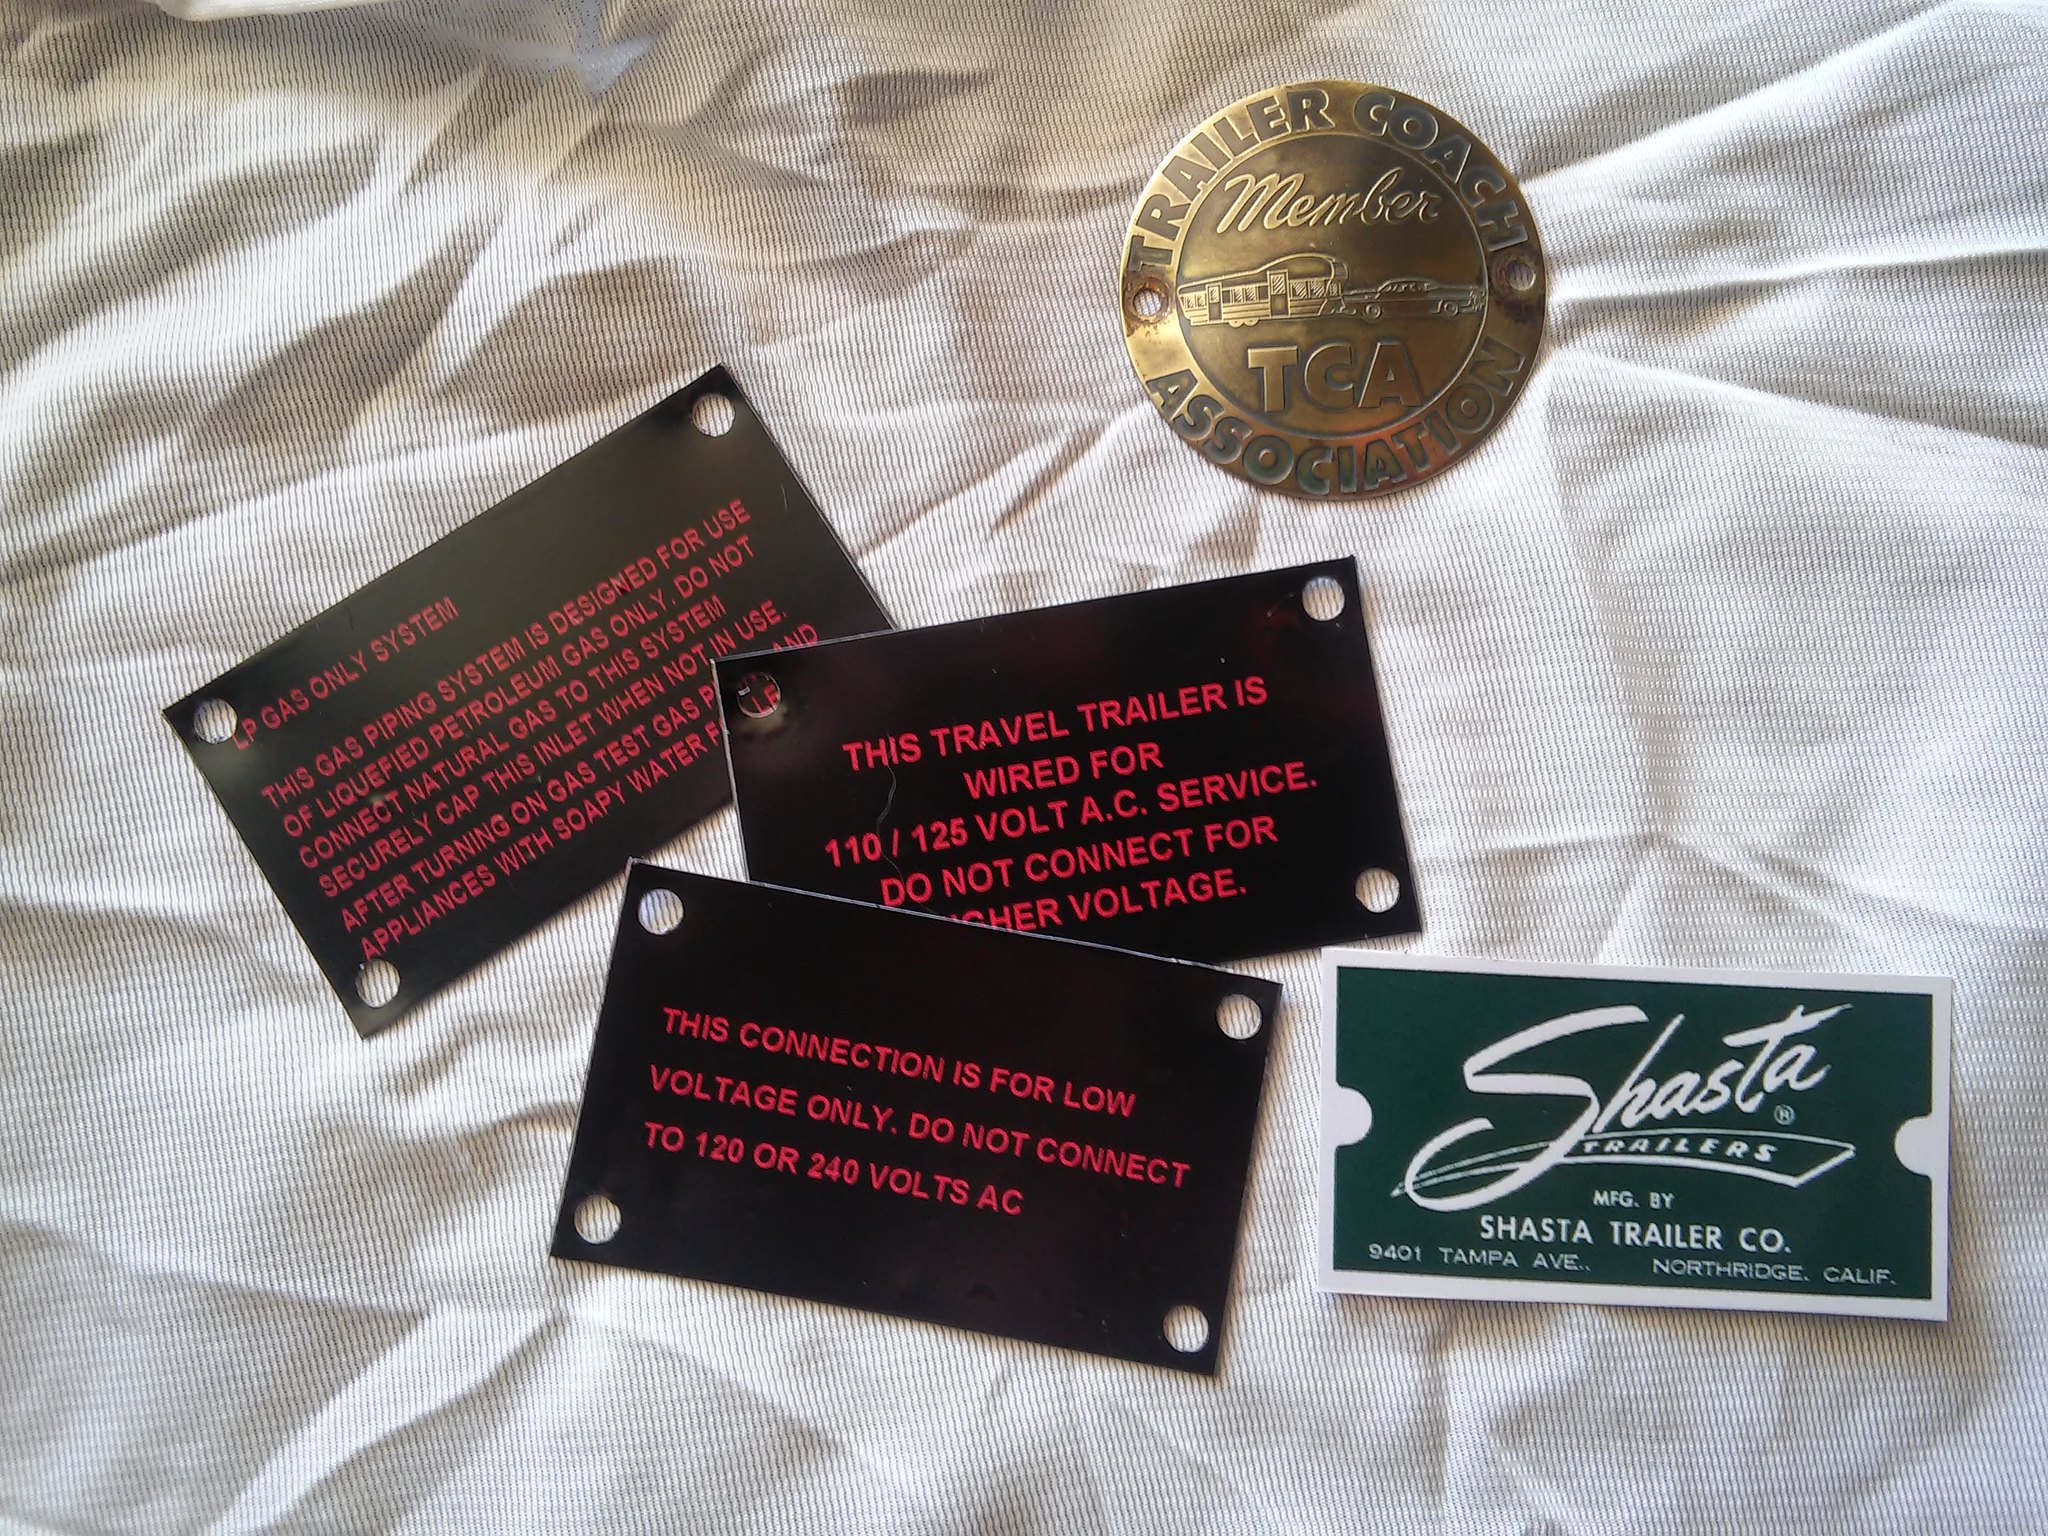 I think they also turned out great. If I were to do it again I'd make the font smaller on the LP Gas decal so it would fit a little better between the screw holes. The brass TCA badge was just painted over. A little lacquer thinner and elbow grease got it looking good. Again time will tell if these will stand up to the brutal heat & sun here in AZ. Here is the website I used for the vinyl decal: www.buildasign.com/custom-decalsScroll down towards the bottom and there is a section where you can "Start from Scratch". I did 3" x 3" knowing I could cut them down. |
|
strange1
Active Member
Posts: 159
Likes: 103
1965 Shasta Airflyte
Currently Offline
|
Post by strange1 on Jan 15, 2018 14:35:08 GMT -8
No this "Planet of the Tee Shirts" only does the Shasta stickers I believe. The other place is an online sign, banner, sticker store that has an option to create your own designs / artwork... I'm waiting to see how they turn out before giving them too much of a plug. I'll let you know how they look once they arrive...
|
|
strange1
Active Member
Posts: 159
Likes: 103
1965 Shasta Airflyte
Currently Offline
|
Post by strange1 on Jan 14, 2018 11:02:44 GMT -8
|
|
strange1
Active Member
Posts: 159
Likes: 103
1965 Shasta Airflyte
Currently Offline
|
Post by strange1 on Jan 13, 2018 21:56:12 GMT -8
I found this site online where you can make a custom decal...for anything you want!!! This is so cool because I'm going to test these out to see if they'll work for the worn & faded & painted over plaques I have on my trailer. Hate to admit these are WAY cheaper than other sources...but the verdict is still out until I get them & see how they actually look. I'll be happy to report once they come in. Here is what I made up for the replica plaques...They will be printed on high quality vinyl (weather proof, UV resistant) and I'll apply them to an aluminum plate I make up. Anyway here is what the artwork I submitted looks like...
Can't wait for them to arrive. |
|
strange1
Active Member
Posts: 159
Likes: 103
1965 Shasta Airflyte
Currently Offline
|
Post by strange1 on Jan 12, 2018 12:33:41 GMT -8
|
|
strange1
Active Member
Posts: 159
Likes: 103
1965 Shasta Airflyte
Currently Offline
|
Post by strange1 on Jan 12, 2018 7:28:32 GMT -8
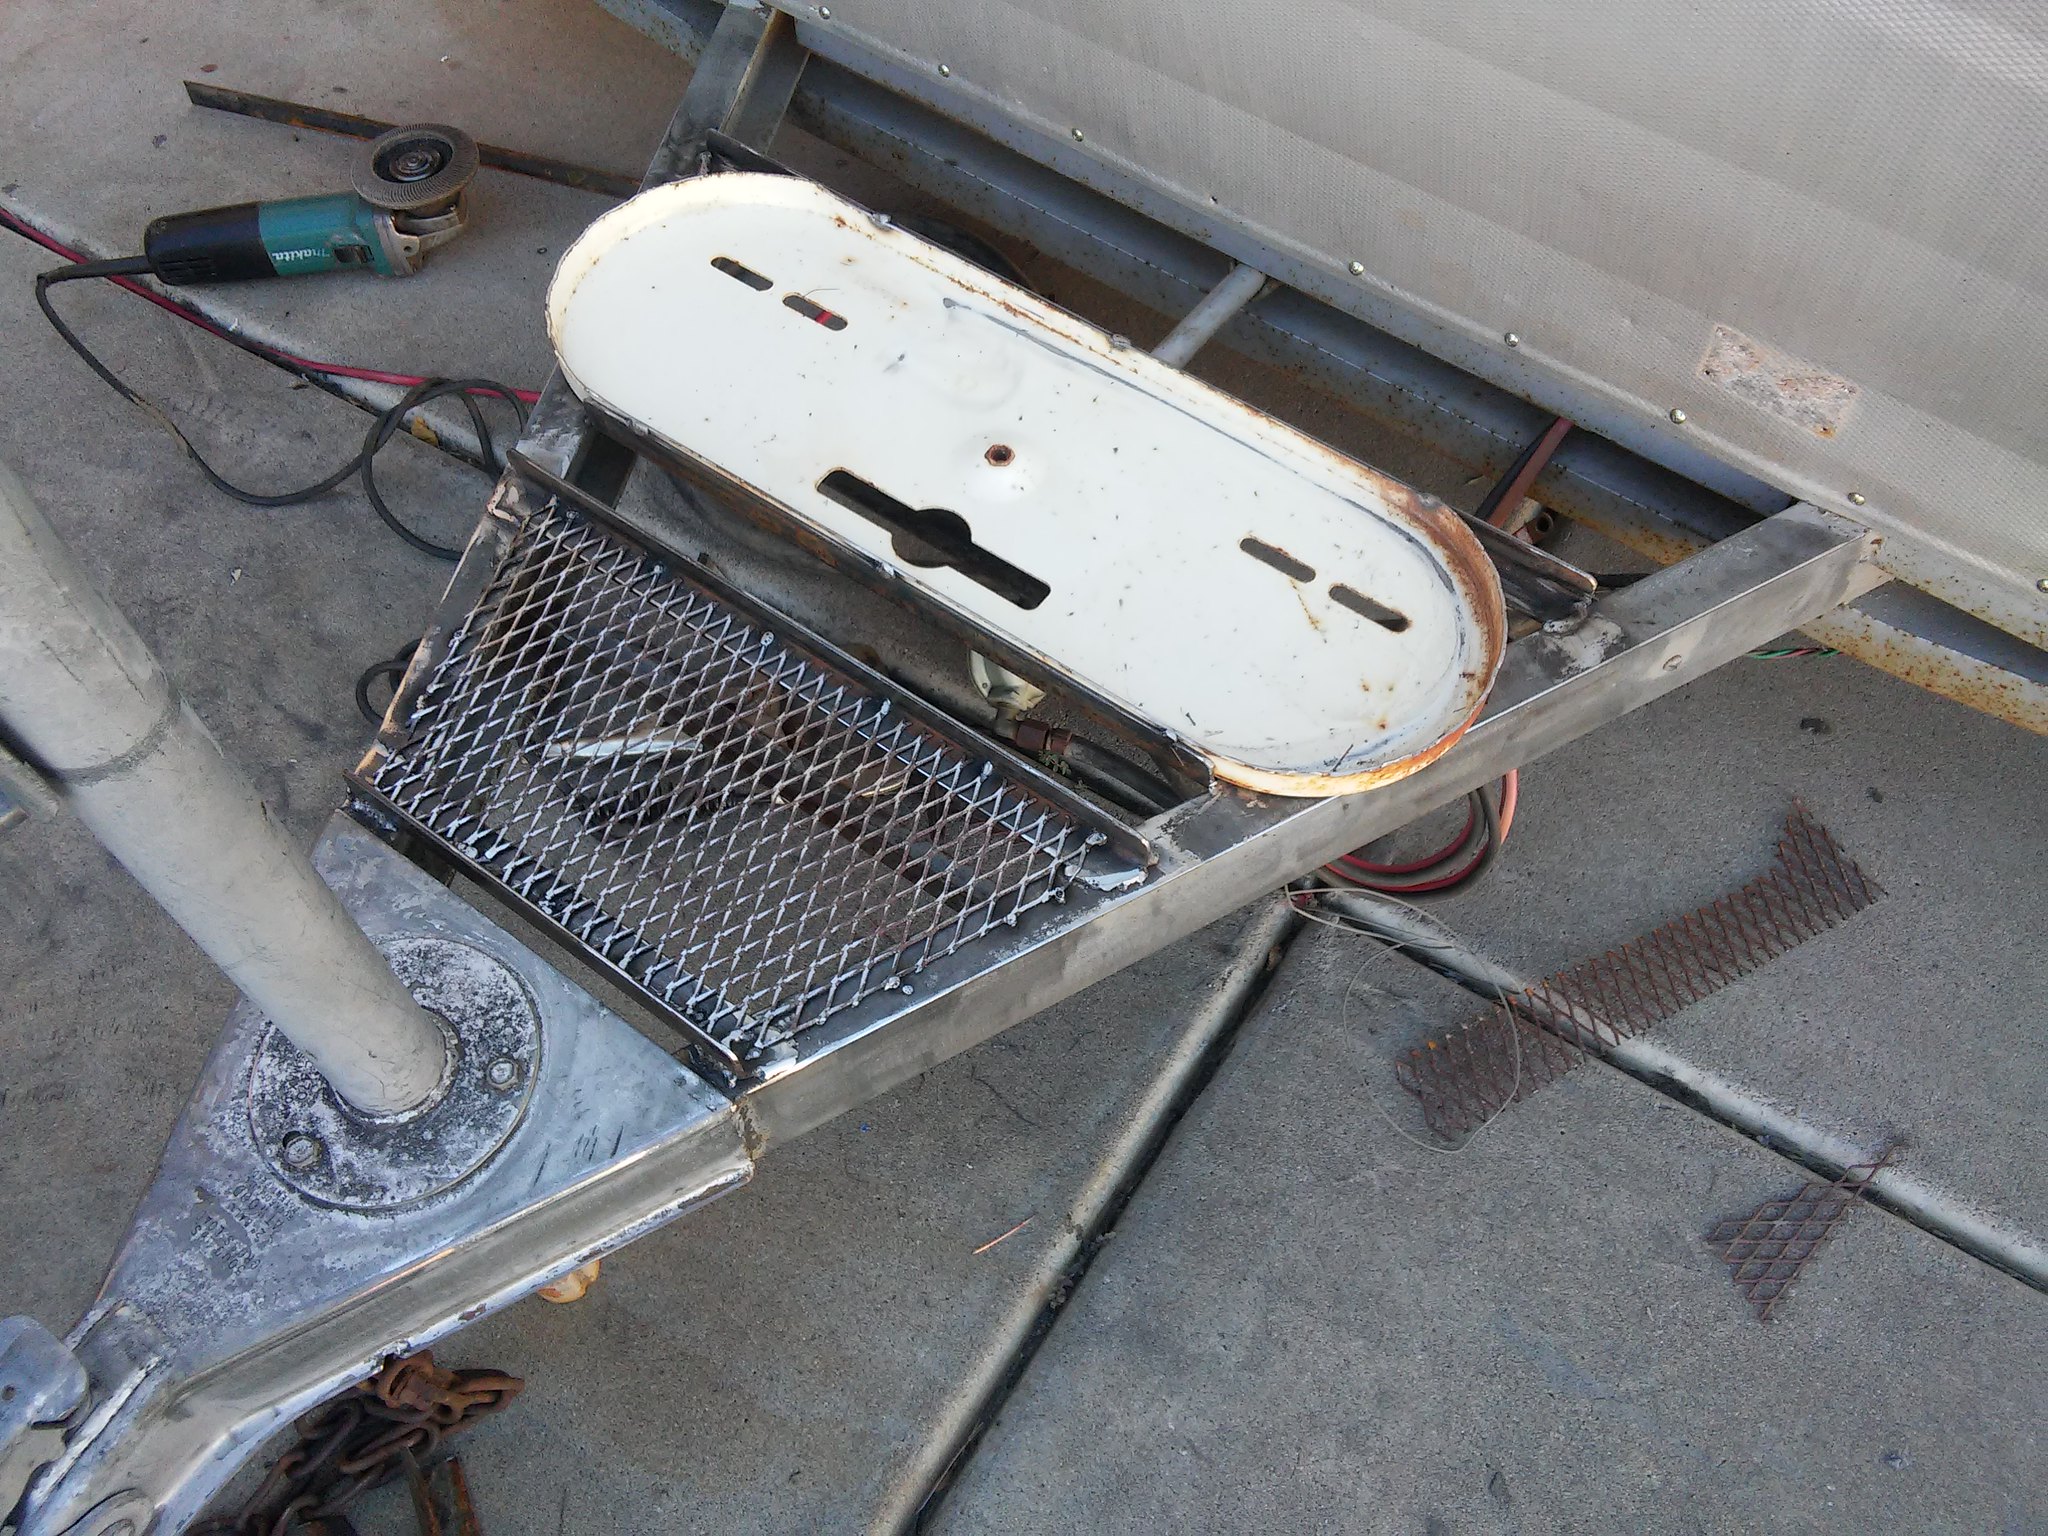
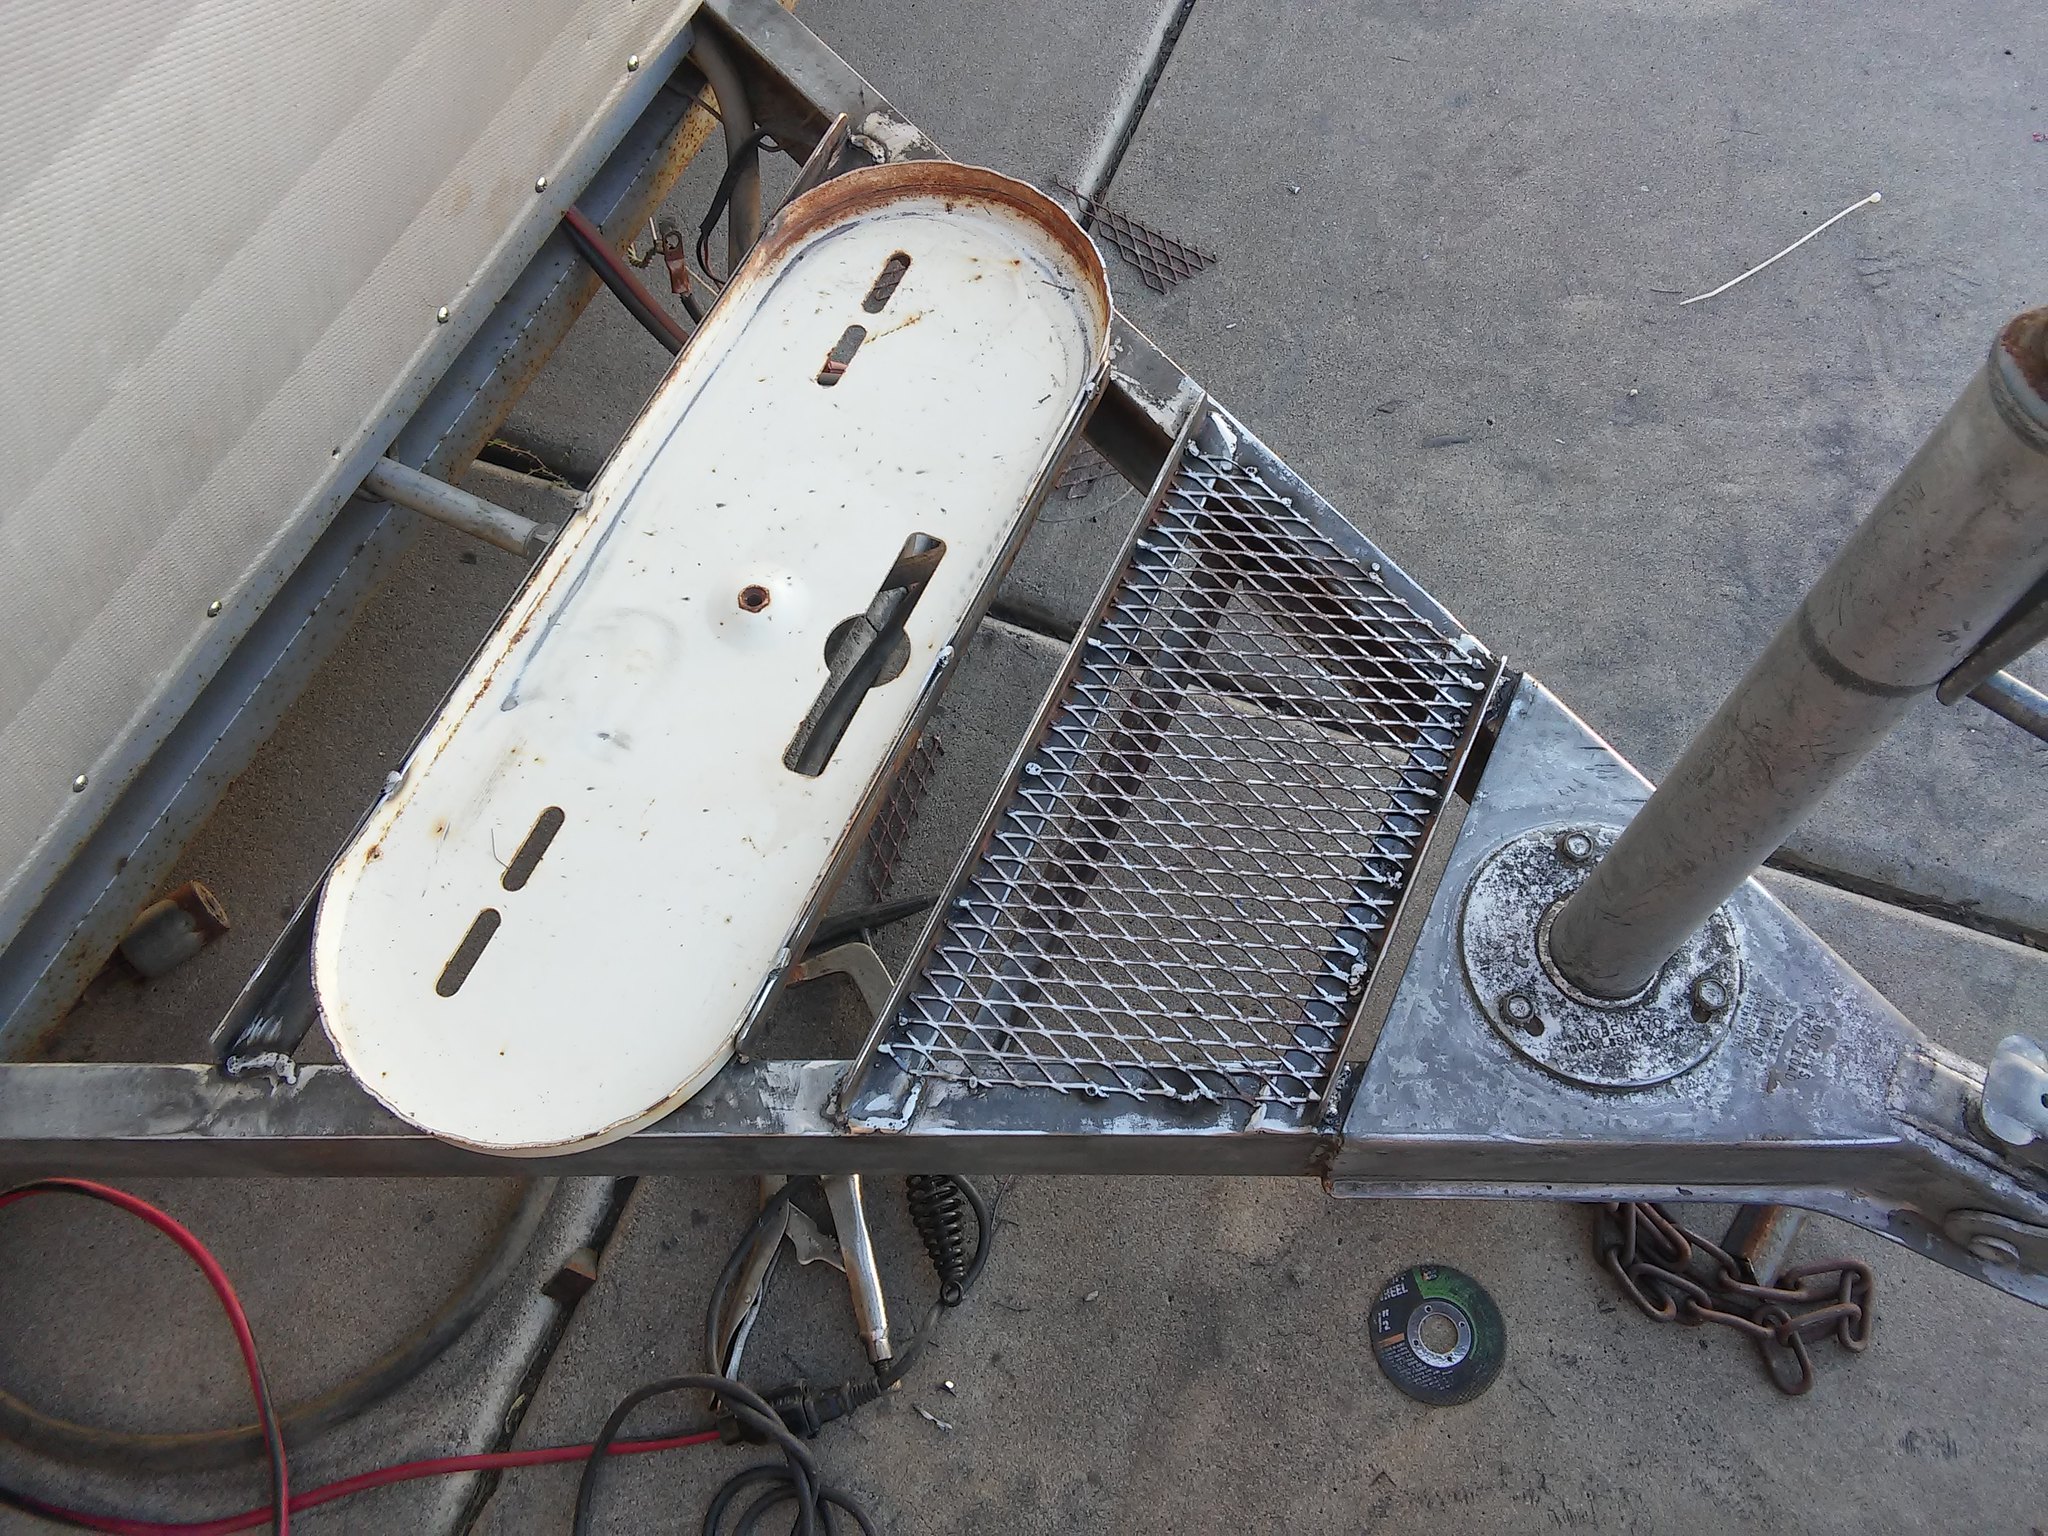
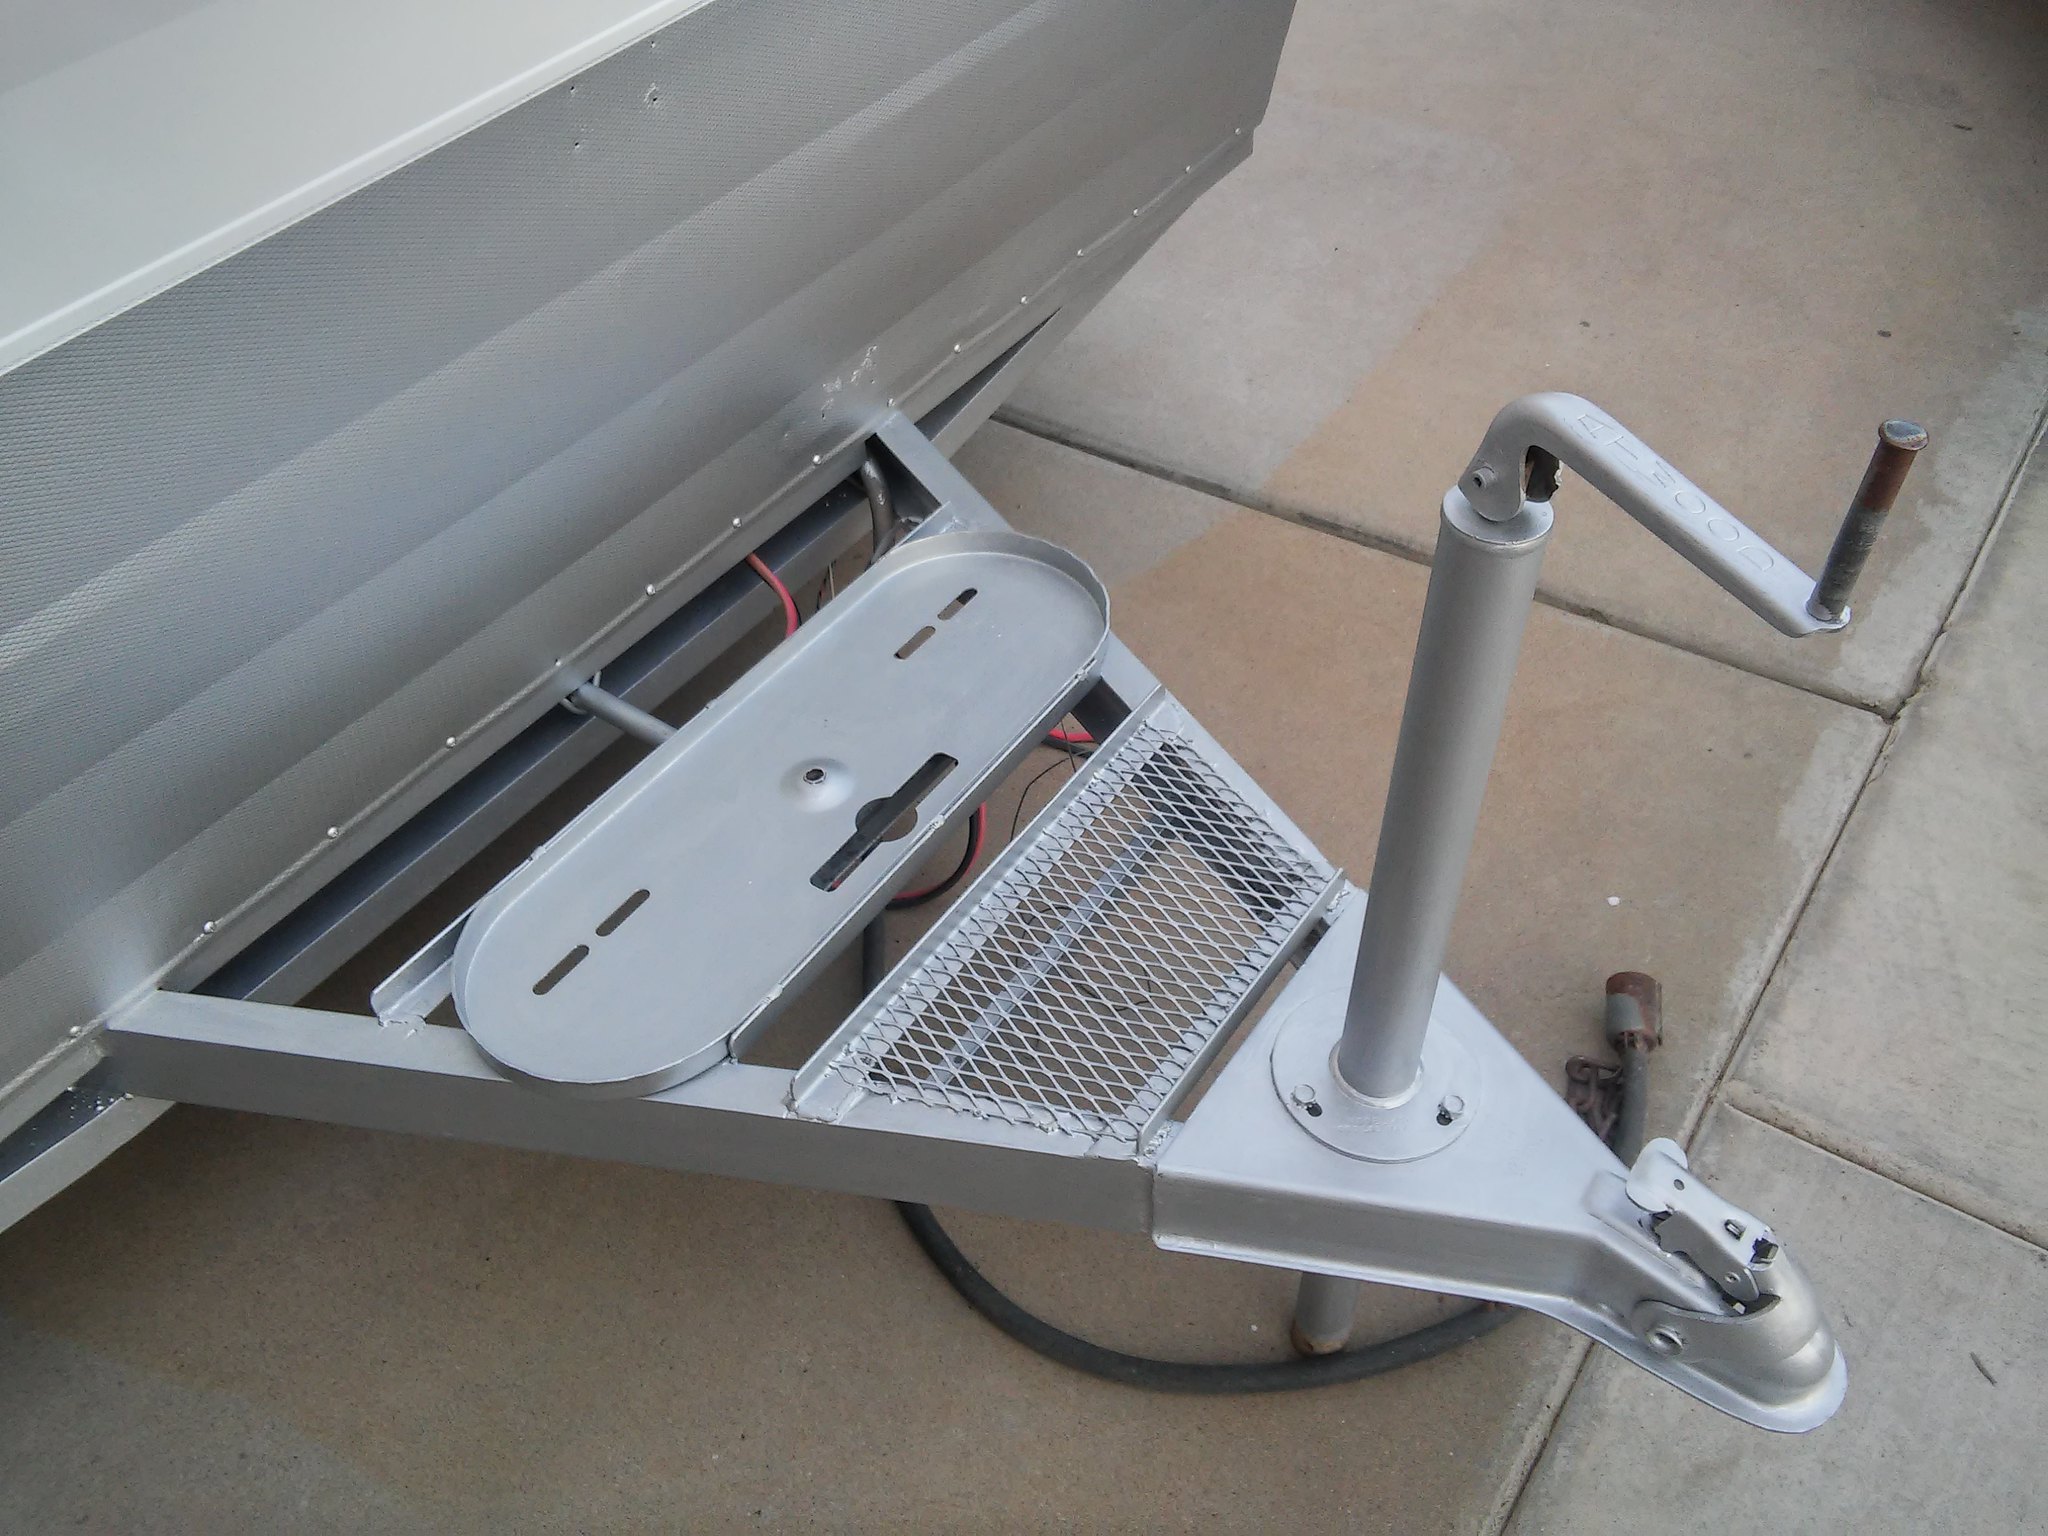
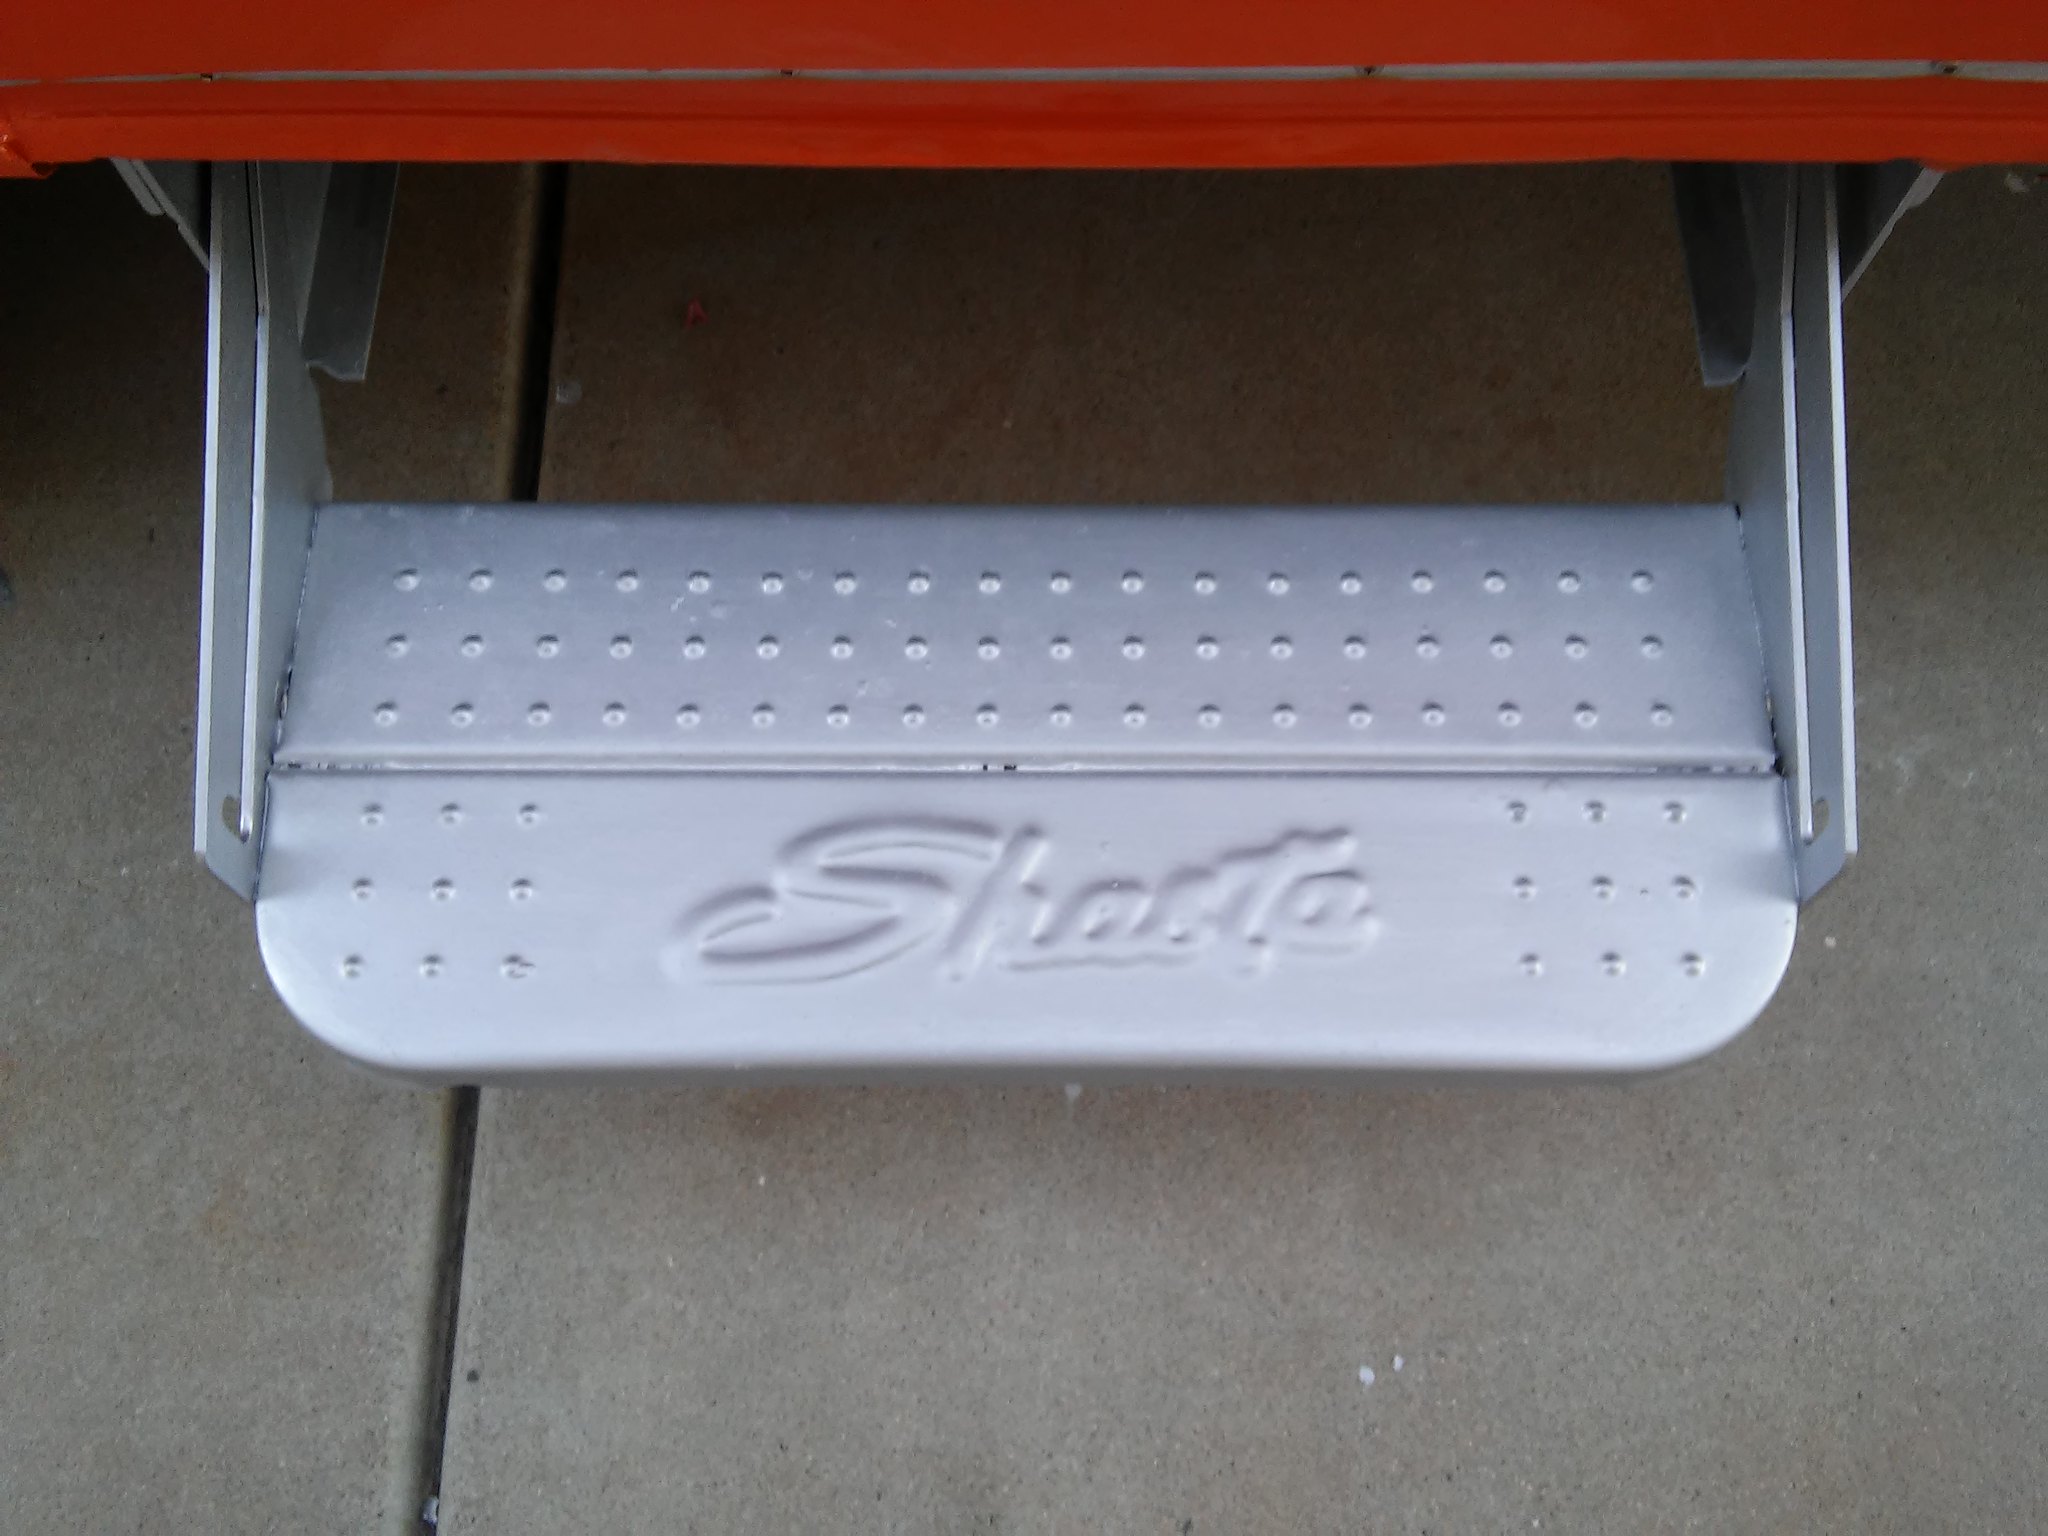
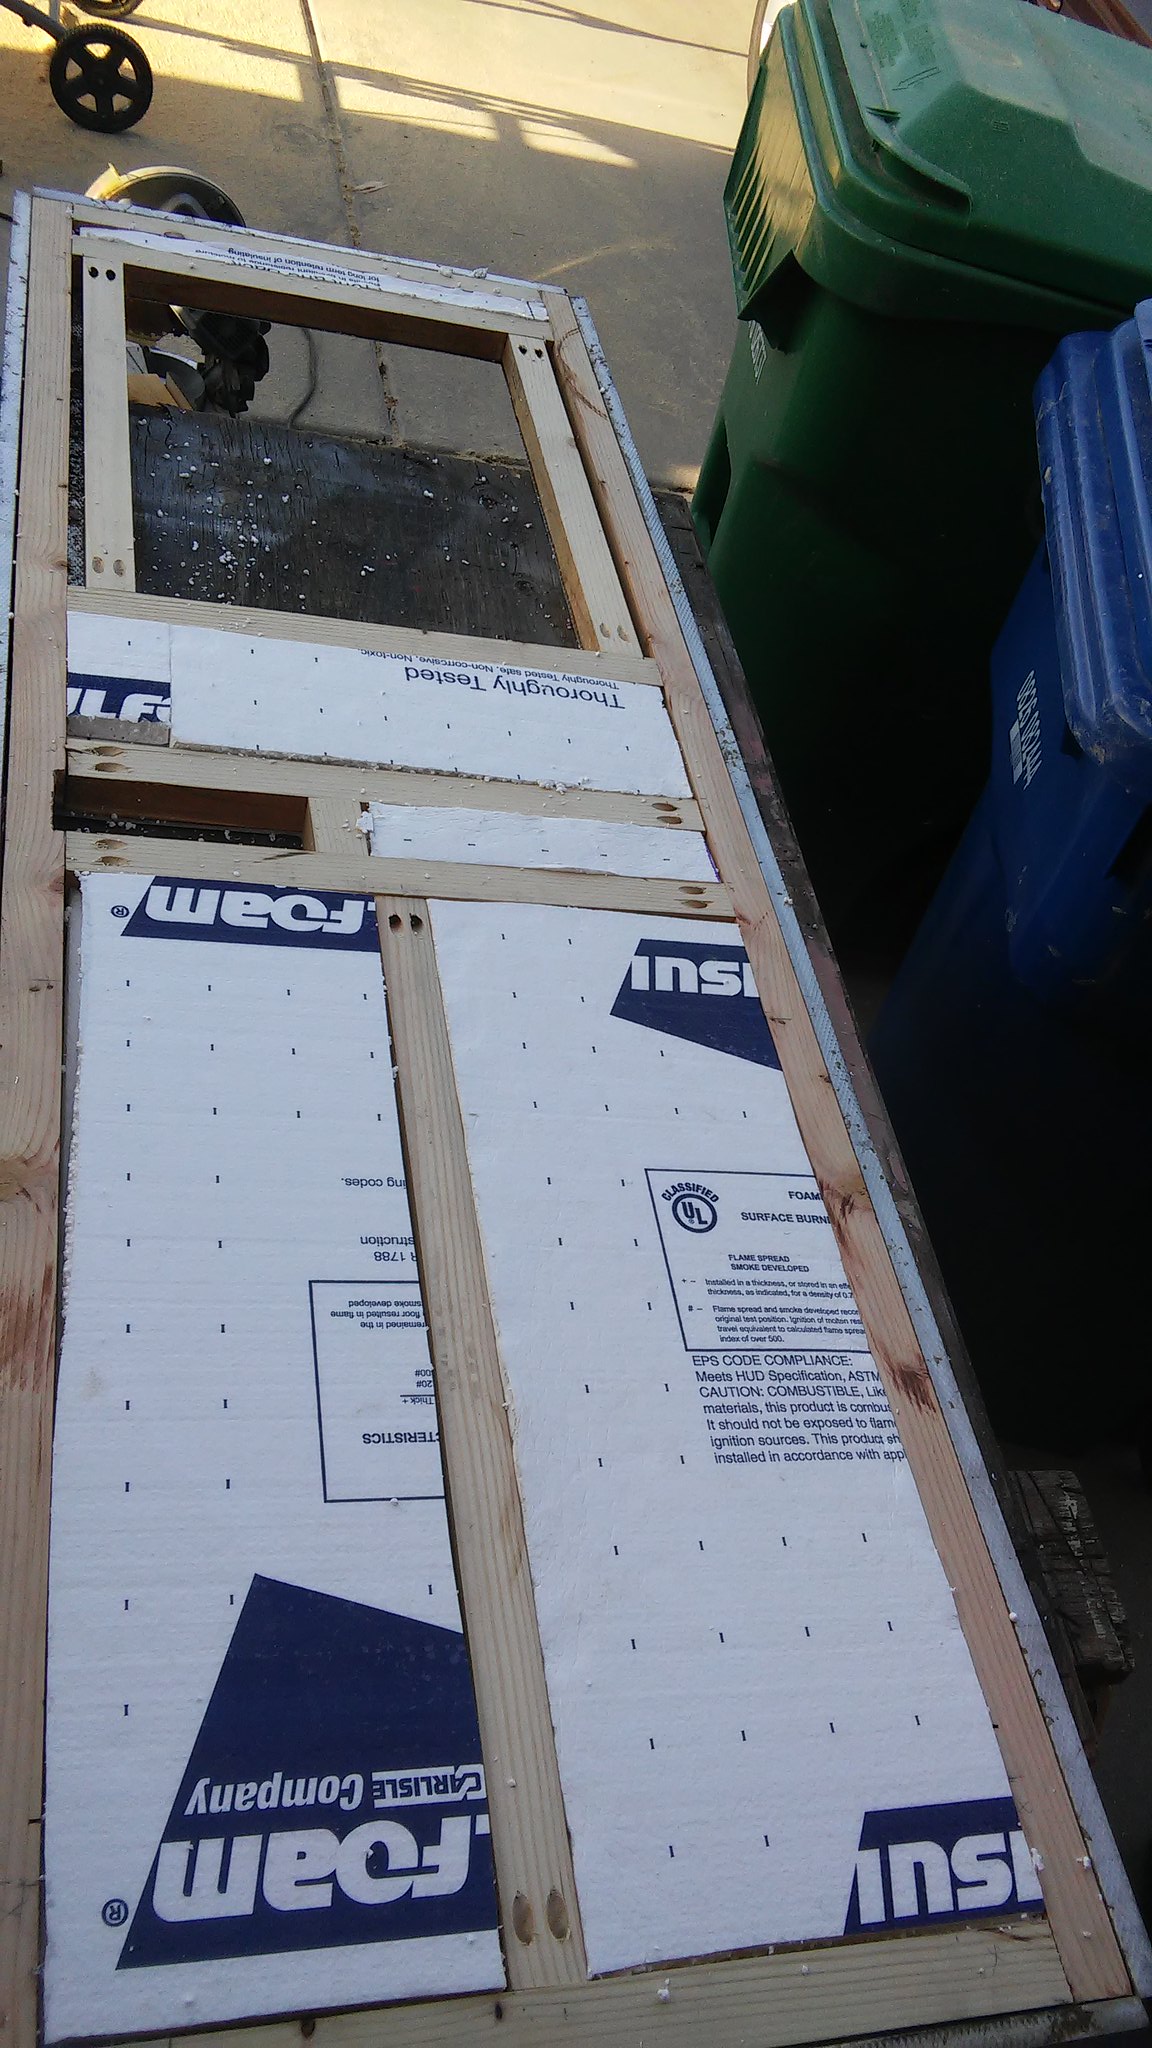
The exterior was a pain in the back-side because the PO had painted the entire trailer (including trim & eye-brows, etc.) in a flat gray latex house paint. You can't sand it off. Gotta use chemical stripper and it was a mess. I did most surfaces when I had the siding off during the re-framing...but still hate how hard this was to deal with. 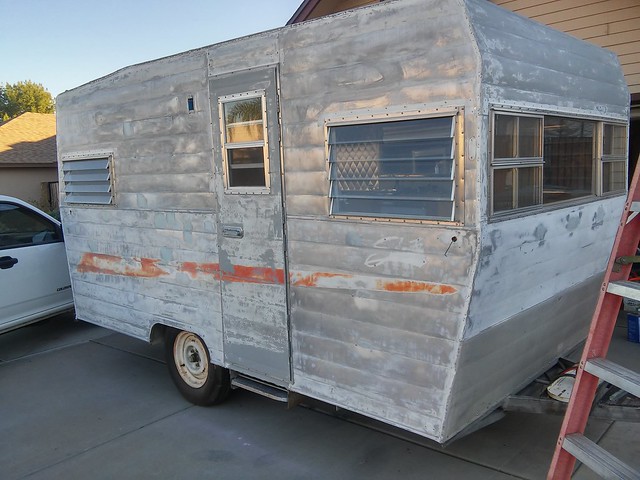 I used a good automotive seam sealer everywhere there were joints or openings. Then primered with a good high-build sandable automotive urethane primer. 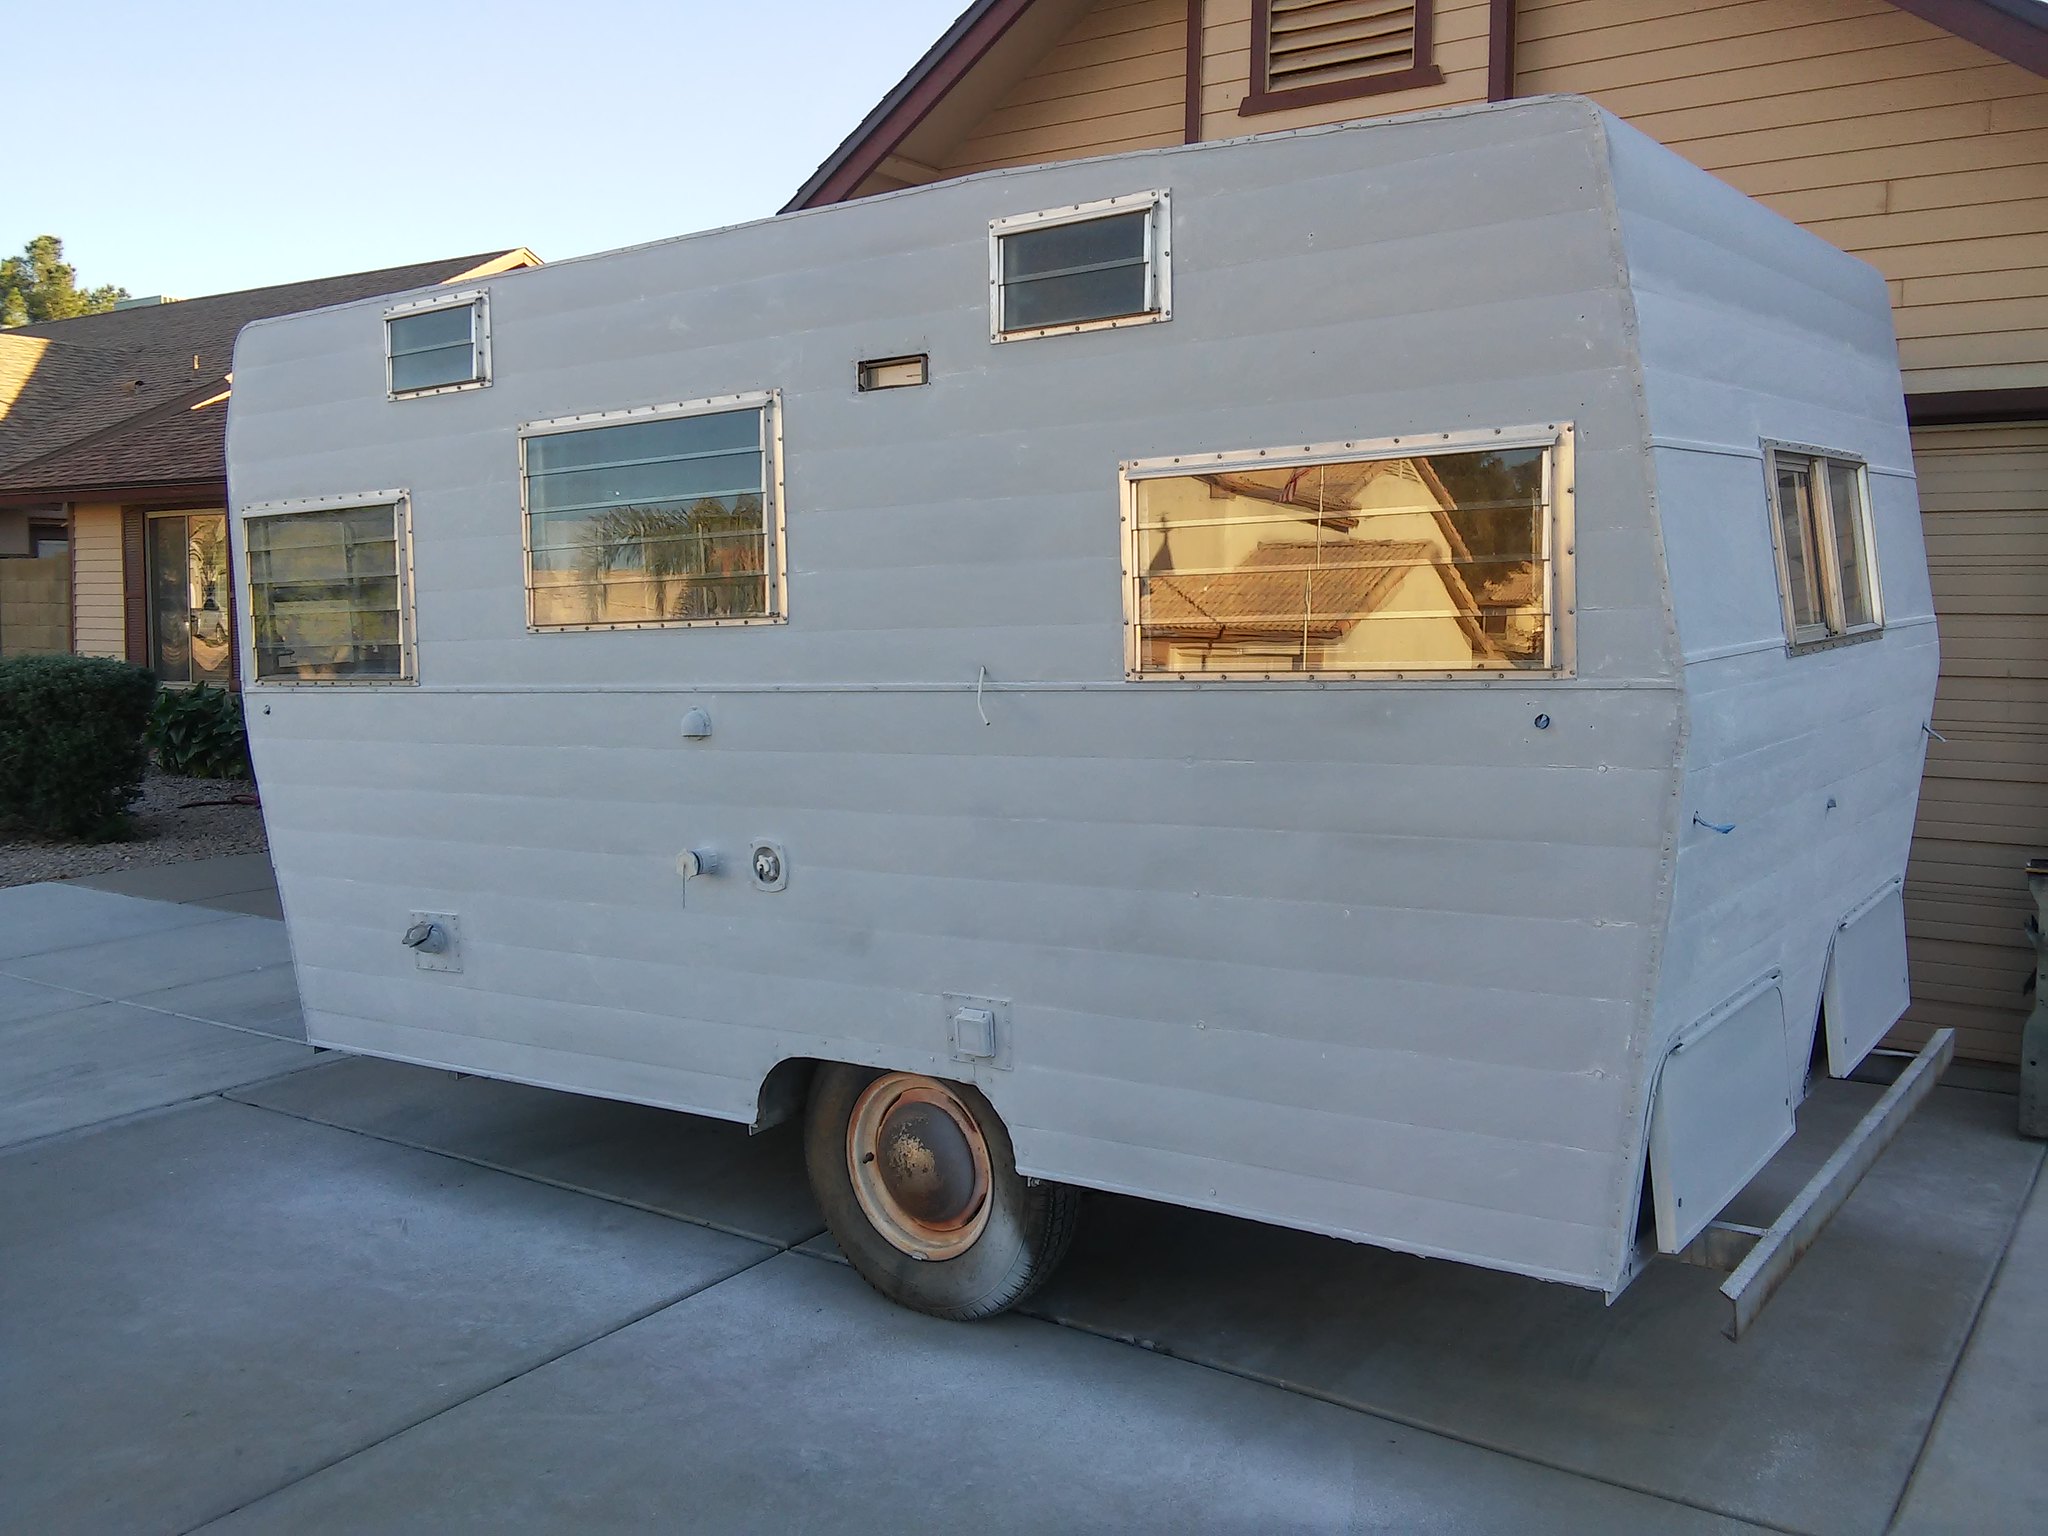 That's not over-spray...that's dust from sanding. I used a good quality urethane single stage paint. If you go for the fleet colors (chevy white, ford white) you really can get the paint at a decent price. All in - 1 gallon of primer, 1 gallon of chevy-white, 1 quart of orange, hardeners, reducer, lacquer thinner, masking tape, other supplies, I'm at about $300 total for all the paint & supplies. It didn't hurt that I've painted before and had some thin line tape for striping and some very decent painting equipment... but here is how she turned out. 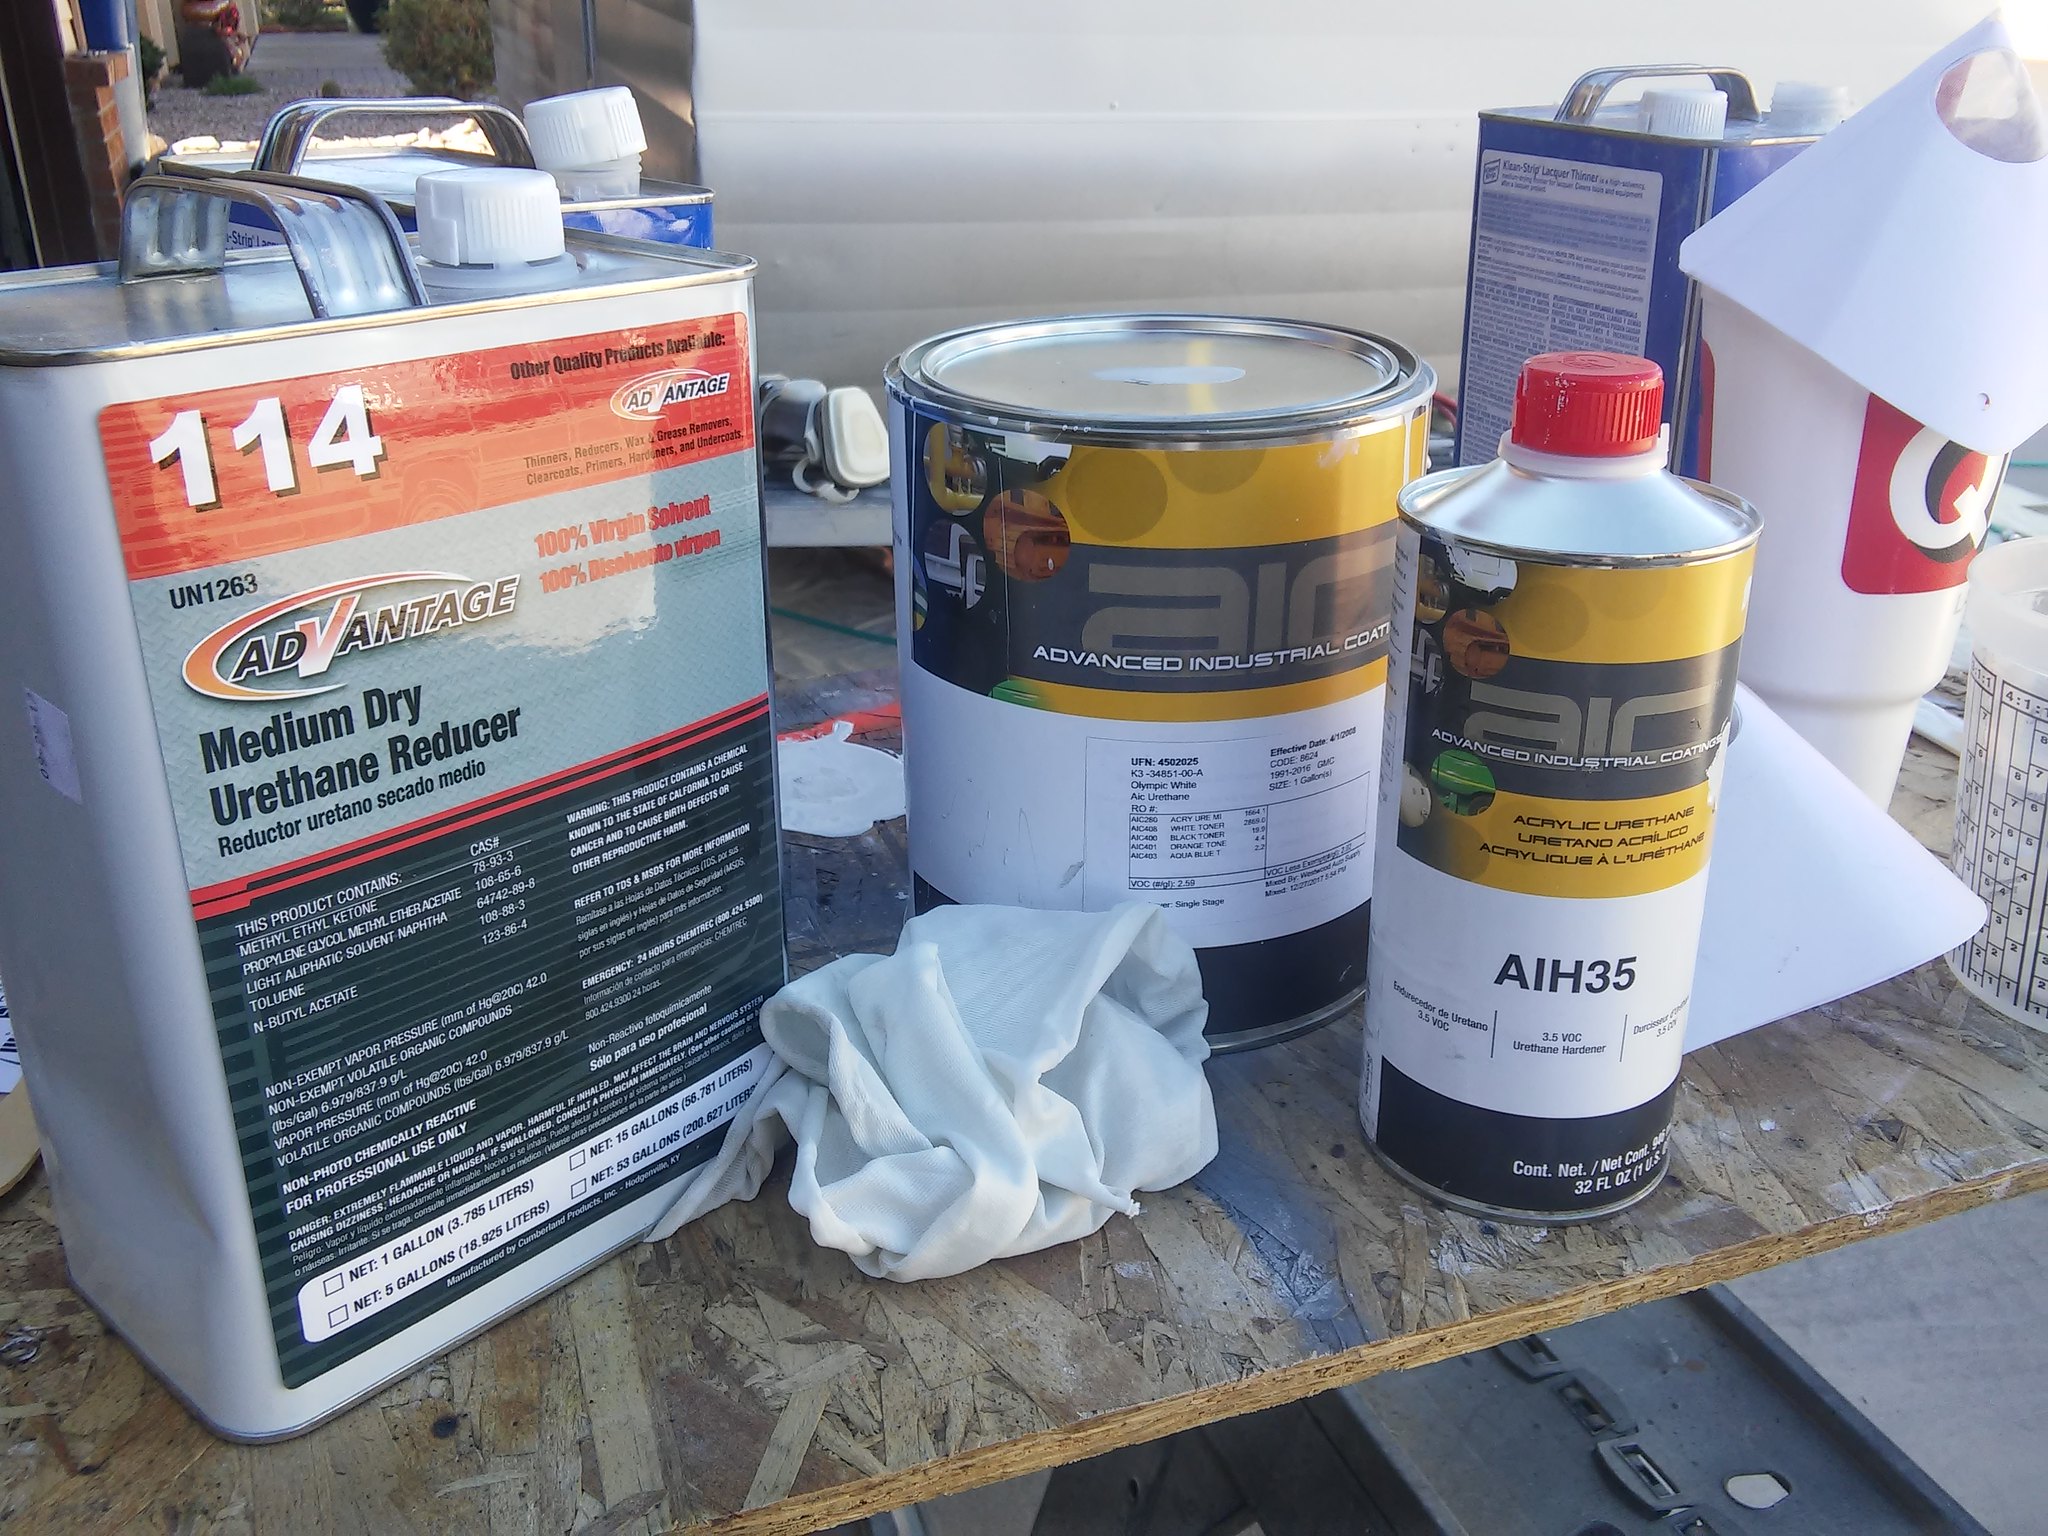 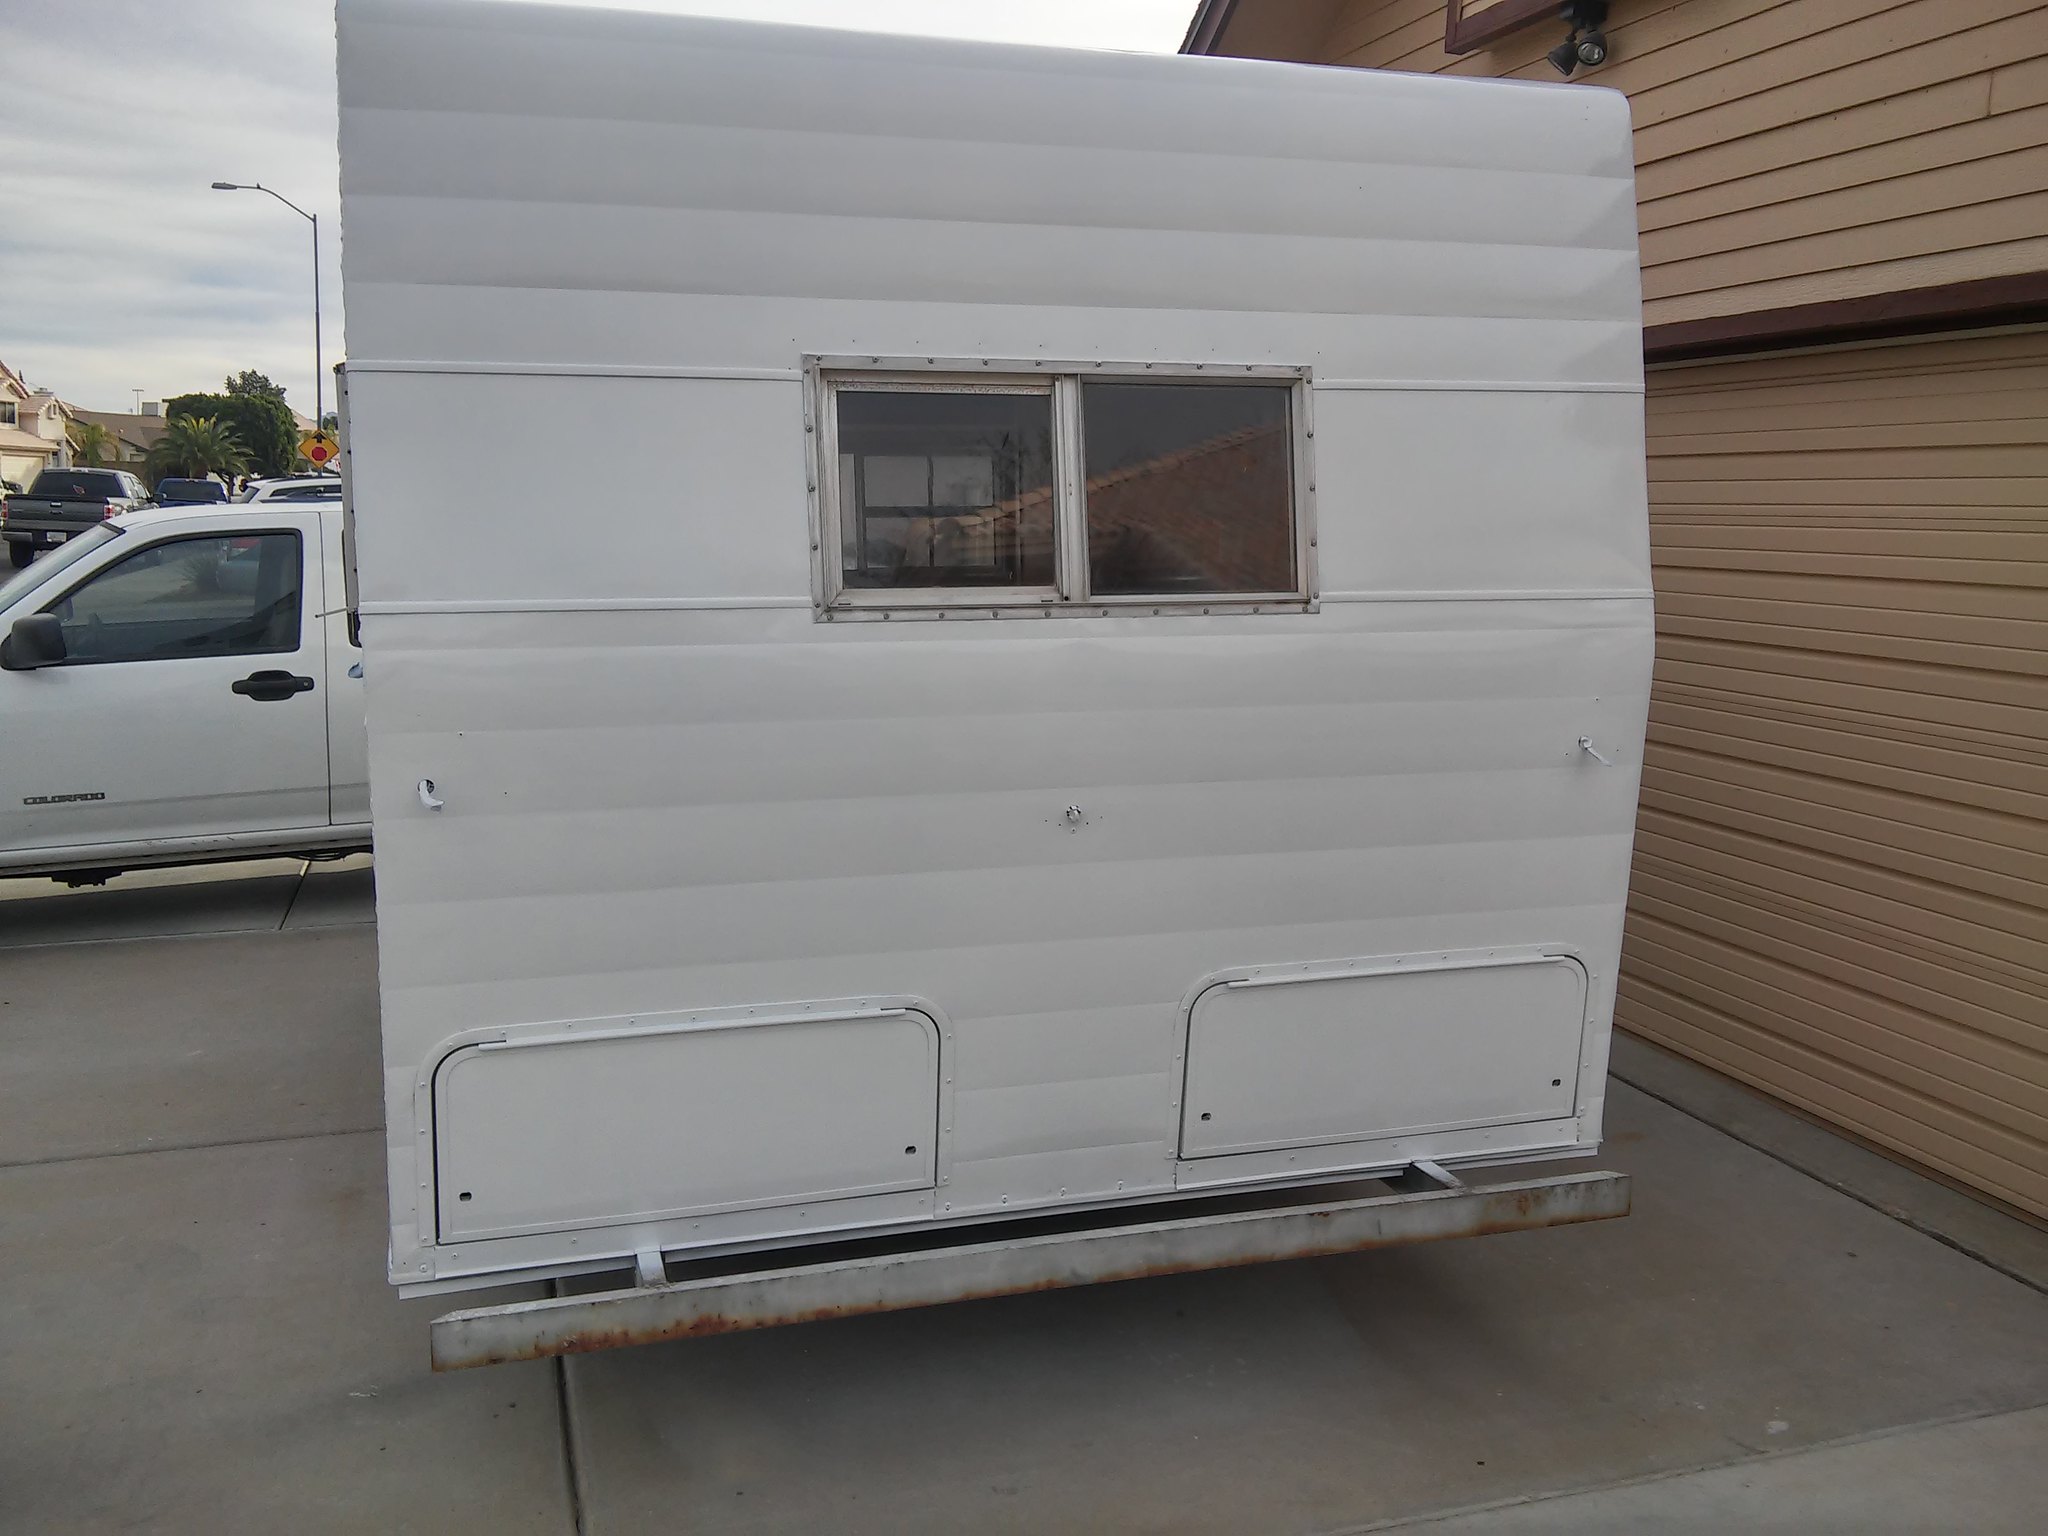 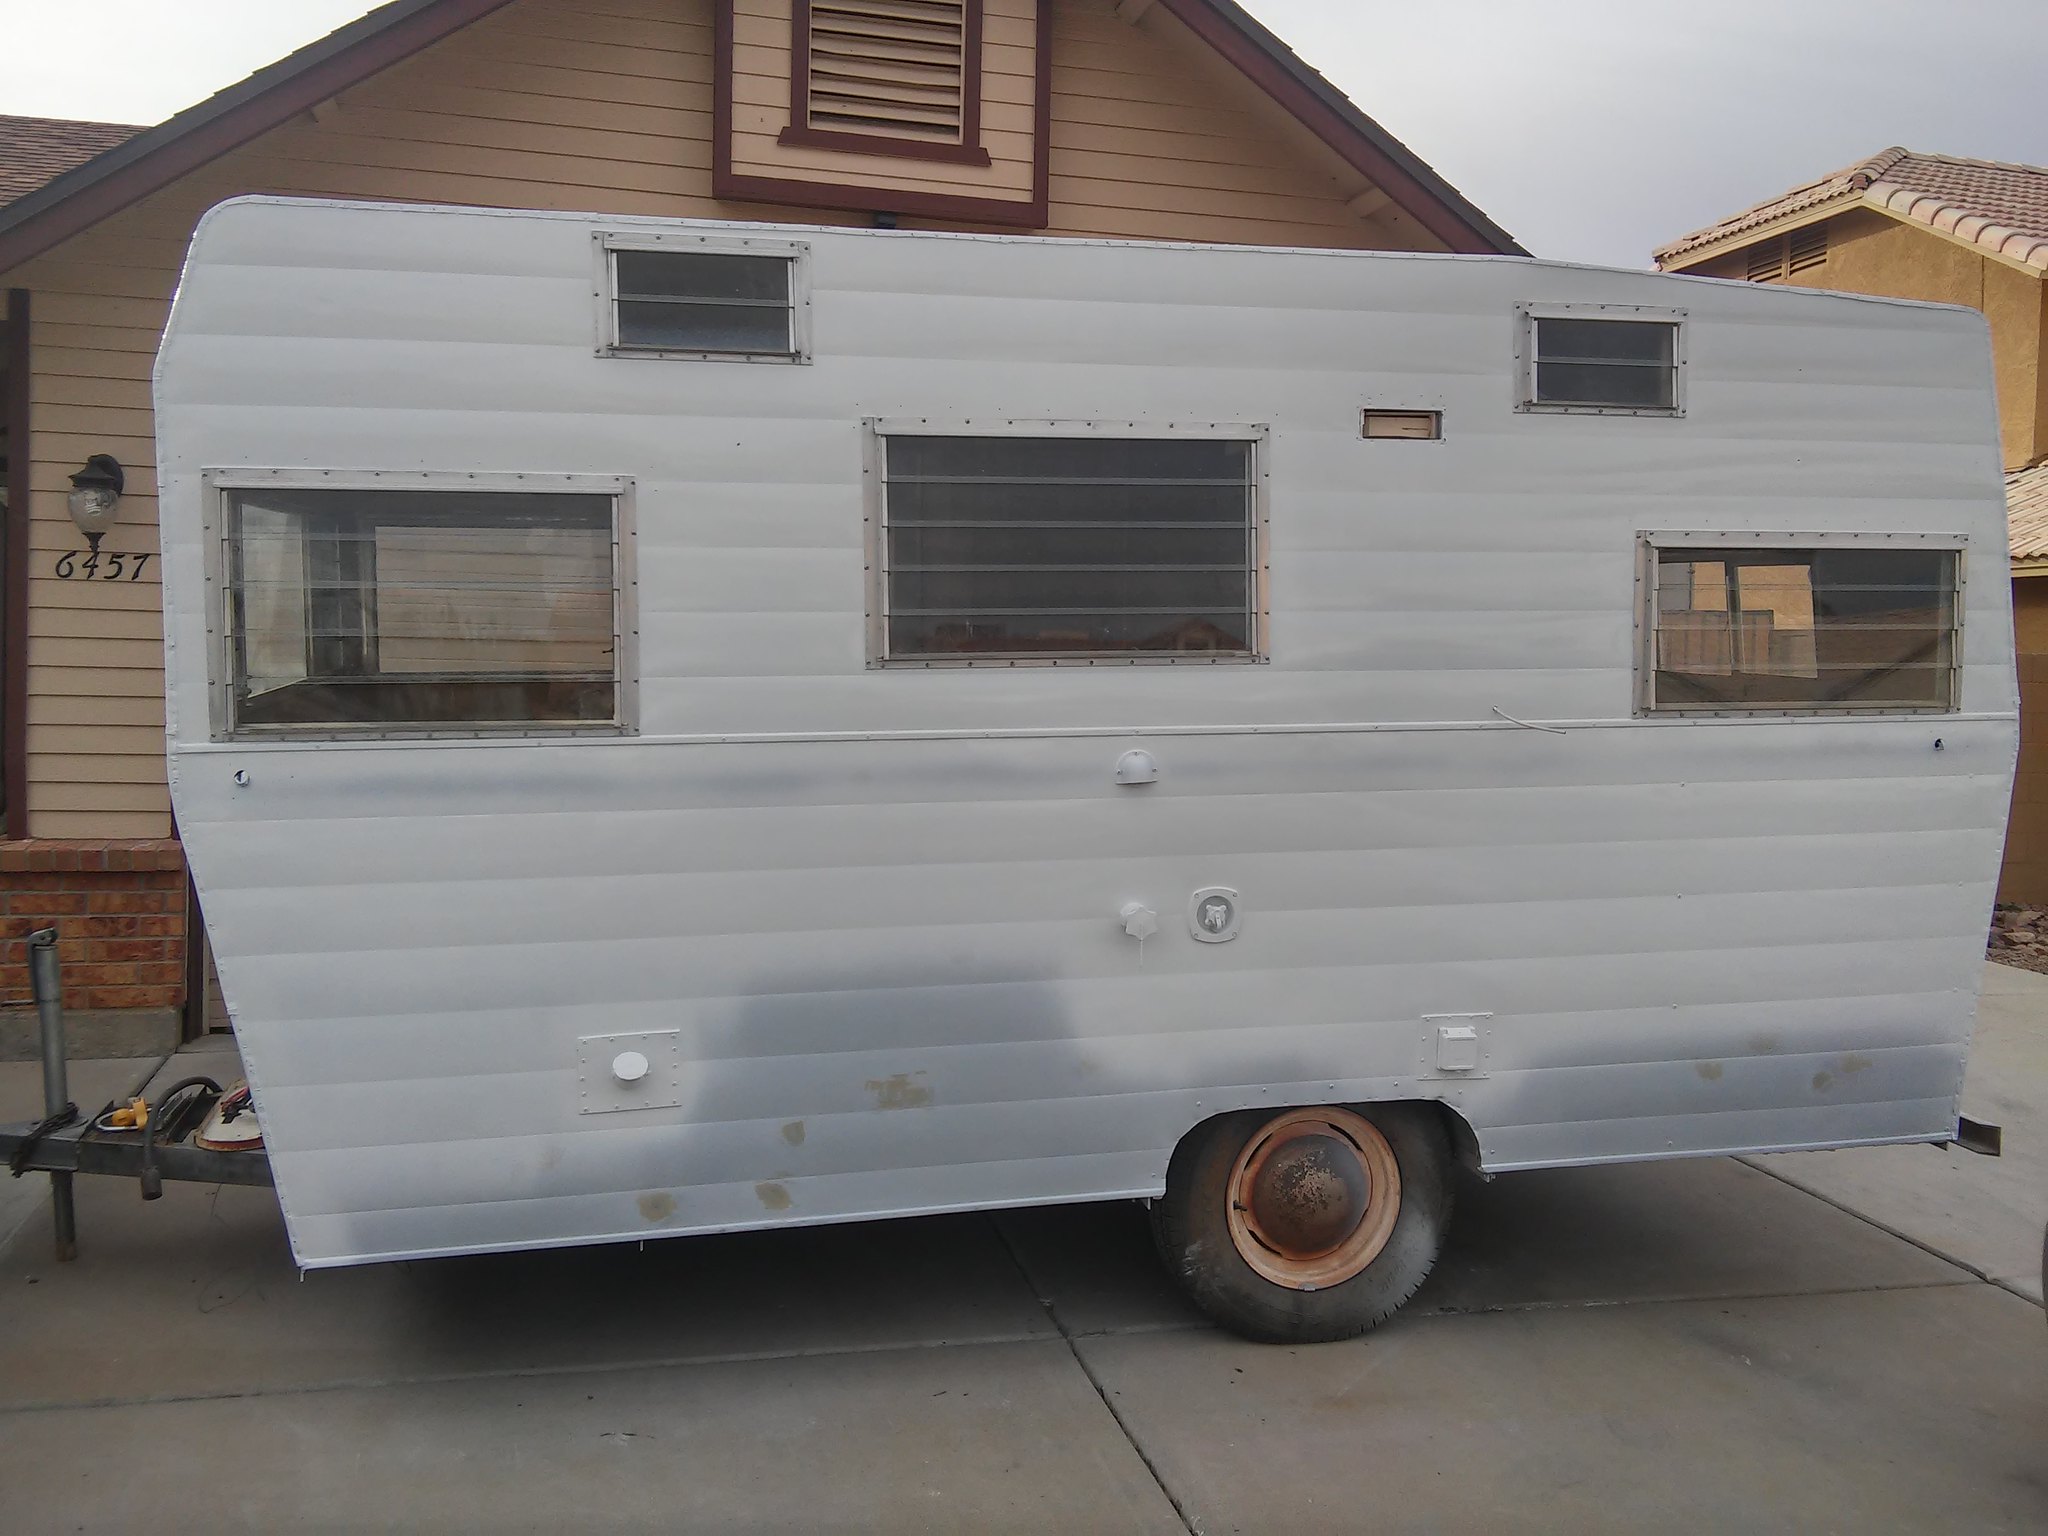 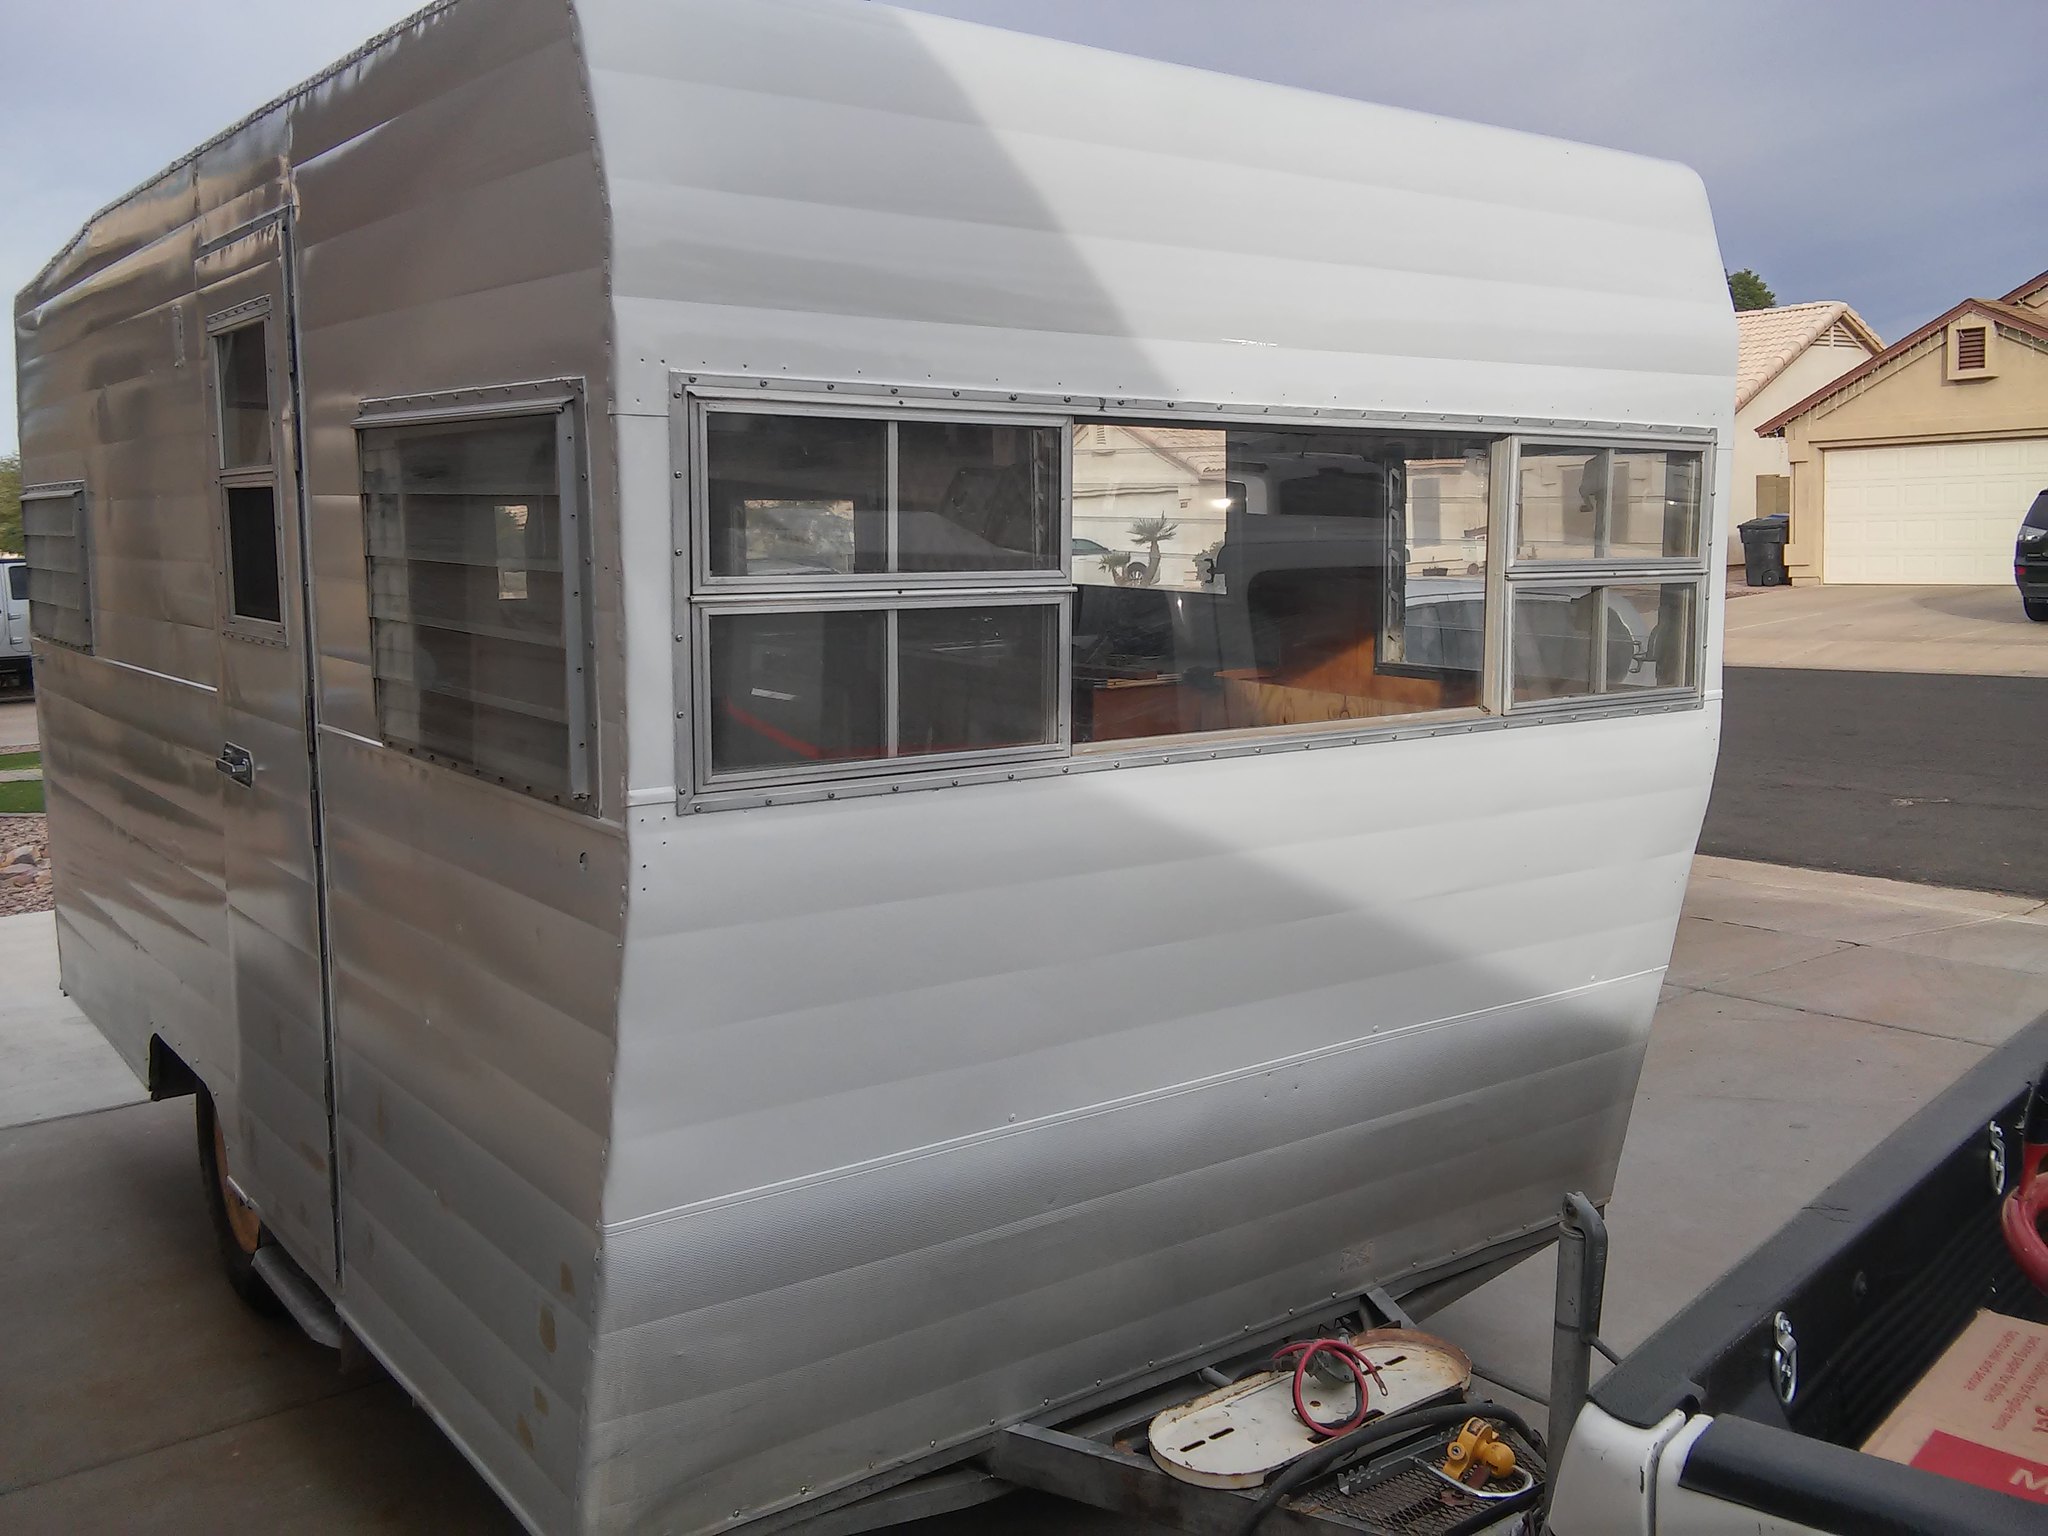 Then I added a little orange to make it stand out. 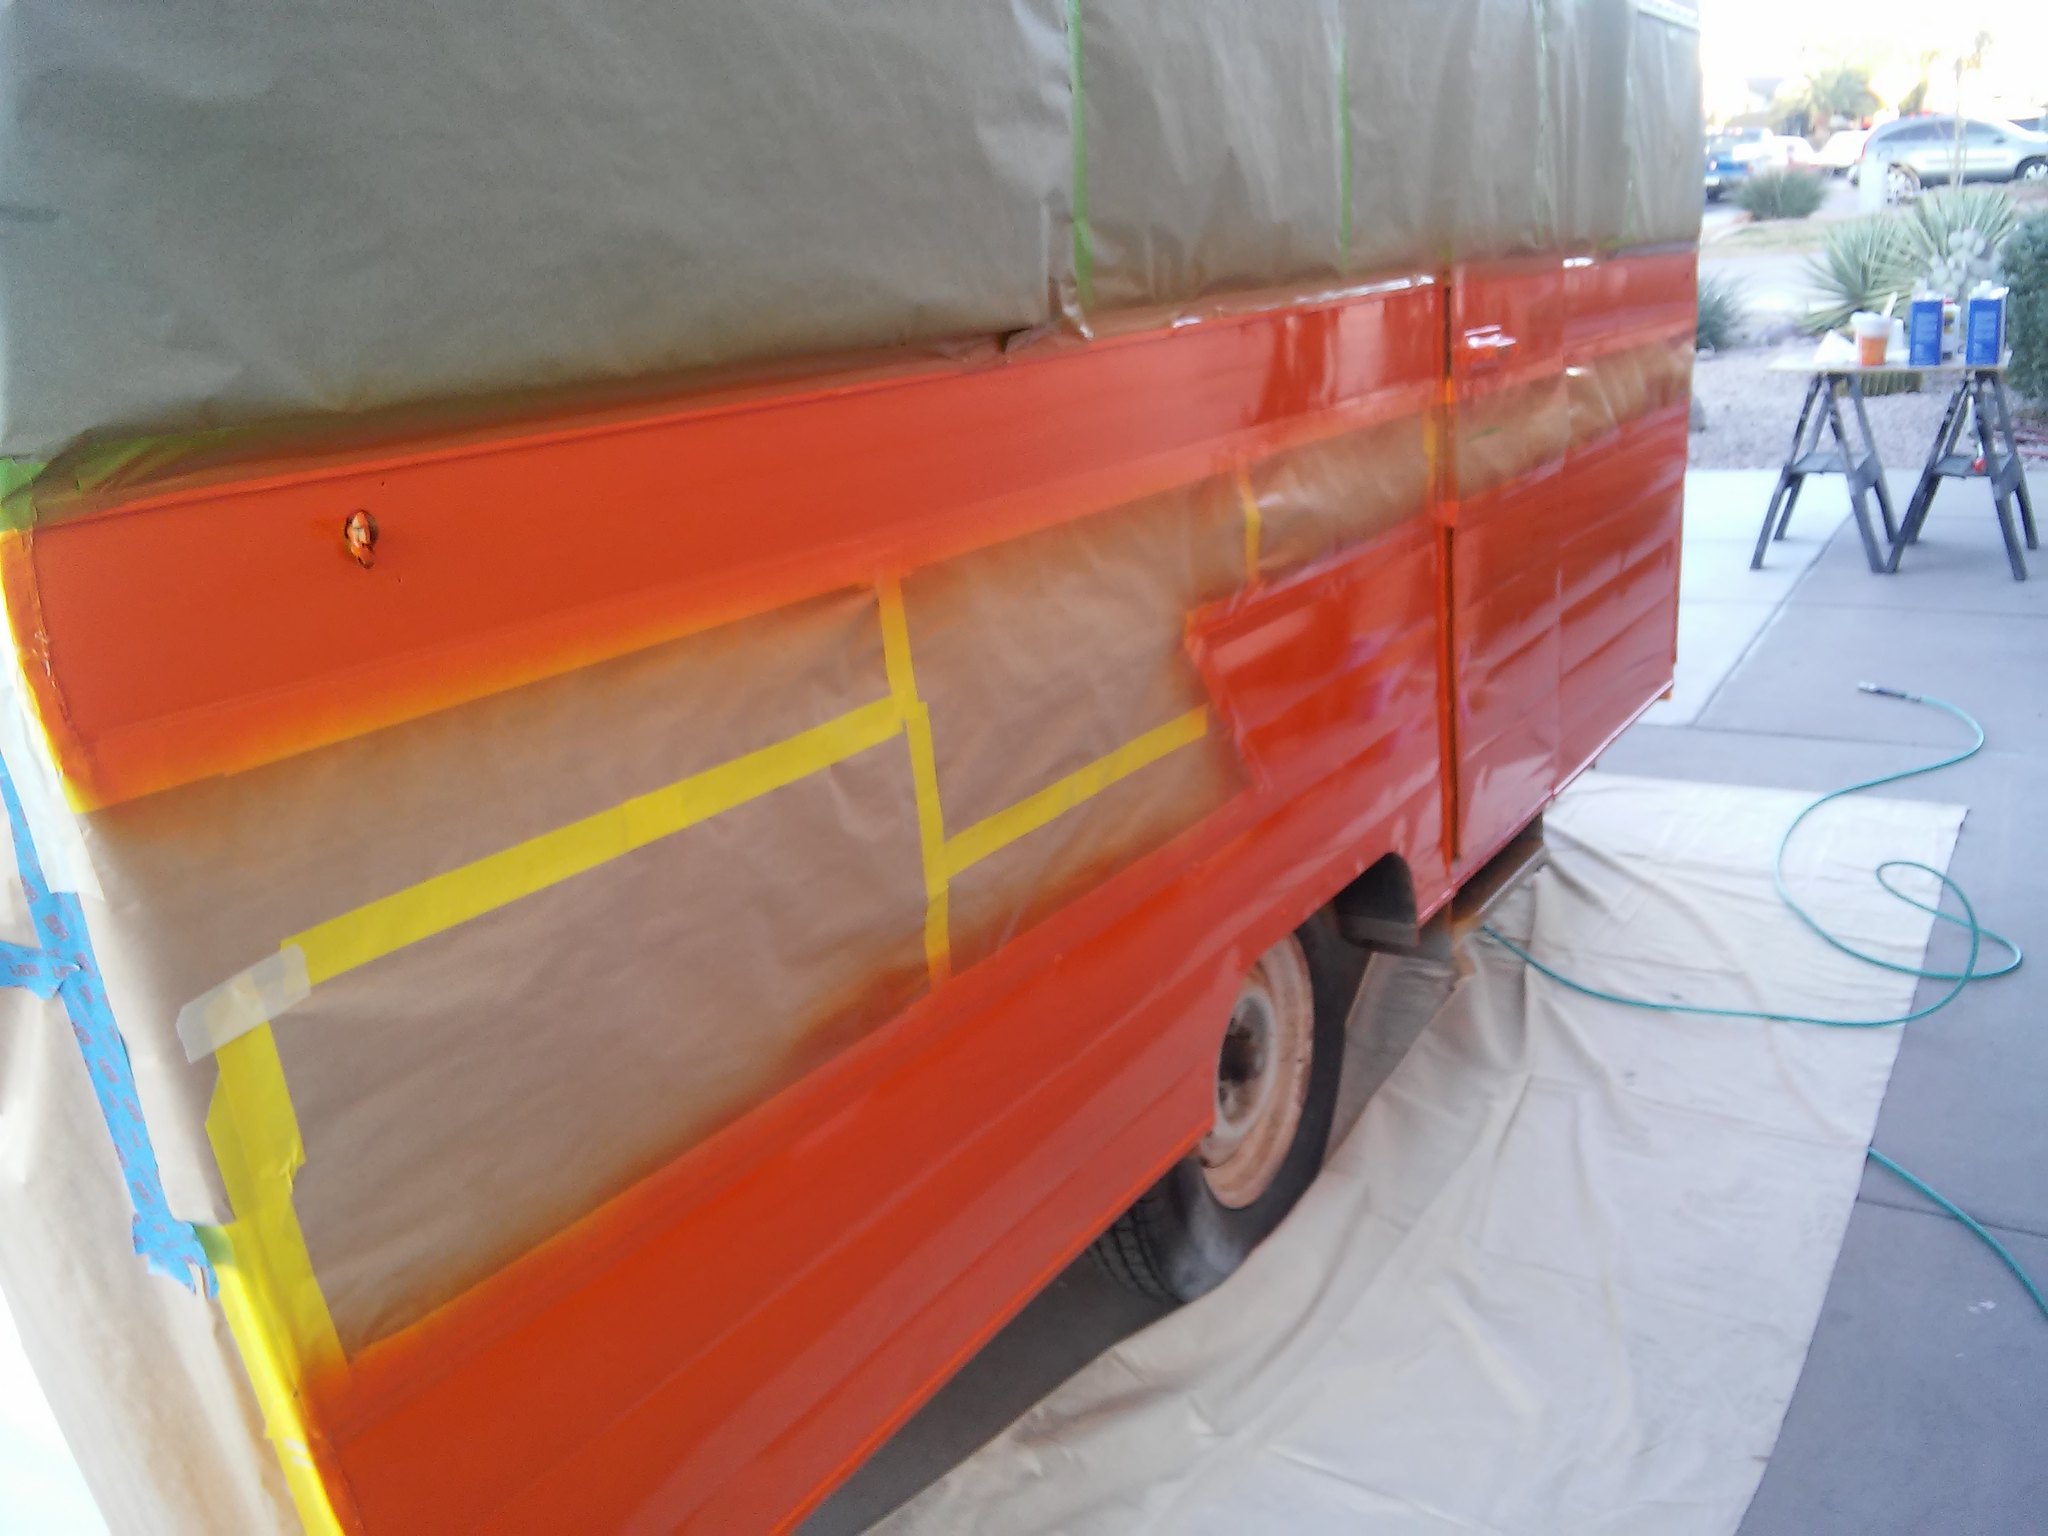 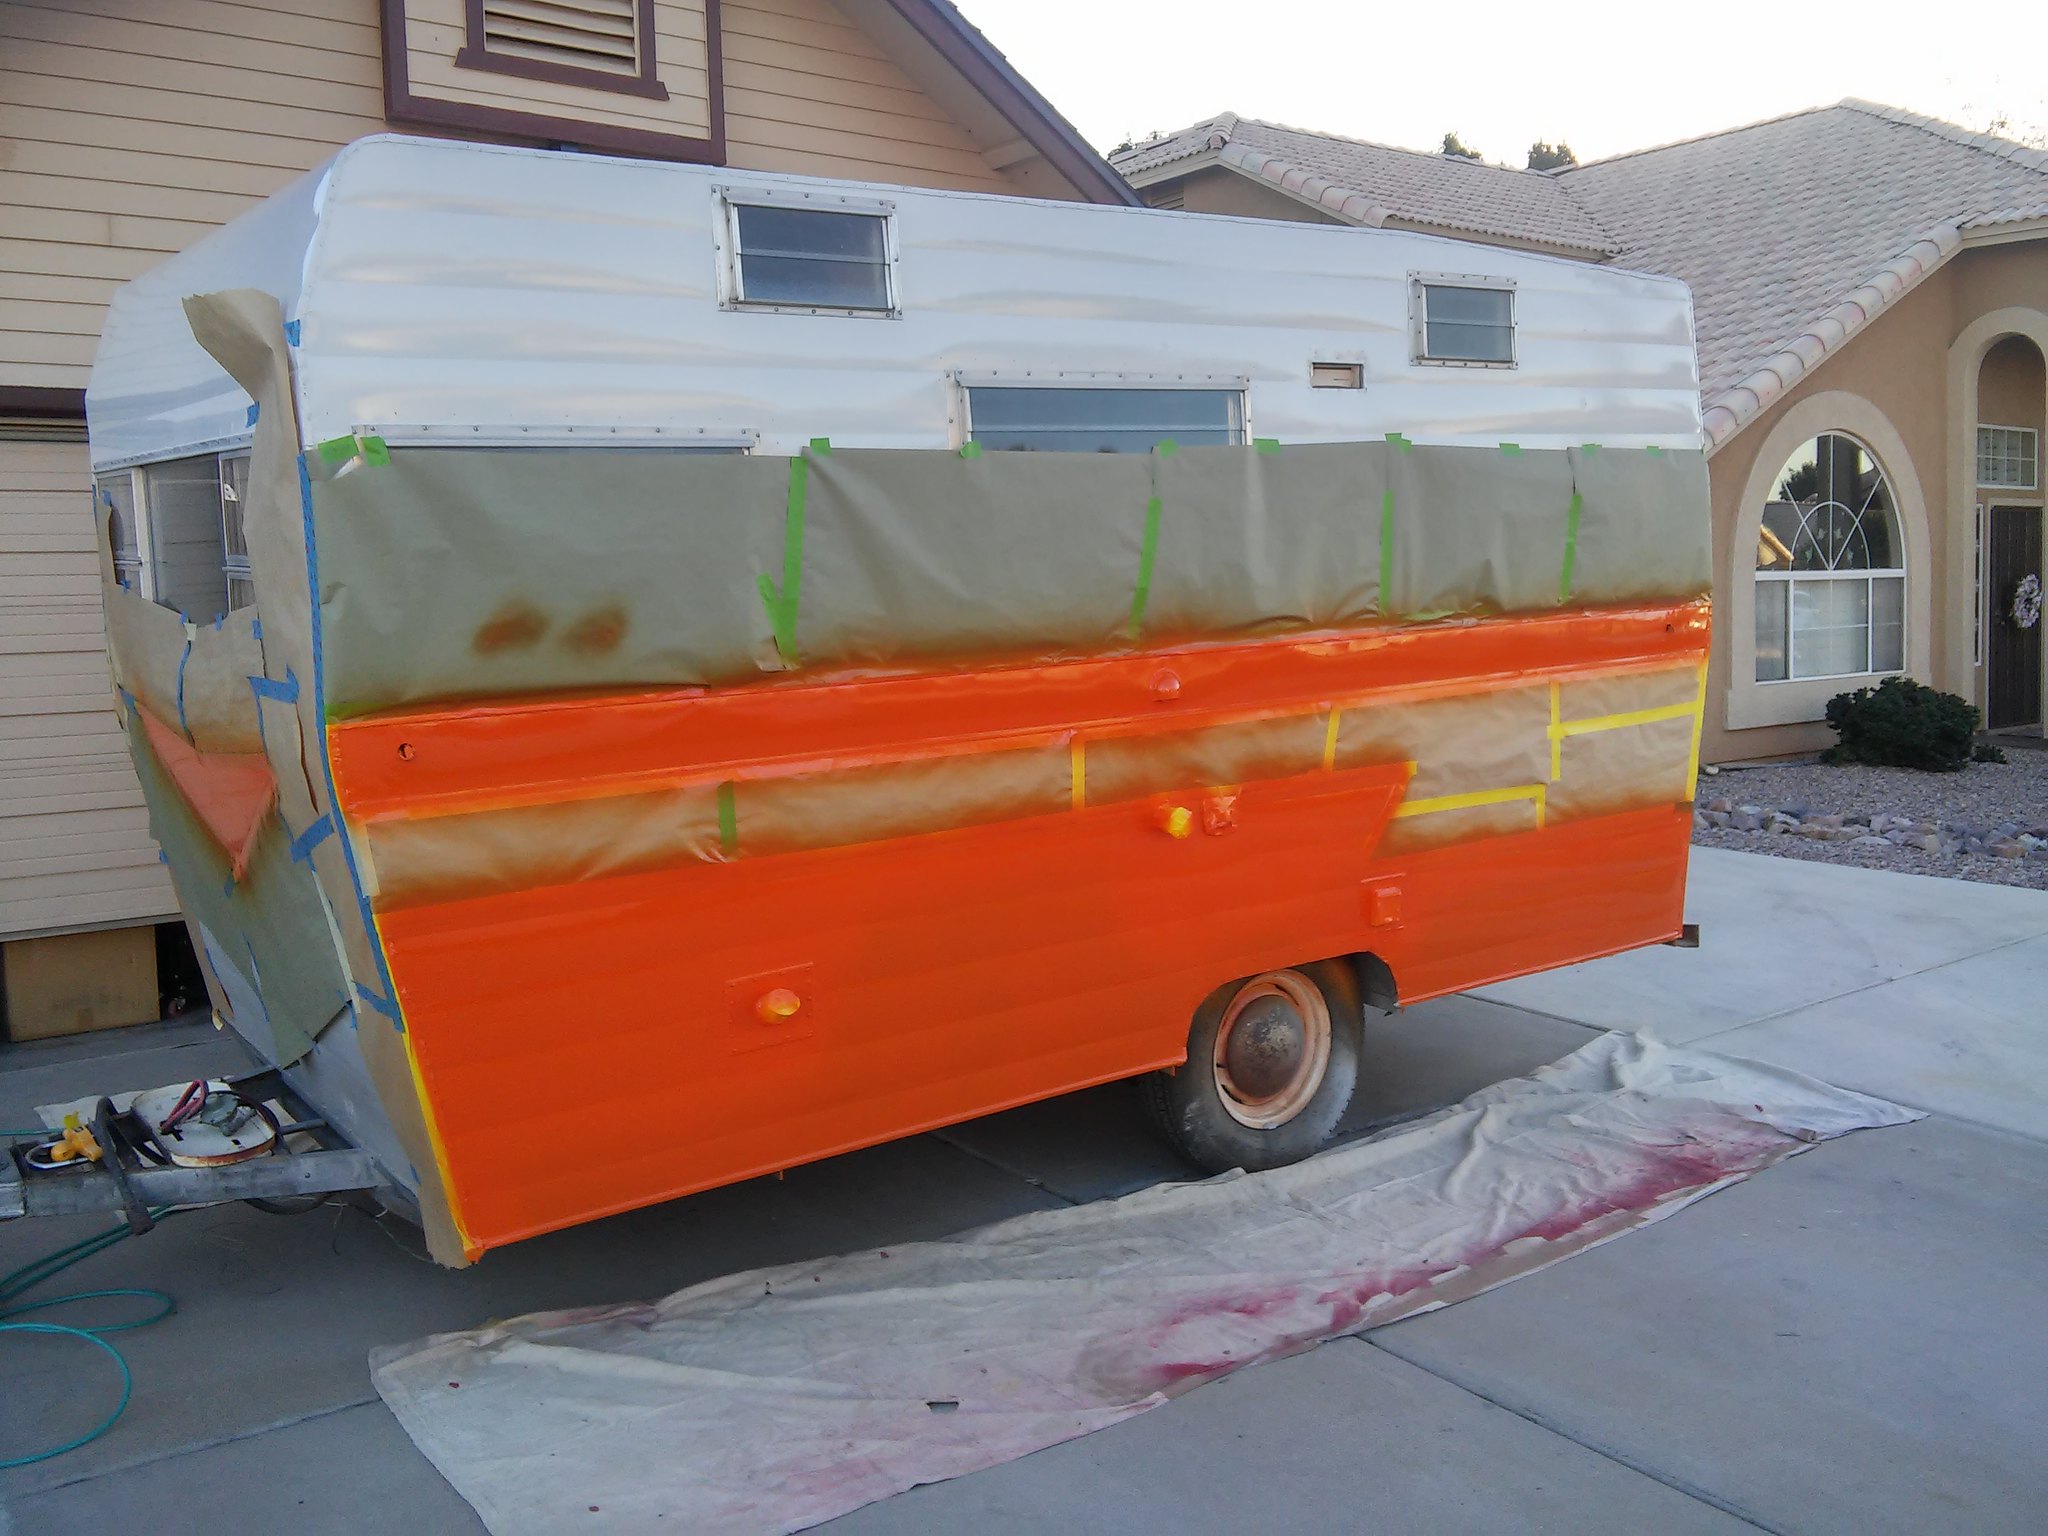 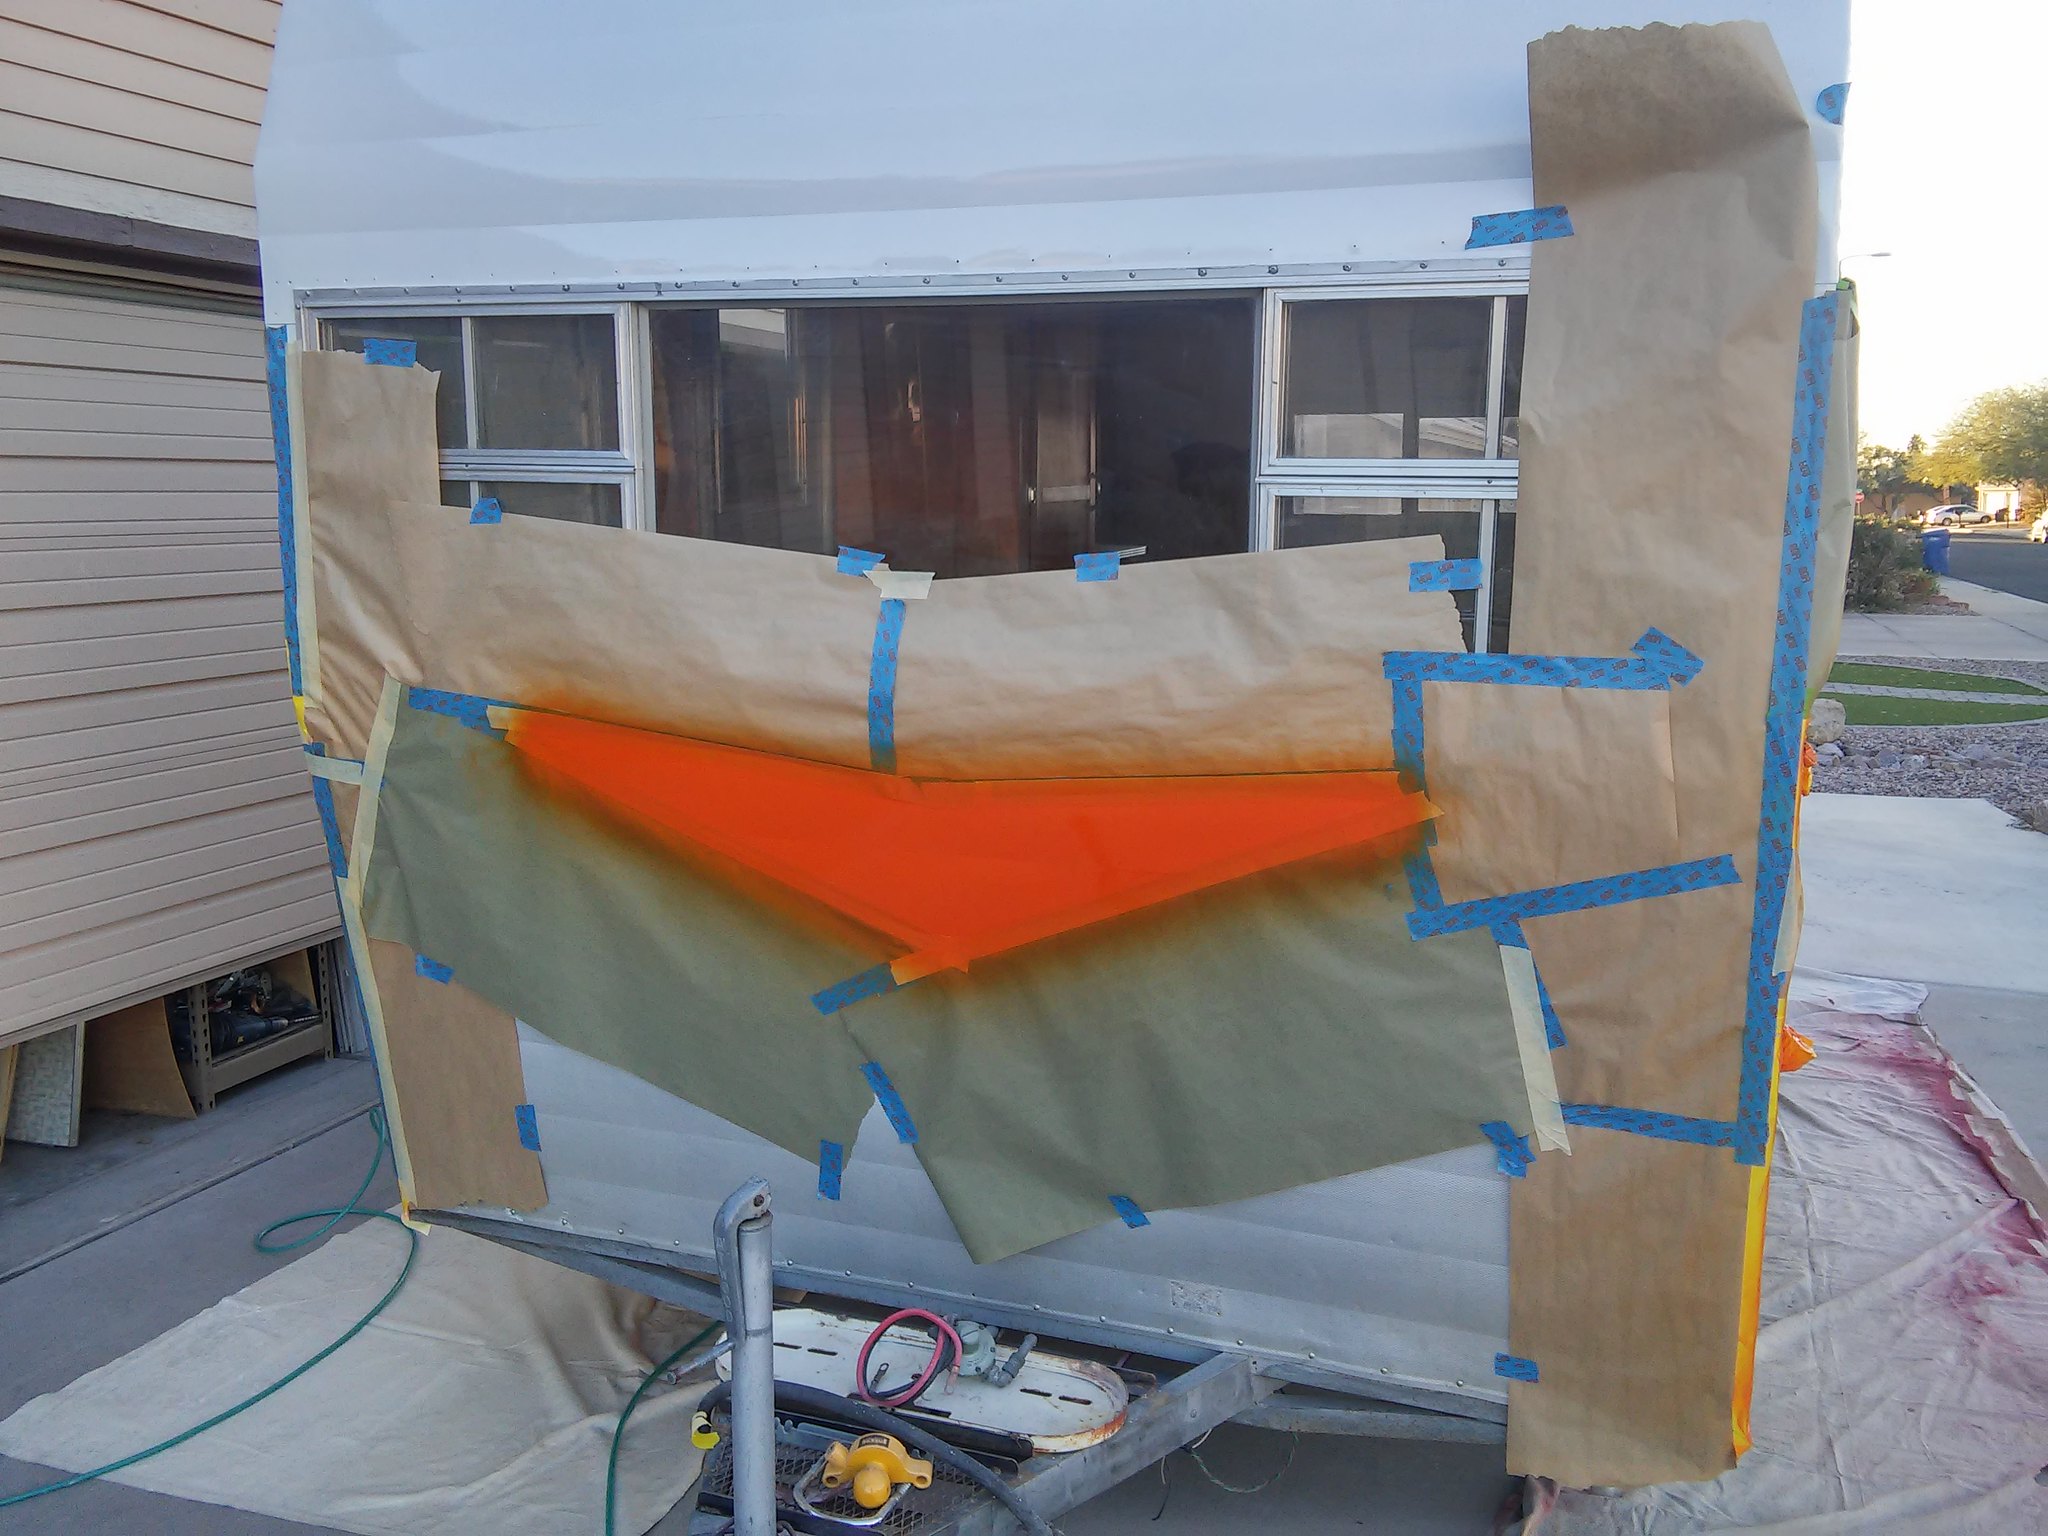 Here it is with the trim back on, wings included. I also painted the frame, tongue, rear bumper, step with rustoluem "Aluminum" oil-based paint. Brushed it on and it looks very nice as well. 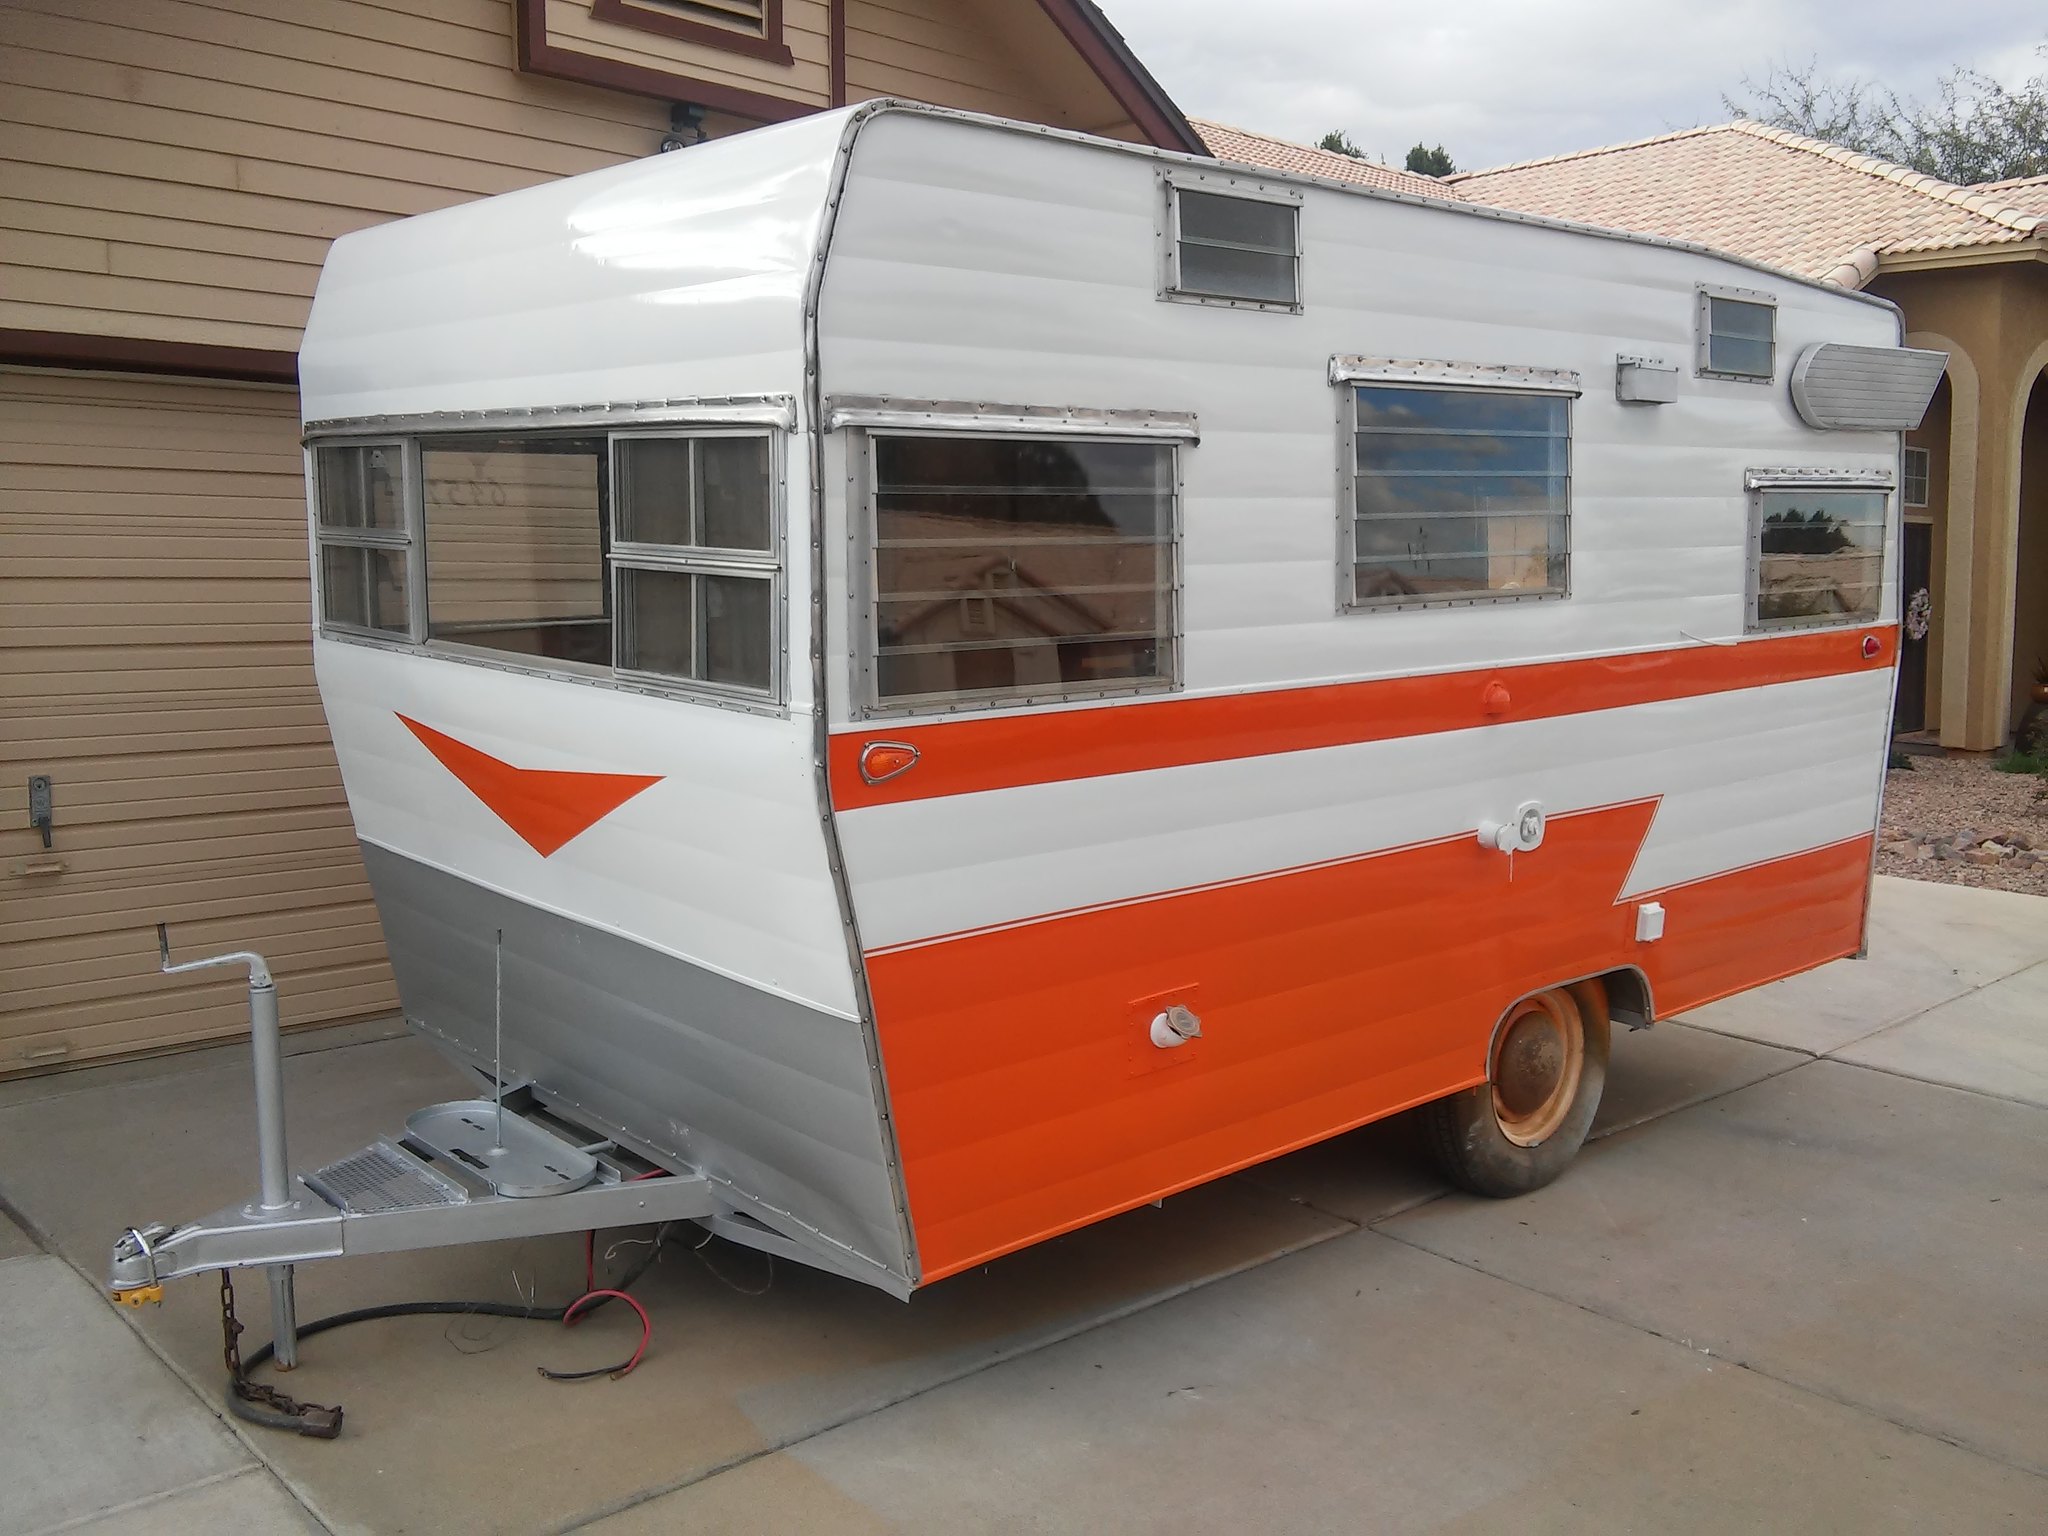 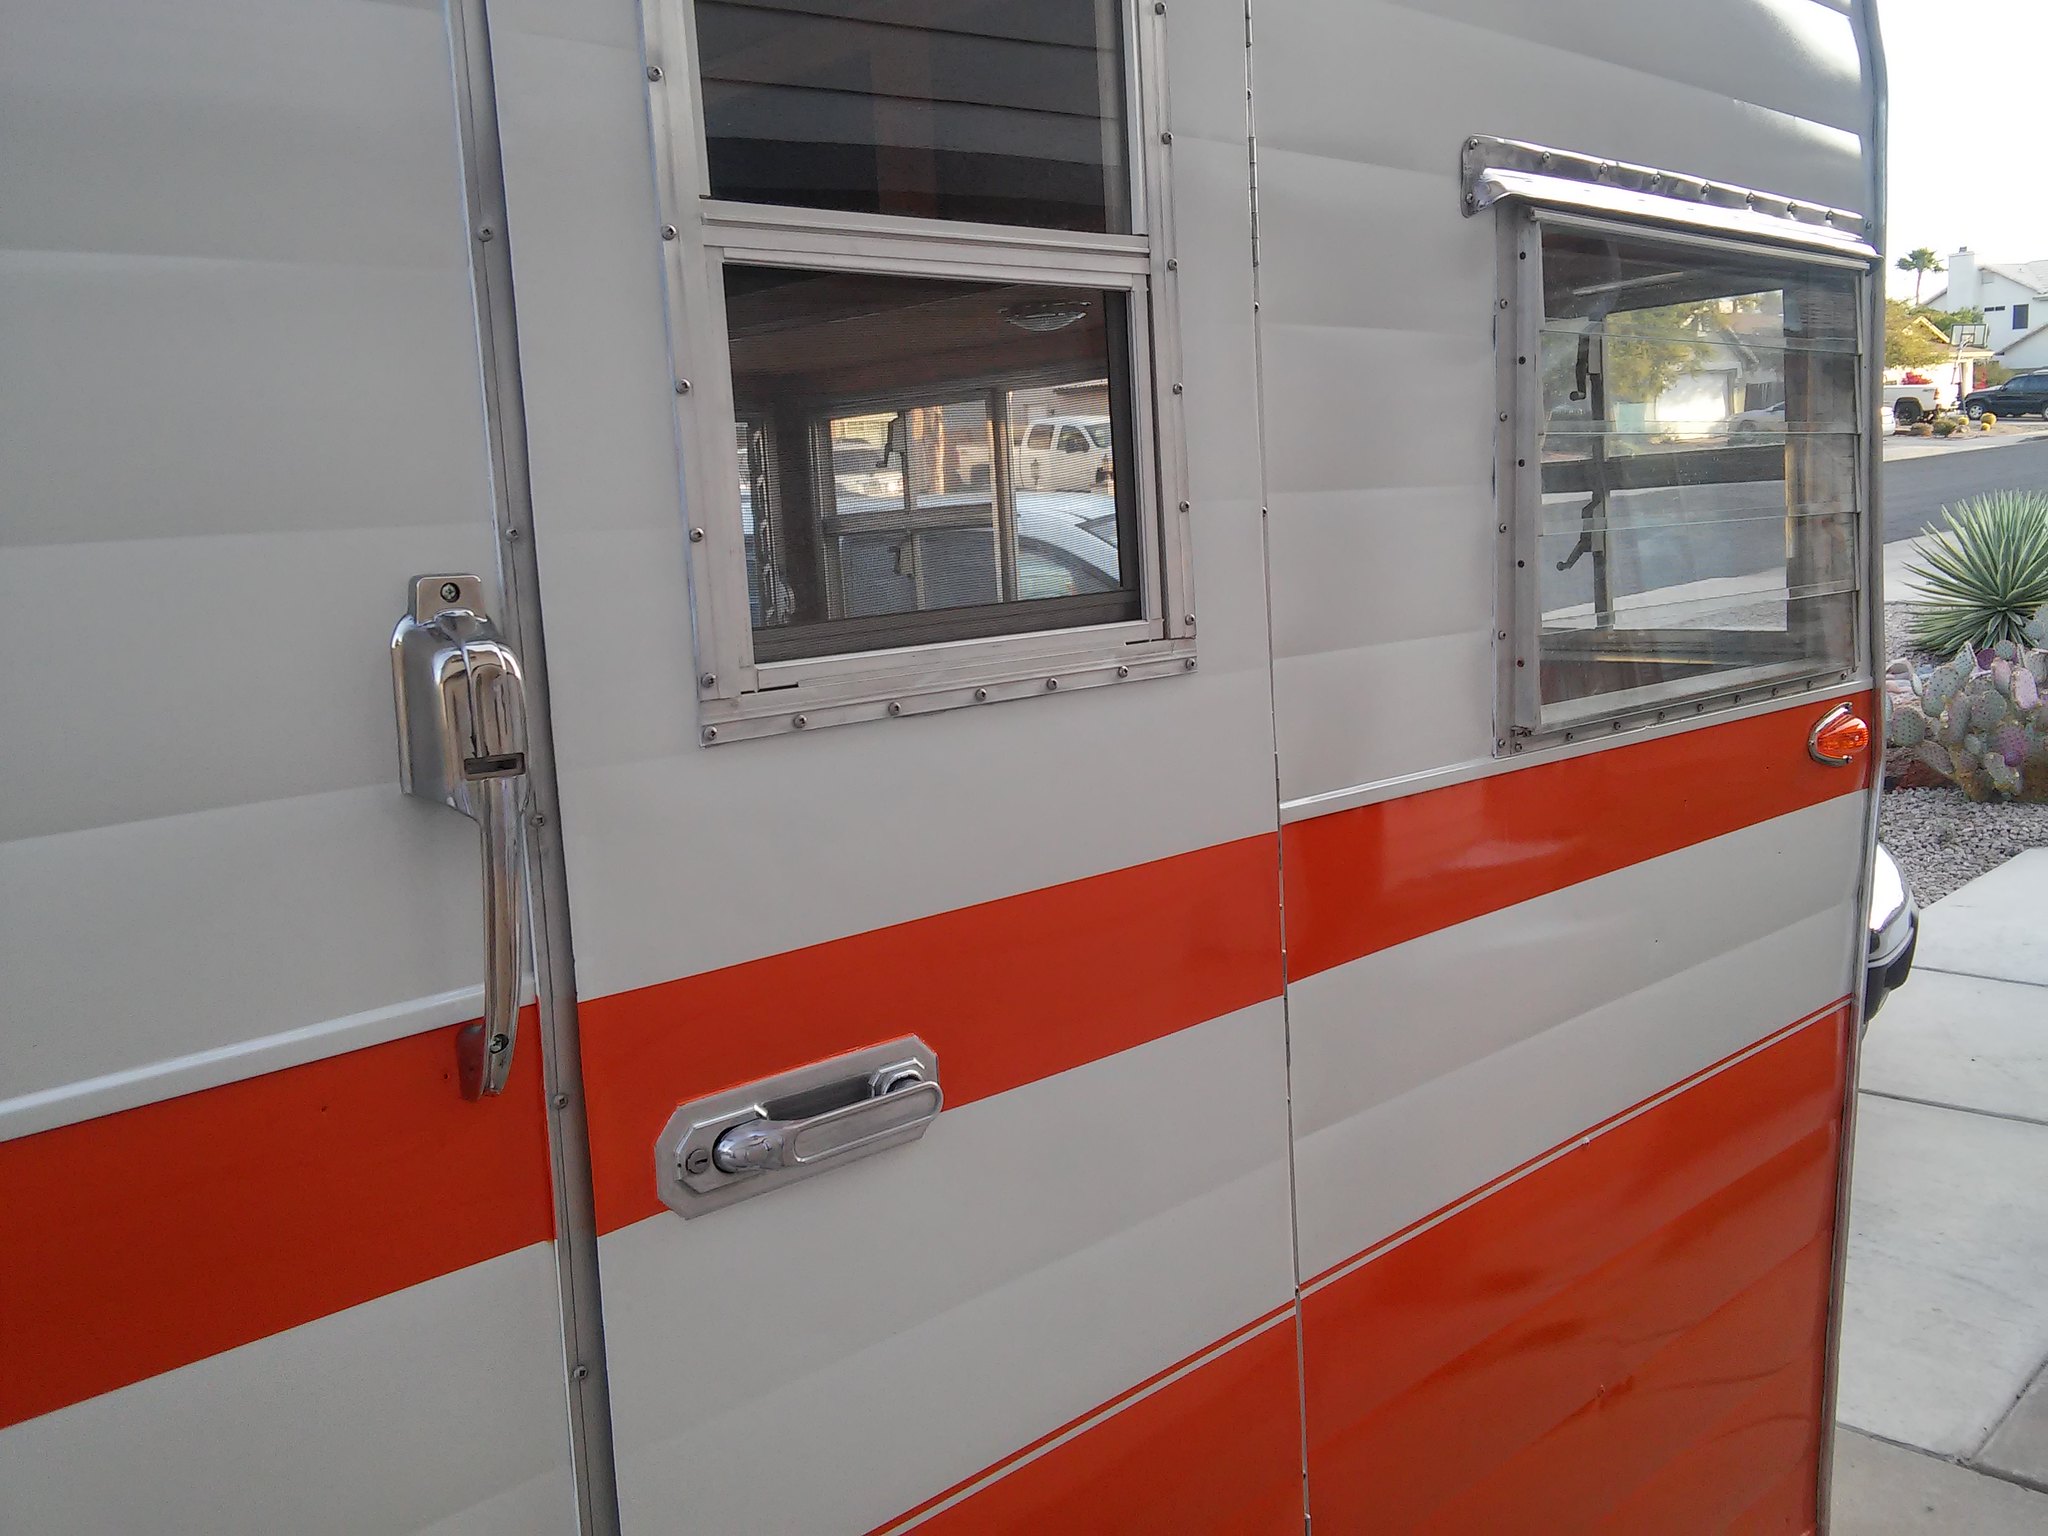 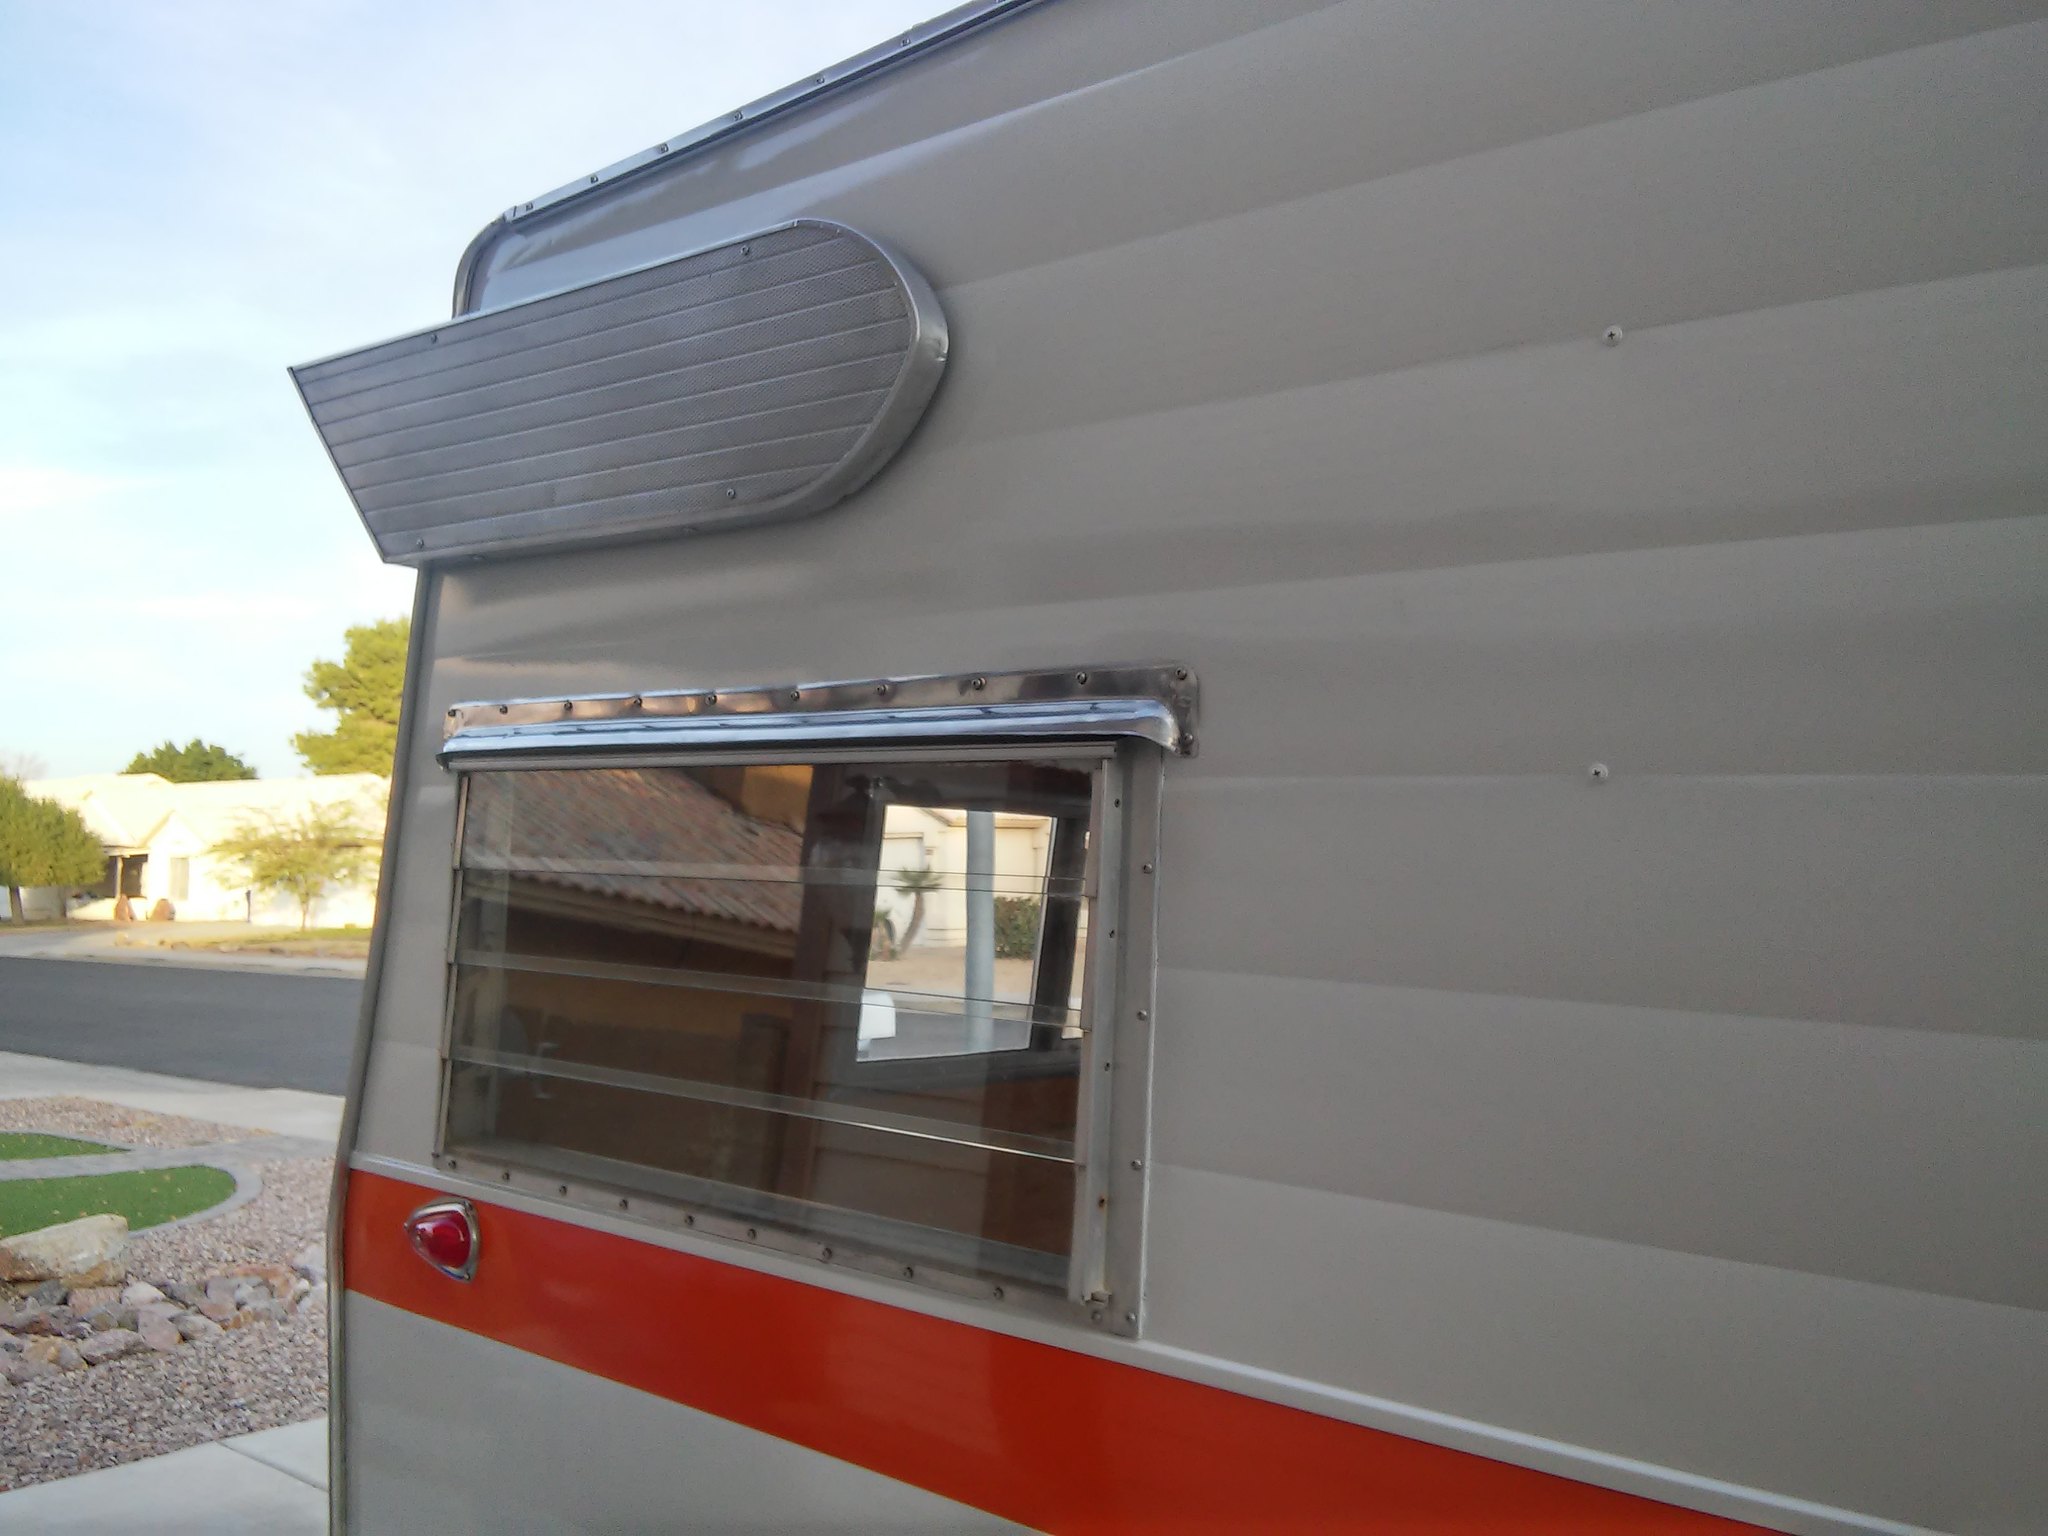 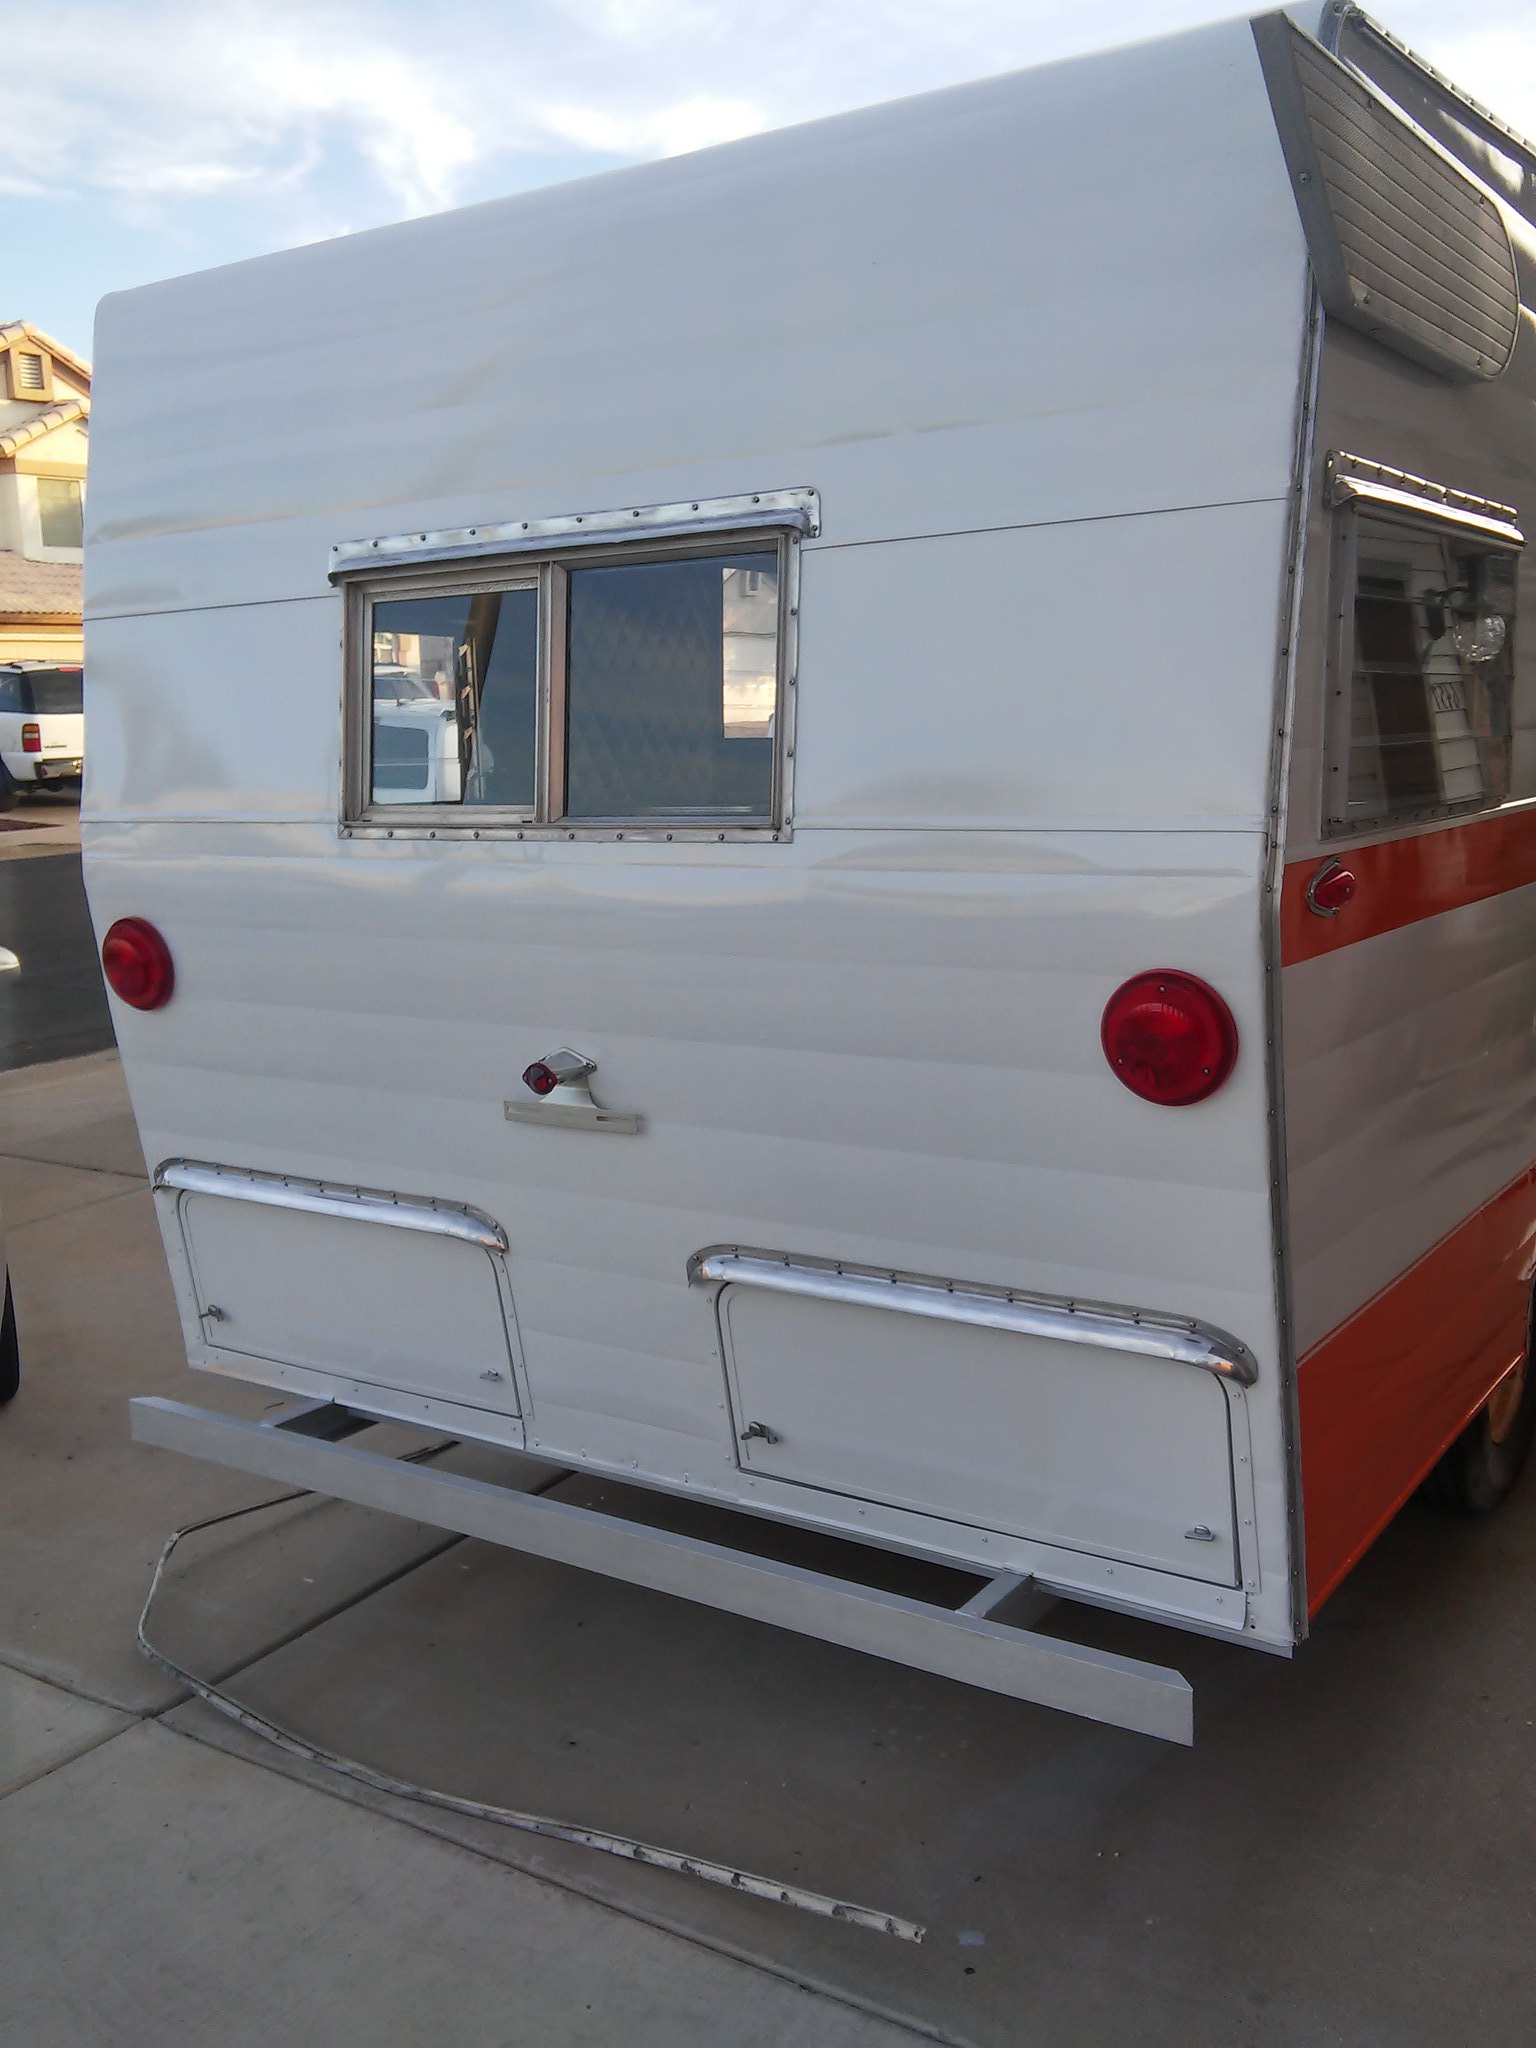 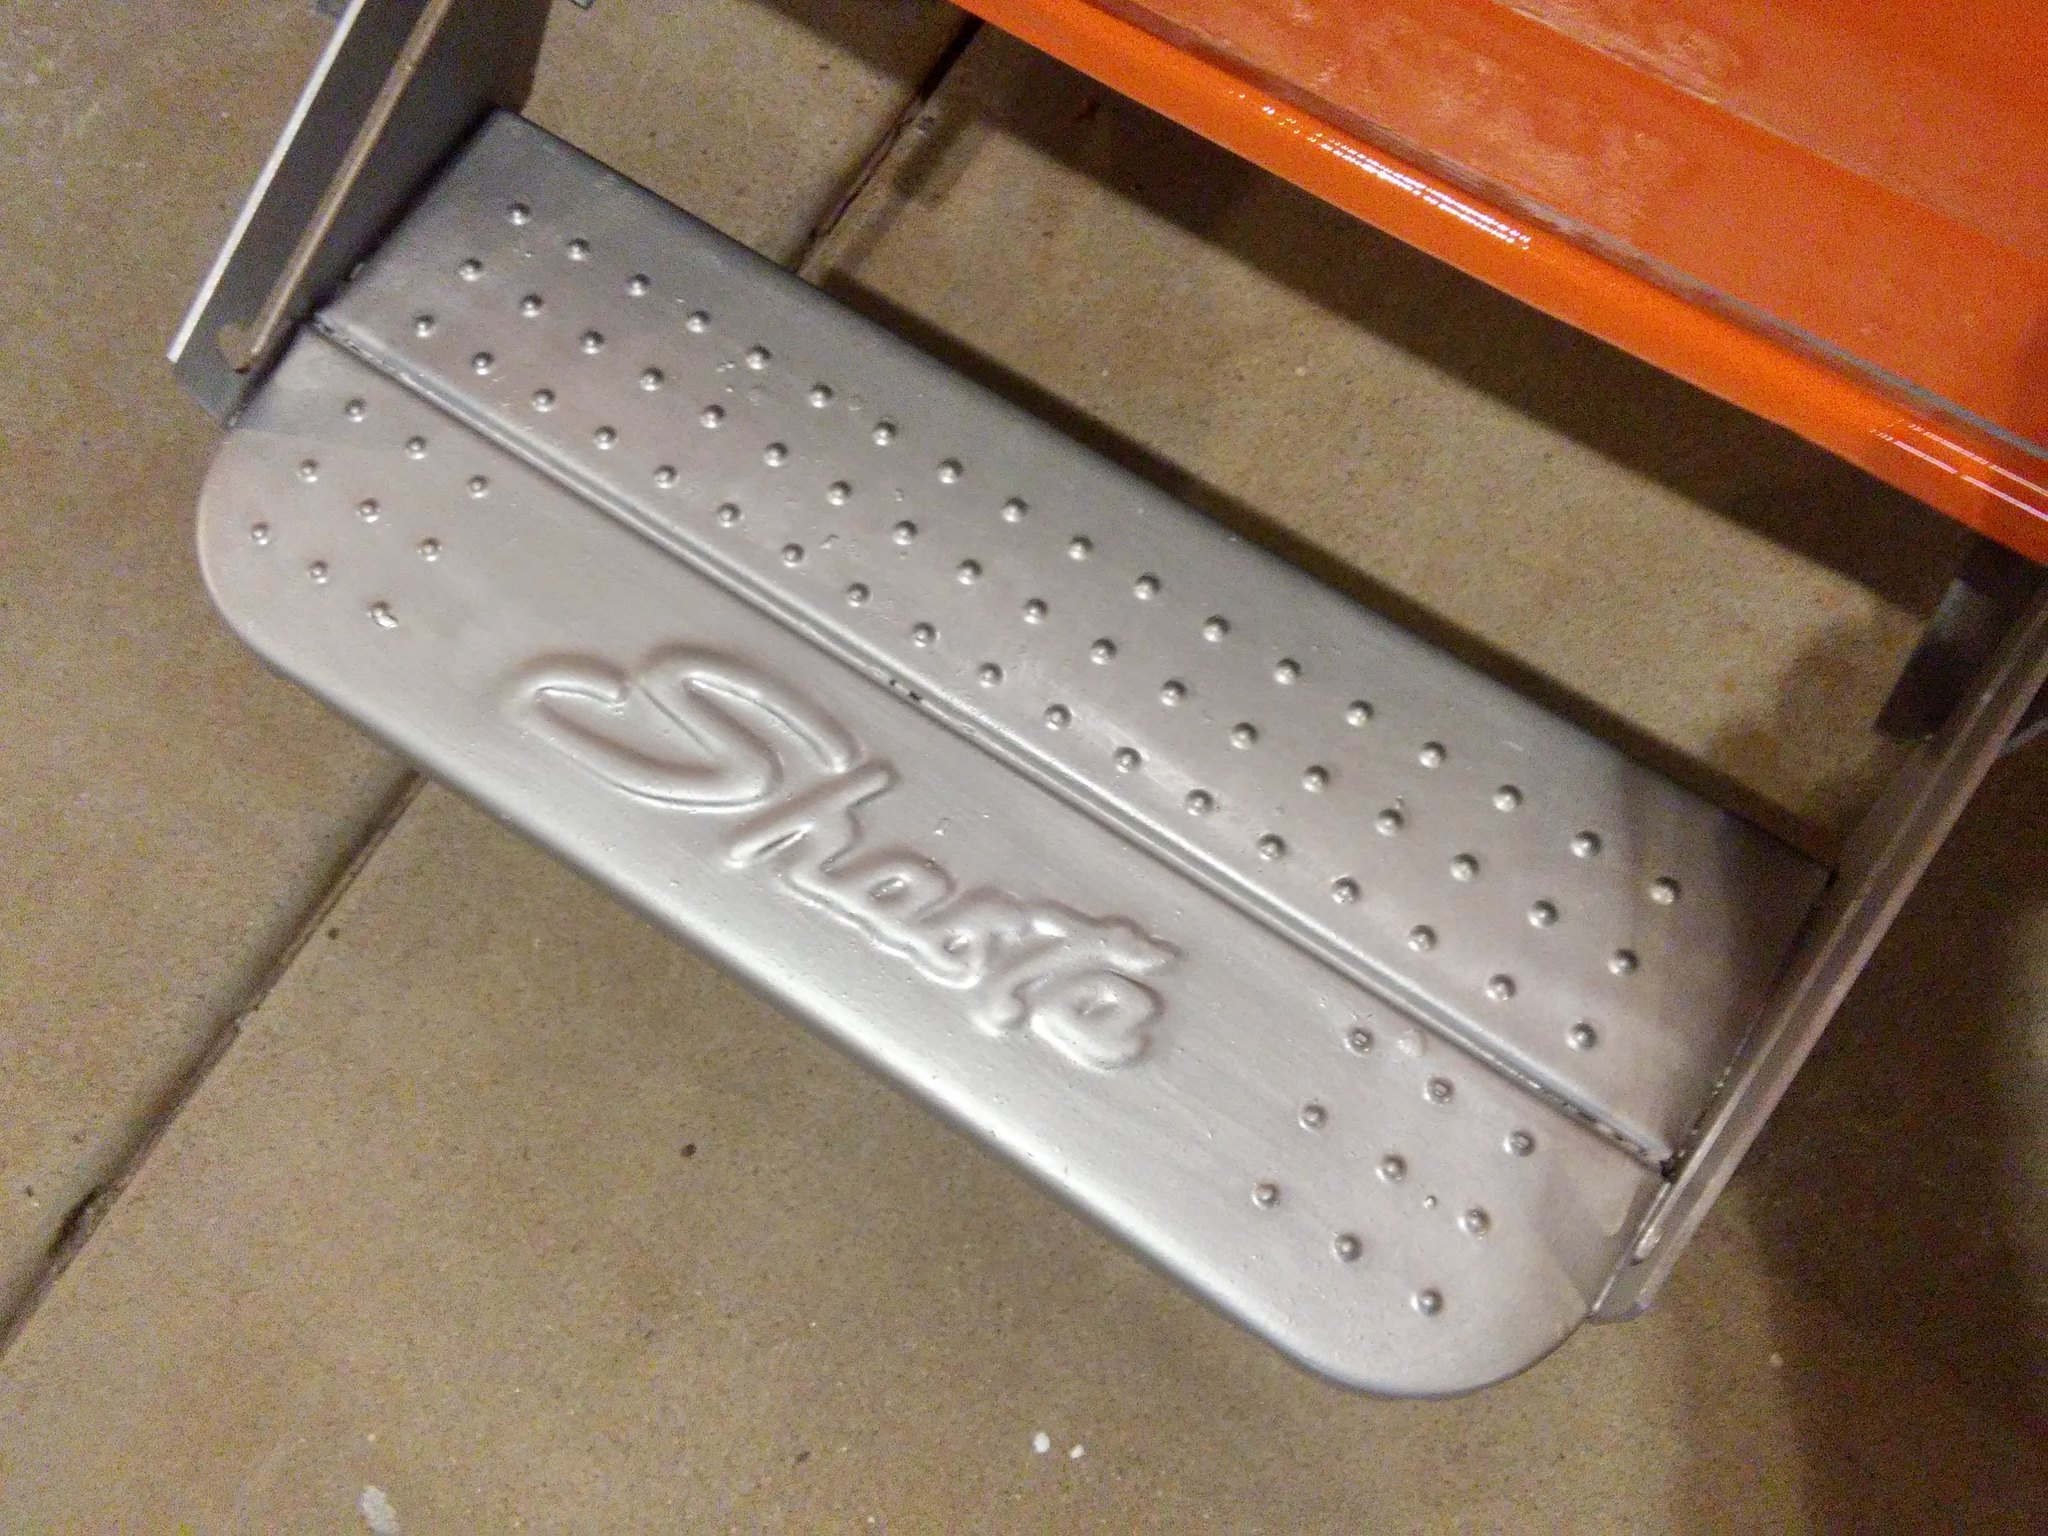 Well, That pretty much brings it up to date. Got to finish the wheels and a few more little items like the Shasta emblem & decals and the outside is done. A few more things inside and we'll be ready to go camping  |
|
strange1
Active Member
Posts: 159
Likes: 103
1965 Shasta Airflyte
Currently Offline
|
Post by strange1 on Jan 11, 2018 17:38:23 GMT -8
|
|
strange1
Active Member
Posts: 159
Likes: 103
1965 Shasta Airflyte
Currently Offline
|
Post by strange1 on Jan 11, 2018 17:26:50 GMT -8
I bought a mid 60's Shasta that was titled 1972... Apparently here in AZ if you've lost the title you can take it to the DMV and have it titled whatever year you choose? The PO told me he'd lost the title, took it down and the DMV applied a new VIN sticker... My dilemma is going to be trying to reverse what this guy did and get it registered for the correct year.
What state are you in?
|
|
strange1
Active Member
Posts: 159
Likes: 103
1965 Shasta Airflyte
Currently Offline
|
Post by strange1 on Jan 11, 2018 17:06:50 GMT -8
|
|
strange1
Active Member
Posts: 159
Likes: 103
1965 Shasta Airflyte
Currently Offline
|
Post by strange1 on Jan 11, 2018 10:34:48 GMT -8
|
|