|
|
Post by Teachndad on Apr 4, 2020 11:15:28 GMT -8
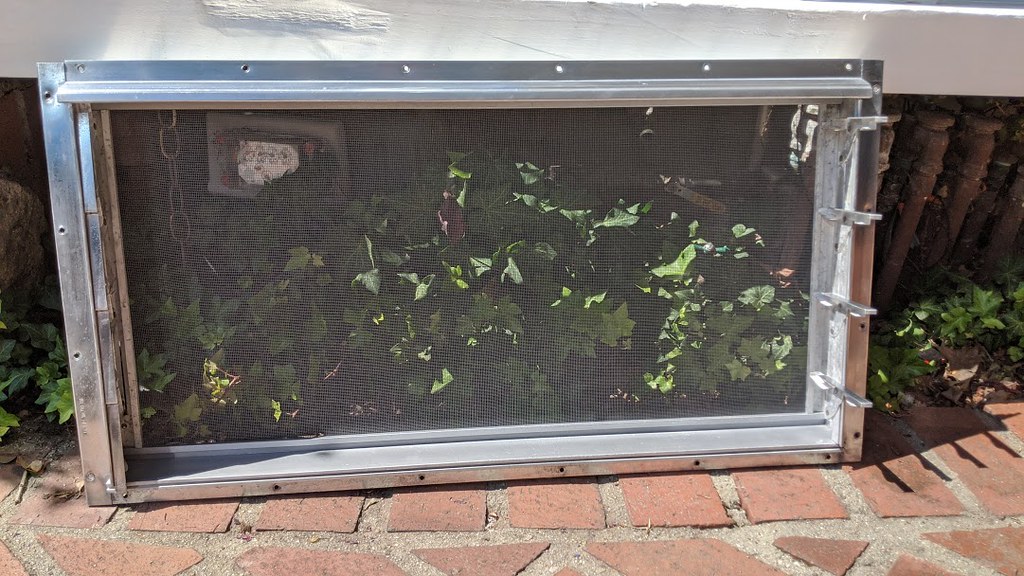
After seeing the rust in the pictures, I am a little concerned. Keep in mind, I am a So Cal guy and all the (4)trailers I have retrieved all had rust underneath, but not like this. This seems more serious, but someone with more experience with trailers in 3 season environments can really confirm or deny my concern. I see evergreen trees in the background which leads me to believe there were snowy winters leading to gathered snow or a lot of moisture collecting underneath and created a high moisture environment. Also, even if it towed "fine" three years ago, doesn't stop the freeze thaw cycles from doing their damage in three years. Did they tow it down the road a few miles or many miles down the highway? What does "tow" mean for the seller? I don't doubt your skills to do a frame off, and some folks like the challenge, but I still stand my my position. I still feel that you should keep looking. The loss of the front window assembly and the rust issue tells me to hold off and, as previously stated, put your money into a better starter trailer. The door is falling off. That confirms the rot in that corner.I look forward to reading other opinions.  Rod |
|
|
|
Post by Teachndad on Apr 4, 2020 4:50:38 GMT -8
Hi Friends, I have always liked the lines of these trailers, but I agree with Aslmx. I wouldn't offer more than $300. That lack of a front window bothers me. You will have to find a window assembly for that and that could be difficult. Someone mitered a wooden frame around the front windows. How was that mounted? What kind of holes were put into the skin to mount the wood framing? God forbid, they used liquid nails. The amount of goop on that trailer is amazing. Look at the tops of the rear marker lights and while I have my observation spectacles on, look at the goop around the rear window. Geeze Louise. That goop has to come off. What's hiding behind the bed that you can't see? The rear skin down low is peeling up and ripped probably from parking tag.  The biggest worry for me is that gap above the door. It's got some frame sag or the right front wall is loose from wood rot. Get underneath and use an ice pick to poke at the wood and push on the outside of the trailer to see if it moves... Finally, be careful getting it off the blocks. I am going to assume you can still get tires underneath the wheel wells, but unless there was settling over the years, you will have to be careful getting a jack underneath, or excavate the dirt underneath to make clearance. No tongue jack to help assist in stability. Make sure the coupler is in working order. I would put this on a flatbed to get it home. Nuts! Third edit: I would pass on this trailer because the front window is missing and spend more to get something that is in a little bit better condition and has all the windows. Just my two cents.  I support any decision you make, though. Please keep us informed and ask any questions you might have especially about moving it. Rod |
|
|
|
Post by Teachndad on Apr 2, 2020 21:31:57 GMT -8
Hi, Would a space saver spare like this one work if you removed the tire? 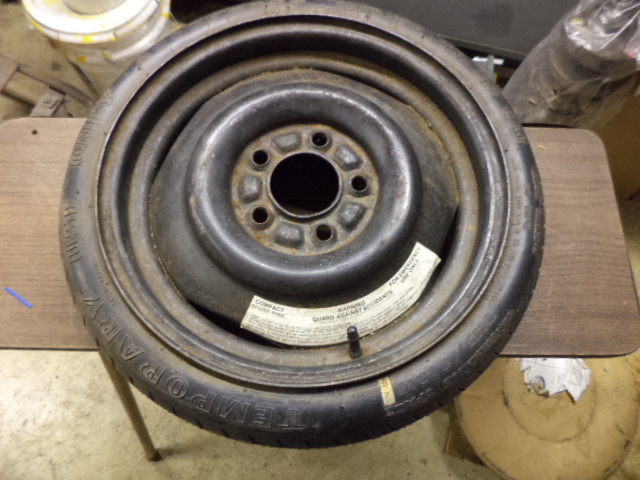 Rim might be too big, though. I bought two of these on CL for less than $20 each while working on my trailer chassis. That way you aren't spending money on new tires to have it sit a few years while it's worked on. Rod |
|
|
|
Post by Teachndad on Apr 2, 2020 21:10:31 GMT -8
I love retrieval stories and this one is one of the best. Thank you for sharing with fine detail and pix. Looking forward to your stories about repairing. Glad they have gone to a home where people can enjoy them rather than sitting and being used as closets.
Cheers,
Rod
|
|
|
|
Post by Teachndad on Apr 2, 2020 21:00:12 GMT -8
Yes, Datac, I totally agree with the other posts. Fine, very fine!
Is that birch veneer? Where did you get it and how much was it? My upper kitchen cabinet for my Westerner was stored in a shed that leaked last winter with dripping water damage that was later discovered. It finished off the veneer on that cabinet basically ruining the entire veneer.
How do you like working with the Minwax Gel Stain?
This is worthy of saving this to a file on my computer.
Cheers,
Rod
|
|
|
|
Post by Teachndad on Apr 2, 2020 16:34:31 GMT -8
Hi Friends, Completing the finishing touches on my Hehr Jalousie window. I need confirmation on the length of the D seal as well as the length of the side pile weather stripping. In the picture below, you can see the end of the D seal is where my gloved finger is pointing. I will assume the D seal is too short and probably shrunk over time. If you look about 1” in the direction of the camera, you will see the side pile weather stripping sticking out. I can’t remember if it stuck out on purpose so thus giving it a tab to grab with a pair of pliers for removal or replacement or I started to pull it out and did it later. I have already purchased the side pile weather stripping and I have the D seal.  So, when installing the new D seal and side pile weather stripping: 1. Do I leave a tab sticking out on the side pile weather stripping as seen in the image? 2. If I do, then do I have D Seal butt up against the tab or cut off the tab so I can run the D seal all the way to the end of the mounting groove? Not sure if that’s clear? Thanks, Rod |
|
|
|
Post by Teachndad on Apr 2, 2020 13:46:34 GMT -8
Hi Friends, Thank you Vikx for your constant efforts to get me an answer to even going out to the barn! Thank you for thinking of me, Oh Garsh.  I have been so busy with the complications of remote teaching, that it seems like it took even longer to get this done. So, here’s what happened. The mounting holes are larger than they look. I went all the way up to #12 screws and they still floated in the holes. I don’t go out much these days because of the Corona Virus, so I try to make every trip count. While down at HD, I bought various sized screws and even some nuts and bolt sets. The screws didn’t fit, so I tried the nuts which were #12 bolt and nut sets. They were a smidge too small, so I reamed out the mounting holes with a drill bit so the bolt could go down and seat smoothly. Not really wanting to use bolts because they can come loose, I grabbed some Loctite blue, coated the threads on the bolt, and tightened the bolt through the nut. It’s not original, but I was done and didn’t want to go out again. I can always run another larger screw in there later, but it’s done for now. There are no clearance issues and the crank operator arm and all the jalousie arms work just fine with a little oil. Crank operator top view  Underside view with nuts tightened  Cheers, Rod |
|
|
|
Post by Teachndad on Mar 28, 2020 6:26:58 GMT -8
Hi Friends, It’s been raining and it’s a good time to install anchors into the ground for a cloth carport that I want to put up over my Rod and Reel. I don’t want to use 5 gallon buckets with gravel or rock in them as we get some pretty rough winds in our area in the fall. I don’t want to risk wind getting underneath and lifting it like a sail. So, I wanted something more permanent. Any thoughts on earth anchors like this that corkscrew into the ground. These have to go into the ground by twisting a rebar in the eyelet or if you are lucky you can use a drill. 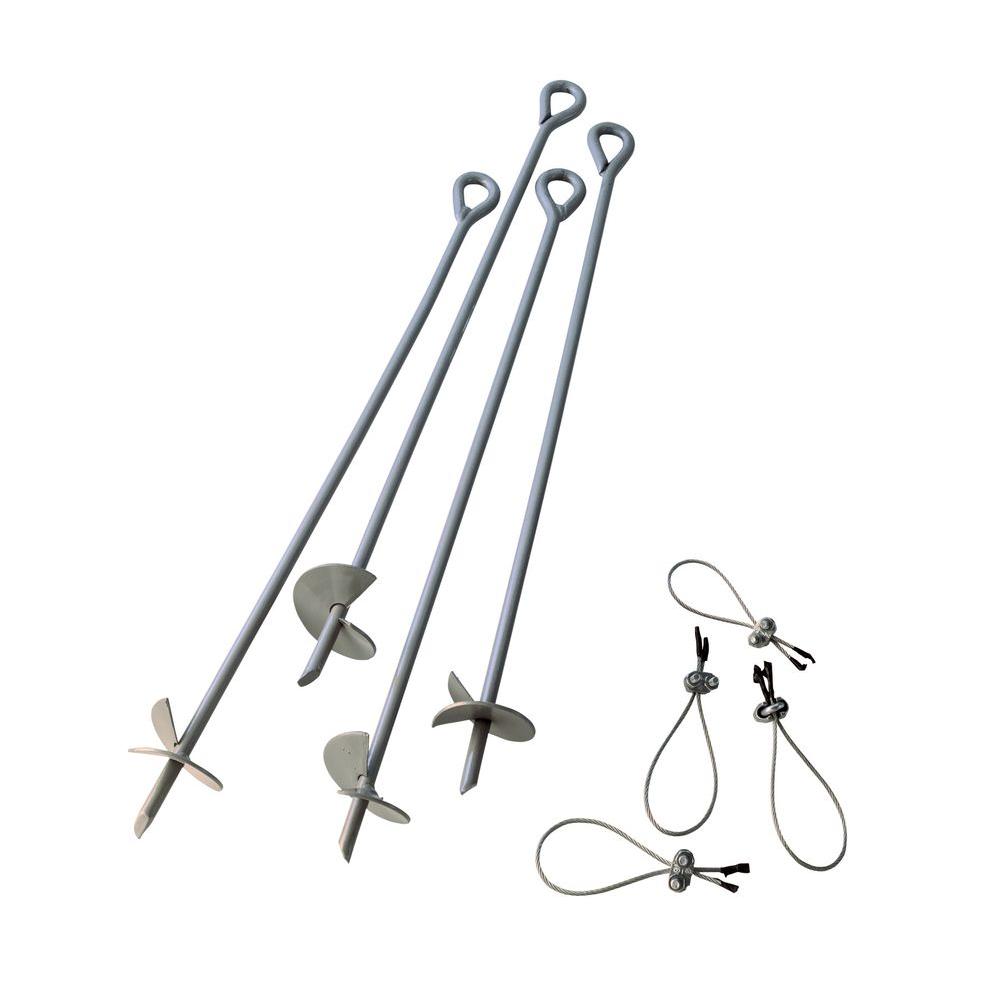 I can't see placing 30" long anchors into the ground though. That's a lot of corkscrewing. Wondering if 6 15" anchors would be okay. Or these that you hammer into the ground 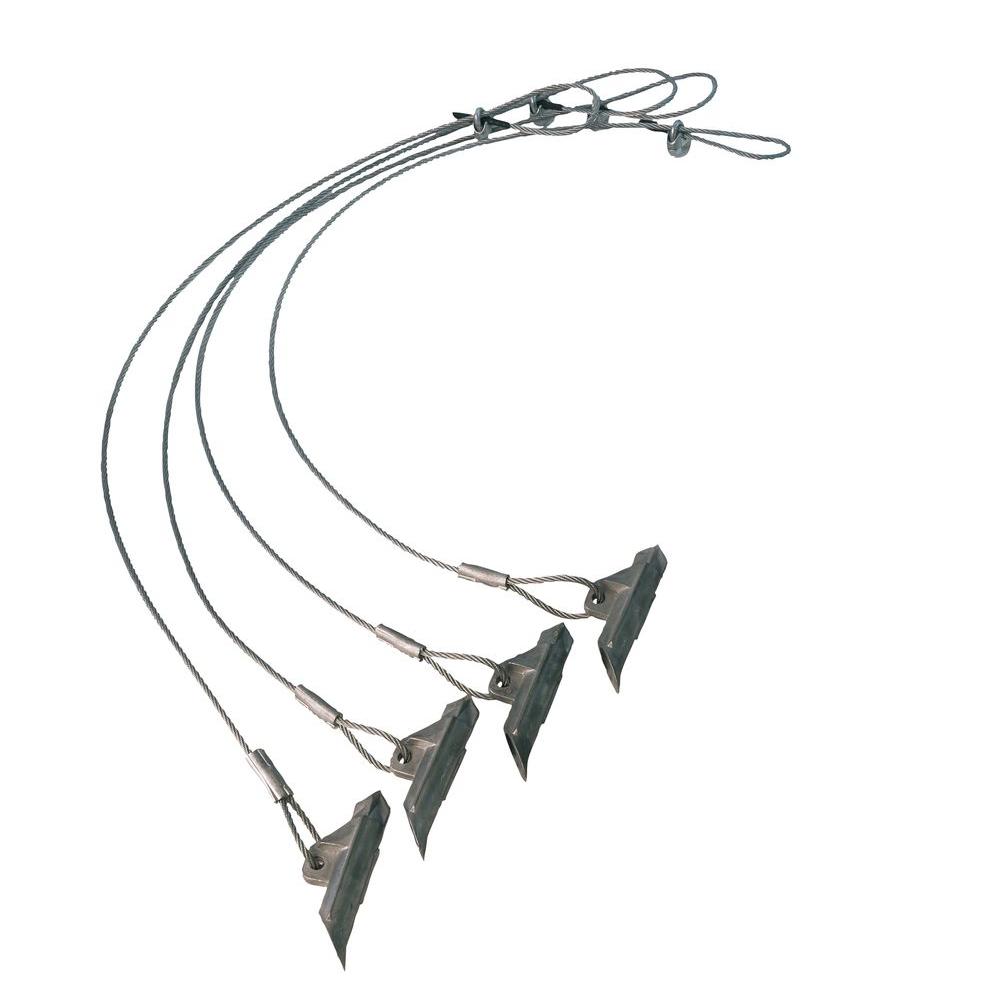 I can’t afford concrete based anchoring. If these are not galvanized strands, wouldn't these cables start to rust quickly and then become weak? Thanks, Rod |
|
|
|
Post by Teachndad on Mar 27, 2020 21:23:04 GMT -8
Vikx, Here is the interior of the crank arm operator housing showing the teeth and some others that I hope will help. I am not seeing any thread marks in the mounting holes. 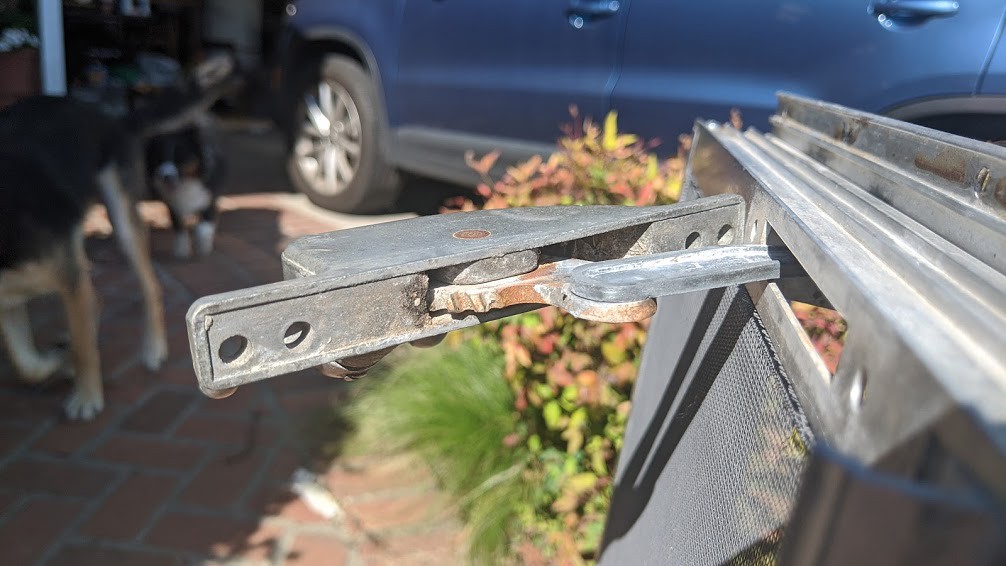 interior cog area interior cog area by Scott W, on Flickr    Cheers, Rod |
|
|
|
Post by Teachndad on Mar 26, 2020 15:00:10 GMT -8
Hi Friends, Here is my advice. Use a respirator. If the Blue Magic is anything like Mother's Mag Polish, it's going to have a chemical smell. I am sensitive to petroleum smells and always wear a respirator because I will get long lasting headaches if I don't wear one when i work with chemicals. BTW, for sealing up the window frames with gutter seal, I found this plastic syringe helpful for getting into tight spaces. I do wish the nipple was a little longer, but it helped. The gutter seal tube opening wasn't designed for tight spots like corners and it's nice for drawing a narrow bead if you need it. We got a few of these from our vet last year when our dog was sick. The syringe comes with the plunger inserted. You can with a little effort remove it. The syringe nipple didn't clog. The brand looks like Monoject for the syringe. I dumped about a half inch of gutter seal into the "base" of the syringe and then pushed the plunger down working the gutter seal out the nipple.  Cheers, Rod |
|
|
|
Post by Teachndad on Mar 24, 2020 14:16:02 GMT -8
Hi Friends, I have been working (off and on) on the galley jalousie window for my ’57 Westerner since June of last year along with my front window assembly. The galley window has been disassembled and rebuilt with new screws, cleaned and rescreened. I cleaned it with a sponge with some soap and water and then cleaned again with Alumabrite from Napa Auto Parts and Scotchbrite pads. I went over it with a low speed Dremel and a small brass cup brush on the interior only. The exterior frame was polished just yesterday with Mother’s Mag Polish. I am not going to polish the interior. I want to move on. Gutter seal was also used to seal up any corners/water intrusion points. More pix of the complete window before and after to come. The images below show only the non drive side of the jalousies before and after. Before  non drive interior dirty non drive interior dirty by
After cleaning
 Non drive interior view Non drive interior view by
Cheers,
Rod
|
|
|
|
Post by Teachndad on Mar 24, 2020 14:13:52 GMT -8
Hi Friends, Joe, your work on that door is amazing. You have some mad skills!! You can be right up there with NCCamper as part of the mad skills team. You too, Larry. Rod |
|
|
|
Post by Teachndad on Mar 24, 2020 13:34:59 GMT -8
|
|
|
|
Post by Teachndad on Mar 21, 2020 12:30:31 GMT -8
|
|
|
|
Post by Teachndad on Mar 21, 2020 5:59:51 GMT -8
Hi, Currently working on my galley jalousie window and piecing it back together. The window crank operator was never bolted to the window frame. So, I have always just had empty mounting holes. How do I mount the operator to the window frame? I am assuming a bolt with a thin nut. If that's the case, do I use Locktite blue or just a washer and a nut and hope it doesn't come loose? The clearance is tight. Also, while I have your ear. Internally, do we grease the cog drive teeth on the handle, or just oil it? The operator looks like this one but I have the original version. This is a modern version. 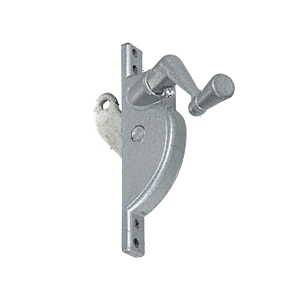 Thanks, Rod |
|


 I support any decision you make, though.