|
|
Post by Teachndad on Apr 9, 2021 22:03:59 GMT -8
Nice points Dan.
Harbor Freight makes a nice safety chain and it's got the spring clips on the hooks, which I really like for safety. Make sure when you go the bolt route that you also allocate room for a washer between the coupler and the chain and another washer between the outside of the chain and the bolt head. You should "sandwich" the chain with the washers. Don't use anything less than a grade 8 for this application.
On a second look at your safety chain hook, the guage looks really small(thin)/weak to me. The HF hooks are really beefy.
Cheers,
Rod
|
|
|
|
Post by Teachndad on Apr 9, 2021 21:19:32 GMT -8
Hi Friends, Spring break afforded a week of consistent work on Andy. The floor has been finally fastened with carriage bolts and the plywood has been screwed and fastened atop. It only took over 2.5 years and another up and back trip 360 miles north. I glued and screwed the lap joints to make the entire plywood floor despite some shaving with a multi tool to four of the floor joists. The two wrenches and the hammer in the picture below belonged to my dad, who passed away in November of last year. He never got to see a completed trailer, alas, but I used his hammer to set the carriage bolts and the wrenches to tighten the carriage bolt nuts. The wrenches are vintage Craftsman wrenches older than my Westerner. The screws went in later in the week. 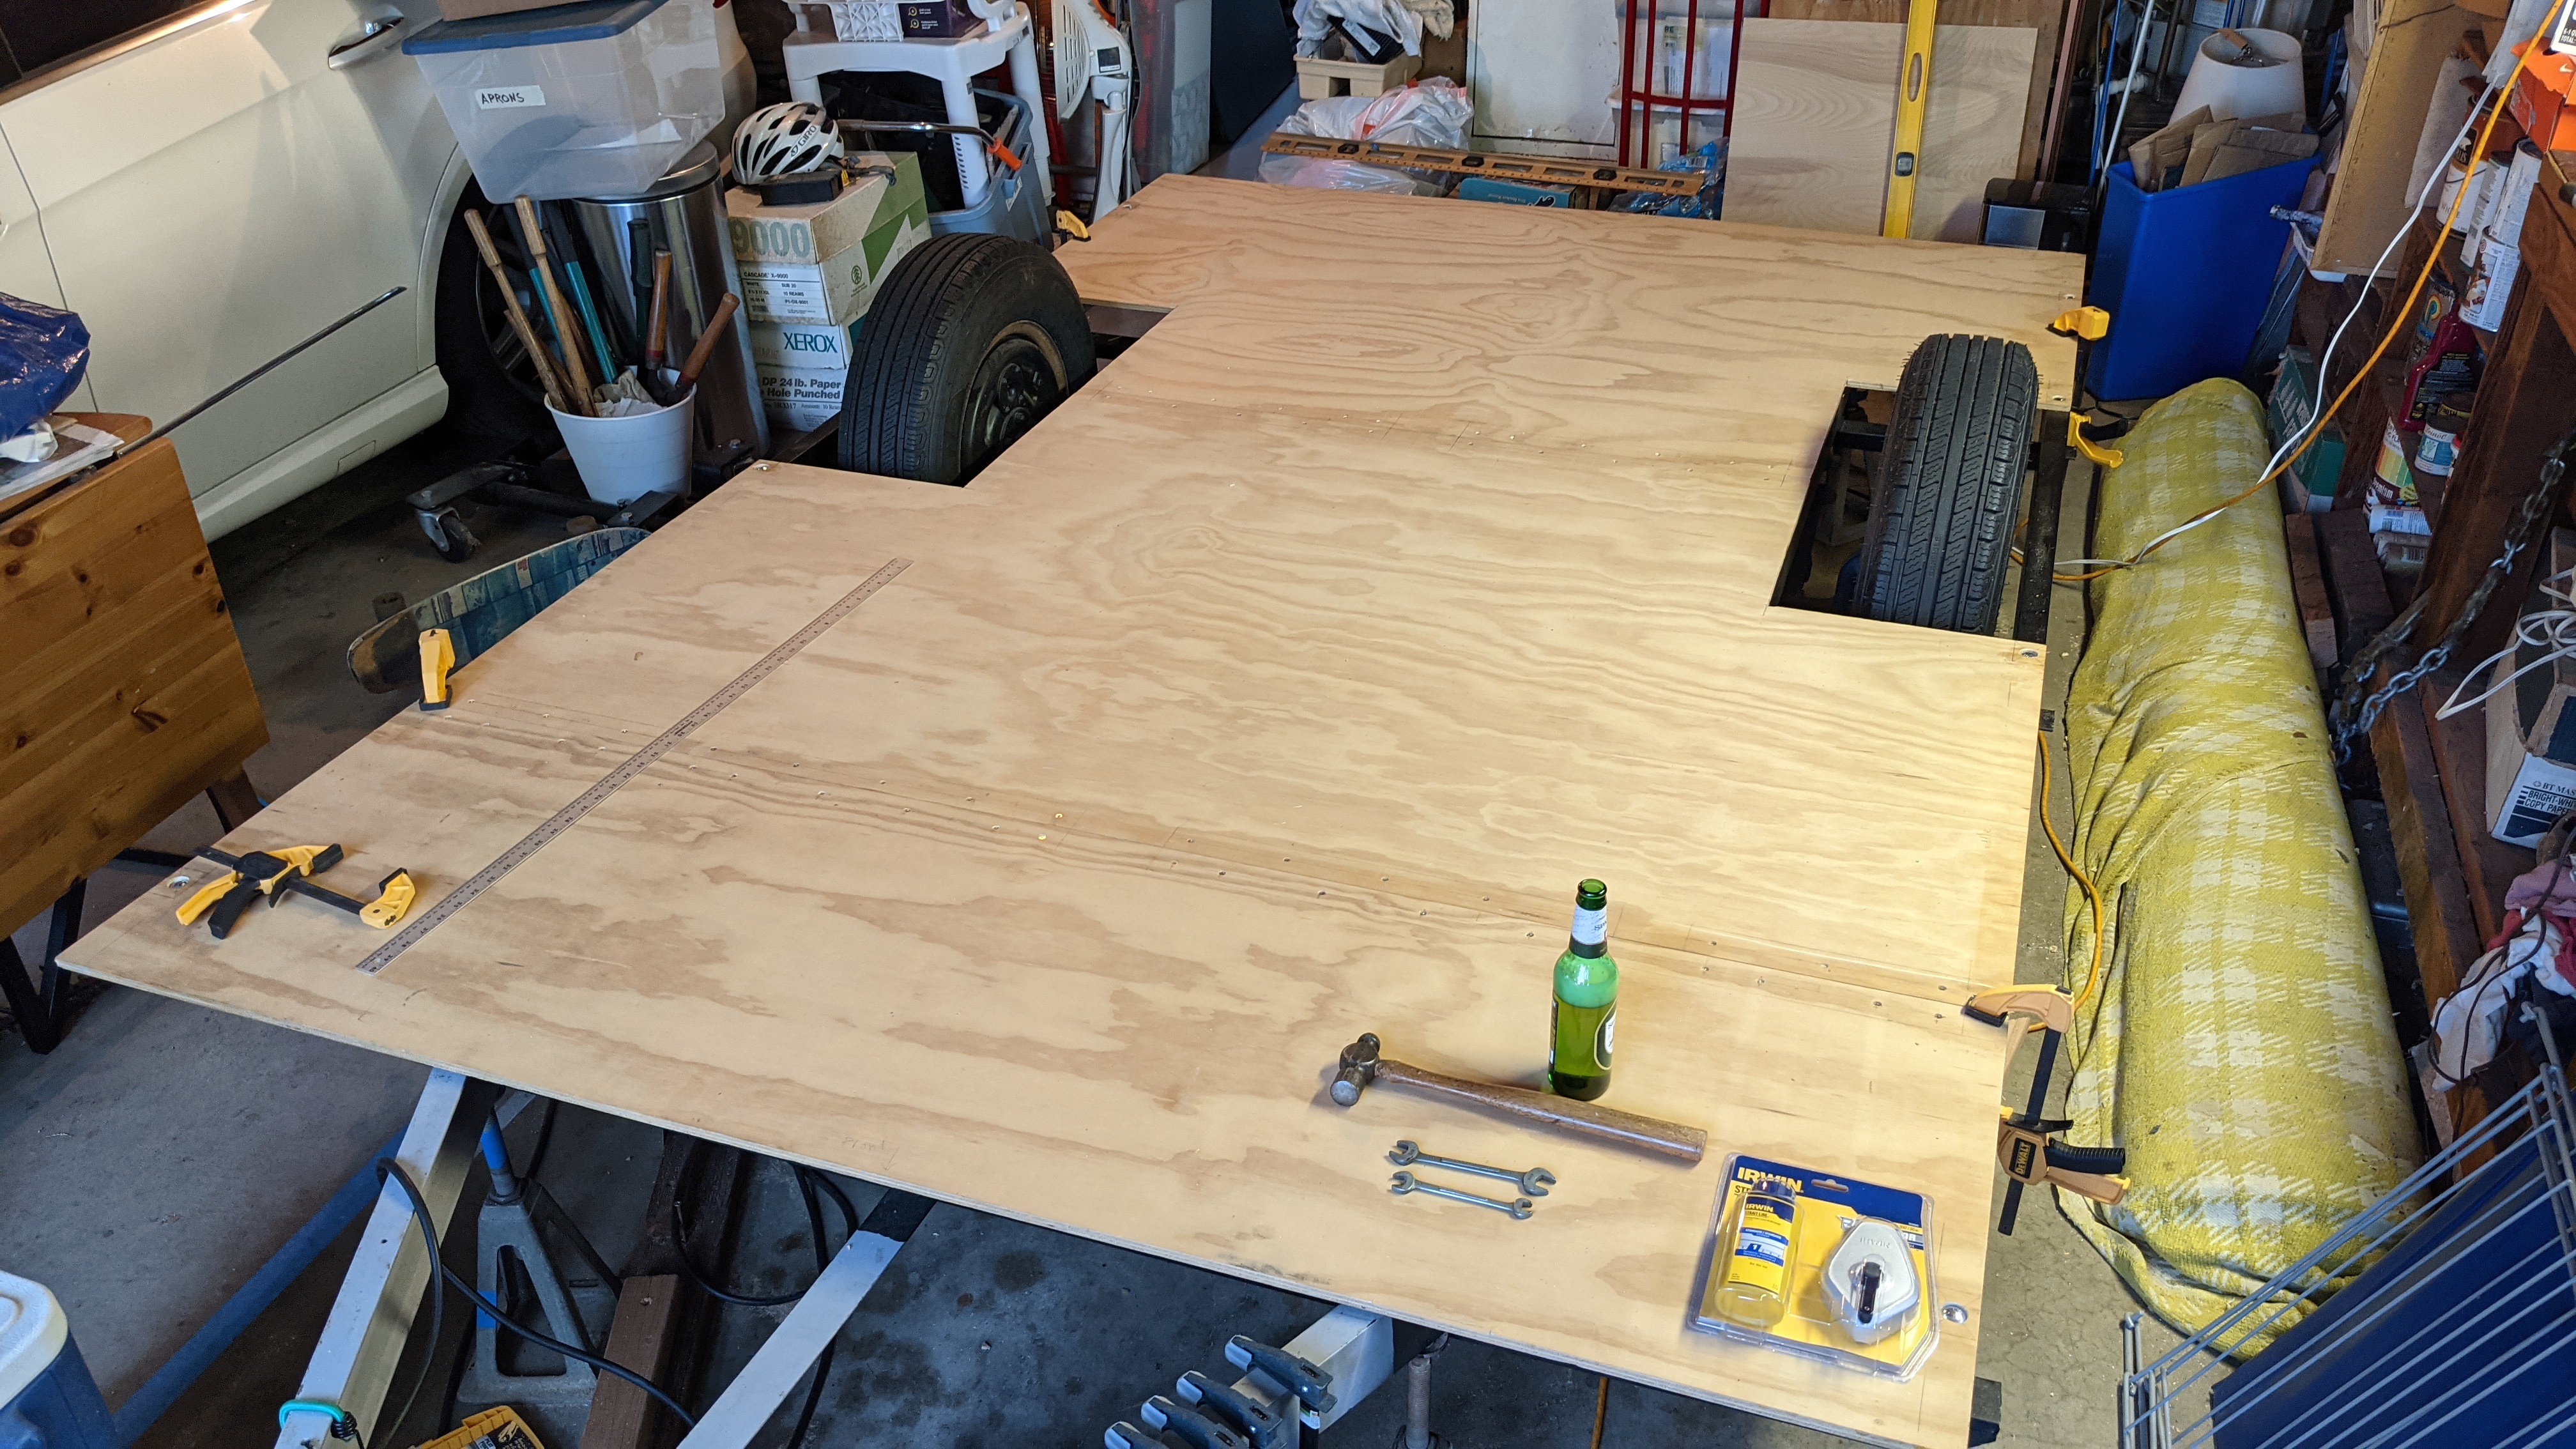 A Forstner bit makes things look really nice and neat when used to counter sink the carriage bolt heads.   The last day took a full day of work with only a 10 minute break. I was mapping out the center lines to all the floor joists and noting any bolts that might be in the way when I started screwing the plywood to the floor joists. Measure twice, drill once. 128 screws later and I was done. 
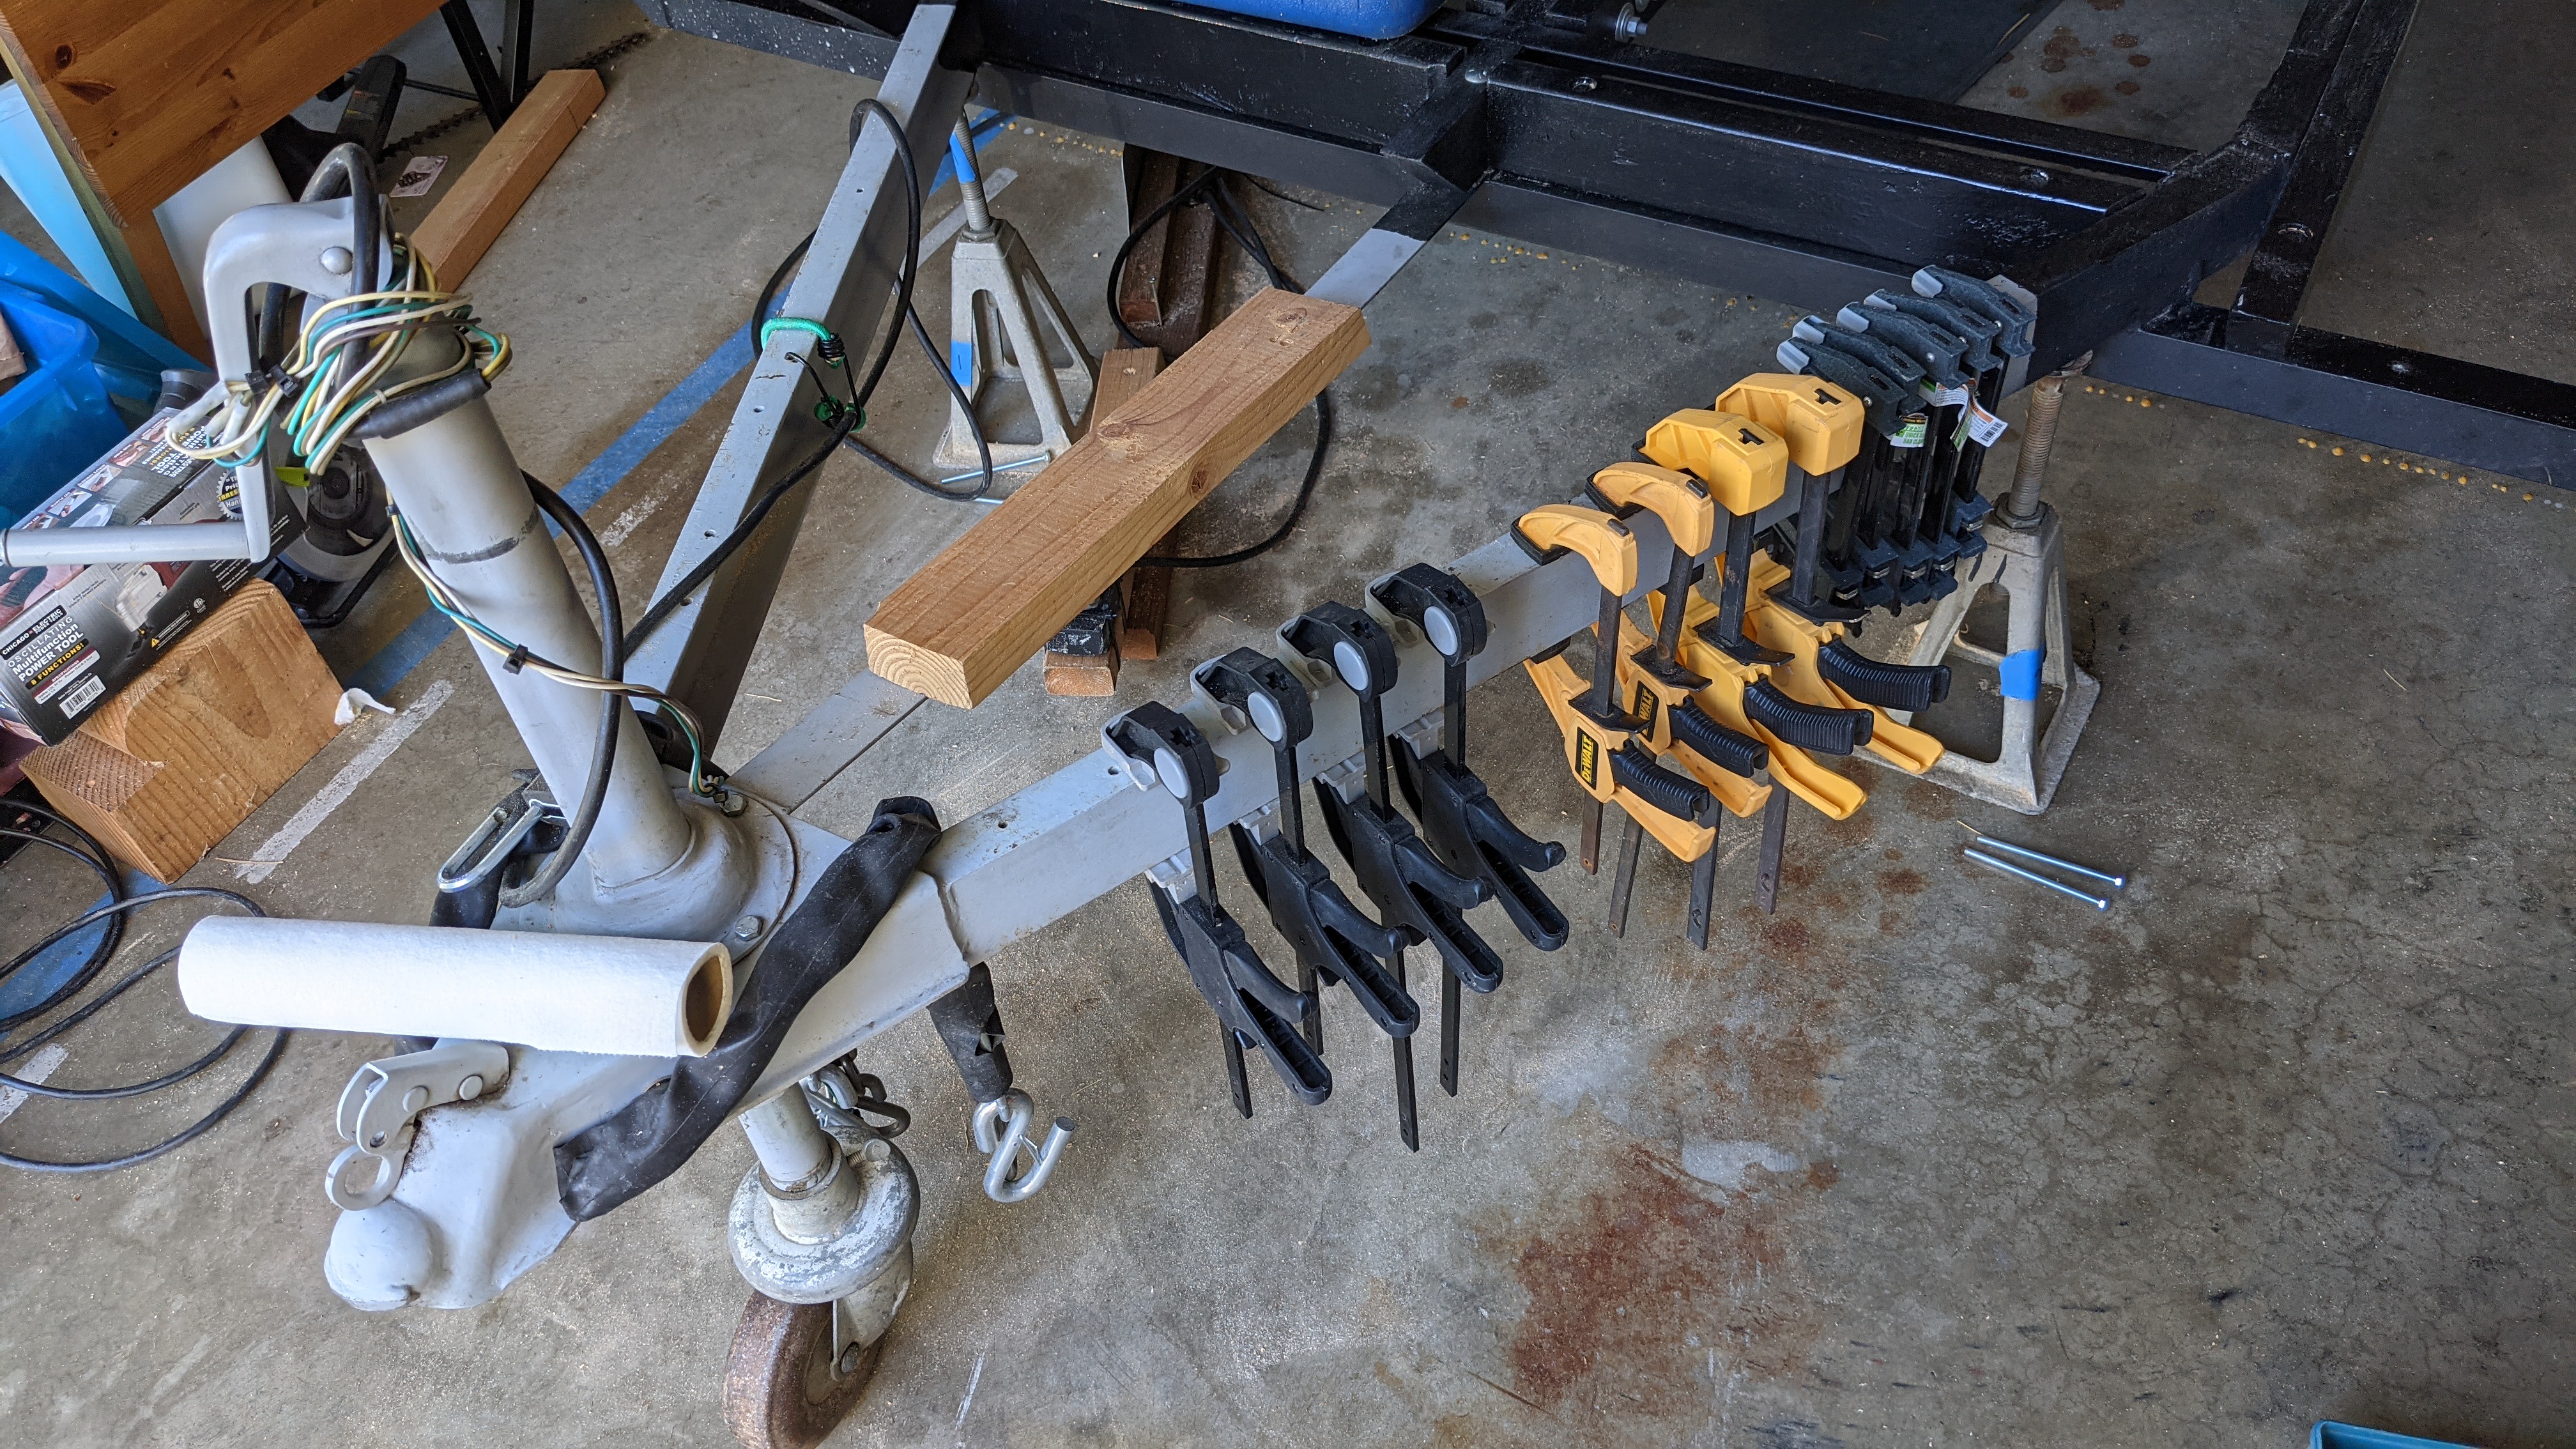
BTW, I noticed that trailers come with a built-in clamp rack on the tongue.
 I pained me to screw down the light bar assembly into the new floor. That's why they make Bondo to fill the holes, I guess. 
One last view of Andy heading back south on an unventful return trip  . .

Cheers,
Rod
|
|
|
|
Post by Teachndad on Apr 1, 2021 22:13:59 GMT -8
Is the intent to use the icebox for storage then? How long can that cooler run off a single deep cycle battery charge. Yes, the icebox will basically be a cupboard for us. Not sure right now about the cooler. I know it draws 5A when in 12v mode. Lots of info in the reviews and questions on Amazon. This is the model I have: ICECO GO20 Dual Zone Portable Refrigerator, Separate Control, 21 Quart/20 Liter, DC & AC, 0℉ to 50℉, with Danfoss Compressor, Mini Fridge Cooler Refrigerator. It's not meant to be used in an RV really but in a car, etc. However the trick is to provide adequate ventilation for the unit which we will do by adding a small vent under the bed nearby. I will update info on the cooler after we have used it. Hi Kerry, I was going back through your restoration thread looking for ideas and reread everything to refresh my memory. Just trying to look ahead. So, where is the update on the Iceco cooler? Did you end up just using the old icebox for storage or something else? So, how did the A/C work out for you the way you had it rigged? I take it the mesh screen in the upper wardrobe was the intake and the outlet was to the side of the trailer? Just curious if it worked out or you had to modify it in someway. Cheers, Rod |
|
|
|
Post by Teachndad on Mar 31, 2021 19:51:29 GMT -8
Hi Andy and it's nice to have you posting. Nice work on removing a lot of that rust on the sconce.
I was thumbing through the other photos of your trailer in your Flickr album. The interior is in surprisingly good condition. I saw the roof vent and it looked decent. I see some water damage around around the rear radius, but overall, the water damage isn't visible from the photos I saw.
Just some unsolicited advice. Make sure you install new window gaskets on all your Hehr windows. Those have been completely removed. I don't even see any dry gaskets. It's not too hard to do. If you have it under cover all the time, probably not a priority.
Cool trailer.
Rod
|
|
|
|
Post by Teachndad on Mar 30, 2021 7:41:28 GMT -8
On the National Serro Scotty Website, they have a tutorial on how to remove the tires on a Serro Scotty. The principal can be applied to a canned ham as well. Might offer a bit more clearance when removing I tire. Every little bit helps.
Rod
|
|
|
|
Post by Teachndad on Mar 30, 2021 7:16:14 GMT -8
Glad you found the bendy birch.
So, were the strips of bendy plwood for the kerbing all pre-cut? At first, I thought you ripped them all, but now that you mention the boat building, I wondered if they were pre cut as it looks like what you would find in a self built canoe or boat. I expect Kirkadie to comment, now. He's a veteran boat builder.
Cheers,
Rod
|
|
|
|
Post by Teachndad on Mar 29, 2021 21:21:07 GMT -8
Hi, I totally understand the want to get everything level. Believe me, I know... I can't tell from the pictures, but have you placed leveling jacks under the frame to keep it level? Trusting the frame itself to do it without support isn't enough. Also, when you camp, you will want leveling jacks to keep the floor more stable anyways. Some folks will weld more a modern scissor jack type leveler to the corners of the frame underneath for convenience. These are the leveling jacks you will need  Rod |
|
|
|
Post by Teachndad on Mar 28, 2021 14:56:52 GMT -8
Hey Congrats PT!
Okay, so to help others - Can you share what technique or chemicals you used to clean it all up?
BTW, I LOVE the interior of the burner cabinet on the top part of the stove. So free of rust! Also, the color on the door is very pleasing.
Nice work... as usual.
Rod
|
|
|
|
Post by Teachndad on Mar 28, 2021 14:41:29 GMT -8
Hi Mimi, Welcome. From my vantage point, if you have a trailer being restored by Flyte Camp, you shouldn't have anything to worry about. To me, anyway, they are the pinnacle of commercial vintage trailer restoration. I can't see them cutting corners. If you have a question, they will have an answer for you. I hope you will share your experience as it evolves. I am excited for you. Flyte Camp interiors are beautiful. Cheers, Rod |
|
|
|
Post by Teachndad on Mar 27, 2021 6:51:41 GMT -8
The 6 new floor joists or stringers have been painted and bolted in. The sills still need to be bolted in and the plywood added for the floor. Lap joints to be glued and screwed next.   I will be adding blocking to the step in area of the floor also just front of the curbside tire. Rod |
|
|
|
Post by Teachndad on Mar 27, 2021 6:03:35 GMT -8
Kirk, You crack me up. I love that dry sense of humor that pervades your posts. Keep it up. We all need it. Enjoy your day. Rod |
|
|
|
Post by Teachndad on Mar 26, 2021 8:45:39 GMT -8
So, what happened. This thread is from a year ago. Care to share?
|
|
|
|
Post by Teachndad on Mar 26, 2021 5:07:07 GMT -8
Hi Friends,
That's a lot of work for just $65 a piece. Actually sounds like a good deal for what you get. Interesting to learn the process.
I have added Gigi's as a resource. Thanks, I am in So Cal, too.
Thanks.
Rod
|
|
|
|
Post by Teachndad on Mar 26, 2021 5:00:28 GMT -8
|
|
|
|
Post by Teachndad on Mar 26, 2021 4:47:53 GMT -8
That is some REALLY REALLY NICE WORK! You are making great progress!
I envy your skills. It's coming along swimmingly. Thanks for the detailed photos of how to's.
Were did you get the thin bendy plywood?
Rod
|
|


 .
. 
