pdalber
Junior Member

Posts: 75 
Likes: 37
Currently Offline
|
Post by pdalber on Jun 10, 2017 6:48:55 GMT -8
I love the way your shellac looks, so much different than mines. What process did you use for application? yours is much more shiny than mine. The shine comes from two coats of polyurethane. After I applied enough shellac to get the color I wanted, I top-coated the shellac with Seal Coat 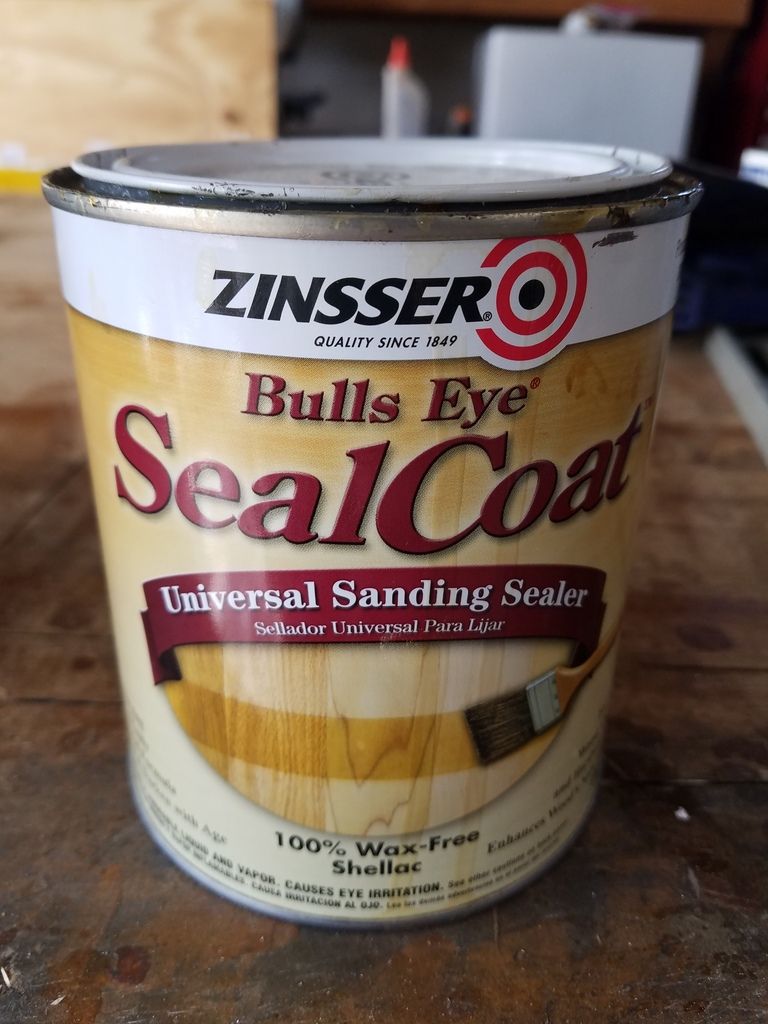 Apparently, the waxes in shellac don't allow polyurethane to bond well with the surface. By applying a couple of coats of the Seal Coat product, it creates a barrier that the polyurethane will stick to. It goes on very easily and dries quickly. Then, I applied a couple of coats of gloss polyurethane.  I sanded between coats, then sanded after the final coat with very fine sandpaper and buffed it with a polisher to get the shine. The sanding and polishing were pretty time consuming, but removed the brush marks and imperfections. |
|
pdalber
Junior Member
Posts: 75
Likes: 37
Currently Offline
|
Post by pdalber on Jun 9, 2017 18:18:57 GMT -8
Wow.. its a Canadian company! That may be a better fit for me than some of the USA tiles I have been looking at. SaveSaveI had almost an entire box left over (I think I may have used 2 tiles). Its all yours if you want to pay shipping from South Florida!  |
|
pdalber
Junior Member
Posts: 75
Likes: 37
Currently Offline
|
Post by pdalber on Jun 9, 2017 18:14:17 GMT -8
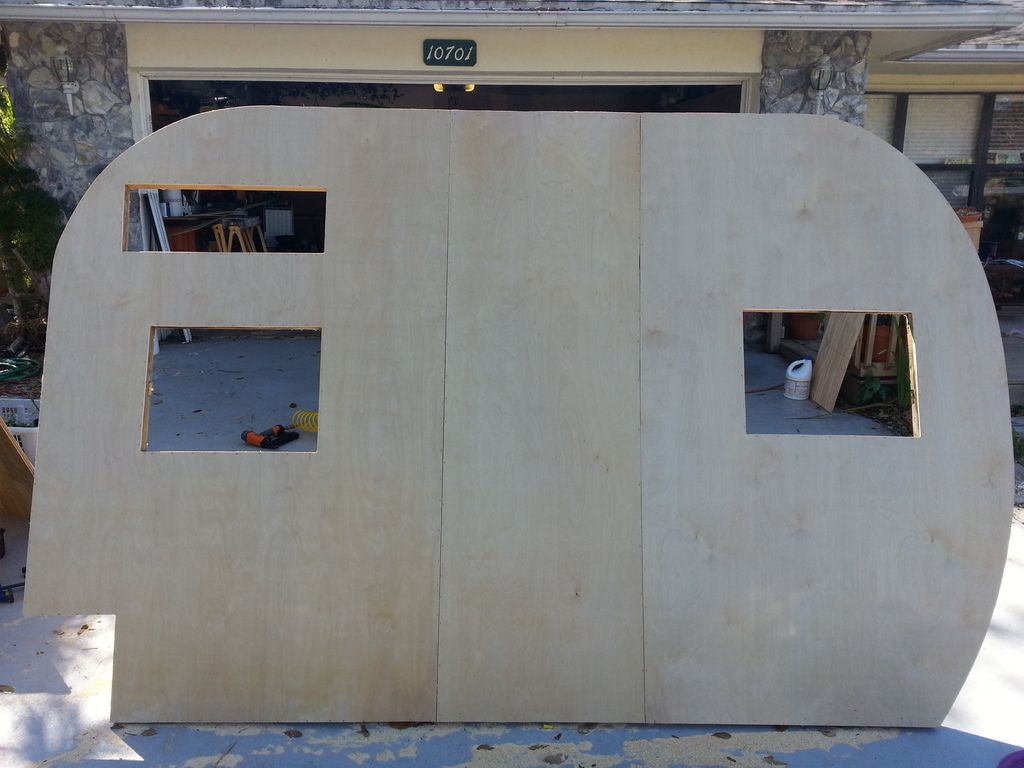
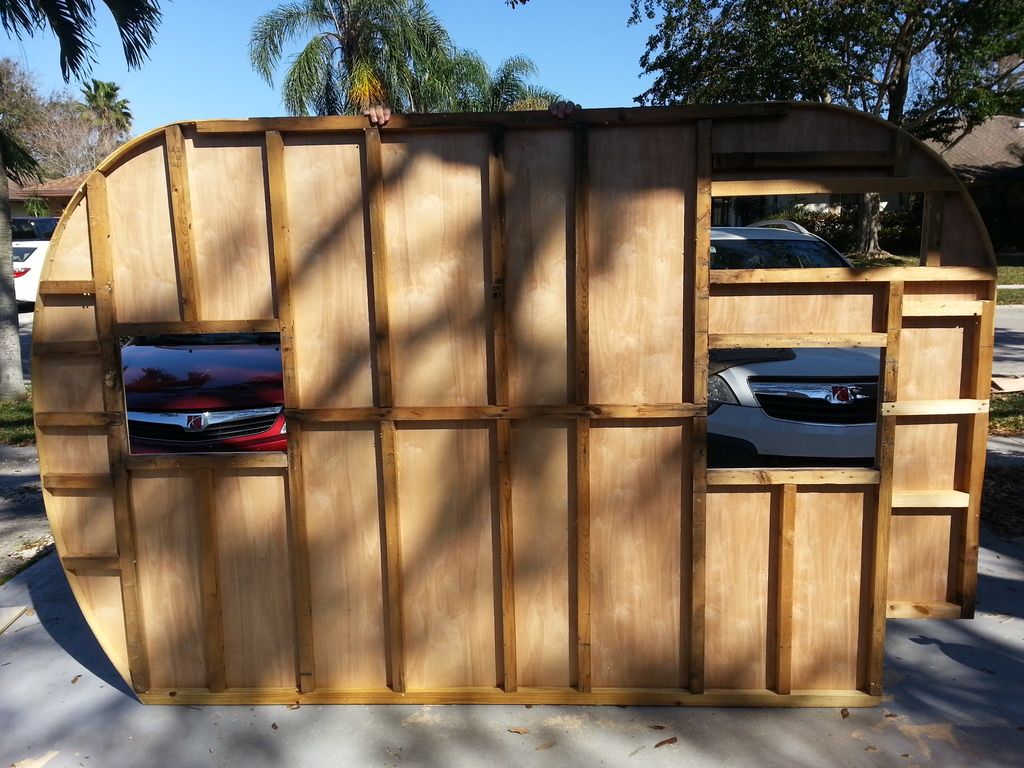
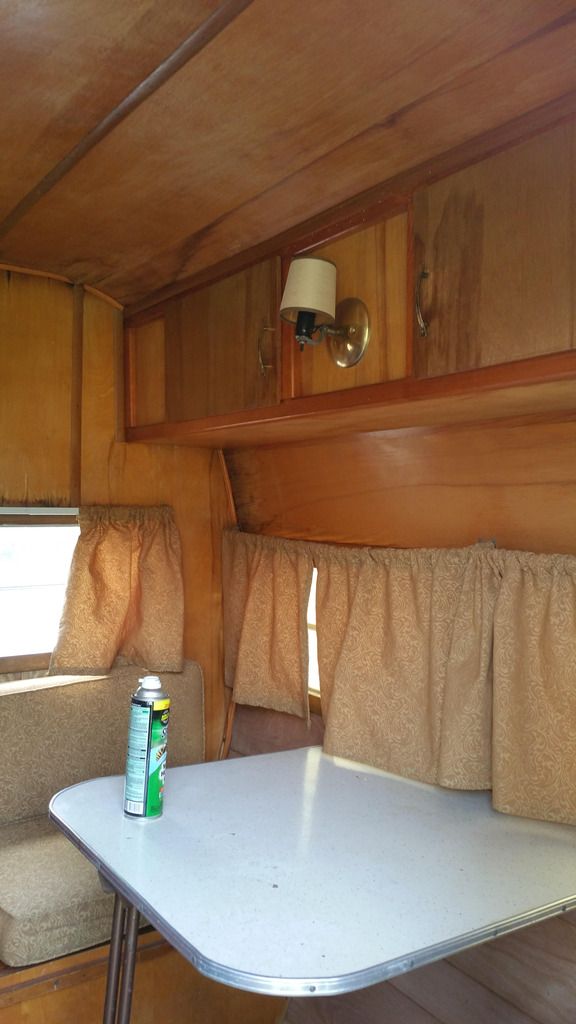
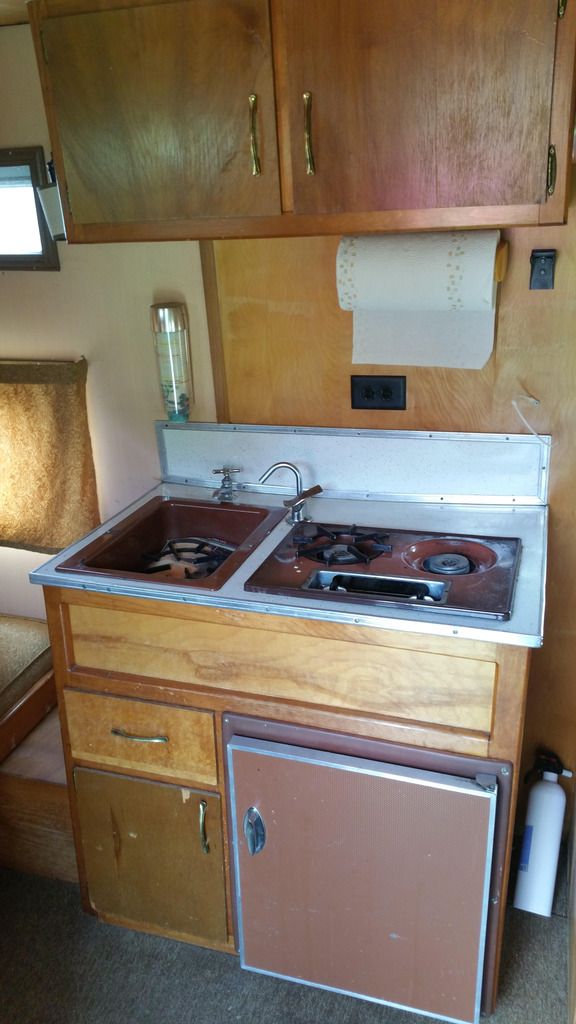
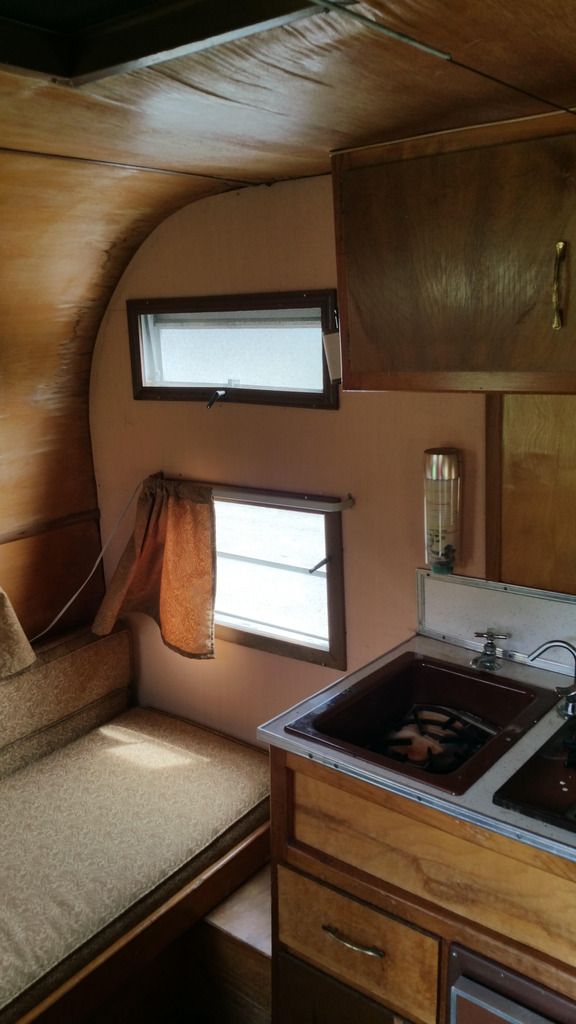
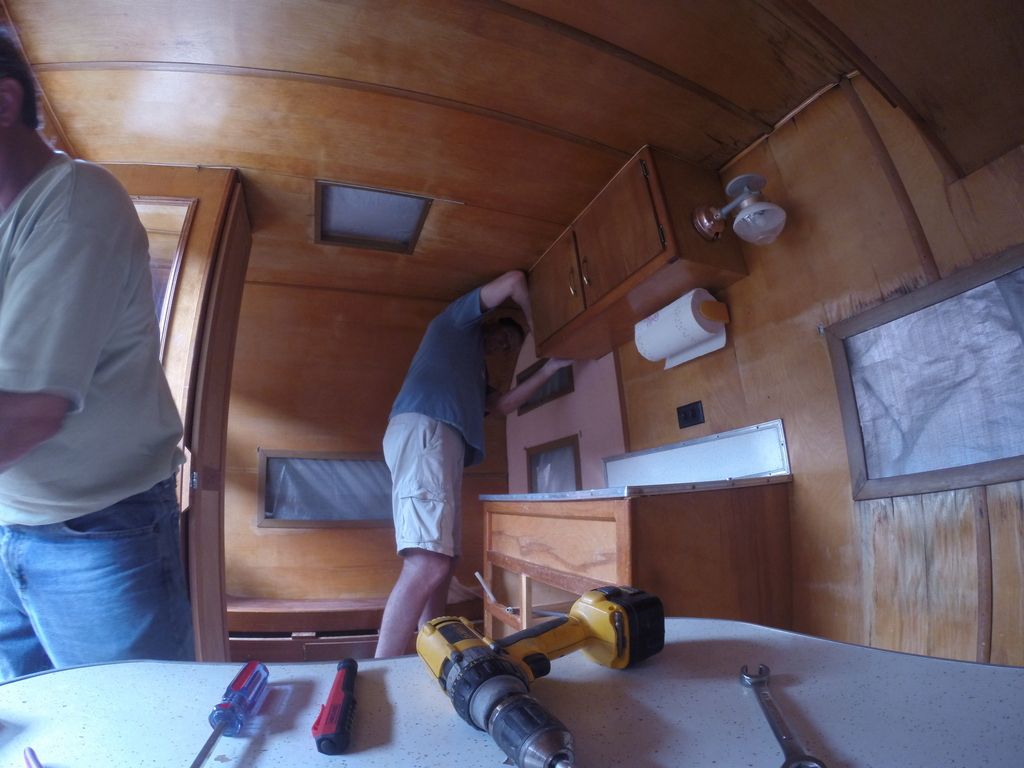
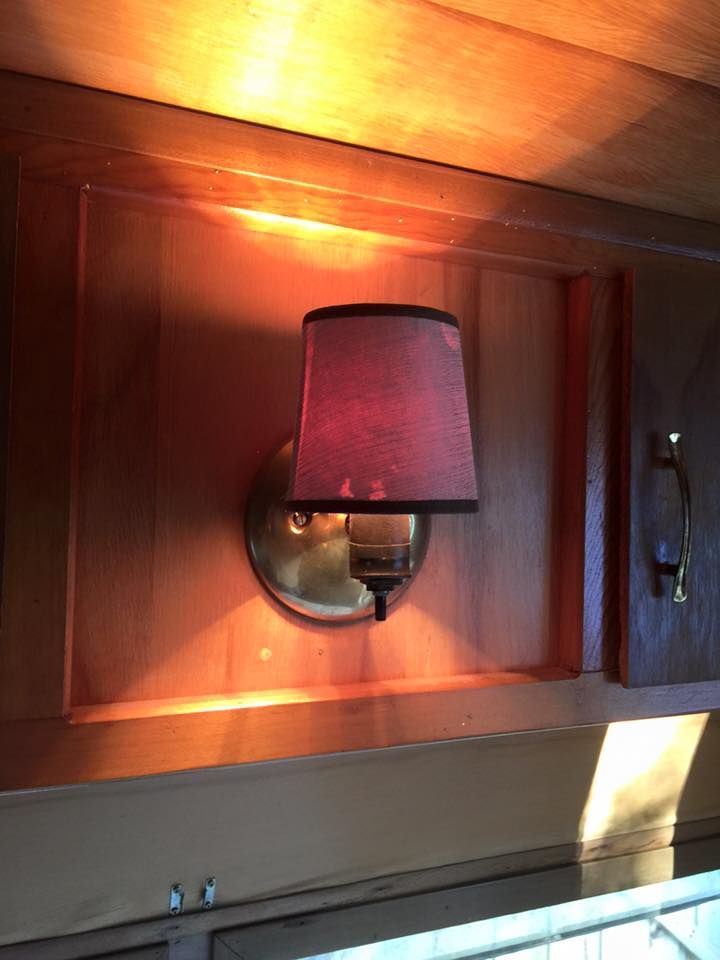
More project progress: Interior cabinets, the kitchenette, dinette booth seats and the gaucho bed. This part of our build seemed like it took forever because we would build stuff and then we would just store the stuff in the garage while we built more stuff. The building process also took longer than it should have, mainly because this was our first go at restoring a trailer and it was a learning process. Anyways, the original construction in the trailer was really bad. I tried my best to balance improving upon the original design without overbuilding things. Again, I have to thank a lot of people here on the forum for posting great pics of their builds, especially RinTin. We used pine lumber that was purchased from the big box stores, then ripped down to size on my table saw, to build the framework. We then covered the frames with 1/4" Birch I got from a specialty lumber store. 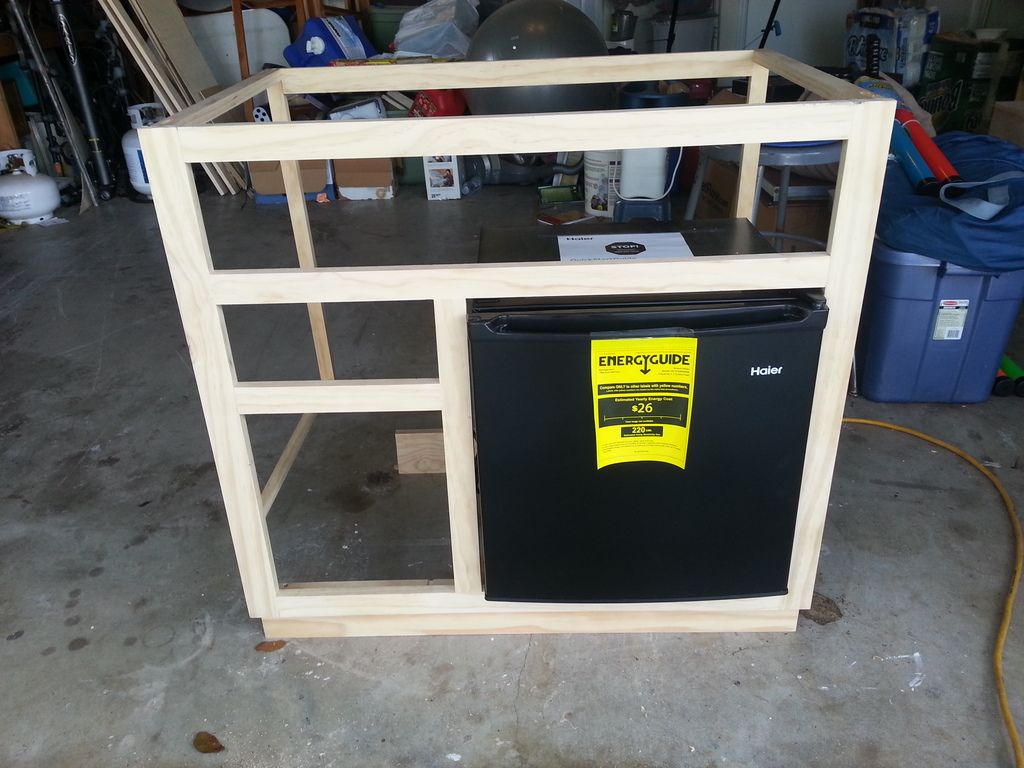 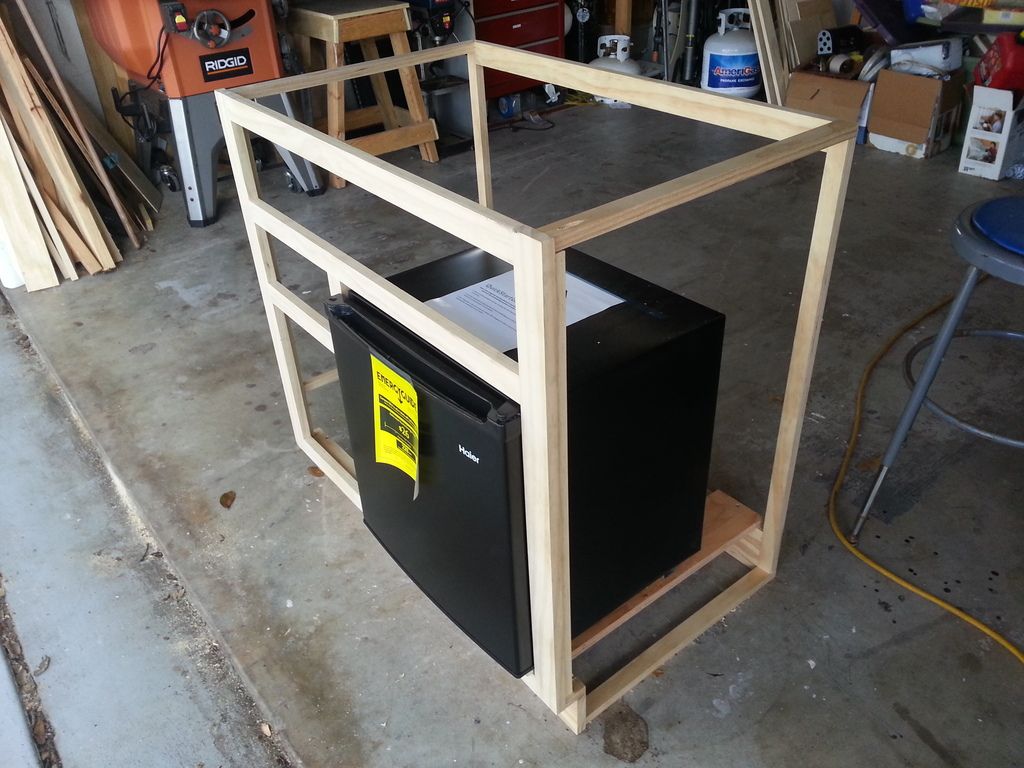 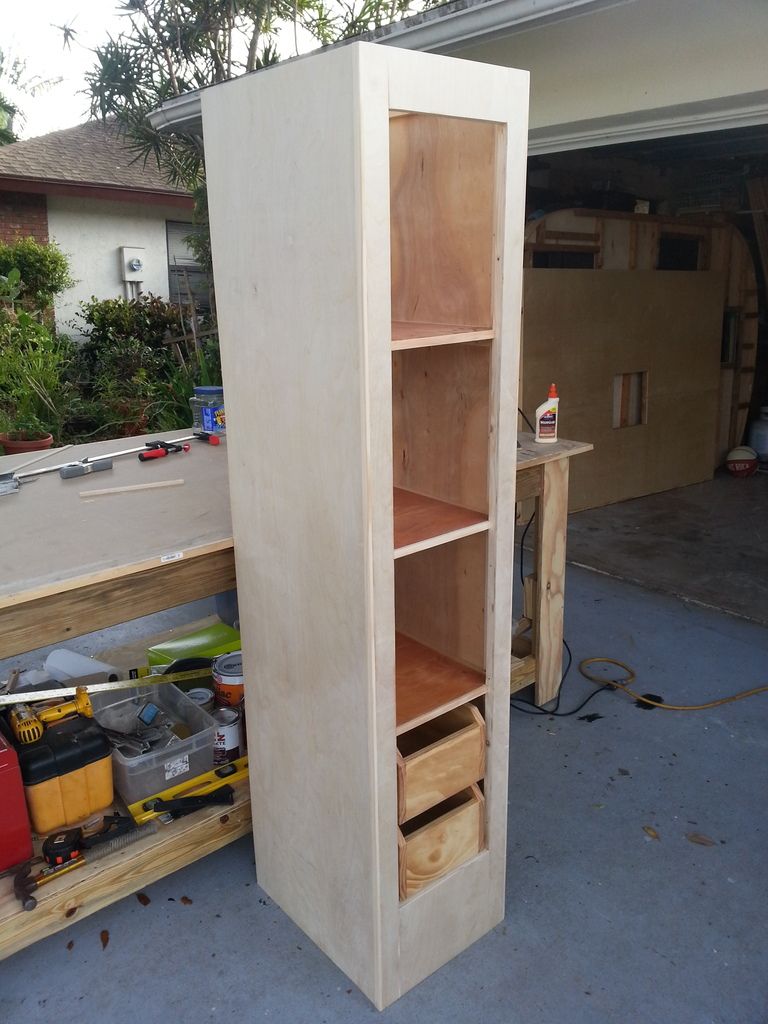 All of the birch was stained with multiple coats of amber shellac, covered with a seal coat and then finished off with a couple of coats of polyurethane. The technique I used was based on falconizer62's tutorial on the Repairing Yesterday's Trailers forum: repairingyesterdaystrailers.yuku.com/topic/382/Interior-Wood-Finishing-Tutorial#.WTtKsmjytPYI don't currently own a compressor that is suitable for HVLP spraying. So, I used the french polish method when applying the shellac and brushed the seal coat and polyurethane. I was very happy with the result, but will definitely consider purchasing a compressor for future products. 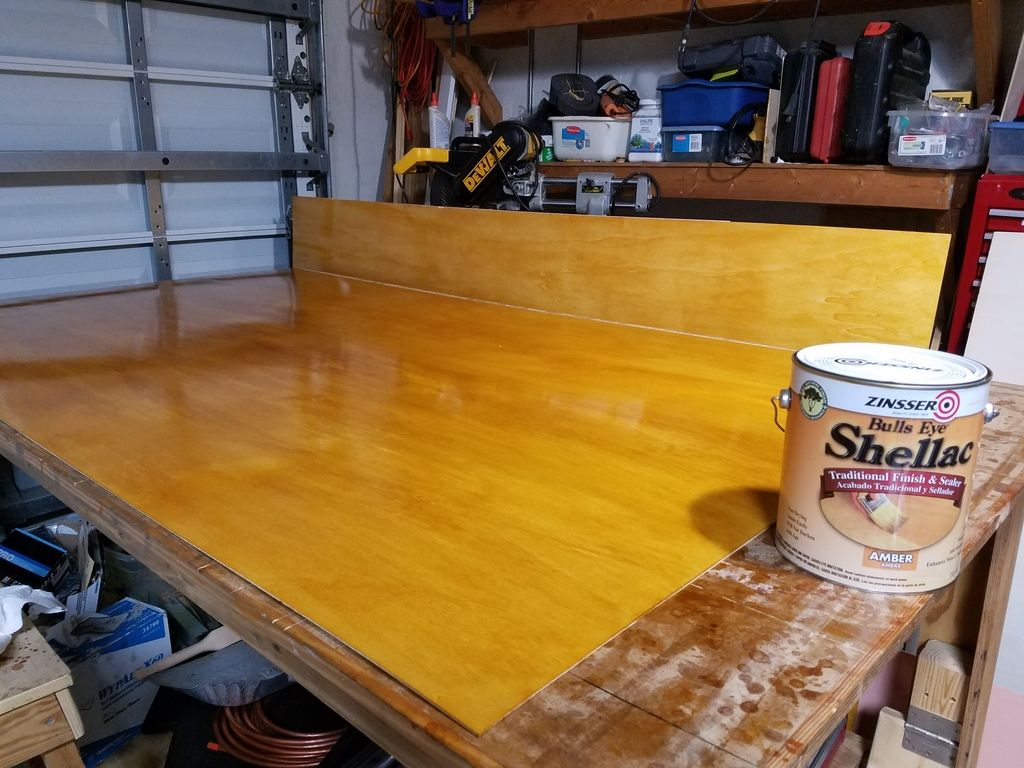 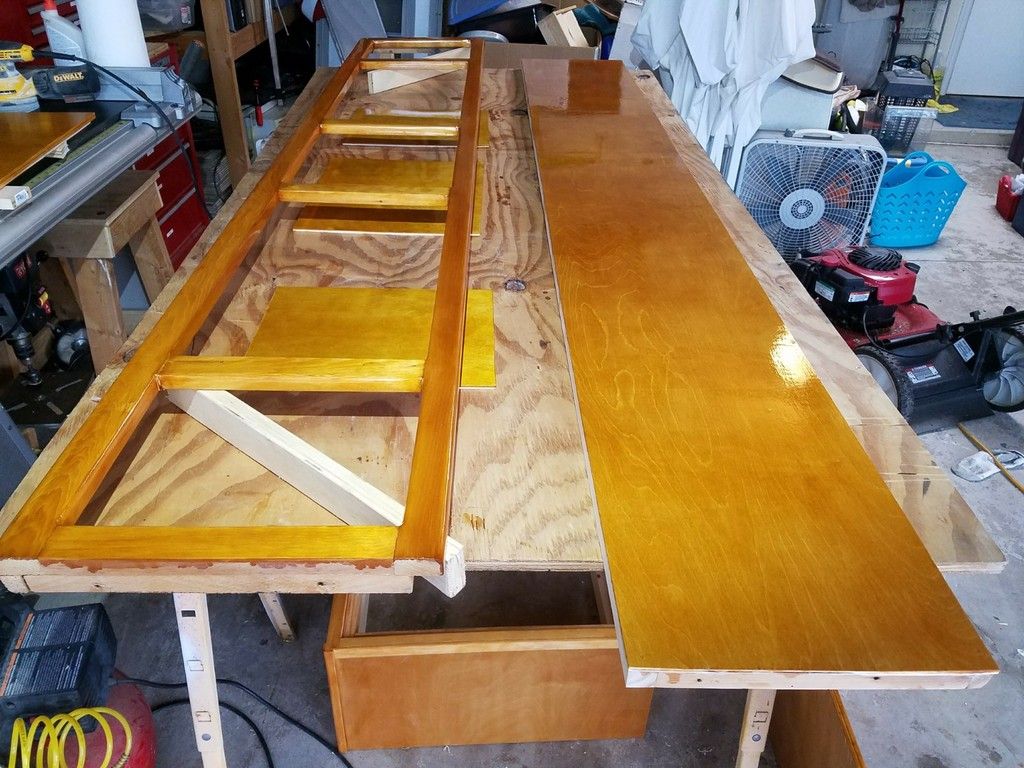 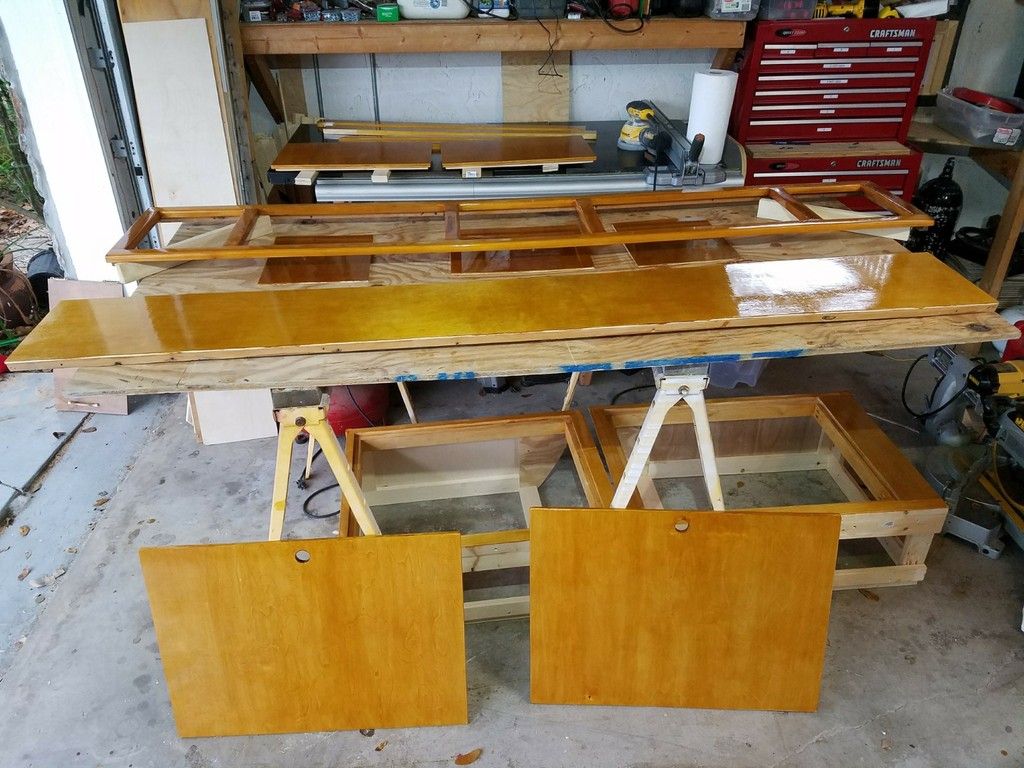 Finally, when the major building, sanding, shellacing and clear coating was done, we got to start re-assembling the trailer. This part, for me, was much more exciting because we could see real progress at the end of every day. The walls went up, the cabinets went in and the roof went on: 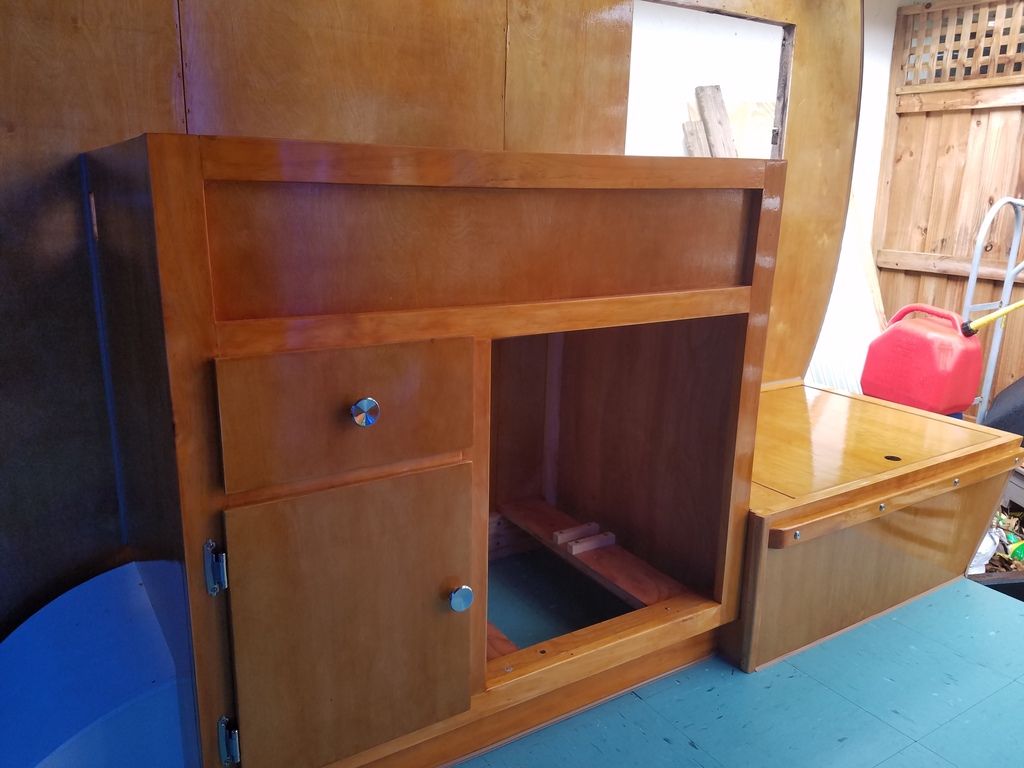   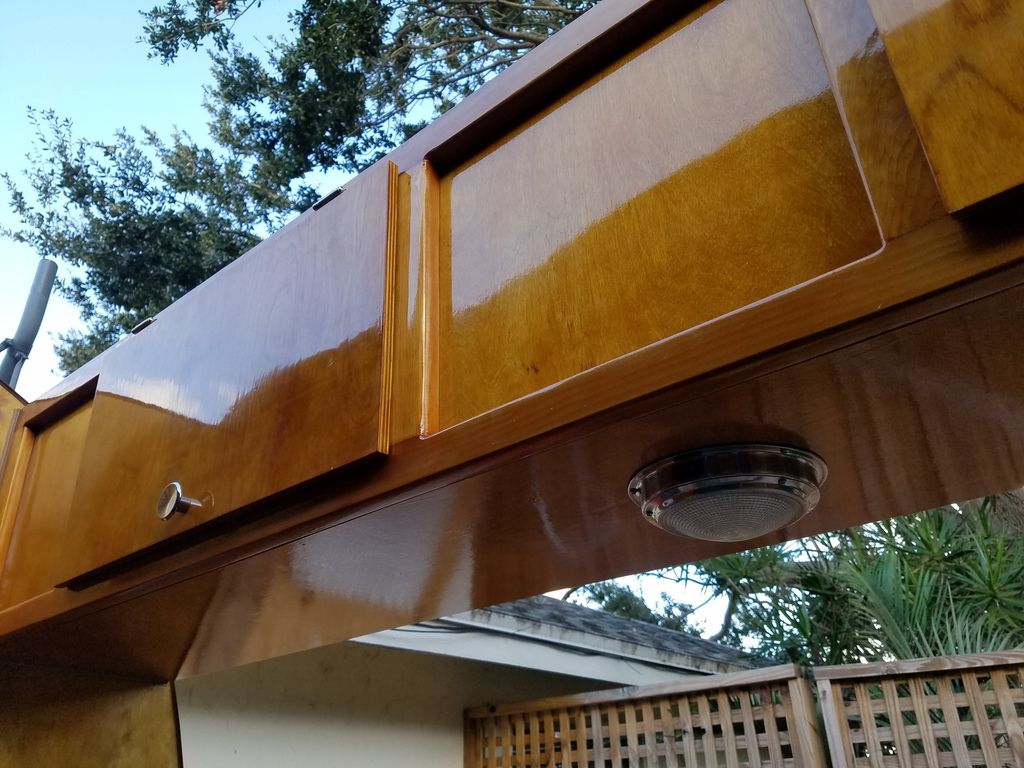 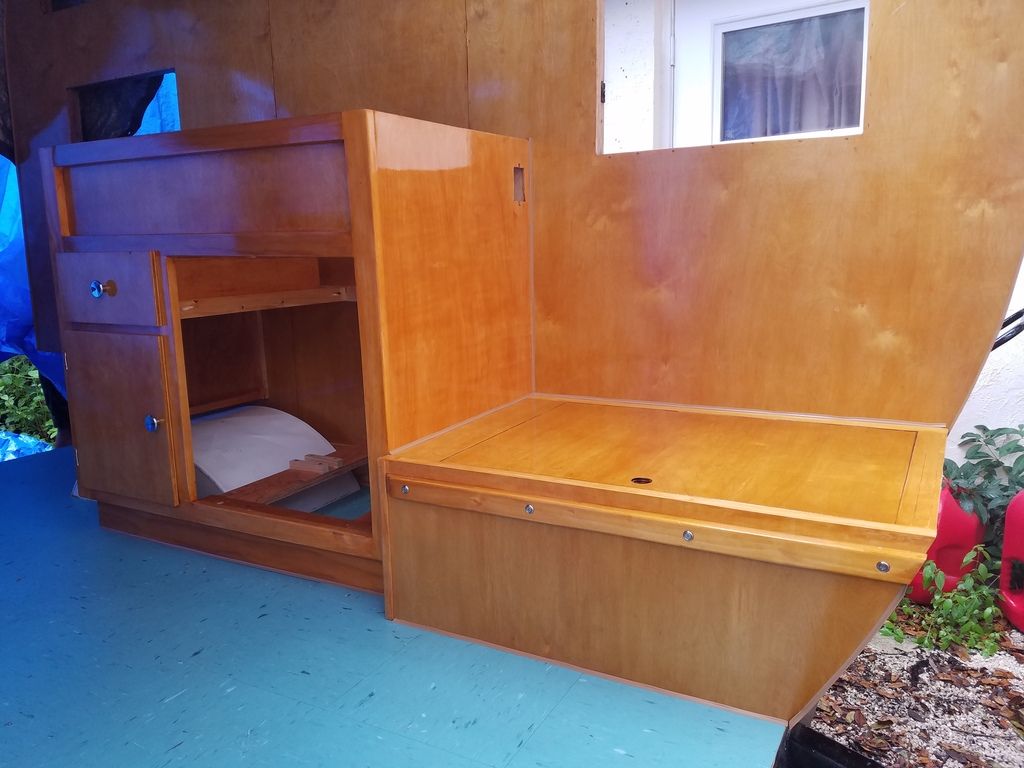 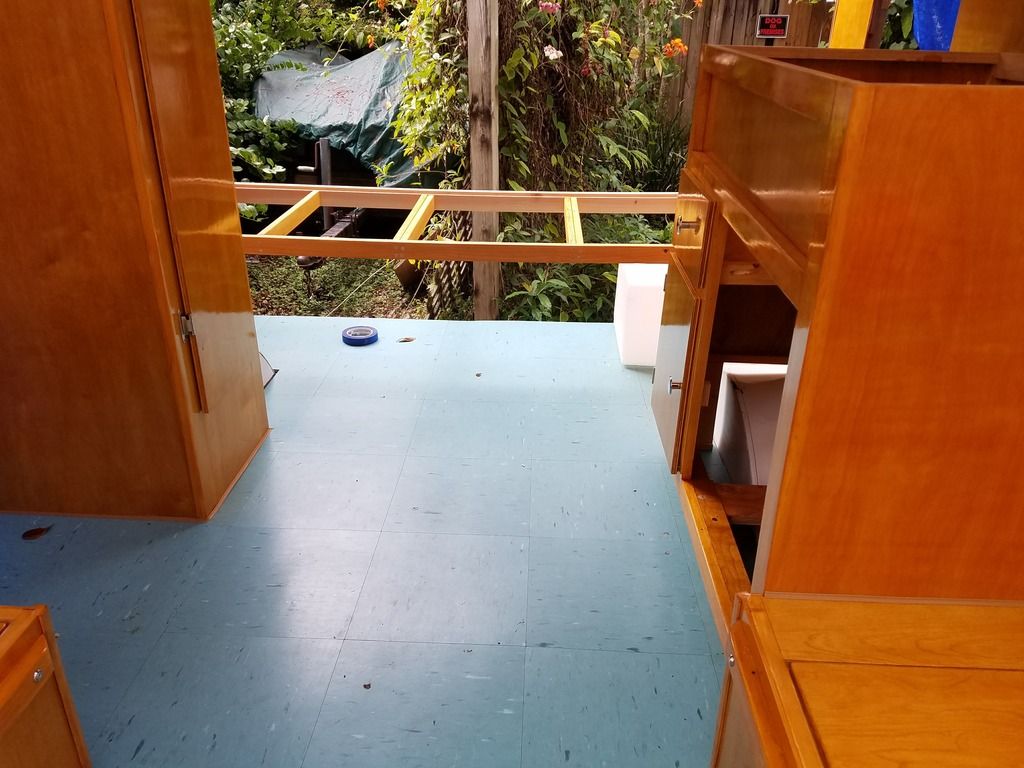 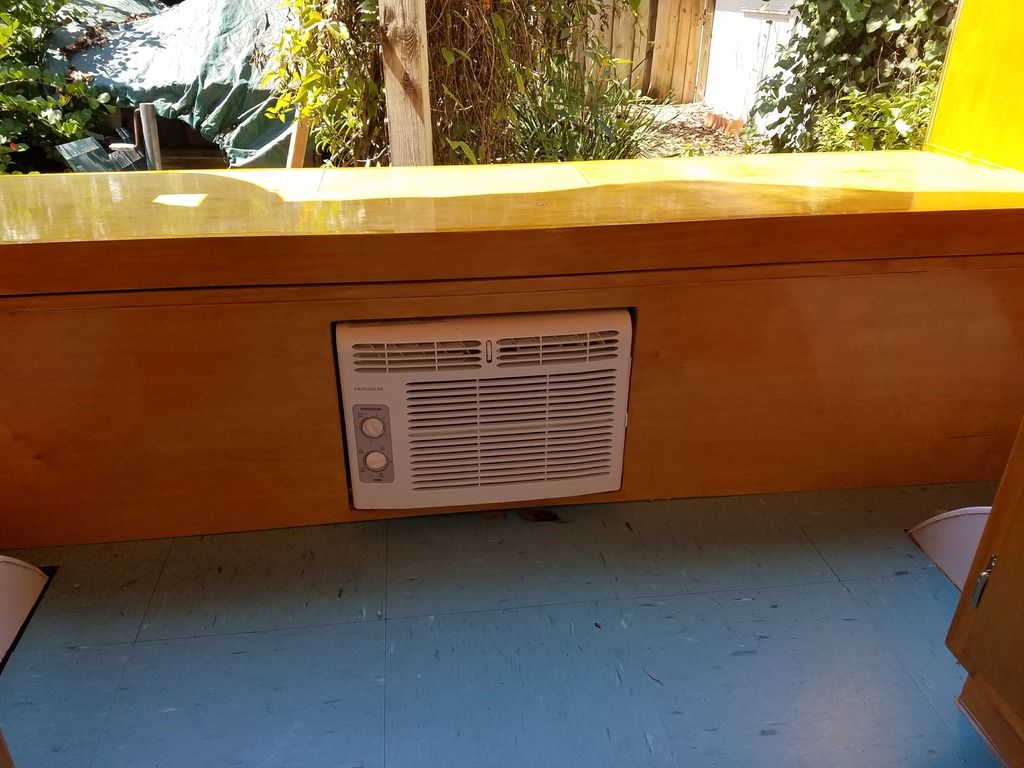  The gaucho bed design is a blatant rip-off from RinTin's Aloha project and, at this point, the AC was just dry fitted in the opening. I'll share the AC install plans when I get a little closer to being caught up to our current status (which won't be much longer). |
|
pdalber
Junior Member
Posts: 75
Likes: 37
Currently Offline
|
Post by pdalber on Jun 9, 2017 6:33:52 GMT -8
Which state park?
|
|
pdalber
Junior Member
Posts: 75
Likes: 37
Currently Offline
|
Post by pdalber on Jun 8, 2017 13:25:49 GMT -8
|
|
pdalber
Junior Member
Posts: 75
Likes: 37
Currently Offline
|
Post by pdalber on Jun 8, 2017 12:09:55 GMT -8
|
|
pdalber
Junior Member
Posts: 75
Likes: 37
Currently Offline
|
Post by pdalber on Jun 7, 2017 22:05:35 GMT -8
OOoooo.... look at that floor!! I likey. Here's the floor with the laminate: 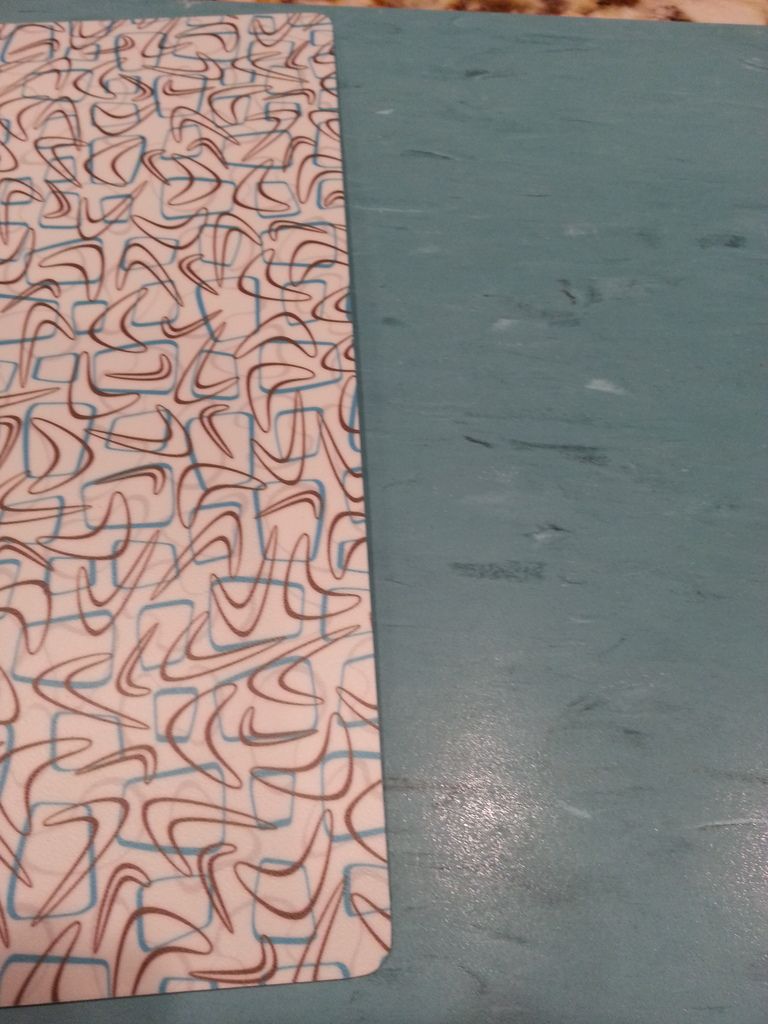 |
|
pdalber
Junior Member
Posts: 75
Likes: 37
Currently Offline
|
Post by pdalber on Jun 7, 2017 21:42:16 GMT -8
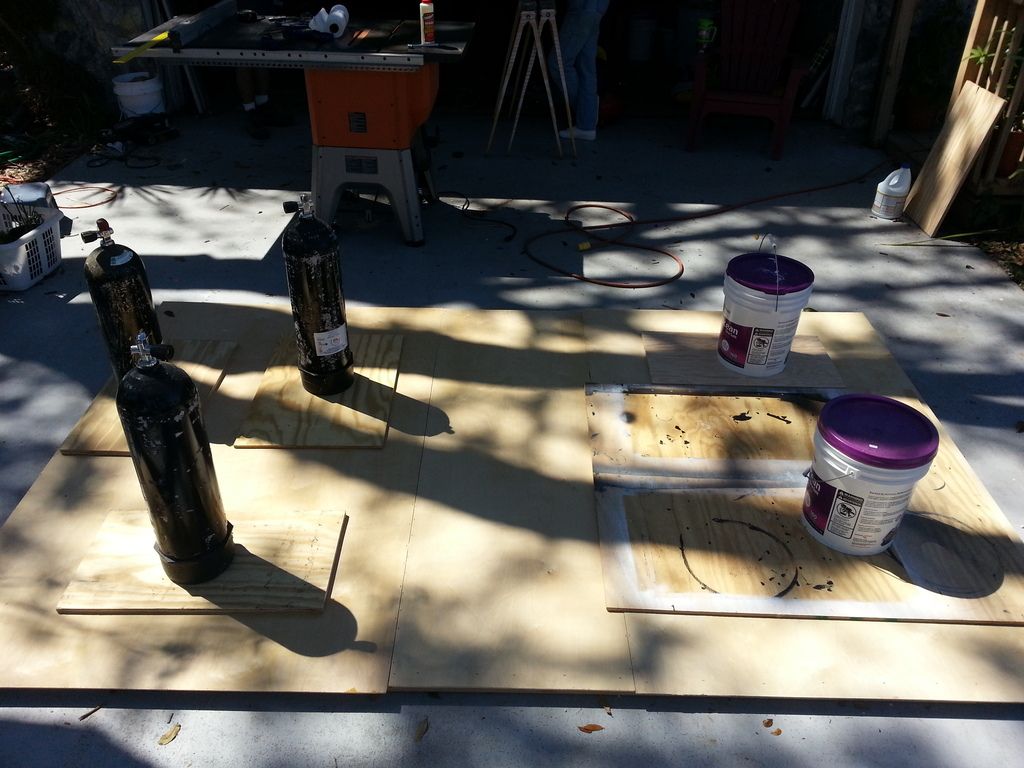
So, after the tear down, we went to work on restoring the trailer. First up was the metal frame, which was straight and in pretty good condition. I went over the whole thing with a wire wheel and/or a wire brush to remove the rust and debris, then painted it with POR 15. I was really impressed with this product and it left a finish that was comparable to powder coating at a fraction of the price. 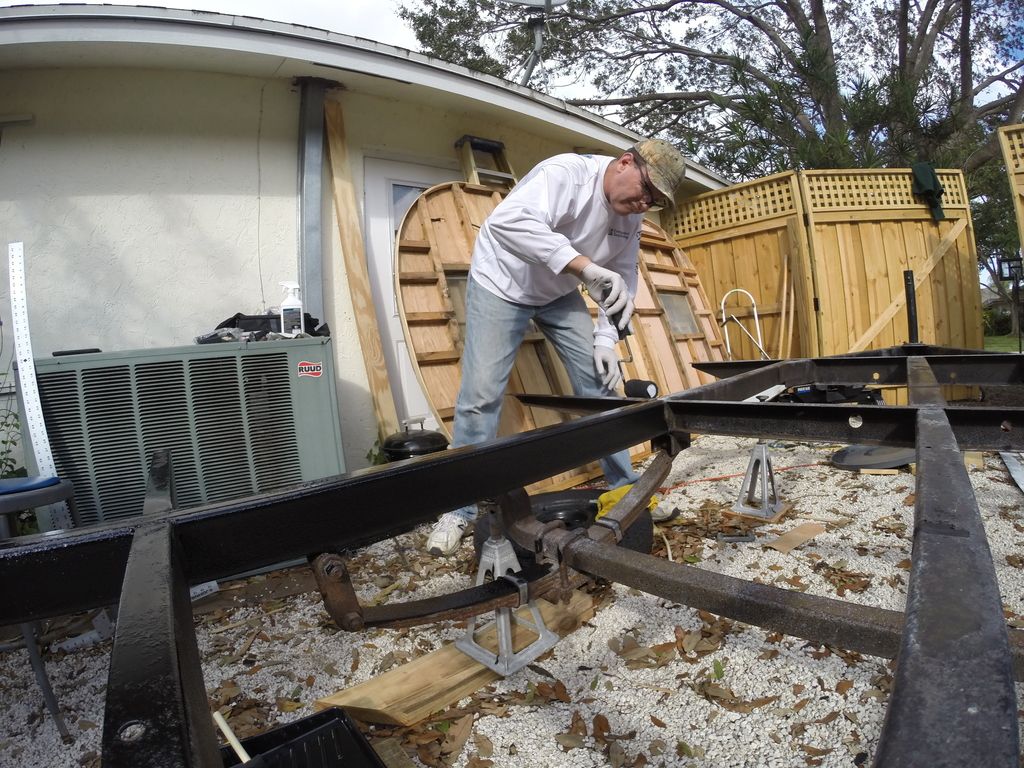 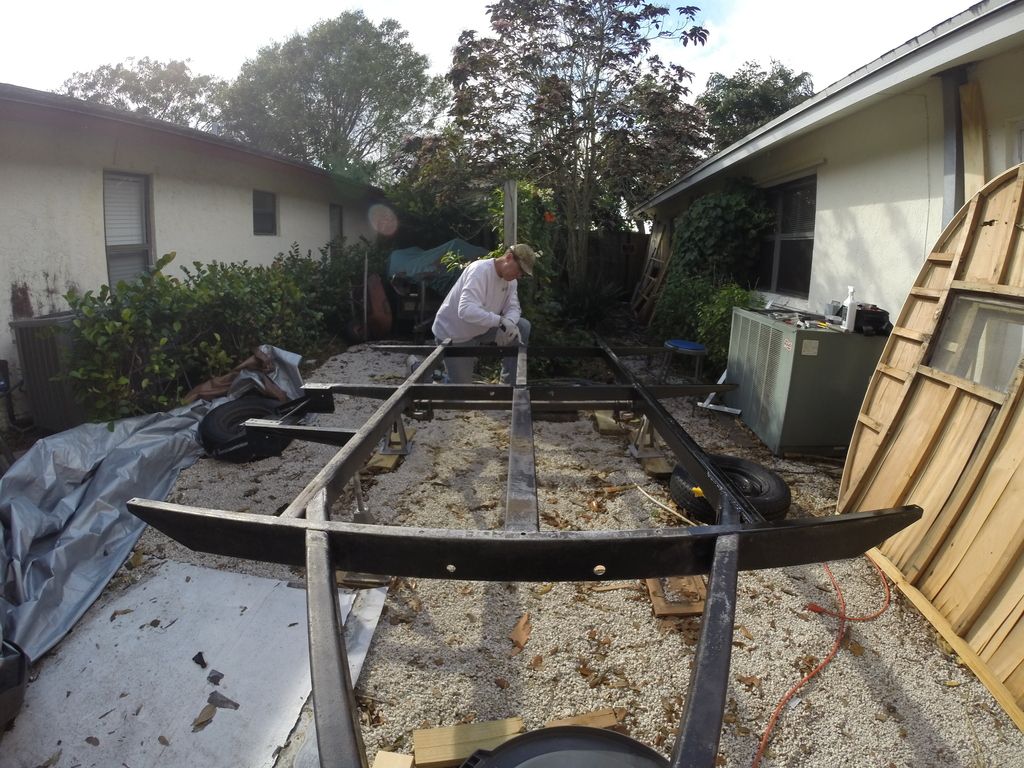 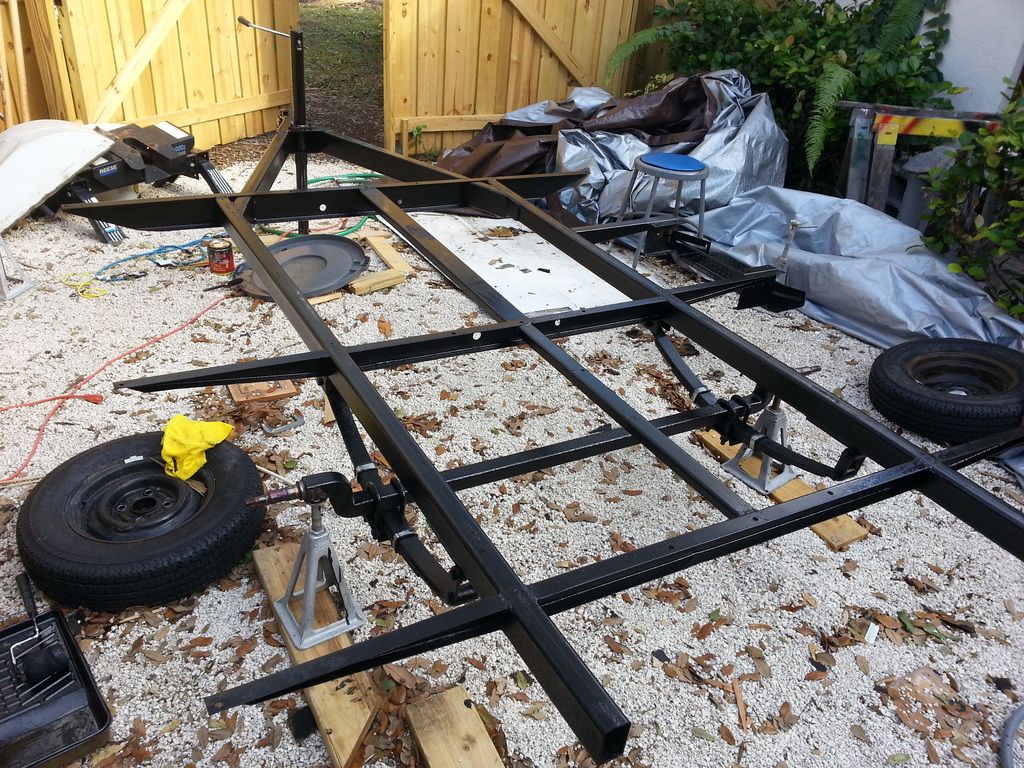 When I first took the tires off, I thought the trailer had drum brakes. To my surprise, what I thought were brake drums were just really big wheel hubbs. With a little research and some help from a knowledgeable clerk at NAPA, I was able to locate the appropriate bearings and seals to retain original hubs. Though the spindles don't look too good in the photos, they were in great shape with no pitting. 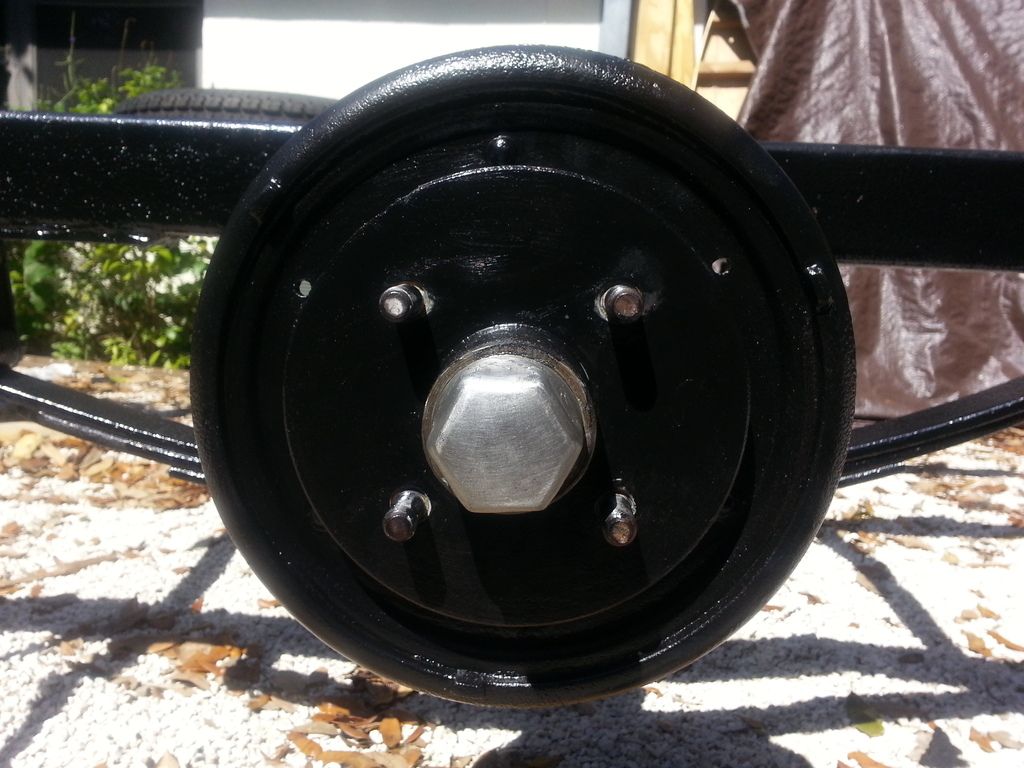 Next up was the new floor. I used 3/4" marine grade plywood, which I purchased from a local specialty lumber yard. The lumber yard purchase came after I had fit and installed what was advertised as "marine plywood" from a big box store. Within days, the plys along the edges of the big box store plywood started to seperate, so we had to remove and replace it. I coated the bottom and all of the edges with truck bed liner and secured the wood to the frame with galvanized lag bolts and construction adhesive. I also used black 5200 (marine sealant) around the wheel wells. Though it looks like there's a big gap in the wood running down the middle of the trailer, that's actually black truck bed liner. I cut rabbets along the adjoining edges of the plywood panels so they would "overlap" above the center frame support. I painted all of the edges of the joint with bed liner and joined them with glue before securing them to the trailer. 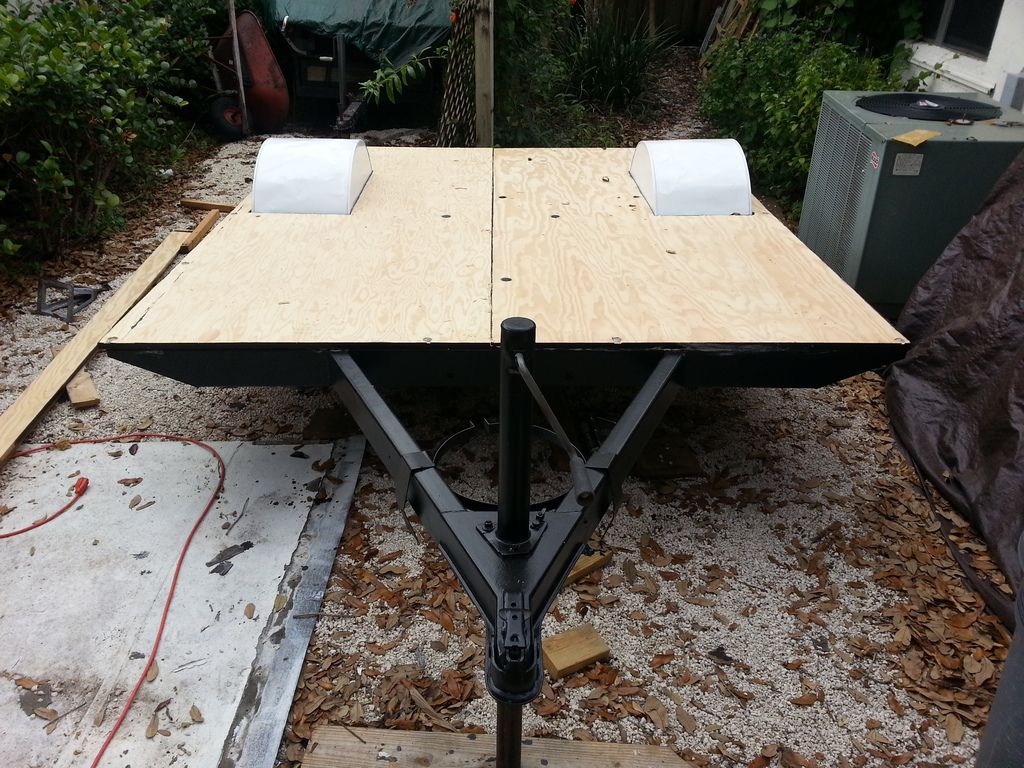 Finally, we covered the floor with VCT tiles. I had quite a time finding the color we wanted and eventually got them from a vendor on the other side of the state. I had a friend pick them up while he was there on business, which saved us a bunch of money on shipping (i couldn't believe how heavy they were). 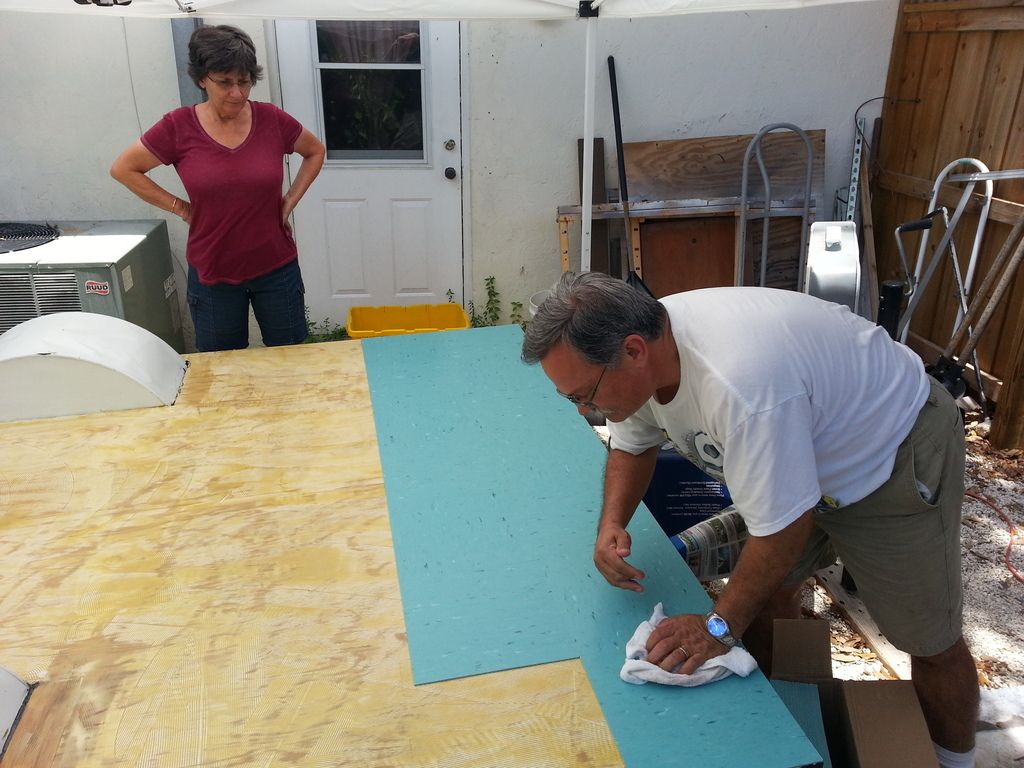 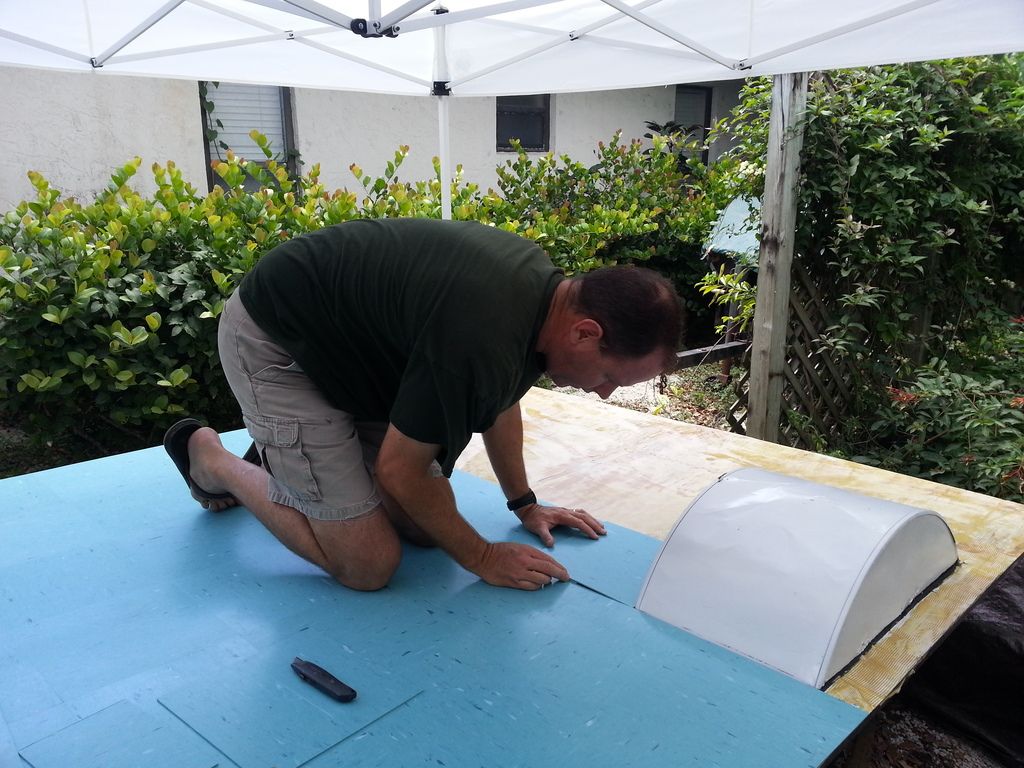 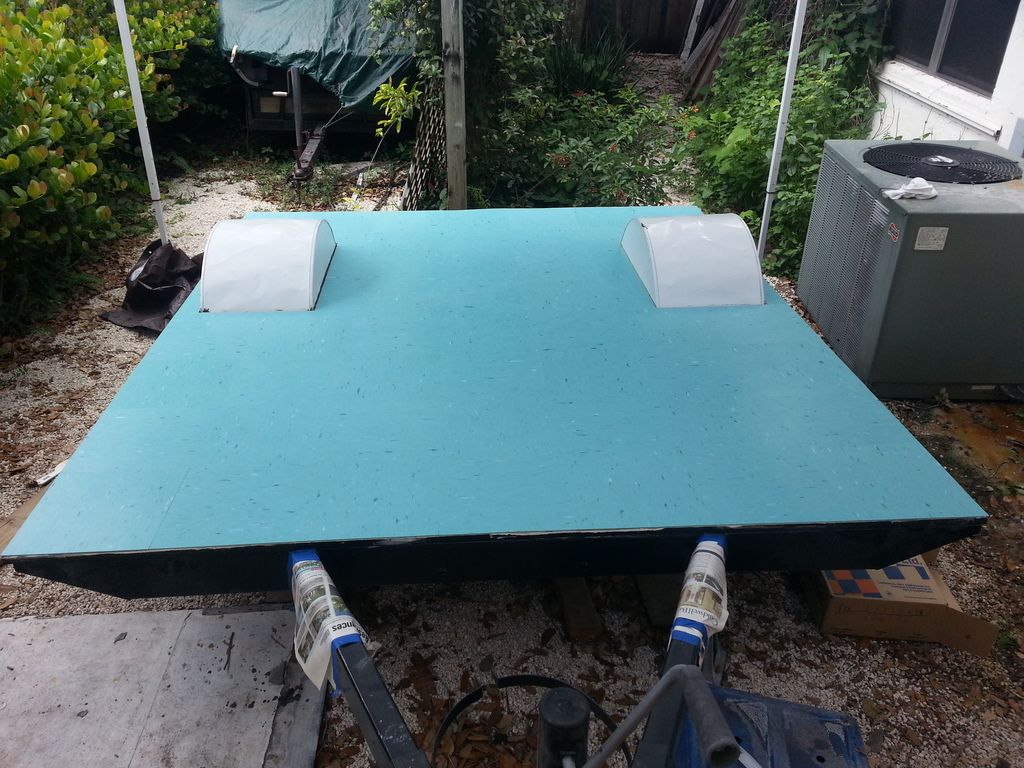 |
|
pdalber
Junior Member
Posts: 75
Likes: 37
Currently Offline
|
Post by pdalber on Jun 6, 2017 16:44:50 GMT -8
Mobiltec, did you make that back-splash material or did you buy it? Looking to do the same thing with my project.
|
|
pdalber
Junior Member
Posts: 75
Likes: 37
Currently Offline
|
Post by pdalber on Jun 5, 2017 17:12:27 GMT -8
Here's a little time lapse video of the de-construction process:
|
|
pdalber
Junior Member
Posts: 75
Likes: 37
Currently Offline
|
Post by pdalber on Jun 5, 2017 14:24:17 GMT -8
|
|
pdalber
Junior Member
Posts: 75
Likes: 37
Currently Offline
|
Post by pdalber on Jun 4, 2017 23:29:11 GMT -8
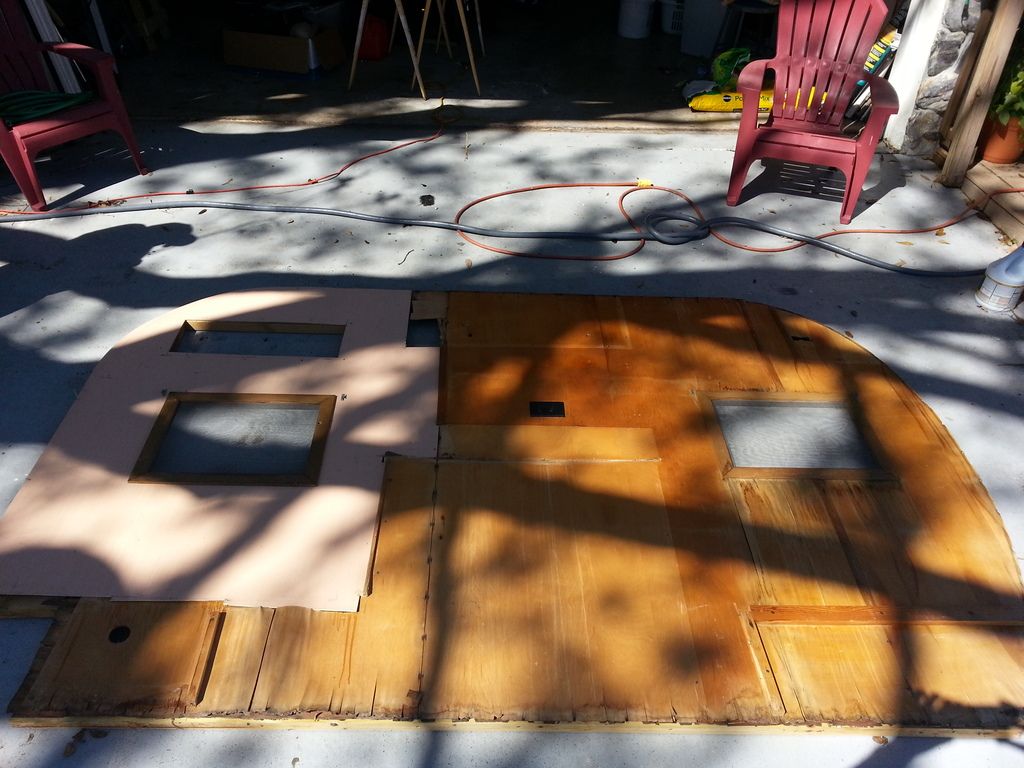
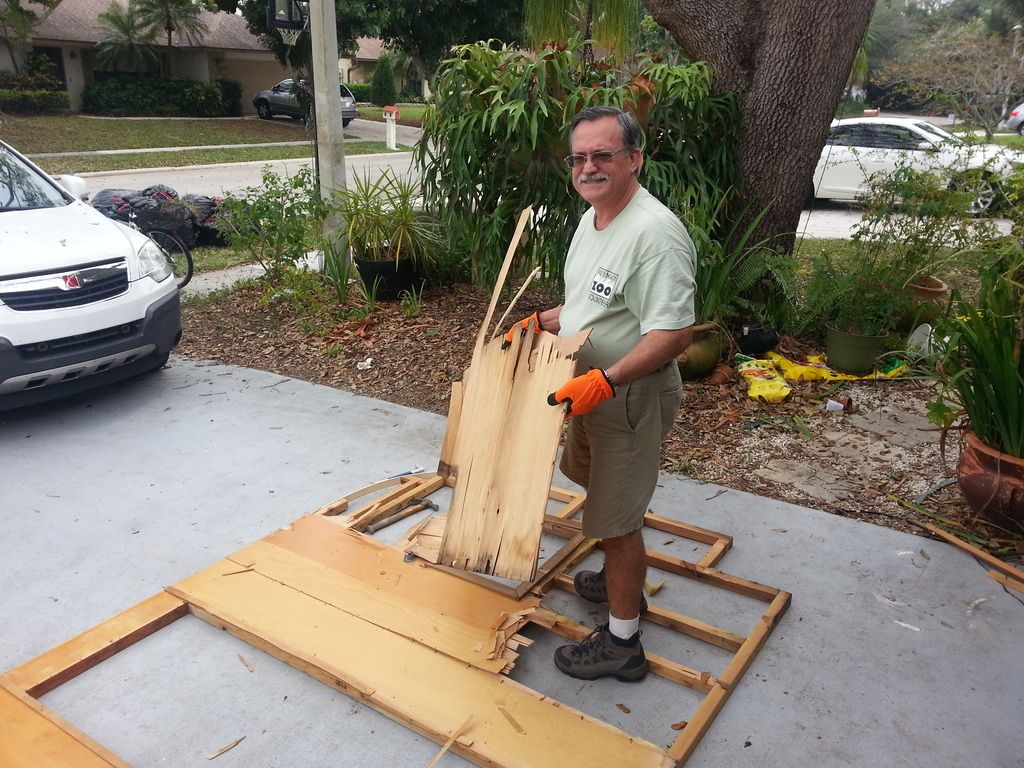
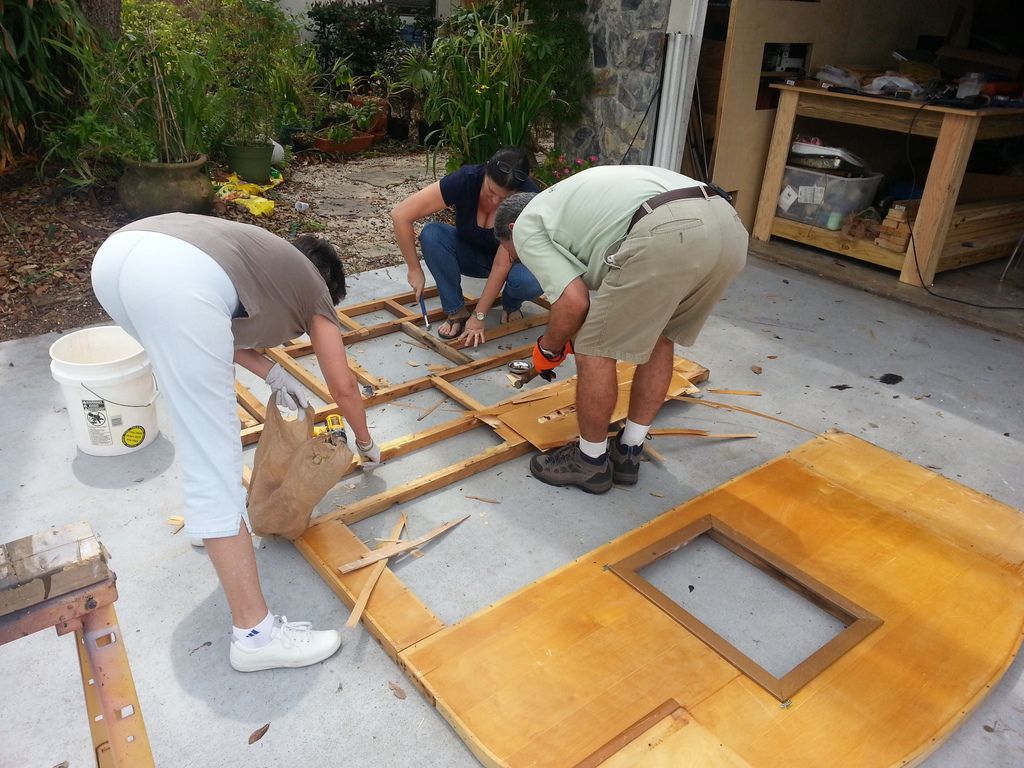
Update: My thread was recently hijacked by Photobucket, so I will be working to edit/update and repost the photos. After lurking on this site for quite some time, reading lots of threads, and learning from other people's builds, it's probably about time that I share my project with the members of the forum. A little over a year ago, my family purchased a 10-foot Carolina Traveler. We weren't familiar with the brand (and have yet to find any information about them), but finding a vintage camper anywhere in the vicinity of South Florida was a challenge. We had been searching for some time when we found the trailer on the opposite side of the state. Upon inspection, it looked to be in pretty decent condition and we liked that it had all of the original appliances and fixtures. The camper also appeared to be roadworthy (which is more than I can say about other trailers we looked at), so we made a deal and crossed our fingers as we started the two hour drive home. Not ten minutes into the drive, my heart sank when another driver started honking and waving his hand to gain my attention. To my suprise, when I rolled down the window, he asked if I was interested in selling my new prize! I politely refused his offer and finished the rest of the trip without incident. photos.app.goo.gl/uMOsNPUbYgABWfDn1photos.app.goo.gl/AbwedTAm3Oz3PI8j1We knew from the beginning that it would be a total tear down and rebuild. So, over the course of the next few weekends, we worked on demolition. photos.app.goo.gl/B9nKAWAKqdU4LZXi2photos.app.goo.gl/xbO5TLI1yJD6vW2I3Overall, the framing was in pretty decent shape and we wound up reusing much of the original wood. I was pretty surprised at the lack of craftsmanship in some of the original build. photos.app.goo.gl/OdbeE2aJIEmOA6S63There was quite a bit of water damage, mainly to the interior paneling and some less than ideal repairs by the previous owners. So deconstruction continued until we reached the frame. I did try to save and re-use or re-purpose as much of the original wood as possible. photos.app.goo.gl/hGndoJXsCj8JIzKx2photos.app.goo.gl/GAisjEauNkl6IIk93photos.app.goo.gl/ZdtRcI2BiYuVRCUW2During the process, I took LOTS of detailed pictures and later learned that was very important. Having pictures to refer back to was critical in the coming months as the build progressed. Looking at pictures from other builds on this forum also played an important role in our project. This is especially true of exceptional work that RinTin has documented in 1965 Aloha project; he'll see quite a few similarities here. Tonight I'll try and post up some of our progress pictures. |
|
pdalber
Junior Member
Posts: 75
Likes: 37
Currently Offline
|
Post by pdalber on Jun 2, 2017 17:07:18 GMT -8
RinTin, first of all, thank-you for this thread! I've been lurking on the site for quite a while and using your pictures and explanations as a guide for my build (which is coming along nicely). I only wish you had made your most recent post a few weeks ago, when I was working on my doors and drawer fronts! I do have a few questions though. I'm guessing you used a dado blade to cut the rabbets and a router for the bevels? How did you avoid tear-out along the edges of the birch panels? Did you use anything to re-enforce the drawer pulls or are they just secured through the 2 layers of 1/8" birch? Finally, did you use drawer slides? If so, what type?
Thanks!
|
|
pdalber
Junior Member
Posts: 75
Likes: 37
Currently Offline
|
Post by pdalber on May 4, 2016 16:56:56 GMT -8
Thanks. Armstrong appears to have discontinued the color, but I found another source. Can't wait til it gets here!
|
|
pdalber
Junior Member
Posts: 75
Likes: 37
Currently Offline
|
Post by pdalber on May 2, 2016 9:33:06 GMT -8
Thank you for the suggestion on the flooring. That may have been a good option but we are almost finished. The trailer barely fit into our garage, a very tight fit. Luckily my husband is a good backwards driver as Tow Mater would say! Here is the tile that I ordered. I picked the Sea Aqua. It should be in next week. I believe the total cost with the glue was $225.00. 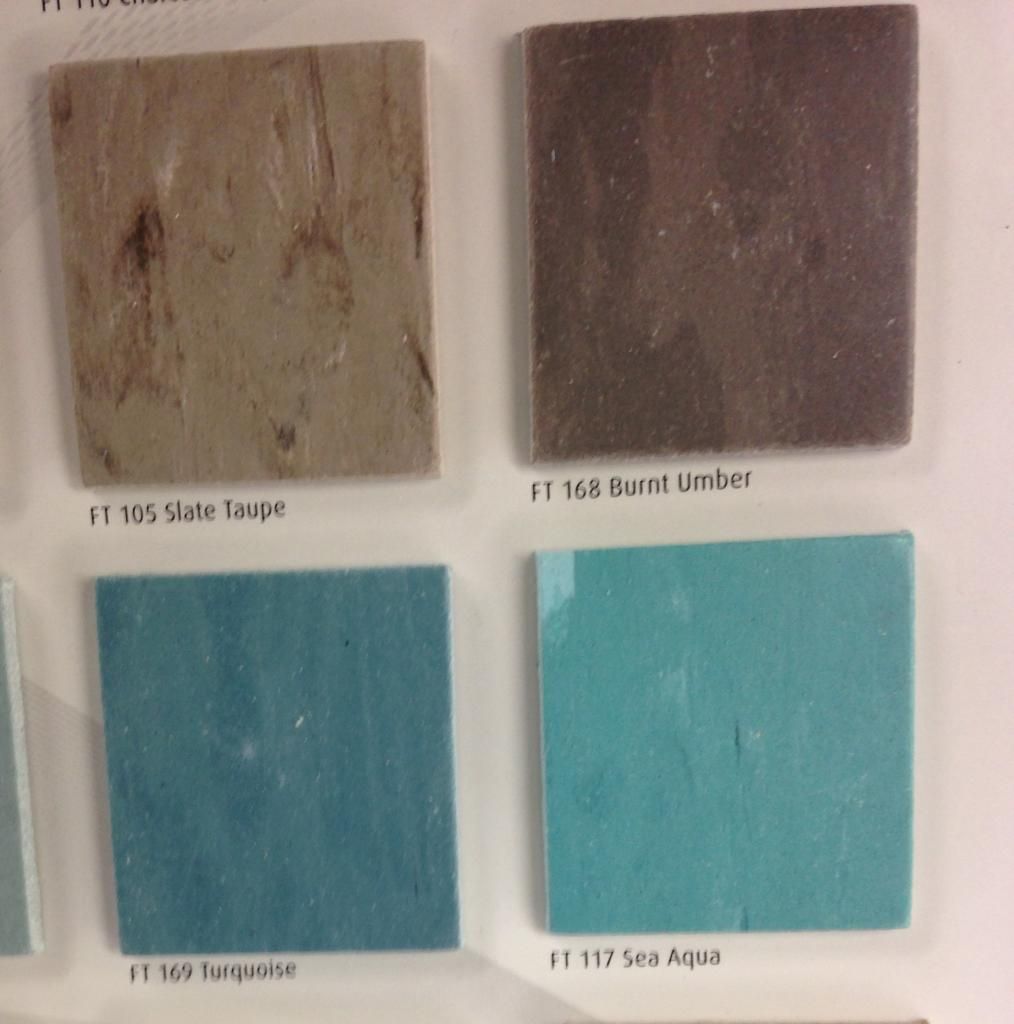 Thanks for sharing the work on your trailer. It looks Great! I know it's been a while since you ordered your flooring, but I'm going with a similar scheme in my trailer and would like to use the Sea Aqua tile. Would you mind sharing where you bought yours? I'm having a tough time finding them. |
|