ladywendolyn
2K Member

Posts: 2,315 
Likes: 928
1964 Golden Falcon
Currently Offline
|
Post by ladywendolyn on Apr 26, 2017 10:42:22 GMT -8
LadyW, your trailer is made like a TANK. Foresters and my B & B come to mind... B abd B.. as in bed and breakfast? lol SaveSave |
|
handkey
Active Member

Posts: 217 
Likes: 83
1964 Forester 14
Currently Offline
|
Post by handkey on Apr 26, 2017 17:40:15 GMT -8
Corner cap! Do you have a source for it? So Cal Teardrops is one source I know of... www.socalteardrops.com/parts.php?cid=2&pid=18 He calls it "top edge molding"... Thank you!!! Been looking for two years!!!!! That looks like an exact match for the Lower front corners on the 63-68 Foresters. It makes for a very strong corner. 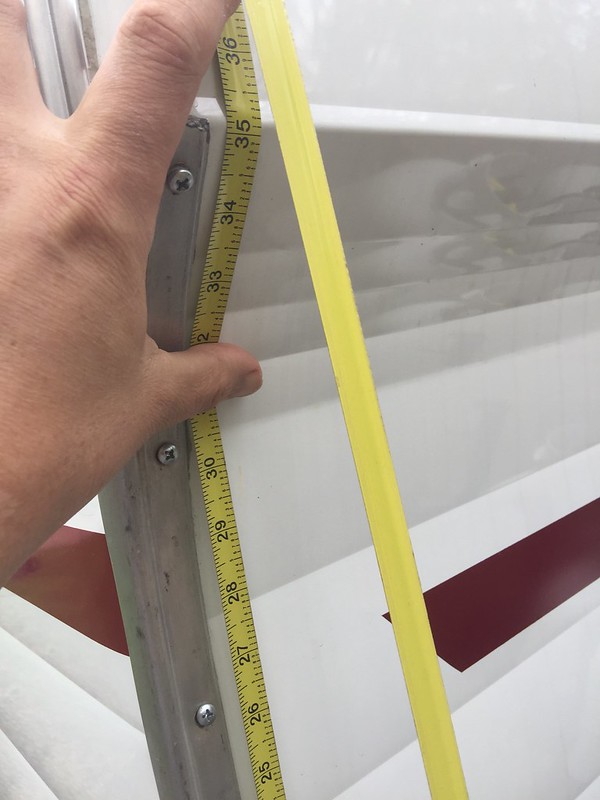 IMG_7462 IMG_7462 by Campurist, on Flickr |
|
|
|
Post by vikx on Apr 26, 2017 19:41:59 GMT -8
The B & B was made in Marysville, WA by off season boat builders. We've never discovered what the two Bs stand for; maybe the owner's names? Maybe "Boat Builders"? LOL
|
|
mrmarty51
Leading Member
Posts: 1,787
Likes: 423
1972 HOMEMADE
Currently Offline
|
Post by mrmarty51 on Apr 26, 2017 20:28:28 GMT -8
The B & B was made in Marysville, WA by off season boat builders. We've never discovered what the two Bs stand for; maybe the owner's names? Maybe "Boat Builders"? LOL Well, that is interesting. Now I know a little more of the story. LOL |
|
mrmarty51
Leading Member
Posts: 1,787
Likes: 423
1972 HOMEMADE
Currently Offline
|
Post by mrmarty51 on Apr 29, 2017 18:56:03 GMT -8
Hanging the taped J~Rail singlehandedly. LOL I laid a 2X2 lengthwise with the top of the camper, then used two more 2X2s setting them crosswise and hung the the ends out over the edge. The lengthwise 2X2 was so that the crosswise 2X2s would be well above the top edge of the camper. A couple of short pieces of baling wire around the ends of the 2X2s and a hook bent into the free end. Works pretty slick when no help is available. I did not hve a problem with the mechanics wire sticking to the sticky. LOL 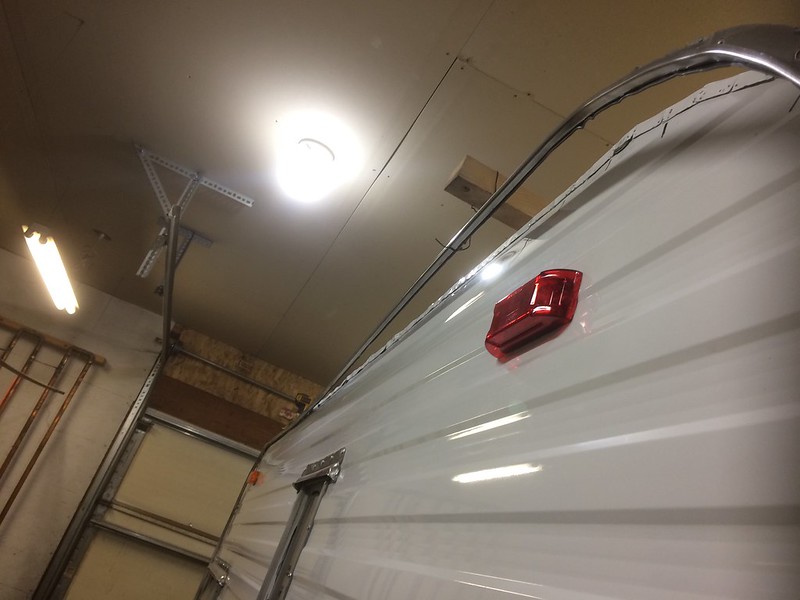 IMG_3159 IMG_3159 by Martin Draper, on Flickr Following mobiltechs video about hanging the J~Rail, I did the dry run first, I drilled quite a few holes then marked them. Using the little pick helps to assure that the hole in the J~Rail is in alignment with the hole in the camper, after the sticky tape was applied to the J~Rail. 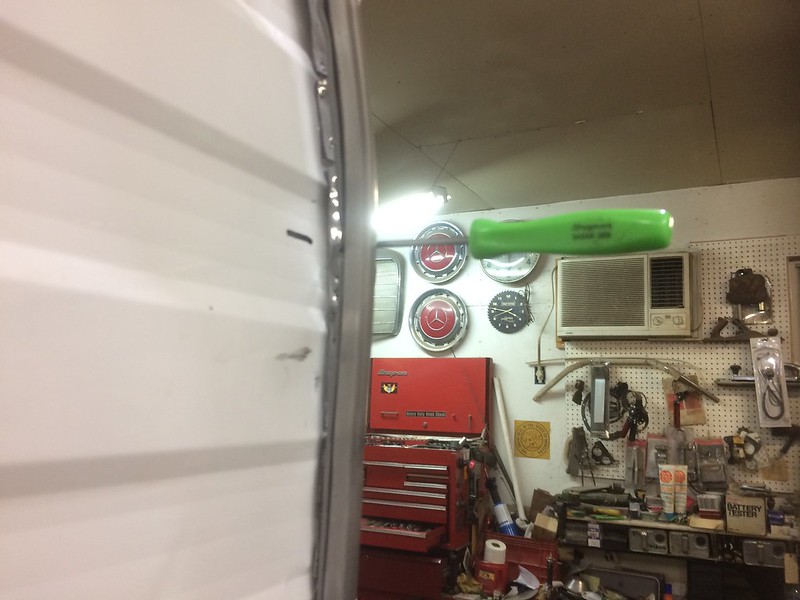 IMG_3160 IMG_3160 by Martin Draper, on Flickr |
|
sherrifriend
Member
Posts: 49
Likes: 13
1967 Compact Shasta
Currently Offline
|
Post by sherrifriend on Apr 30, 2017 7:33:51 GMT -8
This corner cap/L-rail information is really interesting. Can someone explain it a little bit more - a google search comes up with a bunch of products? Do you still add a J-rail (seems impossible if you have this cap on).
|
|
mrmarty51
Leading Member
Posts: 1,787
Likes: 423
1972 HOMEMADE
Currently Offline
|
Post by mrmarty51 on Apr 30, 2017 11:29:21 GMT -8
This corner cap/L-rail information is really interesting. Can someone explain it a little bit more - a google search comes up with a bunch of products? Do you still add a J-rail (seems impossible if you have this cap on). No J~Rail if these are installed. These cover the corner of the roof by 7/8ths of an inch then down the walls 3/4s of an inch. Apply the putty tape to both surfaces of the angle then screw them down. The roofs that these are made to go on, is cut even with the walls and ends then these top edge moldings covers that cut roof to keep leakage from occurring down the walls. At least that is the understanding that I get from it. |
|
mobiltec
5K Member
 I make mistakes so you don't have to...
Posts: 9,822
Likes: 3,749
1954 Jewel In Progress...
Currently Offline
|
Post by mobiltec on Apr 30, 2017 15:49:21 GMT -8
This corner cap/L-rail information is really interesting. Can someone explain it a little bit more - a google search comes up with a bunch of products? Do you still add a J-rail (seems impossible if you have this cap on). My latest video on the Mainline deals with all of this but you must be a patron on my Patreon site in order to view them. |
|
mrmarty51
Leading Member
Posts: 1,787
Likes: 423
1972 HOMEMADE
Currently Offline
|
Post by mrmarty51 on May 2, 2017 13:44:34 GMT -8
Right side exterior is finished. Have some putty stuff left to trim on the upper edge but that is about it for this side. Just a little left to do on the J~Rail of the left side and the exterior will be done. 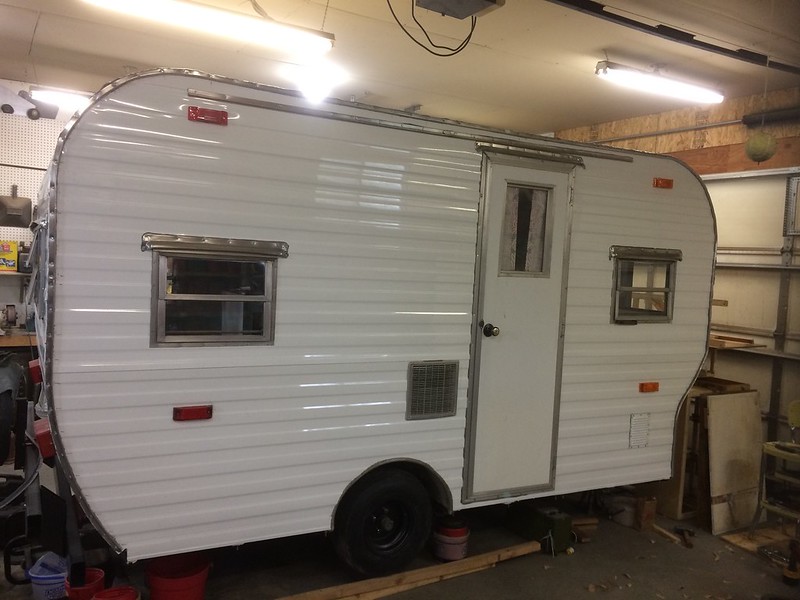 IMG_3162 IMG_3162 by Martin Draper, on Flickr |
|
kamhawk
Active Member
Posts: 100
Likes: 40
1975 Scotty Serro
Currently Offline
|
Post by kamhawk on May 2, 2017 14:31:03 GMT -8
Nice job. I've enjoyed watching your build
|
|
mrmarty51
Leading Member
Posts: 1,787
Likes: 423
1972 HOMEMADE
Currently Offline
|
Post by mrmarty51 on May 2, 2017 18:38:04 GMT -8
Thank You KamHawk.
It has been an exciting time in My life too.
I`ll now need to be looking for another project, I do not like the depressed state I fall into after a project is finished. LOL
Well, still another two to three weeks left on this anyhow. The interior guy will be here next week, then when He gets finished, there will be the benches, bed, and the rest of the cabinets to install.
It`ll keep Me busy for a little while yet.
I`m still thinking about that poor old camper over at Rosebud, I had previously posted a couple of pics. of it.
A friend gave Me an overhead ten foot pickup camper. I`m thinking even if that old trailer camper had no appliances, I could use the appliances and windows from the pickup camper.
Just a thought. LOL
|
|
hairba11
Active Member
Posts: 116
Likes: 56
Currently Offline
|
Post by hairba11 on May 5, 2017 5:22:52 GMT -8
Well be sure and keep us updated on the next steps/projects
|
|
mrmarty51
Leading Member
Posts: 1,787
Likes: 423
1972 HOMEMADE
Currently Offline
|
Post by mrmarty51 on May 6, 2017 22:29:07 GMT -8
Well be sure and keep us updated on the next steps/projects I most certainly will do that. The interior is next. I will keep this thread posted with the current updates. I`ll also post in the off topic about the camping trips and journeys Vicki and I take it on. |
|
mrmarty51
Leading Member
Posts: 1,787
Likes: 423
1972 HOMEMADE
Currently Offline
|
Post by mrmarty51 on May 16, 2017 9:40:08 GMT -8
The wall paper is going on. Probably be getting it finished tomorrow. It then will be time to install the front and side upper cabinets and get them covered. 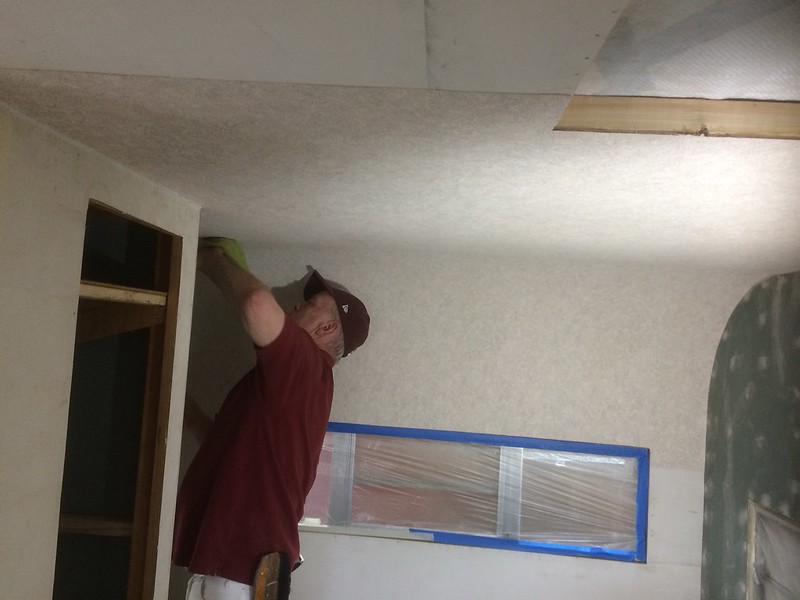 IMG_3172 IMG_3172 by Martin Draper, on Flickr |
|
mobiltec
5K Member
I make mistakes so you don't have to...
Posts: 9,822
Likes: 3,749
1954 Jewel In Progress...
Currently Offline
|
Post by mobiltec on May 16, 2017 9:57:44 GMT -8
The wall paper is going on. Probably be getting it finished tomorrow. It then will be time to install the front and side upper cabinets and get them covered. IMG_3172 by Martin Draper, on Flickr Why are we watching a house remodel in a trailer forum? |
|


