Deleted
Posts: 0
Currently Offline
|
Post by Deleted on Jan 19, 2018 21:12:00 GMT -8
Looks great...really well done!
|
|
strange1
Active Member
  
Posts: 159 
Likes: 103
1965 Shasta Airflyte
Currently Offline
|
Post by strange1 on Jan 25, 2018 14:28:13 GMT -8
Went to the upholstery shop today to get the dinette cushions built. We went with BLUE "High Density" foam...hopefully we got the right stuff. We're getting much closer to getting to enjoy this little gem. Excited to finally get it out on the road. Next week this time the interior should be completed.
|
|
mel
Senior Member
   1964 Shasta Airflyte
Posts: 1,729 
Likes: 523
Currently Offline
|
Post by mel on Jan 25, 2018 16:17:18 GMT -8
Went to the upholstery shop today to get the dinette cushions built. We went with BLUE "High Density" foam...hopefully we got the right stuff. We're getting much closer to getting to enjoy this little gem. Excited to finally get it out on the road. Next week this time the interior should be completed. You better starting booking a trip then  now its time to sit back and enjoy it |
|
strange1
Active Member
  
Posts: 159 
Likes: 103
1965 Shasta Airflyte
Currently Offline
|
Post by strange1 on Jan 31, 2018 18:08:56 GMT -8
Well the interior is officially done... waiting for the dinette cushions to come back from the upholsterer on Friday...but I'm almost ready to go camping. Here are some shots of the completed upper cabinets. FRONT  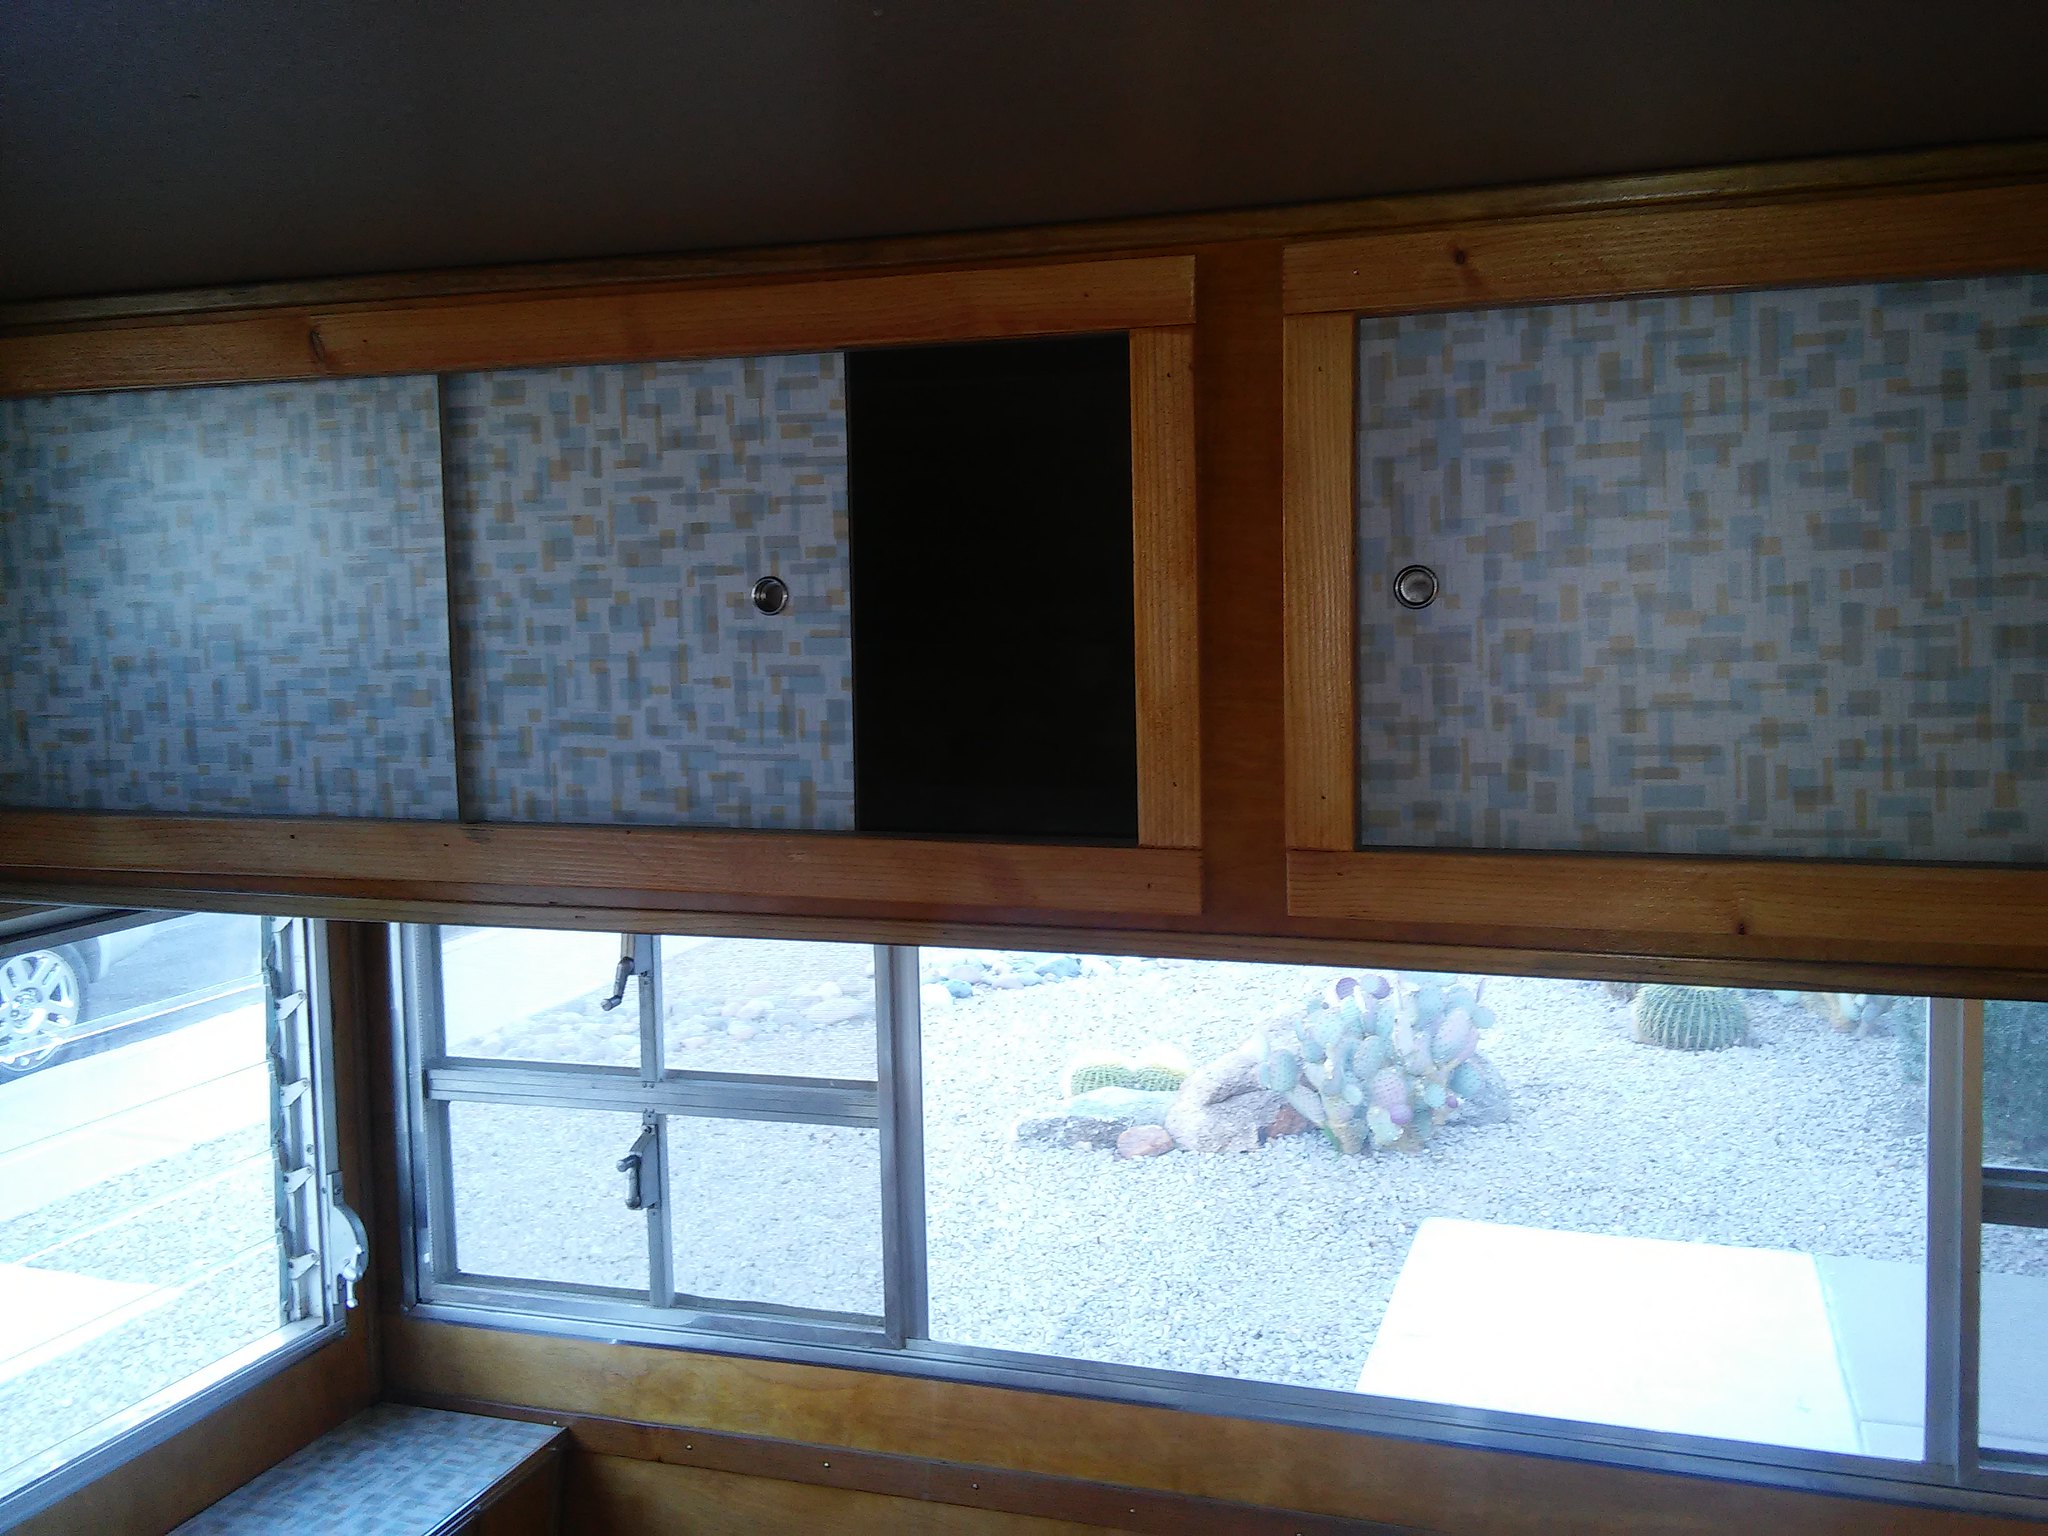 REAR 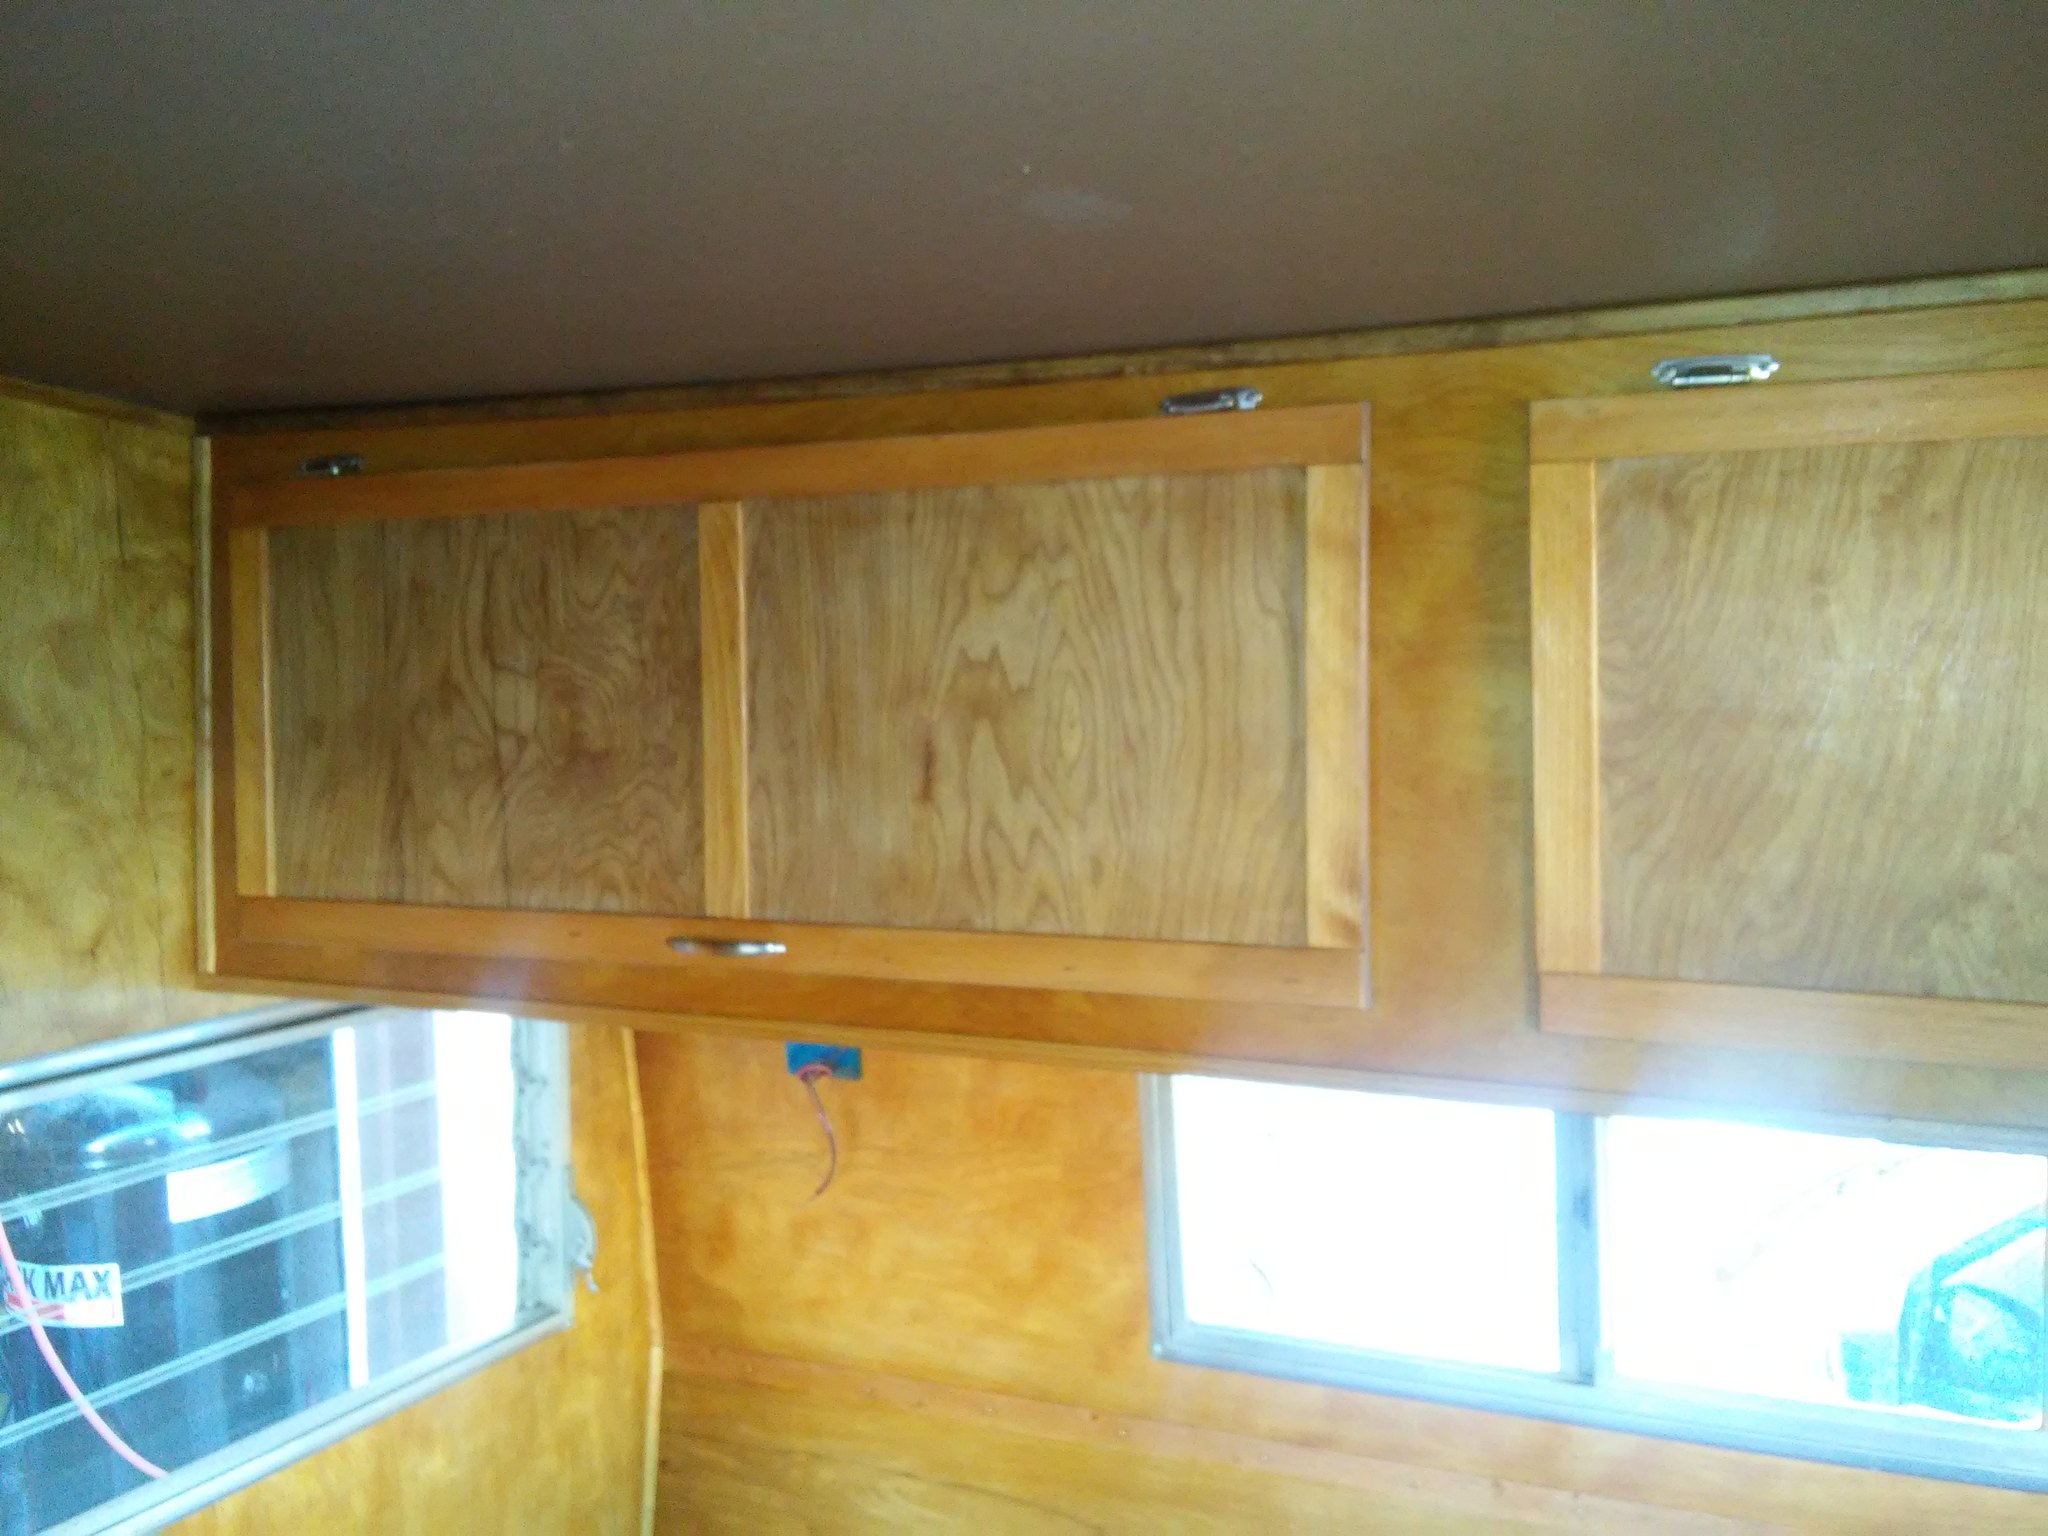 KITCHEN 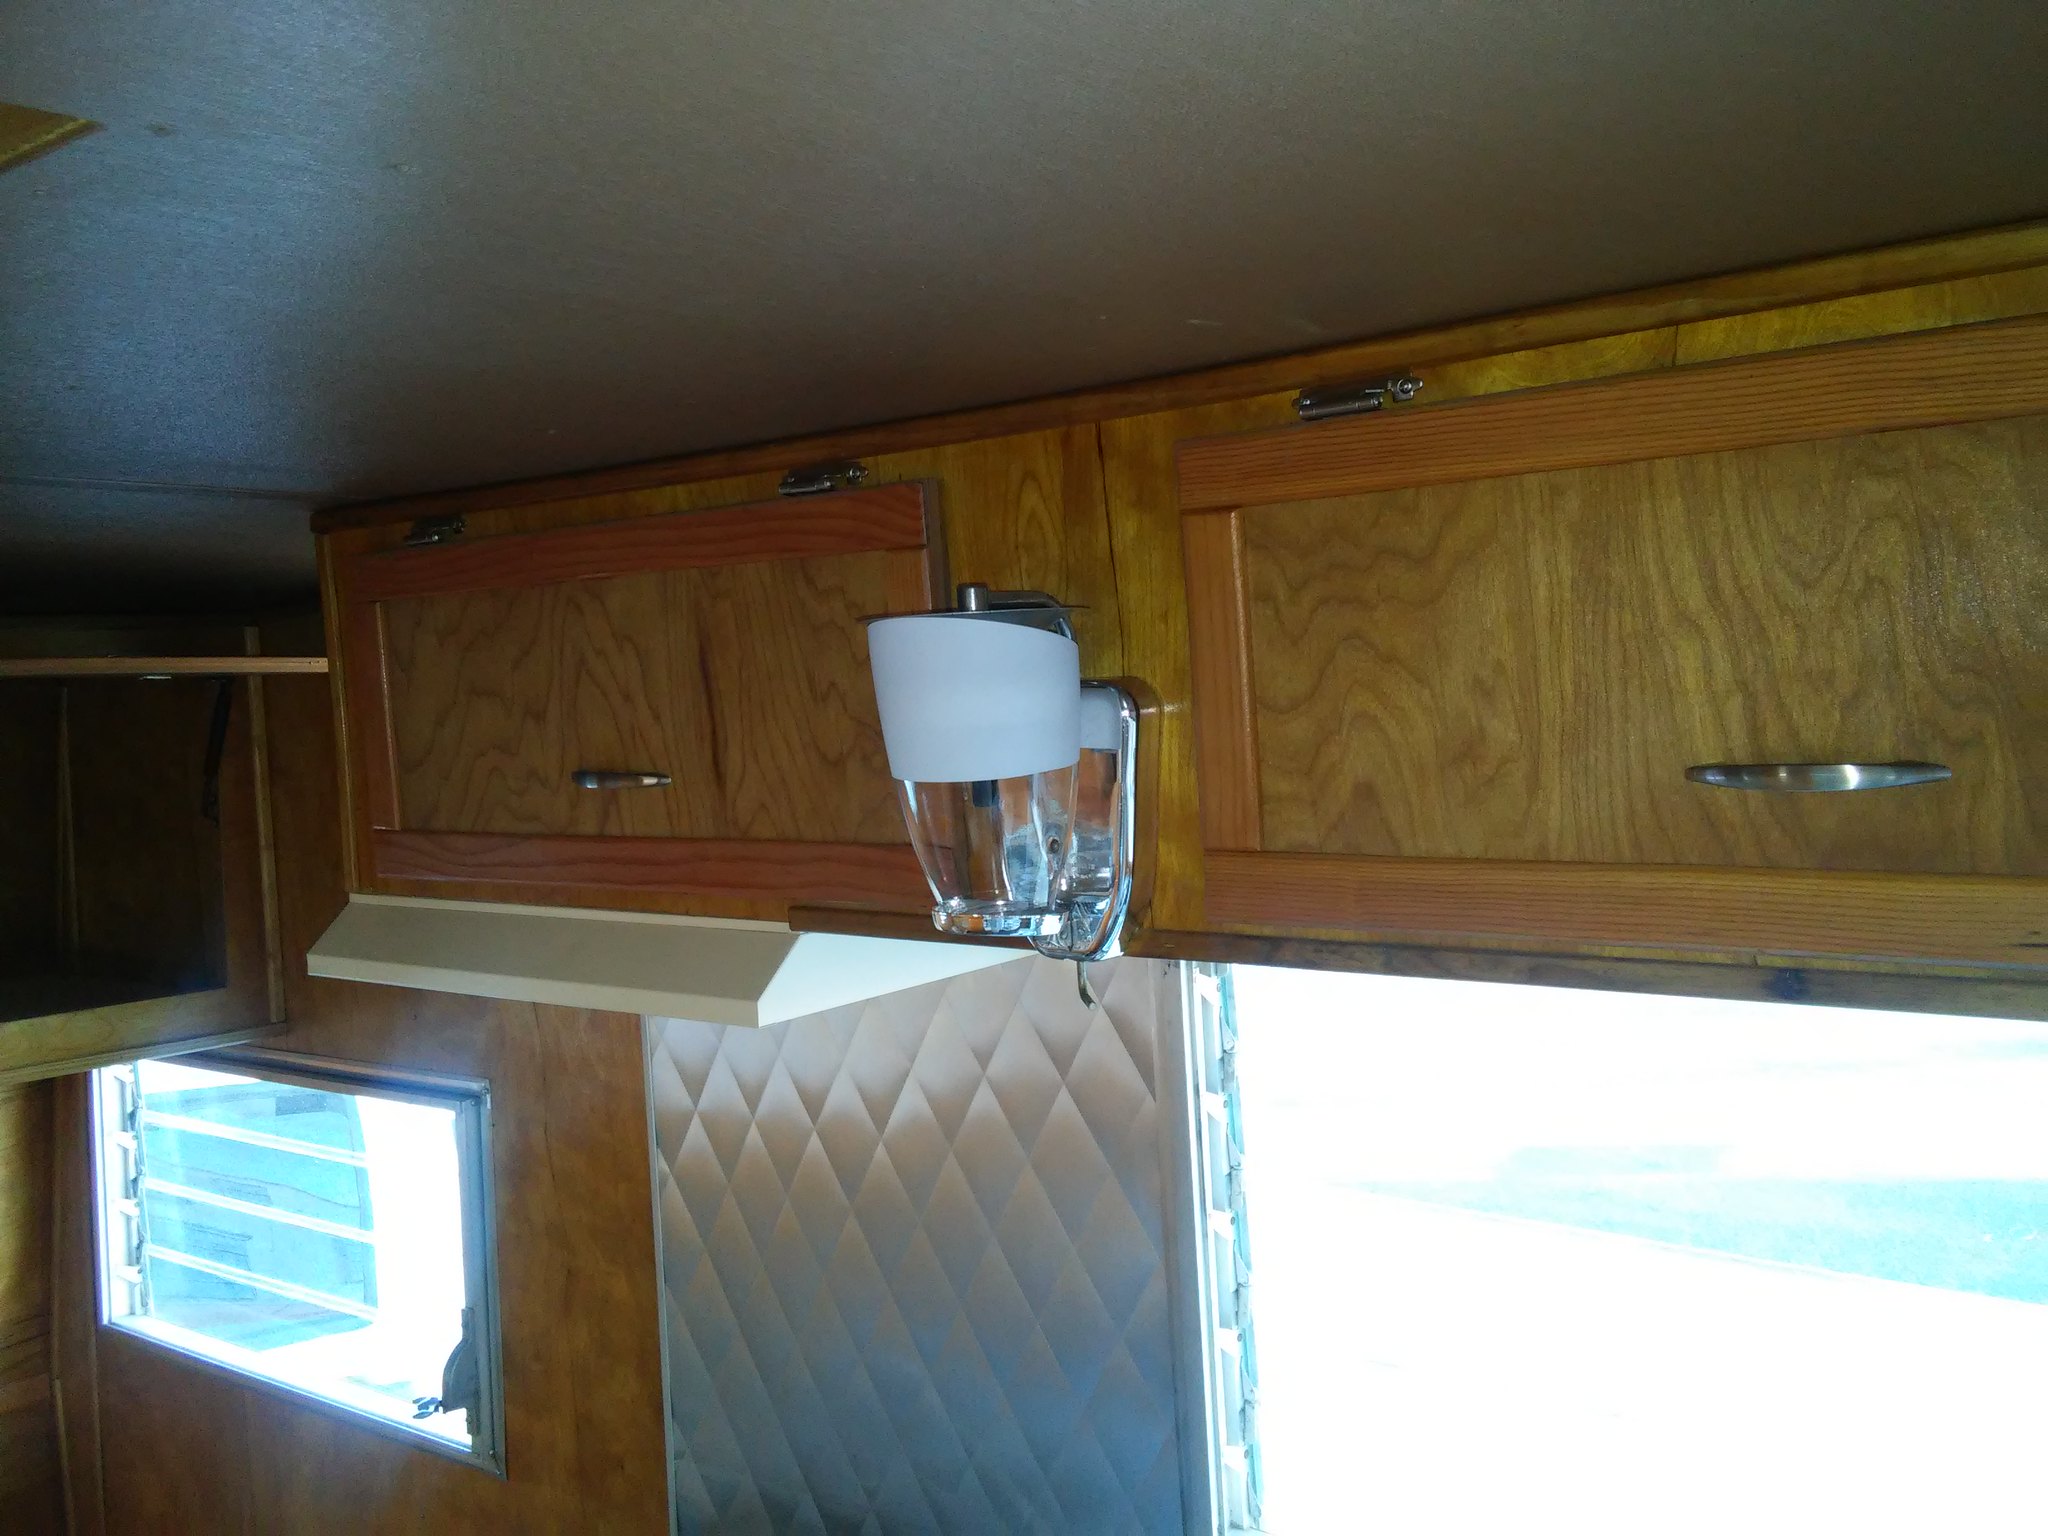 Here is the sink counter. I made a nice little sink cover to give us a little more counter space 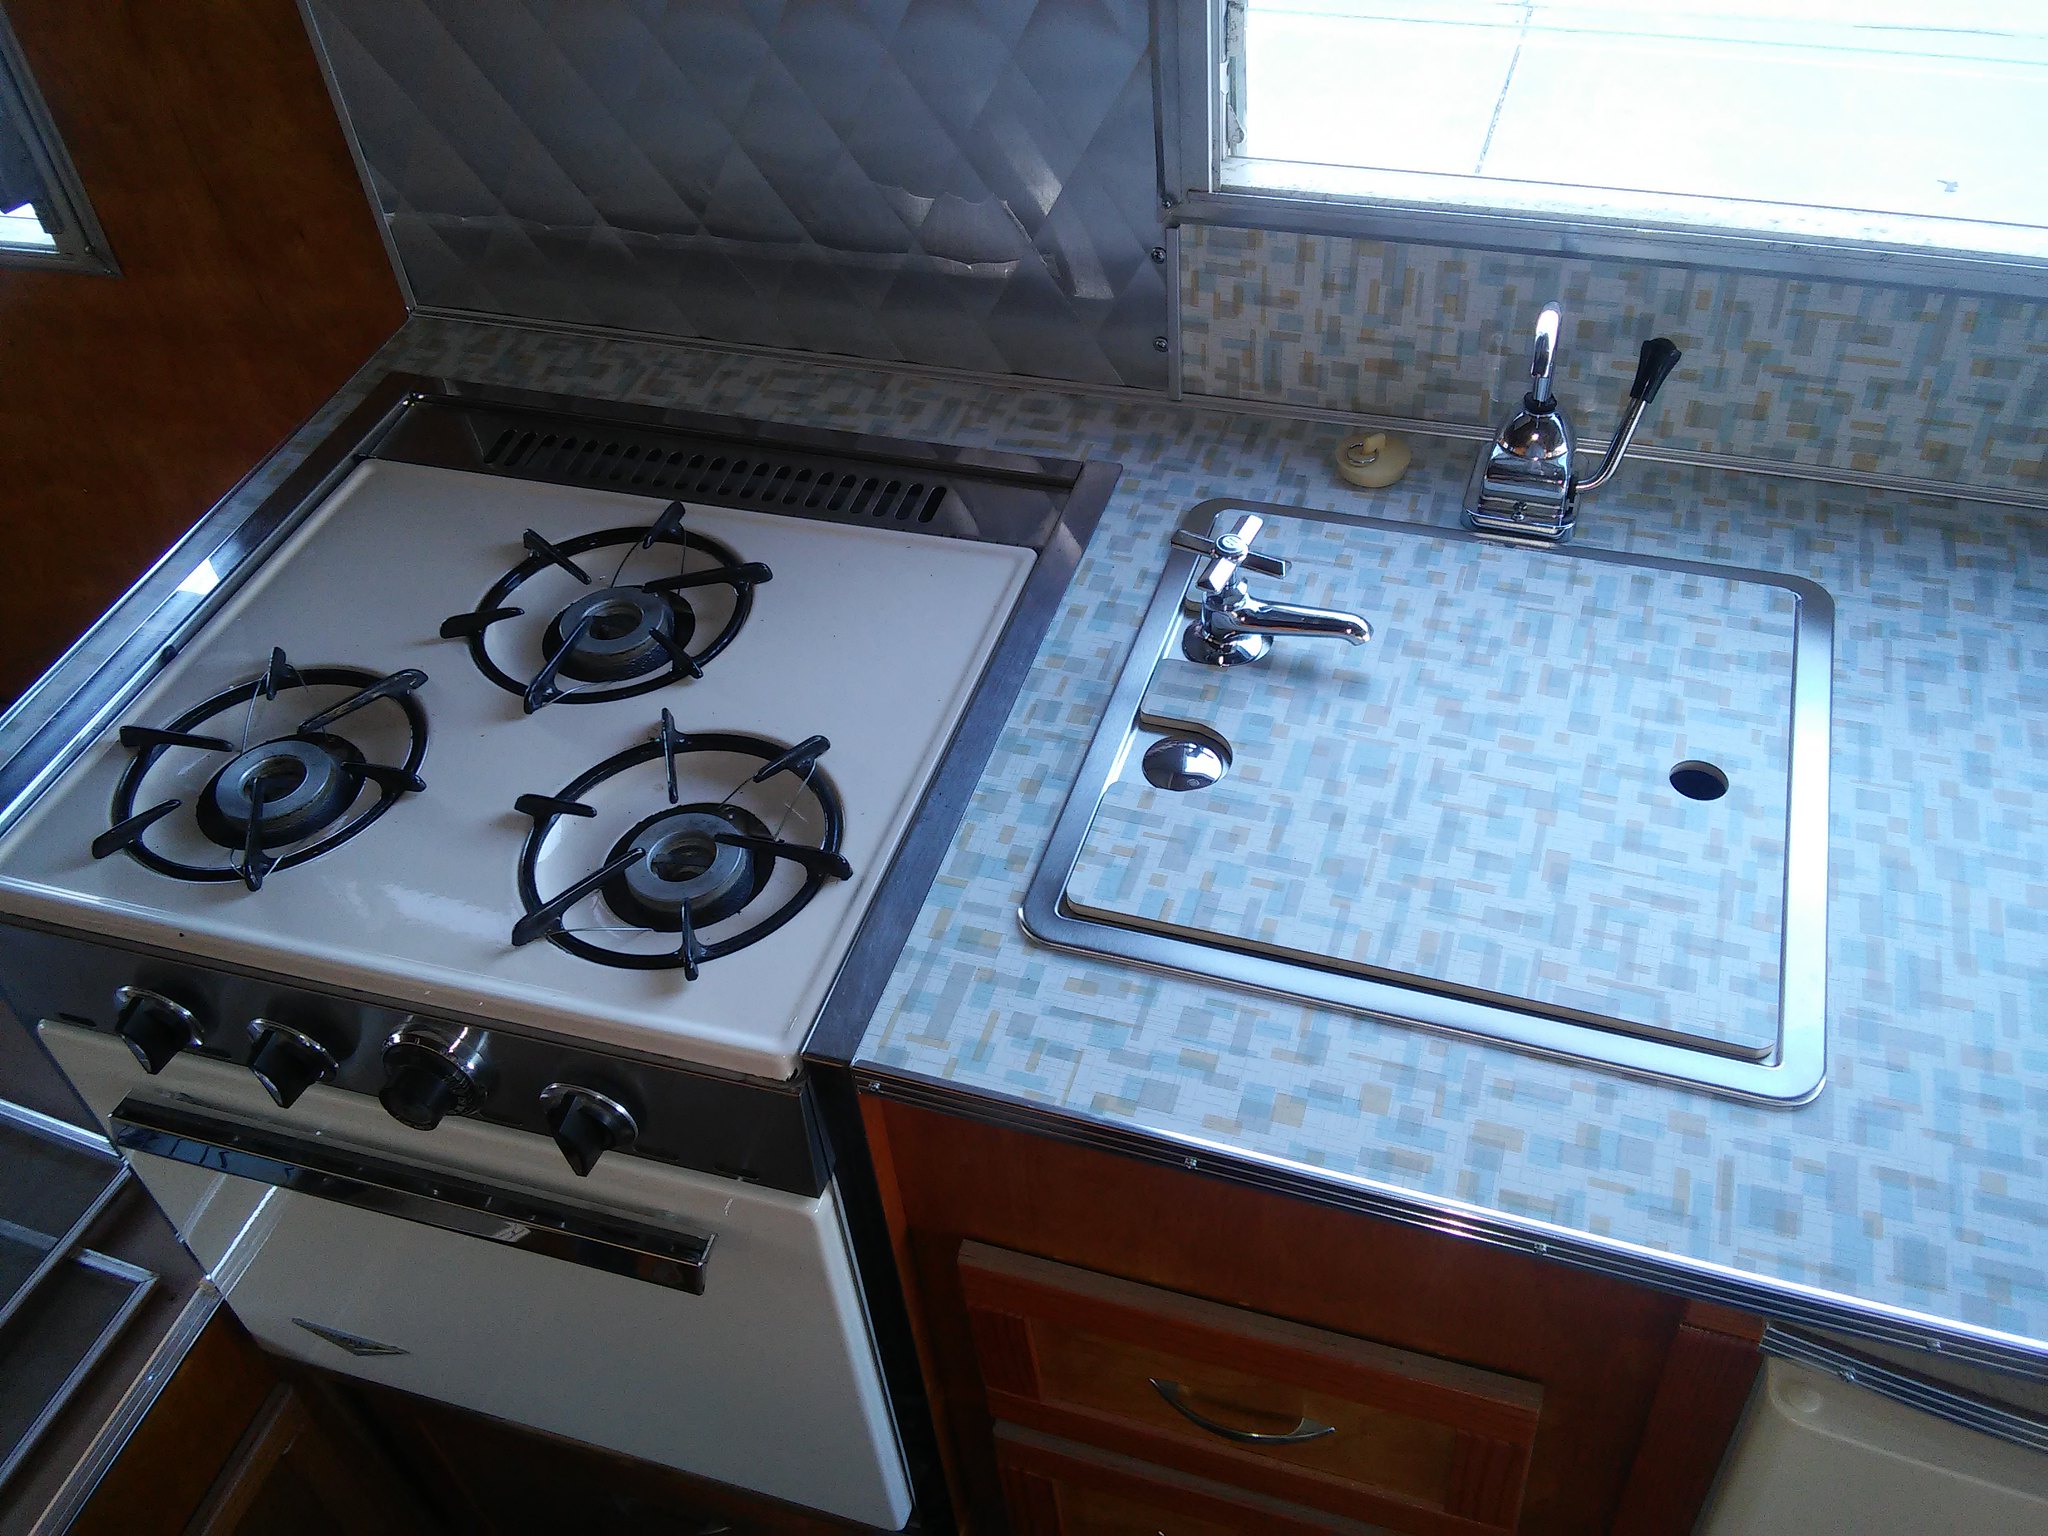 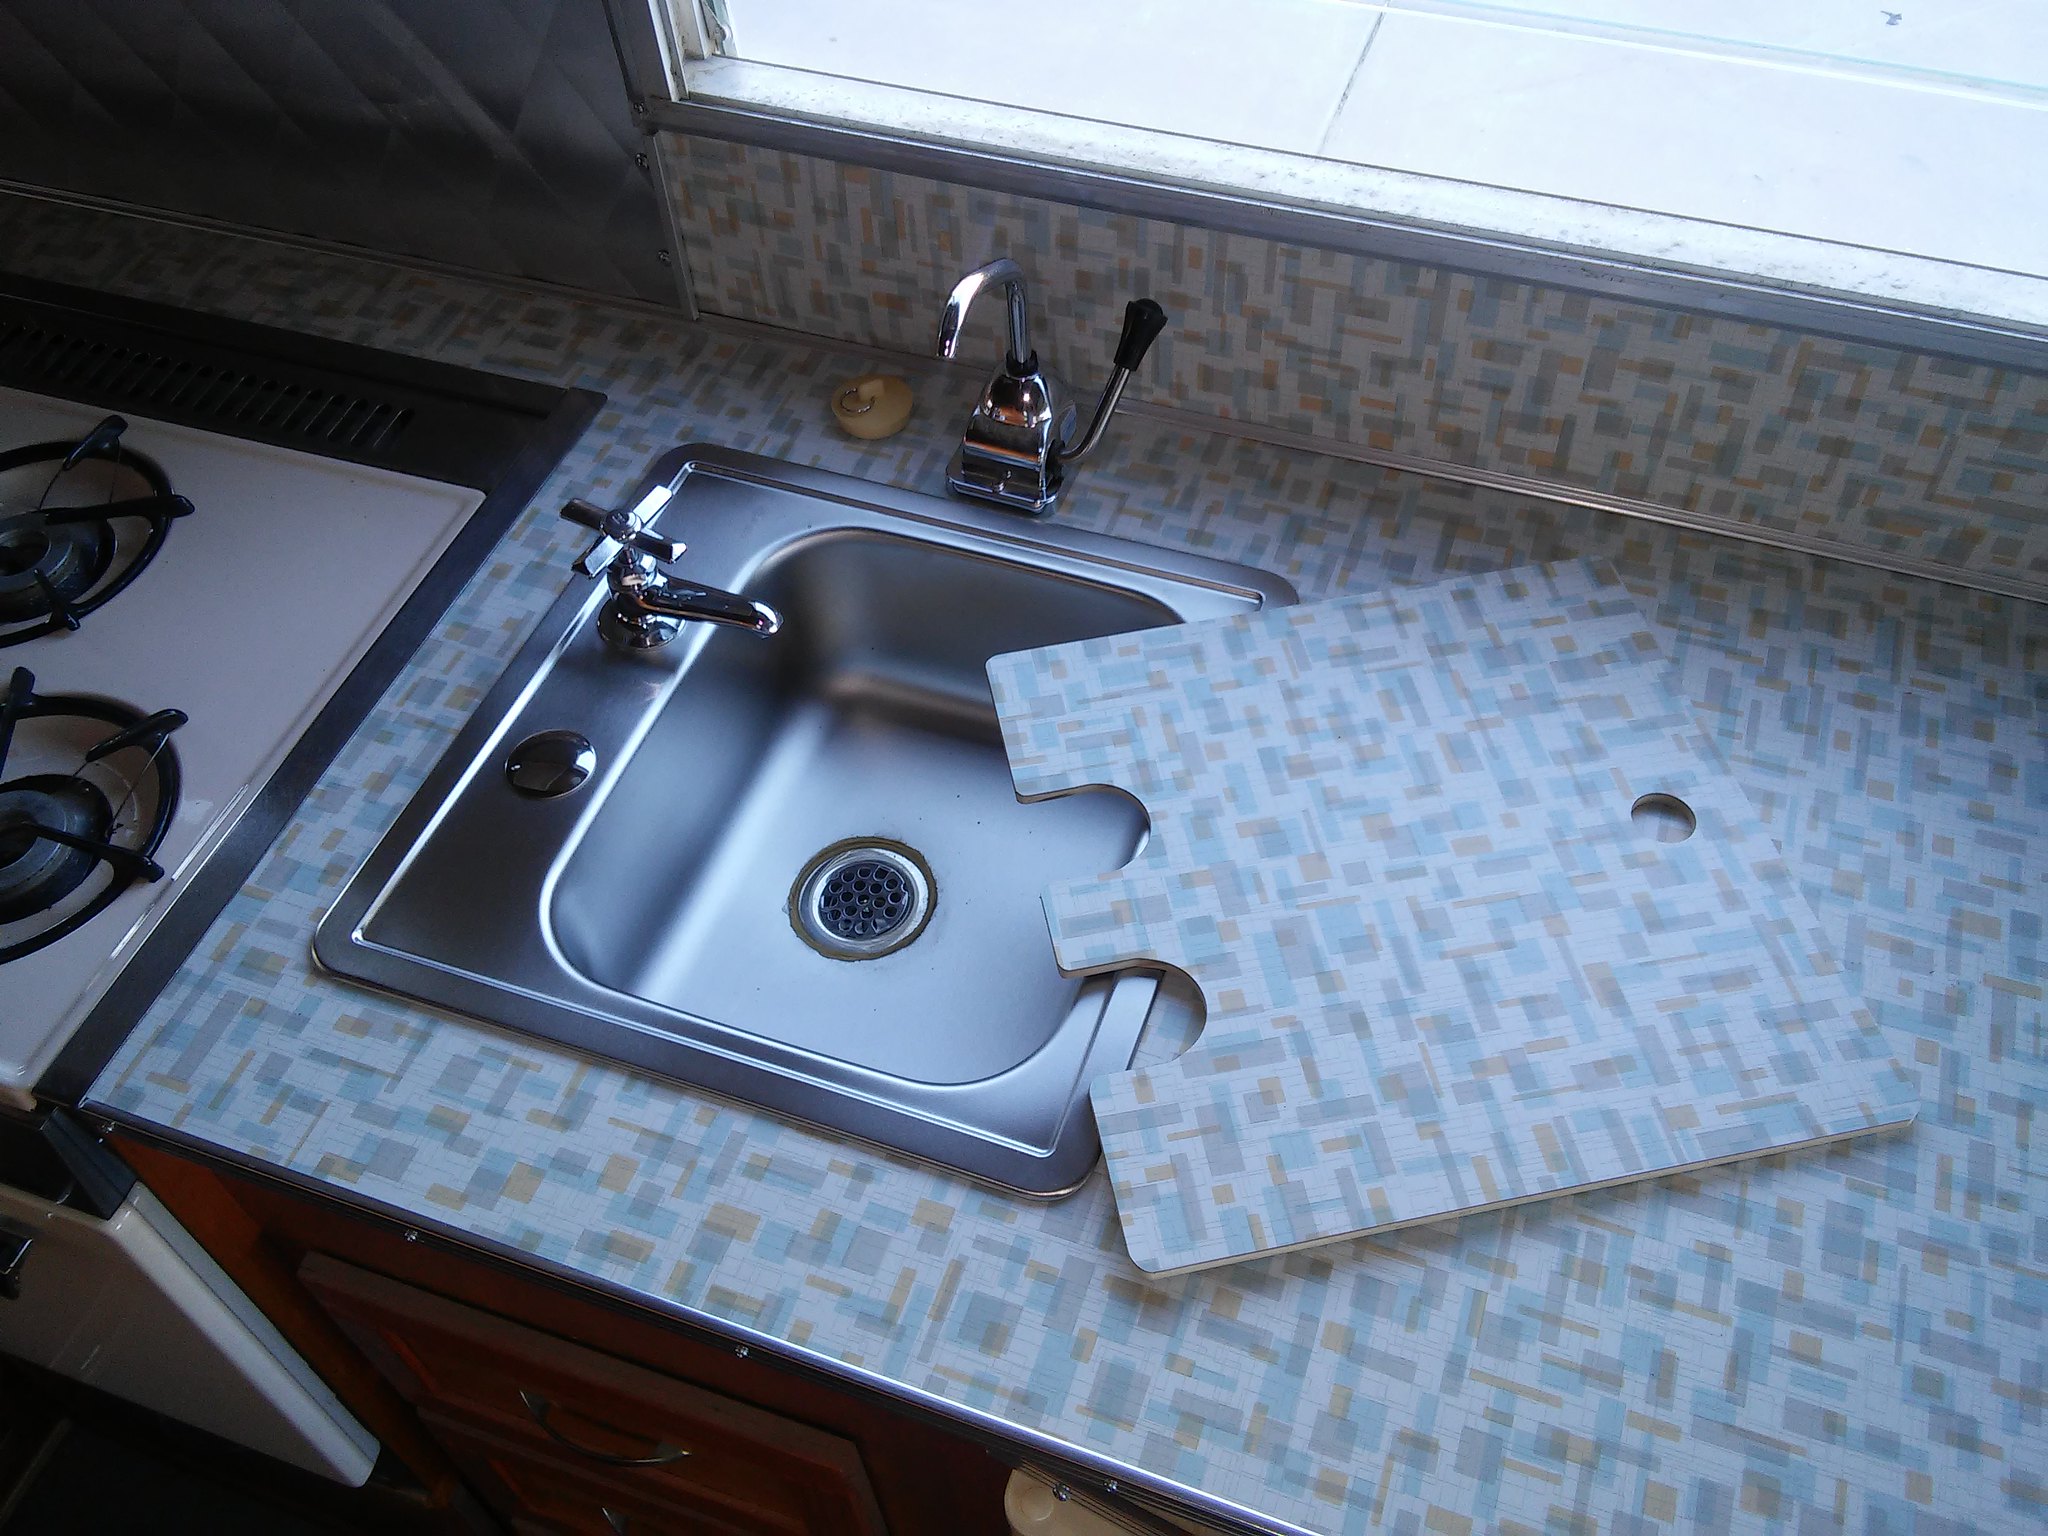 Fridge is installed, bolted down & trimmed out.  I made a little top over the cabinet on the street side dinette from the trim & laminate I had left over... 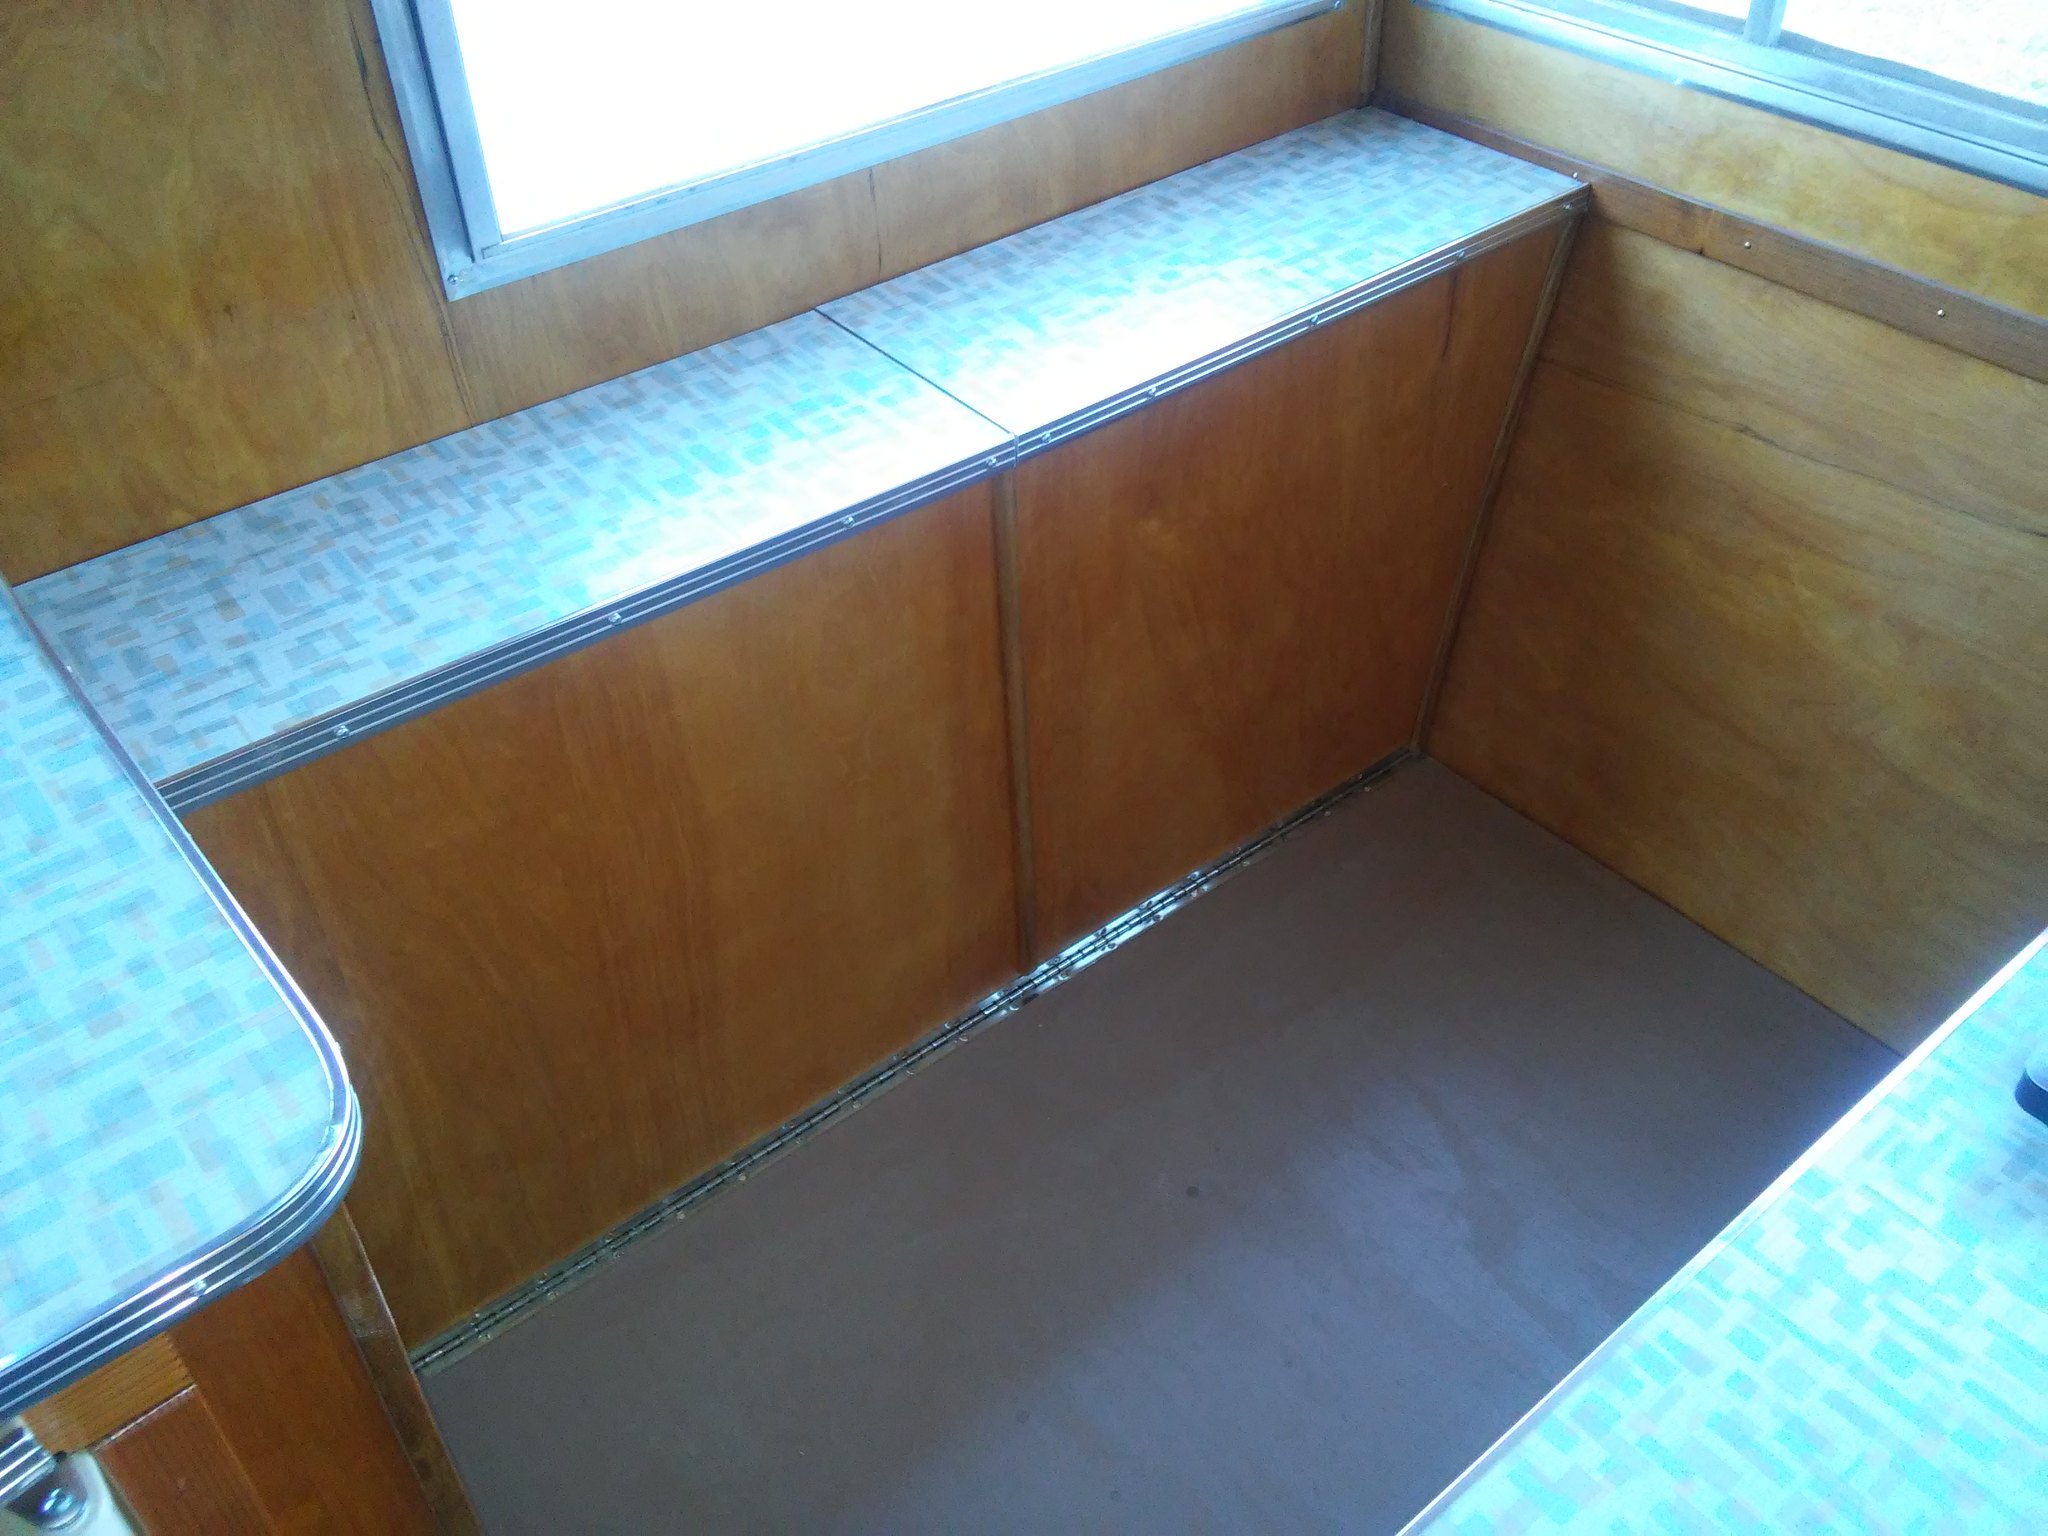 Here is the wardrobe cabinet...original mirrors back up. 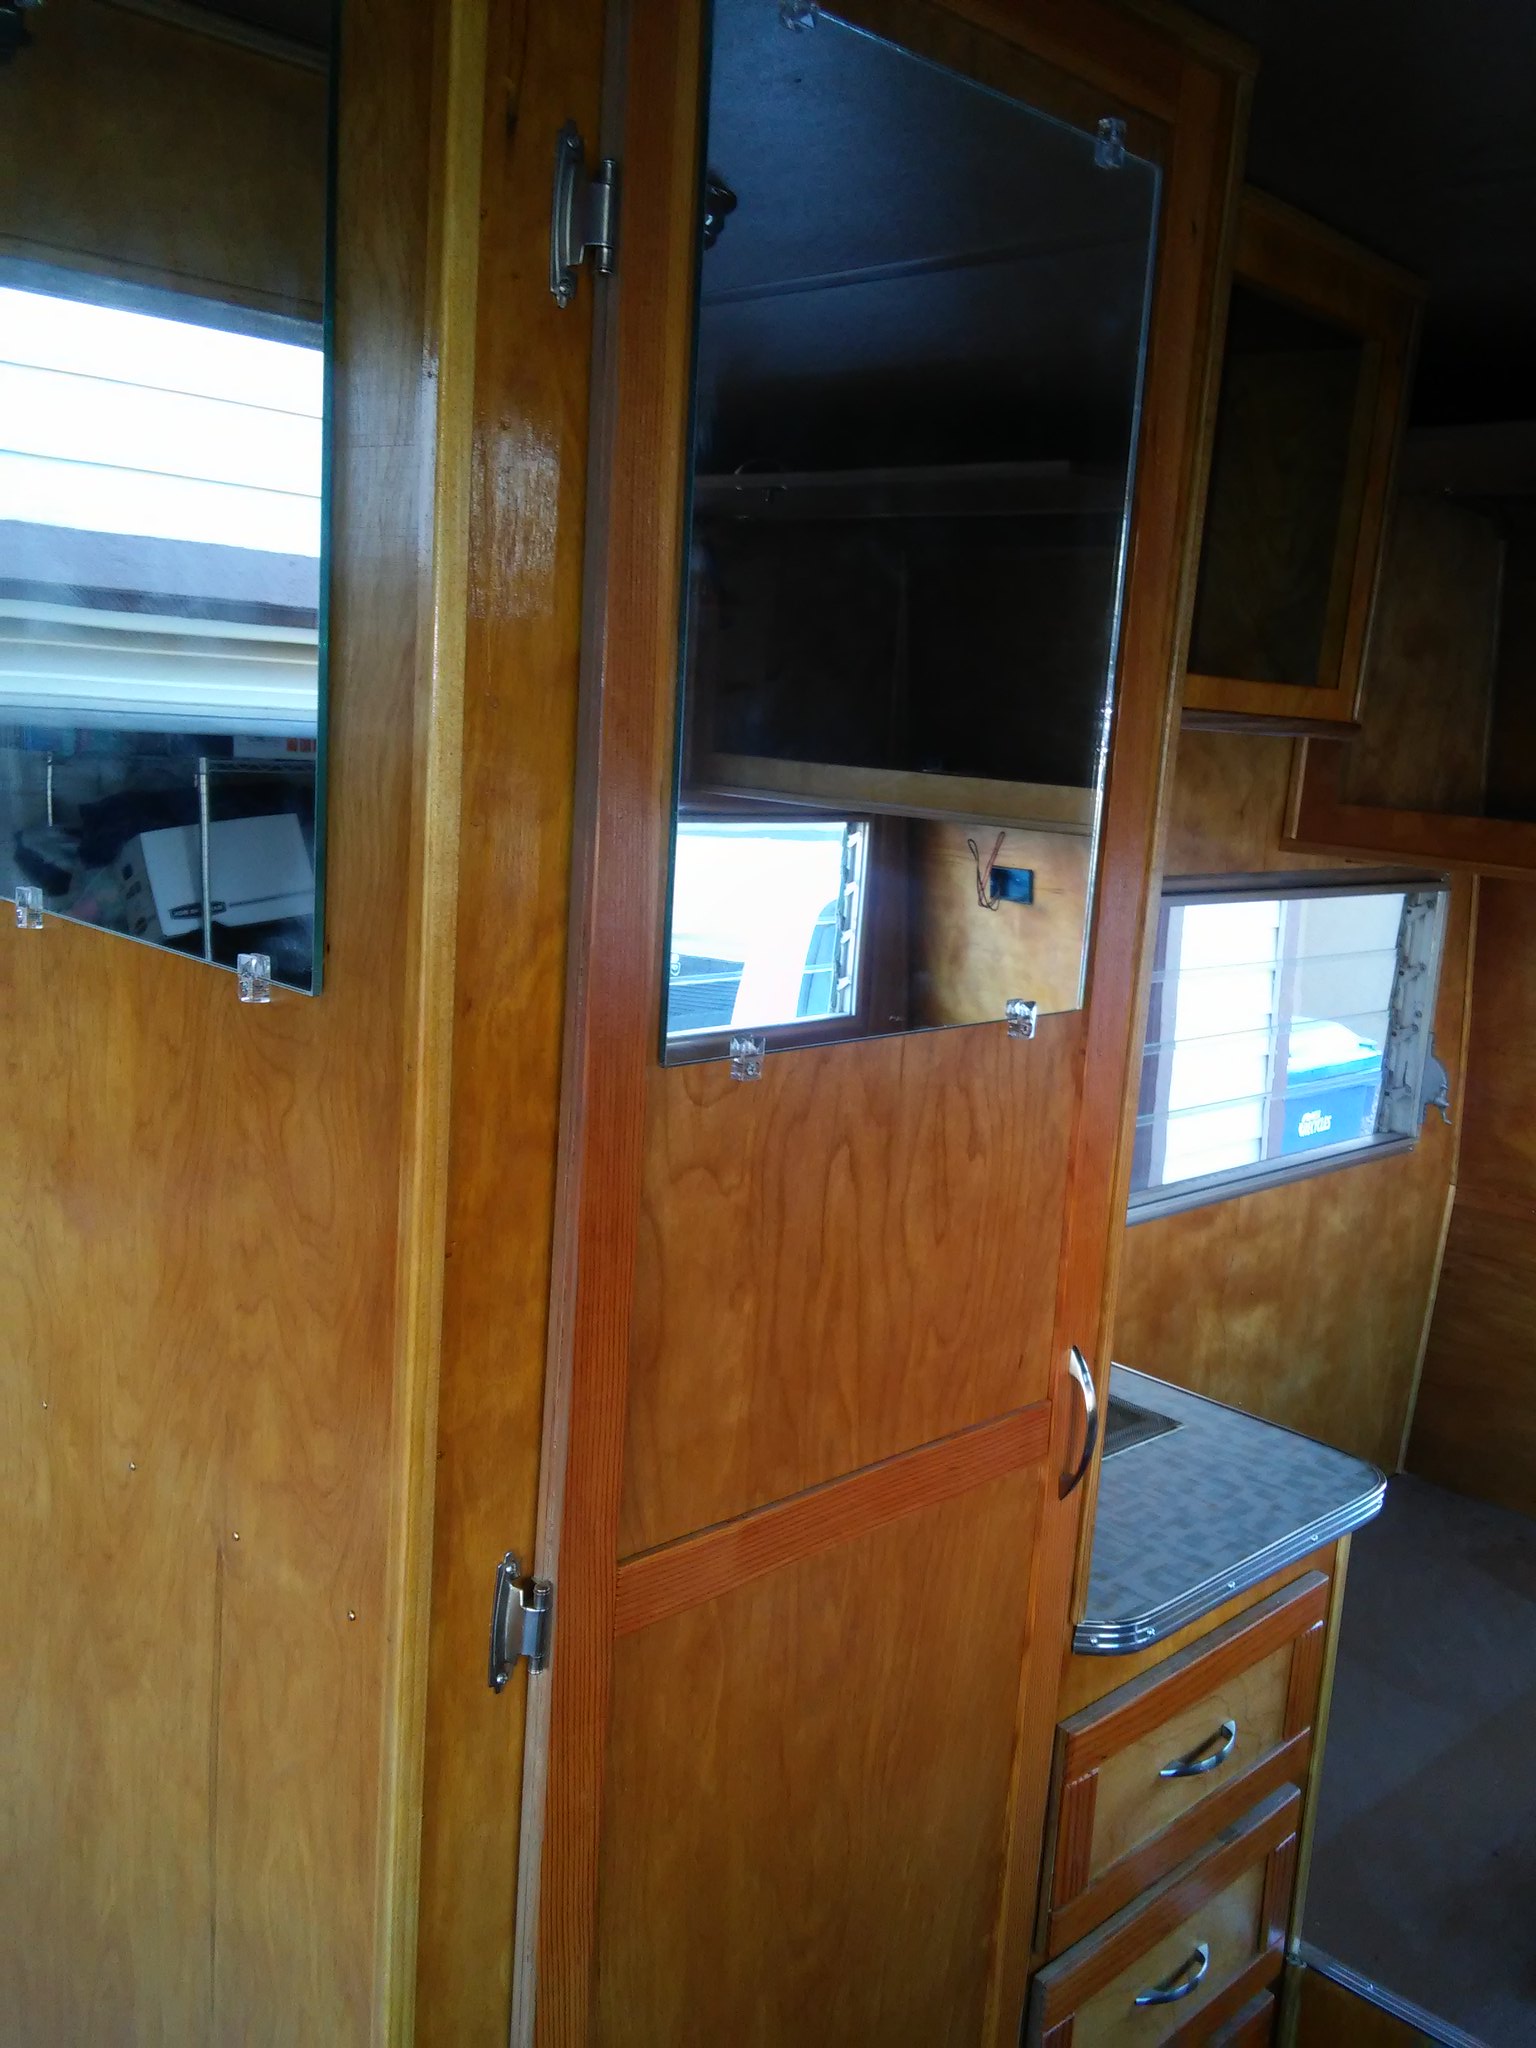
Excited to get the dinette cushions on Friday. I bought a mattress online...it's a weird size. Not the 3/4 (48" x 75") everyone has talked about. It's actually for a truck sleeper, a little longer and I built the bed to match (48" x 80" x 6.5"). Not sure how it's gonna be to sleep on it??? I may have to add 3" of memory foam... |
|
|
|
Post by Teachndad on Feb 3, 2018 19:10:34 GMT -8
Hi,
I really enjoyed your restoration thread. You have done an amazing job with your trailer.
I really like a few things about what you did.
The brief descriptions in your thread make scanning through your thread really easy. I need to start doing that as I move forward with mine.
I thought the homemade quilted aluminum was terrific. I got to remember that one.
Really nice and well done!
Cheers,
Rod
|
|
strange1
Active Member
  
Posts: 159 
Likes: 103
1965 Shasta Airflyte
Currently Offline
|
Post by strange1 on Feb 3, 2018 20:56:25 GMT -8
I was able to pick up the cushions right on time as promised Friday... Very subtle but they match the colors in our laminate...Excited to see how they look inside the trailer. 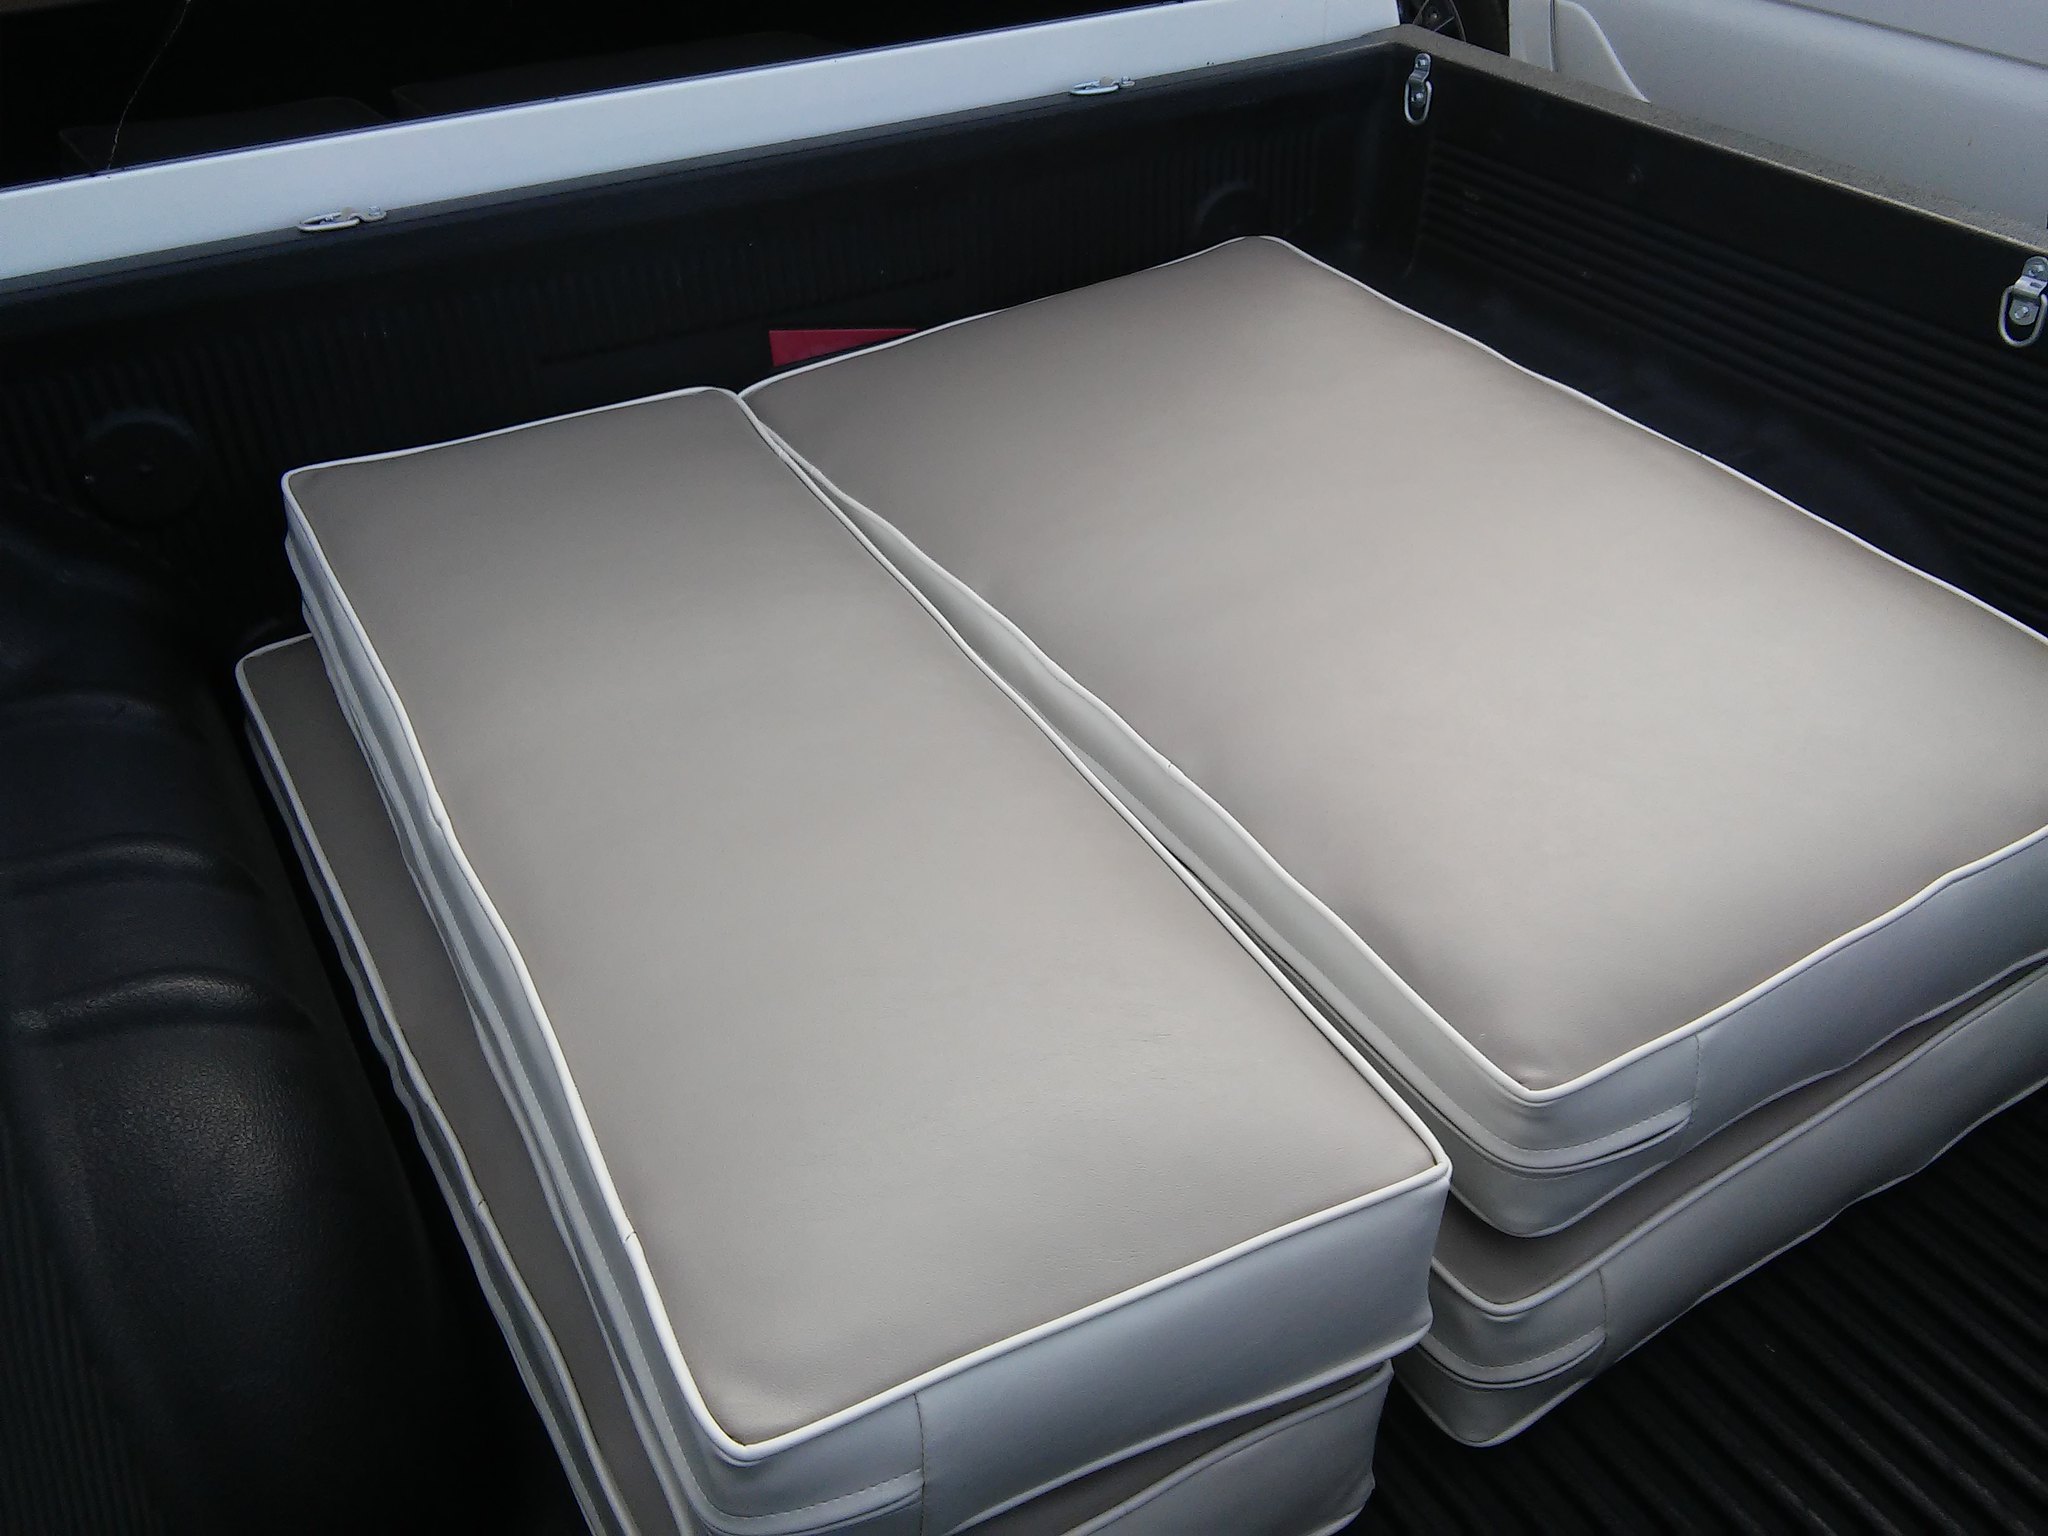 And now they're in. Great fit and great color match...thanks to my wife's color eye! 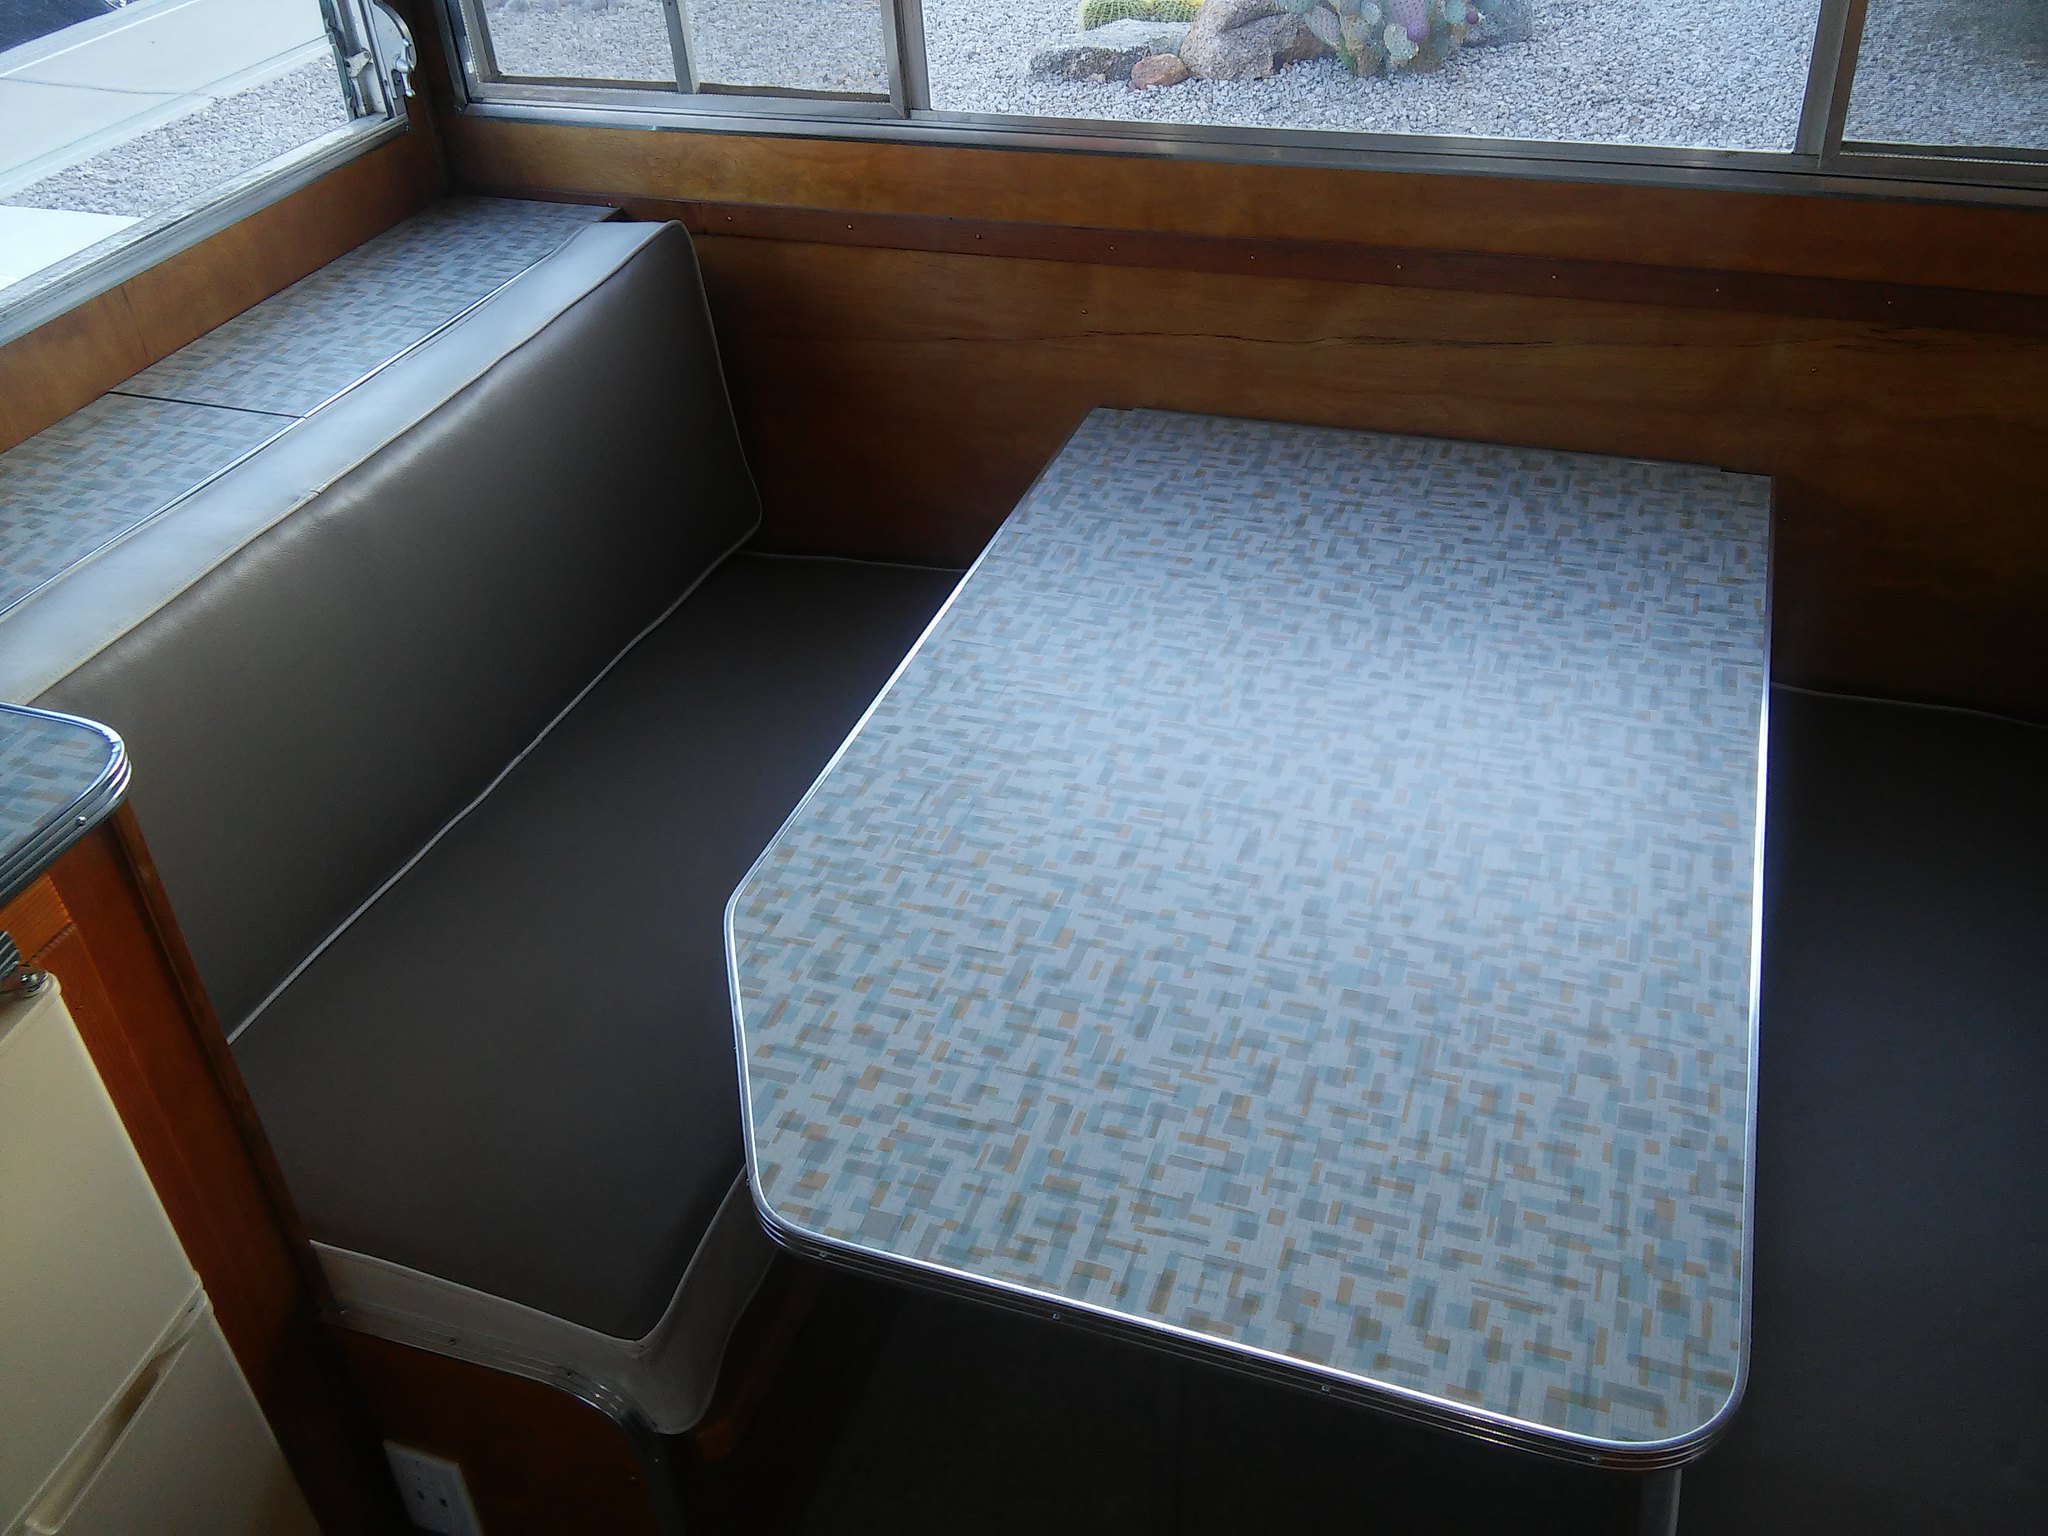 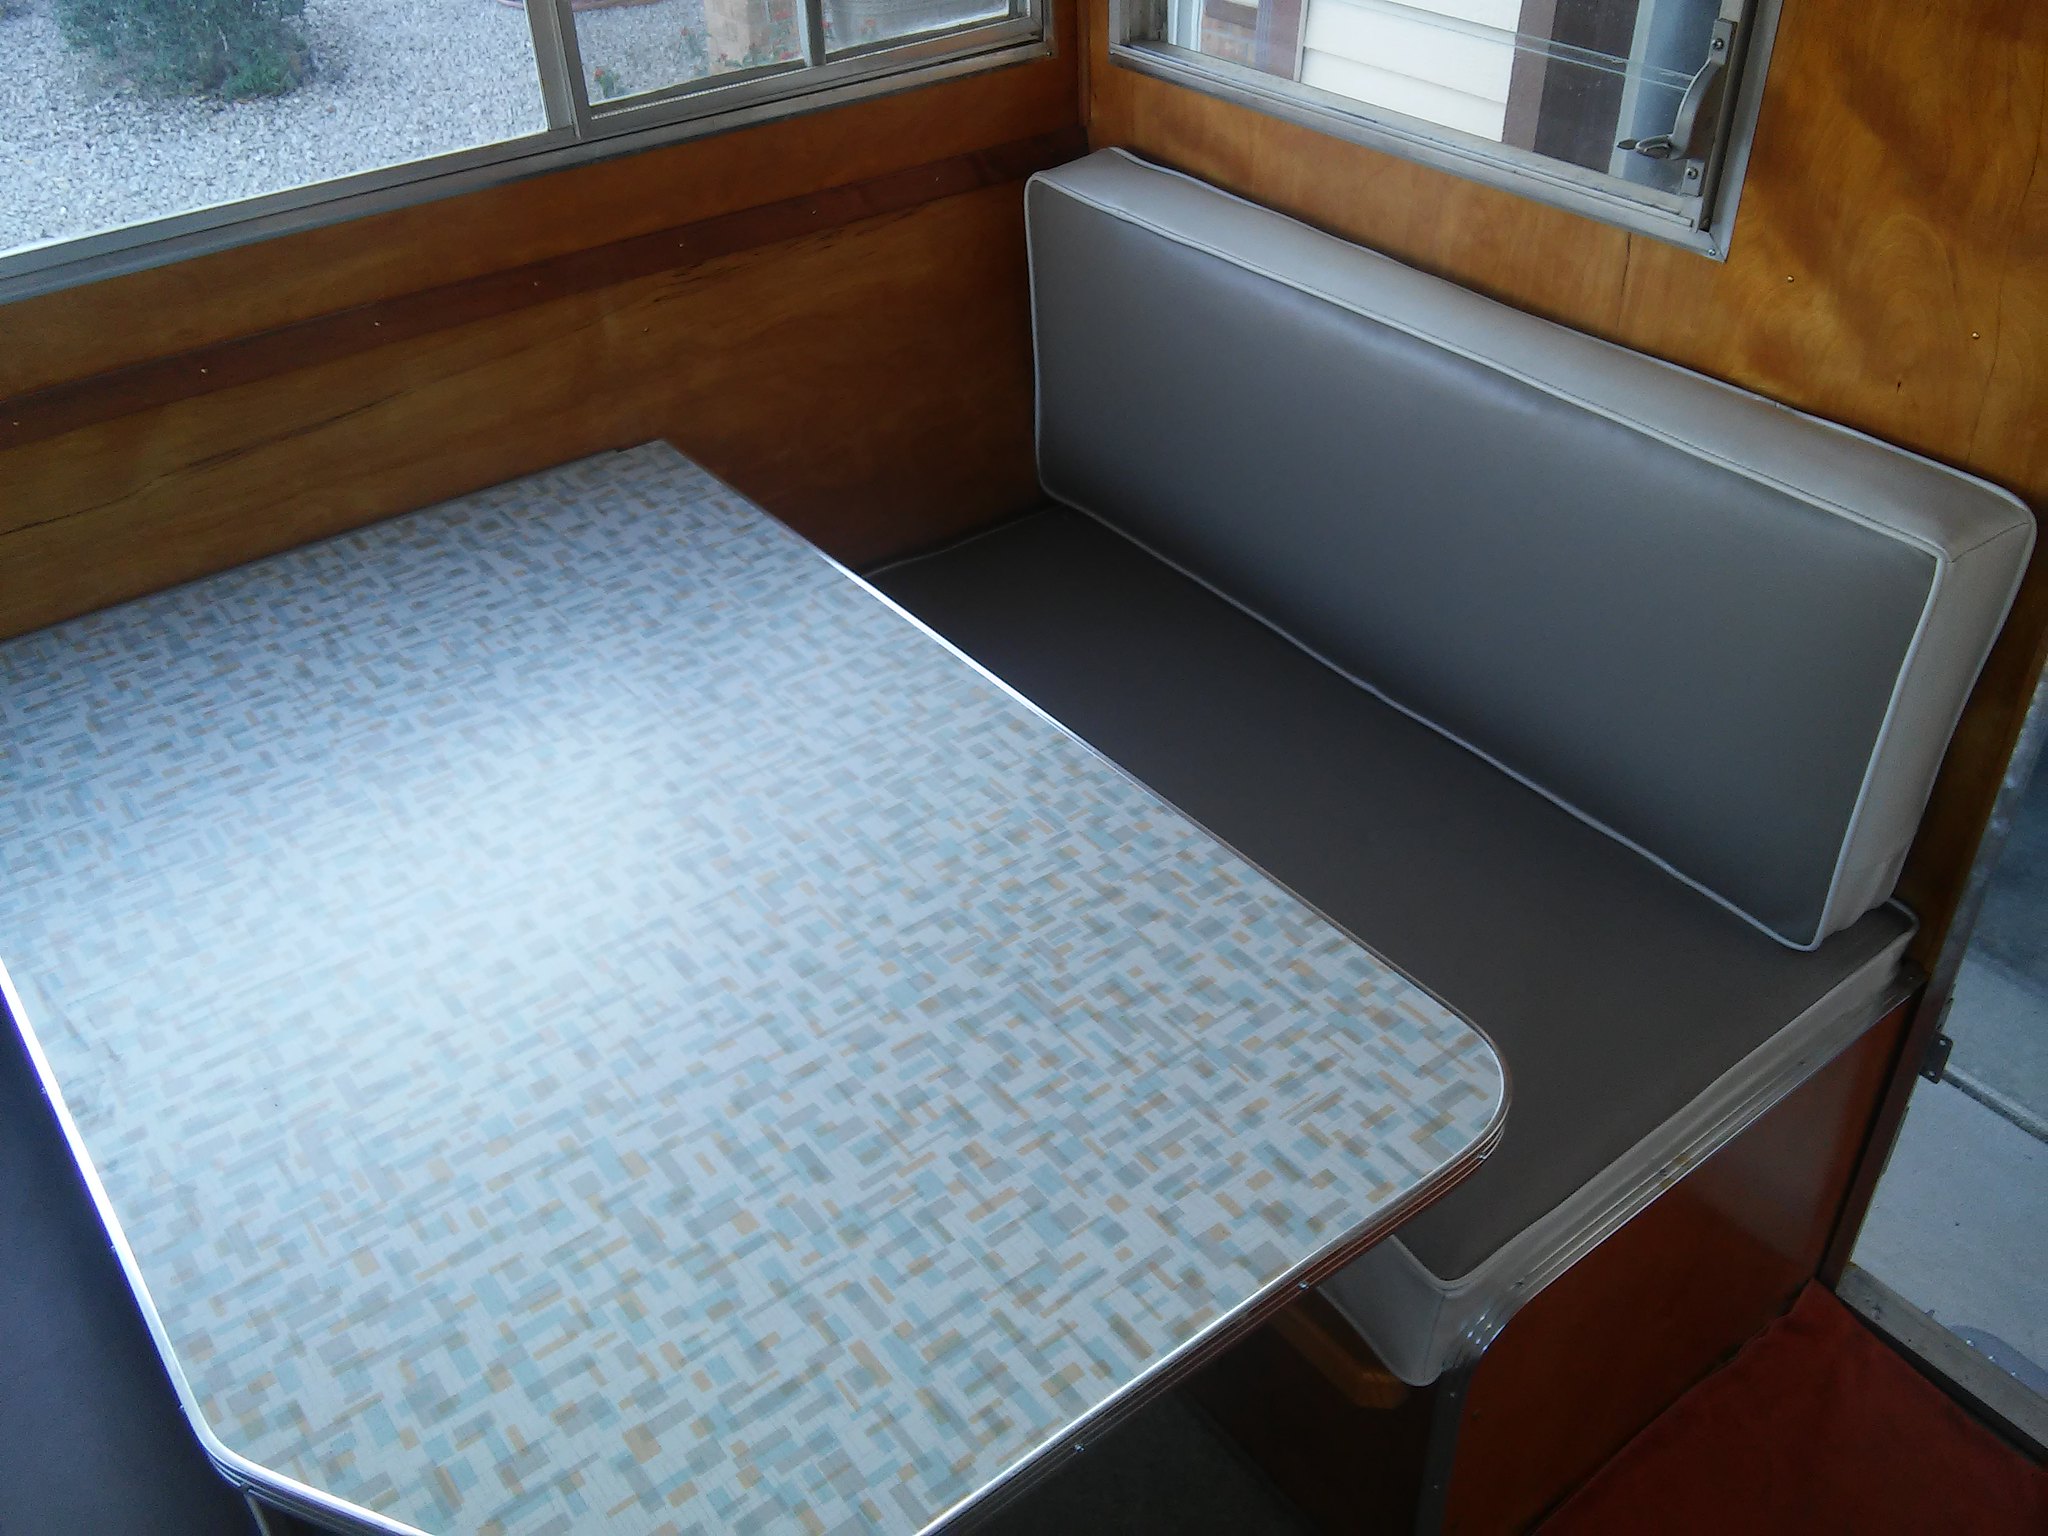 I thought this would complete the interior...but I guess I still have to change out the roof vent. I'm installing one with a fan...to be continued. |
|
skipnwendy
Active Member
  
Posts: 109 
Likes: 22
Currently Offline
|
Post by skipnwendy on Feb 4, 2018 7:13:46 GMT -8
WOW Very Nice!!!
|
|
|
|
Post by Teachndad on Feb 4, 2018 7:27:16 GMT -8
Hi Friends, What's the lamp in your kitchen? Is that vintage or new?  thanks, Rod |
|
strange1
Active Member
  
Posts: 159 
Likes: 103
1965 Shasta Airflyte
Currently Offline
|
Post by strange1 on Feb 5, 2018 9:28:16 GMT -8
It's a propane light that came with the trailer. I've had others question the originality...but is was plumbed with 1/4" copper tubing from the stove below and built into the walls and upper cabinet. The original glass globe had survived all these years and through my entire restoration only to be broken when I accidentally dropped a carriage bolt on it...This is a replacement glass from Vintage Trailer.
So I've got propane lighting in addition to the electric lights...
|
|
Jolene
Active Member
  
Posts: 145 
Likes: 46
1964 Aristocrat Li'l Loafer
Currently Offline
|
Post by Jolene on Feb 5, 2018 18:54:17 GMT -8
Holy crumbs this looks amazing!! I love your decor choices, and especially the sink cover - super brilliant idea and matches too!
I'm not one to beg for pics but ISTG you had better post some camping pics as soon as you go and I hope it's soon!!
|
|
|
|
Post by vikx on Feb 5, 2018 20:06:10 GMT -8
So sorry about the gas globe! I did the same thing to one of mine...
|
|
|
|
Post by Teachndad on Feb 7, 2018 15:38:19 GMT -8
Hi Friends, Why is there a piano hinge at the bottom of the cabinet?  Thanks, Rod |
|
strange1
Active Member
  
Posts: 159 
Likes: 103
1965 Shasta Airflyte
Currently Offline
|
Post by strange1 on Feb 7, 2018 18:00:54 GMT -8
That's the street side bench seat for the dinette...gotta have access to my electronics & water tank. Here's a wider shot... 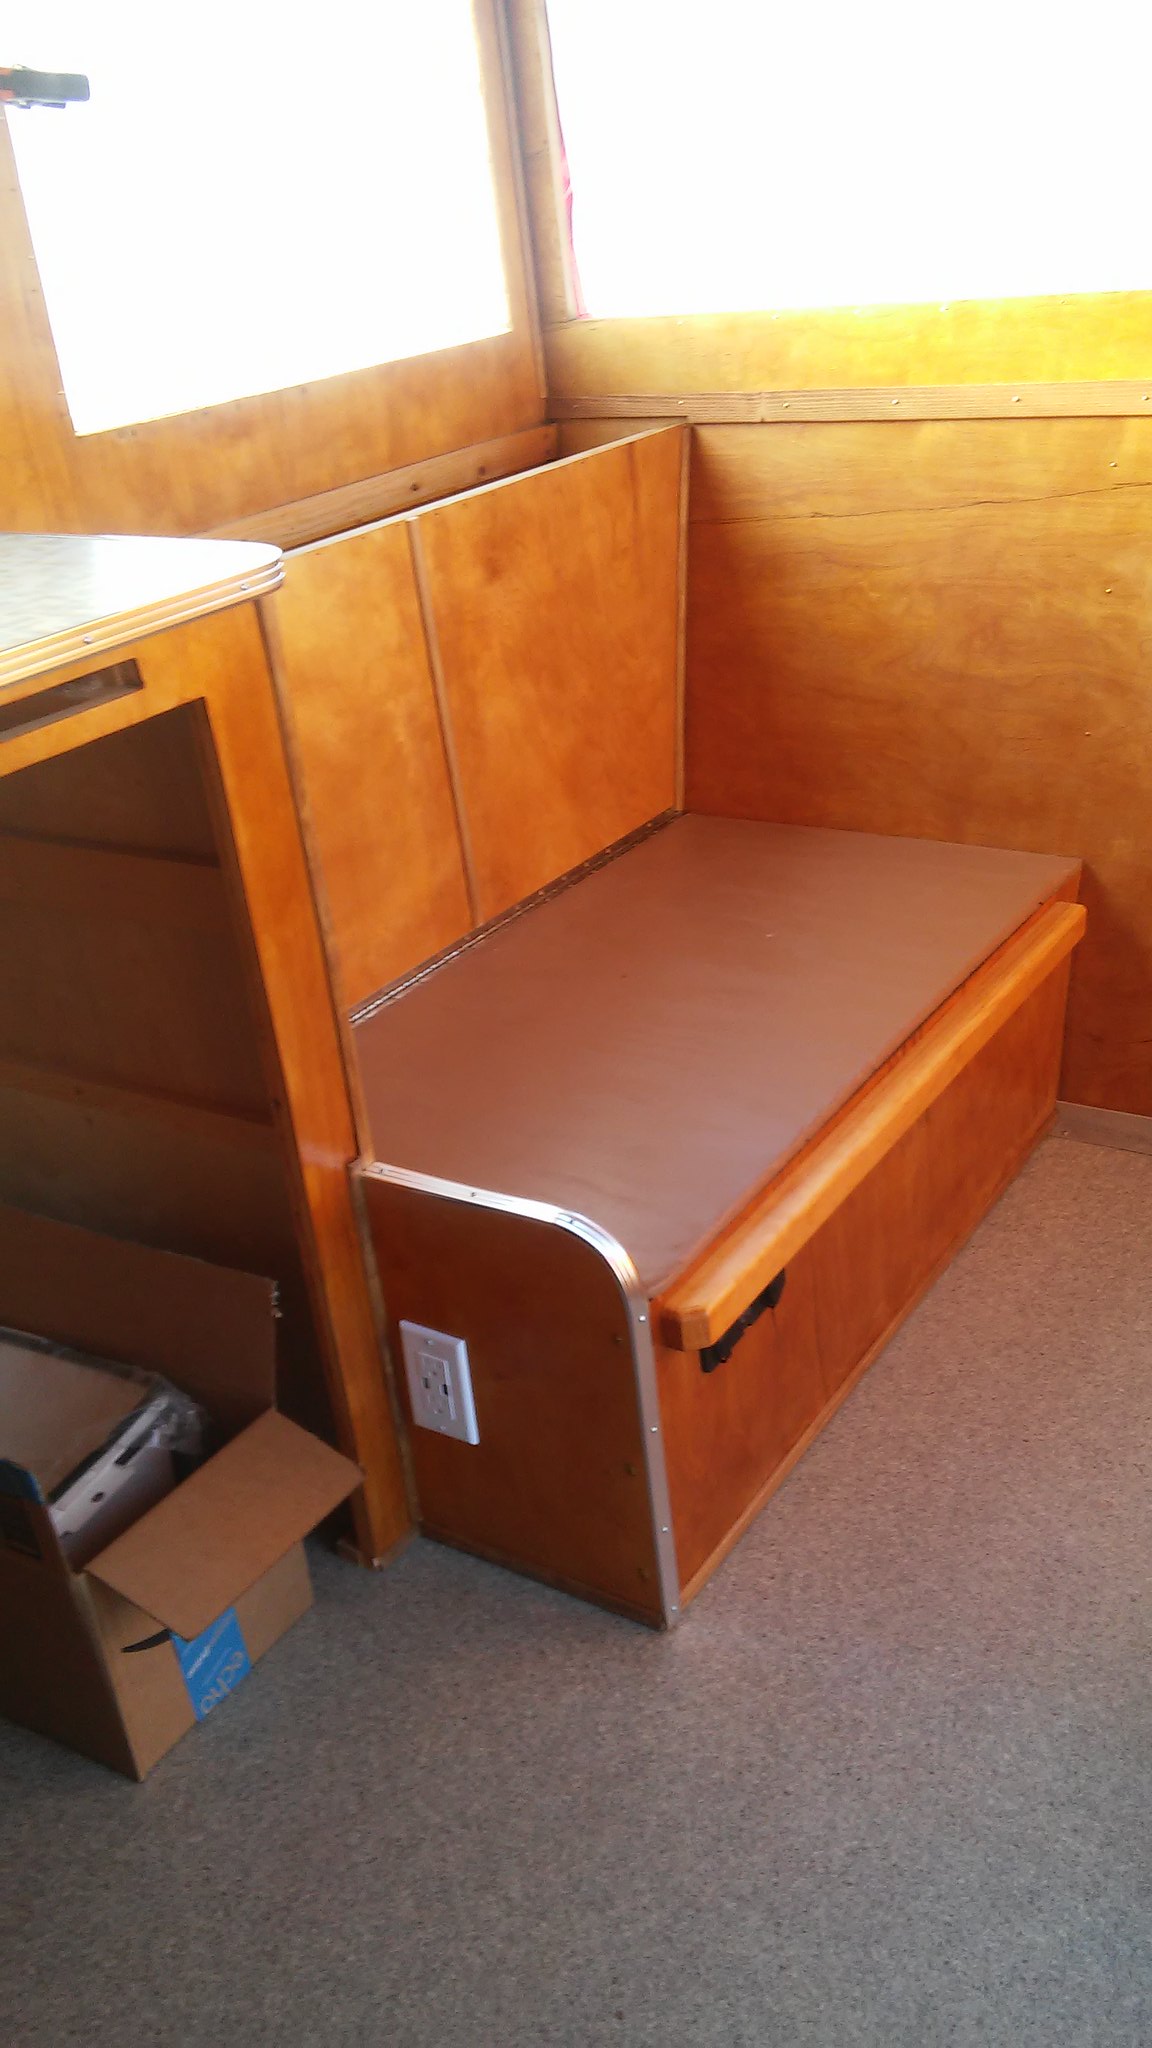 |
|
strange1
Active Member
  
Posts: 159 
Likes: 103
1965 Shasta Airflyte
Currently Offline
|
Post by strange1 on Feb 9, 2018 9:18:37 GMT -8
I had (2) light fixtures from the original trailer I wanted to be able to re-use. They were a combo light with (1) 110V regular incandescent bulb and (1) smaller auto 12V (1076) bulb...multi-use. There was also a 110V outlet on one end of each fixture. Since I've converted all my lights to 12V I knew the 110V outlet would be worthless so I replaced one with a dual USB outlet so we could charge our phones, etc. Anyway here's a look at one of my little projects from this week. This is a BEFORE picture of one of the light fixtures in it's original location under the upper cabinet over the kitchen sink. 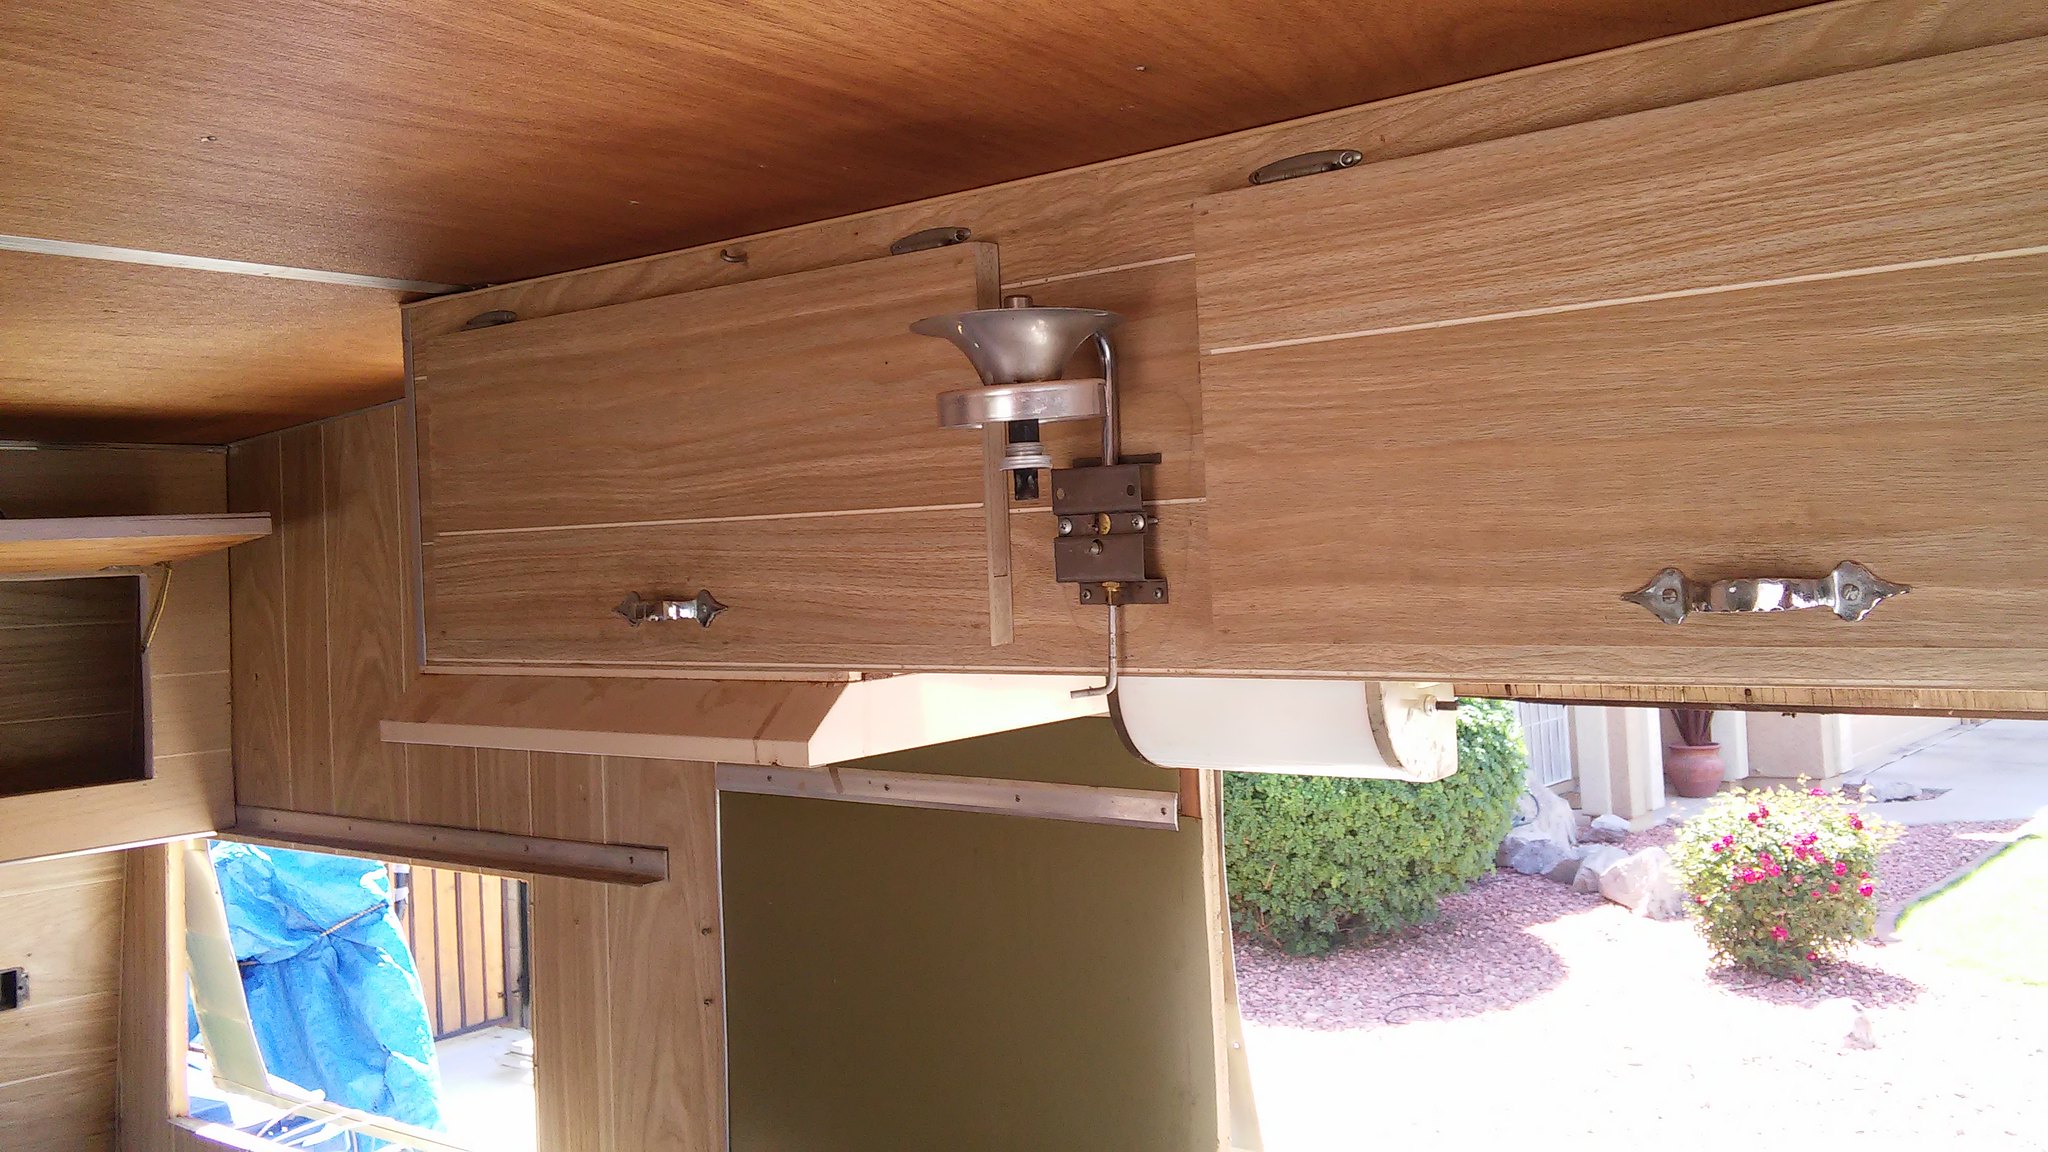 I purchased a dual port USB charger that fits in a cigarette lighter 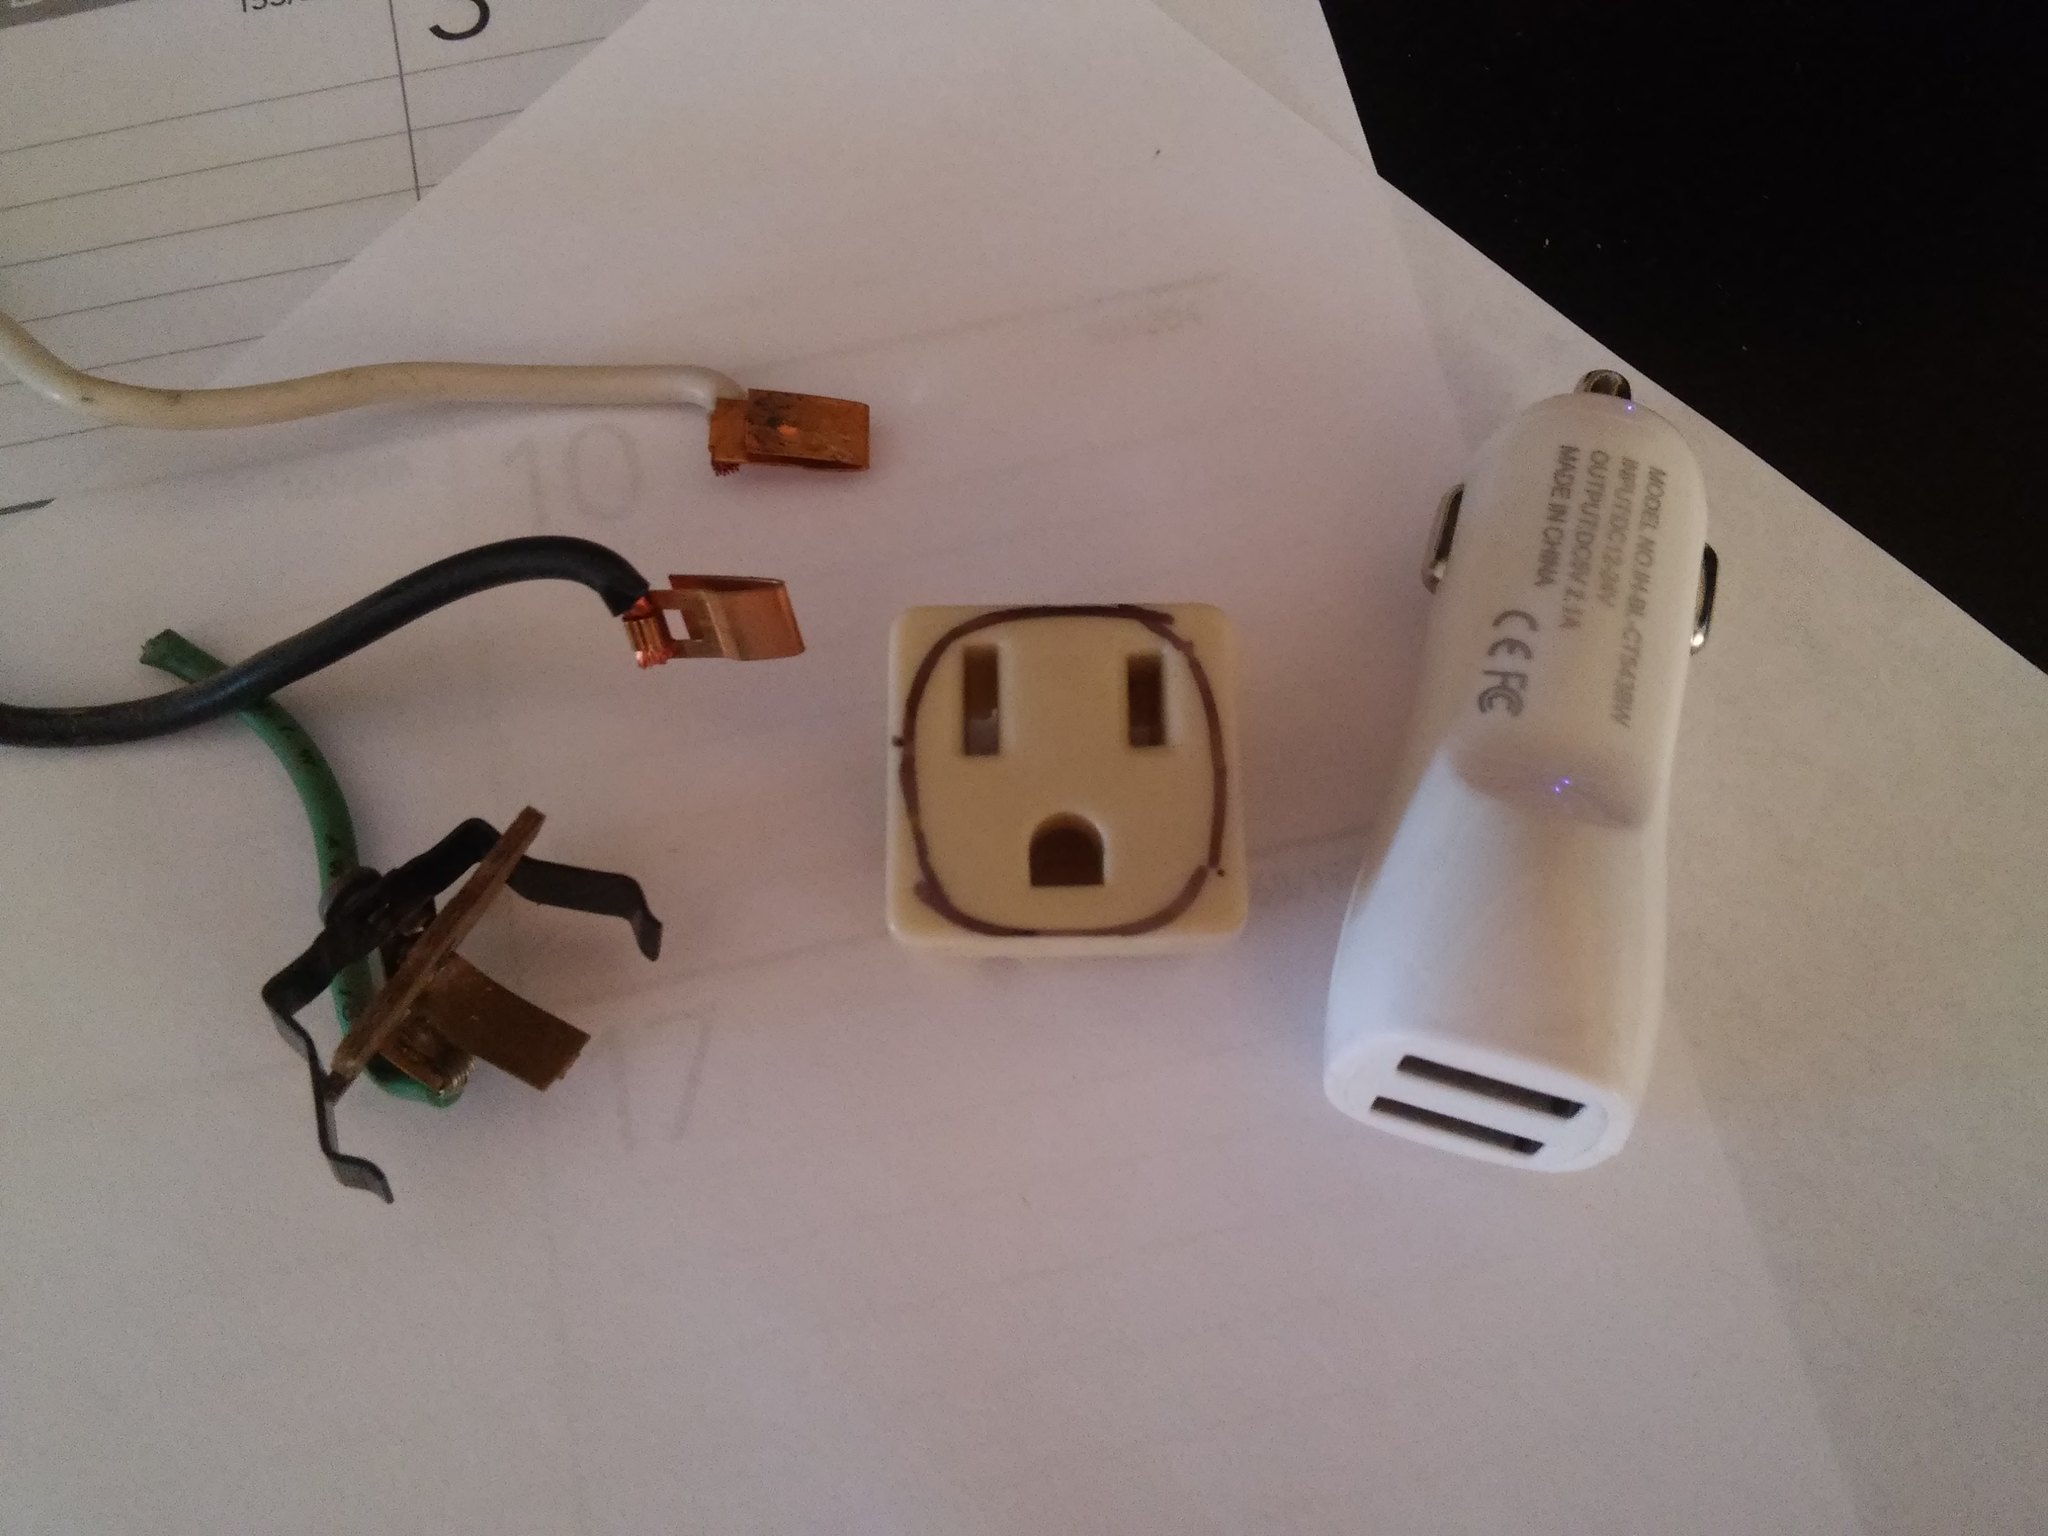 With my dremel tool I cannibalized the single plug socket to accept the charger. 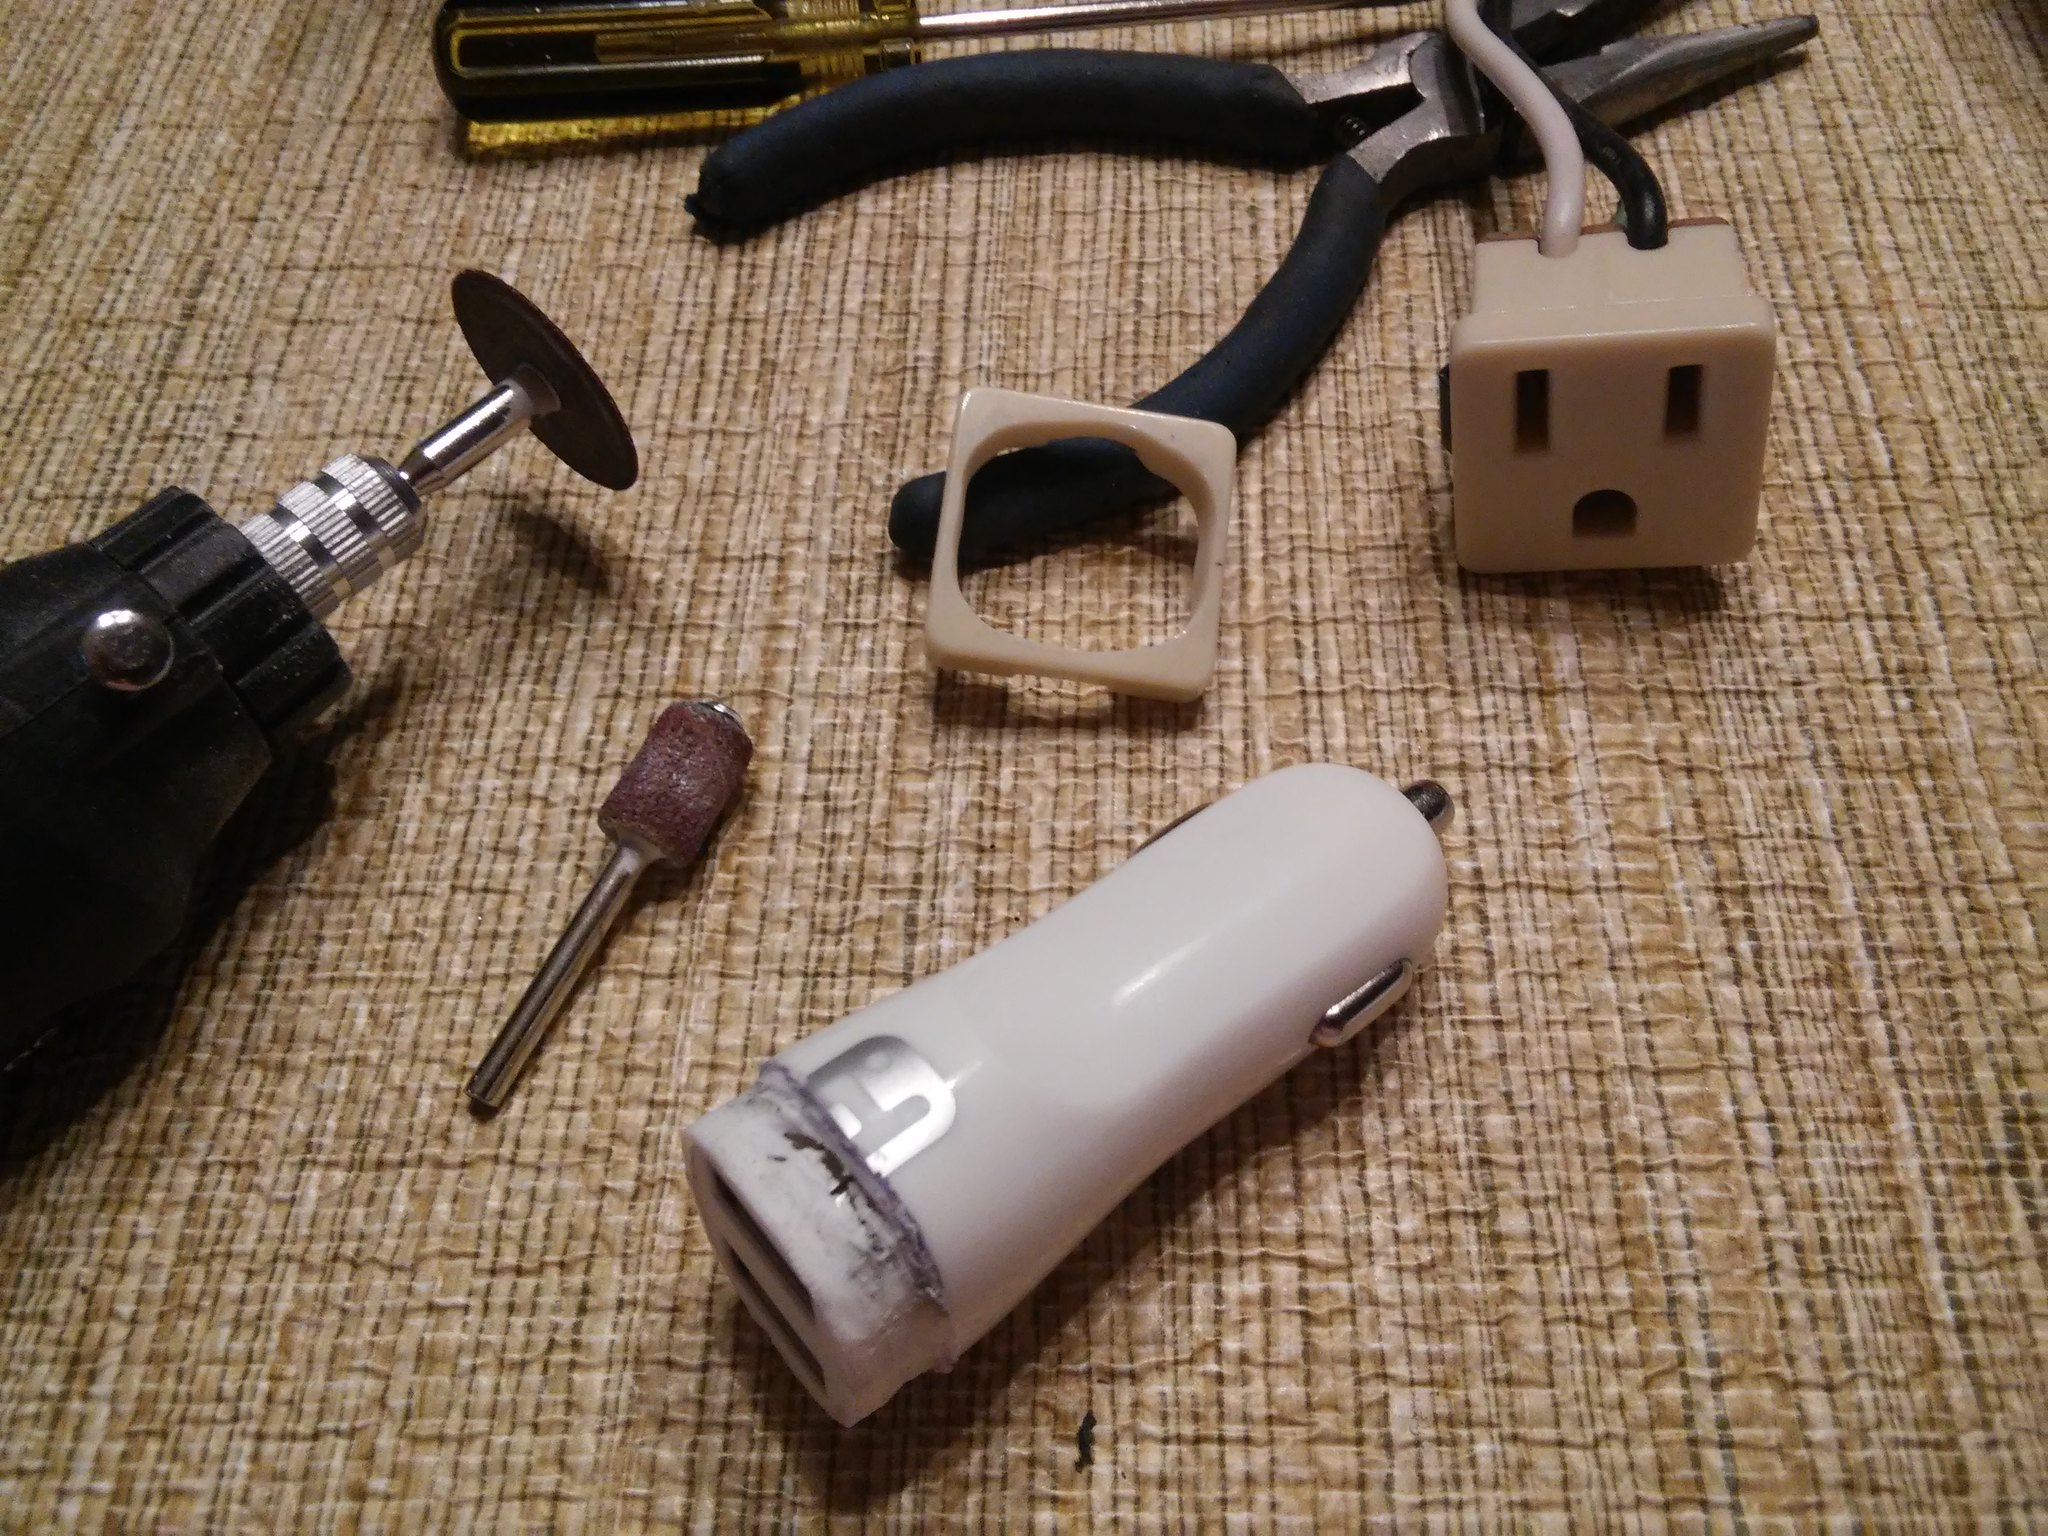 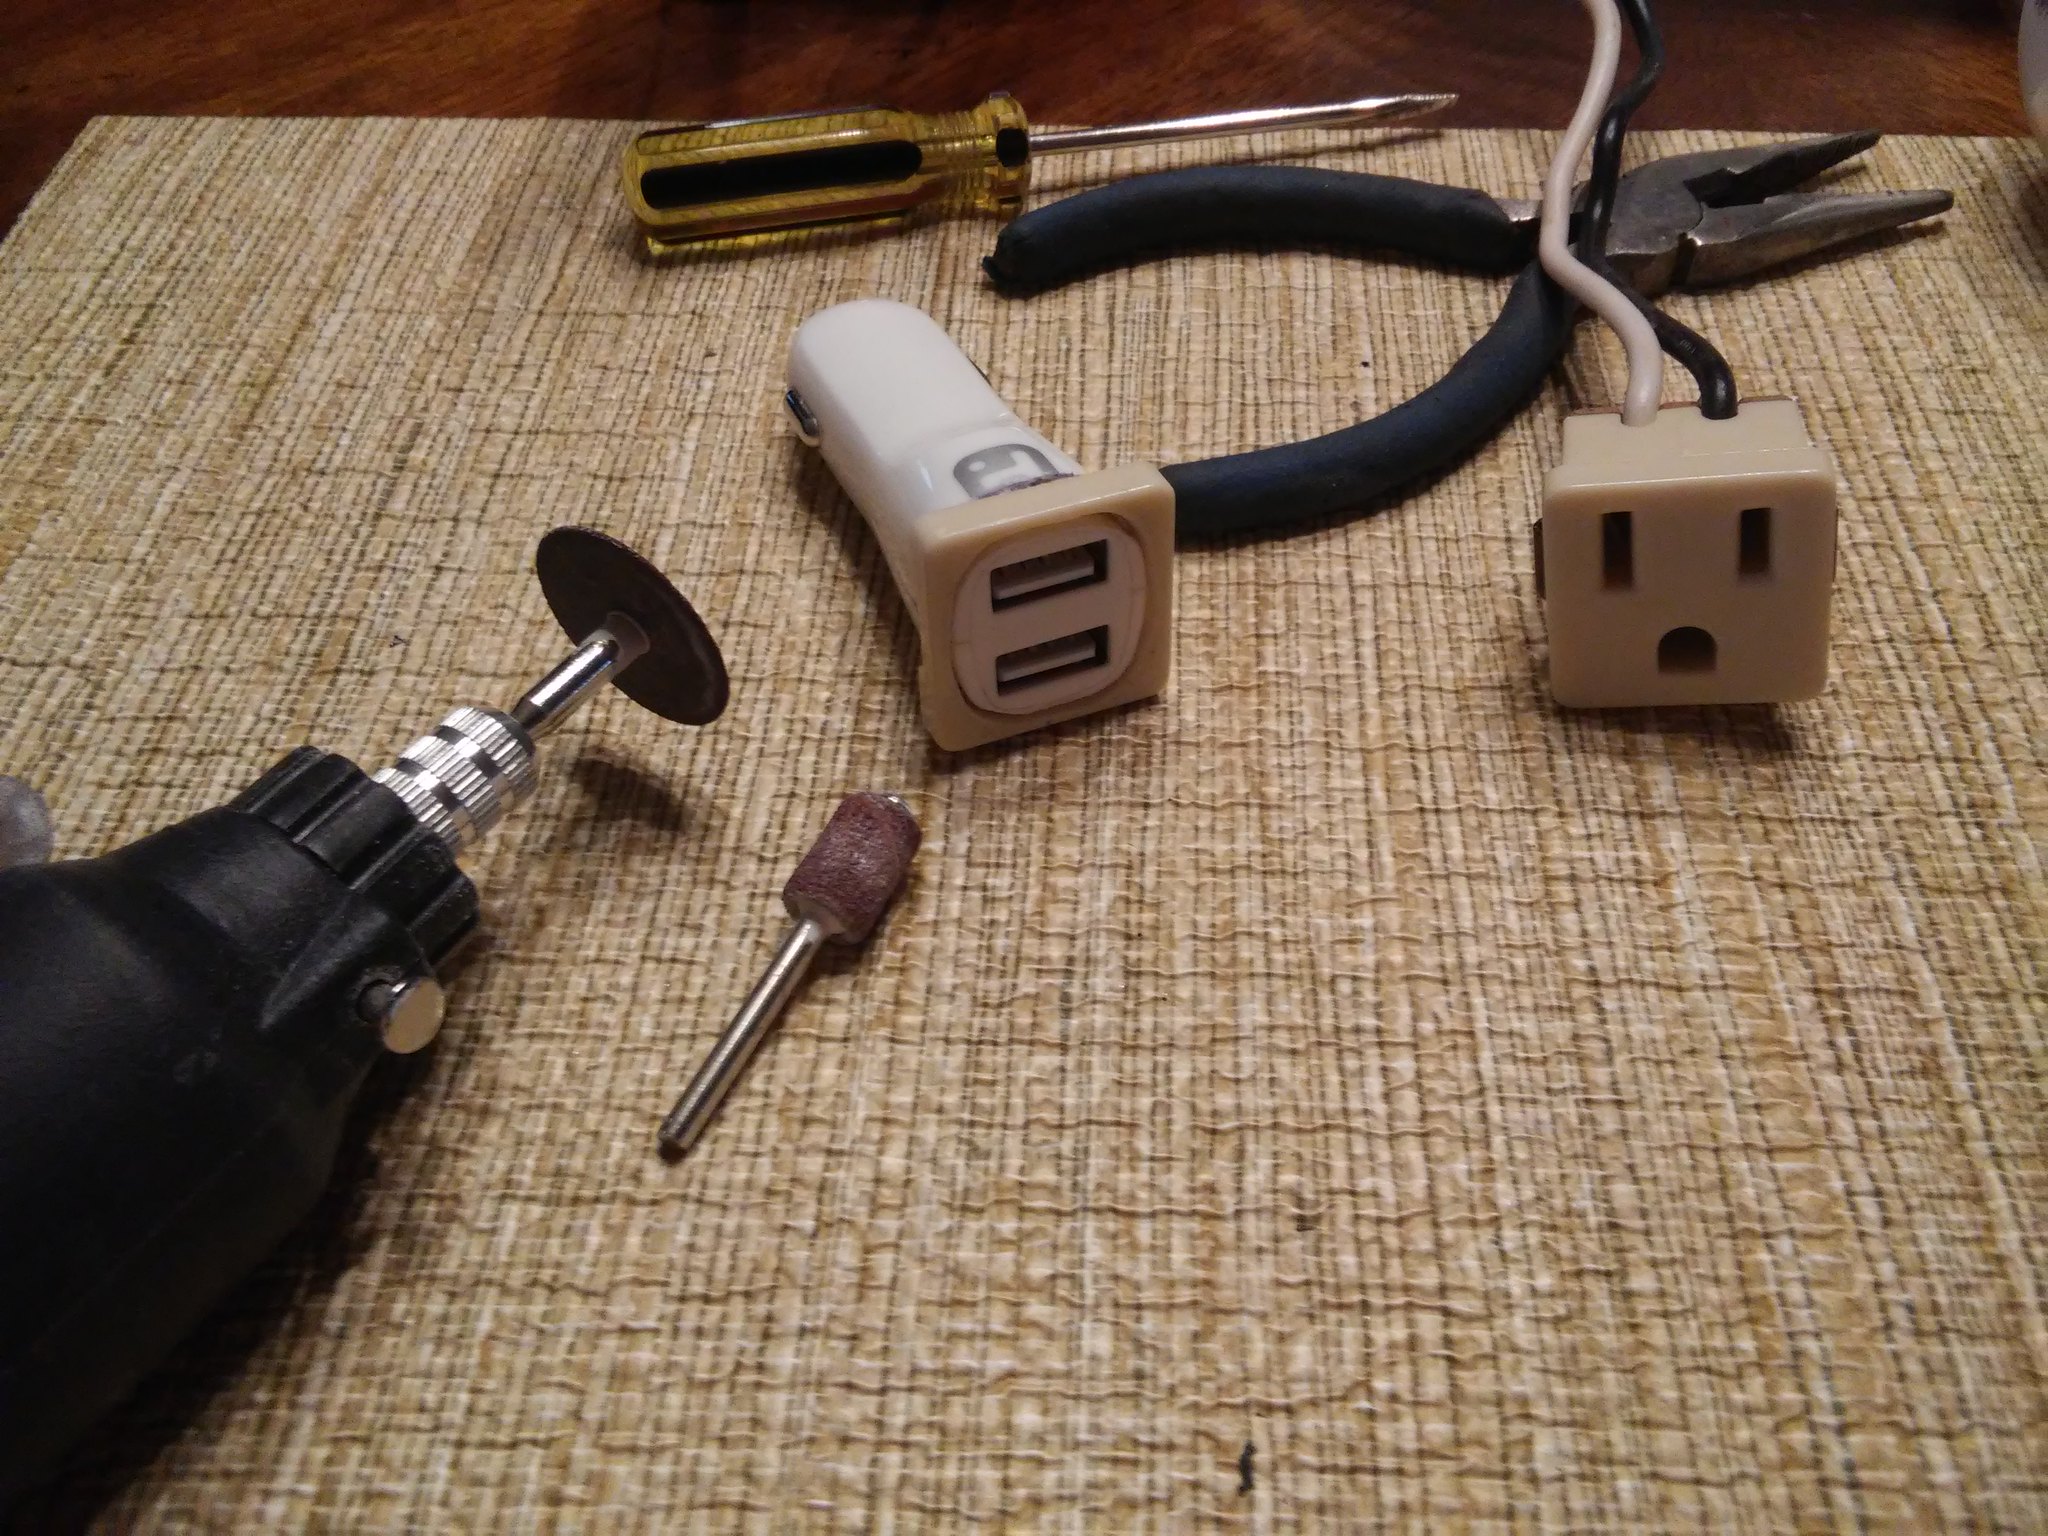 A little solder, heat shrink insulation & 5 min. epoxy... 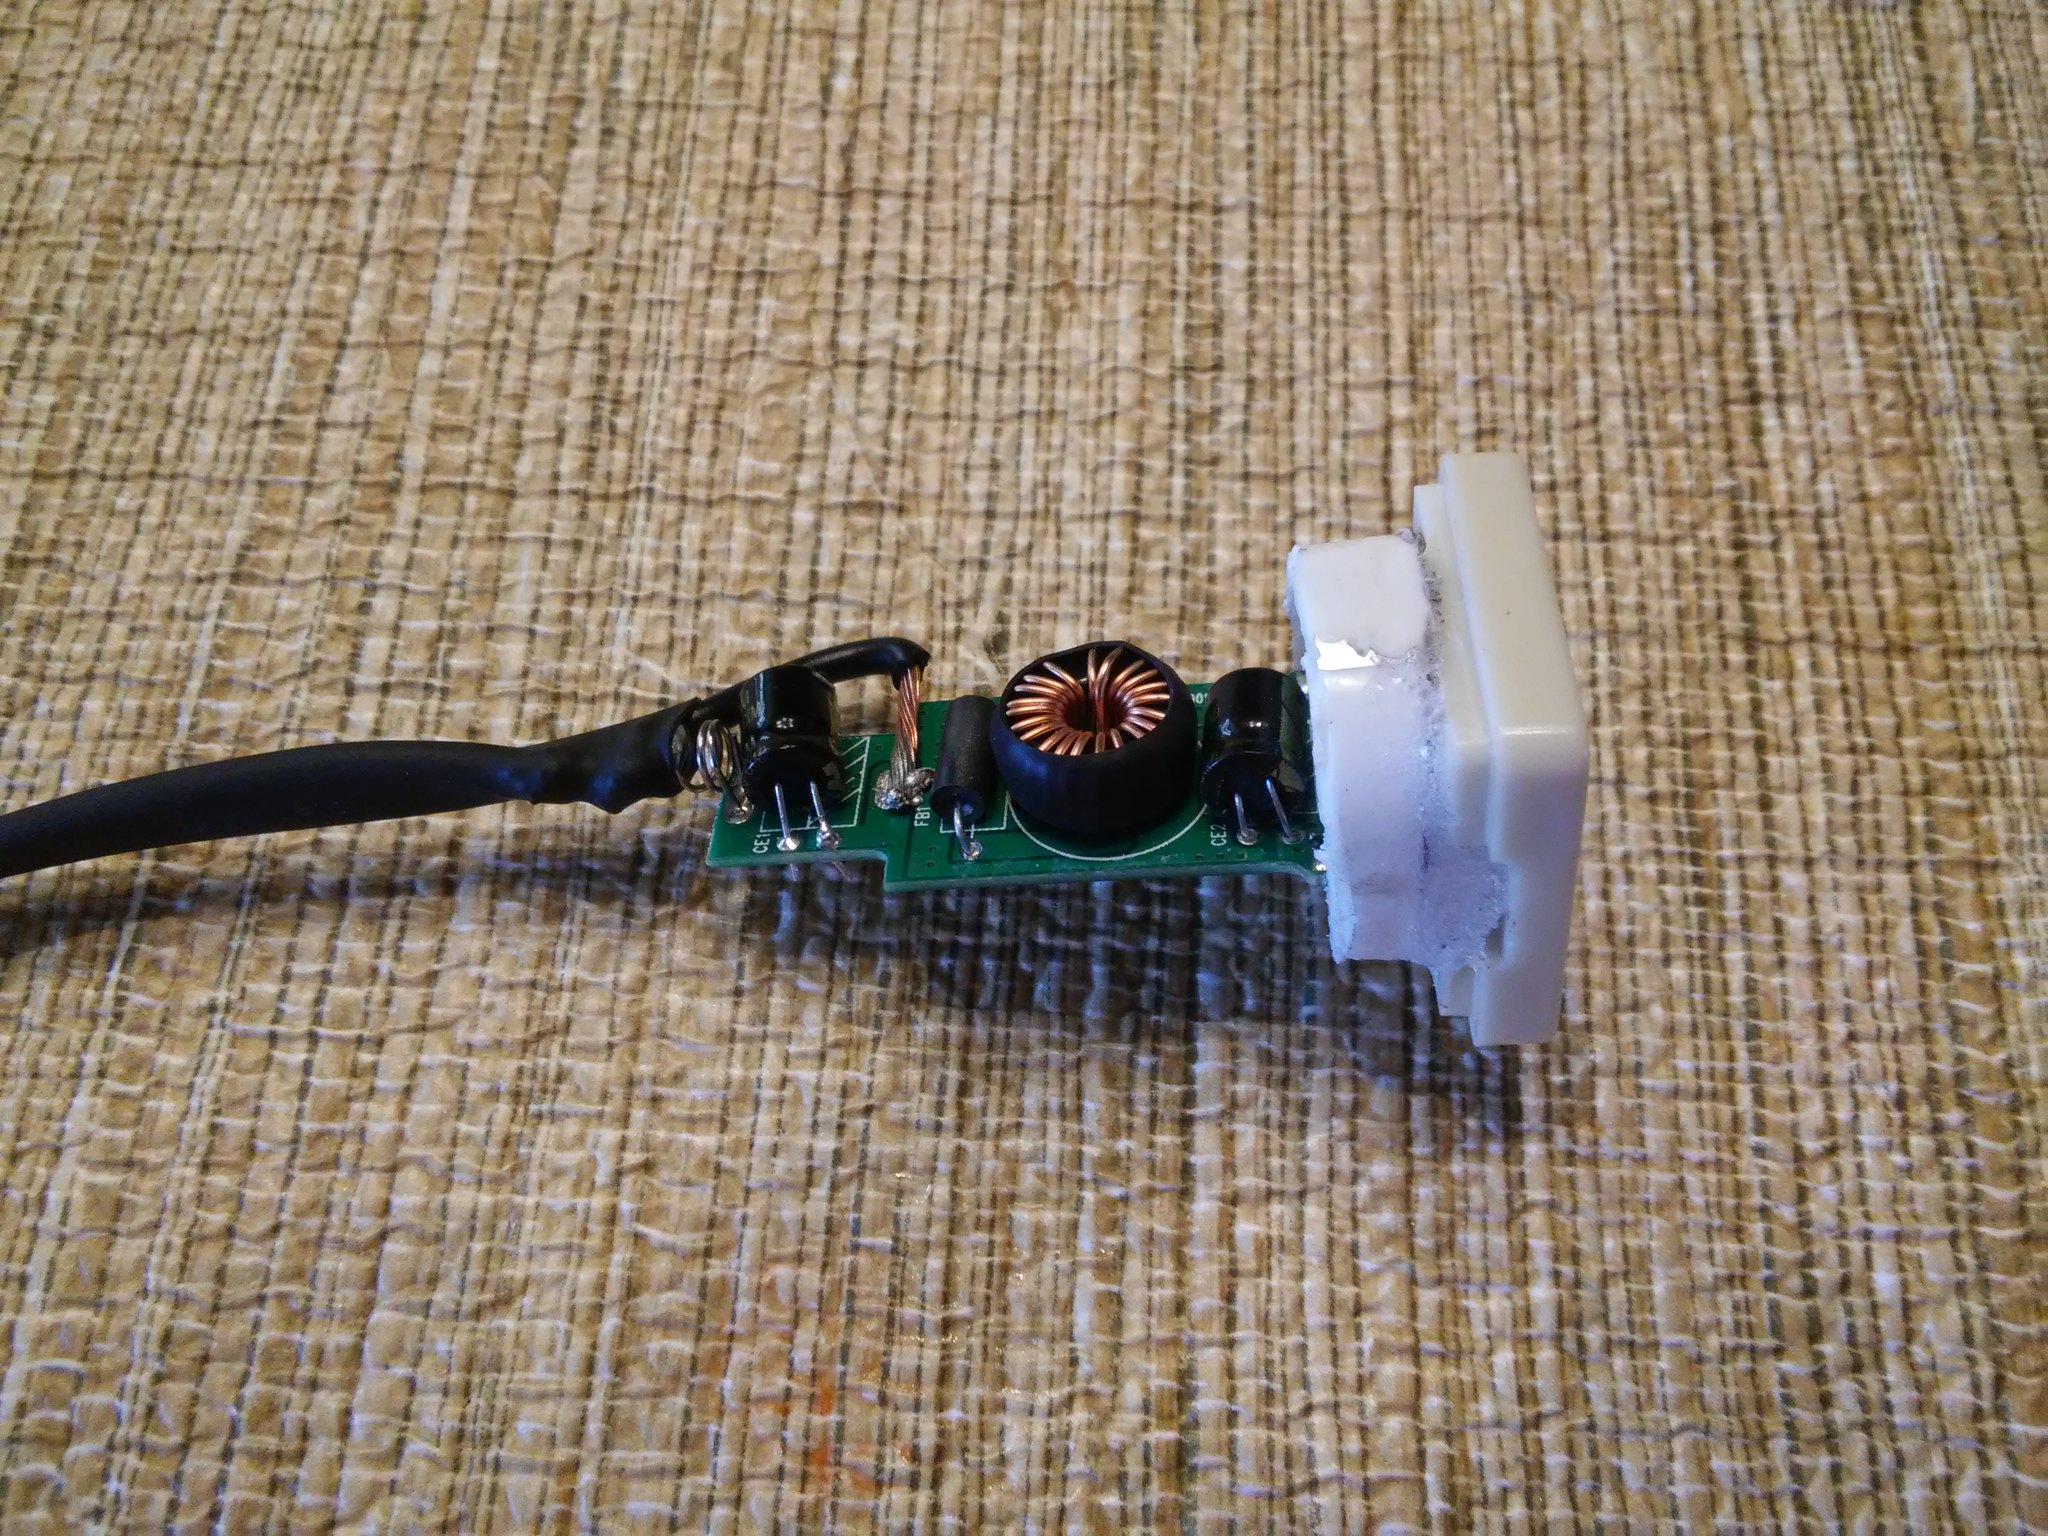 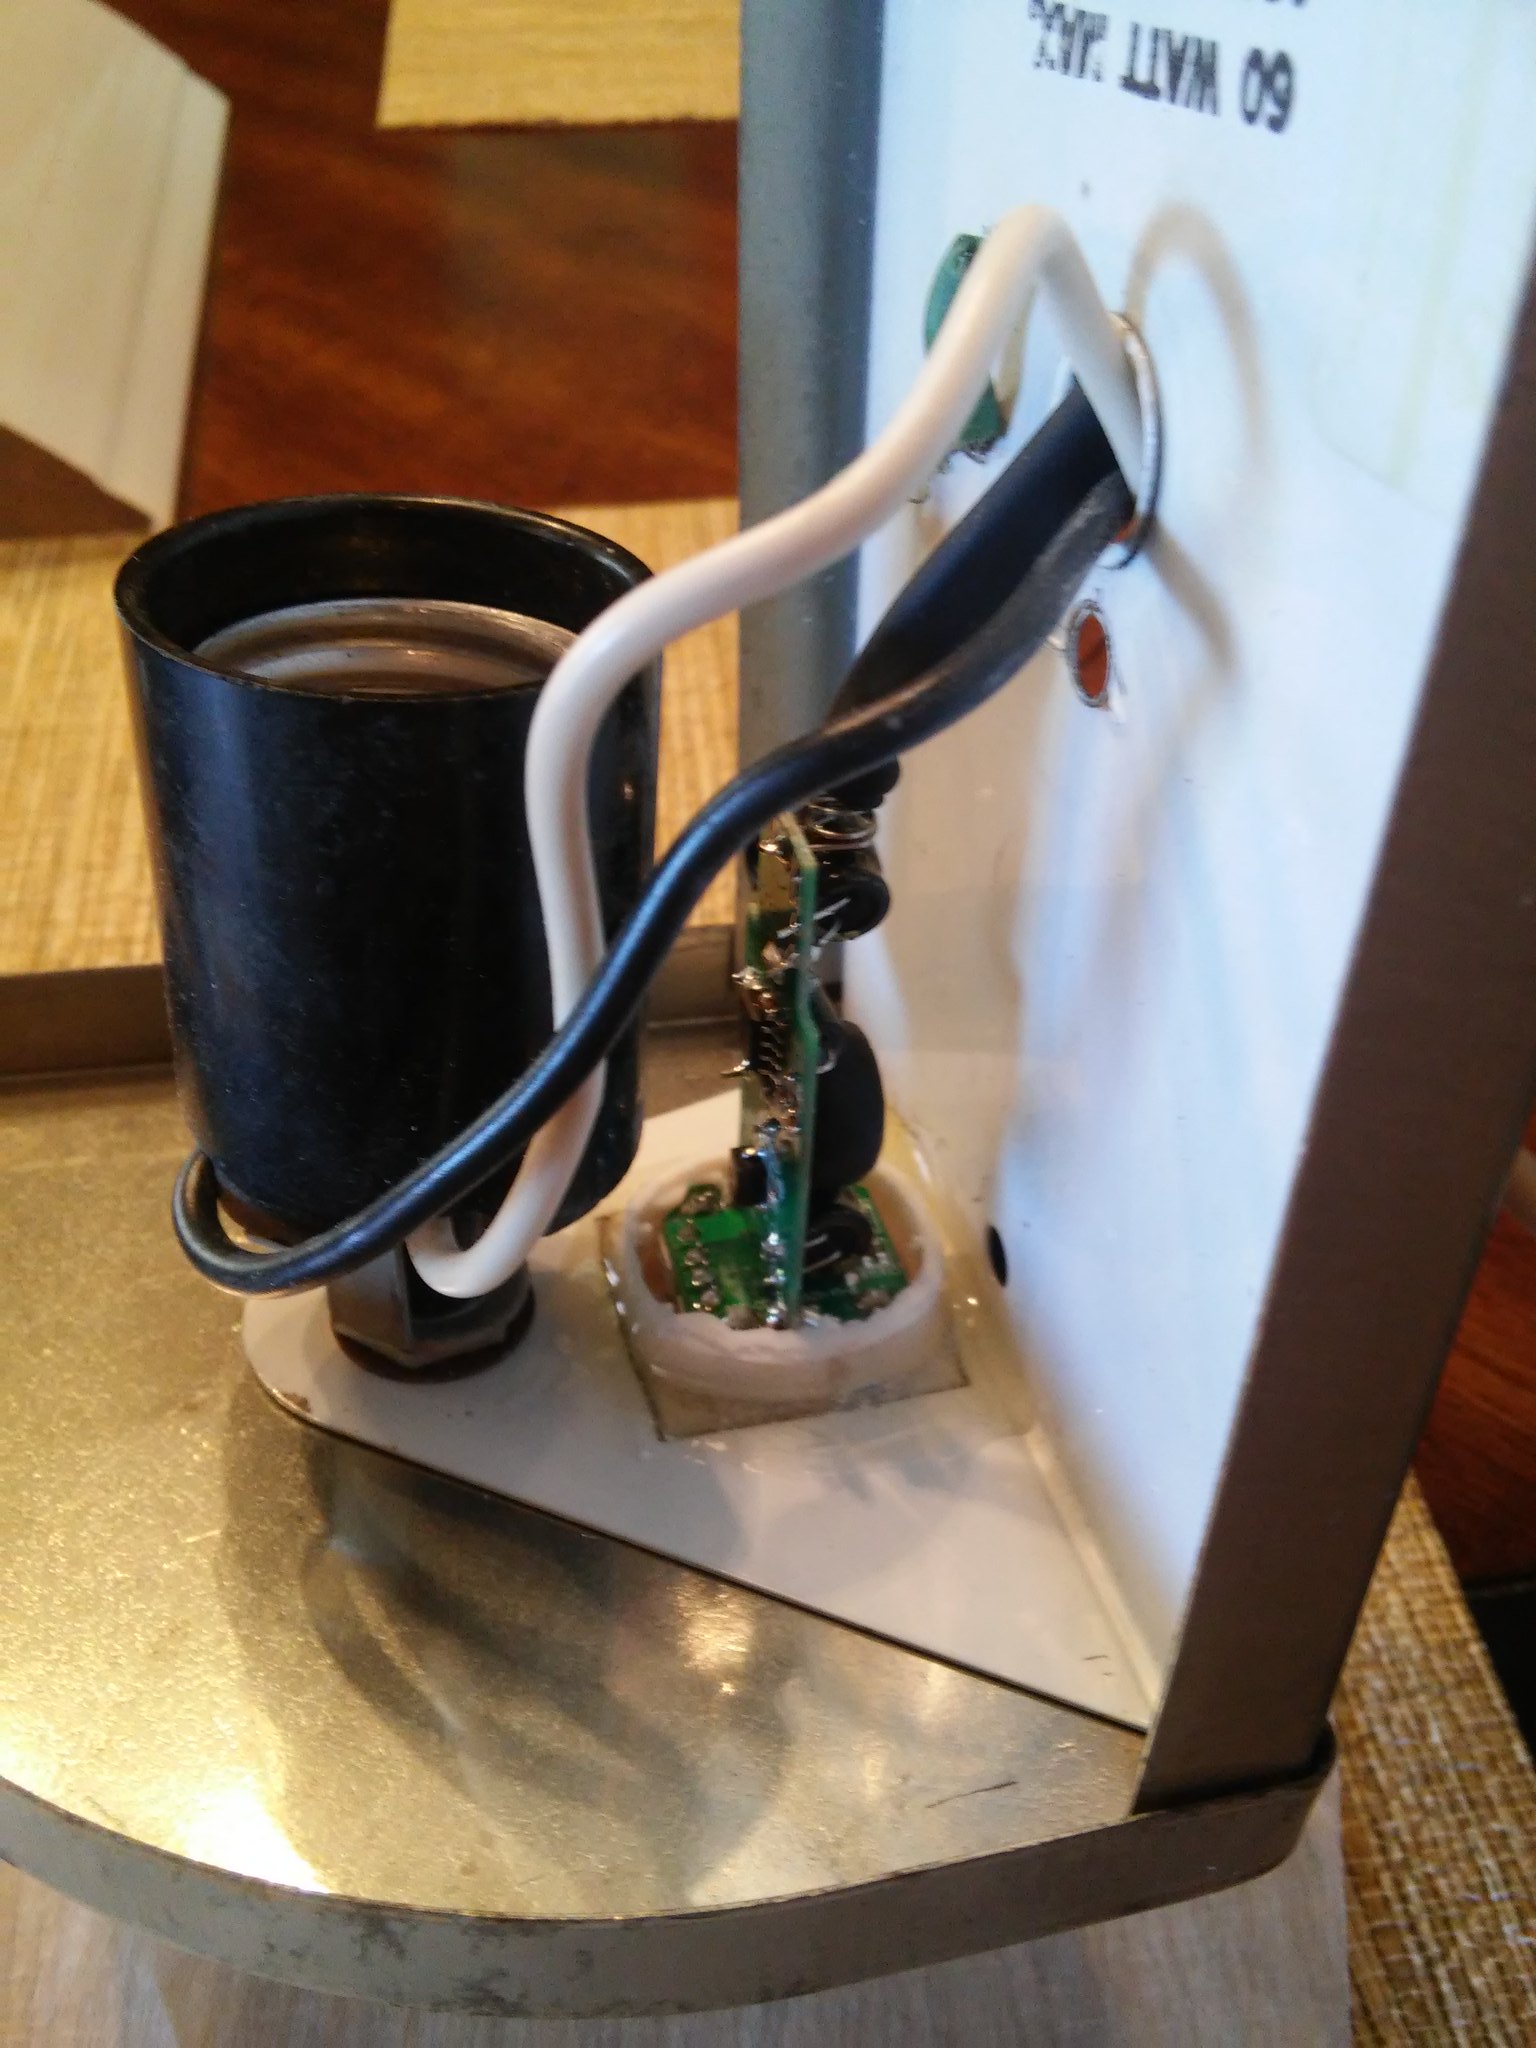 Not the prettiest...but it will work nicely! 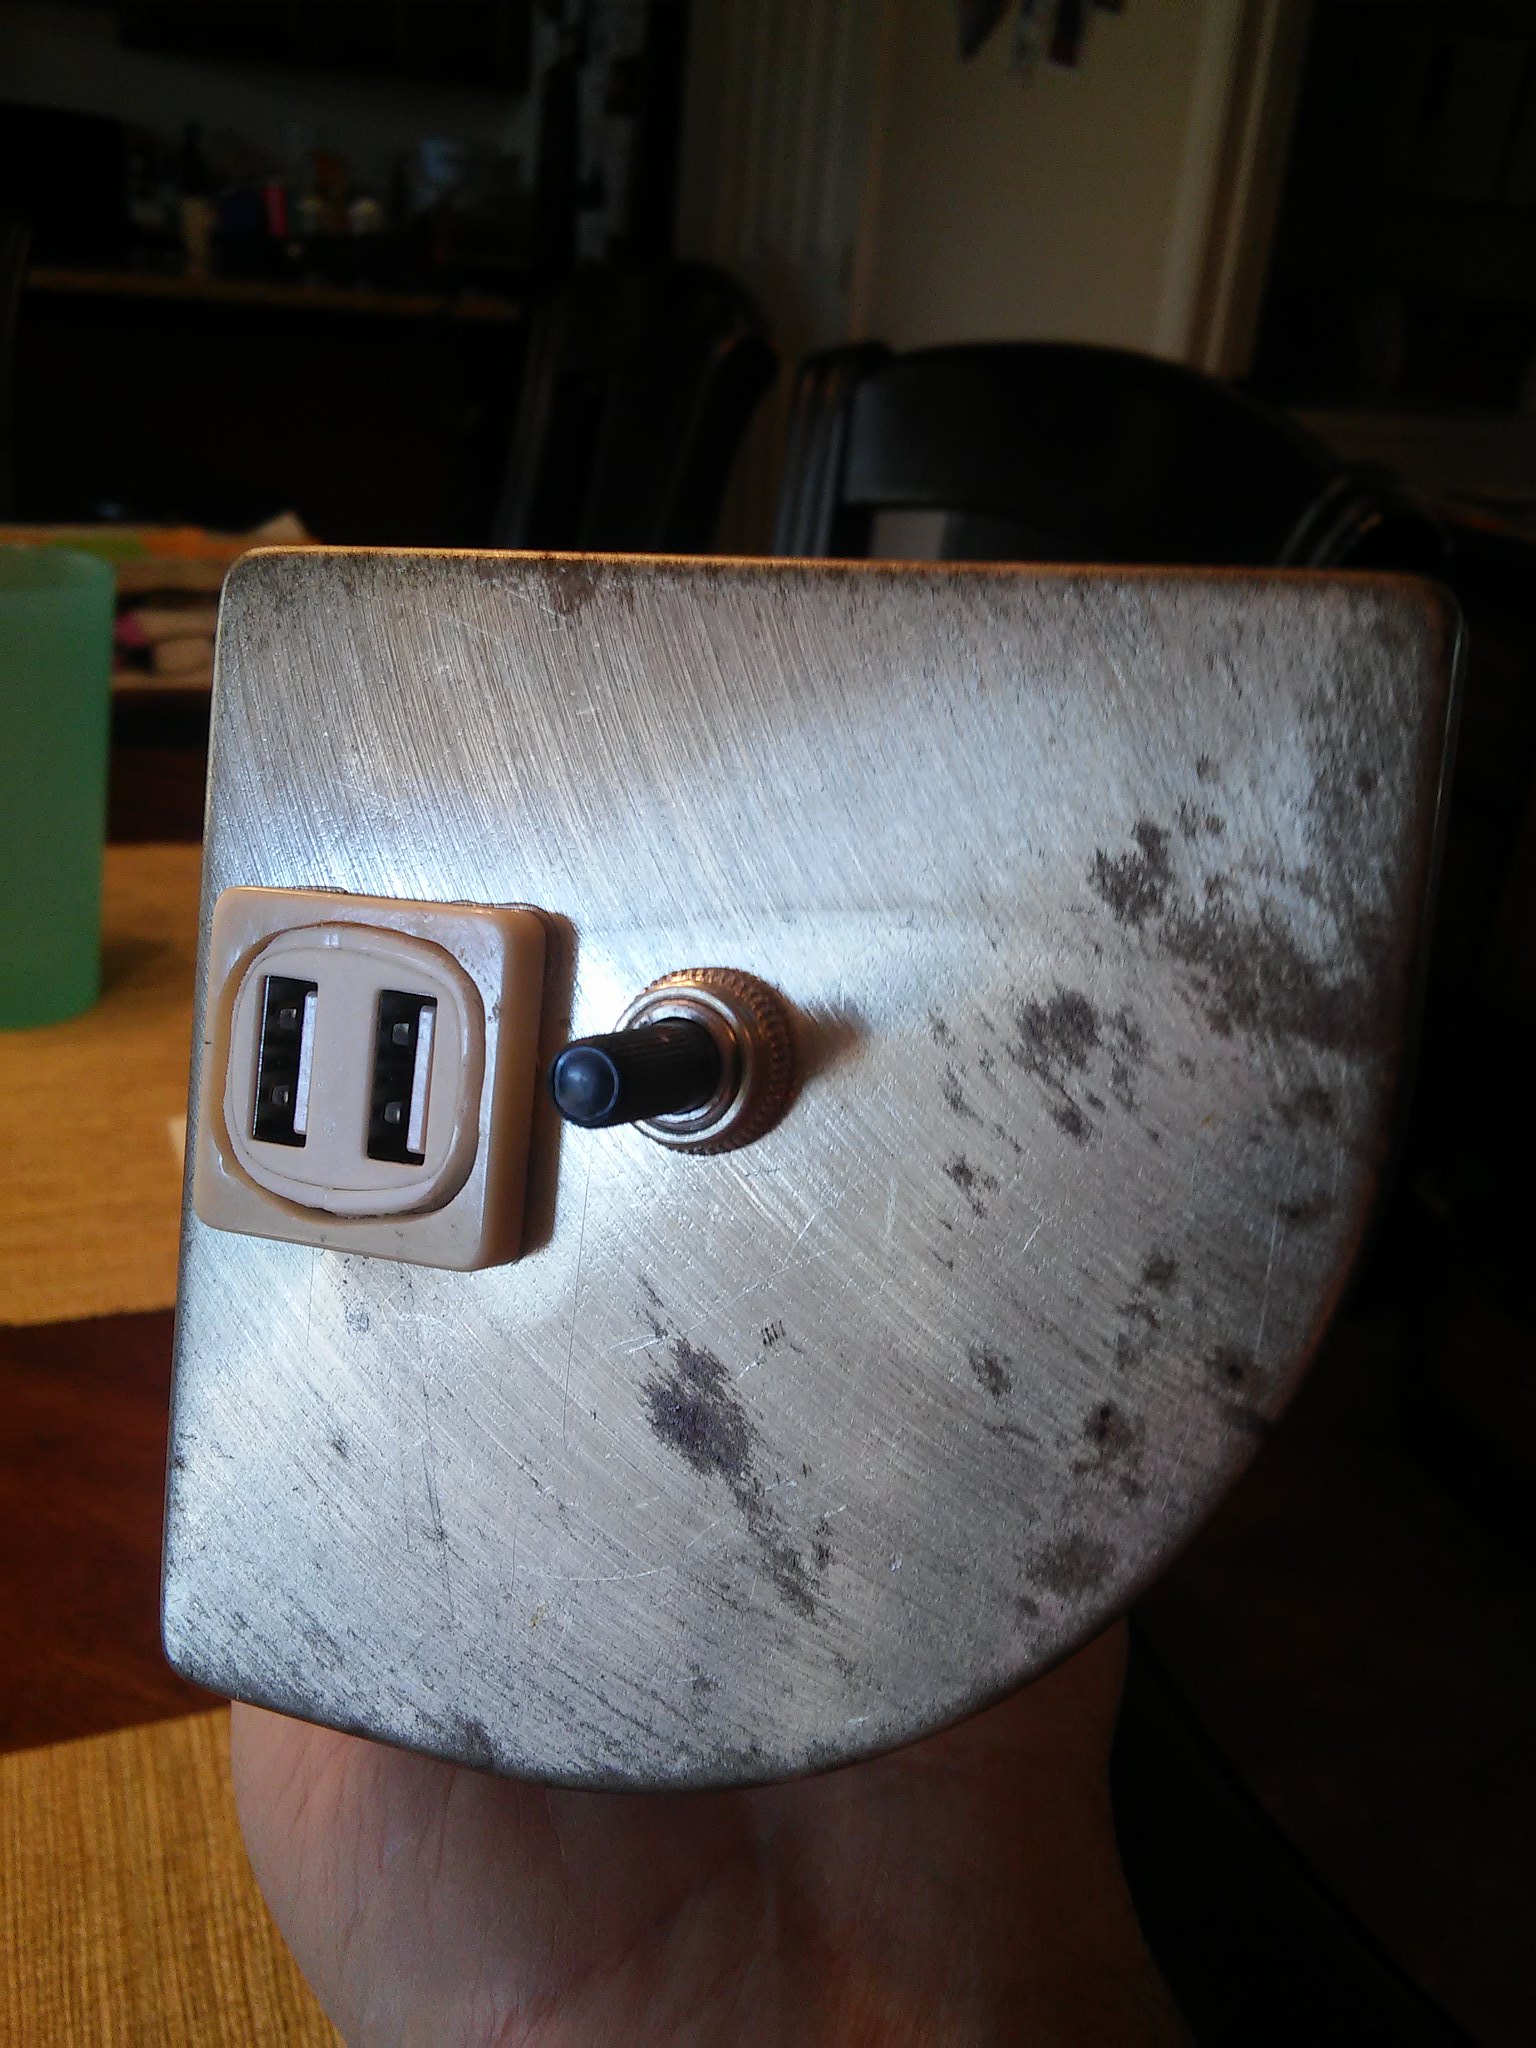 I bought a 6 pak of these LED 12V lights off of EBAY. I'll be using (2) for these fixtures & (1) for my converted porch light. They are a regular size bulb base (A19). Excited to see how they work and what their power consumption is like. 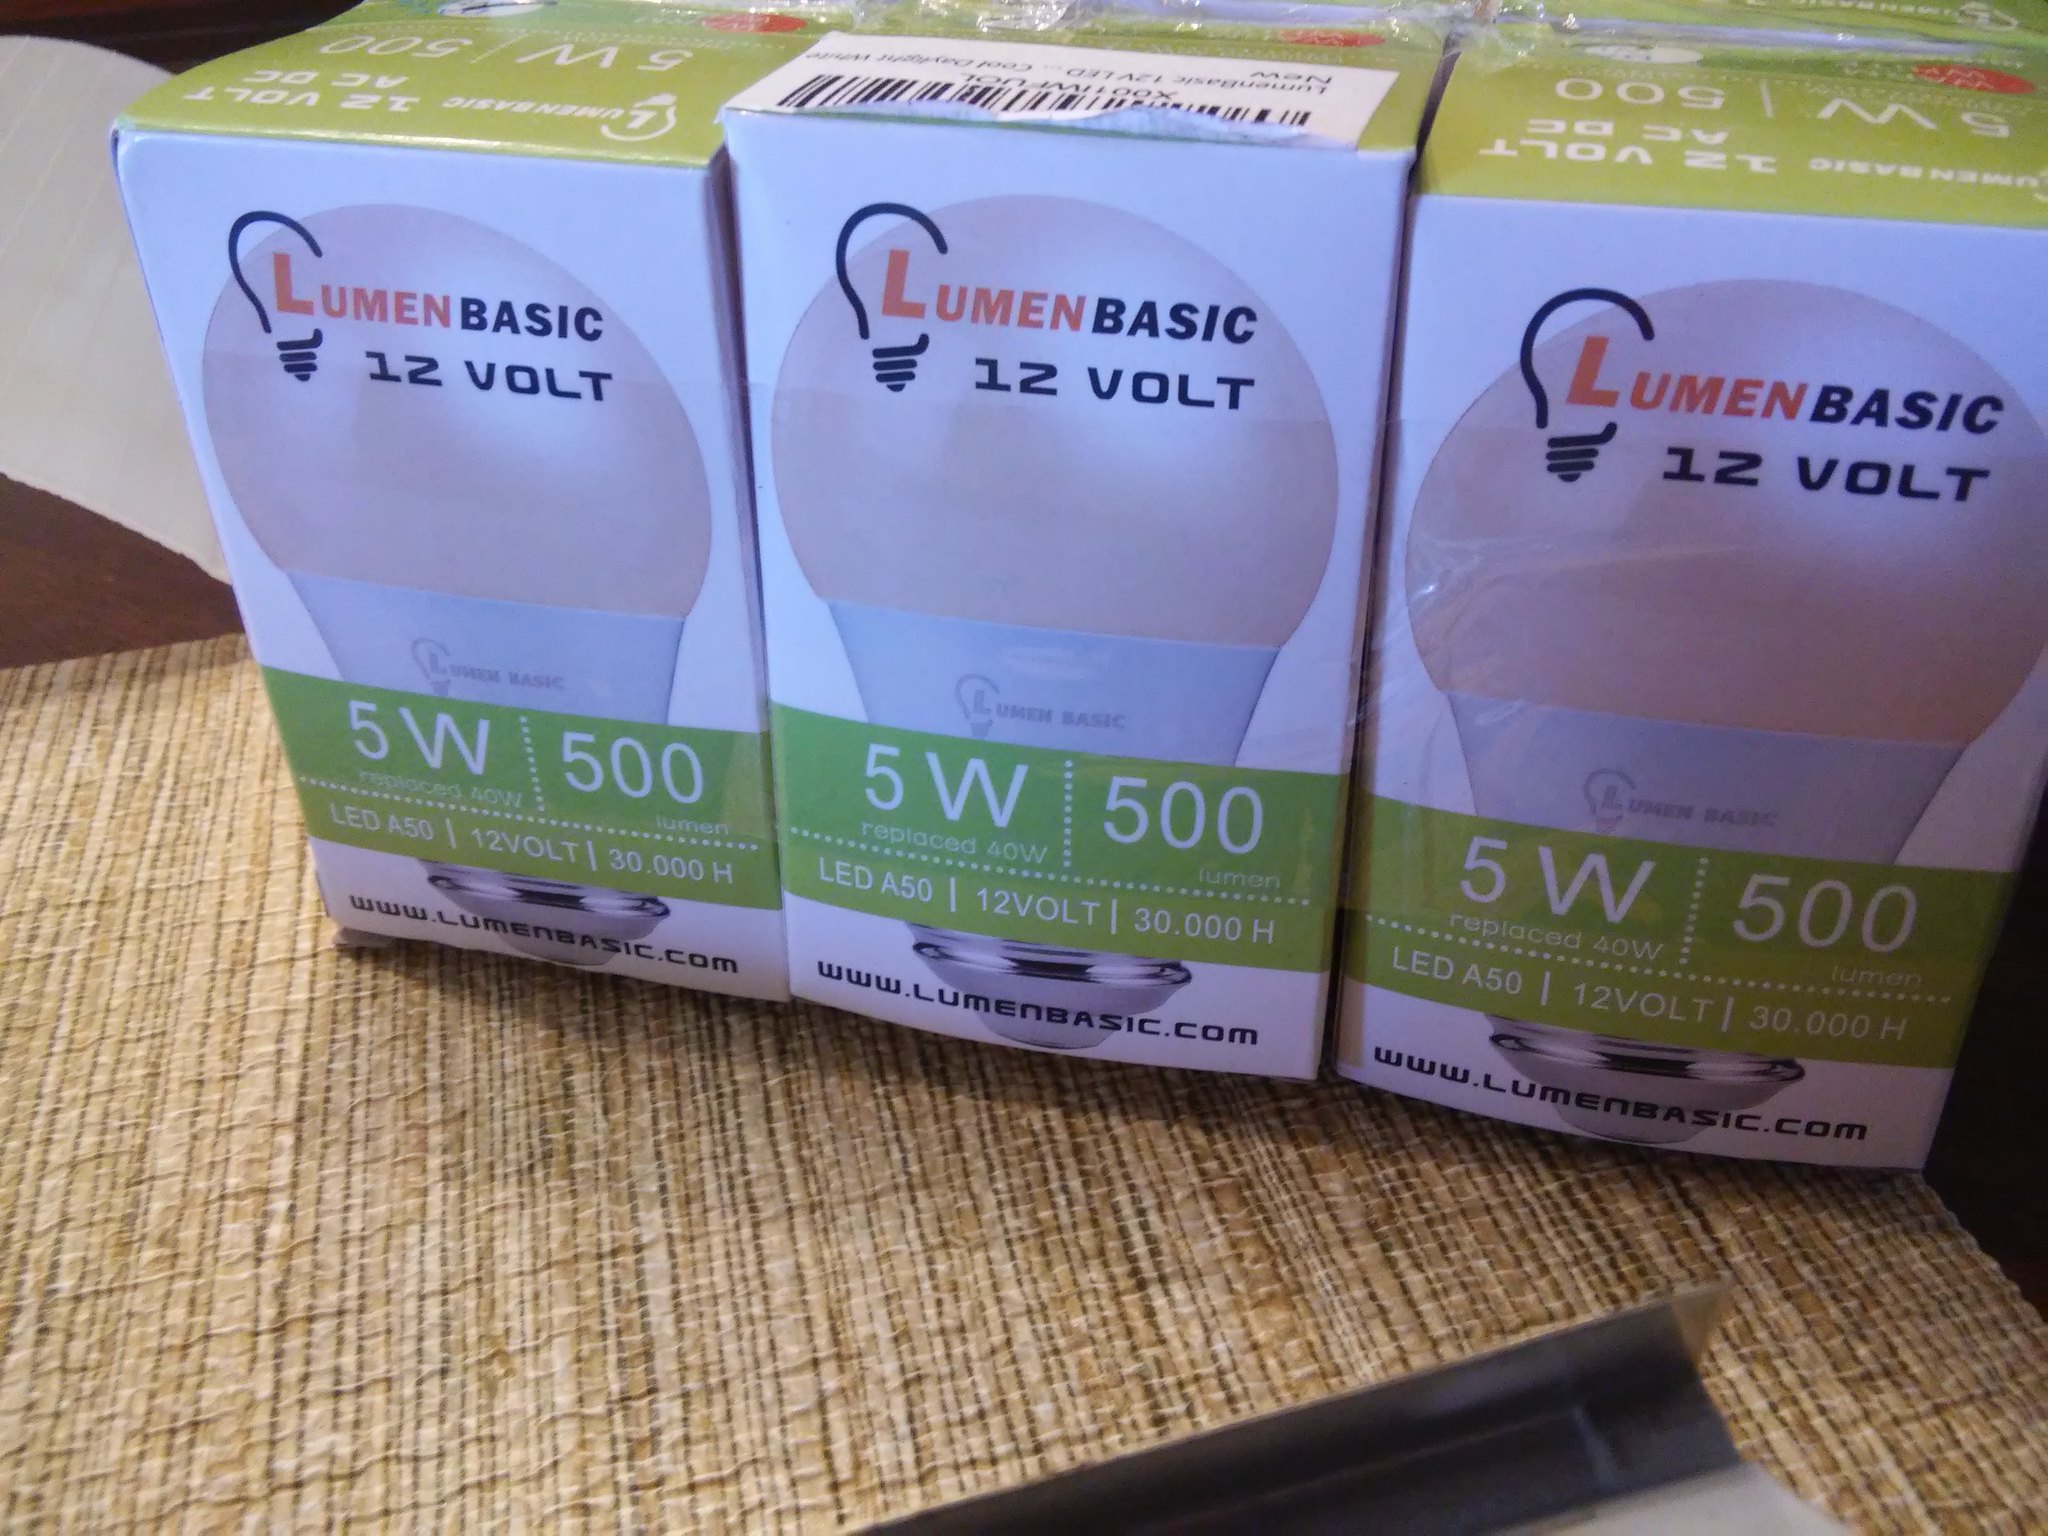 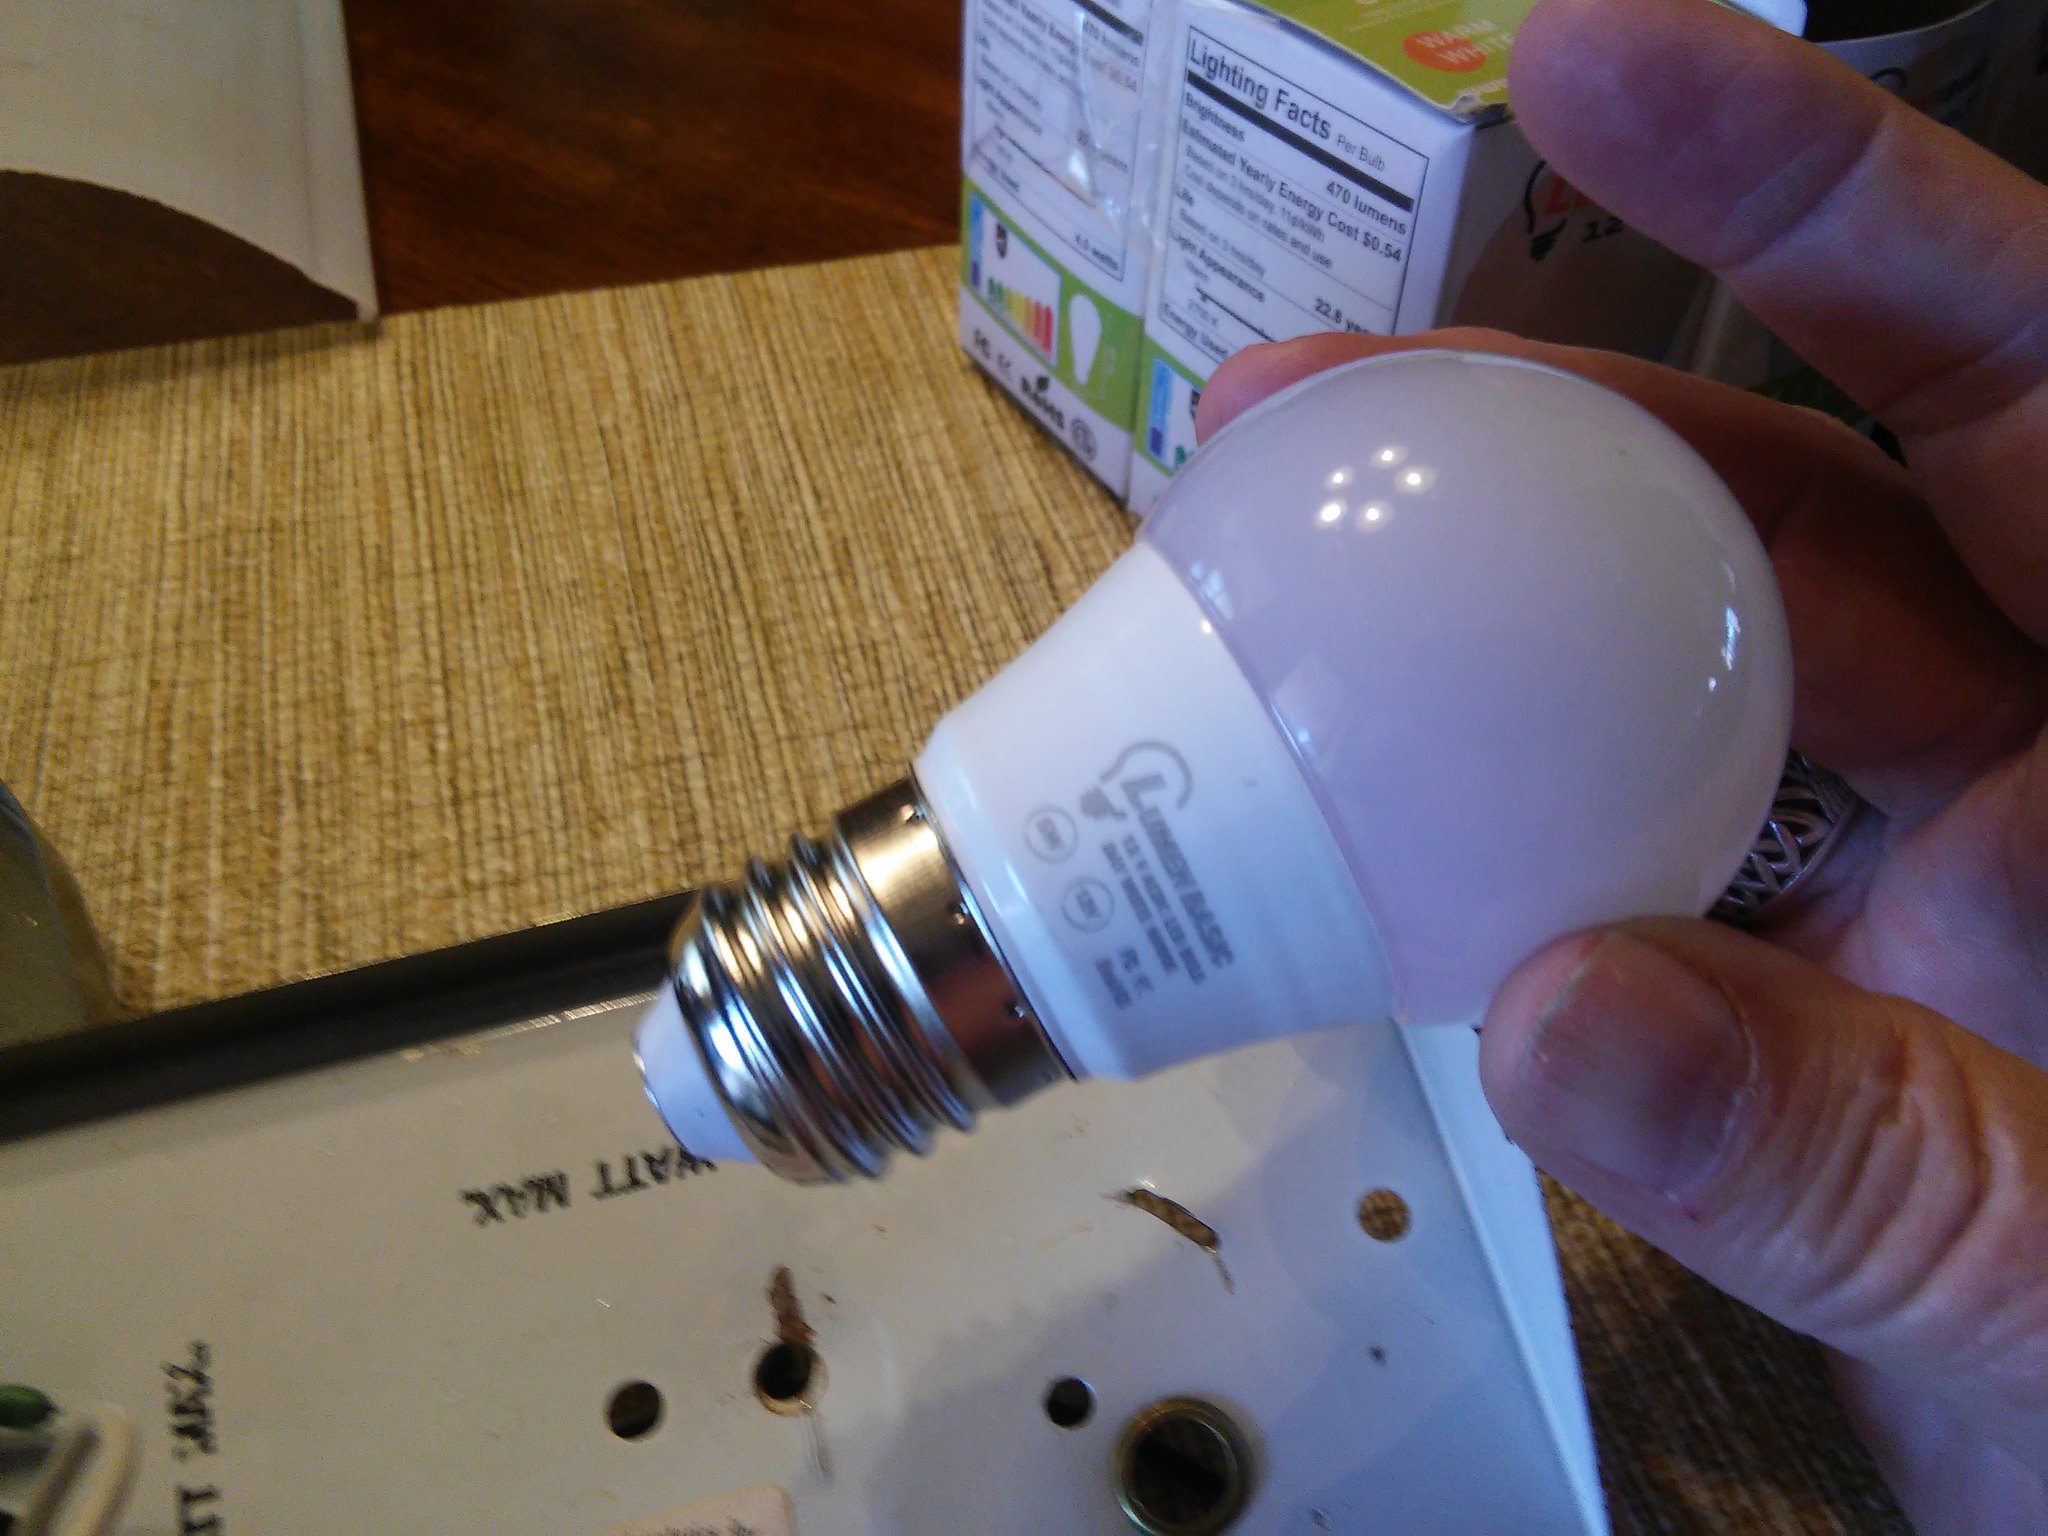 So here's what it looks like installed. Nothing I could do about the patina. I tried steel wool, it did nothing. I thought about painting...but in the end decided I liked the look. 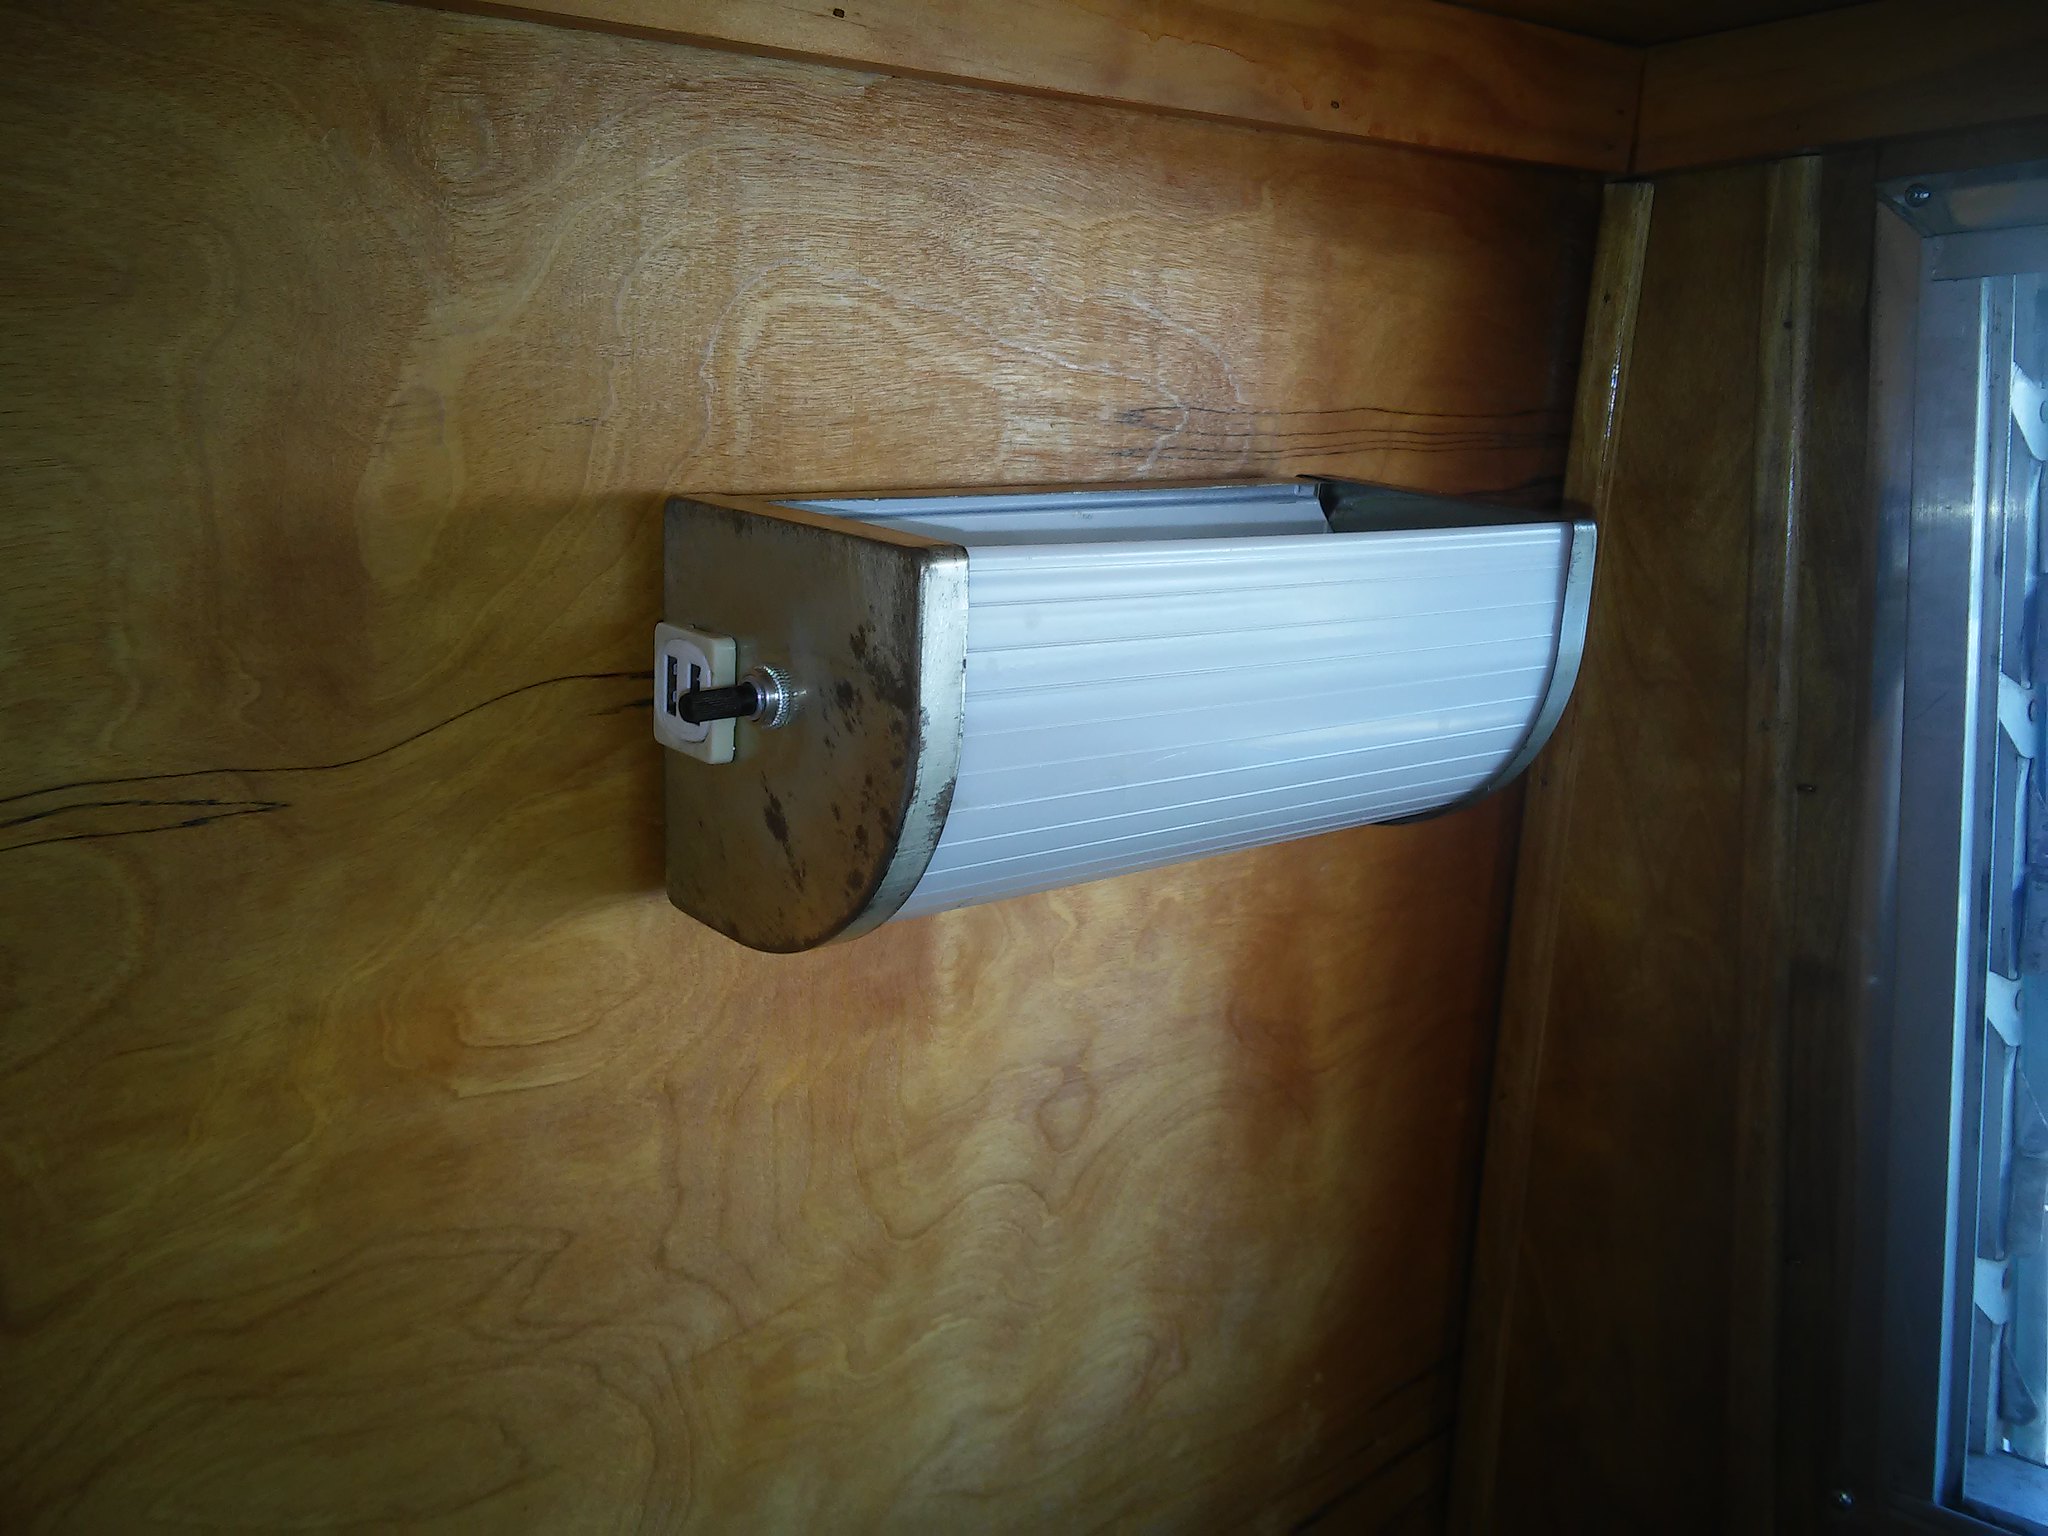 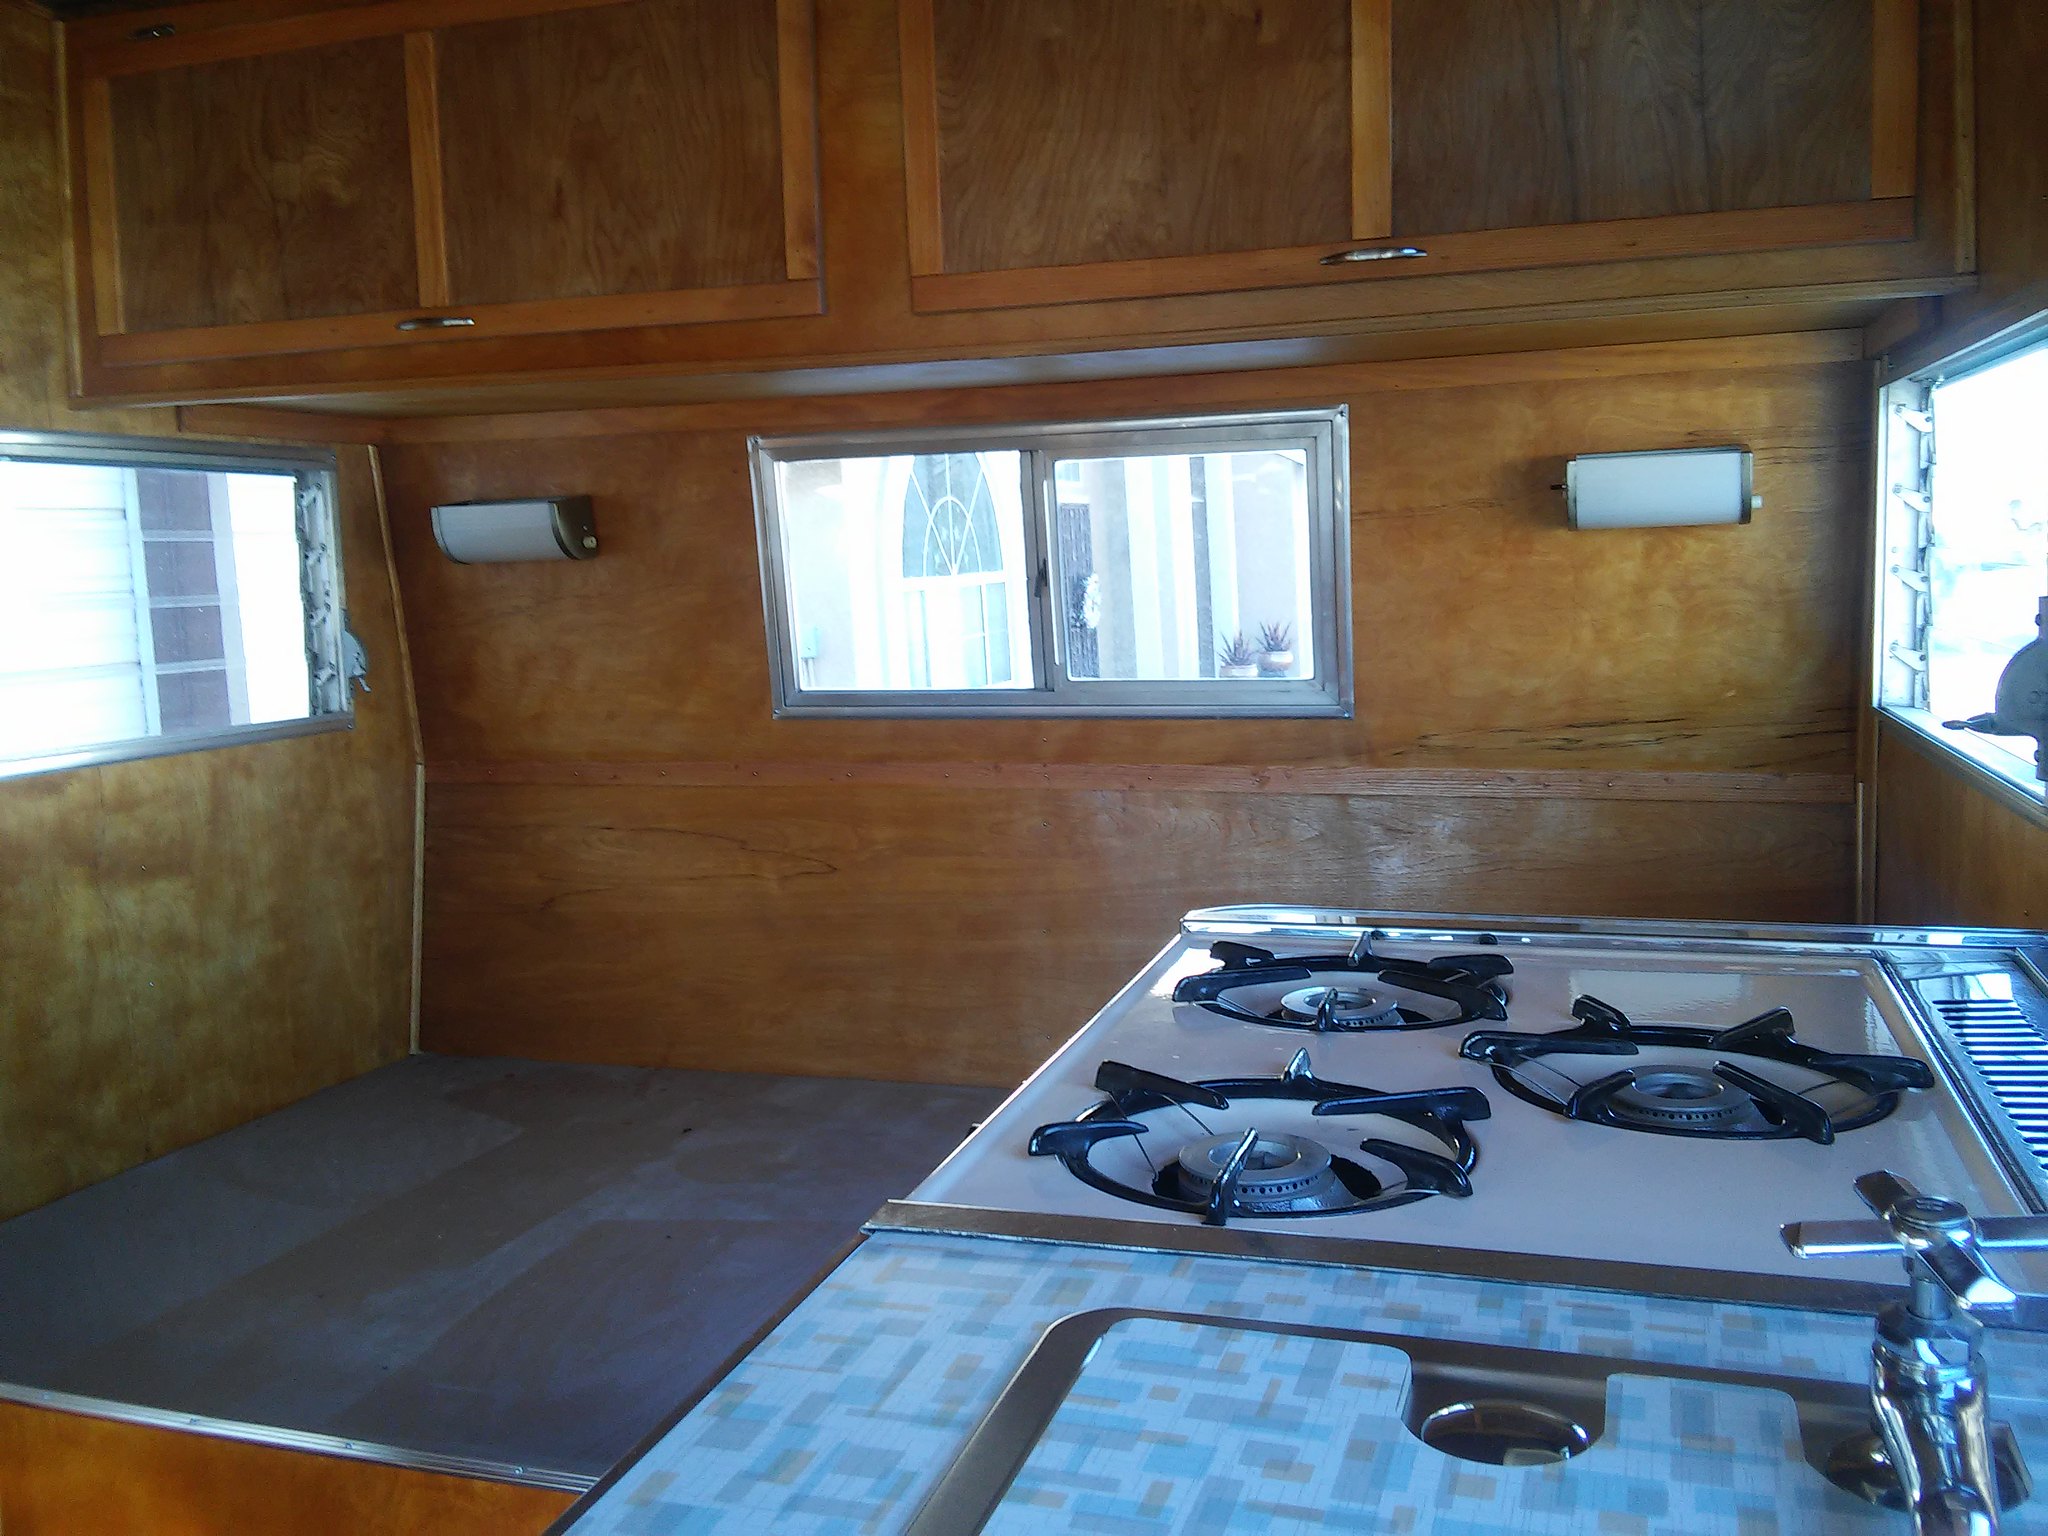 Should provide good lighting and I'm glad I could use the original fixtures. |
|
Deleted
Posts: 0
Currently Offline
|
Post by Deleted on Feb 9, 2018 15:33:35 GMT -8
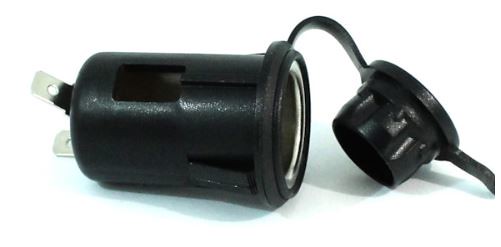
Very elegant solution! I have the same thing going on with my Catalina. I'm also planning 12 V LED lighting and have that style fixture as well. I was intending to convert my 110 V outlet on that fixture to a 12 V socket using what is shown below. I think I may go your route instead. Looks more "original" than my choice.
I assume you have 110 volt outlets scattered around your trailer for other uses? Maybe it is shown earlier in the thread, but did you install a converter, or are you running your lighting direct from a 12 volt power supply (battery)?
|
|