(2 weeks later)
Hi Everyone,
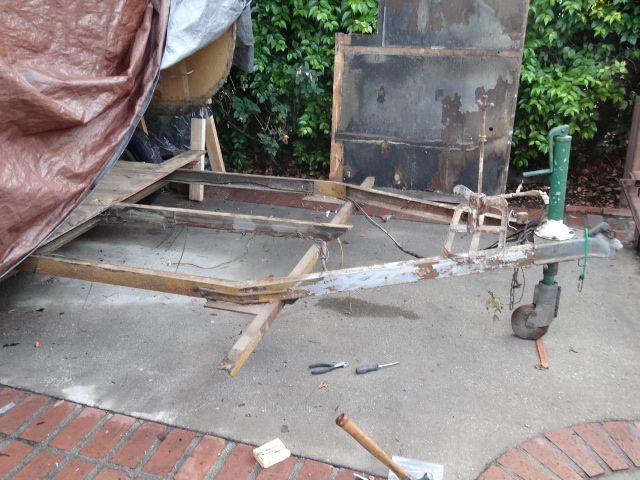
Here I detail how I lifted the body off of the frame.
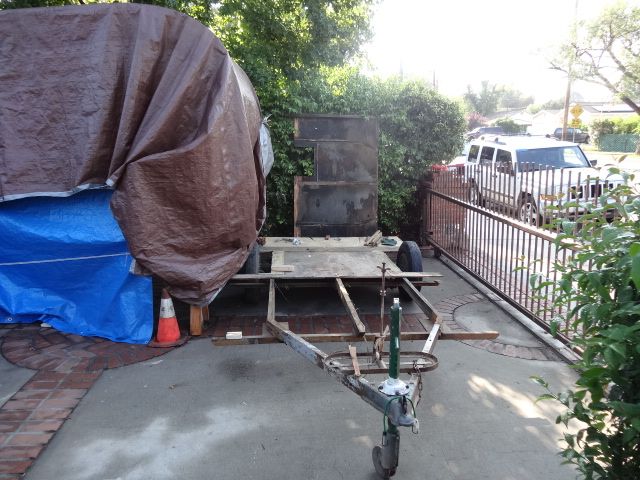
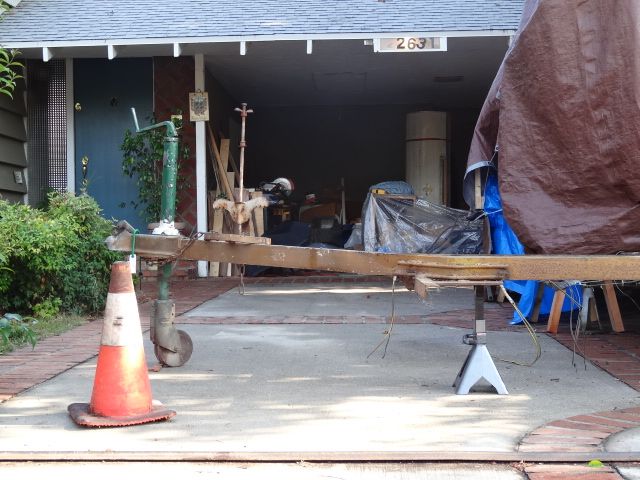
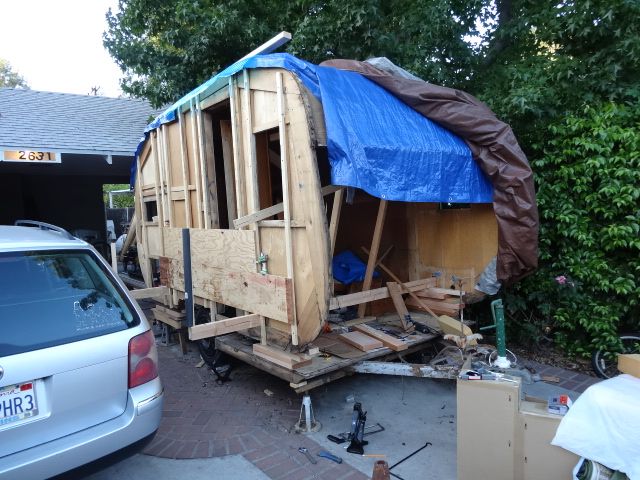
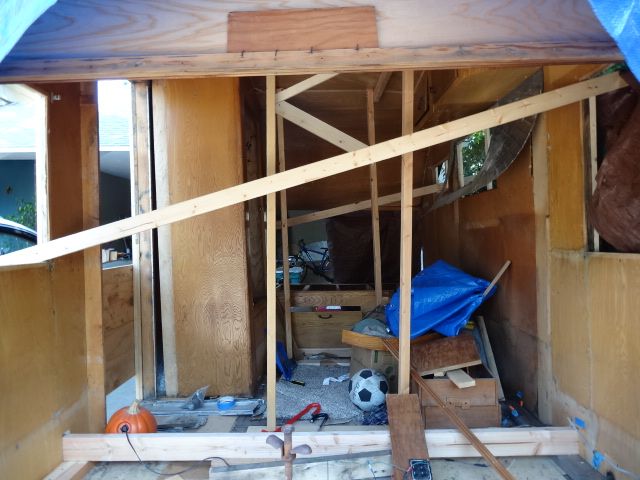
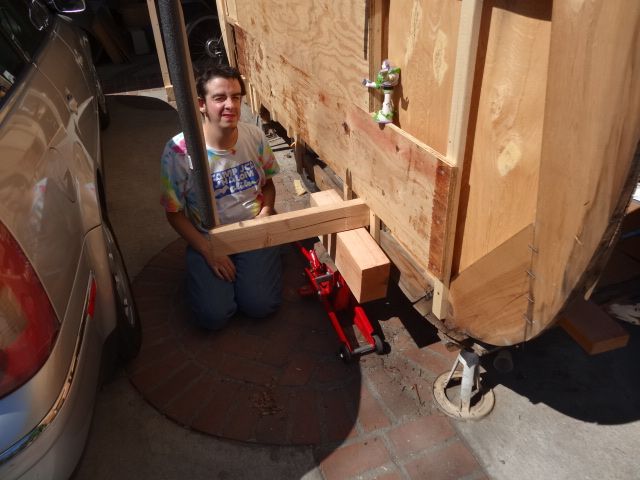
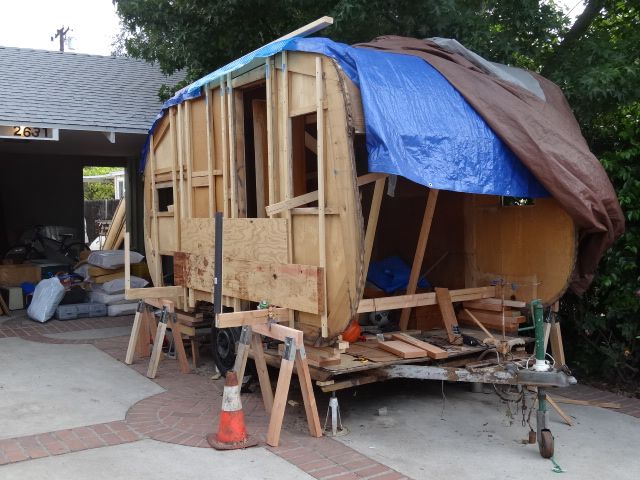
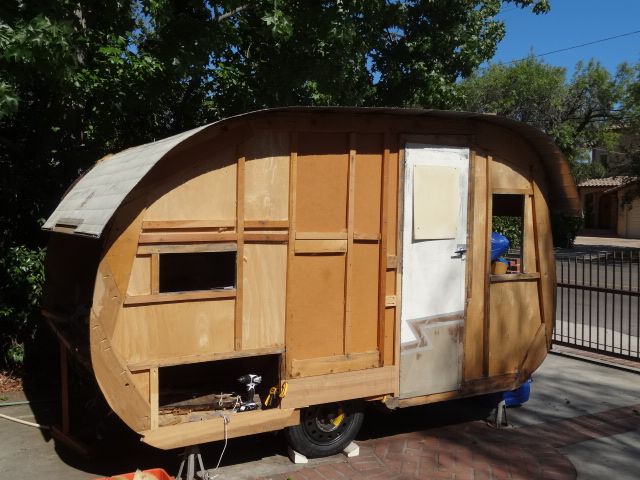
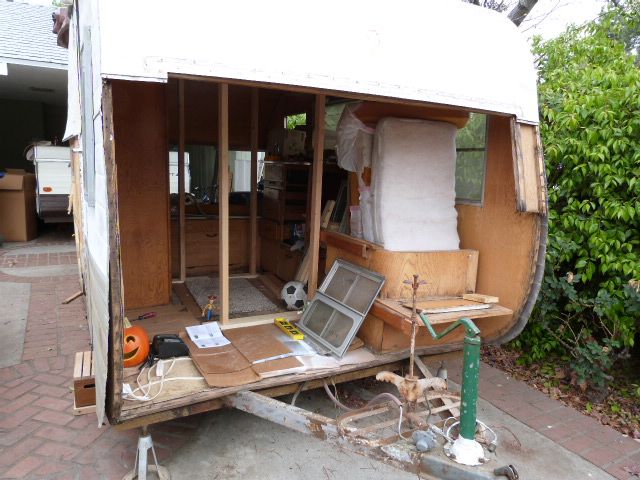
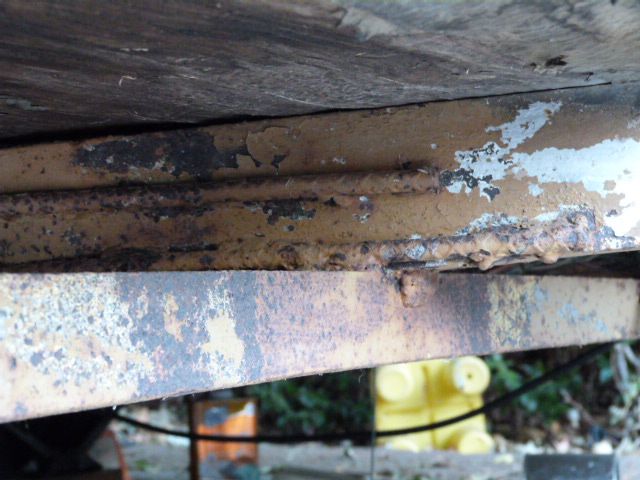
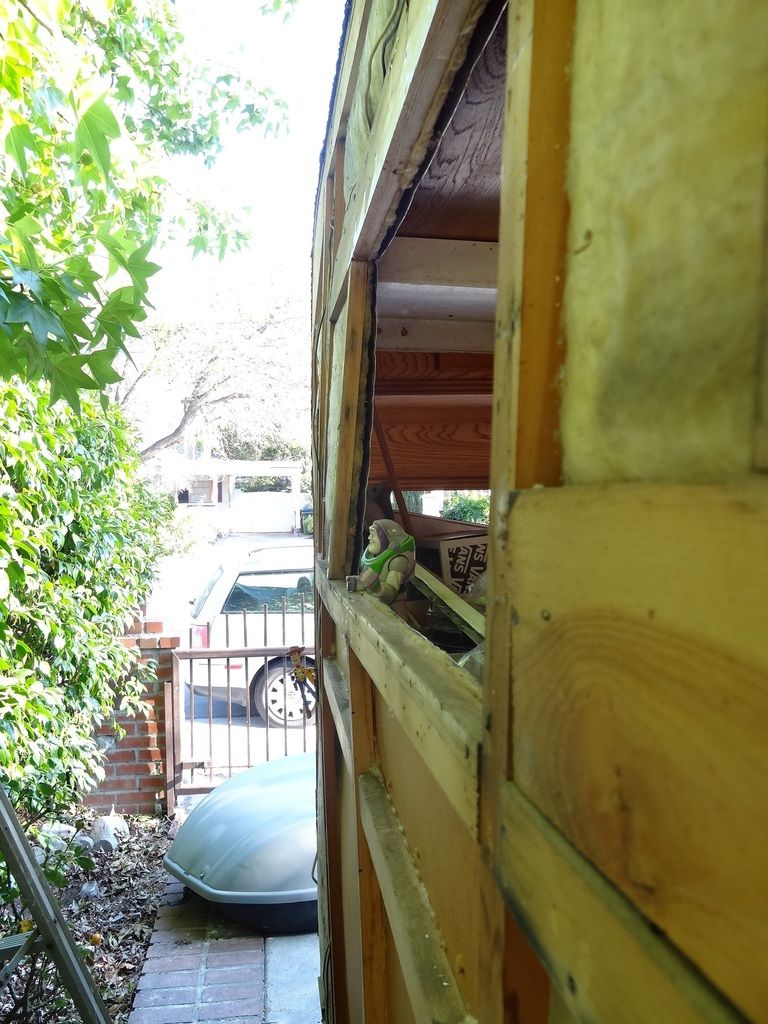
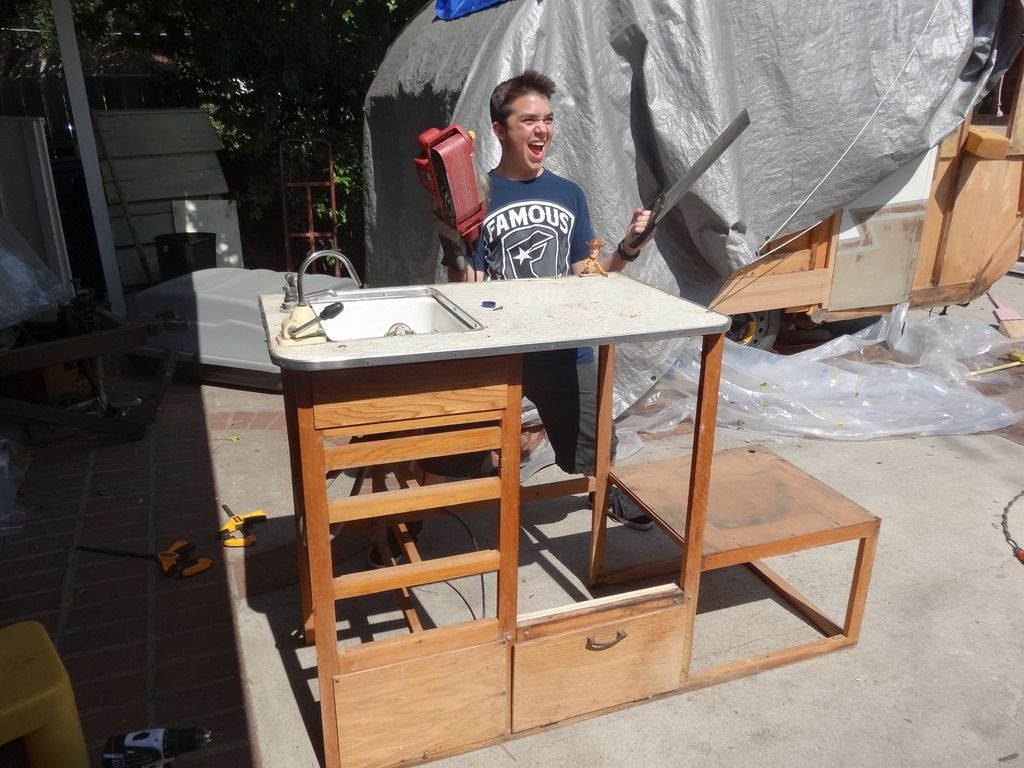
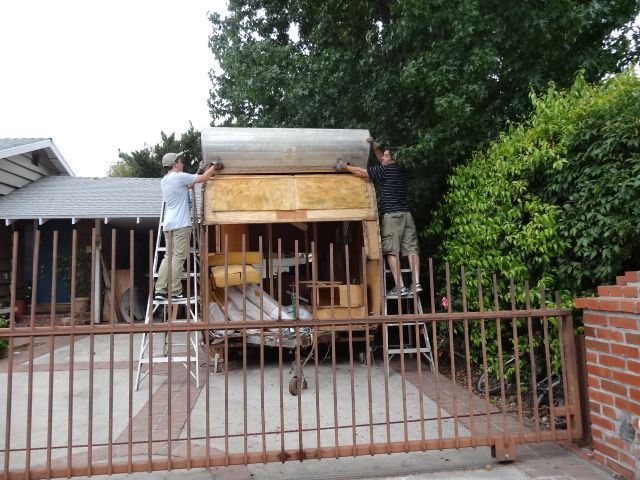
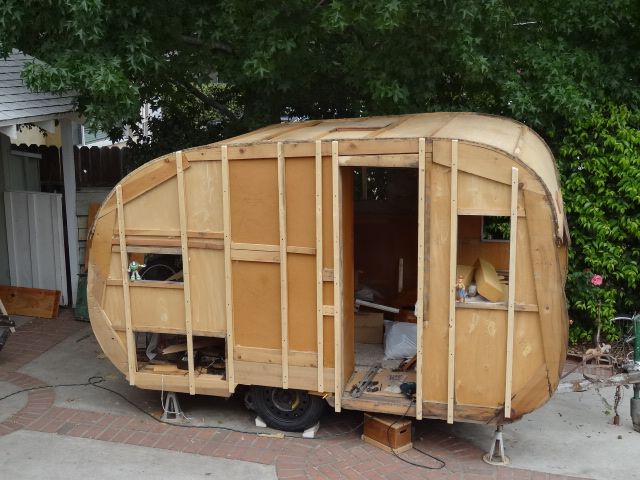
I had to lift the body off to get to the frame. There are some dubious welds and after a lot of talk with other members of the forum, I decided to follow through and have it repaired. I decided to lift the body instead of taking the body apart because I just never felt confident that I could take the walls off and put them back in the right spot and do it square. I also had the limitation of usable workspace. As you can see here, I have a postage stamp size driveway and there is a pop up trailer in the carport behind Andy.
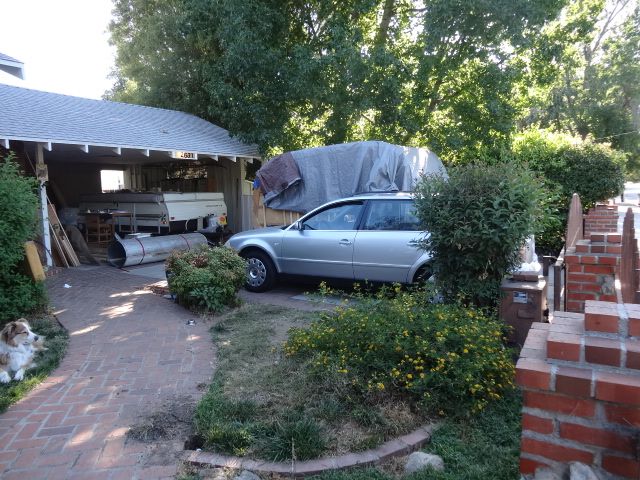
This crampedness of my working space led me to lift the body and not take apart the body. Where could I store the wall or even find space to work on it.
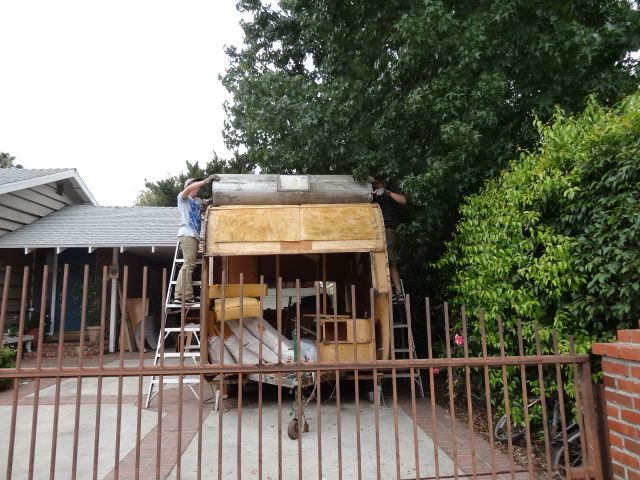
It was no easy feat to lift the body off the frame. It required a lot of diligence, concentration, and care.
My method to removing the body was inspired by Rin Tin’s (Greg) Aloha Restoration Thread.
vintagetrailertalk.freeforums.net/thread/4148/1965-aloha-project?page=2 It begins on page 2. His method was to reinforce the side walls with 1” thick plywood, poke holes in the lower paneling for two 2 x 4 cross supports and then lift one corner at a time in a continuing rotation until the height of the body would exceed the height of the tires. Then, he rolled out the frame. That’s the strategy I used, as well.
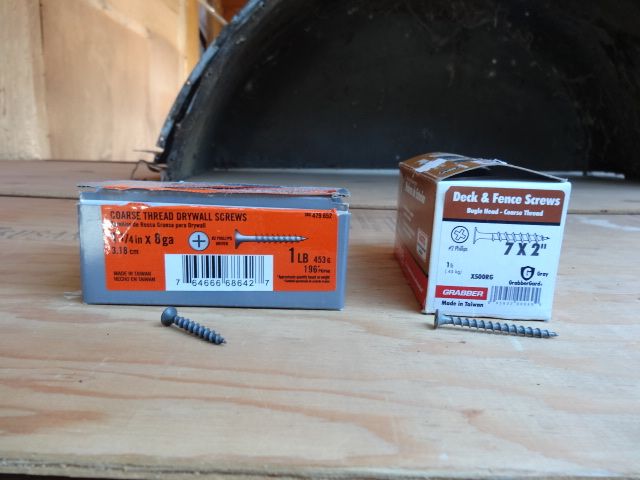
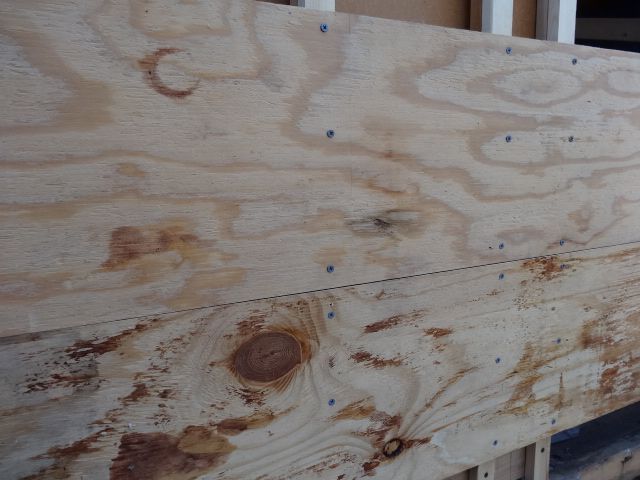
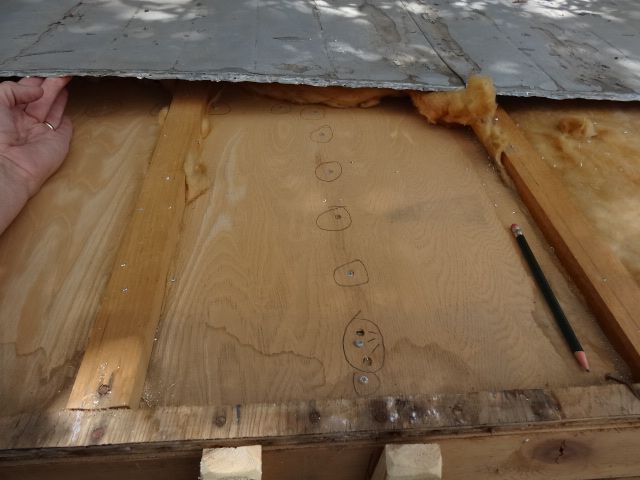
Greg was very helpful in this for me. He suggested reinforcing my 1 x 2’ wall studs first by sistering another 1 x 2 on top of the existing studs. I used number 1 ¼” x 8 gauge drywall screws. I bought these at Home Depot. I pre-drilled every hole. These should not be used for restoration. They were cheap, so I used them to reinforce the wall studs only.
Picture here of screws used:
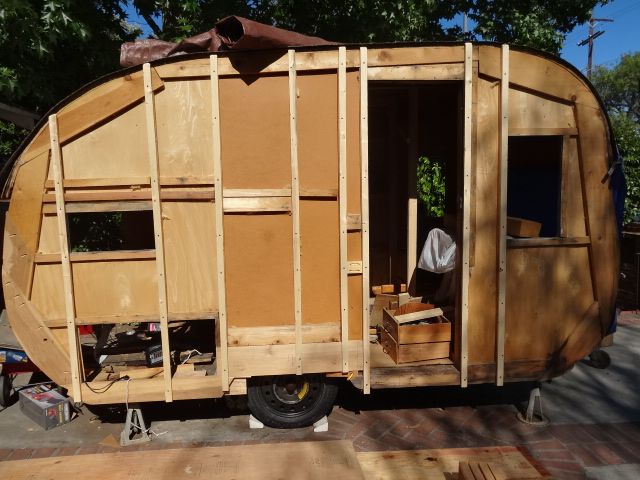
Shows curbside wall with sistered studs.
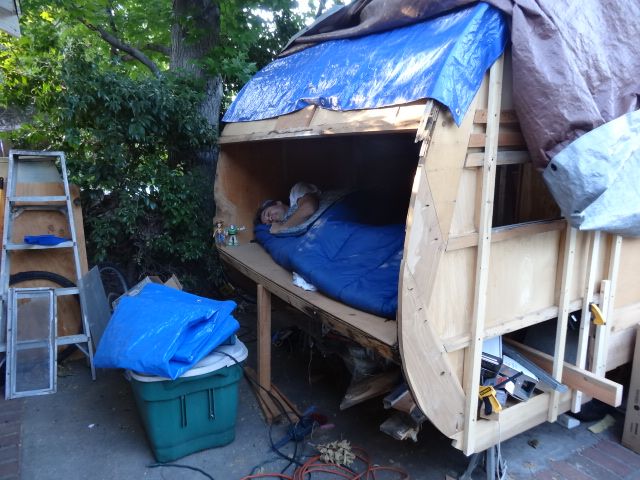
Before the lifting process began, I decided to sleep in Andy while he sat on my driveway. Both ends were wide open, but structurally, the bed frame was still intact and sitting on the frame. I saw my moment and went for it.
Picture here of me sleeping.
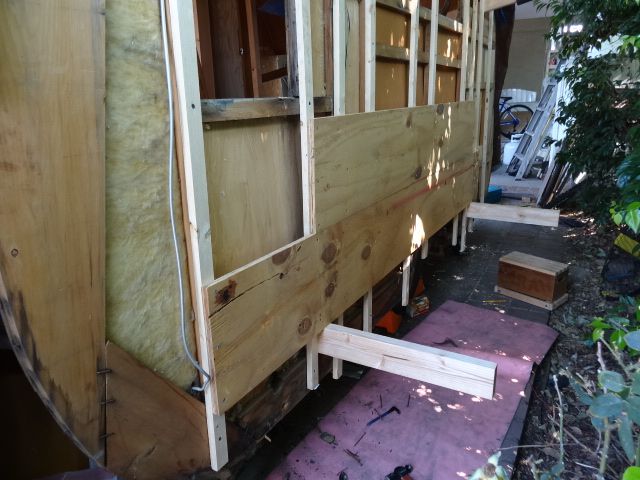
All studs were sistered and a few more were added where necessary. Next, I screwed in some scrap 1” thick plywood planks. I used two 6’ x 1’ foot length pieces and two 8’x 1” pieces. Care had to be taken on the curbside because we didn’t want the wall to hinge at the top of the door way.
Sidewall with plywood planks.
![]()
![]()
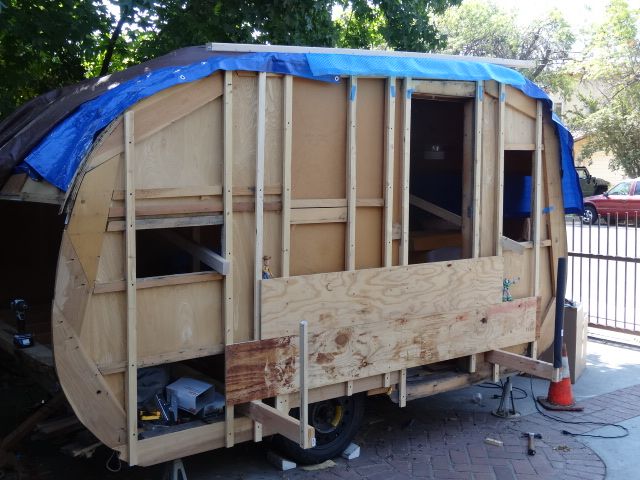
The plywood planks would be stacked snug one on top of the other on both sides of the trailer. The goal was for the plywood to reach the rear of the front window stud as well as the front of the rear window stud. I screwed these in using 7ga x 2” size deck screws (previously pictured).
Plywood anchored.
Streetside plywood
![]()
Rear window
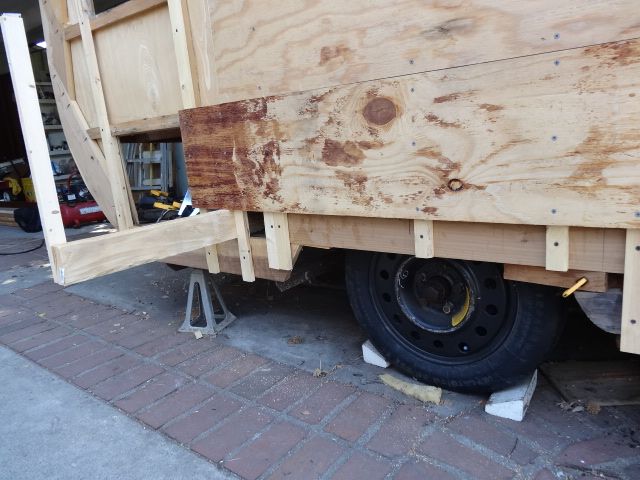
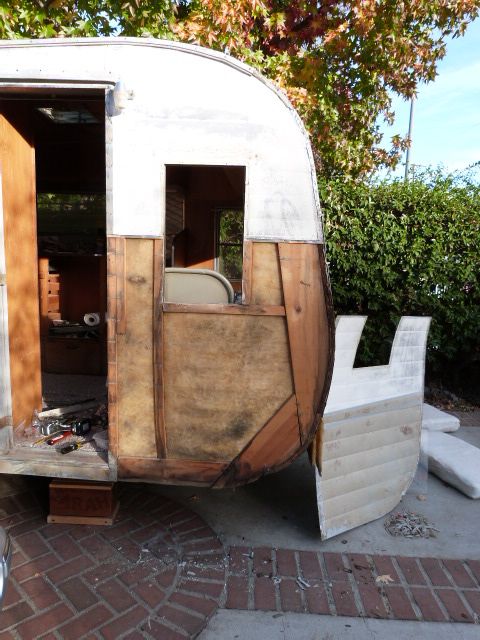
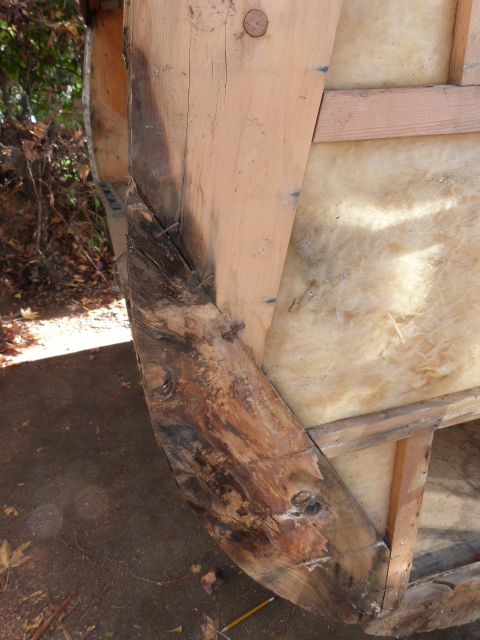
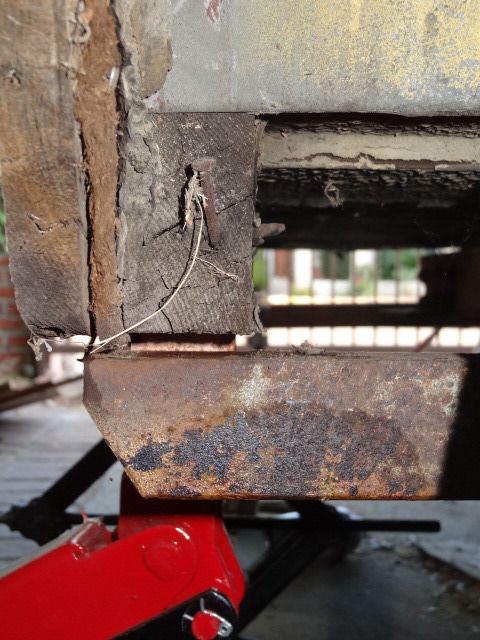
I decided to include the skirt boards under the sistered studs as well. I did this because on the curbside, I never screwed these into the new sill I had installed. I just never got around to it. Also, I felt it would be easier to place the body back on the trailer if I left the skirt boards on. To me, it’s like fitting a box lid over a shoe box.

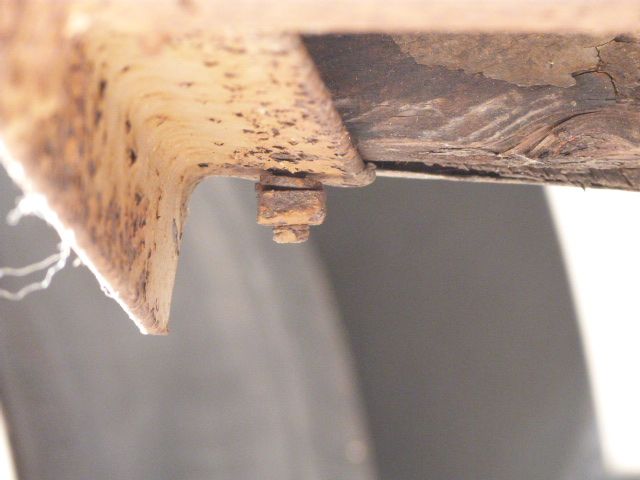
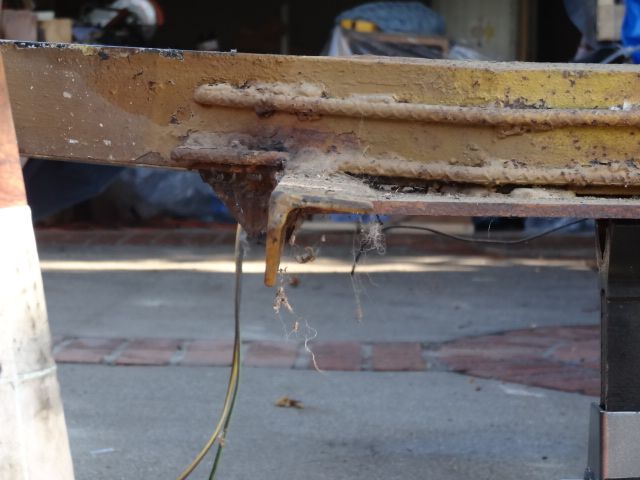
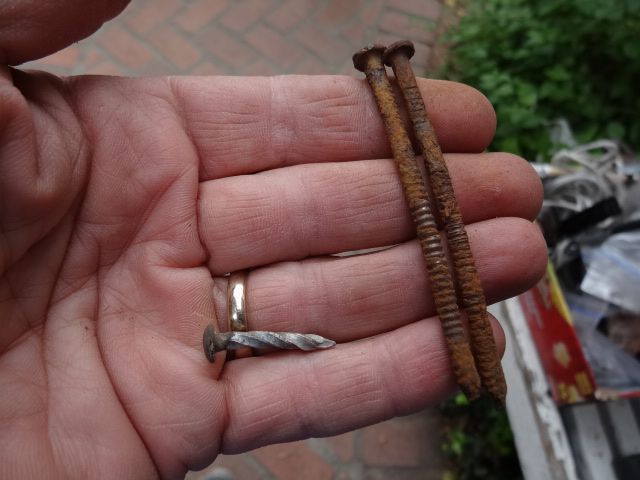
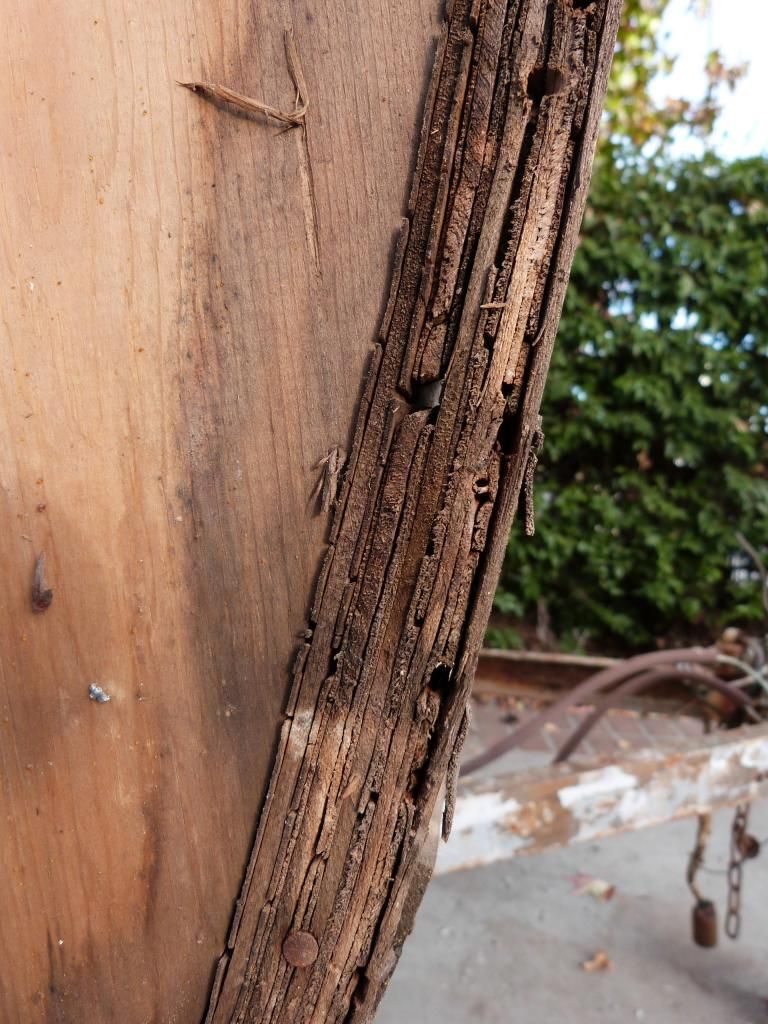
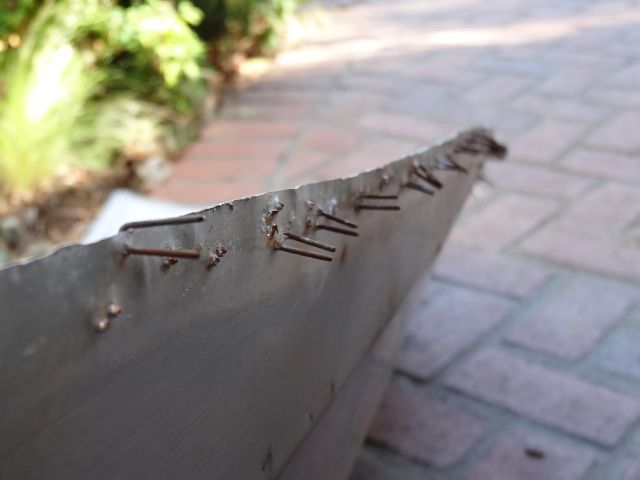
Before lifting, I pulled out the large nails that anchored the skirtboards to the sides of the sills.
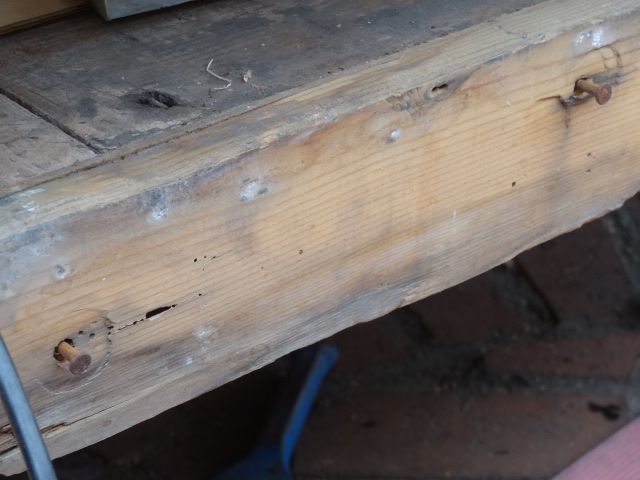
The nails are grooved to make them difficult to remove. Sometimes rot is your friend. They came out with a some effort, but it seemed reasonable, but no slam dunk. I pounded them out from the back side of the sill with a hammer to get the heads out and then removed them with a claw hammer. Floor bolts were left until the final end before lifting.
I made sure the screws did not go through to the sill behind it. Don’t want that when lifting…
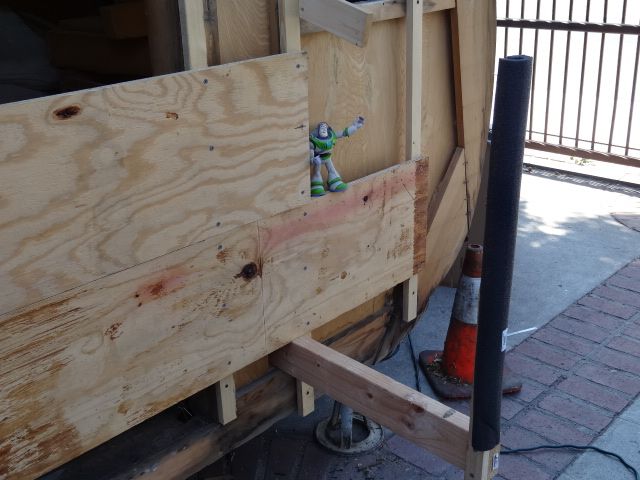
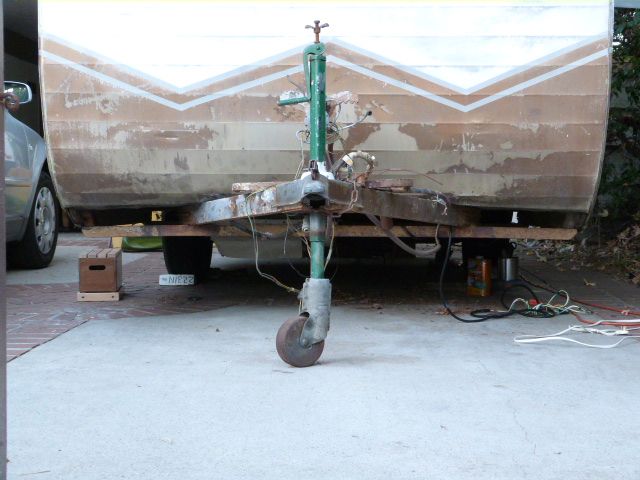
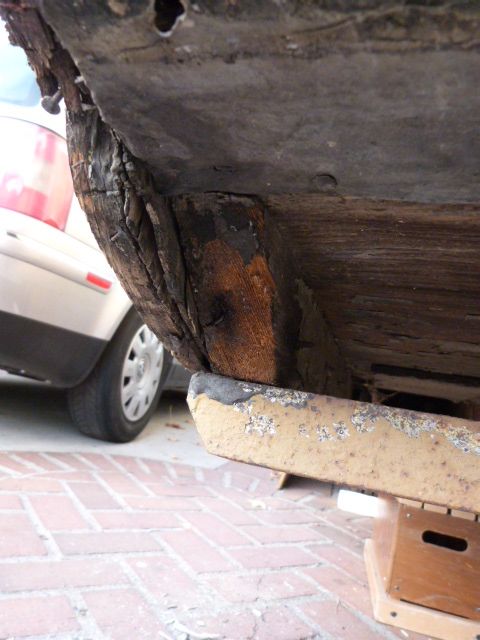
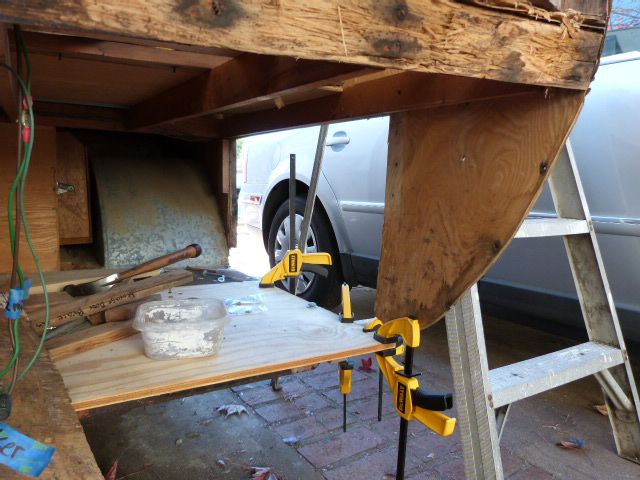
The “horns” on the ends of the 2 x 4 cross supports are so my wife can see where the 2 x 4’s end so she doesn’t’ strafe the side of the car when she is pulling in and out of the driveway. I had a safety cone on the ground for a reminder and a piece of plumbing insulation around the first horn - just in case…
Image here of car next to Andy.
Show planking with screws. Place screws bottom, middle and top.
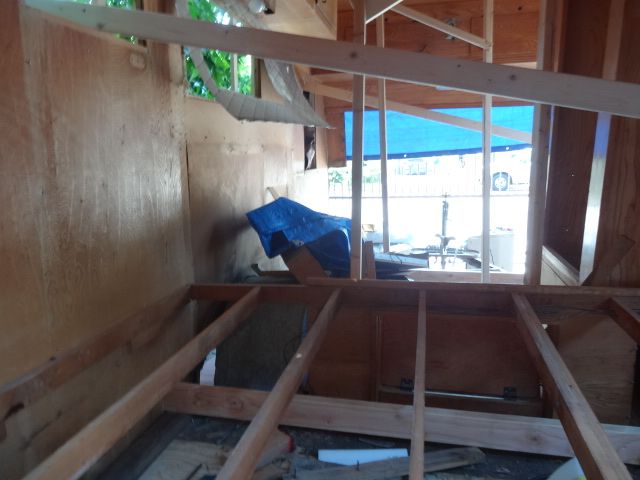
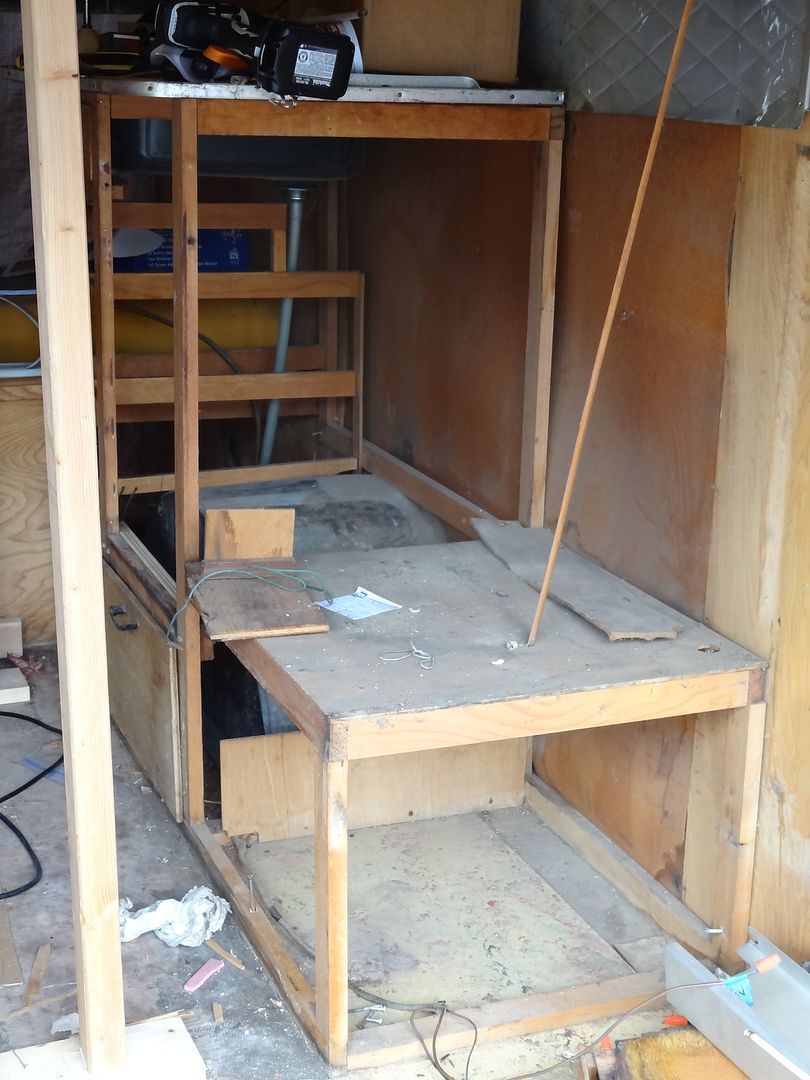
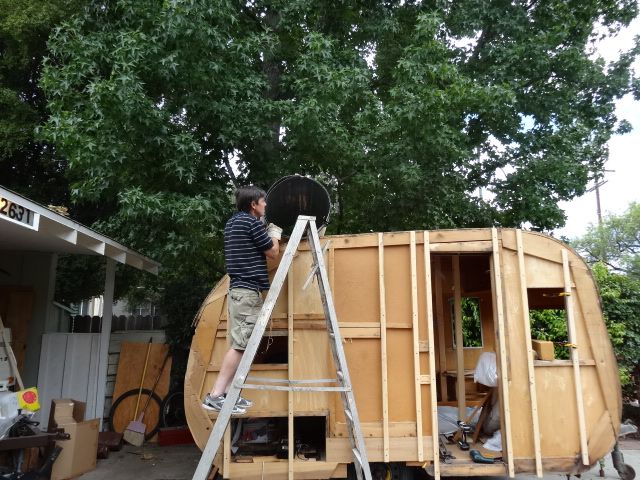
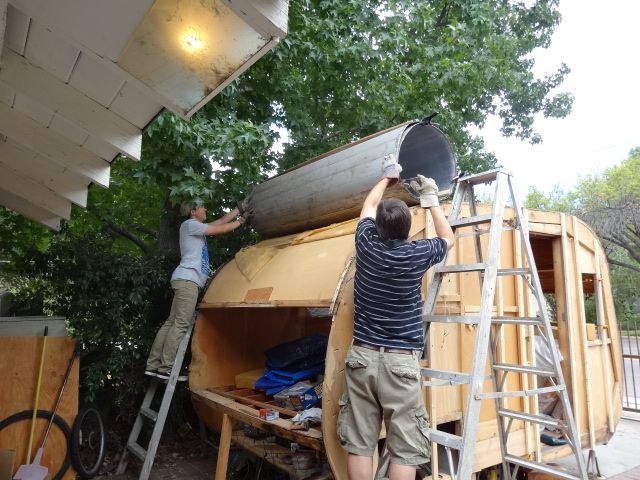
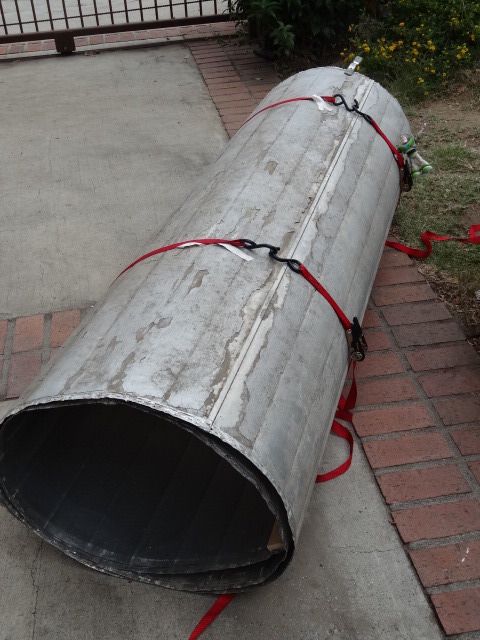
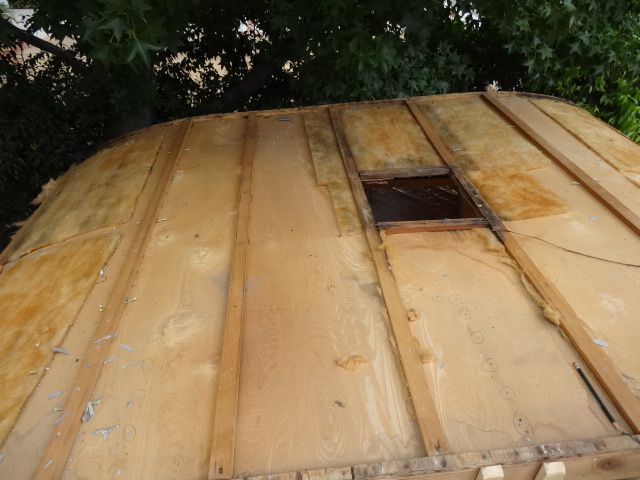
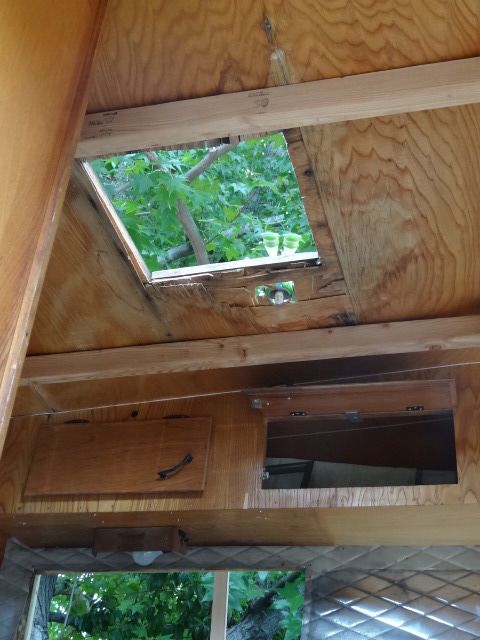
I had to loosen the wardrobe from it’s anchor screws on the top and then left it to be removed from the body once the body had been lifted. You have to remove the roof to get access. I floated the roof to the side and I could gain access to those ceiling mount screws.

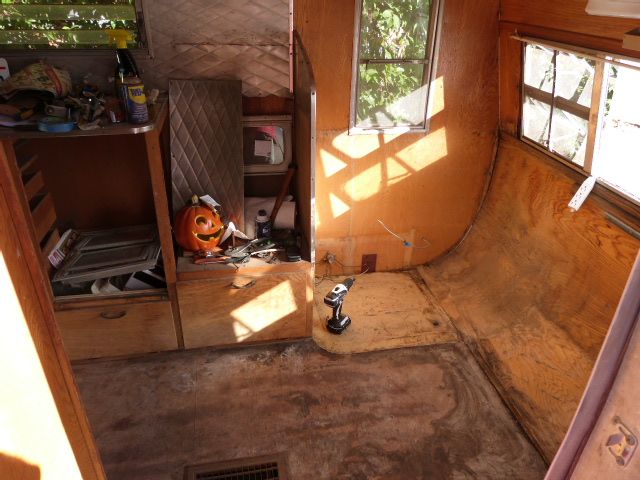
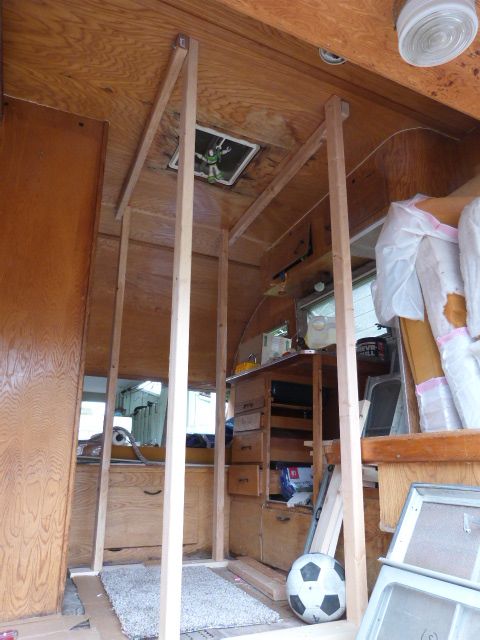
In preparing the body to be lifted, I added inside some diagonal cross supports that ran from the left and right front windows and in the rear I had one that ran from the upper street side window to the lower curbside window. This made a big difference in the rigidity of the body(I would later switch the angle on the front diagonal support). I advertently placed the cross bracing in the same direction. They should have been placed in opposite directions to form an X. Since the angles were different, it still offered some support. I also reinforced my ceiling support, which later would fall down when I lifted the roof and scratch my unblemished original dinette cabinet. Oh well. I had neglected to stabilize the base of the ceiling support with brackets or screws.
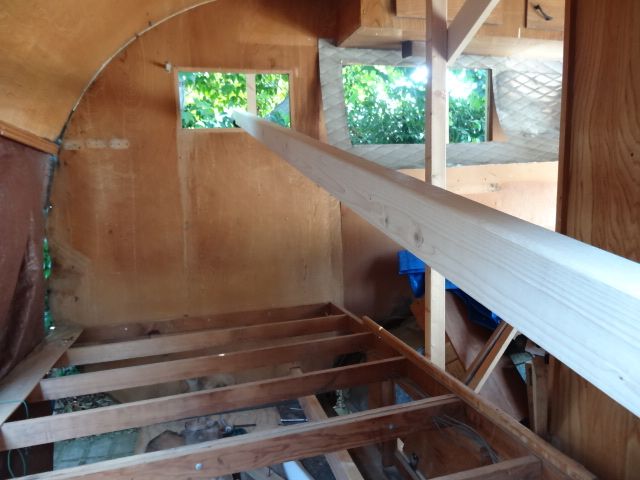
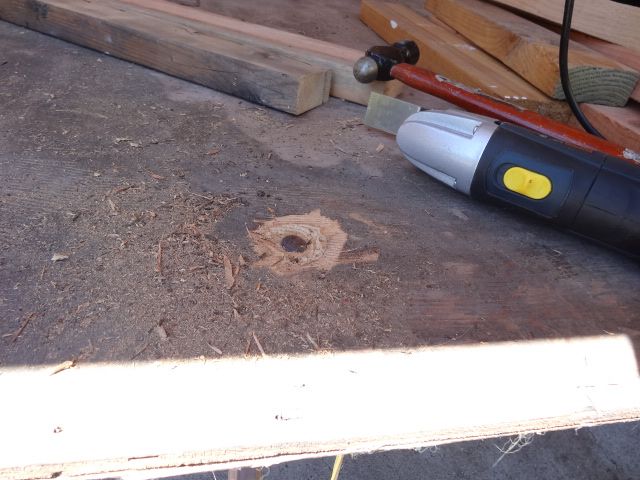
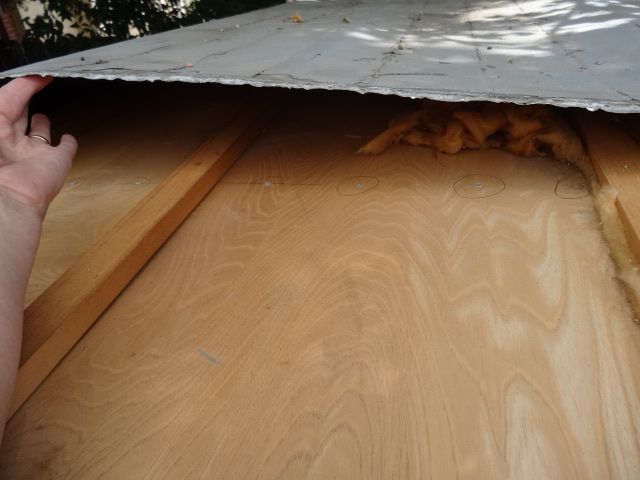
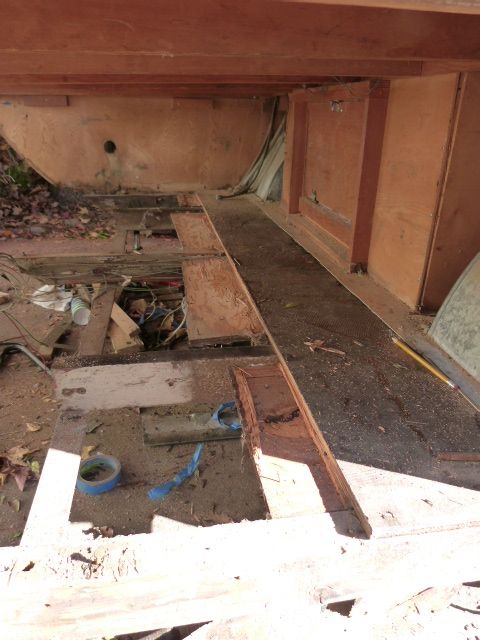
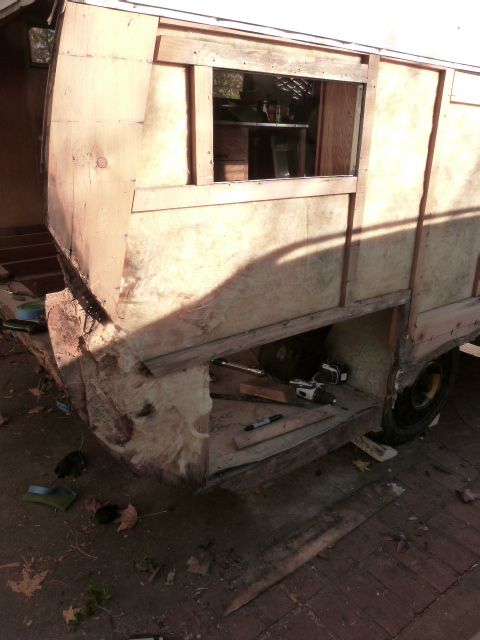
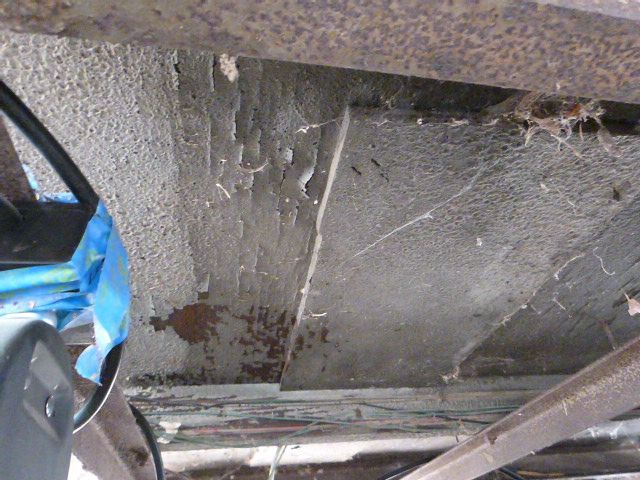
Once the 1 x 2’s were all in place, I cut holes into the lower paneling for the 2 x 4 cross supports to fit through. The front holes are under the dinettes and the rear holes are in the storage compartment, so you can’t see them anyway. I haven’t decided what to do with the existing paneling. I may patch the small holes or I may replace most or all of the entire panel(s).
Hole cut in lower paneling using a multi tool.
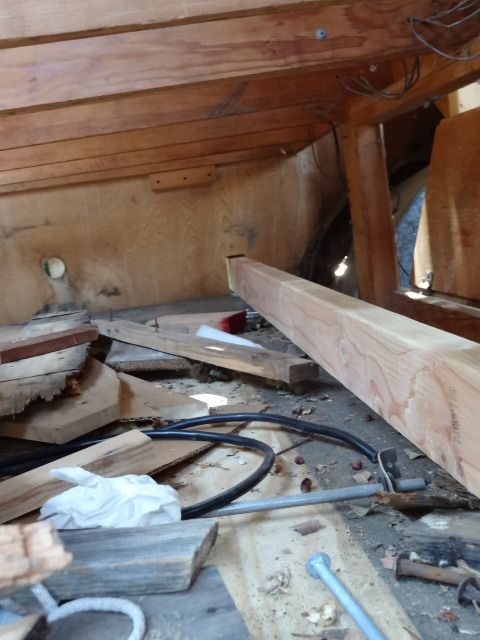
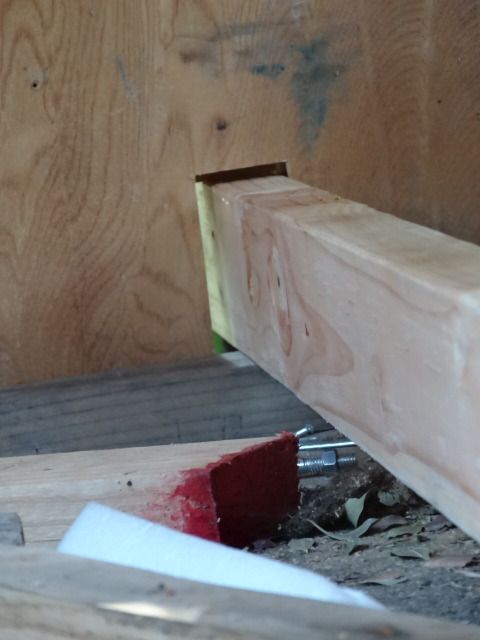
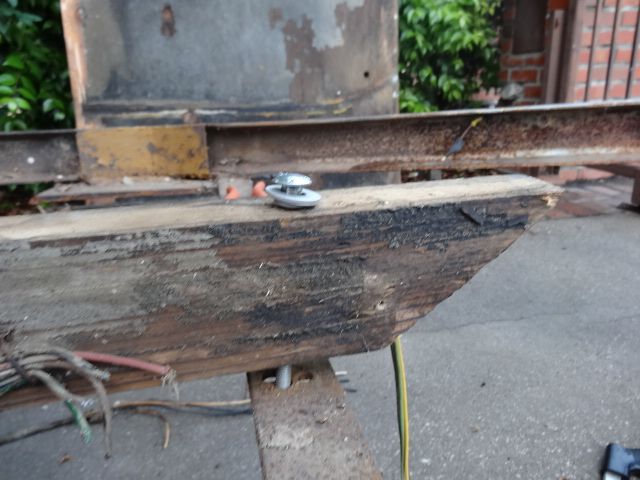
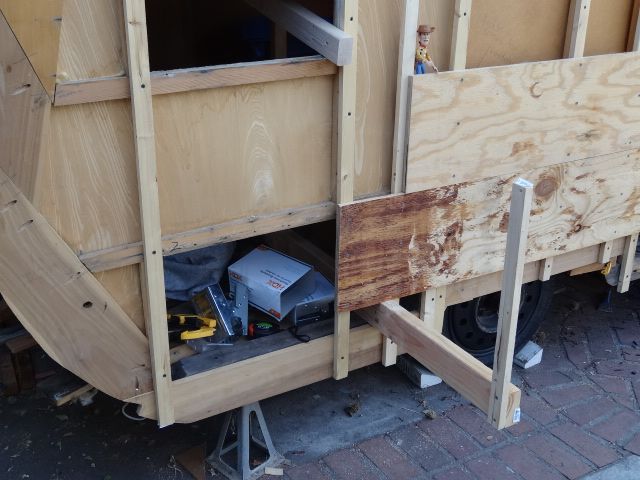
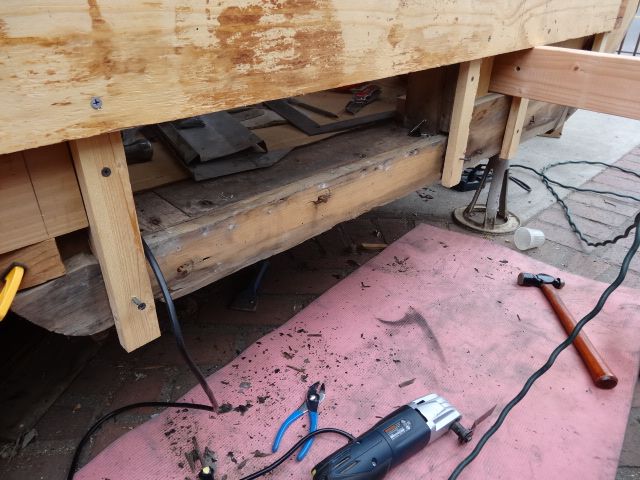
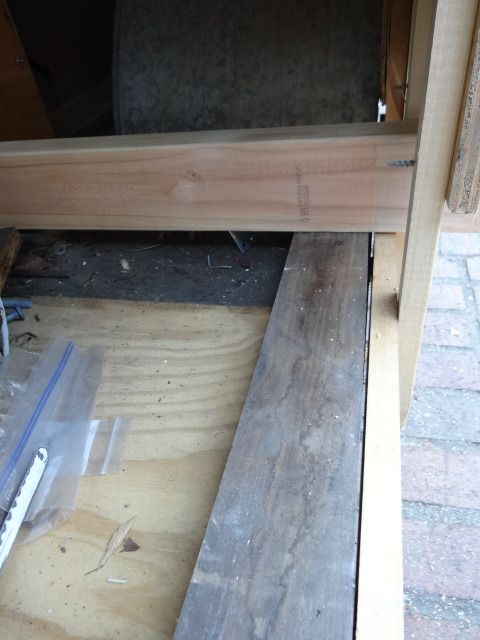
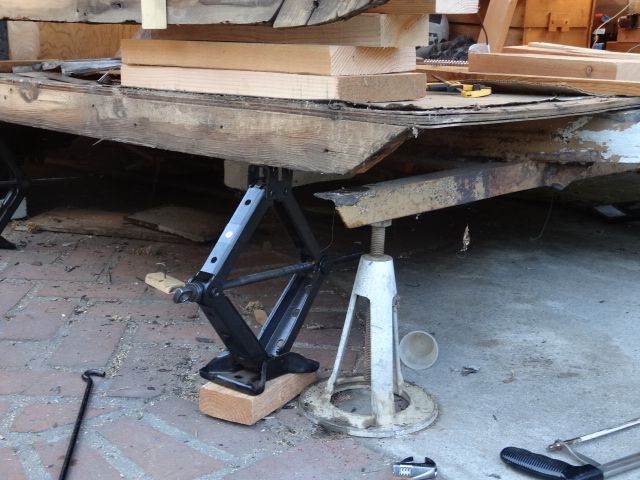
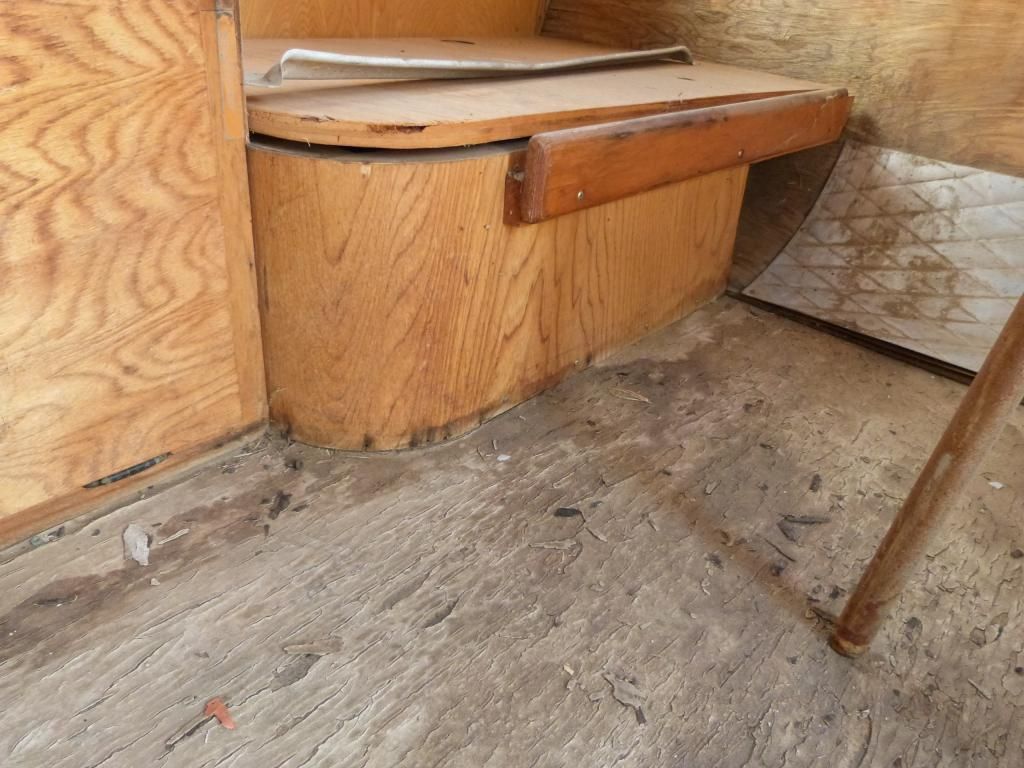
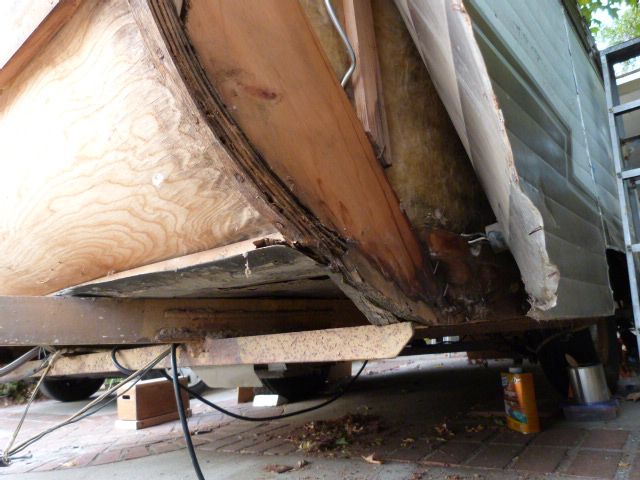
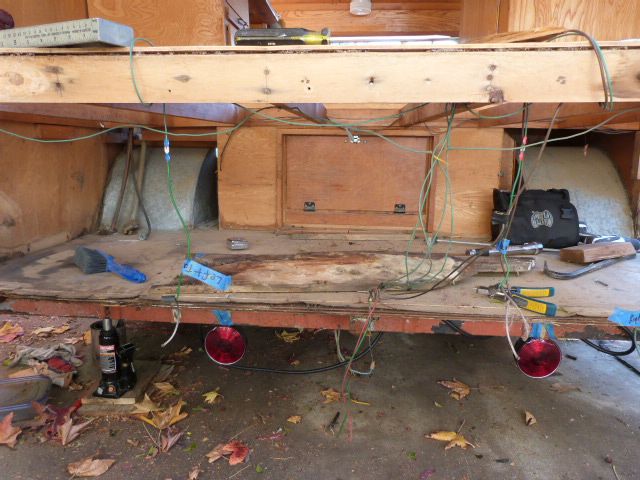
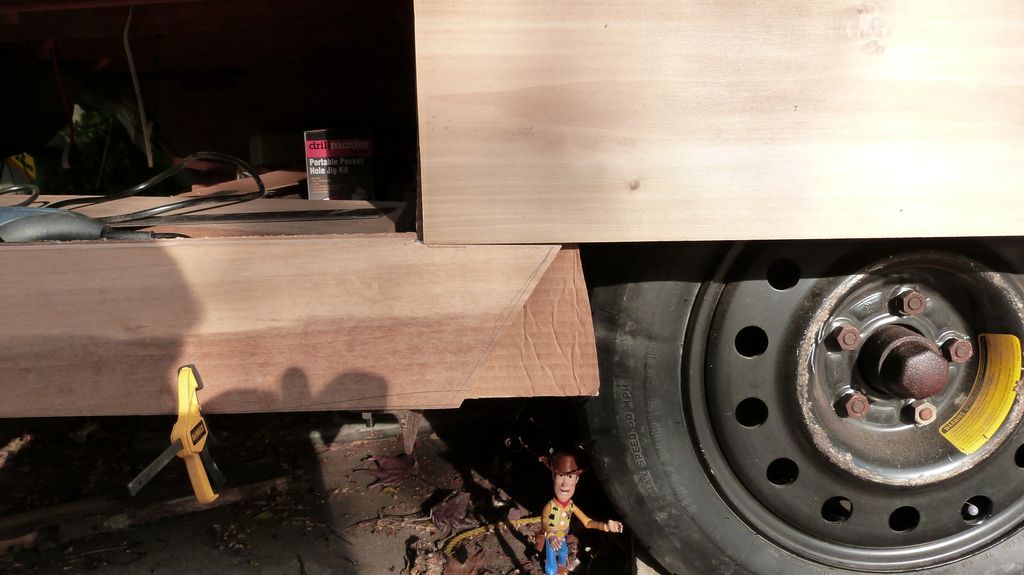
I placed a 2 x 4 underneath the lifting 2 x 4 cross member as the lowest part of the storage door opening is above the floor of the storage compartment. The grey 2 x 4 that is pictured acts as a spacer. I did this in the front as well to keep things even and level.
Once the 2 x 4 cross supports were placed, then I could mount the large pieces of plywood above the lifting 2 x 4 cross supports. Below you can see the front 2 x 4 cross support outside the wall and the plywood has been placed and screwed on top of the 2 x 4 cross support.
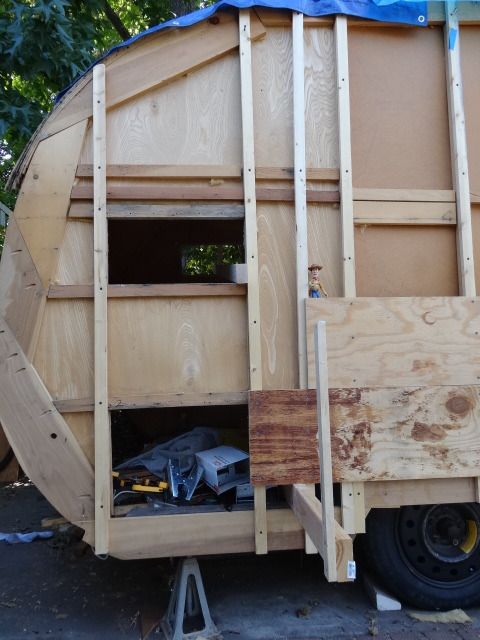
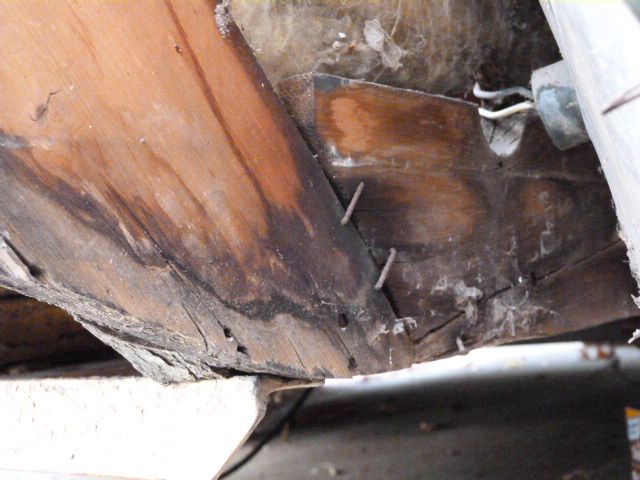
One of the issues with the design of the Westerner body was that the right side of the storage compartment door opening is really close to the wheelwell. On the opposite or streetside, the wheel well skirtboard is longer than on the curbside. This created a problem, because the 2 x 4 would not line up perpendicular to the walls. So, I had to add another stud that ran across the storage compartment door opening. You can see the added stud below.
I also added one more stud to the left to line up vertically with the front rear window frame to stiffen the section. I felt it would better solidify the rear when lifting.
The 2 x 4 cross supports were screwed into a neighboring stud with just one screw just to keep it attached. Only one screw was needed as this was because the attached stud was not load bearing from the side.
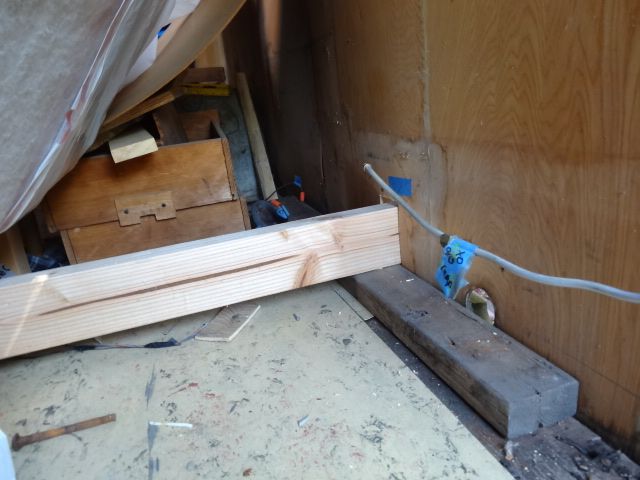
Preparing for lifting:I had to place a short scrap piece of 2 x 4 underneath the cross support 2 x 4 where it exited the body at the storage door opening as previously mentioned. I made sure that I used long pieces to distribute the load. I got lucky 3 months ago at the lumberyard. They had bin of cut wood that they offer to customers to take for use as fire wood. At that time, they had a ton of 2 x4’s in lengths about 18”. I placed them in my firewood pile but never burned them. Here, a starter 2 x 4 was set under the 2 x 4 cross support up front.
My original plan was to lift the body using the help of my 17 year old son and 2 of his friends. I was going to have one at each end of the 2 x 4 cross supports. We would lift the body and place it on saw horses. That was the plan…. I tried to lift one corner myself and realized after several attempts, that the body was really heavy. With all the added weight of the lumber used for reinforcing the body, it got pretty heavy. I had left the dinette cabinet, upper kitchen cabinet and the bed frame in place. This was done mainly because I felt they offered some rigidity to the body. I was concerned early on with wobbliness of the frame when lifting. Keep in mind all the paneling and ceiling were still intact.
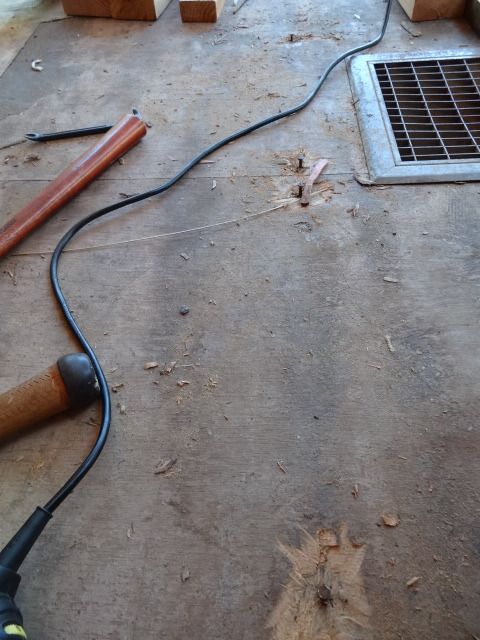
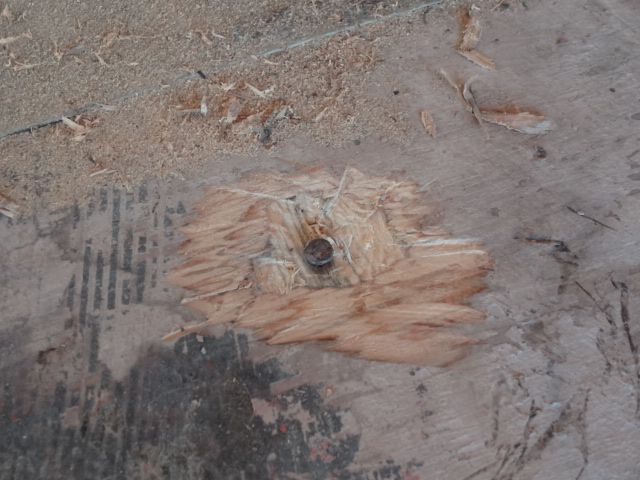
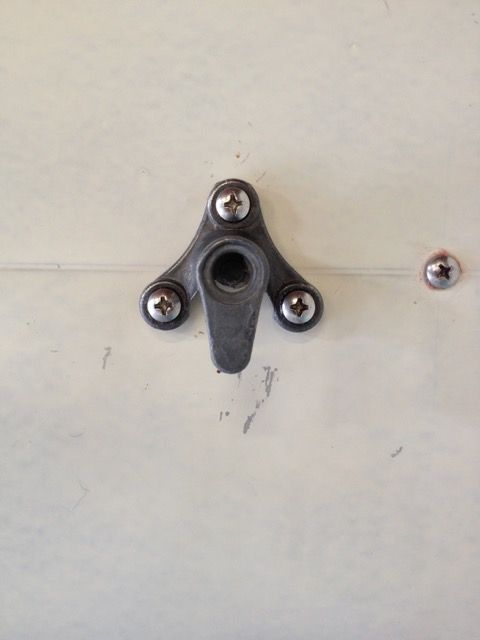
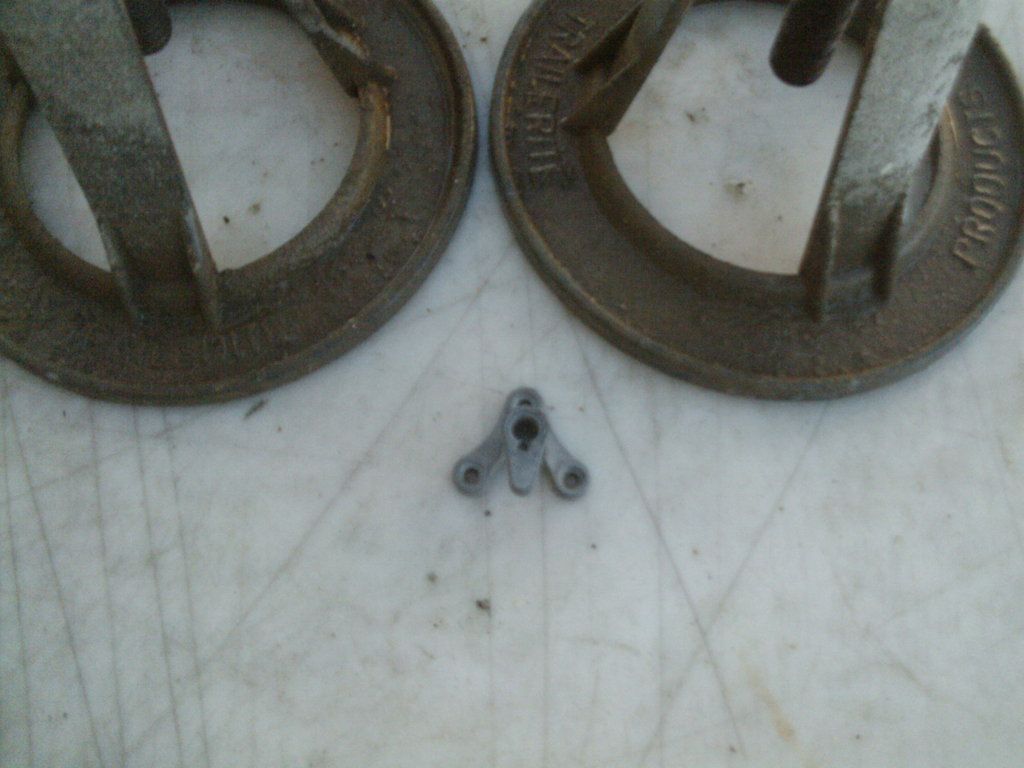
A few grunts and I was ready for plan B. But first, I went around and looked to see if anything had been missed. I missed the bed wall floor mount screws. I removed those huge puppies – btw, use a large Phillips screw driver, not Mr. Makita and a standard Phillips head. When you do this, then you can more easily remove the screws. You don’t want to strip those heads…
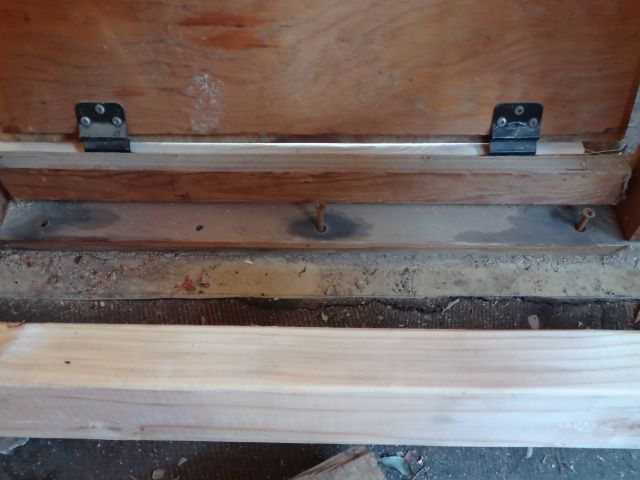
Image shows the three large Phillips head screws that held down the bed support wall to the floor.
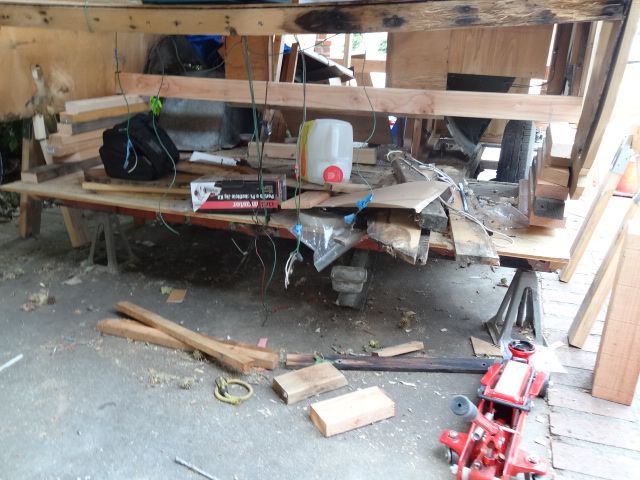
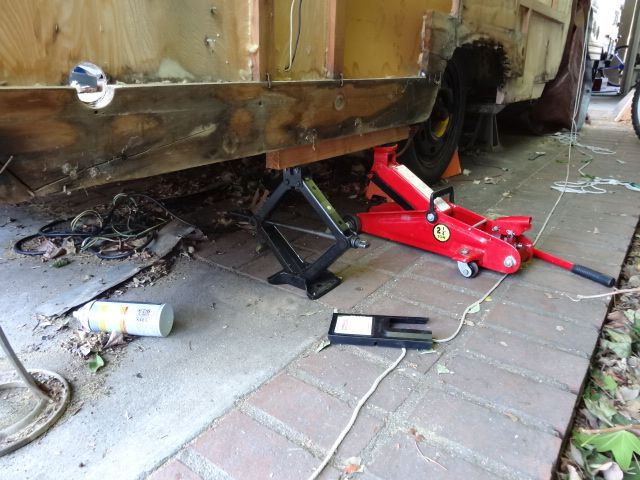
Releasing the bed support wall obviously helped. I took a hacksaw blade and slipped it between all the skirt boards and the sills to make sure I didn’t miss a nail. That was clear. I tried to lift again. Ugggggh, I could lift it, but I could tell it was going to be just too heavy for people to move. Not worth a drop or hurting myself or anyone else. I scrap that plan and go with using a floor jack and lifting each corner one at a time and inserting a short piece of 2 x 4 each time I jack a corner.
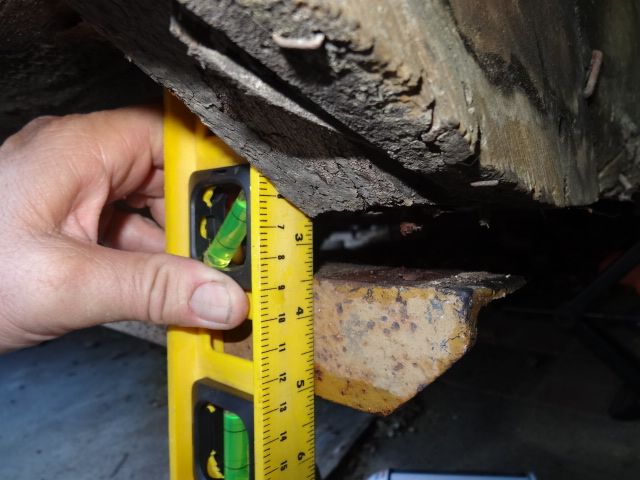
When lifting with the floor jack, raise with a long piece of wood placed vertically or horizontally to reduce the arc of the floor jack movement.
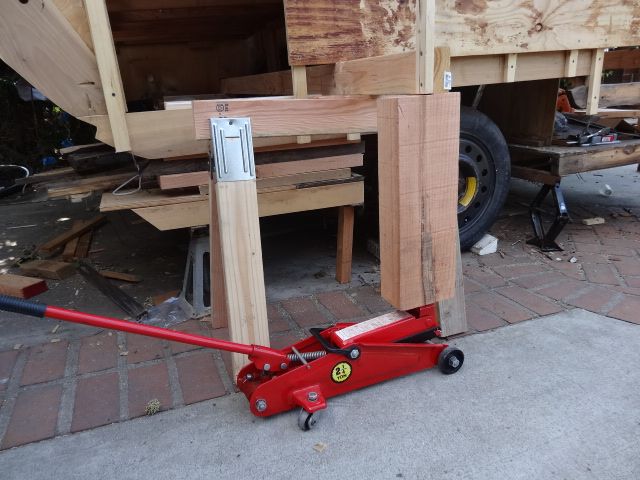
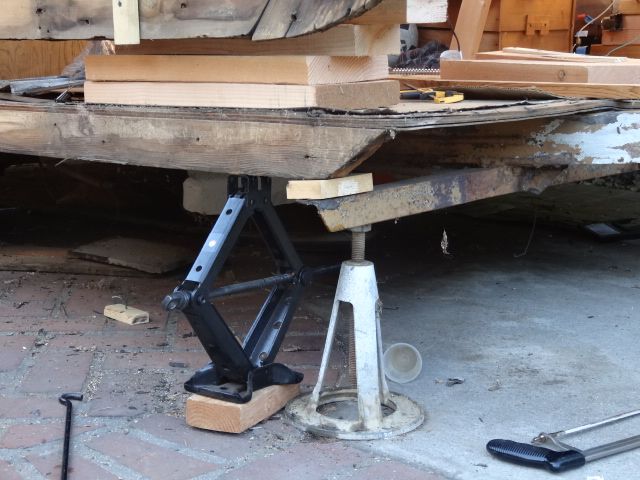
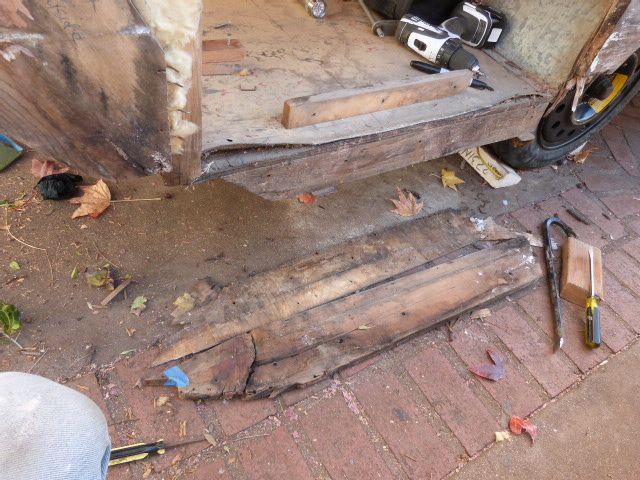
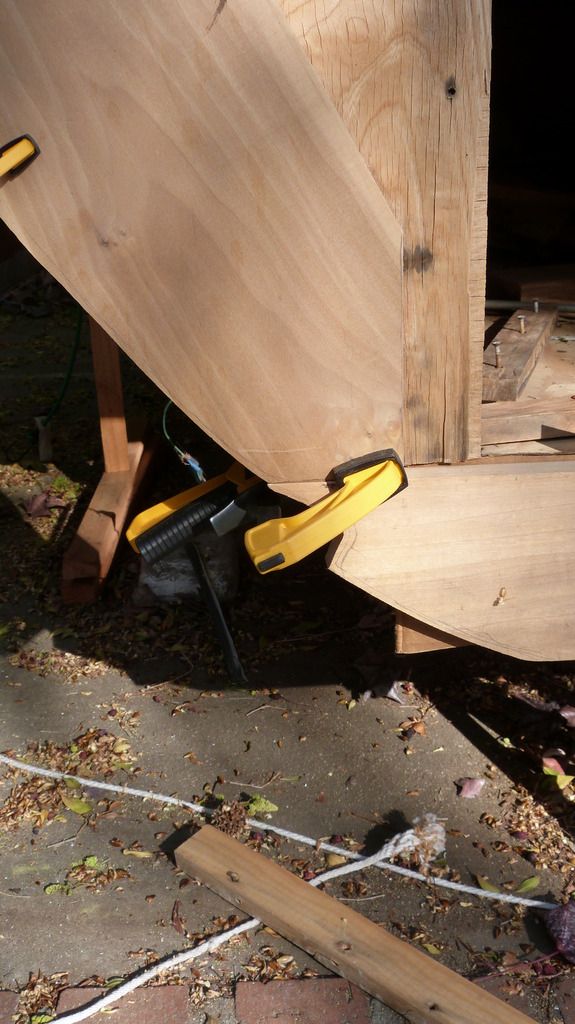
Where the 2 x 4 cross support exited the frame, I would lift the height of a 2 x 4. Then work my way around to each “corner”. I did this until I had a height of six 2 x 4’s.
Here I had lifted the height of four 2 x 4’s. All four “corners” looked the same. I inserted wider lumber at the base of the stacking “tower”, if I had it.
This worked except, at times, the entire body would “walk” fore or aft at least a ½”. This was extremely disconcerting and worrisome for me. I remember thinking that it wasn’t supposed to move. What do I do now? What happens if it moves too far and off the 2 x 4 stacks that I was using? The stacks of 2 x 4s were relatively stable when you didn’t lift, but when I lifted, they began to teeter a bit. I believe the slight slope of my driveway contributed to the “walking” of the body. When I started my restoration, I leveled out the frame. But, if the frame is level and the driveway is sloped, then creates a problem with the floor jack – that’s my guess. I realized that if I raised the body with the handle always upslope, it minimized the chances of the frame walking.
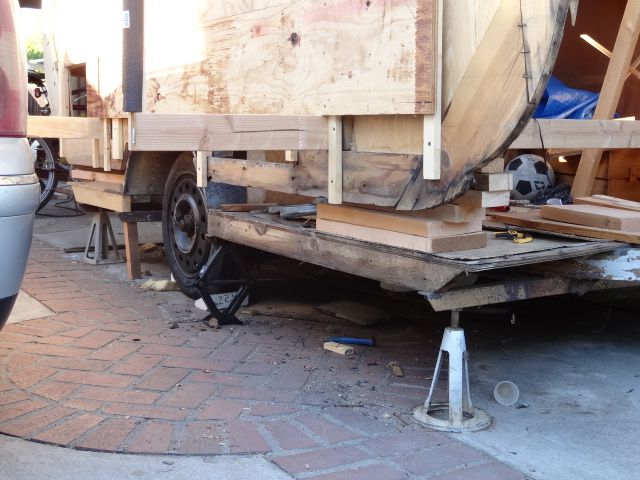
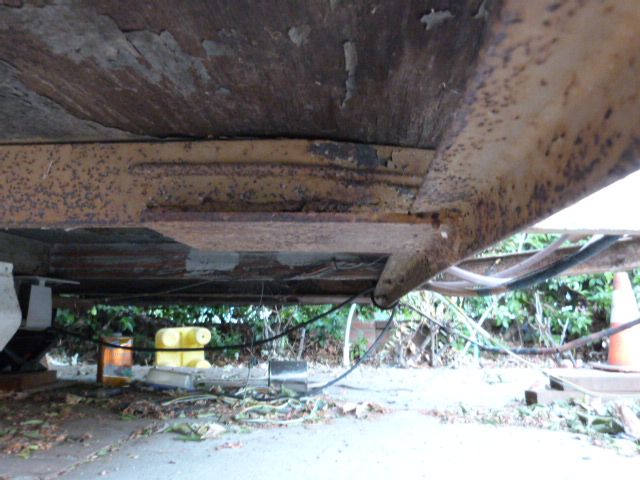
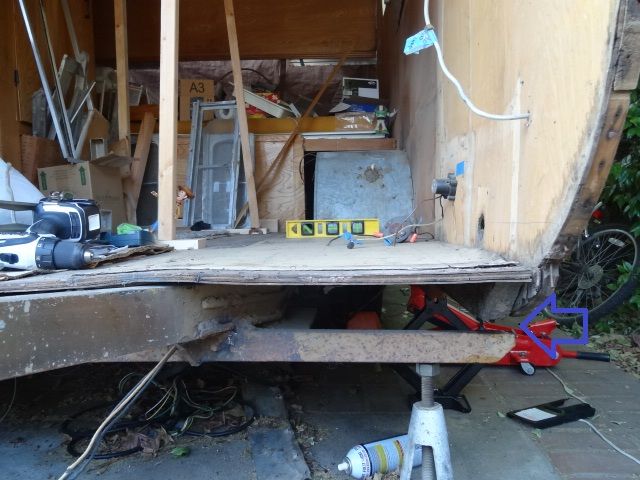
Also, the body started pulling to the curbside. On my Westerner, the front outriggers have sagged at the ends. A month ago, I had lifted the sill and floor and inserted a temporary wood shim to level out the floor on the street side, but never got around to the curbside. So I pulled out my car jack and raised it right there and then. I inserted a scrap of wood as a shim. That seemed to stop the sideways pull. To increase the stabilization of the frame during the lifting process, I decided to add jacks or even wedged pieces of wood under all the outriggers.
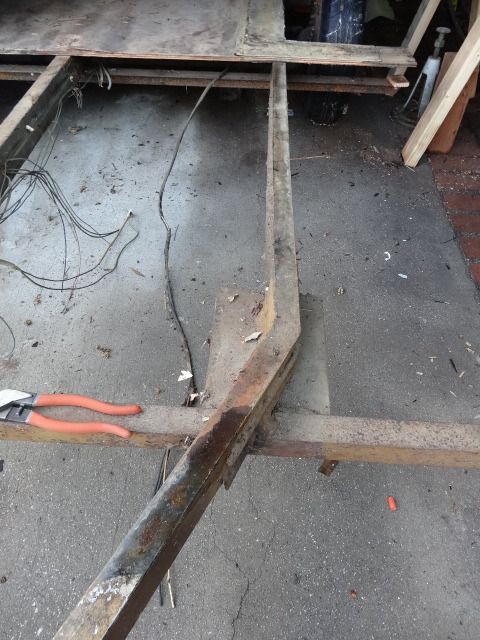
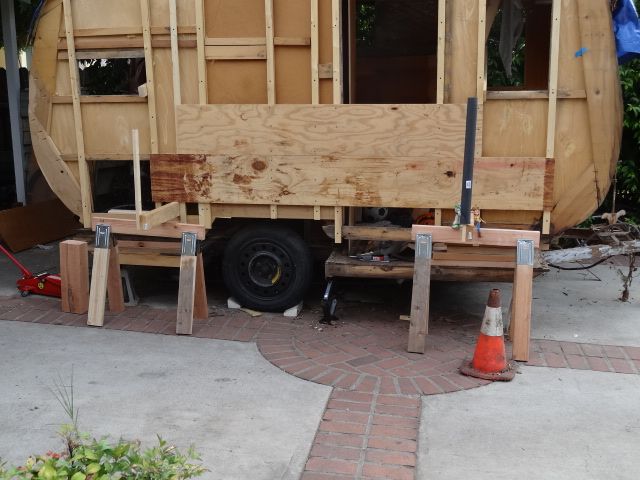
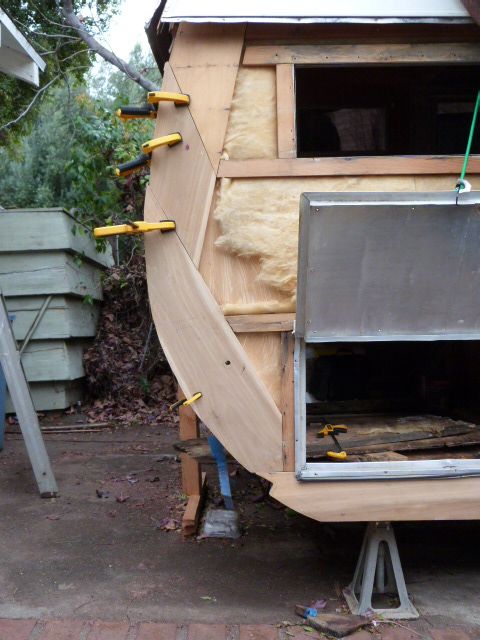
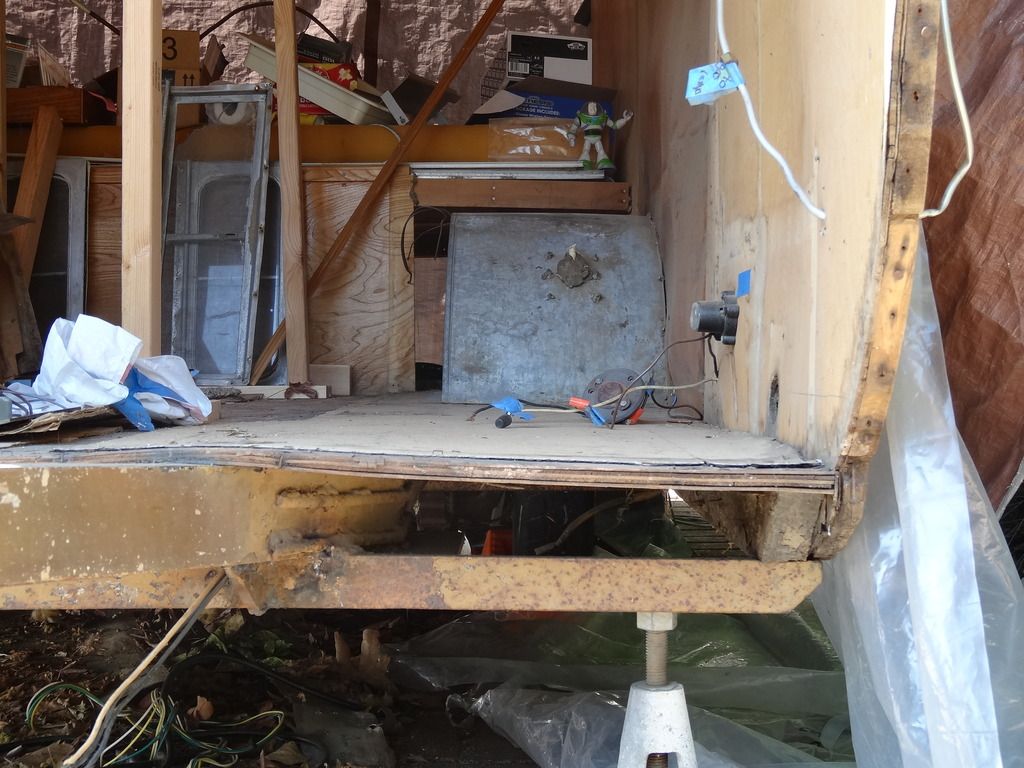
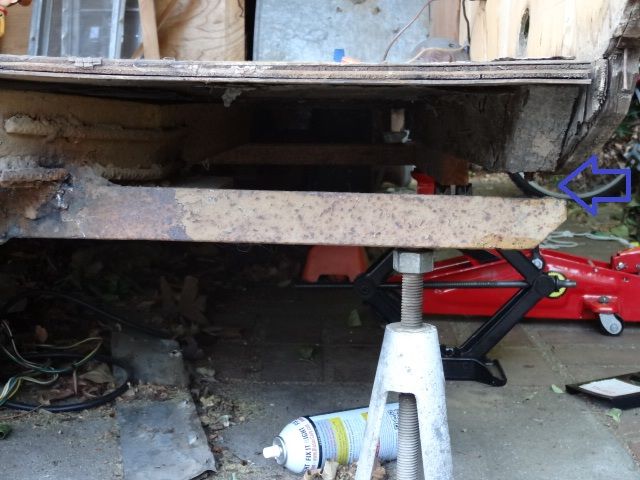
Here you can see all the outriggers are supported. I did this to both sides. The wood wedge behind the wheel should have been more stabilized. The ground on the driveway at that spot was very uneven.

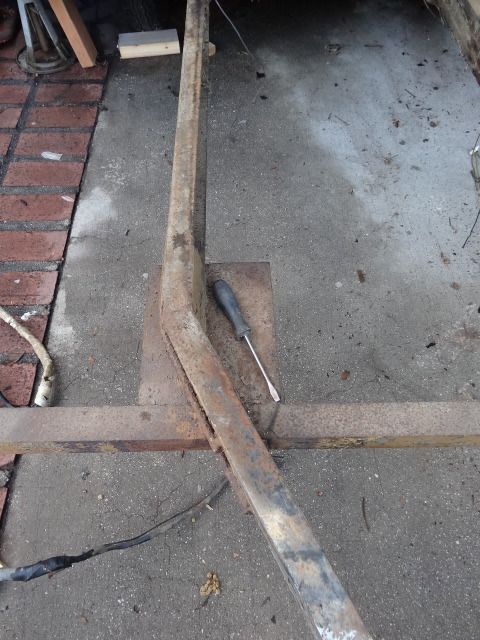
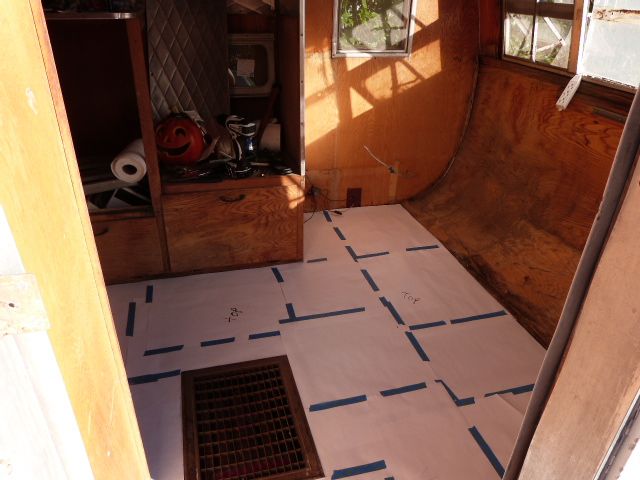
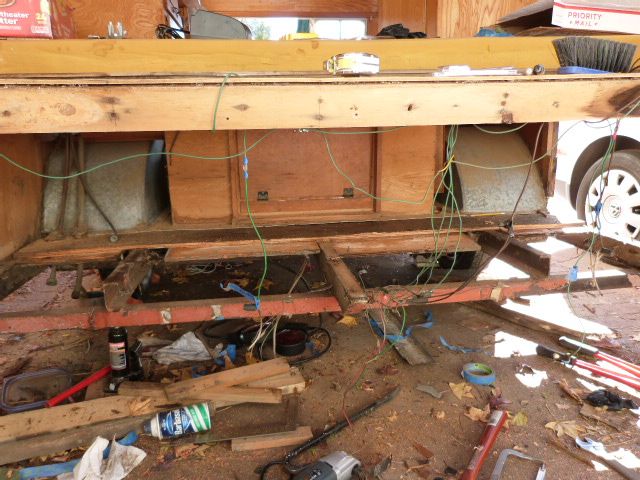
Here we see the frame before the wedged wood was added between the driveway and the outrigger. At this stage, the body had been lifted the height of 5 2 x 4’s.
After lifting the floor
wood wedge has been added
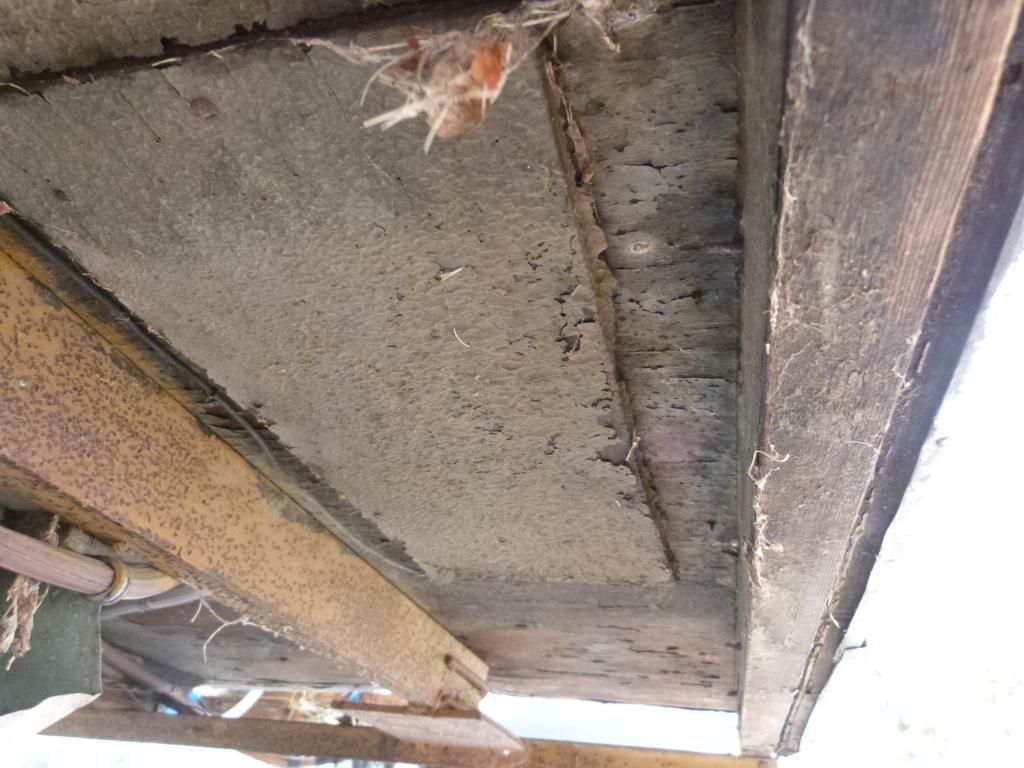
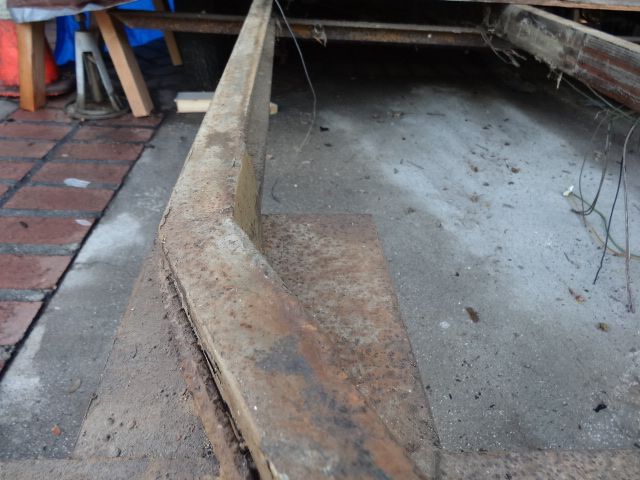
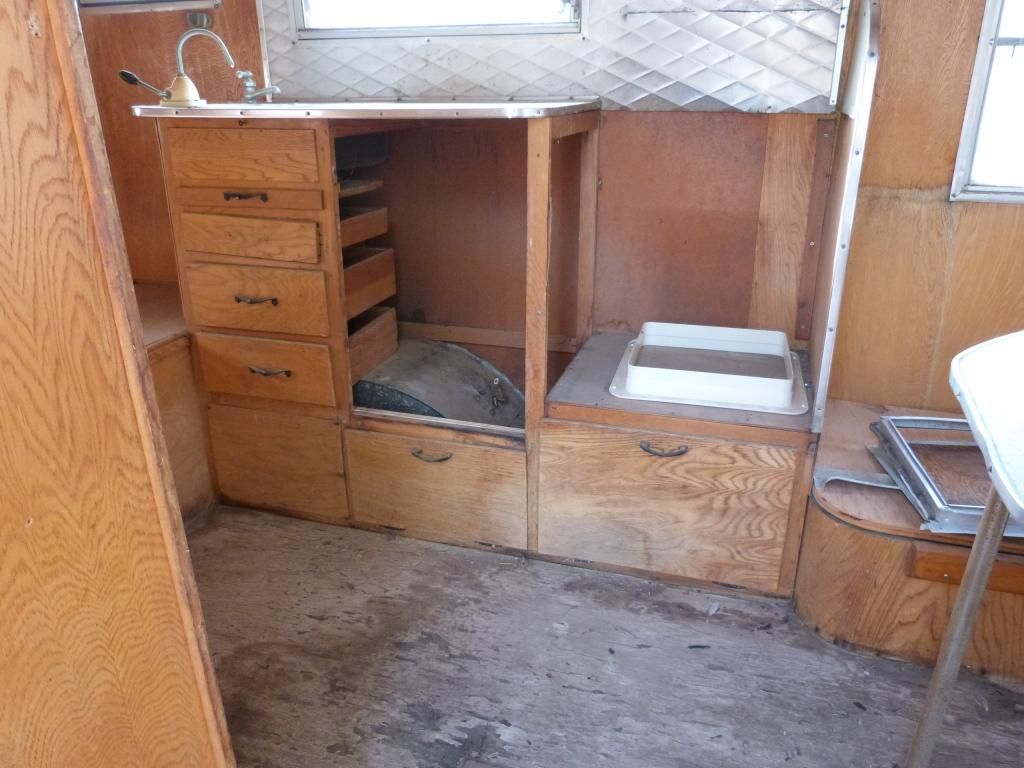
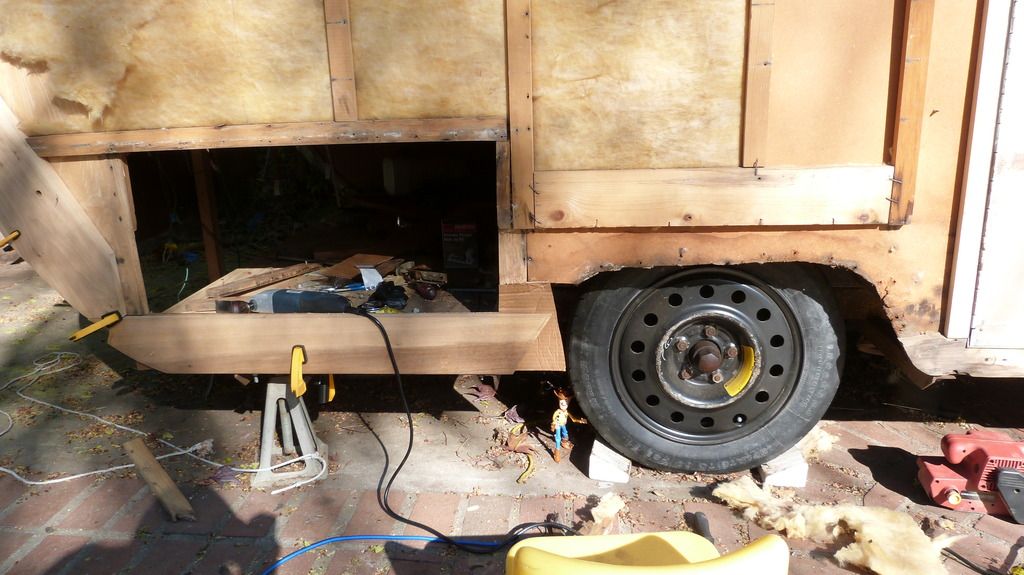
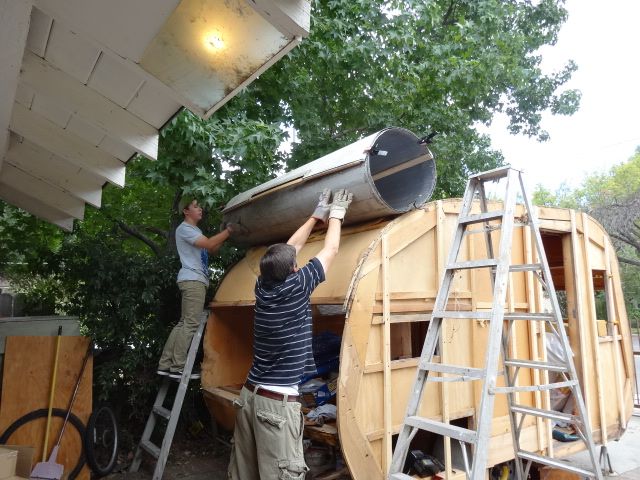
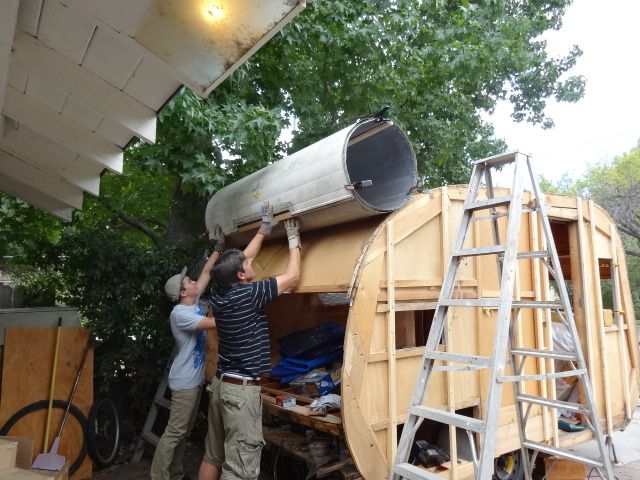
Now, remember my goal was to be able to wheel out the frame. The wheels have to roll out from underneath the cross supports. That’s the whole point of lifting the body. After the 7th level of stacked 2 x 4’s, I realized that my measurements for tires to clear the body were overestimated because I had measured based on the height of the wheel well and not the top of the tires. I had previously removed the street side wheel well cover, but not the wheel well cover in the curbside wardrobe. I mistakenly thought it was initially a good idea to leave it in place. Don’t do this.
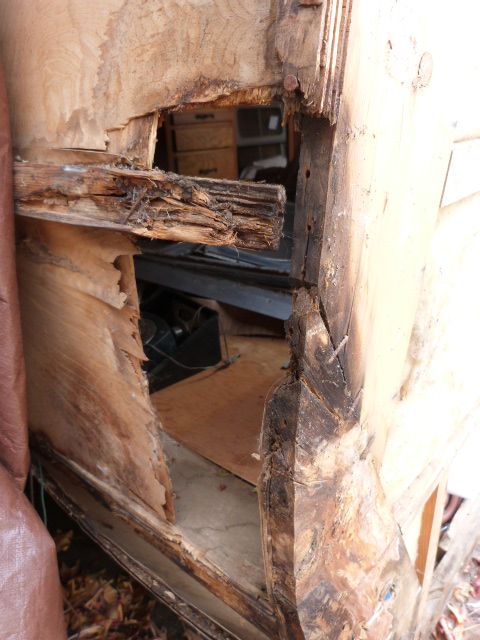
I did some emergency surgery and removed the wheel well. On Westerners, they are attached using twisty nails to the top of the floor not underneath like some others. The twisty nails managed to break free relatively easily. Remember, water damage can be your enemy but also your friend. Water damage can be good, LOL.
Once the wheel well cover was out, then the necessary clearance dropped. But, in a windfall of good luck, I had mounted space saver tires to preserve my full size tires. The space saver tires have a smaller diameter by 1 ½”.
The reduced diameter tires lowered my necessary clearance. I realized that I have lifted the body enough for the tires to clear! Yeah, I exult and do happy dance right there on the driveway.
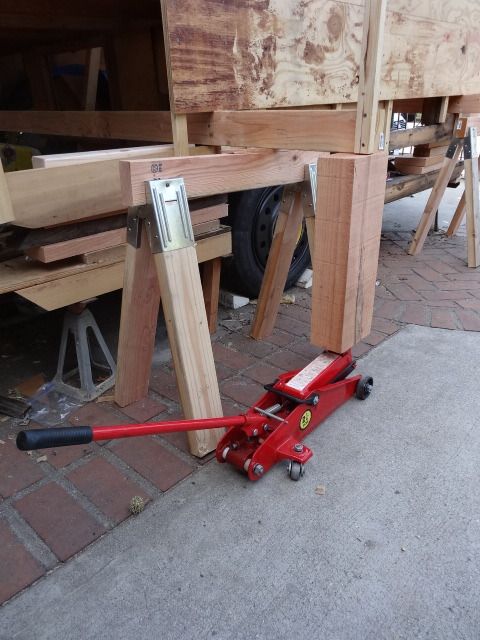
The next step was to build saw horses to support the body in order to wheel out the frame. BTW, when measuring the sawhorse height, consider the cross support on them… or you will be doing more cutting and remeasuring.
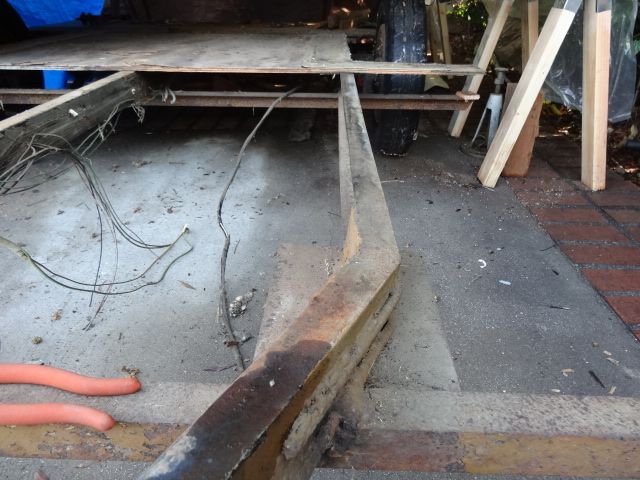
The sawhorses had to be placed underneath the ends of the cross support 2 x4s before I could wheel out the trailer frame.
Here the 2 x 4’s had been layered 7 high before adding the sawhorses.
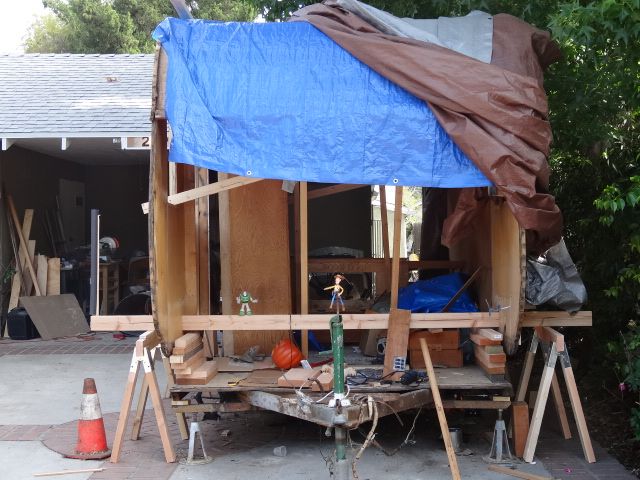
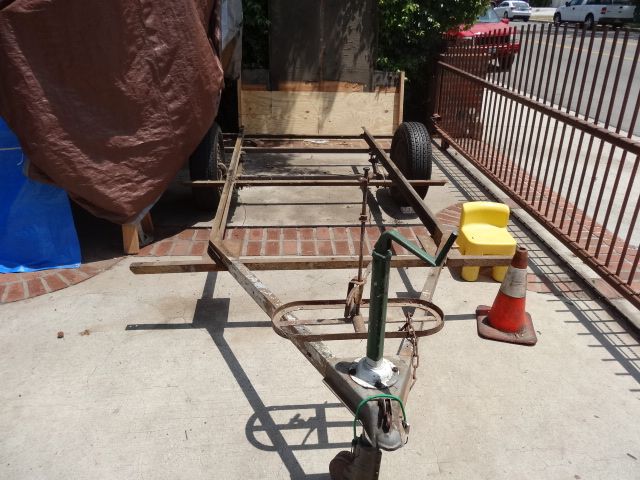
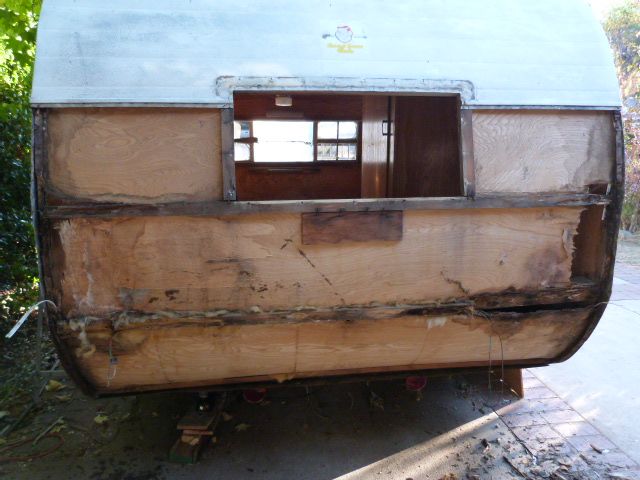
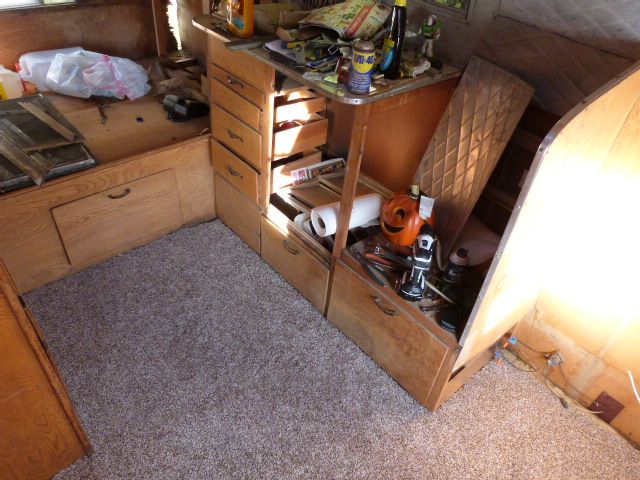
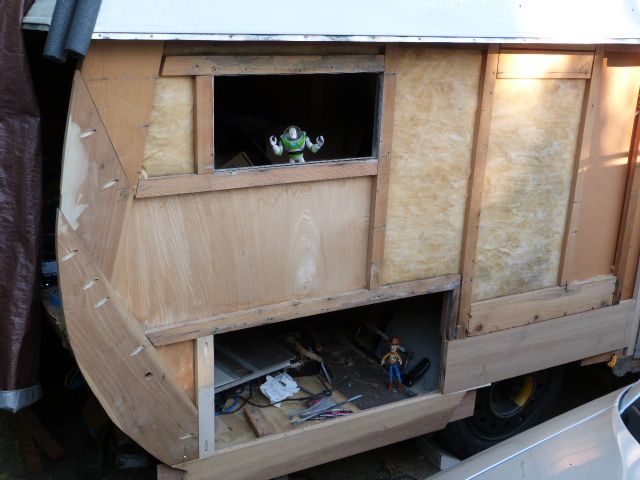
One of the few pictures of the rear opening. Uggggh, the clutter, LOL.
Done for now.

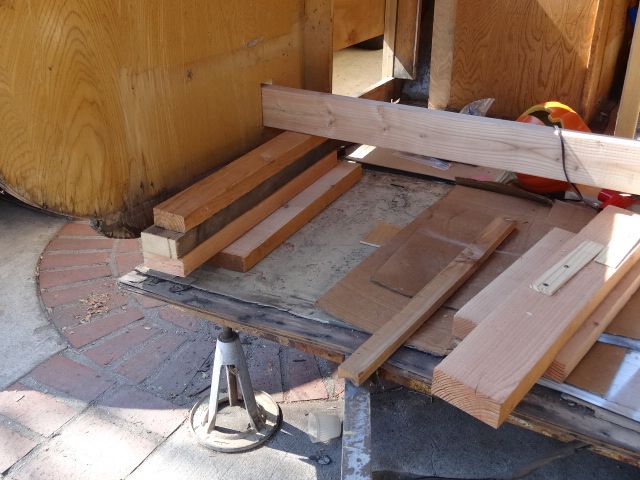
Andy's frame is at the welder for right now. Now, I can build my workbenchette.
Cheers,
Rod


 Andy's frame is at the welder for right now. Now, I can build my workbenchette.