(8 months later)
Hi Friends,
Here is a summary of what I have been up to since my last posting.
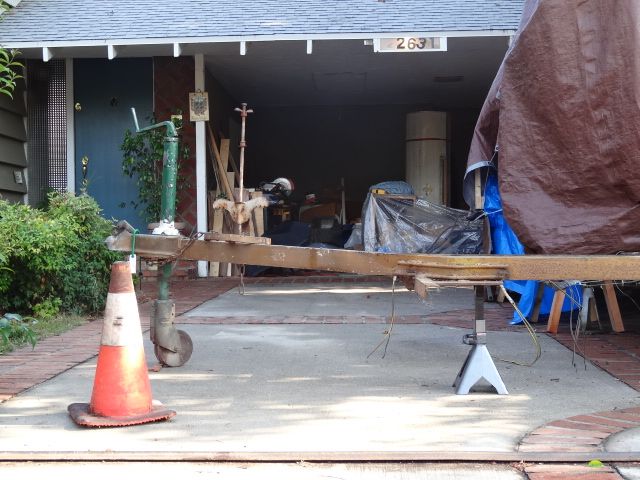
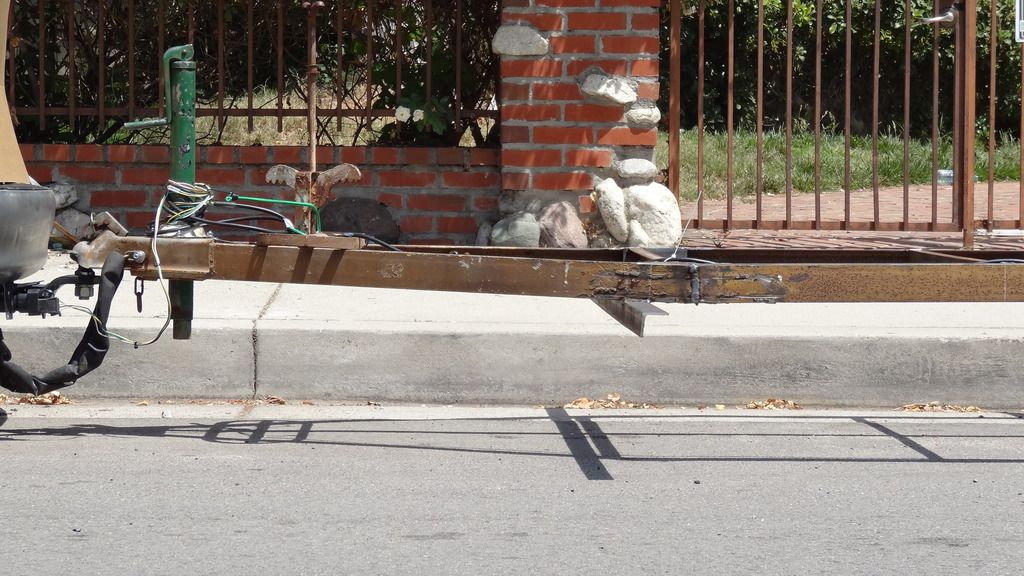
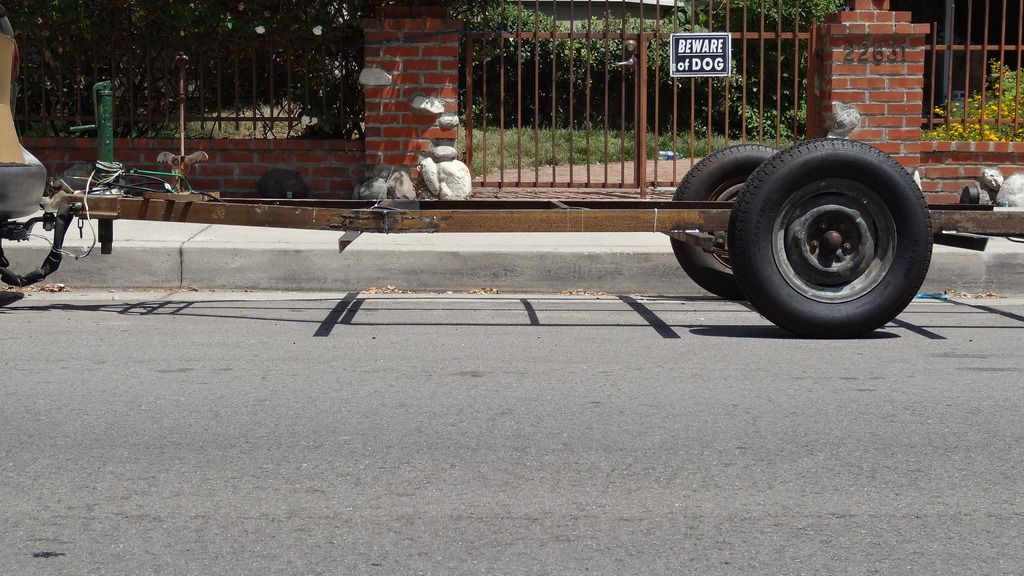
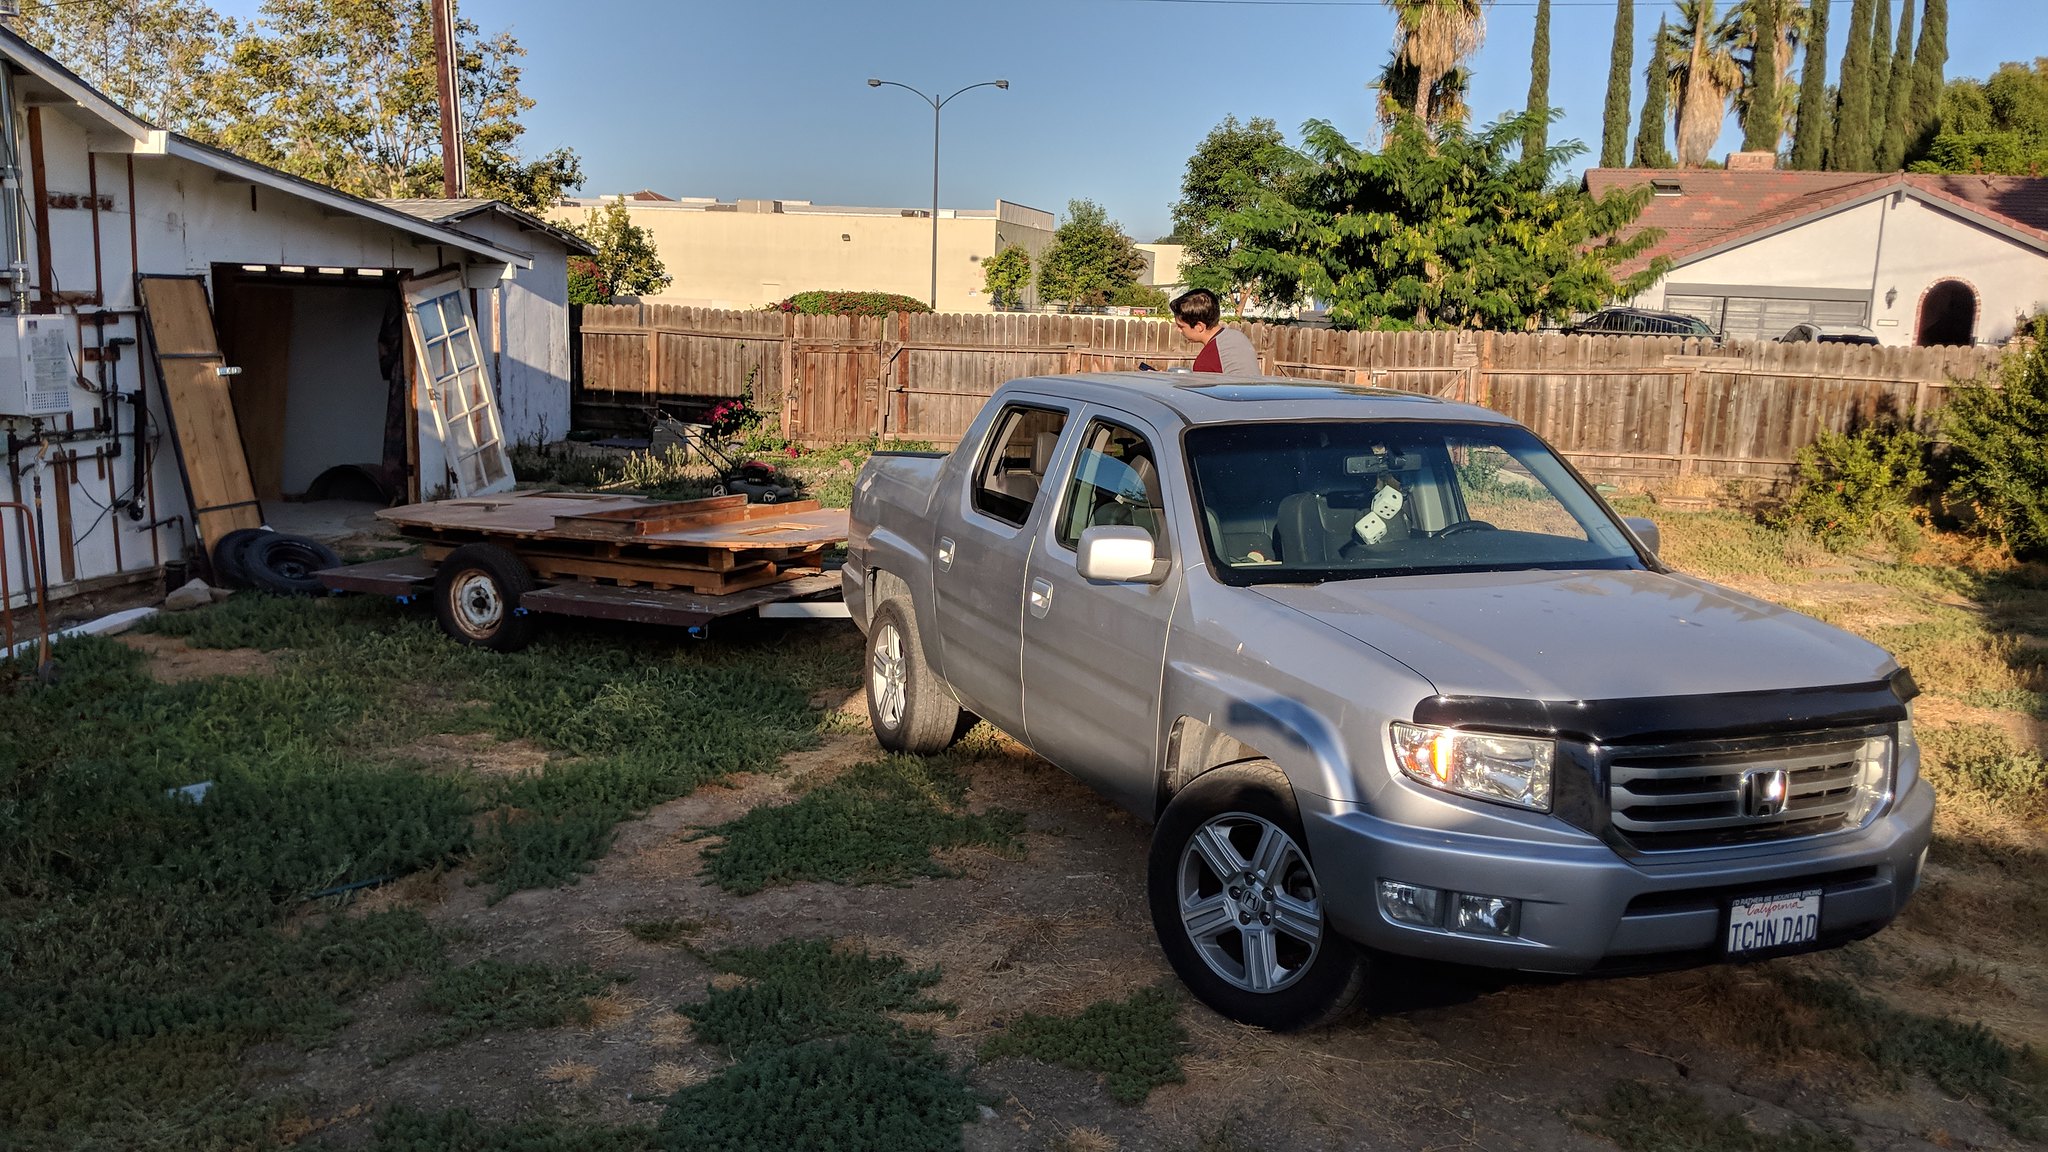
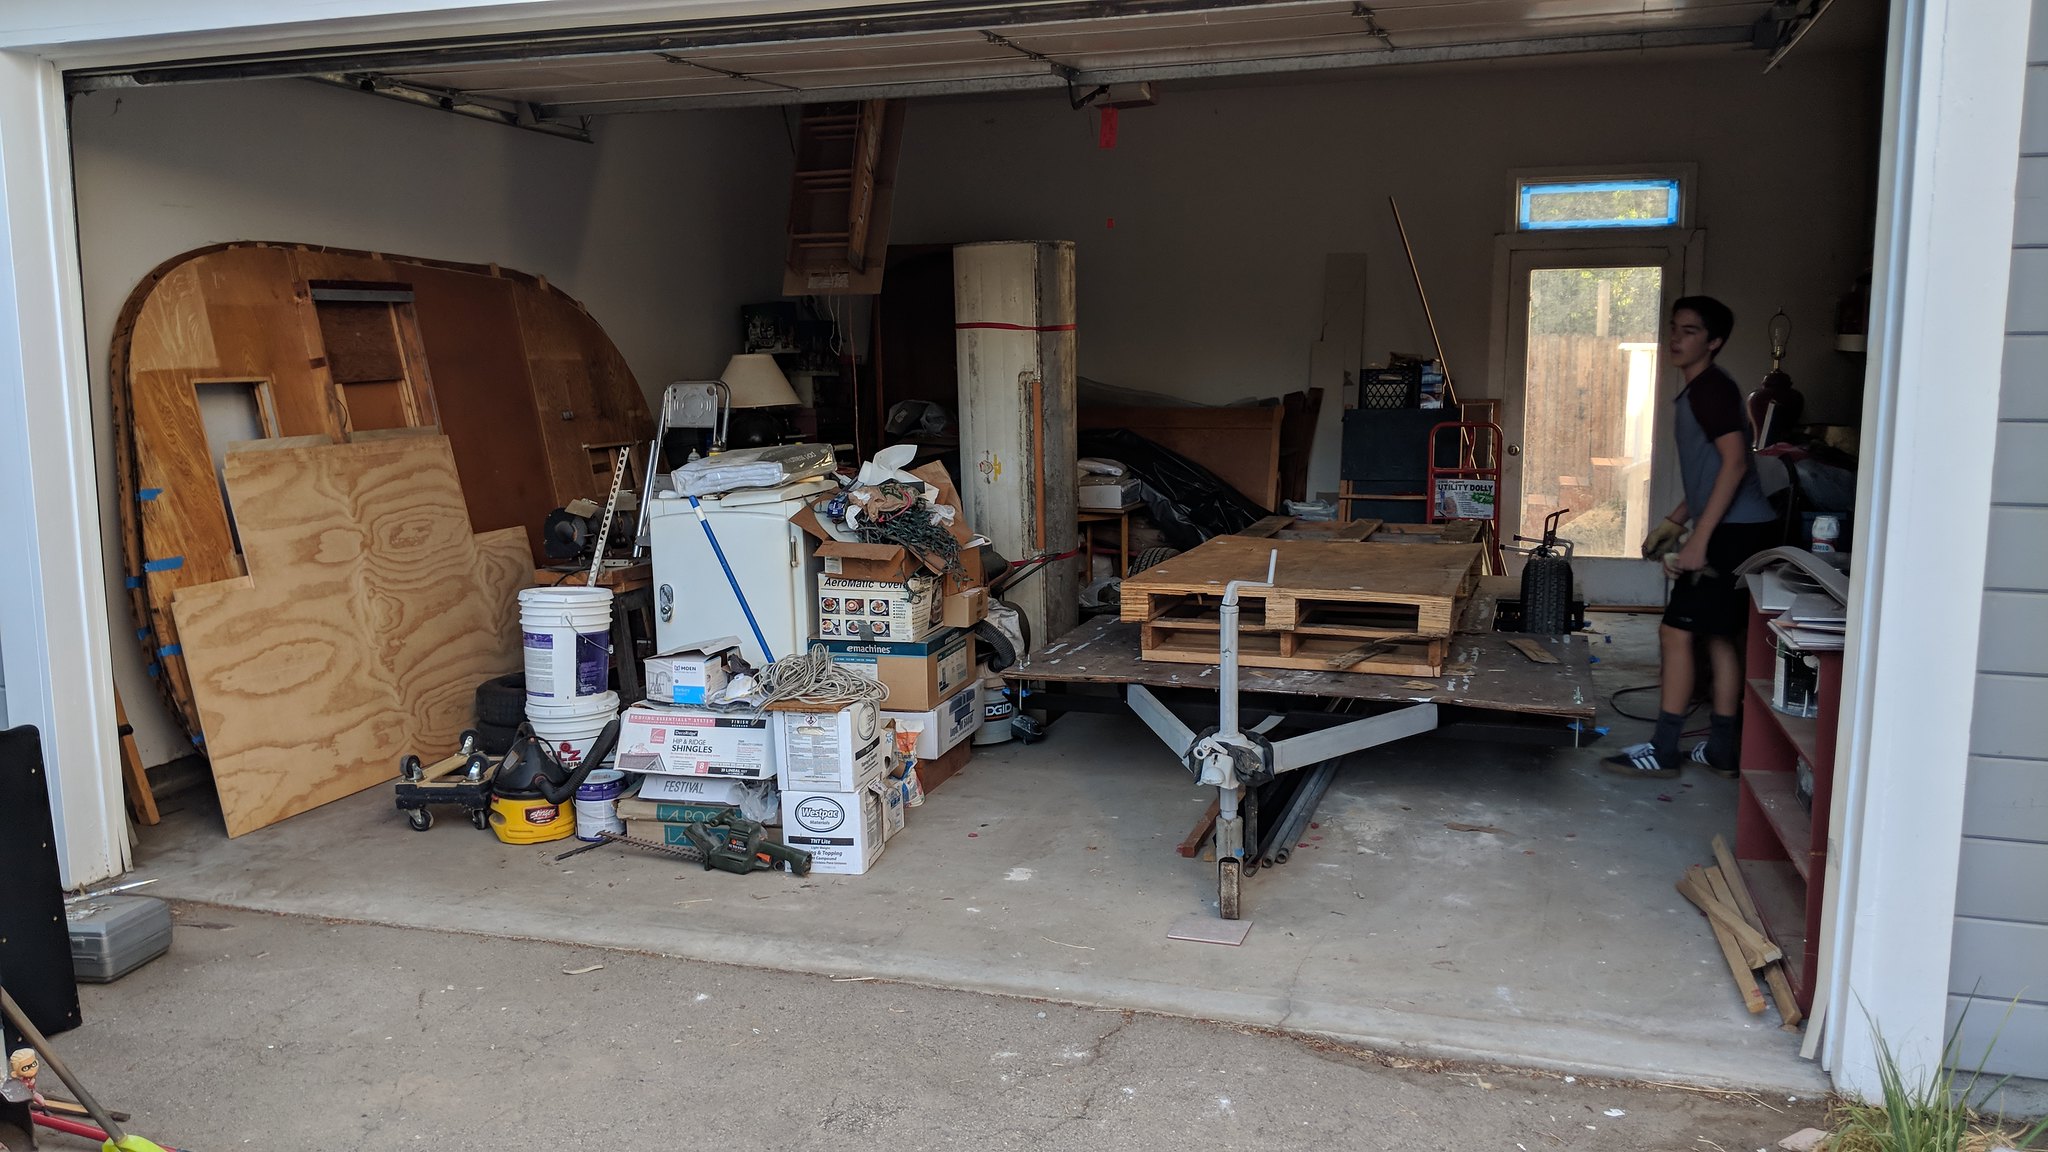
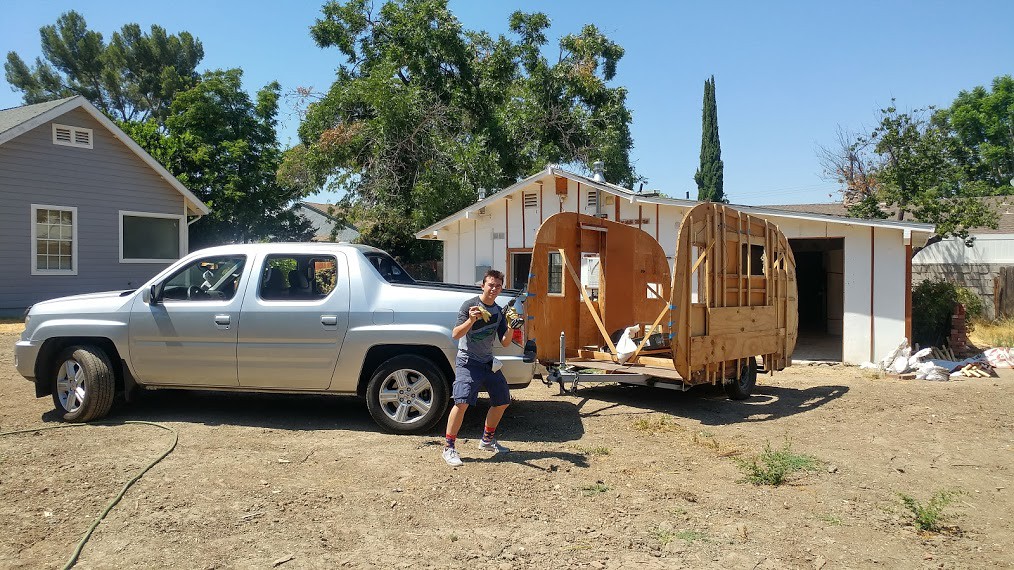
July 2017I moved the trailer body and frame off of my driveway to my mother in law's house.
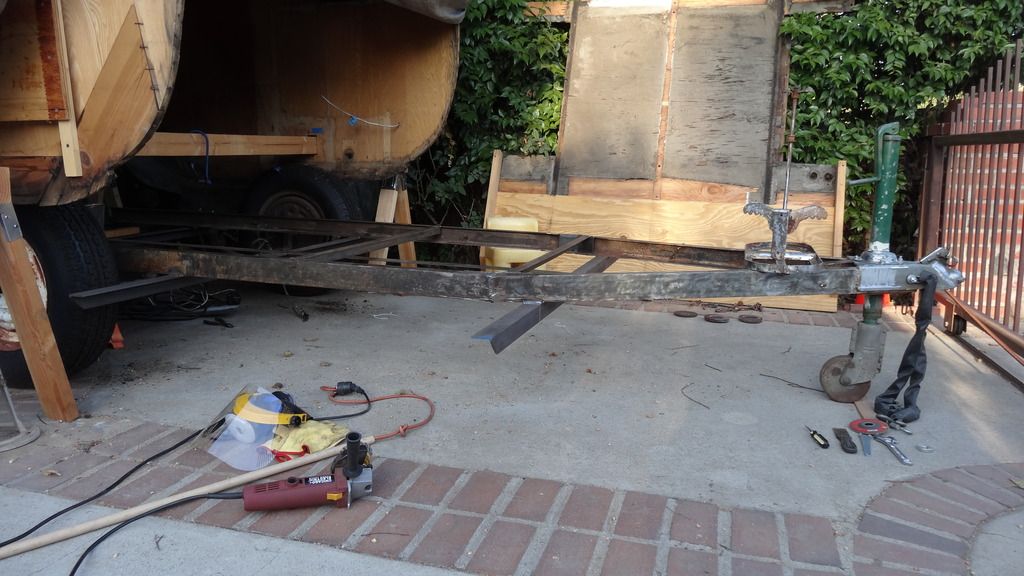
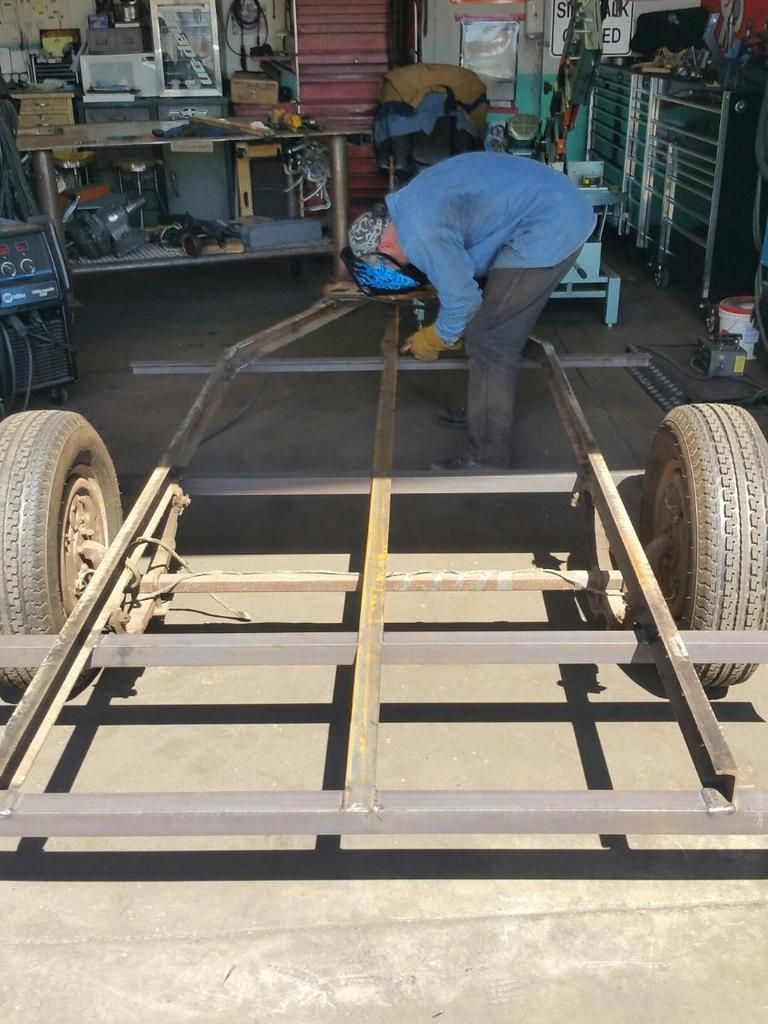
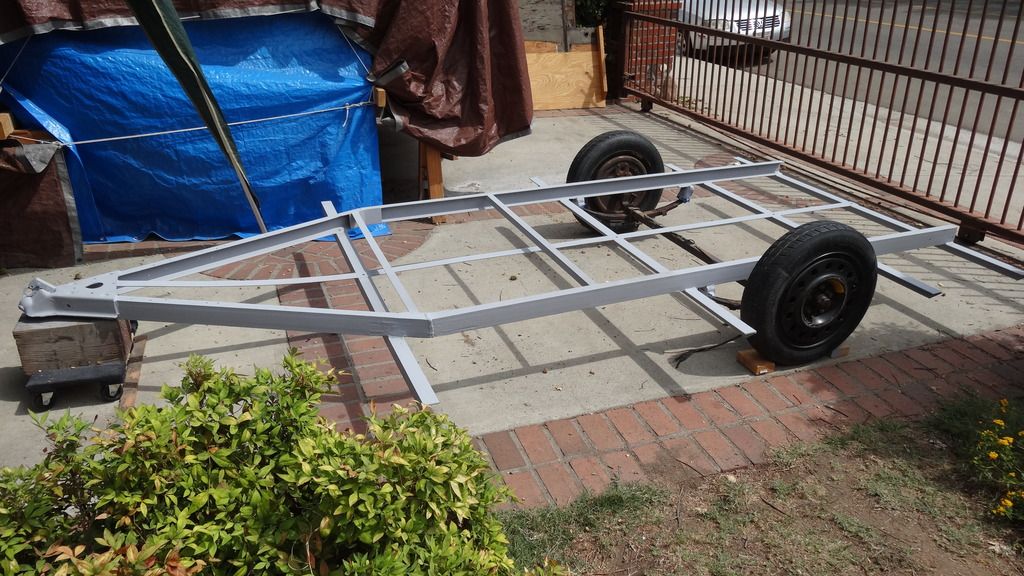
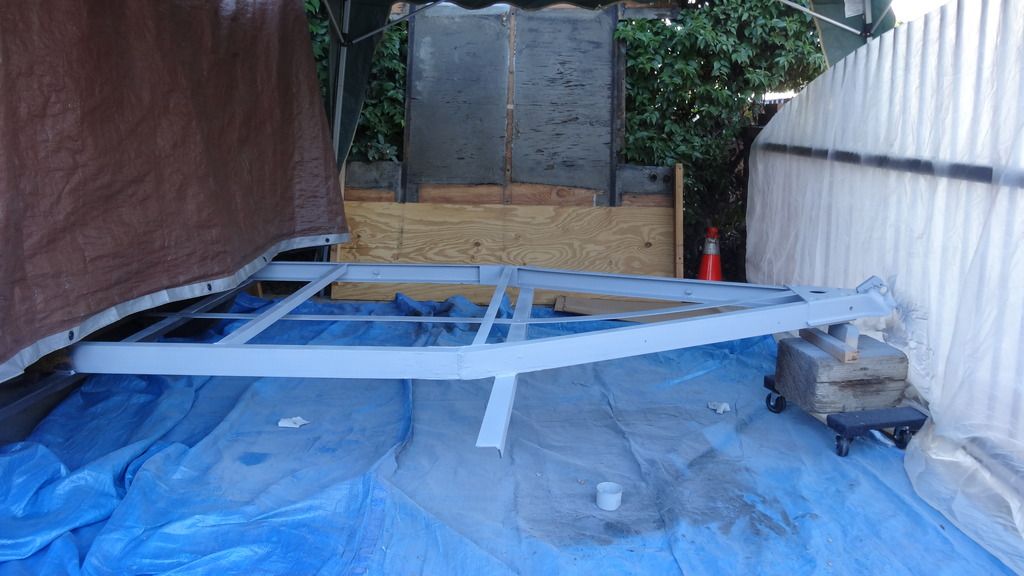
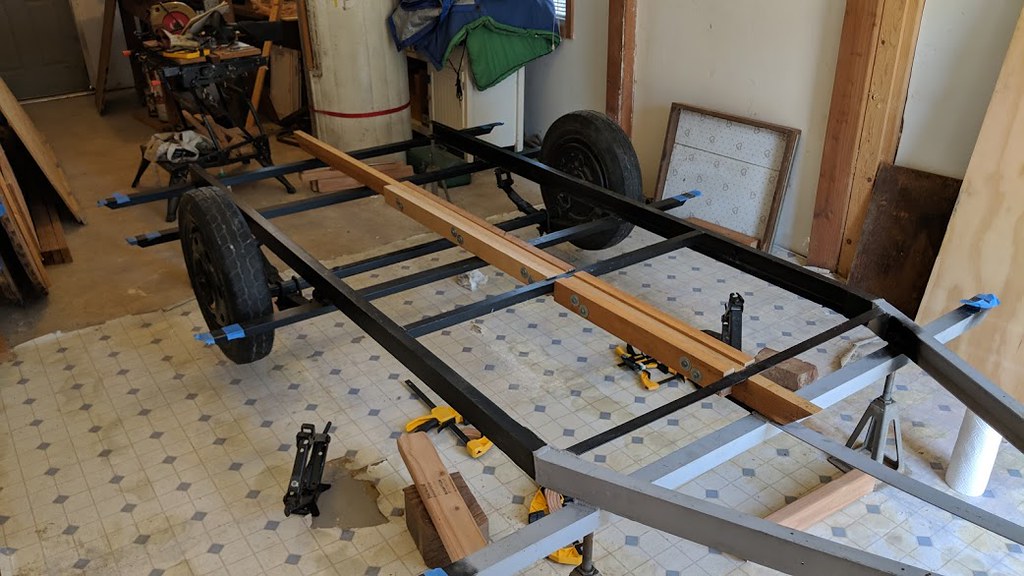
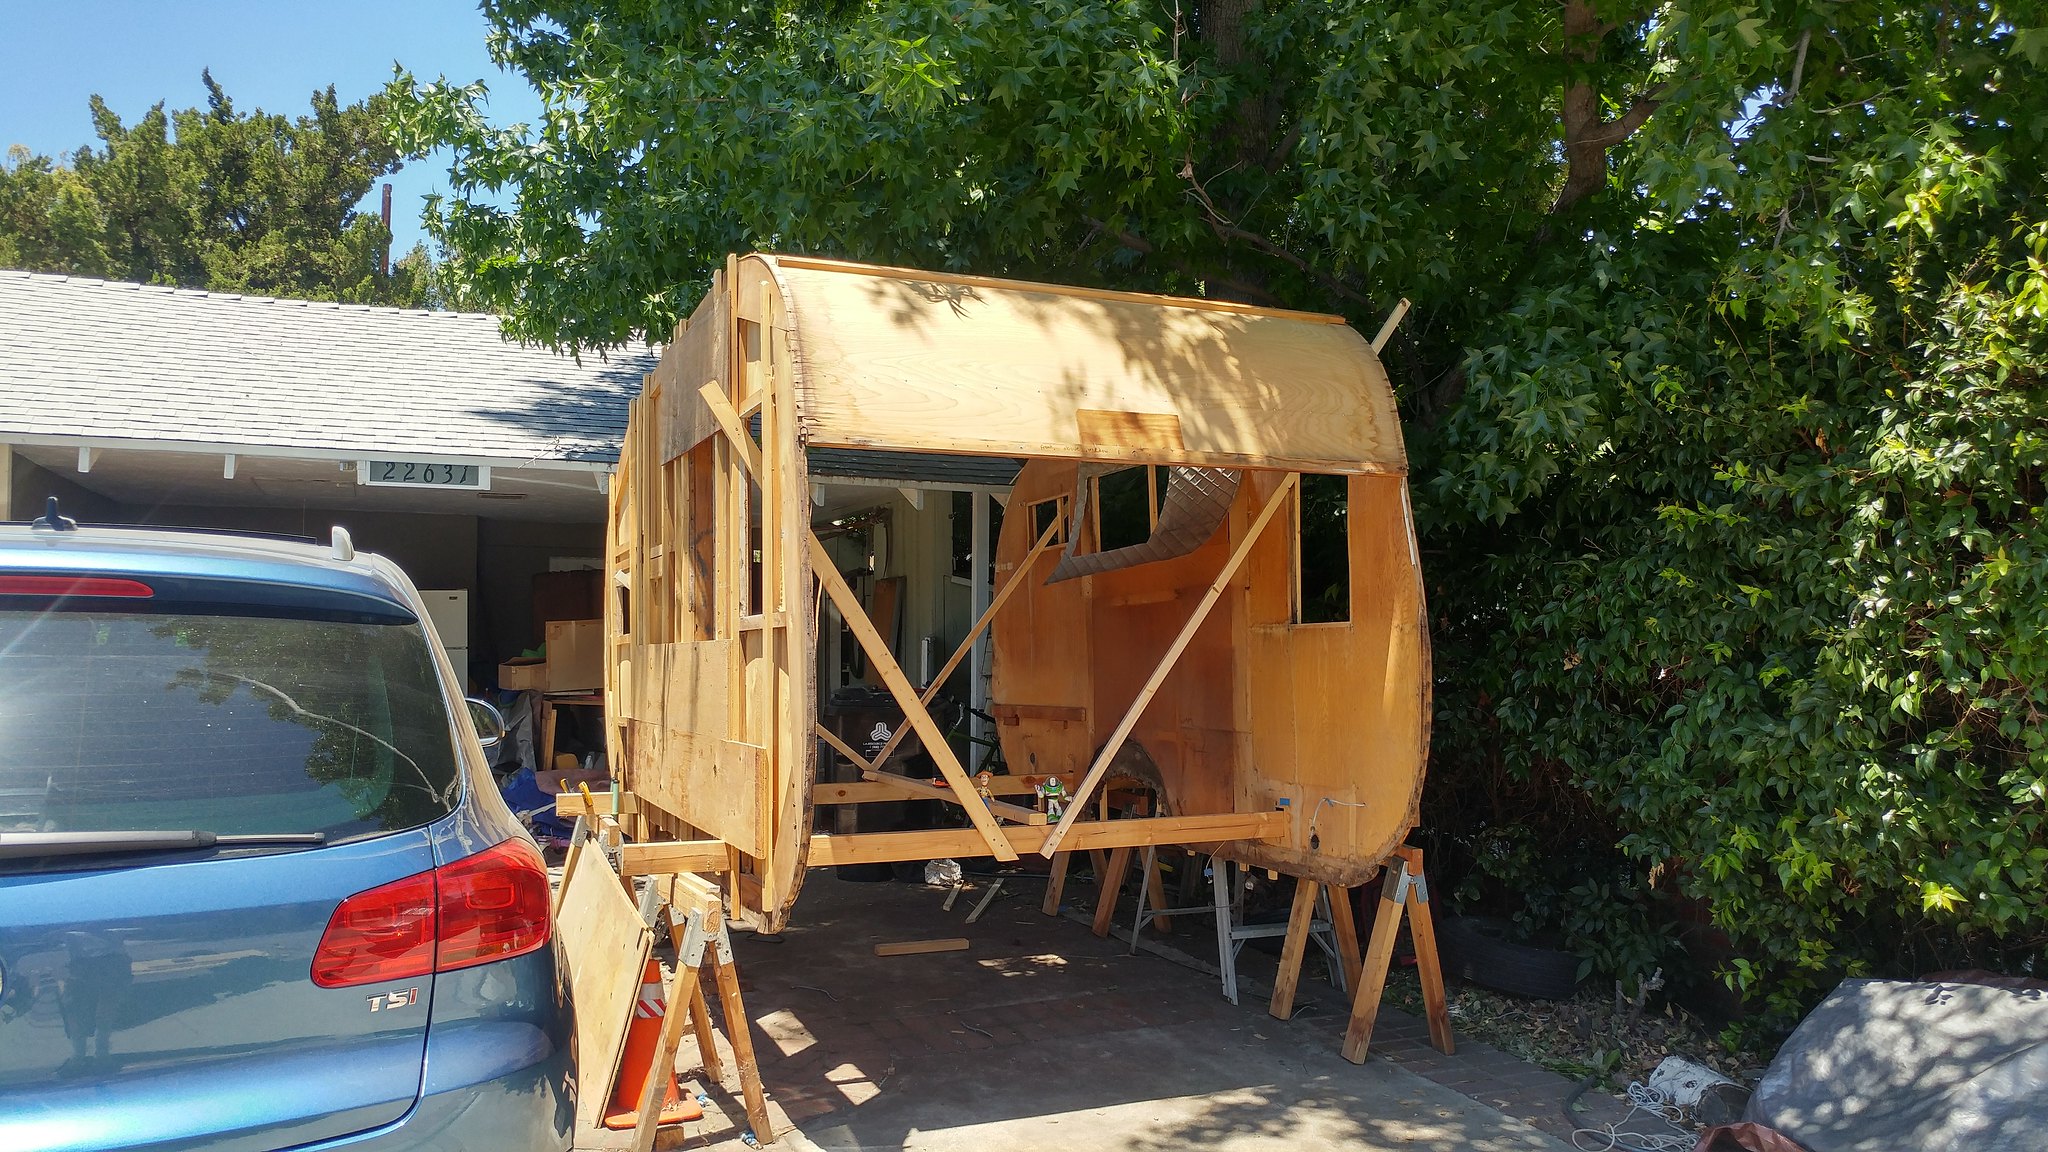
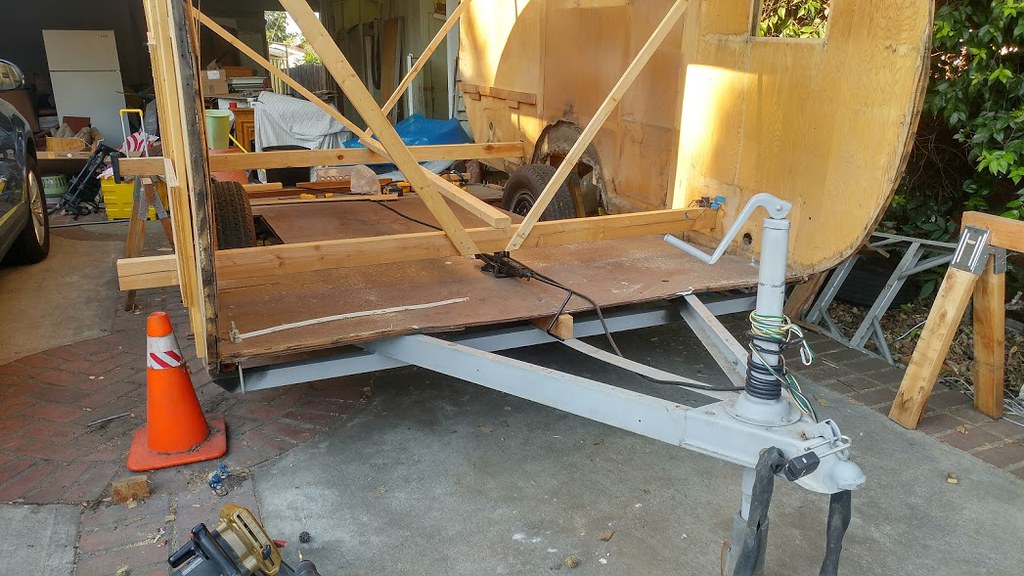
Here is how we did it. We had to dismantle it and reattach the body to the frame to move it. At this point, I also realized that I never marked the frame’s position as it related to the body before I raised the body. So, I decided to lower the walls (walls assembly) back down to the frame. New readers should know that all new outriggers were welded onto the frame, and the tongue sag was reduced by a welder.
Here is the body with the frame removed from underneath.
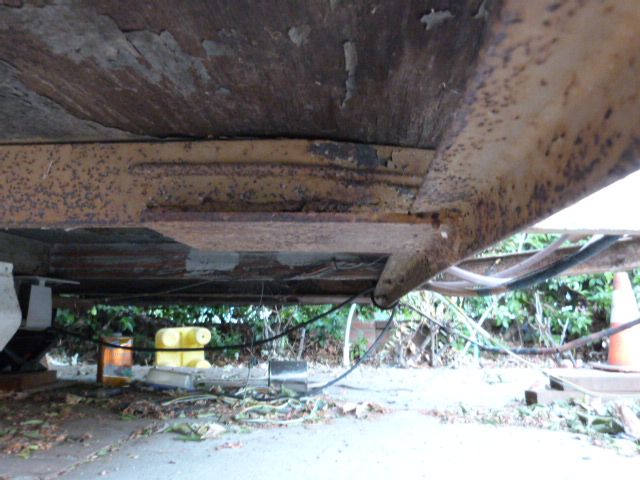
Rear view. Upper kitchen cabinet had been removed. Upper dinette cabinet remained.
Then, we removed the remaining roof panels and the upper dinette cabinet. The key panel with the roof vent was a gonner. It is warped and water damaged. I was hoping to keep the front and rear upper radius panels. I had to be very careful removing the nails that held down the edges, which did come out easily. I love my Sharkgrip nail removal tool.
After removal of roof panels.
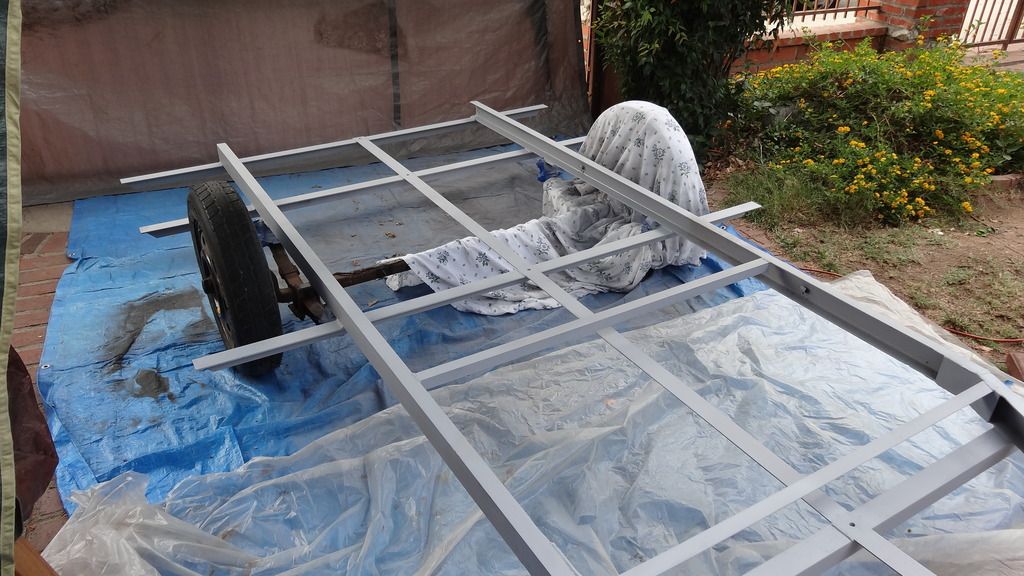
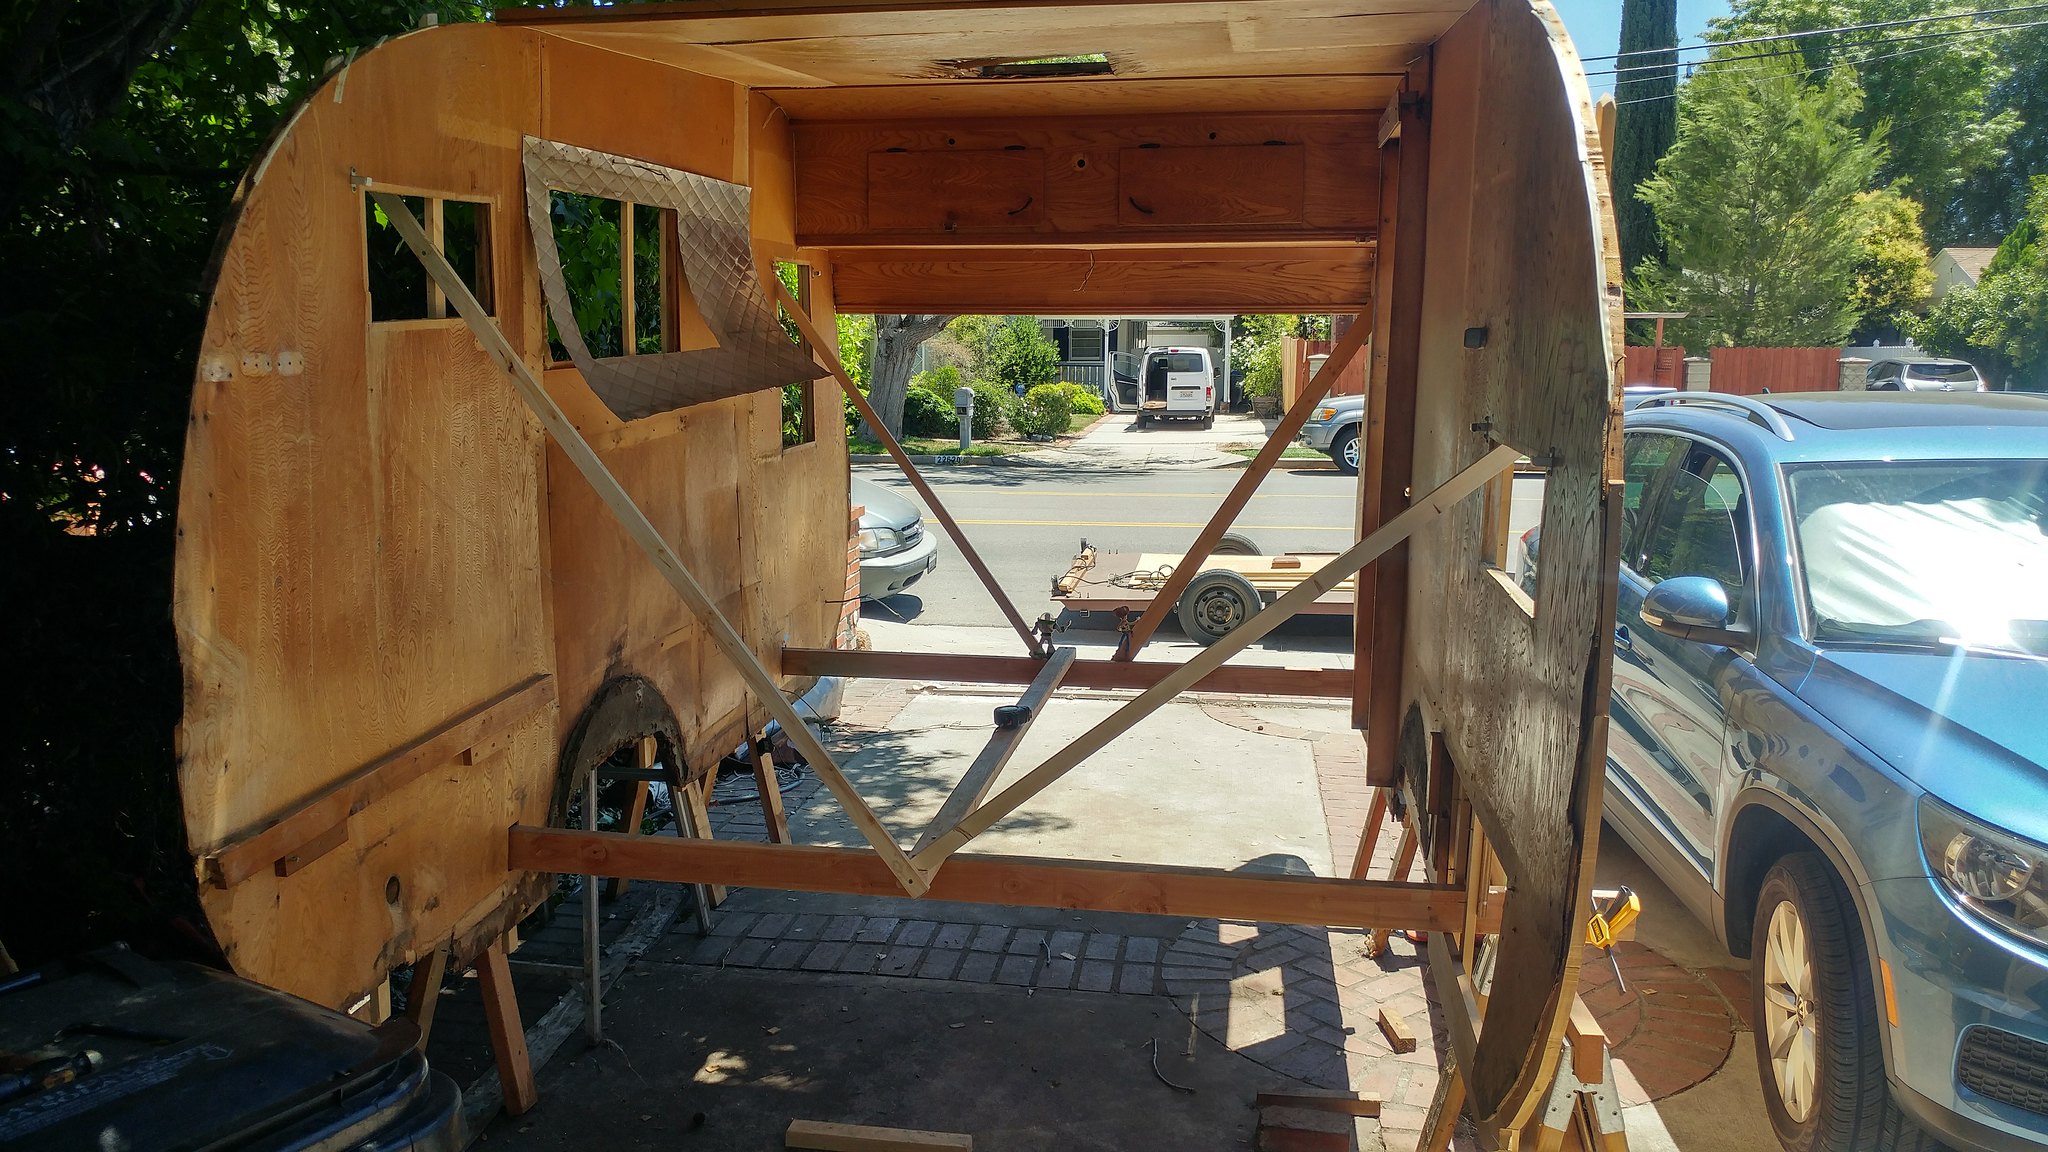
I still had the original sill boards on the front half of the walls. The front half of the floor also still had the original floor joists on the sides. I moved the frame/floor underneath and vertically matched the holes in the sill boards to the holes in the side floor joists and used those holes as a guide for dropping the walls on the outriggers of the frame.
The lifting began. I used the scissor jack from my minivan to lift the front 2 x 4 crossmember in the middle and then removed the saw horses. The rear sawhorses were still in place.
Then... upon lowering, the jack gets stuck under the 2 x 4 crossmember.
Ooops. That was fun... A small hiccup.
We had another unintended issue. The streetside rear wall has no sill board. It was rotted and fell apart when I raised the body. Since I had reinforced the walls with additional 1 x 2’s, I had to screw a scrap piece of sill board to these for strength and a temporary band aide. It worked.
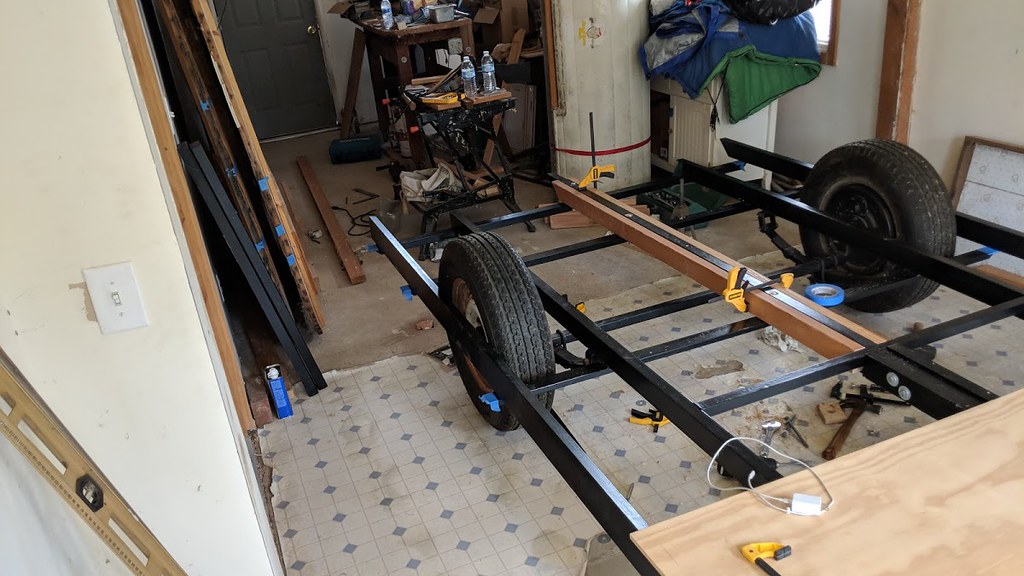
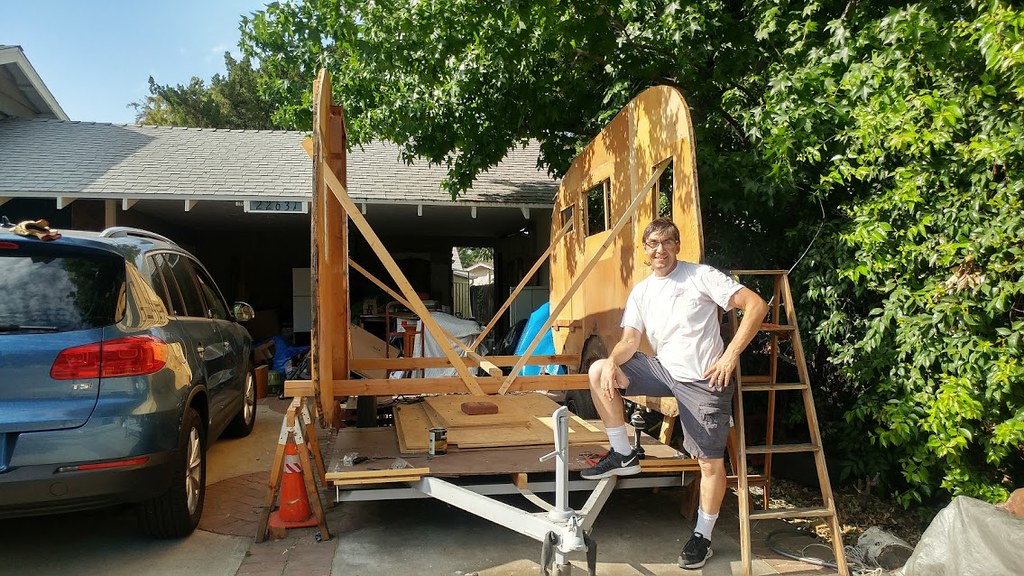
The body is once again on the outriggers. Yah, and how much time was lost in this entire exercise in lifting the body?
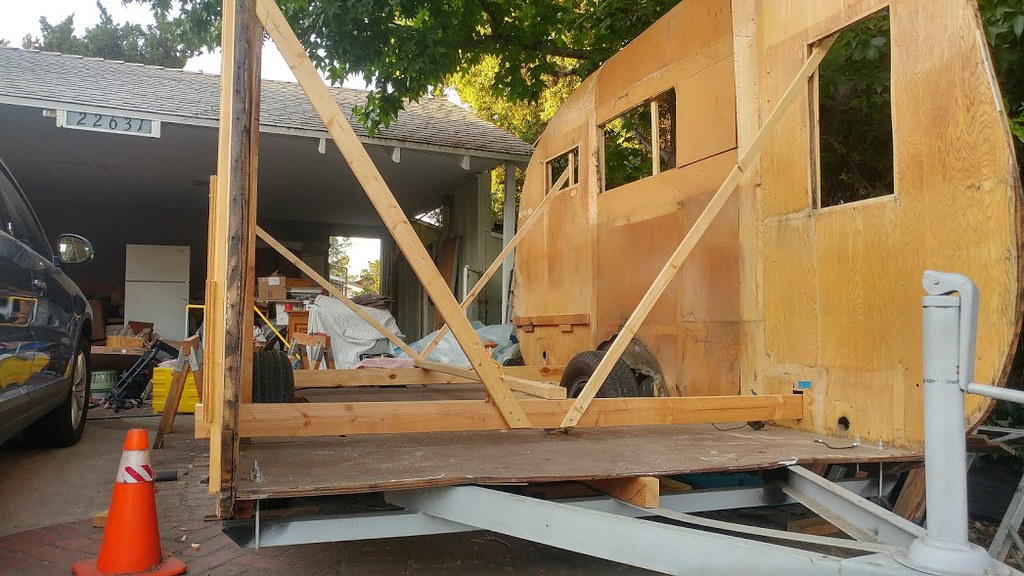
It was exciting to see those walls back on the frame. You can see the doubling up of the studs in the walls and the plywood scabs we used for strengthening the wall especially the curbside(pictured).
![]()
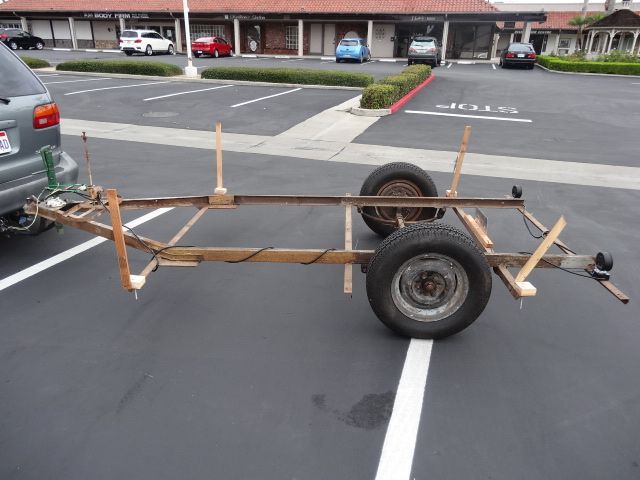
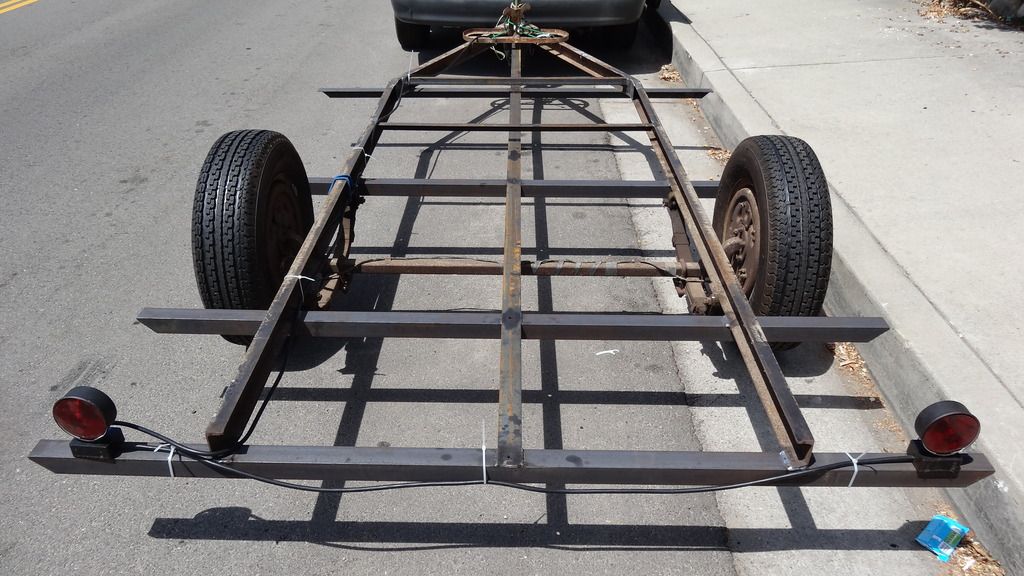
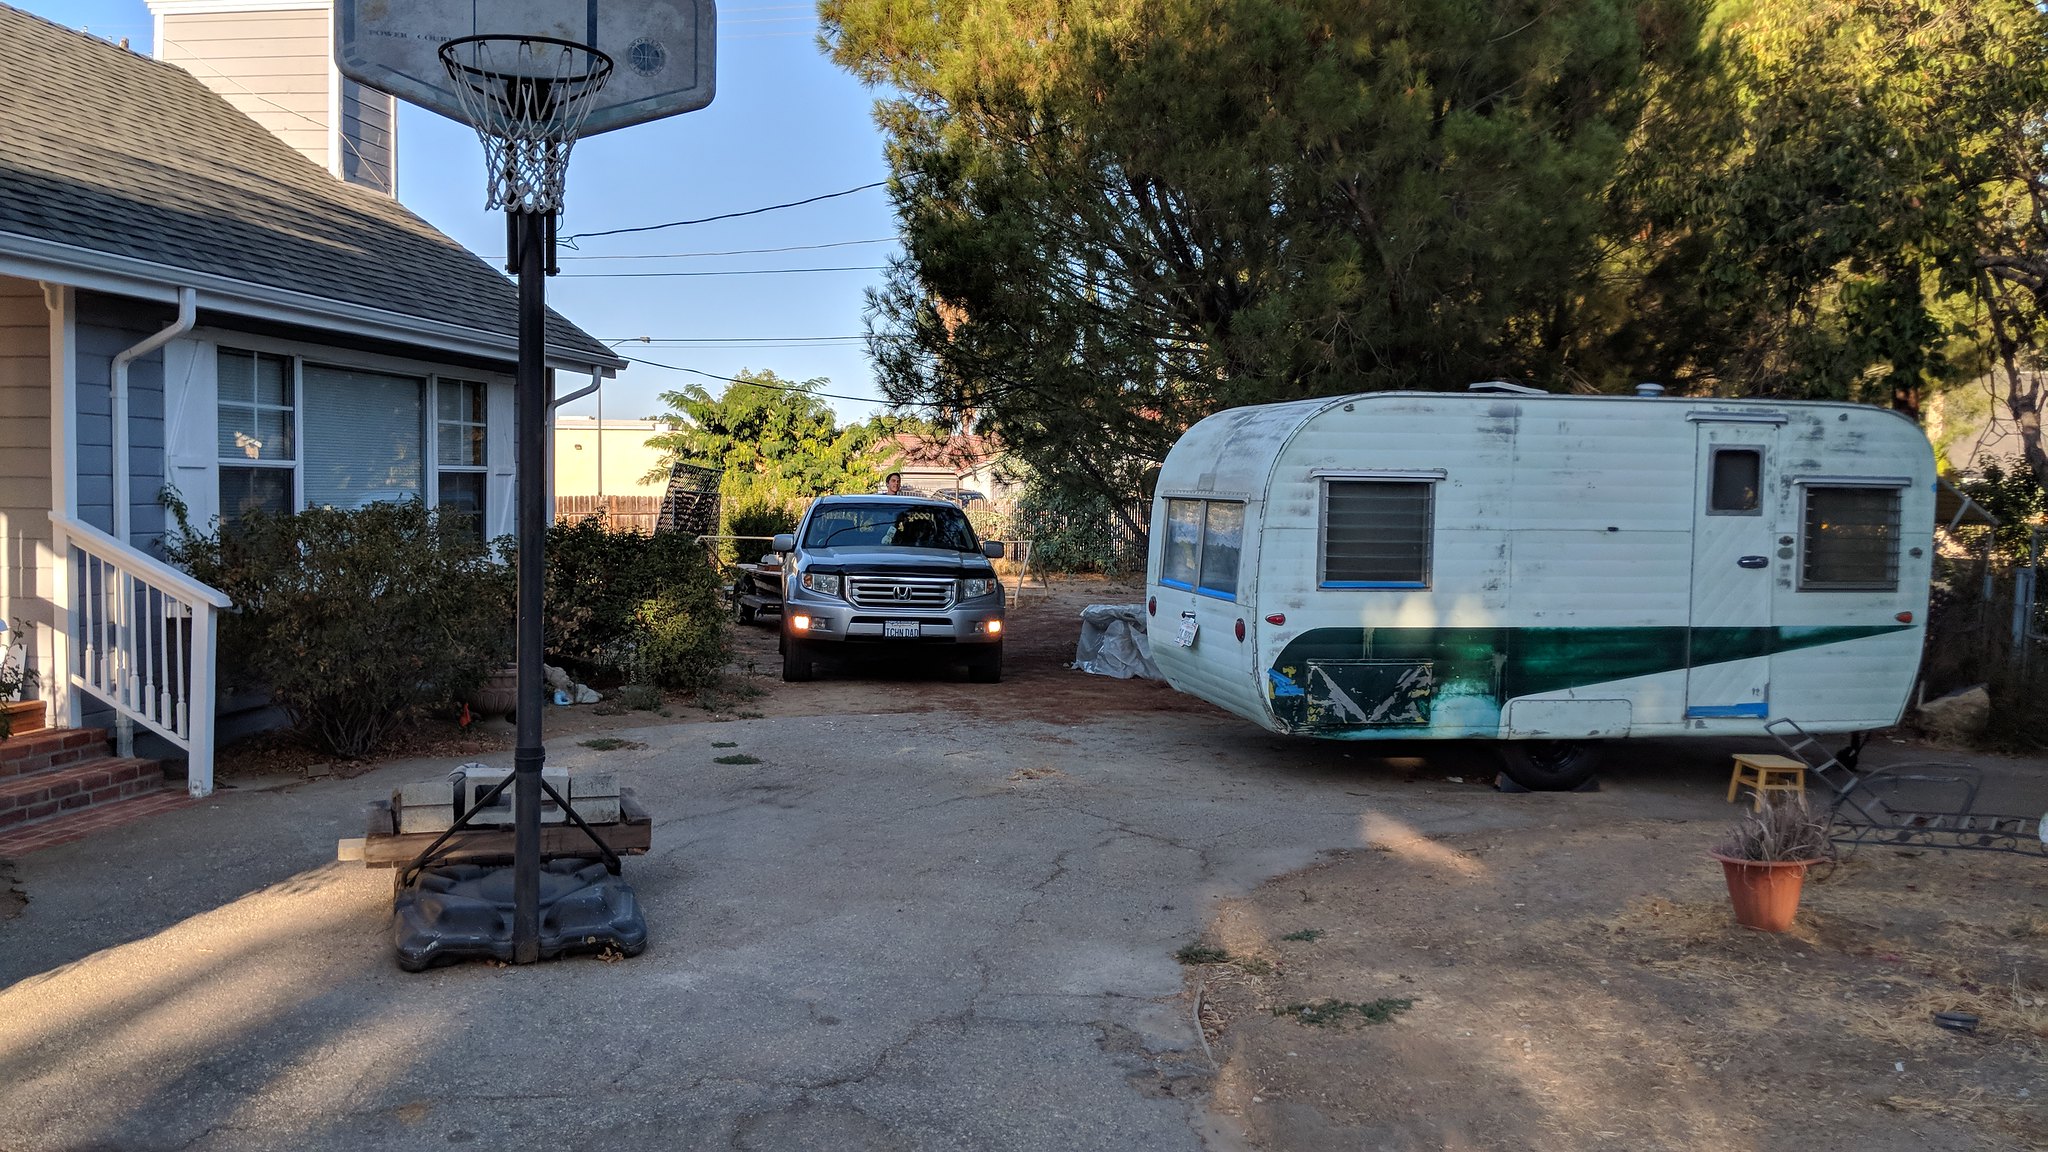
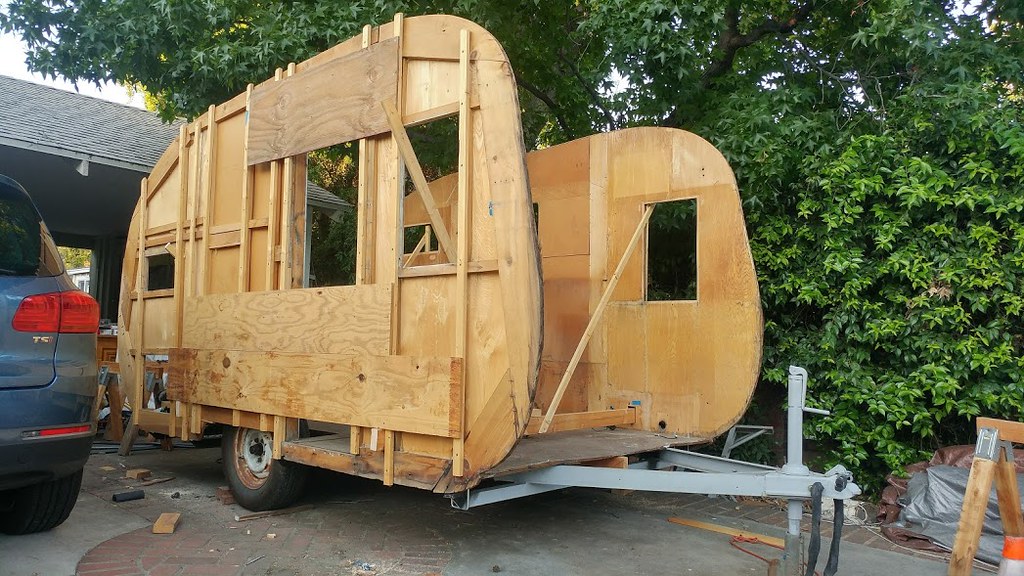
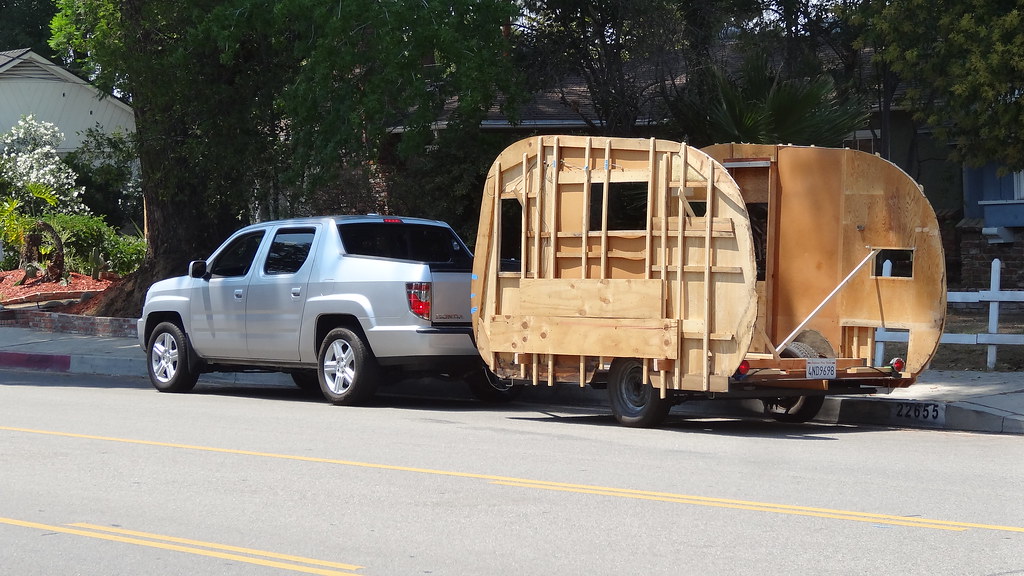
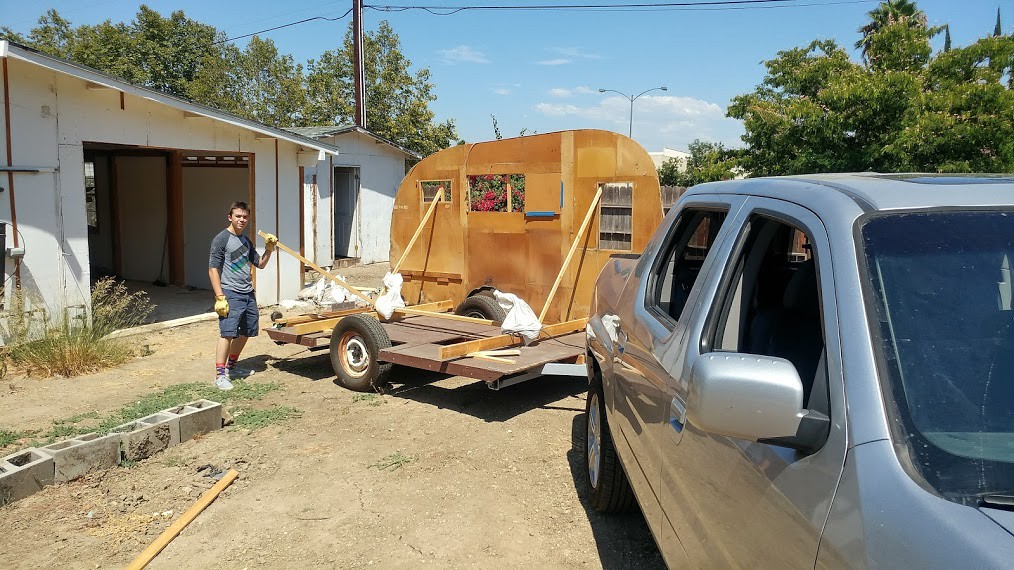
We then were ready to move the trailer off the driveway.
It was Saturday, so not too many people on the neighborhood roads. I watched the faces on the people driving in the opposite direction and many seemed to crane back to look at the funny thing passing them going in the opposite direction. I felt like I was towing a float.
![]()
![]()
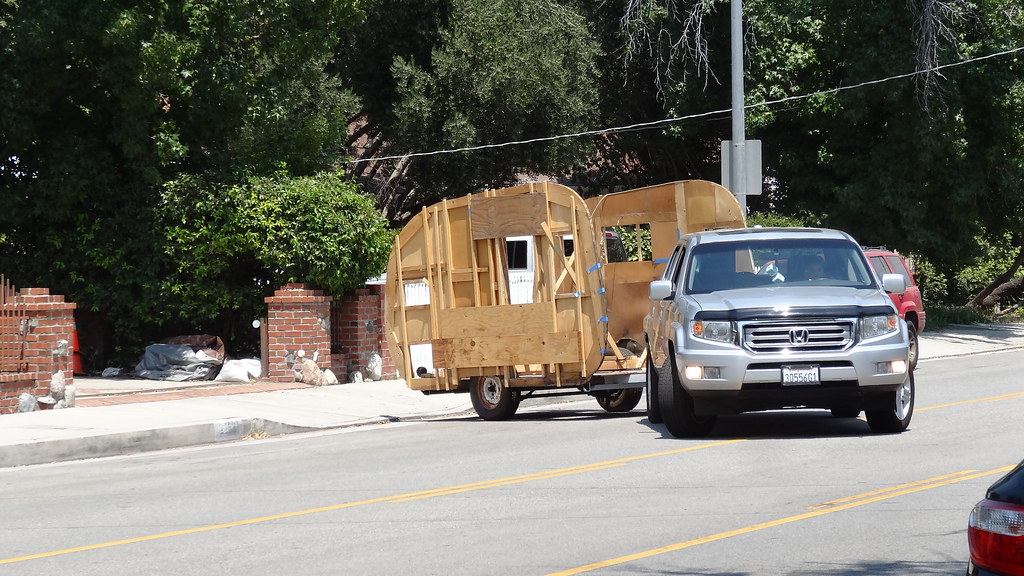
And for you video lovers, here is a drive by pass for a few seconds. Westerner going by video Here is the video of what it looked like going down the road.
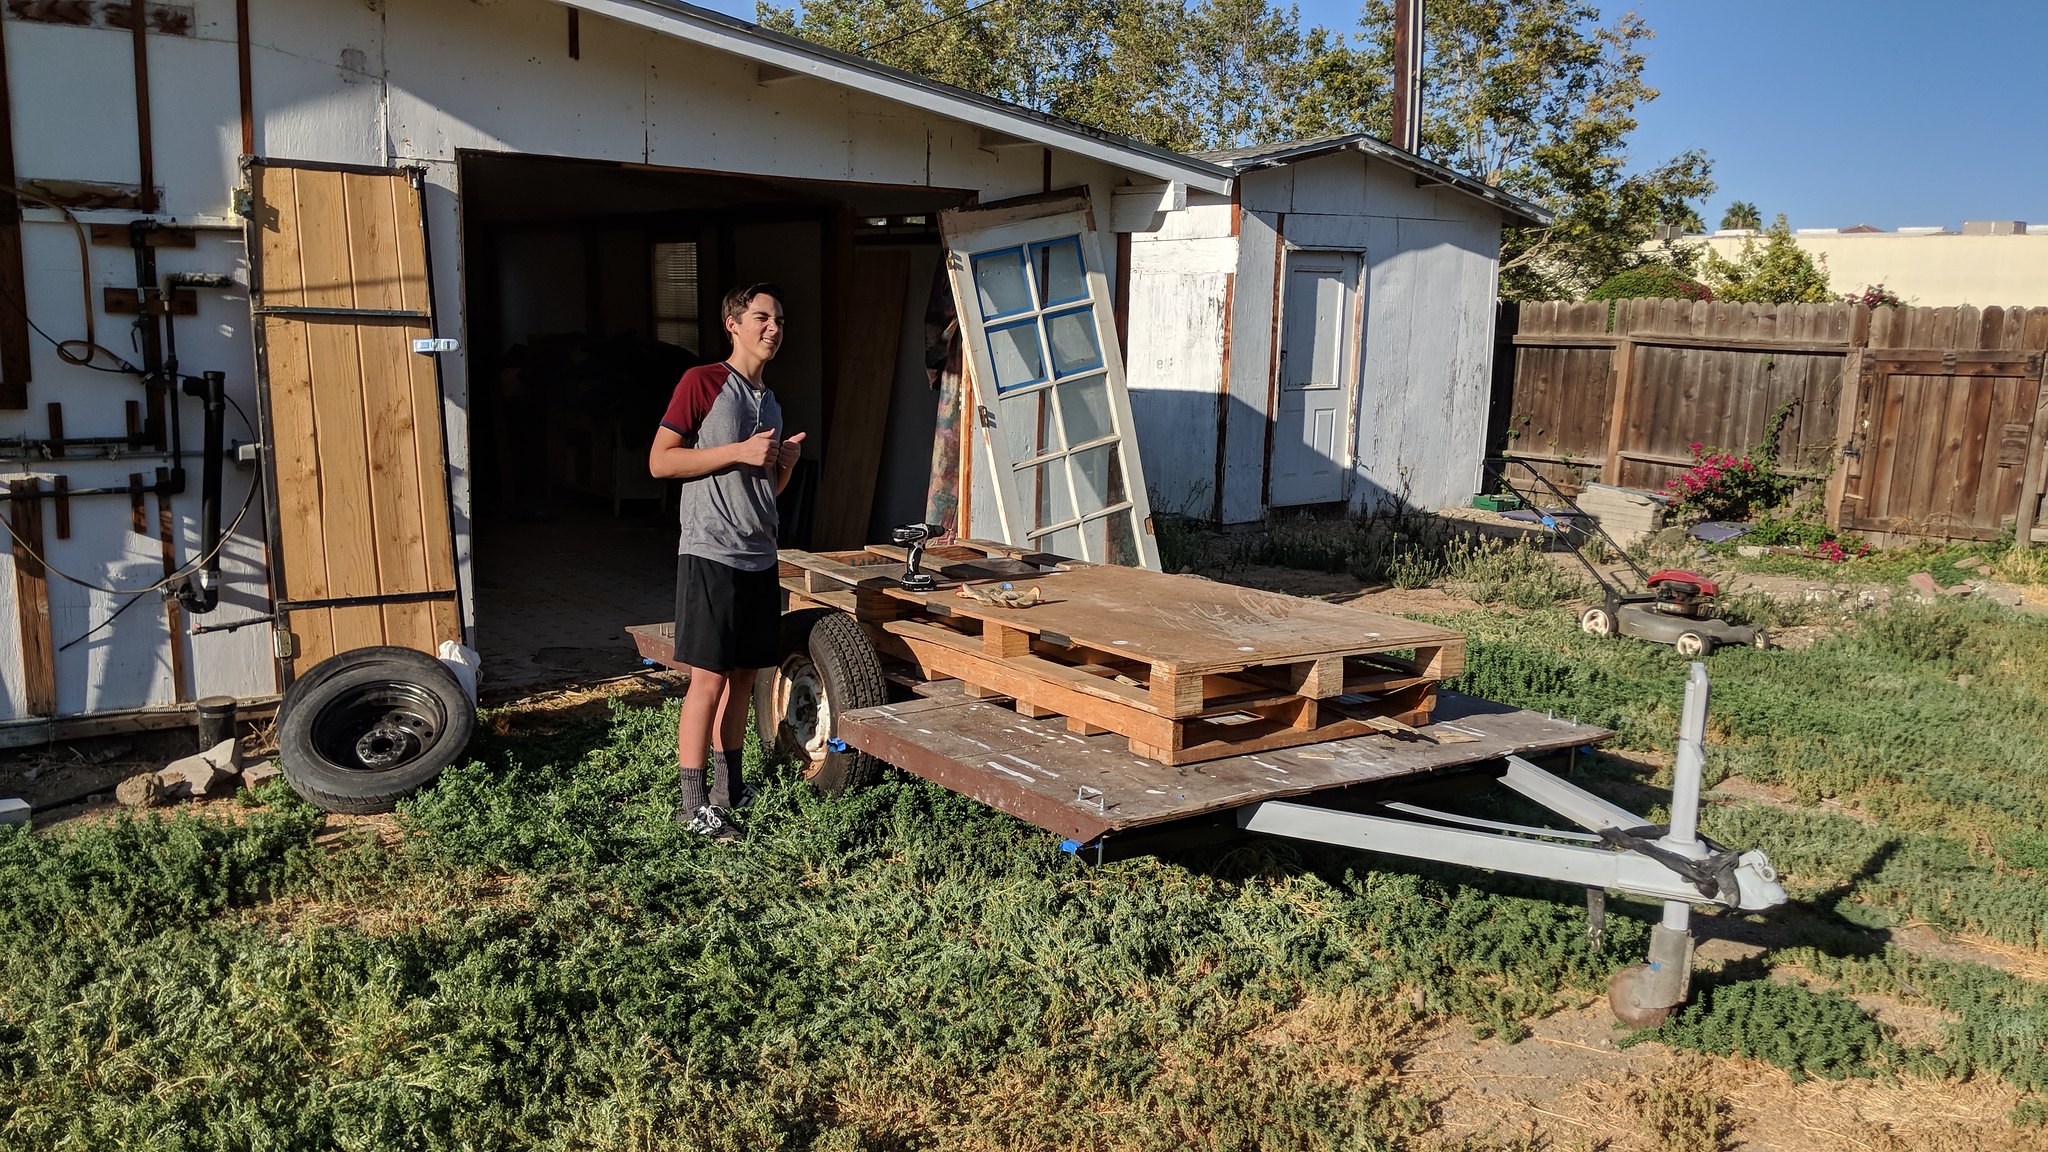
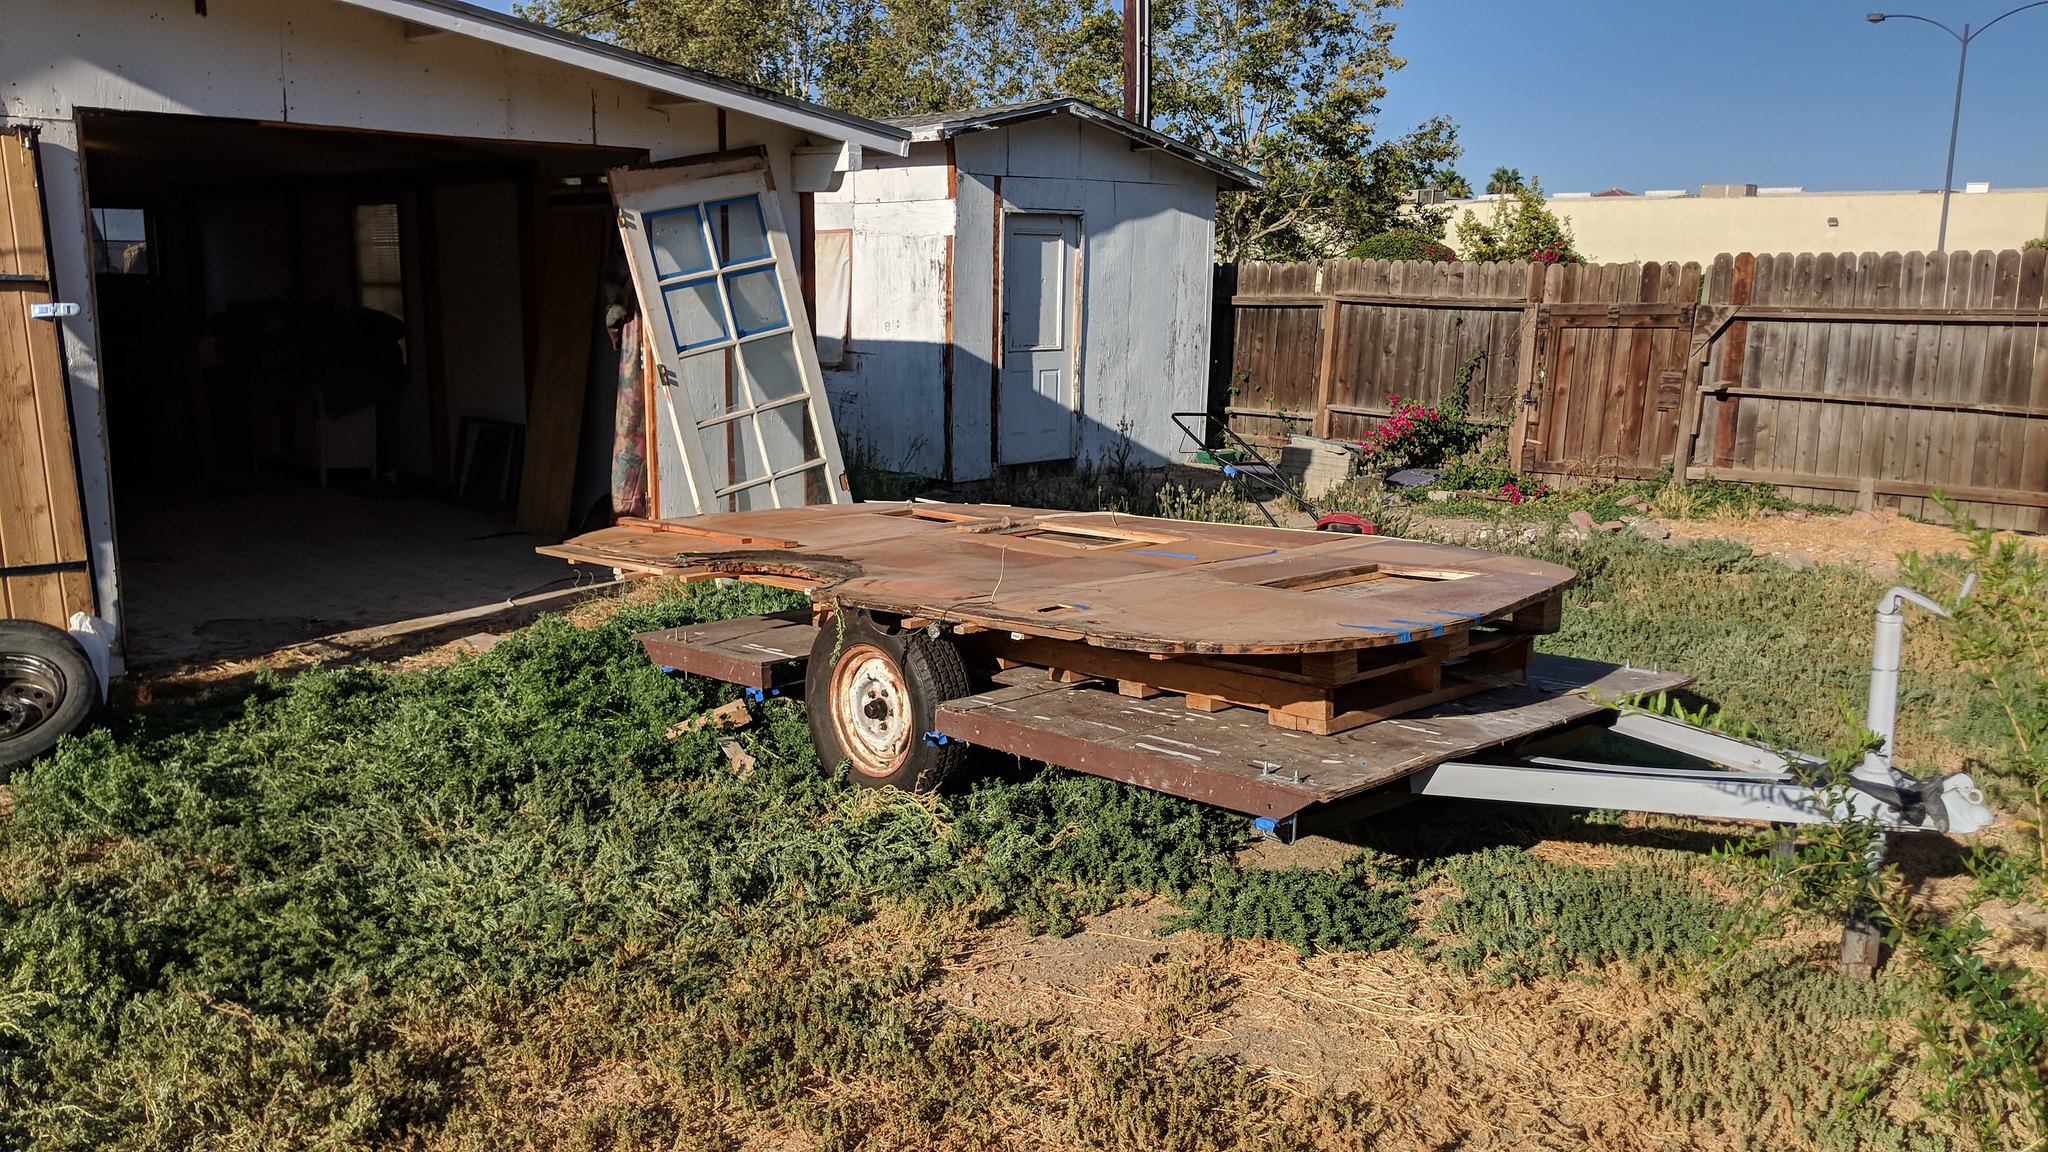
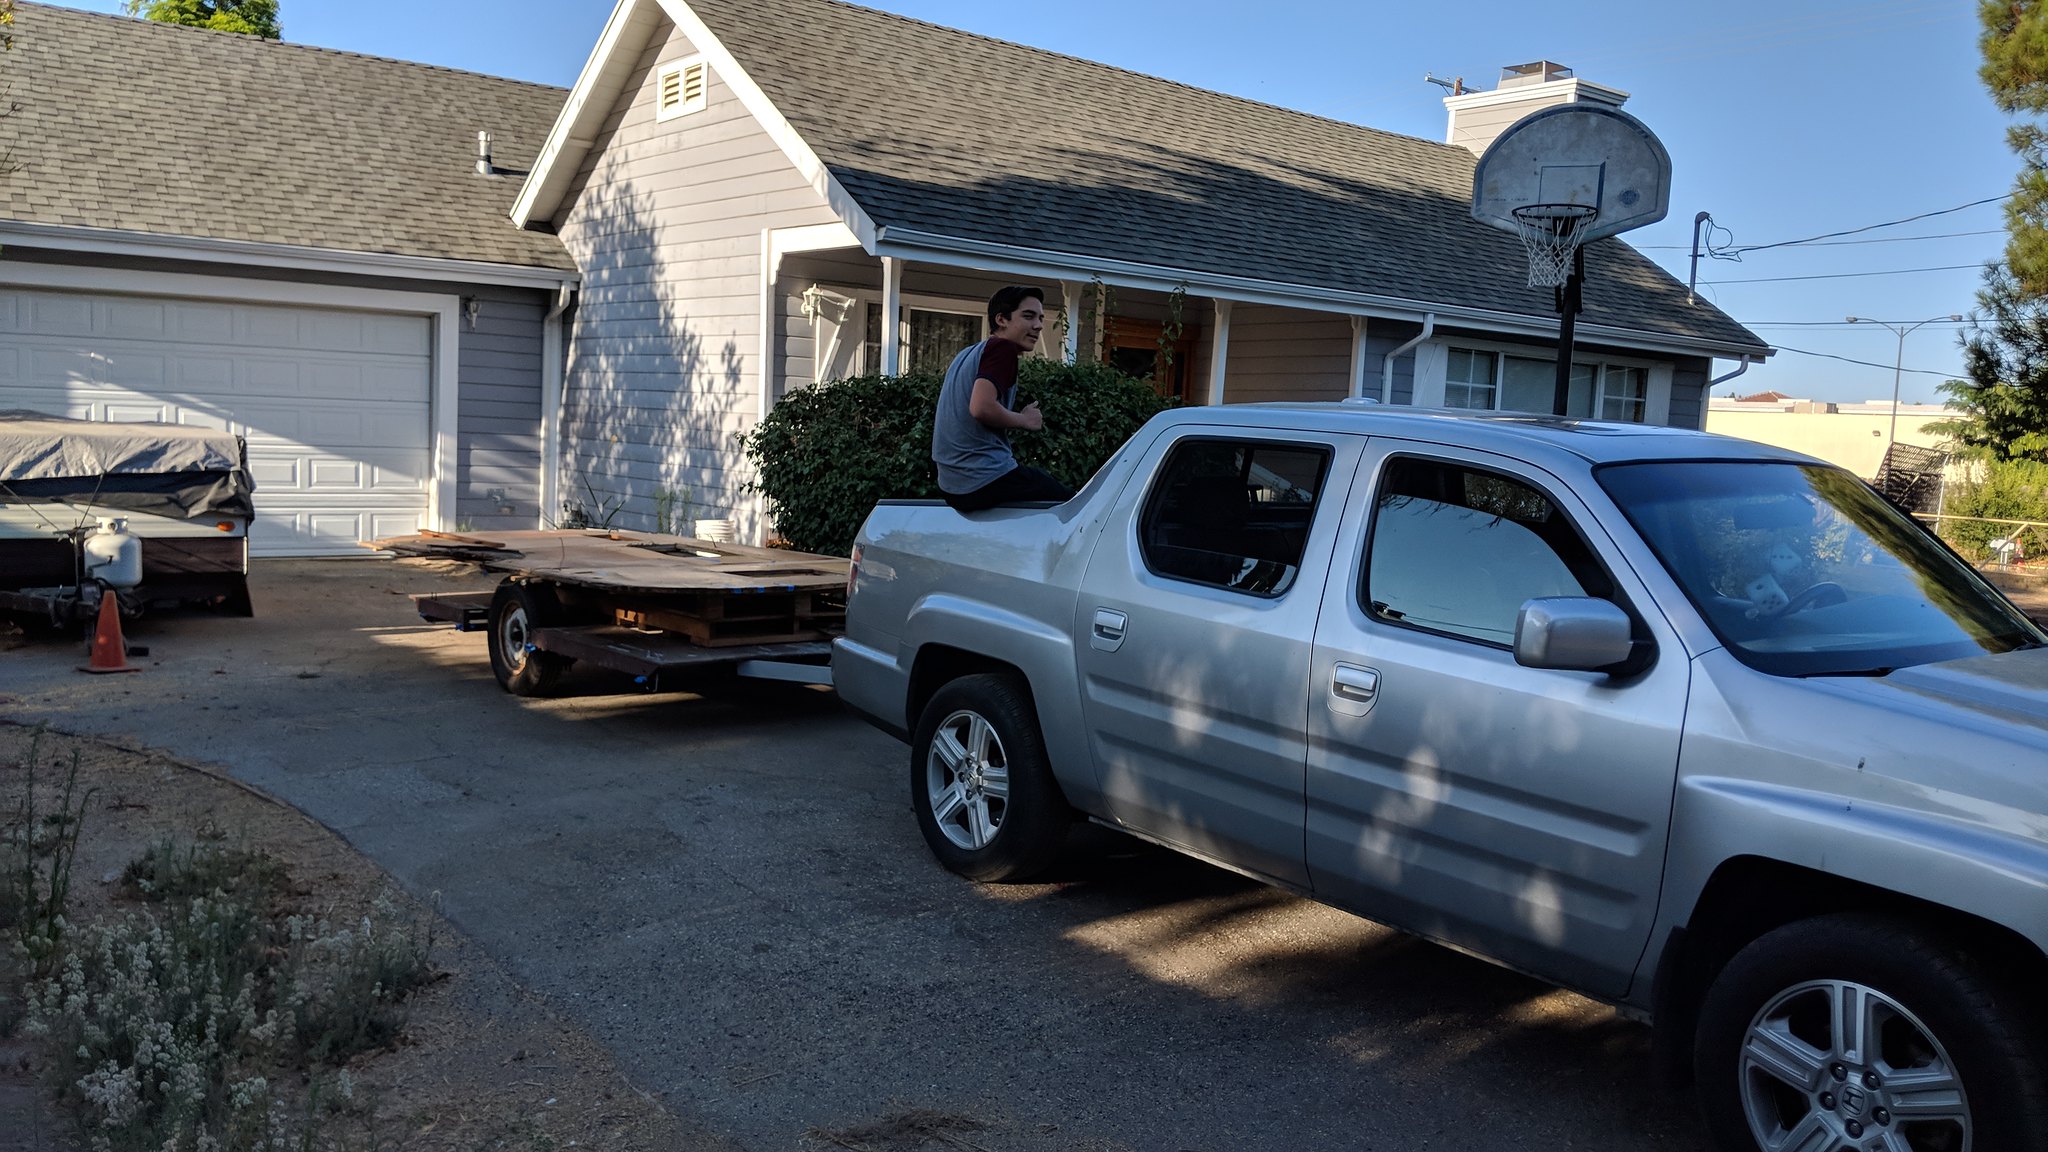
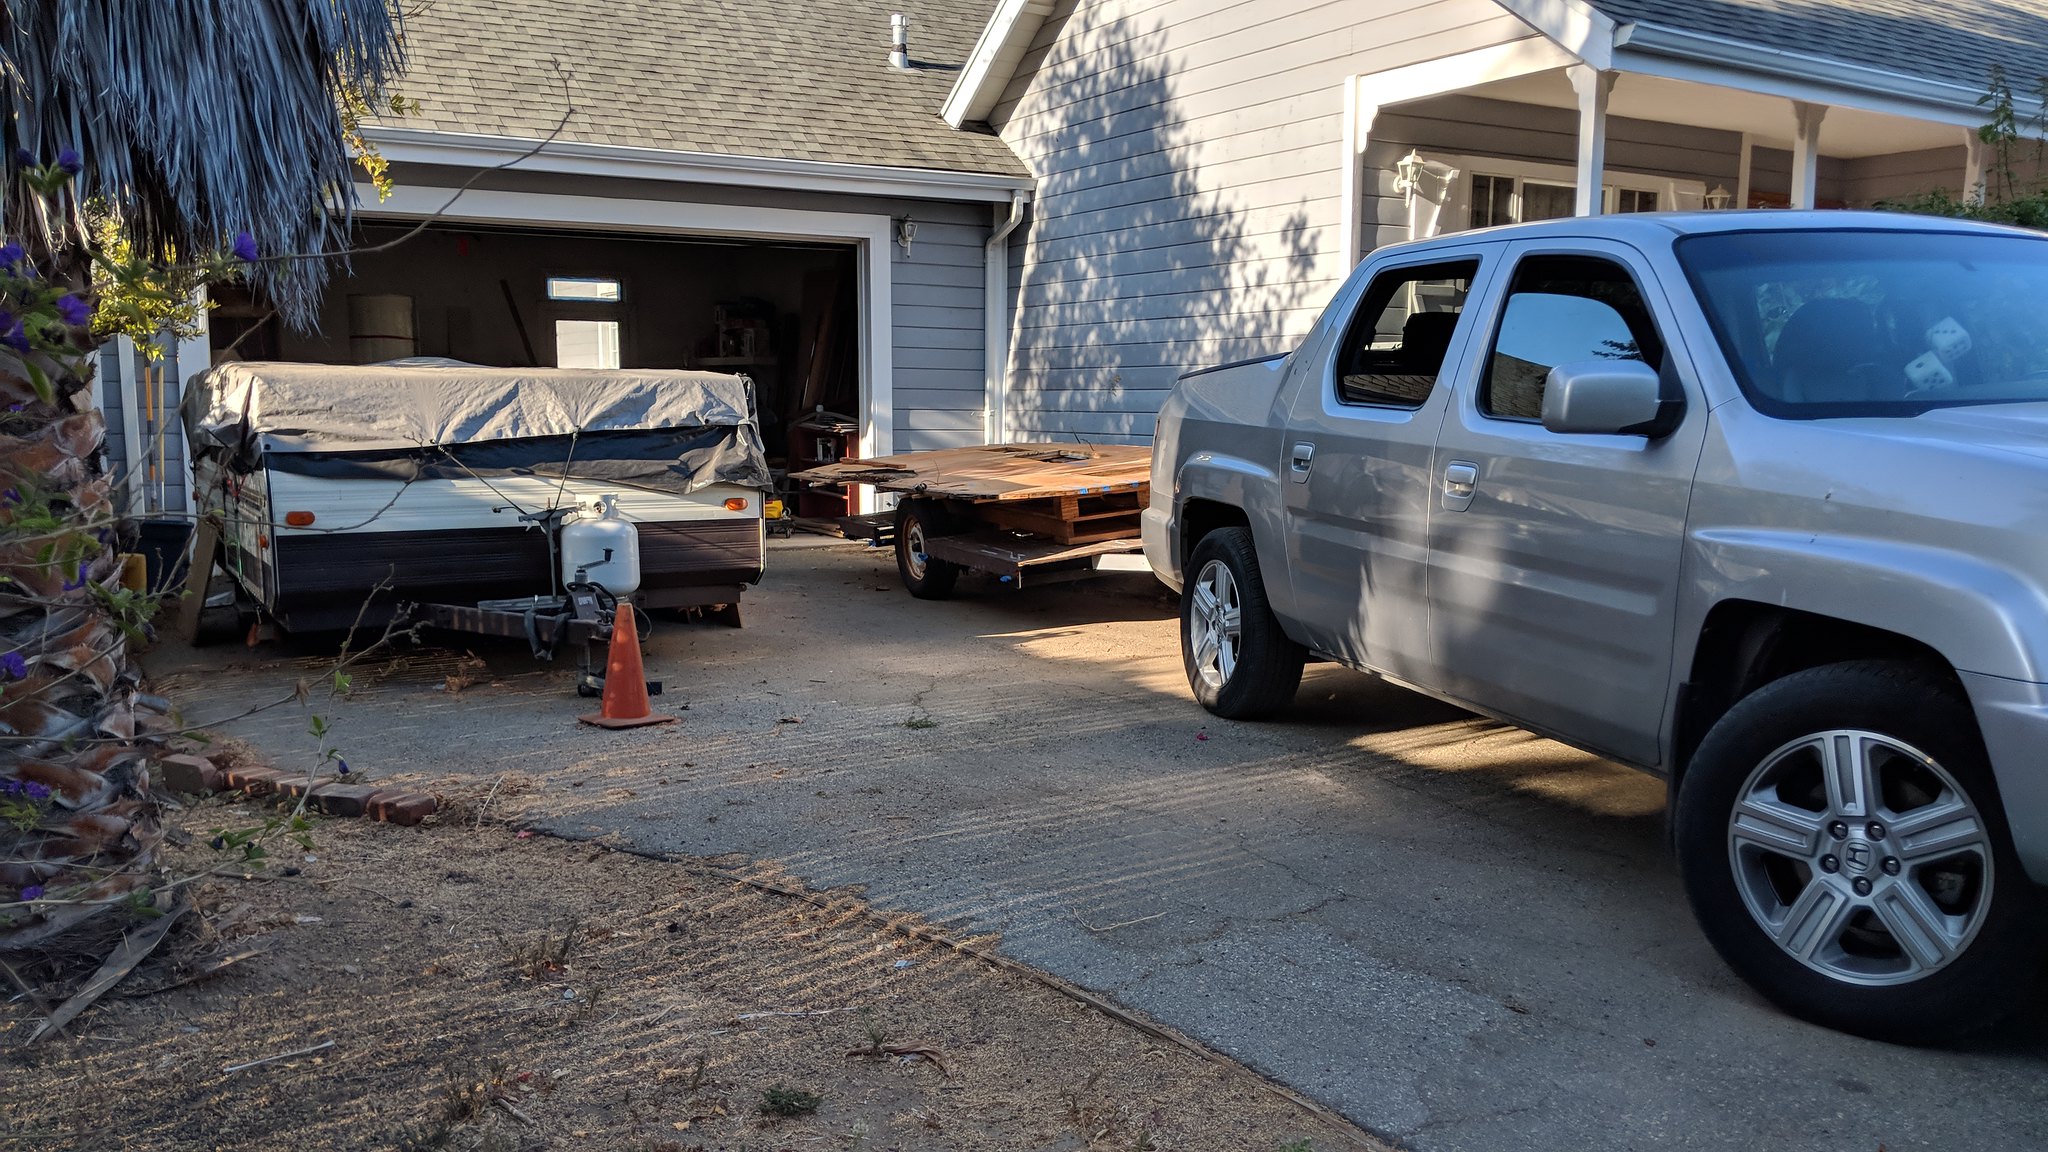
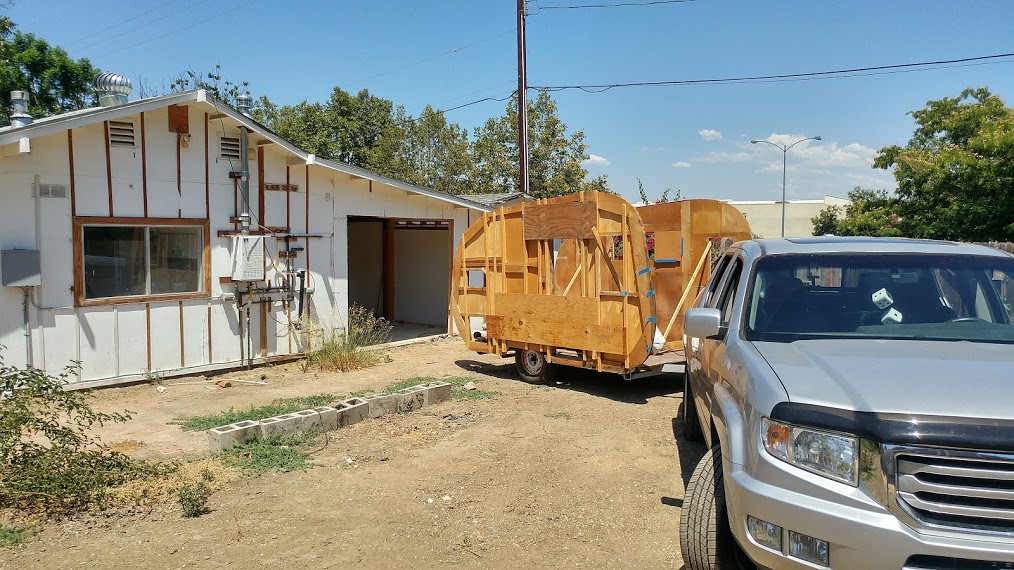
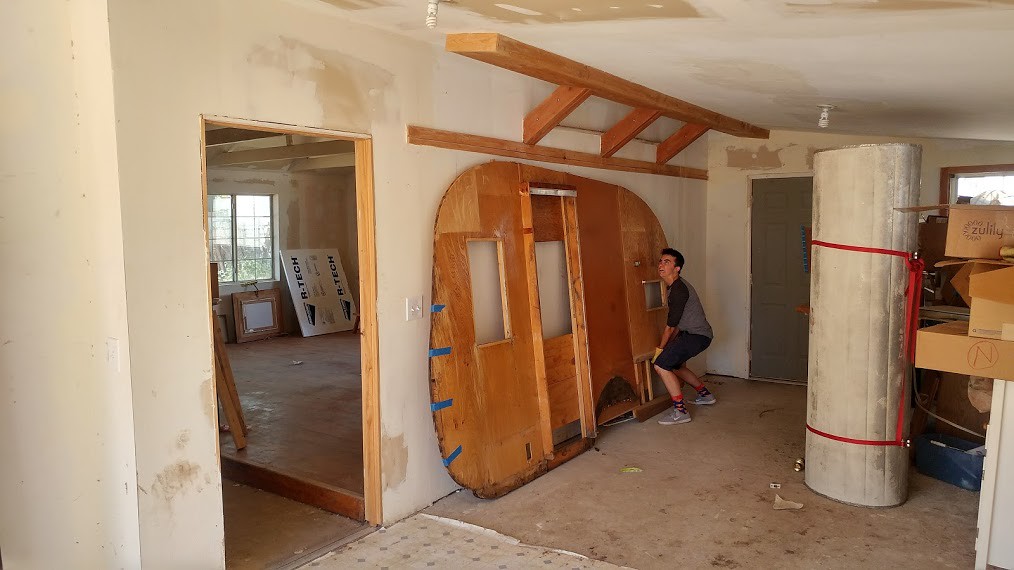
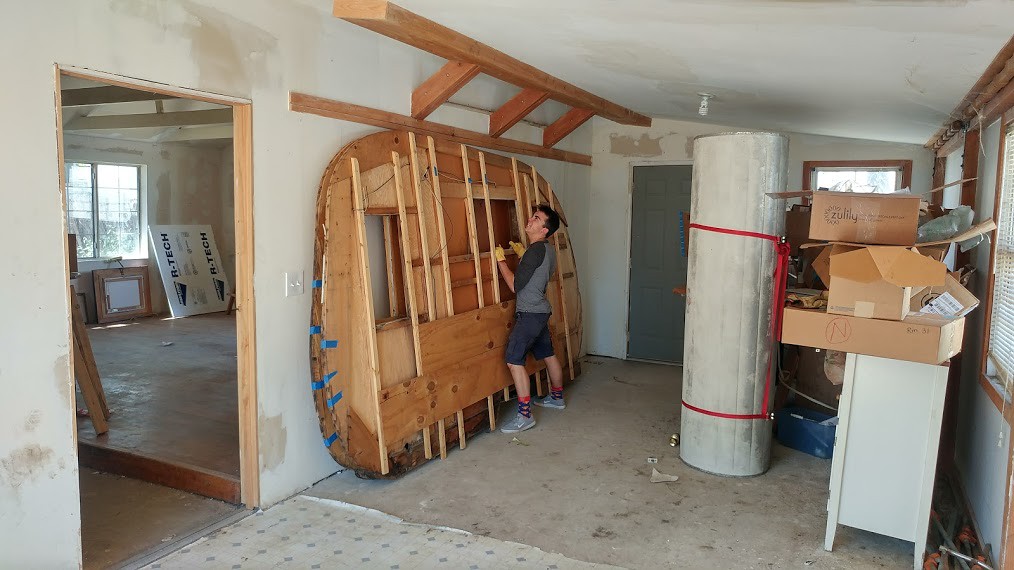
www.youtube.com/watch?v=-NrpRJU_9mE We moved the trailer floor and frame into a converted garage around some trees. The trailer was towed to the front and then we took the walls off, leaned them up against a wall inside and then backed in the frame.
My son was having fun riding in the trailer.

We backed in the trailer to make moving the walls easier.
The walls were heavy. I let my son do all the work.
After this photo was taken, We missed two screws when we went to remove the streetside wall... It got hung up and we had to put the wall back up on the frame. No small feat. With the extra bracing and plywood scabs, the walls were really heavy. We struggled, but triumphed in the end.

2nd Wall is inside.
Almost done.
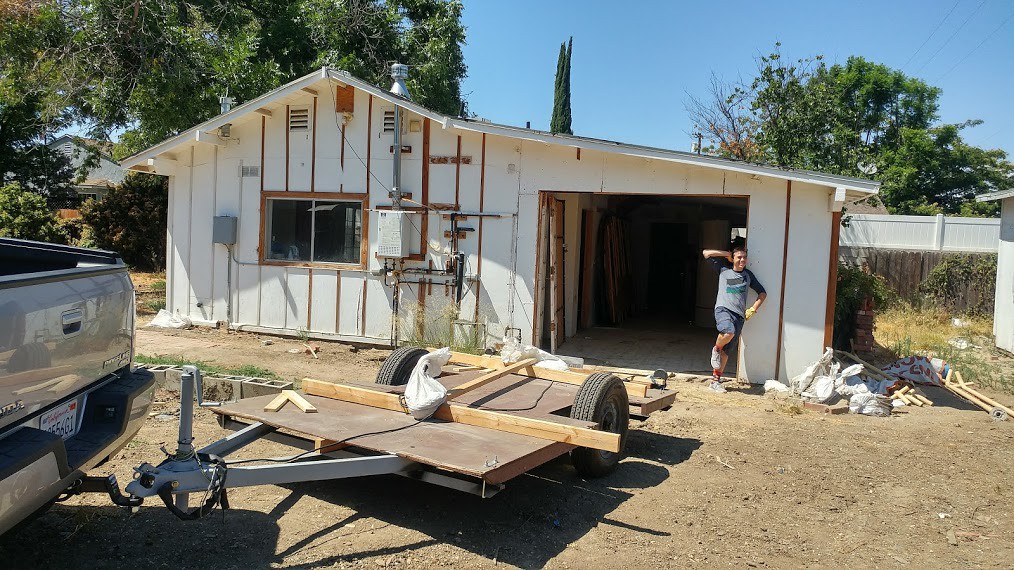

Done.
 Now to the current August 4, 2018 -
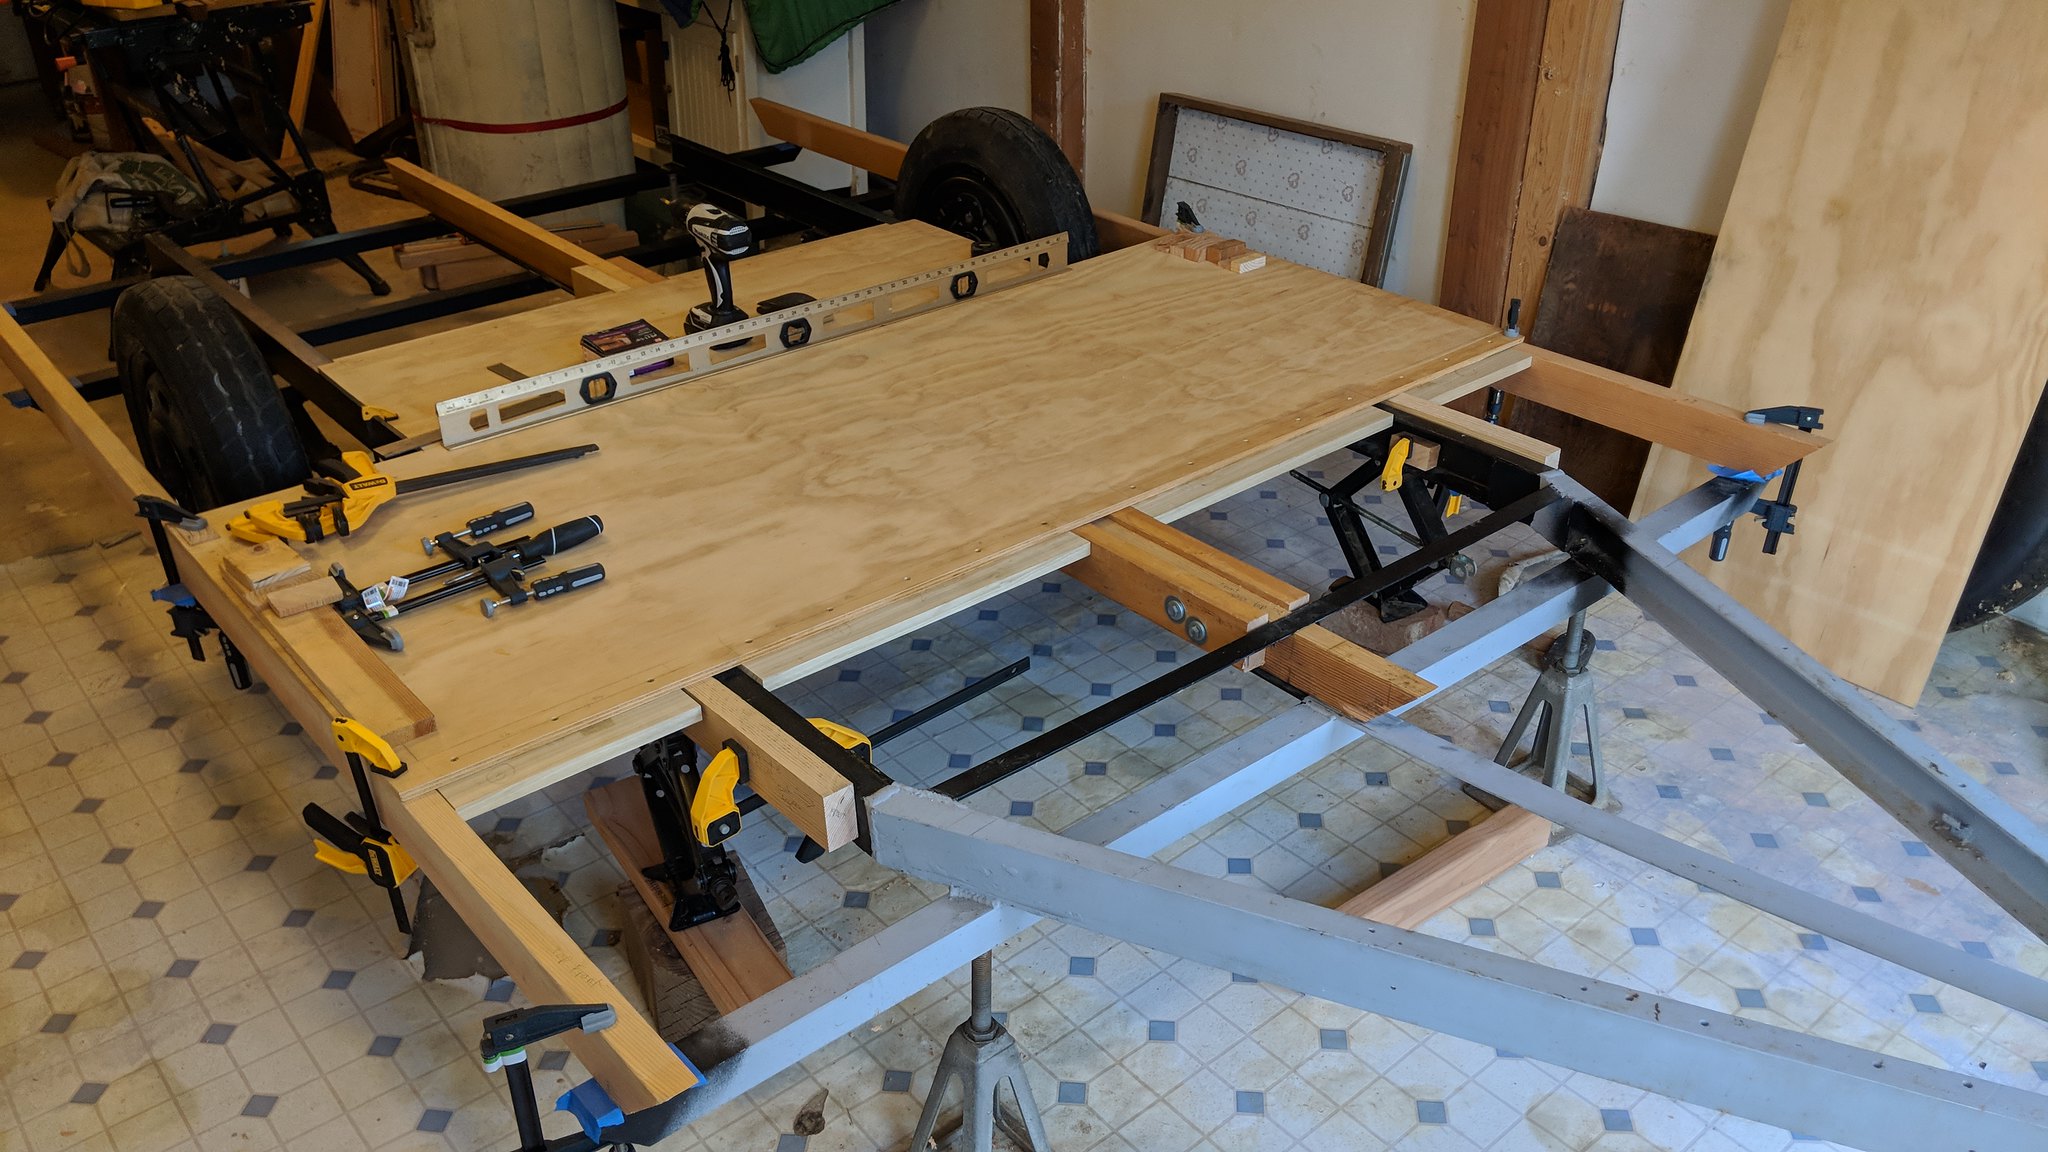
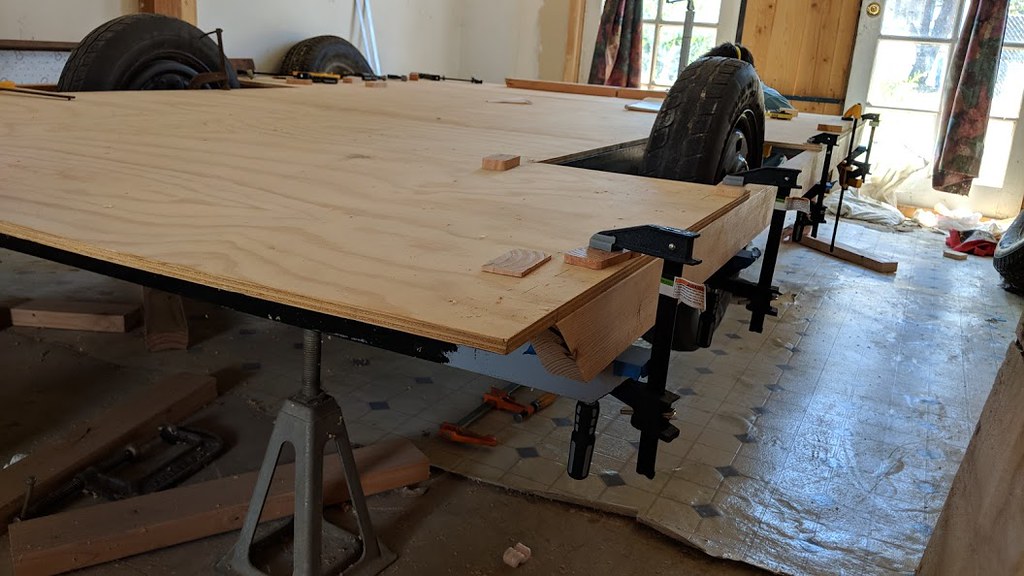
I have been building a new floor. I used the original floor as a template. All measurements were based on the original floor. However, I decided to move the floor seams, one of which was right next to the doorway. I moved one seam within 24” of the front of the floor and the other was moved approximately above the axle. Discussions around the seam change can be found in this thread:
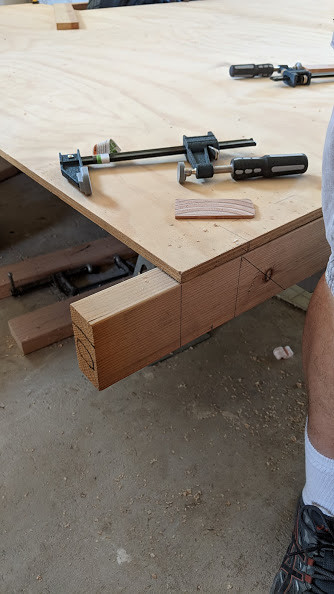
vintagetrailertalk.freeforums.net/thread/9350/changing-seam-position-building-floor I clamped everything together for a dry fit.
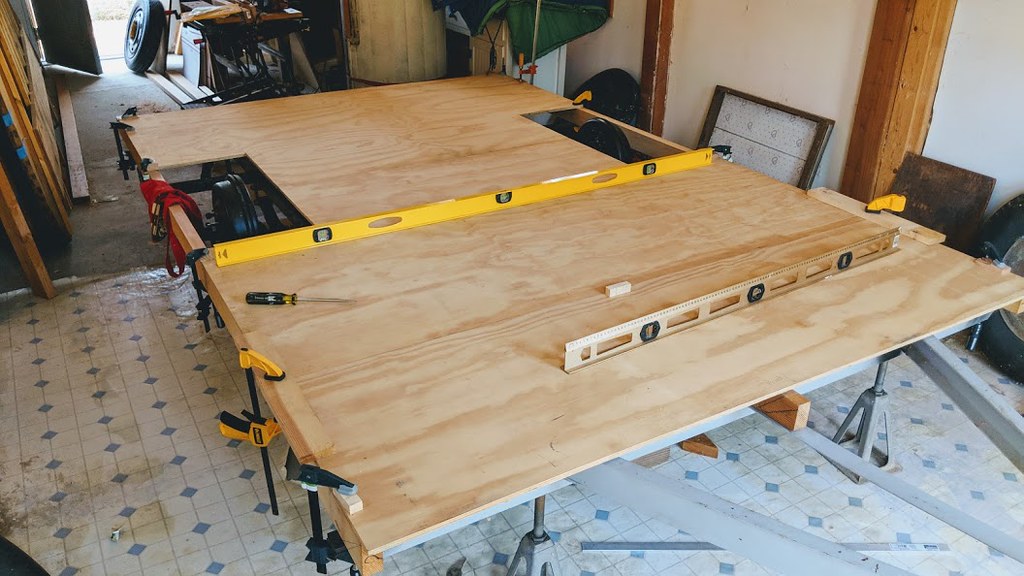
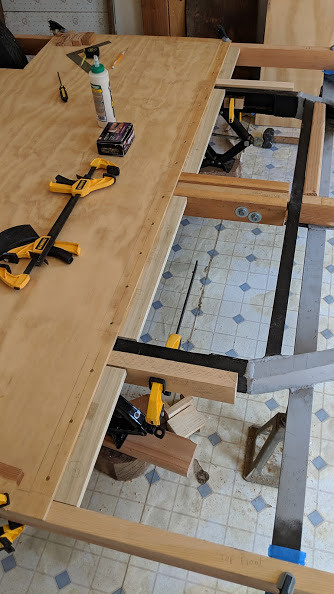
The image below shows a depression in the center of the floor. I wanted as flat a surface as possible for when the cabinets would be installed.
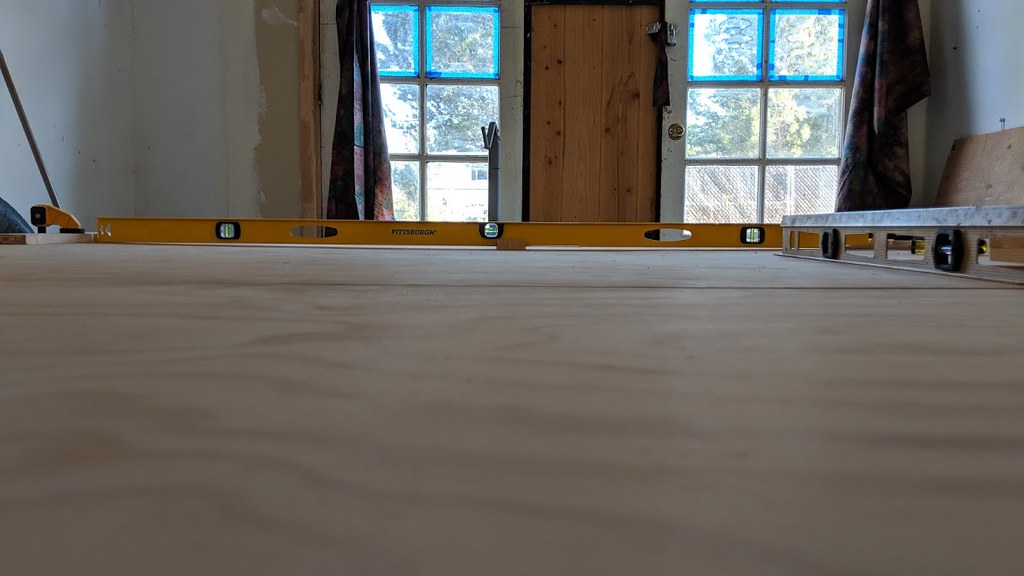
Close up.
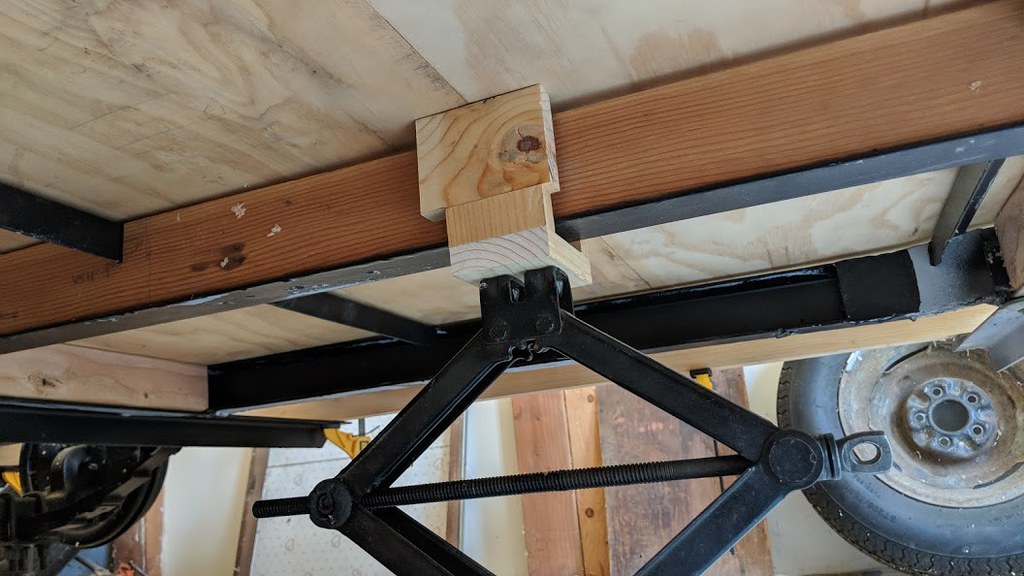
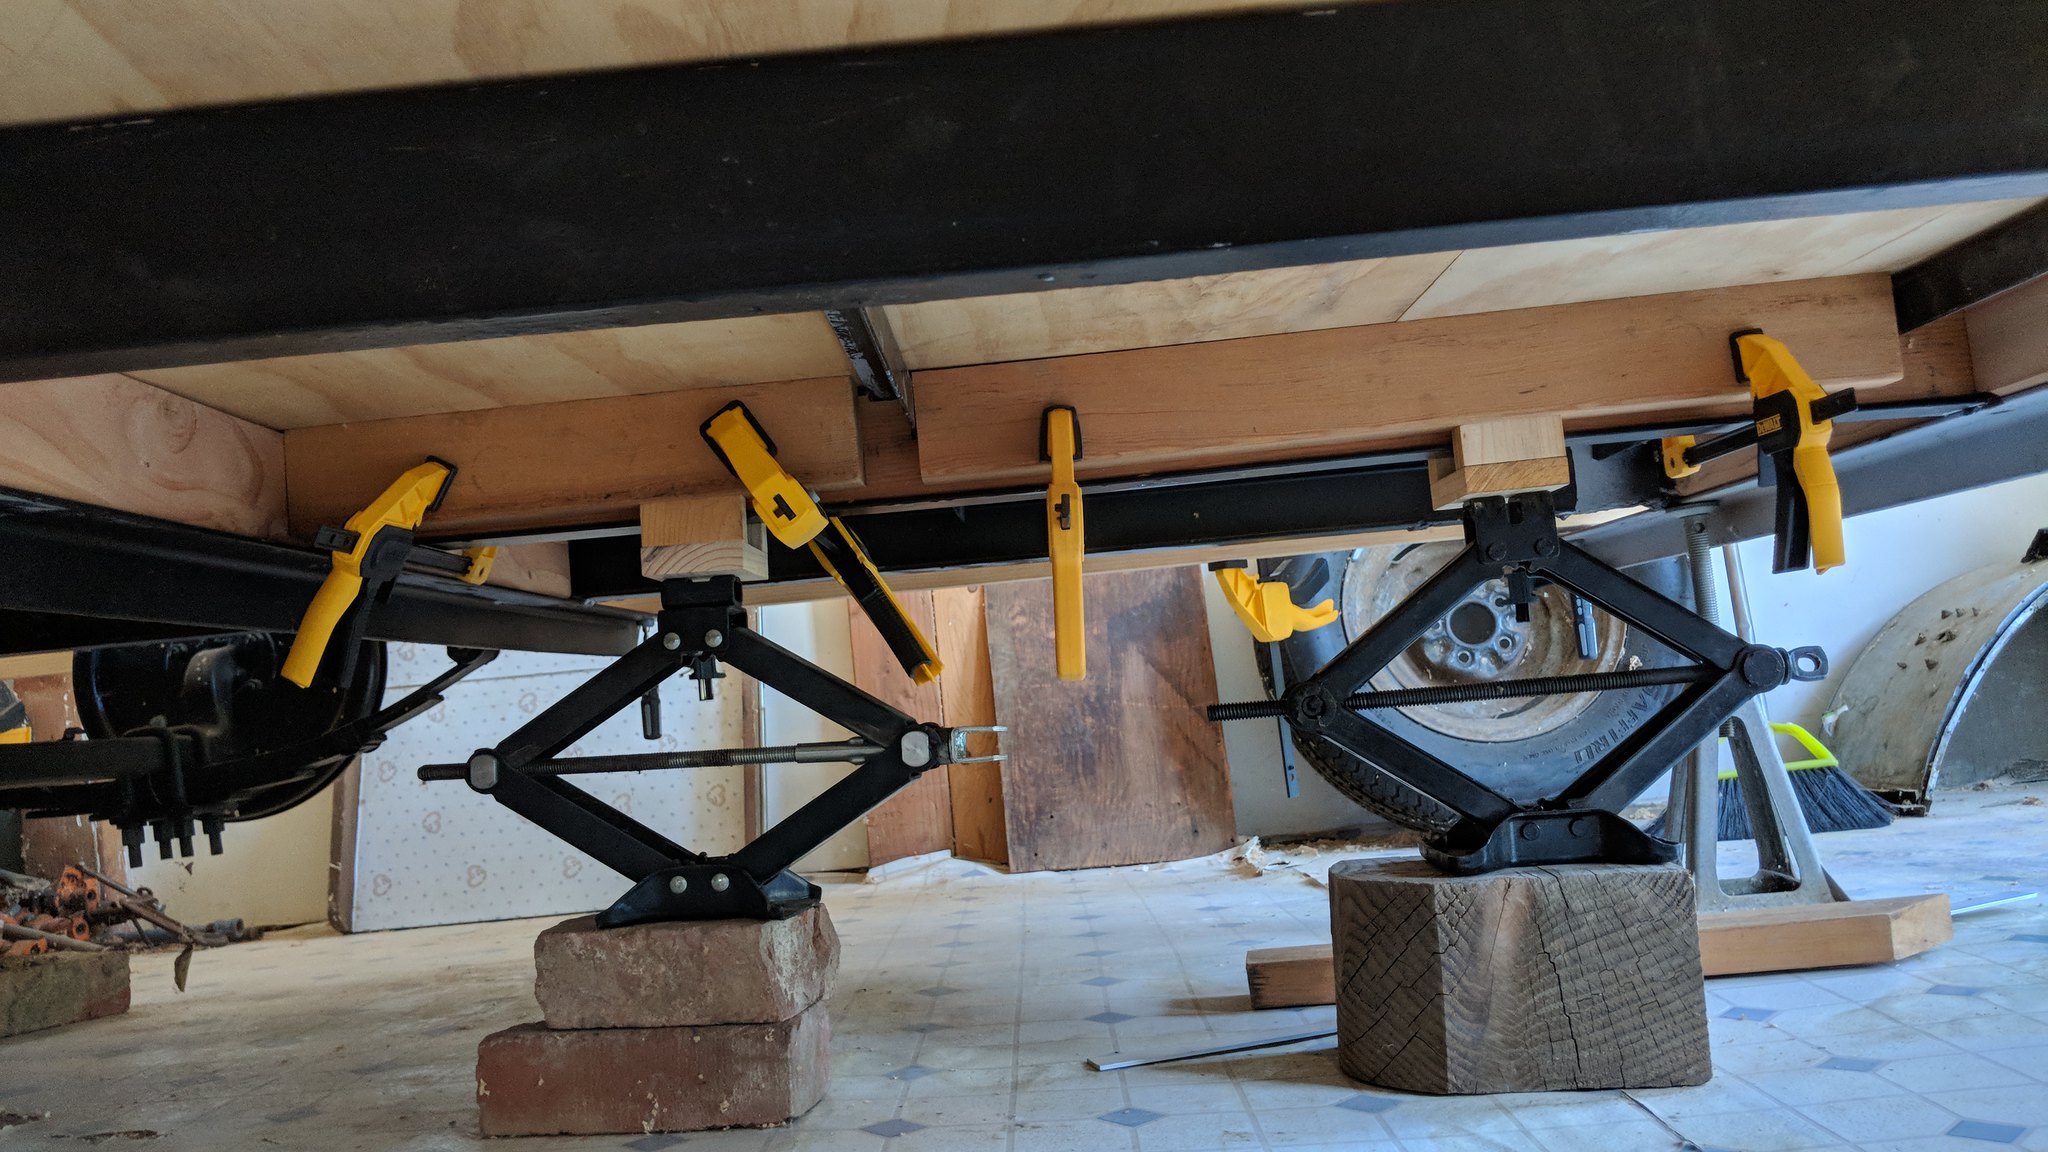
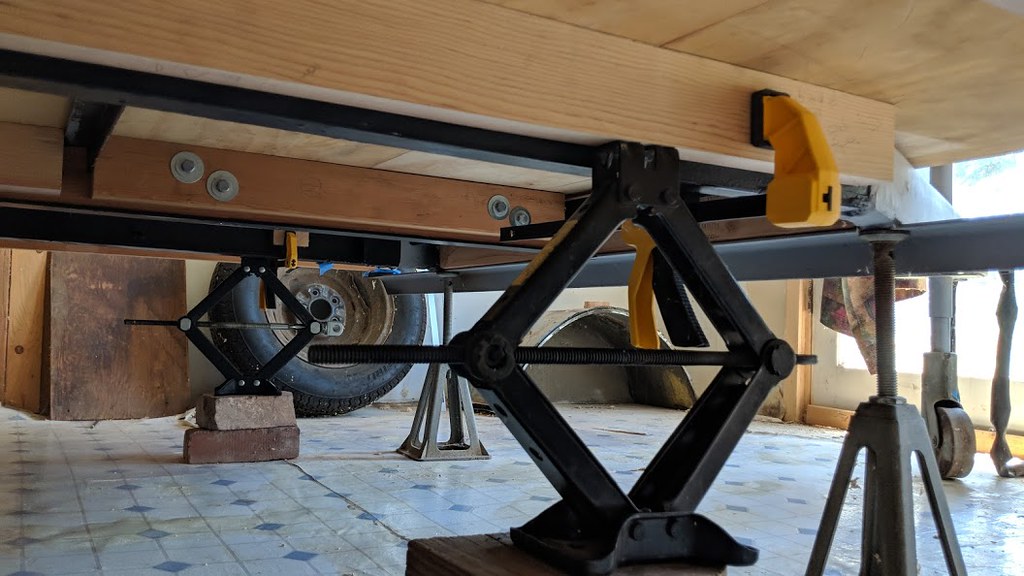
To counter the depression in the floor, my buddy, Brian came up with this method to flatten the floor by bolting 2 x 4's to the sides of the center floor joist. These would essentially become the new center floor joist. I came up with the idea to use the scissor jacks and the U shaped lifters to raise the floor.
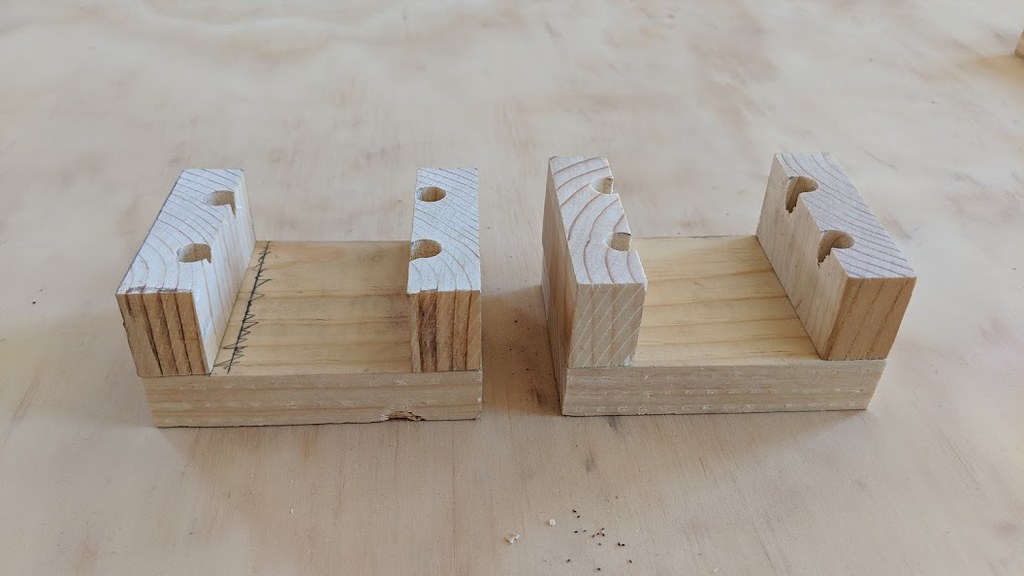
I had to first lift the 2 x 4s and clear the truss strap using some homemade supports(U- shaped lifters). This would allow me to raise the floor.
Here is a test with a scrap of wood.
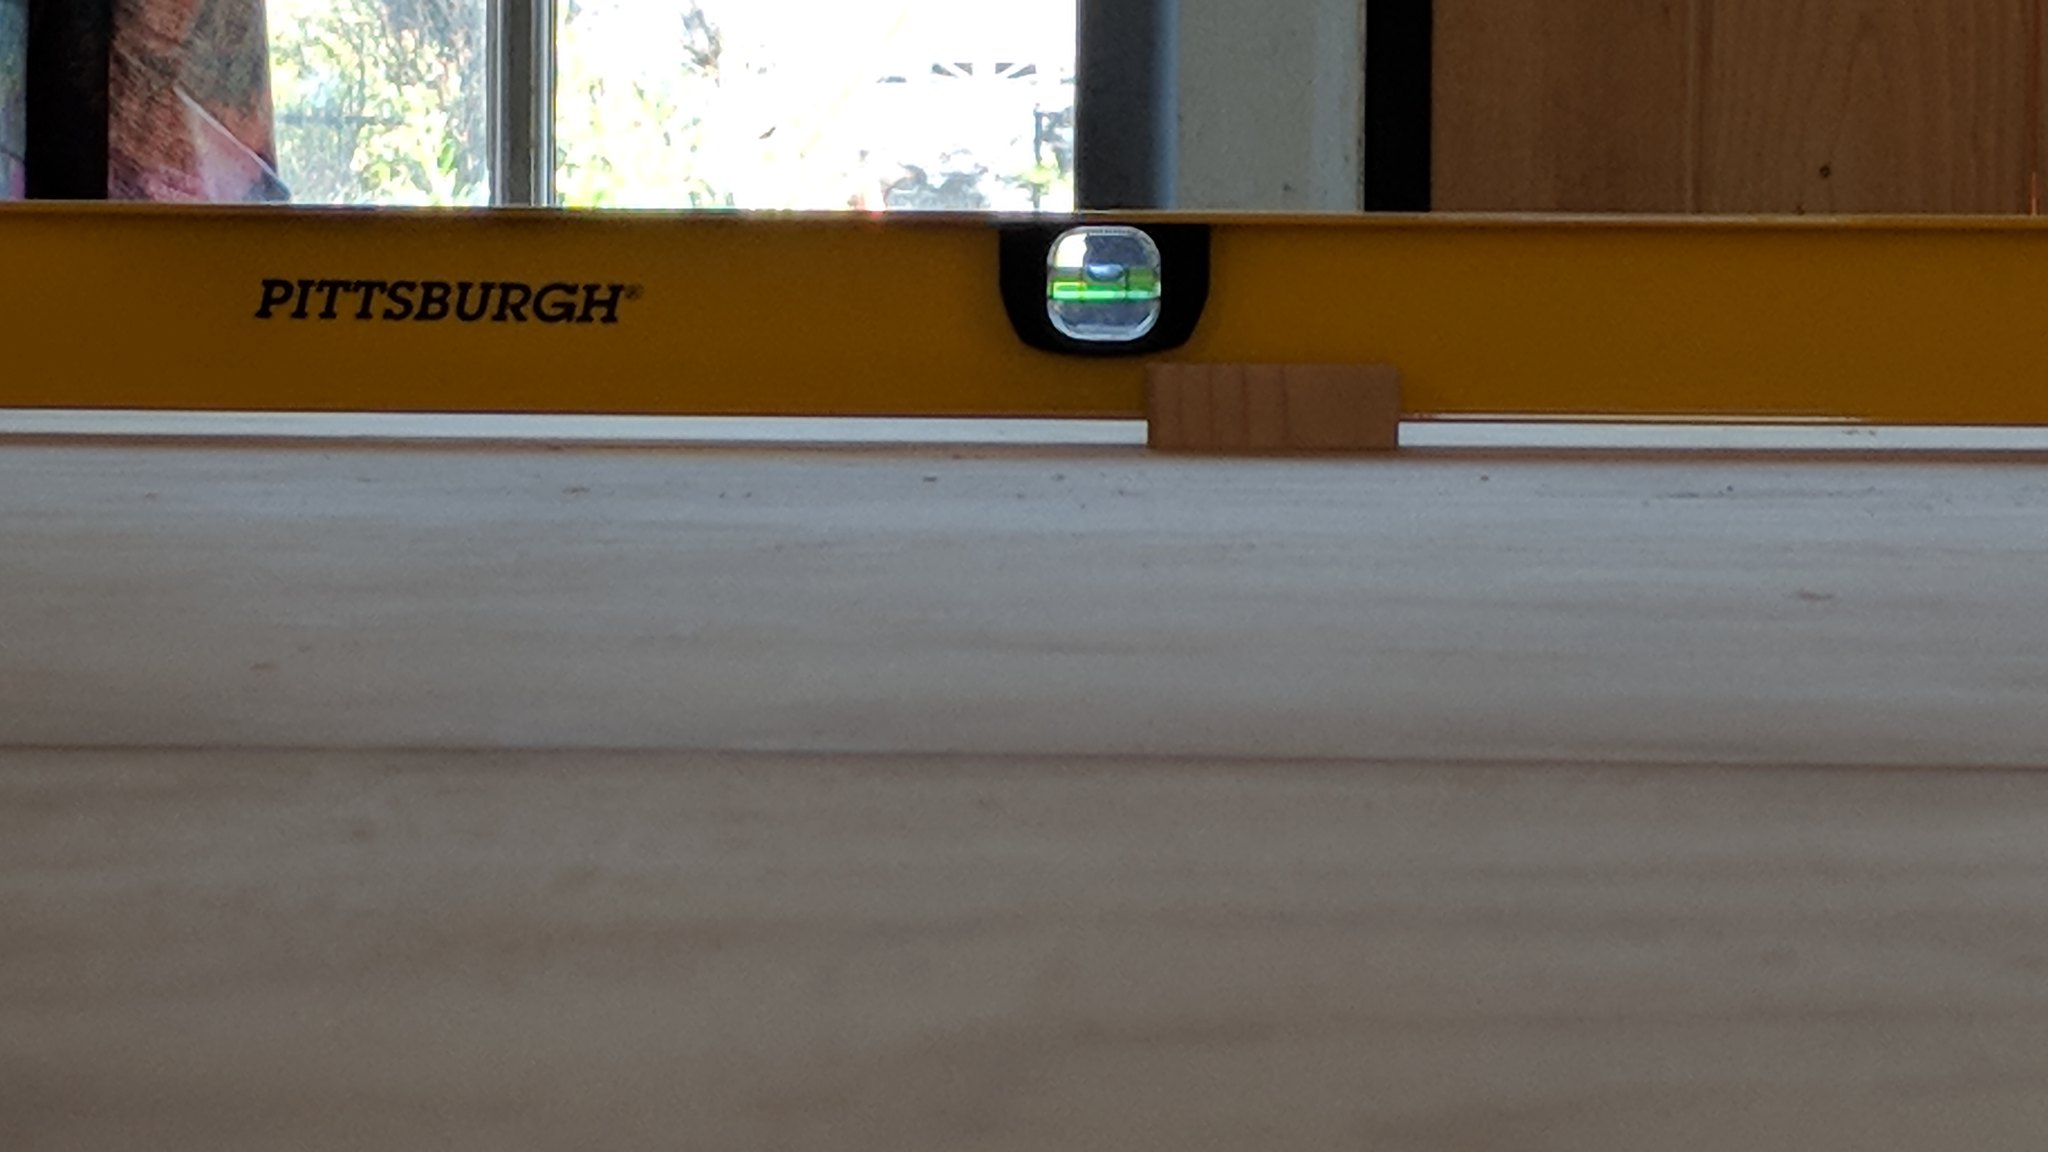
Then, I needed to clamp those 2 x 4s to the center floor joist while constantly rechecking for level.
Later, I drilled and bolted them together. I still need to add glue and rebolt.
I will be doing the same lifting procedure above both sides of the C- Channel. The 2 x 4 as seen below being lifted by the jack is currently clamped. It will eventually be drilled, glued and bolted.
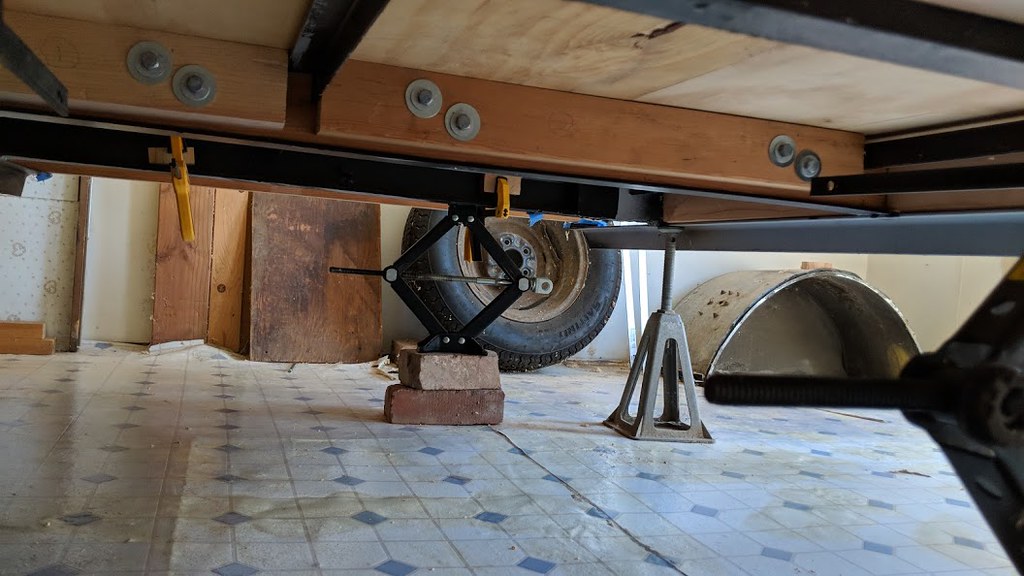
Here is the floor depression minimized.

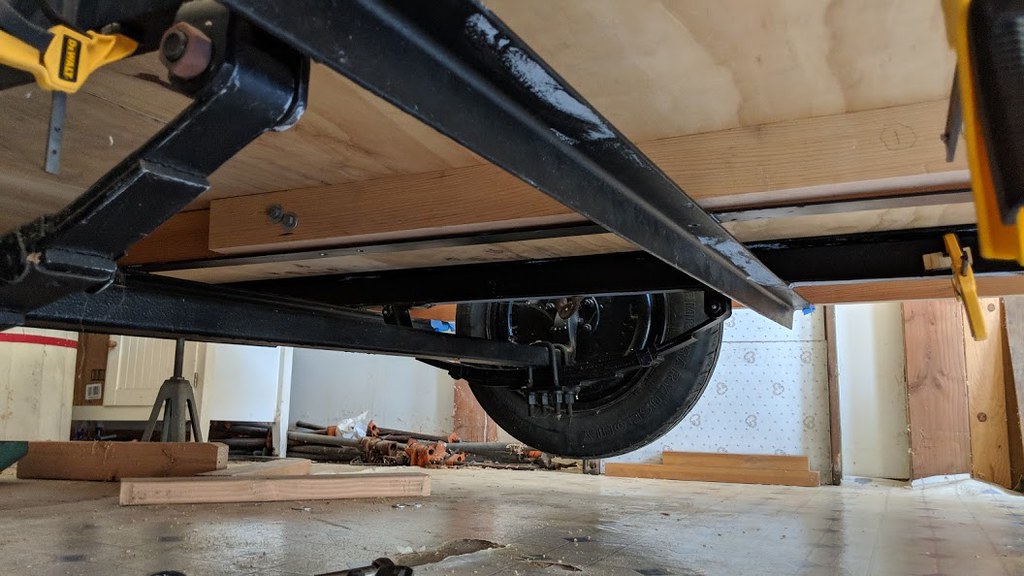
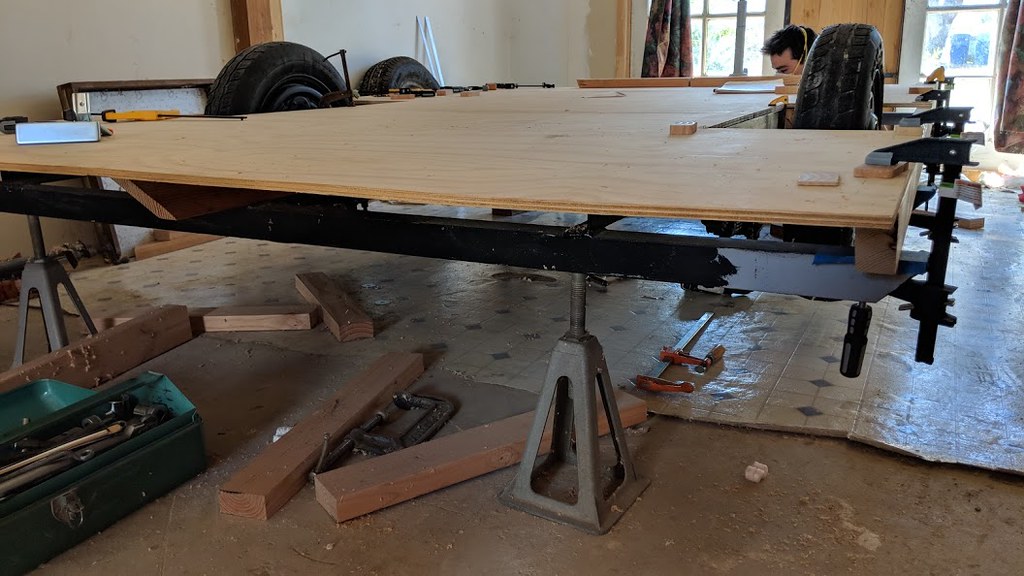
Yesterday, we had to take it all apart... and put it back together because I forgot to taper the floor joists in the front and back before dry fitting. Note to self - cut the tapers before you put it all together.
Before cutting the taper.
After
Center floor joist tapered in the rear
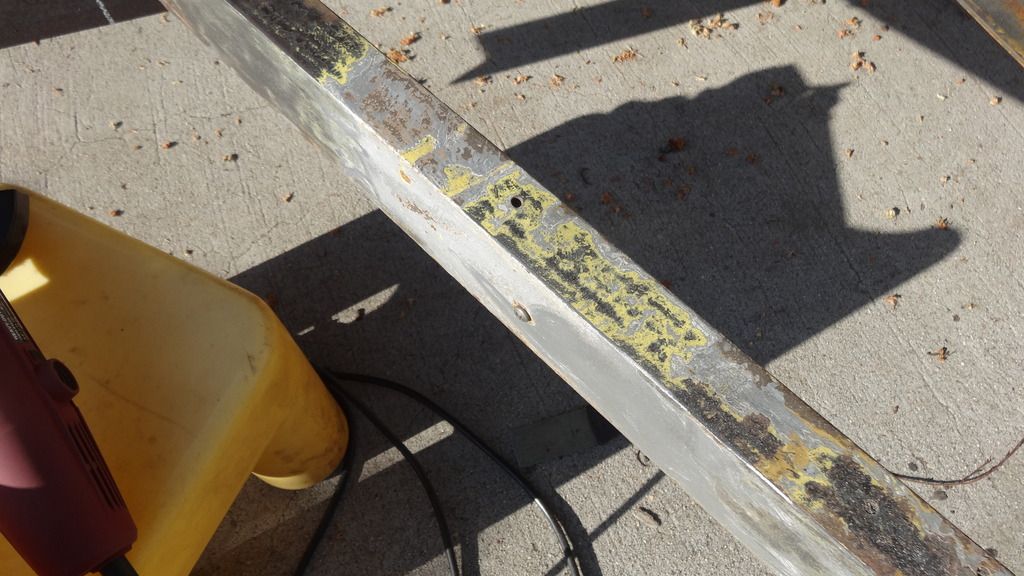
I still need to build some lap joints to support the seams. I also realized I missed a lot of places when I painted the frame, so that also needs touch ups. That’s it for now.
Cheers,
Rod


 , LOL. I AM THE TEACHER.
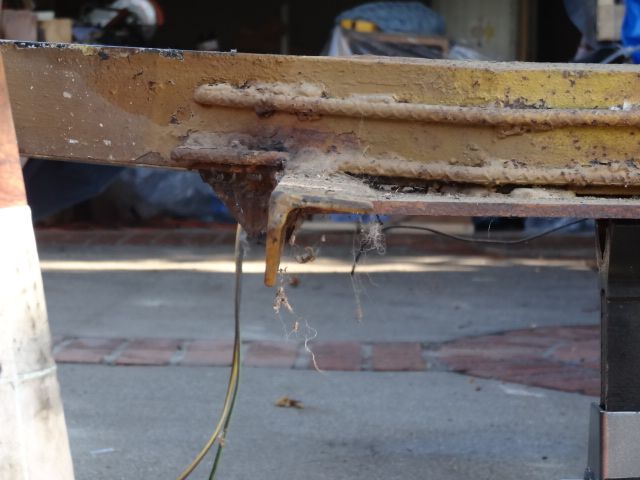
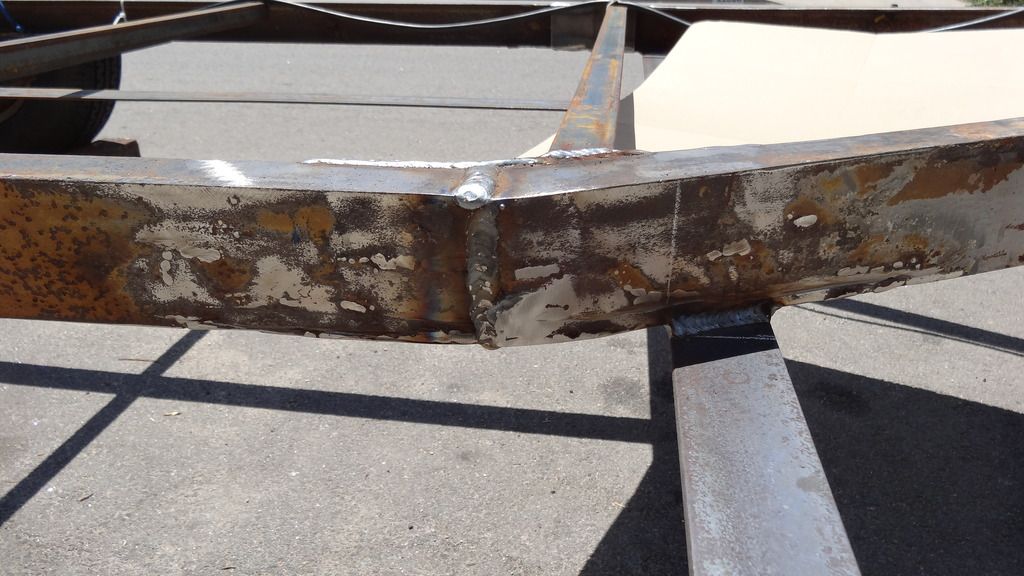
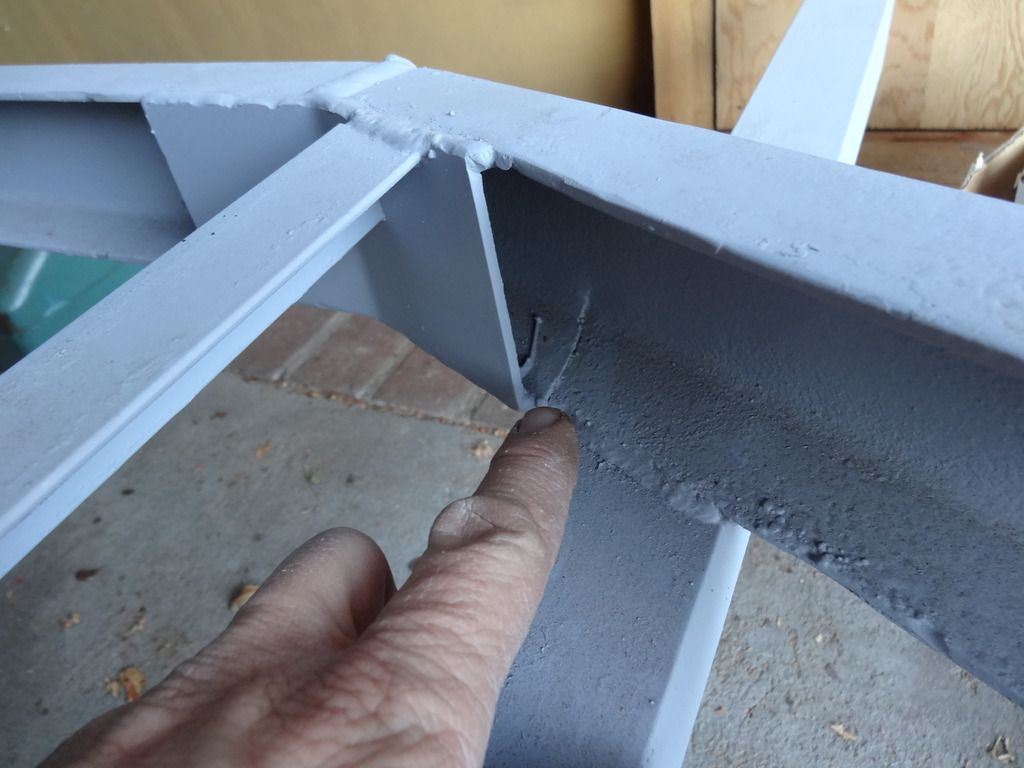
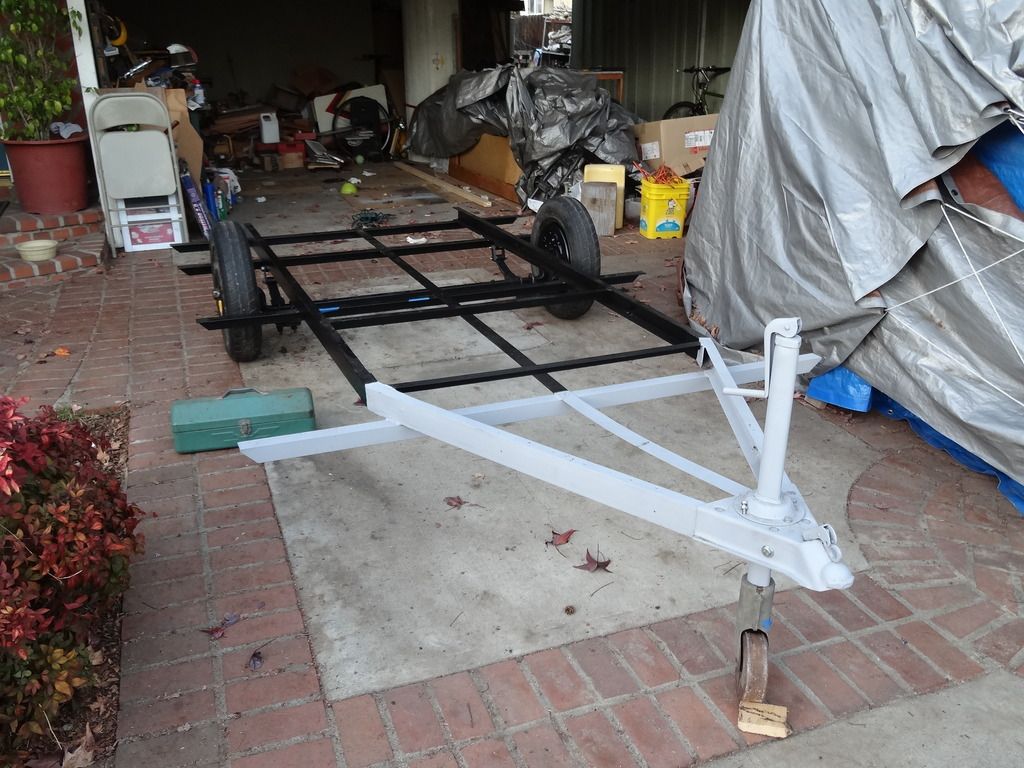
 I went in with a budget of $500 to $600 after saving up for 9 months. The initial goal will be to straighten, square up, and level out the trailer frame. The welds, rebar, and rectangular plate at the C Channel bend will all be ground off and then a completely new outrigger will be welded in it's place. It will be longer than the original to match the width of the trailer body.
 I got two sons heading out for college in the next three years...$$$