mrmarty51
Leading Member

Posts: 1,787 
Likes: 423
1972 HOMEMADE
Currently Offline
|
Post by mrmarty51 on Apr 23, 2017 18:54:33 GMT -8
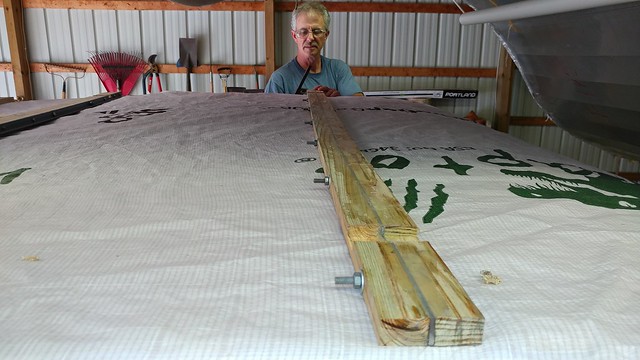
It`ll definitely not sag with all of that steel in there.
|
|
CorvettCrzy
Full Member

Posts: 934 
Likes: 273
'58 Corvette, '64 Franklin
Currently Offline
|
Post by CorvettCrzy on Jul 22, 2017 23:23:00 GMT -8
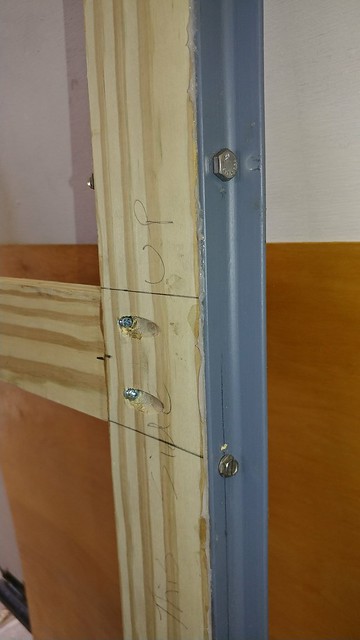
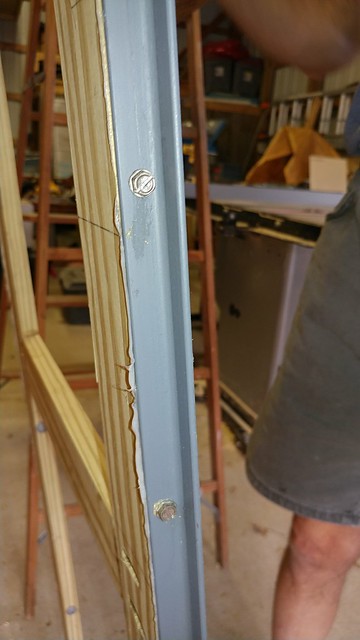
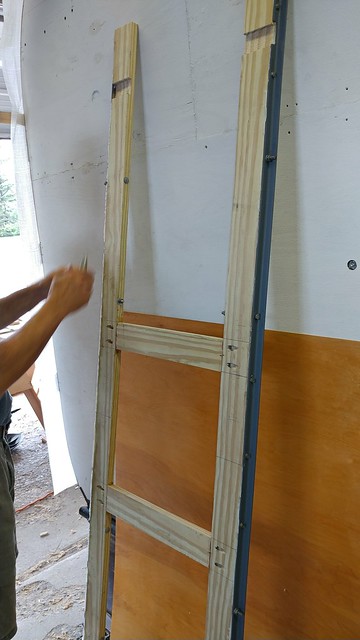
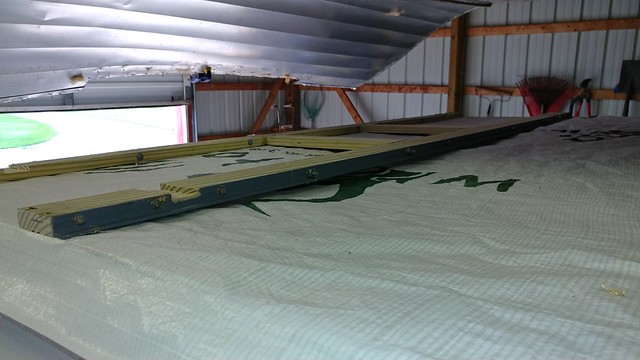
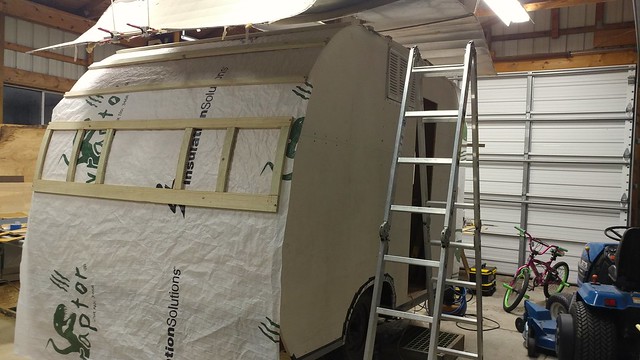
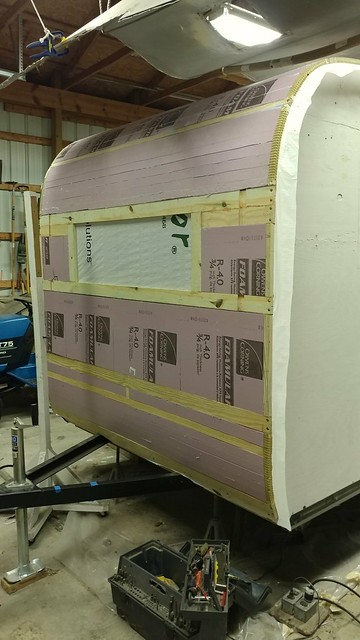
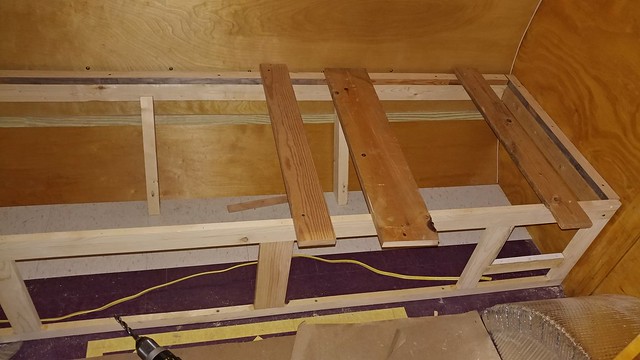
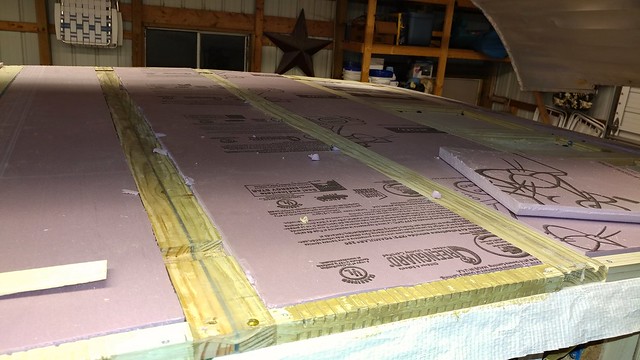
Well it's been a while but we're still at it. It took Jim a while to plan and execute the ac install. I set him in front of the computer with all the bookmarks I'd saved for ac install options. We decided to put it in the top of the tall cabinet. There was a small cupboard there originally, and we had to remake the doors anyway. The upper will just be slightly larger. The ac is on an aluminum plate that slides out for use. I'm planning on "suggesting" additional venting, in case we want to run it without sliding it out.  0722171848 0722171848 by Corvett crzy, on Flickr 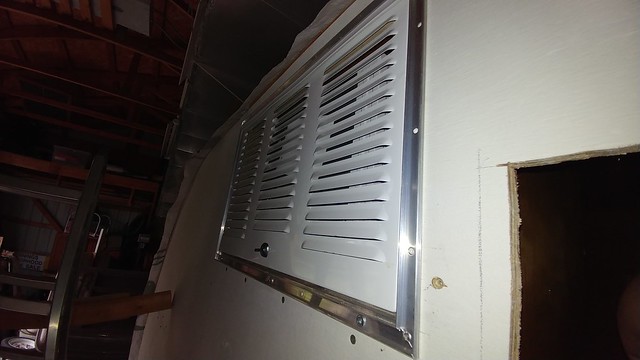 0722171847b 0722171847b by Corvett crzy, on Flickr I thought I had pics of it slid out but can't seem to find them, I'll add some later. After I received the news that the ac project was done, we started installing the birch ceiling. I have just a couple things to say about that: 1. Don't cut your panels until after you install them, even if you are a carpenter and you've checked and double checked to make sure things are square. You see for most people these rebuilds are a part time job and that trailer might sit for awhile before the next step and............... 2. 3/4 inch plywood walls, well, they change, with heat and humidity, and a westward wind............................ Ask me how I know this........................................(after all those beautifully shellaced birch panels, by yours truly, were cut to the length, they "should" have been) Fortunately for both of us, my carpenter, refuses to take shortcuts. It took a lot of loosening and tightening of pretty much every screw on that trailer, and I don't even want to discuss how many twisty nails were removed and reinstalled, over and over. Alls well that ends well...... all but the last partial panel is on, we're leaving that off to make it easier to build the gaucho. 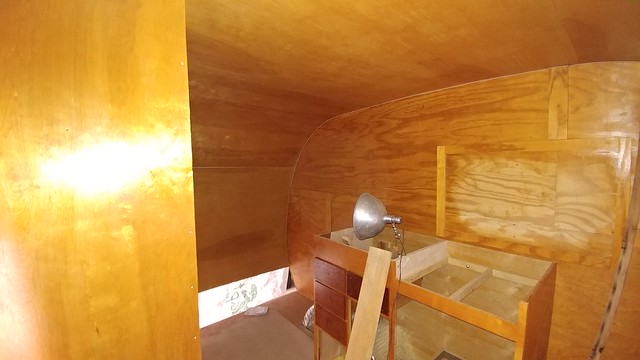 0722171845a 0722171845a by Corvett crzy, on Flickr  0722171846 0722171846 by Corvett crzy, on Flickr  0722171846a 0722171846a by Corvett crzy, on Flickr I guess I never explained that the seams were to be covered with 3/4 screen trim, so we'll be going with a little wider piece to trim the seems, but after all that, who cares. 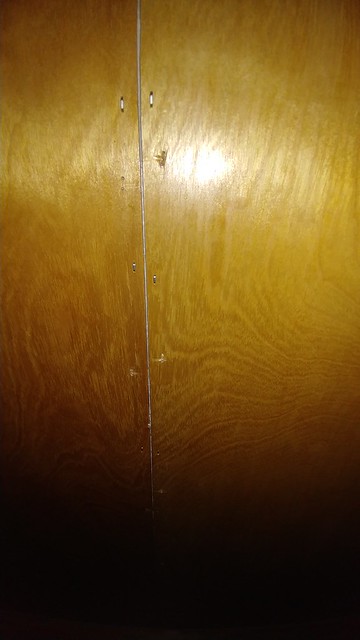 0722171847a 0722171847a by Corvett crzy, on Flickr |
|
CorvettCrzy
Full Member
Posts: 934
Likes: 273
'58 Corvette, '64 Franklin
Currently Offline
|
Post by CorvettCrzy on Jul 22, 2017 23:35:19 GMT -8
|
|
CorvettCrzy
Full Member
Posts: 934
Likes: 273
'58 Corvette, '64 Franklin
Currently Offline
|
Post by CorvettCrzy on Jul 23, 2017 0:17:28 GMT -8
One last quick comment - Photobucket X#%#%^@^
I'll be working on replacing my original pics.
|
|
CorvettCrzy
Full Member
Posts: 934
Likes: 273
'58 Corvette, '64 Franklin
Currently Offline
|
Post by CorvettCrzy on Aug 8, 2017 18:41:12 GMT -8
|
|
CorvettCrzy
Full Member
Posts: 934
Likes: 273
'58 Corvette, '64 Franklin
Currently Offline
|
Post by CorvettCrzy on Aug 17, 2017 20:37:21 GMT -8
Kitchen upper cabinet built and installed. 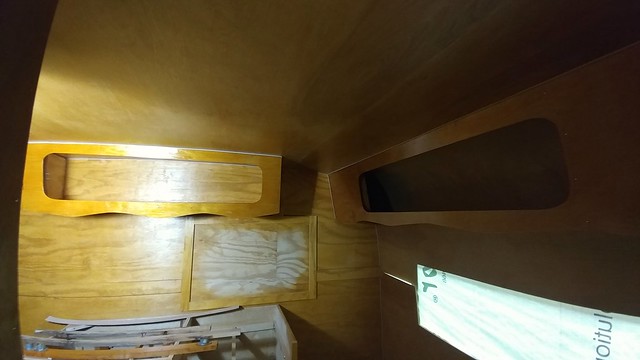 Both cabinets Both cabinets by Corvett crzy, on Flickr Jim got a little impatient and it was still a little wet.................  2017-08-16_09-51-12 2017-08-16_09-51-12 by Corvett crzy, on Flickr Continuing to study electrical and trying to figure out this canvas bunk design. |
|
CorvettCrzy
Full Member
Posts: 934
Likes: 273
'58 Corvette, '64 Franklin
Currently Offline
|
Post by CorvettCrzy on Aug 20, 2017 19:12:38 GMT -8
Canvas Cot - materials 3/4" Galvanized pipe, Duck Canvas, Upholstery thread. I wanted to add some pizzazz so I used yellow on the ends and trimmed them in purple. I like the way it looks but I have a pretty basic sewing machine, it's tough, but not commercial. I had a hard time sewing through all those layers and went back over several where I intersected seams. I wouldn't have had any problems if I had used one color. All in all, even though the seams aren't perfect I like how it turned out. 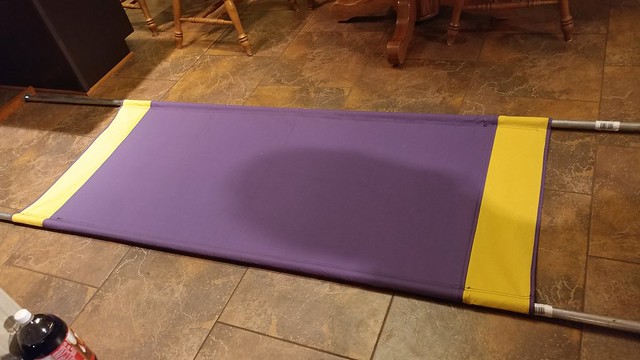 Canvas cot Canvas cot by Corvett crzy, on Flickr |
|
CorvettCrzy
Full Member
Posts: 934
Likes: 273
'58 Corvette, '64 Franklin
Currently Offline
|
Post by CorvettCrzy on Aug 20, 2017 19:29:08 GMT -8
e were undecided on whether to use the old ice box to get an RV fridge. I've been cruising craigslist for them for quite a while now. I wanted the convenience but look of the ice box. When I found a fridge almost exactly the same size the decision was made. Now if we can marry the two, it'll be perfect.  Fridge find Fridge find by Corvett crzy, on Flickr |
|
CorvettCrzy
Full Member
Posts: 934
Likes: 273
'58 Corvette, '64 Franklin
Currently Offline
|
Post by CorvettCrzy on Sept 6, 2017 19:33:54 GMT -8
Started getting the gaucho frame designed and in and the last piece of birch on the bottom curve!  See the gap See the gap by Corvett crzy, on Flickr Picked up a cute accessory at the consignment shop - they had older style match holders but had to get this one - perfect for my yellow and purple "Petals". 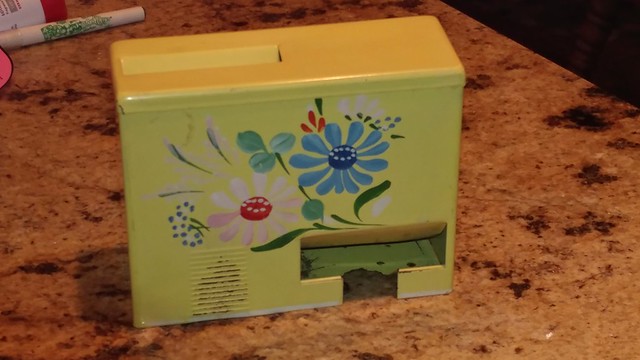 Matchbox holder Matchbox holder by I shouldn't admit this but it took me a while to figure out the left hand side was for the burnt matches  Corvett crzy Corvett crzy, on Flickr |
|
CorvettCrzy
Full Member
Posts: 934
Likes: 273
'58 Corvette, '64 Franklin
Currently Offline
|
Post by CorvettCrzy on Sept 8, 2017 17:37:50 GMT -8
After reading a thread about slop I decided it was time to work on that door. 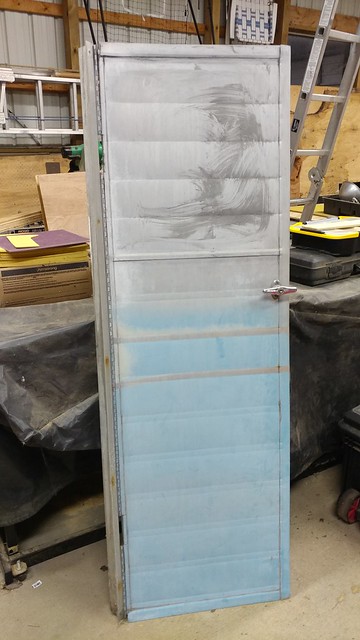 0101171901a 0101171901a by Corvett crzy, on Flickr nccamper Thanks for the suggestion. I didn't have Lac. thinner so I decided to try a little paint thinner although I didn't have high hopes. First I tried putting it on a rag and rubbing. It didn't take long to realize I would need a lot of rags. The thinner was taking off a very thin layer but once the rag was coated with the black stuff, it wouldn't take off any more. Once I moved to a clean spot, a little more would come off. I decided to let the thicker area soak a few minutes. 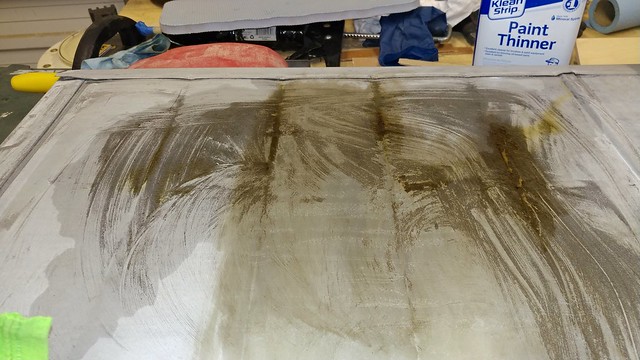 1 paint thinner soak 1 paint thinner soak by Corvett crzy, on Flickr This actually made the thicker sections come of easier than the thin areas. Wiped off the thinner and sludge.  2 2 by Corvett crzy, on Flickr Wiped it down with wet rag and Murphy oil soap 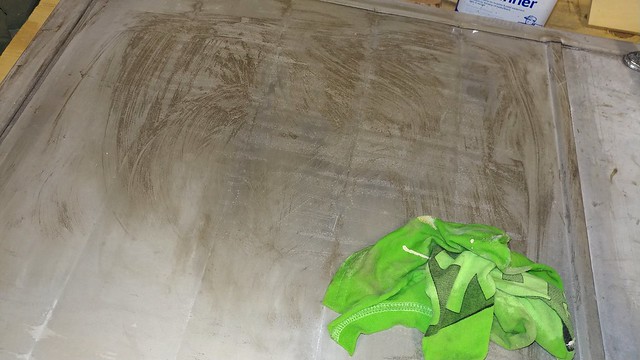 Clean with Murphy, wet rag Clean with Murphy, wet rag by Corvett crzy, on Flickr Murphy oil soap and 0000 steel wool 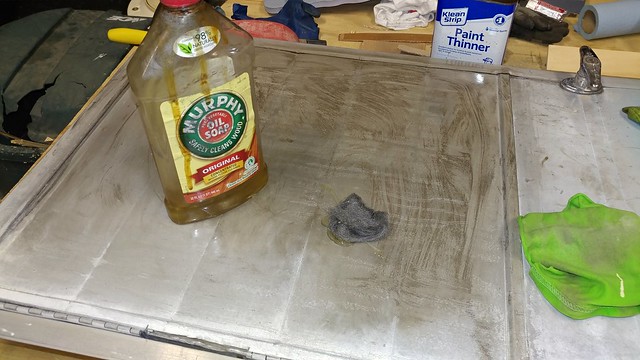 3 Murphy and 0000 steel wool 3 Murphy and 0000 steel wool by Corvett crzy, on Flickr and finally Mother's polish, just to see if it would shine. 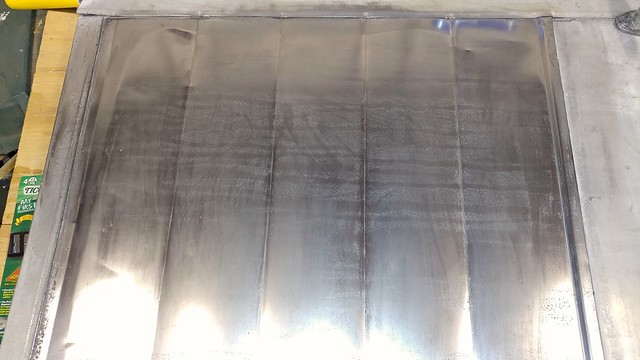 2017-09-08_09-17-37 2017-09-08_09-17-37 by Corvett crzy, on Flickr  Door after clean and polish Door after clean and polish by Corvett crzy, on Flickr After the polish I understood how a shiny surface really makes the defects stand out. I wouldn't do this procedure on an entire roof, but it was worthwhile to save the door. It should be smooth enough now to paint. |
|
CorvettCrzy
Full Member
Posts: 934
Likes: 273
'58 Corvette, '64 Franklin
Currently Offline
|
Post by CorvettCrzy on Jan 8, 2018 21:03:29 GMT -8
Way past time for an update. Slow but steady progress is being made on rebuilding the exterior. I finally got back to the window restoration. It was a bit daunting since I had begun it a few years ago, suffered an accident and lost track of where I was. I was also a little intimidated that I wouldn't remember how to get them back together. Once I got into them I remembered most of the assembly and what I was unsure about I checked by reviewing a great Jalousie tutorial written by nccamper . There were a couple things I thought were interesting enough to share. First of all, the rubber spacers that hold the glass panels in the jalousie frame. These can be purchased from VTS. Note thought that the VTS info states that you need 2 per pane. That may be true on some jalousies but not on mine or any others that I've seen. So I ran out in the middle of my project. A quick order to VTS and I had more within a couple of days, but I thought it was worth mentioning. Once I get started on something, I don't like to have to stop. The second item is in regards to the Hehr windows I had on the front and back of the Corvette. They had to be completely disassembled and seals replaced. When I took them apart they had these small screws with a large washer type head and a "hollow" nut (best way I can describe them). At the time those hollow nuts were impossible to find and to be honest they didn't seem like the best choice. I believe they are also now available at VTS. But more difficult was finding an extremely flat but wide headed screw. These screw heads must be flat in order to fit inside the screen housing without binding. This is what I found and I'm very happy with the appearance and result. 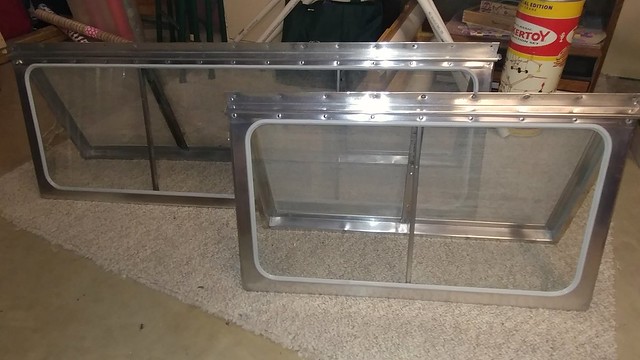 Front and rear Hehr Front and rear Hehr by Corvett crzy, on Flickr 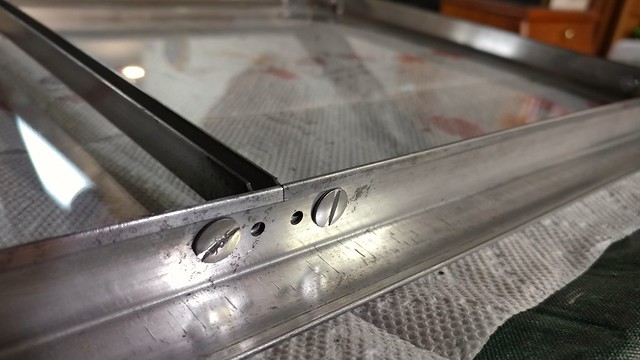 Frt window adjust bar attach Frt window adjust bar attach by Corvett crzy, on Flickr This picture shows the old fasteners on the right and the new on the left. 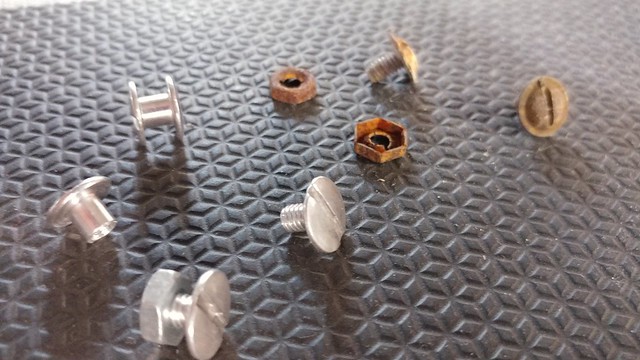 Fasteners I used to rebuild Hehe windows Fasteners I used to rebuild Hehe windows by Corvett crzy, on Flickr I know there's also a name for them, but can't think of it right now. I didn't use the female side but put stainless steel nuts instead. I may have to use a little lock tight on them. I'll decide after I leak test the windows. 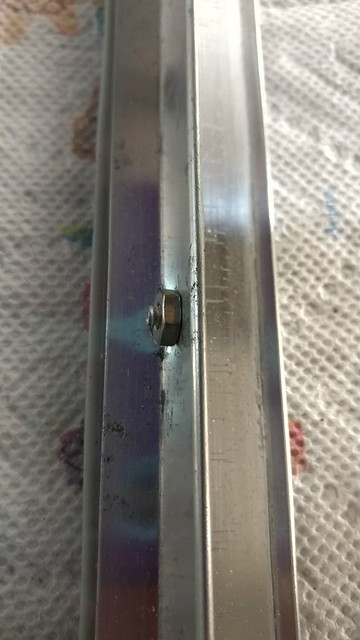 Get win, nut (interior) Get win, nut (interior) by Corvett crzy, on Flickr My finished windows, I think they cleaned up pretty good. It took a lot of elbow grease, but some spots I just couldn't get all of the pits out, or at least I had invested as much time and effort as I was willing. The bottom sills seemed to be the worst. 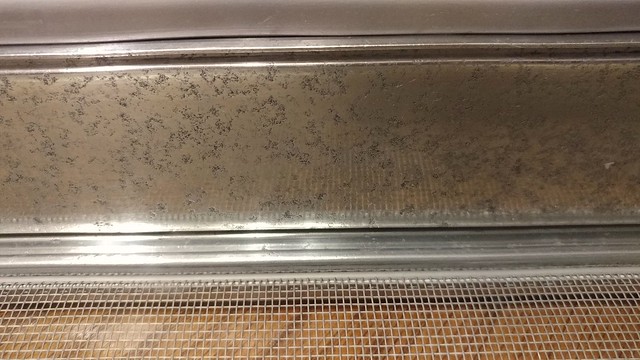 Interior bottom will of jalousie Interior bottom will of jalousie by Corvett crzy, on Flickr 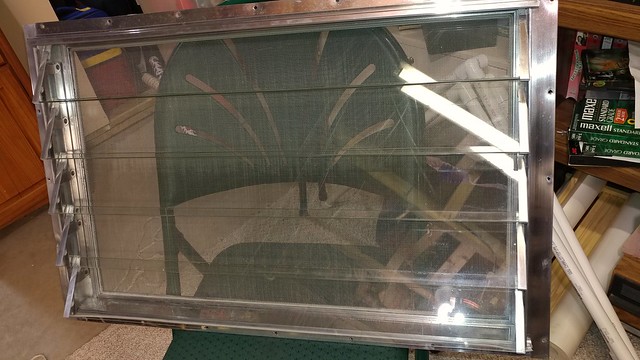 Kit, Window Kit, Window by Corvett crzy, on Flickr Notice the 2 panes of glass missing because I ran out of those spacers. 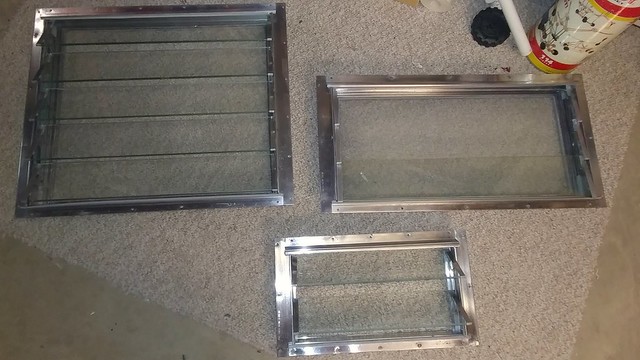 2 curb, 1 street side added near bunk 2 curb, 1 street side added near bunk by Corvett crzy, on Flickr The only issue I have is that the larger jalousies don't want to close. The side weatherstripping is binding on the pane frames. Tutorials have suggested working them back and forth. This worked and I was able to get the smaller windows closed but it seems more panes make it tighter. I'm considering "trimming" some of the flocking off, but I don't want to lose the seal. I will be searching for advise on this. This is as far as I dare 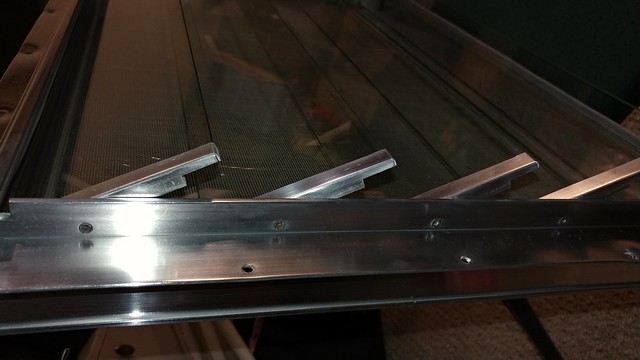 Kitchen window Kitchen window by Corvett crzy, on Flickr All in all I am pleased and relieved to have them done. A major job to check off the list. Yay! |
|
|
|
Post by vikx on Jan 8, 2018 21:13:51 GMT -8
Windows look great!
One thing I've discovered on the pitted bottom sills: Rustoleum Hammered silver is the right color and it makes for a nice smooth finish. Dirt is easy to clean. So if your sills start to get crusty again, consider paint. I've done a lot like that and have been pleased. It doesn't show.
|
|
mel
Senior Member
1964 Shasta Airflyte
Posts: 1,729
Likes: 523
Currently Offline
|
Post by mel on Jan 9, 2018 7:21:42 GMT -8
They look great! My windows also look like that at the bottom. It bugged me at first but as soon as I went camping you cant even really notice. And it became a care of the past  |
|
nccamper
Administrator 
Posts: 7,744
Likes: 2,871
1962 Forester- 1956 Shasta
Currently Offline
|
Post by nccamper on Jan 9, 2018 9:43:55 GMT -8
The windows look great.
I would wait until the big window is in before trimming the weatherstripping. Once in place I have somebody outside gently helping the window shut and open While I work the crank. The brushes (usually) will give a little after being closed and opened a few times. If they don't, you can trim then.
In a driving rain a few drops of water seem to get in no matter how meticulous you are with the repairs. It's the nature of the Jalousies.
|
|
CorvettCrzy
Full Member
Posts: 934
Likes: 273
'58 Corvette, '64 Franklin
Currently Offline
|
Post by CorvettCrzy on Jan 10, 2018 19:05:23 GMT -8
|
|