joek
Member

Posts: 42
Likes: 16
Currently Offline
|
Post by joek on Nov 22, 2015 13:06:08 GMT -8
Yes, waterproof coating have changed a lot over the years. Todays coatings of this type are highly and permanently flexible. I was very skeptical of this stuff 5 years ago but have seen it perform well. And have seen the waterproofing we were using before (bituthene or other peel and stick)fail in dramatic fashion. We'll see what happens with this stuff over the years.
For wiring and junction boxes, you seal around the box or wire and all holes in the box. Same with plumbing penetrations. Care should definitely be taken care with the outer skins. They should be installed as normal, sealing all seams in the typical fashion. We don't want to invite the moisture in, but we know it will get in somewhere, sometime.
|
|
joek
Member
Posts: 42
Likes: 16
Currently Offline
|
Post by joek on Nov 21, 2015 21:25:48 GMT -8
I'd be using it a primary moisture barrier and the aluminum skin as a decorative and UV cover. Like a rainscreen system on a house, where you keep the siding spaced off the waterproof membrane a little bit, to allow the moisture to run freely and not get trapped.
|
|
joek
Member
Posts: 42
Likes: 16
Currently Offline
|
Post by joek on Nov 21, 2015 1:24:28 GMT -8
Looks great. Is that Independence Porcelain Enamel in Missouri?
|
|
joek
Member
Posts: 42
Likes: 16
Currently Offline
|
Post by joek on Nov 21, 2015 1:07:11 GMT -8
I'd use Birch if you can't find Ash. The color will match much better. Ash was readily available at my local hardwood supplier. Macbeath Hardwoods in Berkeley, San Francisco, and Salt Lake City, Utah www.macbeath.com/product/ash-white-plywood |
|
joek
Member
Posts: 42
Likes: 16
Currently Offline
|
Post by joek on Nov 21, 2015 0:52:31 GMT -8
I'm about to embark on repairing the rear end of my previously restored (by me) '61 Shasta. Needless to say, I'm not looking forward to it. But there is a leak, not sure where it's coming from, maybe the window or tail light. Possibly the side seam, won't know until I open it up. But it is enough water to have attracted termites, and rot through the interior skin.
I'm considering using a liquid membrane as waterproofing. This would go on the backside of the plywood and framing, before the insulation and aluminum. Liquid membranes are the latest thing in waterproofing. We have been using it in our construction business for a few years now, you paint it on fairly thick, typically 10 mils or so, and when it dries it's forms a flexible, breathable, self repairing membrane. Since it bonds to the surface, I won't have to do the entire trailer, just all I can reach. It may not be a perfect solution, or maybe it's a solution to problem that doesn't really exist, but I can't really think of a downside.
Product I'll use is Prosoco Cat5. www.prosoco.com/products/r-guard-cat-5 |
|
joek
Member
Posts: 42
Likes: 16
Currently Offline
|
Post by joek on Nov 17, 2015 21:38:40 GMT -8
I'd like to add some advice. When screwing into members, it is best to avoid screwing into end grain when you can. Screws will easily strip out the wood when going into end grain. When the wood shrinks, its gets tighter around the fastener but can also cause it to split. Screws 1, 2 and 4 would have been better going the opposite direction. Notice how 5-8 are pulling the end grain towards the long grain. These will all work fine either way, but when you have the choice the other way is typically better, imo. I have read this several places, but it seems counter intuitive to drill a large pocket hole in the narrow 1x2. Do you usually use 2 screws per board as recommended by RinTin or one per stud? Yes, I use 2 screws on a 1x2. My Kreg Jig, which is at least 15 years old and has bored thousands of holes, has the sleeves spaced for doing 2 holes in 1-1/2" wide piece of wood. I have also done 2 screws in 1-1/4" wide. Try it on some scraps. I think you'll find the joint to be surprisingly strong.
In this particular application, these joints are seeing very little stress once the interior skin is nailed on. The screws act as more a joint locator really until the interior skin is on, at which point the job of the 1x2 is to keep the interior skin flat, and give you something to attach the exterior skin to. Don't get me wrong, a strong joint is great. But a weak joint is very unlikely to fail once it's all put together.
|
|
joek
Member
Posts: 42
Likes: 16
Currently Offline
|
Post by joek on Nov 17, 2015 5:39:53 GMT -8
I'd like to add some advice. When screwing into members, it is best to avoid screwing into end grain when you can. Screws will easily strip out the wood when going into end grain. When the wood shrinks, its gets tighter around the fastener but can also cause it to split. Screws 1, 2 and 4 would have been better going the opposite direction. Notice how 5-8 are pulling the end grain towards the long grain. These will all work fine either way, but when you have the choice the other way is typically better, imo.
|
|
joek
Member
Posts: 42
Likes: 16
Currently Offline
|
Post by joek on Nov 13, 2015 20:09:33 GMT -8
Worst on my '61 was 2 screws from attaching the wardrobe cabinet to the ceiling were too long. Went right through the skin. They didn't even bother to remove them, just put some sealant around them.
|
|
joek
Member
Posts: 42
Likes: 16
Currently Offline
|
Post by joek on Nov 9, 2015 22:01:51 GMT -8
I was just getting ready to winterize the trailer, when I saw some bubbling to the finish in the back wall. touched it and my finger went right through. And out fell those termite eggs. I opened it up more and found plenty of damage, but no live termites. Doesn't mean they aren't in there, I only opened up about 7 square inches. Area was plenty wet too.
Now I figure I'll have to remove the rear skin and replace at least the interior birch from the shelf down. Hoping to find the source of the leak as well. But also wondering about tenting and fumigating the trailer. I'd want to do it with something natural, since we do sleep in the thing often enough. In my area, we have a number of citrus termite companies, I'll probably give them a call.
Yippee, just in time for El Nino. Wish I had the luxury of an indoor space to work on her, but alas it'll have to be under a tarp in the driveway. This is all to my '61 Shasta Airflyte that I completed the restoration of over 5 years and about 60 camping trips ago.
|
|
joek
Member
Posts: 42
Likes: 16
Currently Offline
|
Post by joek on Oct 21, 2013 21:26:52 GMT -8
This was an older write up I did that was on another forum that I guess I going byebye, so I thought I'd drop it here. Here is my experience building new baggage doors. My doors were in terrible shape, but the frames were okay, so I only needed to build the doors. 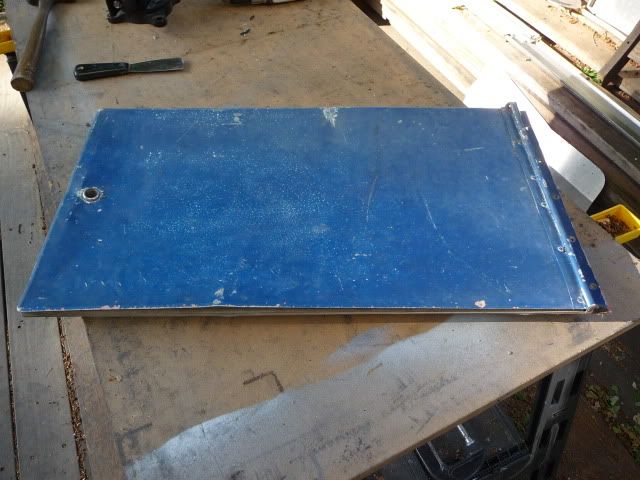 I started with an .040 aluminum sheet. I laid out the doors before heading over to my friends sheetmetal shop, in order to save time time 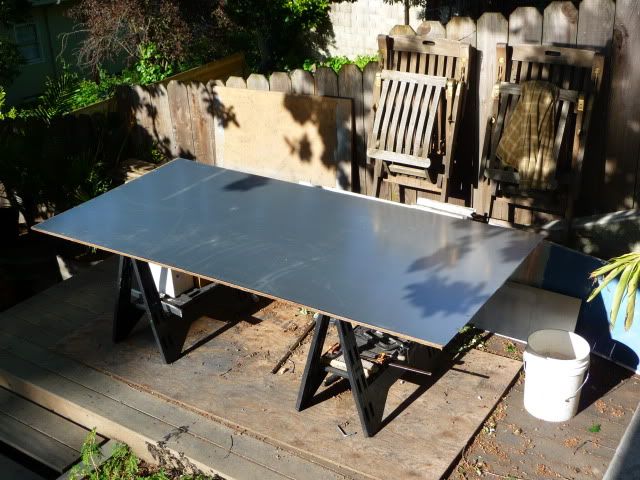 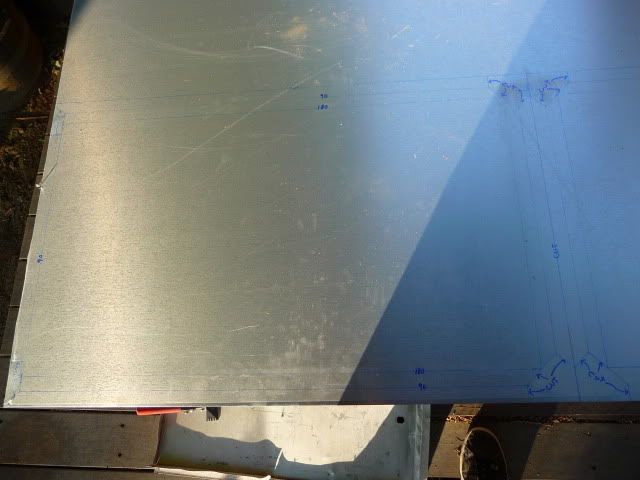 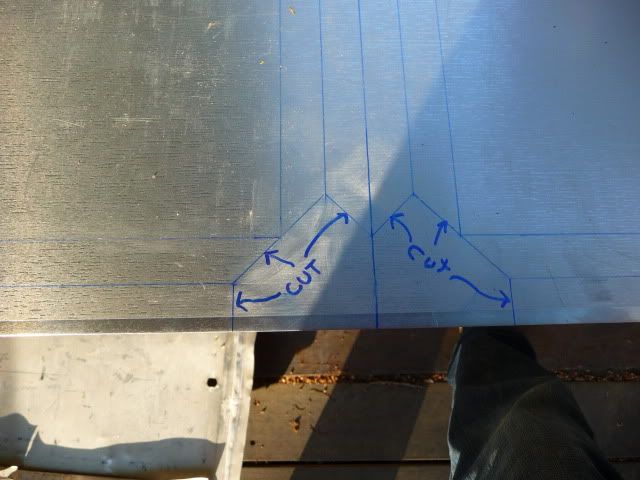  Then it was off to the sheetmetal shop for fabrication. We cut the pieces to size on the shear, trimmed out the corners with hand shears and dimpled the lines so we could see them from both sides. 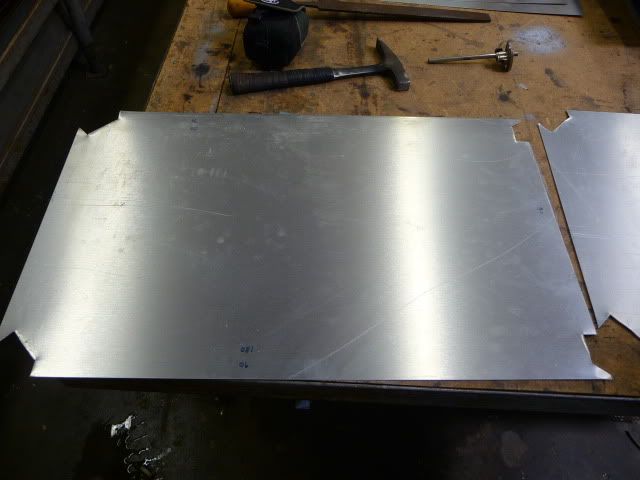 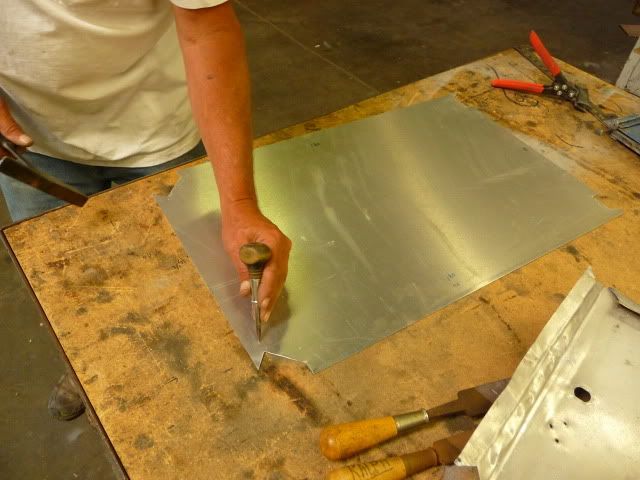 Next we headed over to the brake. Slide the sheet into the brake to the first line. The face that is up will be the outside face of the door. 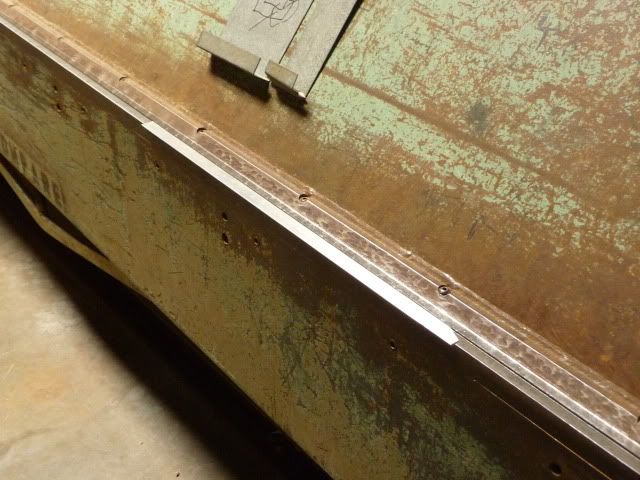 Brake it up 90 degrees, pull it out and flip the sheet over. Slide it into the second line. 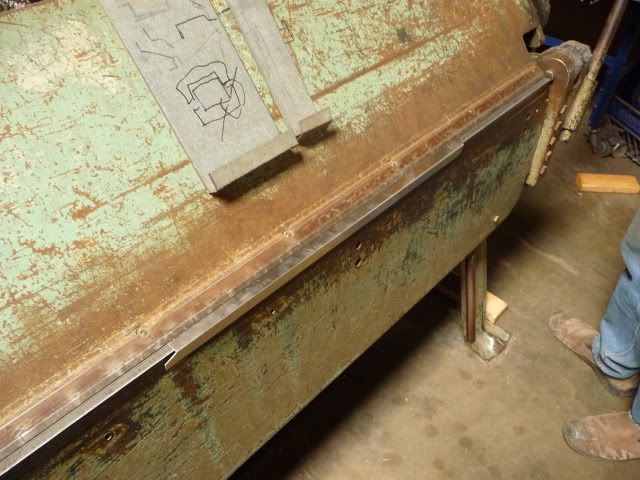 Then brake it up as far as it will go, about 135 degrees  Now pull it out, turn it around and push it in the brake. Pull the handle down and this will crush the edge, making the first edge. 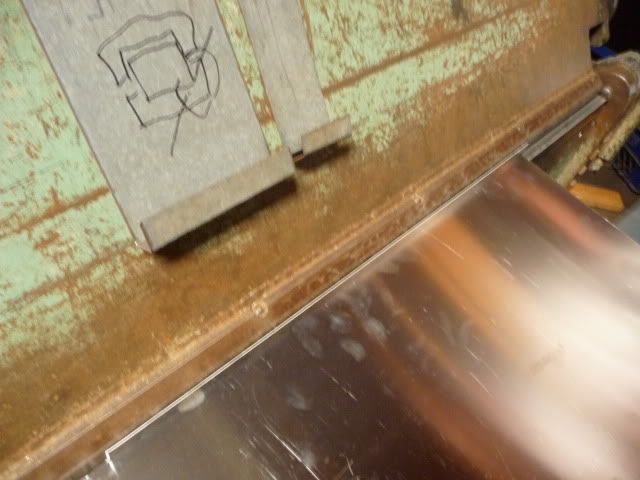 You’ll want to do both long edges, then head over to the pan brake. This brake has removable pieces so you can adjust the head width to fit in between the edges that you have already folded up. Otherwise the process is the same as the sides. 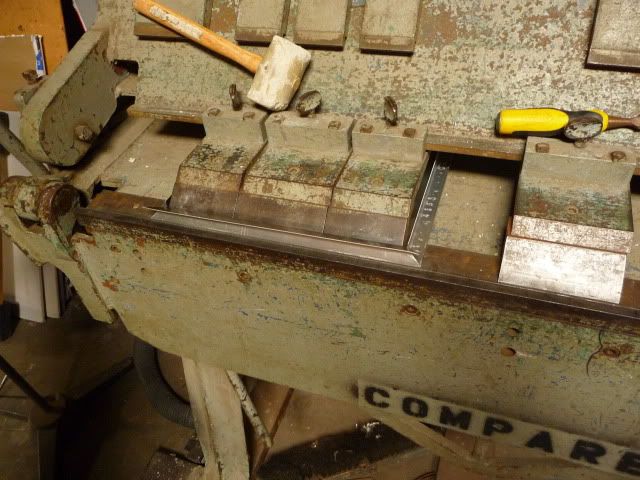 You also need to brake the hinge end up a single 90 degree bend. Make sure the bend the tabs back, you can see they are in the way in this photo 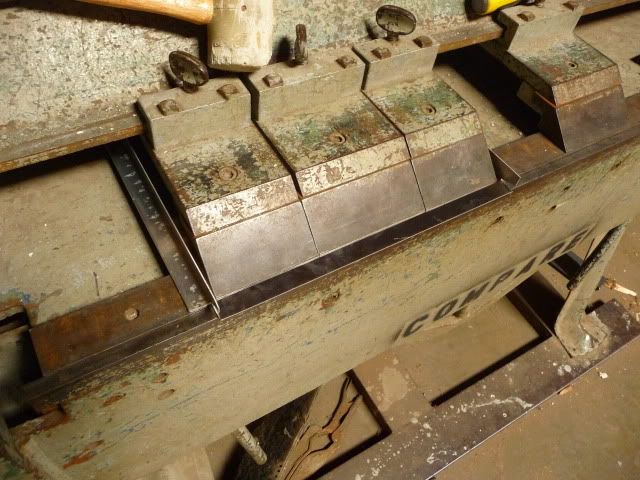 From here, it was back to the house to put the finishing touches on it. I riveted all four corners. These weren’t riveted originally, but I couldn’t see why not. 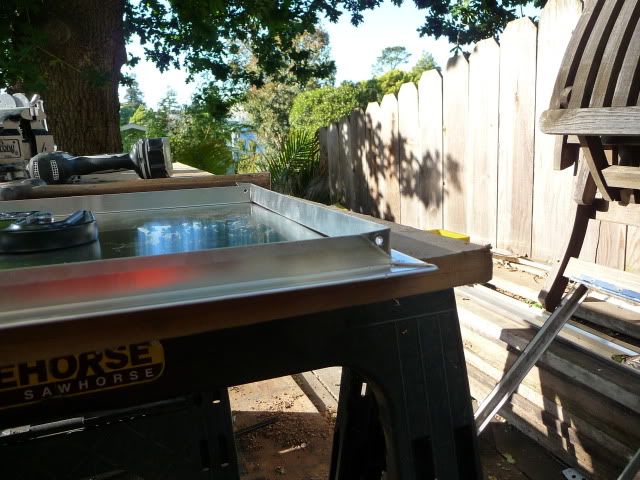 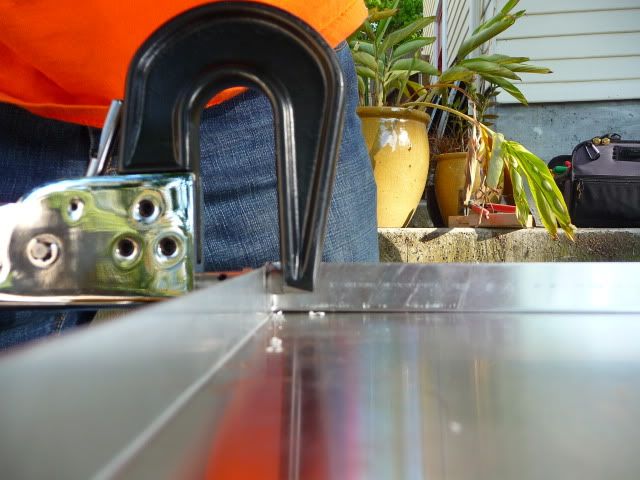 Next it was time to attach the old hinge to the new door. To take the original door out of the frame, bending this tab out will allow you to slide it out of the frame, after opening it 90 degrees. 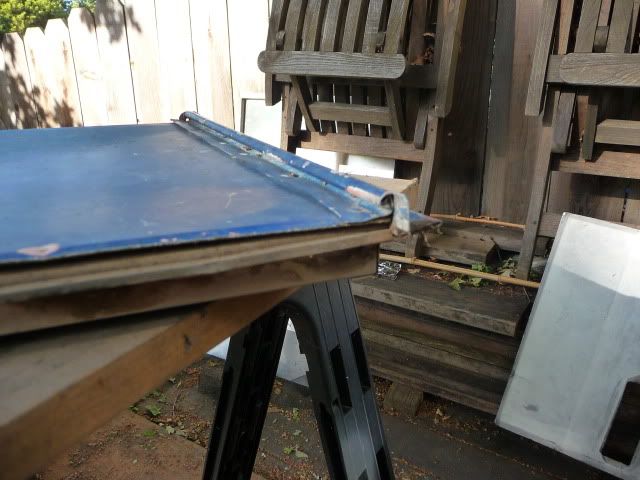 Then drill the rivets out that hold the hinge half to the old door. Drop the new door into the frame and slide the hinge back into place. You can mark where the hinge goes on the new door, take it apart and rivet the hinge onto the door.  Now just slide the hinge and door back into the frame and wa-lah’  Finish product with new locks 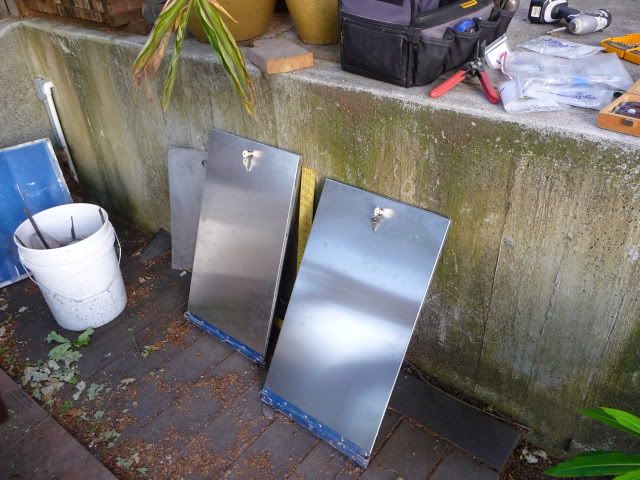 Can you guess what is next? 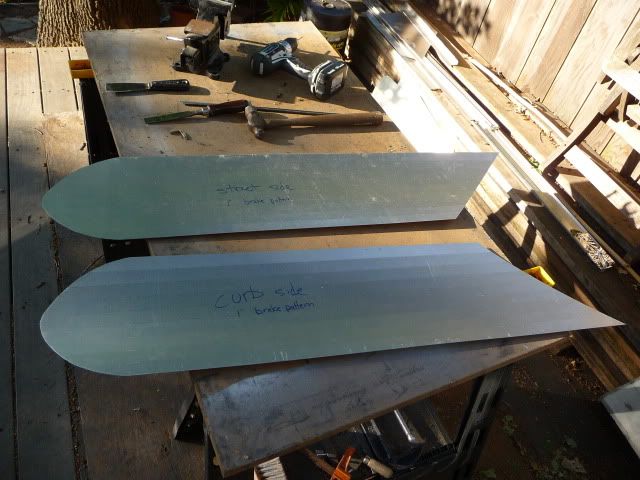 JoeK '61 16' Airflyte Vintage Trailers: a common dream for uncommon peolpe |
|


