RinTin
Full Member
    
Posts: 760 
Likes: 297
Currently Offline
|
Post by RinTin on Jun 25, 2015 7:17:12 GMT -8
Though not having had any experience yet with any of the "new" products, I can tell you that the original putty tape I'm finding on my 1960 Shasta is still STICKY and doesn't seem to have failed. So if a product can last some 55 years, that would be good enough for me. That said, apparently the original product in its original formulation isn't readily available anymore, I guess I would be more inclined to go with the product that most closely resembles the original. FWIW. Yes, the consensus seems to be that the old standard RV putty tape is good stuff, the new standard RV tape not as good. If the new stuff is as good as it gets, I can accept that. However I am not yet convinced that there isn't a better product. I agree, a product similar to the original would be fine, question is, what is that product? |
|
Ten
3K Member
  
Posts: 3,432
Likes: 1,467
70 Shasta 16SC + 1964 Airflyte
Currently Offline
|
Post by Ten on Jun 25, 2015 9:06:05 GMT -8
Sorry to Hijack this thread, Ten. If you like, I can start a new Putty Tape thread... I don't mind this discussion here at all... It just means I may have stumbled onto something worth discussing...instead of all the usual BS that rolls around loose in my head... Although, I am not against a new thread for discussion too, so the subject isn't lost amongst my other ramblings for future readers. |
|
|
|
Post by vikx on Jun 25, 2015 10:07:38 GMT -8
You're right on the rubber roofs, RinTin. The installation kits including real butyl tape but the rolls were so disfigured they were Square... I believe the RV tape is a type of butyl and is compatible with EPDM.
I like butyl in certain areas, but do NOT like the oozing. To me, if it gets hot enough, butyl would ooze right out from under a flange. As far as RV putty "failing", mine hasn't yet. That RV shop only sells standard putty, so would push sales on that. Our Corvette was finished in 09 and so far, knock on aluminum, staying water tight. Edges look good. I'm guessing putty failure may be manufacturer failure instead. The leaks with the *new* Shasta retro come to mind.
I will say that RV putty does not have a long shelf life. Even if plastic bagged, it loses the sticky quality. But, when a person tried to remove a fixture, it is STUCK. Time will tell.
Agree that the products we can get today are very different than what was available 60 years ago. I've found sticky stubborn putty, deteriorated putty, cardboard-like putty and missing putty on the trailers. Some of it is almost impossible to remove. Obviously, different types even back then.
|
|
kellybhammer
New Member
Posts: 5 
Likes: 4
1966 GoLite
Currently Offline
|
Post by kellybhammer on Jul 3, 2015 18:10:05 GMT -8
Yikes. you guys are making me nervous and wanting to go check the rolls of Butyl tape that I bought for my camper. It's been 115 here pretty consistently. I haven't put it on the camper yet because it's been too hot to stand outside and remove the jrails.
|
|
Ten
3K Member
  
Posts: 3,432
Likes: 1,467
70 Shasta 16SC + 1964 Airflyte
Currently Offline
|
Post by Ten on Jul 9, 2015 5:40:56 GMT -8
I've been pretty lazy keeping up with this thread lately, and in fact found myself pretty lazy about taking photos as I worked along, but I managed to take some showing the work as it progressed. Most of the work has simply been polishing aluminum, and waiting for the feeling to come back in my hand. Pretty boring stuff to photograph, so I'll skip over that part and just show some of the results. New skirt boards, yes. Covered back up, yes. 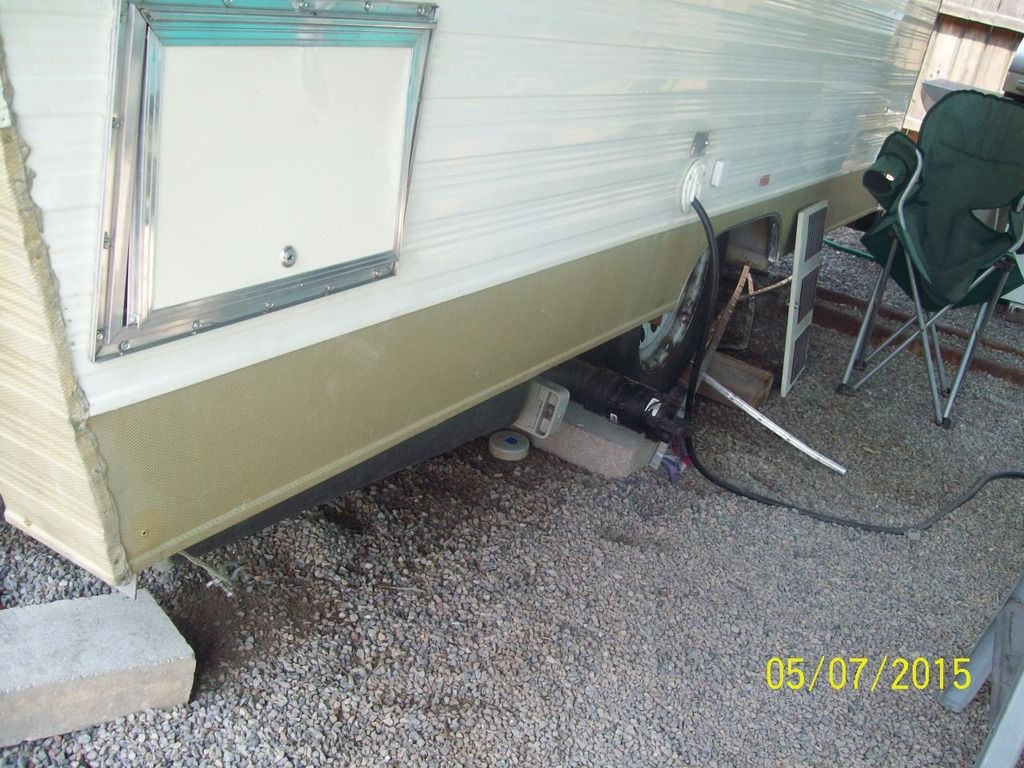 New insulation? Yes, please. 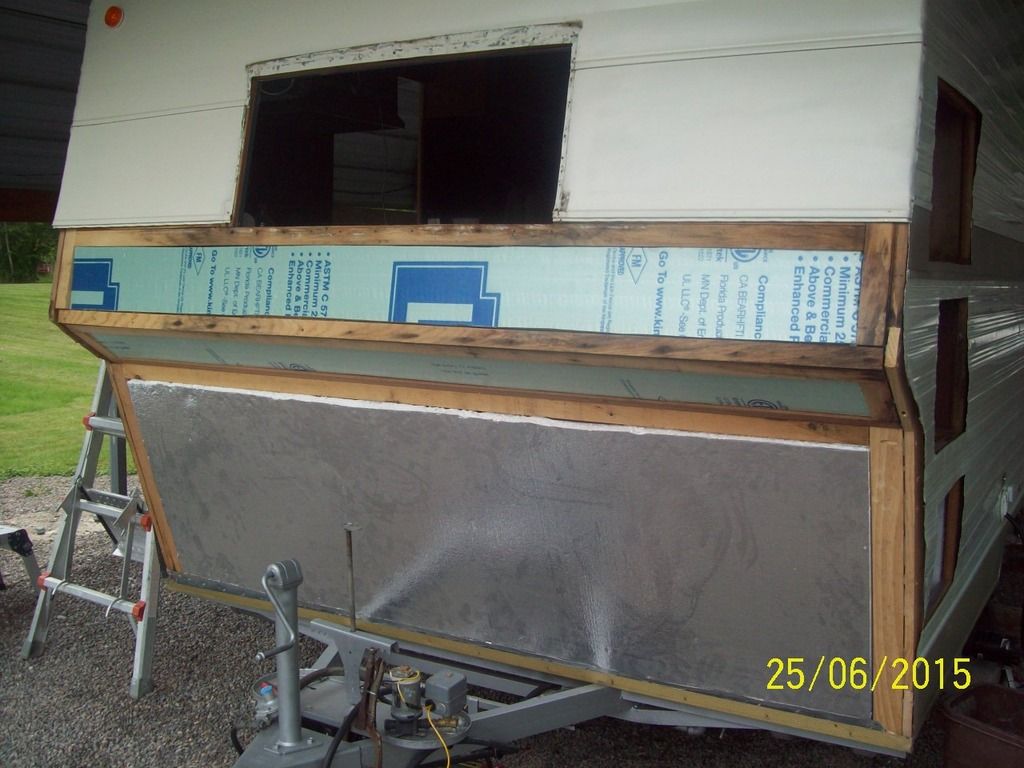 Front wall buttoned up and front window installed, before one more &*##@* thunderstorm hits! 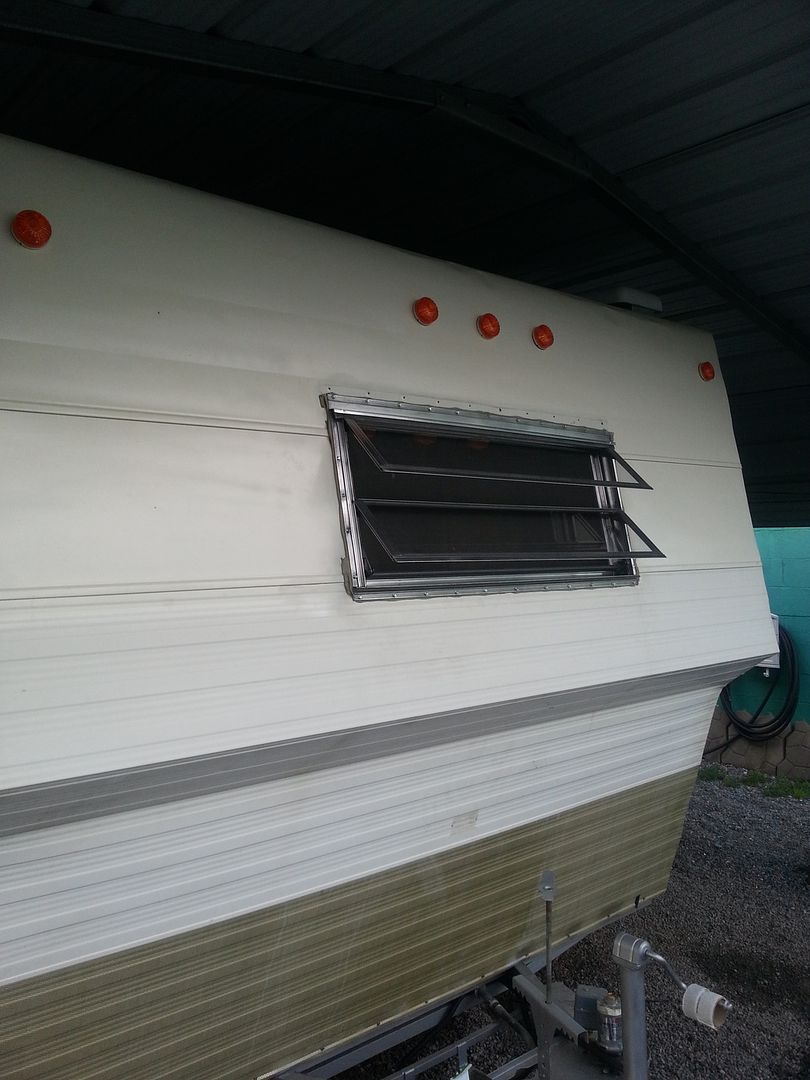 Awning disassembled, cleaned and polished, reassembled with new stainless screws and new thumbscrews for the props. 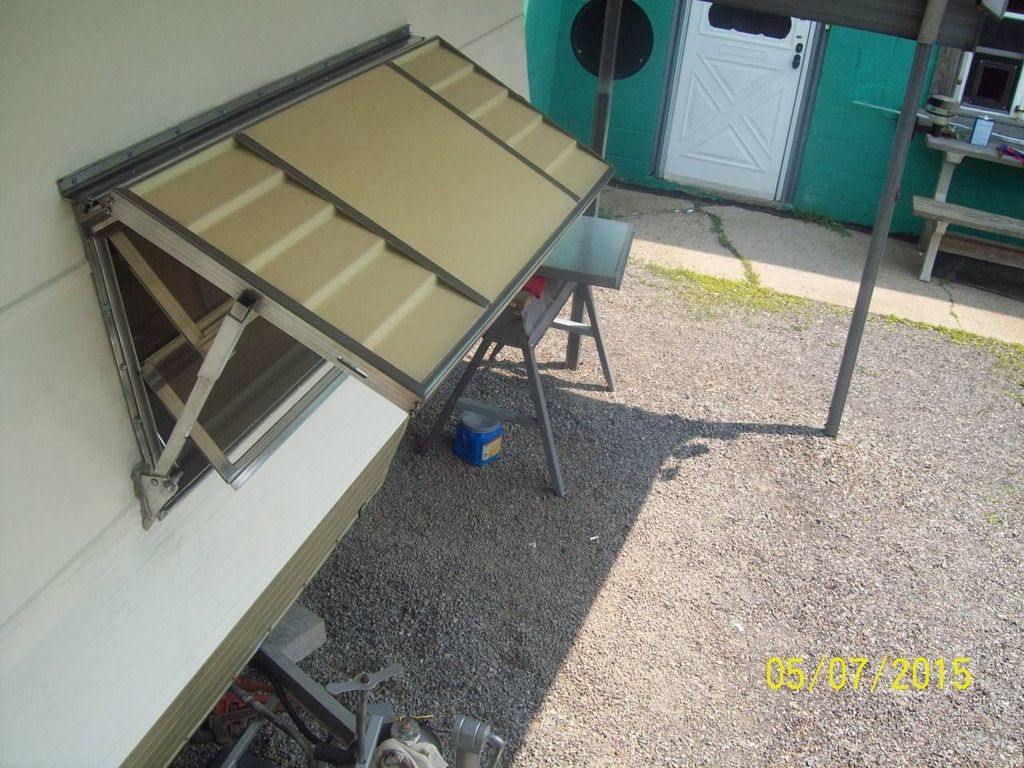 Doorframe and screen door polished, reinstalled, (with double-layer putty tape for the frame). 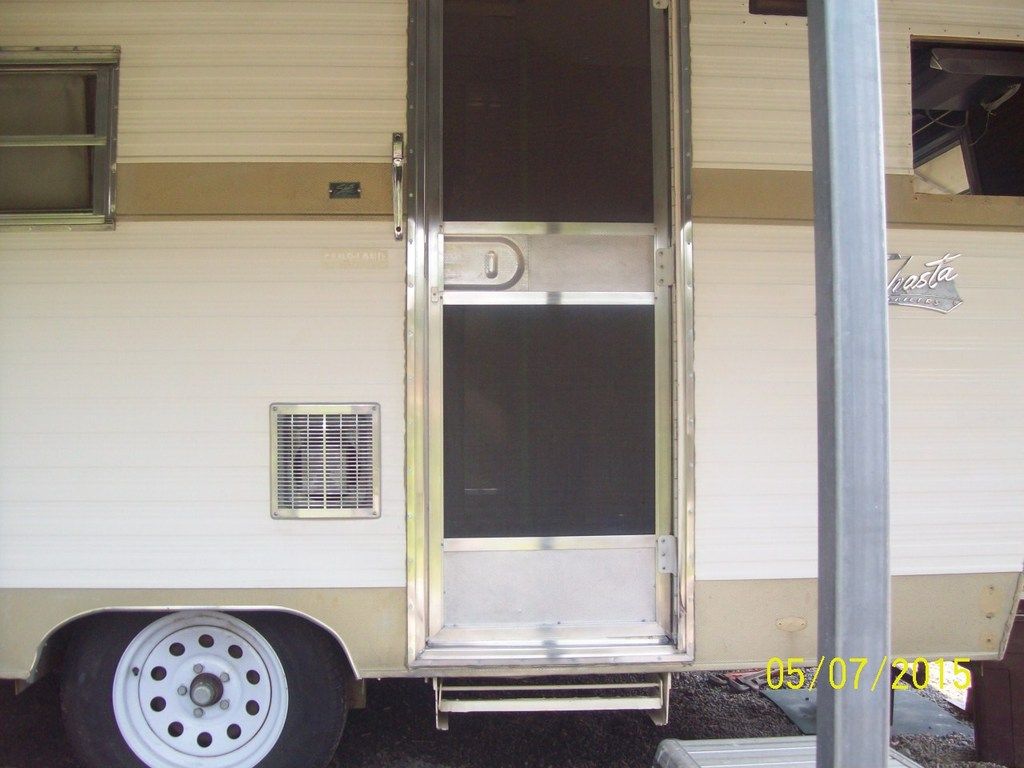 Exterior door polished, painted, Bargman handle cleaned (HINT: Don't use Three-in-One oil in these handles. It tends to run out the bottom of the handle and makes a MESS of the door) and reinstalled with putty tape, door remounted using inch-long screws for the hinge rather than the original 1/2-inch screws. Works smooth as silk now, no catches or nothin'!! 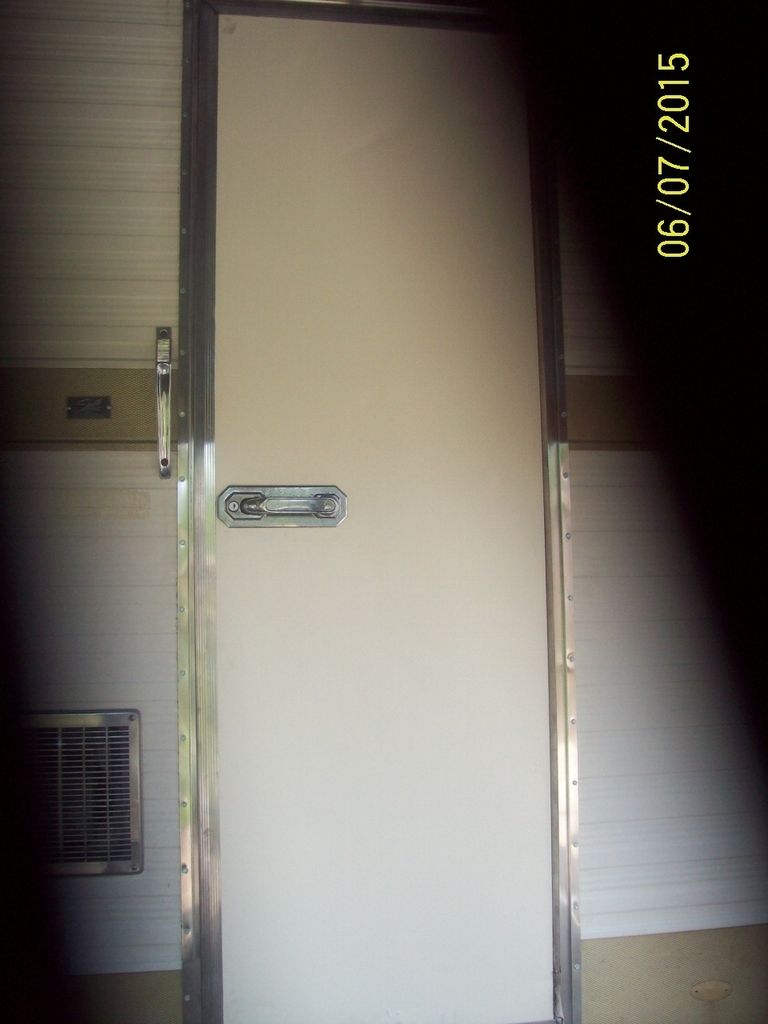 Painted the vent cover for the stove hood, and added a screen mounted just behind it to keep the mud wasps out of the vent... 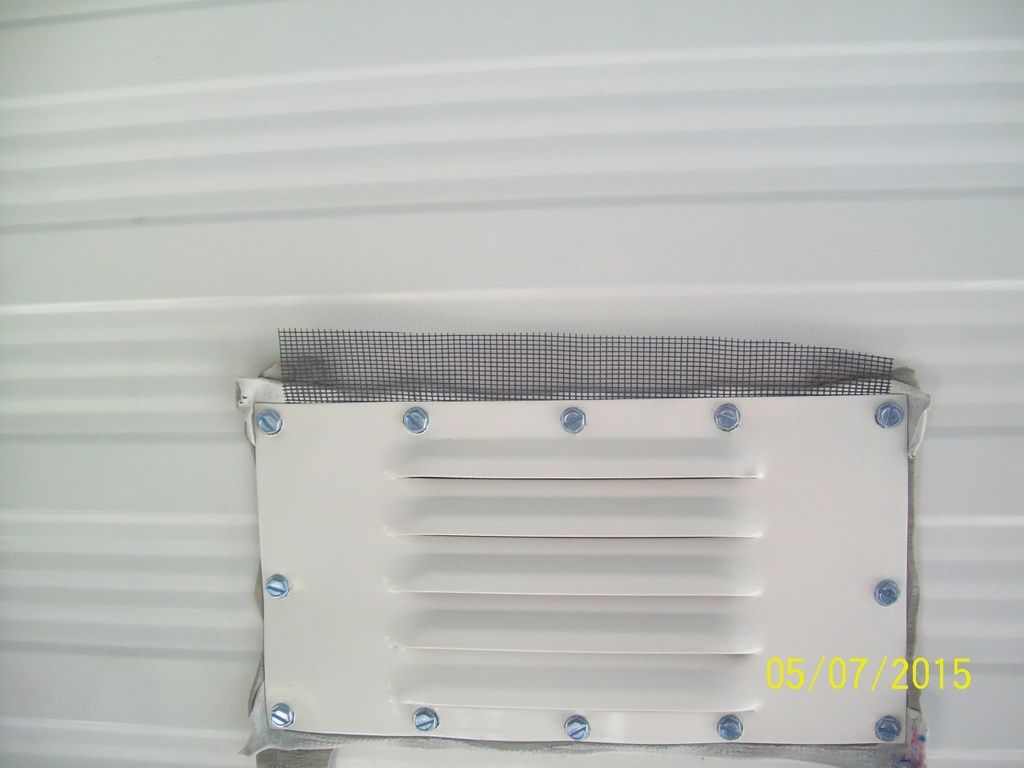 And trimmed: 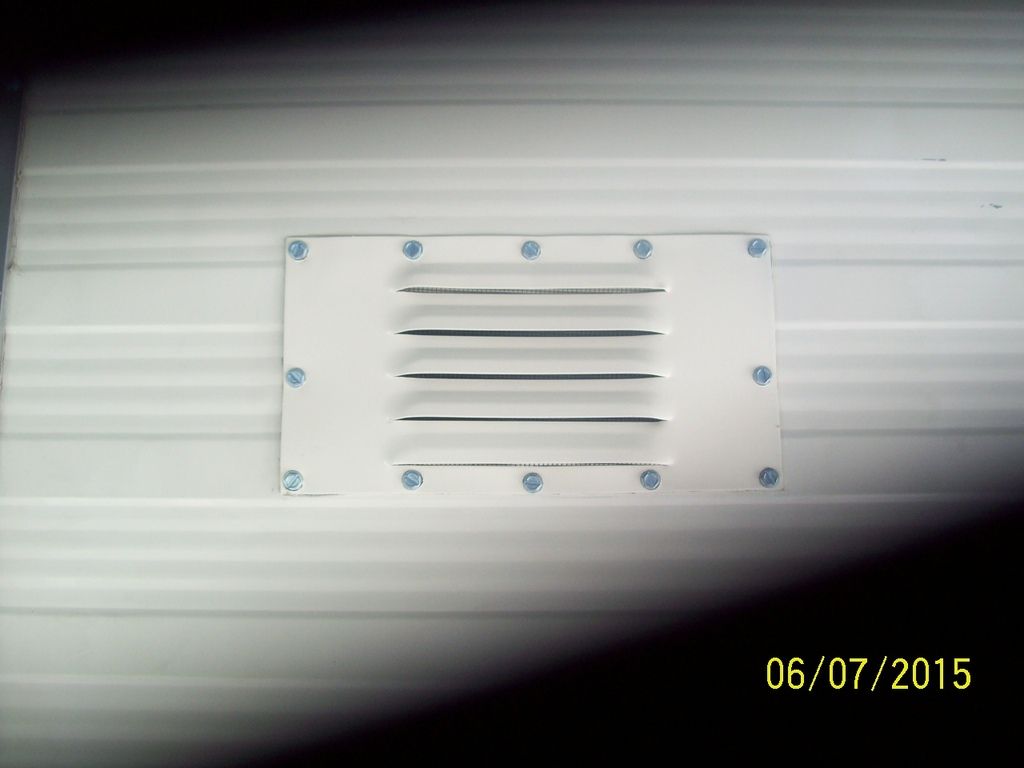 (It's the little things, ya know...) |
|
|
|
Post by vikx on Jul 9, 2015 21:25:49 GMT -8
Ten, s/he's absolutely beautiful! This is one of my favorite retro body shapes. Good on ya for such meticulous work.
|
|
Ten
3K Member
  
Posts: 3,432
Likes: 1,467
70 Shasta 16SC + 1964 Airflyte
Currently Offline
|
Post by Ten on Jul 30, 2015 12:22:42 GMT -8
Okay so a little more catching-up... It took me over a week to get the j-rails and c-channel replaced on the trailer. Most of that time was just plain procrastination, then there was a lot of time involved fighting with a different type of putty tape. It was very similar in appearance to the type I had been using but came from a different dealer, and with the heat that moved into the area, the warmer temperature made it just like working with Wrigley's gum...you know, when you were trying to get it out of your sister's hair before Mom found out you had taken it from her jacket pocket. 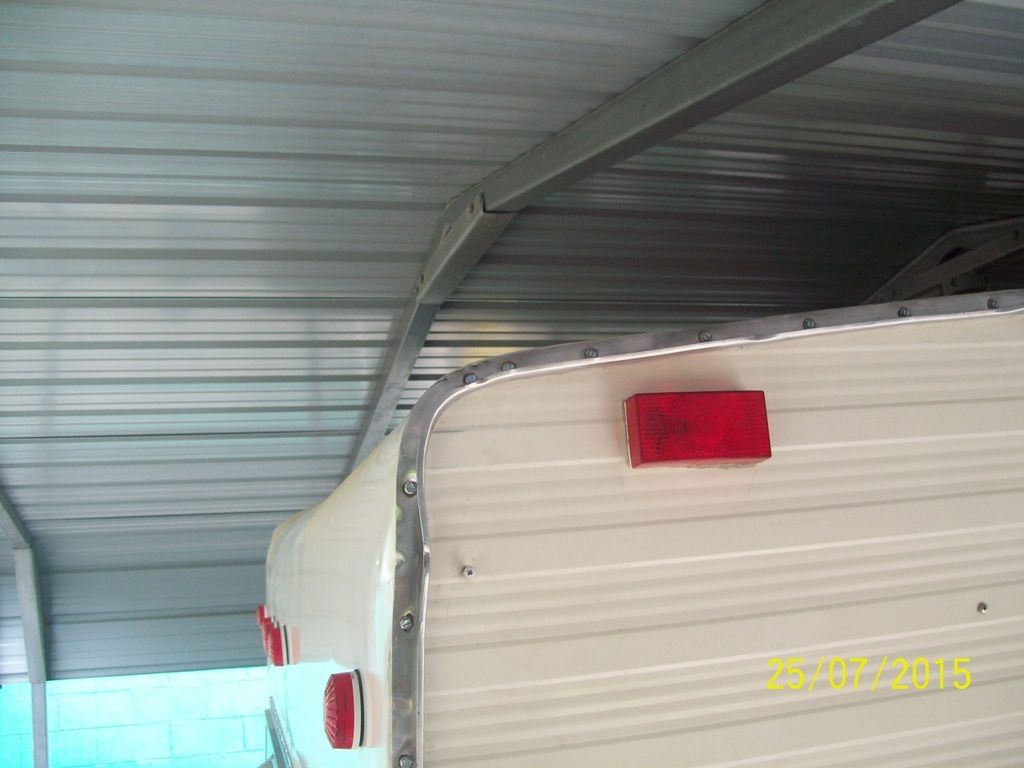 I even left the dings in the rail where the wing had been folded over it. Once that was all back in place, the trailer itself was basically closed up. So I played with a couple of custom additions: Added an electrical outlet to the exterior, discreetly tucked out of sight: 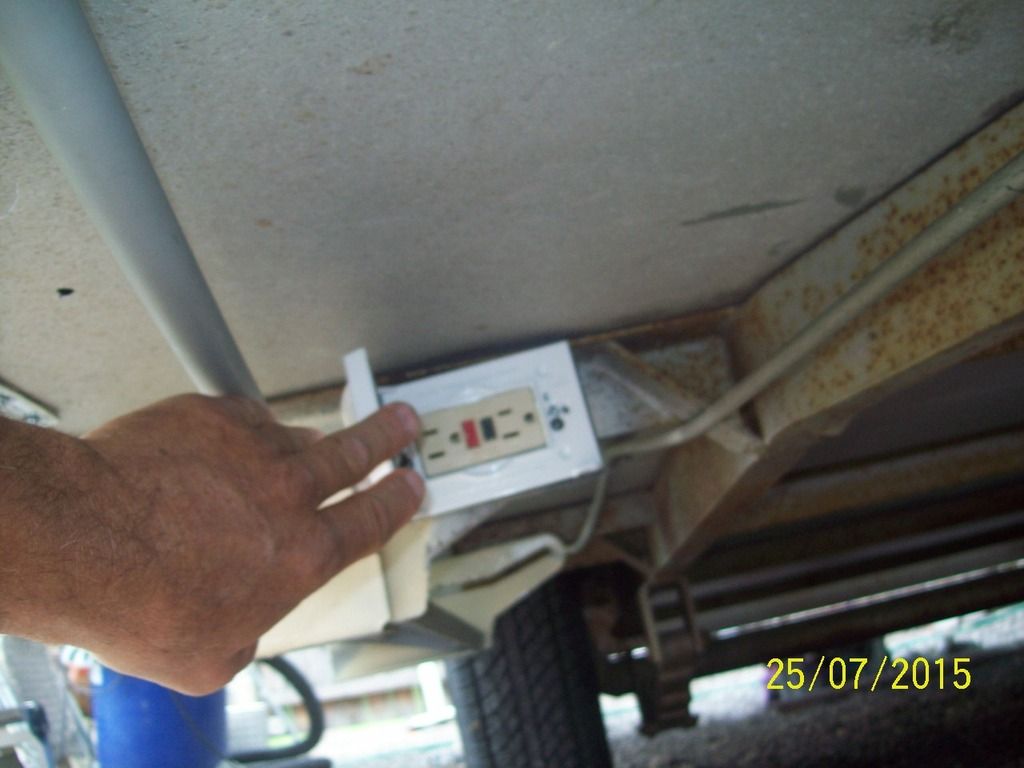 Ran the electric side of the refrigerator for a few days... 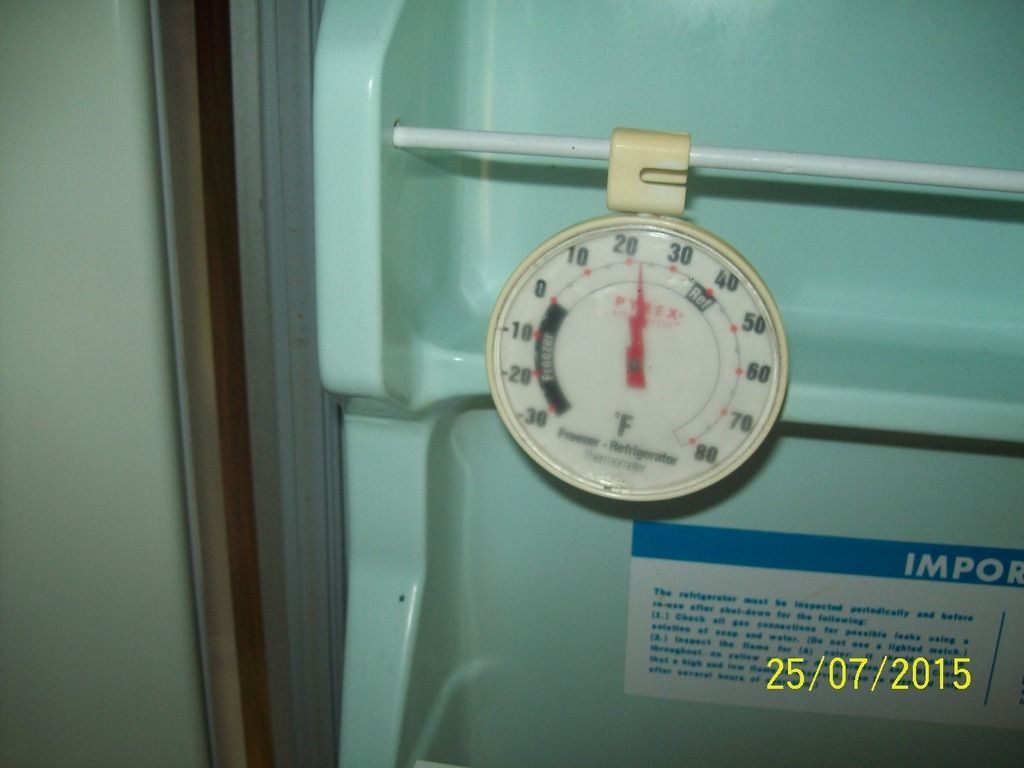 Finished our tribute to my Dad and Stepmother:  And the one for the missus' late Mom: 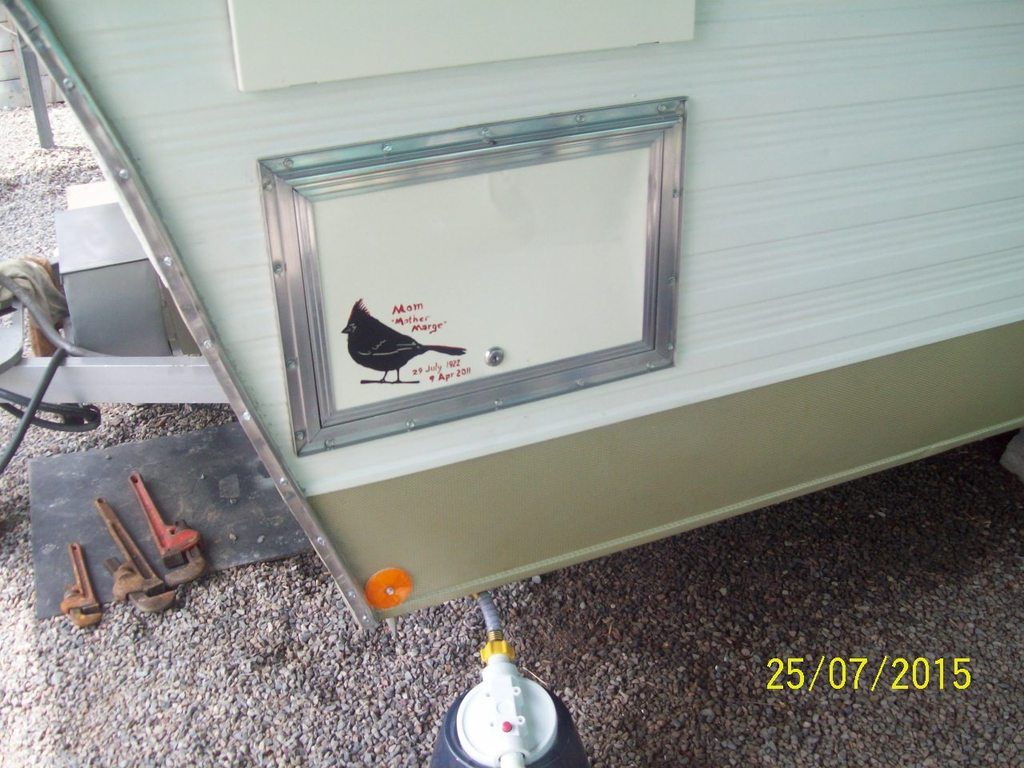 And some special lighting effects:  After one million, two-hundred fifty thousand four hundred and eleven hours of trimming, rubbing, and polishing, thought we were past the point of the word "setback". The only real setback now is a lack of funds for some of the major things that need to be addressed, tires, brakes, carpal tunnel surgery, and propane fittings, to name a few....but the structure seemed sound. After two months underneath the carport, the ole beast rolled out into the sunshine, and shined right back at it! 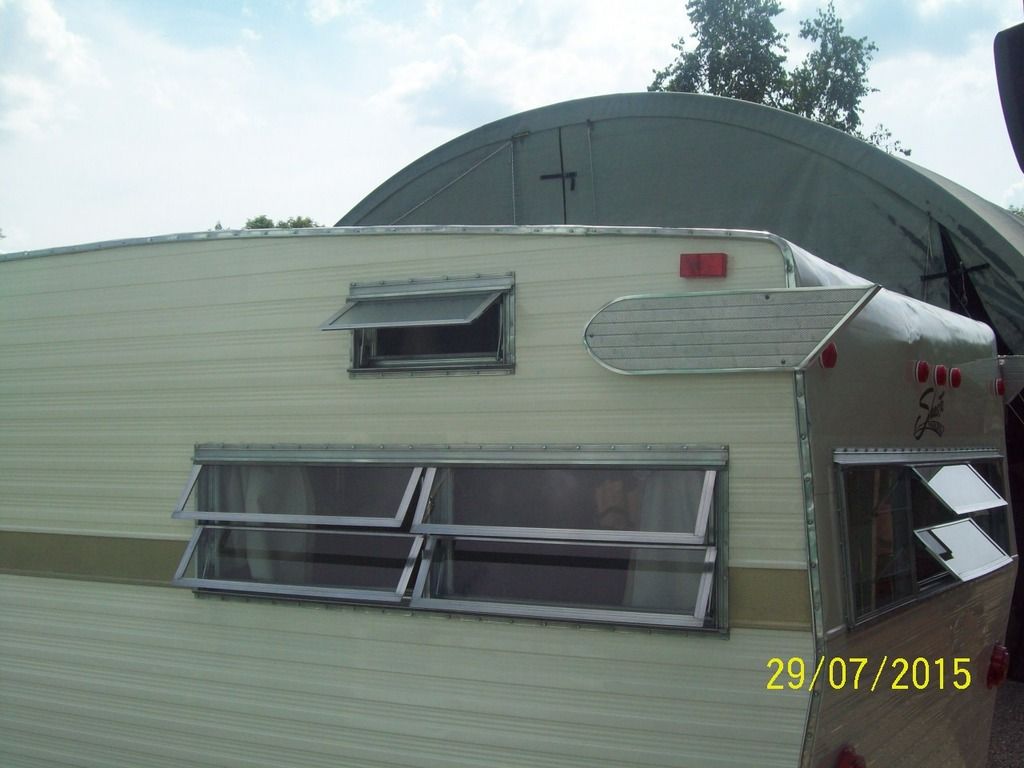 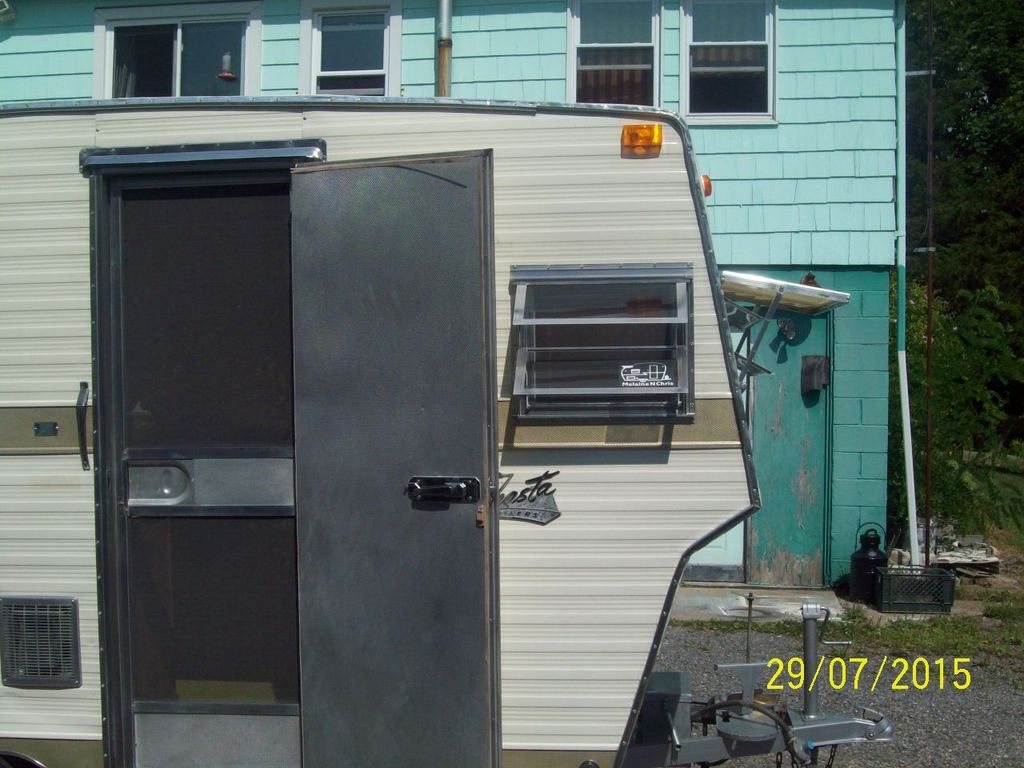 |
|
Ten
3K Member
  
Posts: 3,432
Likes: 1,467
70 Shasta 16SC + 1964 Airflyte
Currently Offline
|
Post by Ten on Jul 30, 2015 12:39:12 GMT -8
Trust me when I tell you, there is not any such thing as "DONE".... After the EssSee rolled into the light yesterday, it spent its first night out from under cover. This was done intentionally, since the forecast called for some rain, possibly heavy at times, sometime after midnight. What better time than the present for a leak test? It didn't pass. It poured for about 2 hours at 5 AM this morning, then cleared into a nice day. The "Poured" part was the important part of that statement....I found no real obvious signs of leakage at first...no puddles on the floor, no water running down the walls. However, it was wet around the trim of the center roof vent. 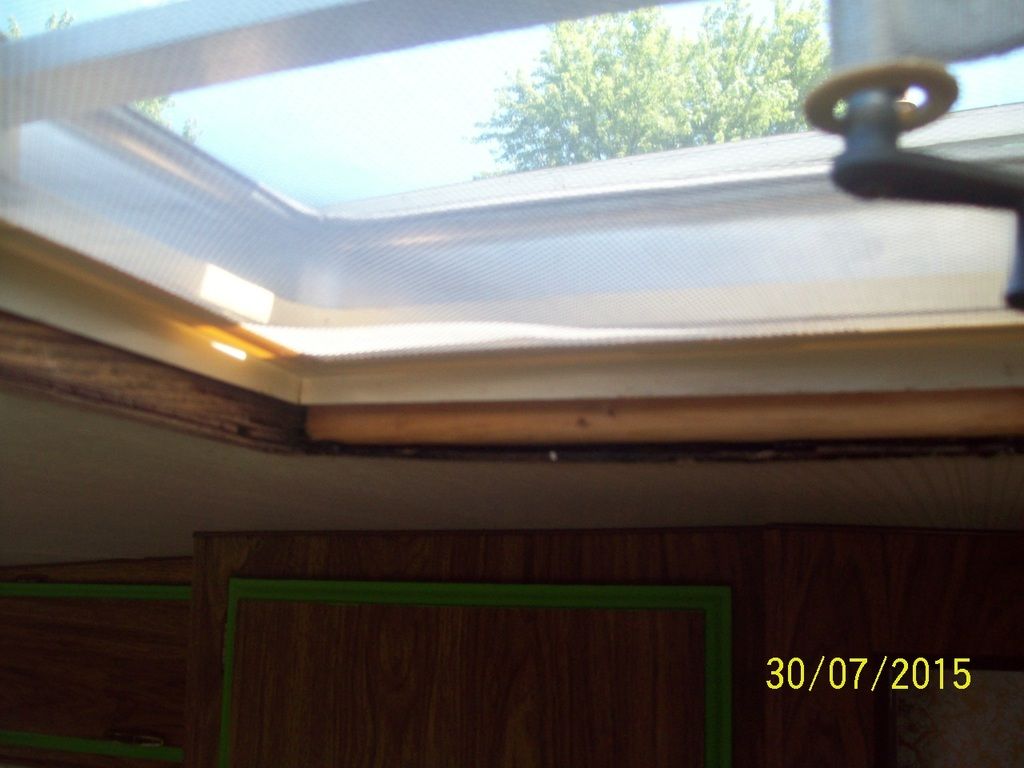 The ceiling panel was wet along the one edge. I am not sure it is not possible that it leaked around the old seal, the one the cover sets to. But I do not think it blew enough to push the water up under the cover. Looks more like another day on the roof pulling the vent back out and resealing it again...only with heavier stuff and double putty tape this time! Later in the day today I also found water on the counter just to the right side of the front window. I really hate to think what that could mean, especially since the window had been closed and the awning was lowered over it. One of my concerns is this "valley" in the forward portion of the roof, right at one of the seams. I ran a bead of gutter seal along that seam before the rains, so I want to believe it won't leak. But I see no way short of tearing the roof off to push that section back upwards. 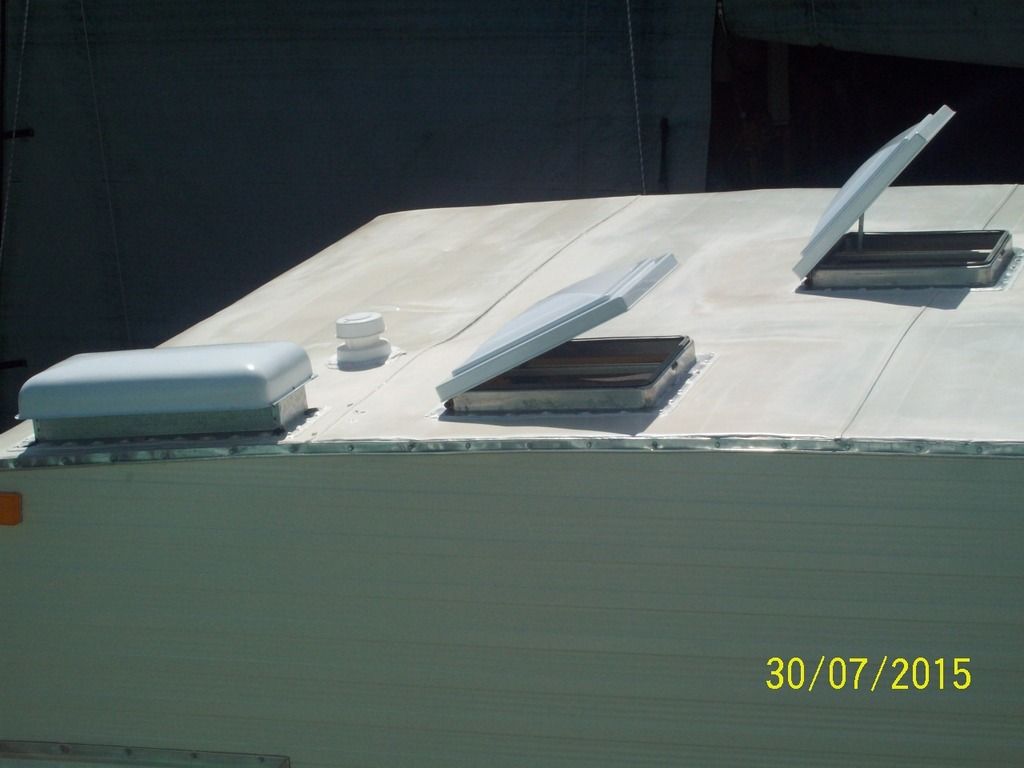 Just another setback I guess...one of the many you need to expect with a "vintage trailer"... |
|
RinTin
Full Member
    
Posts: 760 
Likes: 297
Currently Offline
|
Post by RinTin on Jul 30, 2015 12:55:22 GMT -8
I can imagine how your heart sunk after discovering water inside your trailer. I feel for you, I really do. That is my single worst fear, finding a leak after all that work.
Years ago I used to be a roofing contractor. We easily roofed hundreds if not thousands of homes without ever a single leak. Guess what happened when I re-roofed my own house?
I know you'll sort it out. If I was closer I'd lend you a hand for a weekend or two.
|
|
Ten
3K Member
  
Posts: 3,432
Likes: 1,467
70 Shasta 16SC + 1964 Airflyte
Currently Offline
|
Post by Ten on Jul 30, 2015 13:20:28 GMT -8
It is probably a good thing you aren't closer...we are 18-1/2 years into a 20-year roof, and the house could stand some new covers too! I do appreciate the support though. I knew all along that this is a real possibility. For one thing, it's an old trailer and certainly not perfect, and for another, I'm an old guy who thinks he knows what he's doing, and also not perfect.
To borrow a phrase from Mobiltec, "This ain't Flyte Camp!"
|
|
turbodaddy
1K Member

Posts: 1,096 
Likes: 468
17' 1965 Fan "Sunseeker"
Currently Offline
|
Post by turbodaddy on Jul 30, 2015 15:47:28 GMT -8
Hey Ten,
Some of the purists aren't going to like this, but try "Eternabond" tape over that seam with the dip. It comes in 2" and 4" widths. I've had it on mine for over a year, exposed to the elements with no problems. Just be sure to make the surface super clean and use a seam roller on it. The stuff is seriously thick and sticky!
|
|
|
|
Post by Teachndad on Jul 30, 2015 20:04:58 GMT -8
Hey Ten, Some of the purists aren't going to like this, but try "Eternabond" tape over that seam with the dip. It comes in 2" and 4" widths. I've had it on mine for over a year, exposed to the elements with no problems. Just be sure to make the surface super clean and use a seam roller on it. The stuff is seriously thick and sticky! Nuts! Just as I am reading this thread, I am thinking about suggesting Eternabond, and the next post comes up and its' Turbodaddy. Missed by that much. Dad's think alike, LOL. I second Turbo's suggestion. Who's gonna see, especially on the flattish roof design of your Shasta. It's a bit pricey. I put some of the 4" on a pop up I had 10 years ago. Great stuff. BTW, Ten, What would be the use of an outside hidden outlet?  Educate me. Thanks and btw, She's loookin really good. The aluminum glistens. Rod |
|
|
|
Post by vikx on Jul 30, 2015 23:01:26 GMT -8
Ten, we all have these setbacks. I would pull all the vent trim inside and study where the leaks might come from. In other words, if it's at the front of the vent, might be the DIP leaking...
I'm thinking you already know where the problem is, just how to fix it. Is there any way possible to remove a section of ceiling? If you could cut a chunk below the dip area, pour water, then inspect? Plus the opportunity to push the dent up is there... If the ceiling has the metal flanges, that might help. They accept 1/4 panels, so maybe.
Possibly consider another sealant. Proflex in the can might do the trick if the roof metal is clean enough. (no silicone) Proflex will stick to and seal almost anything else. It is a goopy sealant and takes several coats but works. It isn't pretty, but is paintable and seals in a dip. Scoopable (is that a word?) into dips and iffy areas.
Refrigerator vents are known to leak a little, especially with wind, but not immediately and certainly not everywhere. Probably that is OK.
I have not had good luck with Eternabond. It tends to fail after a few years (6 for me). My cargo trailer has E tape on the seams and it began peeling on the edges.
Keep us in the loop.
|
|
pathfinder3081
Active Member
  
Posts: 457 
Likes: 138
1971 Shasta Loflyte
Currently Offline
|
Post by pathfinder3081 on Jul 31, 2015 4:47:52 GMT -8
Bummer Ten! She looks so good, you have really done a fine job on the restoration. I am sure that you'll get to the top of these leaks and get them fixed. It just another opportunity to learn something and share it with the crew.  I don't like holes in the roof.. I know that they are necessary for all of the what nots and the roof vents let out the heat but I don't like'em..  |
|
Ten
3K Member
  
Posts: 3,432
Likes: 1,467
70 Shasta 16SC + 1964 Airflyte
Currently Offline
|
Post by Ten on Jul 31, 2015 10:36:05 GMT -8
It will probably take a couple days before my experimenting really proves any results, but this may turn out a lot simpler than I had hoped, and a bit embarrassing as well. First, the seam along the dip seems to be at a high enough point that it is not soaking in a pond of water when it is wet. With the camper fairly level, I tried to fill the "pond" with a pail of water, and it all ran away from the seam sealer (gutter seal) and ran off the sides of the roof. There are a couple small areas of ponding but they are lower than the gutter seal.I used a product called ISO Micro Gutter Seal...comes in a tube, and I am pretty sure it is one that @vikx has recommended before. It was quite difficult to get a photo to show up the water, but here is a shot of the "dip": 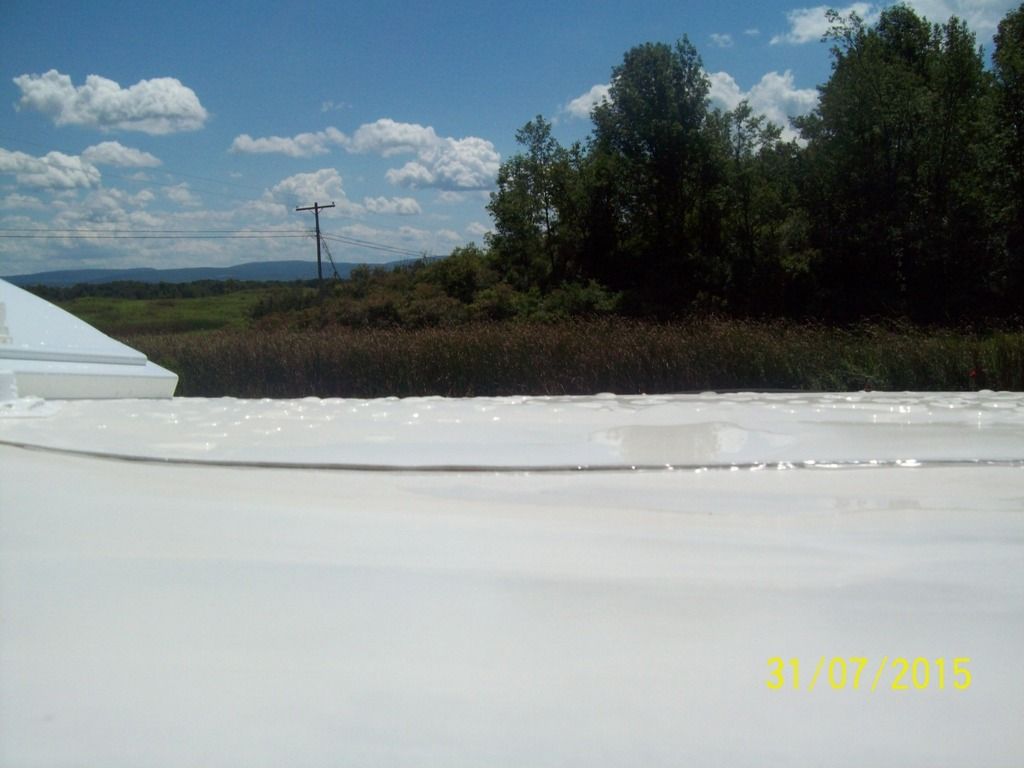 So, onward. No point in waiting on the weather, make your own rain.... 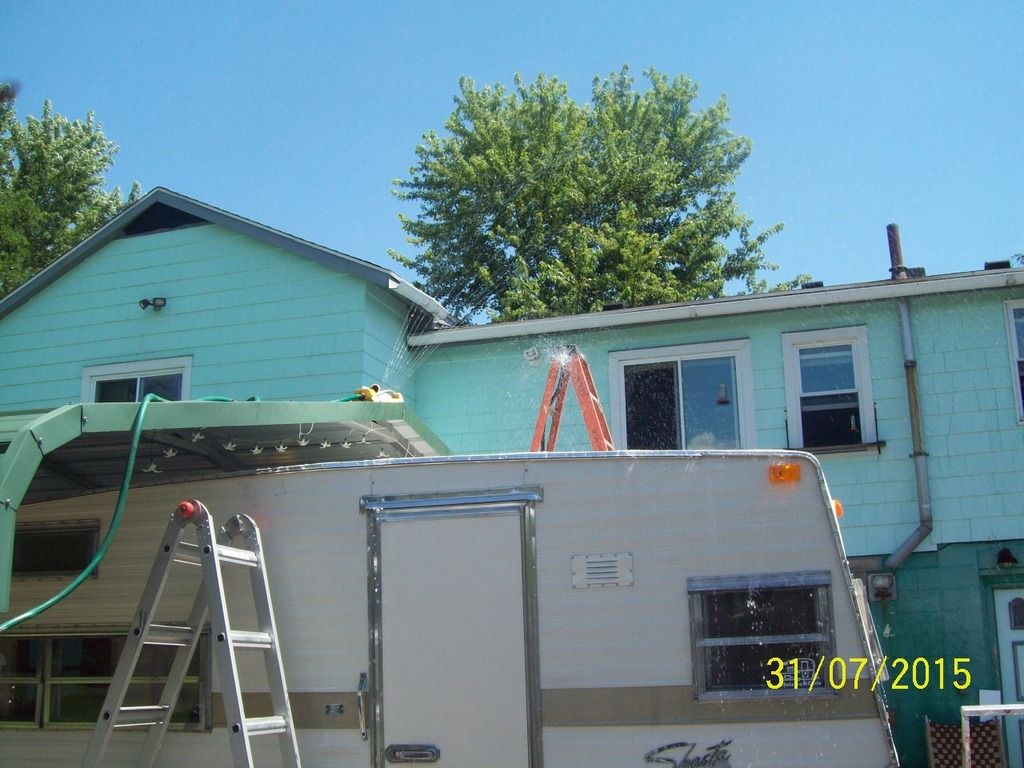 A 15-minute storm led to the center vent leaking again. I traced the other vents as best I could and found no wet spots. Also, nothing has turned up on the kitchenette counter yet either...that wet spot may have been a fluke. But the vent definitely was showing sign of a leak. 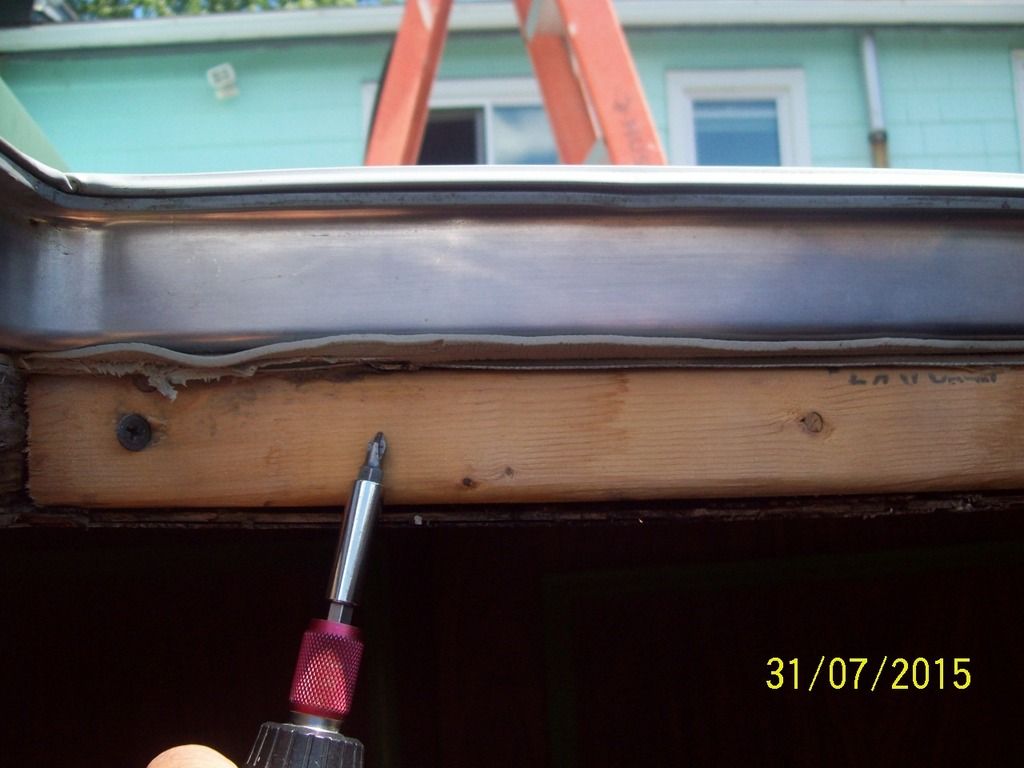 It is difficult t tell in this photo, but there is a pittsburg seam that crosses at the vent hole...RIGHT where the water dripped in. 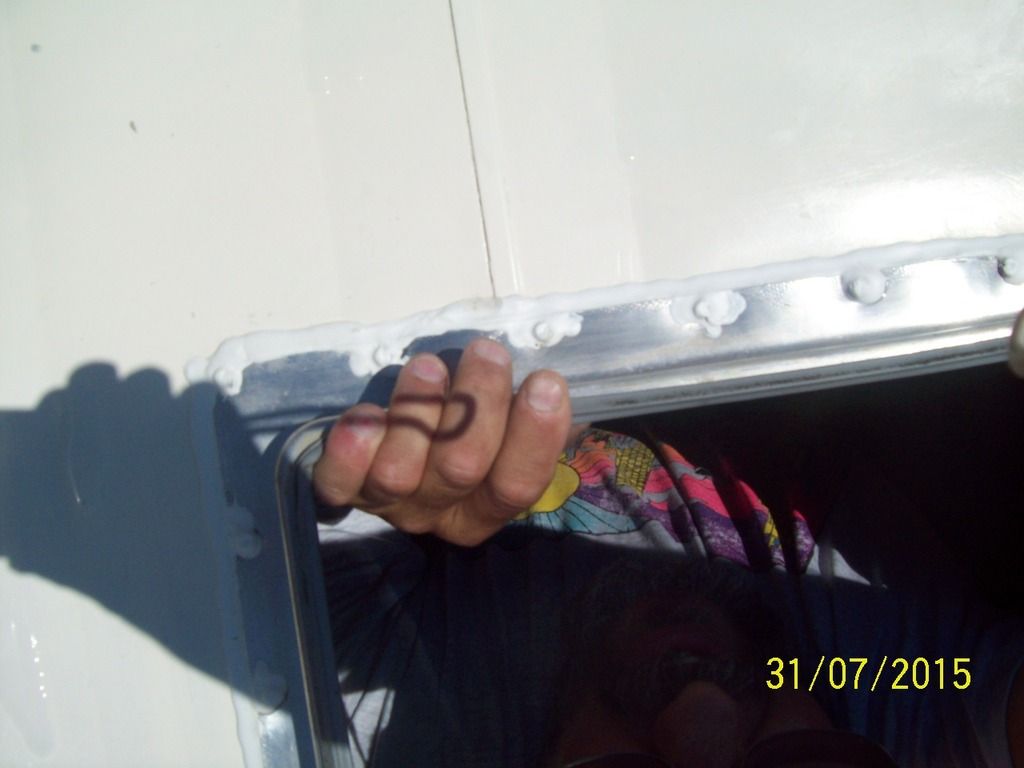 The embarrassing part is that I had planned to run a bead of sealant at all the seams, but got roasted off the roof in 97-degree heat and direct sun, just the afternoon before the rain test. Had I stuck to it and done it, I probably would not be boring anyone with this now. I have always felt that pittsburg seams should not allow water to pass by then because of the way the metal is rolled. That however would not keep water from running WITH the roll, and exiting at the end of the seam. One other point of order worth mentioning, I had noticed while I was doing my "rainstorm" test, that the water that runs from the roof does its thing and follows a specific path to the lowest points. That path includes running profusely from the ends of the awning channel, where it joints with the J-channel, over the top of the window frames. These areas may also be good candidates for extra sealing, like a gutter seal, to assist the putty to seal the window edges. It will take a while to dry everything back out now, and in the meantime, would it be better to plan on using the gutter seal, or the other new tube of Dicor lap sealant that I have, or invest in the Proflex for these seams? |
|