RJ
Active Member

Posts: 416 
Likes: 144
Currently Offline
|
Post by RJ on Nov 5, 2014 20:38:03 GMT -8
|
|
pirateslife
Active Member
Posts: 426
Likes: 137
1969 Shasta Compact
Currently Offline
|
Post by pirateslife on Nov 6, 2014 13:52:11 GMT -8
nice trailer, looks like it is in great shape. be sure to check the skrt boards all the way around it, the wheel wells and door frame. im finishing up a 69 compact and this is where i found all my suprises. good luck, the good thing is, while not a ham, it is a lot easier to work with angles than curves lol
|
|
RJ
Active Member
Posts: 416
Likes: 144
Currently Offline
|
Post by RJ on Nov 6, 2014 14:21:22 GMT -8
Good copy pirateslife. As you've mentioned, there were quite a few surprises as I started the disassembly several nights a go. The old girl is really in pretty decent shape all in all. The two AC lights and the power receptable inside work, trailer lights work (although one of the blinkers has some personal issues I'll work on when I get that far), the roof seems very sound and dry, the propane lantern and stove all work (haven't checked out the DC light over the sink), the sink pump works, and it seems that there is a lot of "original" to this little gal. I have already replaced the tongue jack as it was locked up and did not was not being a team player at all. Windows and screens all seem sound and work (although all windows, seams, j rails, etc., will get a new butl tape treatment down the road). Rear top bunk mechanism is sound and works (well, it worked until I took it out last night). A few of the logos have stood the test of time. 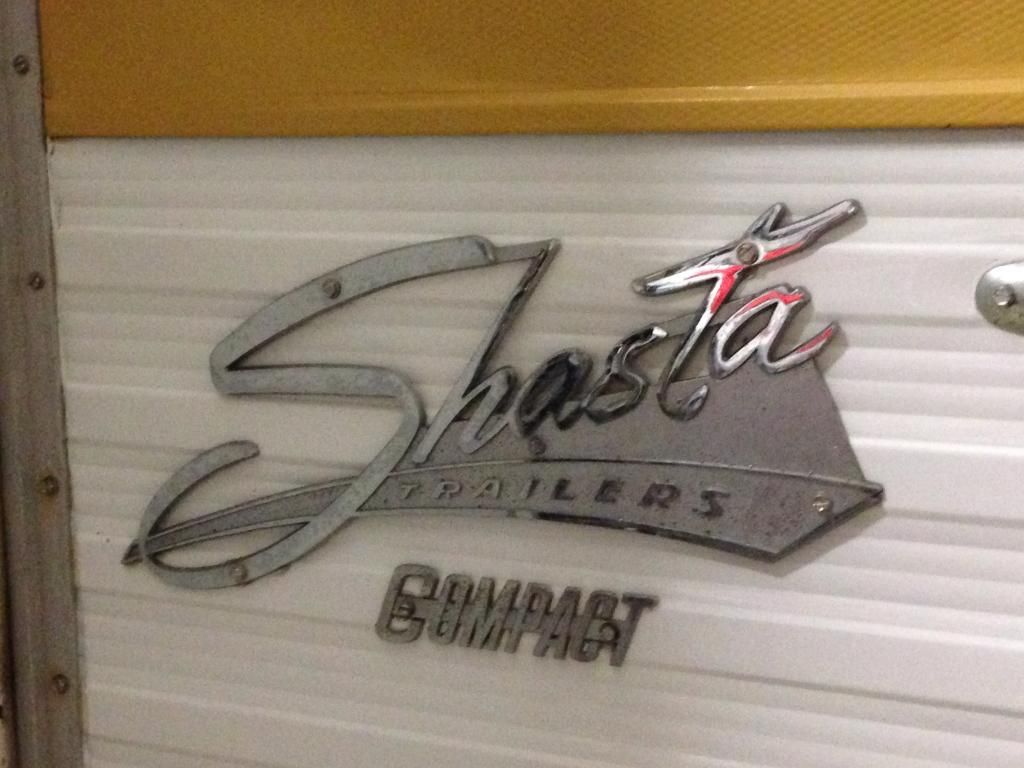 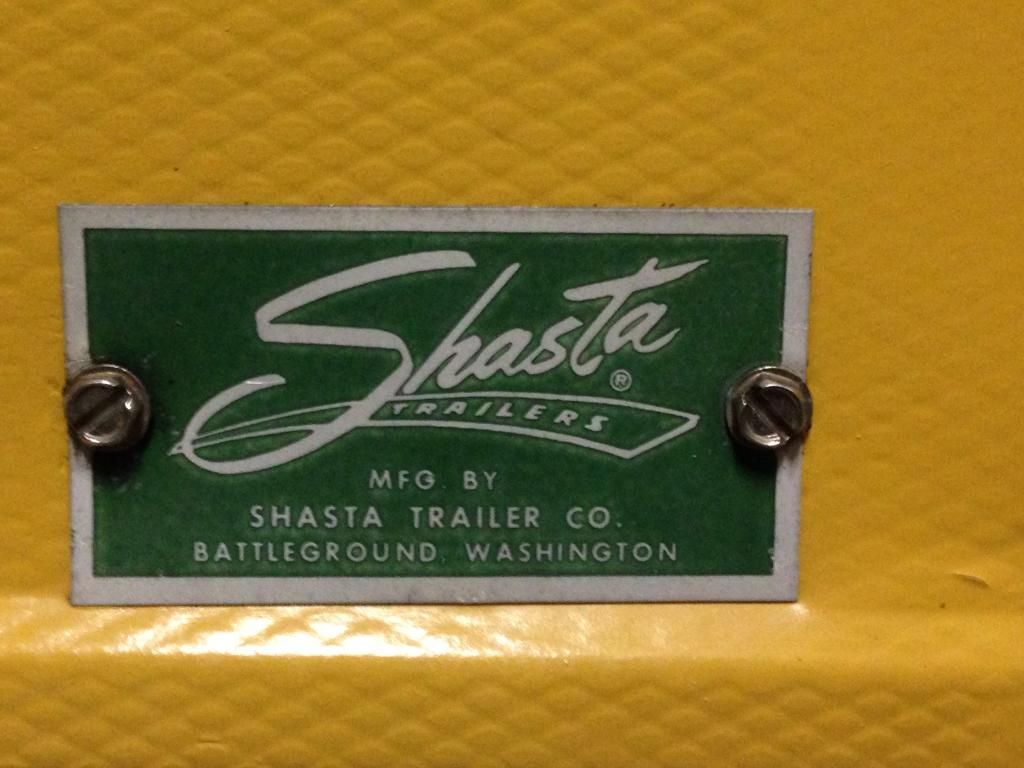 |
|
pirateslife
Active Member
Posts: 426
Likes: 137
1969 Shasta Compact
Currently Offline
|
Post by pirateslife on Nov 6, 2014 14:44:07 GMT -8
very nice, love the cabinets.
when doing the windows vintage trailer sells the top and bottom seal, as well as the side felt. makes for a little warmer night if you will use it in cold weather
|
|
SusieQ
Global Moderator 
Posts: 4,781 
Likes: 1,197
'62 Shasta Compact
Currently Offline
|
Post by SusieQ on Nov 6, 2014 14:50:53 GMT -8
Nice emblem and badges! Your stove looks great, too!
|
|
RJ
Active Member
Posts: 416
Likes: 144
Currently Offline
|
Post by RJ on Nov 6, 2014 18:35:43 GMT -8
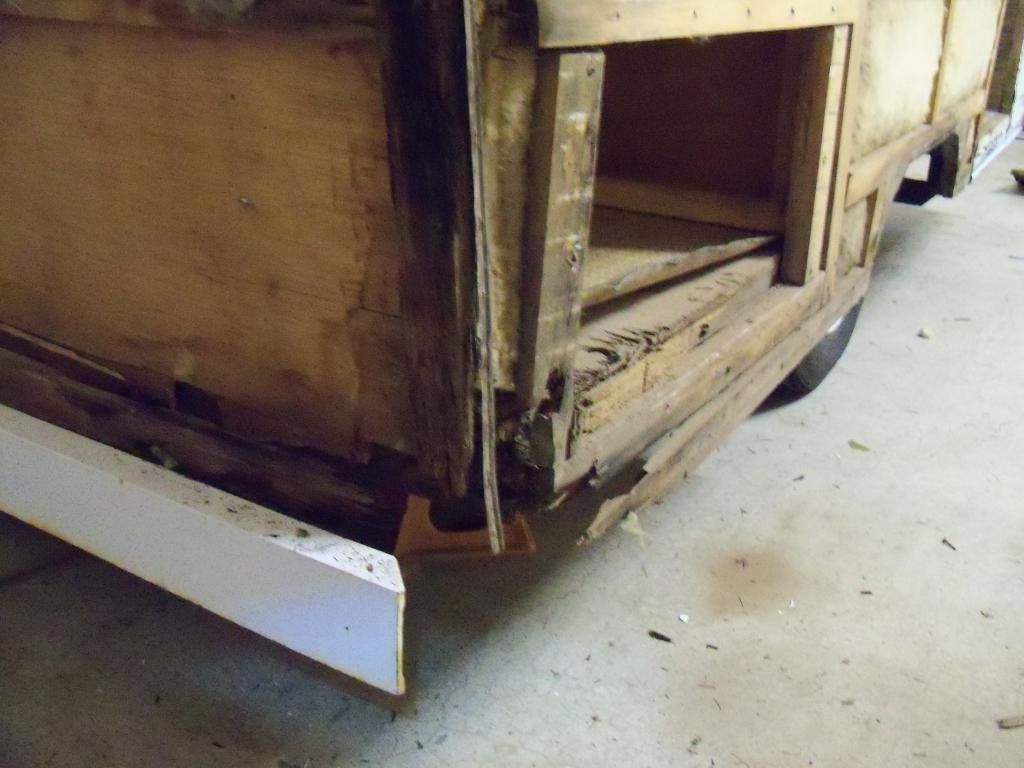
And the demolition began...... sigh  . .


|
|
SusieQ
Global Moderator
Posts: 4,781
Likes: 1,197
'62 Shasta Compact
Currently Offline
|
Post by SusieQ on Nov 6, 2014 18:48:26 GMT -8
It really doesn't look bad. Great photos! Thanks for sharing. I haven't uncovered that much of mine yet, but my front corner looks like your back one or WORSE! You're making great progress!!! Only about 600 more screws to go  |
|
RJ
Active Member
Posts: 416
Likes: 144
Currently Offline
|
Post by RJ on Nov 7, 2014 10:02:55 GMT -8
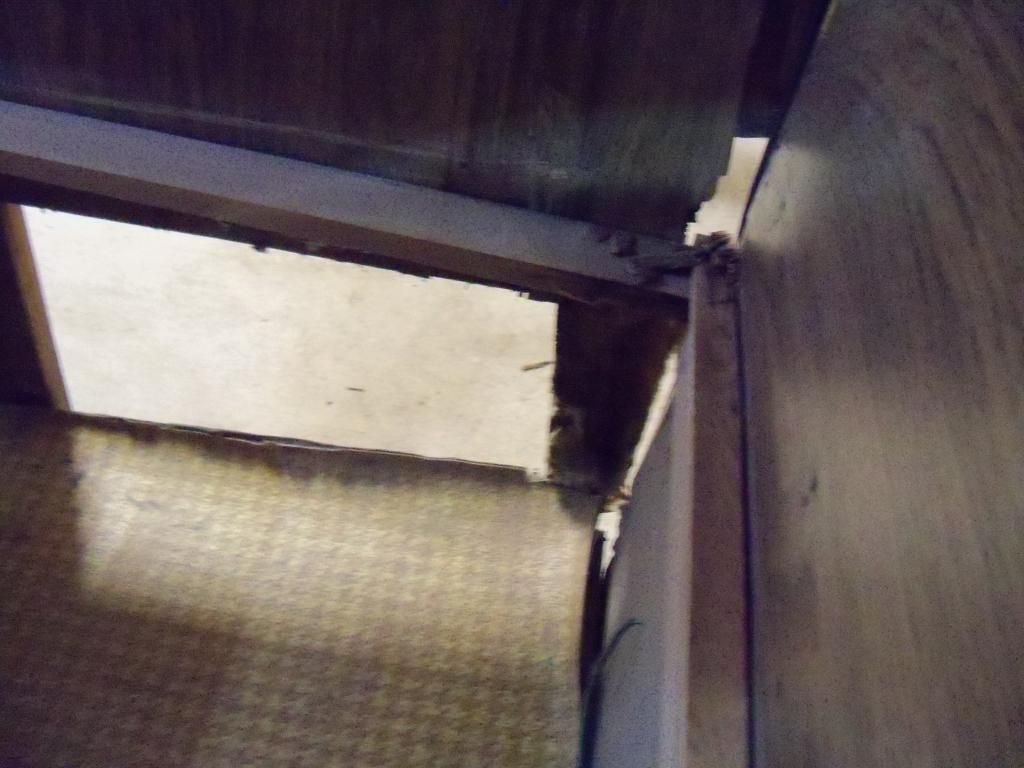
Allrighty, I seldom venture into anything without a tentative plan. I'd like to run my fix-em-up plan (structural repair leg of this journey) for the old trailer by the folks that have already traveled down this road and get your opinions. Apparent water damage and rot (after I removed PASS side and back skin) seems to be somewhat isolated to the PASS rear edge board running from roof seam down to rear frame cross member board on PASS side (see pics). It radiates out as it gets lower and has affected a portion of the floor/subfloor. I'll finish taking out any interior cabinets and paneling that are in the blast zone tomorrow morning.... after that, my initial plan is to: In a nutshell: Remove the target frame work, paneling, flooring, skirting, etc., in pieces/sections, and replacing those pieces/sections in a logical order. 1. Brace rear side walls (side to side; already have roof braced in rear), and start with back wall area (remove framework/paneling scribbled in red) and facilitate repairs. 2. Repair/replace rear trailer frame wooden brace/cross members and several feet of the floor. 3. Repair/replace back of trailer frame portions (see red scribbles). 4. Repair/replace PASS side trailer frame portions, skirt boarding up to wheel well (see red scribbling) and re-attach to rear wall. Thoughts? I'm pretty handy with carpentry tools and think I can pull this off; am trying to avoid removing complete wall framing sections if possible. Oh, the back part of the top skin is peeled up and forward to about the top of the back part of the roof (I scribbled on an older picture taken before I had pulled the roof up and forward) to facilitate access to the top back and top PASS side. 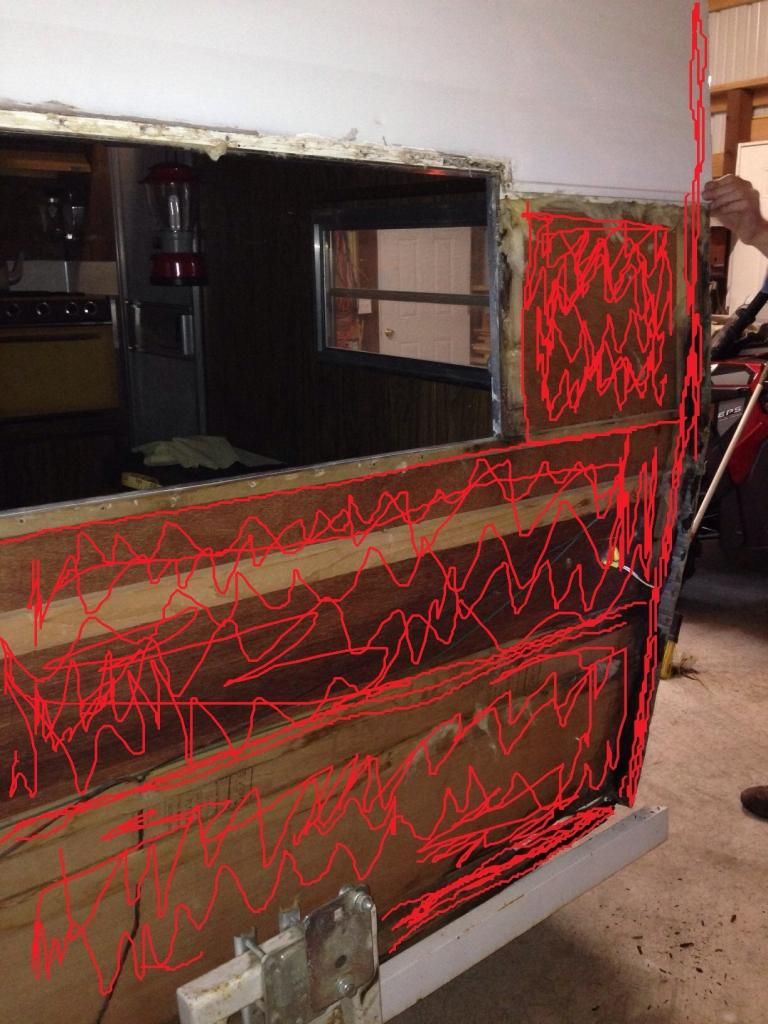 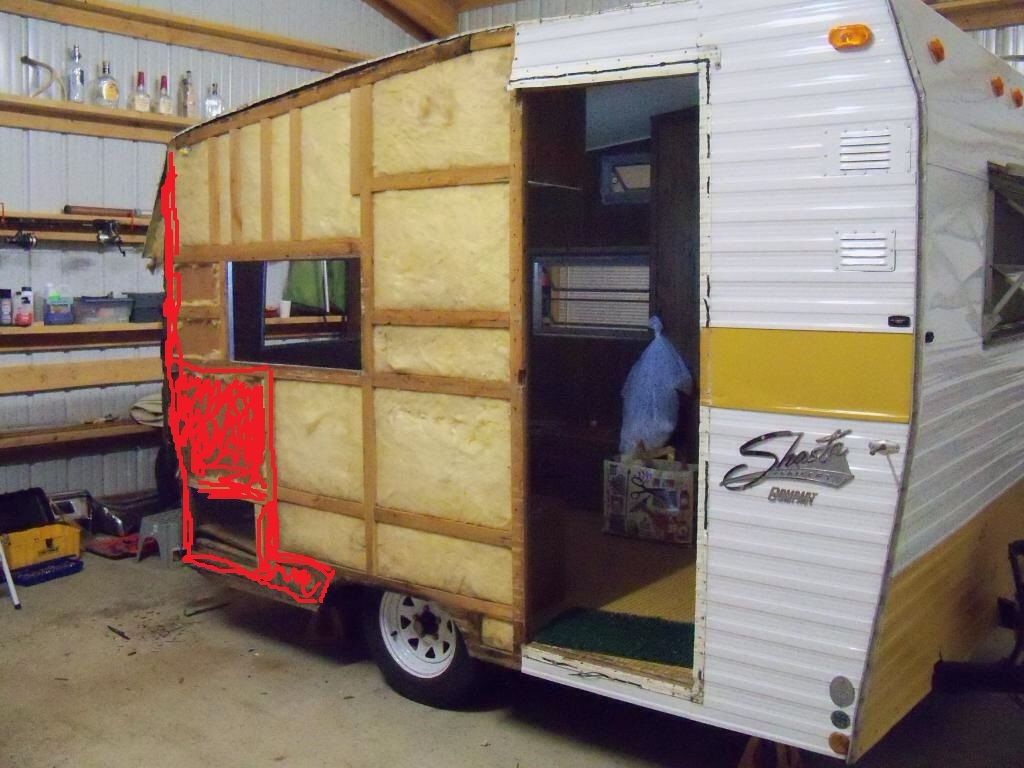 |
|
SusieQ
Global Moderator
Posts: 4,781
Likes: 1,197
'62 Shasta Compact
Currently Offline
|
Post by SusieQ on Nov 7, 2014 11:20:40 GMT -8
It sounds good to me. Sounds like you have thought it out well. I found that no matter what my plan was on, something usually diverted me. I'm paying close attention because I'll be following in your footsteps soon.
|
|
RJ
Active Member
Posts: 416
Likes: 144
Currently Offline
|
Post by RJ on Nov 8, 2014 17:13:17 GMT -8
Holy staples and nails batman! Who were the people who assembled these things ? I may have to remove the drivers side skin to do the job. Yak!
|
|
SusieQ
Global Moderator
Posts: 4,781
Likes: 1,197
'62 Shasta Compact
Currently Offline
|
Post by SusieQ on Nov 8, 2014 17:58:55 GMT -8
I wasn't kidding when I said "only about 600 more screws to go." Ugh, staples. The early ones only had tacking nails and screws. |
|
RJ
Active Member
Posts: 416
Likes: 144
Currently Offline
|
Post by RJ on Nov 8, 2014 18:15:29 GMT -8
No trout about it, lotsa pointy things holding the old Shasta together. Sides attach to back so I gotta remove skin on both sides to rebuild back and properly reattach both sides. Not gonna get away with my original minimalist plan (had a suspicion). On to peeling more of this onion. Drivers side windows, outlet housings, and skin come off tomorr. Shop is filling up with trailer parts quickly. Sure hope I remember how it goes back together  . |
|
SusieQ
Global Moderator
Posts: 4,781
Likes: 1,197
'62 Shasta Compact
Currently Offline
|
Post by SusieQ on Nov 8, 2014 18:31:09 GMT -8
Yes, rj, that's EXACTLY what I was talking about when I said I always seemed to get diverted from my original plan. Seems like there's always something else you have to fix or remove before you can get to your original goal. Still, you're on the right track.
|
|
RJ
Active Member
Posts: 416
Likes: 144
Currently Offline
|
Post by RJ on Nov 8, 2014 18:40:32 GMT -8
Yep, it's gonna take a few days, lol. Gotta learn to be patient; one of my challenges. Who knows where this road will lead but I'm all in. Could end up to be a pretty nice old trailer, once she's back in shape.
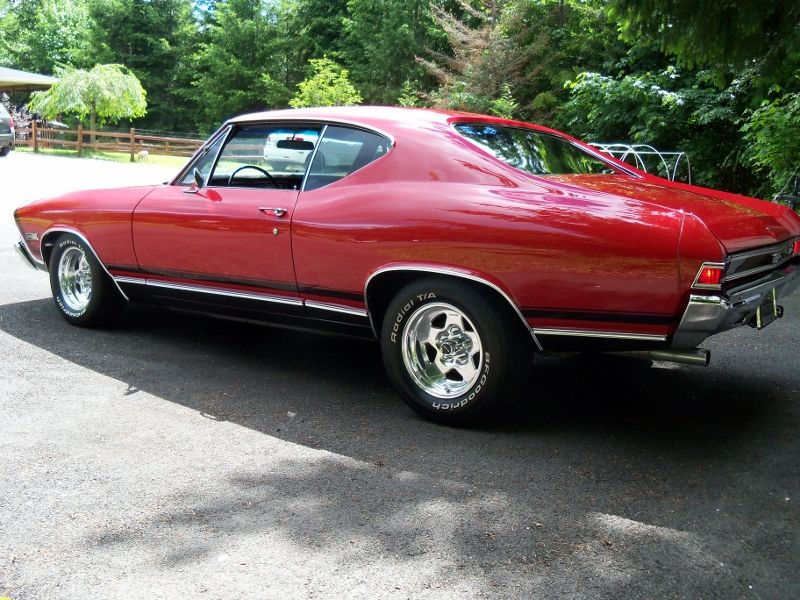
SuzyQ... I just gotta keep reminding myself that Big Red (pic below) started off as a project also Will look to the fine gals and guys on VTT to keep me motivated as we work towards the goal of bringing Dottie the Shasta Compact back to life. Thanks for all you do on this forum.
|
|
RJ
Active Member
Posts: 416
Likes: 144
Currently Offline
|
Post by RJ on Nov 17, 2014 8:25:23 GMT -8
Heat is on the way! My neighbor and other buddy helped me install a propane heater in my shop over the weekend. Once I get the tank in (this Friday), the heat will going in my shop. No more waiting to start working on the Shasta; should be able to get back on track with the project at hand within a week.
|
|


 .
. 


 .
. 