annbclay
Active Member

Posts: 108 
Likes: 12
1961 Shasta Compact
Currently Offline
|
Post by annbclay on Jul 26, 2014 19:50:28 GMT -8
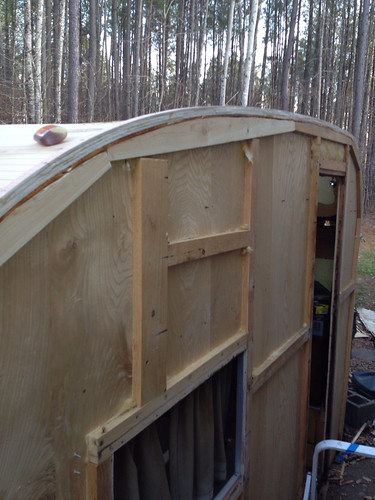
The strip of trim on my 61 Shasta Compact looks like phyllo dough! It is completely delaminating into multiple thin layers and looks awful. Anyone know where I can source some?
|
|
|
|
Post by vikx on Jul 26, 2014 21:59:12 GMT -8
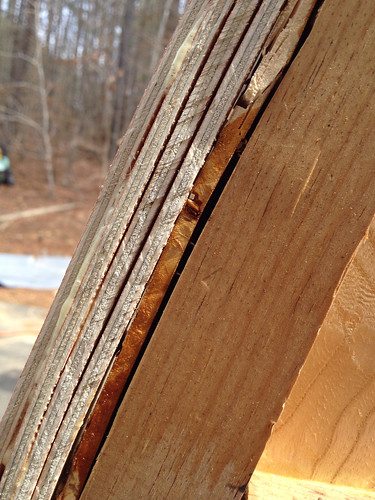
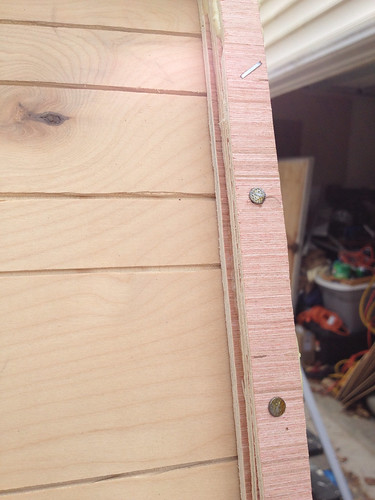
Are you talking about the welting or wood trim? I make my own welting, but it has to be installed before the ceiling panels go back on. I use screen trim (wood) for the panel seams with screws to anchor.
|
|
annbclay
Active Member
Posts: 108
Likes: 12
1961 Shasta Compact
Currently Offline
|
Post by annbclay on Jul 27, 2014 7:14:44 GMT -8
Yes I'm talking about the wood trim, thanks, I'll check that out. Is hard to take off the ceiling panel at front end? My vent has started leaking, guess it wasn't put in correctly and I need to reinstall it & repair the birch as well as seam trim. Am I crazy to take that panel off? I'm handy BUT...
|
|
SusieQ
Global Moderator 
Posts: 4,781
Likes: 1,197
'62 Shasta Compact
Currently Offline
|
Post by SusieQ on Jul 27, 2014 7:38:27 GMT -8
|
|
|
|
Post by vikx on Jul 27, 2014 21:08:26 GMT -8
SusieQ is right.
Altho, you might be able to cut a section out with a multitool. You'll have to add support sticks on every side to install a new panel piece.
Also, if your edge trim has not been re-puttied, that is very prone to leaks and can even drip thru the vent area.
|
|
|
|
Post by danrhodes on Jul 28, 2014 8:00:05 GMT -8
Are you talking about the welting or wood trim? I make my own welting, but it has to be installed before the ceiling panels go back on. I use screen trim (wood) for the panel seams with screws to anchor. Can you explain welting and where you use the screen trim? My trailer has some sort of plastic that is anchored in the seams where perpendicular panels meet, but I've damaged some and am not really a fan of the look. Would probably prefer some sort of quarter-round wood molding here instead of the off-color saggy plastic. |
|
John Palmer
Senior Member
 Hi, From a vintage trailer guy located in Santa Ana, CA. It's good to see lots of activity here.
Posts: 1,629 
Likes: 576
Currently Offline
|
Post by John Palmer on Jul 28, 2014 8:29:36 GMT -8
SusieQ is right. Altho, you might be able to cut a section out with a multitool. You'll have to add support sticks on every side to install a new panel piece. Also, if your edge trim has not been re-puttied, that is very prone to leaks and can even drip thru the vent area. Susie and Vikx are both correct.
And the reason the water leaks from the wall edge seam "to the vent", is because the roof/ceiling "sags" and the vent becomes the "lowest point" over the years of use and abuse.
As the years of Wood ROT sets in the entire trailer moves from it original position on the steel frame and flooring. It's the reason the a "patch up" restoration will not last.
|
|
|
|
Post by vikx on Jul 28, 2014 10:35:45 GMT -8
Are you talking about the welting or wood trim? I make my own welting, but it has to be installed before the ceiling panels go back on. I use screen trim (wood) for the panel seams with screws to anchor. Can you explain welting and where you use the screen trim? My trailer has some sort of plastic that is anchored in the seams where perpendicular panels meet, but I've damaged some and am not really a fan of the look. Would probably prefer some sort of quarter-round wood molding here instead of the off-color saggy plastic. Welting is the little bead at the ceiling, cabinet and wall edges. It helps hide the joint imperfections. It is available in upholstery shops or you can make it yourself. As said, the ceiling panels must be lifted to install it, it's not an after the build thing... 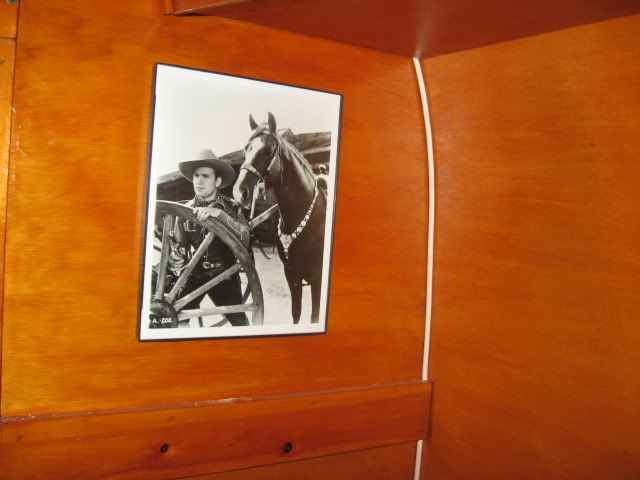 Another way to cover the edges is with flexible synthetic quarter round: 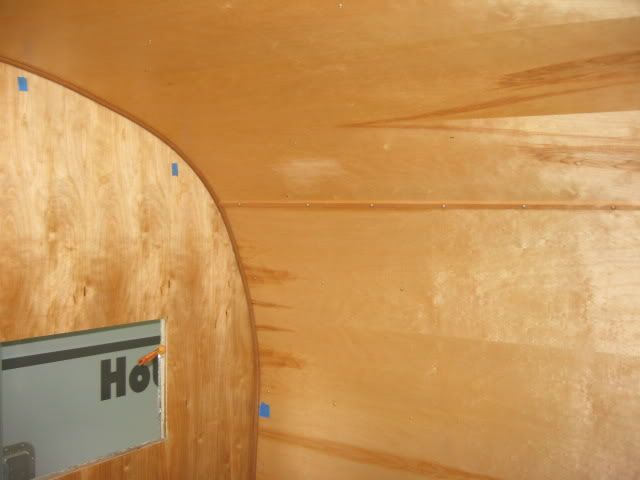 It's very floppy and follows the curves well, available at Lowes. I've also heard of soaking wood trim to get it to follow the curve. A friend threw hers in the swimming pool overnight... The trim sticks help secure the panel seams. I screw about every 8 inches after stapling the panel edges. 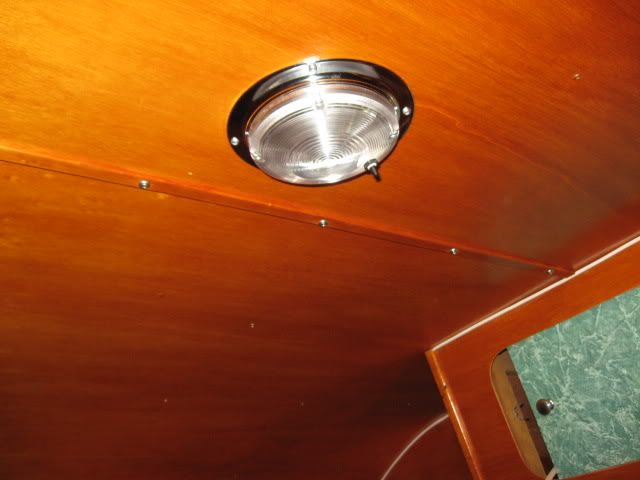 |
|
annbclay
Active Member
Posts: 108
Likes: 12
1961 Shasta Compact
Currently Offline
|
Post by annbclay on Jul 28, 2014 13:19:08 GMT -8
Thank you EVERYONE, lots of excellent help and insight.
|
|
1972mushroom
New Member
Losing my job soon...I guess I will have more time to work on my little trailer... :) :(
Posts: 11
Likes: 1
1968 Trav-Lynn
Currently Offline
|
Post by 1972mushroom on Oct 23, 2014 10:19:38 GMT -8
Can you elaborate on the flexible synthetic quarter round option please? I checked Lowes webpage and I only find white.
|
|
cheri
Active Member
Posts: 163
Likes: 46
1967 Vanbrook Trunkback
Currently Offline
|
Post by cheri on Oct 23, 2014 14:37:09 GMT -8
I didn't like the look either, but couldn't find trim flexible enough to make the curve at the corners. I cut curved strips of 1/4 inch plywood. If I ever do another trailer, I will use the gimp.
|
|
|
|
Post by vikx on Oct 23, 2014 23:21:12 GMT -8
I bought the trim in stock at Lowes. (not every product is online) It is darker than I would have liked, but ended up OK.. Sooo much harder to build from the inside out.
|
|