|
|
Post by fuglyducky on Jul 22, 2014 17:34:03 GMT -8
My wife and I have been restoring a 1963 Oasis. The camper came with a non-functioning 6-pin round adapter in it. I looked online and found wiring diagrams of the trailer and the car end. Oddly our camper wiring matches the wiring I should find in the wiring in the car receiver.
My trailer is:
Brown - TM
White - Ground
Yellow - LT
Green - RT
Red - S
Red - (center) - they had tried to add battery charger
I expected (what I found in all diagrams):
Brown - RT
White - Ground
Yellow - Aux
Green - TM
Red - LT
Blue - brake
I don't know a lot about this but is it safe to assume that they really messed up when they did their wiring?
My car has a 7-pin so I am planning on swapping out the old 6-pin for a 7-pin adapter.
Should I go with the standard wiring and not follow what they did?
Is there any way to run a current through the individual wires to see what component I am powering?
Thank you for any info you might have!
|
|
|
|
Post by vikx on Jul 22, 2014 22:11:27 GMT -8
Ah, my favorite type of question! First of all, do go with the 7 way universal code and to heck with the PO wiring. It will stand you in good stead for years. Most Oasii used similar colors. I've had two-both were the same. Forget the old 6 way plug and cord. Trace the wiring back to the original trailer wiring. There, you should find that green is TM (tail lights and markers, Red is LT and Brown RT. White is always ground. The trailer brake wiring is normally either black+white or red+white. Black or red goes to blue. And yes, there is a way to test the trailer wiring: 1. Clean all your light sockets and re-ground each light base plate. This may involve a new screw and wire brushing the plate to achieve good contact. Clean the bulbs as well. 2. Find the trailer ground. There will be a wire bolted to the frame; that's the ground. Label and clean it and be sure there is metal to metal contact. The skin usually provides the ground for the lights, you may have to run a small wire from the skin to the frame. 3. A portable battery comes in handy here: attach the ground clamp to the trailer frame. Be sure it is a secure and clean connection. Using a jumper wire from a trailer wire, touch the hot side of the battery. A light(s) should glow. Label and continue until you have TM, LT and RT. 4. Remember, color of the wires doesn't really matter. It's what they DO that counts. Take you time. If nothing works, ground the trailer, skin and battery again. 5. Lastly, do NOT use your vehicle to test the trailer wiring. Run 12 volts to the trailer wires instead. That prevents vehicle damage. Here is my happy test Battery: 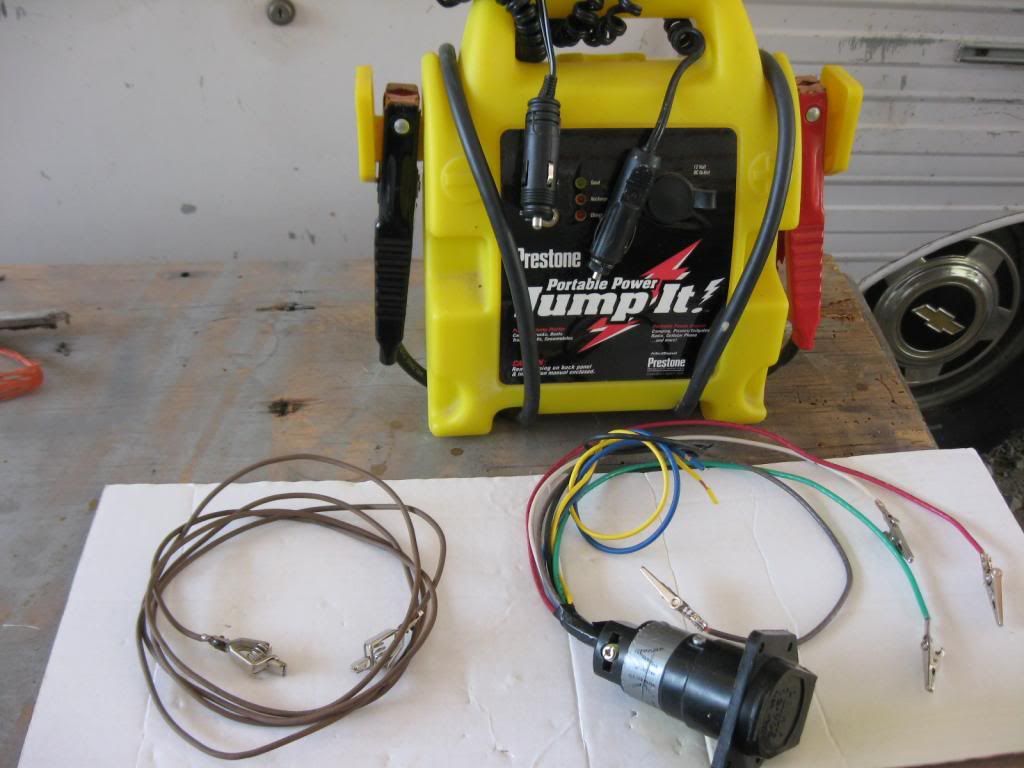 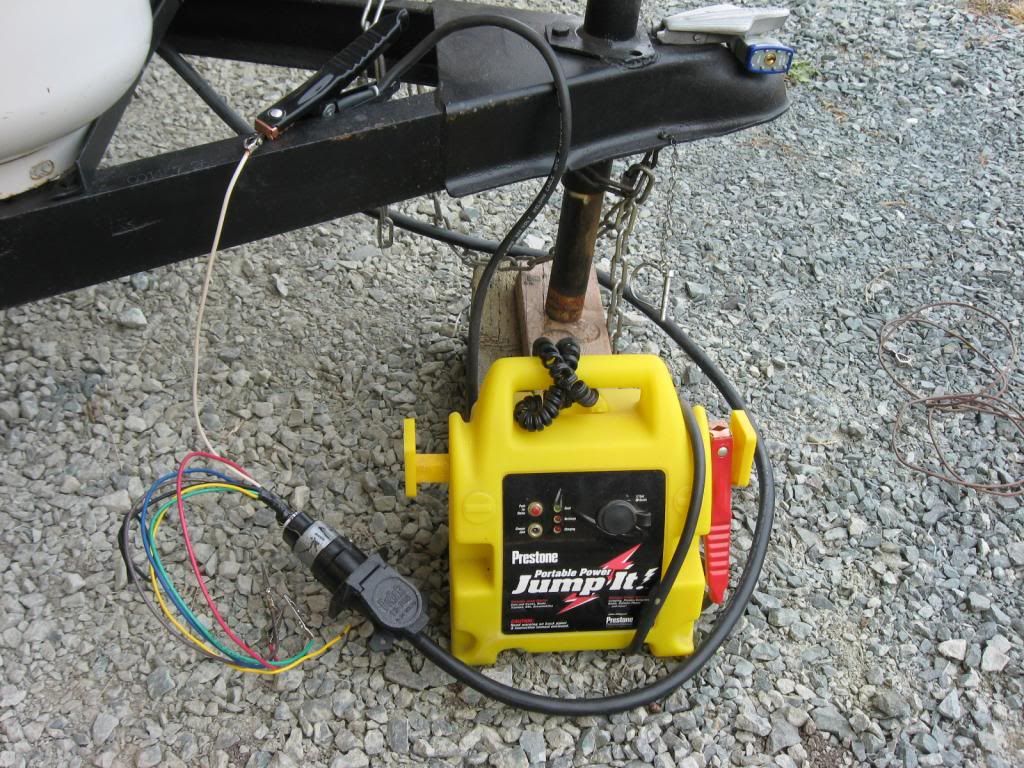 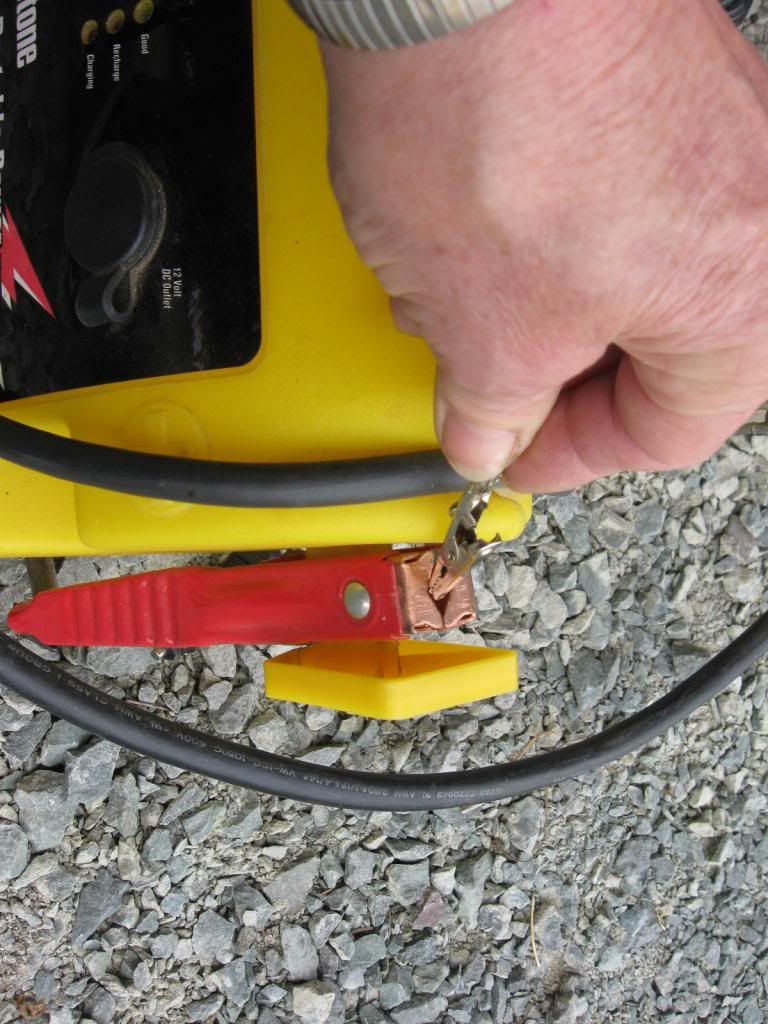 |
|


