nn
New Member
Posts: 8 
Likes: 3
1971 Cygnet
Currently Offline
|
Post by nn on Jun 5, 2014 6:14:08 GMT -8
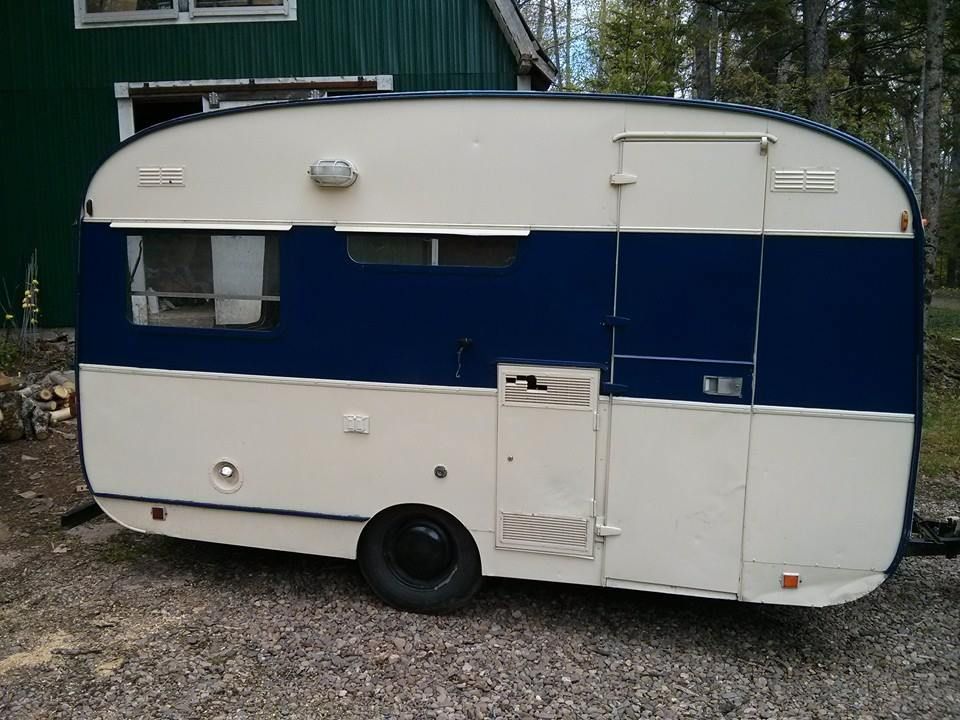
Hi all, I've stripped down the front of my camper and found that basically there was no frame or insulation inside that wall under the window. (Not a total surprise). The previous owners had replaced the front with panels with thick plywood, I imagine assuming that than would suffice for structural support. The wood is basically rotted away around most of the very large front window...seems like it is mostly the skin that is holding it in place at this point. So obviously I have to rebuild the frame and reframe the window. I'm confident about rebuilding the frame...but the window, I'm nervous about doing that correctly especially when the original frame is gone and can't be used as a model. Any suggestions on how to go about this, or links to treads I may have missed would be most useful. eventually, do I seal the window with butyl tape? Thanks! 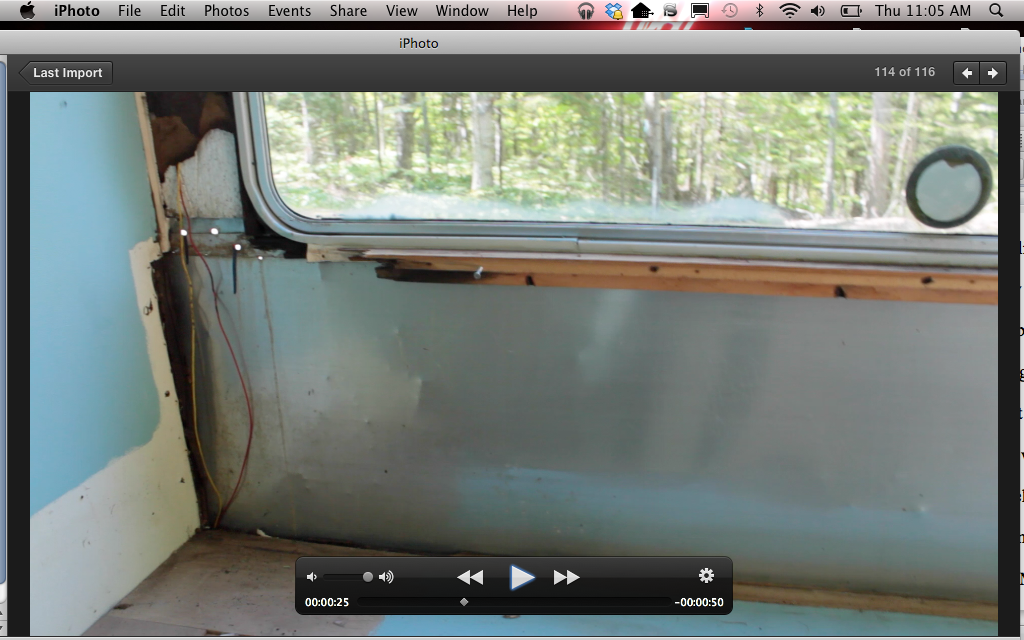 |
|
SusieQ
Global Moderator 
Posts: 4,781 
Likes: 1,197
'62 Shasta Compact
Currently Offline
|
Post by SusieQ on Jun 5, 2014 8:53:08 GMT -8
NN, the window framing is not difficult. It's also not difficult to remove the skin so you can get to it. Unfortunately, you will probably discover more rot. Remove the exterior panel. This will give you an idea of how the trailer was put together. The interior panel is nailed to the sides of the trailer framing (not sure I got that technically correct). There is edging board, also referred to as curbing over the panel. That is what the skin is stretched over. The window framing is probably two horizontal boards at the top and bottom of the window that run to the curbing (or possibly to the edge of the sides with curbing in between) and vertical boards on each side of the window boxing it in. There is a diagram in a section here that will show the parts of a trailer. Here you go: vintagetrailertalk.freeforums.net/thread/1093/vintage-trailer-framingvintagetrailertalk.freeforums.net/thread/1092/vintage-trailer-frame-partsWelcome aboard and hope this helps you. Post some more pics of your trailer. We love pics! |
|
|
|
Post by vikx on Jun 5, 2014 9:26:51 GMT -8
We need more pictures to see what you want to do. The window has rounded corners which may mean it is more European in style or possibly a newer camper. (welcome here, no matter the age)It also could be a newer window in an older camper.
Anyway, from the one picture above, I think you may need to remove the skin and re-build much of the framing. It's difficult from the inside to reach everything you need to.
Flanged windows are sealed with putty tape. Not sure on yours. Some rounded cornered windows are a sandwich affair and use putty, others have a rubber type gasket. Can you tell what's there?
|
|
SusieQ
Global Moderator
Posts: 4,781
Likes: 1,197
'62 Shasta Compact
Currently Offline
|
Post by SusieQ on Jun 5, 2014 10:19:18 GMT -8
Don't take this guy's advice but here is a 75 Cygnet with the window like yours. He's attempting a rebuild from the inside out, too but he hasn't updated his success. You can however get an idea of how it built. Starting around 5:02 in the vid, you can see the back window. www.youtube.com/watch?v=J_ur8a57sdc |
|
nn
New Member
Posts: 8
Likes: 3
1971 Cygnet
Currently Offline
|
Post by nn on Jun 10, 2014 14:20:46 GMT -8
I'll take better pictures tomorrow when I head out to work on it. Sadly my trailer is parked out of town at the in-laws so I have to travel to work on it. I've conceded by now that skin removal is a necessity...and I'm less afraid thanks to the encouraging advice on this forum. However, all the folks that are pitching in with the rebuild keep telling me I'm nuts to pull the skins...but then, none of them have ever worked on a trailer so I'm siding with you guys. Most of the the walls are in great shape but the front and back under the windows is rotted out (but dry) and so is three of the rafters around the ceiling vent...which is causing a sag in the roof. Tomorrow I will attack the mountain of stripped and painted over screws that await me.
At thanks for that diagram link SusieQ...super helpful! I've seen that video of the 75 cygnet...I often wonder if he gave up.
|
|
lakewoodgirl
Active Member

Posts: 270
Likes: 92
1954 Lakewood
Currently Offline
|
Post by lakewoodgirl on Jun 10, 2014 18:23:37 GMT -8
Removing the skin is the ONLY way to go! That way you can effectively evaluate what's really going on and you don't have anything in your way when you're replacing or correcting something. Just remember to take lots of of photos & measurements! Take more than you think you'll need! I thought I did & in some situations I wish I had taken more!!! And, never fret. If you get frustrated walk away for a day or two and a solution will come to you.  Sent from my iPhone using Tapatalk |
|
mobiltec
5K Member
 I make mistakes so you don't have to...
Posts: 9,822
Likes: 3,749
1954 Jewel In Progress...
Currently Offline
|
Post by mobiltec on Jun 10, 2014 21:32:29 GMT -8
Removing the skin is the ONLY way to go! That way you can effectively evaluate what's really going on and you don't have anything in your way when you're replacing or correcting something. Just remember to take lots of of photos & measurements! Take more than you think you'll need! I thought I did & in some situations I wish I had taken more!!! And, never fret. If you get frustrated walk away for a day or two and a solution will come to you. Sent from my iPhone using Tapatalk That's one of my viewers who said that  |
|