HeavyD
Member

Posts: 38 
Likes: 20
Currently Offline
|
Post by HeavyD on May 21, 2014 16:49:46 GMT -8
Hello,
I am working on a total rebuild of a 1950's Century. I am close to getting the aluminum skin back on and am having trouble finding the right sealer for the seams. There are vertical seams on the sides where the aluminum overlaps about 1" to 1.5". There used to be a cloth reinforced black rubbery sealant in there. This stuff was tough and still pliable after 50+ years and it was able to squeeze down to make a very tight flat fit. I looked at butyl and it seams too thick and the seam will not sit flat properly. Any idea what might be best to use?
I would like to post a picture, but I need to figure out how first.
Thanks,
Greg |
|
pirateslife
Active Member
Posts: 426
Likes: 137
1969 Shasta Compact
Currently Offline
|
Post by pirateslife on May 21, 2014 17:35:55 GMT -8
Check with your local metal roof maker...they have some that is thinner and narrower
|
|
|
|
Post by vikx on May 21, 2014 21:25:01 GMT -8
Pirate is correct. Roofing companies sell butyl as thin as 1/16th... Butyl is great for skin seams. The reinforced putty isn't made any more. My 57 Shasta had it on the front/rear lower skins....
|
|
SusieQ
Global Moderator 
Posts: 4,781 
Likes: 1,197
'62 Shasta Compact
Currently Offline
|
Post by SusieQ on May 22, 2014 15:33:20 GMT -8
|
|
HeavyD
Member
Posts: 38
Likes: 20
Currently Offline
|
Post by HeavyD on May 30, 2014 17:30:21 GMT -8
Thank you for the help with the pictures. I will try to post some here of the seam I am looking at, I hope it works. As for the material, I have not found a roofing supply yet. I tried about 3 different RV places and all had 3/4" x 1/8" butyl tape, which I am afraid might be too thick. Here are a couple pictures of the seam. Nothing is really attached yet. 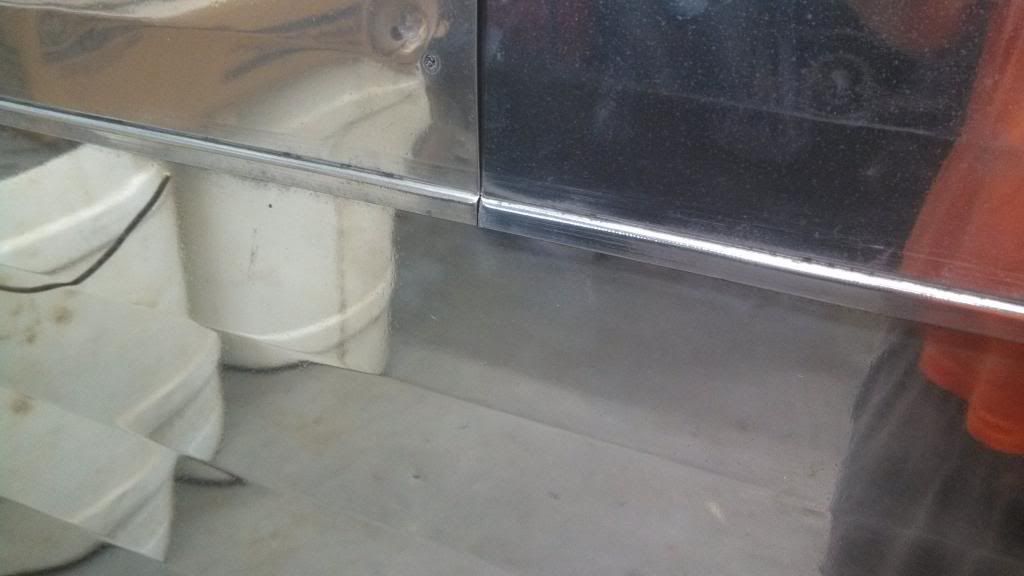 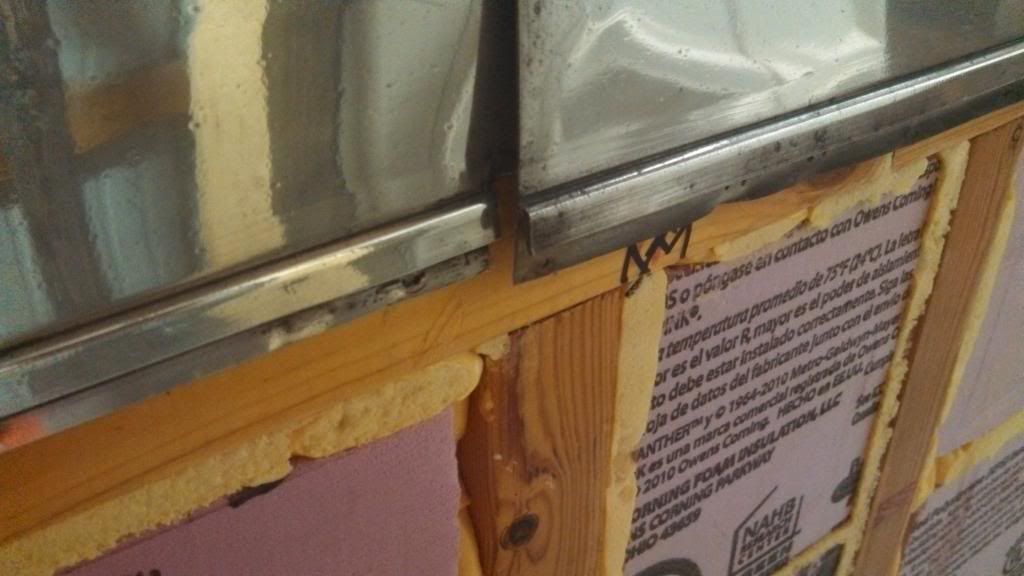 This is what seam used to look like. The black material was very sticky and hard to remove. I used a heat gun and wooden craft sticks to get the metal apart. 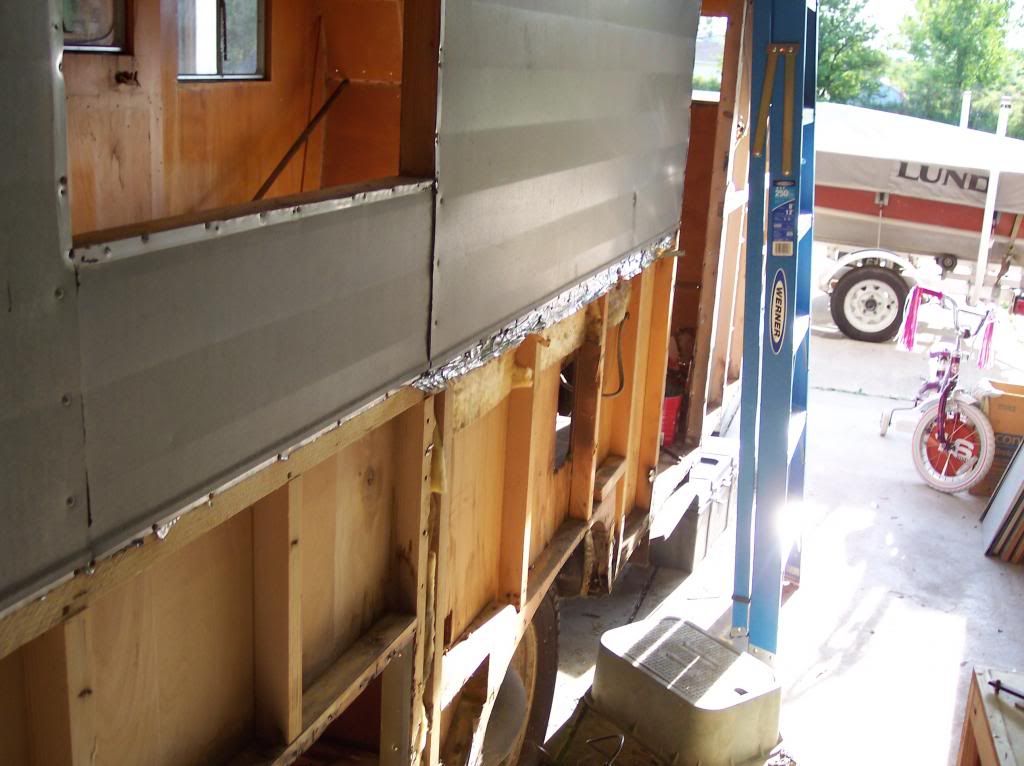 Maybe I am overthinking this, just go with the butyl and let it squeeze out? Thanks. |
|
|
|
Post by vikx on May 30, 2014 21:29:22 GMT -8
The thin butyl is what you need. Thicker will not allow the skin to seat as well. Surely, there's roofers in your area? Call and find out where they get their metal roofing supplies...
Tacky Tape is one brand but it's hard to find online. 1/2 by 1/16 butyl tape is easier to search.
|
|
SusieQ
Global Moderator
Posts: 4,781
Likes: 1,197
'62 Shasta Compact
Currently Offline
|
Post by SusieQ on May 31, 2014 6:46:25 GMT -8
|
|
HeavyD
Member
Posts: 38
Likes: 20
Currently Offline
|
Post by HeavyD on May 31, 2014 17:18:24 GMT -8
Thanks for the link. I ordered a roll and will try it out. Would that be the only thing that goes in the seam or do I caulk over it with something once together?? It is an off-white per the description, so I am not sure how it will look when done.
Also, I am thinking I can use the 1/8 inch thick stuff for the windows and trim. It is easier to come by and doesn't have the same issues as these overlapping seams.
Thanks again,
Greg
|
|
SusieQ
Global Moderator
Posts: 4,781
Likes: 1,197
'62 Shasta Compact
Currently Offline
|
Post by SusieQ on May 31, 2014 19:06:17 GMT -8
You are welcome for the link! I'm the internet scout! Hope it works for you. Sailrite is a reputable company so I felt good about sharing the link. I'll let someone else with experienced sealing vertical seams answer your question. I would think that would be all you need, but wait for the experts to weigh in.
|
|
|
|
Post by vikx on May 31, 2014 23:26:43 GMT -8
Use 1/8 by 3/4 for the windows. If the skin has dips, fill them with another layer of putty beforehand.
The 3/4 x 1/16 should work just fine for the skin seams. Trim it close, no goop/caulk. Snug the screws just so and trim the putty. Perfect.
|
|
HeavyD
Member
Posts: 38
Likes: 20
Currently Offline
|
Post by HeavyD on Jun 15, 2014 3:55:20 GMT -8
Just a follow up, the material from Sailrite is working well for the seams. I almost have the sides installed, just fighting a little corrosion damage on one of the panels. I will have to post some new pictures.
Also, I order some 1/8" material for the windows and will be starting those soon.
Thanks again.
|
|
|
|
Post by vikx on Jun 15, 2014 22:19:03 GMT -8
Good to hear HeavyD! We're waiting for pictures...
|
|
HeavyD
Member
Posts: 38
Likes: 20
Currently Offline
|
Post by HeavyD on Jun 16, 2014 17:02:04 GMT -8
Here is a pic of the door side. I did not get a close up of the seams, but I think they turned out good. It needs a once over with the polish once it is all together, finger prints and smudges galore putting it up. 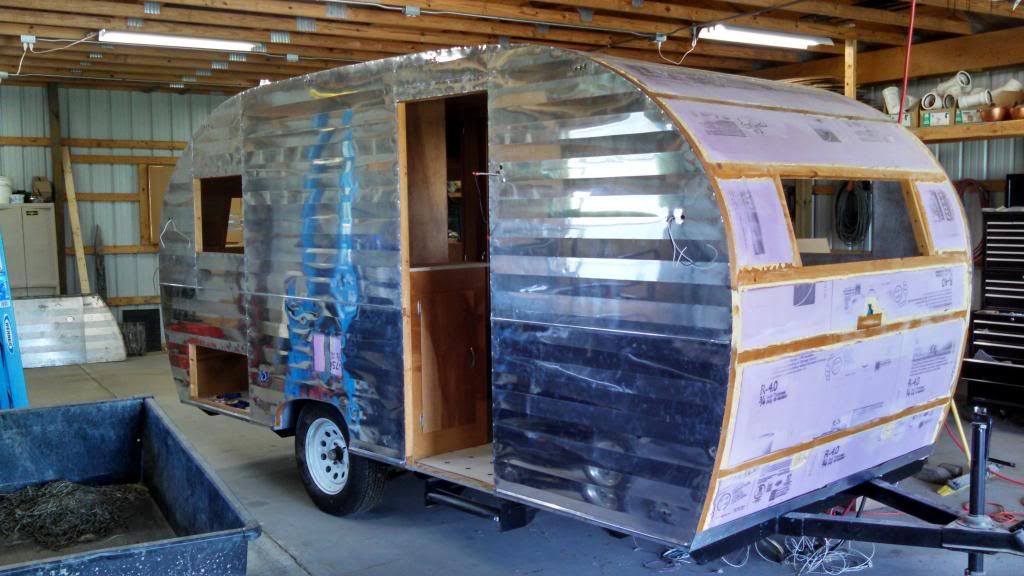
Thanks,
Greg |
|
|
|
Post by vikx on Jun 18, 2014 21:24:15 GMT -8
Wow! Lookin' good!!
Fingerprints: that's what ya get for have shiny metal....
|
|


