Errol Strummer
Junior Member
 1959 Airflyte
Posts: 67
Likes: 17
Currently Offline
|
Post by Errol Strummer on May 7, 2014 6:06:46 GMT -8
Dose anyone happen to have pictures of what the underside if the old Hehr roof vents look like? I'm putting mine back together and I'm wondering where if any trim goes. I'm referring to the outer cover then there is a thin piece on the underside and I'm not sure where to put the rubber seal or whatever should go on before I rivet it together. I found the gasket to get here but not sure how to put it on. Read more: vintagetrailertalk.freeforums.net/conversation/783#ixzz312LvIEY0s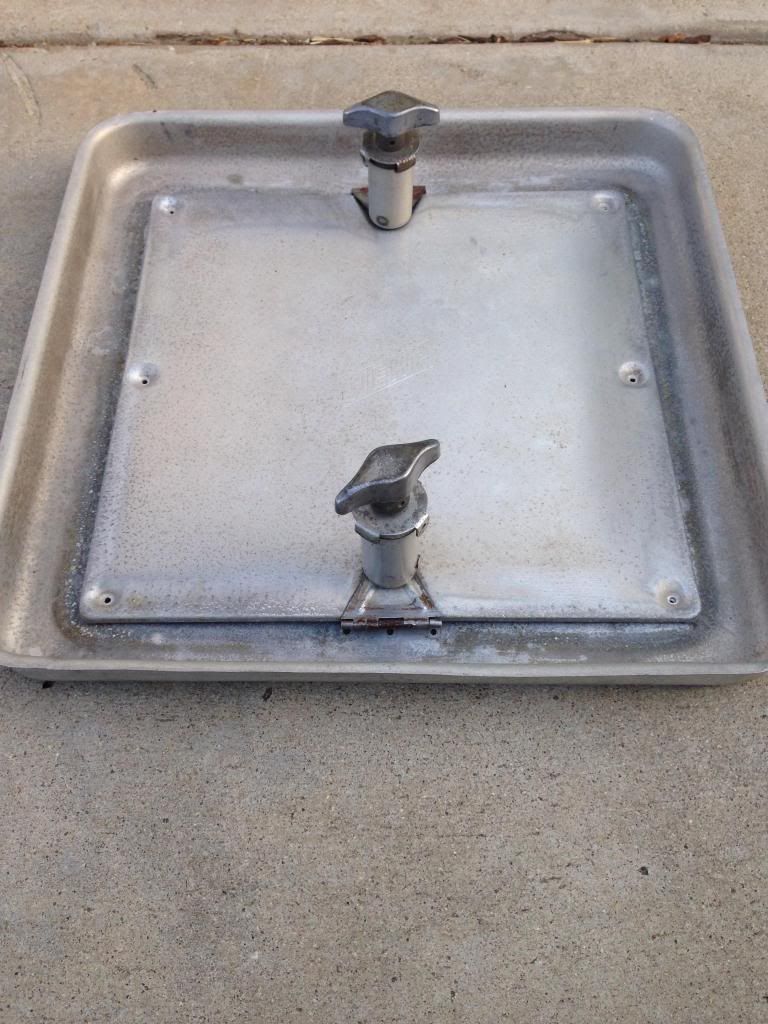 |
|
ladywendolyn
2K Member

Posts: 2,315 
Likes: 928
1964 Golden Falcon
Currently Offline
|
Post by ladywendolyn on May 9, 2014 17:05:21 GMT -8
They sell them at vintage camper supply.. They may have photos.
|
|
John Palmer
Senior Member
Hi, From a vintage trailer guy located in Santa Ana, CA. It's good to see lots of activity here.
Posts: 1,629 
Likes: 576
Currently Offline
|
Post by John Palmer on May 9, 2014 19:09:41 GMT -8
Do you have anything besides what is in your photo?
You have shown "only one half" of the vent.
The bottom frame, has two "U" shaped brackets that connect to the knobs in your photo.
|
|
|
|
Post by vikx on May 9, 2014 21:28:52 GMT -8
|
|
Errol Strummer
Junior Member
1959 Airflyte
Posts: 67
Likes: 17
Currently Offline
|
Post by Errol Strummer on May 10, 2014 6:05:24 GMT -8
Thank you for the pictures Vikx I have the bottom half still on my camper I'm just curious about the seal that goes in between the the pieces shown in my photo. A close up of the the actual piece the goes up and down on the camper is all I need to see. I'm know the gasket goes on the perimeter of the flat piece / but dose it continue underneath it going closer to the center? Or is that it just once around?
|
|
John Palmer
Senior Member
Hi, From a vintage trailer guy located in Santa Ana, CA. It's good to see lots of activity here.
Posts: 1,629
Likes: 576
Currently Offline
|
Post by John Palmer on May 10, 2014 8:36:45 GMT -8
I never had one of the early style Hehr vents that still had any parts of the gasket still in place when I got to it. My tops don't show that a gasket was ever attached to the top, so I would assume that the gasket fits around the top of the stationary lower roof frame.
It looks to me like a piece of Hehr window "back frame gasket" would fit nicely around the lip on the stationary frame. And if you think about it they were made by the same company and at the same time period. Worth a try.
|
|
coloradoan
Active Member
Posts: 114
Likes: 26
1959 Shasta Airflyte 16
Currently Offline
|
Post by coloradoan on May 10, 2014 14:31:04 GMT -8
Thank you for the pictures Vikx I have the bottom half still on my camper I'm just curious about the seal that goes in between the the pieces shown in my photo. A close up of the the actual piece the goes up and down on the camper is all I need to see. I'm know the gasket goes on the perimeter of the flat piece / but dose it continue underneath it going closer to the center? Or is that it just once around? I just removed my roof vent last night. When I get back out to the shop on Monday I'll post a picture of the underside of the top part that moves up and down. It still has the gasket and is in great condition, so it should help you out. |
|
Errol Strummer
Junior Member
1959 Airflyte
Posts: 67
Likes: 17
Currently Offline
|
Post by Errol Strummer on May 10, 2014 14:44:27 GMT -8
Sounds good Coloradoan!
Thanks again all that have jumped in on this.
|
|
|
|
Post by vikx on May 10, 2014 22:42:58 GMT -8
Yes, this thread will be great for our archives. Mine have had the seal, but shrunken and coming loose. Was always attached to the lip on the lower half. VTS might sell a replacement...
|
|
coloradoan
Active Member
Posts: 114
Likes: 26
1959 Shasta Airflyte 16
Currently Offline
|
Post by coloradoan on May 12, 2014 22:37:55 GMT -8
Here you go, as promised. It looks to me like the gasket slips between the two pieces and then the rivets are put in place: 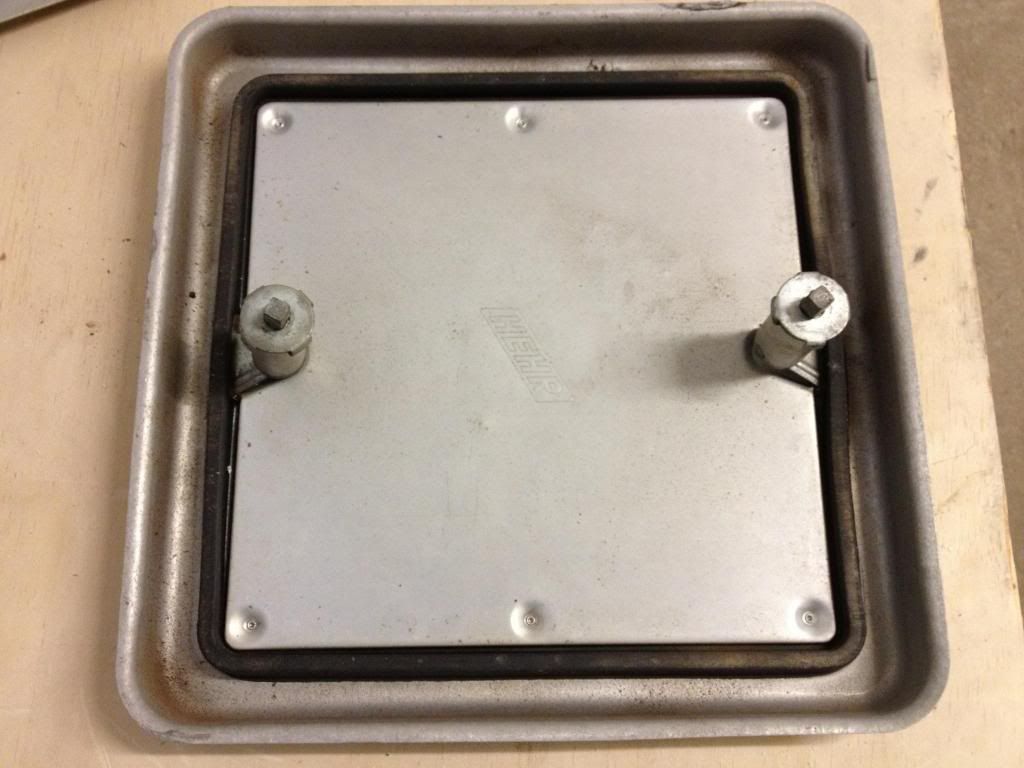 |
|
coloradoan
Active Member
Posts: 114
Likes: 26
1959 Shasta Airflyte 16
Currently Offline
|
Post by coloradoan on May 12, 2014 22:39:44 GMT -8
And here's a closeup: 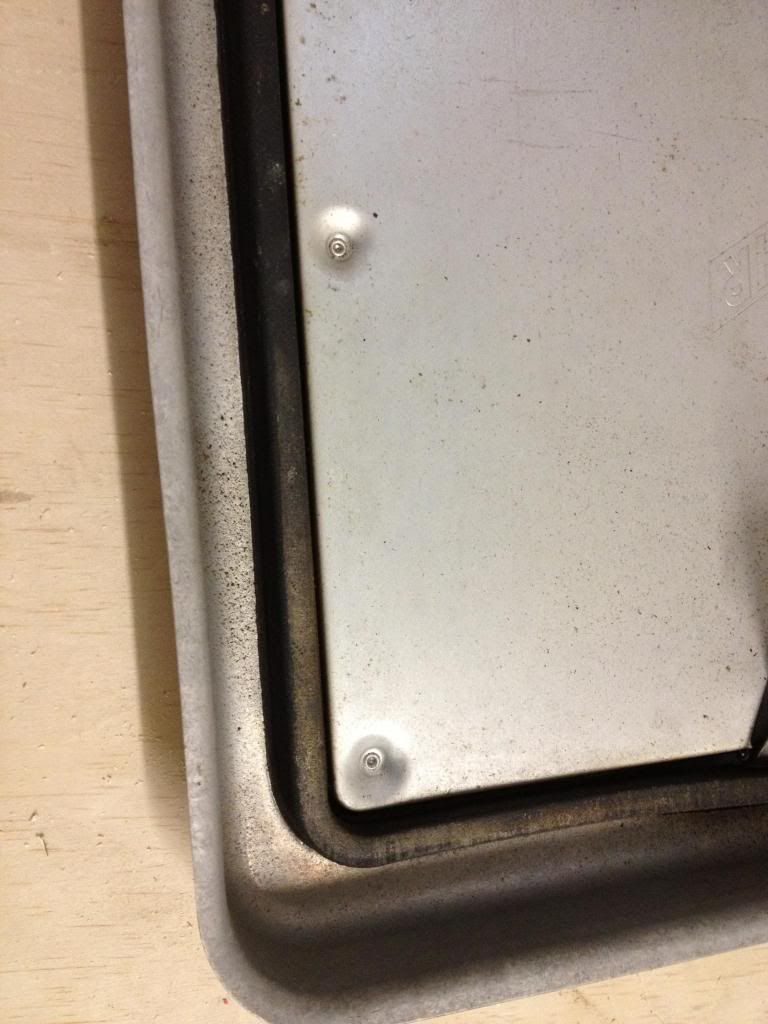 |
|
Errol Strummer
Junior Member
1959 Airflyte
Posts: 67
Likes: 17
Currently Offline
|
Post by Errol Strummer on May 13, 2014 10:42:26 GMT -8
Thank you for the close up Coloradoan I'm gonna try to assemble today I will post some pics during the install to show the step by step.
|
|
Errol Strummer
Junior Member
1959 Airflyte
Posts: 67
Likes: 17
Currently Offline
|
Post by Errol Strummer on May 13, 2014 11:07:15 GMT -8
? Is there a gap between the two pieces like the thickness of the gasket ?
|
|
coloradoan
Active Member
Posts: 114
Likes: 26
1959 Shasta Airflyte 16
Currently Offline
|
Post by coloradoan on May 20, 2014 21:07:16 GMT -8
? Is there a gap between the two pieces like the thickness of the gasket ? So sorry I did not see this until today!! I'm still trying to get the hang of how these forums work and don't know how to get notified when there's a new post. Yes, the gasket has an "inner lip" that is about 1/16" thick or so and extends out so that it is gripped between the two pieces of the vent. I tried to capture that in the closeup but it didn't come out too clearly, I guess. I have no idea how you'll recreate that gasket if you can't find an original one in good condition, or a new reproduction. |
|
coloradoan
Active Member
Posts: 114
Likes: 26
1959 Shasta Airflyte 16
Currently Offline
|
Post by coloradoan on May 20, 2014 21:09:13 GMT -8
It also is split where those tabs that hold the extenders are located so that those tabs actually penetrate through the sides of the gasket. Hope those descriptions help a little! And here's a photo that might clarify what I'm talking about: 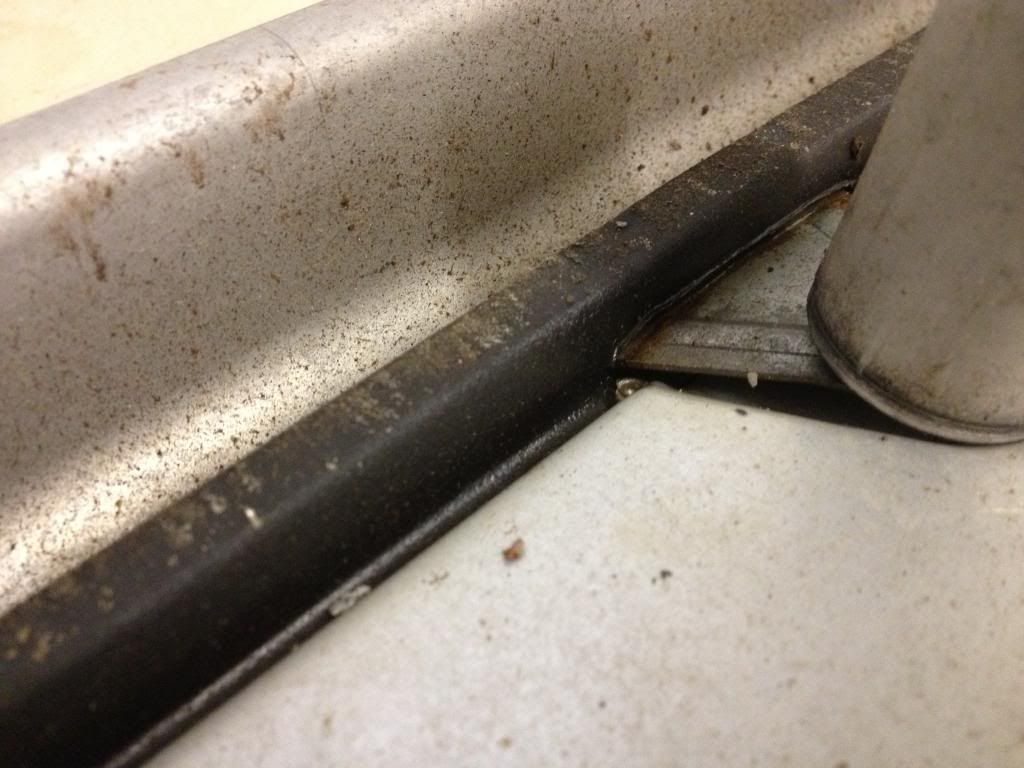 |
|


