farmographer
New Member
Posts: 20 
Likes: 7
Currently Offline
|
Post by farmographer on Mar 15, 2014 8:56:04 GMT -8
Hi, Camping season is quickly approaching (I think, but I'm losing faith!) and I knew I didn't want to do another year in the tent (it's getting less comfortable as I get older and it's harder to fit in our ever growing family - 5 kids, these days). So I was looking for something that would have enough sleeping space and just be a place to store our camping gear (no bathroom/cooking needs in the camper). The one I found has double bunkbed setup and no bathroom! So exciting!! Long story short (if you're interested, the story is here on my blog). My plan was to paint everything, clean up a bit, and be on our way. But reading more and more camper info I was getting curious about what was under the walls. So I started pealing a little here, and a little there - mostly where I could see water damage. I should have stuck with the original plan! But now I know, the front end has the most water damage and I'm trying to pull out the dinette benches so I can just take out the inner wall under the window, replace the supports as needed, and then re-wall. Advice welcome! Pictures from before I started ripping it apart!    |
|
Hamlet
2K Member
    
Posts: 2,844 
Likes: 943
Currently Offline
|
Post by Hamlet on Mar 15, 2014 9:39:52 GMT -8
What a wonderful story! And what a wonderful trailer this will be. Congrats and welcome!
|
|
txoil
Active Member
  
Posts: 459
Likes: 149
1960 Shasta Deluxe 19
Currently Offline
|
Post by txoil on Mar 15, 2014 10:11:36 GMT -8
Looks like a nice example you have found! It will be an adventure, and you will learn a lot before you are through, but it is very rewarding to have completed an undertaking such as this. Best of luck!
|
|
ladywendolyn
2K Member
    
Posts: 2,315 
Likes: 933
1964 Golden Falcon
Currently Offline
|
Post by ladywendolyn on Mar 15, 2014 10:51:57 GMT -8
Great Blog.. I enjoyed reading your story
|
|
farmographer
New Member
Posts: 20 
Likes: 7
Currently Offline
|
Post by farmographer on Mar 15, 2014 13:03:22 GMT -8
Thanks everyone!
So thoughts on how to pull out the dinette benches? I have the supports unscrewed but I can't figure out how to get the front wall of the bench out (the part you'd kick if you were sitting at the dinette). It may have been stapled from the outside in? Thoughts?
I've looked at the canham youtube videos, but haven't come across one that pertains to this (and youtube time is limited because we have satellite internet - the only option in our rural area, don't get me started! lol)
|
|
skipnwendy
Active Member
  
Posts: 109 
Likes: 22
Currently Offline
|
Post by skipnwendy on Mar 16, 2014 5:56:51 GMT -8
It is most likely built from the inside out, I have been tinkering with my camper 3 summers now and it is definitely built that way but the real professionals here on this site can tell you the correct way to do it, That camper is so nice do it the right way "it deserves it" and pull the outer skin, I can say from "my personal greenhorn experience" of doing it "backwards" pulling the skin is the best way and in the end the easiest way to do repairs.
Skip
|
|
|
|
Post by Ross on Mar 16, 2014 6:18:40 GMT -8
Great story and great looking Airflyte! Our 1970 Starflyte was purchased to salvage parts from. The previous owner had gotten in way over his head and wanted out of the project. Once we got it home, I was looking it over and decide that I wanted to return her to her glory days! We are still working on her! As for rebuilding and repairing, I have always preferred to work from the inside and only peel back the skin when necessary. Here are a few albums of her story. Maybe there will be a few pictures that help you during your Airflyte's repairs. 1970 Starflyte #11970 Starflyte #2
The dinette benches, as well as the cabinets were nailed from the outside, before the skins were attached. You can use a Oscillating Multifunction Power Tool from Harbor Freight Tools and cut through the nails from the inside. |
|
lamacki1
Active Member
  
Posts: 121
Likes: 17
1957 Shasta 1500 - Sundance
Currently Offline
|
Post by lamacki1 on Mar 16, 2014 6:30:22 GMT -8
Great story about your camper. And welcome. You will find lots of help here, either in the threads or by asking, as you did.
|
|
farmographer
New Member
Posts: 20 
Likes: 7
Currently Offline
|
Post by farmographer on Mar 16, 2014 10:32:36 GMT -8
Thanks for the input and links!
I really think I want to avoid taking the skin off (scared? absolutely!). I think I might be able to put it in our hayloft to work on it (during the summer when the hayloft is empty-ish) but I'm really intimidated!
I'm hesitant to cut out the benches because I do want them to be back there eventually. So maybe I'll cut the wall out around the benches?
Ahhh! I'm overwhelmed but also super excited! There isn't a TON of water damage, but the front two corners are making me nervous. I'd prefer to repair it for real (as oppose to a make-do job) before putting the effort in to putting it all back together - I just don't want to put all the painting effort into it, only to have to rip it all out again in a few years to do a big fix on it.
For the record, she was $500, which I thought was pretty awesome, and definitely worth the effort of repairing.
If anyone else is interested, the guy had several vintage and vintage-y campers in kind of a junk yard - including a decent looking Frolic.
|
|
farmographer
New Member
Posts: 20 
Likes: 7
Currently Offline
|
Post by farmographer on Mar 20, 2014 11:30:27 GMT -8
Here are some pictures of the corner damage. Since taking these, I've taken out more interior wall to see the extent of the rotten framing. It doesn't go the whole length of the side of the camper, thankfully. However, the window frames are all rotten. I've looked here and some on mobitec's youtube videos about window framing repair. However, it seems most of the talk is centered around solid windows (whereas this camper has openable windows with multiple glass strips). I'm worried that if I take out the window (as I first thought) the glass will no longer be held in place (as in the aluminum framing isn't holding the glass in place?). I'm wondering if I can just replace each side one at a time, without removing the window ... still pondering. Anyway - this is the bottom corner of the front curbside:  This is where I knew there was rot even when I bought the camper - do you think there's a leak if there's icicles? lol This is the main skylight.  |
|
skipnwendy
Active Member
  
Posts: 109 
Likes: 22
Currently Offline
|
Post by skipnwendy on Mar 21, 2014 4:22:42 GMT -8
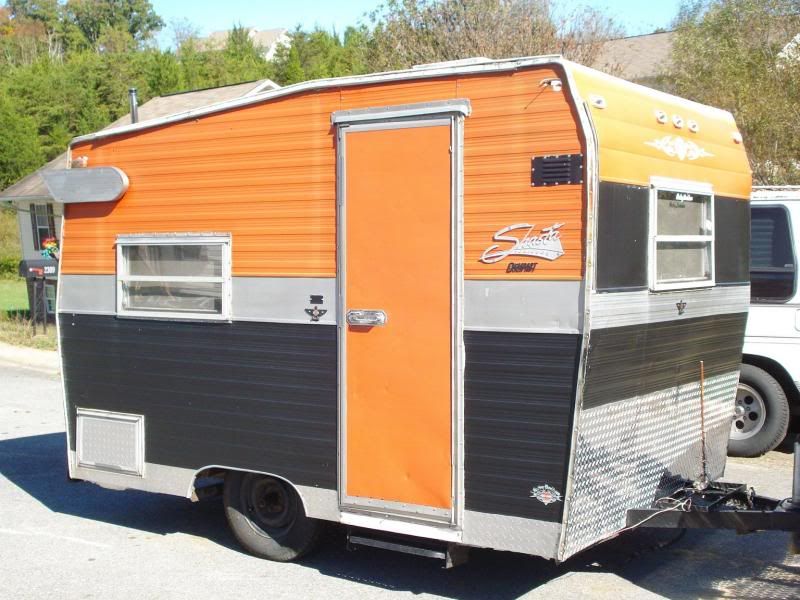
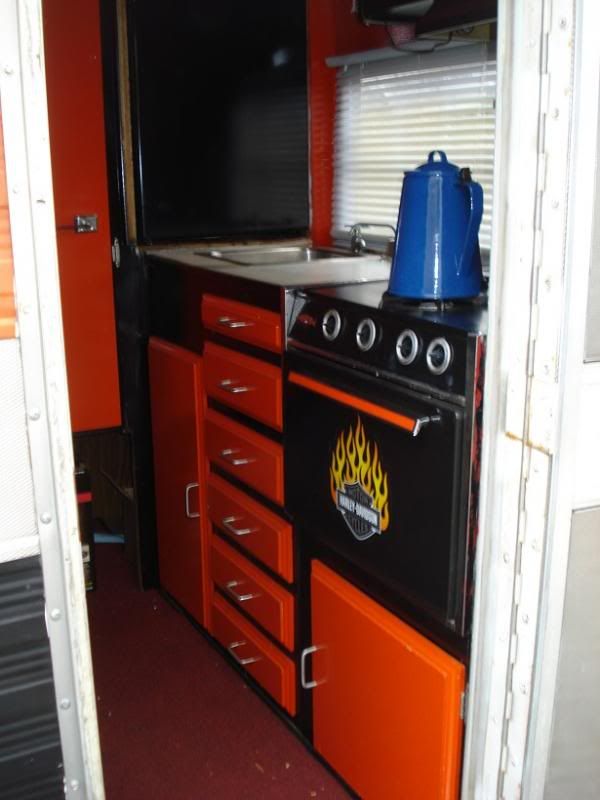
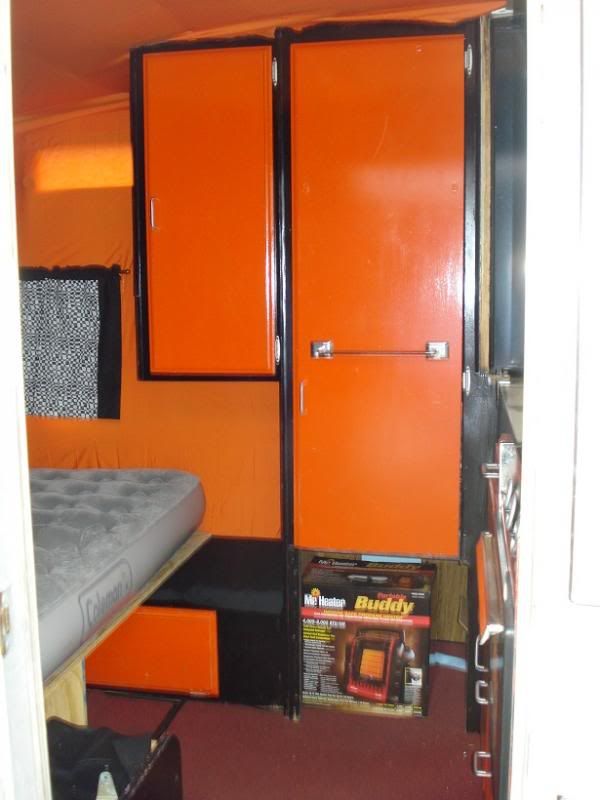
Looks like you are digging in  Ah the fun begins, I wish I was retired and you lived next door  If all the wood around the windows is rotten and you don't want to take them out which is what I also did replace one bad stud at a time working your way around it and one window at a time so if you need to see how it was built (go so far tearing it apart you forget where studs were...I did that!) you can look at the opposite side NOT taken apart yet  I found this old Shasta a 68 compact that the previous owner had redone all the studs with the skins off then put it back together but never paneled the inside but he did the hard part, I sold it to my high school buddy and he is going to do it, We just stapled sheets up so he could use it for a camp trip, Previous owner did it Harley Davidson colors so we found orange and black sheets but I doubt my buddy will keep the orange Harley thing going. We know your excitement finding your camper and working on it and the first trip will be fun, Thought I would share pics of this ones first trip after we found it, She still needs a lot of work but is useable.    |
|
|
|
Post by bigbill on Mar 21, 2014 5:11:53 GMT -8
You just remove the perimeter screws on the outside and the entire window unit will come out. it will most likely be stuck to the sealant tape but it will come out as a one piece unit. Then you can continue to make repairs. When done with repairs clean window frame install new sealant tape slide window back in then replace screws.
|
|
farmographer
New Member
Posts: 20 
Likes: 7
Currently Offline
|
Post by farmographer on Mar 22, 2014 7:36:33 GMT -8
So if I remove the perimeter screws, the window will (in theory) stay in one piece? That would make things less complicated! I was nervous because I was reading about the side windows falling apart ... but then realized those were the windows that are solid (I think in an earlier model), not the window style on my Airflyte.
|
|
|
|
Post by bigbill on Mar 22, 2014 8:11:56 GMT -8
Yes I always close the window then remove outside screws then remove entire window unit as one piece. The windows like you see in my Avatar come out that way just don't drop them.
|
|
farmographer
New Member
Posts: 20 
Likes: 7
Currently Offline
|
Post by farmographer on Mar 23, 2014 6:31:05 GMT -8
Now as I'm removing them I'll be saying: "just don't drop them, just don't drop them," (think Dory on Finding Nemo: "just keep swimming, just keep swimming".
|
|