speak
Member

Posts: 37 
Likes: 8
1959 Shasta Airflyte
Currently Offline
|
Post by speak on Feb 3, 2022 18:42:21 GMT -8
I am working on restoring the windows of a 59 Shasta Airflyte. I feel pretty confident with what and how they need to be redone. (Thank You Mobiltech). However, I don't have a lot of confidence with the window frame keeping the water from getting in behind the skins and in the walls. A little help understanding this would be appreciated. In this paragraph I would like to refer to the Standard Awning Hehr Window. I have included a pic or two to help with the explanation. I realize these windows have two gaskets; one that slides onto the metal once the glass is set into place and that it pushes up against the window to help seal out the elements and that the window stays will hold the window in place. The second gasket (back gasket) that seals the awning window when in the shut position. However, I feel that I need to use some gutter seal or something similar either along the edges of the glass after it is set in the frame or maybe add a fine bead of gutter seal along the frame edges prior to setting the glass. That way the glass will have a seal that will help keep the elements from seeping behind the frame. I would also add a small bead of gutter seal to the corners of the back frame as well. Am I over doing my thoughts on this or even thinking it out properly? Large Front Window frame corners - The front frame window corners were not welded from the factory line so there is play in the frame at the corners. I realize that when the frame is screwed into place that this play will not be there, however, the crack at each corner will still be there. I thought that some gutter seal on those corners from the backside prior to installing would help seal the elements from getting through. Any thoughts here as well? P.S. These are pics before cleaning and polishing.  IMG_1266 IMG_1266 by Steve Peak, on Flickr  IMG_1234 IMG_1234 by Steve Peak, on Flickr  IMG_1224 IMG_1224 by Steve Peak, on |
|
|
|
Post by vikx on Feb 3, 2022 22:02:14 GMT -8
I think OSI gutter seal works very well for the front window frame. Geocel also makes Instant Gutter Seal in "aluminum gray" if that would work better. Be sparing and smooth carefully with a paint thinner dipped finger so there's no large clumps to interfere.
As far as the window seals themselves, Hehr windows have a rubber seal on the metal next to the glass. If you buy new, that should seal very well. Also, the inside rubber seal should be replaced with new. Both are available at Vintage Trailer Supply.
|
|
|
|
Post by Teachndad on Feb 5, 2022 6:36:38 GMT -8
Hi and welcome, For sealing the back side of the large window frame to the top of the skin on your window opening, you need butyl putty tape. (Vintage Trailer Supply) Once applied to the back side of the window frame flange, it will squish out and seal the gap between the back of the window frame flange and the top of the skin as you tighten all those mounting screws. Do this on a warm day. On the front of your main window you have two solid panes of glass on either side of the center push out window. Those come out. You have to use a spring hook to pry the metal “glazing” glazing strips from the front of the window pane. Pay attention to the order at which you remove them. Mark them with a sharpie on the back side so you know where they were in the window frame. Once you do that, you can remove the glass. You will find some black strips of butyl glazing tape under the glass but inside the internal frame of the window. That black stuff has to be cleaned out. It’s usually dried up. Scrape and clean it off and reapply new stuff called glazing tape. Apply that and then reverse the order of disassembly. The glass goes back on and then the metal glazing strips go back on. Seal in certain places with gutter seal as determined. Mobiltec covers this very well in this video. youtu.be/7mA5pDLEWSM part 1 and part 2 youtu.be/f1RpmdW1njo Larry has all the window videos in the windows section of the trailer tidbits webpage. www.cannedhamtrailers.com/tidbits.htm. BTW, In your image below of the front window assembly above, your center push out window appears to be upside down. Is that just for the images? That sub assembly should be right side up unless I missed something. Cheers, Rod |
|
speak
Member
Posts: 37
Likes: 8
1959 Shasta Airflyte
Currently Offline
|
Post by speak on Feb 6, 2022 18:11:39 GMT -8
Hi Rod - Thanks for the response. The larger window centered in the frame is actually the back-frame. I removed the window section which slides into the top of that center unit. This is the way it came off the trailer and functioned (as well as leaked). I had to drill out the rivets in order to remove the back frame to replace the rotting screen. Does that seem to make sense to you. I'm not the greatest explaining. I in the process of cleaning the back frame and have replaced the back frame gasket. Question - How do you reseal the back frame top (where riveted) before you reattach to the larger window frame containing the smaller side windows or do you need to?
|
|
|
|
Post by Teachndad on Feb 6, 2022 21:44:43 GMT -8
Hi Rod - Question - How do you reseal the back frame top (where riveted) before you reattach to the larger window frame containing the smaller side windows or do you need to? Thanks for the clarification on the front window assembly. I looked more closely and saw the attachment for the push out window on the end of the handle. As to your question of what to place under the riveted section before re re-riveting, I put 1/16" thick putty tape underneath before riveting. However, I don't think this was the best idea. When the re-riveting was completed, I felt it wasn't the best sealant. The framing isn't always truly straight and "flat". 1/8" thick putty tape seemed to be too thick to use with rivets. But I would see what others have to say about answering this question. I ended up after riveting very carefully applying some gutter seal around the whole middle window subassembly (along the top and the sides), just in case the 1/16" putty tape wasn't enough to fill the gap underneath. That's what I did, but like I said, lets see what others have done. It's not a common repair. Most people don't undo those rivets. I had the son of a colleague help me with this task as he works on airplanes. BTW, I built a frame for the entire window assembly to store it and minimize any movement to the front window assembly. My rivets were so badly worn, we replaced almost all of them on the entire frame. Once those were replaced, then it stiffened up the window assembly frame tremendously. Might be overkill, though. 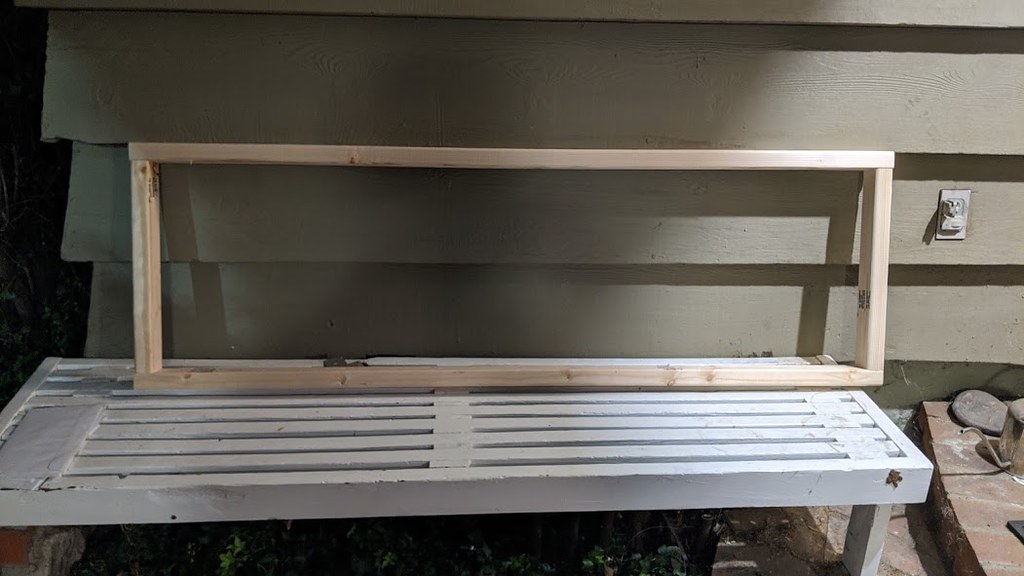

Cheers,
Rod
|
|
speak
Member
Posts: 37
Likes: 8
1959 Shasta Airflyte
Currently Offline
|
Post by speak on Feb 7, 2022 7:54:33 GMT -8
Rod - I thinking I may run a bead of gutter seal under the back frame top flange and then another bead of the same sealant along the top using painters tape to neaten up the look a bit. I thought about the putty tape along the top and the possible reduction of the grip range of the rivets. I could always get a deeper grip range on the rivet and do the putty? Fun, Fun, Fun at least I'm getting something done.  steve |
|
speak
Member
Posts: 37
Likes: 8
1959 Shasta Airflyte
Currently Offline
|
Post by speak on Feb 7, 2022 7:57:36 GMT -8
Rod -
P.S. Nice job on your windows. I can appreciate the work involved. I will probably just keep at the other windows until done. If I can do the front window then the others will be a breeze with the exception of the Jalousie window. That may be a bit of a challenge as well.
|
|
mobiltec
5K Member
 I make mistakes so you don't have to...
Posts: 9,843
Likes: 3,761
1954 Jewel In Progress...
Currently Offline
|
Post by mobiltec on Mar 1, 2022 7:43:22 GMT -8
Don't forget about Vintage Trailer Gaskets. Normally the back frame gasket, (that big black one) needs replacing as well. You can get your putty tape, and all the proper gaskets for any vintage window from them. Robert answers his own phone and ships same day.
|
|
adderall
Junior Member
Posts: 65
Likes: 32
Currently Offline
|
Post by adderall on Mar 10, 2022 10:53:45 GMT -8
speakFunny timing. I'm working on an identical window.  
|
|
mobiltec
5K Member
I make mistakes so you don't have to...
Posts: 9,843
Likes: 3,761
1954 Jewel In Progress...
Currently Offline
|
Post by mobiltec on Mar 10, 2022 15:40:15 GMT -8
That's a newer window you have there. And they are called Awning Windows. The other one is a Push Out from a 59 Airflyte.
|
|
adderall
Junior Member
Posts: 65
Likes: 32
Currently Offline
|
Post by adderall on Mar 11, 2022 15:21:34 GMT -8
That's a newer window you have there. And they are called Awning Windows. The other one is a Push Out from a 59 Airflyte. Thanks for the information! That will help in parts searches. |
|
mobiltec
5K Member
I make mistakes so you don't have to...
Posts: 9,843
Likes: 3,761
1954 Jewel In Progress...
Currently Offline
|
Post by mobiltec on Mar 11, 2022 20:28:13 GMT -8
That's a newer window you have there. And they are called Awning Windows. The other one is a Push Out from a 59 Airflyte. Thanks for the information! That will help in parts searches. Vintage Trailer Gaskets has all the info you need on your windows. You will be amazed what you will find there. |
|
adderall
Junior Member
Posts: 65
Likes: 32
Currently Offline
|
Post by adderall on May 6, 2022 6:58:40 GMT -8
That wasn't an understatement. I found every gasket I needed and the diagrams for where they go.
Does anyone have a recommended grease or dry lube to use on the old window cranks? I had to replace one crank with a new one from VTS. The old jalousie cranks got filled with Renufinish and washed out and now they're a bit sticky. I used Kroil on the rivets but I'm wondering if that's too thin for the cranks.
|
|
mobiltec
5K Member
I make mistakes so you don't have to...
Posts: 9,843
Likes: 3,761
1954 Jewel In Progress...
Currently Offline
|
Post by mobiltec on May 6, 2022 13:57:01 GMT -8
I just use bearing grease... If there is something that is made for them it's probably expensive LOL...
|
|


