Offspringin's 1970 Shasta Compact
Jun 19, 2013 9:19:13 GMT -8
Nomad, ShastaDoug, and 2 more like this
Post by Offspringin on Jun 19, 2013 9:19:13 GMT -8
So I'm about 2 weeks behind in starting this thread, but at the suggestion of another member here decided this might be a good idea. Ill try and lay these out in order, then update as i go.
Bought our Shasta on 8-15-2011
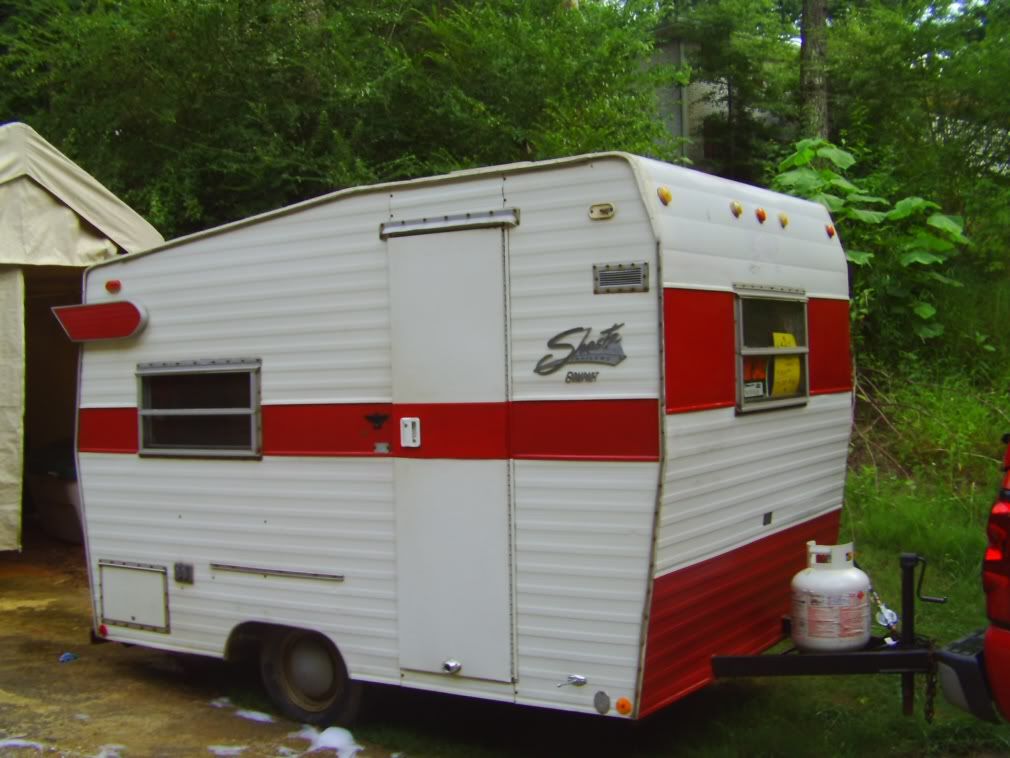
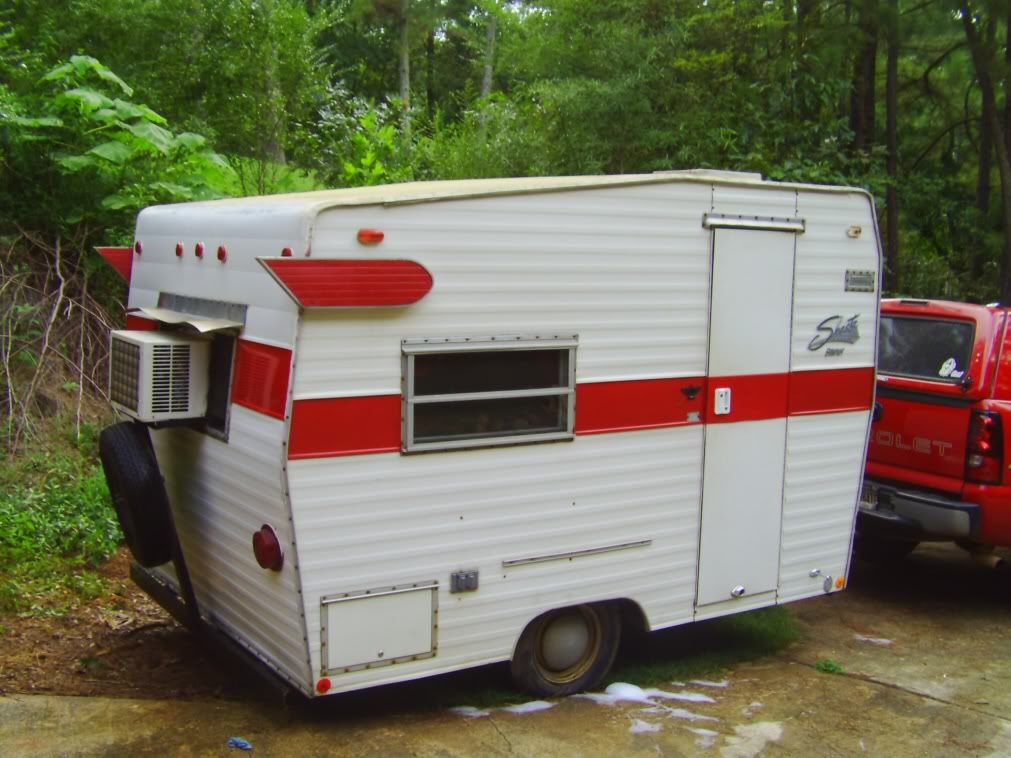
Heres a picture from the PO of her with her original (i believe) awning and original paint colors
Here are some pictures from the PO just prior to our buying it.
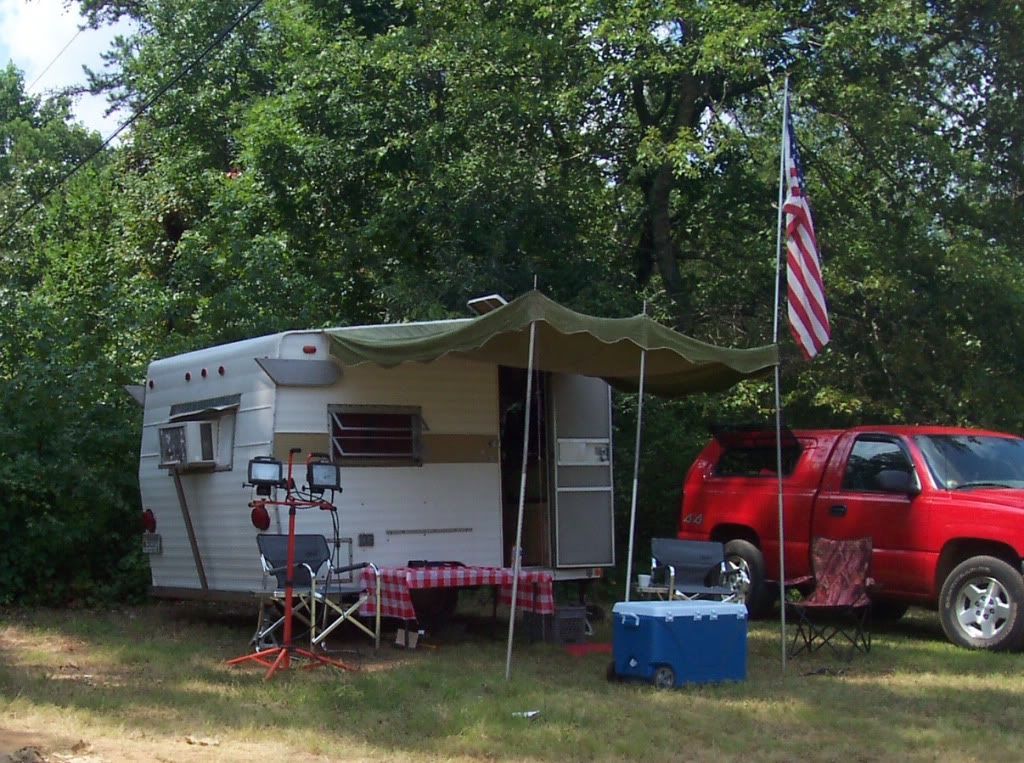
Here was her first tow, we stopped for dinner on the way home
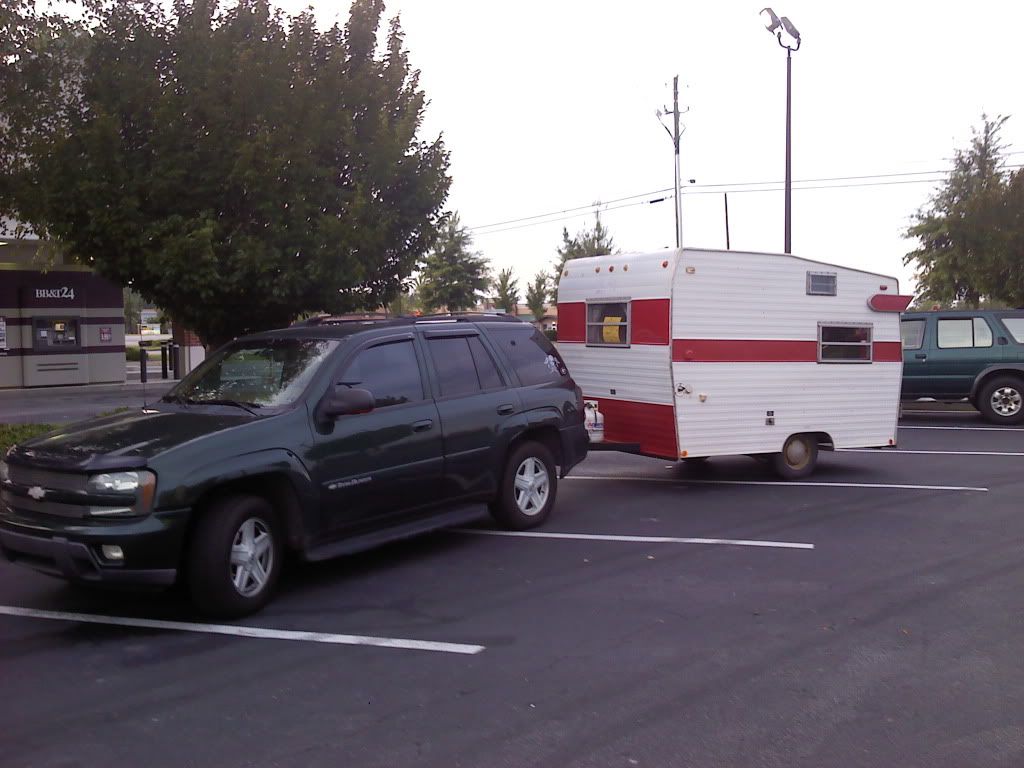
We got home after dark that night. Running tires were good. I would come to find out the spare needed to be replaced. Rear lights worked ok when we got it but front clearance were all dead. Pulled great. Knew when we bought it there was some water damage. This is our first camper and certainly the first restore. I had been researching and looking for months for the right one. Felt it was time to take the plunge. Was it the right choice? I still think so. There was alot more involved than i had planned for but its moving along and is going to be much better for it.
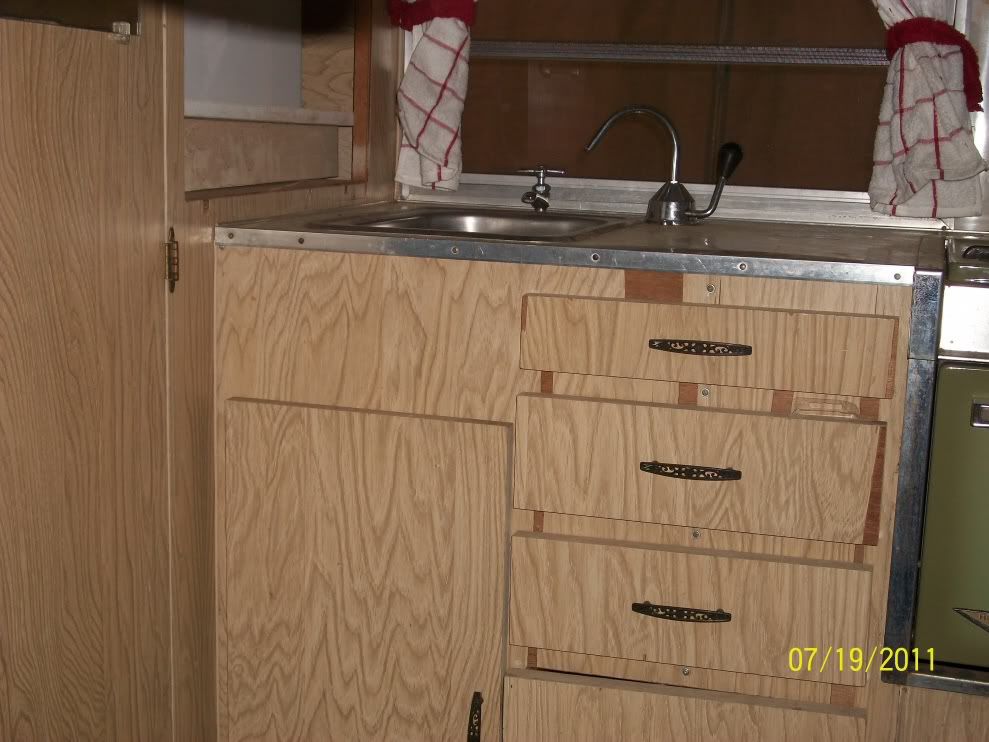
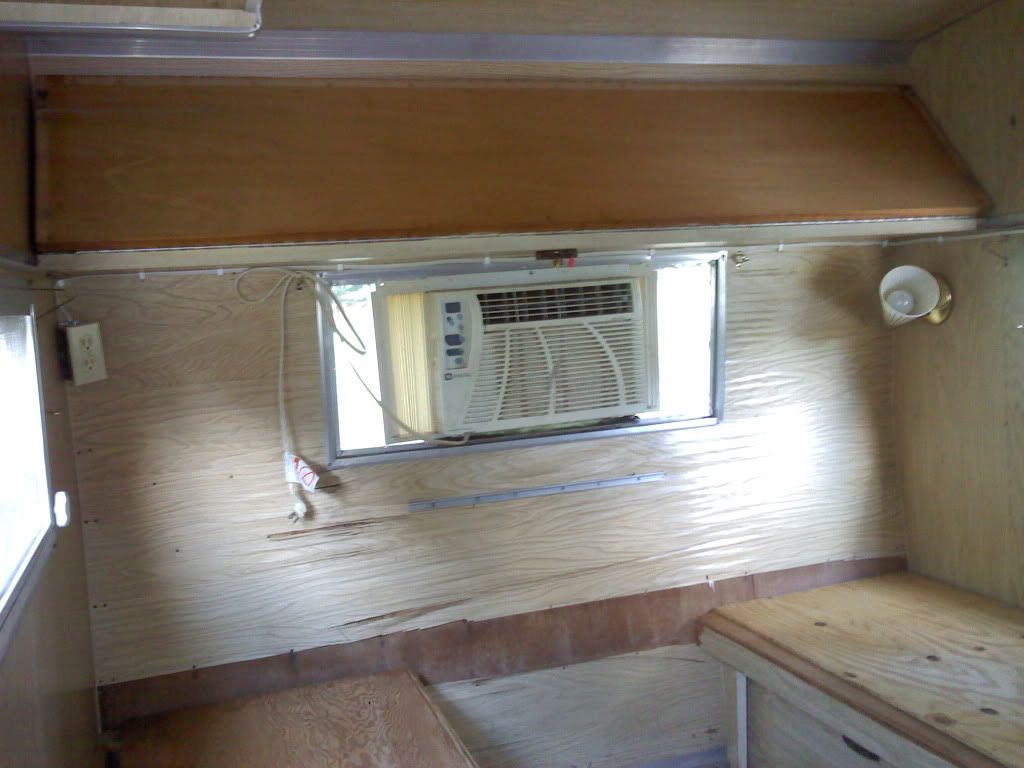
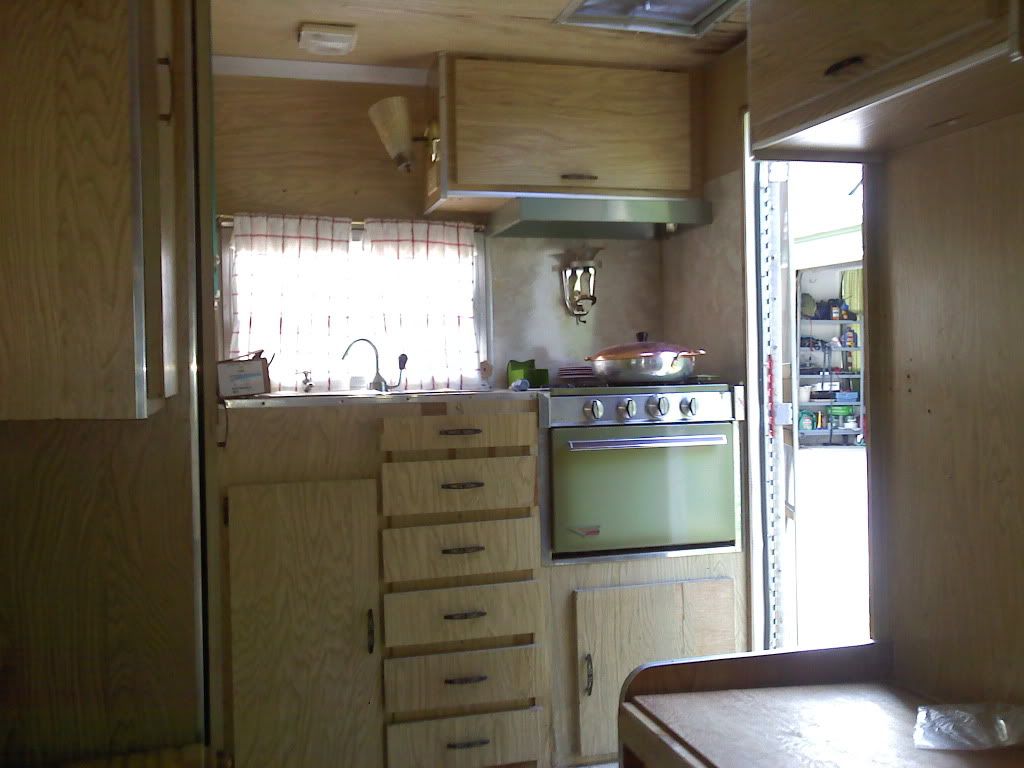
So here is the interior as of 8-16-2011
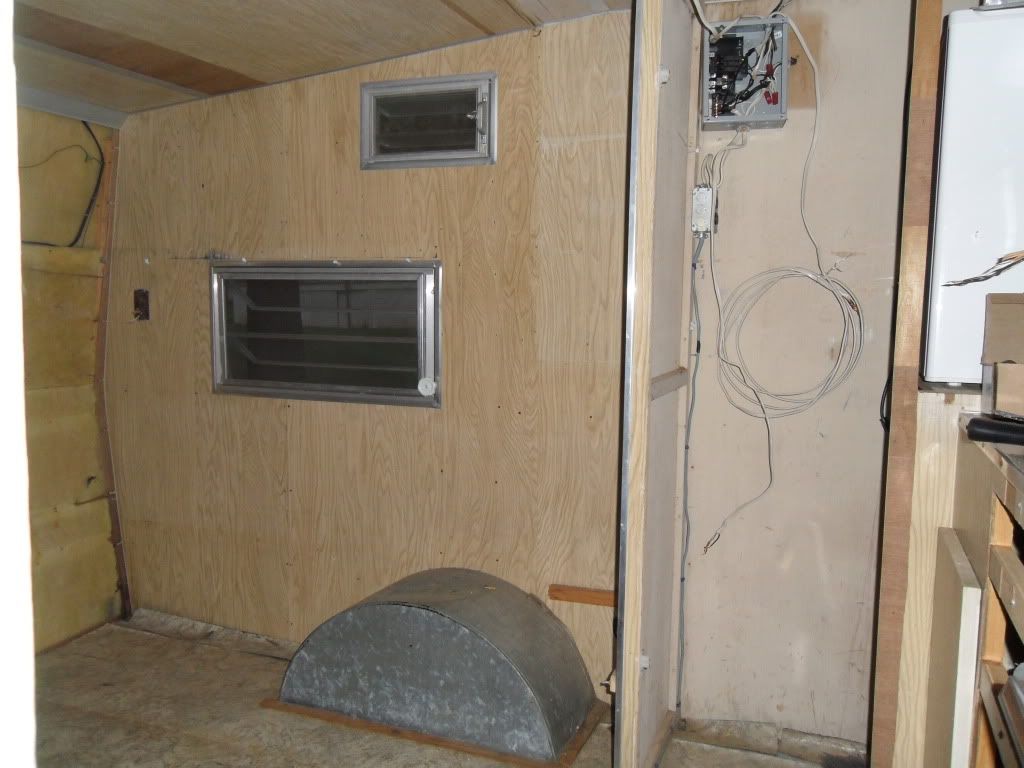
Obvious water damage below the rear window. A/C unit will stay but building a new and improved mount for it so the back wall is taken out of the equation for support.
I love the original green 70s carpet sample, has an old burlap backing??? its going back into the closet once were done.
Came with original stove in pretty good shape. PO redid gas lines and regulators etc etc. Icebox was gone, replaced by a small fridge. Ok by me.
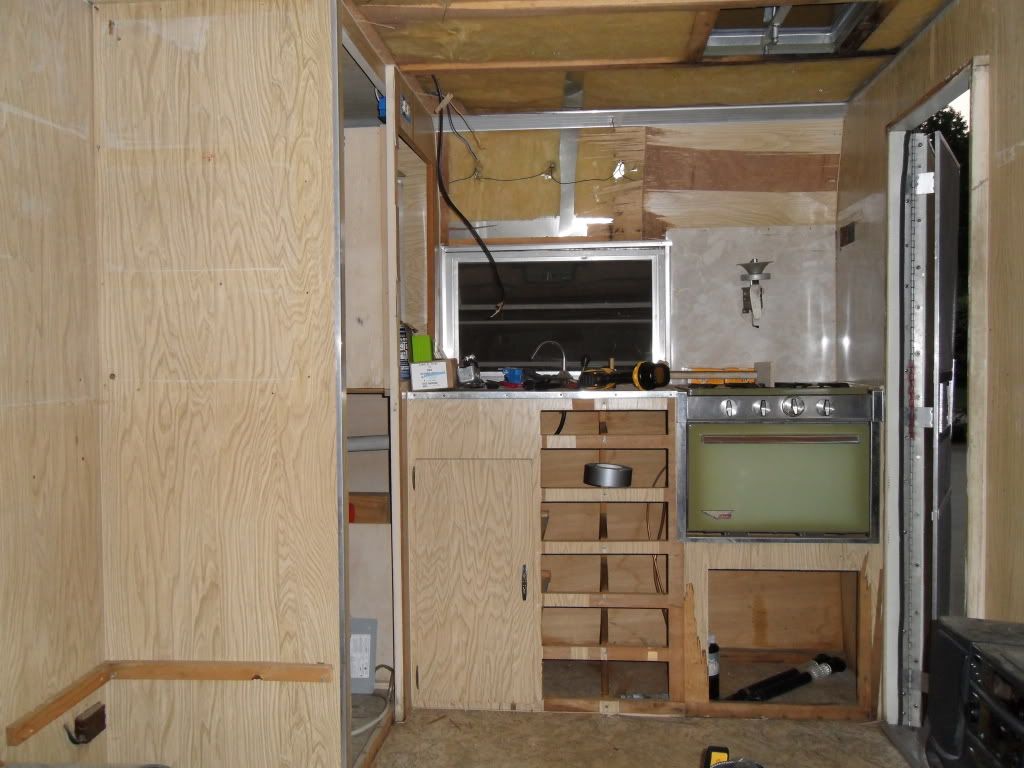
By that evening had started to rip out paneling. more or less exploring the more weather beat sections

By the end of the evening on 8-17-11 had more of the interior gutted

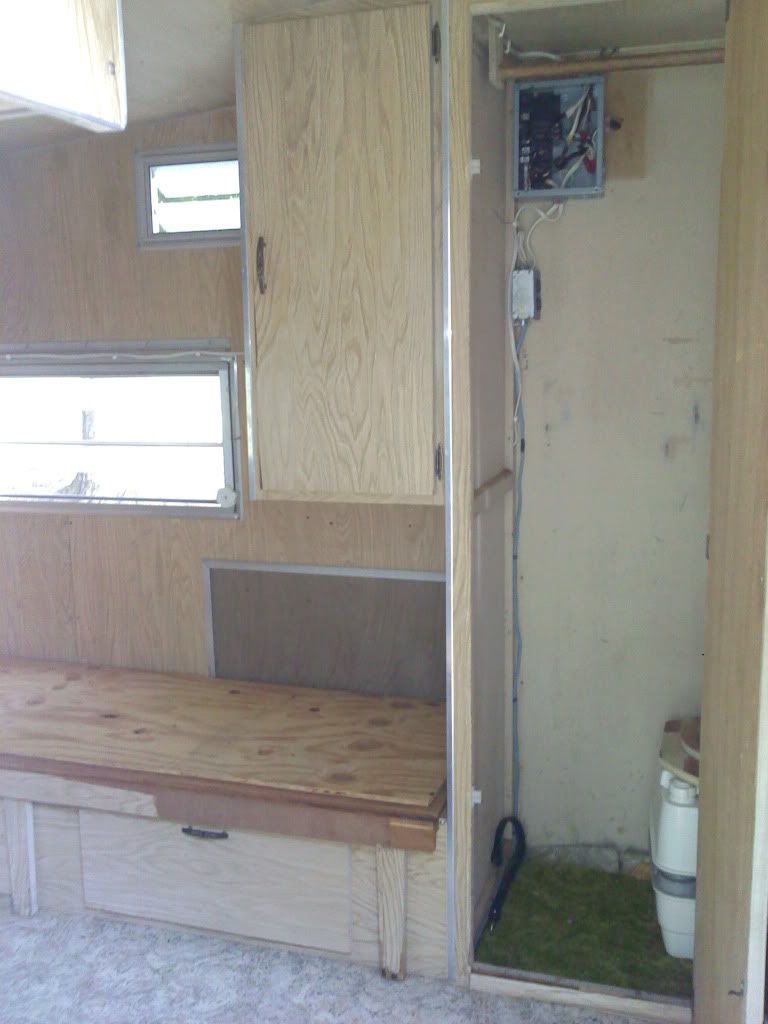
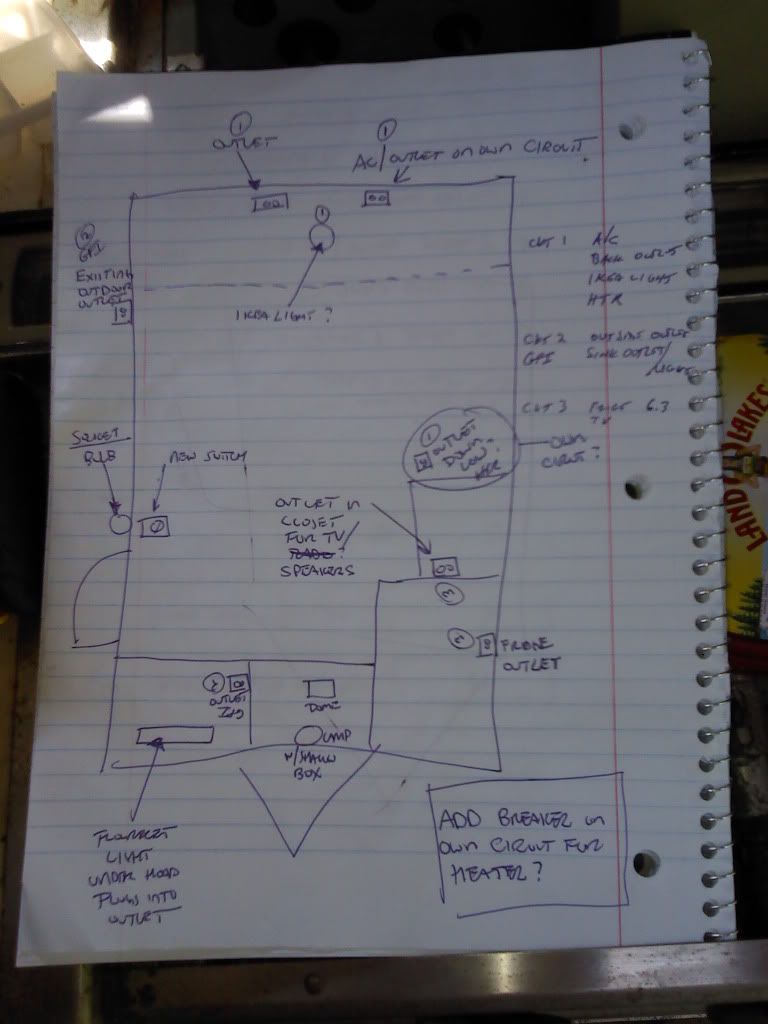
Had my dad come over and assist me in calculating the loads that the electric circuit would have to handle. While the camper will remain mostly retro looking, it will have the capability to run everything safely. The PO started this process by installing new breaker box replacing the glass fuse box. I thought all this was good to go but the wiring was really too low of a gauge to handle the loads safely. Not to mention the feed line from the wall was still original 12-14 GA wire. When we came we may have a small toaster oven, the A/C in the summer, a space heater in the winter, microwave, fridge, and other electronics. When we are done we will have 30amp service hook up. Upgraded the breakers, installed GFCI outlet outside. This is also allowing me to install outlets and lights where we want them. Not where the manufacturer decided they should be (still dont get the outlet in the middle of the ceiling, guess it was for the guy in the bunk???)
So i drew up the "official blue prints"
Out with the old wire

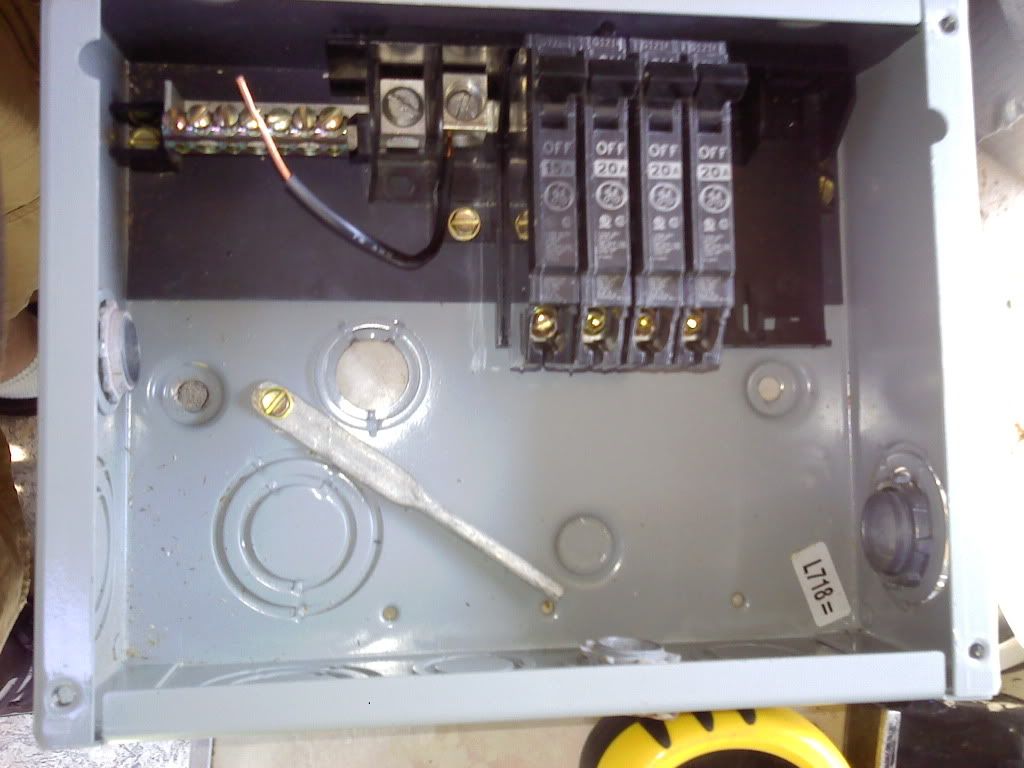
Revamped Circuit breaker box
New cover for the 30amp door (it will coil up under the seat)

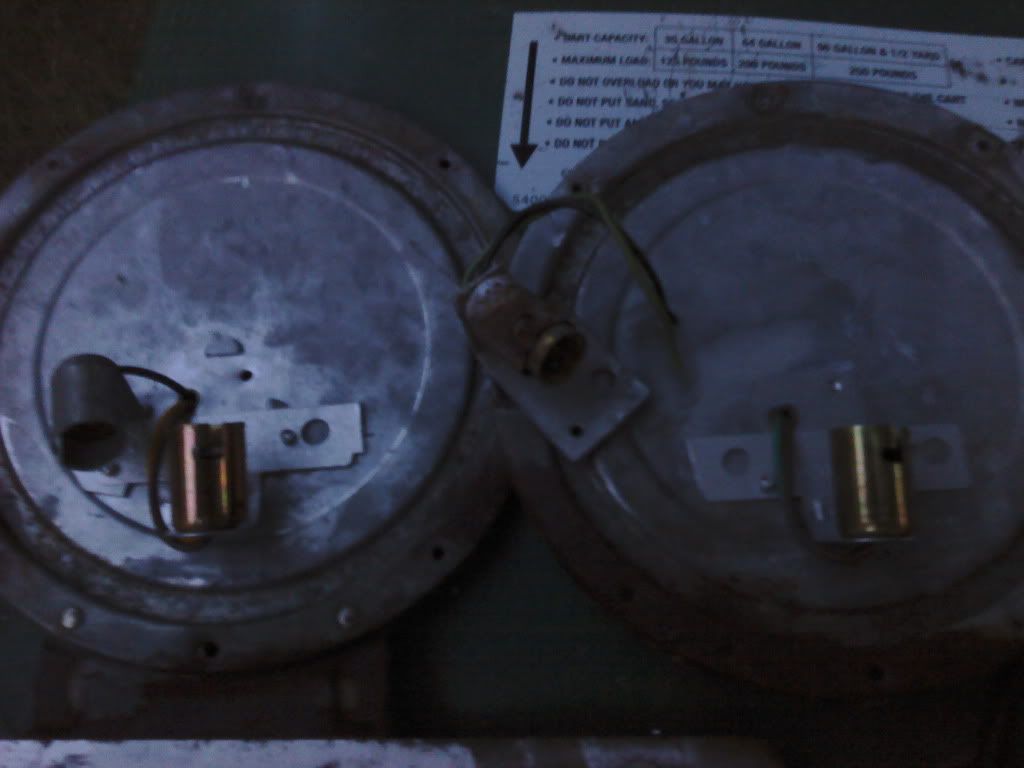
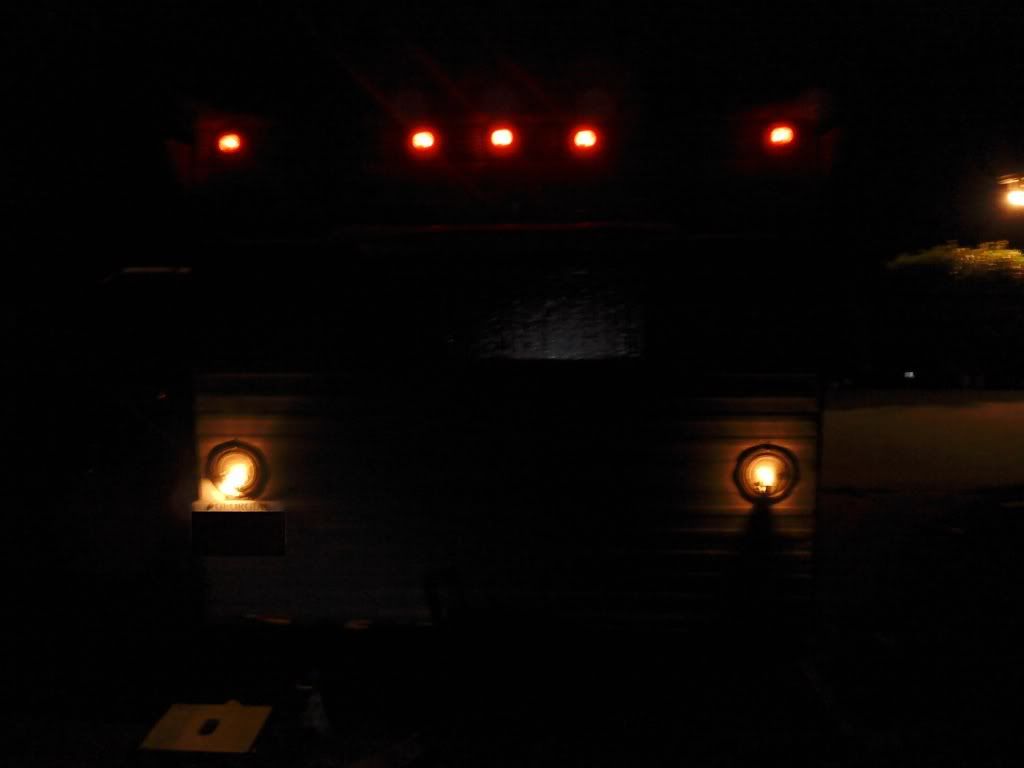
The tailights themselves were in good shape, little rust on one of the back plates, but the sockets were in pretty bad shape. Bought another set of trailer lights just to pull out the socket rigs. Rivited them to the original tail light back plate.
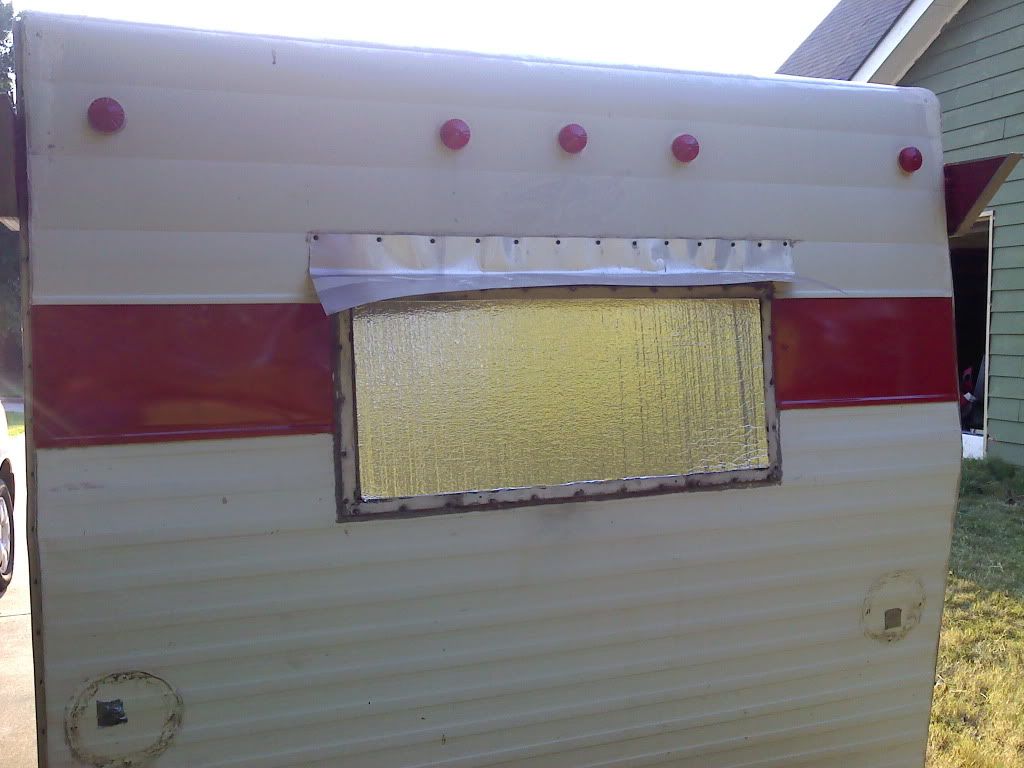
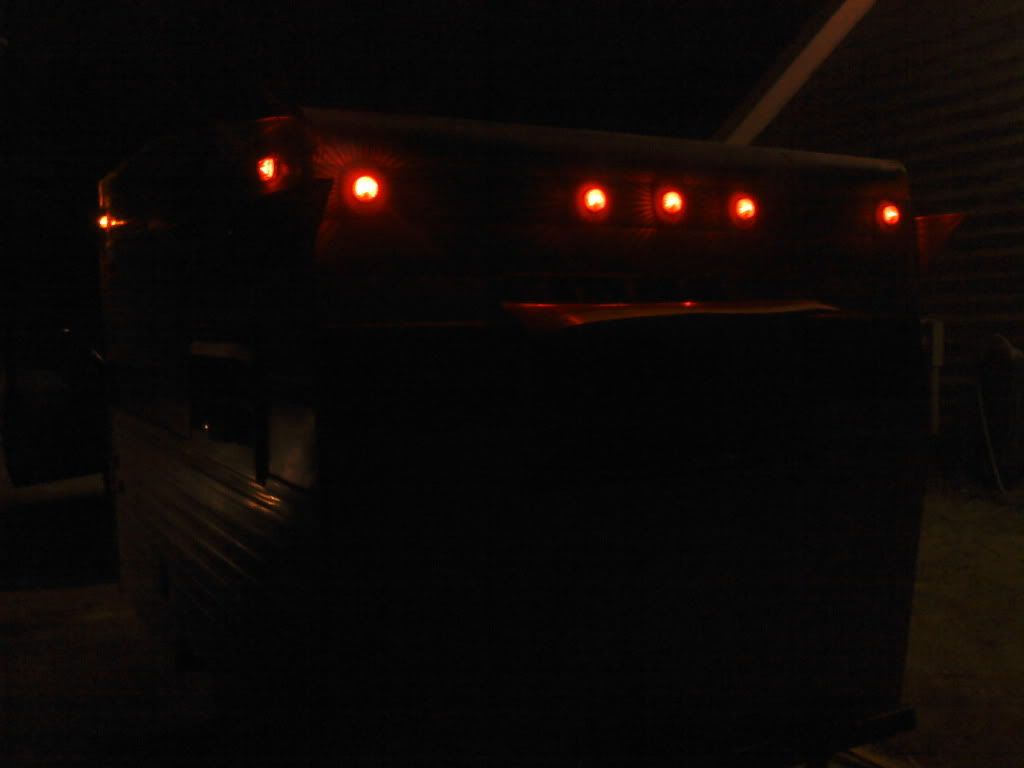
Installed all brand new clearance lights with all brand new wiring with grounds running to each light instead of relying on the skin to ground the lights


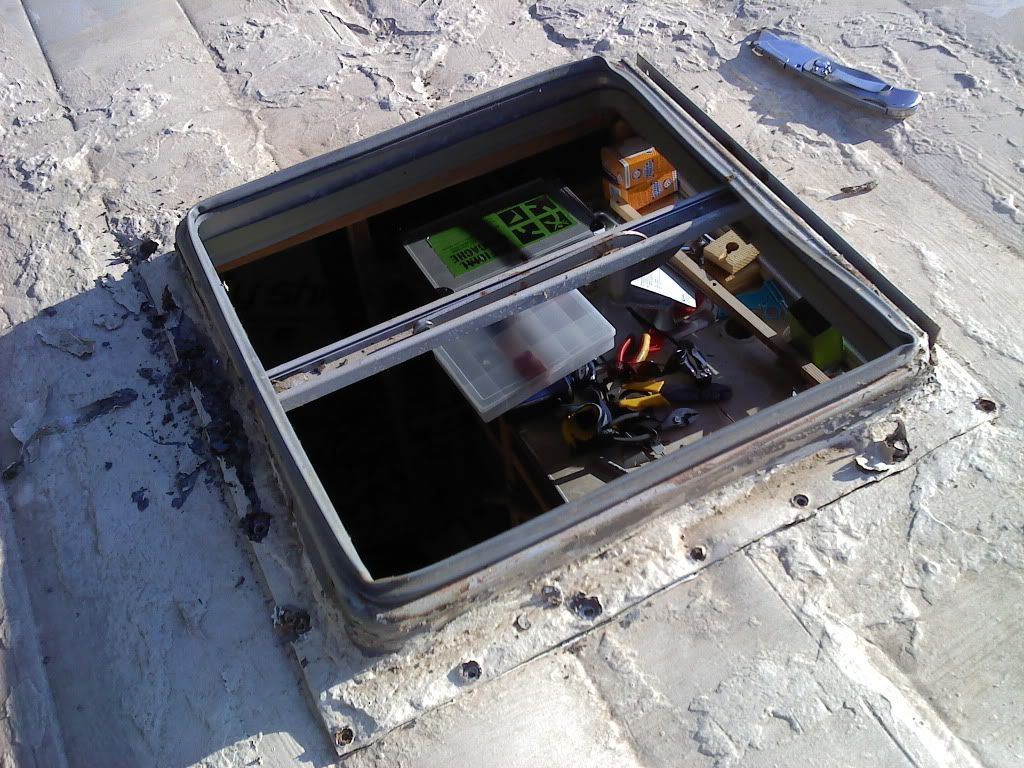
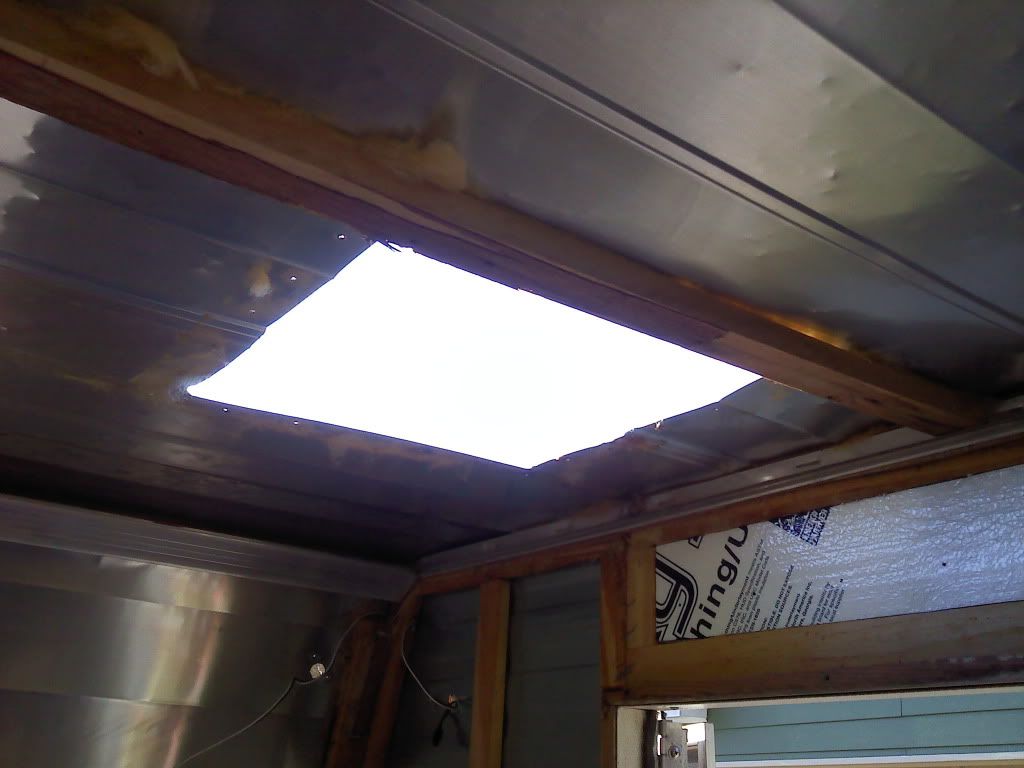
Roof vent which i think may be original was in pretty good shape, except when a PO sealed the roof, they sealed the hinge as well. Causing the lid to snap off the hinge. Vent worked but i replaced it anyway. Will be adding a Maxxair vent cover (just havent yet, sitting inside the camper)
Old vent coming out
Rotted wood pulled
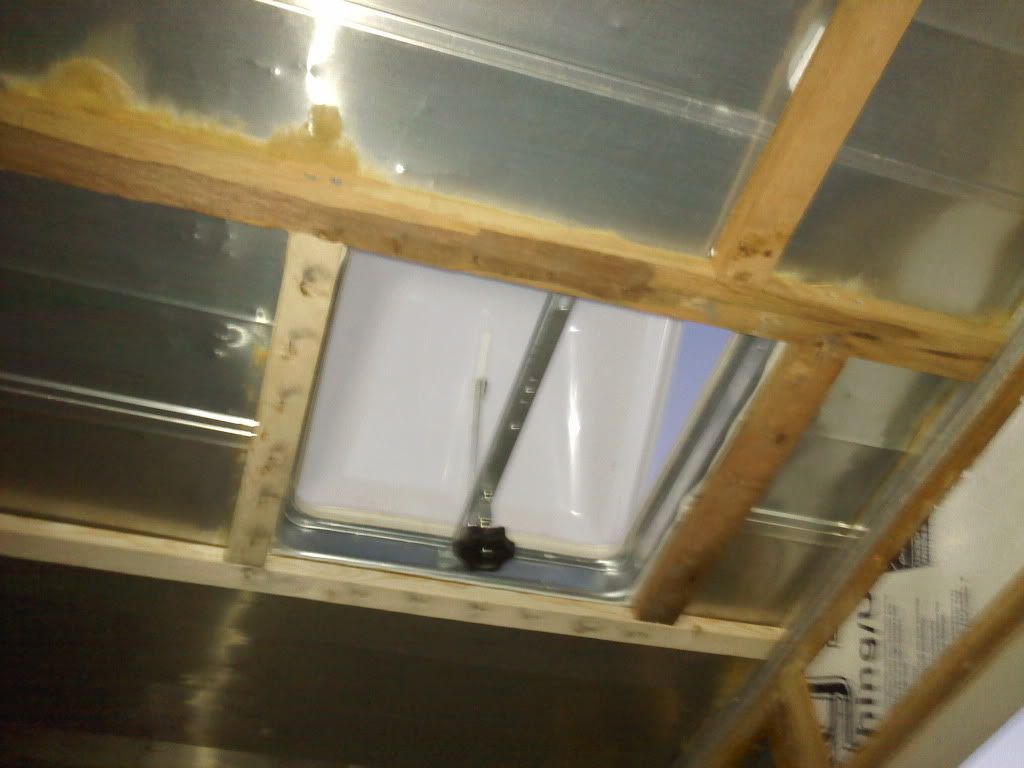
New wood and vent in
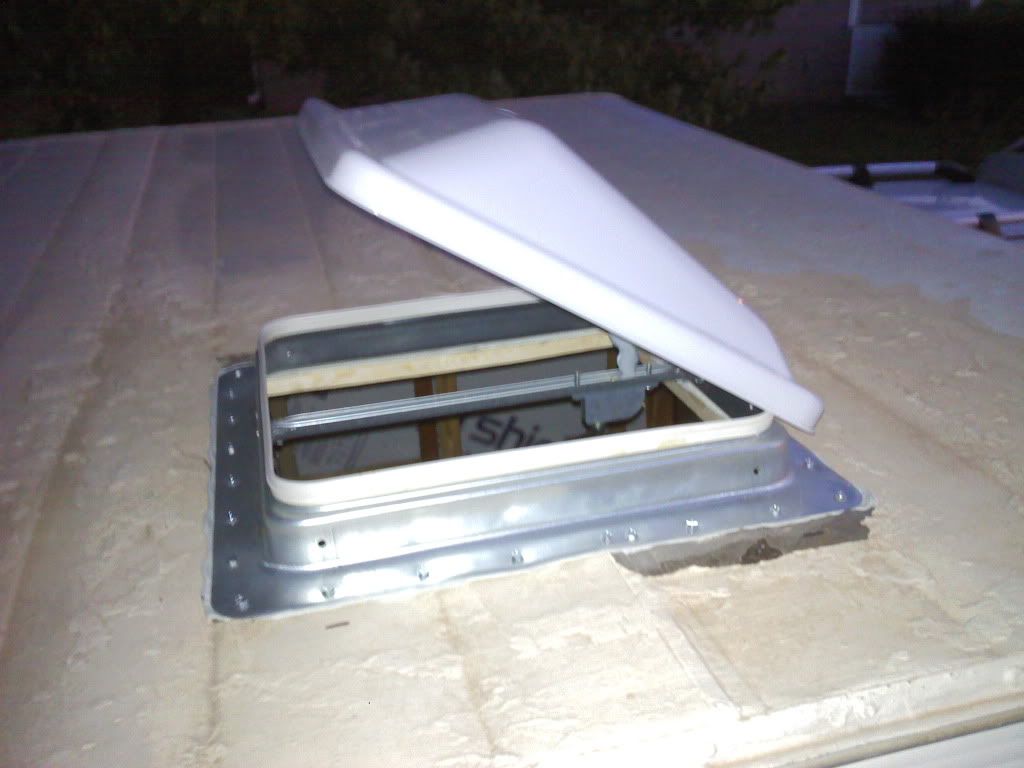
New vent from the top
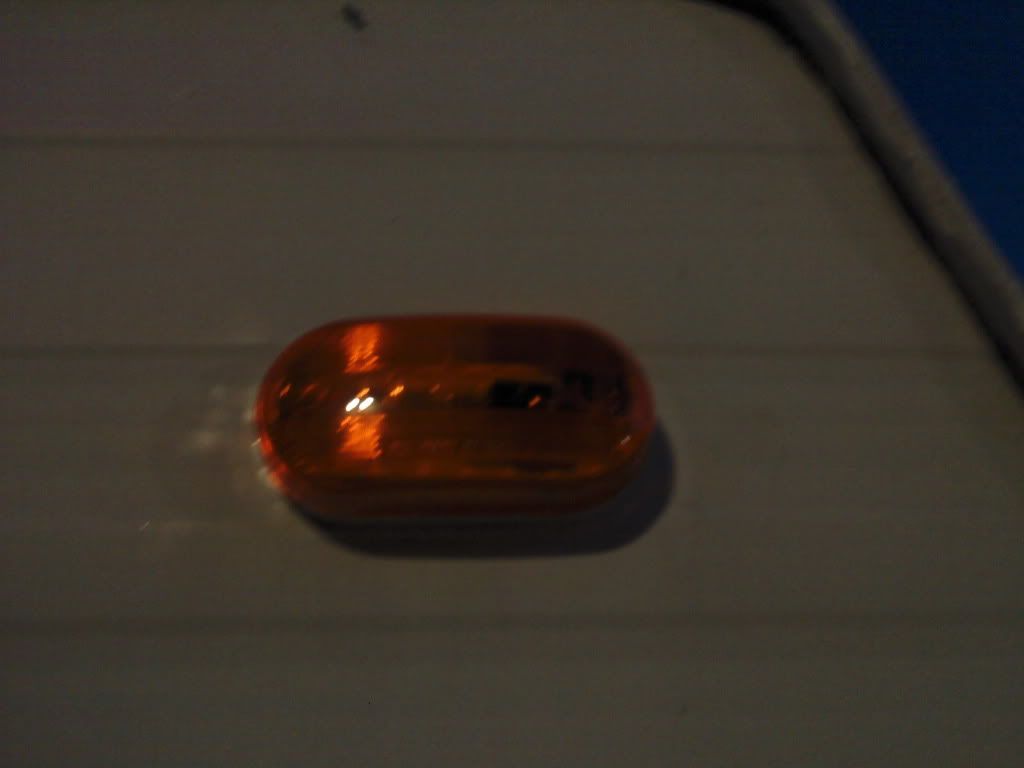
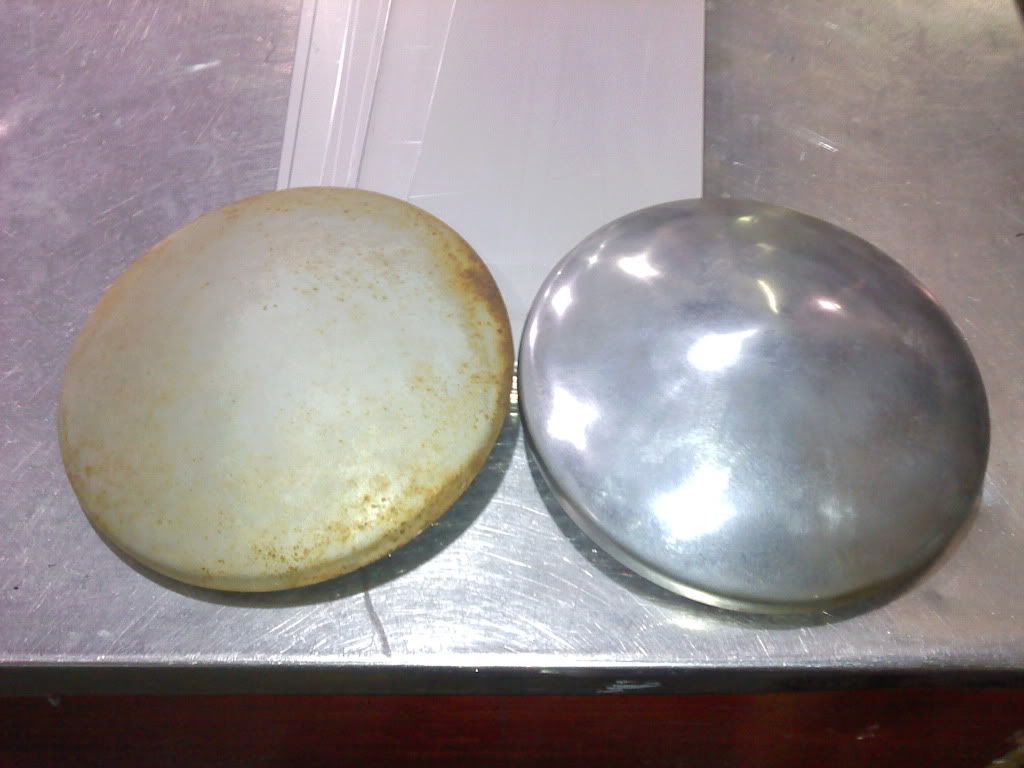
Took the original Moon Eyes and ran them on a wire wheel, a PO had spray painted them silver. This picture was after having done one of them. The second one didnt end up looking much better, lots of rust that was deeper than the surface. Think these will end up getting painted again to match the camper.
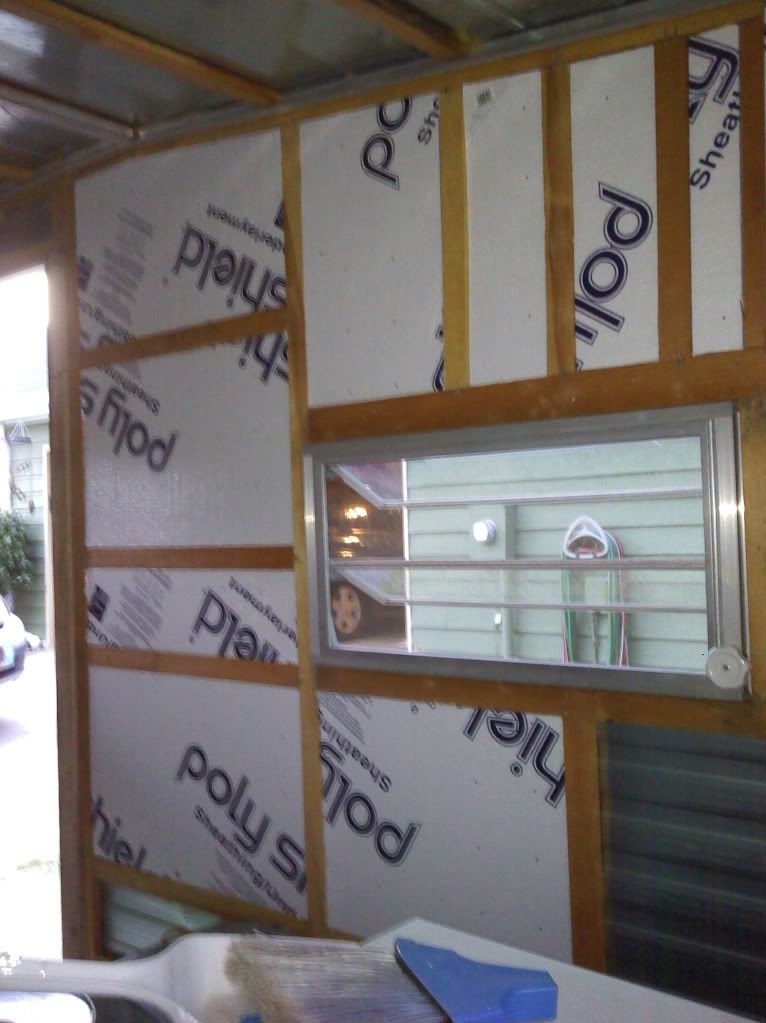
The day i started to put foam back in. Most the foam has been cut at this point and was waiting for my trailer lights to be in and working. Now that that is done the foaming can continue.
There is still lots left to do, the list doesn't seem to be getting any smaller though it really should be at this point. Lots of detail work that takes alot of time.
Bought our Shasta on 8-15-2011
Heres a picture from the PO of her with her original (i believe) awning and original paint colors
Here are some pictures from the PO just prior to our buying it.
Here was her first tow, we stopped for dinner on the way home
We got home after dark that night. Running tires were good. I would come to find out the spare needed to be replaced. Rear lights worked ok when we got it but front clearance were all dead. Pulled great. Knew when we bought it there was some water damage. This is our first camper and certainly the first restore. I had been researching and looking for months for the right one. Felt it was time to take the plunge. Was it the right choice? I still think so. There was alot more involved than i had planned for but its moving along and is going to be much better for it.
So here is the interior as of 8-16-2011
Obvious water damage below the rear window. A/C unit will stay but building a new and improved mount for it so the back wall is taken out of the equation for support.
I love the original green 70s carpet sample, has an old burlap backing??? its going back into the closet once were done.
Came with original stove in pretty good shape. PO redid gas lines and regulators etc etc. Icebox was gone, replaced by a small fridge. Ok by me.
By that evening had started to rip out paneling. more or less exploring the more weather beat sections
By the end of the evening on 8-17-11 had more of the interior gutted
Had my dad come over and assist me in calculating the loads that the electric circuit would have to handle. While the camper will remain mostly retro looking, it will have the capability to run everything safely. The PO started this process by installing new breaker box replacing the glass fuse box. I thought all this was good to go but the wiring was really too low of a gauge to handle the loads safely. Not to mention the feed line from the wall was still original 12-14 GA wire. When we came we may have a small toaster oven, the A/C in the summer, a space heater in the winter, microwave, fridge, and other electronics. When we are done we will have 30amp service hook up. Upgraded the breakers, installed GFCI outlet outside. This is also allowing me to install outlets and lights where we want them. Not where the manufacturer decided they should be (still dont get the outlet in the middle of the ceiling, guess it was for the guy in the bunk???)
So i drew up the "official blue prints"
Out with the old wire
Revamped Circuit breaker box
New cover for the 30amp door (it will coil up under the seat)
The tailights themselves were in good shape, little rust on one of the back plates, but the sockets were in pretty bad shape. Bought another set of trailer lights just to pull out the socket rigs. Rivited them to the original tail light back plate.
Installed all brand new clearance lights with all brand new wiring with grounds running to each light instead of relying on the skin to ground the lights
Roof vent which i think may be original was in pretty good shape, except when a PO sealed the roof, they sealed the hinge as well. Causing the lid to snap off the hinge. Vent worked but i replaced it anyway. Will be adding a Maxxair vent cover (just havent yet, sitting inside the camper)
Old vent coming out
Rotted wood pulled
New wood and vent in
New vent from the top
Took the original Moon Eyes and ran them on a wire wheel, a PO had spray painted them silver. This picture was after having done one of them. The second one didnt end up looking much better, lots of rust that was deeper than the surface. Think these will end up getting painted again to match the camper.
The day i started to put foam back in. Most the foam has been cut at this point and was waiting for my trailer lights to be in and working. Now that that is done the foaming can continue.
There is still lots left to do, the list doesn't seem to be getting any smaller though it really should be at this point. Lots of detail work that takes alot of time.