kaffi311
Active Member

Posts: 283 
Likes: 98
1963 Shasta 16 SC
Currently Offline
|
Post by kaffi311 on May 4, 2018 20:06:47 GMT -8
Ok- so I have some ceiling panels all shellacked and ready to install. Yahoo! Today I got poplar for the roof rafters and plan to use Liquid Wrench to adhere the panels first (before install). This is the original key sheet (with roof vent opening) 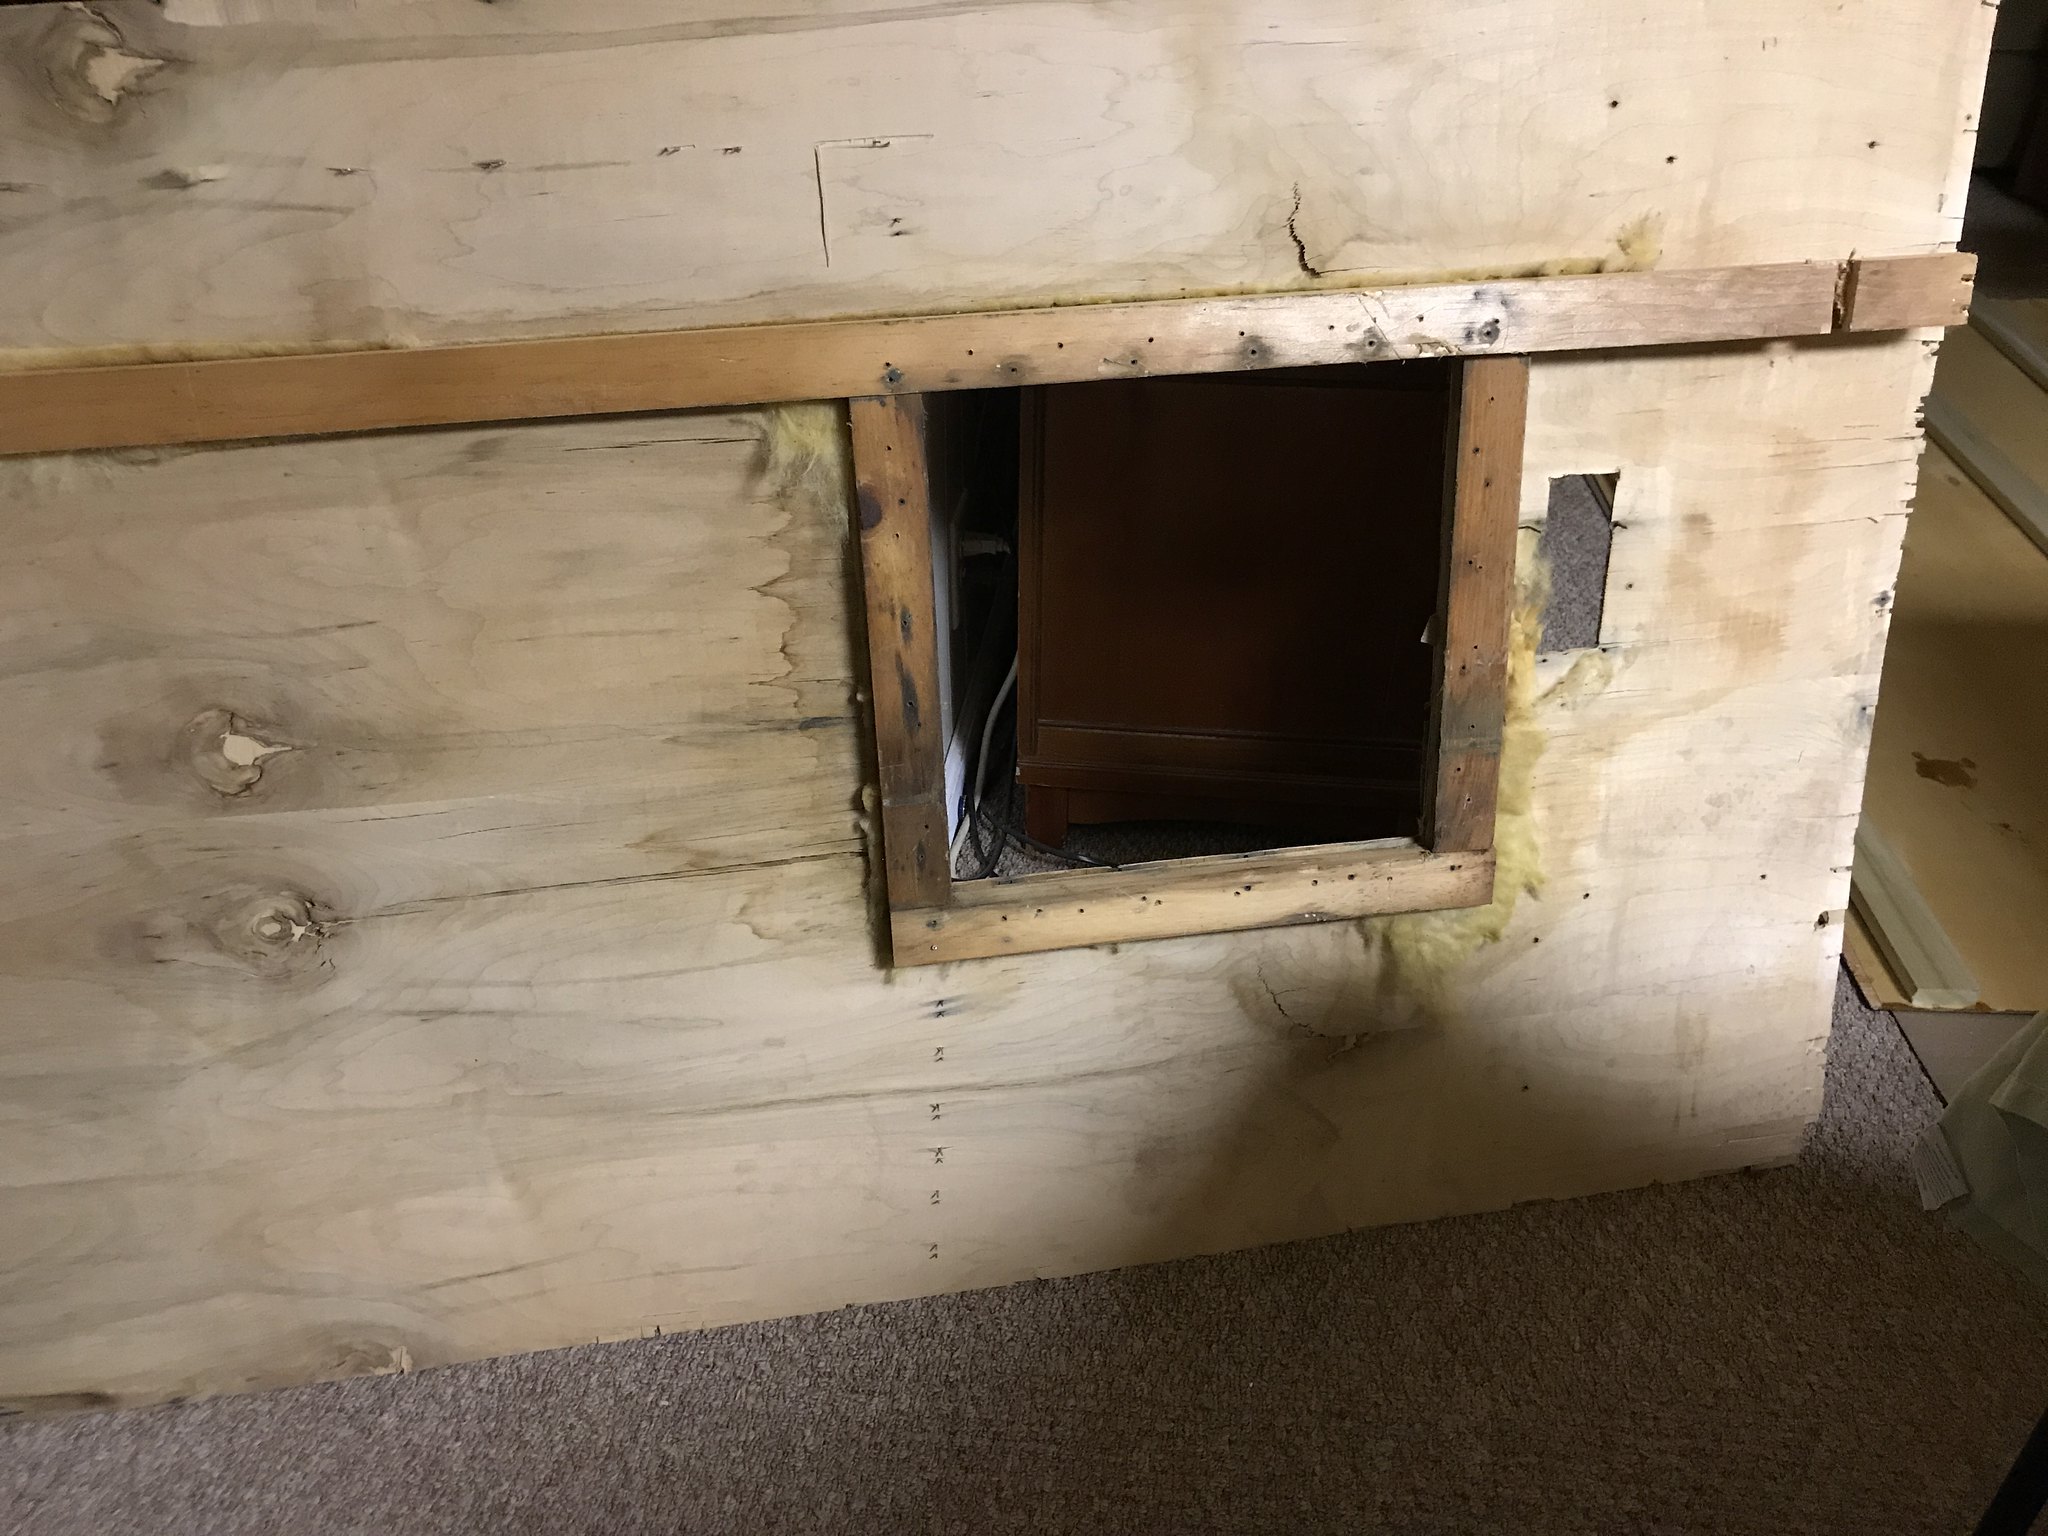 The original ceiling panels are all 36" wide. My new ones are 48" wide. So, I will need to do some reconfiguring of the roof framing. Questions: 1) There was of course a rafter on both sides (long ends) of this sheet to attach seam to. There was not another one on the side of the vent opening- just the one pictured. Is it best to add one there for more support? Am I making sense? lol 2) I thought the cabinets were screwed into these rafter boards- but most of the screws into the top of the cabinets was just through the birch panels. That seems so weak. Should I add some more framing into the roof where the cabinets attach? 3) For all other rafters- how far apart is best? one on each long end , but how many in between? Hope I am making sense. Thanks Kathy |
|
|
|
Post by vikx on May 5, 2018 21:10:19 GMT -8
Kathy, you must have a rafter at each seam to support the panels. (later, a trim stick is screwed over the seam into the rafter) Also put two rafters at each side of the vent. You can add as many as you like from there. I would put at least one at each cabinet edge, both would be good if they're not to close together.
I screw thru the rafters into the cabinets and use fender washers on the panels as needed.
|
|
nccamper
Administrator 
Posts: 7,745 
Likes: 2,872
1962 Forester- 1956 Shasta
Currently Offline
|
Post by nccamper on May 6, 2018 5:06:24 GMT -8
"...how far apart is best? one on each long end , but how many in between?"
I put one on each side of a 4x8 sheet and one in the middle.
|
|
roadtripper
Active Member
Posts: 311
Likes: 116
Currently Offline
|
Post by roadtripper on May 6, 2018 5:42:17 GMT -8
I had 1/8” front and rear at curve and 1/4” in middle so I cut an 1/8” rabbet across the length of the bottom so the finished surface inside came out flush.
|
|
kaffi311
Active Member
Posts: 283
Likes: 98
1963 Shasta 16 SC
Currently Offline
|
Post by kaffi311 on May 9, 2018 19:15:56 GMT -8
Kathy, you must have a rafter at each seam to support the panels. (later, a trim stick is screwed over the seam into the rafter) Vikx- I was going to nail the seams from inside to the rafter, then add a trim stick over the seam which will be twisty nailed in. Is that support enough? You mentioned screws...what kind/size do you use? Thanks K |
|
|
|
Post by vikx on May 9, 2018 20:01:20 GMT -8
I use screws, 6" x 1", with decor washers. My trim sticks are about 3/16 thick, so the screws don't go all the way thru. Measure carefully to prevent that! You don't want the screws to poke the roof. Personally, I like screws better than twisty nails.
|
|
mobiltec
5K Member
 I make mistakes so you don't have to...
Posts: 9,825
Likes: 3,752
1954 Jewel In Progress...
Currently Offline
|
Post by mobiltec on May 11, 2018 11:09:31 GMT -8
I try to keep my ceiling rafters 16inches on center. But at the vent they need to be 14 inches apart for the vent fixture.
|
|


