kaffi311
Active Member

Posts: 283 
Likes: 98
1963 Shasta 16 SC
Currently Offline
|
Post by kaffi311 on Feb 20, 2018 18:29:20 GMT -8
I am sorry- but I don't know the name of the long horizontal board at the top of this photo. The uprights/ vertical boards for the side framing attach to it at the roof. Mine is very rotted on the curbside. I cannot access my roof at present easily- I need to wait until it gets warmer out so I can move the trailer out of the barn ( tight fit up there). For now, I am just screwing the new upright framing to it until I can replace it. Should I try to get to it without having access to the roof ( taking off roof skin)? or is it ok to continue with side framing as I am doing? Thanks  IMG_1870 IMG_1870 by kathy, on Flickr |
|
|
|
Post by vikx on Feb 20, 2018 20:41:36 GMT -8
I would wait until you can remove the skins and repair it from the outside in with the roof either removed or floated.
There's nothing supporting the trailer in the picture, it could sag. Also, you'll need a new one by (I think that's the rotten board you're talking about?) and new edge boards (curbing) all along that side. Impossible to do with the roof on.
I always start at the bottom and repair the sills, skirts and wheel wells. Working around the trailer, a person can see and repair wall studs at that time or later. Once you have good solid wood as a base, you can add studs and bracing, working up.
I hope this helps. Doing it from the inside means you will have to re-do some of your work.
|
|
kaffi311
Active Member
Posts: 283
Likes: 98
1963 Shasta 16 SC
Currently Offline
|
Post by kaffi311 on Feb 21, 2018 5:12:50 GMT -8
The picture was deceiving- this is what the rest of the curbside looked like - I was just removing the one upright for the door frame at that time. 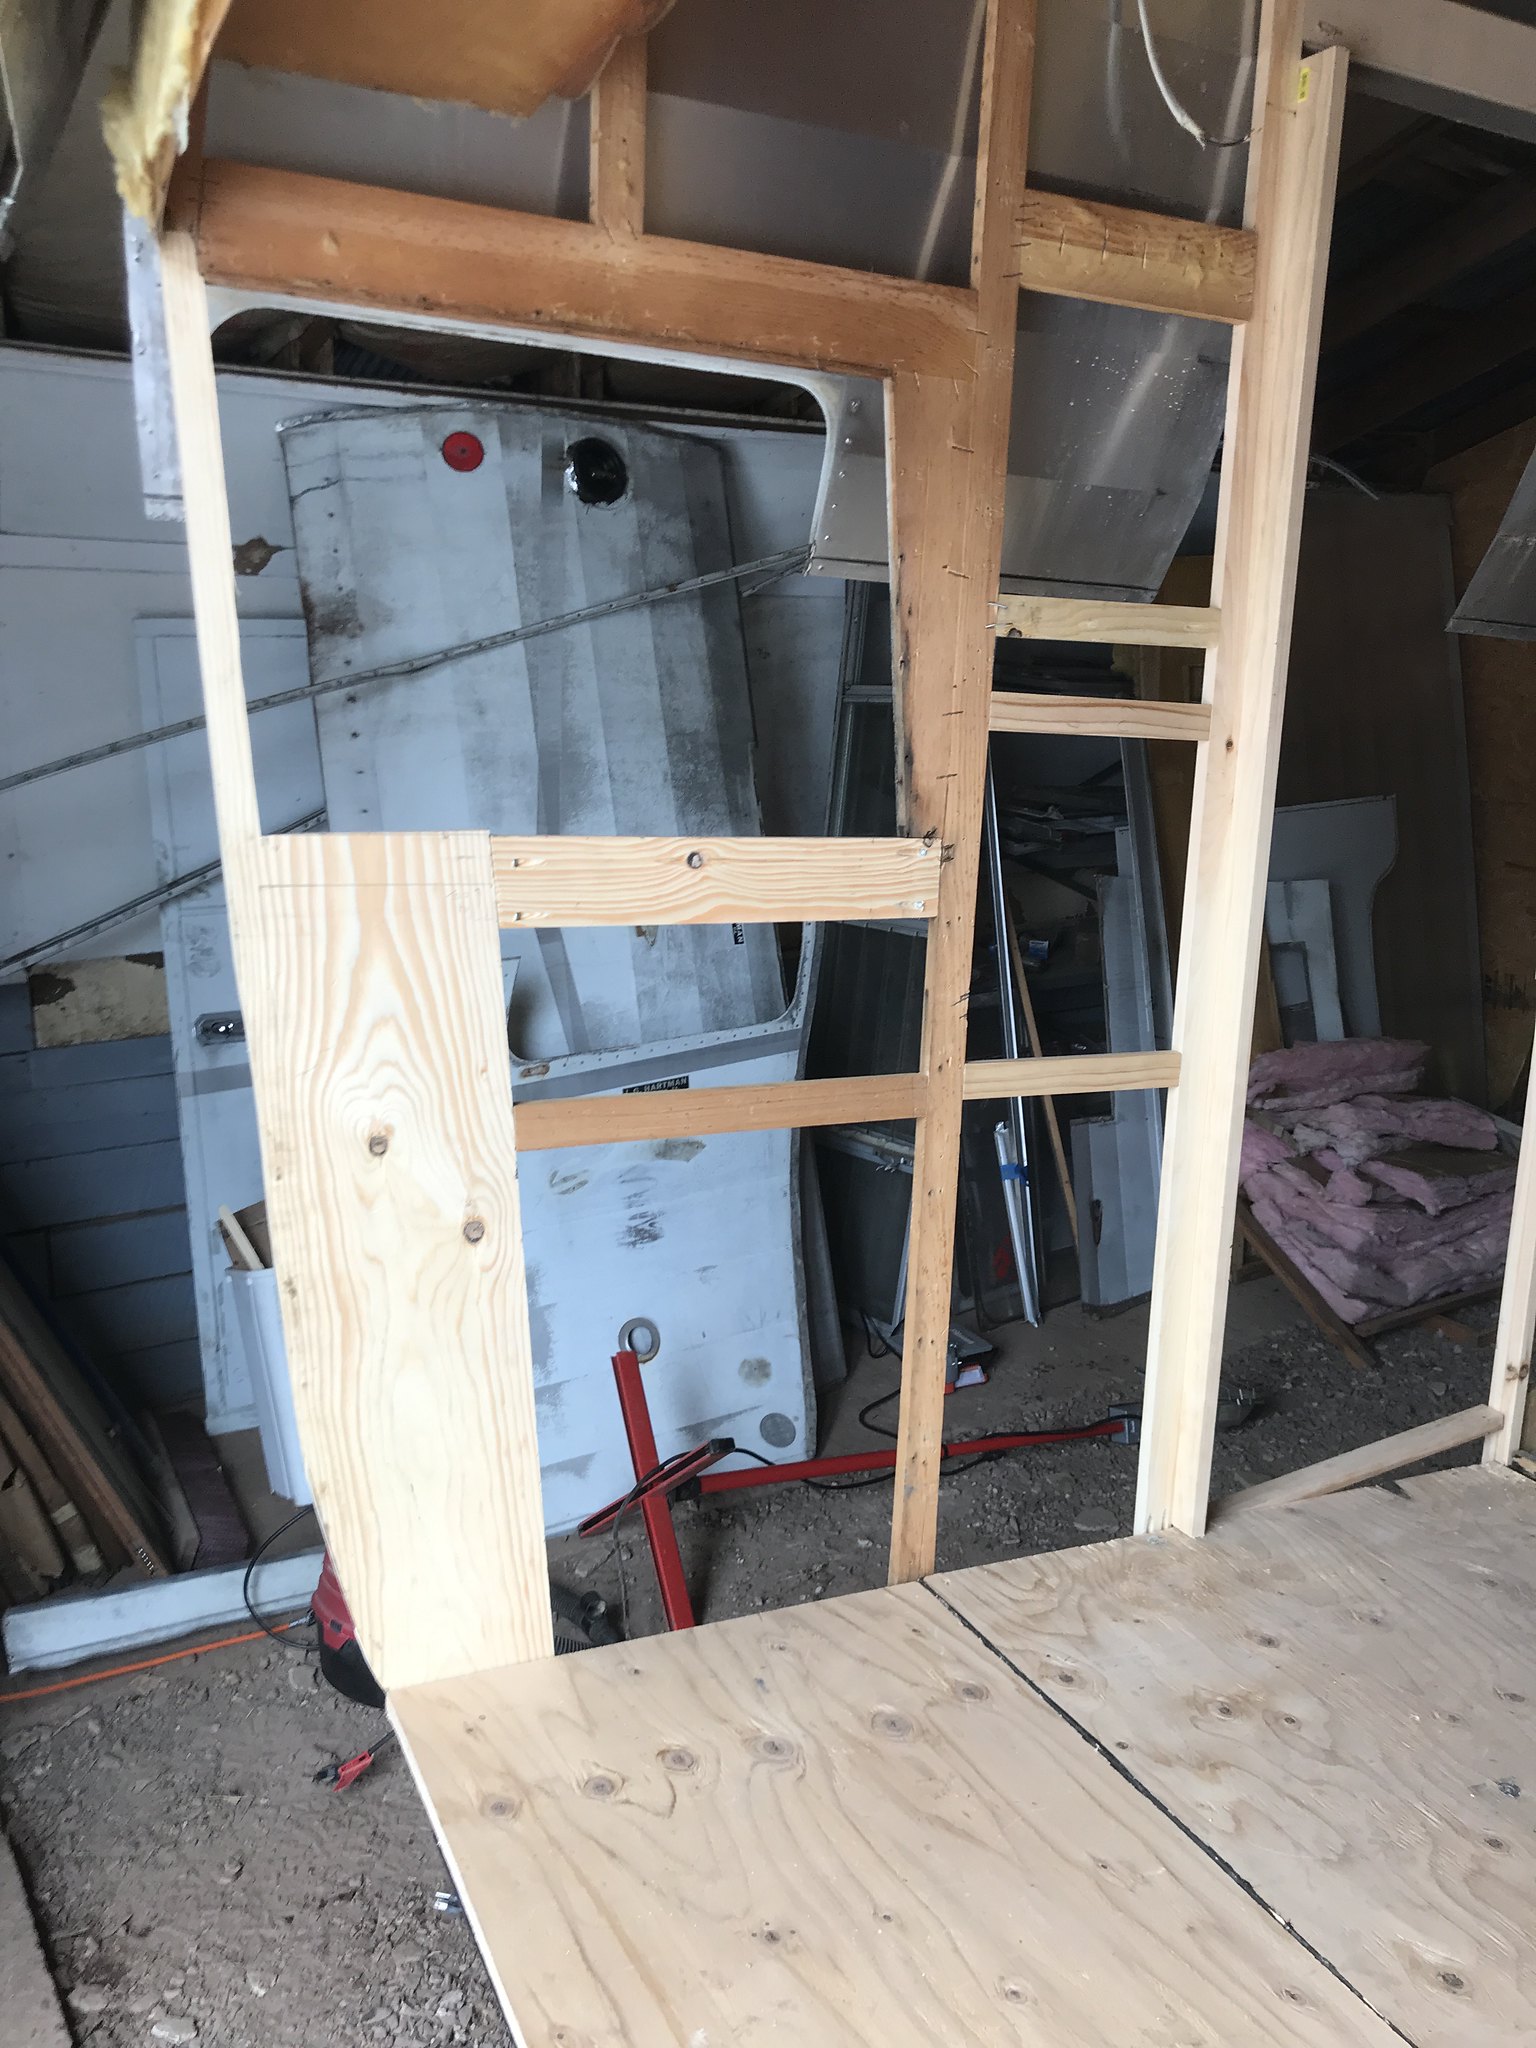 IMG_1898 IMG_1898 by kathy, on Flickr Ok- I will wait until I get the roof off to work on that wood. I am working my way around the sides from the sill boards up- just like you guys taught me   IMG_1899 IMG_1899 by kathy, on Flickr THanks ! |
|
|
|
Post by vikx on Feb 21, 2018 12:28:36 GMT -8
Good work, Kaffi! Add another cross stick below the window while you're at... Measure your dinette height and put a backer so you can attach it to the wall. I use 1 x 3s for backers; less likely to split or crack.
Remember to add backers for EVERYTHING: light fixtures, cabinets, water fill, elec inlet, etc. I like large backers, usually a 1 x 6. Lots of wiggle room. If the city water (hose) inlet goes thru the side, add a backer for that as well. It won't yank loose if a person should trip on the hose. Solid wood attachments every time.
We're so proud of you. Keep taking pictures and asking questions.
|
|


