Dad Rambles
Active Member

Posts: 246 
Likes: 140
62 Shasta Airflyte
Currently Offline
|
Post by Dad Rambles on Nov 28, 2016 5:58:09 GMT -8
I have a couple areas in my 62 Shasta where i need to replace wood. Both on the wardrobe, and on the front cabinets under the dinette. I am trying to figure out what will be the best match, and what to stain /shellac it with. Not sure how to make this match new to old wood. The wardrobe it the biggest deal because it is just one piece of the face frame, so it sits right next to an old piece. I am refinishing the other cabinets, and this is what the look like. This is with2-3 coats of amber and 2 coats of clear. 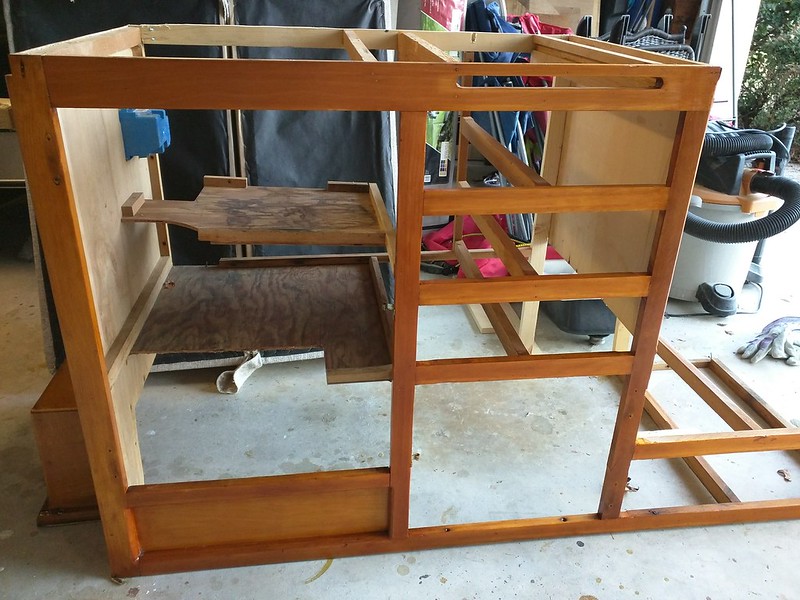 IMG_20161122_165145 IMG_20161122_165145 by gunguy05, on Flickr Closeup of wardrobe wood  IMG_20161120_121337 IMG_20161120_121337 by gunguy05, on Flickr |
|
nccamper
Administrator 
Posts: 7,745
Likes: 2,872
1962 Forester- 1956 Shasta
Currently Offline
|
Post by nccamper on Nov 28, 2016 17:43:52 GMT -8
It's hard to perfectly match the old patina. I have a hundred experiment boards to prove it. As you probably know, how the wood reacts to the finish can change from one batch of pine to another. I'm sure the wood you're dealing with is pine. Soft pine will react differently than Douglas Fur. Etc. Notice how brown the old wood looks with just shellac? New wood doesn't end up with the same deep, brownish amber. So you need to pick the wood by grain and experiment. A few mixes that have worked for me: Minwax natural stain (1 cup) with about 40-50 drops of Mixol Terra. Then multiple coats of Amber Shellac. Sometimes mixed in the first coat of Shellac I'll add some Terra. Penofin Bamboo oil on the new wood Lightly sand when dried 24 hours Amber shellac Colonial maple mixwax stain Followed by a coats of Amber and Clear (creates a rosy color) I could go on and on but you get the idea. A few samples on birch.   I played with Mixol Terra added to premixed Bulls Eye Amber.  The right is new wood with minwax natural stain mixed with mixol terra before shellac. Left is the 55 year old wood.  I've tried mixing Ruby shellac flakes to premixed amber. Too red for you. If you use poplar it really looks nice with just shellac. It might match. Buy tiny containers of stain if you don't have a closet full... like me. Have I confused you enough? |
|
msgoehring
Full Member
Just call me Margaret the shellac, buff, sand an shine queen.
Posts: 860 
Likes: 303
1957 Westerner Deluxe
Currently Offline
|
Post by msgoehring on Nov 28, 2016 20:59:39 GMT -8
In our trailer the original wood was ash and has a brownish color on it unlike other trailers that were done in birch. We're trying to match as close as possible to the color that was there and have spent a lot of time on it. We've finally found a color that is kinda close, but we're still going to have to sand down all the original wood and redo it. We've settled on Amber shellac with the following formula of Mixol tints per cup of shellac: 20 drops of #21 oxide terra brown, 20 drops of #22 oxide tobacco and 10 drops of #20 oxide chestnut, then two coats of clear. We just kept adding tints that looked like they might help until we came up with the perfect solution, now the old wood that we sanded down and tested with is so close to the new that you can't really tell the difference except for the grain. I'm glad that part is over cause I spent a week playing around with different variations until we finally got it.
Hope you have better luck with yours. At least your wood will be closer in grain and base color than ours was.
|
|
nccamper
Administrator
Posts: 7,745
Likes: 2,872
1962 Forester- 1956 Shasta
Currently Offline
|
Post by nccamper on Nov 28, 2016 21:11:14 GMT -8
20 drops of #22 oxide tobacco #22 is new to me. What effect did adding Tobacco have? |
|
msgoehring
Full Member
Just call me Margaret the shellac, buff, sand an shine queen.
Posts: 860
Likes: 303
1957 Westerner Deluxe
Currently Offline
|
Post by msgoehring on Nov 28, 2016 21:33:54 GMT -8
Here's some pictures of what I was working with: This is the slider on the screen door which we haven't done anything to yet so it's the original color: 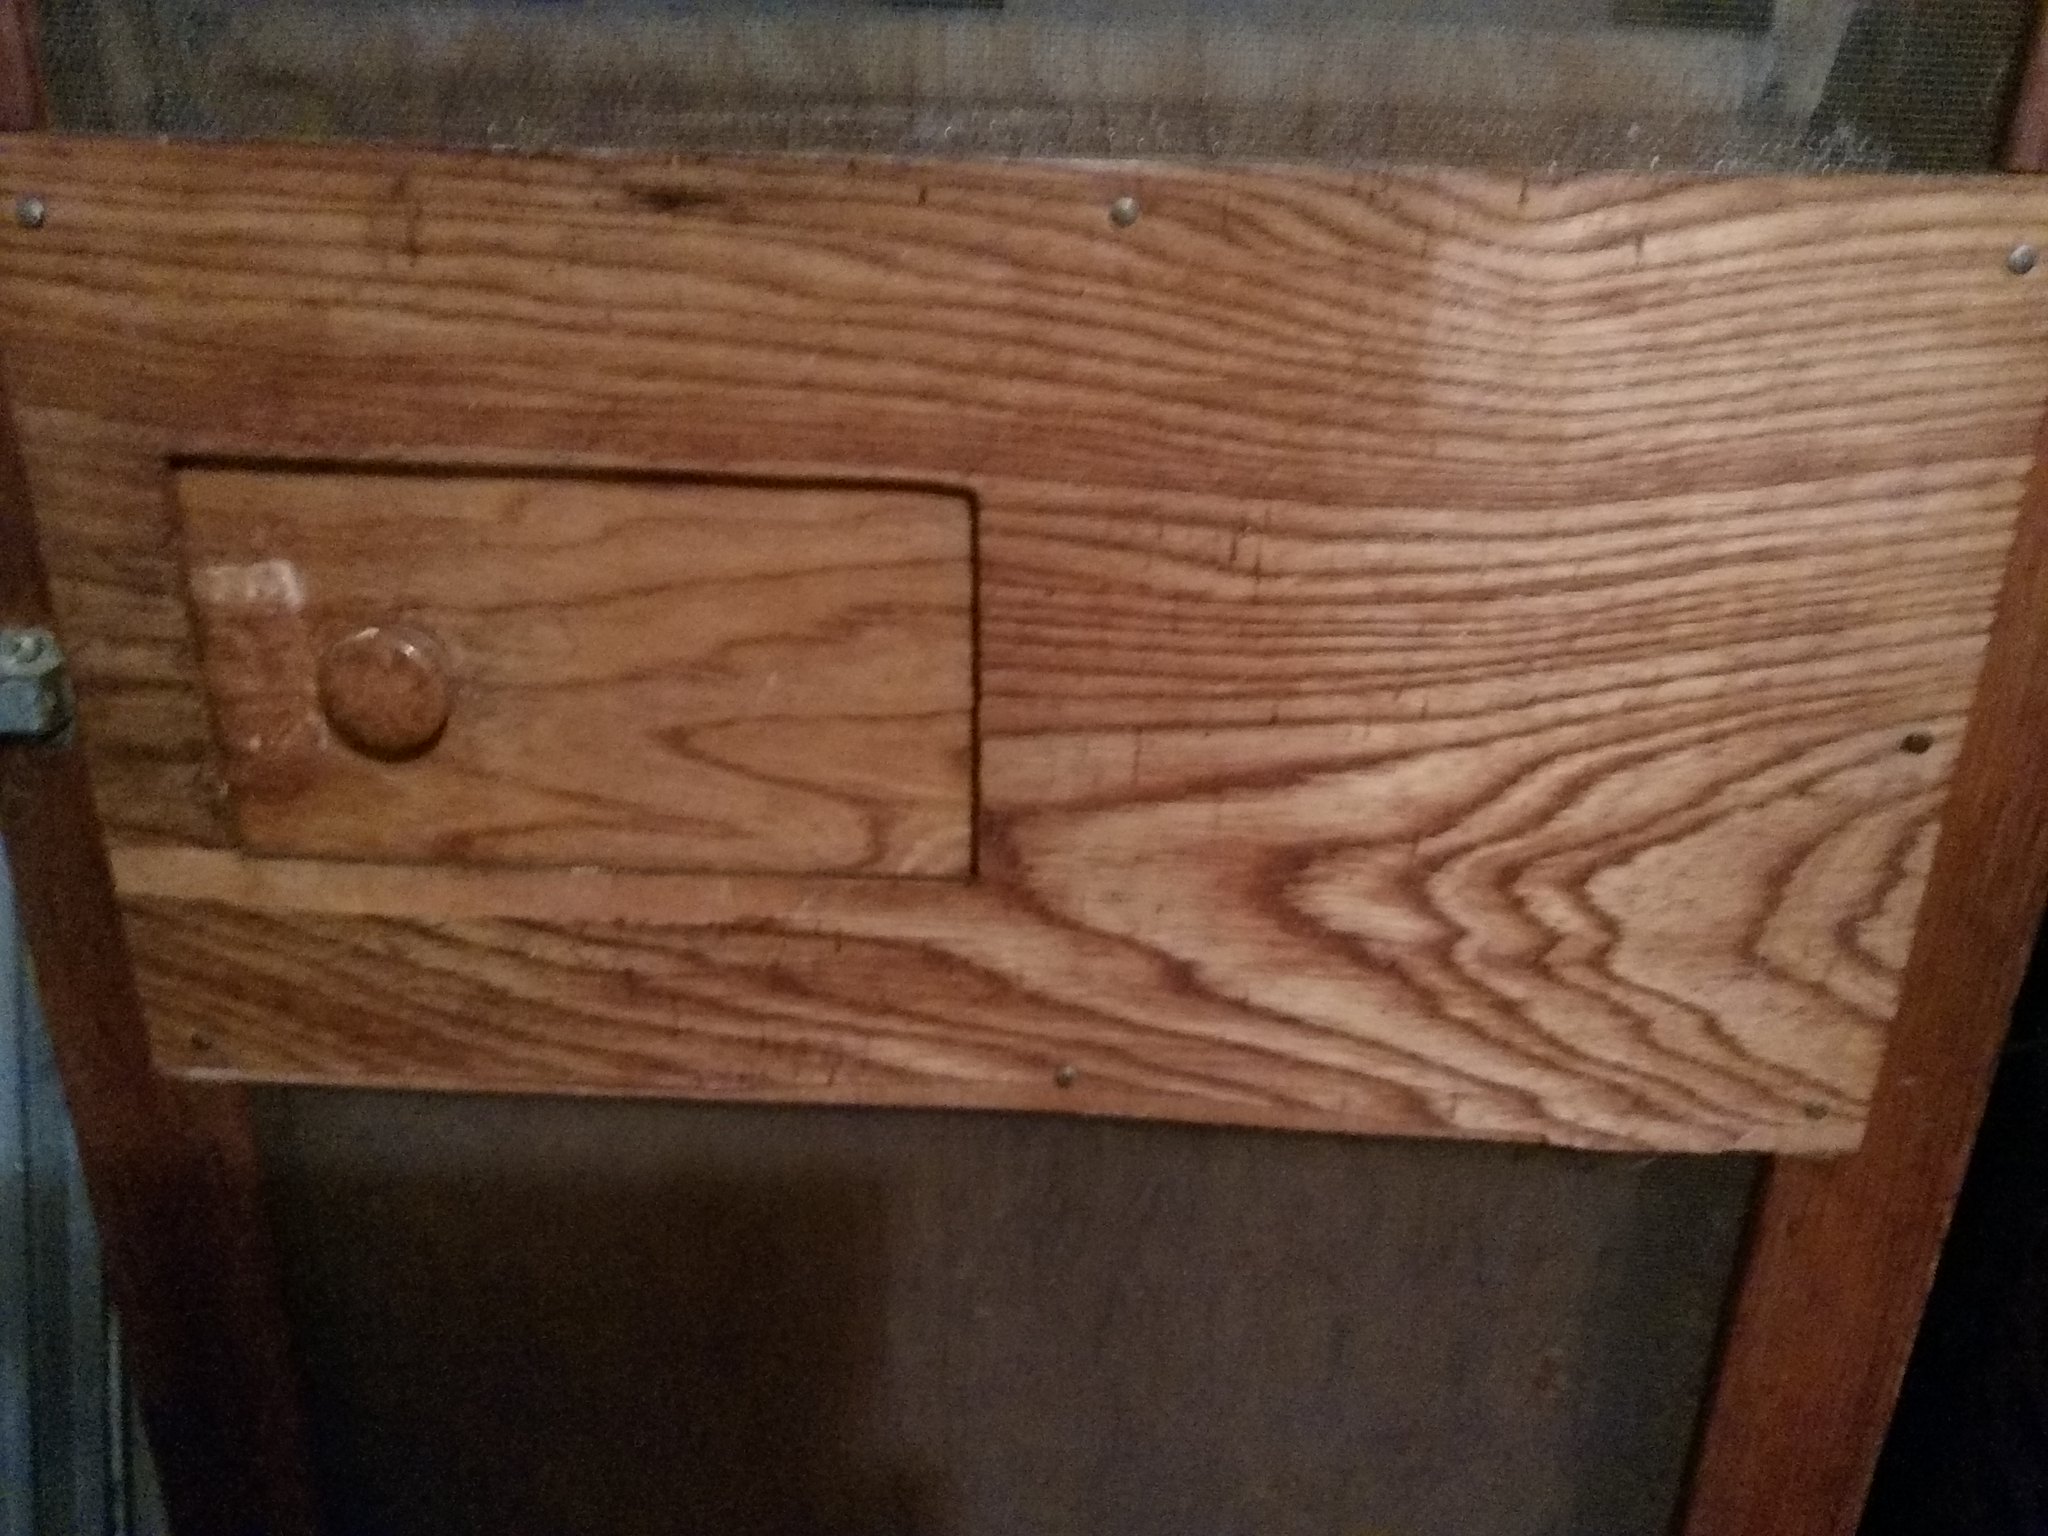 IMG_20161128_2208363_rewind IMG_20161128_2208363_rewindHere's a few of the many samples I did. On the right side is #22 tobacco mixed with amber shellac only. The first time would equal 10 drops per cup, the second 20 drops:  IMG_20161128_2201307_rewind IMG_20161128_2201307_rewindThis is new birch plywood with the final mixture we settled on, it's got some drops from my tests because it's the bottom quarter of one of my test sheets: 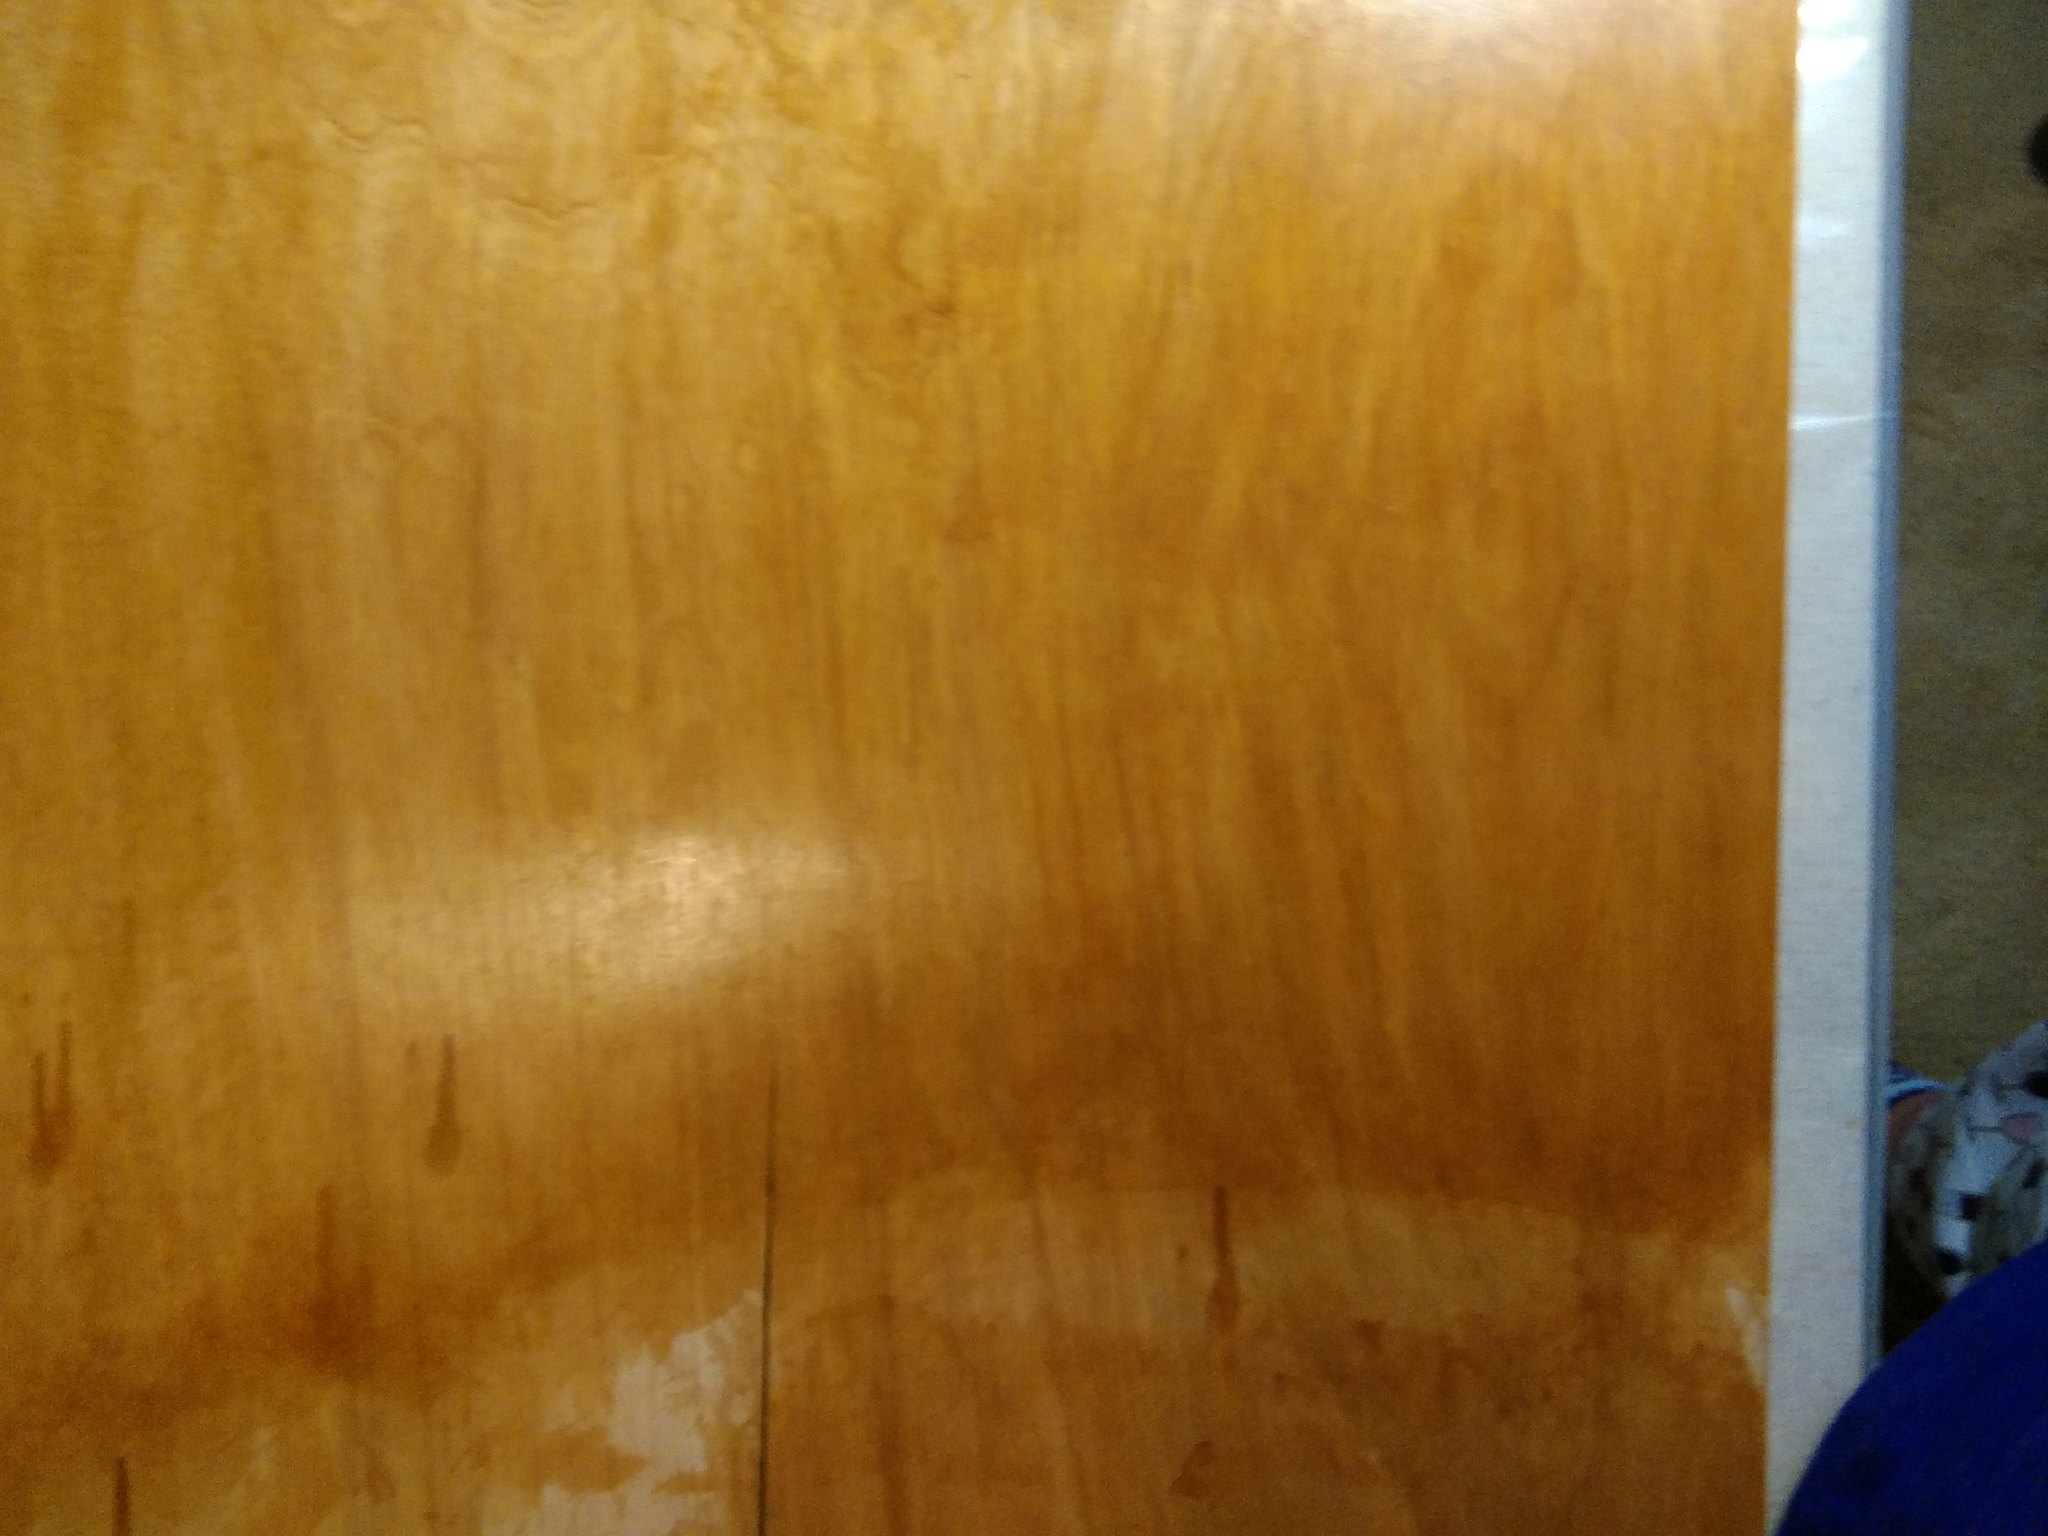 IMG_20161128_2207115_rewind IMG_20161128_2207115_rewindThis is the piece of plywood that was attached to the bottom of the wardrobe hiding the wheel well. We didn't think we could reuse it because it was so beat up, but it's turned out pretty good: 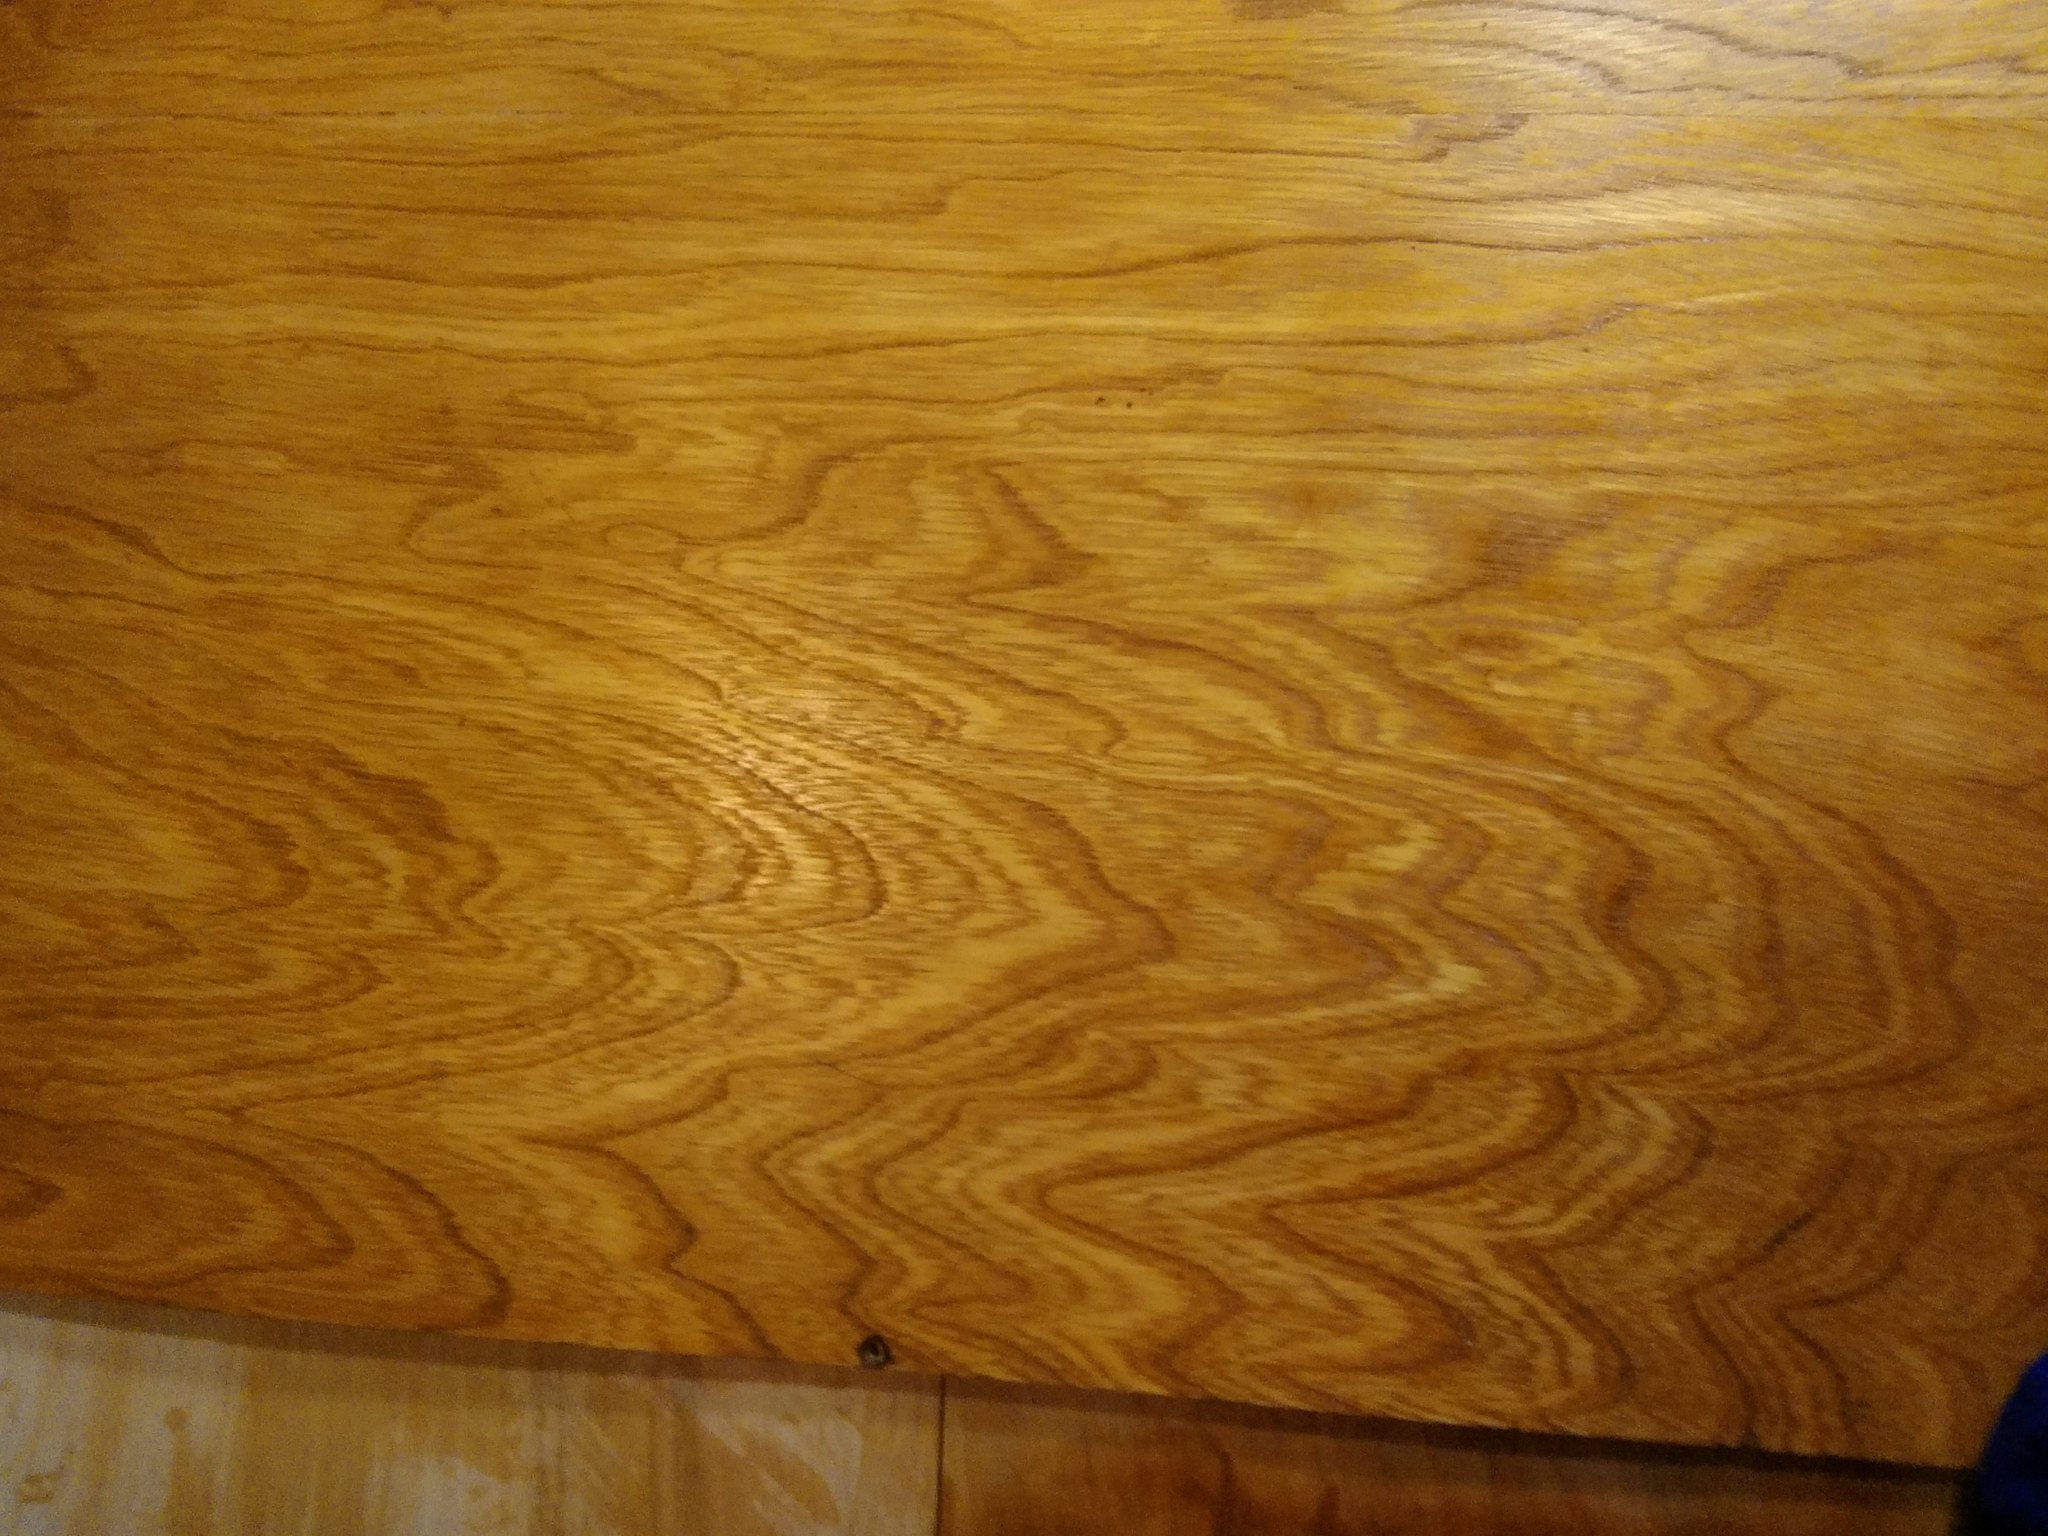 IMG_20161128_2207346_rewind IMG_20161128_2207346_rewindAnd here's the new and old redone wood together: 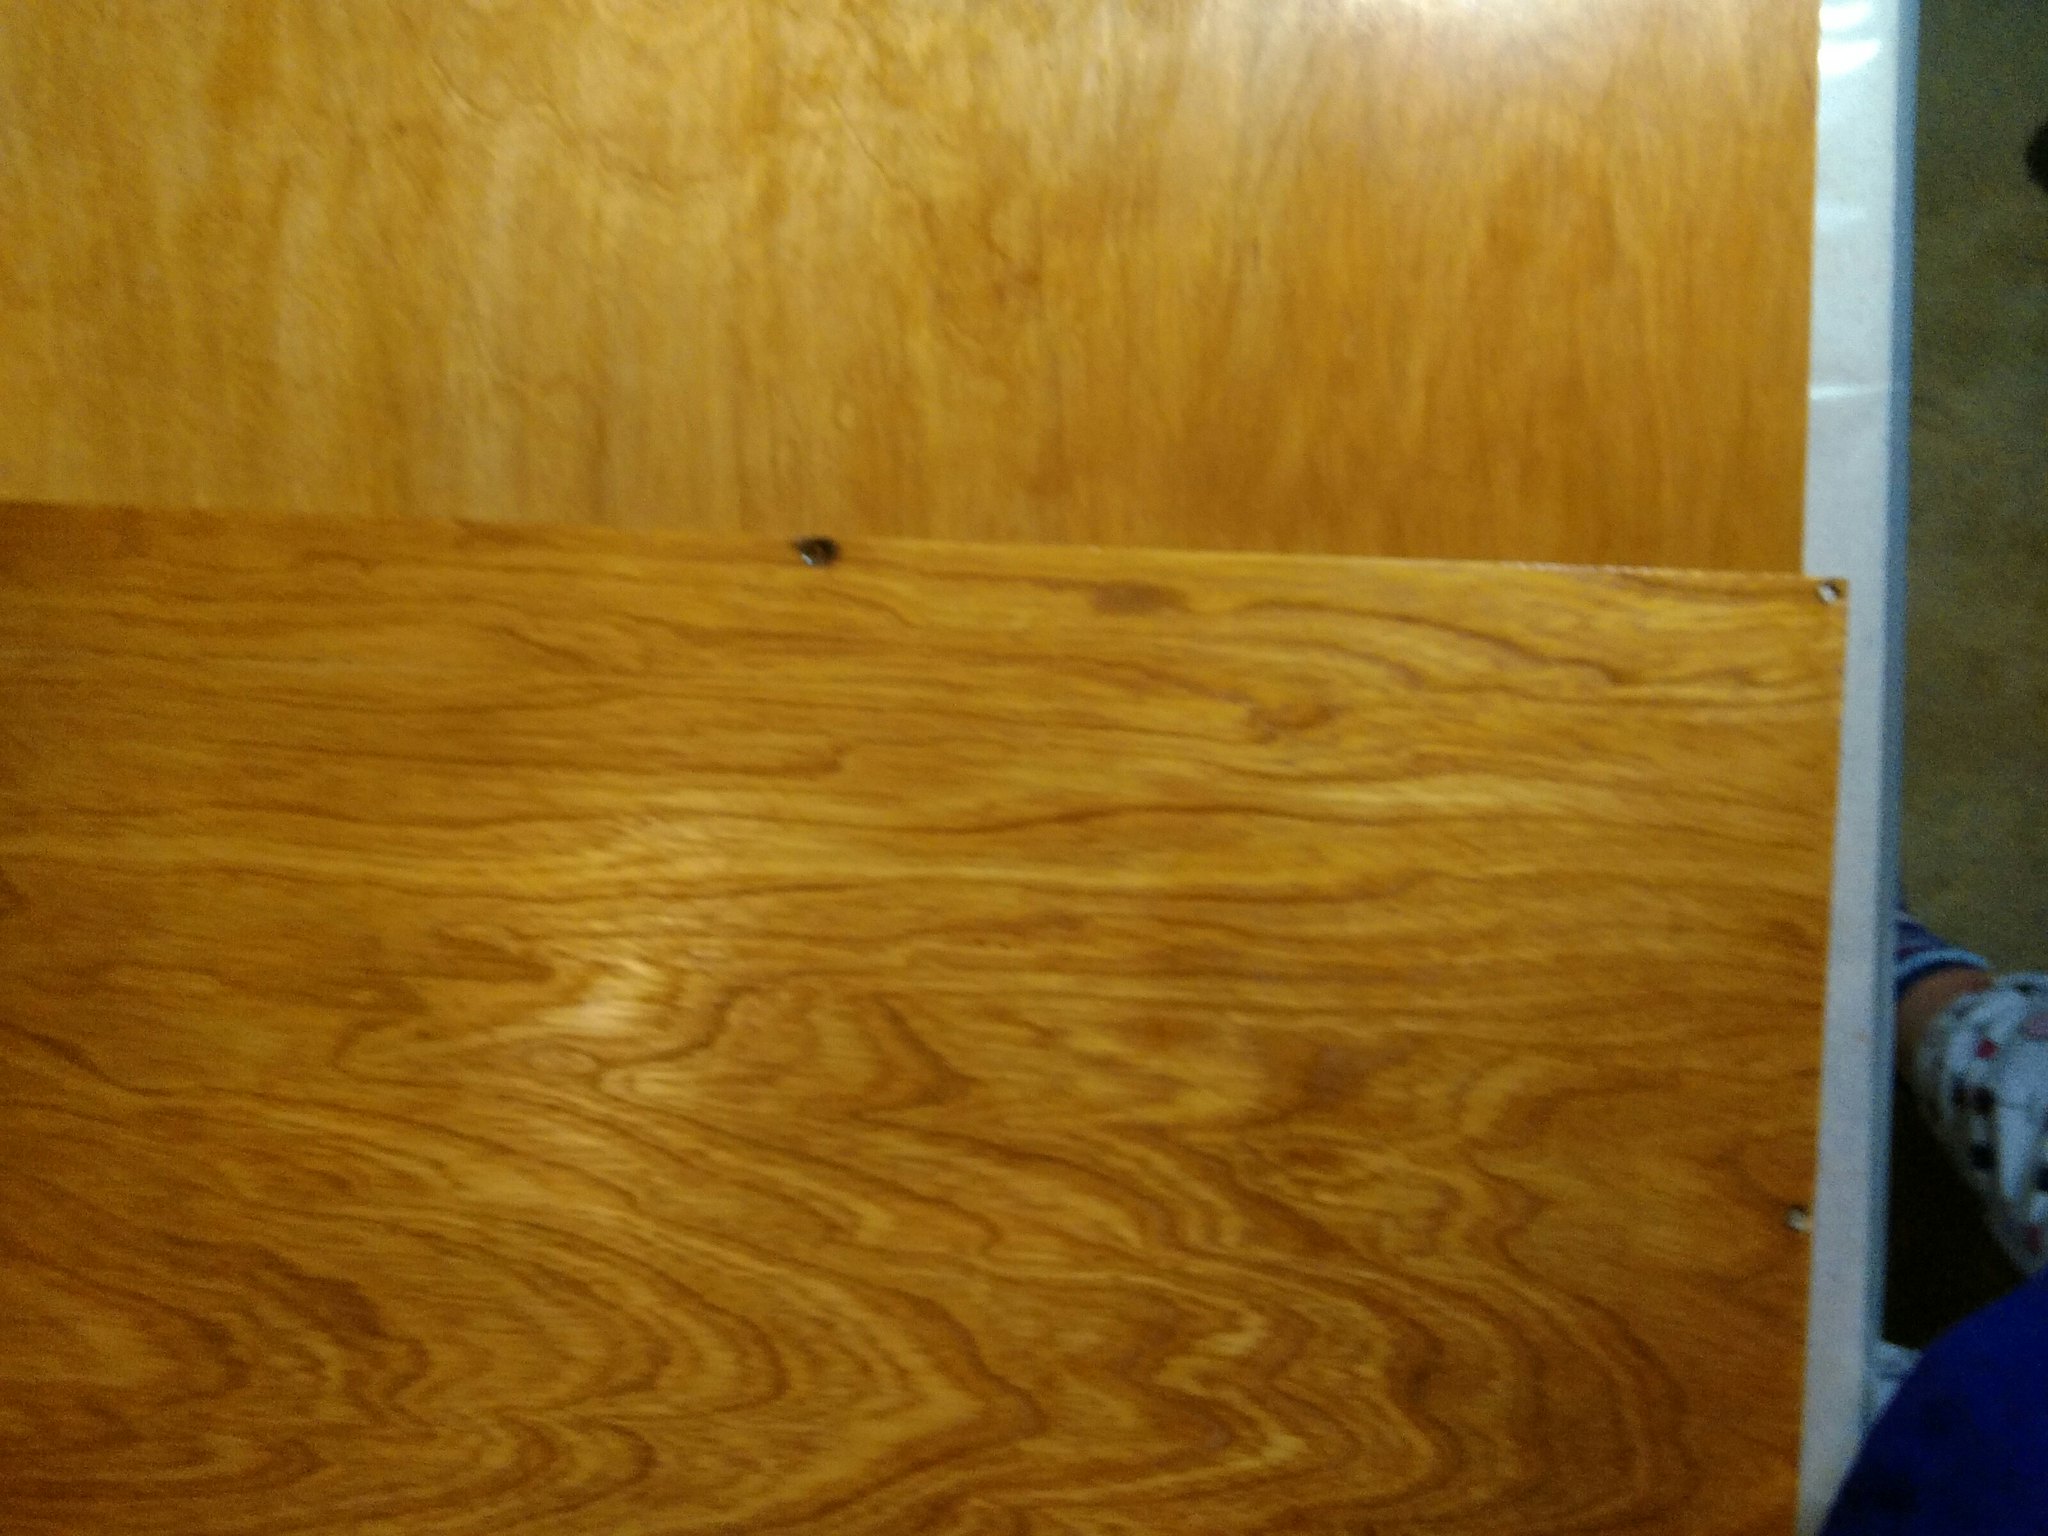 IMG_20161128_2207237_rewind IMG_20161128_2207237_rewind |
|
Dad Rambles
Active Member
Posts: 246
Likes: 140
62 Shasta Airflyte
Currently Offline
|
Post by Dad Rambles on Nov 29, 2016 3:39:57 GMT -8
nccamper msgoehring Thank you both for the experience and ideas that you shared. Turns out I found some other ideas yesterday which are right along these same lines as what you've done. I was confused at first about mixing oil-based stains and shellac so what I was looking for was something that was water soluble. I came across an article that mentioned using Rit Dye as the tinting agent in the shellac. I think my wife has a few different colors of that in the cabinet if not it's pretty cheap at Hell Mart so I might give that a shot first since I can buy it locally. I think some combination of red and brown might get me close to what I need. There are two main areas that I need to replace one is a single piece of wood on the Wardrobe cabinet which needs to match pretty closely because it's beside other similar framing. The other is the cabinet frames / bases below the front dinette . Those look pretty ratty and I think I'm going to have to replace both of them. I did a little more experimenting yesterday with other scraps of what I had sitting around the house, and I see what you mean about the variance in color even within the same type of wood. Anyways, this all gives me a great starting point for what I need to look at. Thanks for all the great help.
|
|
bev
Active Member
Posts: 155
Likes: 43
Currently Offline
|
Post by bev on Nov 29, 2016 4:53:35 GMT -8
i have found certain finishes yellow or orange with age thus making it more difficult to "speed of the process" or match the look of old wood.
i think of it like this: UV rays change the color of most finishes, but it may only penetrate and color the top most layer of finish. so by changing the color of the top layer of a finish it gives it more depth or patina. this is what your are trying to duplicate.
to gain an old look you might need to layer your finish to give it the depth of old wood. what i have done before is put down a base color with a stain or in this case shellac, then tint or tone your clear top coats when slightly different hues. this helps to mimic the aged look bc when you look at it from different directions with different reflections it changes its appearance much like 50 years of aging. you are "sneaking up" on the color by adding a little more red or yellow or orange or whatever to the top clear coats until it nearly matches the original wood.
some finishes cannot be duplicated by a one step coloring process.
|
|
nccamper
Administrator
Posts: 7,745
Likes: 2,872
1962 Forester- 1956 Shasta
Currently Offline
|
Post by nccamper on Nov 29, 2016 5:09:21 GMT -8
"some finishes cannot be duplicated by a one step coloring process."
Excellent point. Even with multiple steps I actually had no luck at all matching the milky, yellow, aged color of my Compact. I had to sand down everything and start over. At times there is no way around it.
One other thing worth mentioning, even original panels on my campers have slightly different shades of the same color so don't go crazy. If the tint is slightly off nobody will really notice but you. And in time even you won't notice.
|
|
msgoehring
Full Member
Just call me Margaret the shellac, buff, sand an shine queen.
Posts: 860
Likes: 303
1957 Westerner Deluxe
Currently Offline
|
Post by msgoehring on Nov 29, 2016 5:29:01 GMT -8
I've discovered the difference that you can get from even one section of a panel to another so I'm not worried about that. If I wanted something that would match 100% I sure wouldn't be using wood. Part of the charm of these old trailers is the way the wood looks, not all matchy matchy like newer trailers with their wallpaper walls. I just started out trying to find a color that would match what we had, and in the process ended up liking one totally different from where I thought I was headed. We've even decided that mixing the old cabinet doors and drawer fronts with the very different grains is going to look neat. So we're stripping the paint and sanding them down to bare wood (I'm doing the sanding cause Sam already proved he can go right through the veneer very quickly) and are shellacing them the same as the new stuff. Like I said in my previous post, there's a slight difference in color between the two woods, but not enough to really bother me, in fact I think it'll look neat.
Brian, I looked up the Rit Dye trick and was really surprised by some of the colors you can get with it. I hope it works out for you, I never would have thought of it, brilliant. I don't know where you are, but if you do end up needing tints like the Mixol, search for wood craft stores near you. We've had a Woodcraft store in one area of town or another for as long as I can remember. Of course this is Idaho where we're still 30 years behind the nation and people like to do crafts and stuff. 😜
|
|
msgoehring
Full Member
Just call me Margaret the shellac, buff, sand an shine queen.
Posts: 860
Likes: 303
1957 Westerner Deluxe
Currently Offline
|
Post by msgoehring on Dec 2, 2016 13:16:12 GMT -8
Hey Brian just curious about how your rit dye experiment came out. Have you tried it yet, and if so did you get what you were after? The rit dye might be helpful to other people looking to match wood colors also.
|
|
Dad Rambles
Active Member
Posts: 246
Likes: 140
62 Shasta Airflyte
Currently Offline
|
Post by Dad Rambles on Dec 2, 2016 19:57:34 GMT -8
Hey Brian just curious about how your rit dye experiment came out. Have you tried it yet, and if so did you get what you were after? The rit dye might be helpful to other people looking to match wood colors also. I think so. I was dragging this week, not getting a lot done, and honestly this weekend just doesn't look much better. I've been piddling this week, but just not with that. SO, I saw your post and got my butt to "the mart" after the kids got in bed. I was able to get some cherry red, and dark brown.. and I THINK it's going to work. I don't have any descent comparison photos, but it looks pretty good in the poor lighting in our garage. i might need to tweak it with some orange, but I will try it out when I can get some photos in the daytime and let you know later. I will say this. The dye seems to play well with the shellac. I tried it by wiping the dye on, then adding the shellac at top coat until dark enough. Seems like the red is mainly what i'm working with to get the color I want. The dark brown makes things end up purple. Having said all that, i will post photos, and most likely a video tutorial (if it works) as soon as I can. |
|
Dad Rambles
Active Member
Posts: 246
Likes: 140
62 Shasta Airflyte
Currently Offline
|
Post by Dad Rambles on Dec 4, 2016 13:26:48 GMT -8
Alright. After a little testing. I did this a couple different ways. 1. One was was to apply the stain to the wood, both using water as the solvent, and denatured alcohol. Both of these worked fine, the alcohol just dried faster. The stain seemed to get IN the grain more. I thought this was going to be good, but I made it look streaky, and the primary color (red in this case) turned out to show up in streaks in the grain. 2. I mixed the dye with the shellac --- much better. In this case it was just a matter of choosing the right wood. In this case I found out that poplar seemed to match pretty well. I didn't think the green of the poplar would go away, but it did. Below are a couple photos. 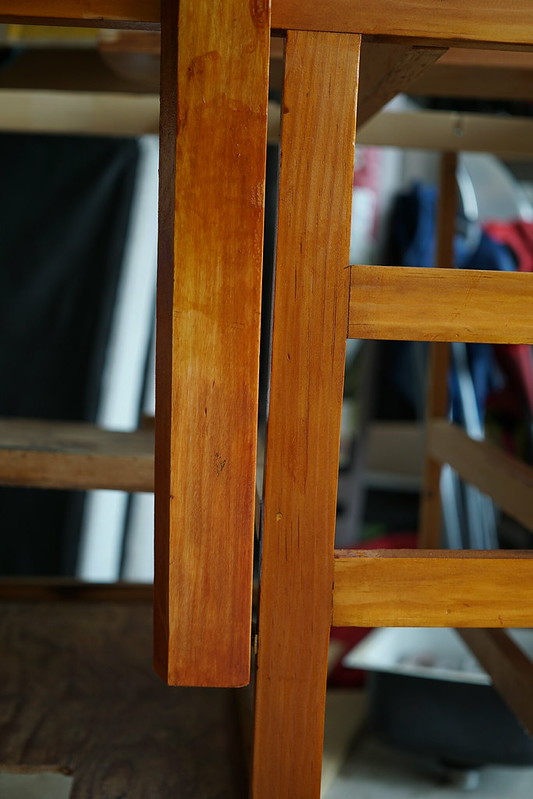 Rit Dye test with poplar Rit Dye test with poplar by gunguy05, on Flickr 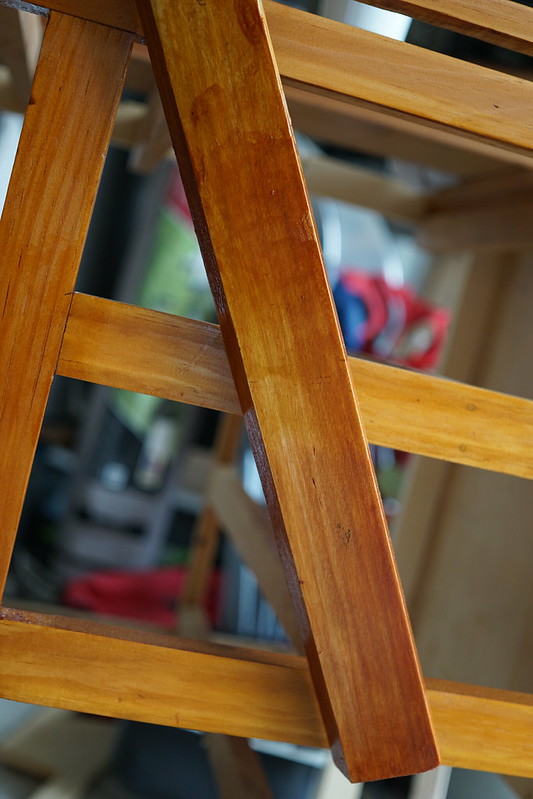 Rit Dye test with poplar Rit Dye test with poplar by gunguy05, on Flickr This is a rough estimate, but to get this color I mixed about 1/2" of shellac in a 16 oz cup with 10-20 drops or red, and about 10 drops of brown. I played with this a bit, but I this is a rough estimate of how it ended up. I applied it to the wood about 5-7 times. I just wiped it one, waited a few seconds and wiped it off. It took a bit of wiping and waiting to get the depth of color I wanted. I took this with my good camera, in daylight, so these photos are pretty close to how they look in real life. Overall I'm the most happy with this application. I'm going to fetch some poplar and refabricate the cabinet piece and try it this way. I think it will be as close to the original as all the originals were to each other. For the final product I will probably just apply in place that way I can get a good feel how to match to that particular cabinet. Also, it will have clear on it just like the rest. |
|
msgoehring
Full Member
Just call me Margaret the shellac, buff, sand an shine queen.
Posts: 860
Likes: 303
1957 Westerner Deluxe
Currently Offline
|
Post by msgoehring on Dec 4, 2016 19:19:07 GMT -8
I'm glad you found a solution and that the rit dye worked well. Maybe if I ever have to do this again I'll try. Sam and I were talking tonight hoping that the Mixol we have will be enough to do all the woodwork in the trailer, cause at $6 a pop for .7 oz ( that's 20 ml ) it's kinda spendy stuff. It does seem to be going far, but we are also just starting and every single piece of wood has to be redone. So fun times ahead for me.
|
|
Dad Rambles
Active Member
Posts: 246
Likes: 140
62 Shasta Airflyte
Currently Offline
|
Post by Dad Rambles on Dec 4, 2016 19:58:52 GMT -8
I'm glad you found a solution and that the rit dye worked well. Maybe if I ever have to do this again I'll try. Sam and I were talking tonight hoping that the Mixol we have will be enough to do all the woodwork in the trailer, cause at $6 a pop for .7 oz ( that's 20 ml ) it's kinda spendy stuff. It does seem to be going far, but we are also just starting and every single piece of wood has to be redone. So fun times ahead for me. Me too. I will admit that the wood finishing part of things is not the thing I love the most. I like the look of the finished product, but I guess that is what I have the least experience with so it's a little more difficult for me. I am definitely learning a lot about it though in my research. Yeah, the main reason i was trying to go for the Rit Dye was because it was readily available. We don't have anywhere locally to purchase alcohol based dyes. But they are pretty spendy for what they are as well. I'm glad this all worked out! Thanks for the advice.. it got me in the right direction. |
|


