Post by pam on Nov 6, 2016 11:06:01 GMT -8
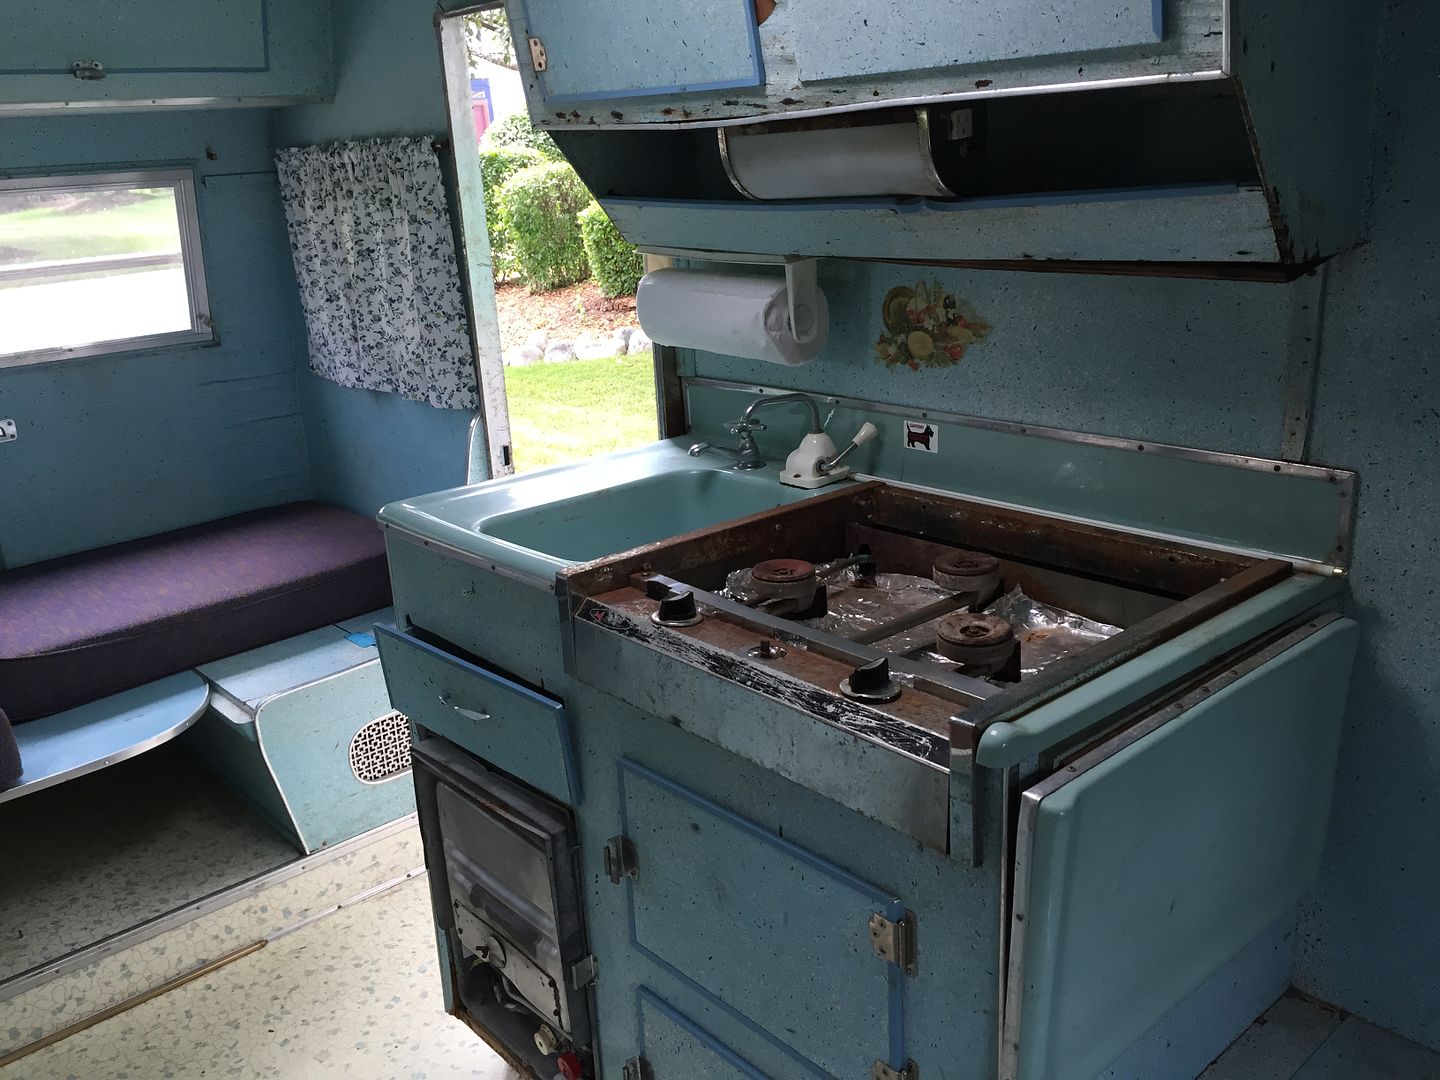
This was in rough shape on the inside - but the skin was in fair shape ....so I dragged it home!
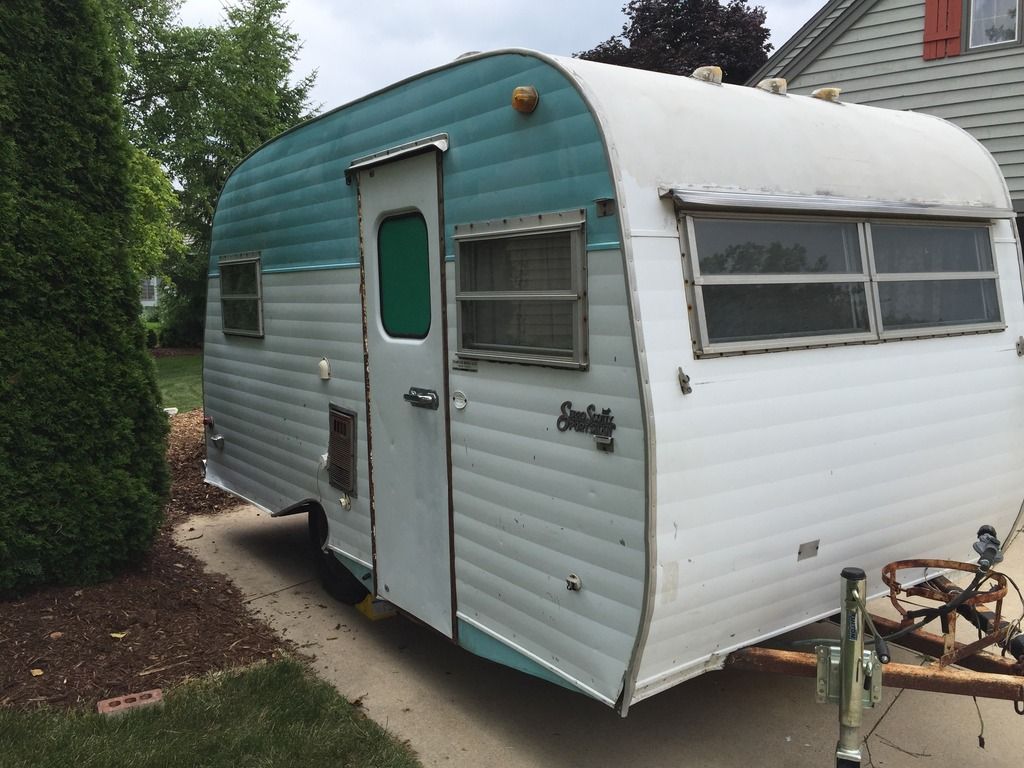
The purchase included all of the original paperwork - title - license and plates.
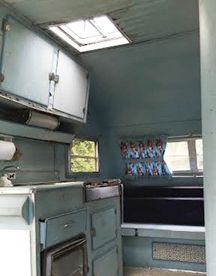
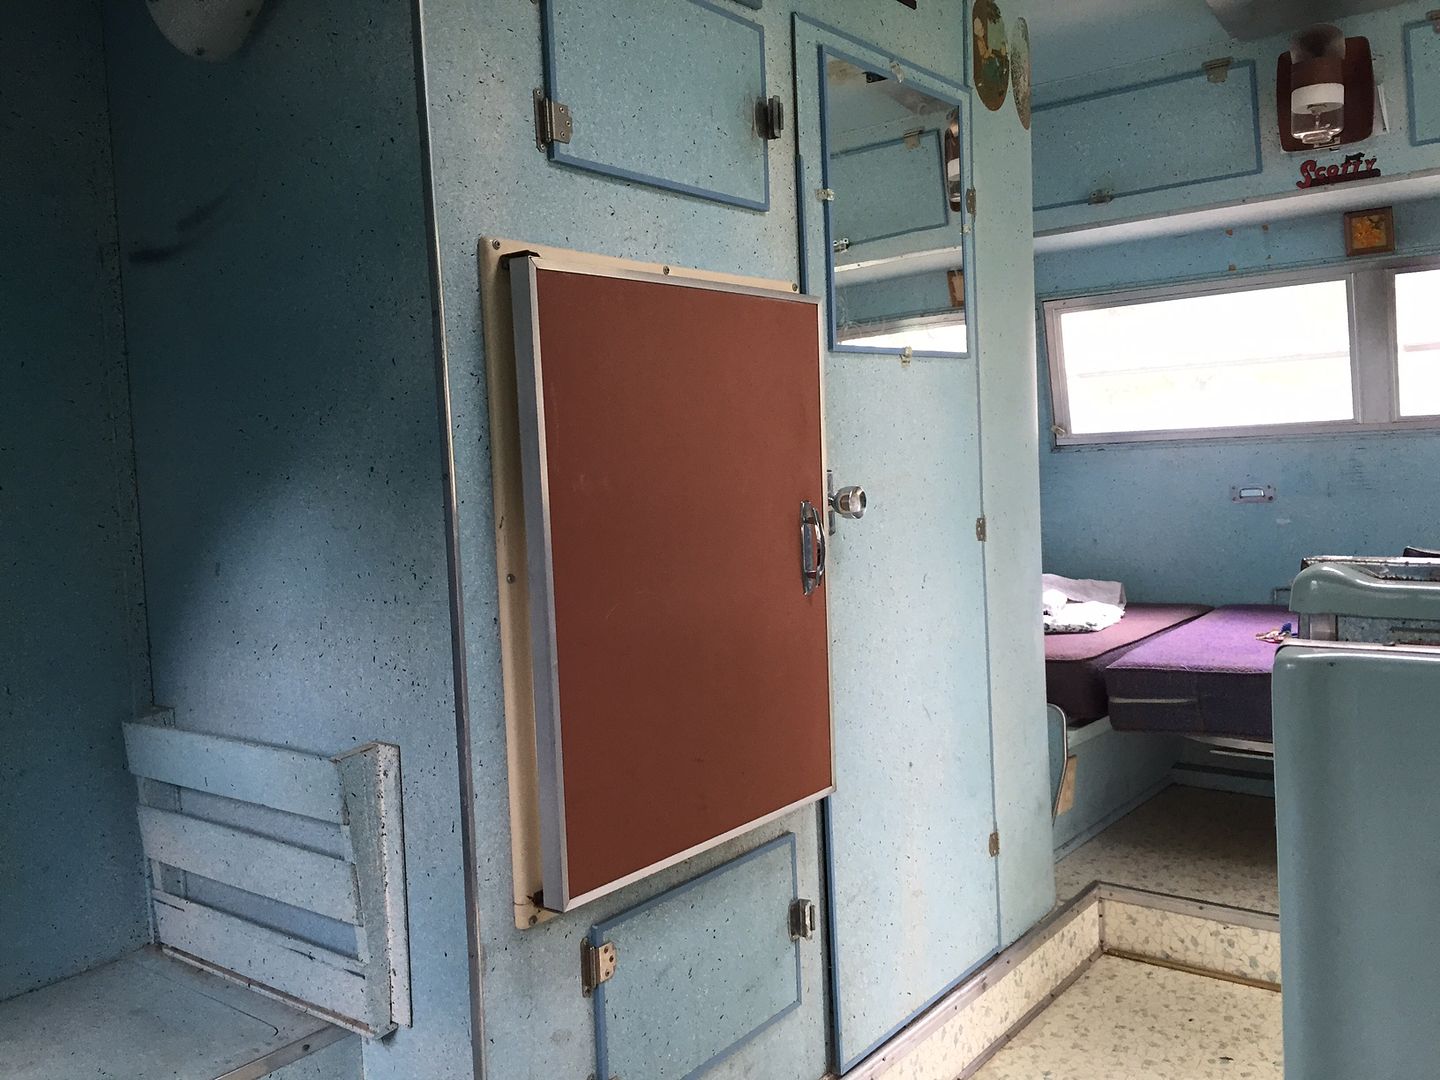
More pics of the interior...
The first order of business was the roof-
Which I tore off and re framed .... basically the entire top.
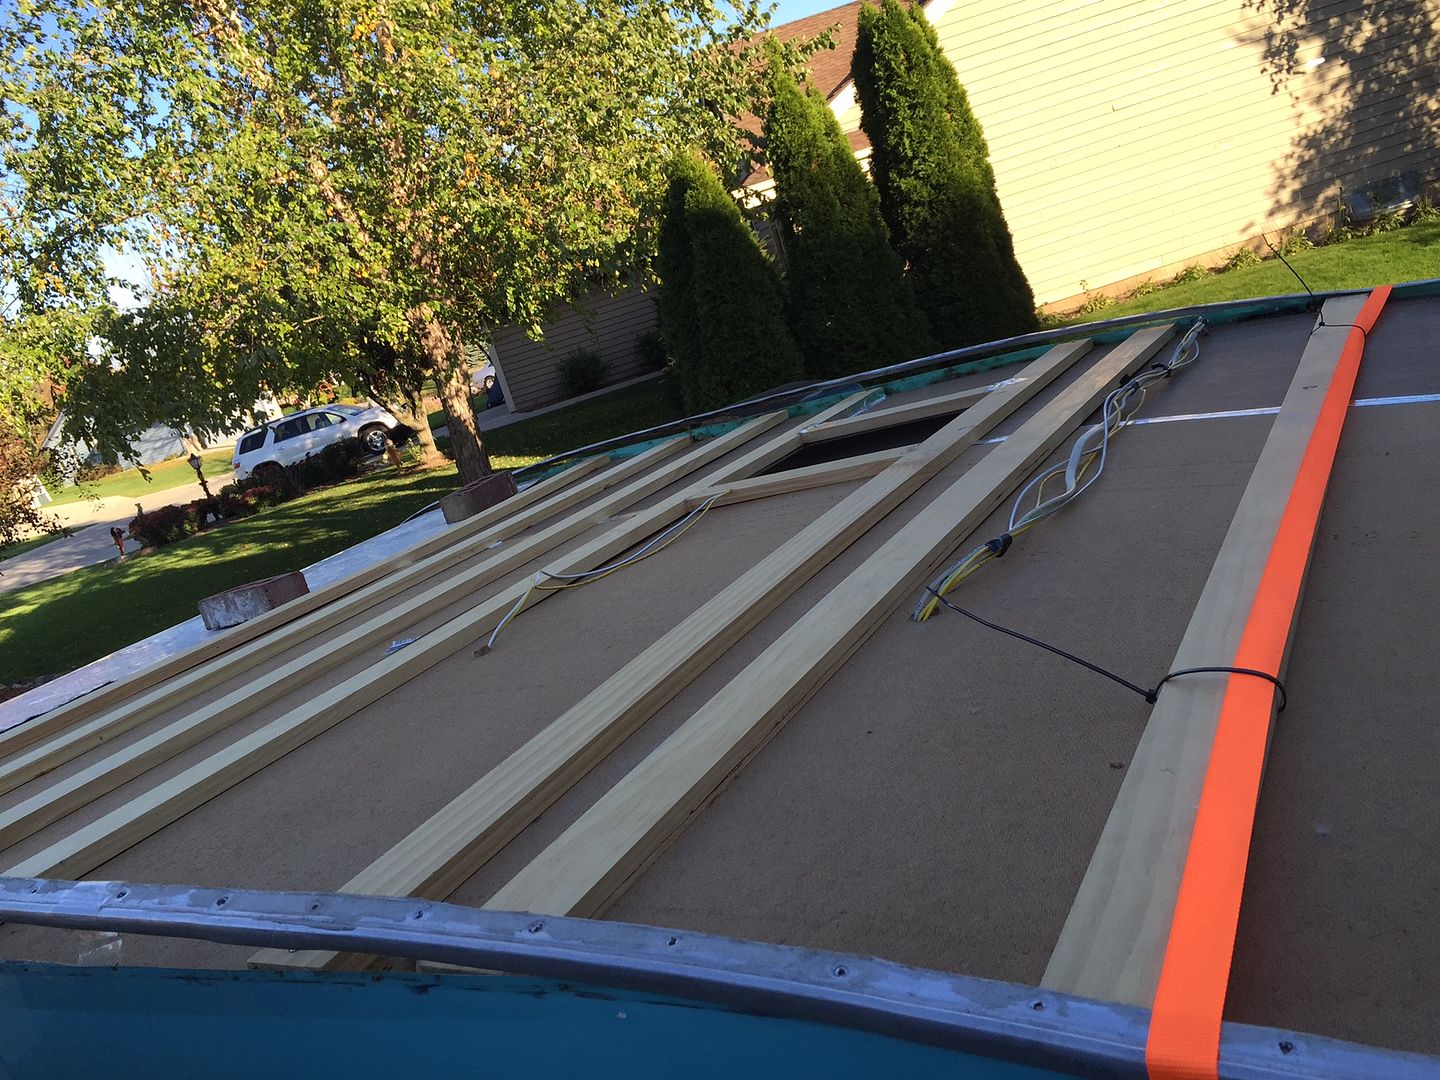
Far easier said than done!!
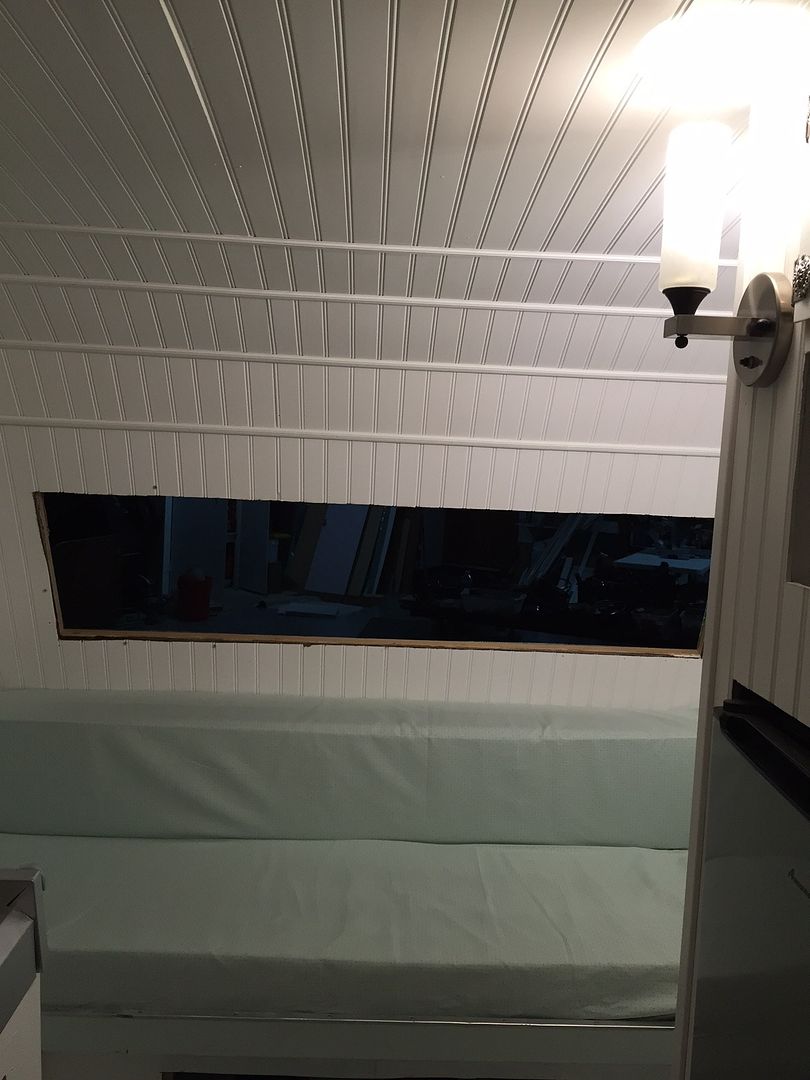
Remember - this is only my 2nd camper (I'm a beginner) - Everything (or about 95%) I learned is from this forum!

I replaced the interior with white bead board - which did not have a lot of bend to it so I adapted the curve by cutting the paneling into 7" sections.
The picture is looking toward the back:
Jump ahead to the final work on the kitchen...
I opted for a total redo because I wanted to curve the corner...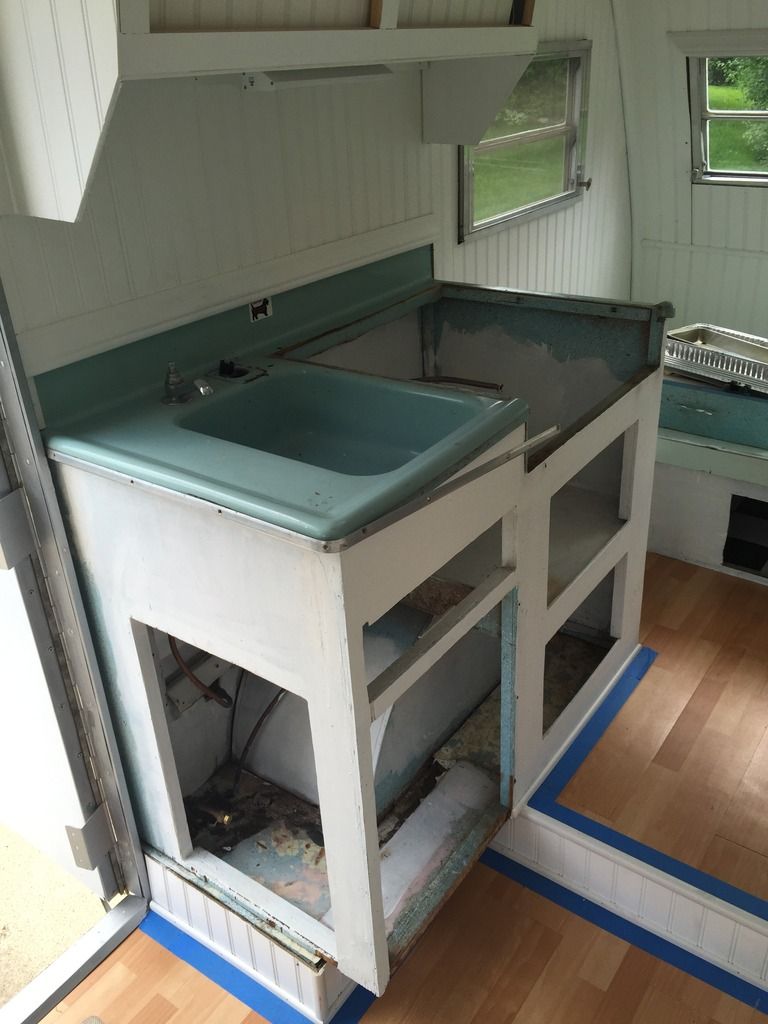
so I tore this out and kind of winged the rest...
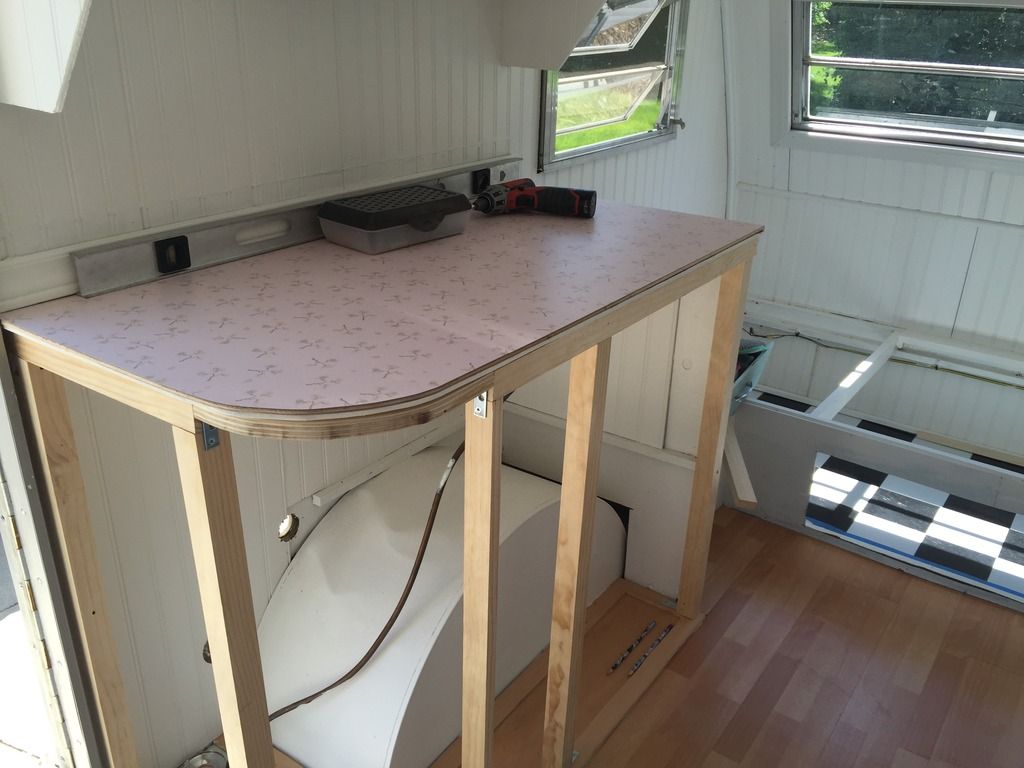
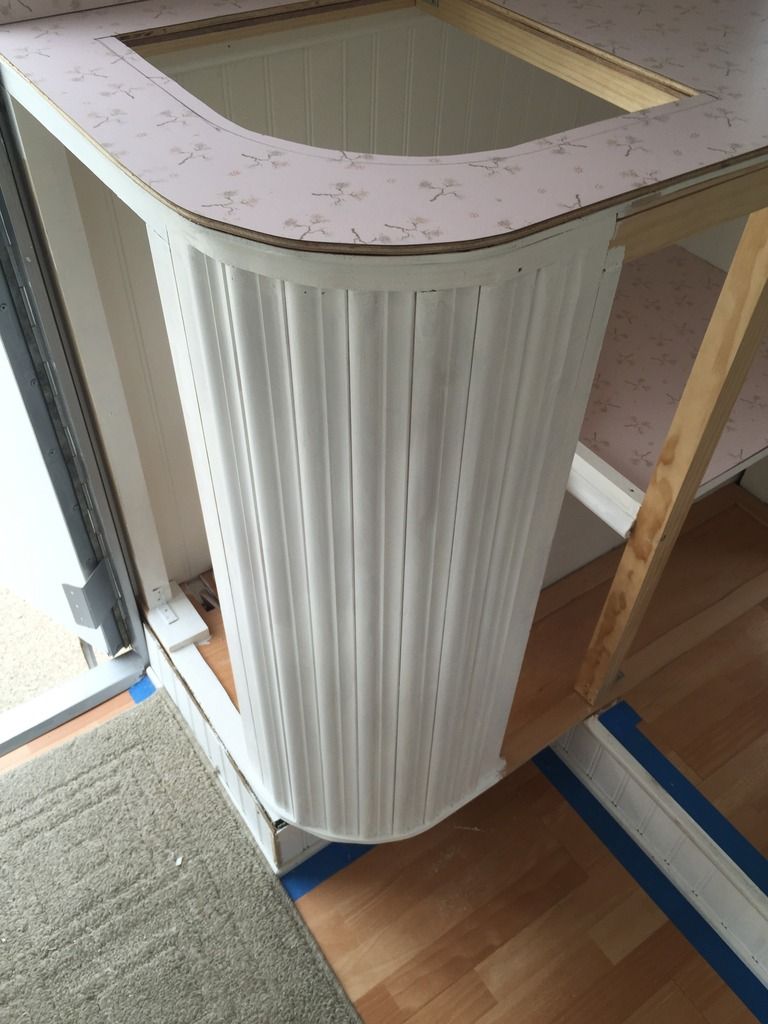
I actually sat on the floor and stared at the space till I came up with the idea to use molding in order to achieve the curve... However - before I had a chance to apply that idea, I had to learn about working with Formica and ended up going out and investing in a router. Since I had never even held a router, let alone tried to use one - I had to spend some time trying to figure out FIRST - which brand -make and model - was the best fit for a woman (I have small hands and lack the strength of the primary market for tools) I ended up with a Makita which was both lightweight and powerful! MY OPINION
Fast forward to the finished product.
I picked up all of the cabinet doors on the bottom at the Habitat for Humanity ReStores. Then I build the openings to accommodate my doors!
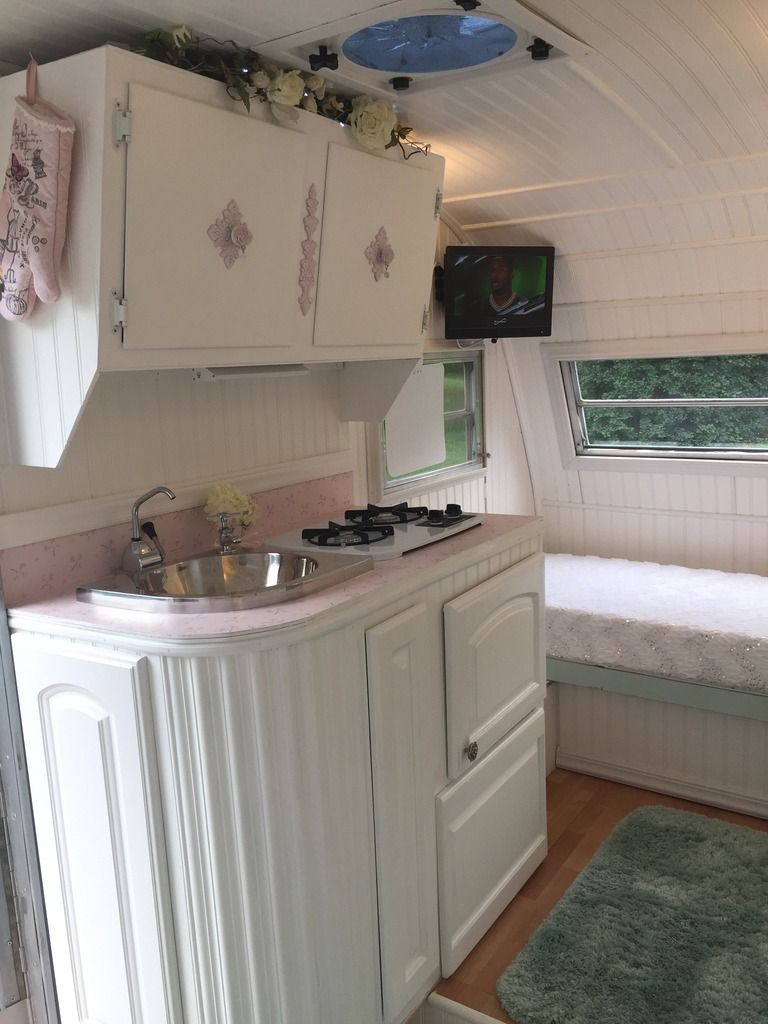
And the rest of my Re-Do...

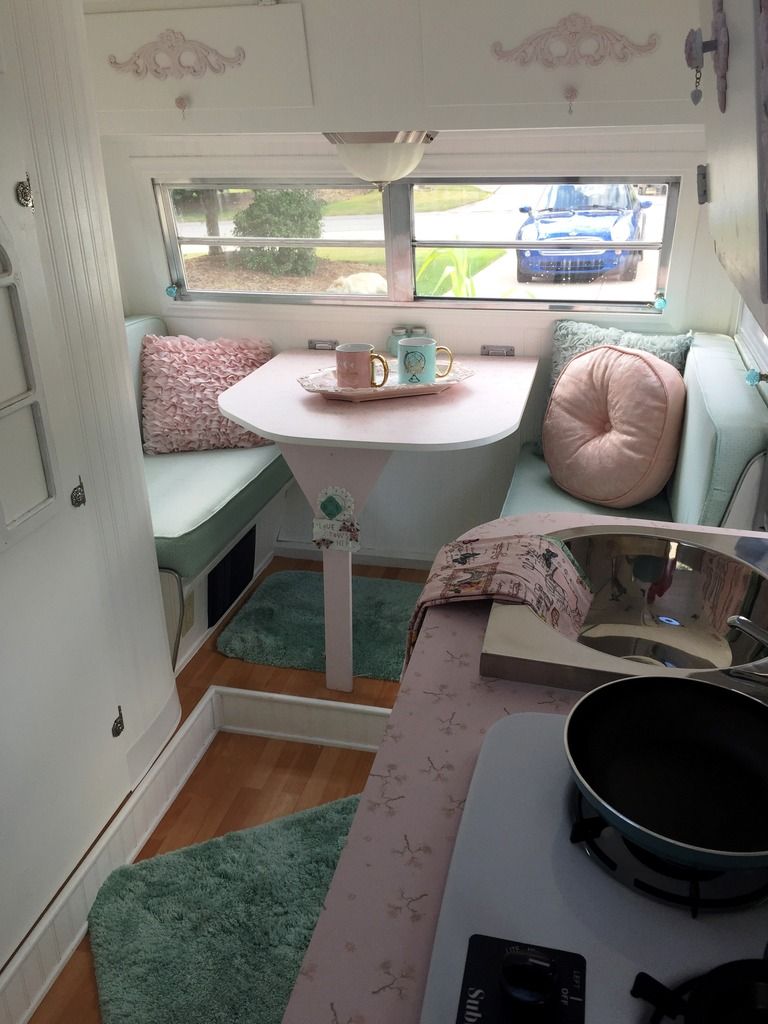
Standing in the doorway - you can see a little bit of my bathroom, my fridge and mu curved corner counter and sink.
Below is a picture of my little eating area. The table folds down and the area is easily converted into additional sleeping.
I took my grandson fishing and camping over the Labor Day holiday and he loved sleeping in that bed.
Sunset Camping with my dog, Oslo.
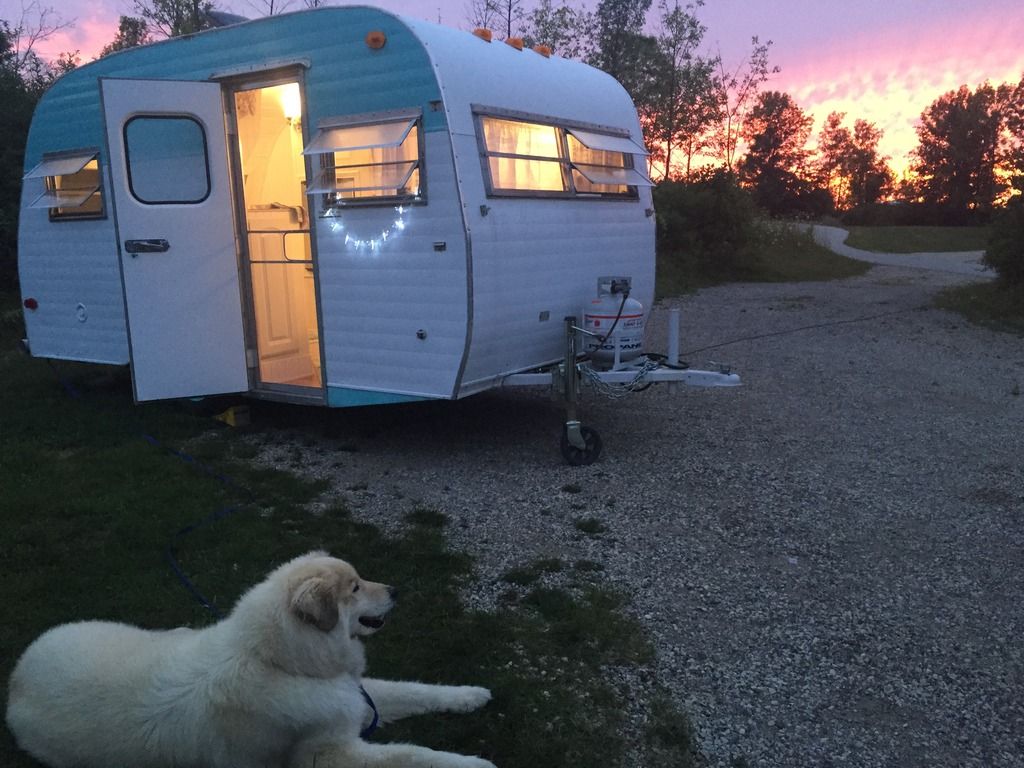
Life is Good!
The purchase included all of the original paperwork - title - license and plates.
More pics of the interior...
The first order of business was the roof-
Which I tore off and re framed .... basically the entire top.
Far easier said than done!!
Remember - this is only my 2nd camper (I'm a beginner) - Everything (or about 95%) I learned is from this forum!
I replaced the interior with white bead board - which did not have a lot of bend to it so I adapted the curve by cutting the paneling into 7" sections.
The picture is looking toward the back:
Jump ahead to the final work on the kitchen...
I opted for a total redo because I wanted to curve the corner...
so I tore this out and kind of winged the rest...
I actually sat on the floor and stared at the space till I came up with the idea to use molding in order to achieve the curve... However - before I had a chance to apply that idea, I had to learn about working with Formica and ended up going out and investing in a router. Since I had never even held a router, let alone tried to use one - I had to spend some time trying to figure out FIRST - which brand -make and model - was the best fit for a woman (I have small hands and lack the strength of the primary market for tools) I ended up with a Makita which was both lightweight and powerful! MY OPINION
Fast forward to the finished product.
I picked up all of the cabinet doors on the bottom at the Habitat for Humanity ReStores. Then I build the openings to accommodate my doors!
And the rest of my Re-Do...
Standing in the doorway - you can see a little bit of my bathroom, my fridge and mu curved corner counter and sink.
Below is a picture of my little eating area. The table folds down and the area is easily converted into additional sleeping.
I took my grandson fishing and camping over the Labor Day holiday and he loved sleeping in that bed.
Sunset Camping with my dog, Oslo.
Life is Good!