bev
Active Member

Posts: 155 
Likes: 43
Currently Offline
|
Post by bev on Jul 19, 2016 10:11:23 GMT -8
I recently purchased my 1970 Starflyte and brought her home from Southern Virginia to Southern Louisiana. The trip I made was uneventful. After a few posts and some support from members here I packed by tools and gear for the 14 hour trip. I brought (2) new trailer tires to switch at a nearby town in order to help eliminate a blow out. Everything worked like a charm...thank God. On the way back I stopped in Chattanooga and visited CH Camper Restoration and DB Vintage trailers. They both were extremely generous with their advice and I walked away with some supplies to help me restore my Shasta. I'm not sure how to do this but I've started filming by restoration. I will post links here as new videos are uploaded. Any advice or input would be greatly appreciated. Thank you in advance. video 1 Shasta Assessment: www.youtube.com/watch?v=_XE0tPqu6_o |
|
Dad Rambles
Active Member
Posts: 246
Likes: 140
62 Shasta Airflyte
Currently Offline
|
Post by Dad Rambles on Jul 19, 2016 11:36:18 GMT -8
Glad to hear that things went well for the trip. When we brought our's home..... that was butt tightening trip. I was on a "12" for the entire trip (about 6 or 7 hours)... I swear I looked in the rear view mirror and side mirrors 10 thousand times, just waiting on something to fly off or collapse.
Looks like you have a good start. I just subscribed to your YT channel. I will be looking forward to the updates. I do videos as well (of my 2nd teardrop now, soon to be 62 Airflyte restoration).
Good luck and keep us posted.
|
|
bev
Active Member
Posts: 155
Likes: 43
Currently Offline
|
Post by bev on Jul 20, 2016 8:49:44 GMT -8
I hated the idea of trying to cover and uncover my camper with a tarp. I decided the best place to work on the Shasta was under my carport. Here's my next video. Video 2: Preparing to move camper under carport: youtu.be/-_0u7zw7lgs |
|
bev
Active Member
Posts: 155
Likes: 43
Currently Offline
|
Post by bev on Sept 15, 2016 14:51:58 GMT -8
Here's my most recent progress: youtu.be/oSFOvPQg8d4Some of the skins have been removed. I think I will spend less time actually working on my camper than actually doing the work. |
|
bev
Active Member
Posts: 155
Likes: 43
Currently Offline
|
Post by bev on Sept 26, 2016 2:59:58 GMT -8
My project continues. I've not actually worked on my camper for more than a couple of hours at a time. This time I spent a whole day peeling off the rest of the skin, including the roof. I also removed the rear floor where it a rotted and replaced the rear side sills and rear sill itself. plus i added insulation under the floor. progress is moving along nicely. I welcome helpful comments and criticism, so please give me input. thanks. youtu.be/-KMxmOLo4ms |
|
bev
Active Member
Posts: 155
Likes: 43
Currently Offline
|
Post by bev on Oct 27, 2016 3:04:20 GMT -8
|
|
bev
Active Member
Posts: 155
Likes: 43
Currently Offline
|
Post by bev on Oct 27, 2016 3:05:57 GMT -8
The second pic above this post you can see the rot in the front curb corner. Also, there was some delamination on the ceiling around the roof A/C.
|
|
bev
Active Member
Posts: 155
Likes: 43
Currently Offline
|
Post by bev on Oct 27, 2016 3:12:05 GMT -8
|
|
bev
Active Member
Posts: 155
Likes: 43
Currently Offline
|
Post by bev on Oct 28, 2016 3:06:00 GMT -8
|
|
bev
Active Member
Posts: 155
Likes: 43
Currently Offline
|
Post by bev on Oct 28, 2016 3:13:38 GMT -8
Here's the actual move under carport. I have my oldest daughter working with me. I'm blessed. All of my 4 kids are very helpful and always have good ideas to make the project go smoother. As you can see even with the axle removed there is no way the camper will fit. 
I removed my fasteners holding the column in place and jacked up the corner of my house approx. 3". This gave just enough height to move the camper under the carport.  |
|
strange1
Active Member
Posts: 159
Likes: 103
1965 Shasta Airflyte
Currently Offline
|
Post by strange1 on Oct 28, 2016 9:19:23 GMT -8
Now that's ambitious... I also like the lowrider trailer look!
|
|
|
|
Post by vikx on Oct 28, 2016 20:56:22 GMT -8
Wow. Glad you got 'er in there...
|
|
bev
Active Member
Posts: 155
Likes: 43
Currently Offline
|
Post by bev on Oct 29, 2016 3:08:34 GMT -8
|
|
|
|
Post by vikx on Oct 29, 2016 20:49:15 GMT -8
You're doing it the right way. The trailer will be great for camping when you're done.
|
|
bev
Active Member
Posts: 155
Likes: 43
Currently Offline
|
Post by bev on Oct 30, 2016 2:46:56 GMT -8
roof was then removed:  here are some pics to show how the shasta framing is constructed: 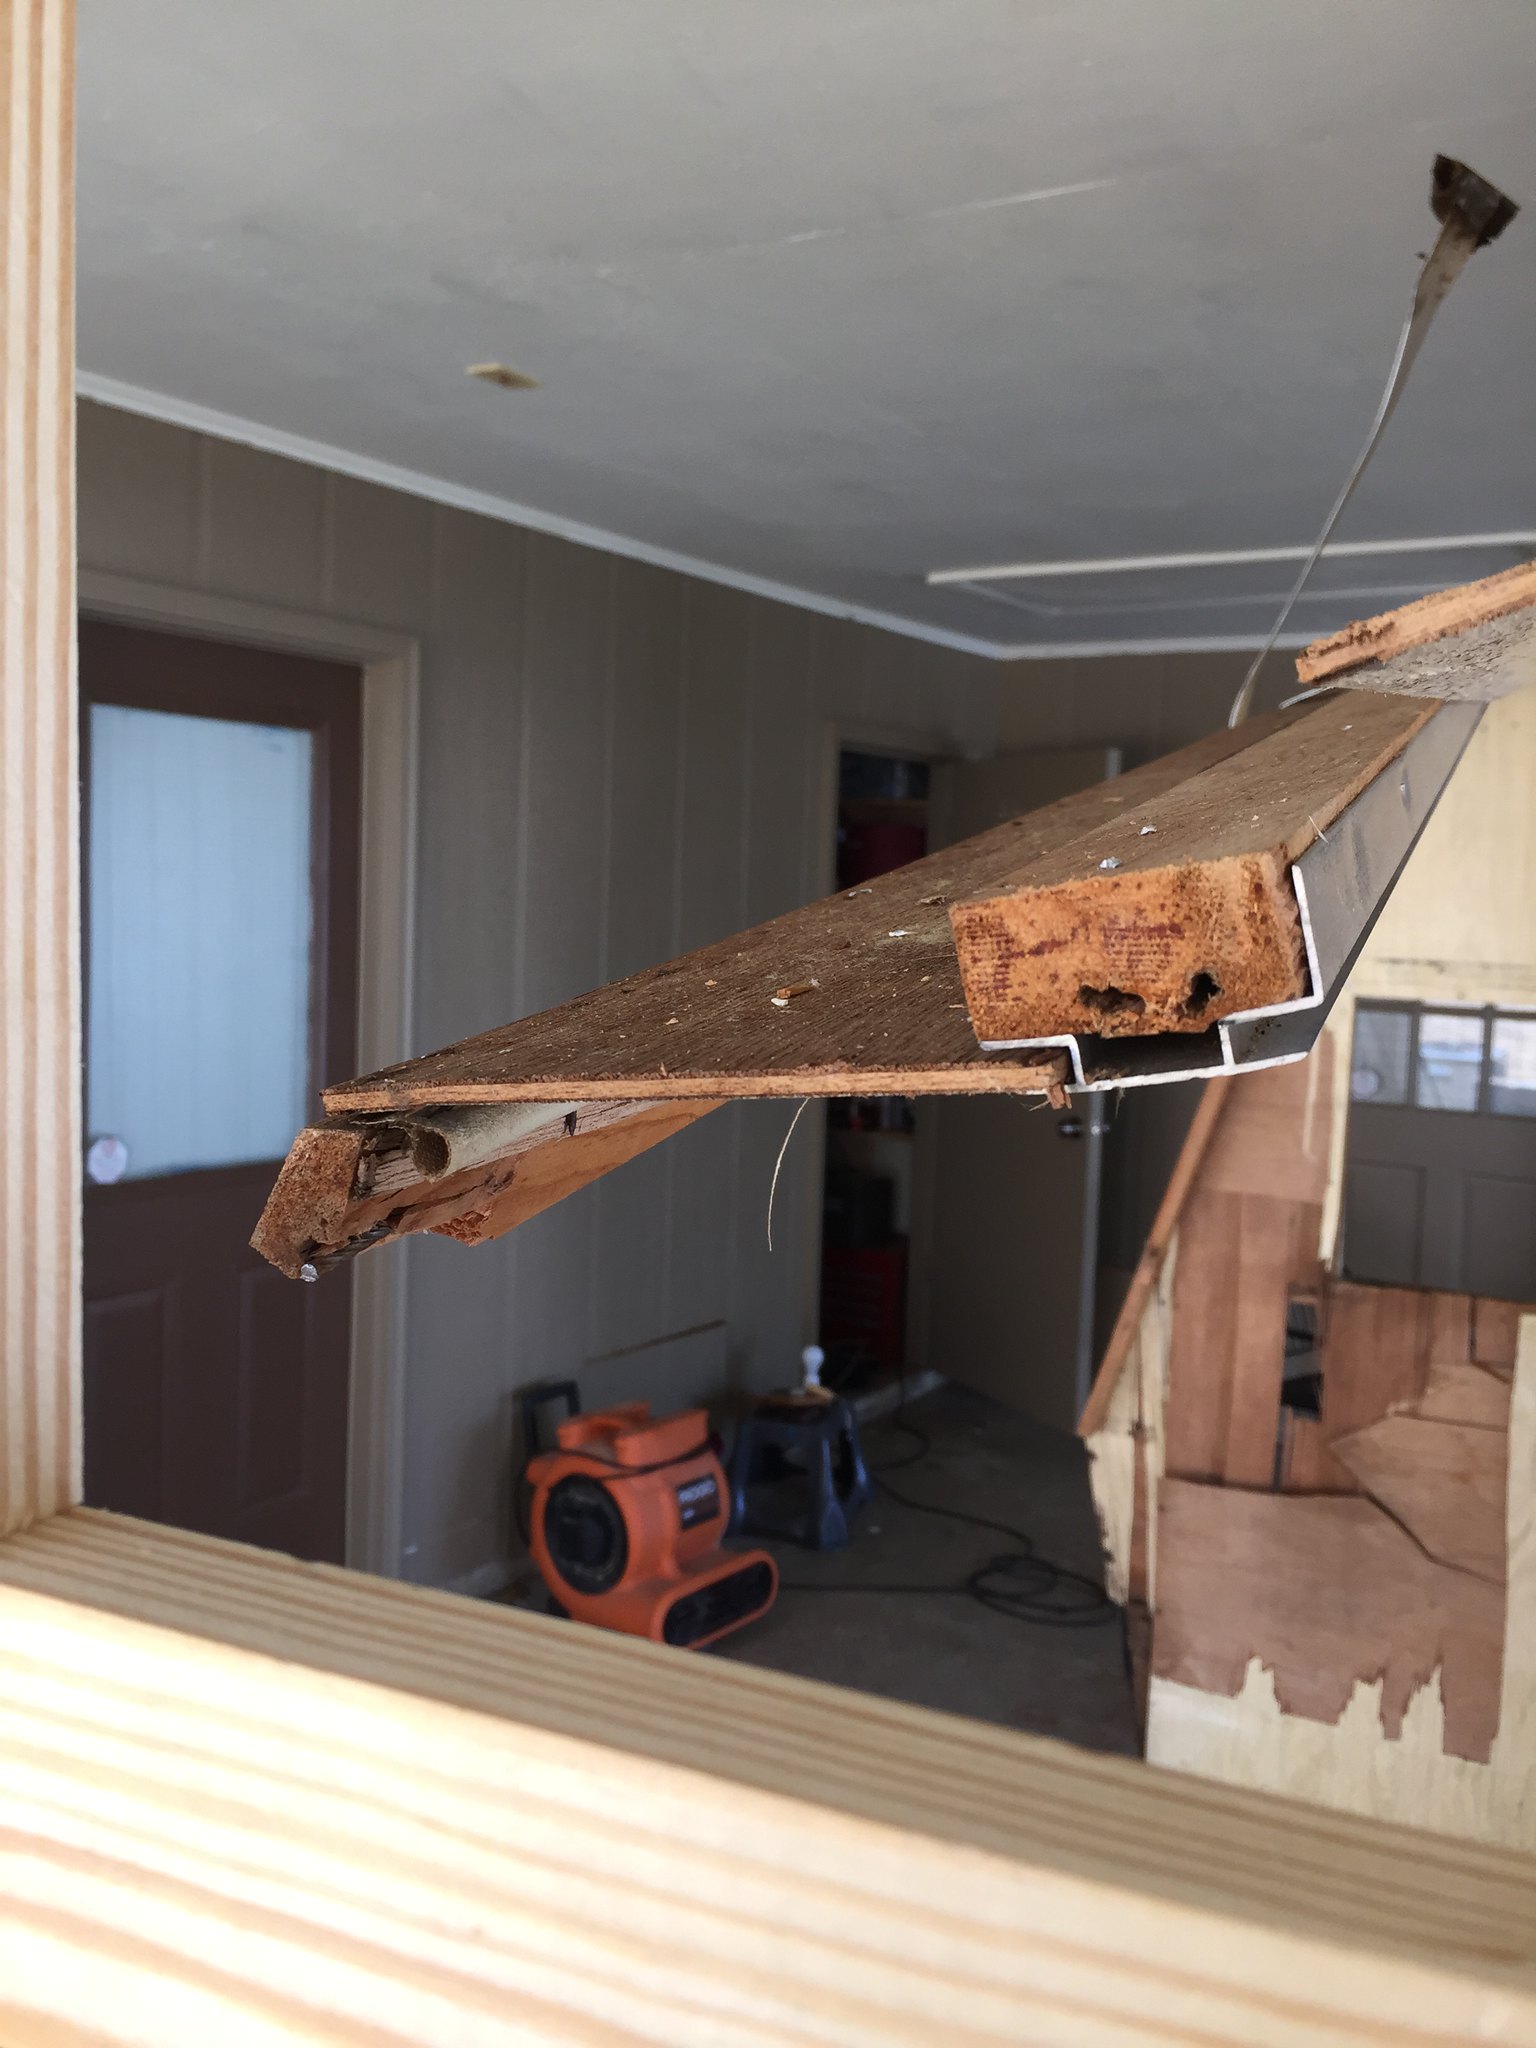    i removed the front and rear framing bc there was just so much rot, nothing was worth saving.  i then replaced a portion of the rear floor and rear floor sill and installed rigid insulation by sliding it up the floor cavities as far as possible.  my next step was to work on the curb side framing. i started by replacing one frame member at a time. the more i studied it the more i realized just about all the framing on the curb side needed to go. in the end only 2 or 3 pieces of the original framing remained. it took way more time than expected to replace each framing piece i removed one piece at a time. i don't have any good pics for this part. what makes removing each piece time consuming is that i have to use a reciprocating saw with a 12" blade to flex in between the framing and interior paneling to cut the nails away. if i tried to pry it apart, the original framing held together by large staples, is so flimsy. i moved on to the road side. this time i decided to remove all the cabinets and paneling altogether bc so much of the road side was trash. i thought that i could remove the whole wall framing and move it to the completed curb side and screw it together thereby creating a perfect template for the road side. after removing the paneling and cutting the fasteners, i lowered the road side frame to the ground. this is what happened:  i then rebuilt the road side completely from scratch using the curb side framing as a template. it went really fast and my new framing is so much stronger bc of all the pocket screws. at this point i realized that it would be best to perform a complete frame off restoration except for the floor since most of the floor and all of the floor joists, except for the perimeter floor sills, were in really good shape. 
here's after a new layer of 1/2" plywood on the floor.  |
|


