Lola53
Active Member

Posts: 150 
Likes: 53
1953 Westfield Westerner
Currently Offline
|
Post by Lola53 on Feb 28, 2016 19:21:16 GMT -8
I'm a proud new owner of a 53 Westerner, named "Lola". She is about what you would expect in a 60+ year old trailer - water damage in the usual places. However, the interior is in good shape, with most of it present and accounted for (needs table and original ice box). She still has a few charms and I expect a few secrets to reveal. My plan is to restore Lola's structure and exterior while retaining as much of her patina and originality as possible. Lola has a blog if you would like to see her: www.kivas.com/wp/Enjoy! |
|
nccamper
Administrator 
Posts: 7,744
Likes: 2,871
1962 Forester- 1956 Shasta
Currently Offline
|
Post by nccamper on Feb 28, 2016 19:30:26 GMT -8
Post photos of the inside as you get them. You can't go wrong with a Westerner. 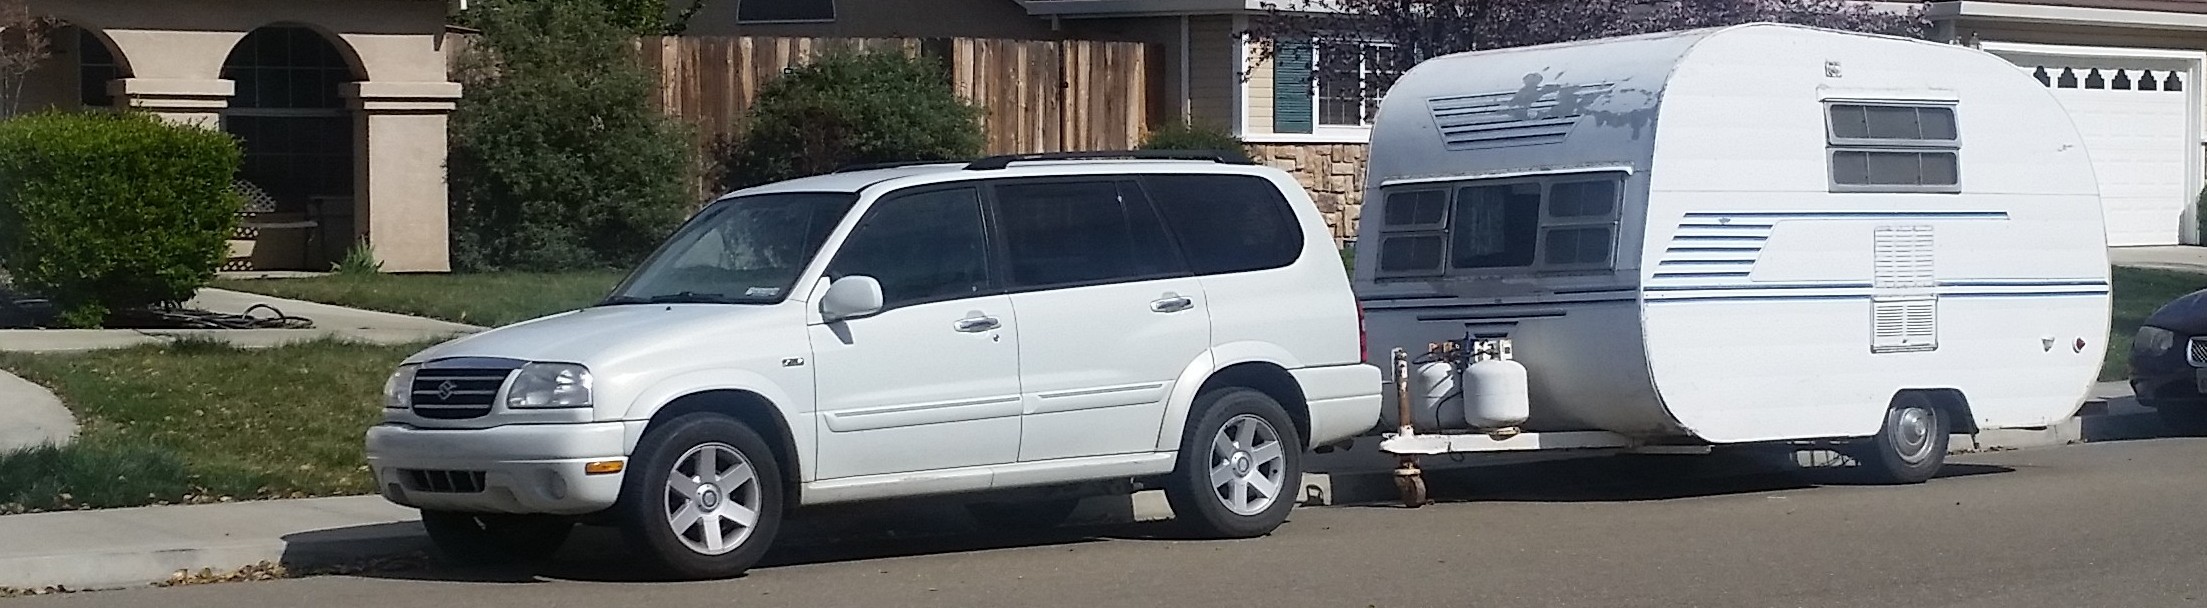 |
|
Lola53
Active Member
Posts: 150
Likes: 53
1953 Westfield Westerner
Currently Offline
|
Post by Lola53 on Feb 28, 2016 19:57:16 GMT -8
NCCAMPER, there are interior pictures in the first few blog posts showing her as picked up and after cleaning. More to come as the punch list progresses. Thanks for viewing.
|
|
mobiltec
5K Member
 I make mistakes so you don't have to...
Posts: 9,822
Likes: 3,749
1954 Jewel In Progress...
Currently Offline
|
Post by mobiltec on Feb 29, 2016 20:23:02 GMT -8
Good blog. It will be fun to watch you fix her up. Looks like you did a great job on the windows. Those nuts from VTS are smaller than the original. That was one thing I was not happy with and I told them about it. Love your Westerner.
|
|
Lola53
Active Member
Posts: 150
Likes: 53
1953 Westfield Westerner
Currently Offline
|
Post by Lola53 on Mar 21, 2016 23:10:24 GMT -8
Finally had a relatively rain free weekend and was able to peek under Lola's skirt. Since I don't have the facilities to tear Lola down all at one time, my plan is to break the work down into small jobs that can be reasonably completed in a weekend. Last weekend was the front curb-side corner. After removing the skin in front of the door, I was pleasantly surprised to see that wood damage was restricted to the bottom boards (also the top mid cross member had a split). Here's a picture: 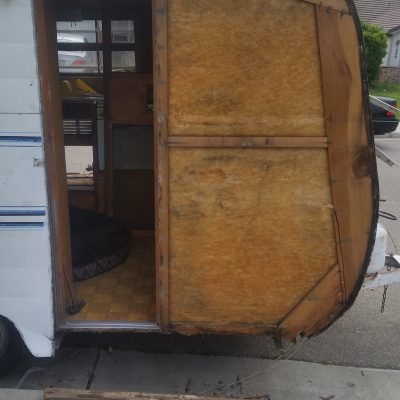 Sunday afternoon I cut new wood, using the old wood as templates, and installed it using the Kregg pocket hole tool. The work went much smoother than I expected. Here's a completed picture: 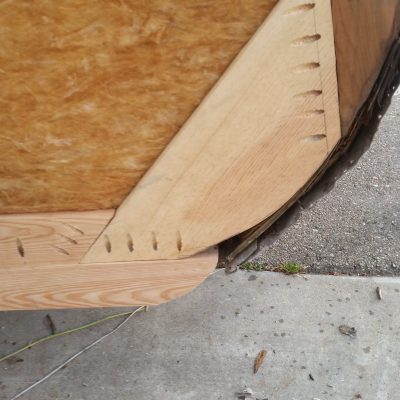 It was encouraging to complete the planned work on schedule and I'm looking forward to next weekend - rear curb-side! There are a few more details and images on Lola's blog: www.kivas.com/wp/2016/03/22/a-peek-under-lolas-skirt/Mark |
|
Lola53
Active Member
Posts: 150
Likes: 53
1953 Westfield Westerner
Currently Offline
|
Post by Lola53 on Mar 28, 2016 19:07:44 GMT -8
Spent Easter afternoon working on Lola’s right rear quarter. The bottom skirt board (1″ x) was completely gone and the cross member was split in two by the window. The rest of the framing was pretty good; however I decided to replace all the vertical and horizontal support pieces anyway. The old support wood was brittle and broken on the ends where the staples were installed. Replacing the support pieces provided good wood and a more precise fit for fastening the Kregg screws. My friend Mike came over to lend a hand and mastered the Kregg pocket hole tool. One unpleasant, but not unexpected, discovery was bent outriggers. Interestingly the frame board (2″ x) was in good shape and still attached to both outriggers through the floor with carriage bolts. Unfortunately, both the right rear outriggers were damaged. The forward outrigger was still attached to the 2″ x, but severely bent and twisted forward toward the tire. The rear outrigger was attached at the correct location to the 2″ x, but the vertical angle was flattened. I’m probably going to replace the two rear angles, so holding off on replacing the lower skirt board and frame board until the angles are sorted. More pictures on Lola's blog: www.kivas.com/wp/2016/03/28/right-rear/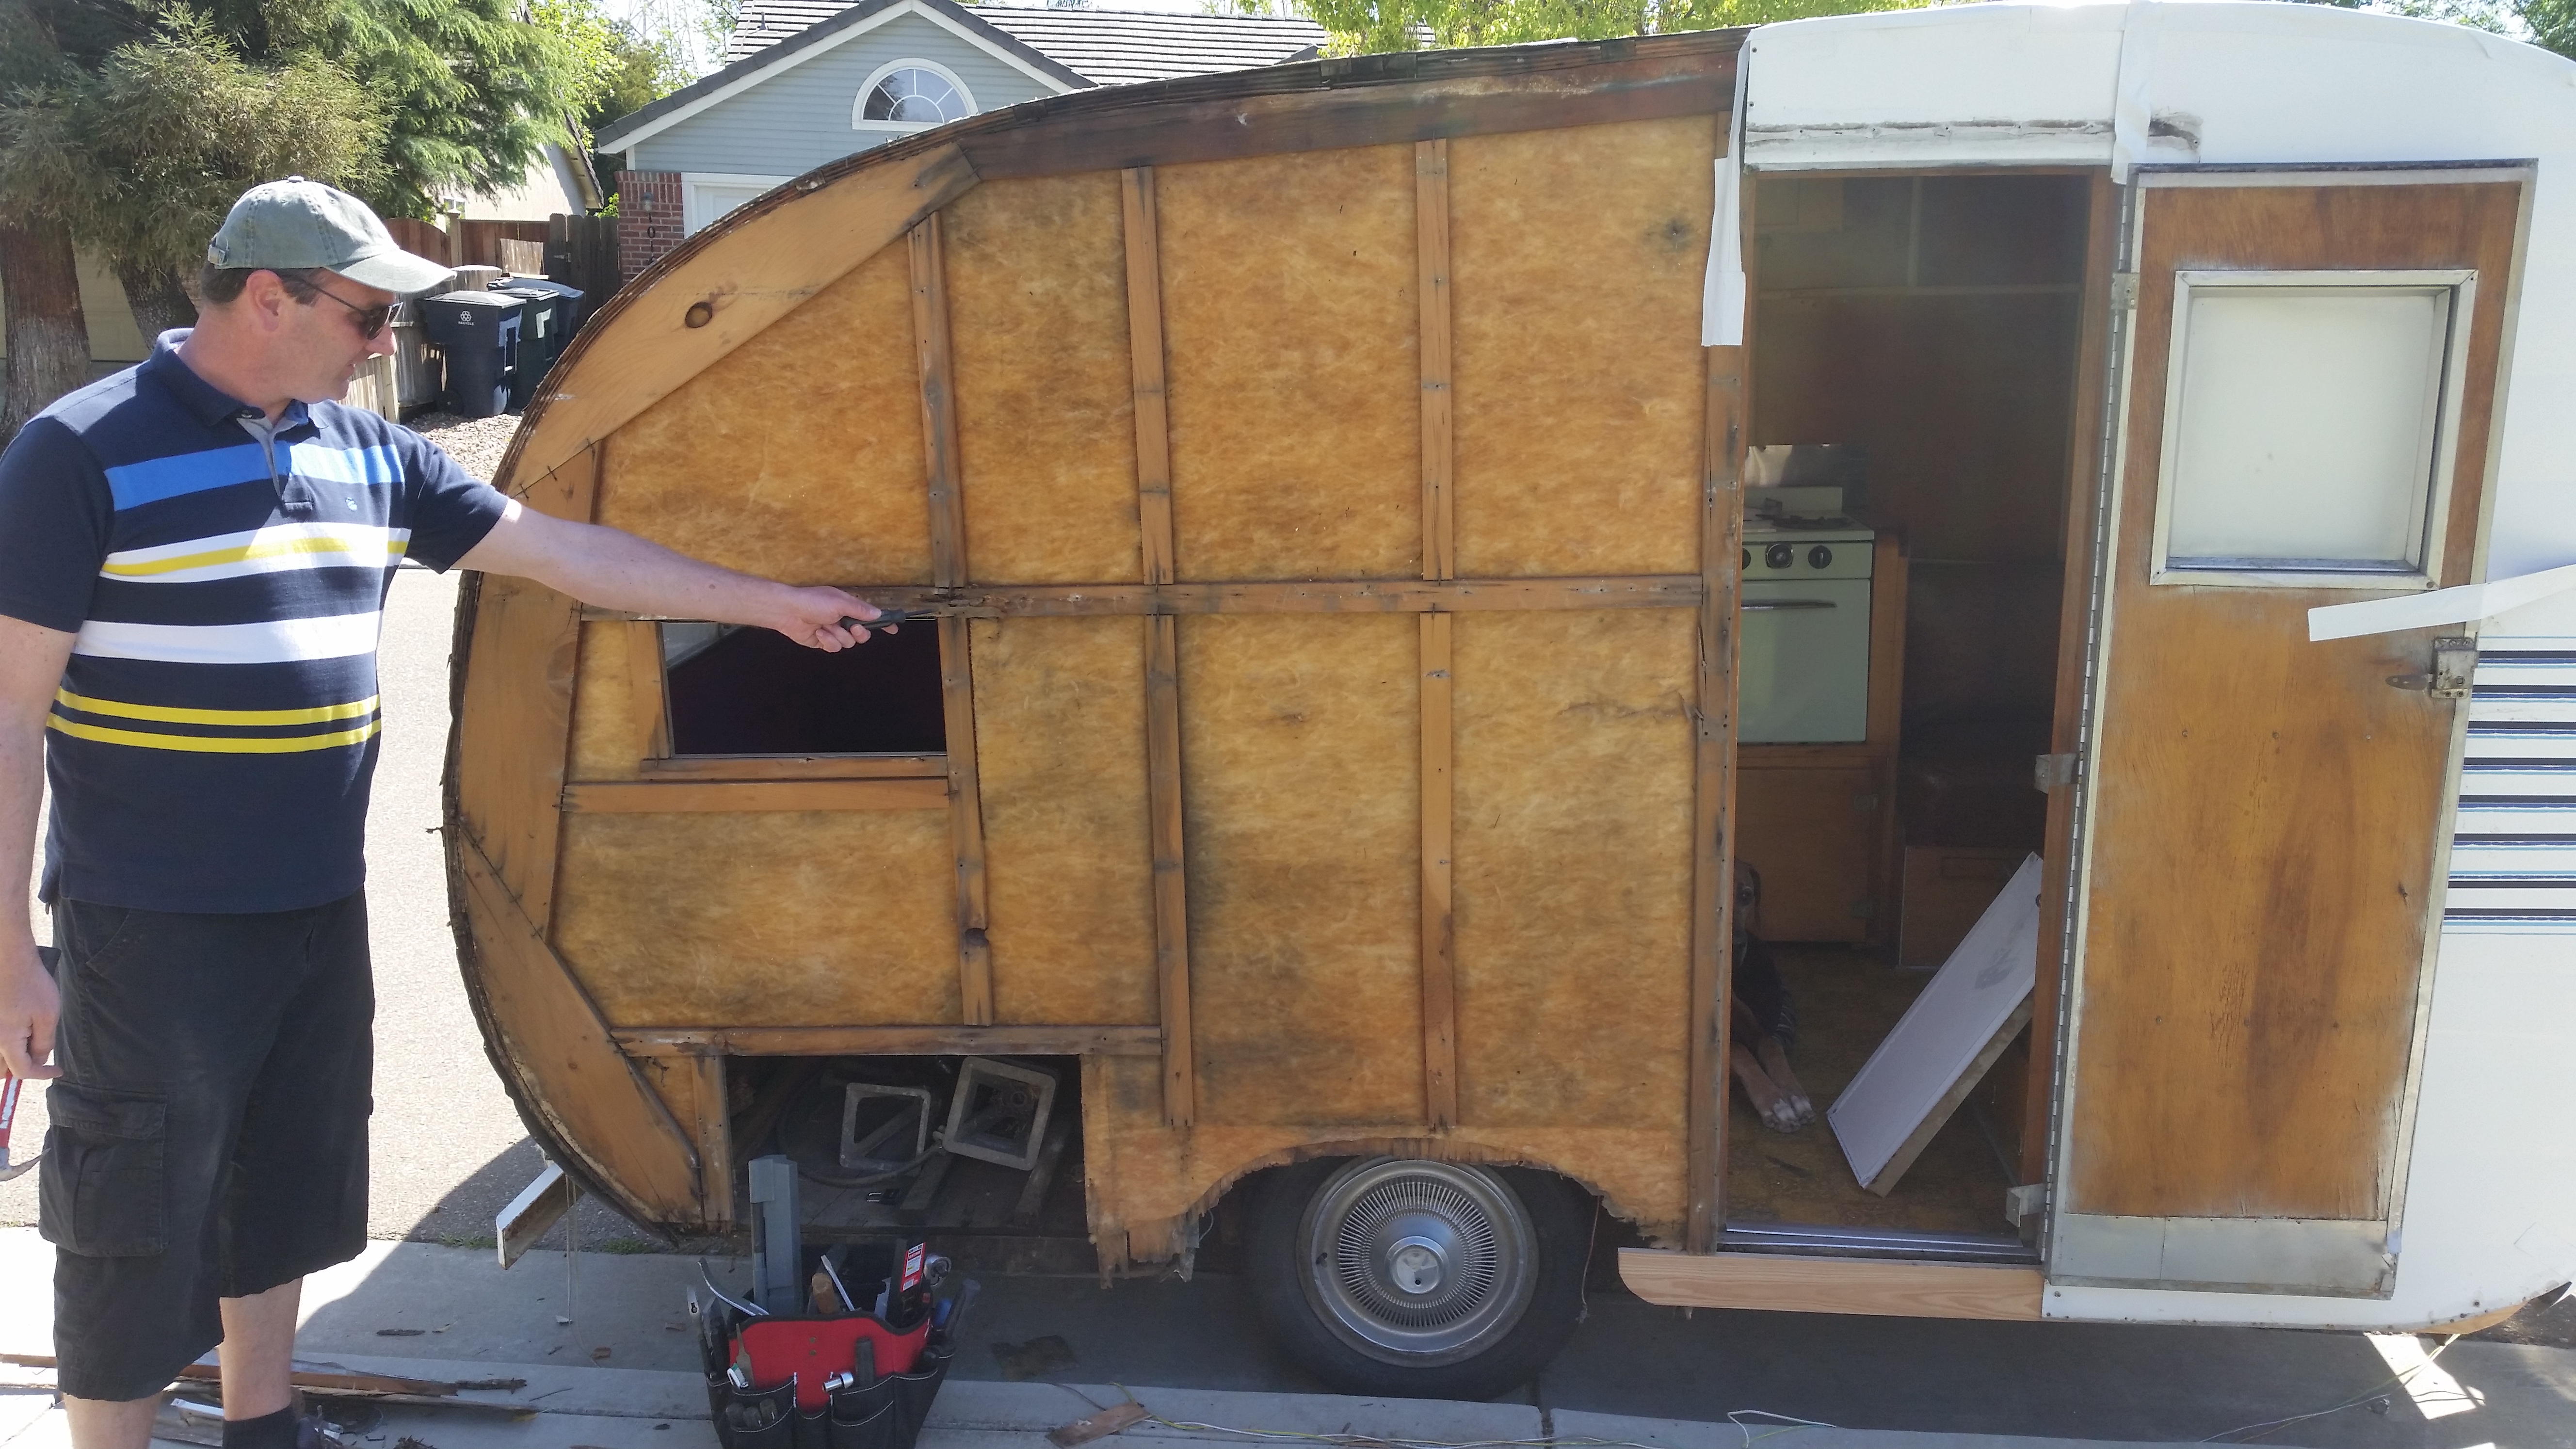 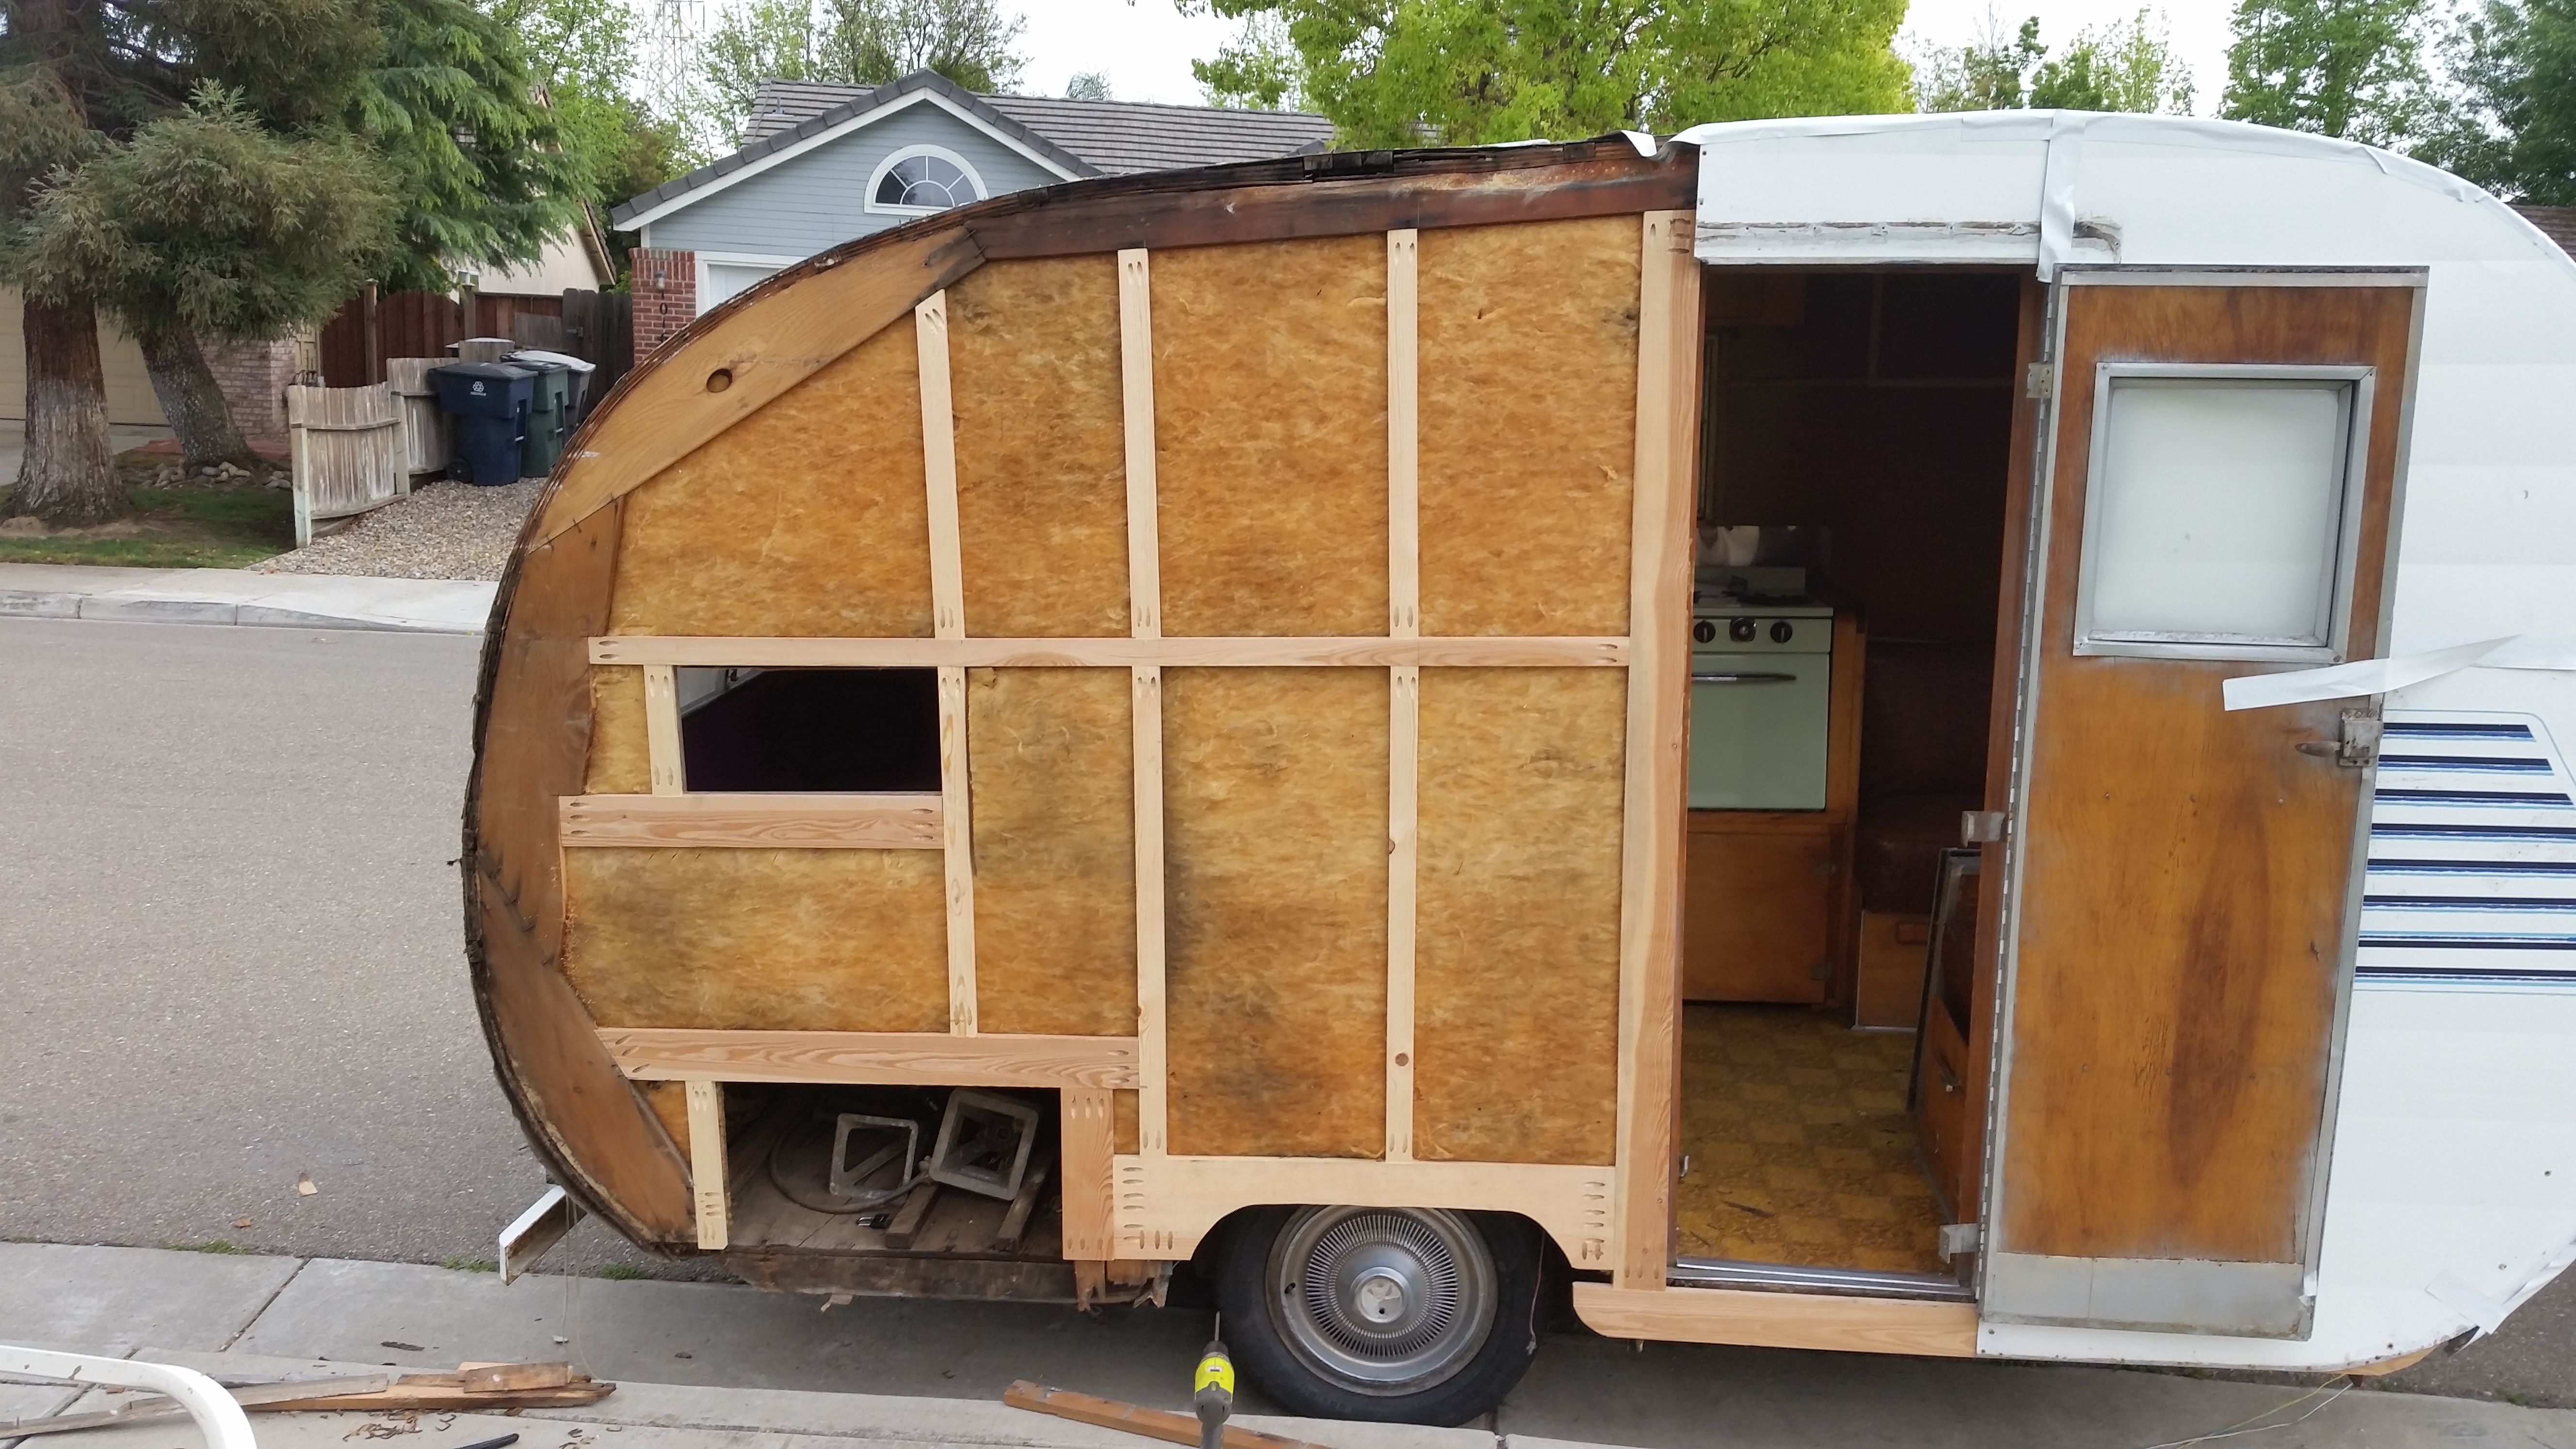 |
|
nccamper
Administrator
Posts: 7,744
Likes: 2,871
1962 Forester- 1956 Shasta
Currently Offline
|
Post by nccamper on Mar 28, 2016 20:02:18 GMT -8
Great photos.
Thanks for sharing them.
You're making good progress.
|
|
|
|
Post by Teachndad on Mar 30, 2016 14:55:28 GMT -8
Great photos. Thanks for sharing them. You're making good progress. I will ditto on what NCcamper said!
Mark,
How did you pull the old studs off the walls?
Cheers,
Rod
|
|
Lola53
Active Member
Posts: 150
Likes: 53
1953 Westfield Westerner
Currently Offline
|
Post by Lola53 on Mar 31, 2016 0:11:06 GMT -8
I will ditto on what NCcamper said!
Mark,
How did you pull the old studs off the walls?
Cheers,
Rod
Rod, it is fairly simple. First pull out the exposed staples on the stud ends. Then work pry bar between one end of stud and wall. Gently pry stud away from wall, working pry bar along the stud to the other end. Free stud from remaining staples. Hammer / push twisty nails back into interior. Twist out staples in the trim boards, installed from the inside, using pliers and rolling wrist motion (try to minimize damage on legacy trim boards where the new pocket screws will be installed). Mark |
|
|
|
Post by danrhodes on Mar 31, 2016 5:52:40 GMT -8
I wish it was that easy for me... My framing was all glued and the panels were brittle enough that the twist nails pulled through.
|
|
Lola53
Active Member
Posts: 150
Likes: 53
1953 Westfield Westerner
Currently Offline
|
Post by Lola53 on Mar 31, 2016 20:58:59 GMT -8
I wish it was that easy for me... My framing was all glued and the panels were brittle enough that the twist nails pulled through. Lola's ribs are not glued. The paneling in the back was painted (purple) by a previous owner to hide water damage. I'll be replacing it at some point, but did not have any issues pulling off the ribs. Mark |
|
|
|
Post by Teachndad on Mar 31, 2016 21:14:23 GMT -8
Hi Mark,
How come you cut into the rear radius with the horizontal ribs that frame the rear window frame instead of just meeting those boards as done originally.
Thanks,
Rod
|
|
Lola53
Active Member
Posts: 150
Likes: 53
1953 Westfield Westerner
Currently Offline
|
Post by Lola53 on Mar 31, 2016 21:33:35 GMT -8
Hi Mark, How come you cut into the rear radius with the horizontal ribs that frame the rear window frame instead of just meeting those boards as done originally. Thanks, Rod Hello Rod, Good question, I wondered if anyone would see that piece of handiwork. The radius wood was very brittle and fractured when the staples were removed. Not sure if this is universal, but Lola has staples on both sides of the framing. When the staples were removed, the mating surface where the ribs would join was all chewed up and would not have held a Kregg screw. I used a battery circular saw, set a depth equal to the board thickness, and cut the pockets. This exposed fresh wood for the Kregg screws to bite into. Mark |
|
|
|
Post by Teachndad on Apr 3, 2016 20:53:02 GMT -8
Hi Mark, How come you cut into the rear radius with the horizontal ribs that frame the rear window frame instead of just meeting those boards as done originally. Thanks, Rod Hello Rod, Good question, I wondered if anyone would see that piece of handiwork. The radius wood was very brittle and fractured when the staples were removed. Not sure if this is universal, but Lola has staples on both sides of the framing. When the staples were removed, the mating surface where the ribs would join was all chewed up and would not have held a Kregg screw. I used a battery circular saw, set a depth equal to the board thickness, and cut the pockets. This exposed fresh wood for the Kregg screws to bite into. Mark Hi Mark, Thanks for the clarity. Genius. Andy has the staples on both sides of the framing. Annoying. Later, Rod |
|
Lola53
Active Member
Posts: 150
Likes: 53
1953 Westfield Westerner
Currently Offline
|
Post by Lola53 on Apr 4, 2016 22:39:42 GMT -8
Sunday I worked on Lola's streetside rear. Once again pleasantly surprised that the framing was generally in good shape. Here's a picture showing the new framing at the end of the day (just a couple of vertical supports in the "cargo door" area remaining). Next weekend will be spent fixing the bulging wall behind the kitchen. More on the blog: www.kivas.com/wp/2016/04/05/exposing-the-other-cheek/Mark 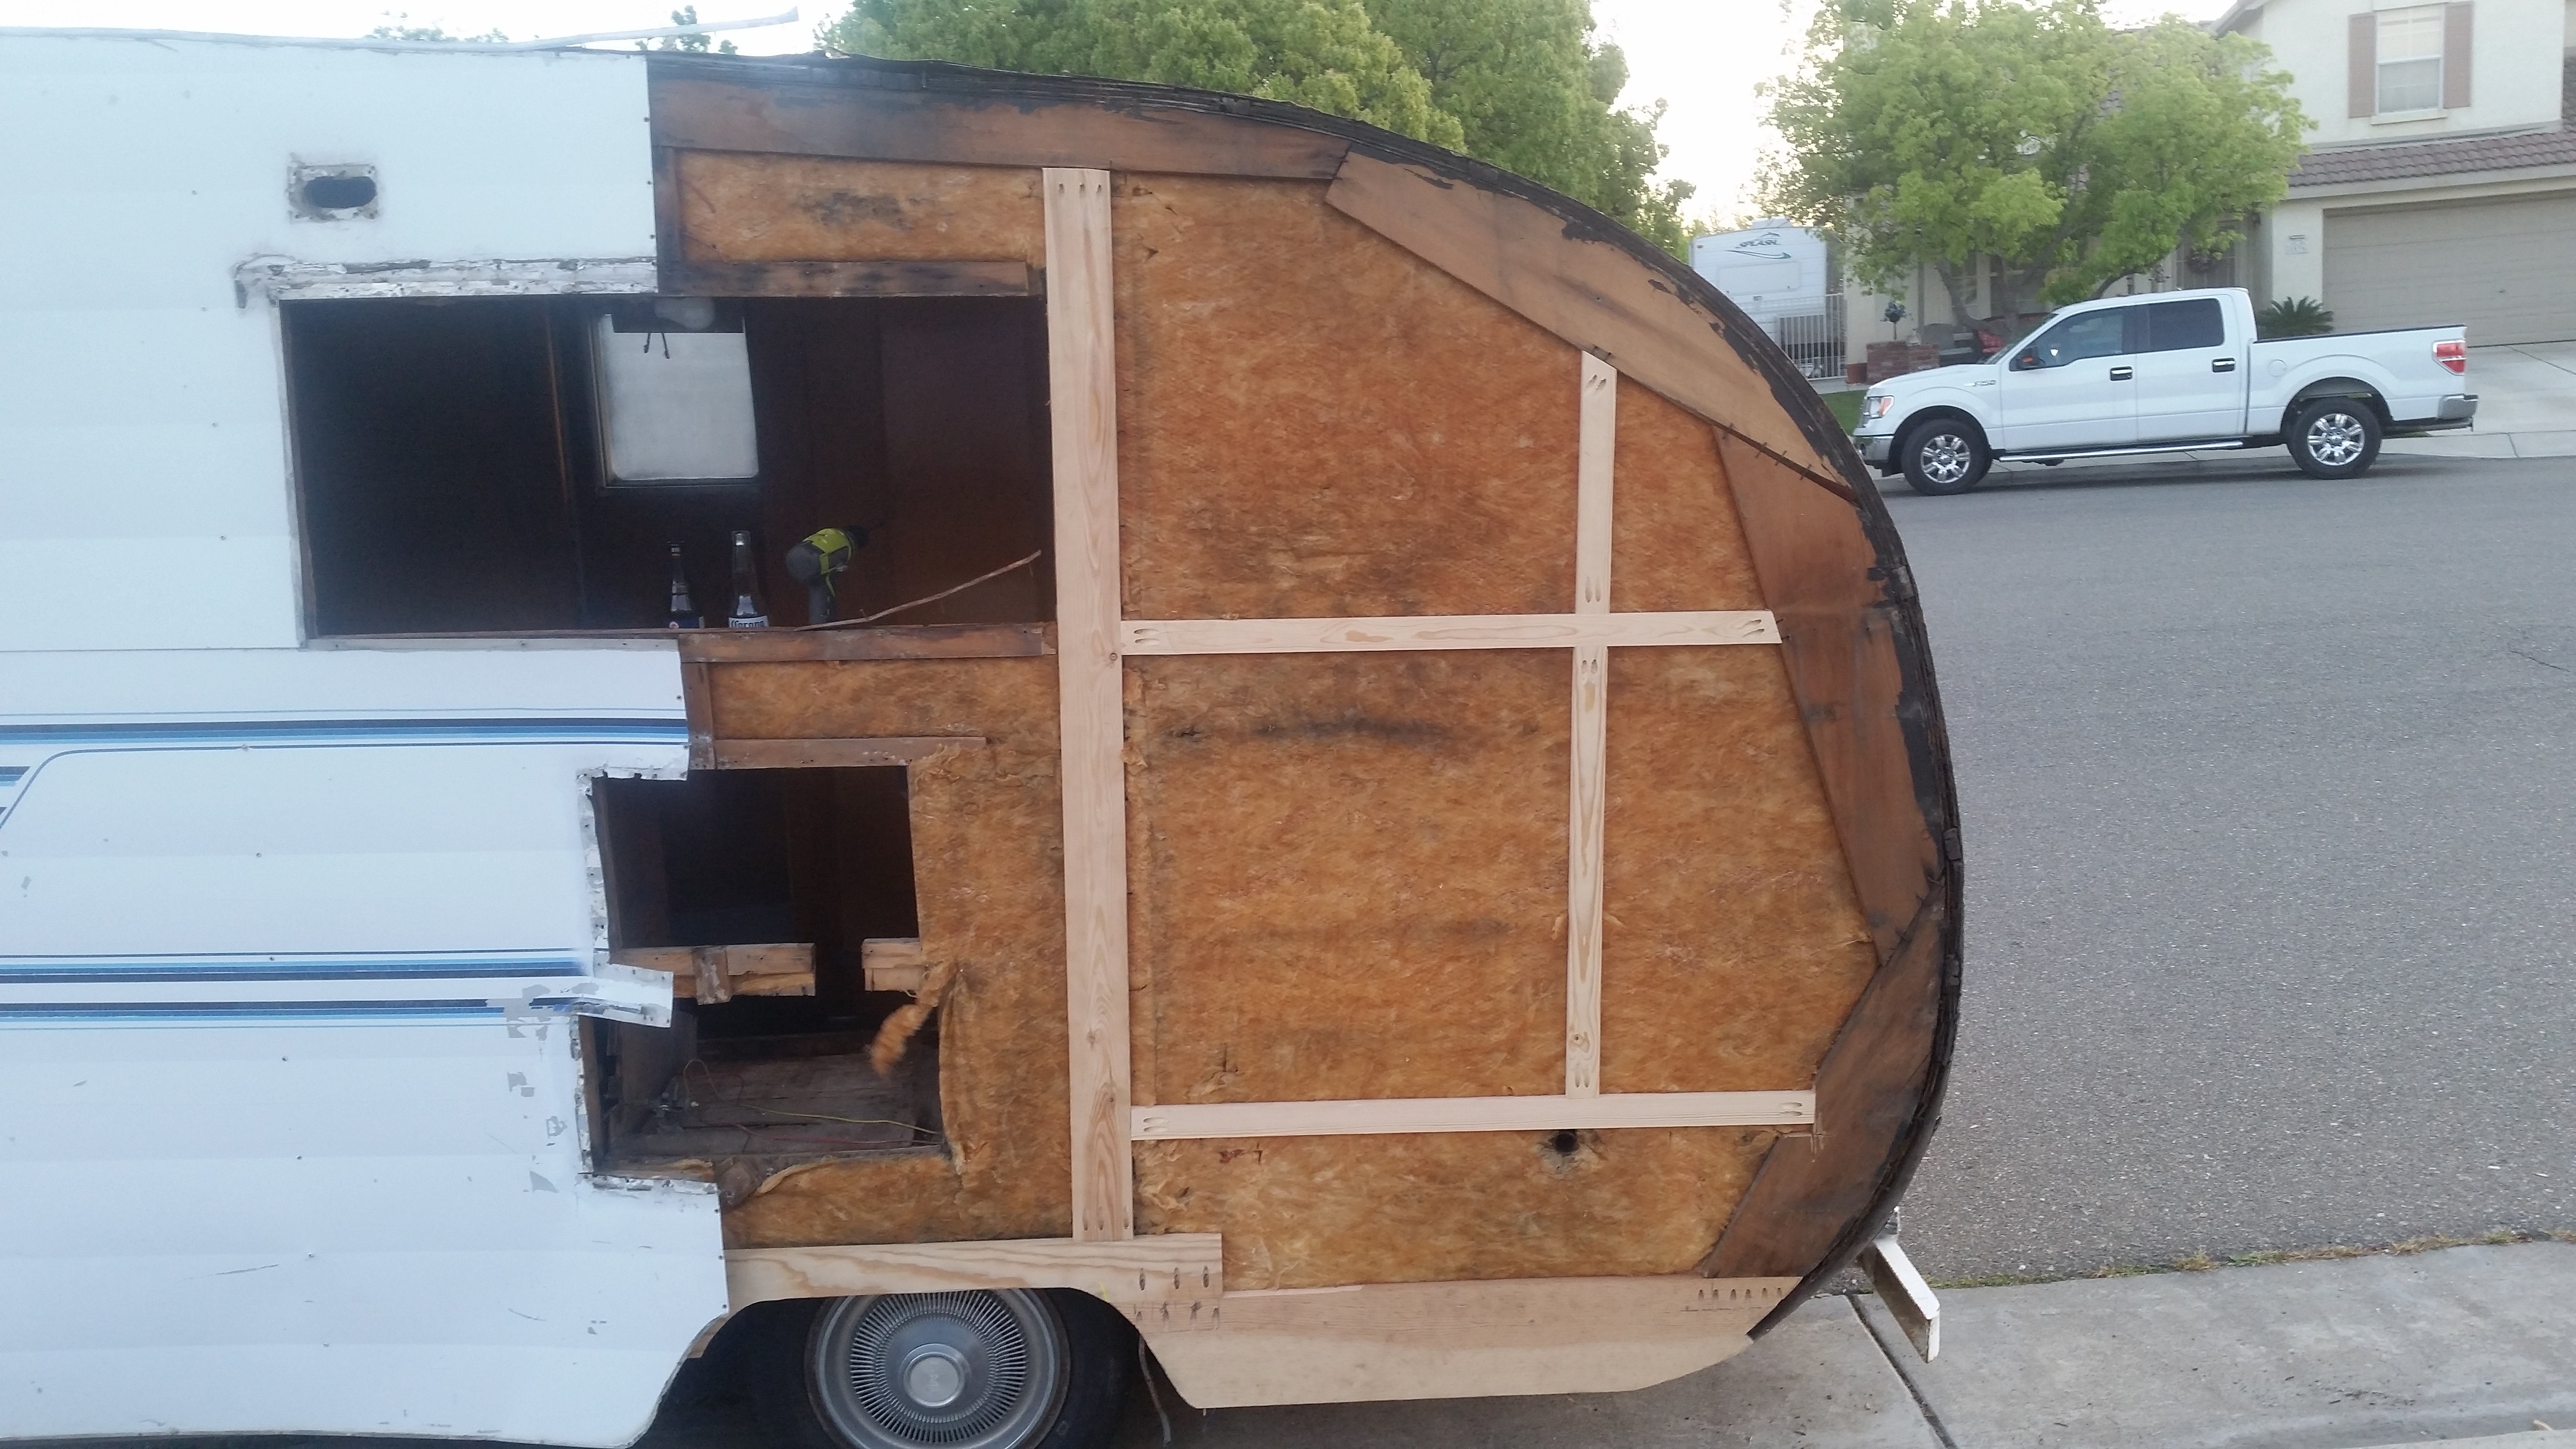 |
|


