davek
Active Member

Posts: 173 
Likes: 94
Currently Offline
|
Post by davek on Sept 21, 2015 20:29:59 GMT -8
Getting close to time to put the skin back on my trailer. Wanted to tighten up the old twist nail holes before hand. What is the best way to do this? I was thinking of filling the hole with a tooth pick and some tight bond III but wanted to see what others think before I move forward. Thanks for any input. 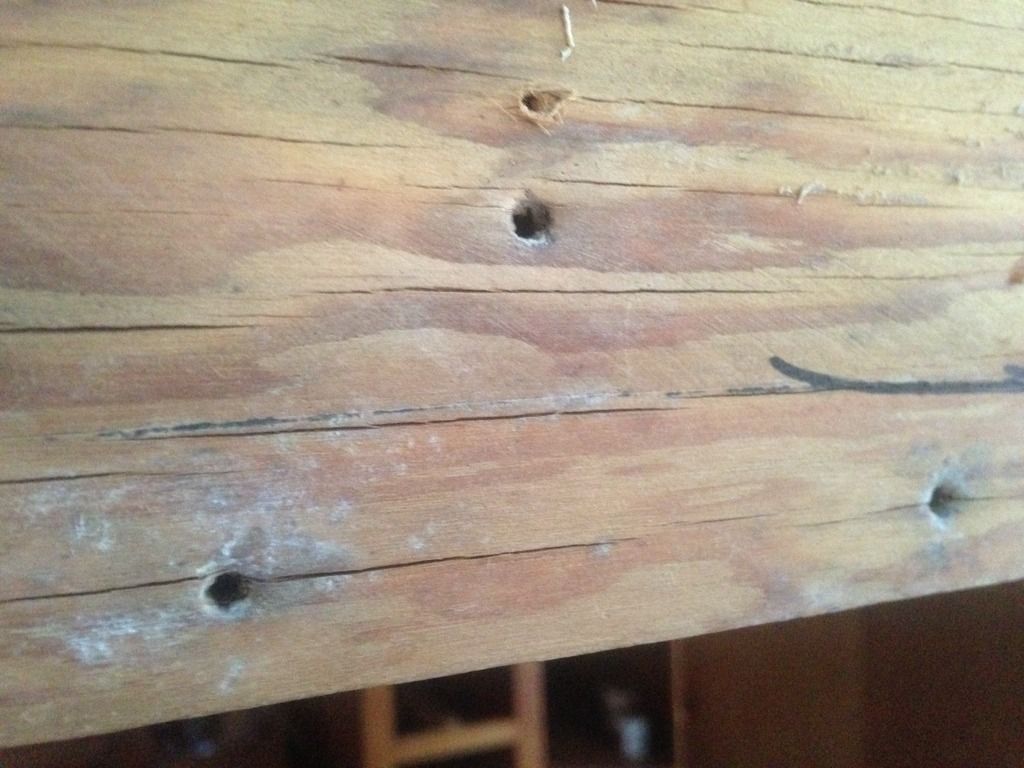 |
|
|
|
Post by vikx on Sept 21, 2015 21:12:39 GMT -8
You're on the right track. I use Gorilla Glue (fast dry-it's white) and either dowels (big holes) or toothpicks. Tap gently after inserting to make sure they are all the way in.
Any good glue will work. Trim with a multi-tool and smooth with sandpaper. Also, you might tap a sharp nail setter into the glued hole to help start the nail.
Show us some pix!
|
|
diymom
Active Member
enthralled with my 1969 Terry, problem is it keeps me awake at night planning
Posts: 323 
Likes: 51
1969 terry 18'
Currently Offline
|
Post by diymom on Sept 21, 2015 22:35:17 GMT -8
Genius! Totally didn't think about that before...
I have lots of toothpicks and gorilla glue....
Thank you!
|
|
nccamper
Administrator 
Posts: 7,744
Likes: 2,871
1962 Forester- 1956 Shasta
Currently Offline
|
Post by nccamper on Sept 22, 2015 4:41:48 GMT -8
Are we talking about the screw holes for the skin or the twisty nail holes for the birch?
On campers with thicker walls like Forester or Oasis I think longer screws are a great way to go. On a Shasta (I hate to admit it) when really needed I've used heavier screws. I know, it's not esthetically ideal and there is no going back again once it's done.
I'll try the glue idea next time. I've done it on furniture but never a camper. Smart.
|
|
bpmcgee
Junior Member
Posts: 95
Likes: 31
Currently Offline
|
Post by bpmcgee on Sept 22, 2015 5:12:04 GMT -8
Varying sizes of dowel and wood glue are what I've always used as a carpenter. Should be fine here as long as the glue is waterproof, I'd think.
B
|
|
|
|
Post by vikx on Sept 22, 2015 20:59:08 GMT -8
I don't use twisty nails. Any hole can benefit from a fill of glue and pix. LOL
|
|
|
|
Post by danrhodes on Sept 23, 2015 8:28:49 GMT -8
I don't use twisty nails. Any hole can benefit from a fill of glue and pix. LOL How do you attach birch panels? Just glue? Glue and brads? |
|
jerfo
Member
Posts: 43
Likes: 2
Currently Offline
|
Post by jerfo on Sept 23, 2015 8:32:09 GMT -8
There's this product by jb weld called steelstik that works wonders for jobs like that. It's pretty much a putty that hardens like steel and can be drilled again if necessary.
|
|
|
|
Post by vikx on Sept 23, 2015 10:55:17 GMT -8
My panels are attached with 1/4 inch crown staples, 3/4 long at the seams and each wall stud. The seams will not show; I use a trim stick (sometimes called screen door trim) about 3/4 wide and about 3/16 thick. The sticks are anchored with screws every 8 to 12 inches. Painted pan heads or decor washers with oval head screws both look nice. In the field, there are tasteful screws to anchor the panels. There are many areas where screws won't show, such as inside the closet, kitchen cabinet and dinettes. It's interesting to really look at the trailer and realize how much support the cabinets, windows and other built ins give. Note: Visible staple divets can be wood puttied and finished. A better quality gun seems to be kinder to the panels. My Hitachi crown stapler is better than the old Craftsman 2 in 1 Stapler/Nailer. Trim stick with decor screws: 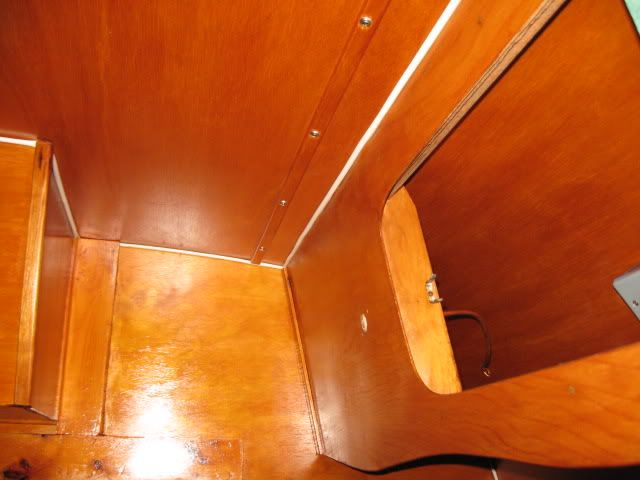 Field screws if you look closely: 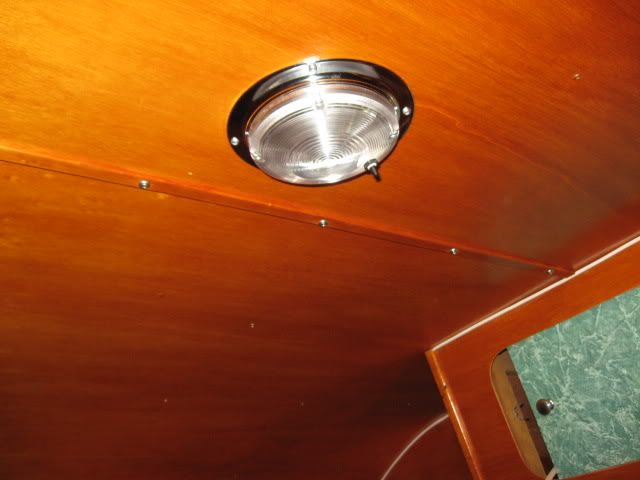 Here, you see decor screws anchoring the top of the wall panel: 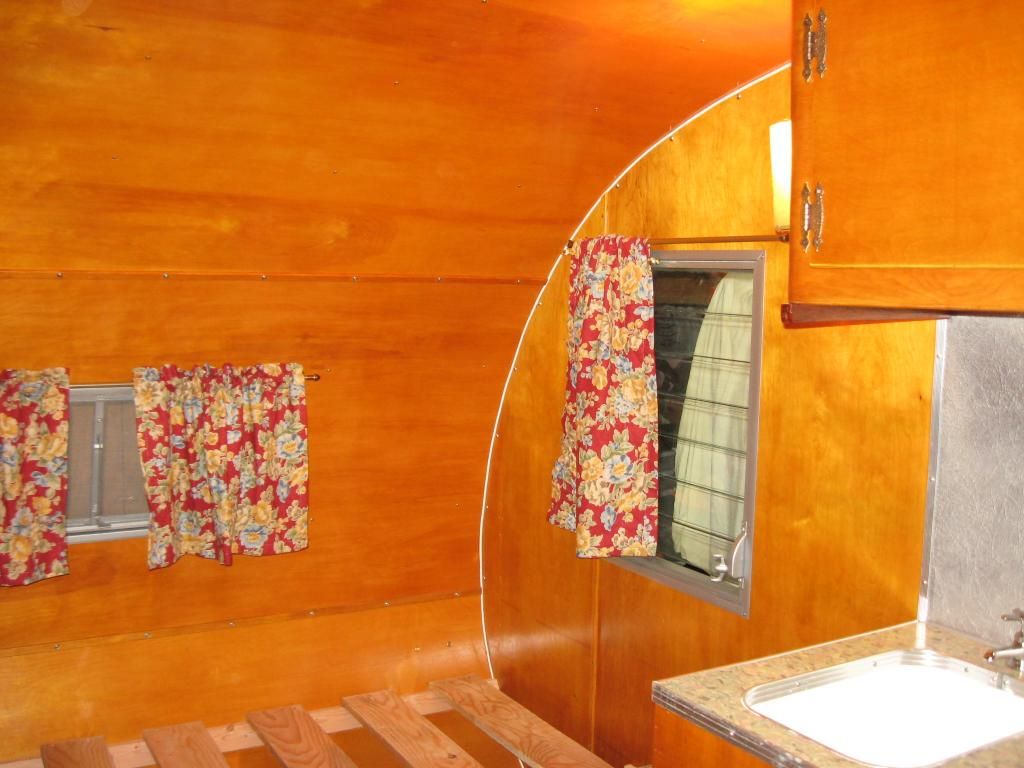 |
|
davek
Active Member
Posts: 173
Likes: 94
Currently Offline
|
Post by davek on Sept 23, 2015 20:11:37 GMT -8
My panels are attached with 1/4 inch crown staples, 3/4 long at the seams and each wall stud. The seams will not show; I use a trim stick (sometimes called screen door trim) about 3/4 wide and about 3/16 thick. The sticks are anchored with screws every 8 to 12 inches. Painted pan heads or decor washers with oval head screws both look nice. In the field, there are tasteful screws to anchor the panels. There are many areas where screws won't show, such as inside the closet, kitchen cabinet and dinettes. It's interesting to really look at the trailer and realize how much support the cabinets, windows and other built ins give. Note: Visible staple divets can be wood puttied and finished. A better quality gun seems to be kinder to the panels. My Hitachi crown stapler is better than the old Craftsman 2 in 1 Stapler/Nailer. Trim stick with decor screws: Field screws if you look closely: Here, you see decor screws anchoring the top of the wall panel: Wow vikx what a beautiful trailer!!! Actually my trailer is plywood so there are very few interior twist nails mostly just for holding the skin on. Starting to consider using screw in place of the twist nails to save time and trouble but will need to tighten the holes either way. |
|
davek
Active Member
Posts: 173
Likes: 94
Currently Offline
|
Post by davek on Sept 23, 2015 20:18:57 GMT -8
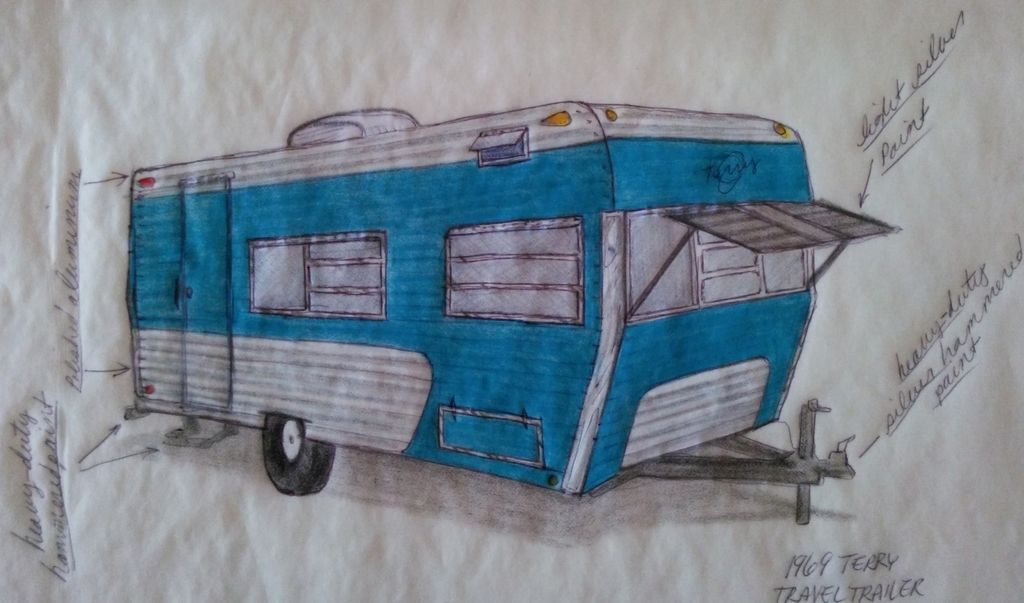
As seen on ebay last spring  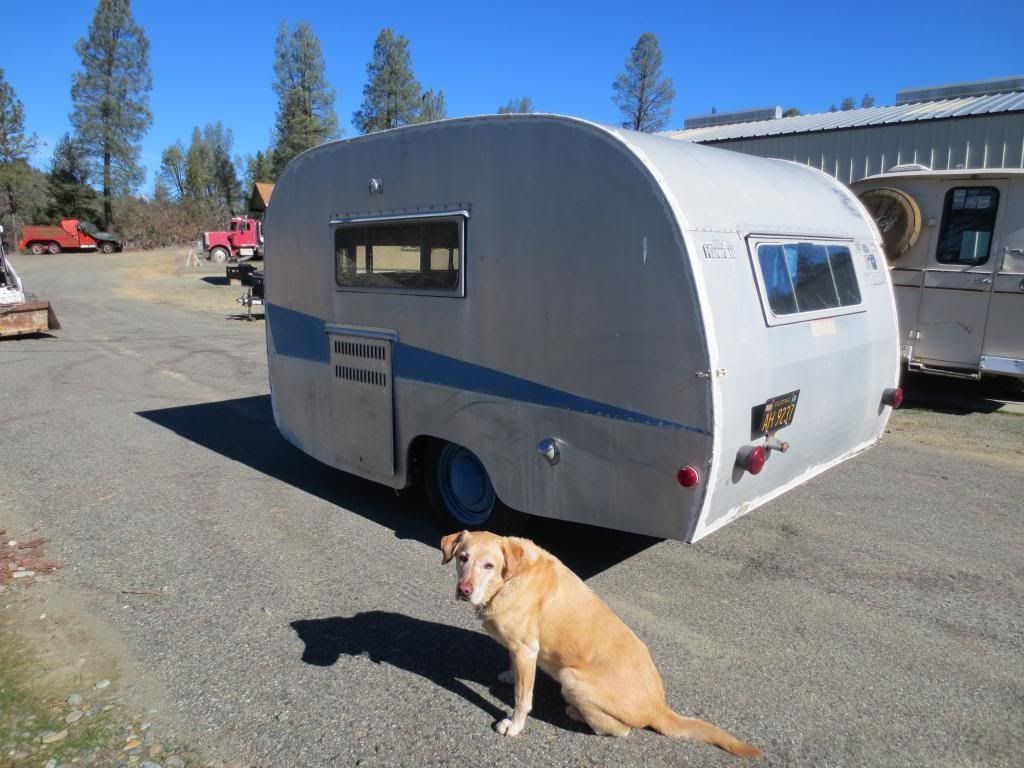 Mid project 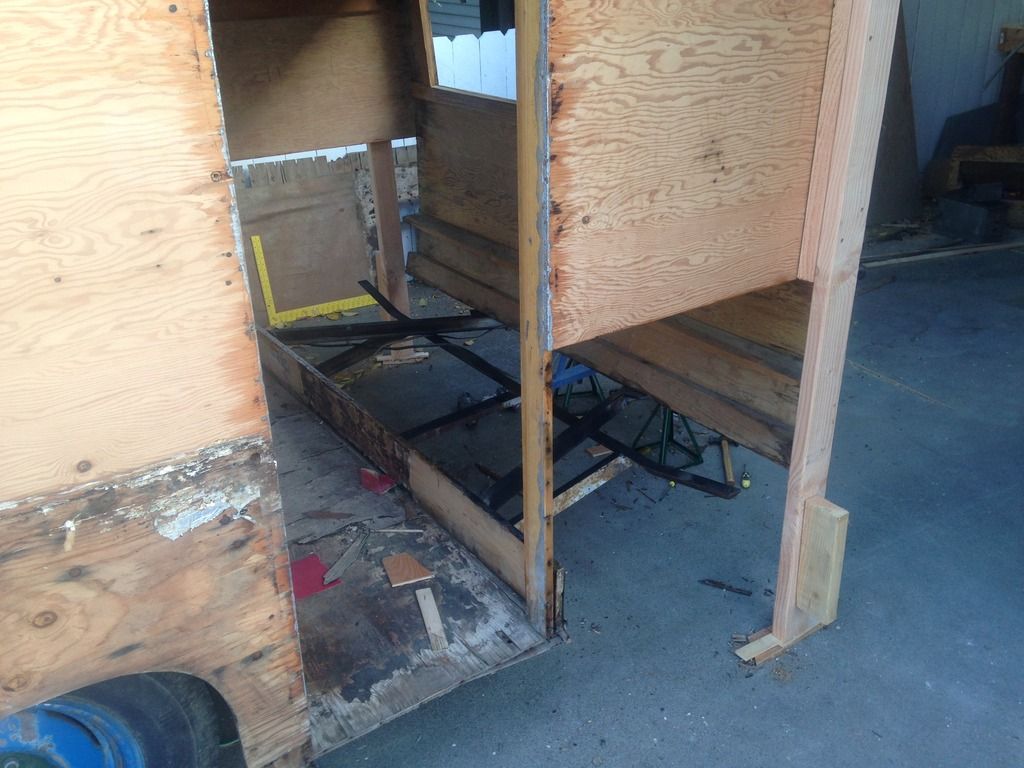 Endless plywood repairs 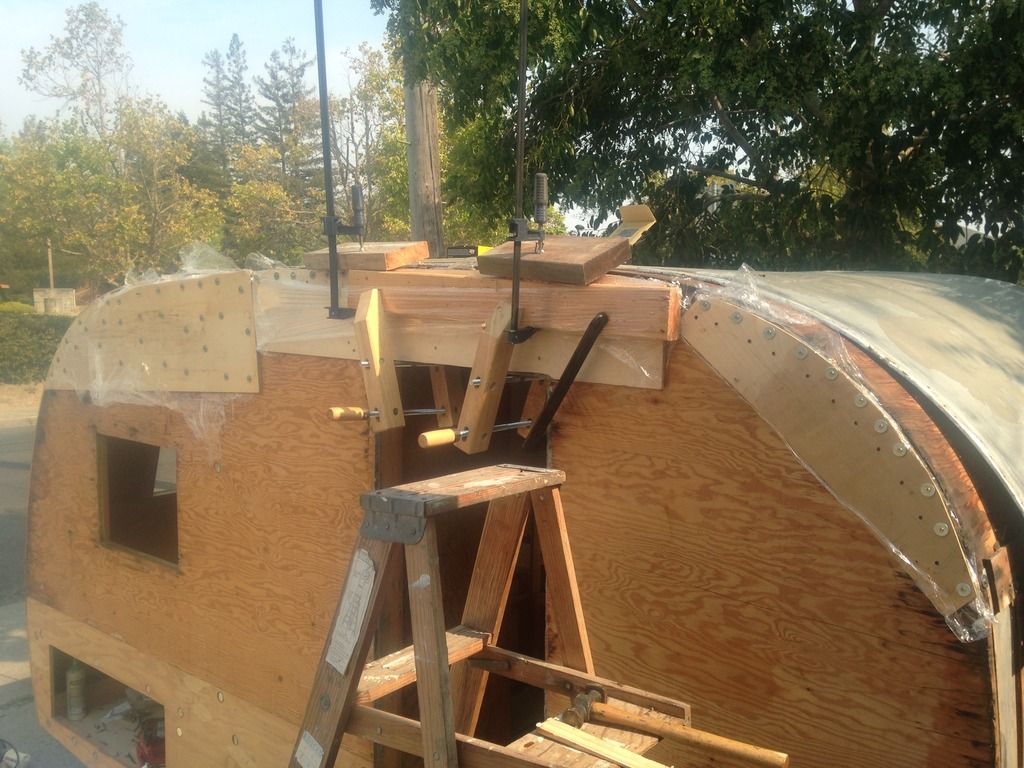 New floors 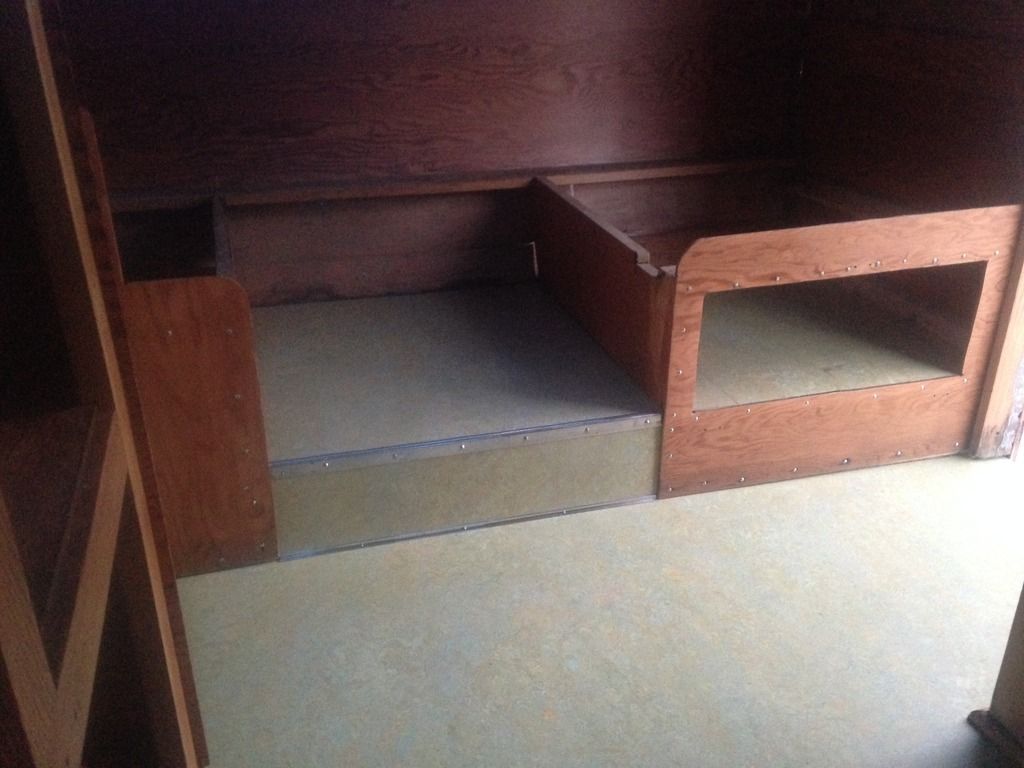 As of a few days ago 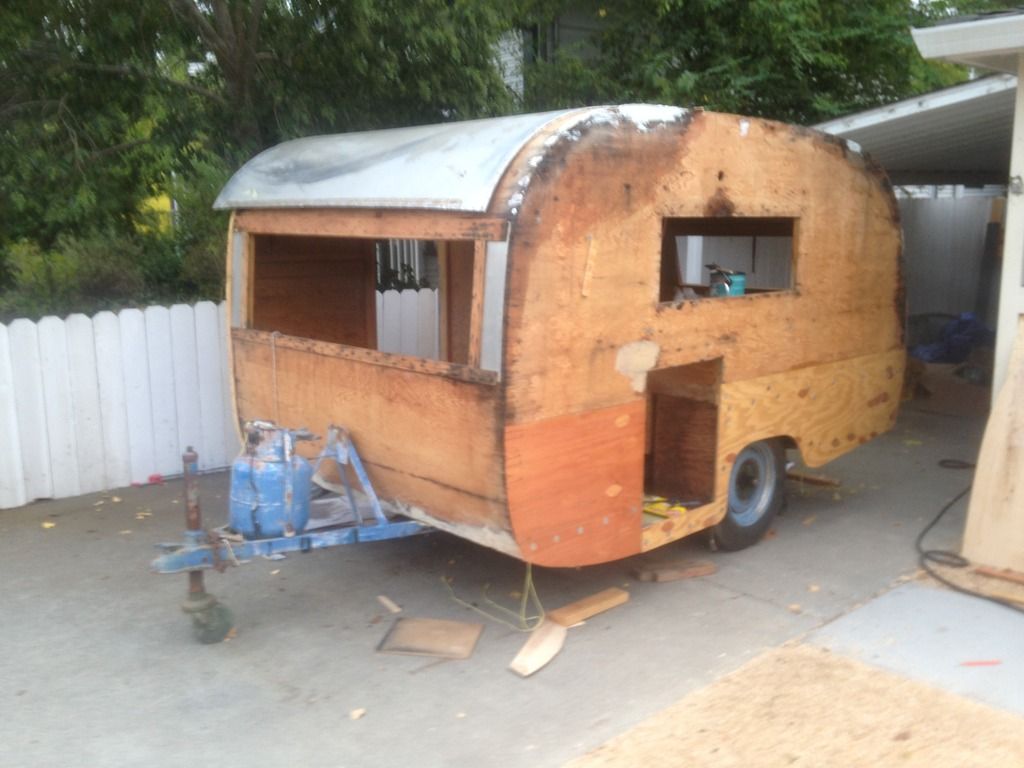 |
|
|
|
Post by vikx on Sept 23, 2015 20:38:51 GMT -8
Thanks Dave.
Believe it or not, the first two pix are of our 57 Corvette with plywood walls. We used screws in the siding and like them much better. More grip. I used 3/8 which are too short. Most are holding well, but 1/2 would be better. The ply was today's 1/2", shy a 32nd of a full 1/2. We worried that 1/2" screws would pierce thru.
So far, only 2 screws have let loose, and are replaced with 1/2.
The 2nd trailer is a 58 Cardinal, normal stick built.
Congrats to you for piecing the plywood siding on your trailer. It looks strong. I've never been able to piece one, so the walls come down. LOL.
|
|
davek
Active Member
Posts: 173
Likes: 94
Currently Offline
|
Post by davek on Sept 23, 2015 21:38:14 GMT -8
Congrats to you for piecing the plywood siding on your trailer. It looks strong. I've never been able to piece one, so the walls come down. LOL. No piecing, just relaminating with epoxy. Before 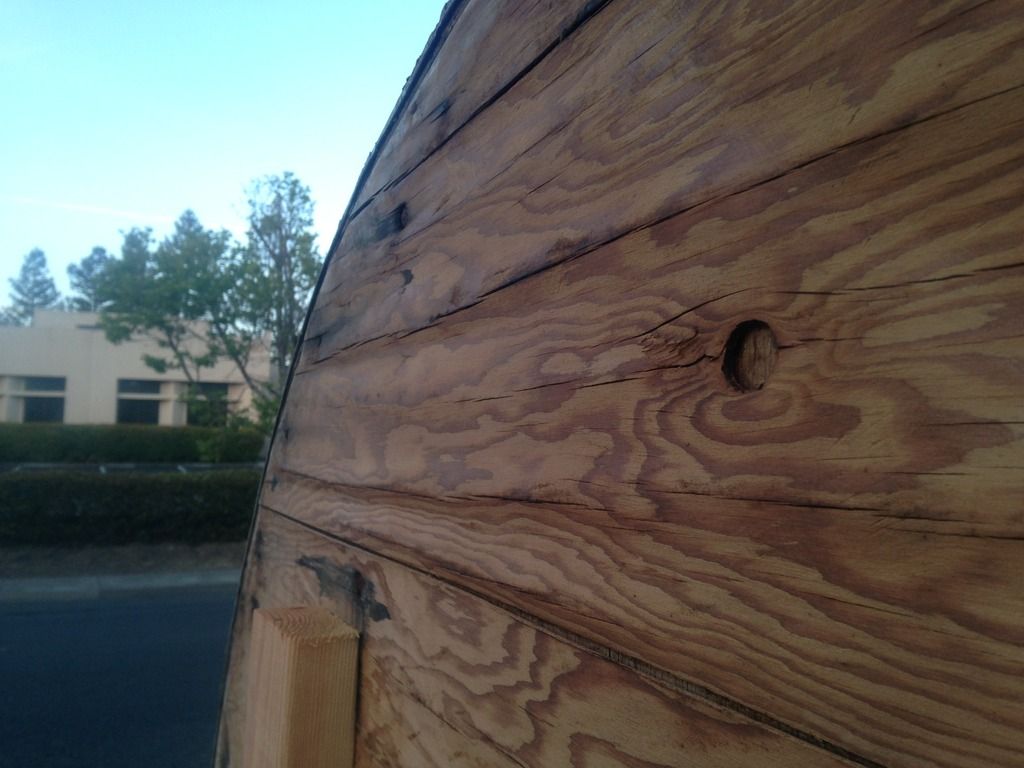 Bad stuff temporarily removed 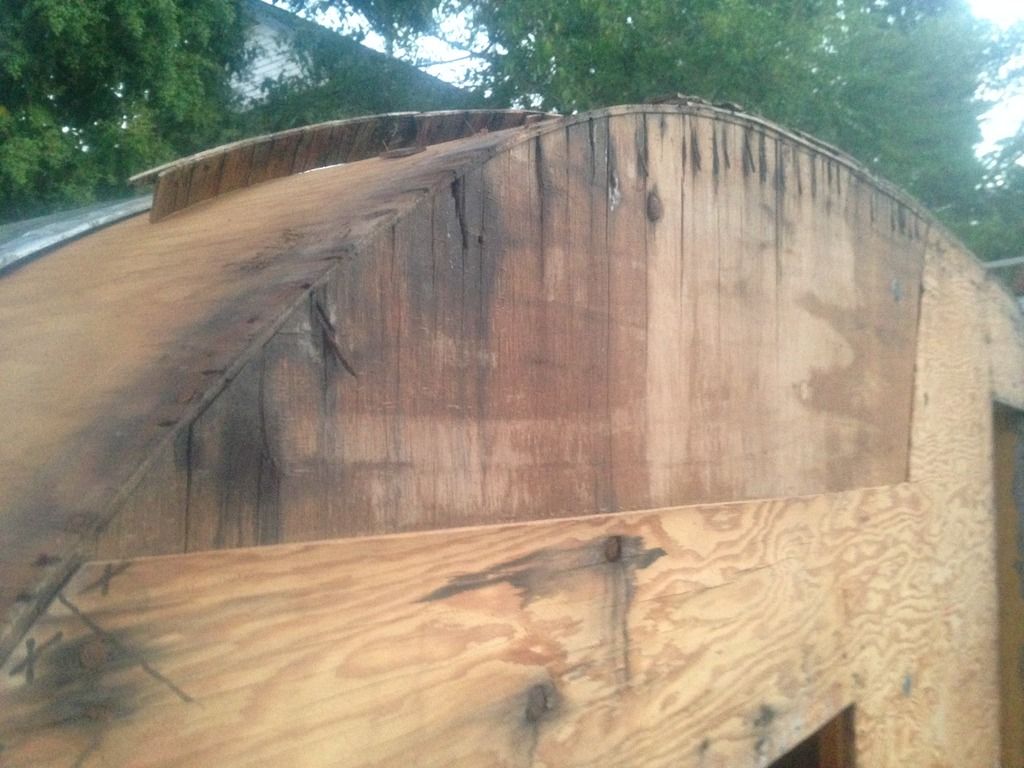 Flattened bad stuff being glued back on 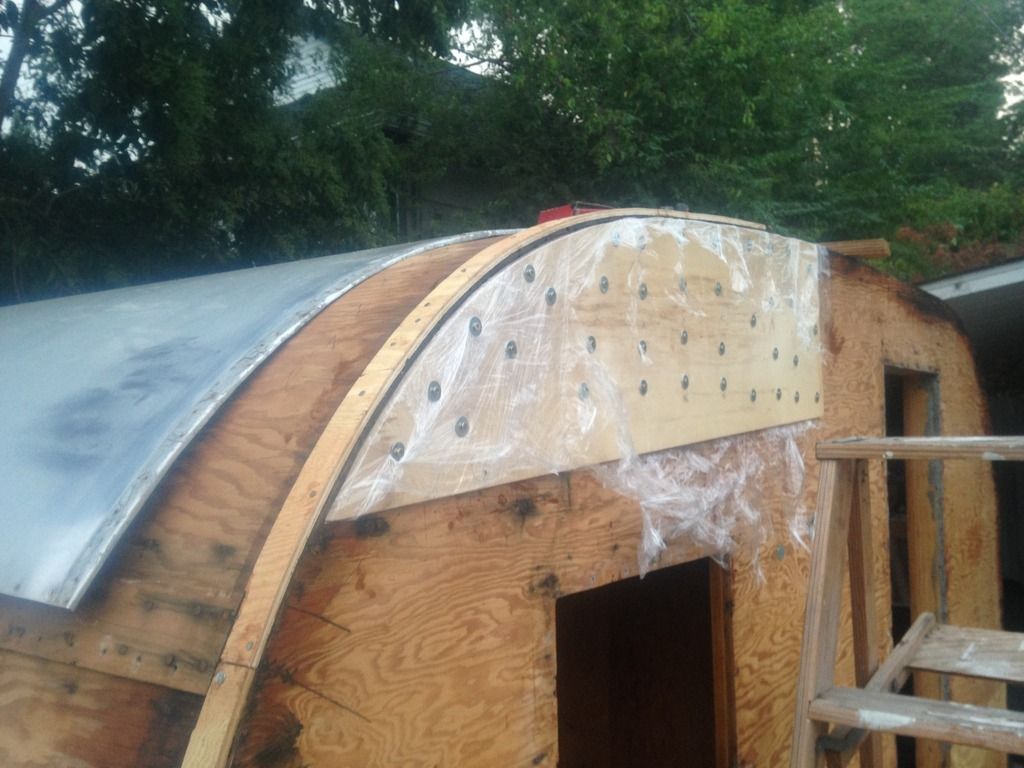 Fixed (sorry this picture is bad) 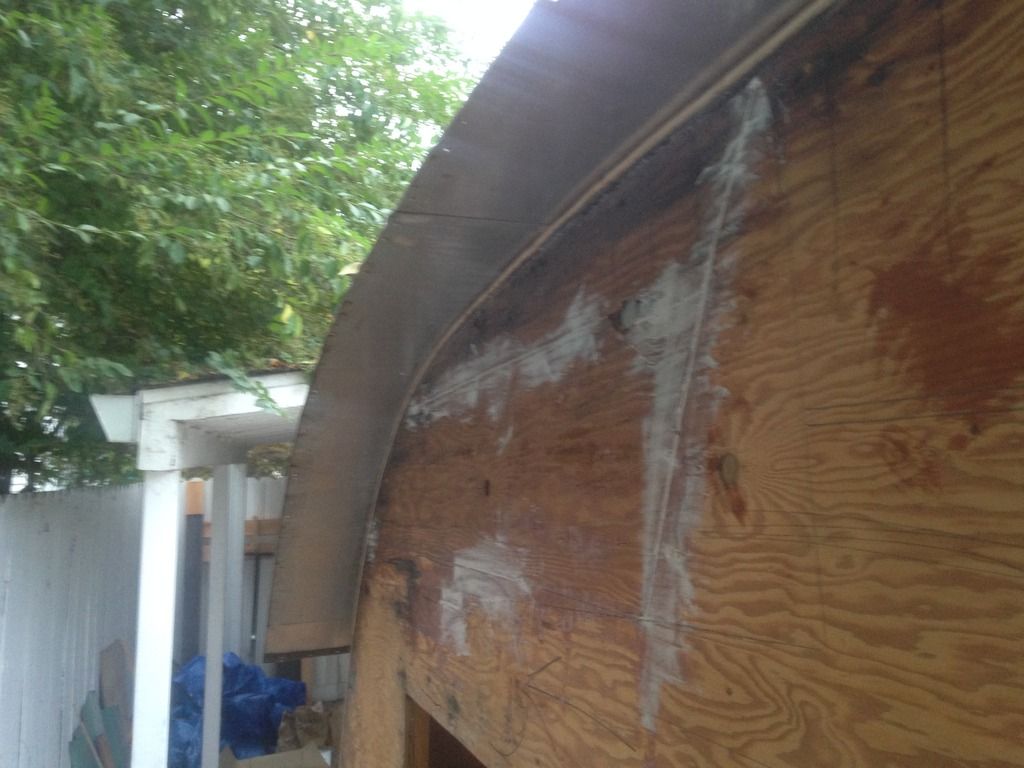 A lot of trouble and more work then fresh wood but the interior has nice patina |
|
pam
Junior Member
Posts: 61
Likes: 15
Serro Scotty 69
Currently Offline
|
Post by pam on Oct 8, 2015 5:56:32 GMT -8
WOW! First rate fix-it! Your skill-set exceeds my own, so I end up with a big huge re-do.
Nice work:)
|
|