oakback
Active Member

Posts: 263 
Likes: 55
Currently Offline
|
Post by oakback on Sept 26, 2018 5:46:17 GMT -8
Wired most of the converter panel. I have the 30A inlet on the way, I need to mount and wire the 12V cutoff switch, and a ground bus bar. Then I can test it, I guess? Is it safe to test it by plugging it into an outlet on my house (with an adapter for the 30A plug)?Also trying out these push-in connectors instead of wire nuts, or crimped butt splices. The reviews looked good, so they better friggin work or I'm going to lose my mind. For ease of install they're great. It takes a bit of effort for the stranded wire (it helps to push in the wire with pliers), but overall I'm pleased with them so far. 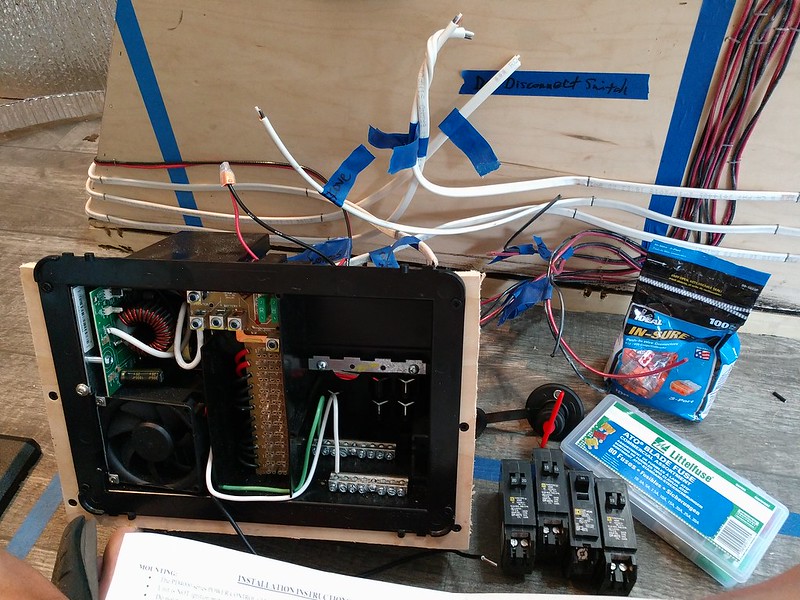 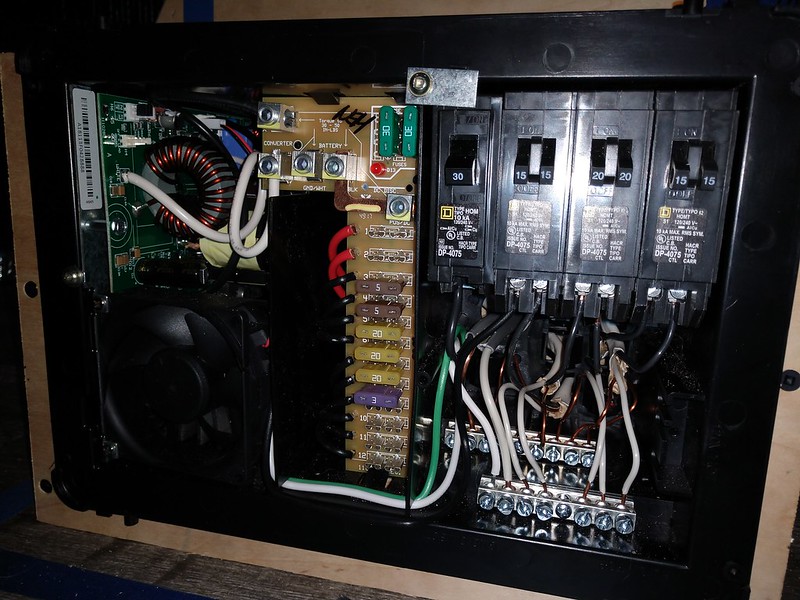 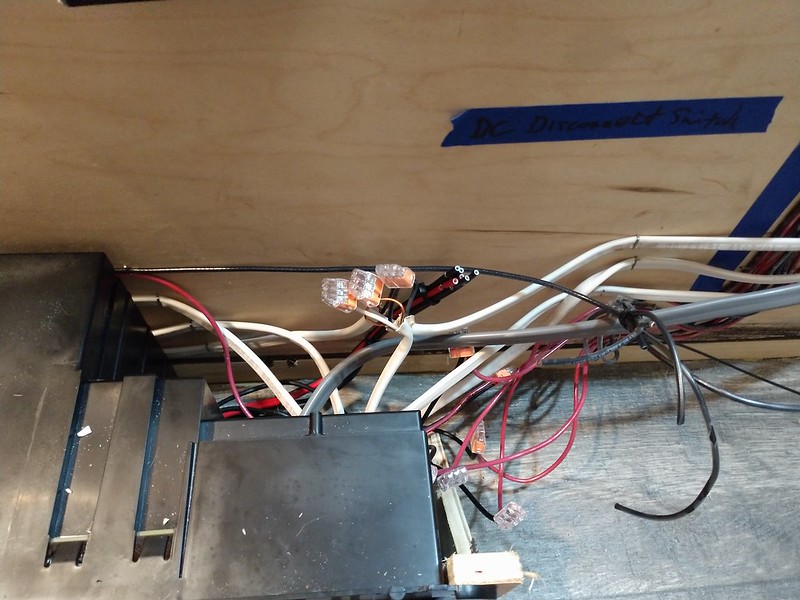 |
|
|
|
Post by vikx on Sept 26, 2018 19:52:46 GMT -8
If you want to plug it in, be sure all wires are connected and/or separated. Using an adapter is fine, just don't put the system under a heavy load. As long as it's just a test you should be OK.
|
|
oakback
Active Member
Posts: 263
Likes: 55
Currently Offline
|
Post by oakback on Sept 27, 2018 16:47:09 GMT -8
I added a single outlet to one of the Romex ends temporarily with an outlet tester plugged in, and twisted the wire ends of an LED light to a pair of the 12v wires.
The test lights and LED come on. Holy crap it works. I can't believe I got this right. Wow.
|
|
oakback
Active Member
Posts: 263
Likes: 55
Currently Offline
|
Post by oakback on Oct 1, 2018 15:12:36 GMT -8
I added a bonding ground to the frame and a ground bus bar for all the 12v stuff (the 110 stuff has a ground bus in the converter housing). We put in the interior wrap, using special bendy plywood at the front and rear, with stiff ply on the ceiling, all 1/4". The stiff stuff is some new plywood at Lowes, the brand is Revolution Ply. Nice grain, paint ready, and good/cheap enough that my dad wanted to find the supplier and have the bossman order it for their shop. All farm raised, non-tropical, certified green or whatever. $15 a sheet. I installed our 4 puck lights, and wired in this neat battery-less remote. Works great! Tomorrow or Wednesday we'll be installing the side walls, most likely.  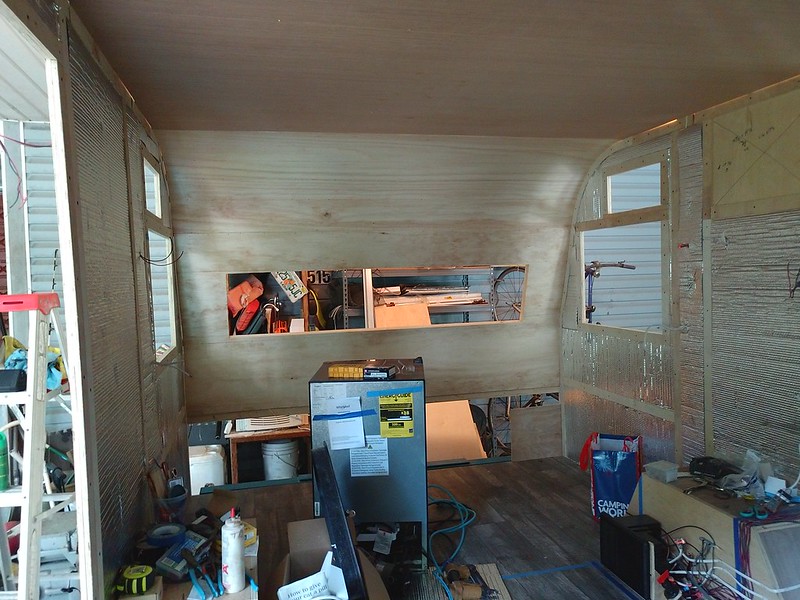 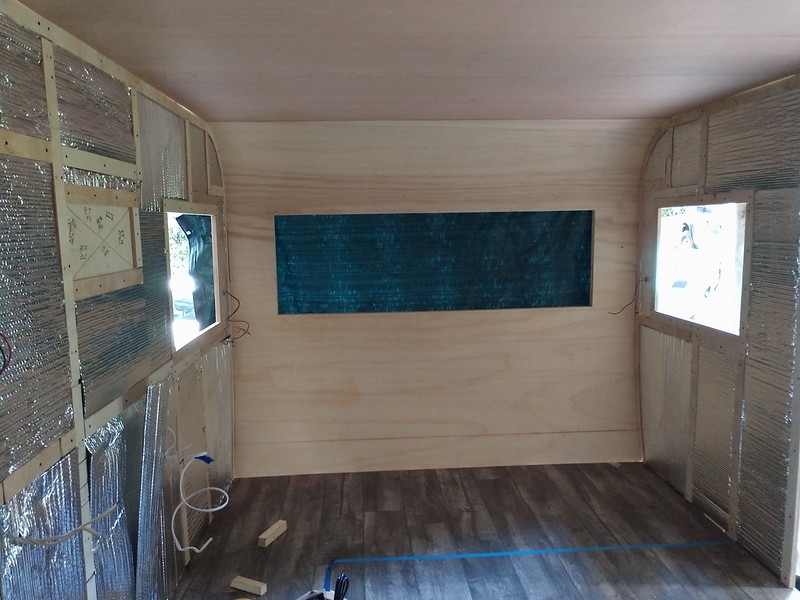 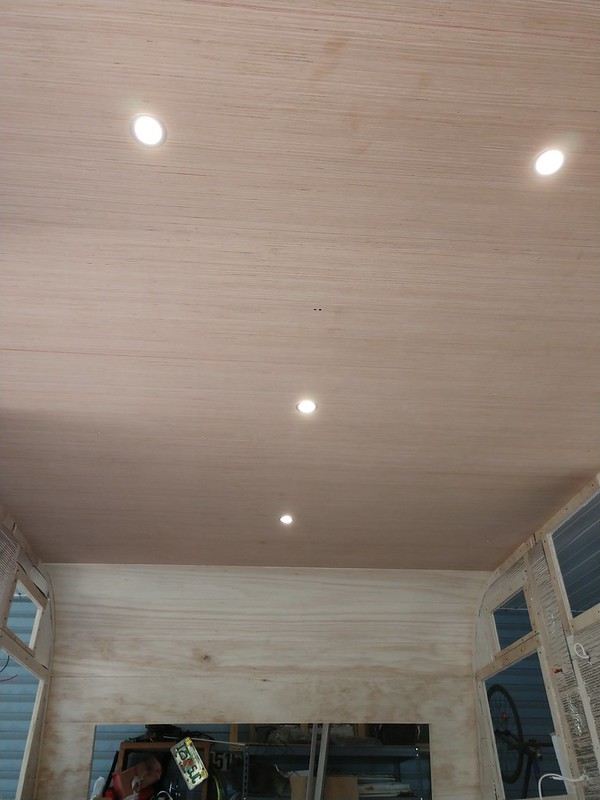 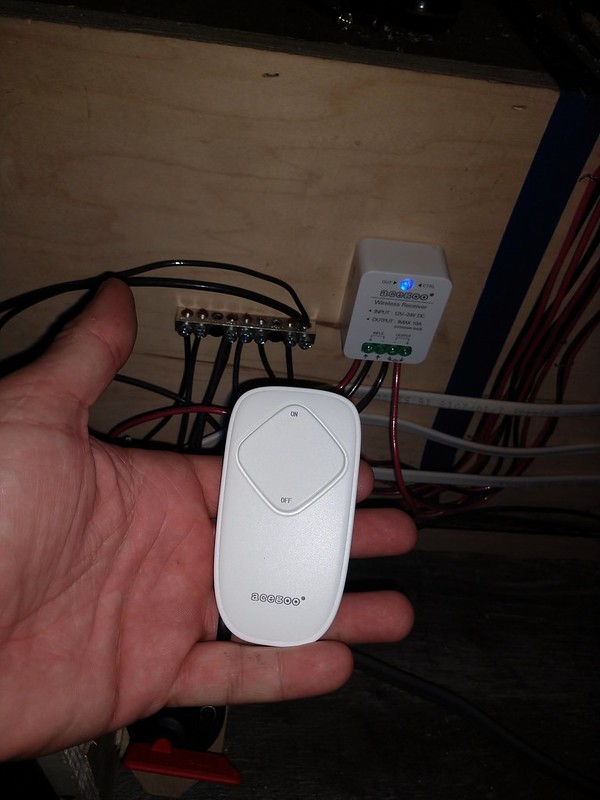 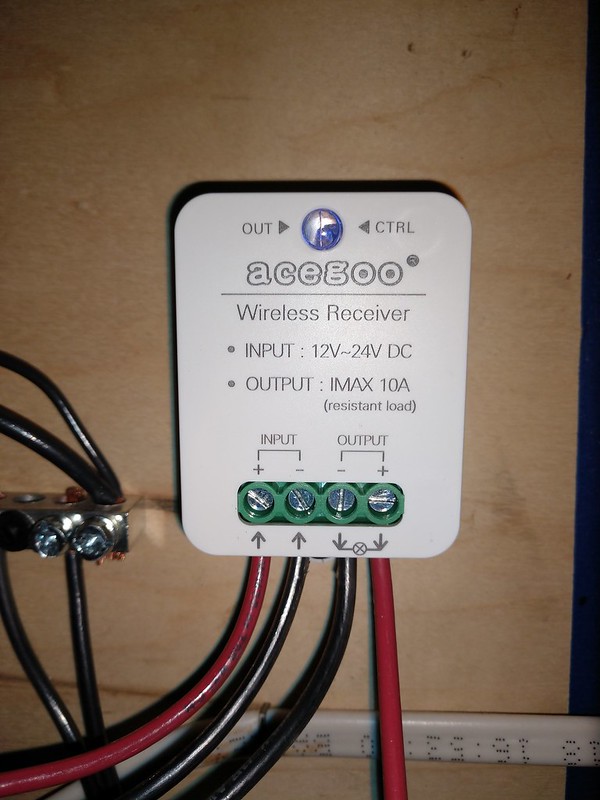 |
|
oakback
Active Member
Posts: 263
Likes: 55
Currently Offline
|
Post by oakback on Oct 3, 2018 16:05:12 GMT -8
Got some walls inside: 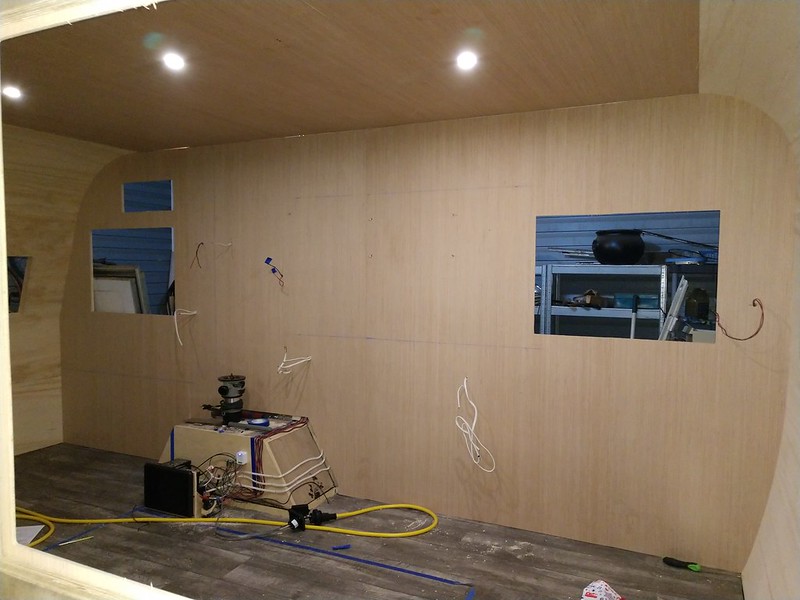 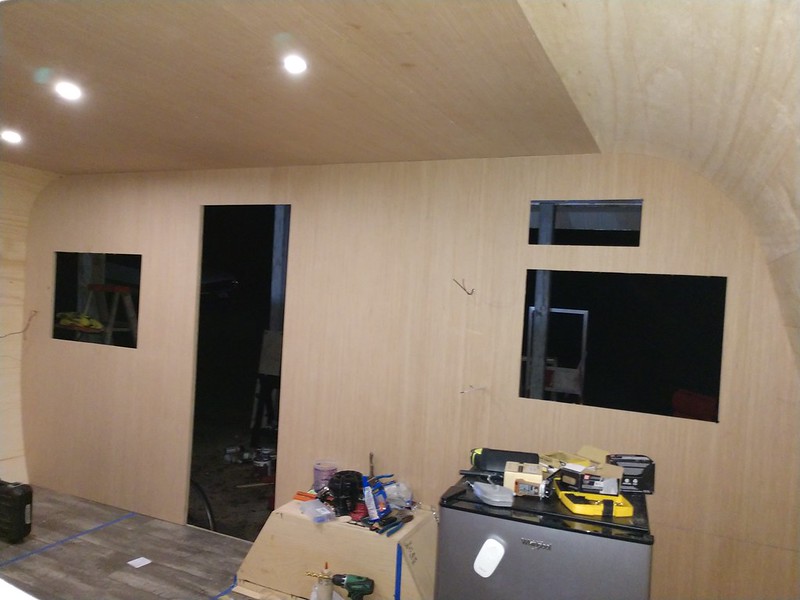 |
|
oakback
Active Member
Posts: 263
Likes: 55
Currently Offline
|
Post by oakback on Oct 21, 2018 16:22:12 GMT -8
We had a vacation, but that was cut short by hurricane Michael. It was a pretty big deal, very scary, but we didn't have any major damage. After cutting up a bunch of trees, it was back to work: We spackled all the staple holes, sanded the walls, primed and painted the walls. I managed to install 3 more lights and one outlet. I goofed on the wiring for the 4th light, so we'll probably cut out a section of wall (~4"x4") on the outside to fix that. Trying out linking to Instagram (tap right arrow on pic to scroll to see more pics)... https://www.instagram.com/p/BpDhWcYnNjv https://www.instagram.com/p/BpNbr37HSqf https://www.instagram.com/p/BpNvzlOH33f |
|
oakback
Active Member
Posts: 263
Likes: 55
Currently Offline
|
Post by oakback on Nov 1, 2018 6:32:51 GMT -8
Rear bed platform installed. The full-size bed will be permanent, no couch option. We'll have some throw pillows and stuff to make it a day bed. We would probably never use a couch option, and this allows us to have more storage. Half will be accessible from inside, half from outside. The rear dividers have large cutouts for accessing the corners. The lower cutout on the left of the pic is for an exterior shower. 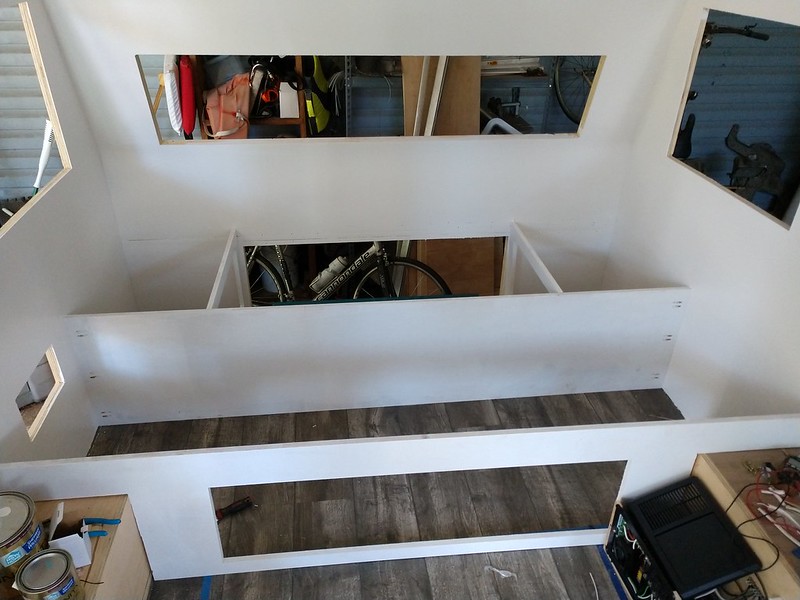 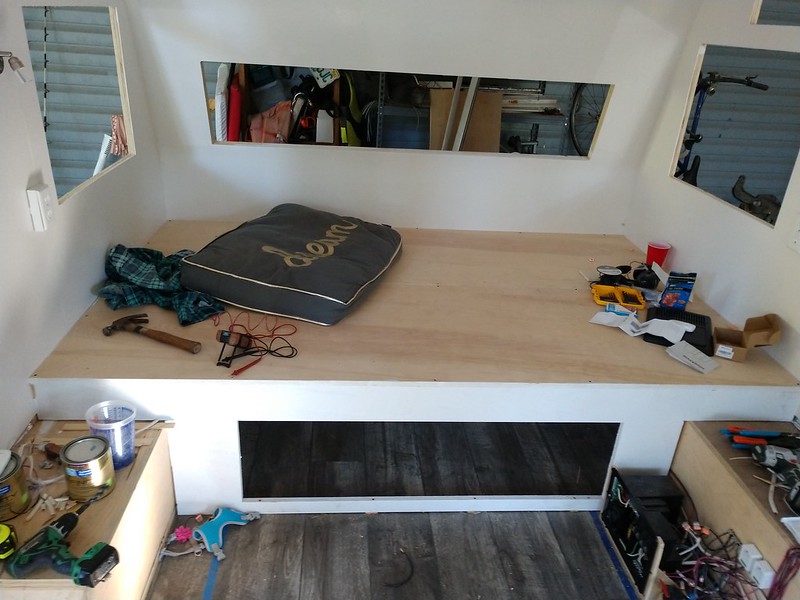 We also installed the main frame of the cabinet over the dinette, and a new light fixture and fancy touch switch. This is our only 120VAC light. 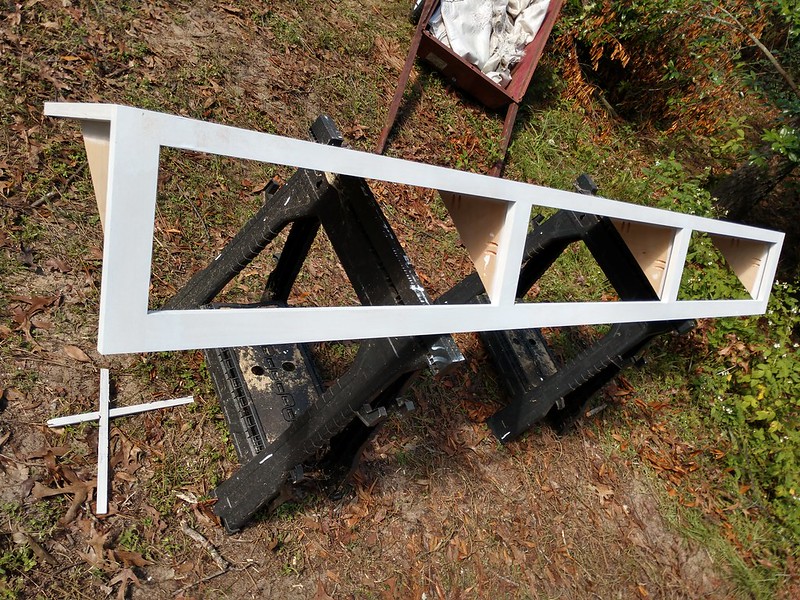 http://instagr.am/p/BpfYKA-nMCl Also installed a second wireless switch for our porch light (not pictured). |
|
jeremiah
Active Member
Posts: 274
Likes: 36
Currently Offline
|
Post by jeremiah on Nov 10, 2018 5:34:38 GMT -8
Fantastic looking Shop. Great job with attention to detail. I would estimate that with material and 6-12 months labor. You have over 50,000.00 into it. But it is a Beautiful job you are doing. You could Never buy one like this!
|
|
oakback
Active Member
Posts: 263
Likes: 55
Currently Offline
|
Post by oakback on Nov 13, 2018 5:49:43 GMT -8
Thanks! I'm shooting for under $3k in materials (including the initial $500 purchase), but I definitely wanted this to be high-quality. We're building for ourselves, not any future buyers. I don't pay for the shop time, but I do reimburse them for all the materials used. Do people actually count up their own labor? I figure if I wasn't doing this, I'd be doing stuff around the house (or sitting in my recliner), so it's not like my opportunity cost is cash-based, haha. My dad's efforts would definitely be worth some $$$ though. This past weekend we got our first full cabinet installed. This will be the only cabinet that's European-style (hidden hinge, small gaps). We're all going to be crossing our fingers when the trailer comes off the stands, because any twist in the frame will cause the doors to bind. We may end up redoing the doors and hinges if that happens. We didn't think about that until installation was happening. 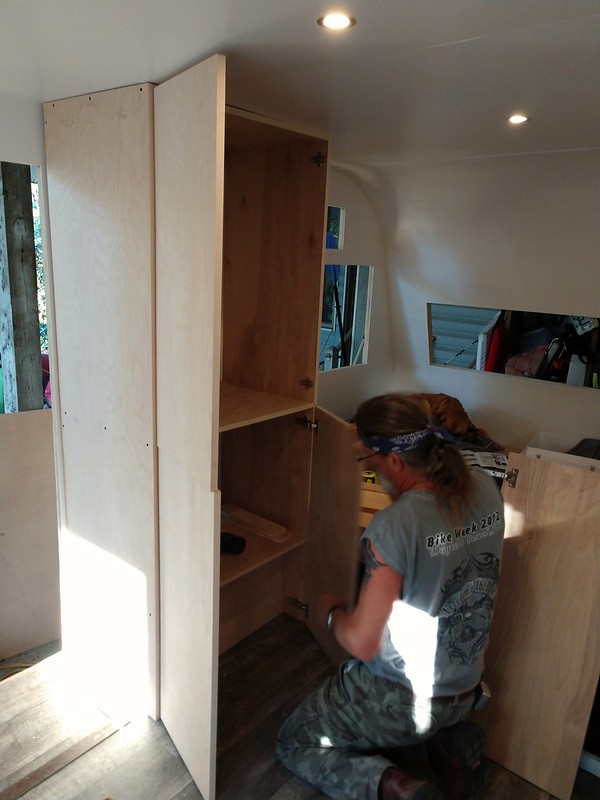 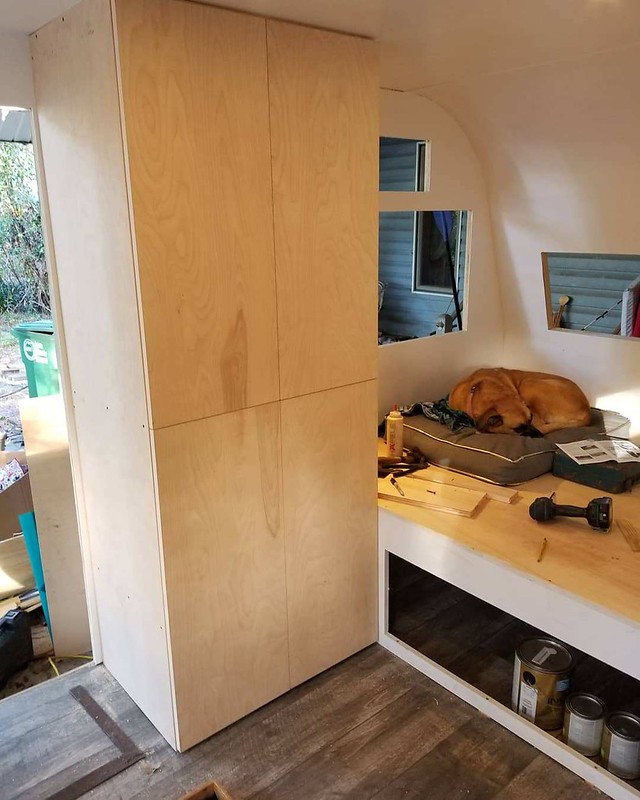 |
|
HOTRODPRIMER
Full Member
Posts: 774
Likes: 257
1957 Shasta
Currently Offline
|
Post by HOTRODPRIMER on Nov 13, 2018 8:04:43 GMT -8
Beautiful work.Danny
|
|
oakback
Active Member
Posts: 263
Likes: 55
Currently Offline
|
Post by oakback on Nov 27, 2018 7:38:40 GMT -8
Thanks Danny! We had some mold growing on the exposed, untreated wood from being exposed for too long. As I've mentioned before, it's very rainy here in Florida, and humid when it's not rainy. We covered the front of it with a tarp during rain, but wind spray and humidity is enough to create conditions for mold. I figured this might happen. So I pulled it out into the open, sprayed the entire exterior walls with a solution to kill it, then we painted it all with Killz and Zinsser primers (we had some of each). Hopefully this will also delay damage for possible future leaks. I painted that bare bit on the roof section after this pic was taken: 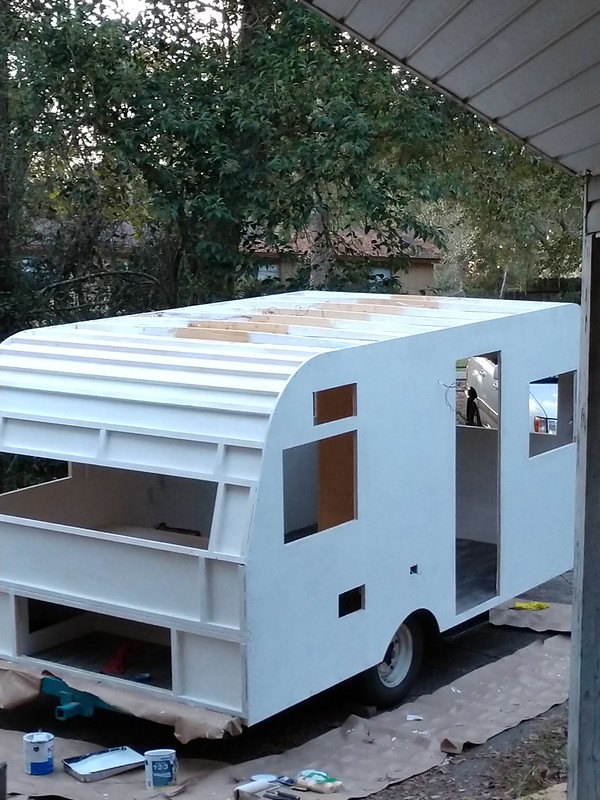 We're ready for exterior skin, while the interior is on it's way to completion. I got some quotes from a local sheet metal place, but nobody in town can do Pittsburgh seams or anything like that, so we'd have to go with Airstream-style rivets and lap joints. We could screw it all together, but I'd rather have rivets if we go that route. I'm waiting to hear back from Hemet Valley for their quote, I just sent the measurements today. If there's a gulf between the 2 quotes (plus shipping across the continent), I'll go with the local place. All-Rite isn't too far away in Georgia, I could pick up skins there, but it's very pricey. In other news, towing it around town to get quotes was revealing. It tows great behind my '99 Land Cruiser, and that's without brakes, sway control, or air bags on my rear suspension (which I have, just haven't installed yet). After adding a few hundred more pounds of interior furnishings in front of the axle, and doing the brakes/sway/air bags, it should be great. I definitely need some extended mirrors though. Also the cabinet doors stayed straight and true. edit: Got the quote from HV, and it's $1,000 more than the local raw sheet metal. However, we talked it over and determined that we want the look of "real" siding meant for this camper, pre-formed joints and all, so we'll go with HV. |
|
oakback
Active Member
Posts: 263
Likes: 55
Currently Offline
|
Post by oakback on Dec 16, 2018 15:58:35 GMT -8
Tow/brake junction box, breakaway switch with backup battery, more cabinets, some of the siding done (ended up getting it from Hemet Valley): 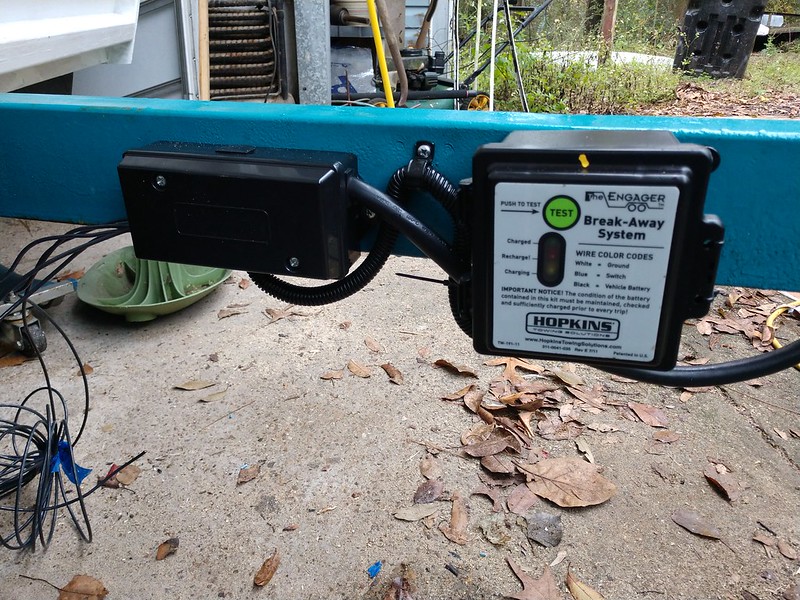 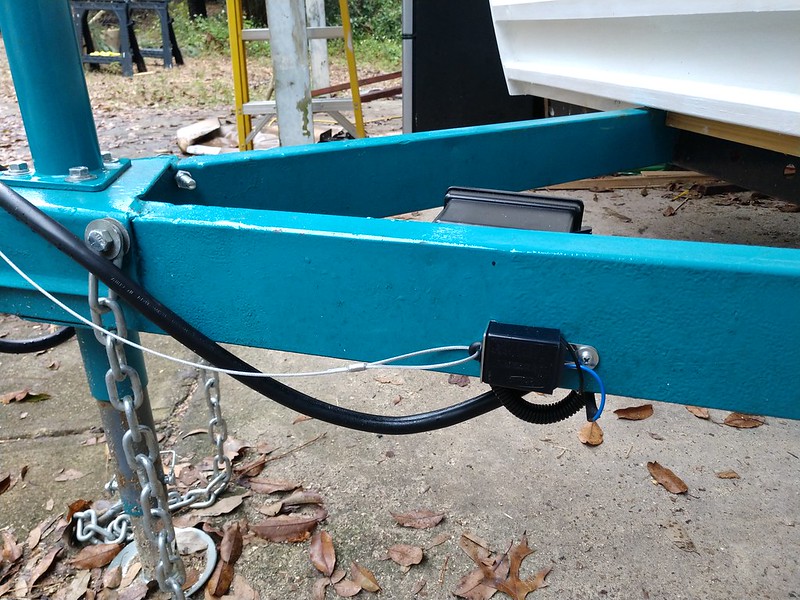 You can see the cabinet/box that will hold our fridge. Above that is where the side-out window unit a/c will go: 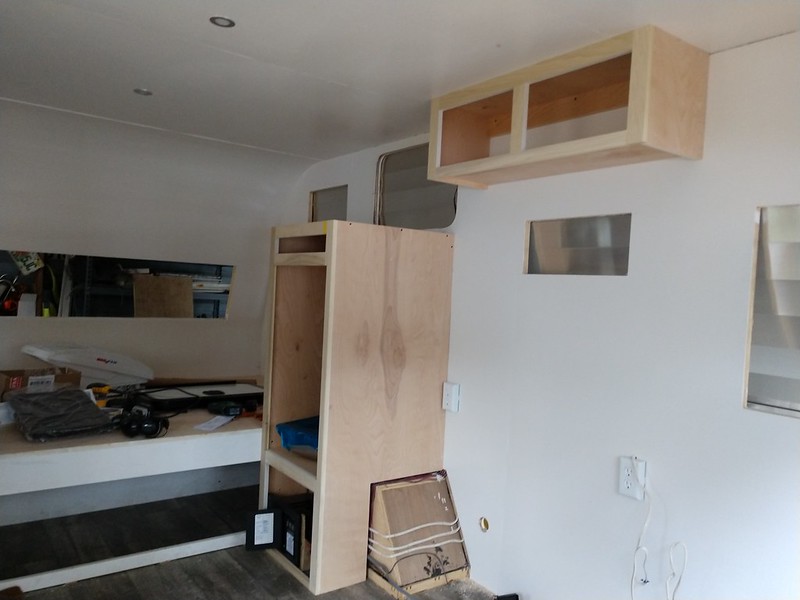 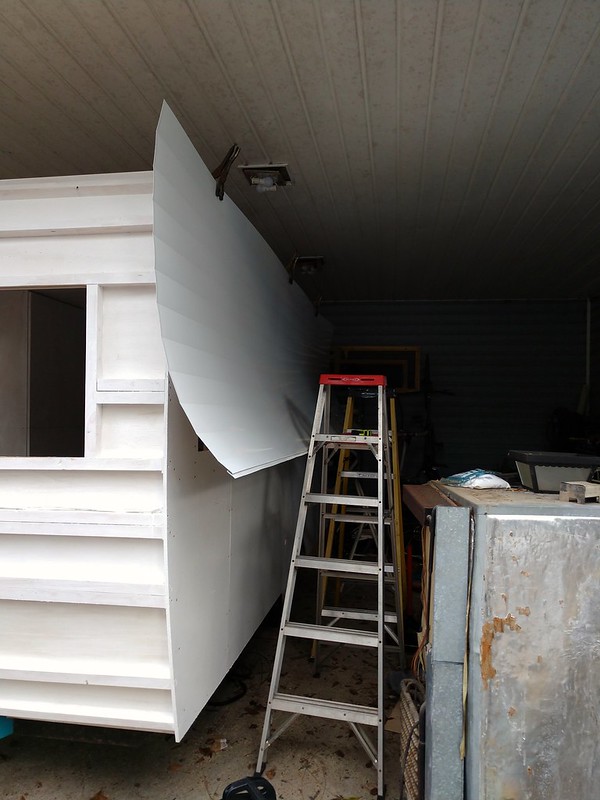 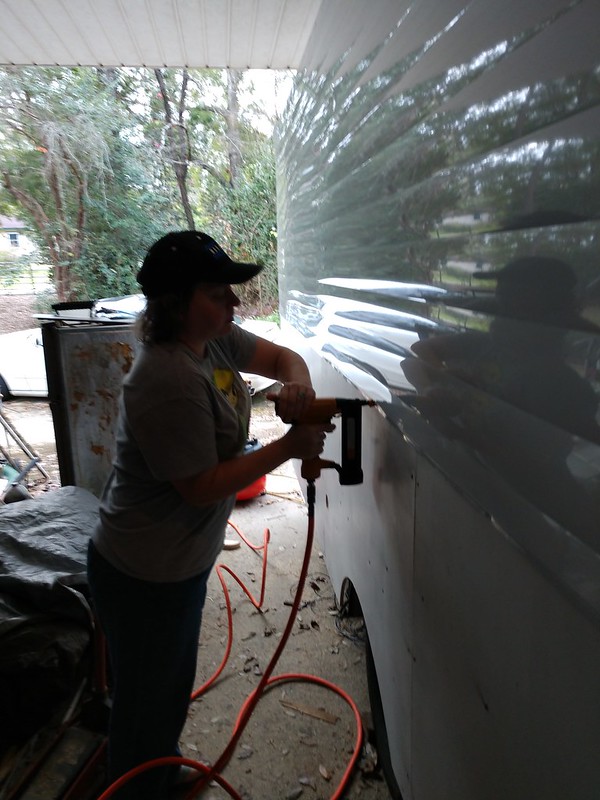 edit to add: 2018 is currently the 11th wettest year we've had on record, at 76.68 inches (so far, might be the 10th wettest). This has made things difficult! If we do another camper build in the future, I'm either enclosing the carport to make a garage, or renting an enclosed work space. We've always been fighting the rain, whether it be with scheduling painting, dealing with flash rust, or dealing with mildew. |
|
mrgintz
New Member
Posts: 1
Currently Offline
|
Post by mrgintz on Dec 27, 2018 7:26:05 GMT -8
This is most far-out project but creative! Love that you work on trailer with pup napping on the mat! Since you are located in FL, why didn't you put vapor barrier between ply and skin? Your project gives me some ideas for my holiday rambler '25.
Thanks! and Great job!
Mike
|
|
oakback
Active Member
Posts: 263
Likes: 55
Currently Offline
|
Post by oakback on Dec 27, 2018 8:36:54 GMT -8
Is vapor barrier necessary? To be honest I forgot about a vapor barrier until I saw your post. We haven't skinned the wrap yet, is it worthwhile to use vapor wrap on just the wrap? I thought the standard methods would be sufficient to keep rain out; butyl tape, lap sealant, etc.
Edit: just did some searching and read a bunch of comments, I'll definitely add vapor barrier to the wrap.
|
|
oakback
Active Member
Posts: 263
Likes: 55
Currently Offline
|
Post by oakback on Feb 18, 2019 7:41:57 GMT -8
Vapor barrier: 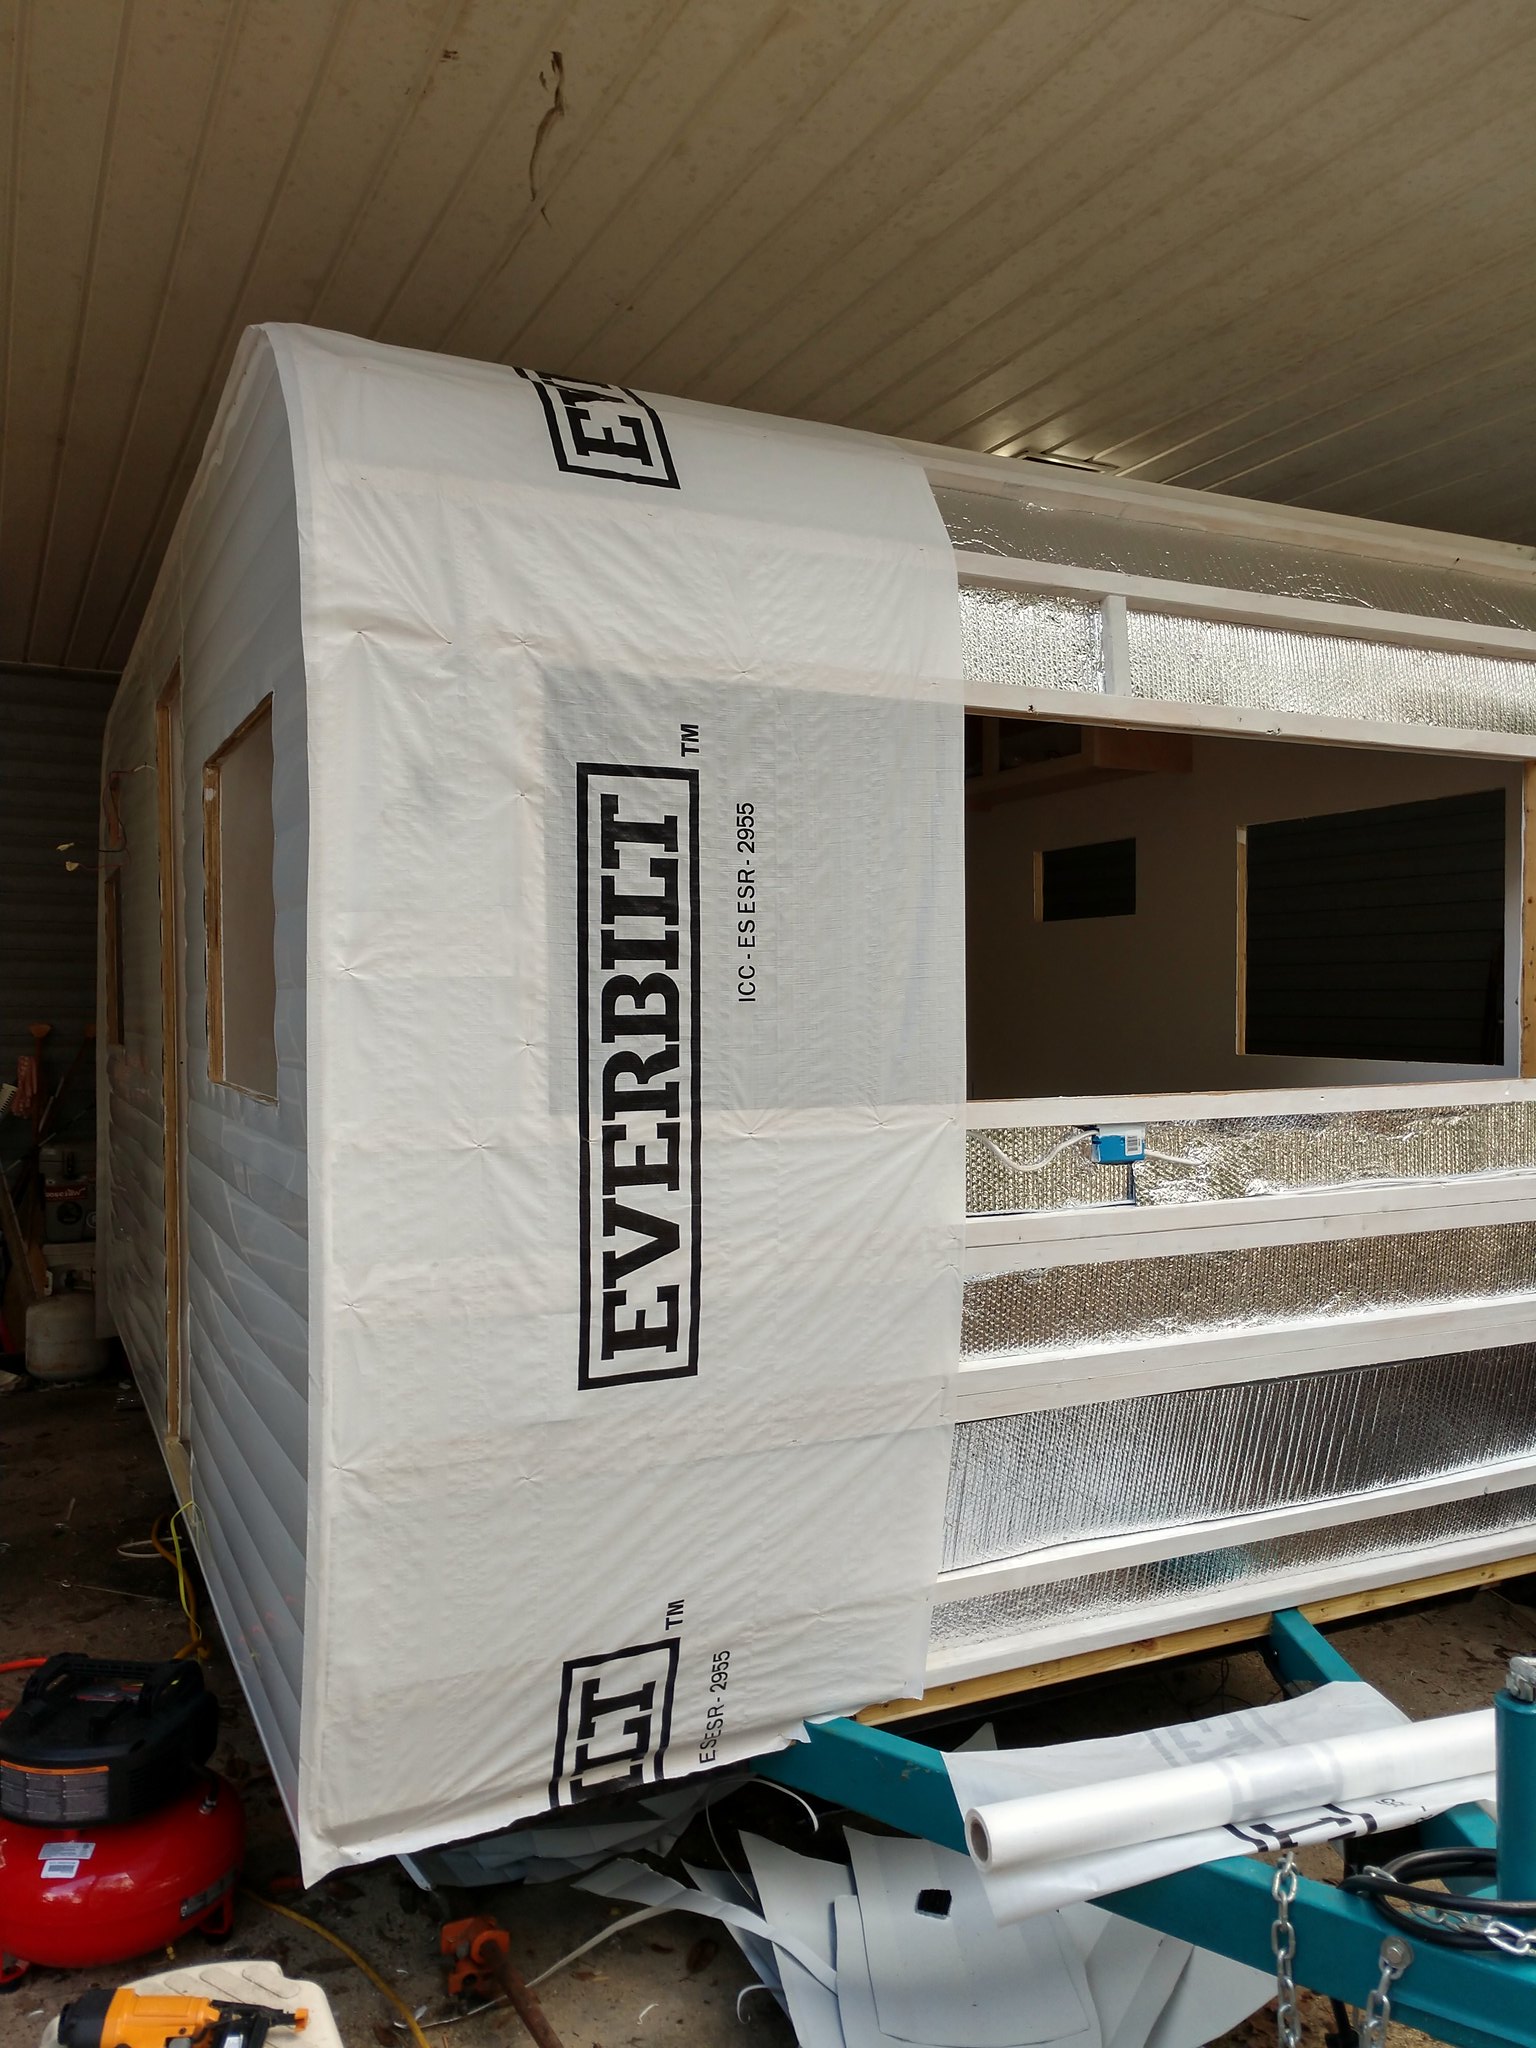 2019-02-18_10-23-46 2019-02-18_10-23-46 Skin on: 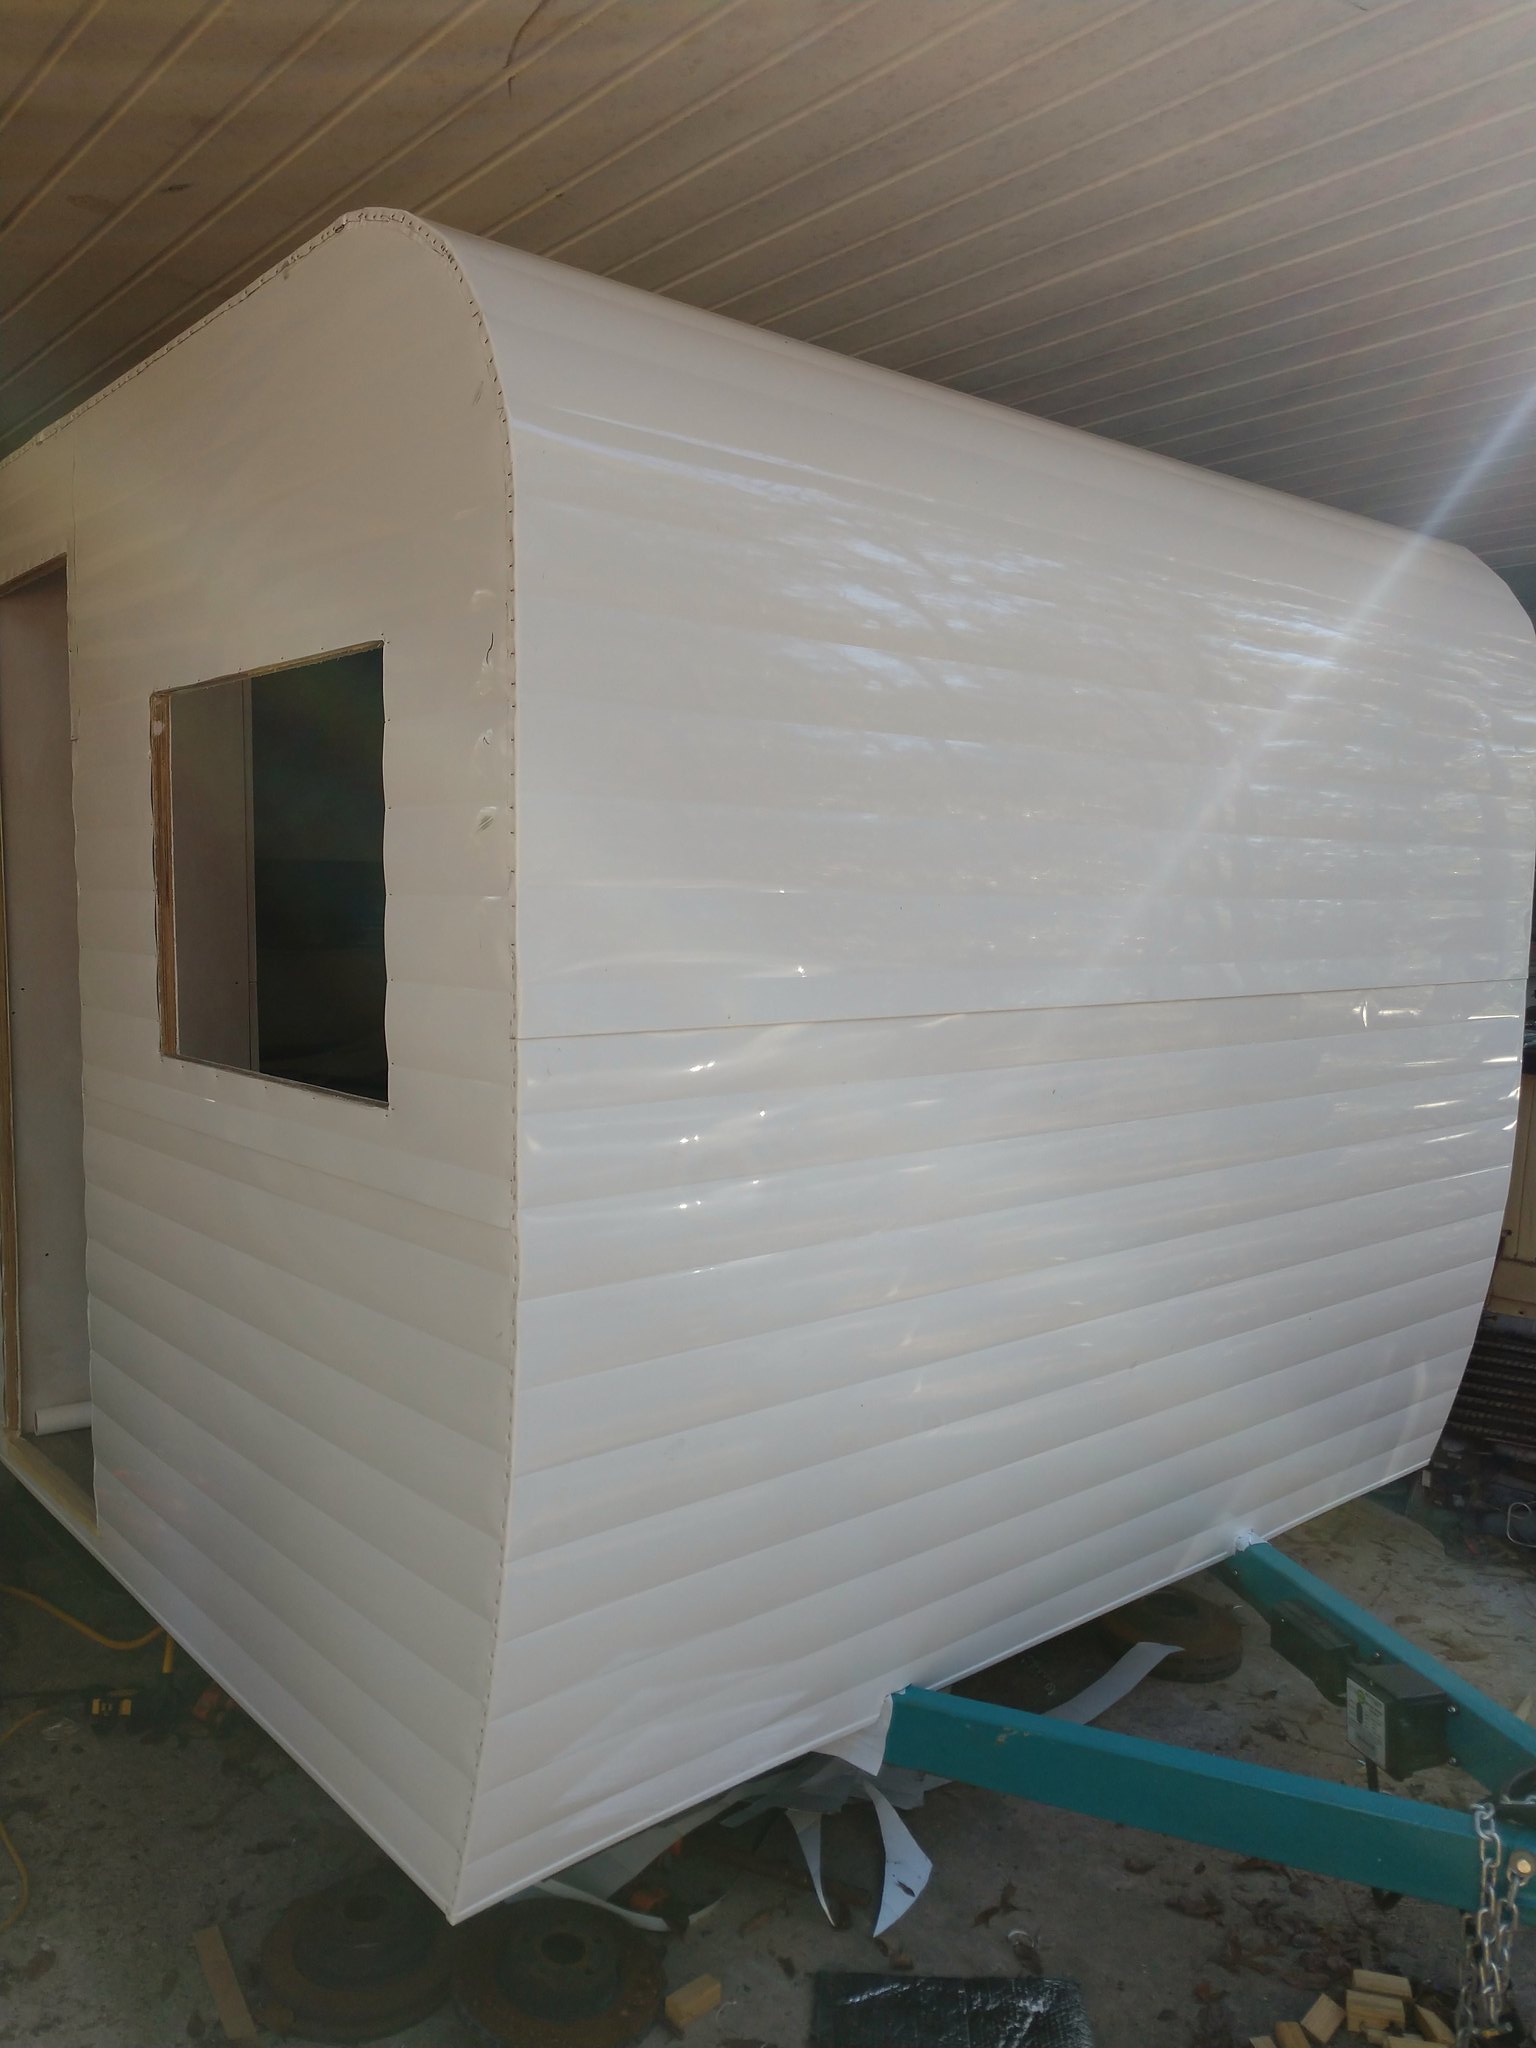 2019-02-18_10-24-02 2019-02-18_10-24-02  2019-02-18_10-24-11 2019-02-18_10-24-11 Windows installed, door frame installed (still working on the actual door), baggage door frame installed (still working on the actual door), exterior outlet installed, and power inlet installed:  2019-02-18_10-05-42 2019-02-18_10-05-42 Vent fan installed: 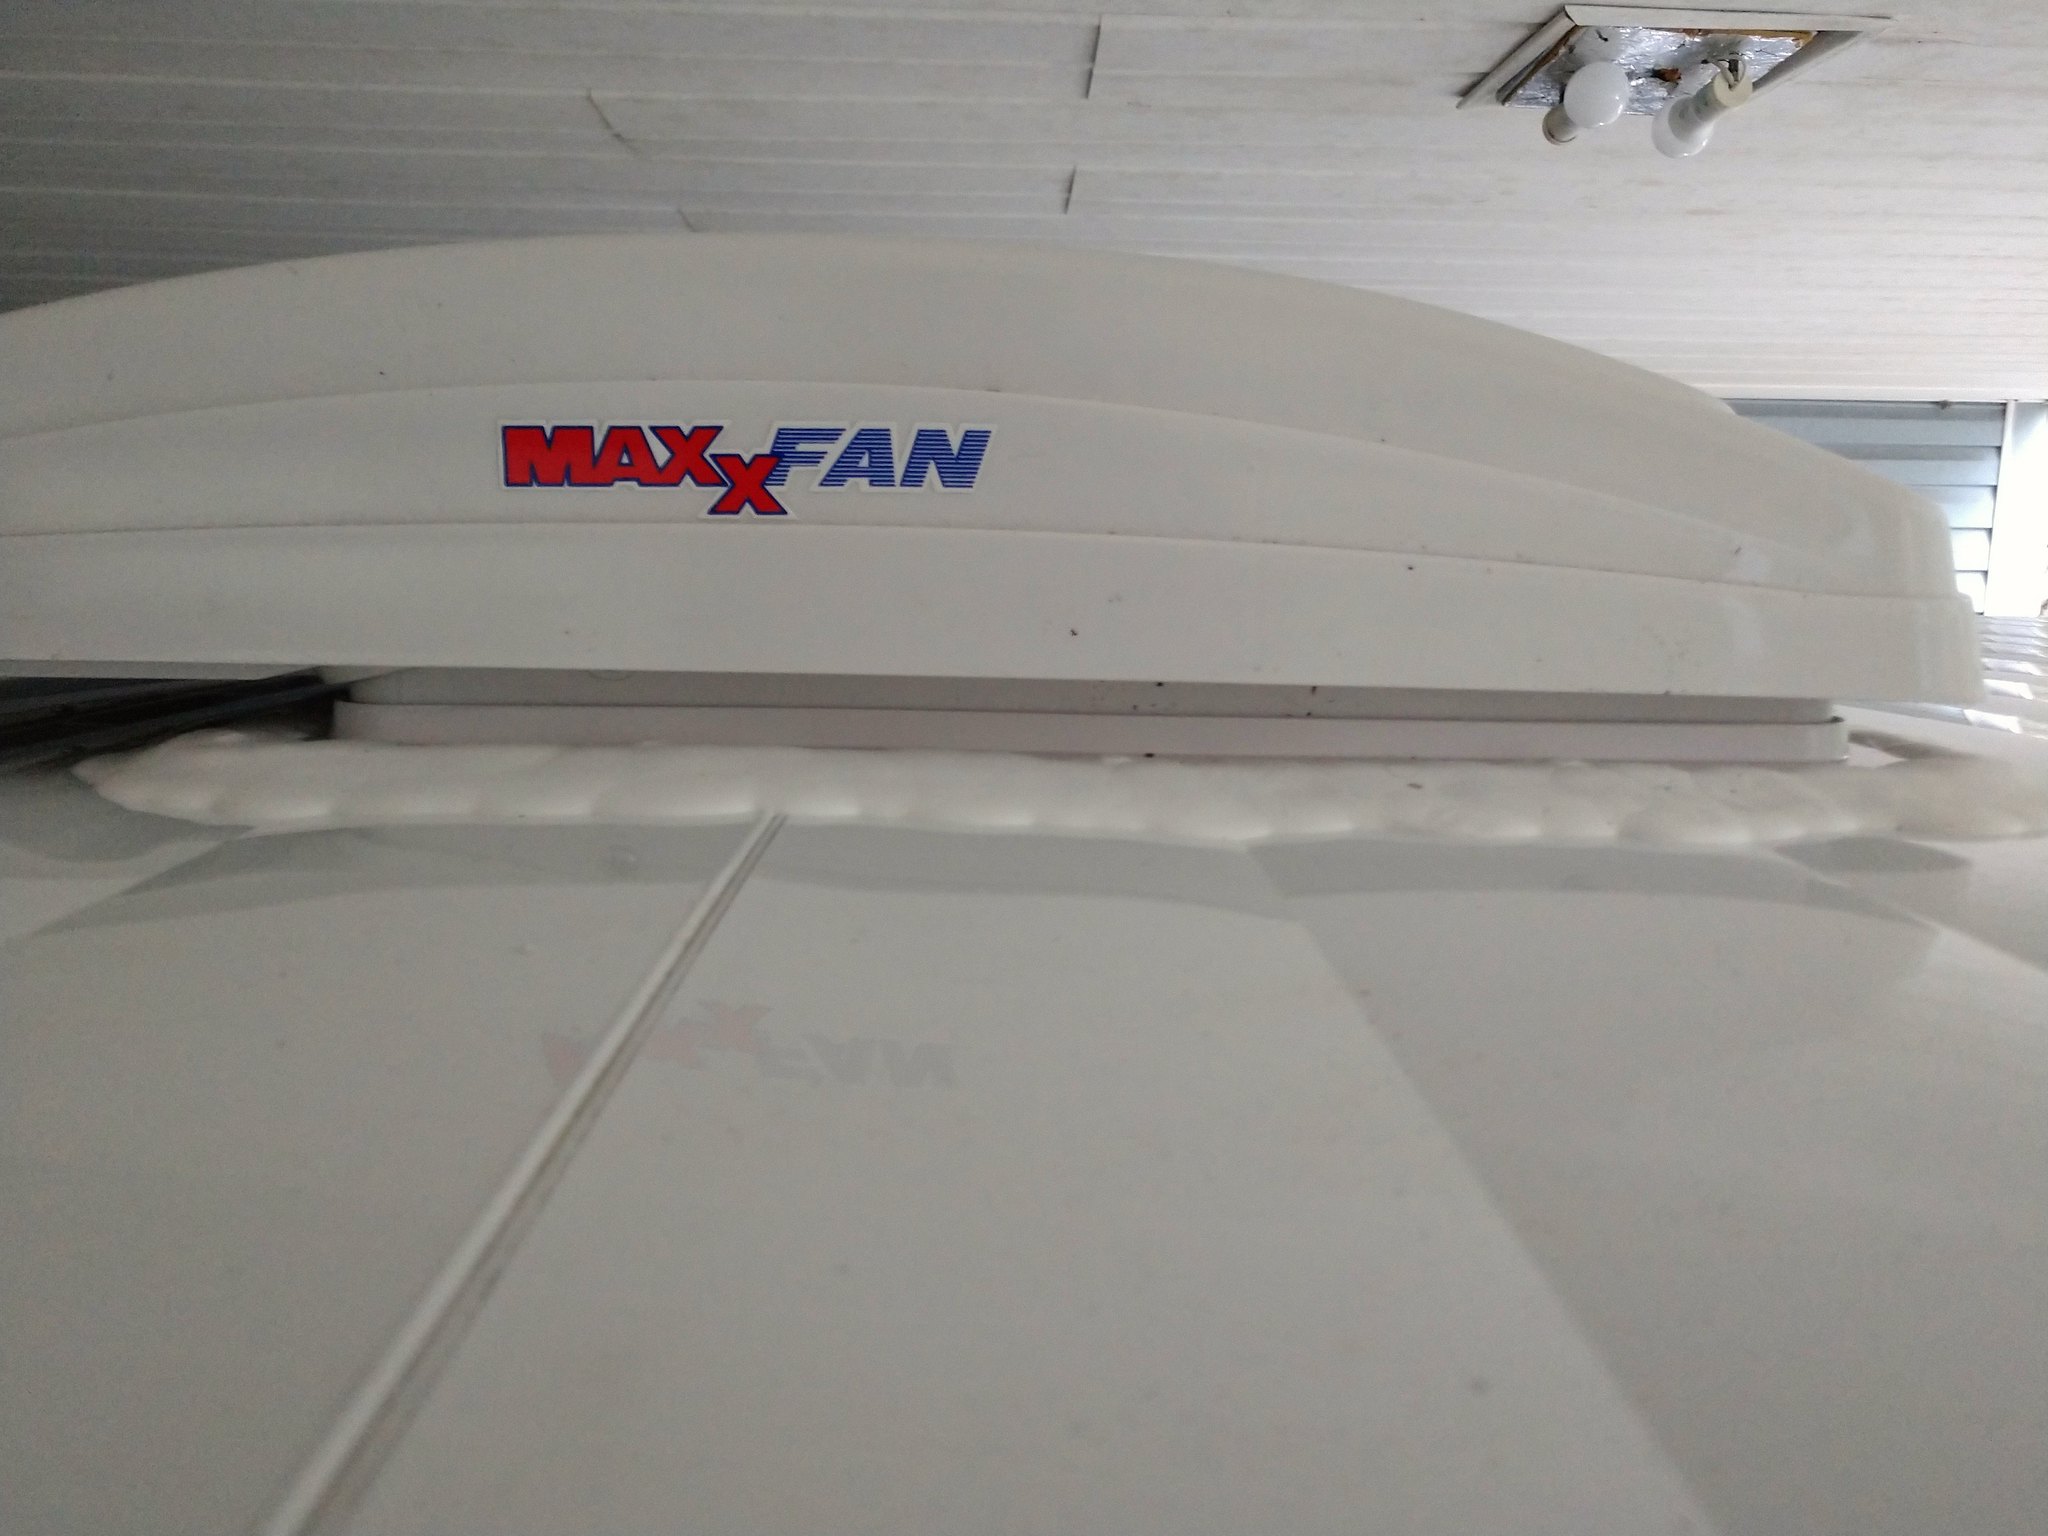 2019-02-18_10-45-11 2019-02-18_10-45-11 Kitchen cabinet frame (wife is sitting in the fridge cabinet): 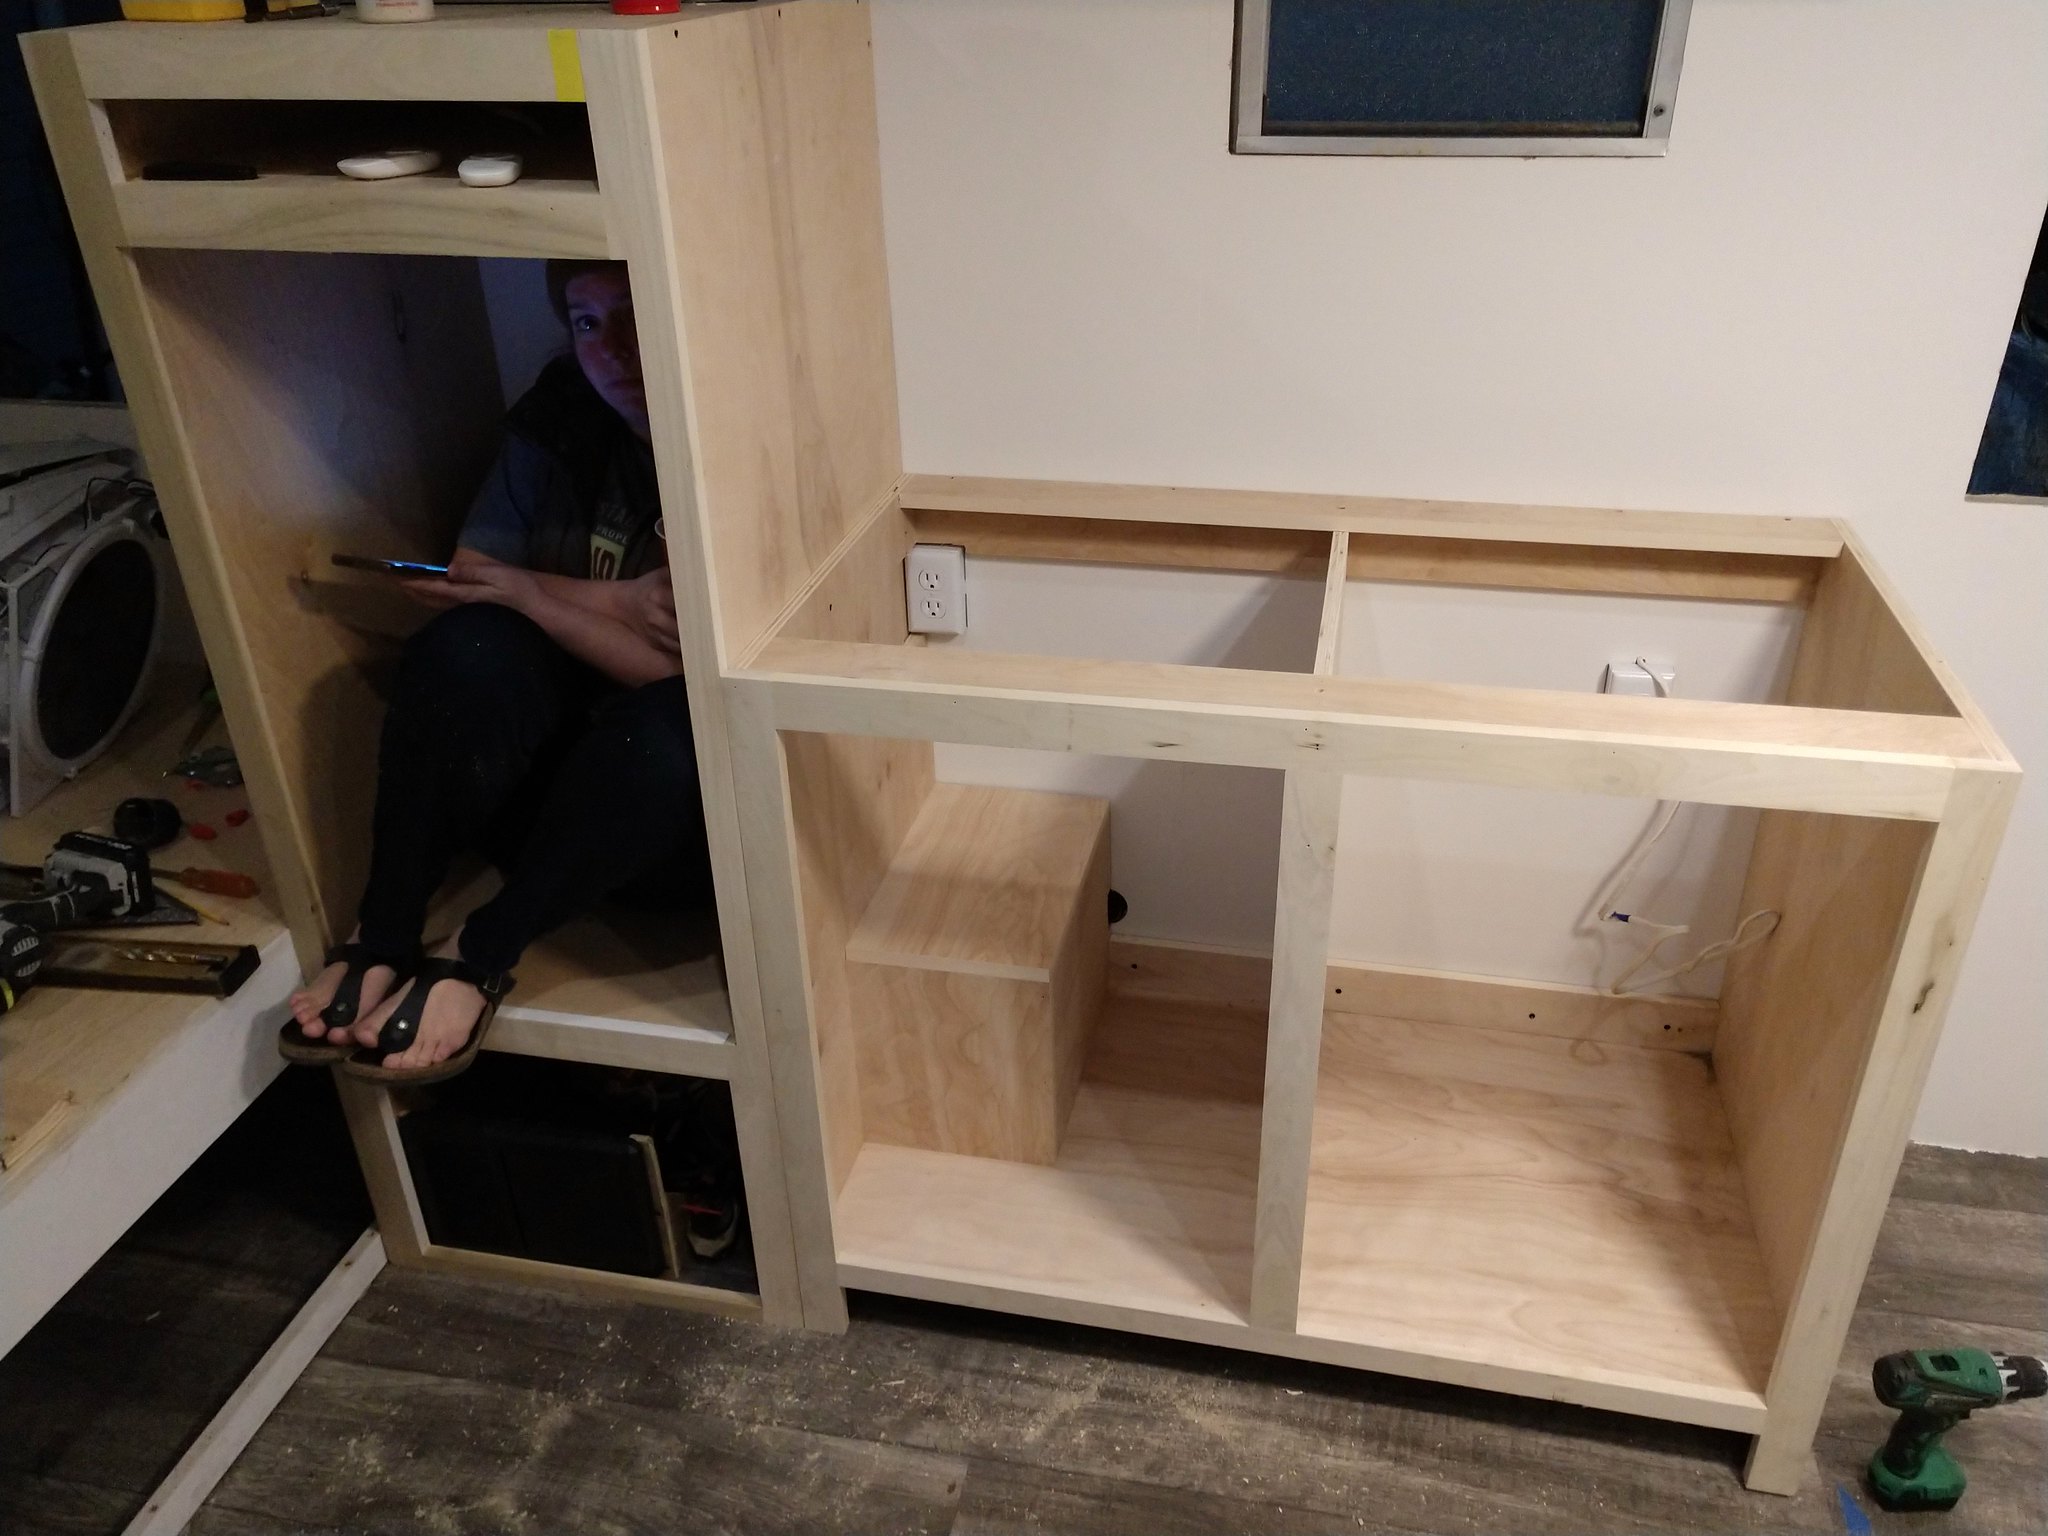 2019-02-18_10-24-52 2019-02-18_10-24-52We decided to light our license plate with little LED bolt lights (they replace your plate screws), but it turned out to be more complicated than anticipated. I needed to run 8 wires, that needed to be removable (in order to remove the plate), so I needed a spacer behind the plate mount. I cut 4 pieces of PVC pipe, used bolts and epoxy to make spacers, and adhered the mount to the skin with double sided tape (very strong, for vehicle side molding): 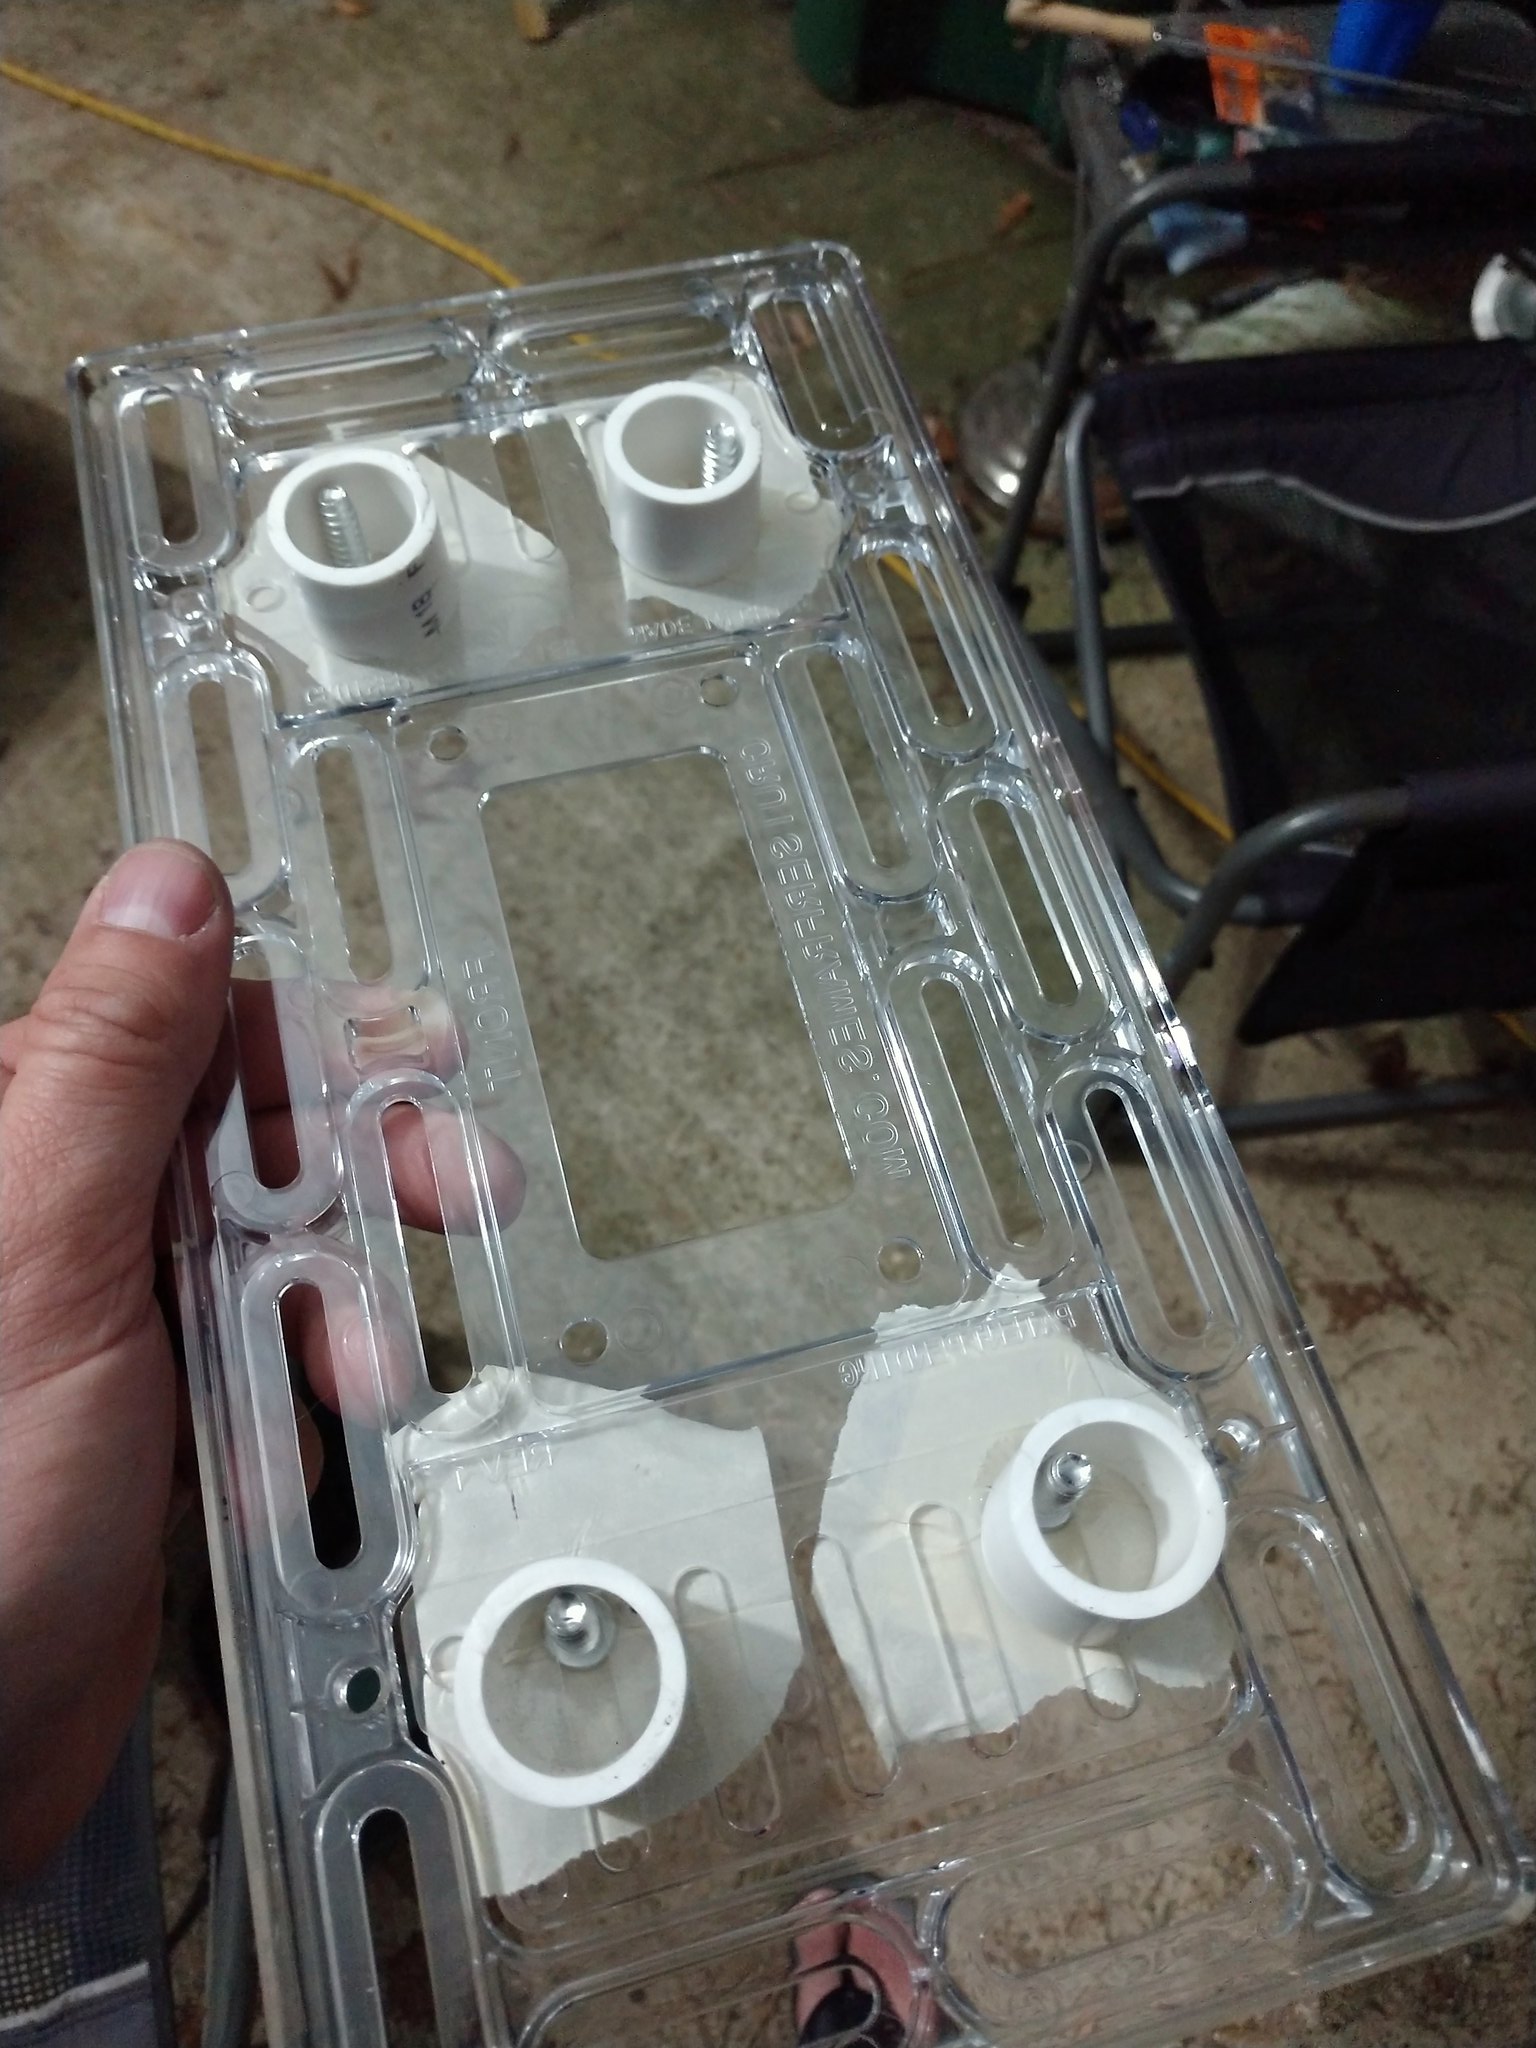 2019-02-18_10-25-22 2019-02-18_10-25-22 The LED tail lights were also adhered with the strong double sided tape. This was to reduce the number of holes in the skin, and I'm sure these cheap lights won't last forever. If/when we end up needed to change them, we don't have to worry about filling/covering mounting holes that don't match up. 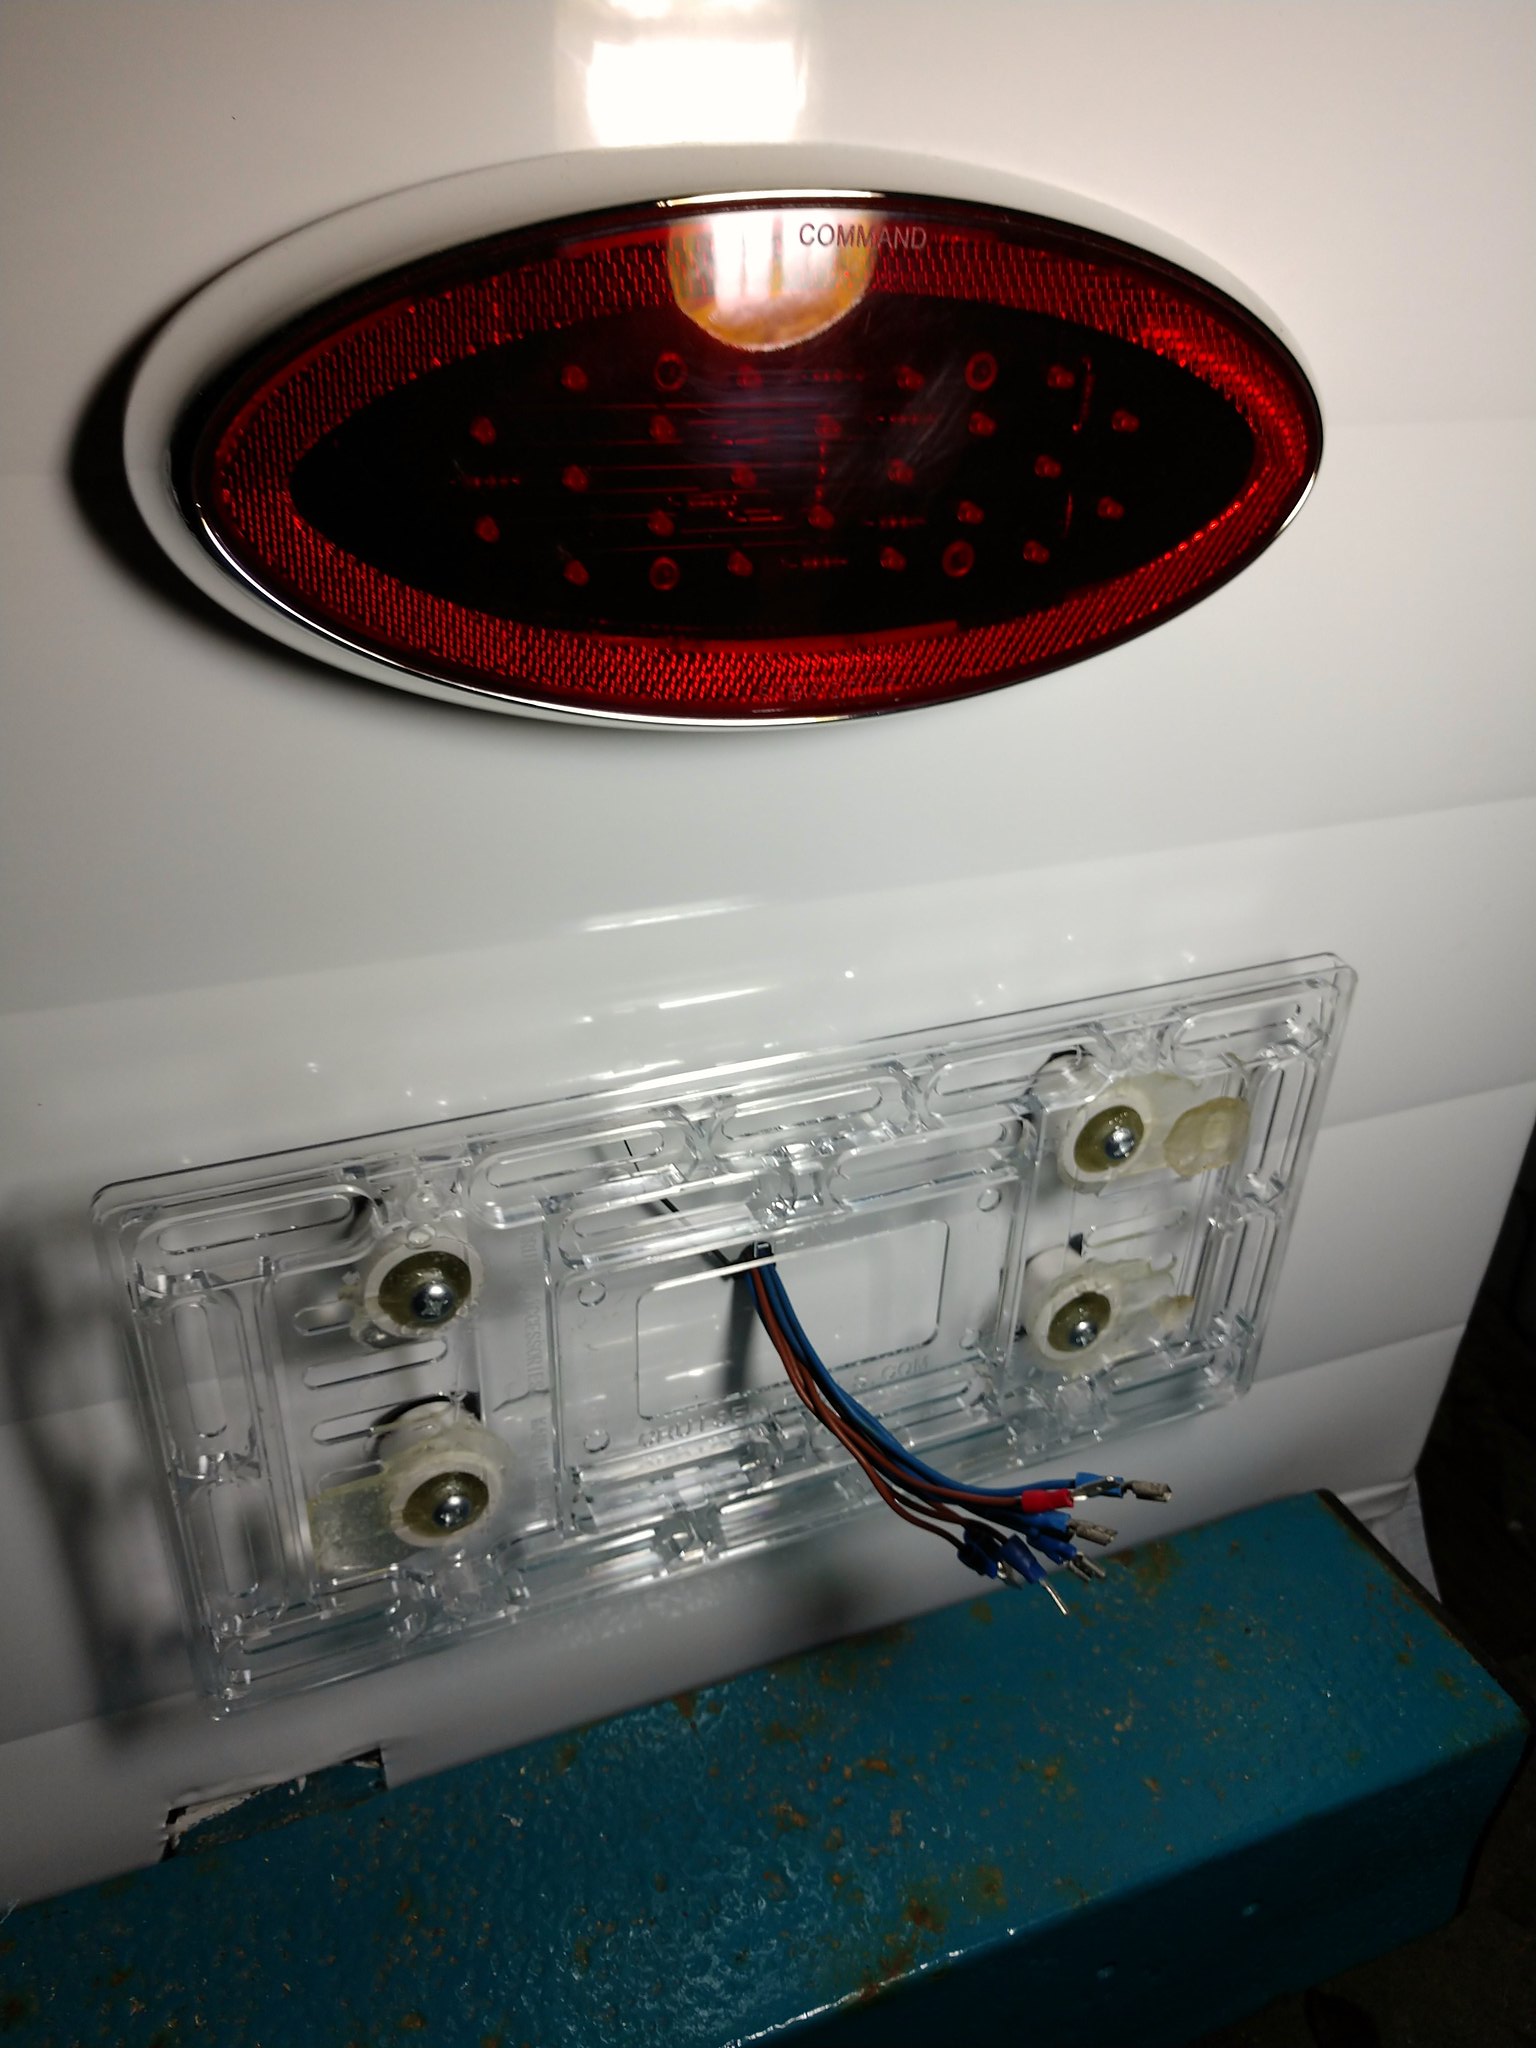 2019-02-18_10-25-39 2019-02-18_10-25-39 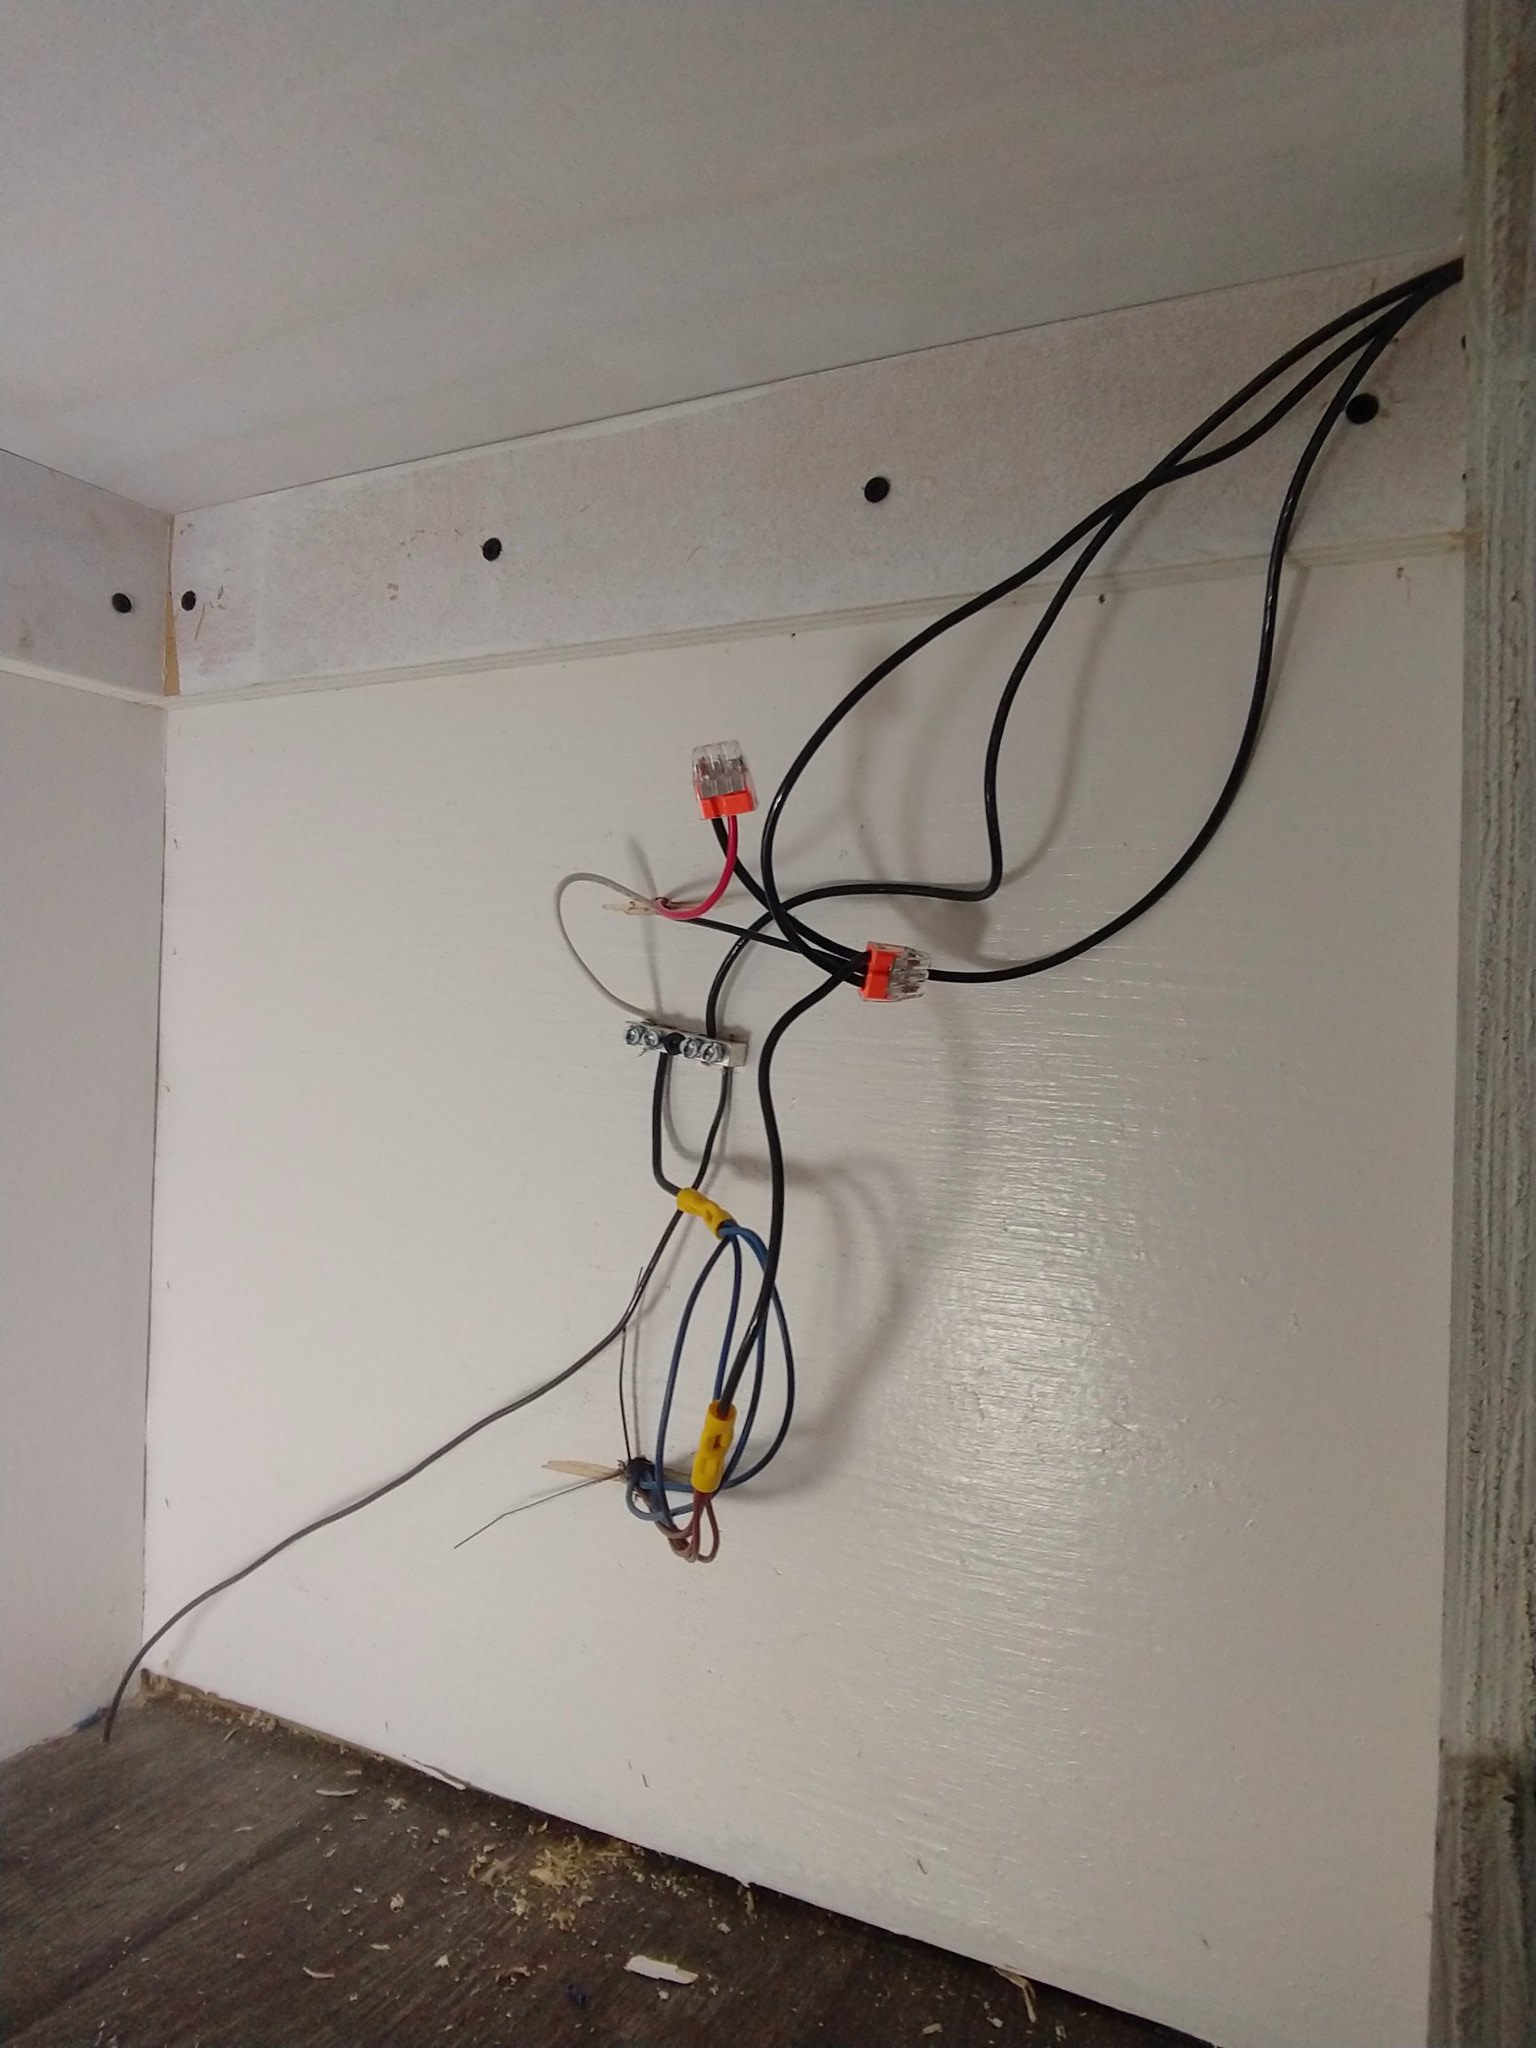 2019-02-18_10-25-52 2019-02-18_10-25-52 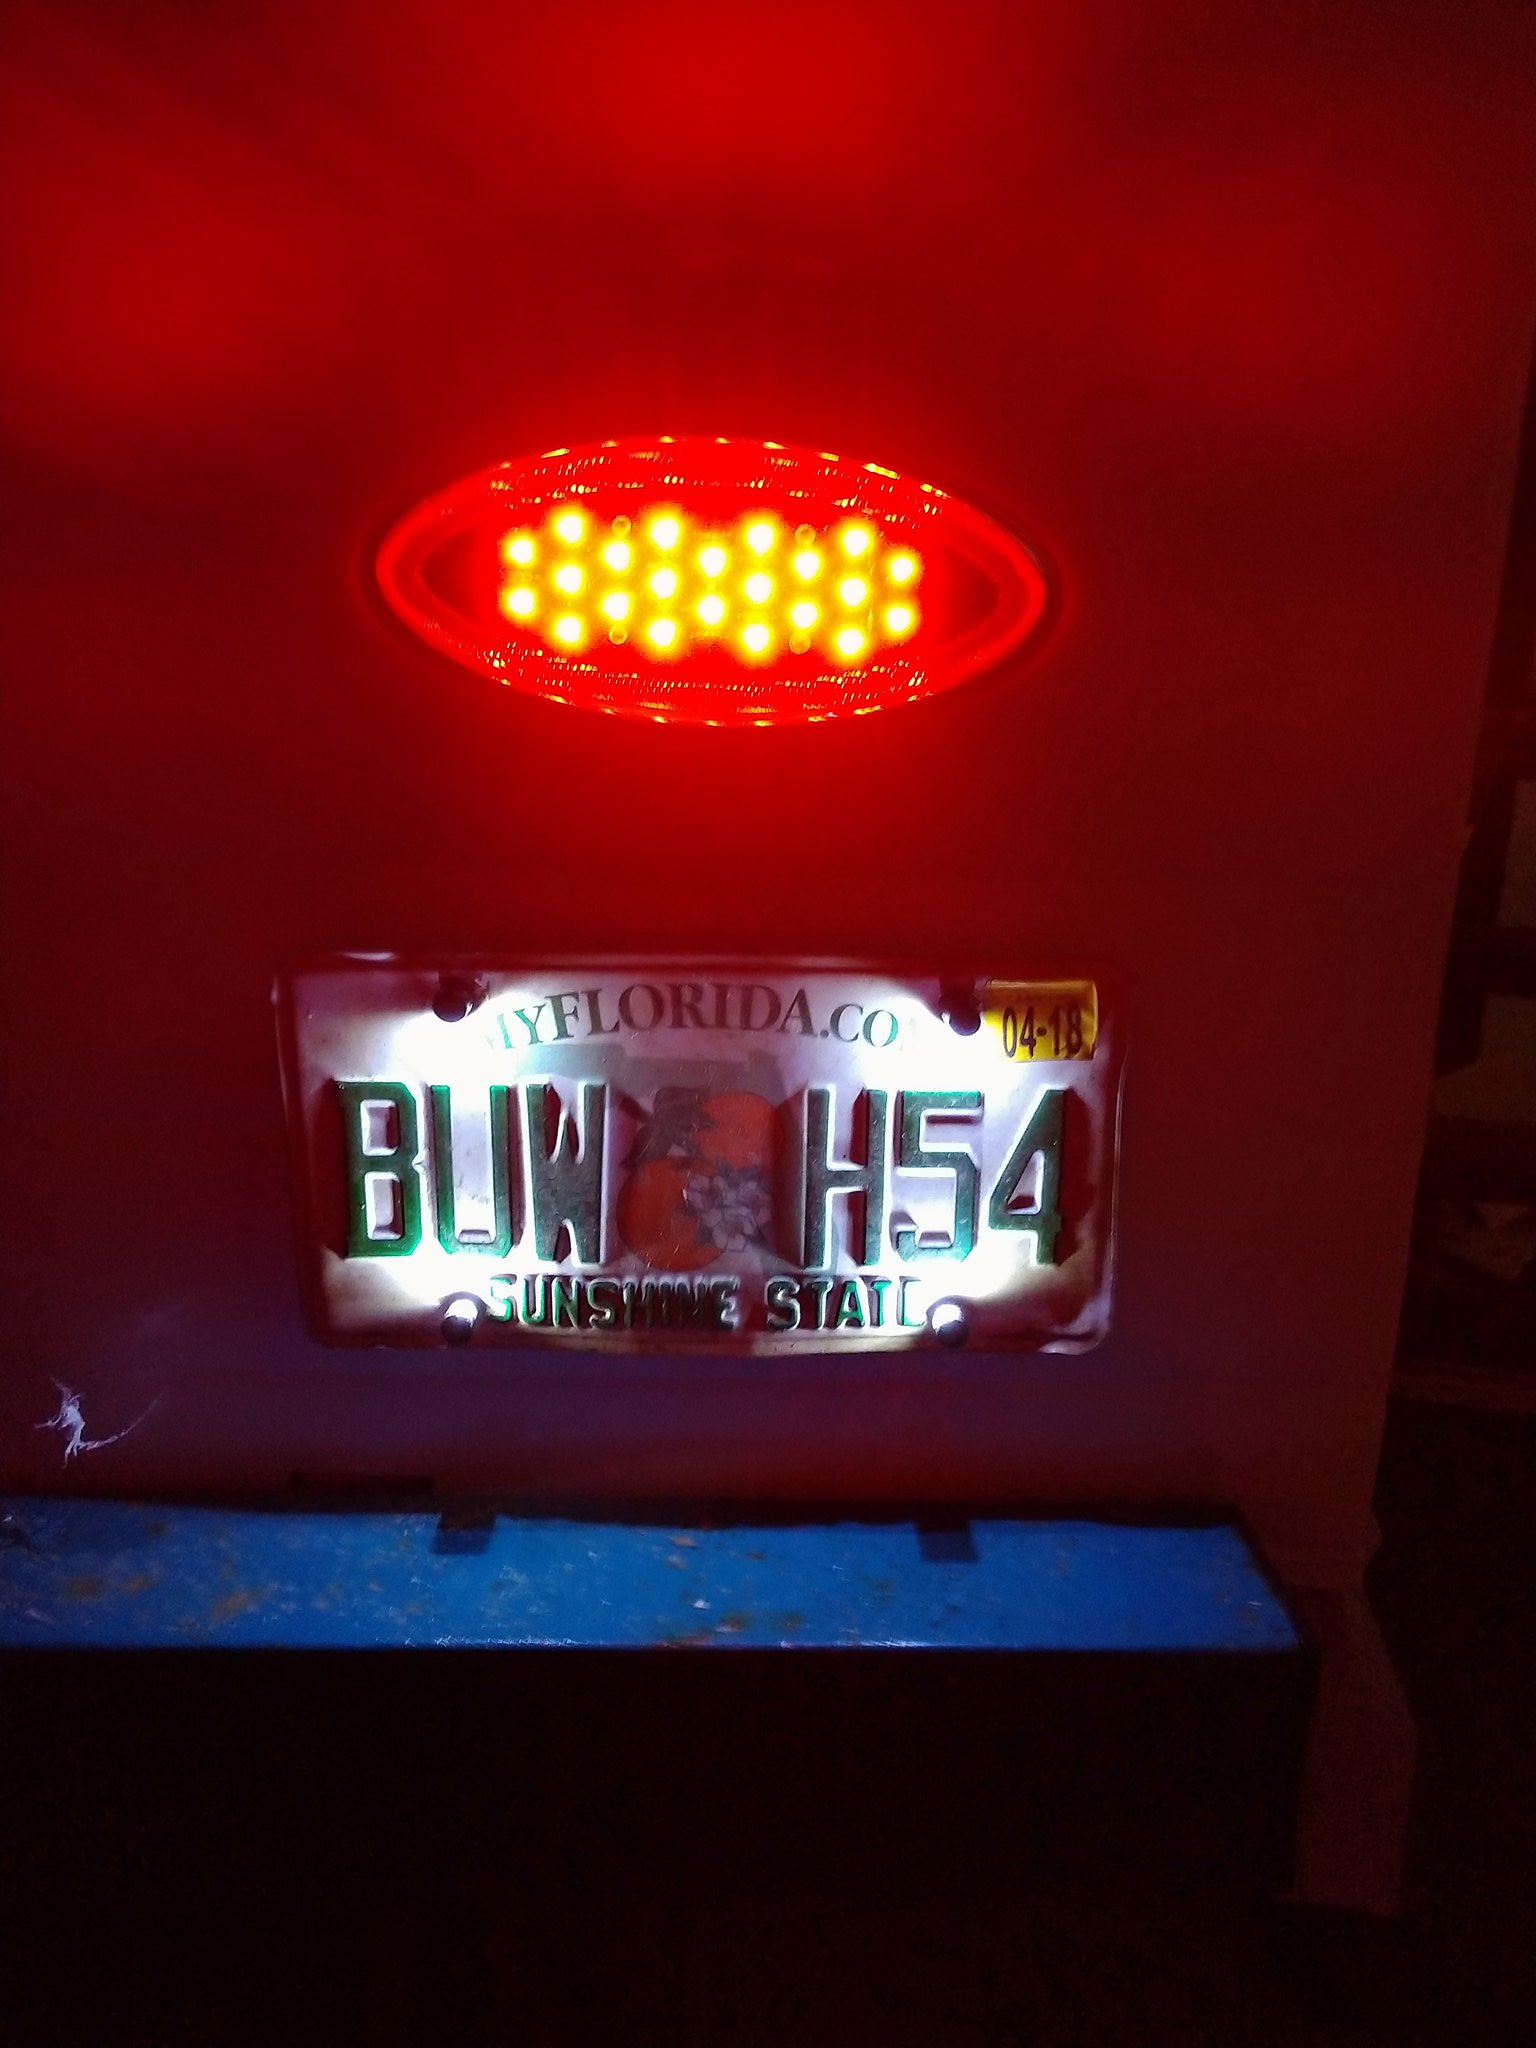 2019-02-18_10-26-01 2019-02-18_10-26-01 Dinette installed: 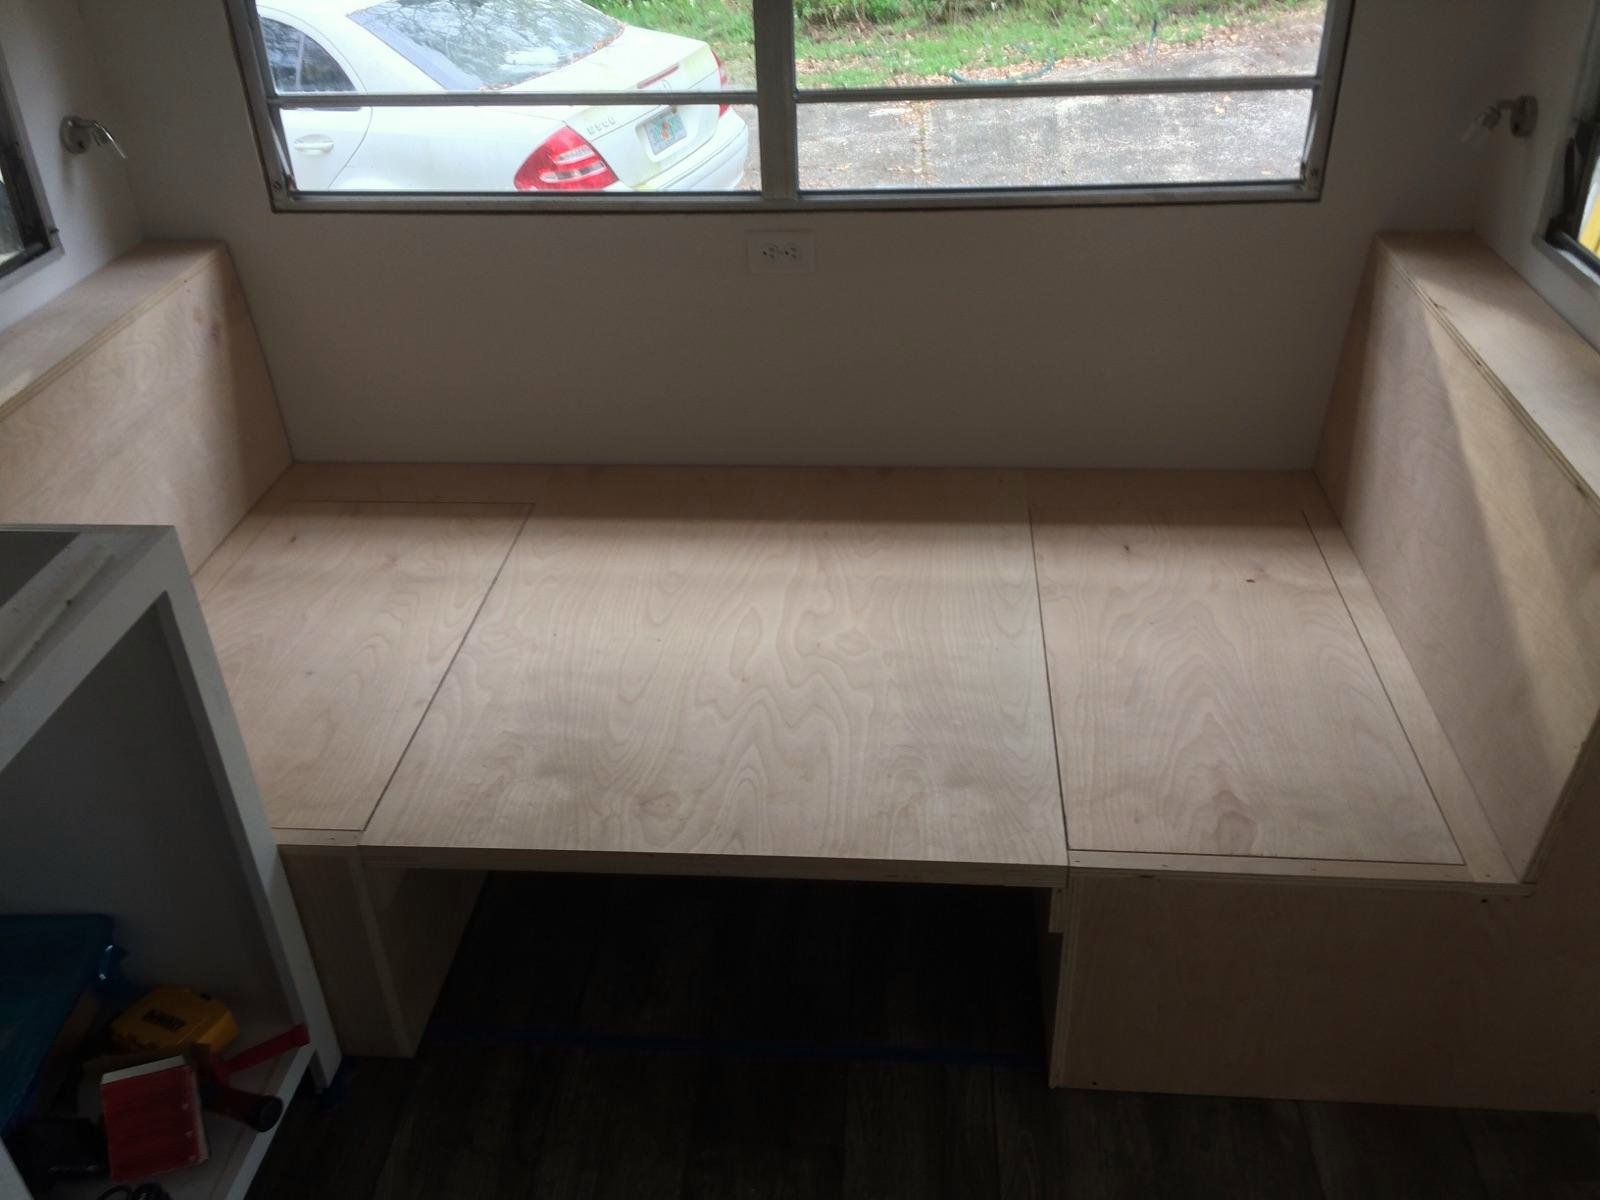 2019-02-18_10-26-21 2019-02-18_10-26-21 voltmeter/12v outlet/USB outlets: 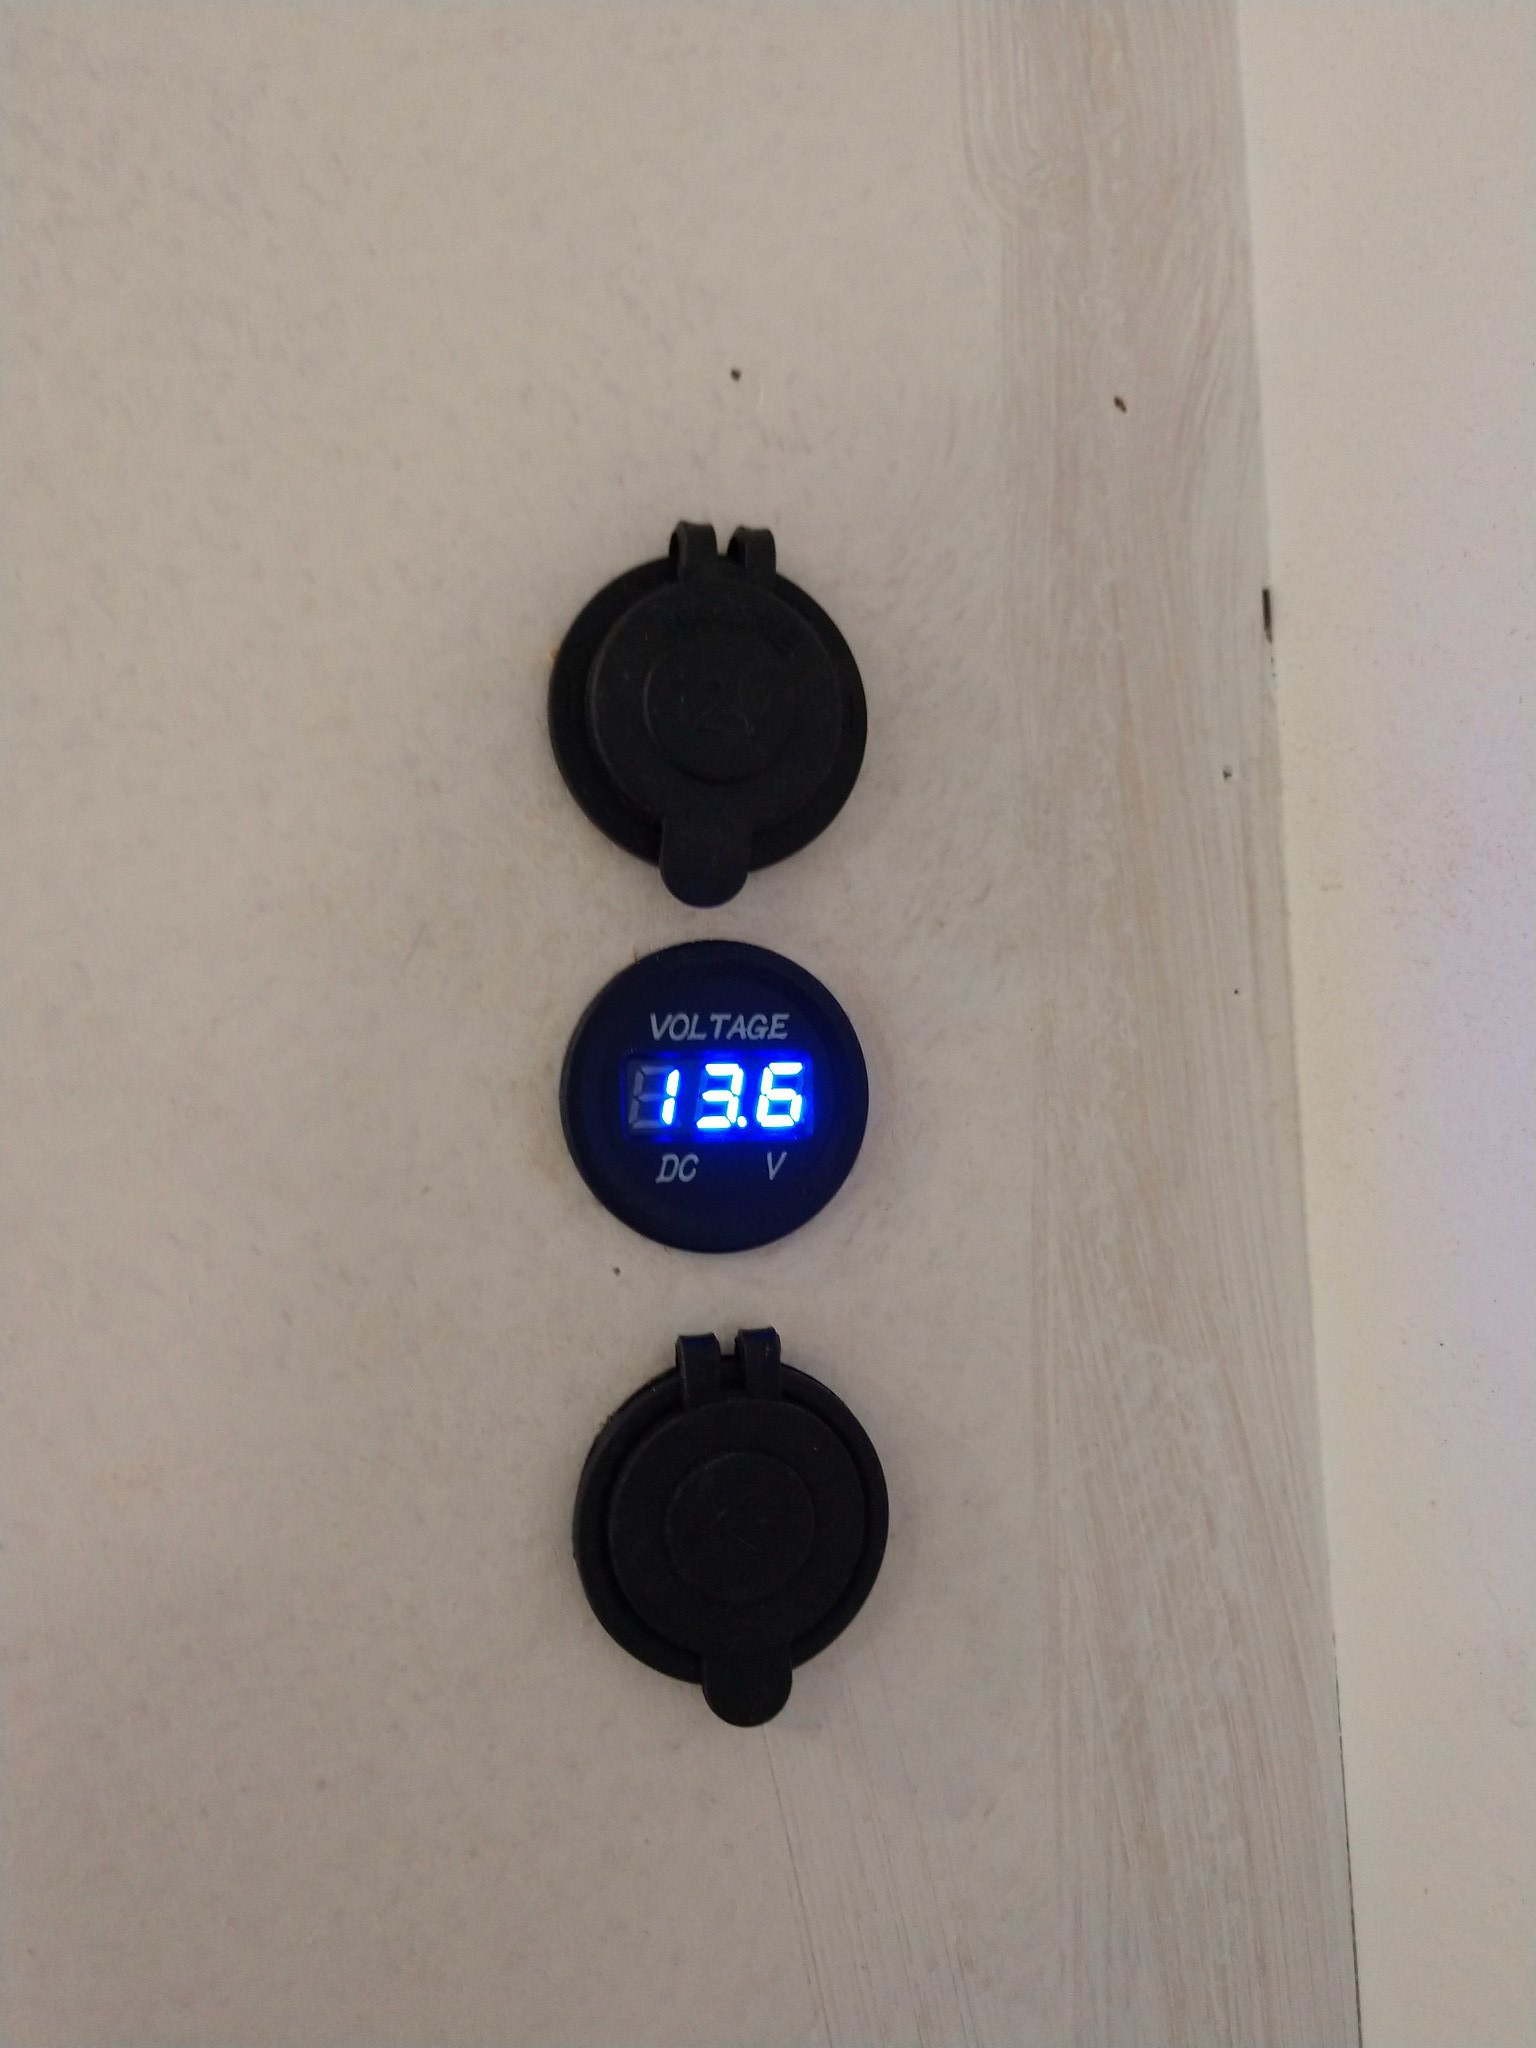 2019-02-18_10-26-32 2019-02-18_10-26-32Our screen frames are a copper/gold color that doesn't work at all with anything else, color-wise. I went to a screen shop, they couldn't rebuild them. I went to a powder coat shop, but it would be ~$1,000. So yesterday we painted them: 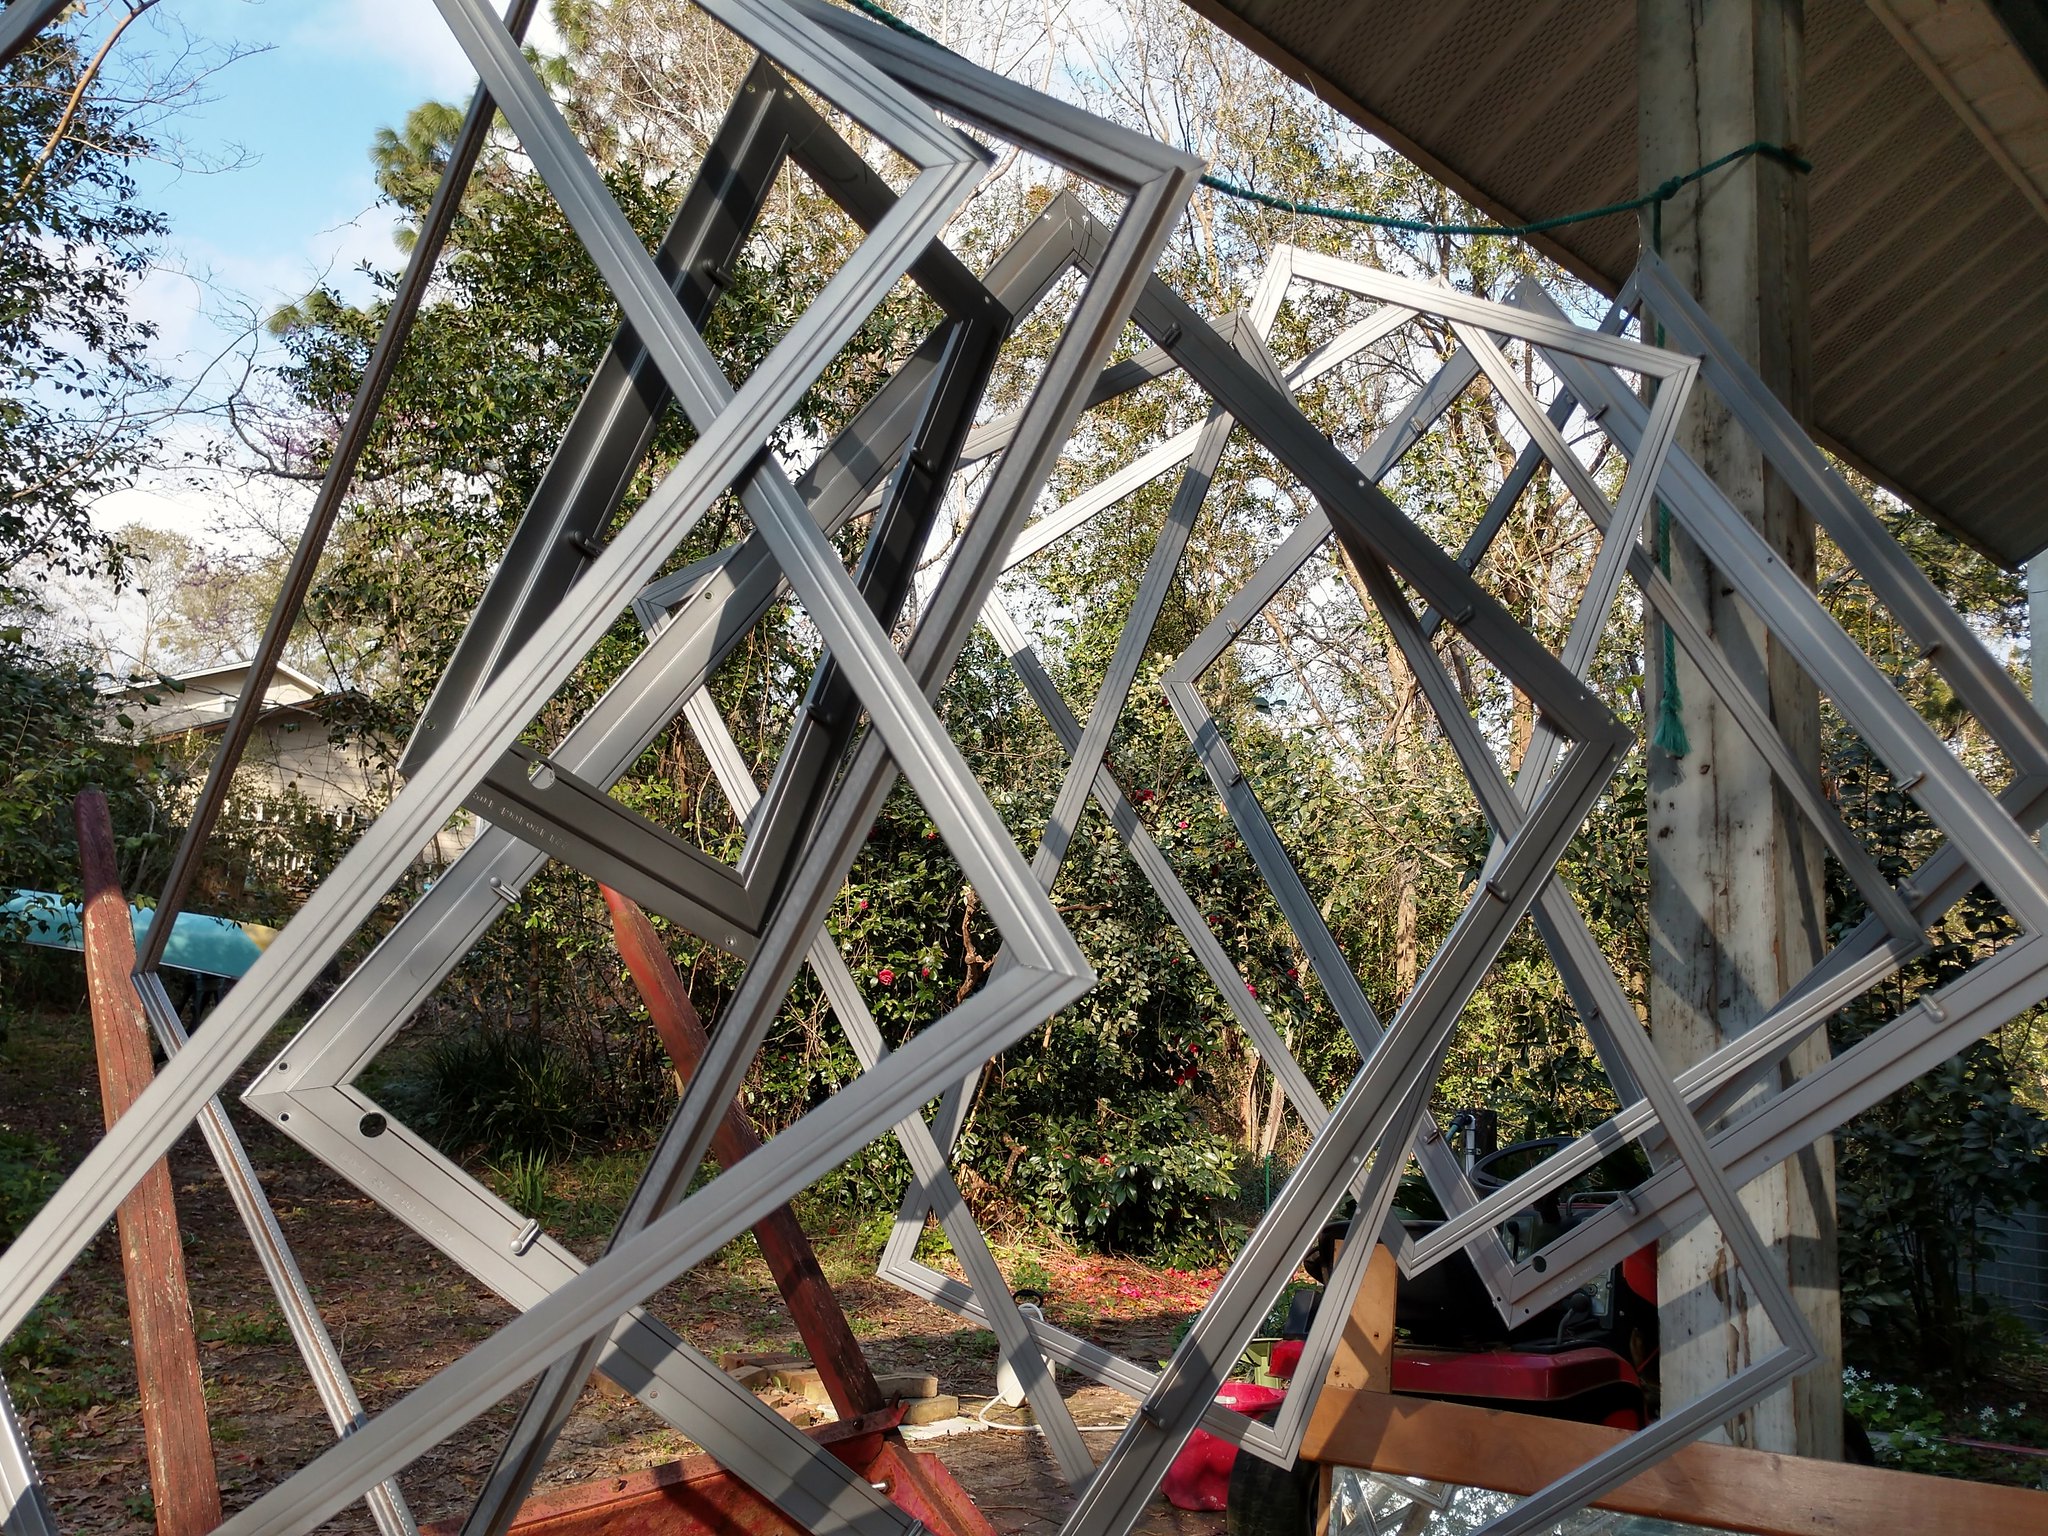 2019-02-18_10-26-52 2019-02-18_10-26-52 Our camper was originally a Phoenix brand. My wife named it Fawkes, which is the phoenix in the Harry Potter series. The baggage door needed a new panel, so while it was apart we had an artist friend paint it for us. Some glitter effects were added (pictured), and we then covered it in clear epoxy. 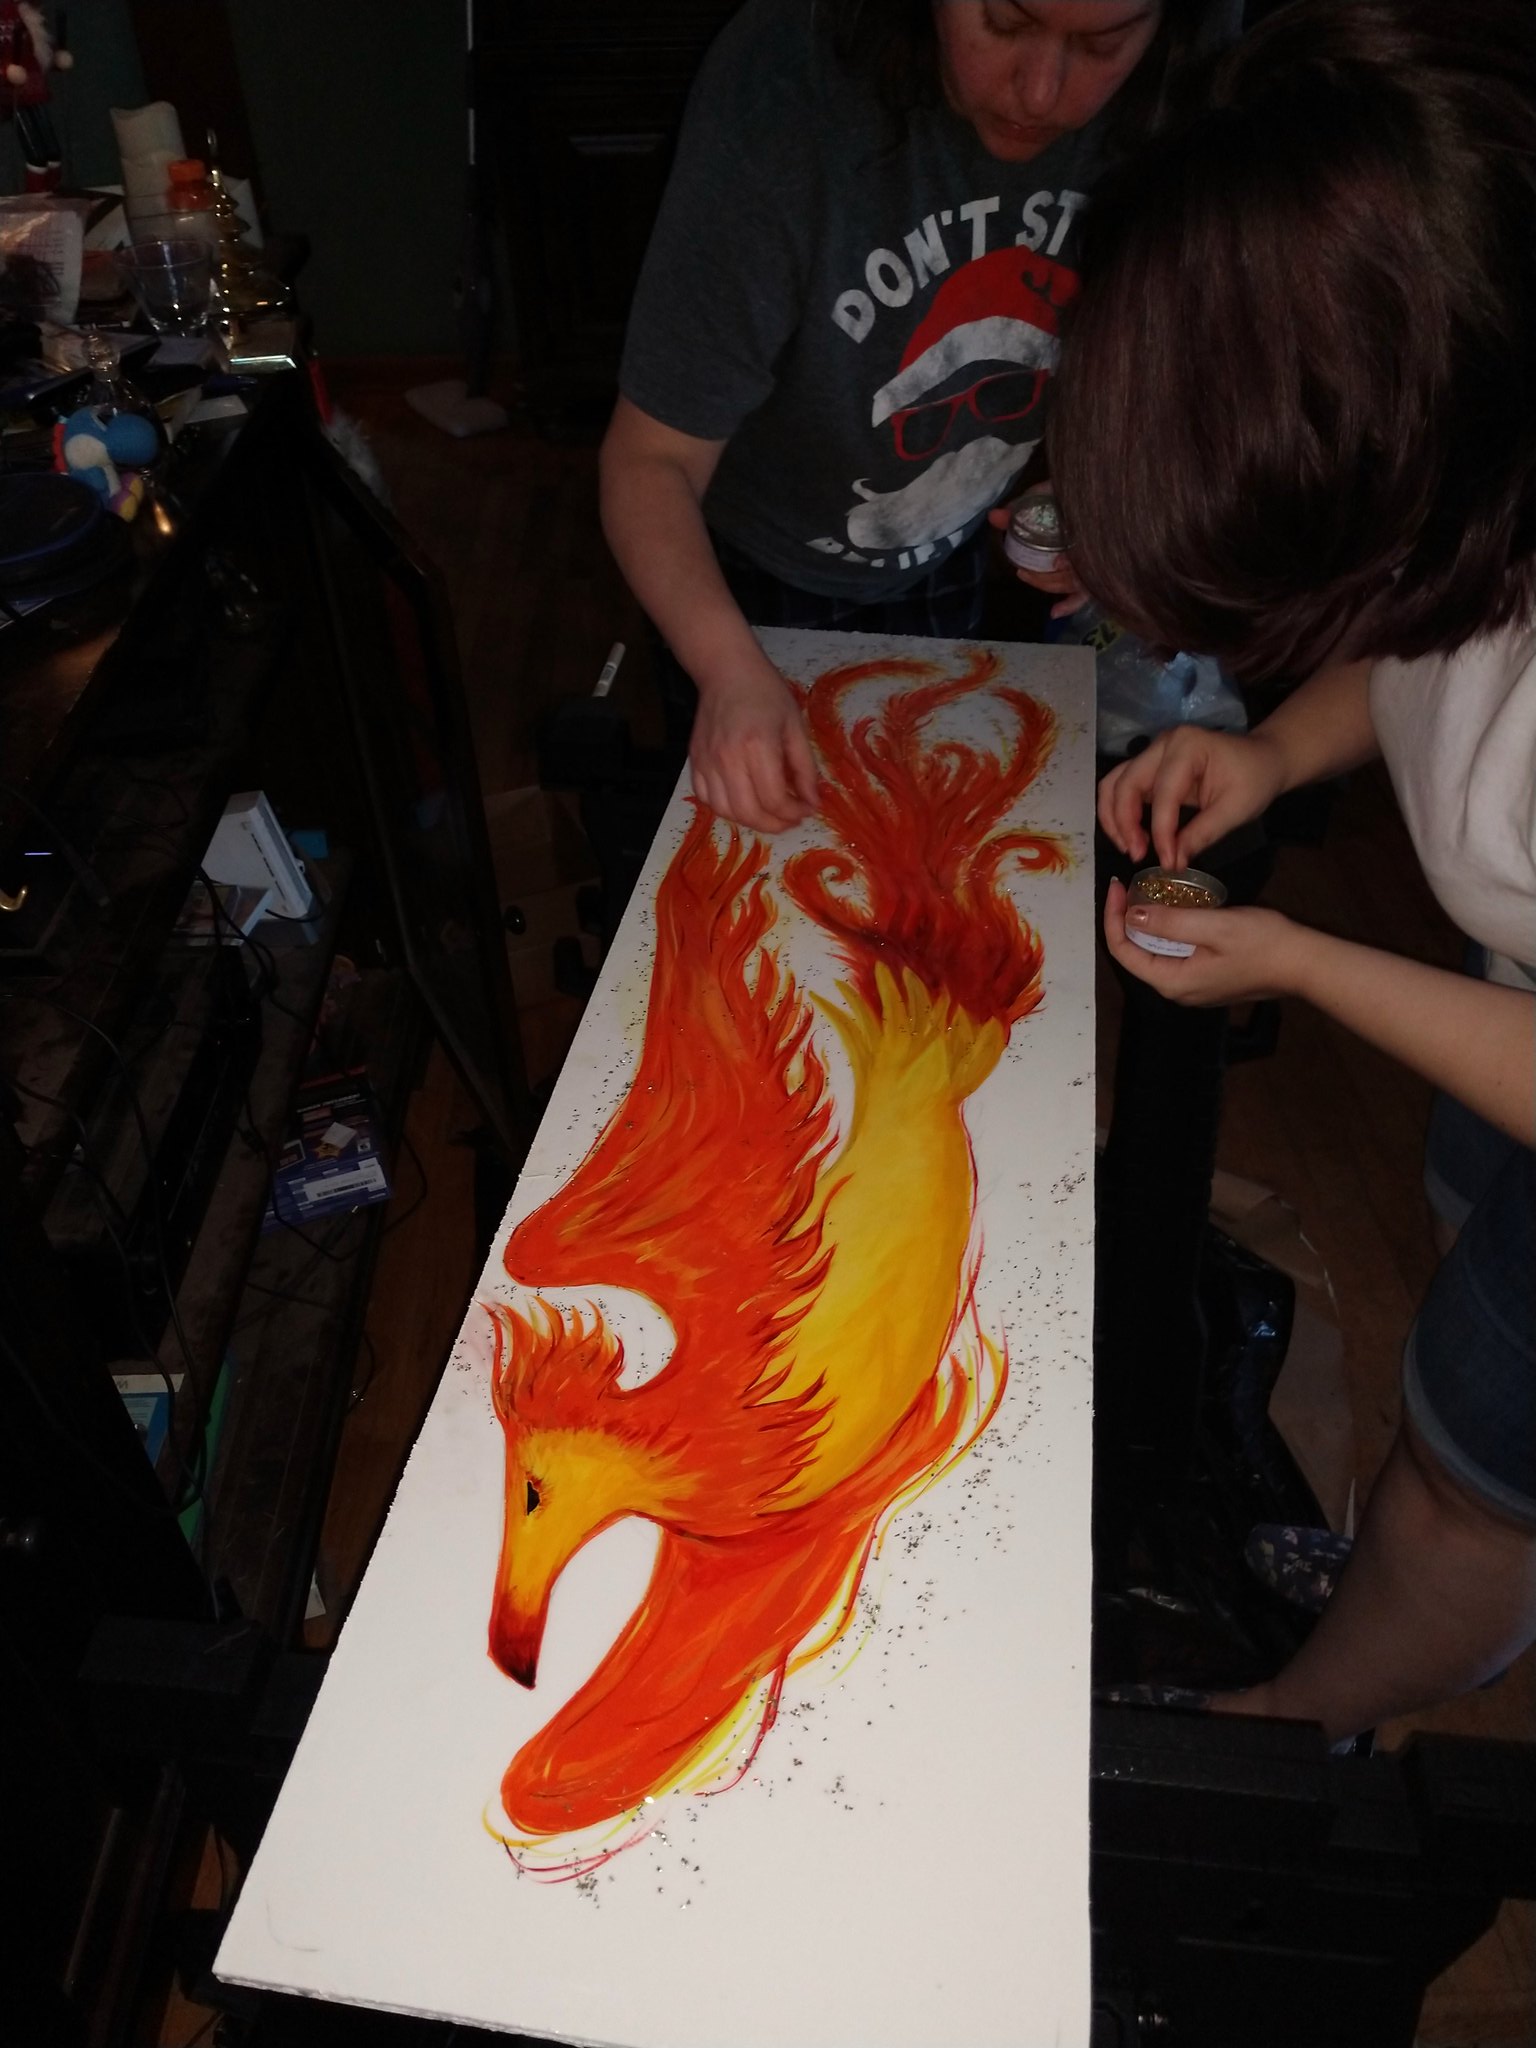 2019-02-18_10-27-12 2019-02-18_10-27-12
We set a deadline of March 8, when we have a site reserved for a family reunion. I think we'll be able to meet it. The cabinet doors need to be installed. The interior needs a final coat of paint. We have memory foam mattresses for the rear bed, and dinette (to cut up and covered with fabric). I need to install the j-rail and awning rail, and finish the main door and baggage door. I think we'll get it done. There are some low-priority items that may or not make it. Like painting the wheels, painting the jack stands, and the backsplash over the kitchen counter. We also decided to postpone exterior paint for some unknown future date, we go back and forth on painting it ourselves or having a body shop do it. |
|


