63 Shasta 16 SC Frame up Restore from a Pennsylvania Gal
Sept 9, 2018 18:54:27 GMT -8
strange1 likes this
Post by kaffi311 on Sept 9, 2018 18:54:27 GMT -8
Well, time for another update on the ole' camper. Still thinking of a name for her- when I hear the right one, I'll know it!
ANways...
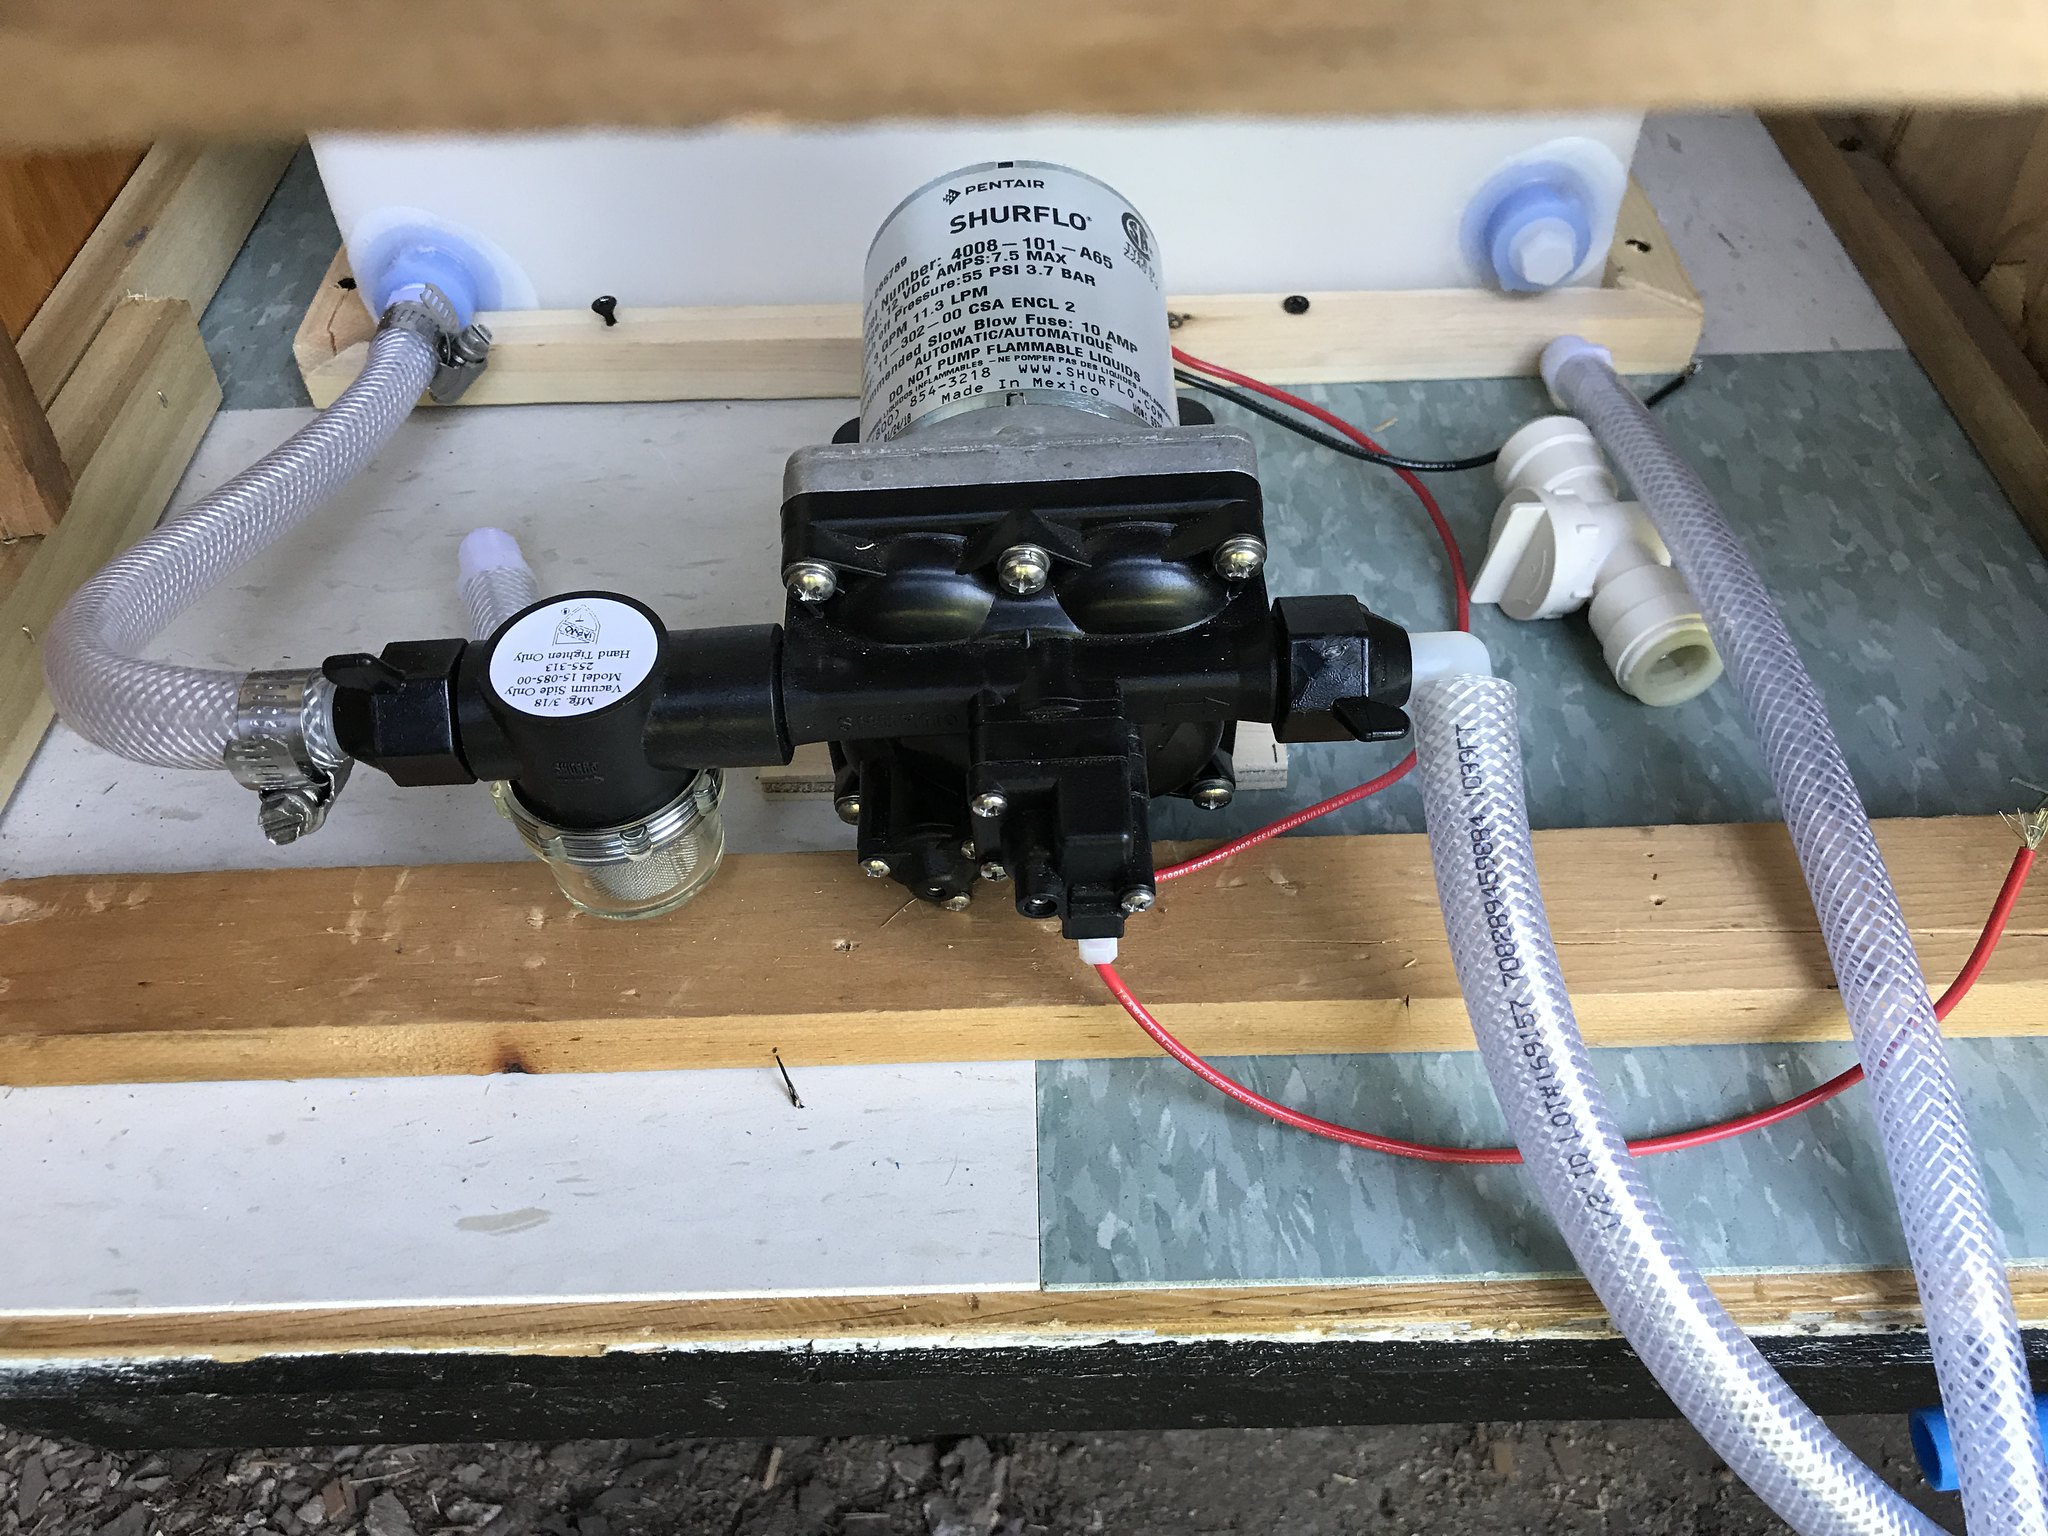
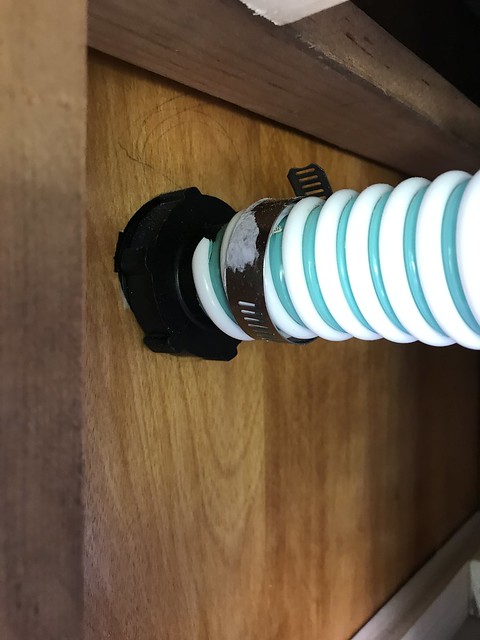
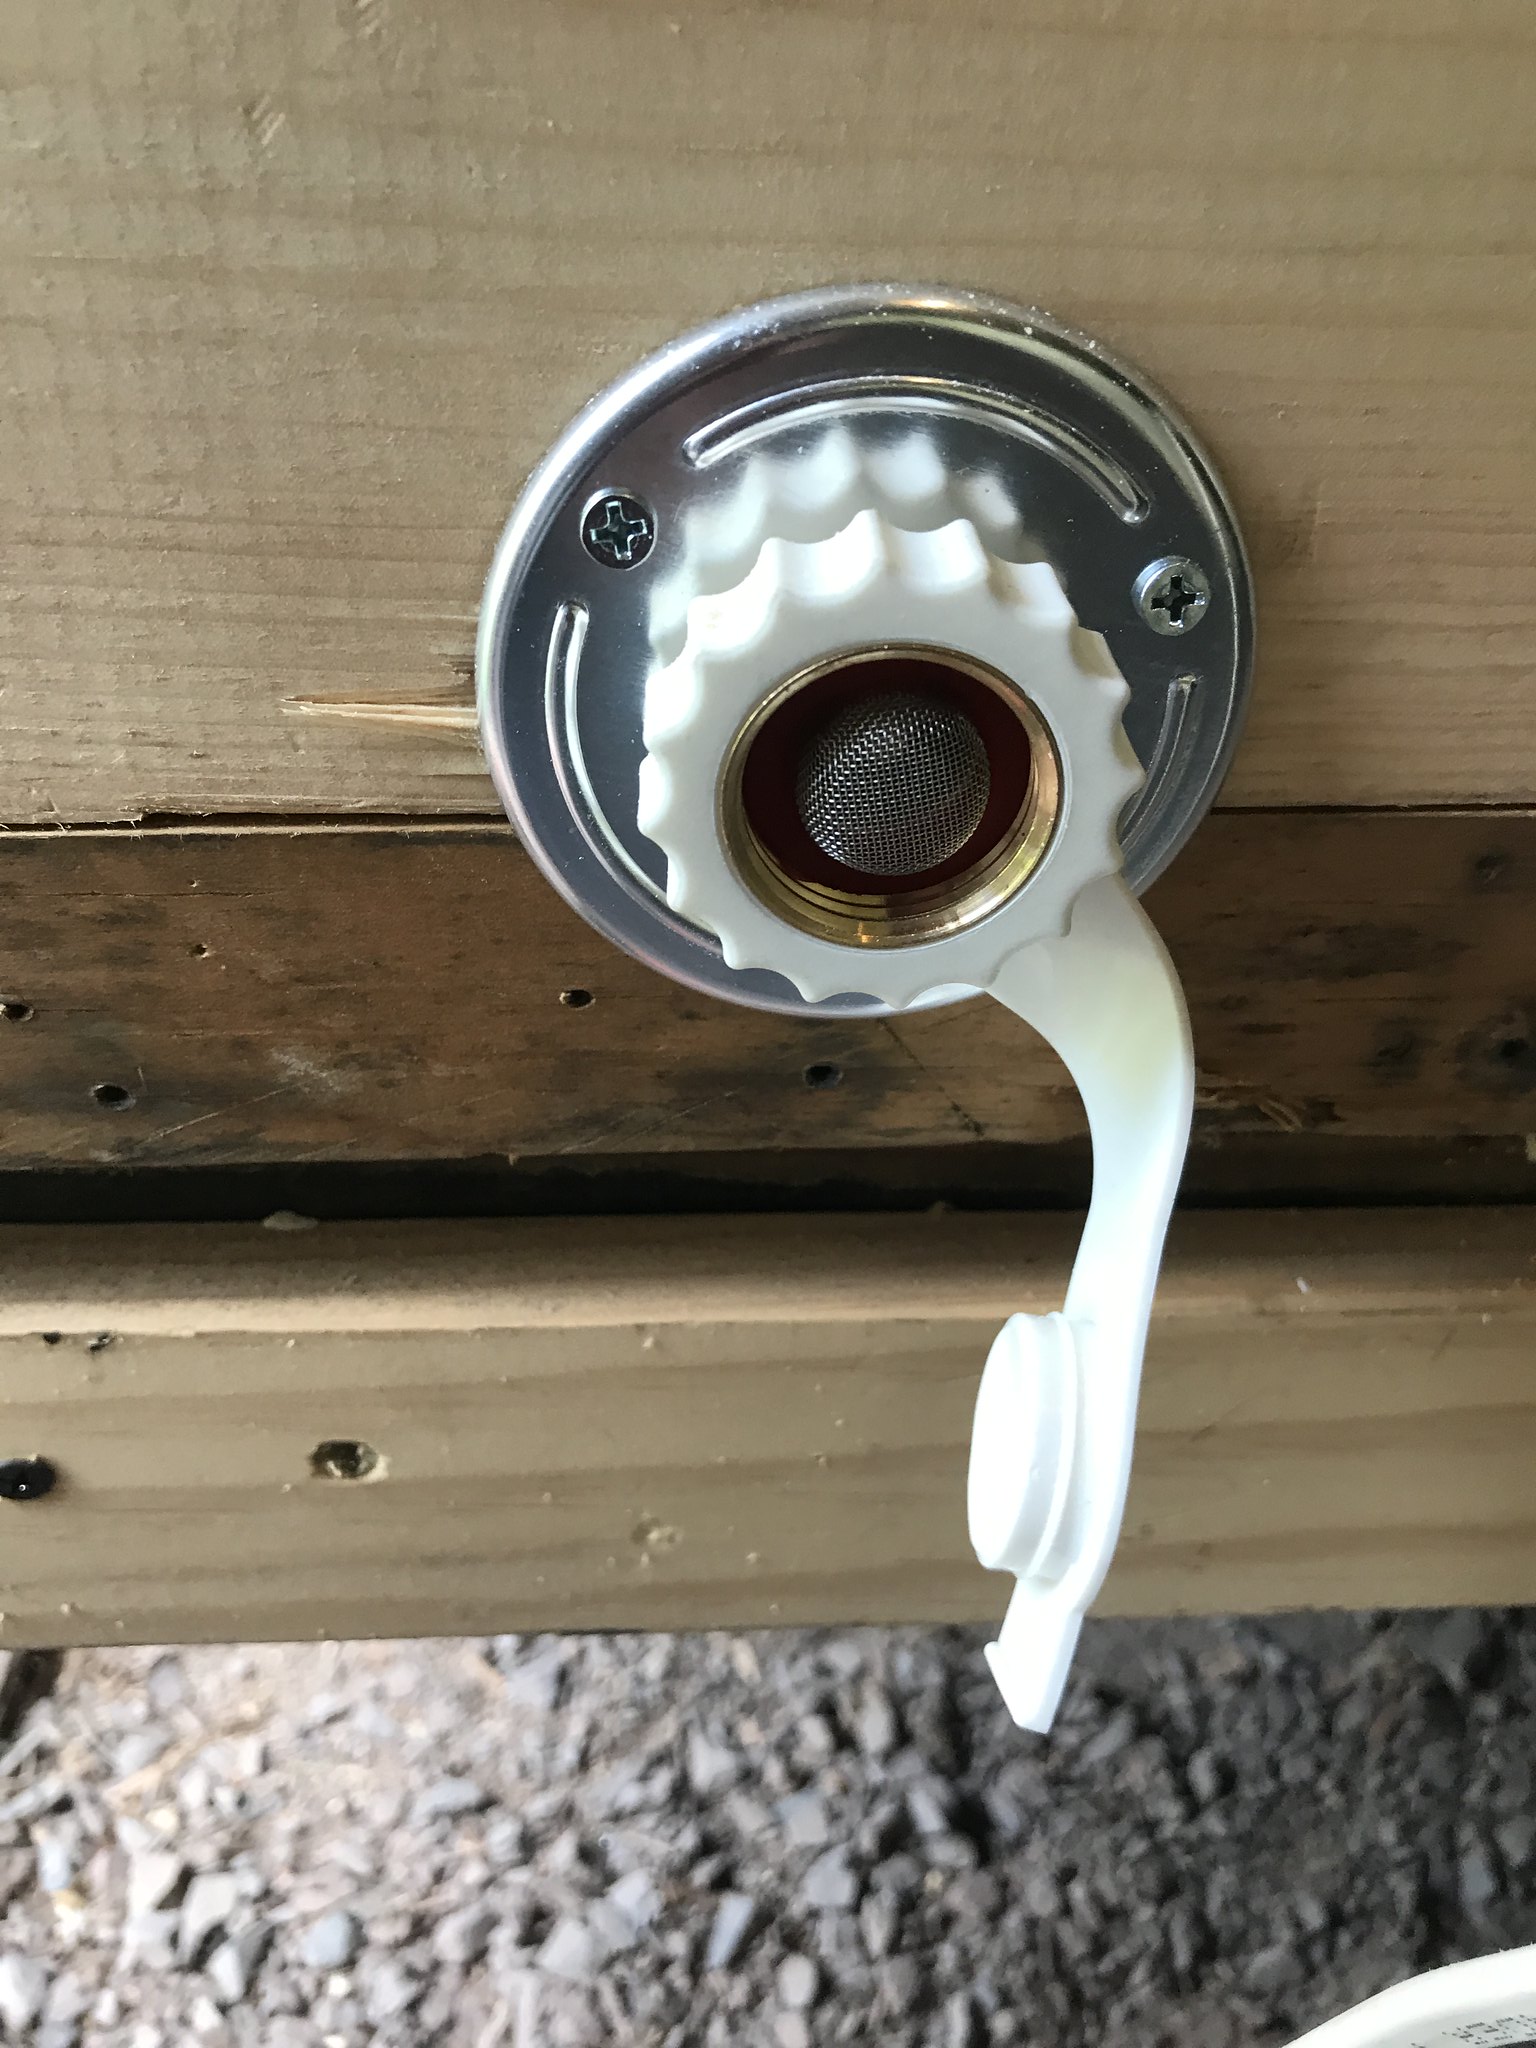
I think I have all my plumbing done! Not much to it as I only have cold H2O- but it is my first time ever doing plumbing, so I am kinda pleased. I still have to test it with water when my 12v pump is hooked up- but for now, it looks good! ha!
I used PEX and push-to-fit Sharkbite fittings- can't be any easier. Of course, I ran the pipe after my cabinets were in- and like Vikx says- I had to be a monkey at times to get things in place...but it is done.
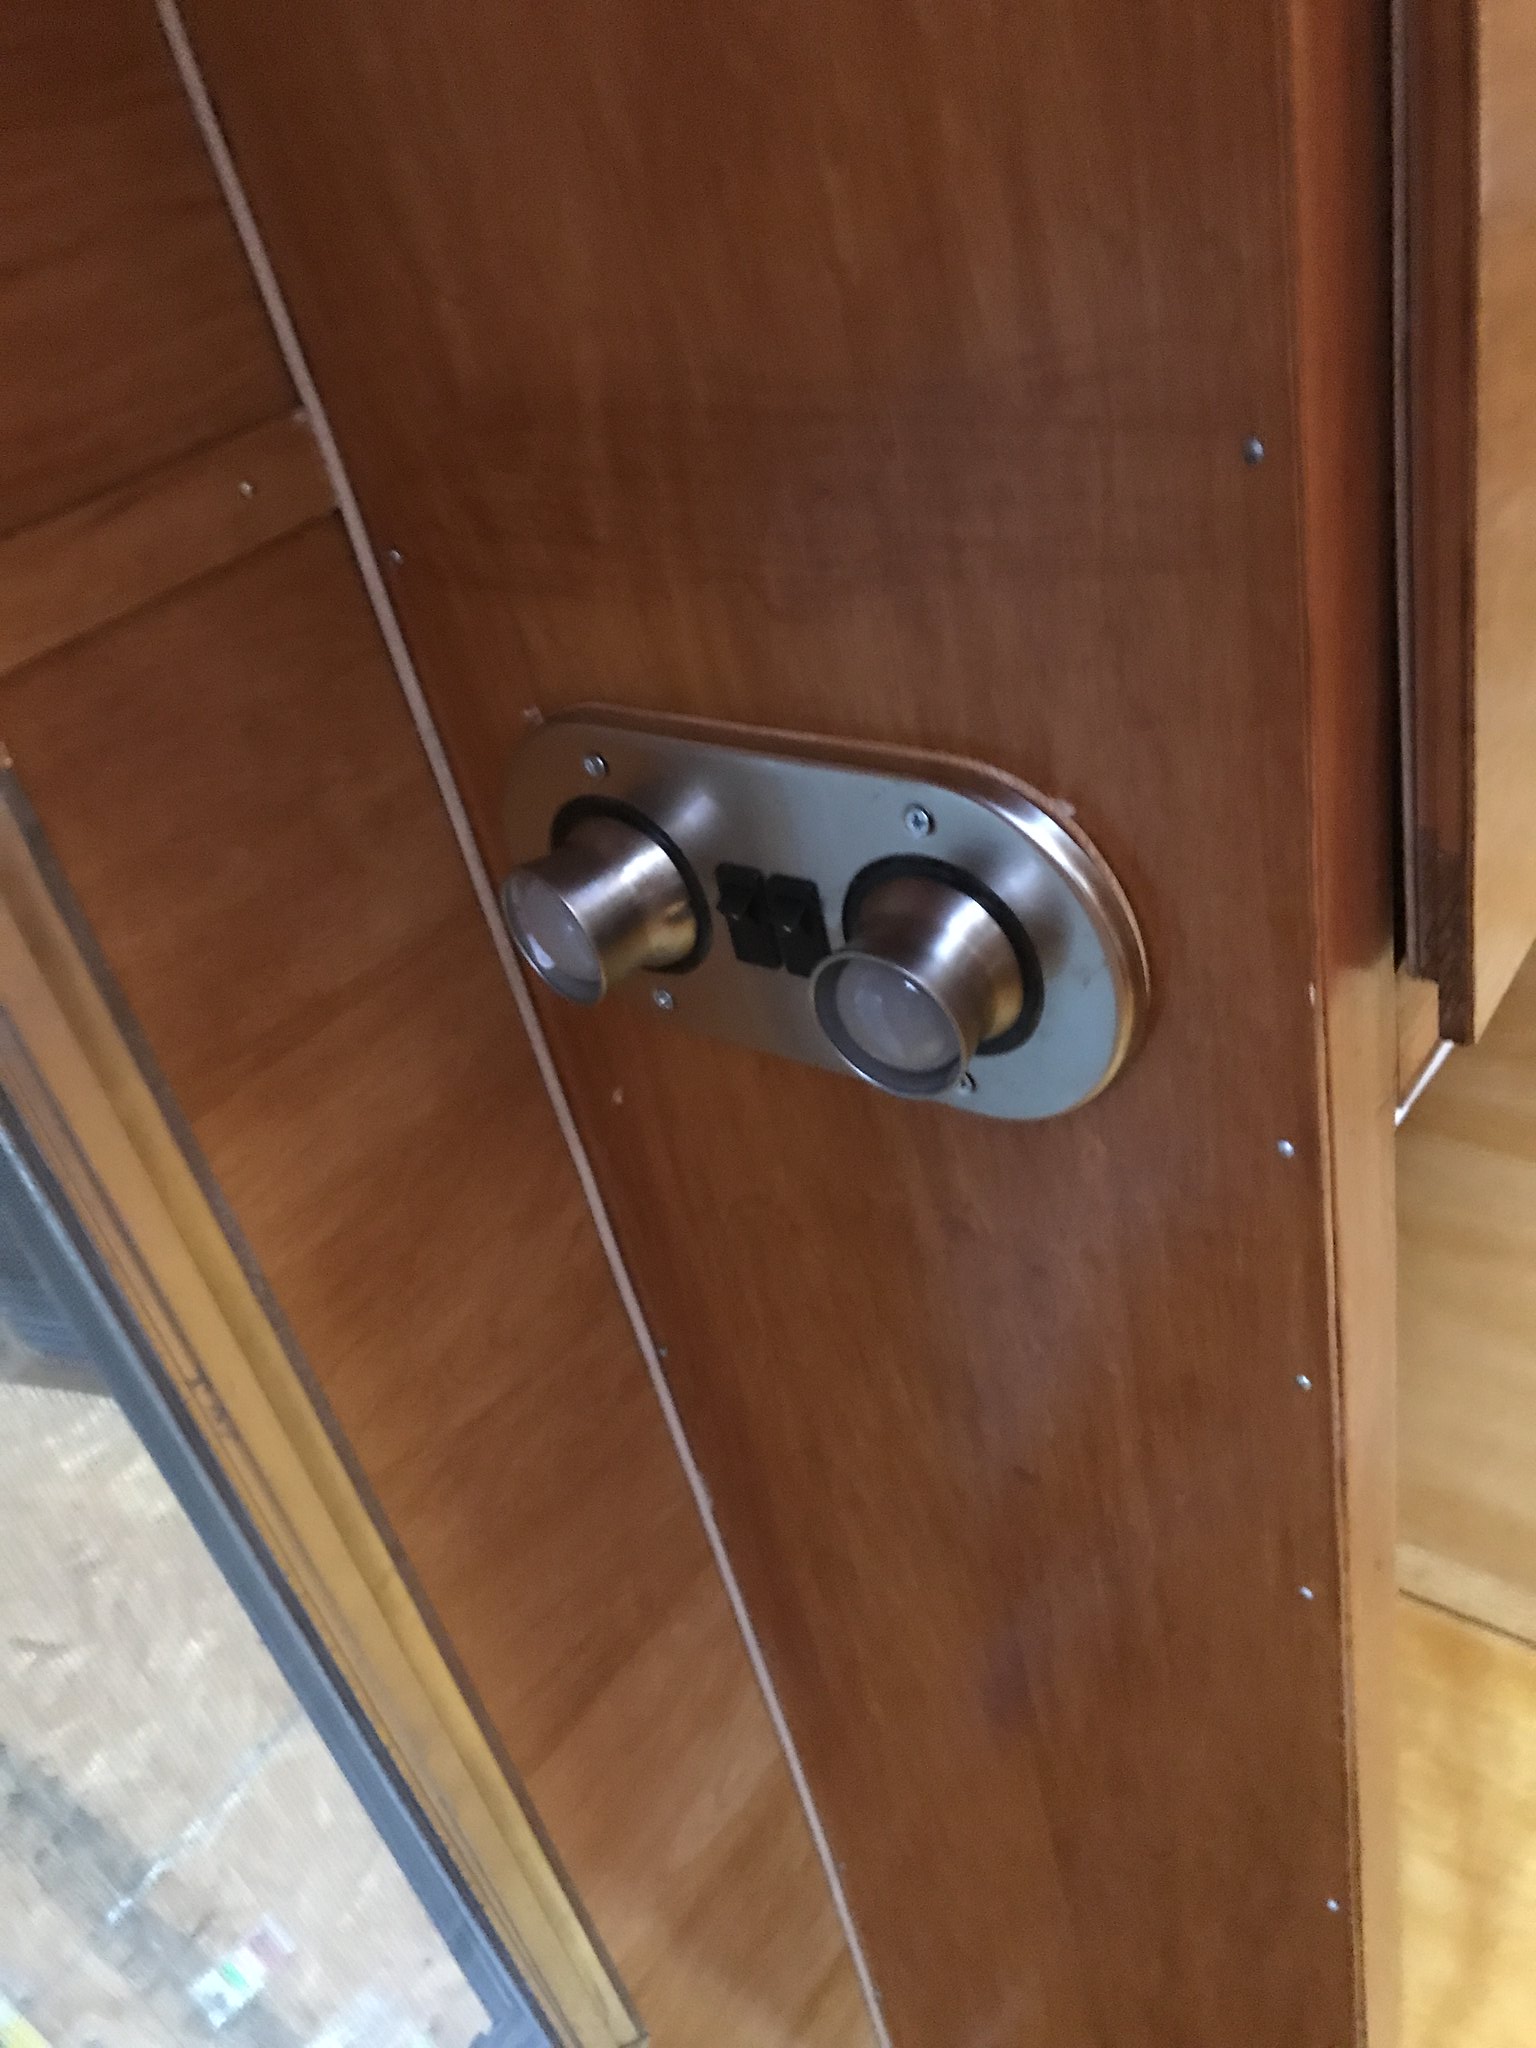
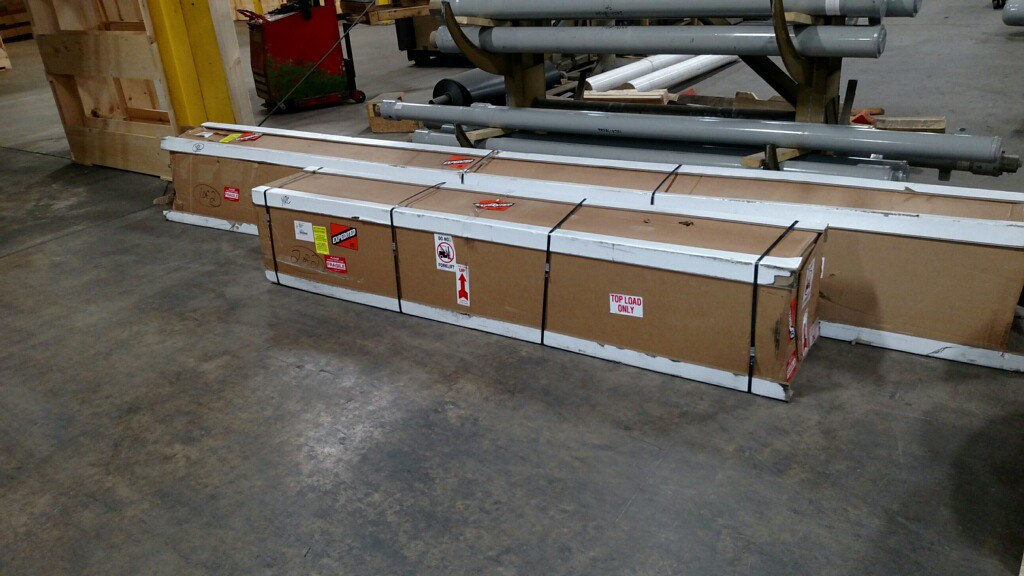
Not too many photos- but the fresh water inlet, water tank, 12v pump, city water inlet and water line to both the sink and the toilet are all in. Whoo hoo !! ( BTW- I know the outside fittings need to be removed to put skin on...just like looking at them in place!)
 IMG_3789 by kathy, on Flickr
 IMG_3686 by kathy, on Flickr
 IMG_4383 by kathy, on Flickr
 IMG_4431 by kathy, on Flickr
 IMG_4392 by kathy, on Flickr
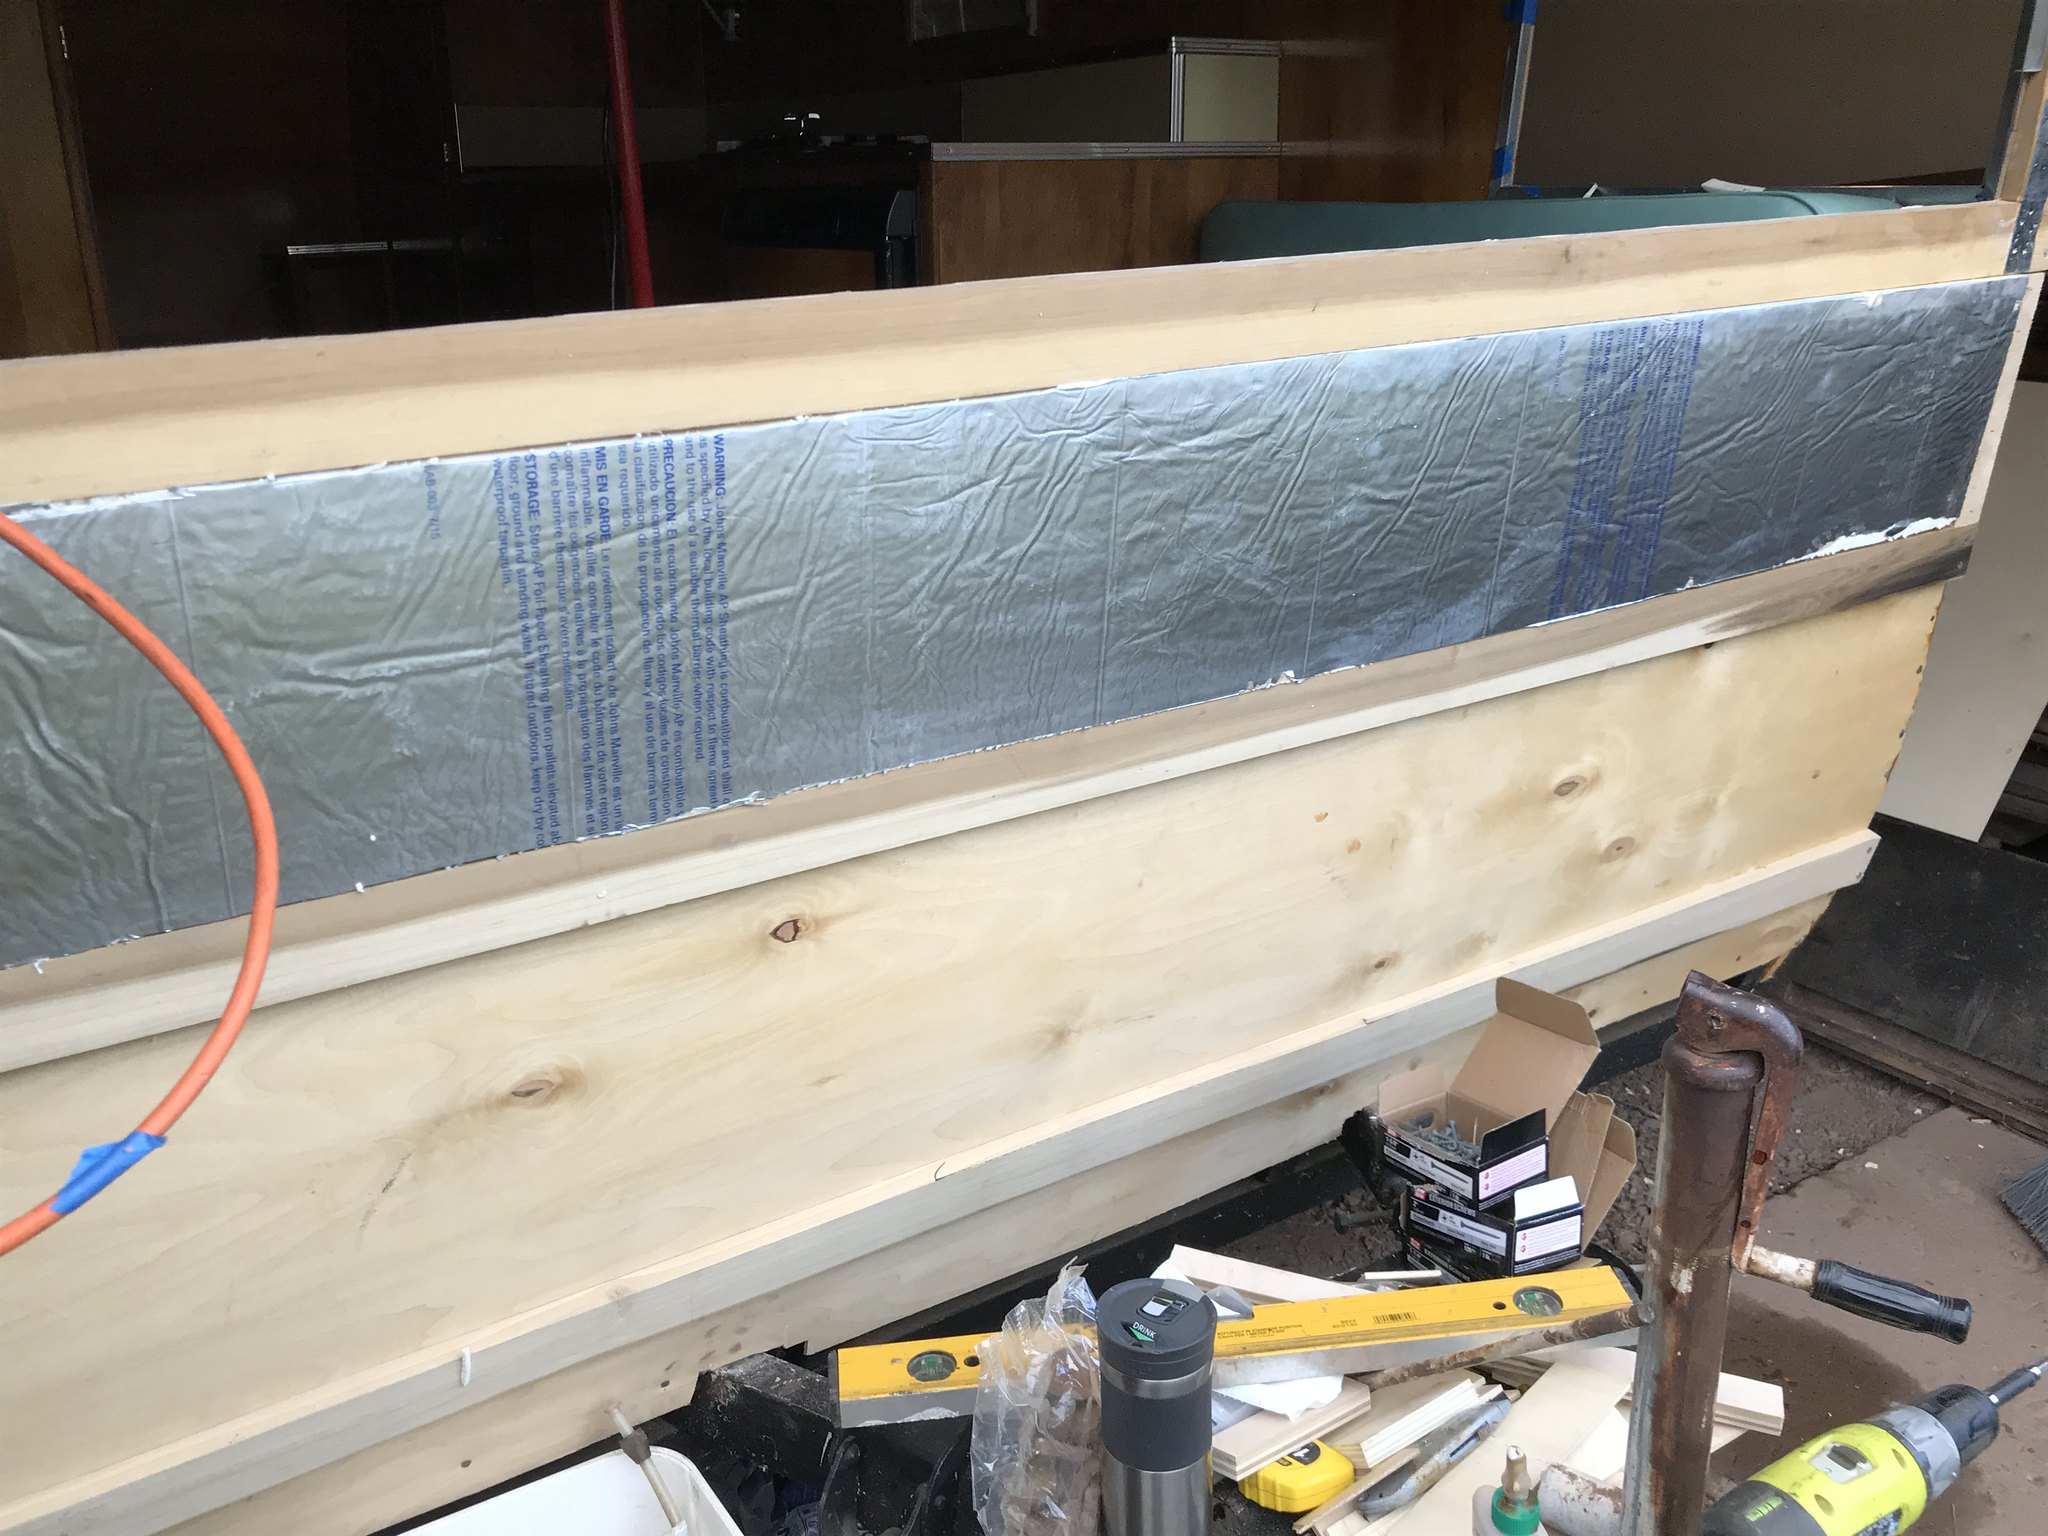
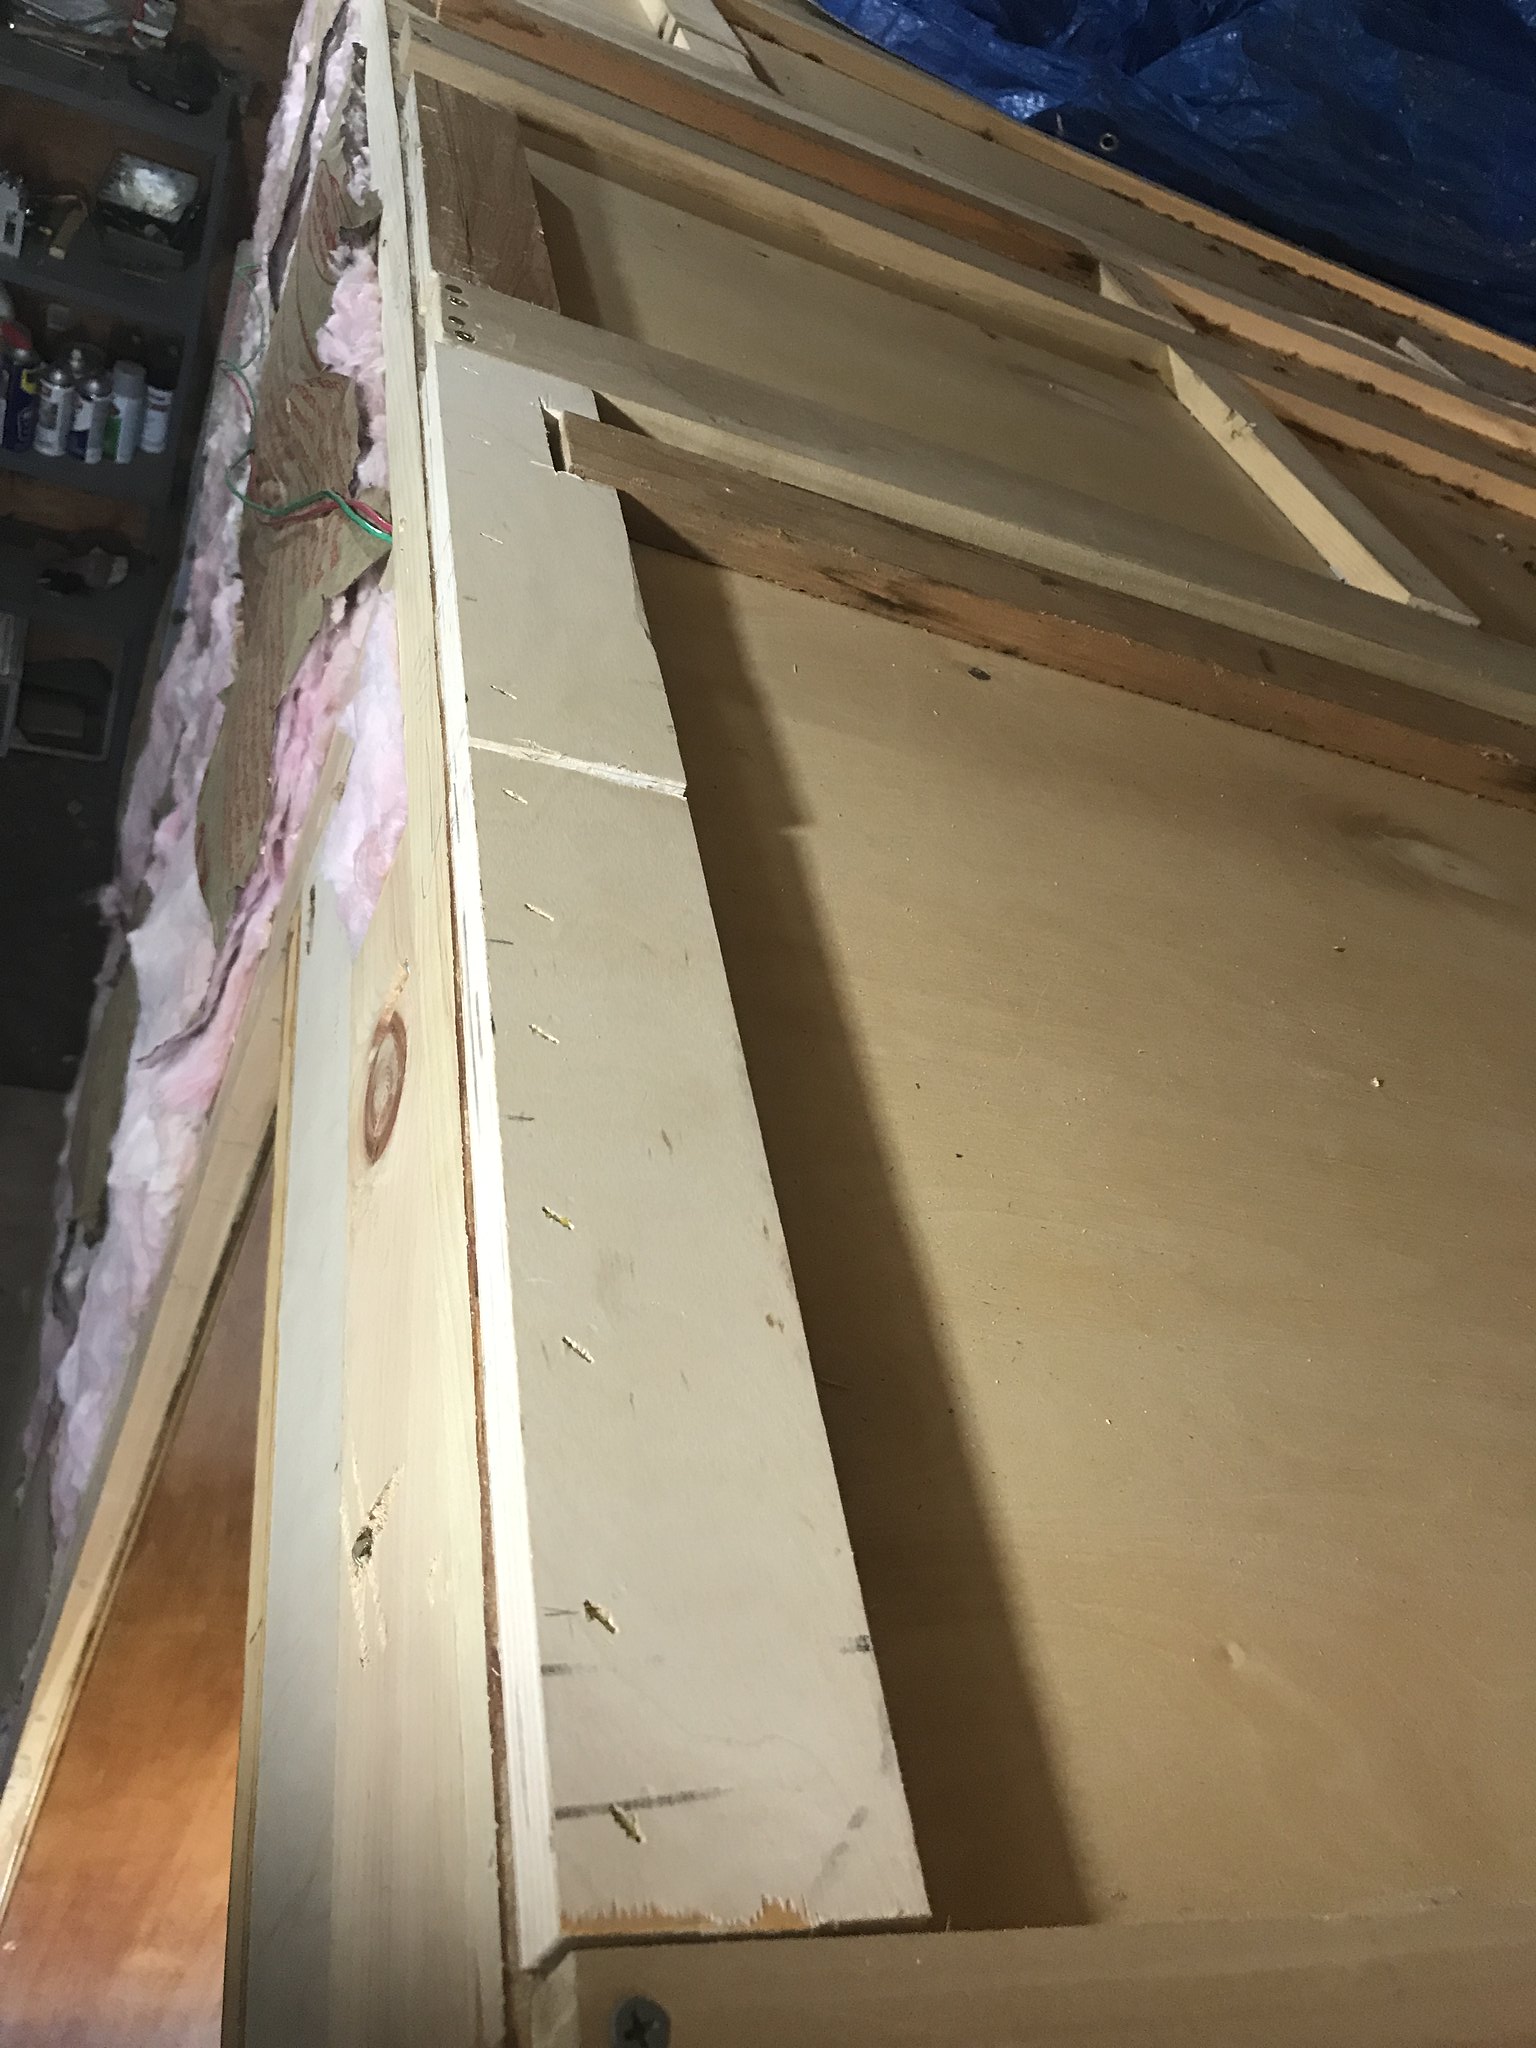
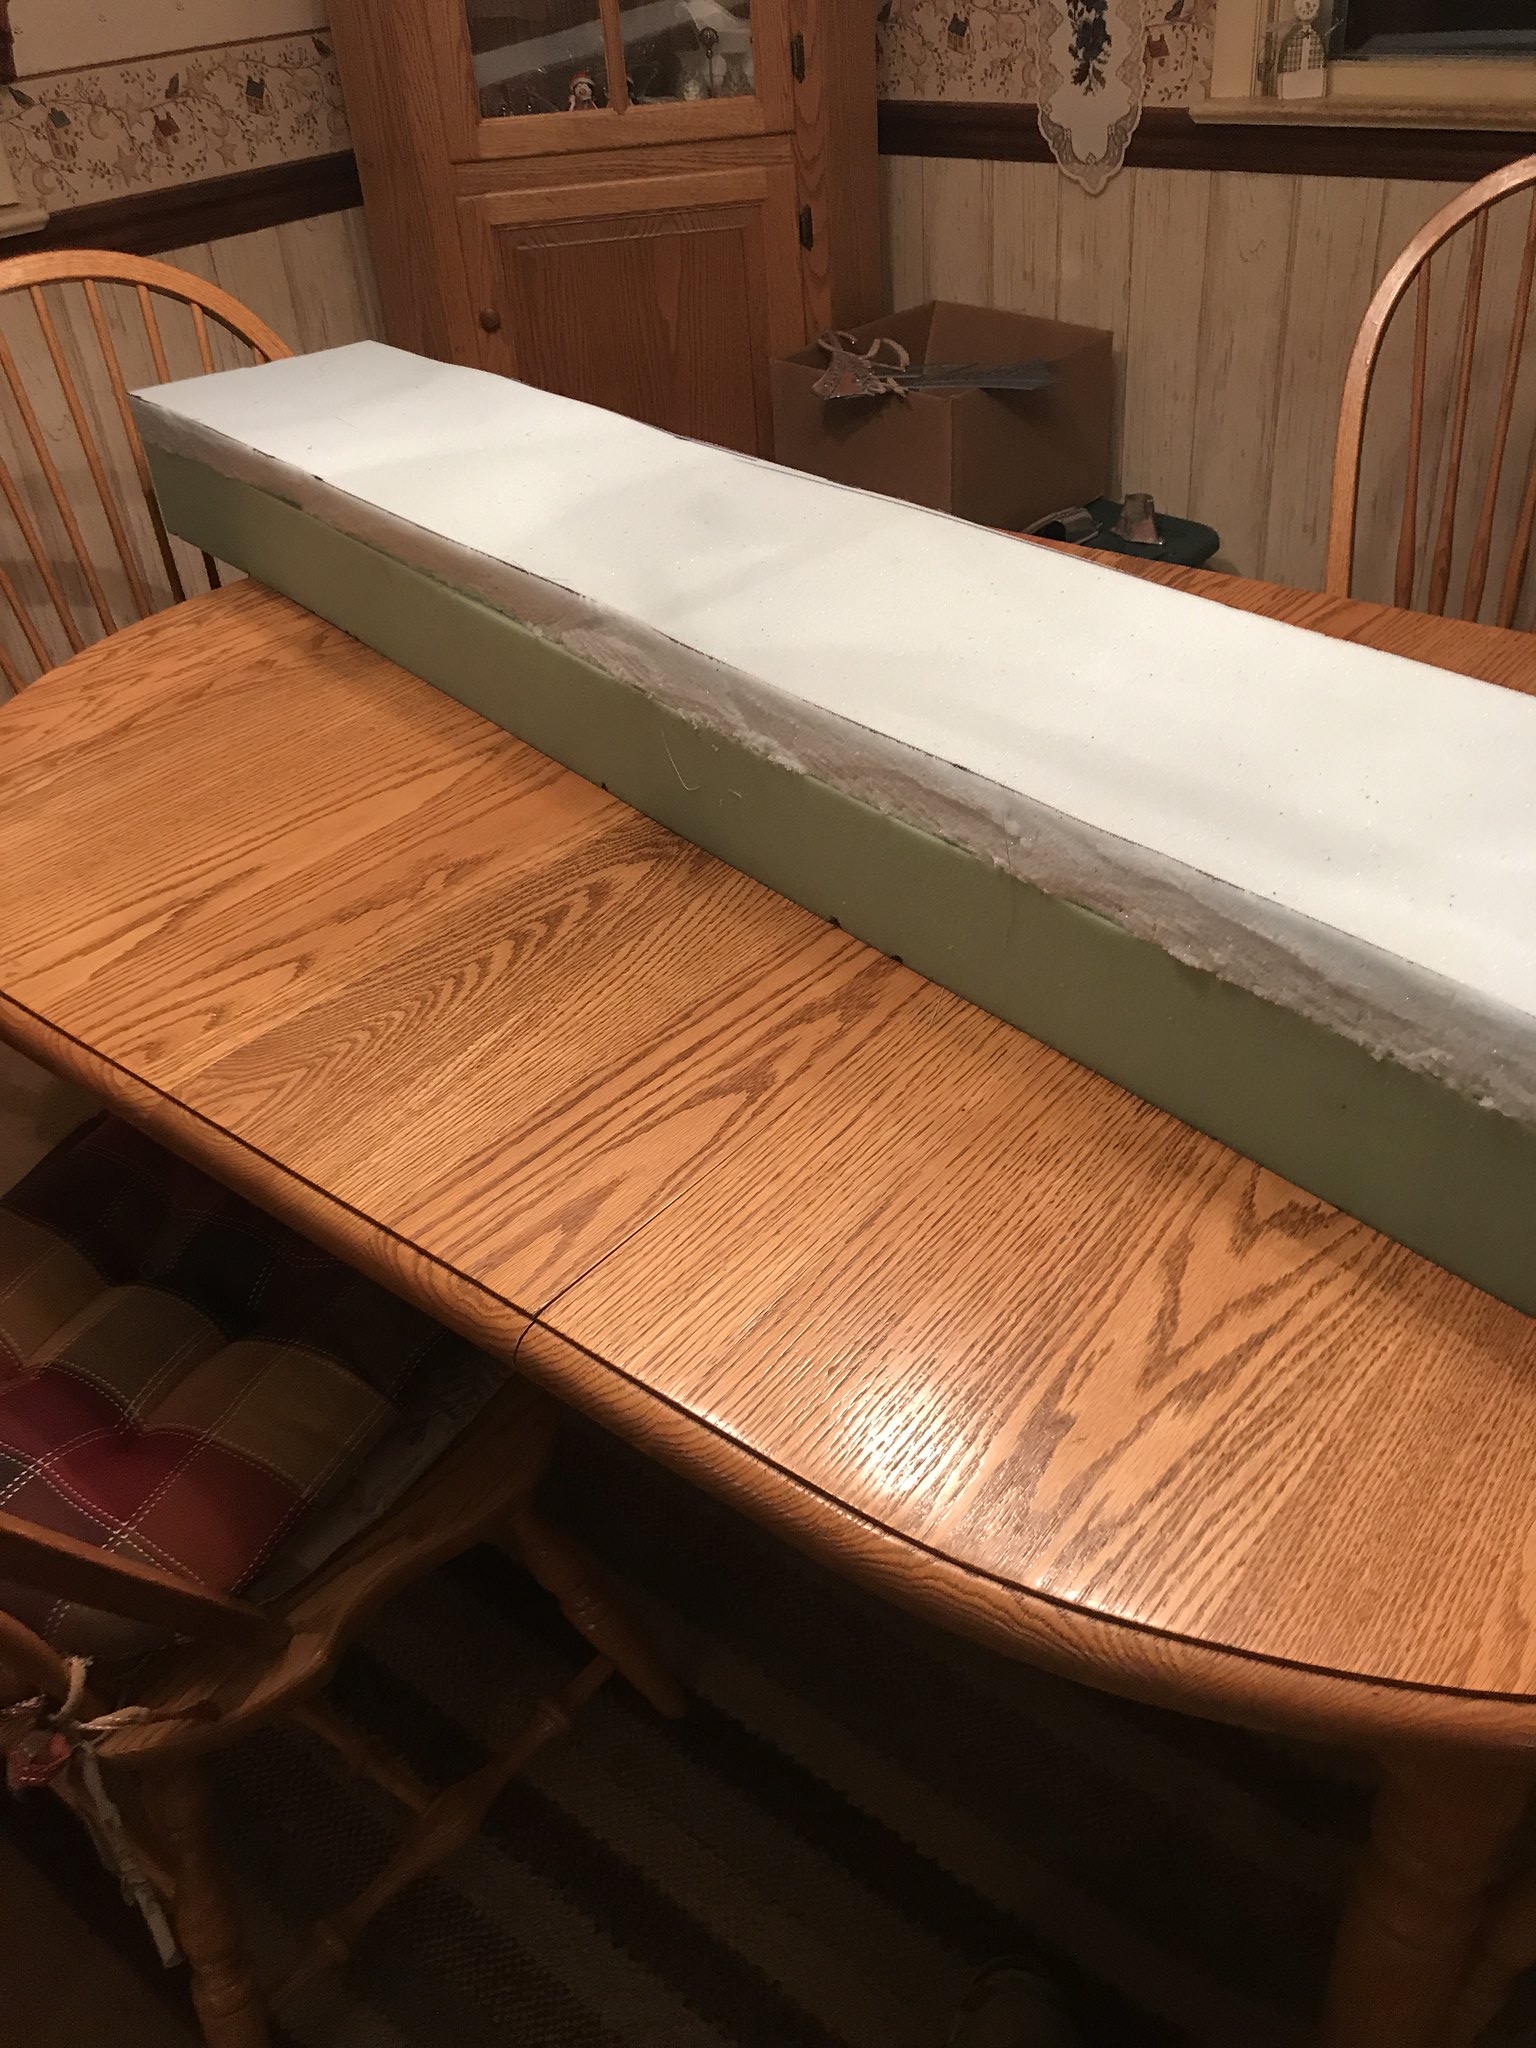
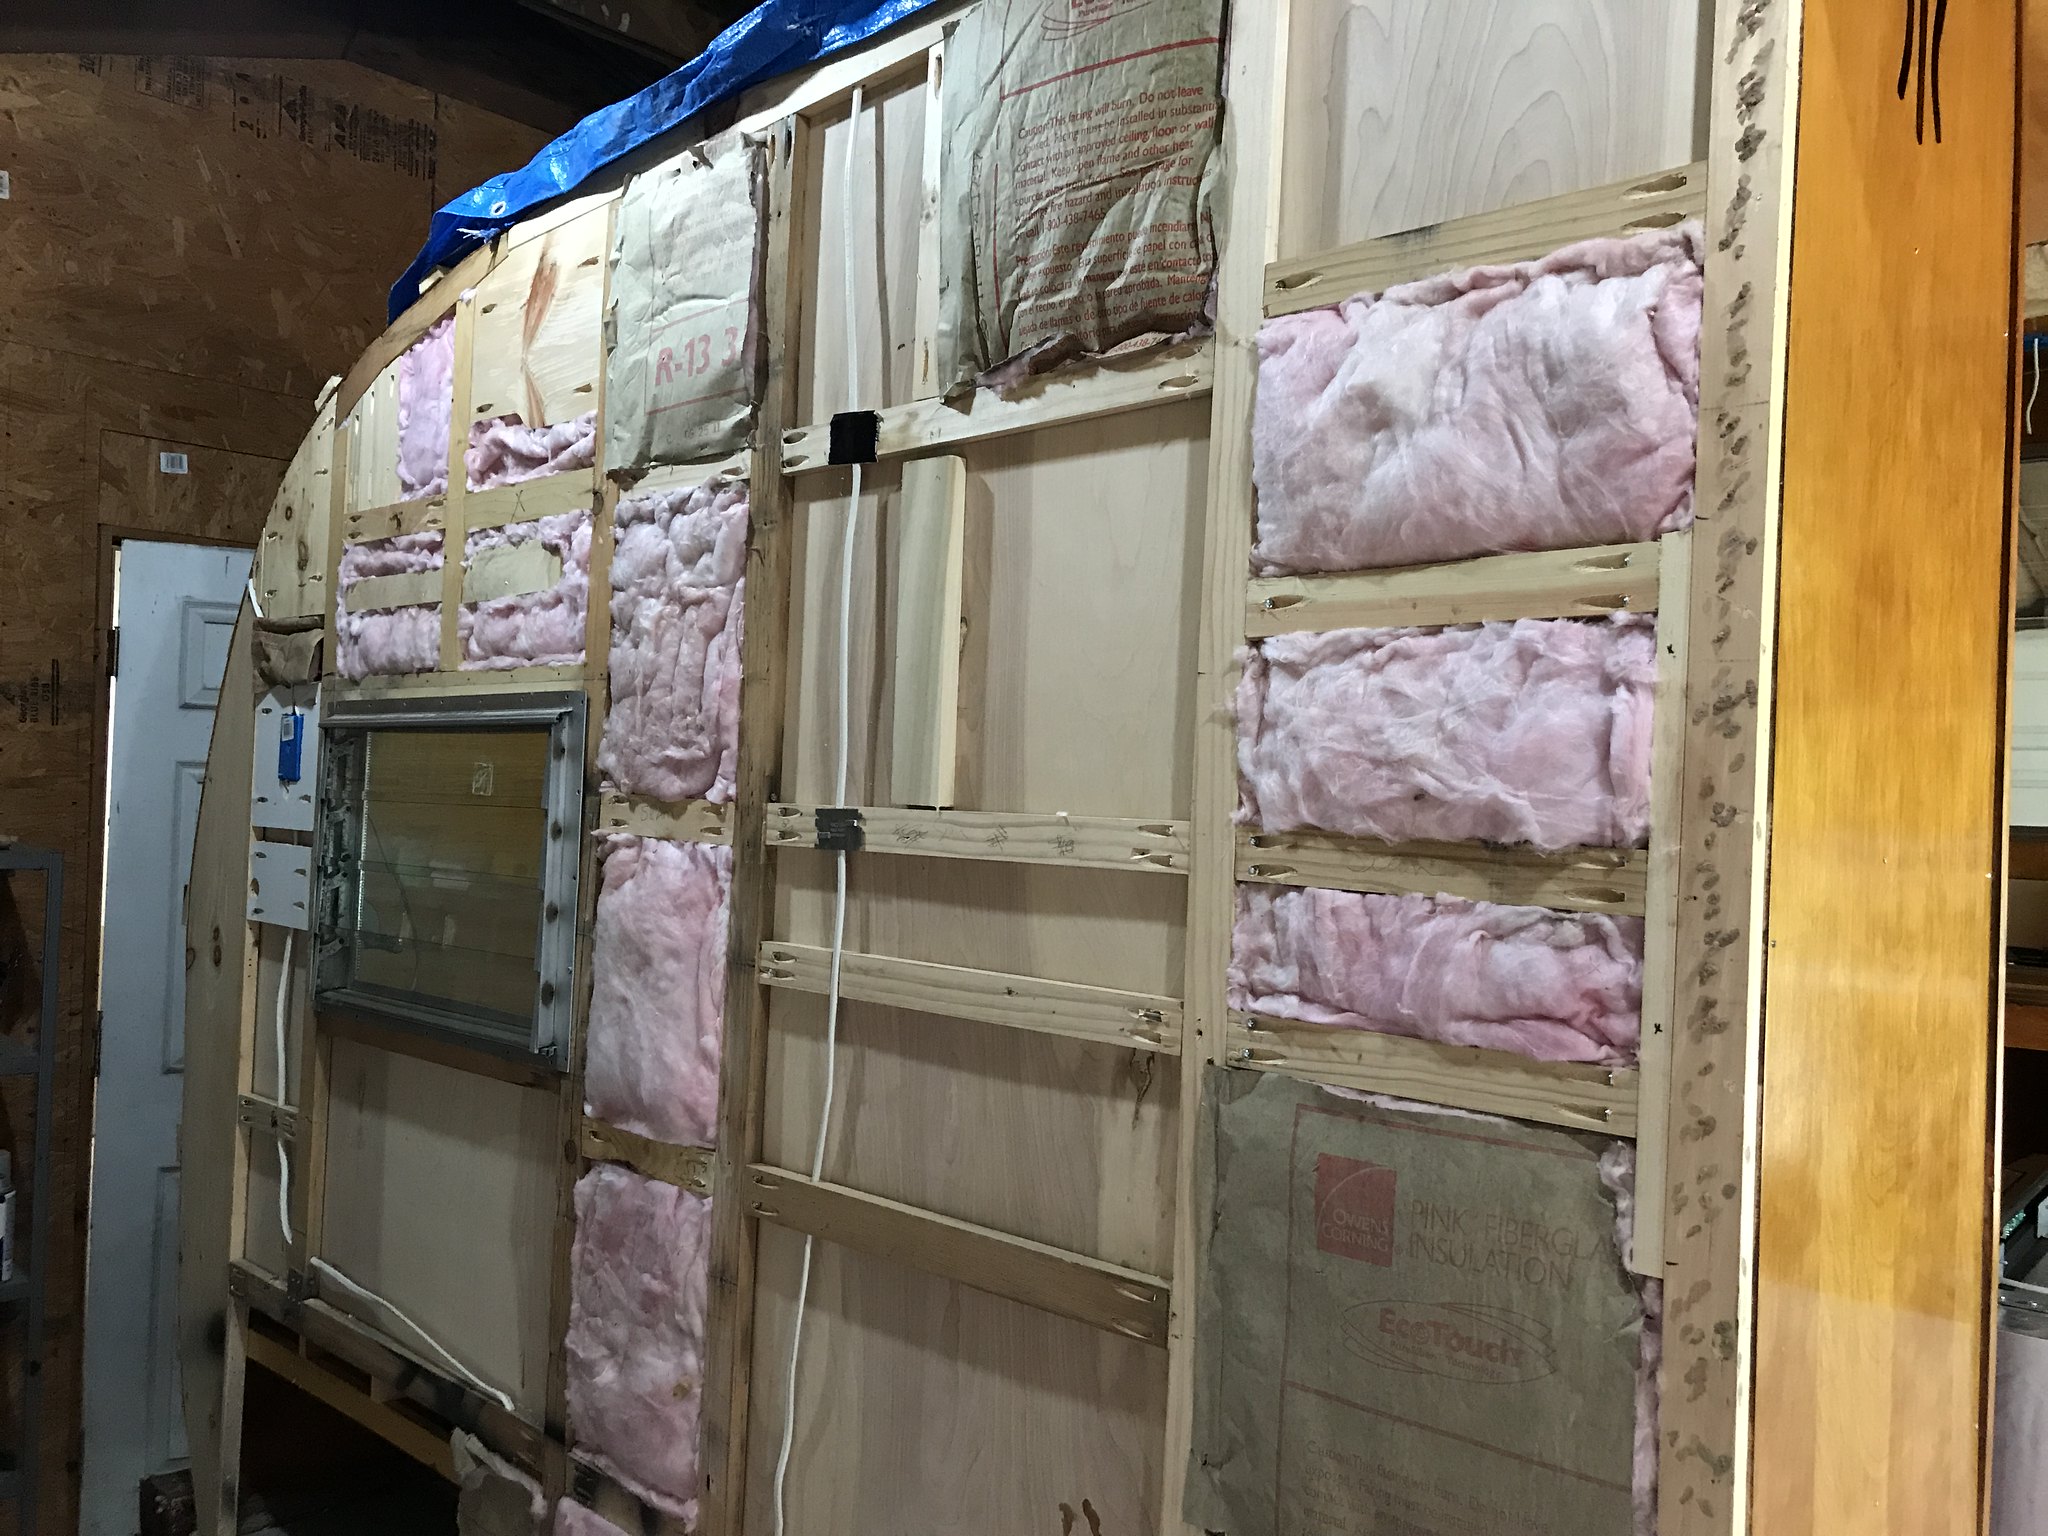
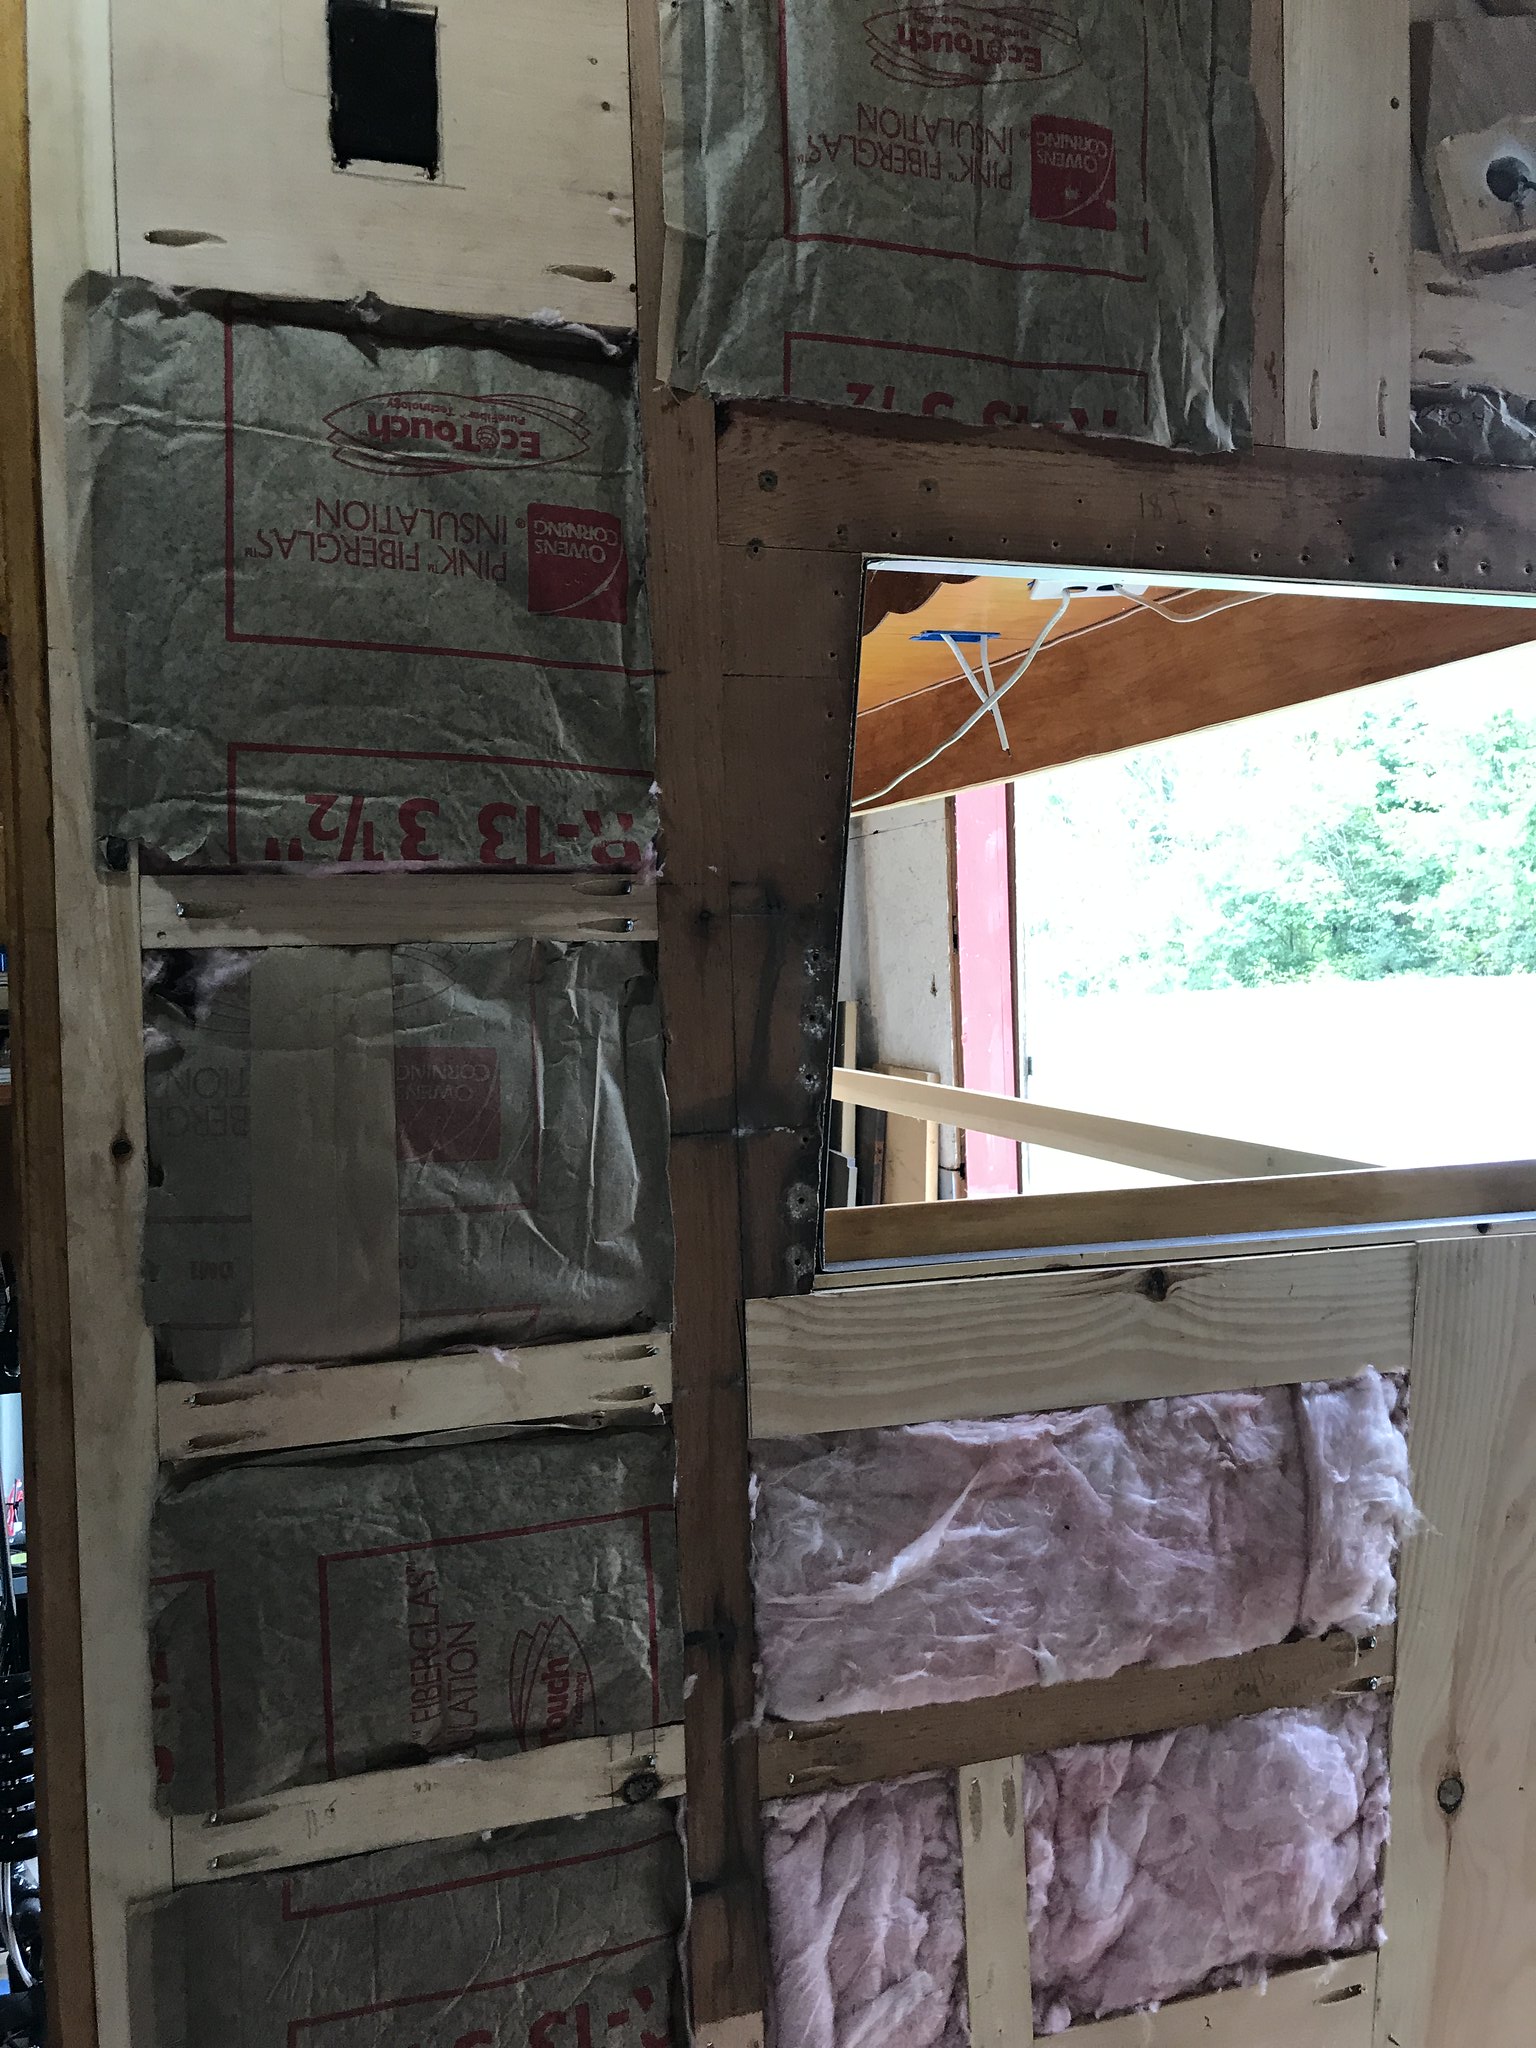
I started insulating my walls- I have a bunch of insulation left over from the barn roof I did, so I am using that vs rigid board for now. Due to its thickness, I am peeling it apart into 2 pieces and using that. Hence, why some has paper backing and some does not. When done, I will add my vapor barrier.
 IMG_4423 by kathy, on Flickr
 IMG_4422 by kathy, on Flickr
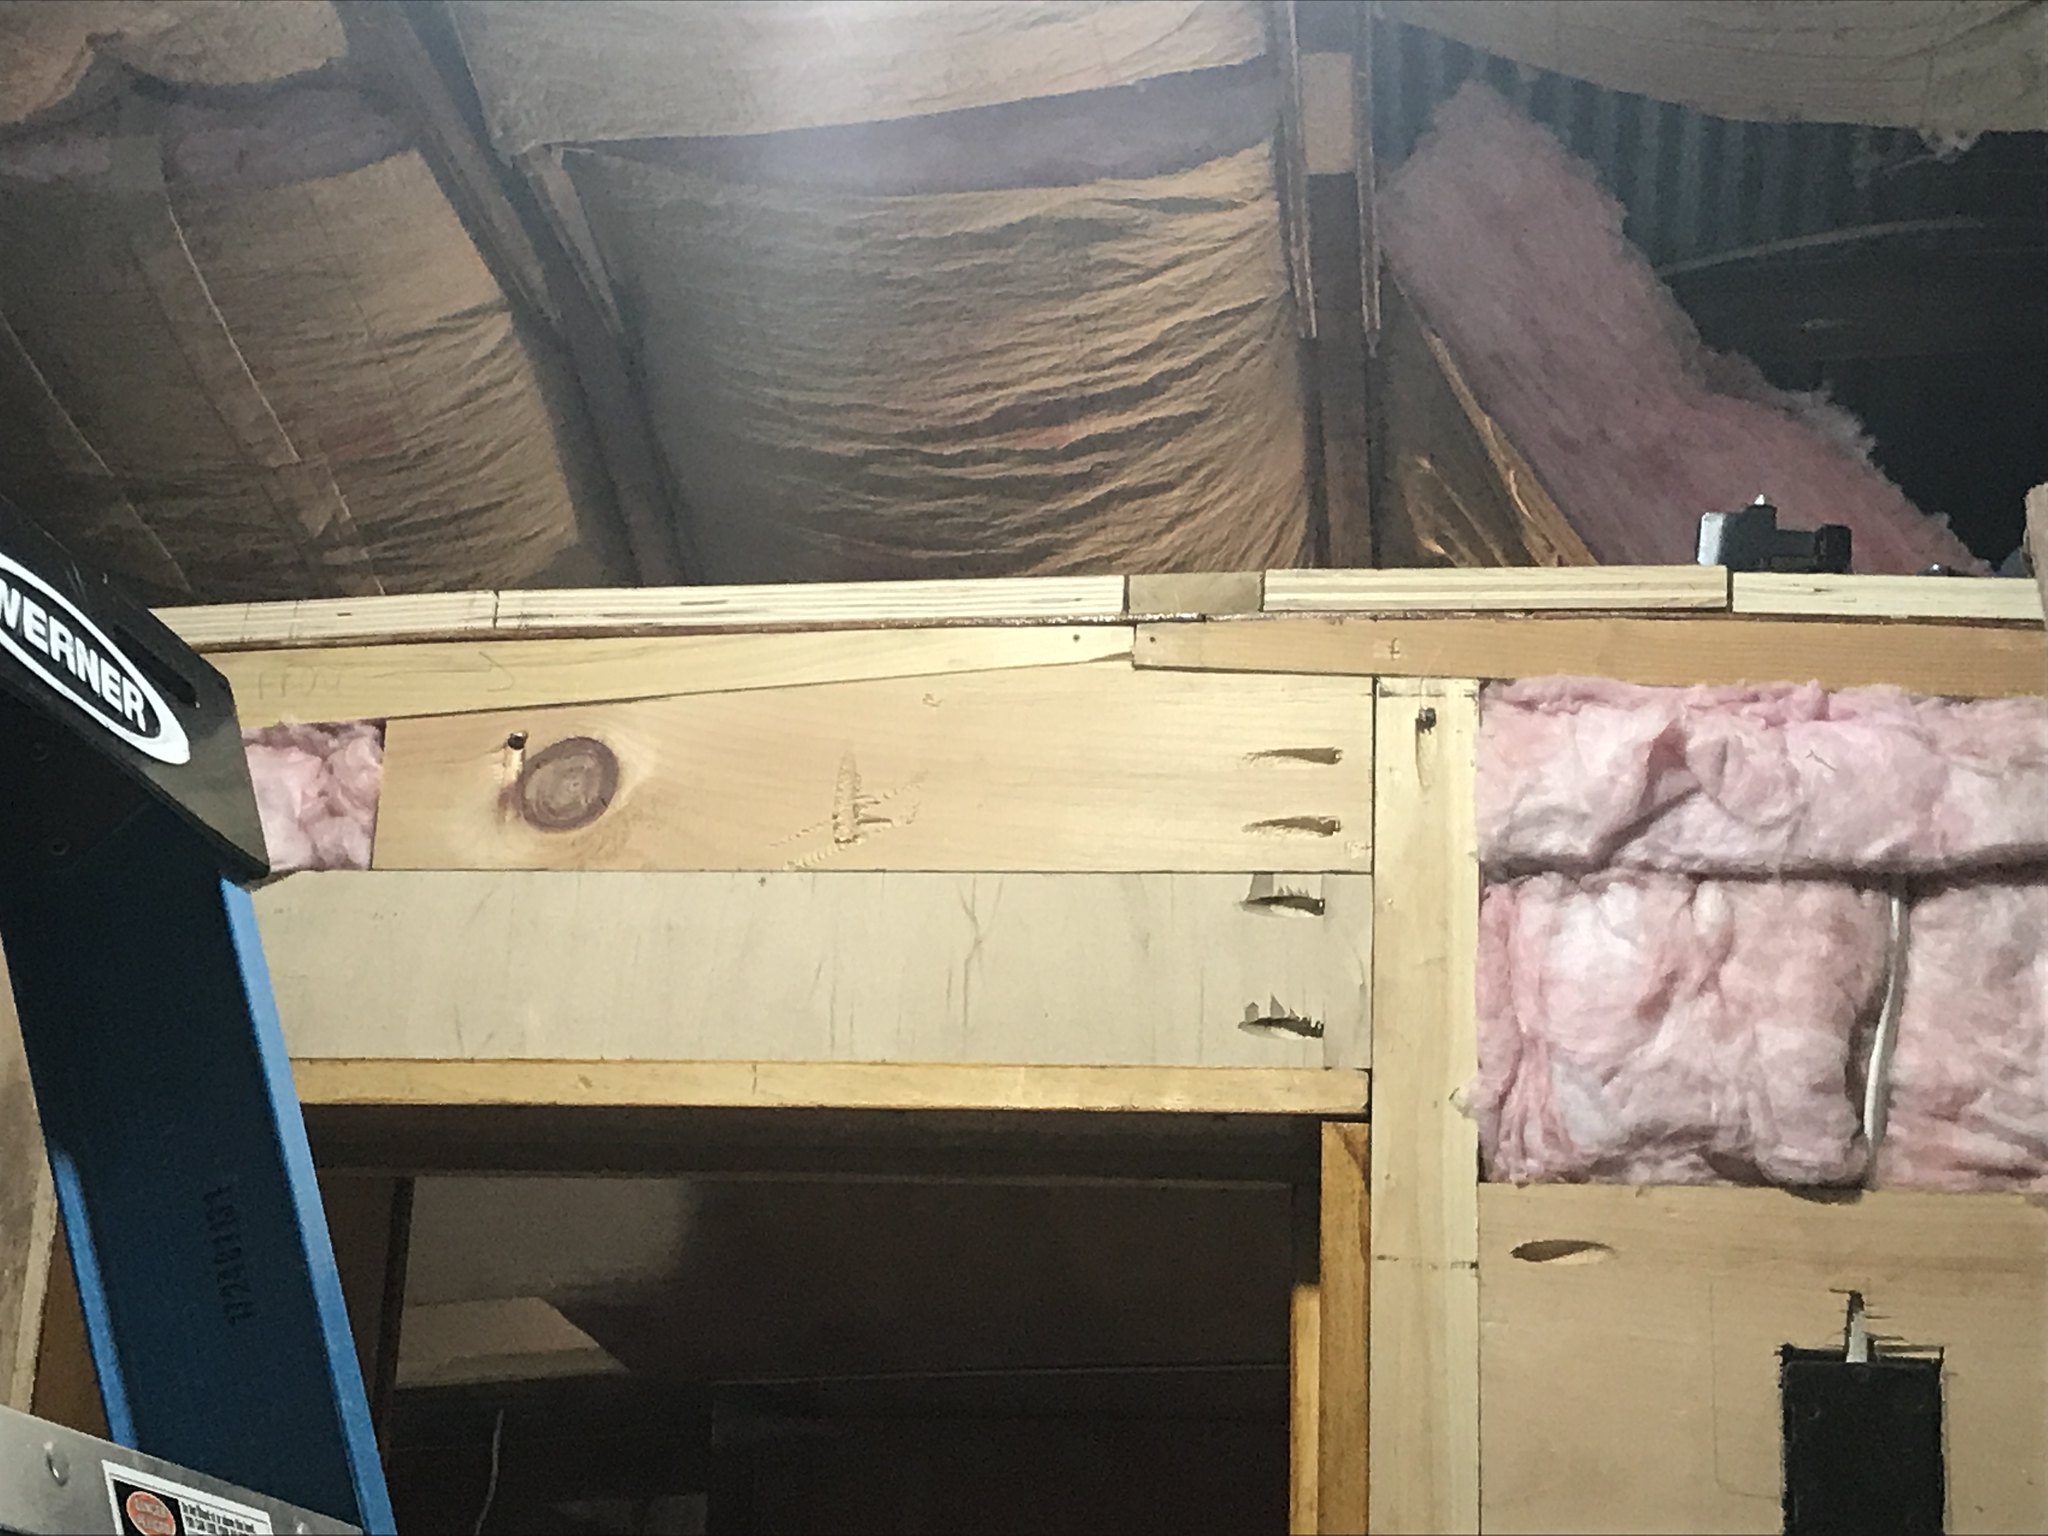
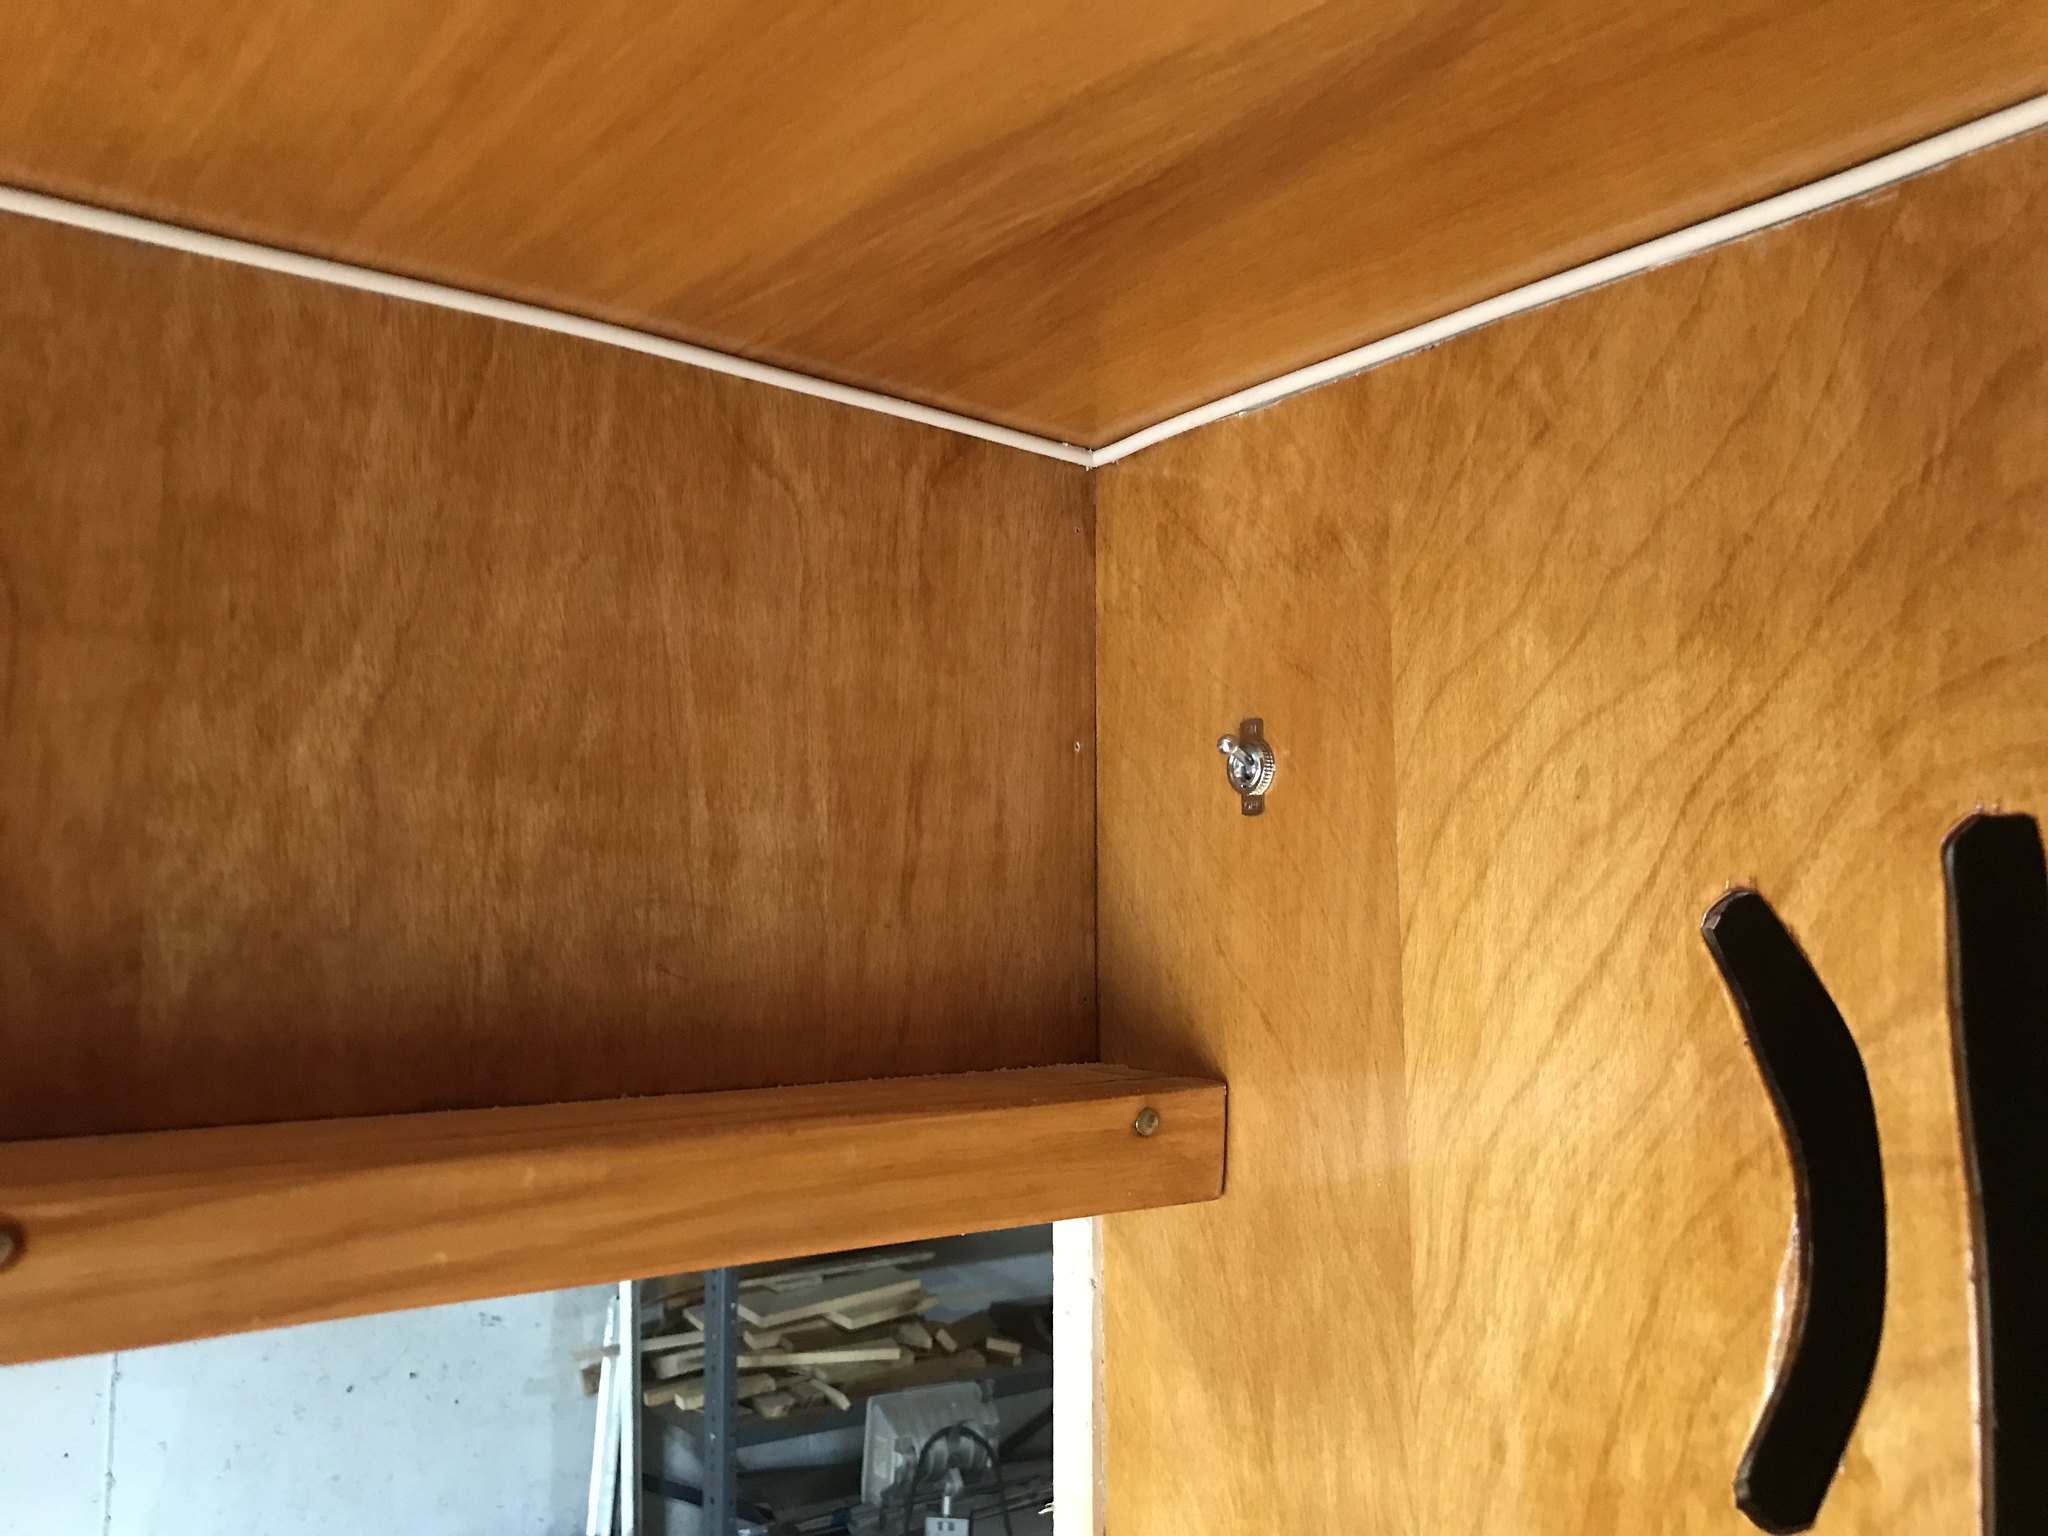
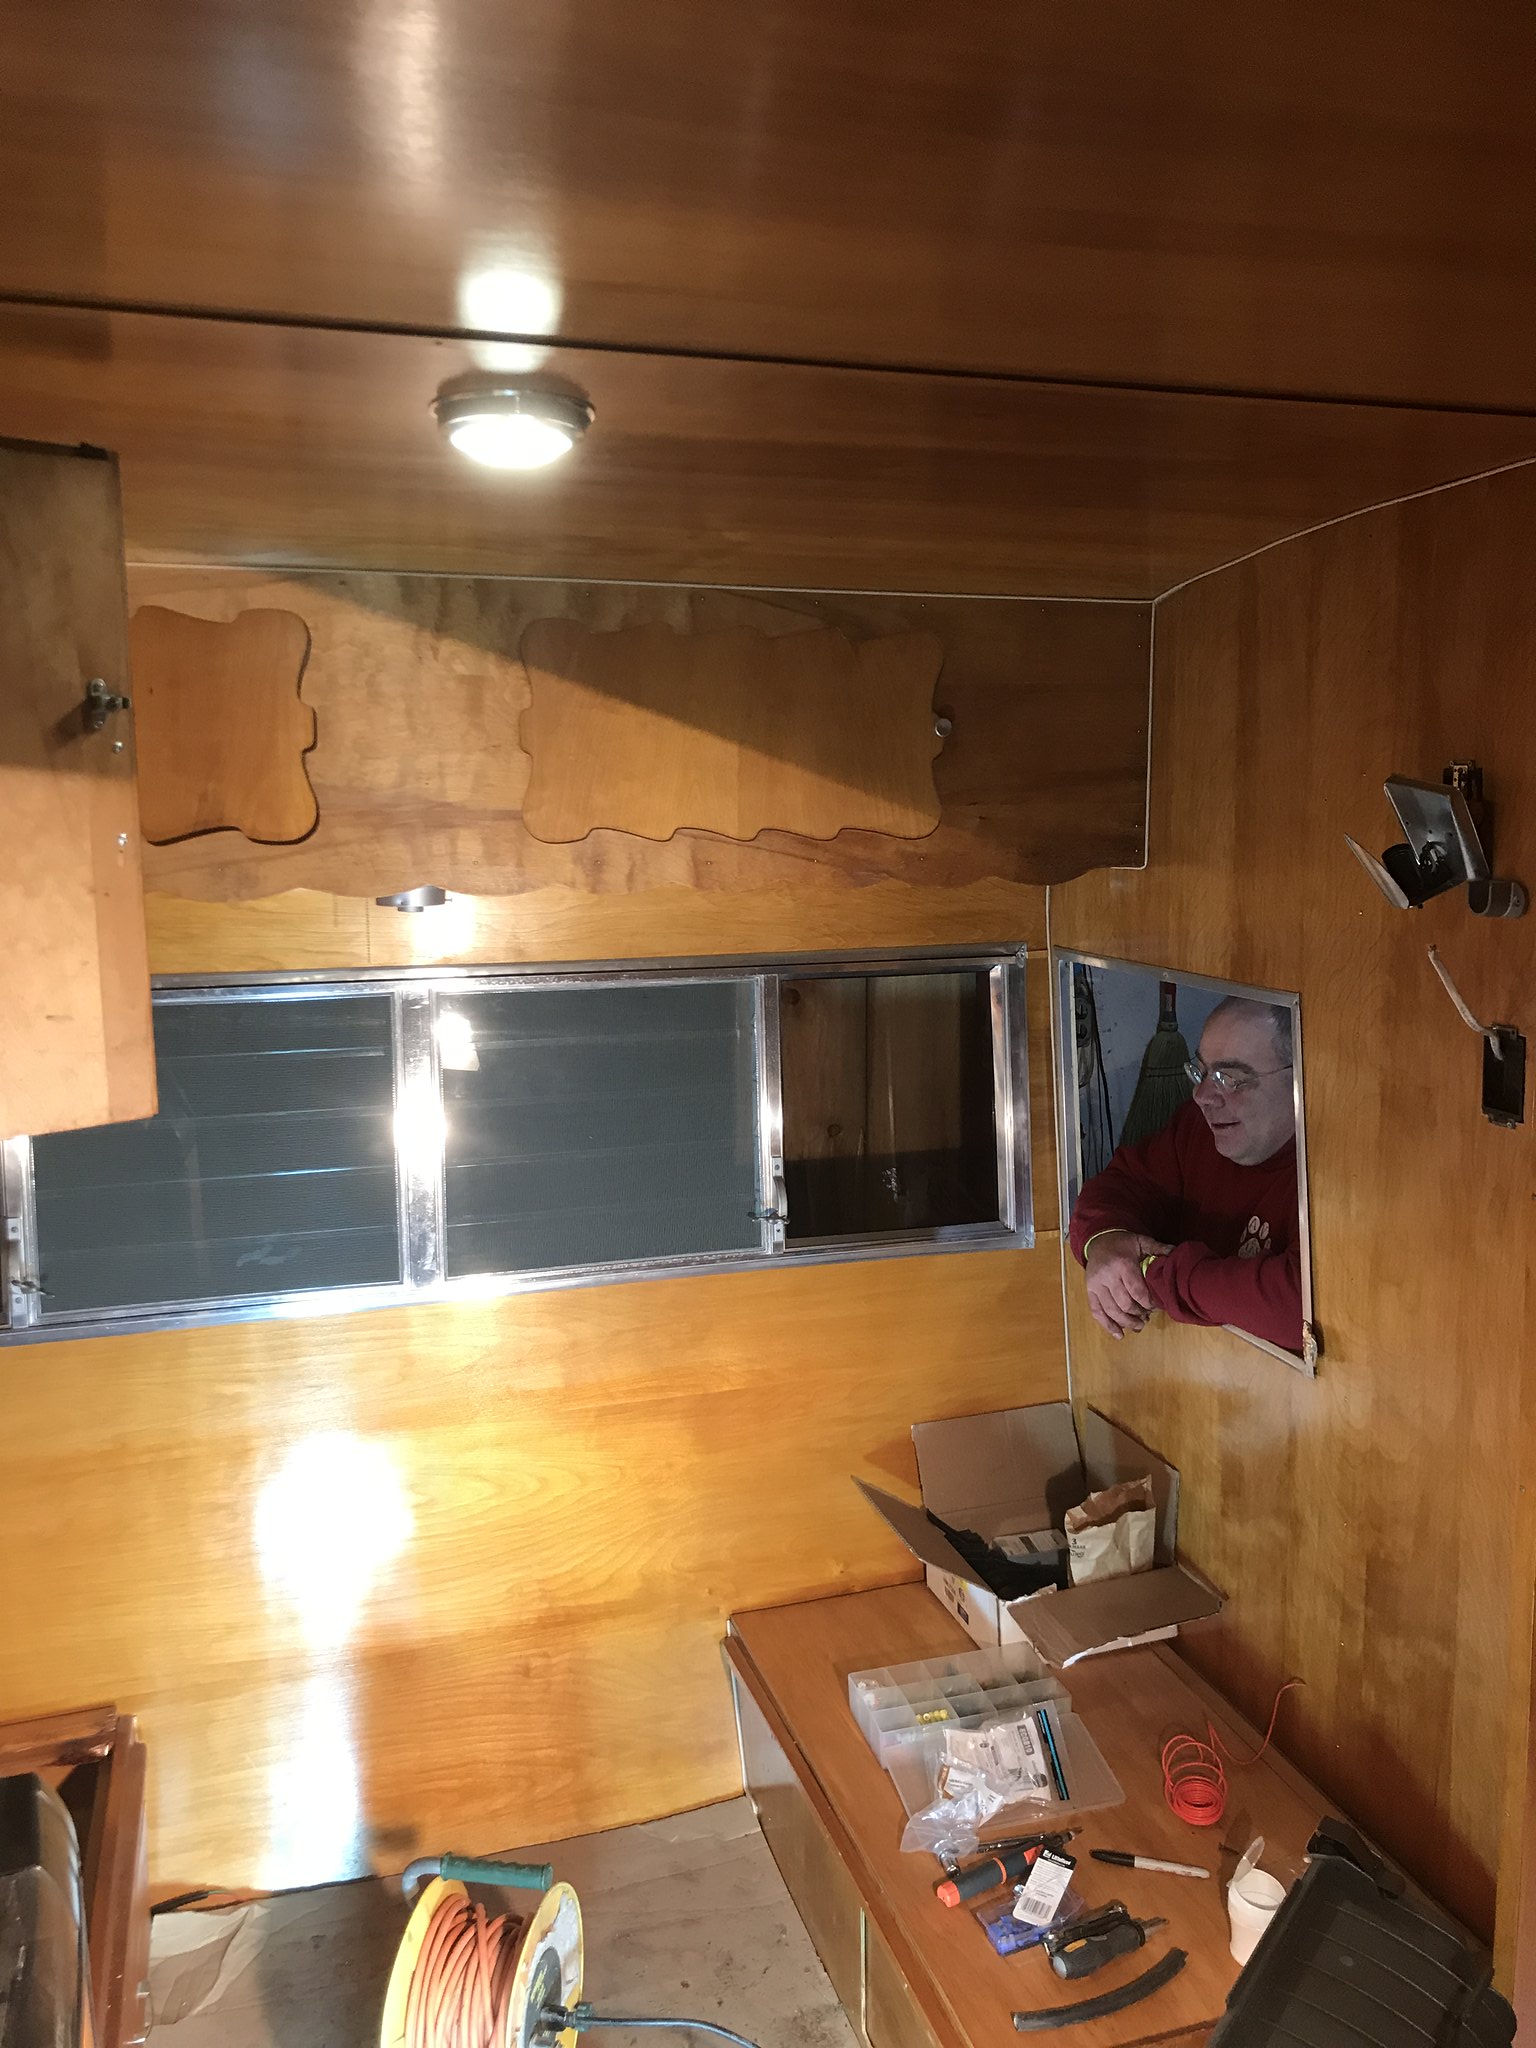
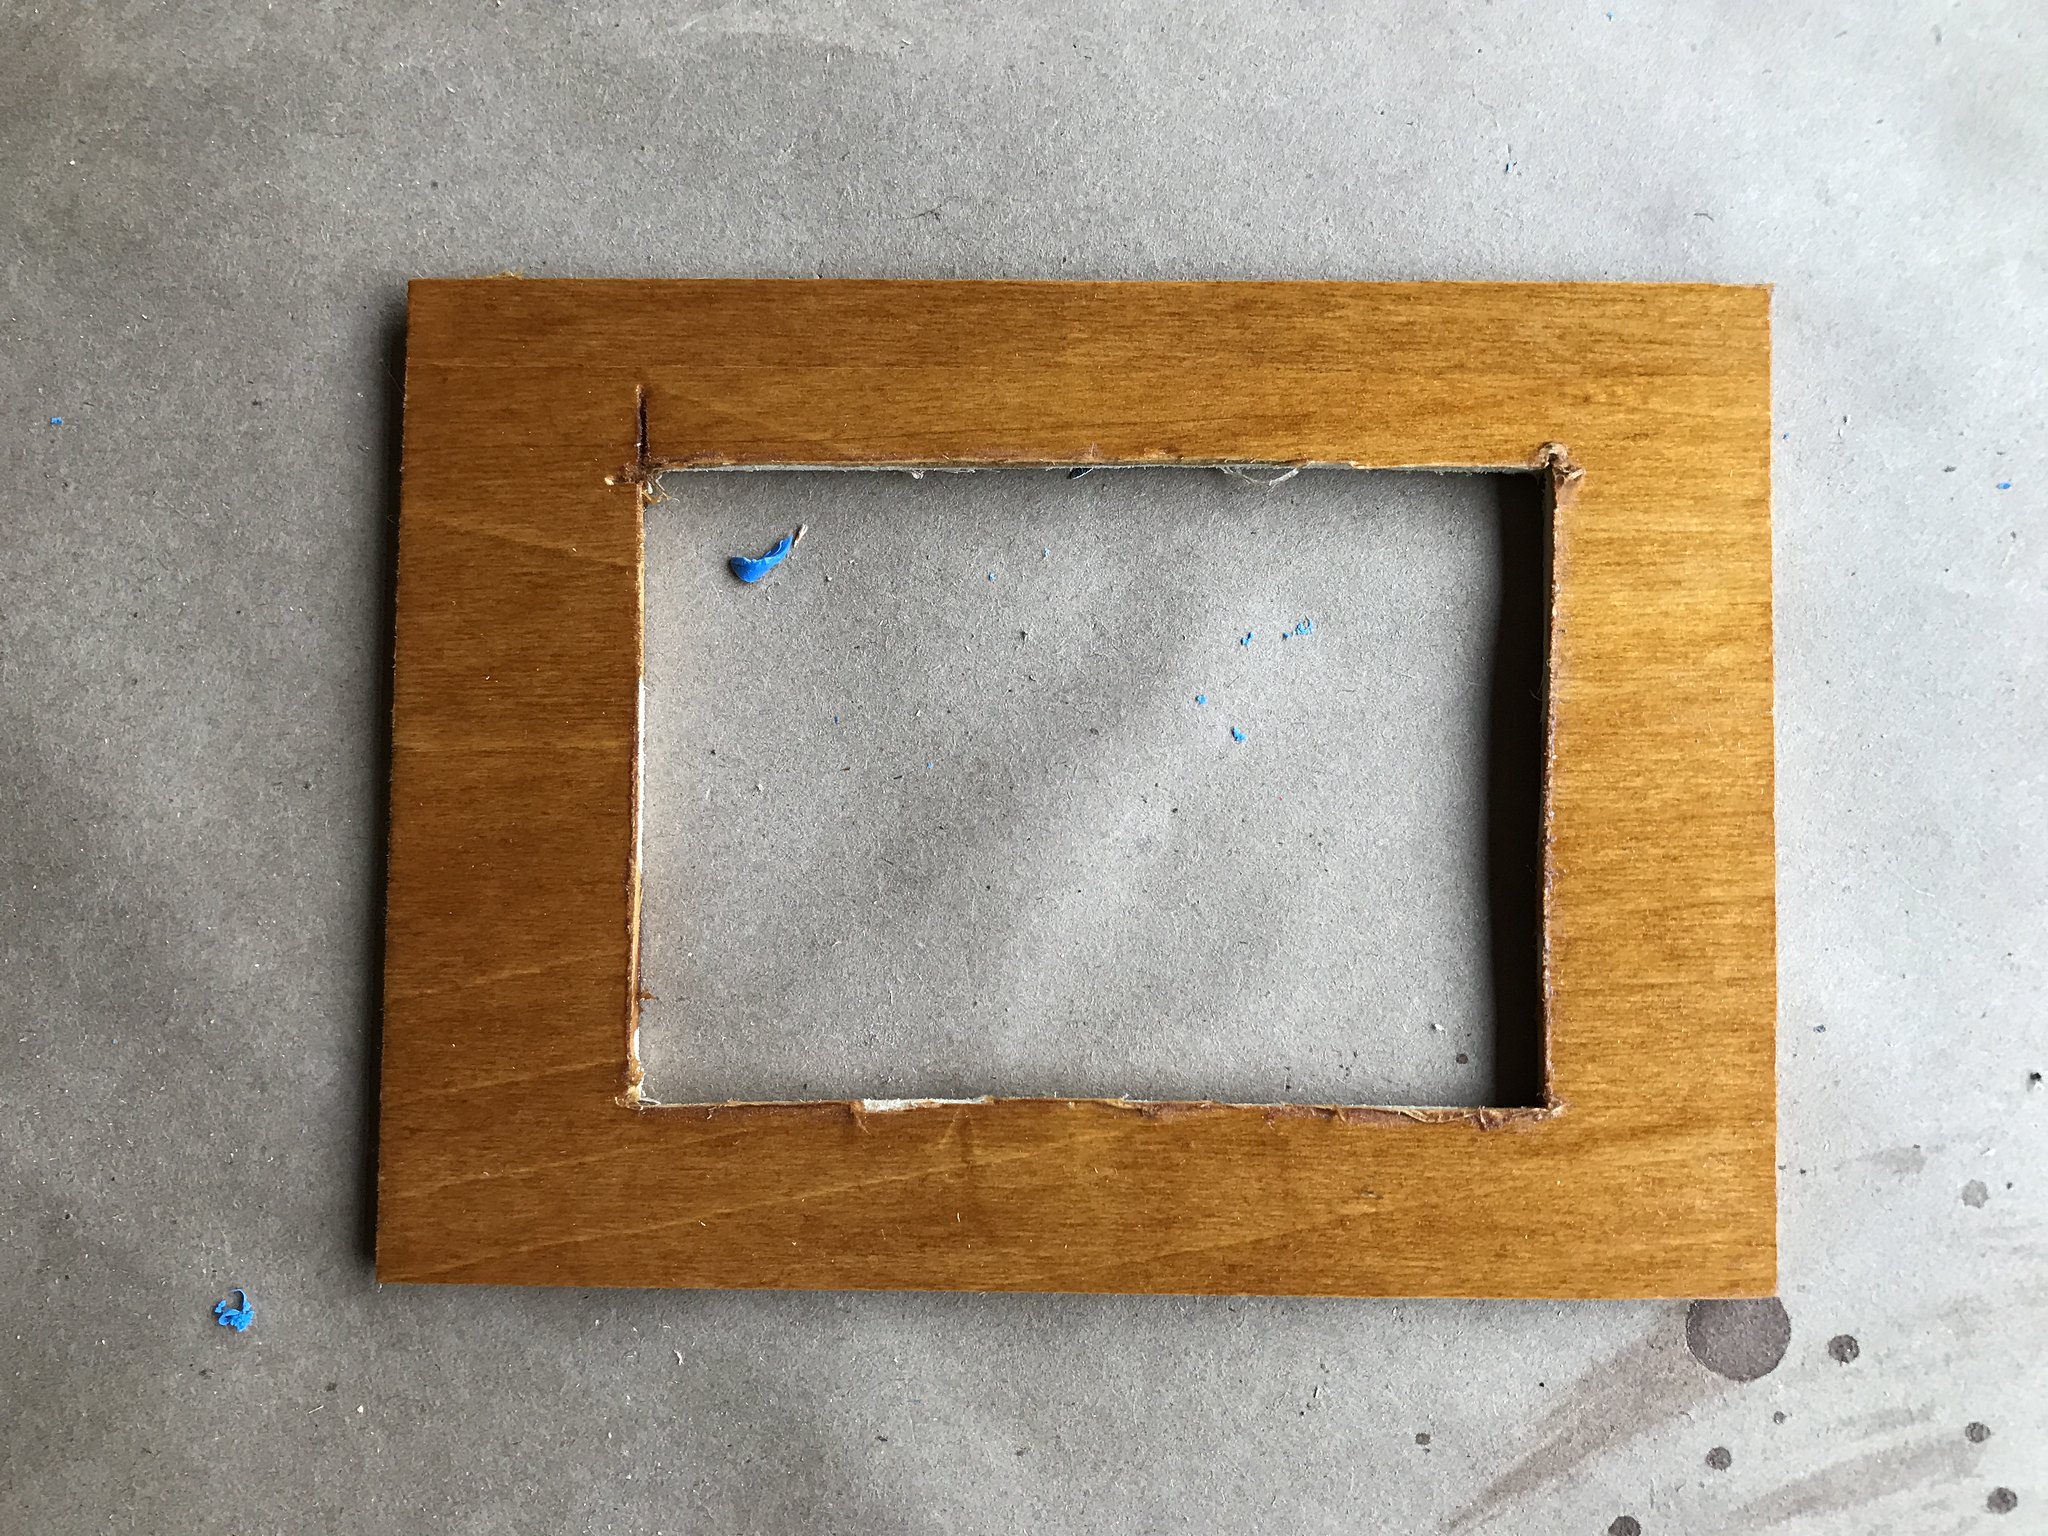
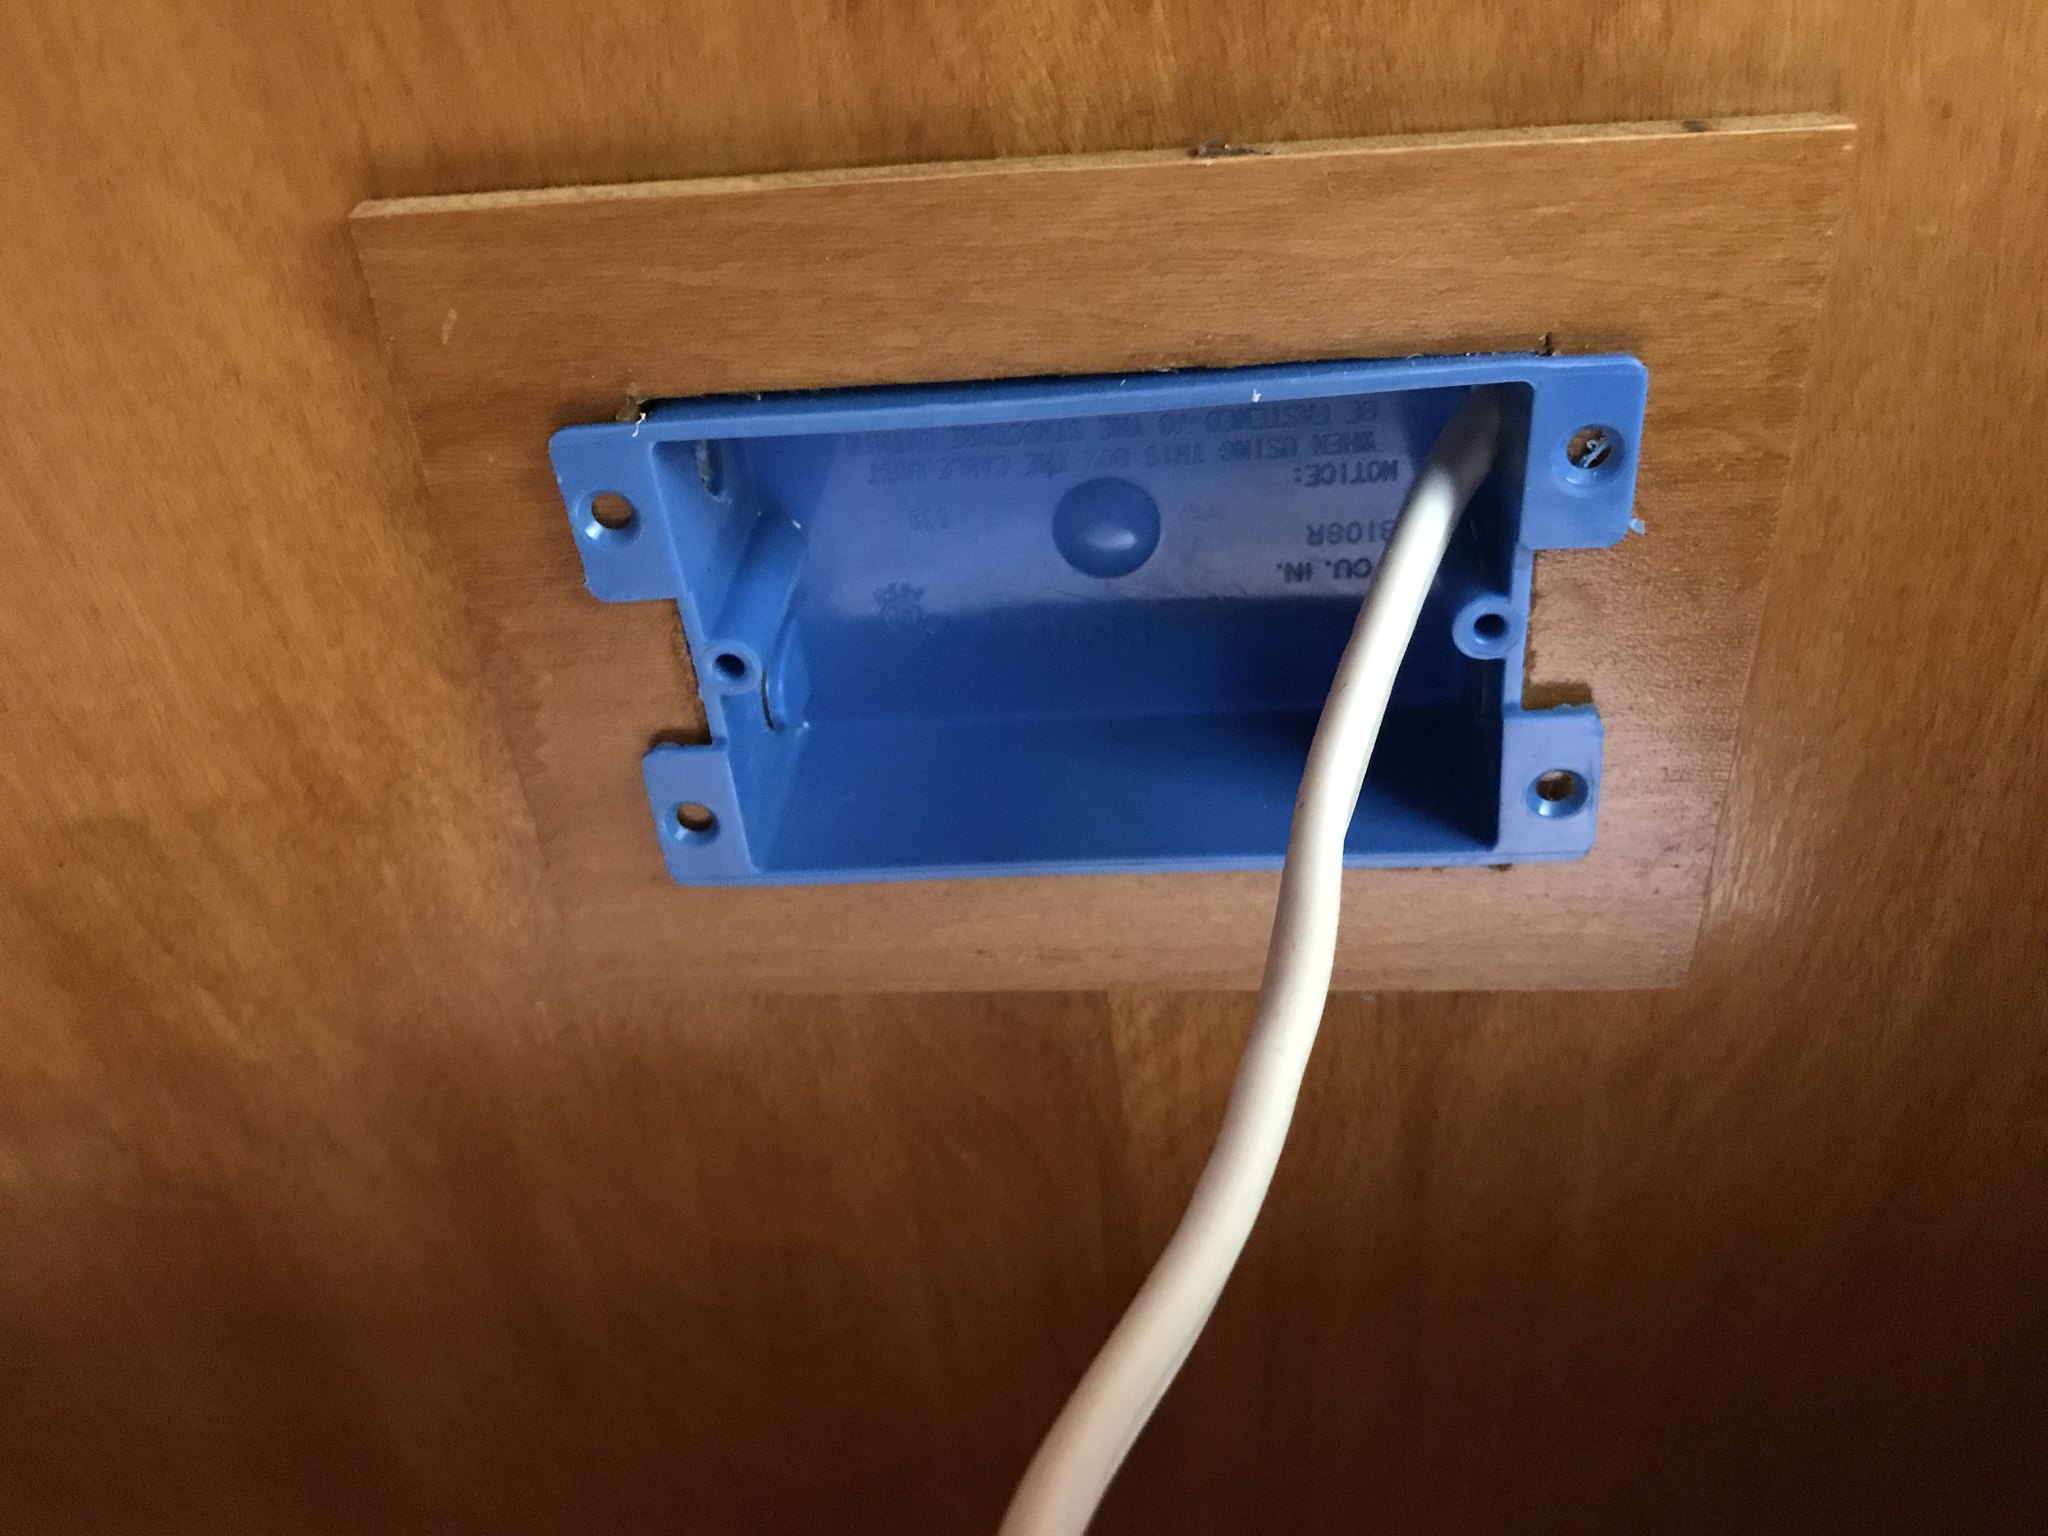
I am adding some new electric outlets- and wanted a few on the kitchen wall vs in a cabinet. The new outlet boxes I bought, even though labeled 'shallow', are 1/4" too deep- and stick out too far. To alleviate that- I made frames for my boxes out of 1/4" scrap I had around, and now the boxes sit flush with the outside framing. This will alleviate any issues with the skins when I get them back on.
 IMG_4426 by kathy, on Flickr
 IMG_4428 by kathy, on Flickr
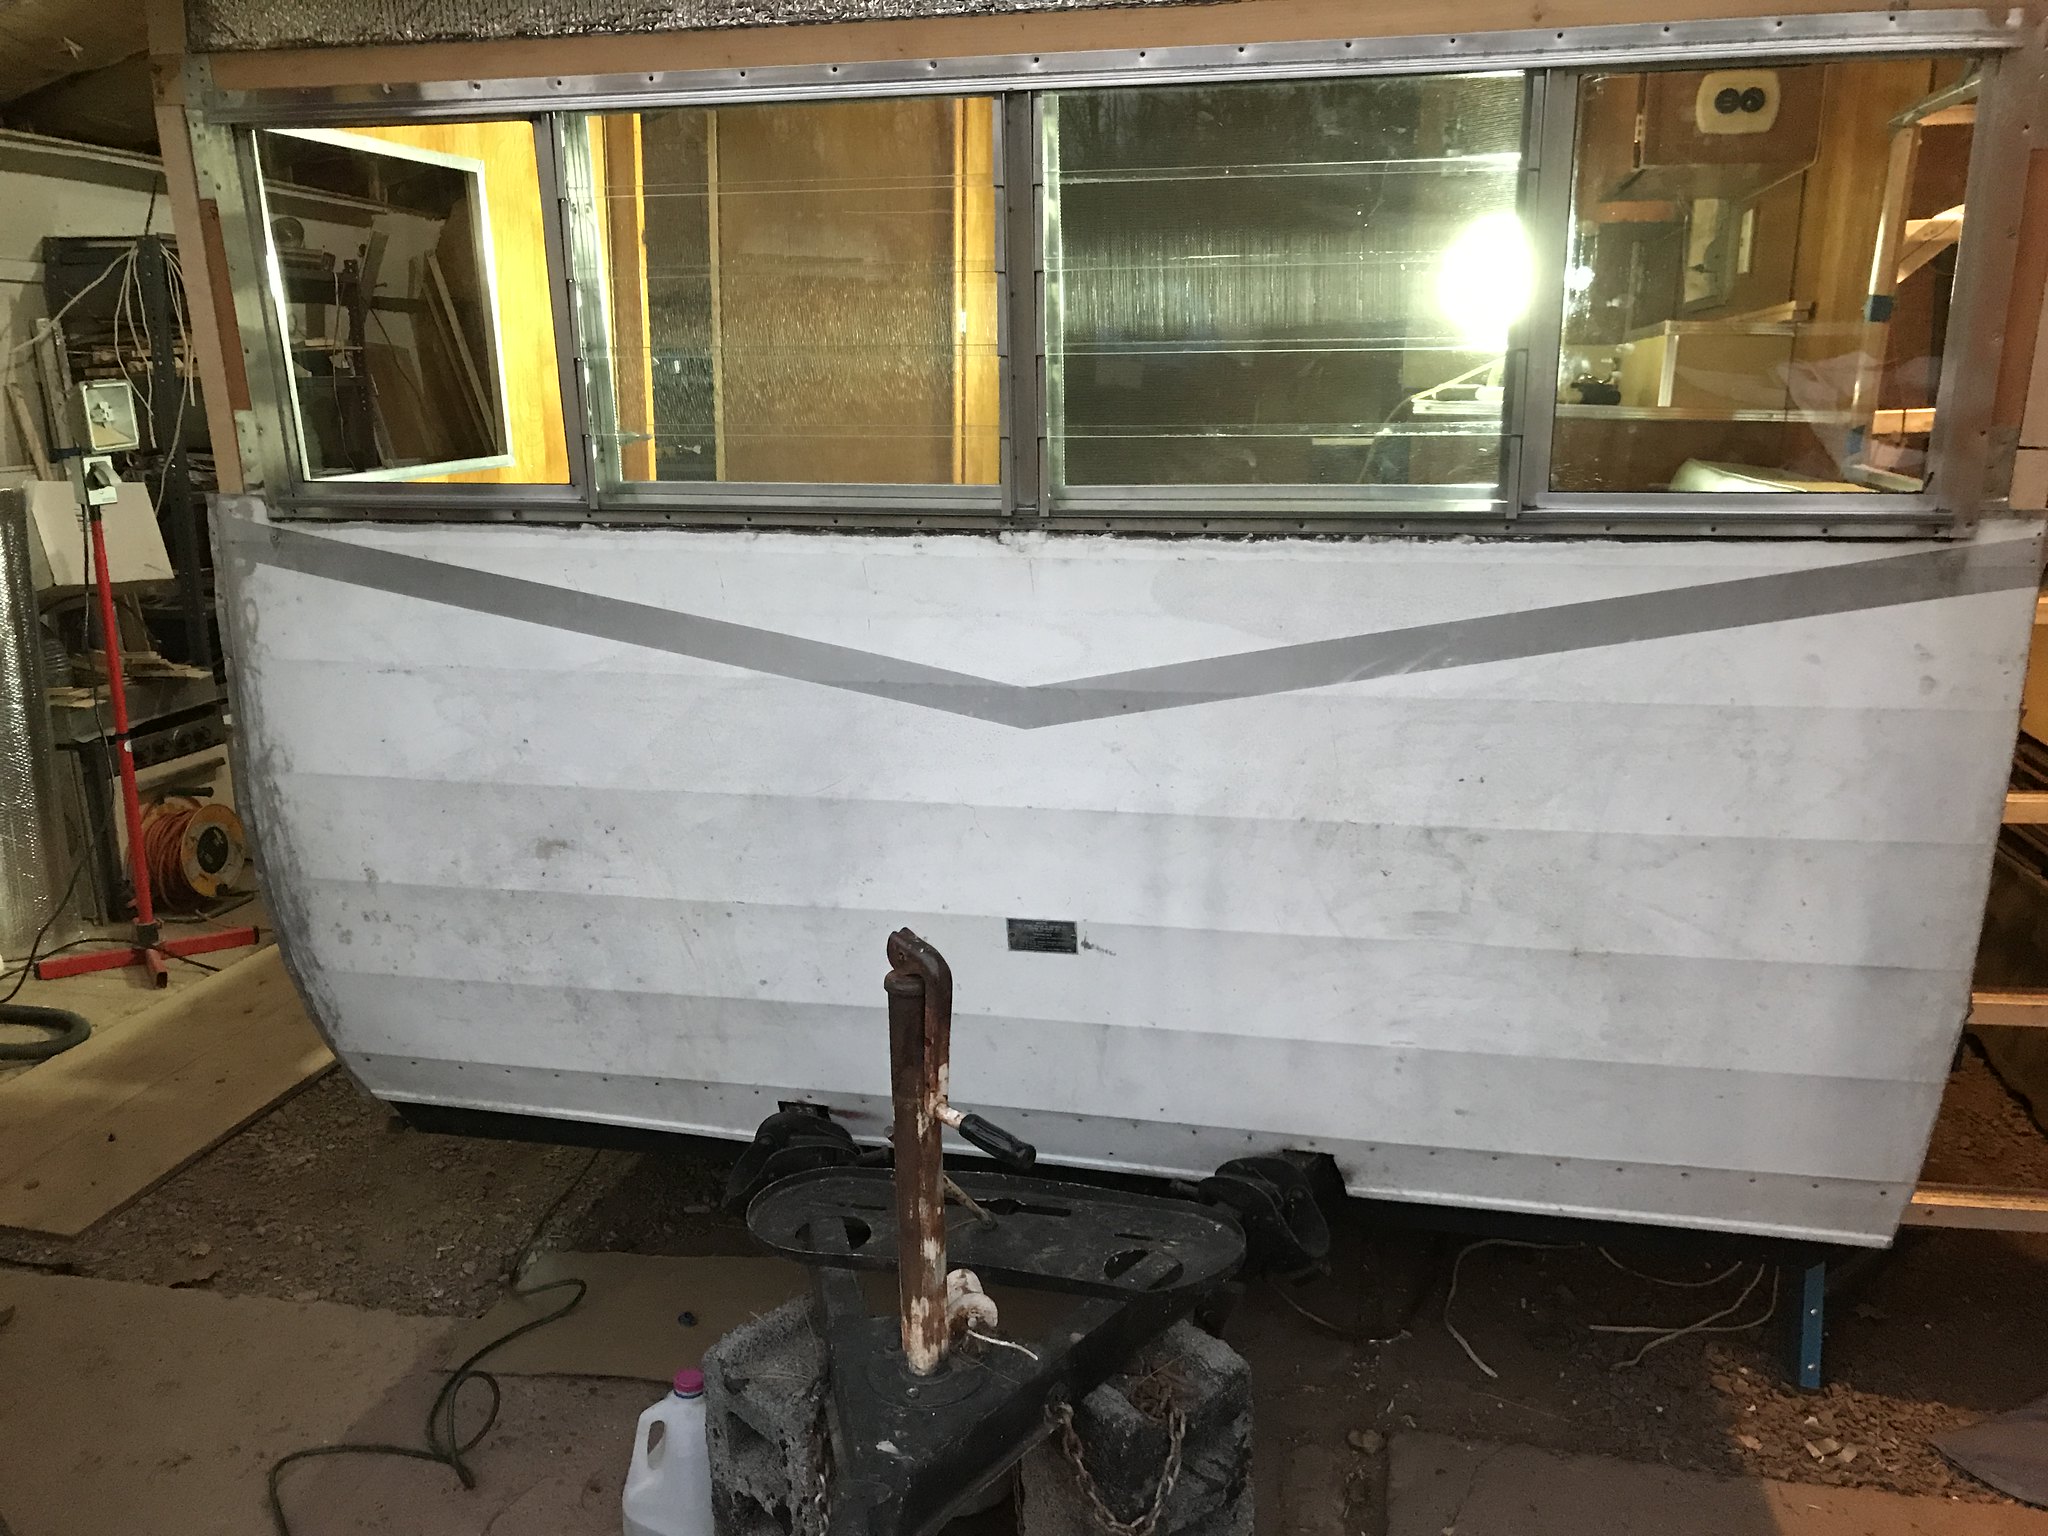
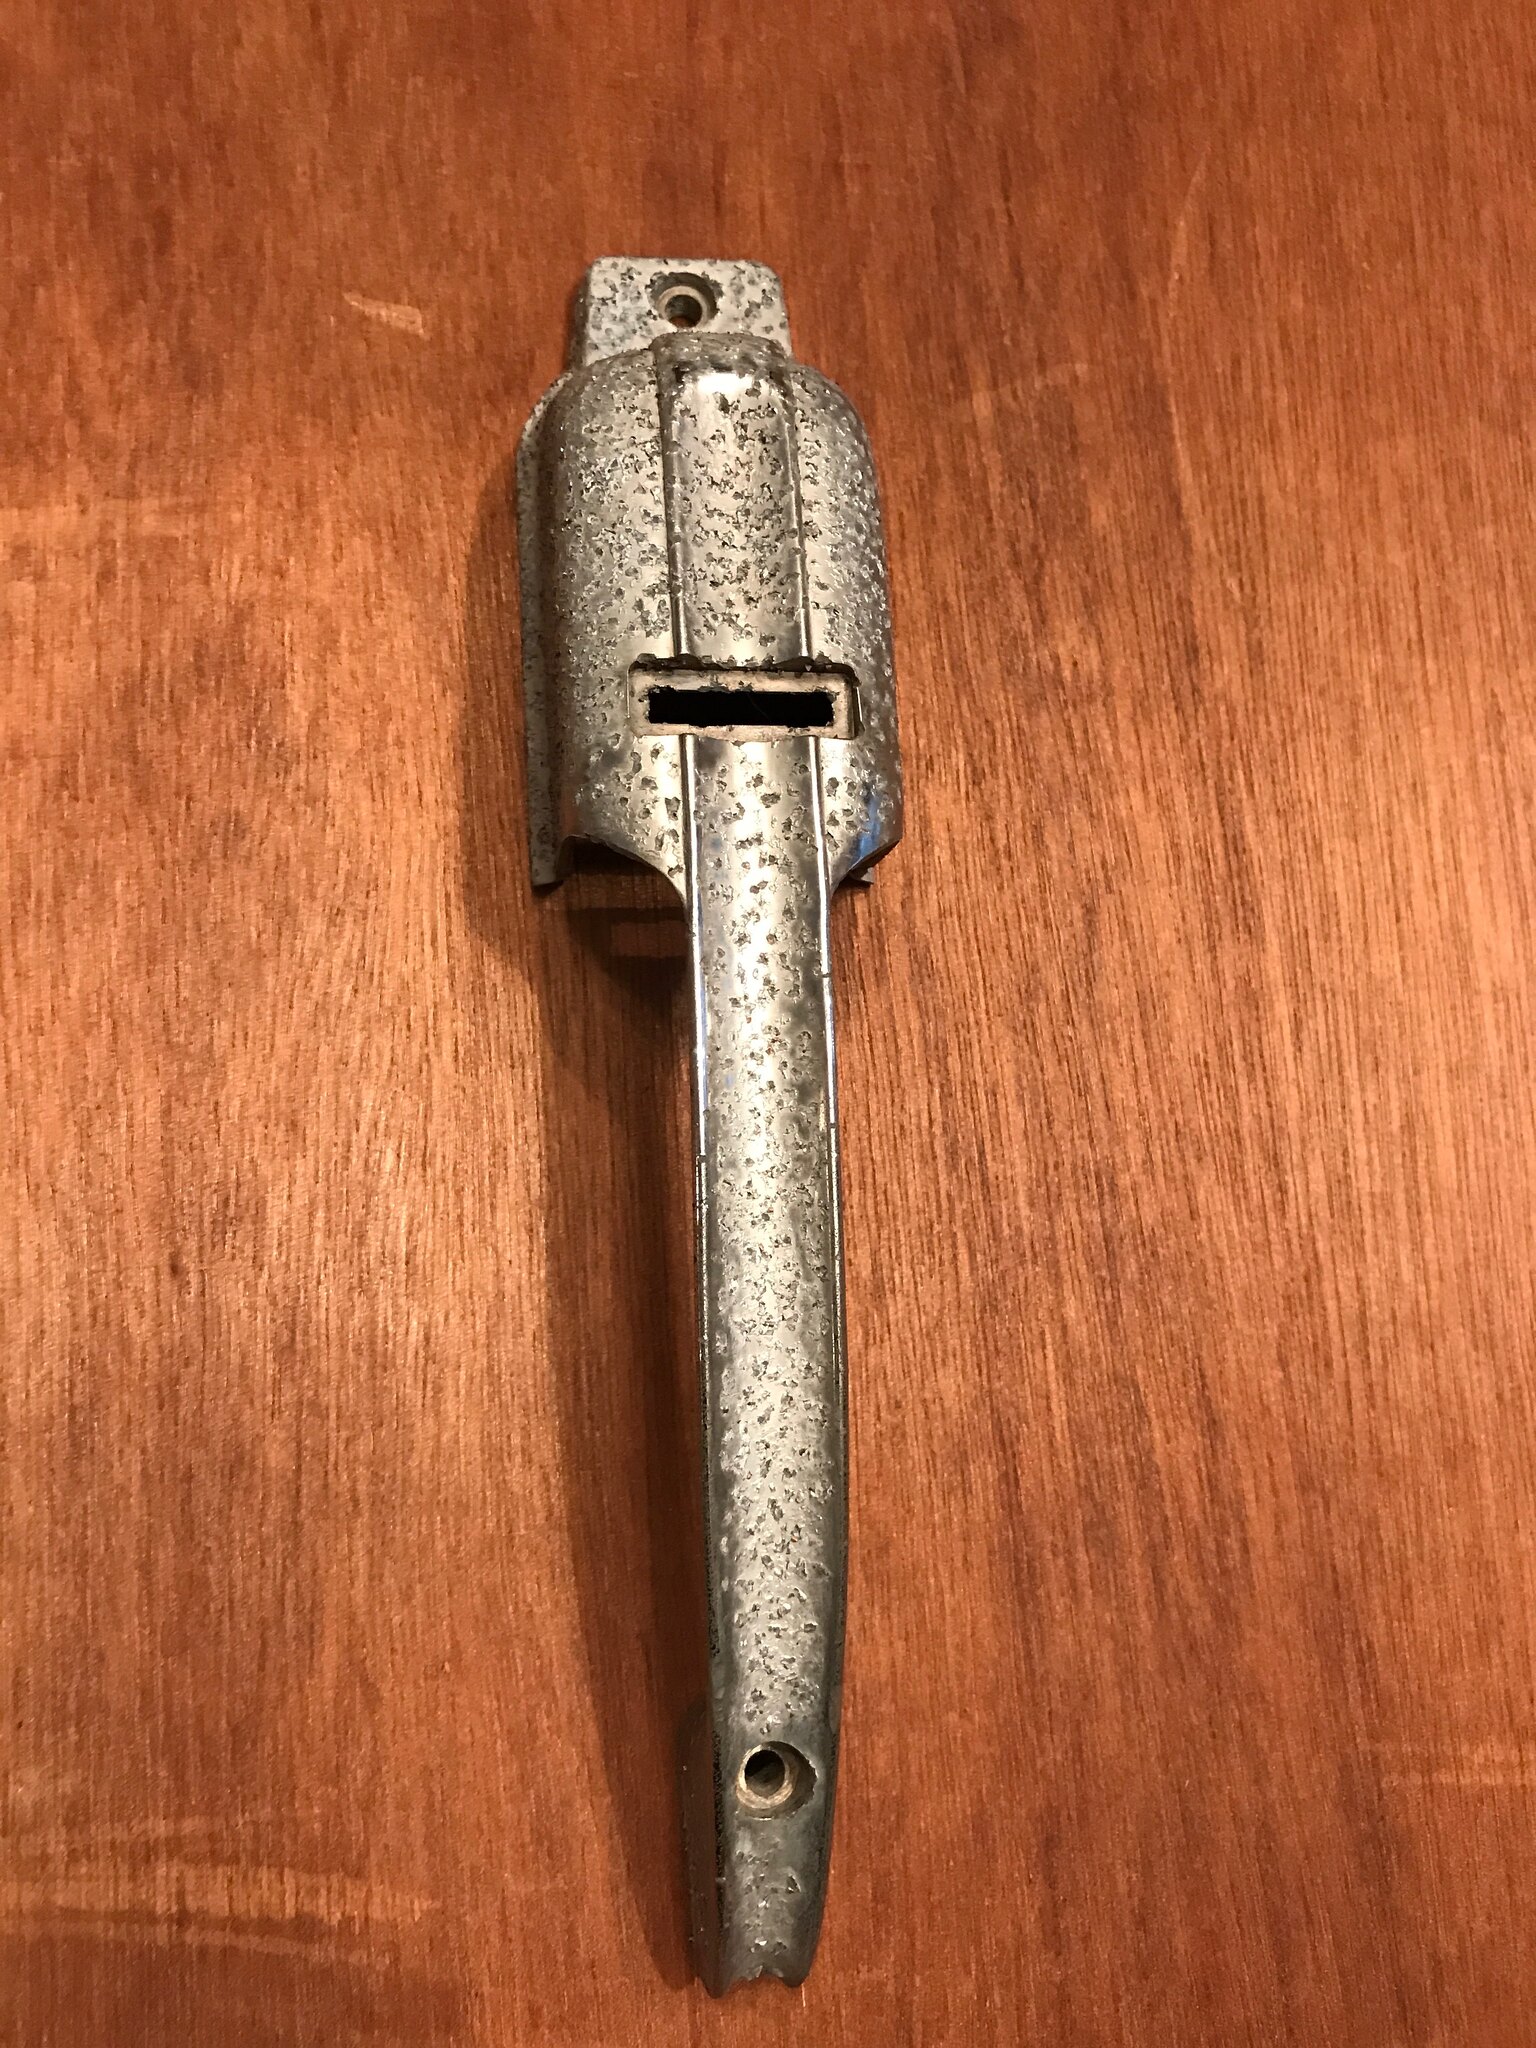
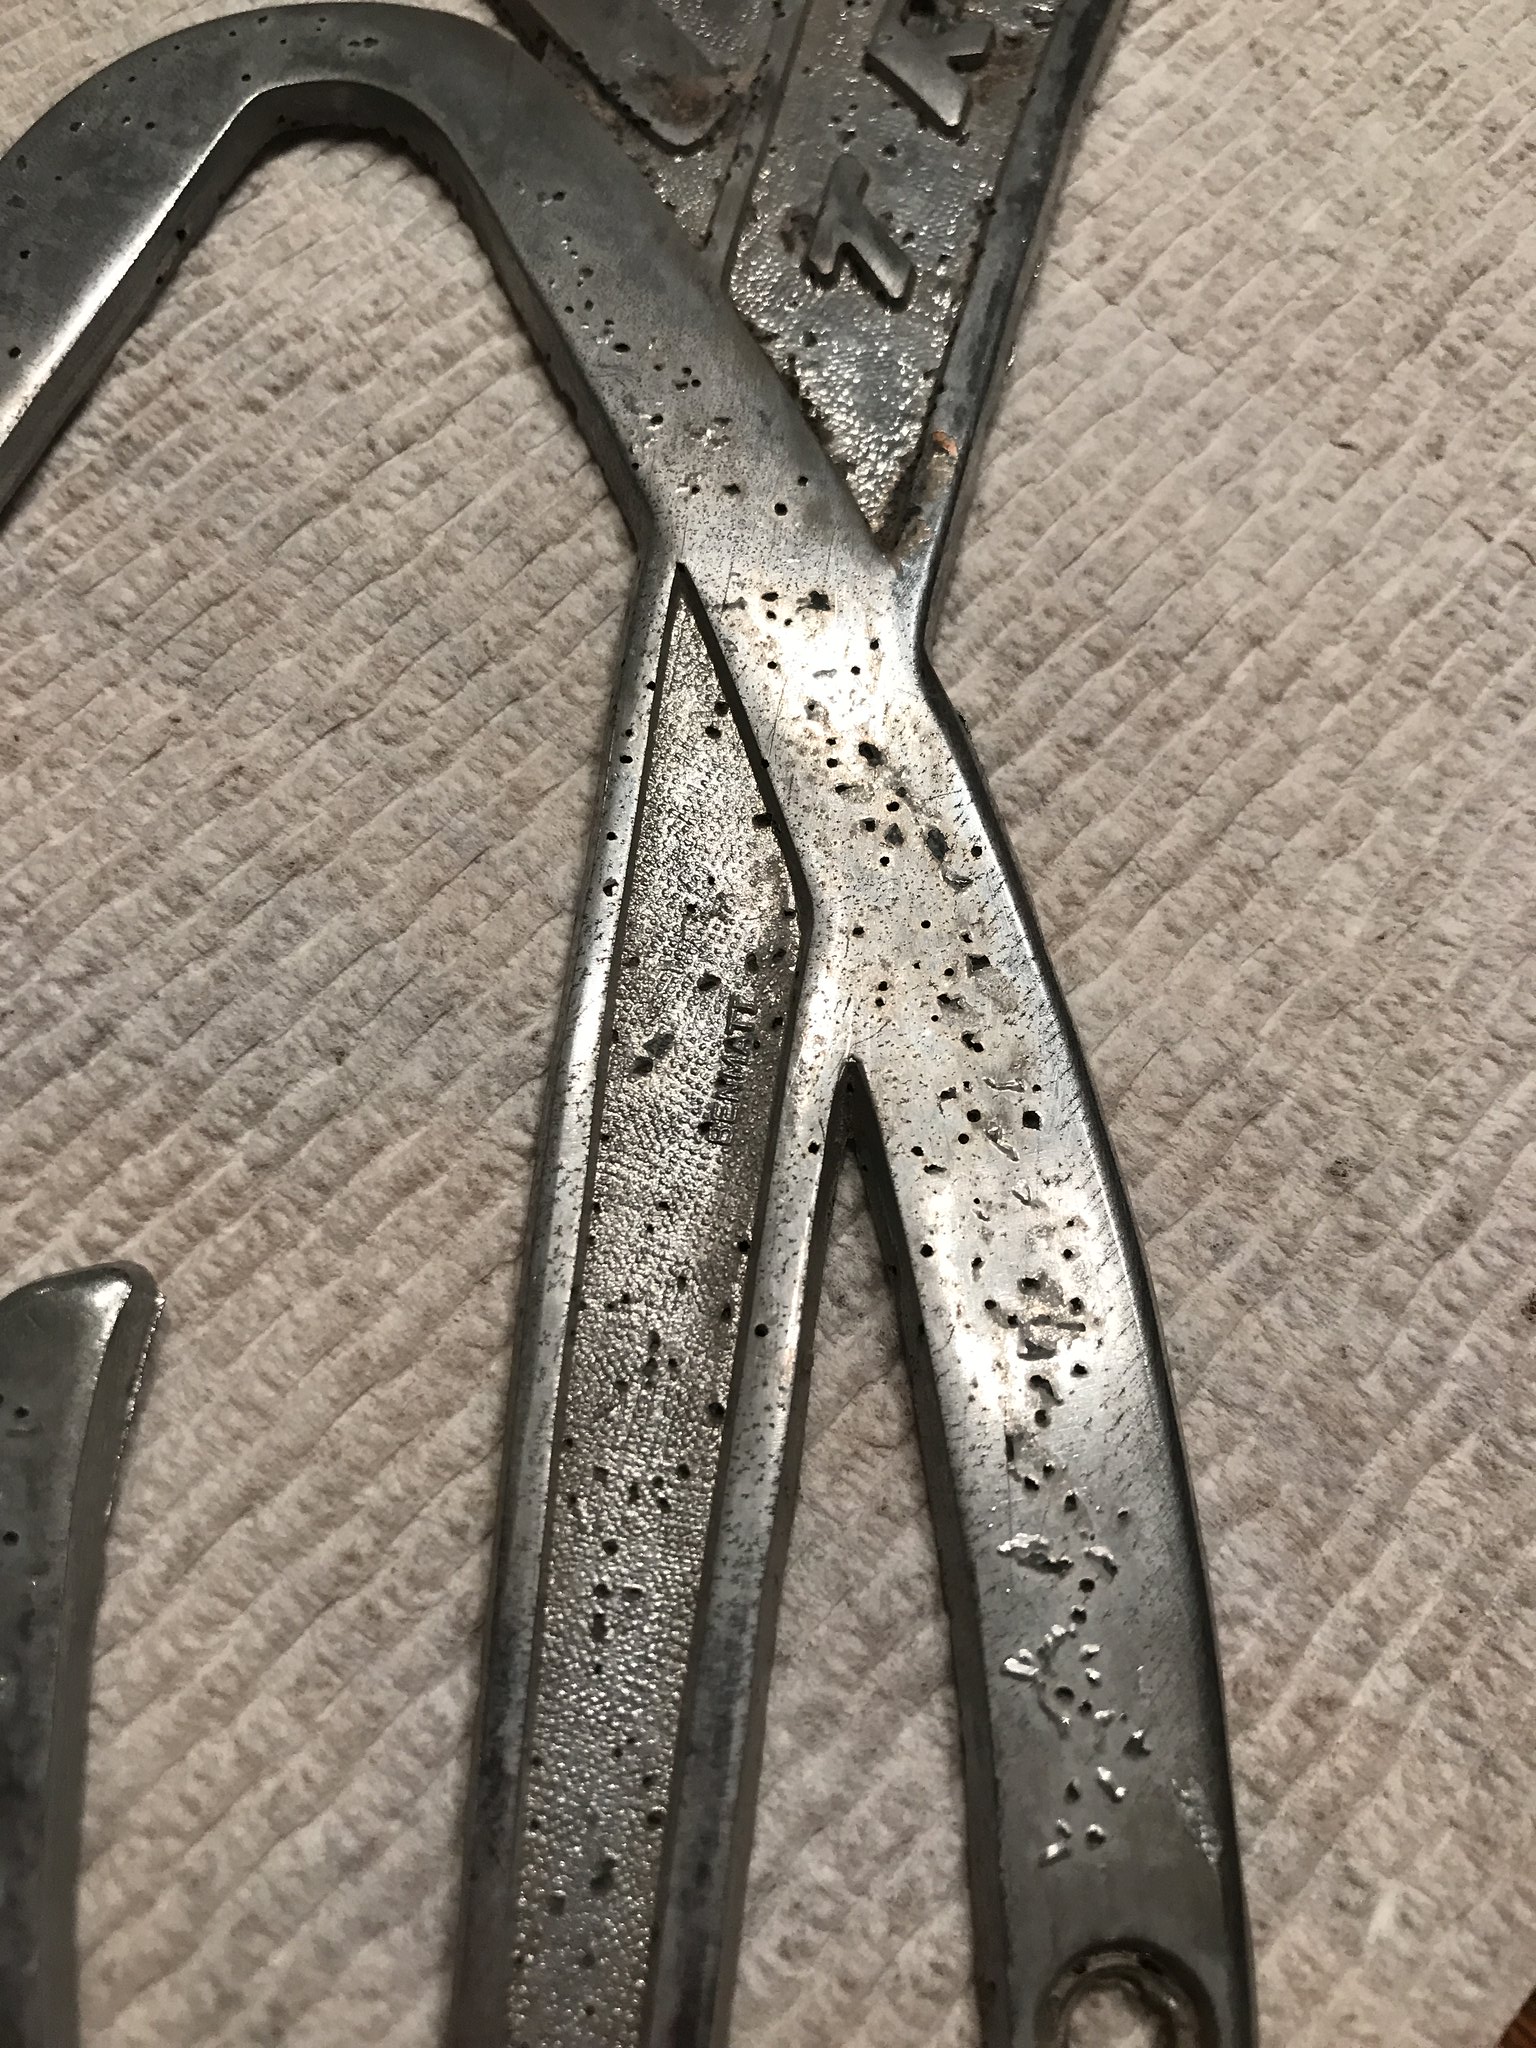
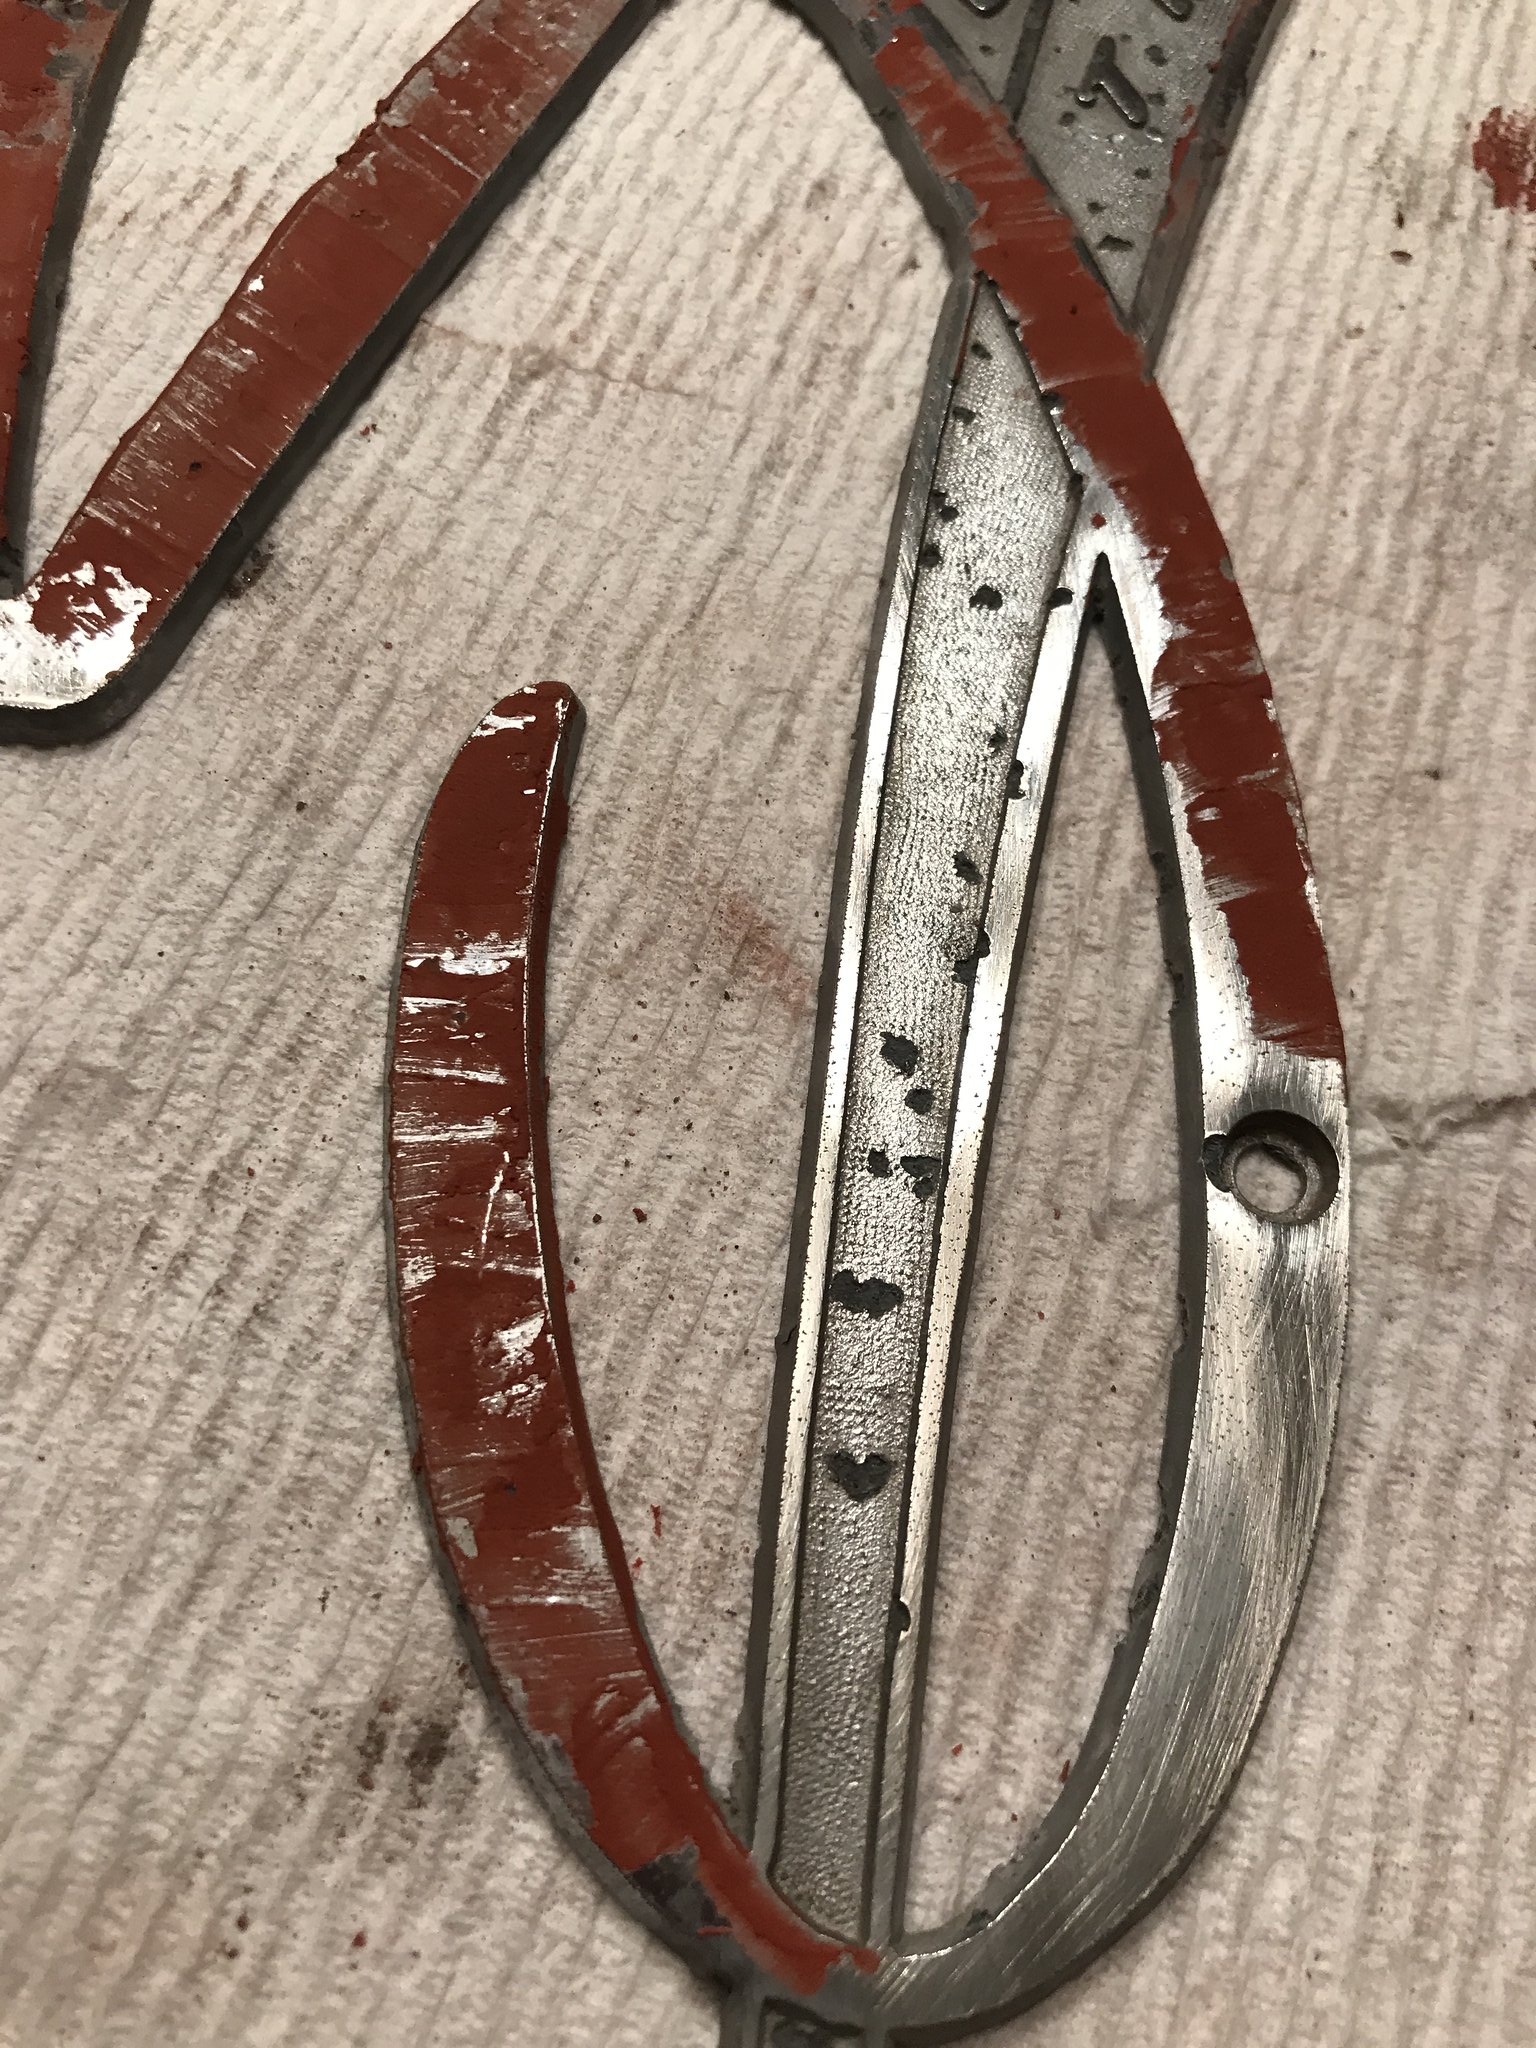
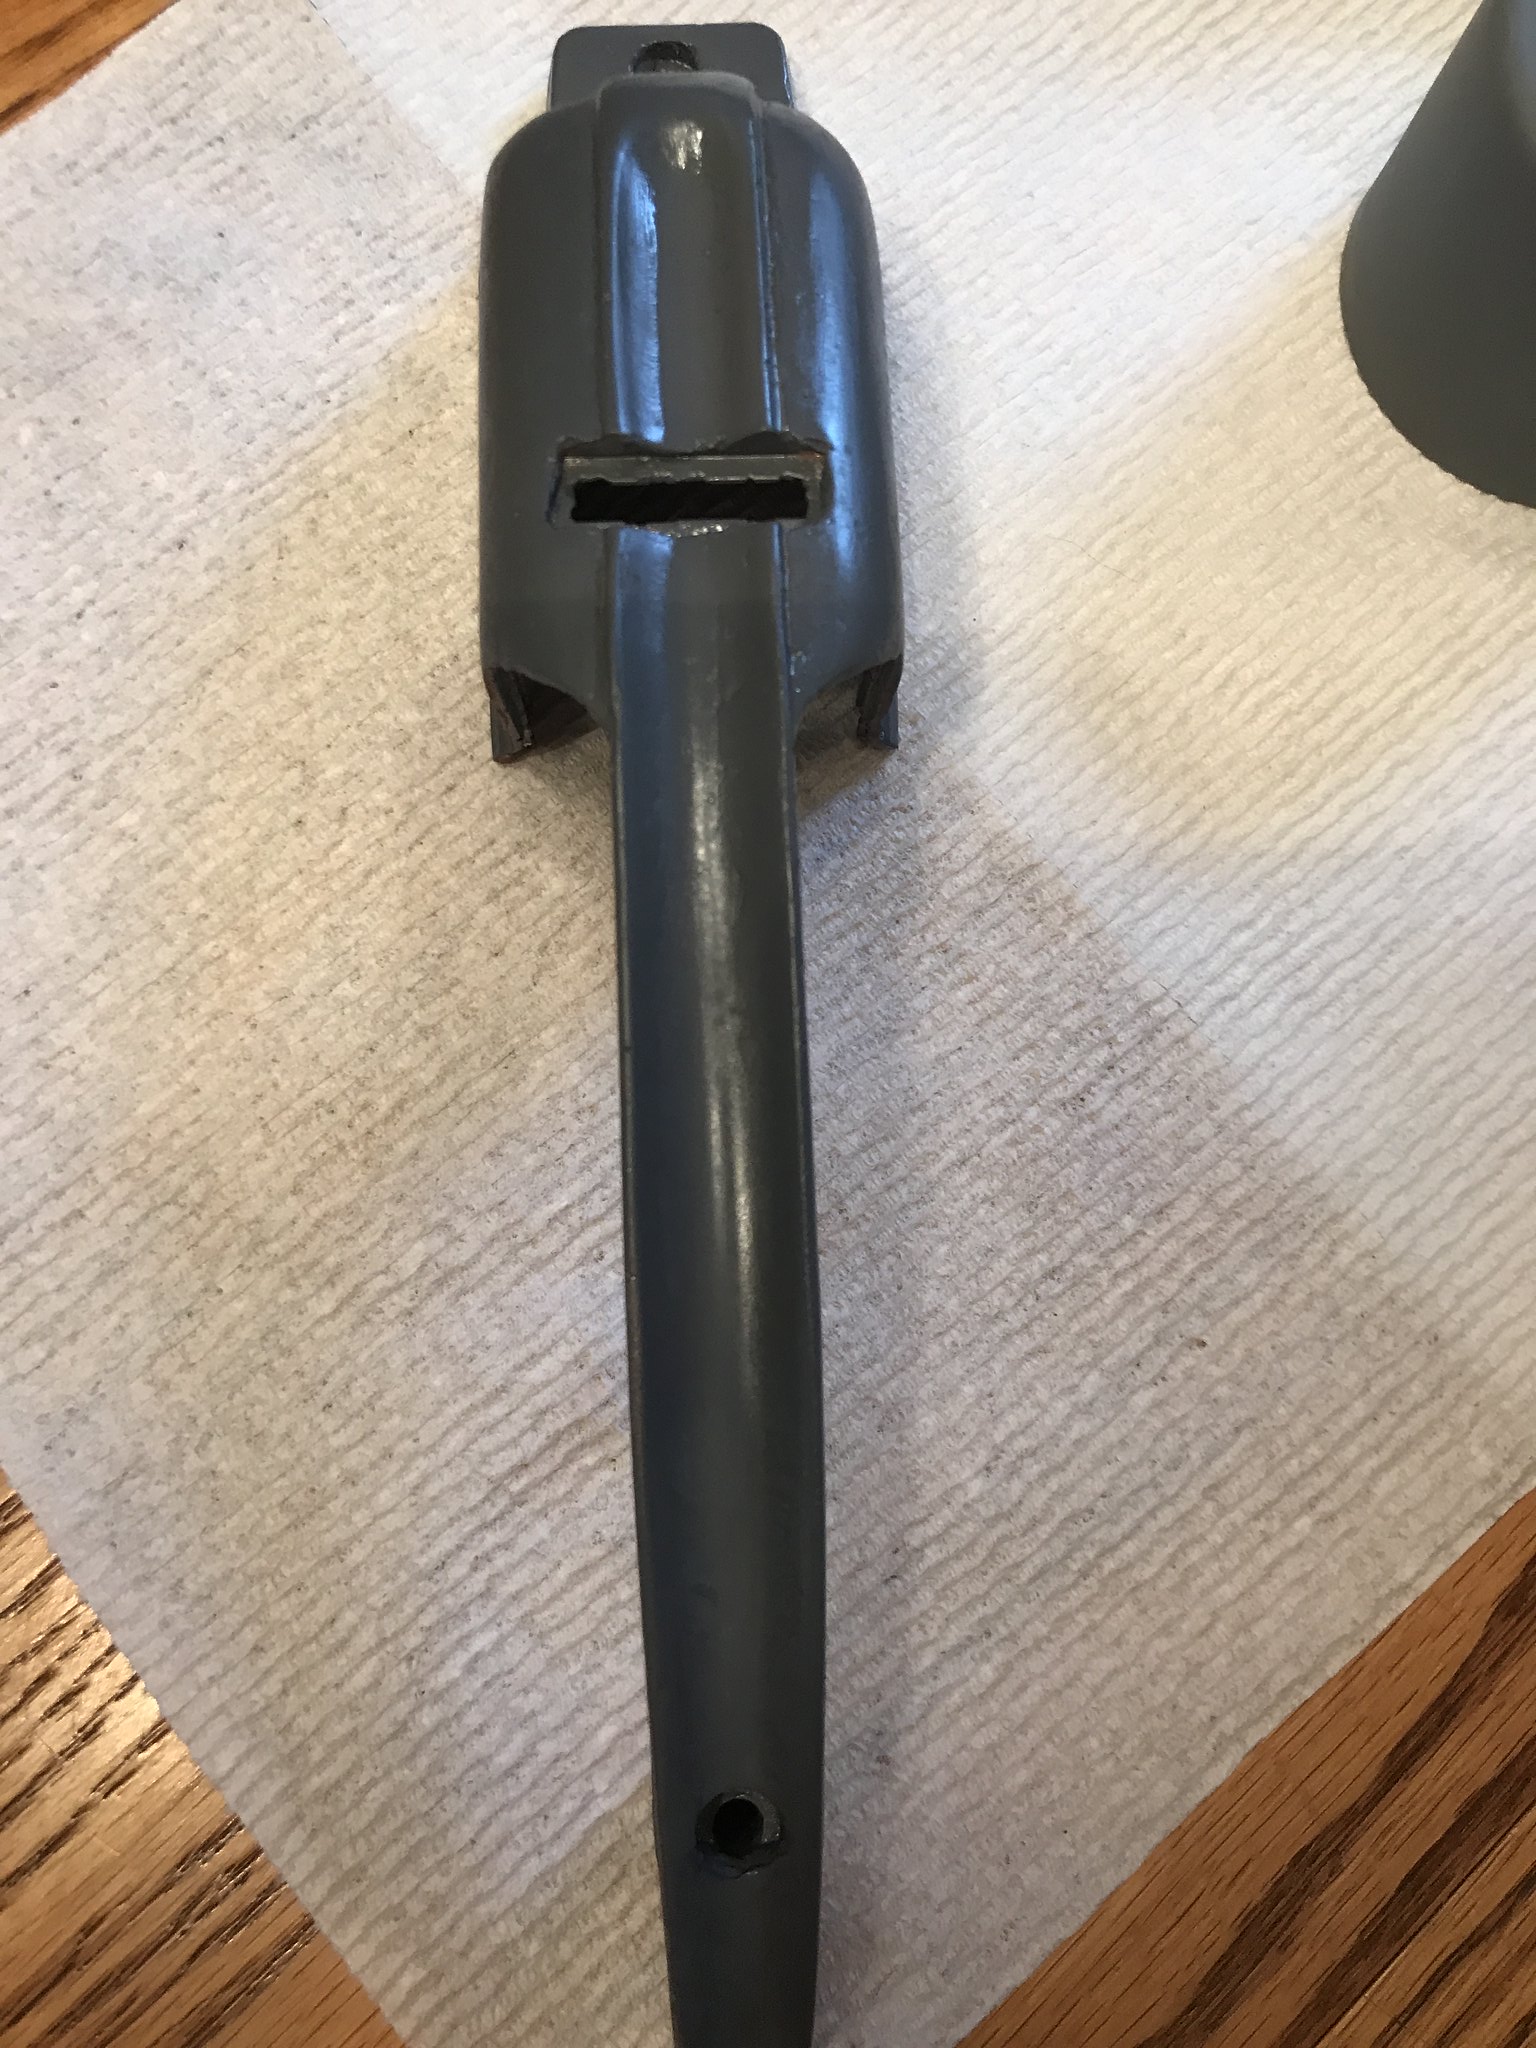
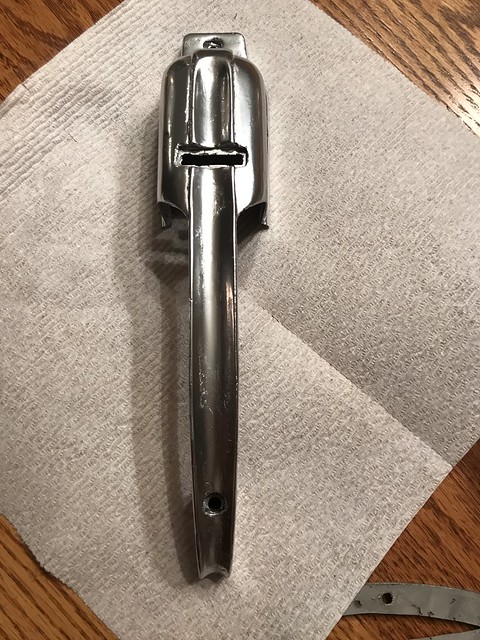
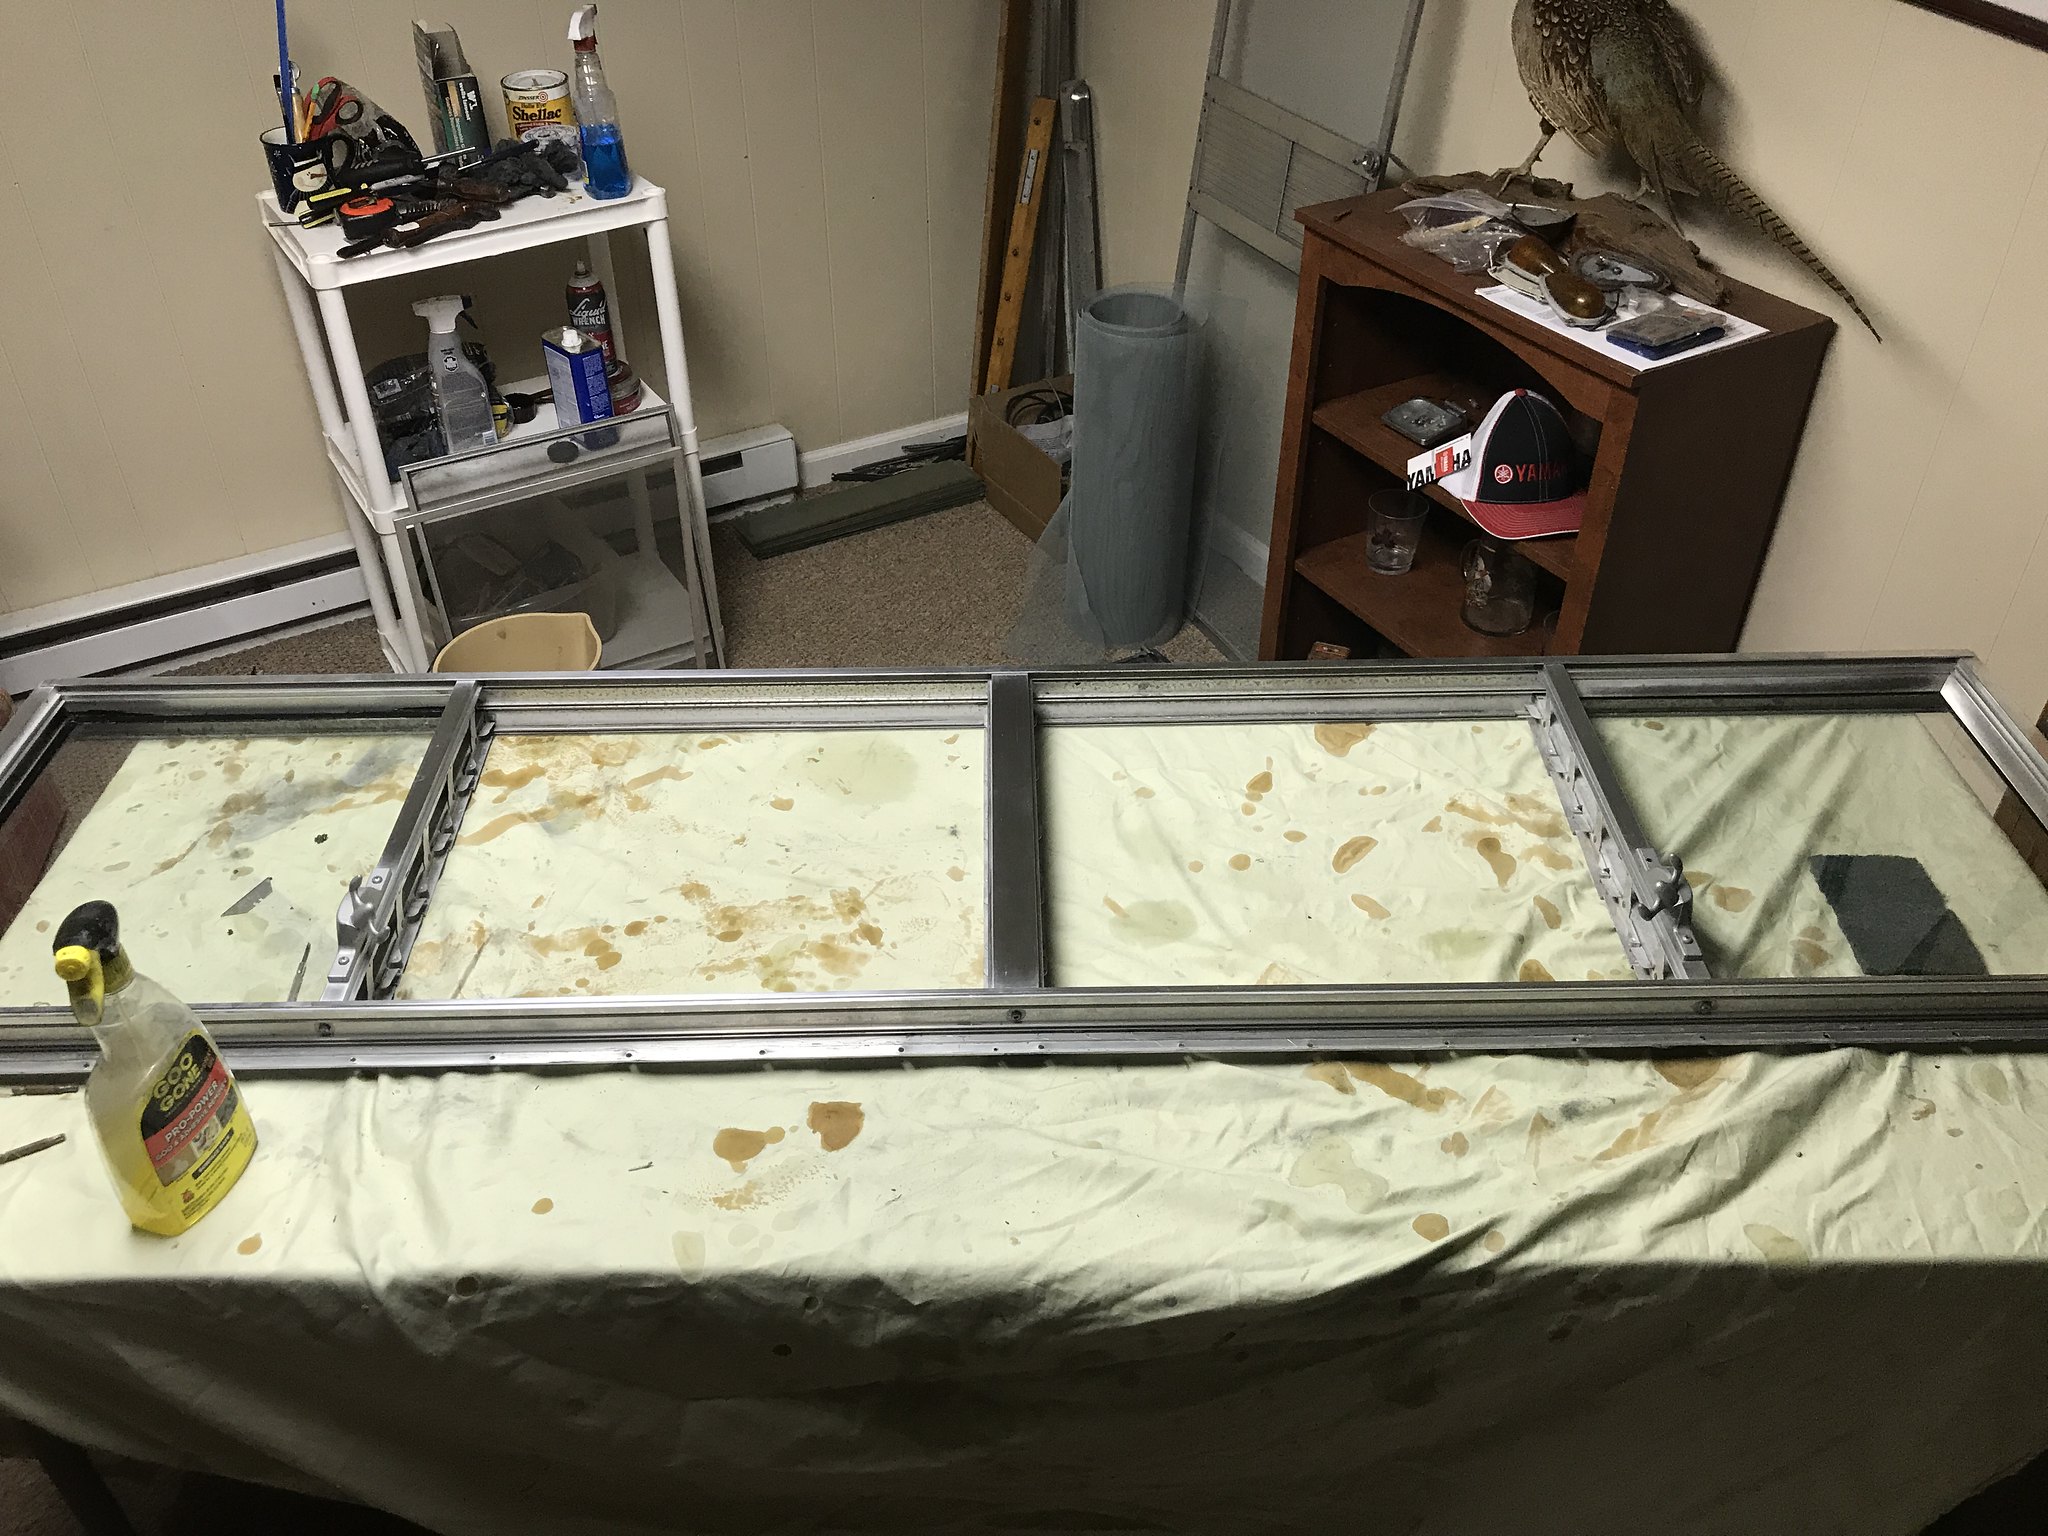
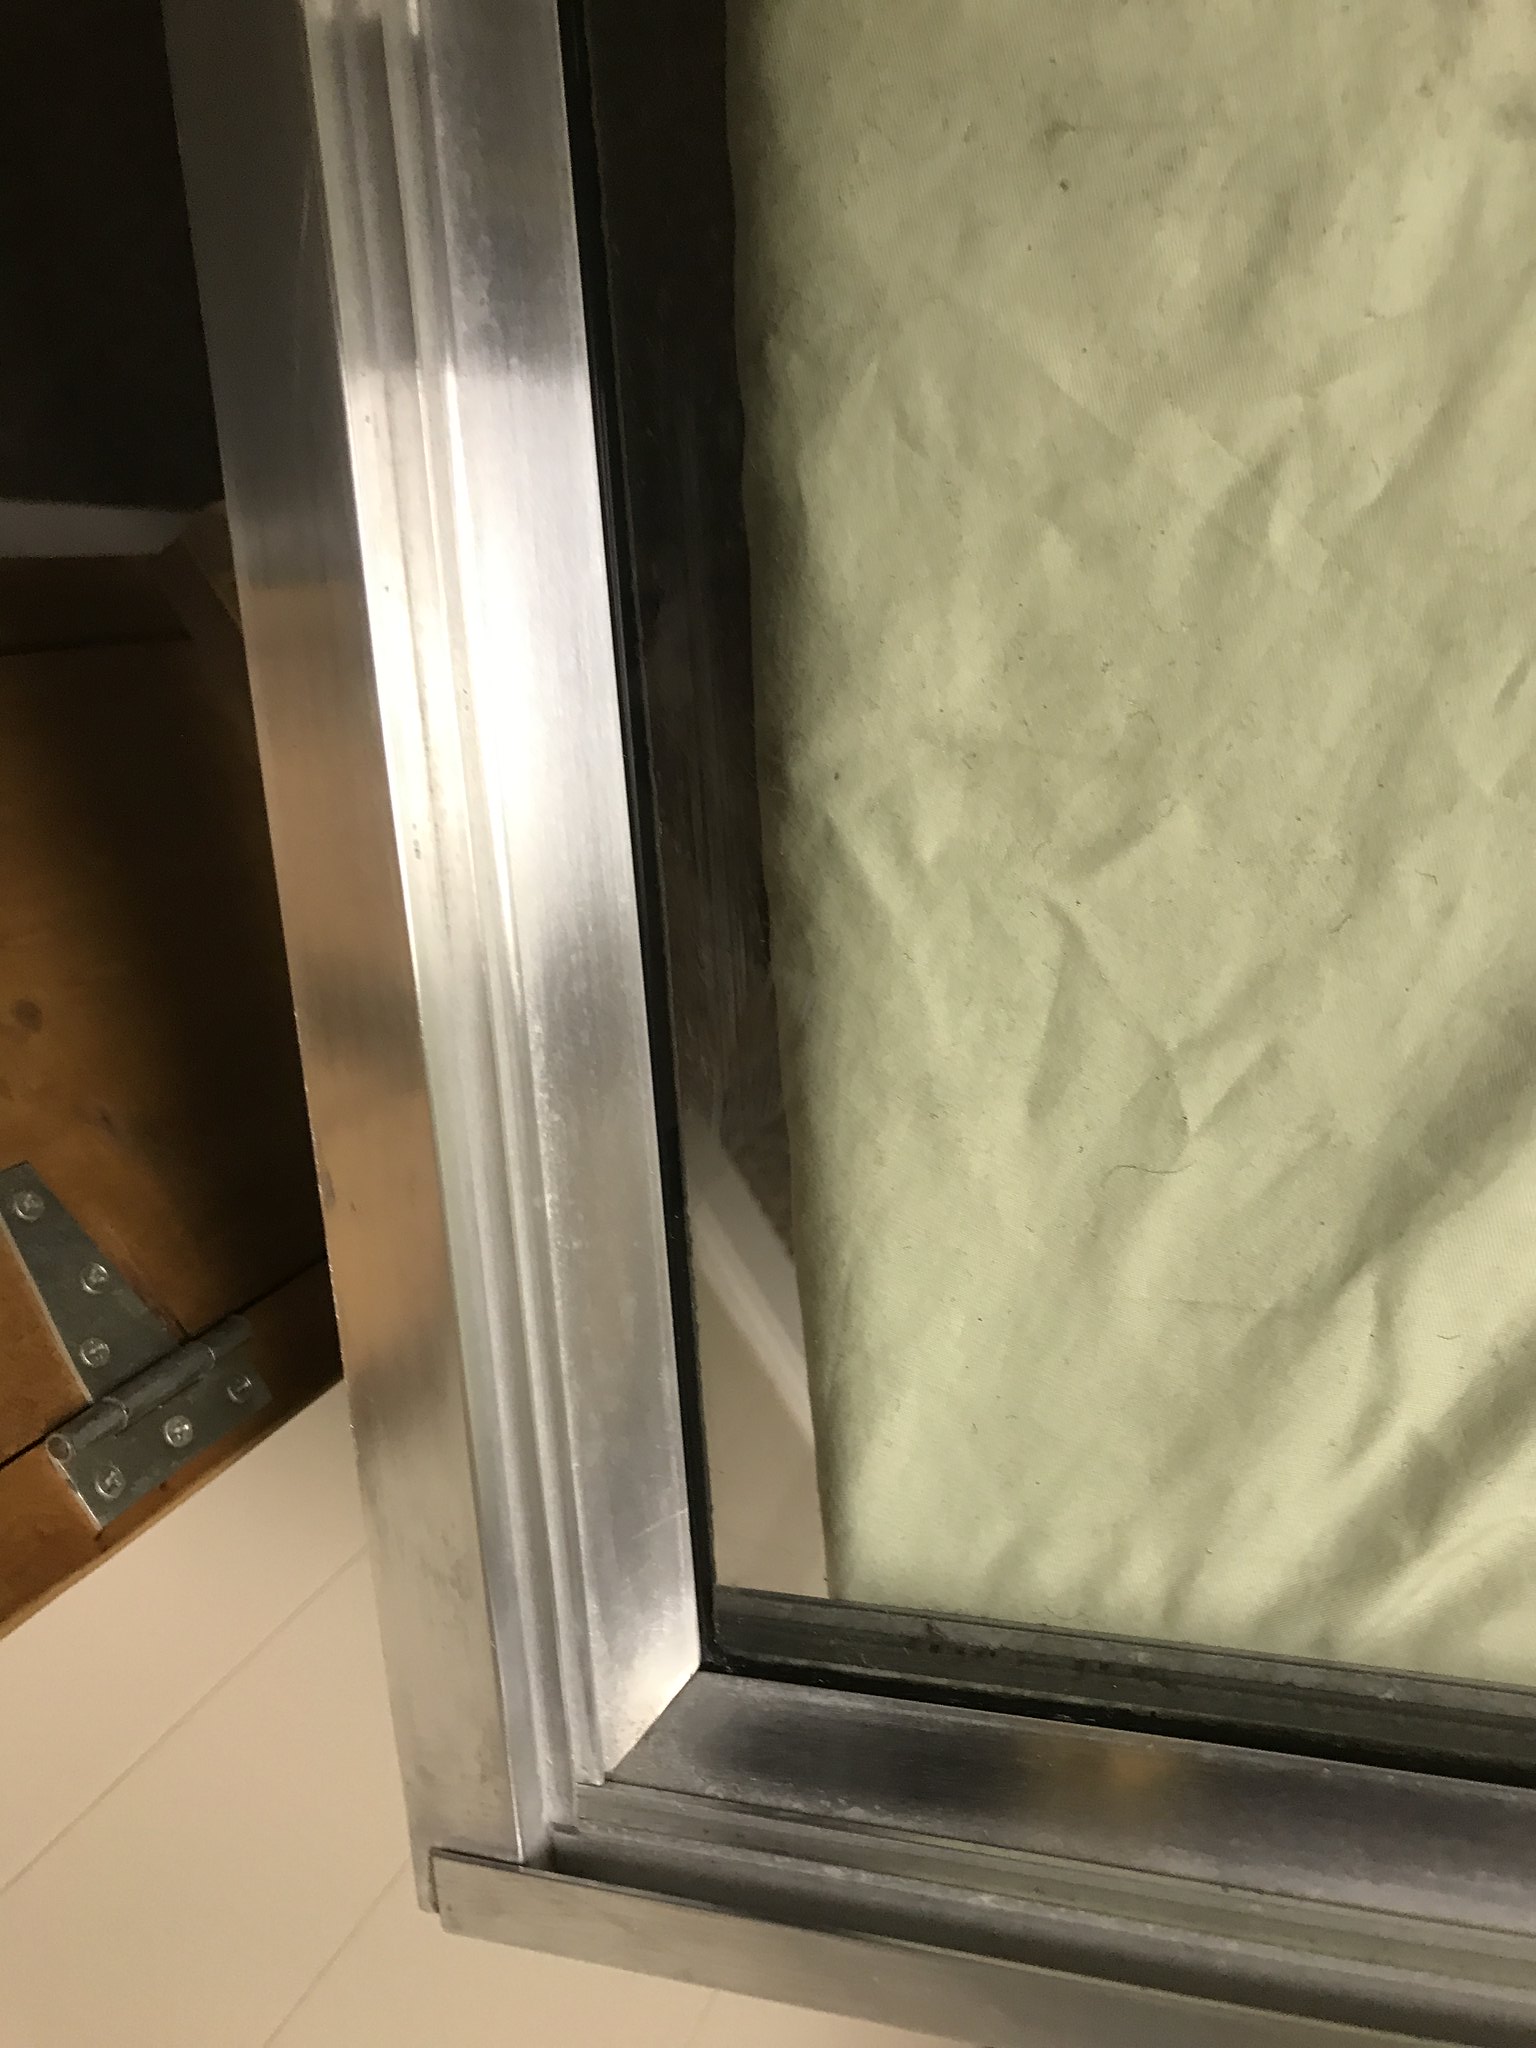
Finally, I am actually cleaning up my LAST window!!! Whoo hooo !! The Hehr window in front is the big one- with 2 solid window panels and lots of louvers. Cleaning this one is taking some time- but it is coming up nice. Once I get it cleaned and replace all the seals, I will be so happy to put it into place! Just a few more brows to clean up, and I am done with cleaning metal I think !!! Wow- don't think I ever want to use steel wool again ! LOL !!
 IMG_4440 by kathy, on Flickr
 IMG_4434 by kathy, on Flickr
 IMG_4445 by kathy, on Flickr
That's all for now....I have a brand new Dometic fridge to install ( Yes, I took the plunge and bought a new one! )- and it's taking some reconfiguring of the cabinet where it goes...but should get that in soon. Cant wait to see that in place.
Onward I go.... as always, thanks everyone for the help and encouragement. I continue to totally LOVE working on my trailer, and will be so damn proud of all I have learned when I am done.
Bye for now!!
ANways...
I think I have all my plumbing done! Not much to it as I only have cold H2O- but it is my first time ever doing plumbing, so I am kinda pleased. I still have to test it with water when my 12v pump is hooked up- but for now, it looks good! ha!
I used PEX and push-to-fit Sharkbite fittings- can't be any easier. Of course, I ran the pipe after my cabinets were in- and like Vikx says- I had to be a monkey at times to get things in place...but it is done.
Not too many photos- but the fresh water inlet, water tank, 12v pump, city water inlet and water line to both the sink and the toilet are all in. Whoo hoo !! ( BTW- I know the outside fittings need to be removed to put skin on...just like looking at them in place!)
IMG_3789 by kathy, on FlickrIMG_3686 by kathy, on FlickrIMG_4383 by kathy, on FlickrIMG_4431 by kathy, on FlickrIMG_4392 by kathy, on FlickrI started insulating my walls- I have a bunch of insulation left over from the barn roof I did, so I am using that vs rigid board for now. Due to its thickness, I am peeling it apart into 2 pieces and using that. Hence, why some has paper backing and some does not. When done, I will add my vapor barrier.
IMG_4423 by kathy, on FlickrIMG_4422 by kathy, on FlickrI am adding some new electric outlets- and wanted a few on the kitchen wall vs in a cabinet. The new outlet boxes I bought, even though labeled 'shallow', are 1/4" too deep- and stick out too far. To alleviate that- I made frames for my boxes out of 1/4" scrap I had around, and now the boxes sit flush with the outside framing. This will alleviate any issues with the skins when I get them back on.
IMG_4426 by kathy, on FlickrIMG_4428 by kathy, on FlickrFinally, I am actually cleaning up my LAST window!!! Whoo hooo !! The Hehr window in front is the big one- with 2 solid window panels and lots of louvers. Cleaning this one is taking some time- but it is coming up nice. Once I get it cleaned and replace all the seals, I will be so happy to put it into place! Just a few more brows to clean up, and I am done with cleaning metal I think !!! Wow- don't think I ever want to use steel wool again ! LOL !!
IMG_4440 by kathy, on FlickrIMG_4434 by kathy, on FlickrIMG_4445 by kathy, on FlickrThat's all for now....I have a brand new Dometic fridge to install ( Yes, I took the plunge and bought a new one! )- and it's taking some reconfiguring of the cabinet where it goes...but should get that in soon. Cant wait to see that in place.
Onward I go.... as always, thanks everyone for the help and encouragement. I continue to totally LOVE working on my trailer, and will be so damn proud of all I have learned when I am done.
Bye for now!!