kaffi311
Active Member

Posts: 283 
Likes: 98
1963 Shasta 16 SC
Currently Offline
|
Post by kaffi311 on May 2, 2018 13:50:51 GMT -8
Been busy with a few different tasks: Ordered/bought supplies for my electric: PD Distribution panel/converter, Sureflow water pump, Fantastic fan, USB/Cigar ports, electric boxes, 12v lights. I'm going to tackle that system first- as it is the most daunting to me. No worries- I have an electrician who will be helping. Removed some ceiling panels- which is just about the last thing I will be removing that was original to this camper! (You mean deconstruction might just be OVER??? Yahoo!!!) 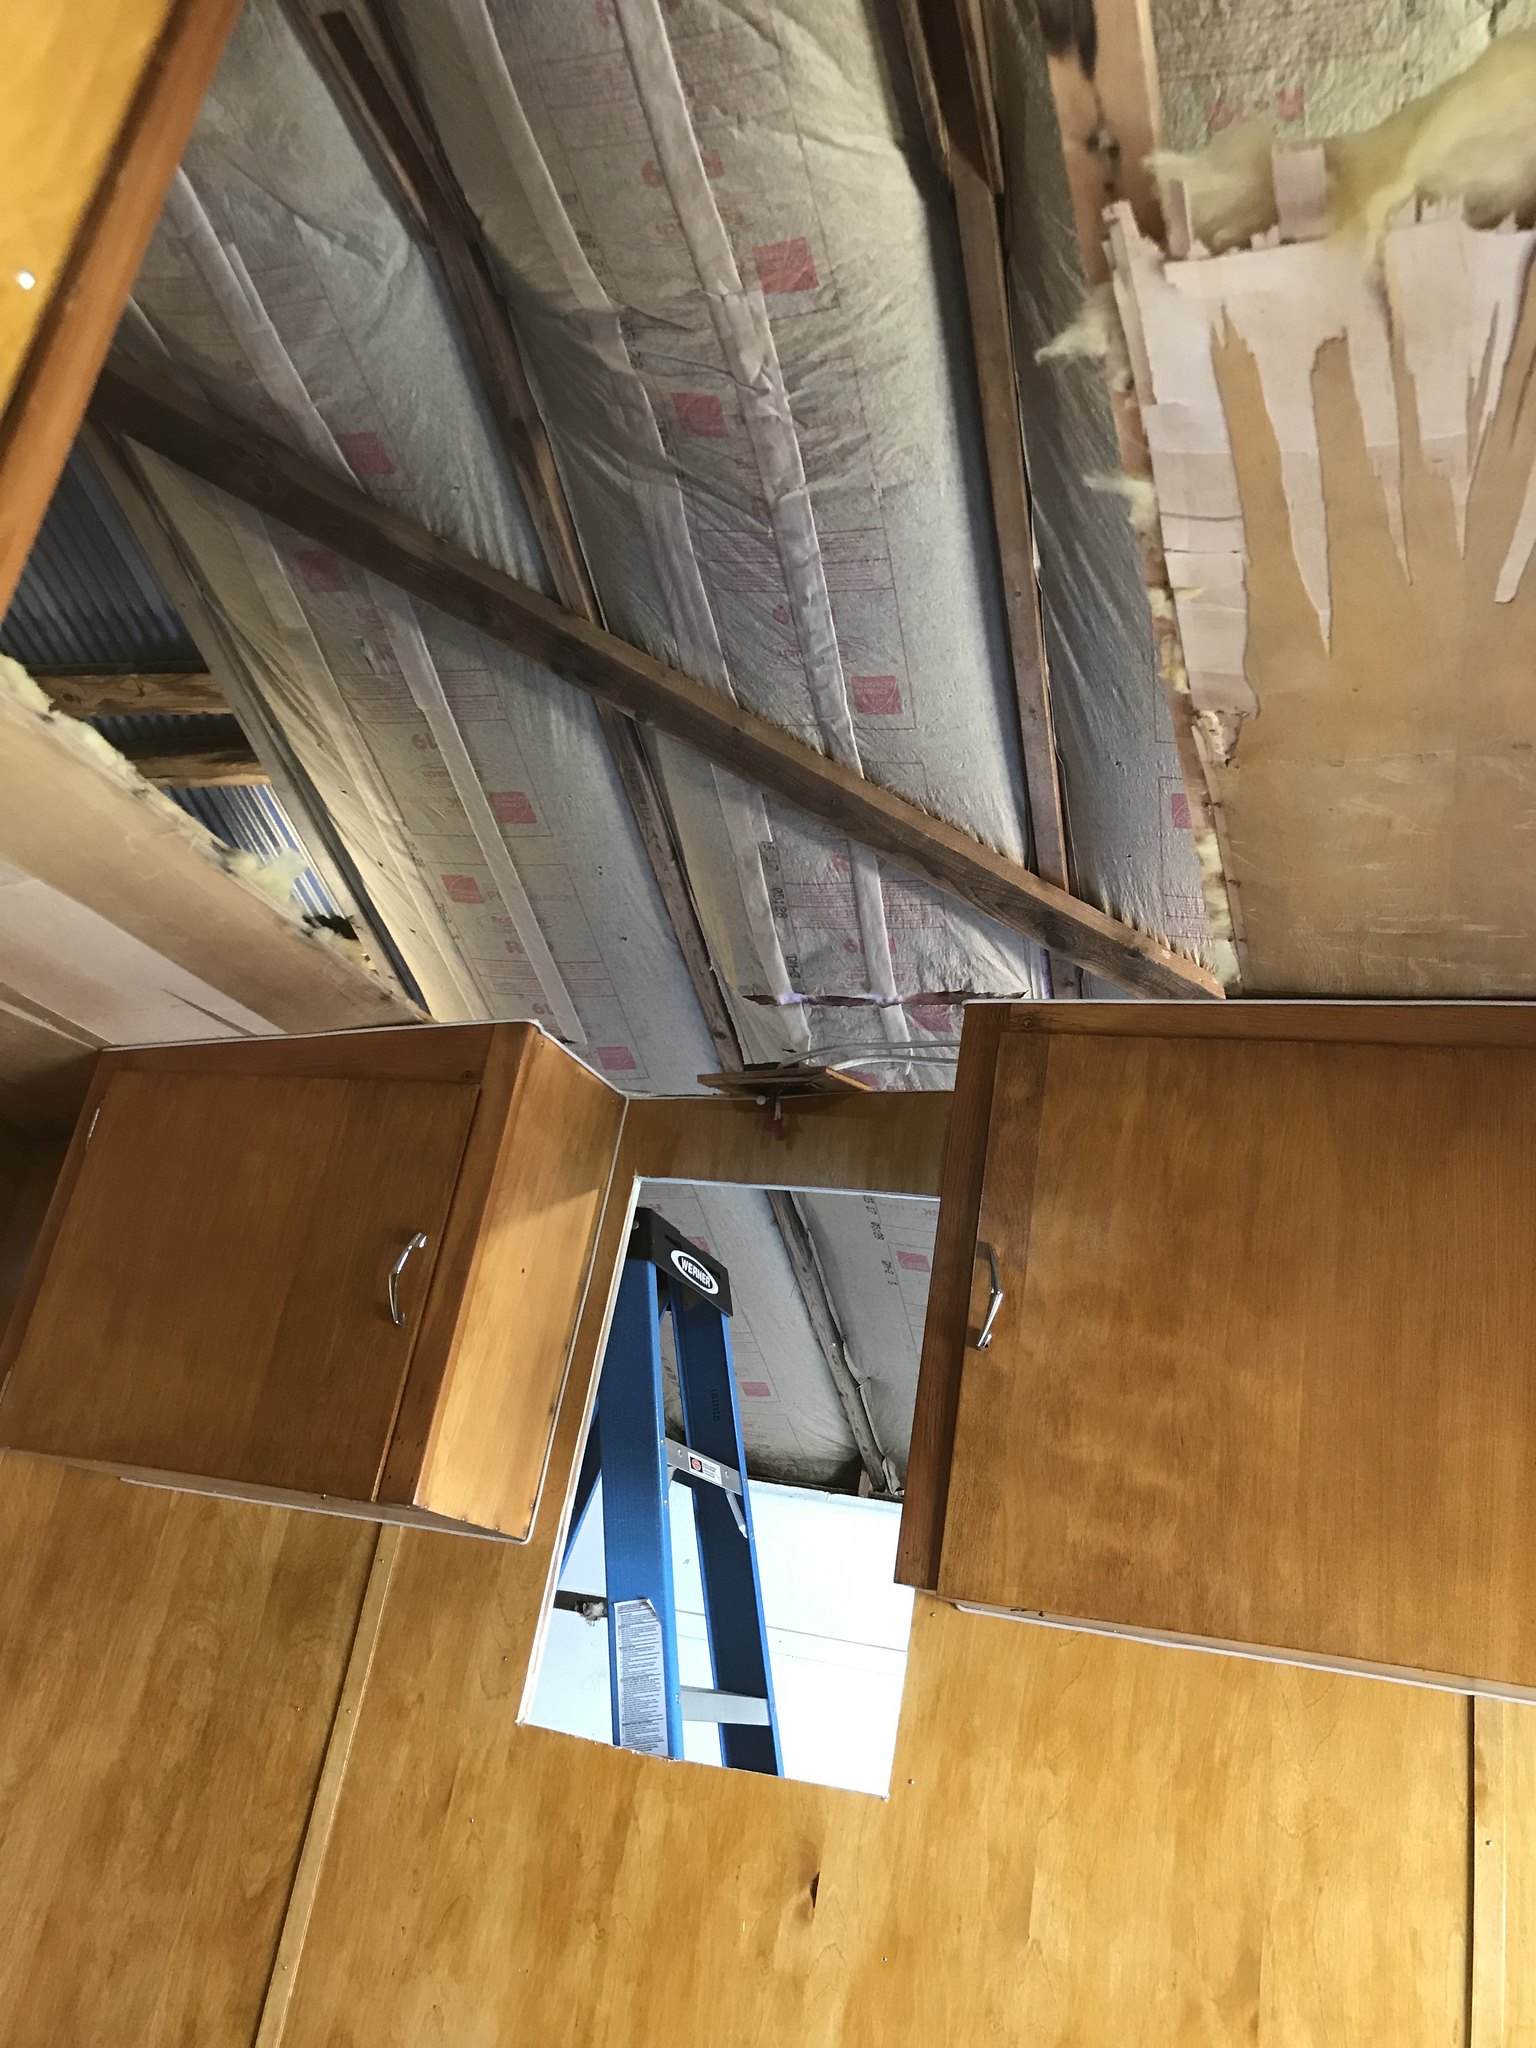 IMG_3003 IMG_3003 by kathy, on Flickr 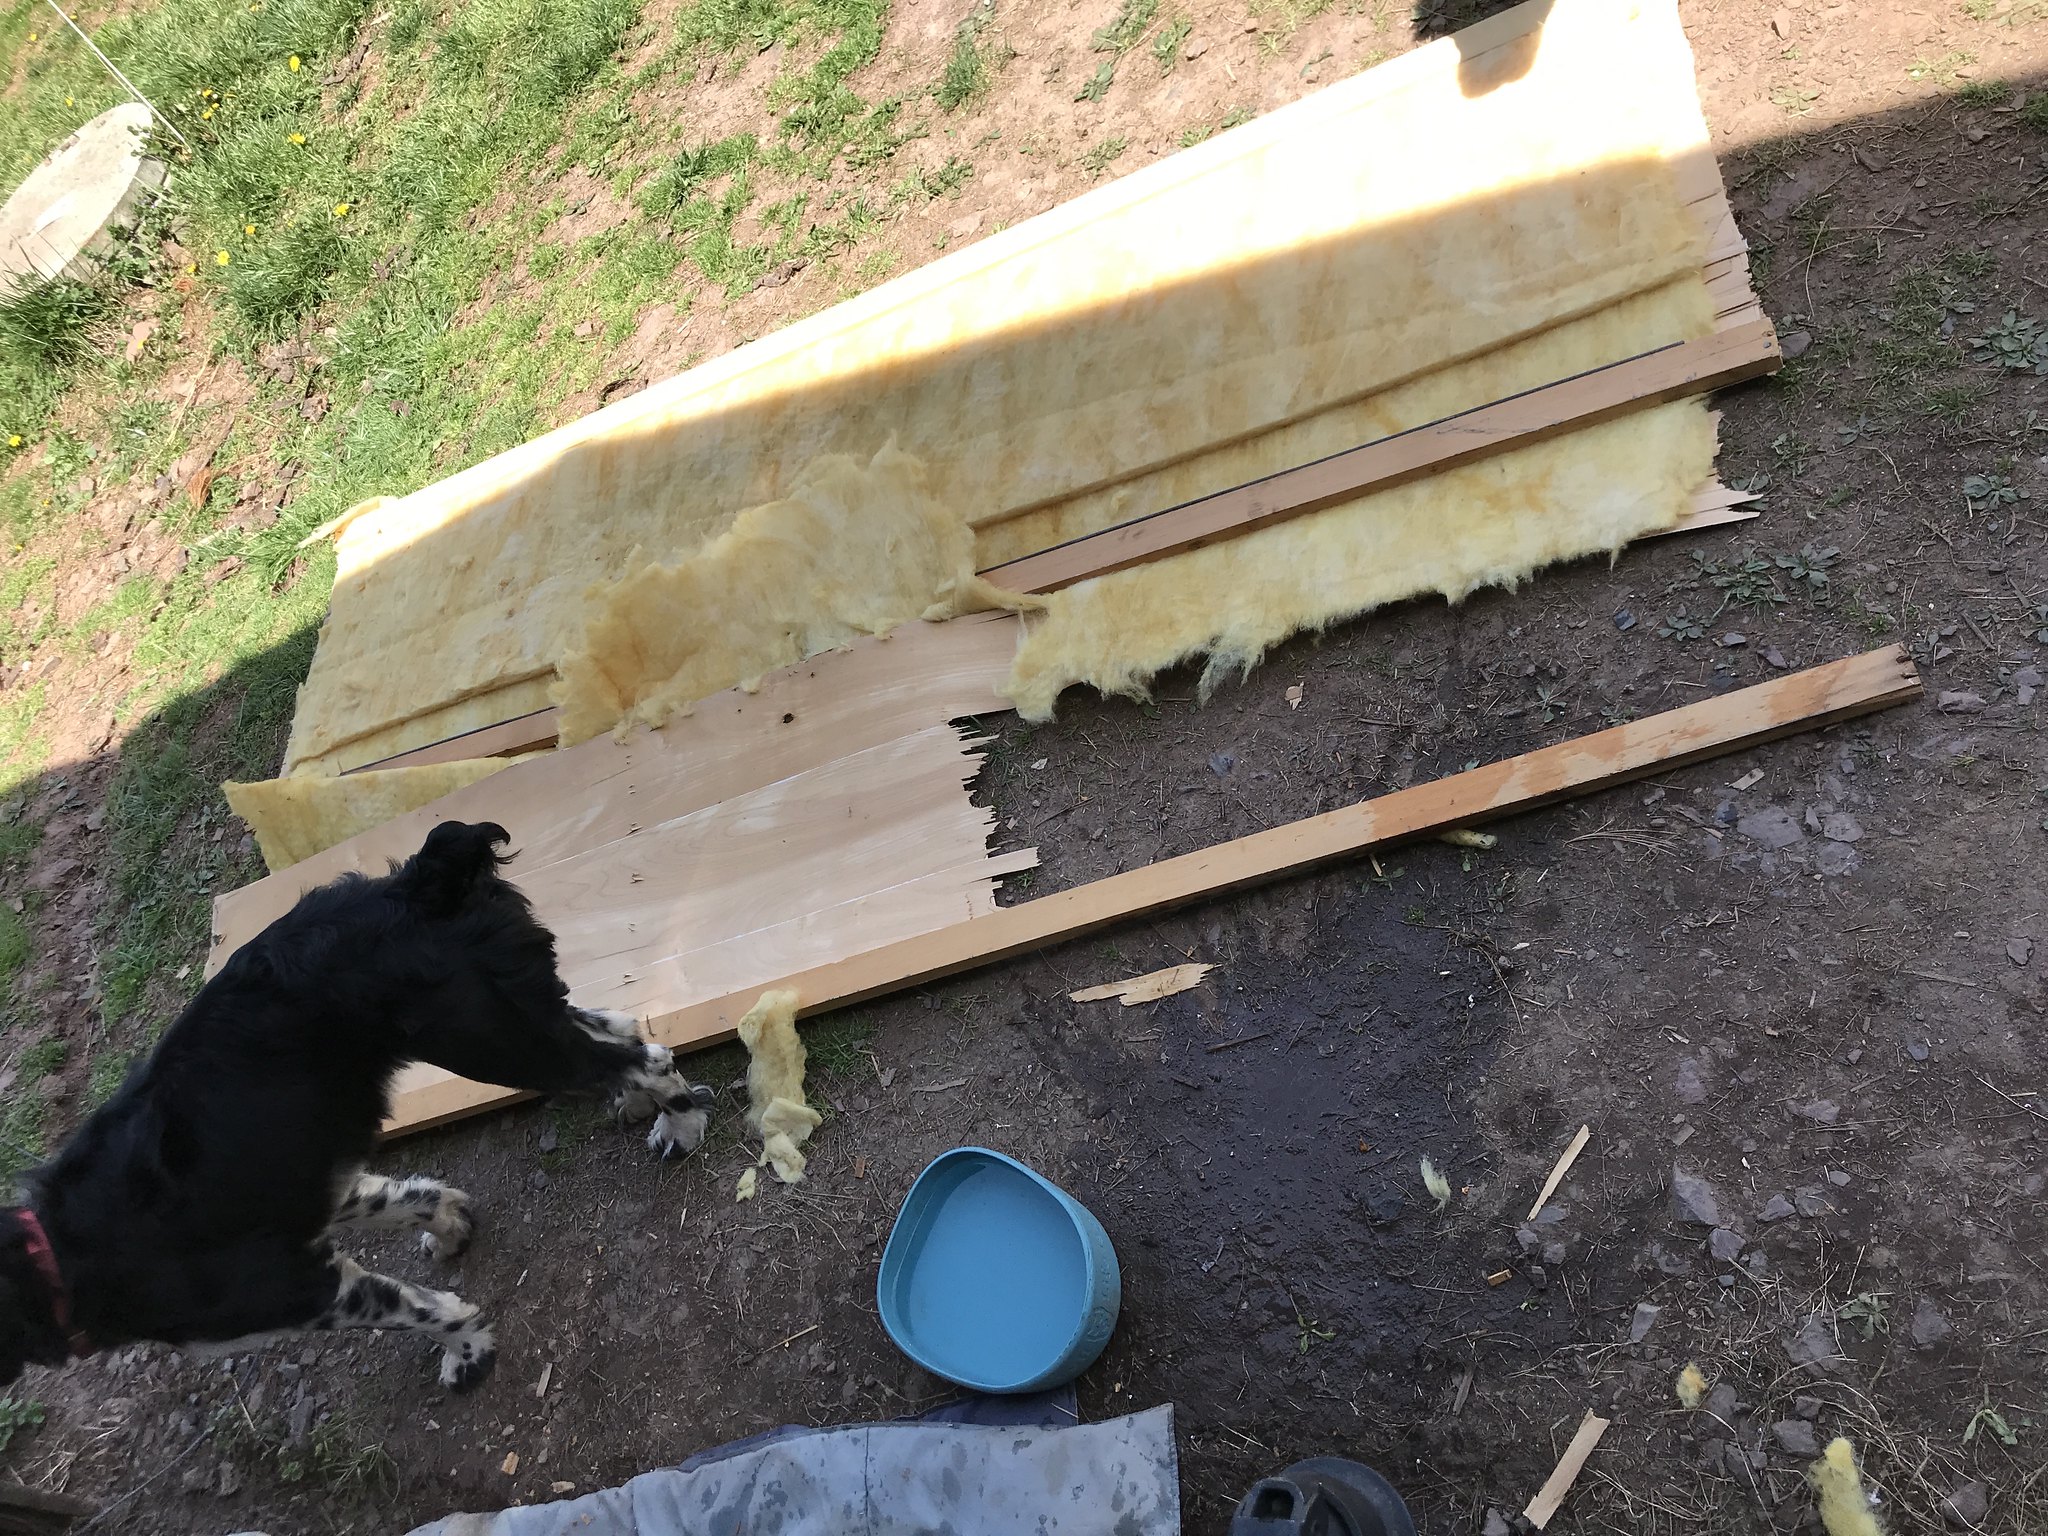 IMG_3036 IMG_3036 by kathy, on Flickr Fixed a few things I was not liking about my framing repairs- what I fixed 3 months ago was not making me happy today- so they were redone. I'm happy now  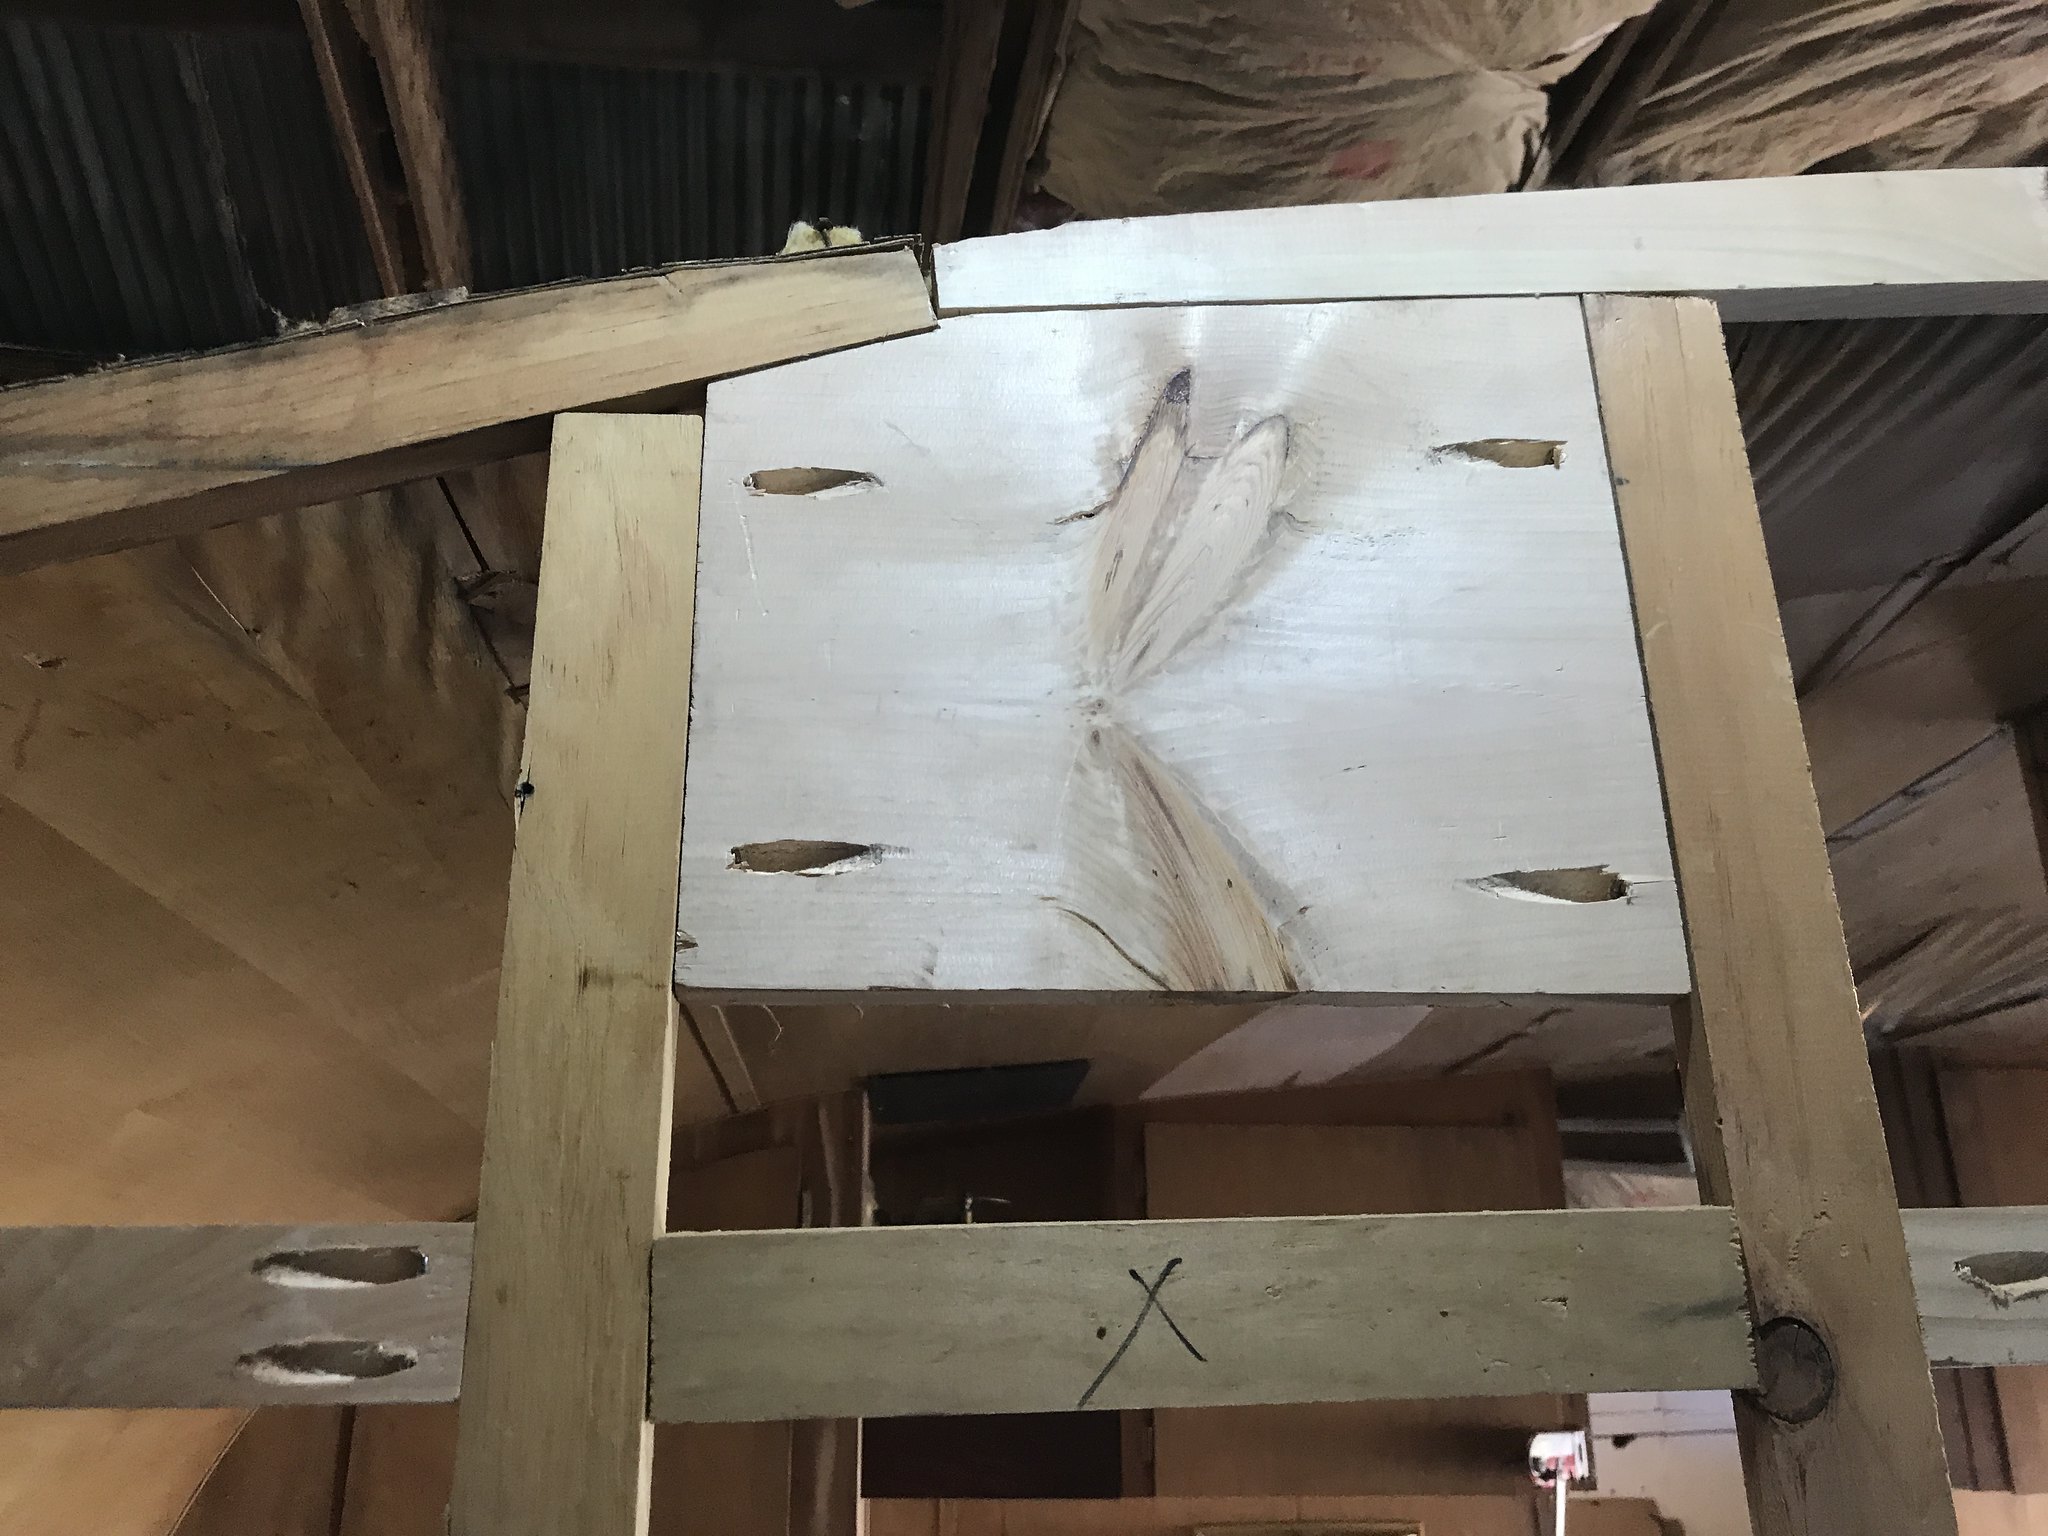 IMG_2277 IMG_2277 by kathy, on Flickr Installed some gimp:  IMG_3041 IMG_3041 by kathy, on Flickr Now to shellac my ceiling panels and put them up. So excited to get that started!! |
|
57 Trotwood
Active Member
Posts: 128 
Likes: 67
Currently Offline
|
Post by 57 Trotwood on May 25, 2018 7:34:27 GMT -8
Wow,
You are a quick study. Looks great. I hope when start my camper I can go at your pace and quality. I am hoping to have it done to camp in Labor Day 2019. I figure about 1000 hours. Now, I haven't taken any skins off yet but I am still not clear how the walls are attached. I know the floors are bolted down to the frame with carriage bolts but how are the walls attached to the floor?
|
|
CorvettCrzy
Full Member
Posts: 934
Likes: 273
'58 Corvette, '64 Franklin
Currently Offline
|
Post by CorvettCrzy on May 25, 2018 19:04:48 GMT -8
I have really enjoyed your posts and am looking forward to see you progress. Love your floor - I'd put something over it to protect it, it only takes a dropped tool and you have chips. For not having any experience you're doing a wonderful job. I think we are kindred spirits, I too work in a preschool and we have a DHH room, we are also the same age. See you take this on makes me think for my sanity (and my husbands) maybe I'll do the next one on my own (mostly)! Have fun! We'll be watching you create!
|
|
mel
Senior Member
 1964 Shasta Airflyte
Posts: 1,729
Likes: 523
Currently Offline
|
Post by mel on Jun 4, 2018 16:28:56 GMT -8
Hi kaffi311, just checking in, I was enjoying seeing your progress and noticed you haven't posted in a while. Hows the rebuild going? |
|
kaffi311
Active Member
Posts: 283
Likes: 98
1963 Shasta 16 SC
Currently Offline
|
Post by kaffi311 on Jun 7, 2018 15:16:51 GMT -8
Hi kaffi311 , just checking in, I was enjoying seeing your progress and noticed you haven't posted in a while. Hows the rebuild going? Hi! I am back!! Had a few things going on: Took a week long trip to NM and Colorado with my son to look at schools, my computer died when I got back ( fixed today finally), had a dear friend pass away which hit me hard, and ran into some screw ups that overwhelmed me on the camper. But, back on track as of today....and will be updating this thread tonight. All is good !! Great progress....thanks for asking |
|
kaffi311
Active Member
Posts: 283
Likes: 98
1963 Shasta 16 SC
Currently Offline
|
Post by kaffi311 on Jun 8, 2018 17:43:52 GMT -8
Well, I am back! I took a break from updating- but I have been working pretty steadily on the Shasta since my last post. I did go away to NM and CO with my son for a week- which was amazing!! I have plugged away at things- both big and small: I have installed all but the 2 last panels for the ceiling. Started with the key sheet- glueing the framing to the panels before install really makes it easier to install by yourself 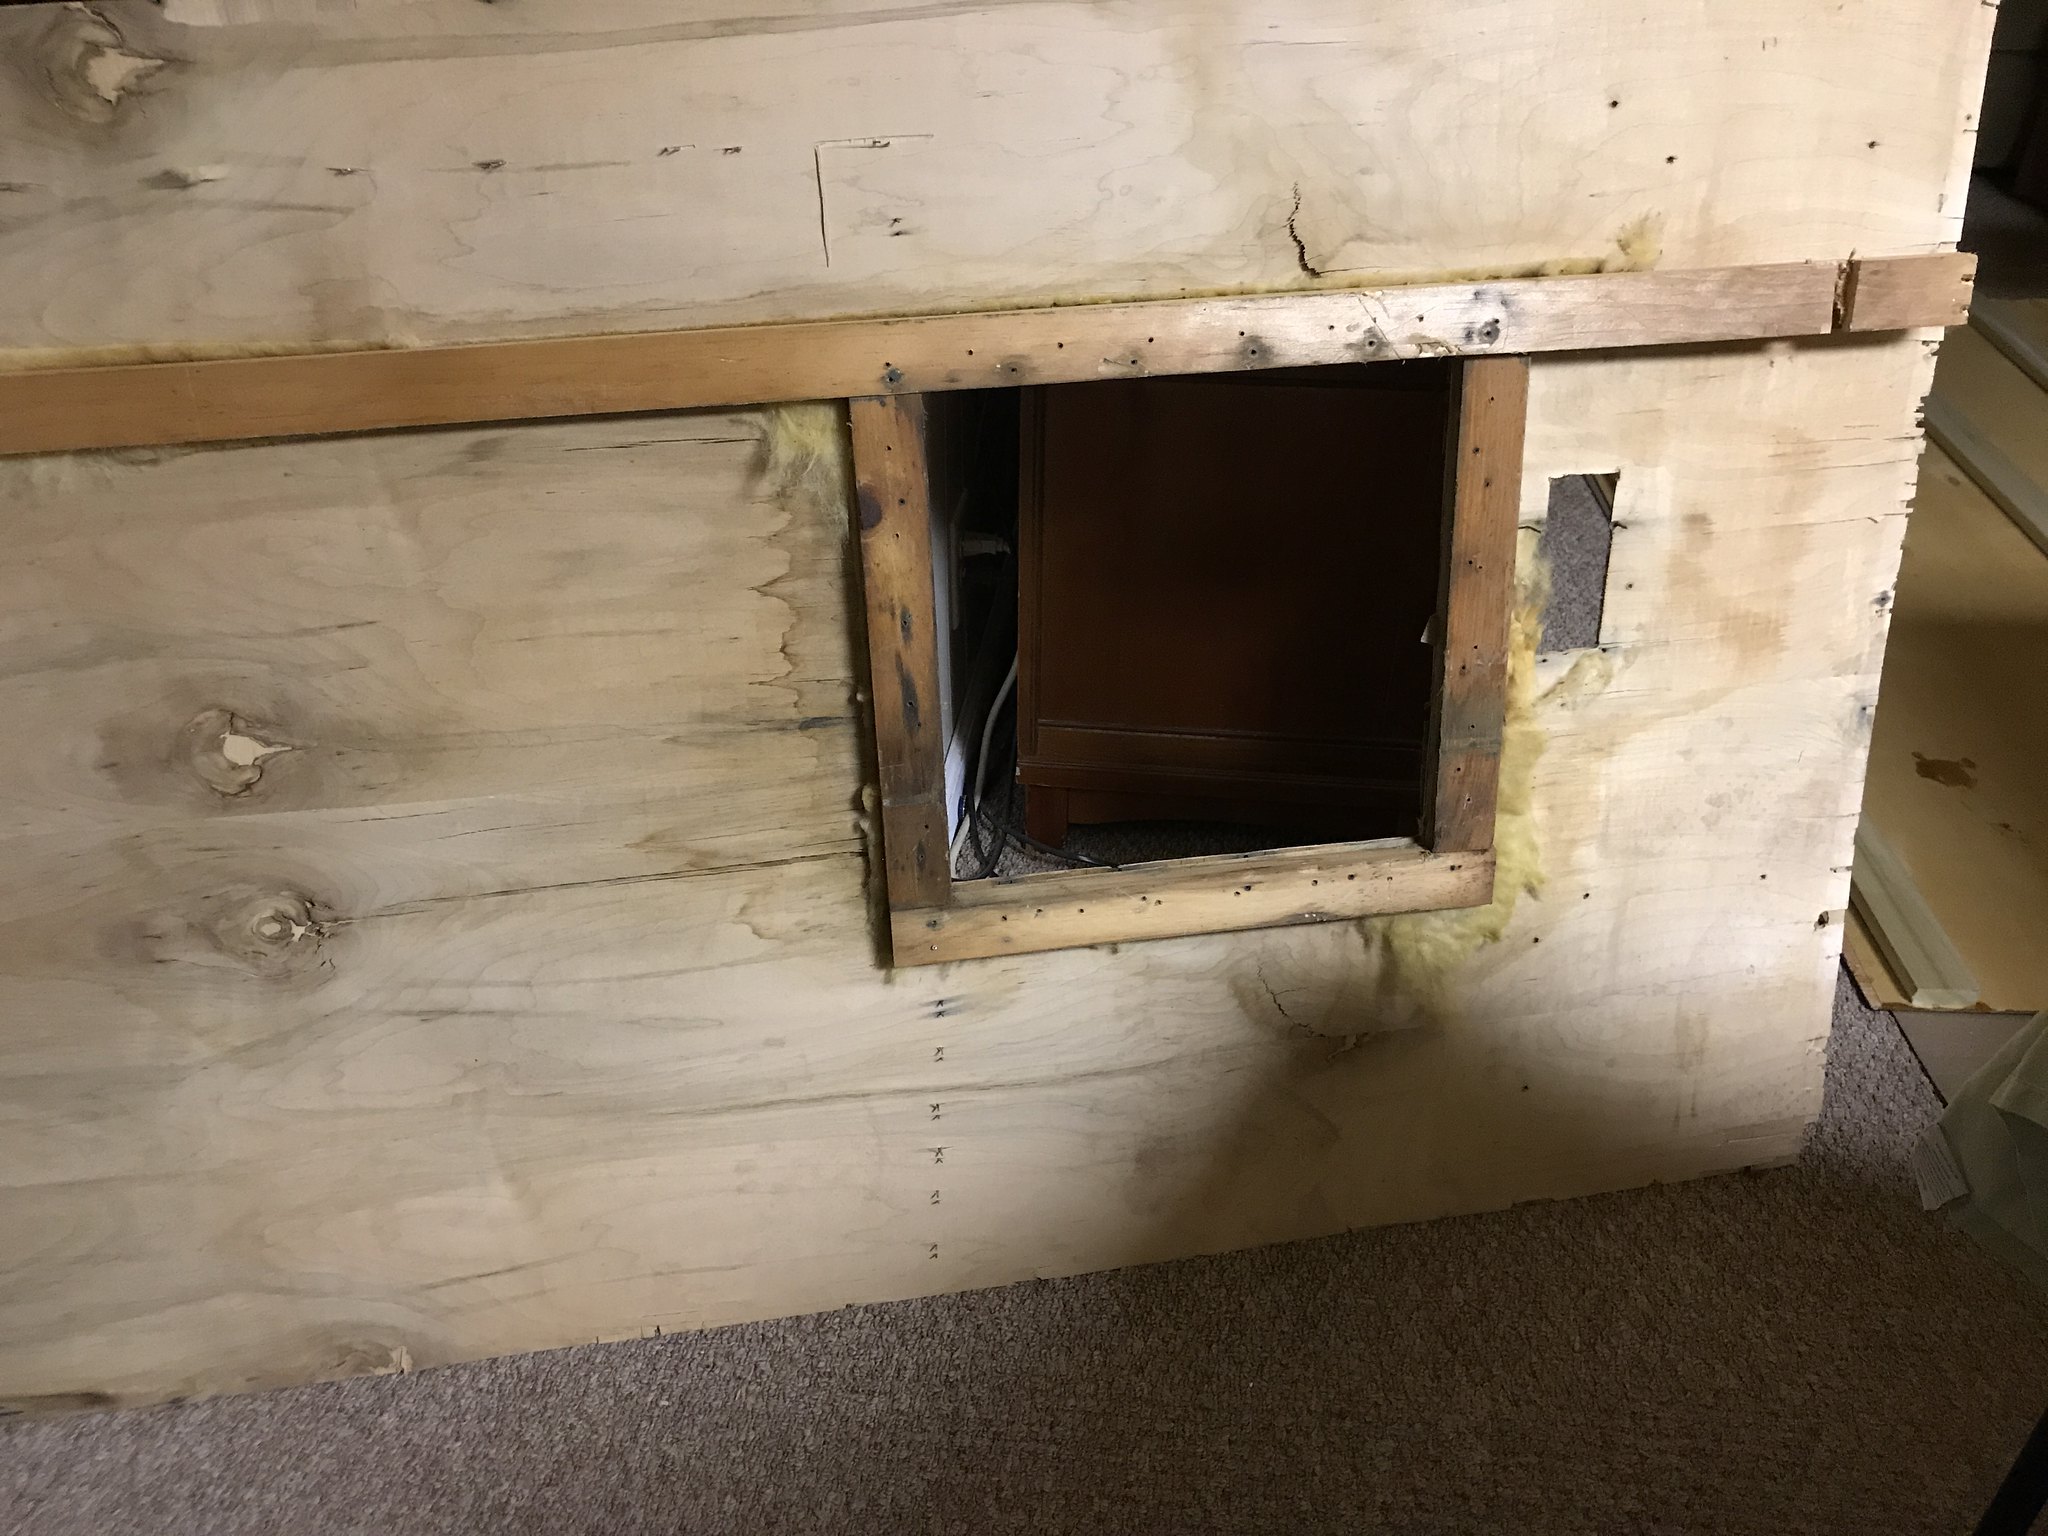  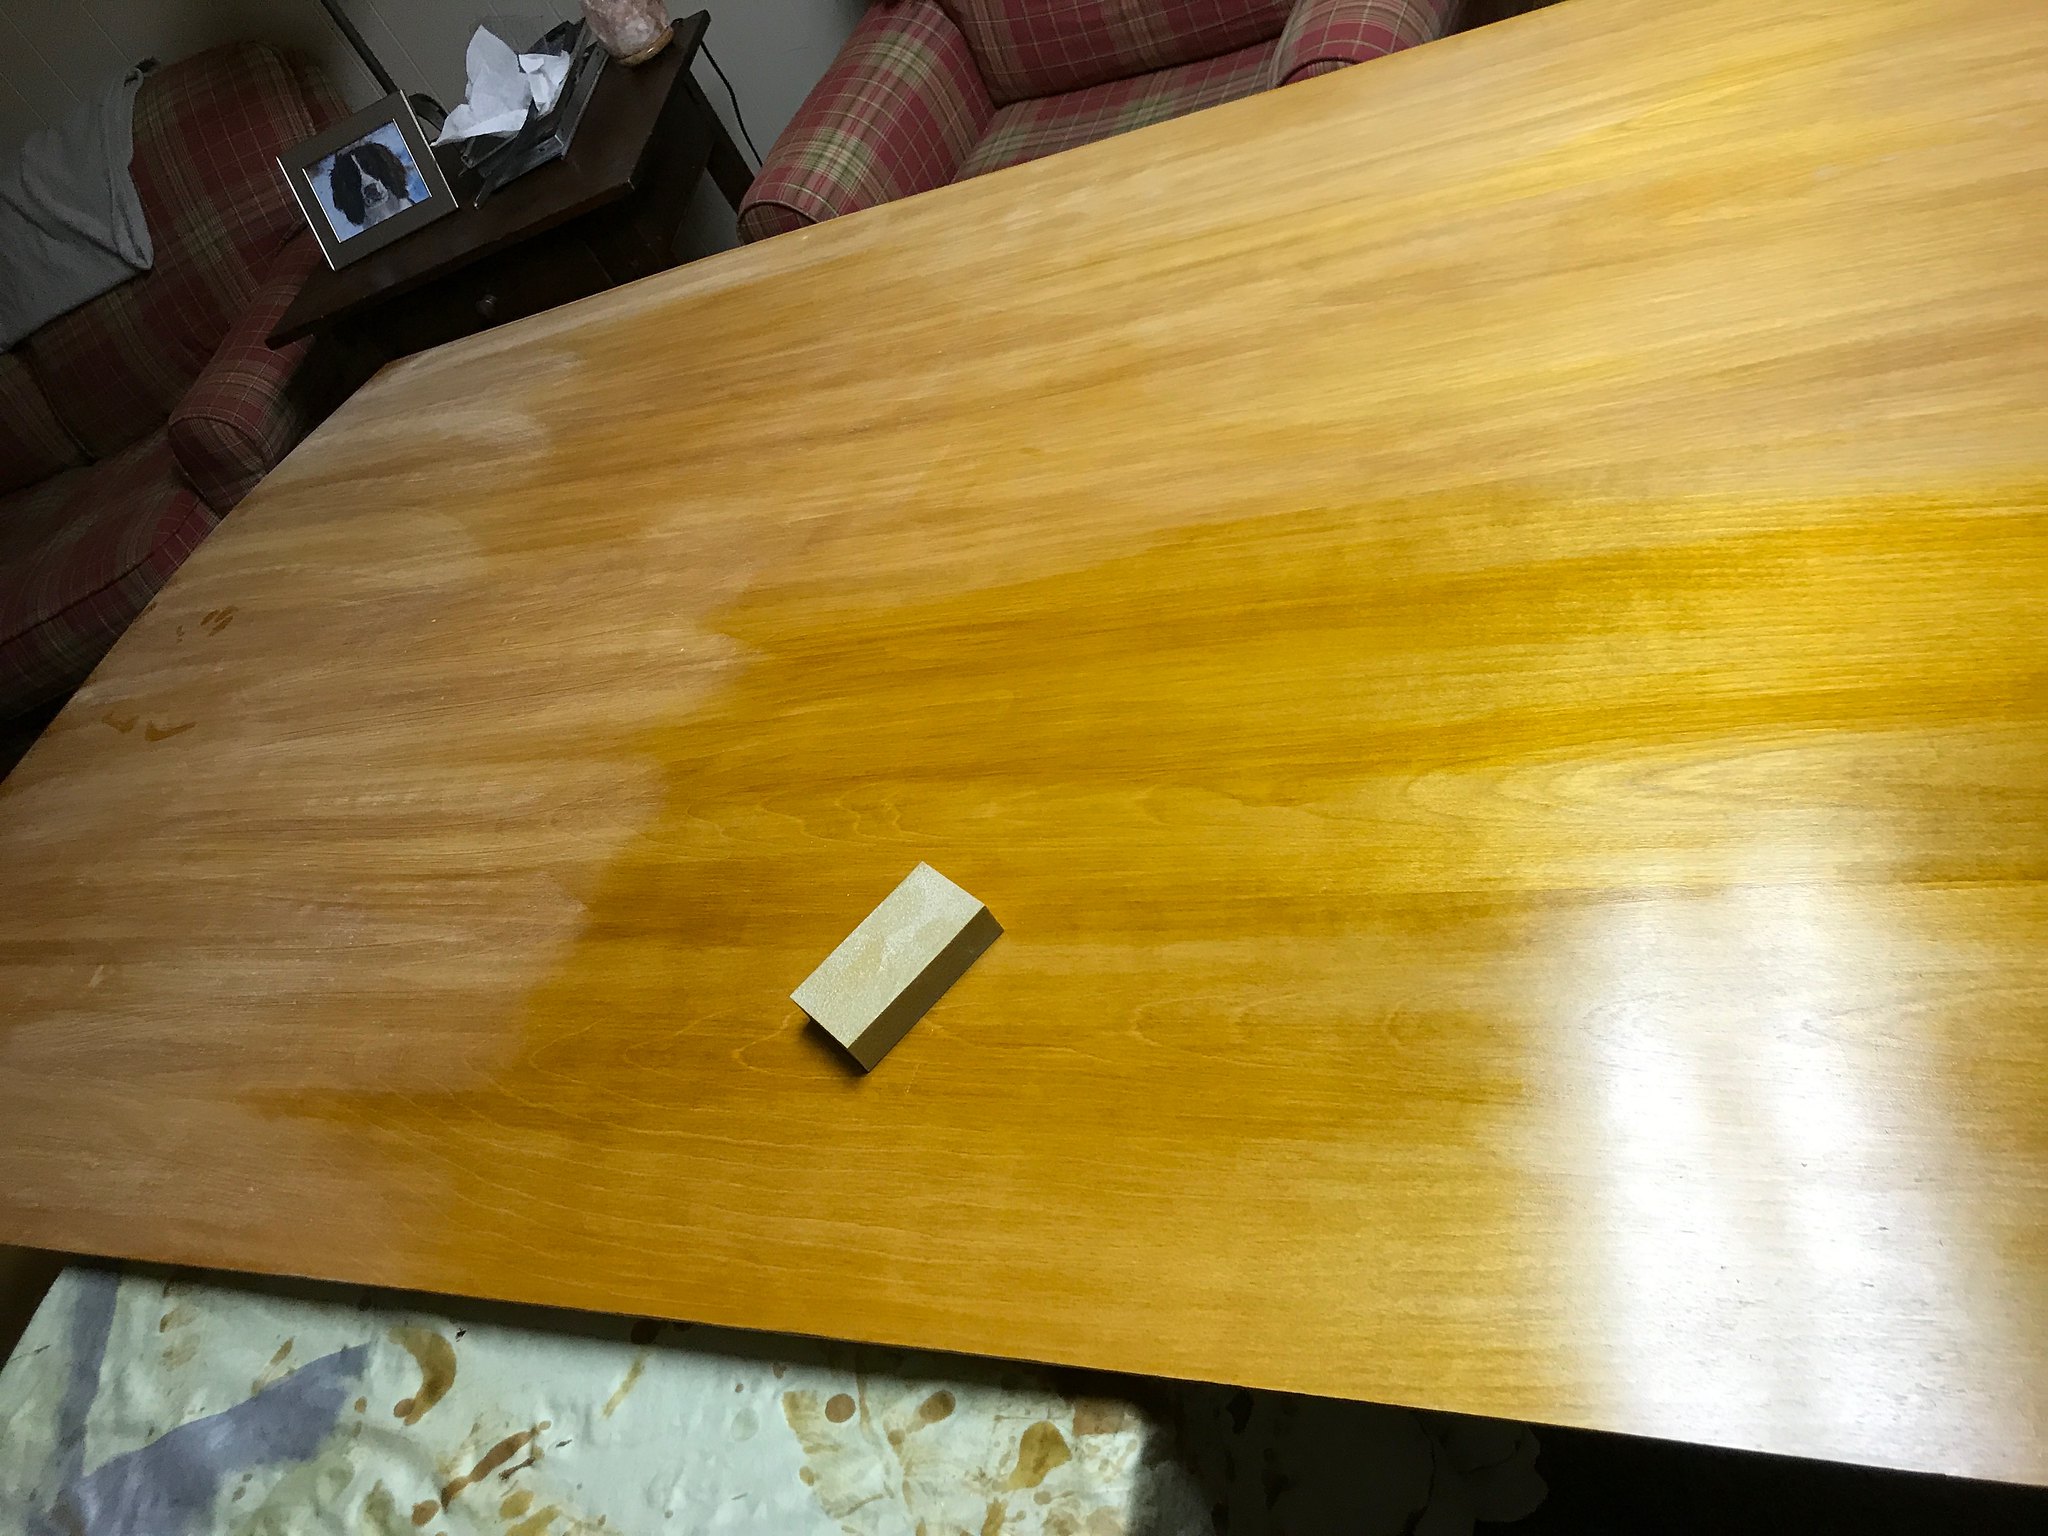 IMG_3060 IMG_3060 by kathy, on Flickr 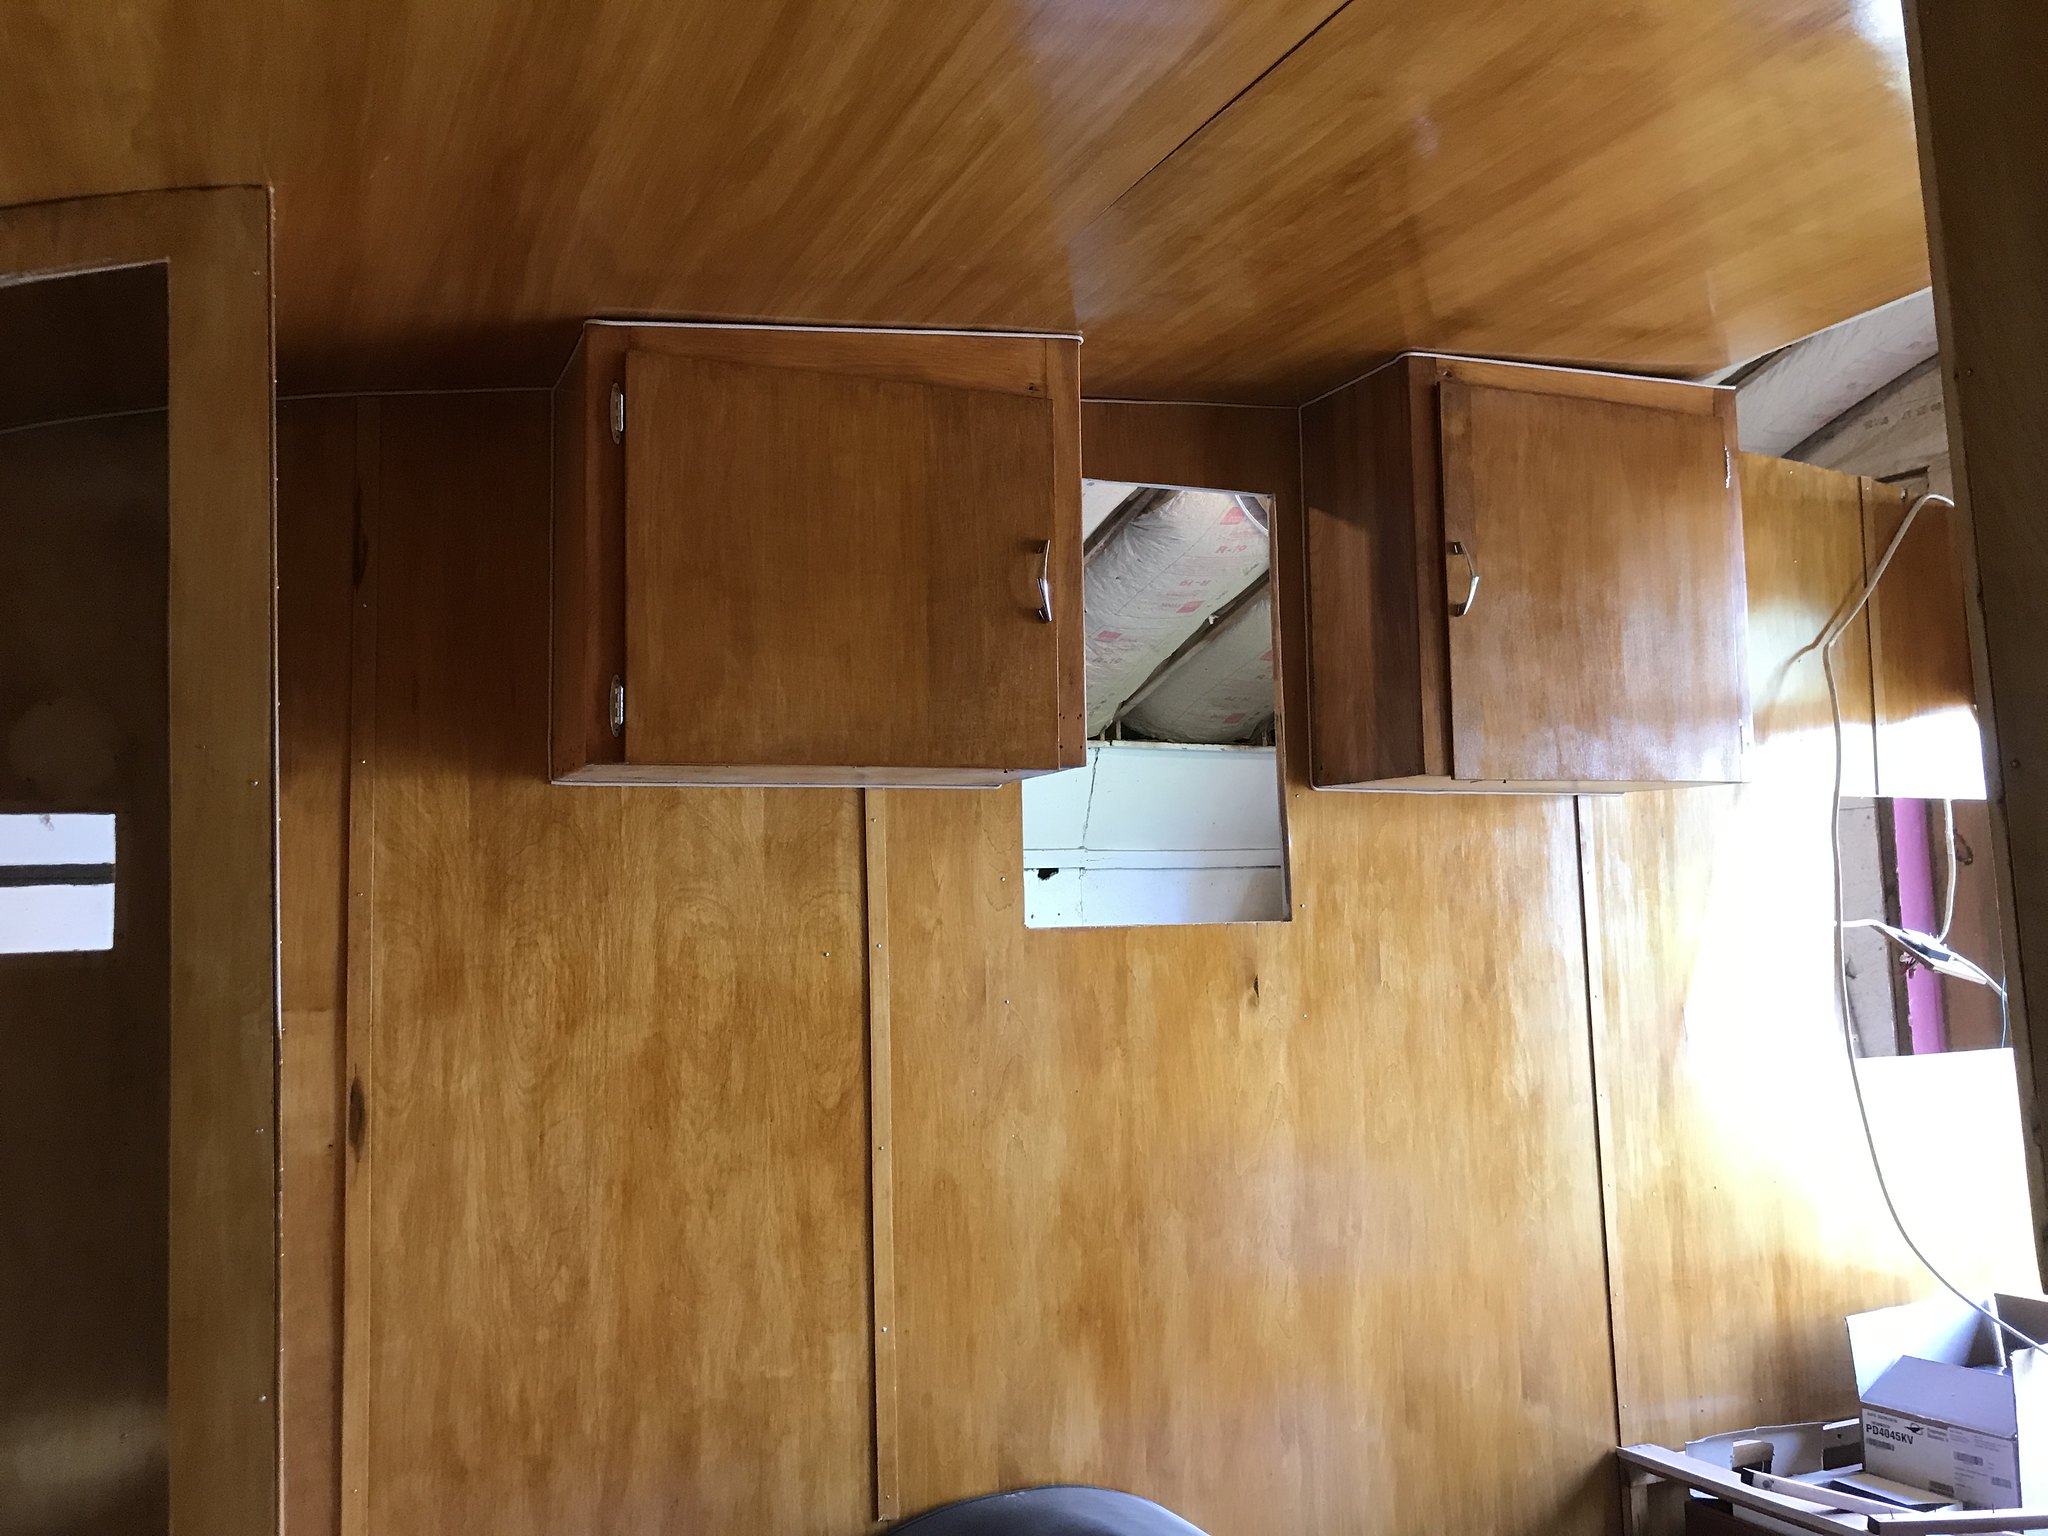 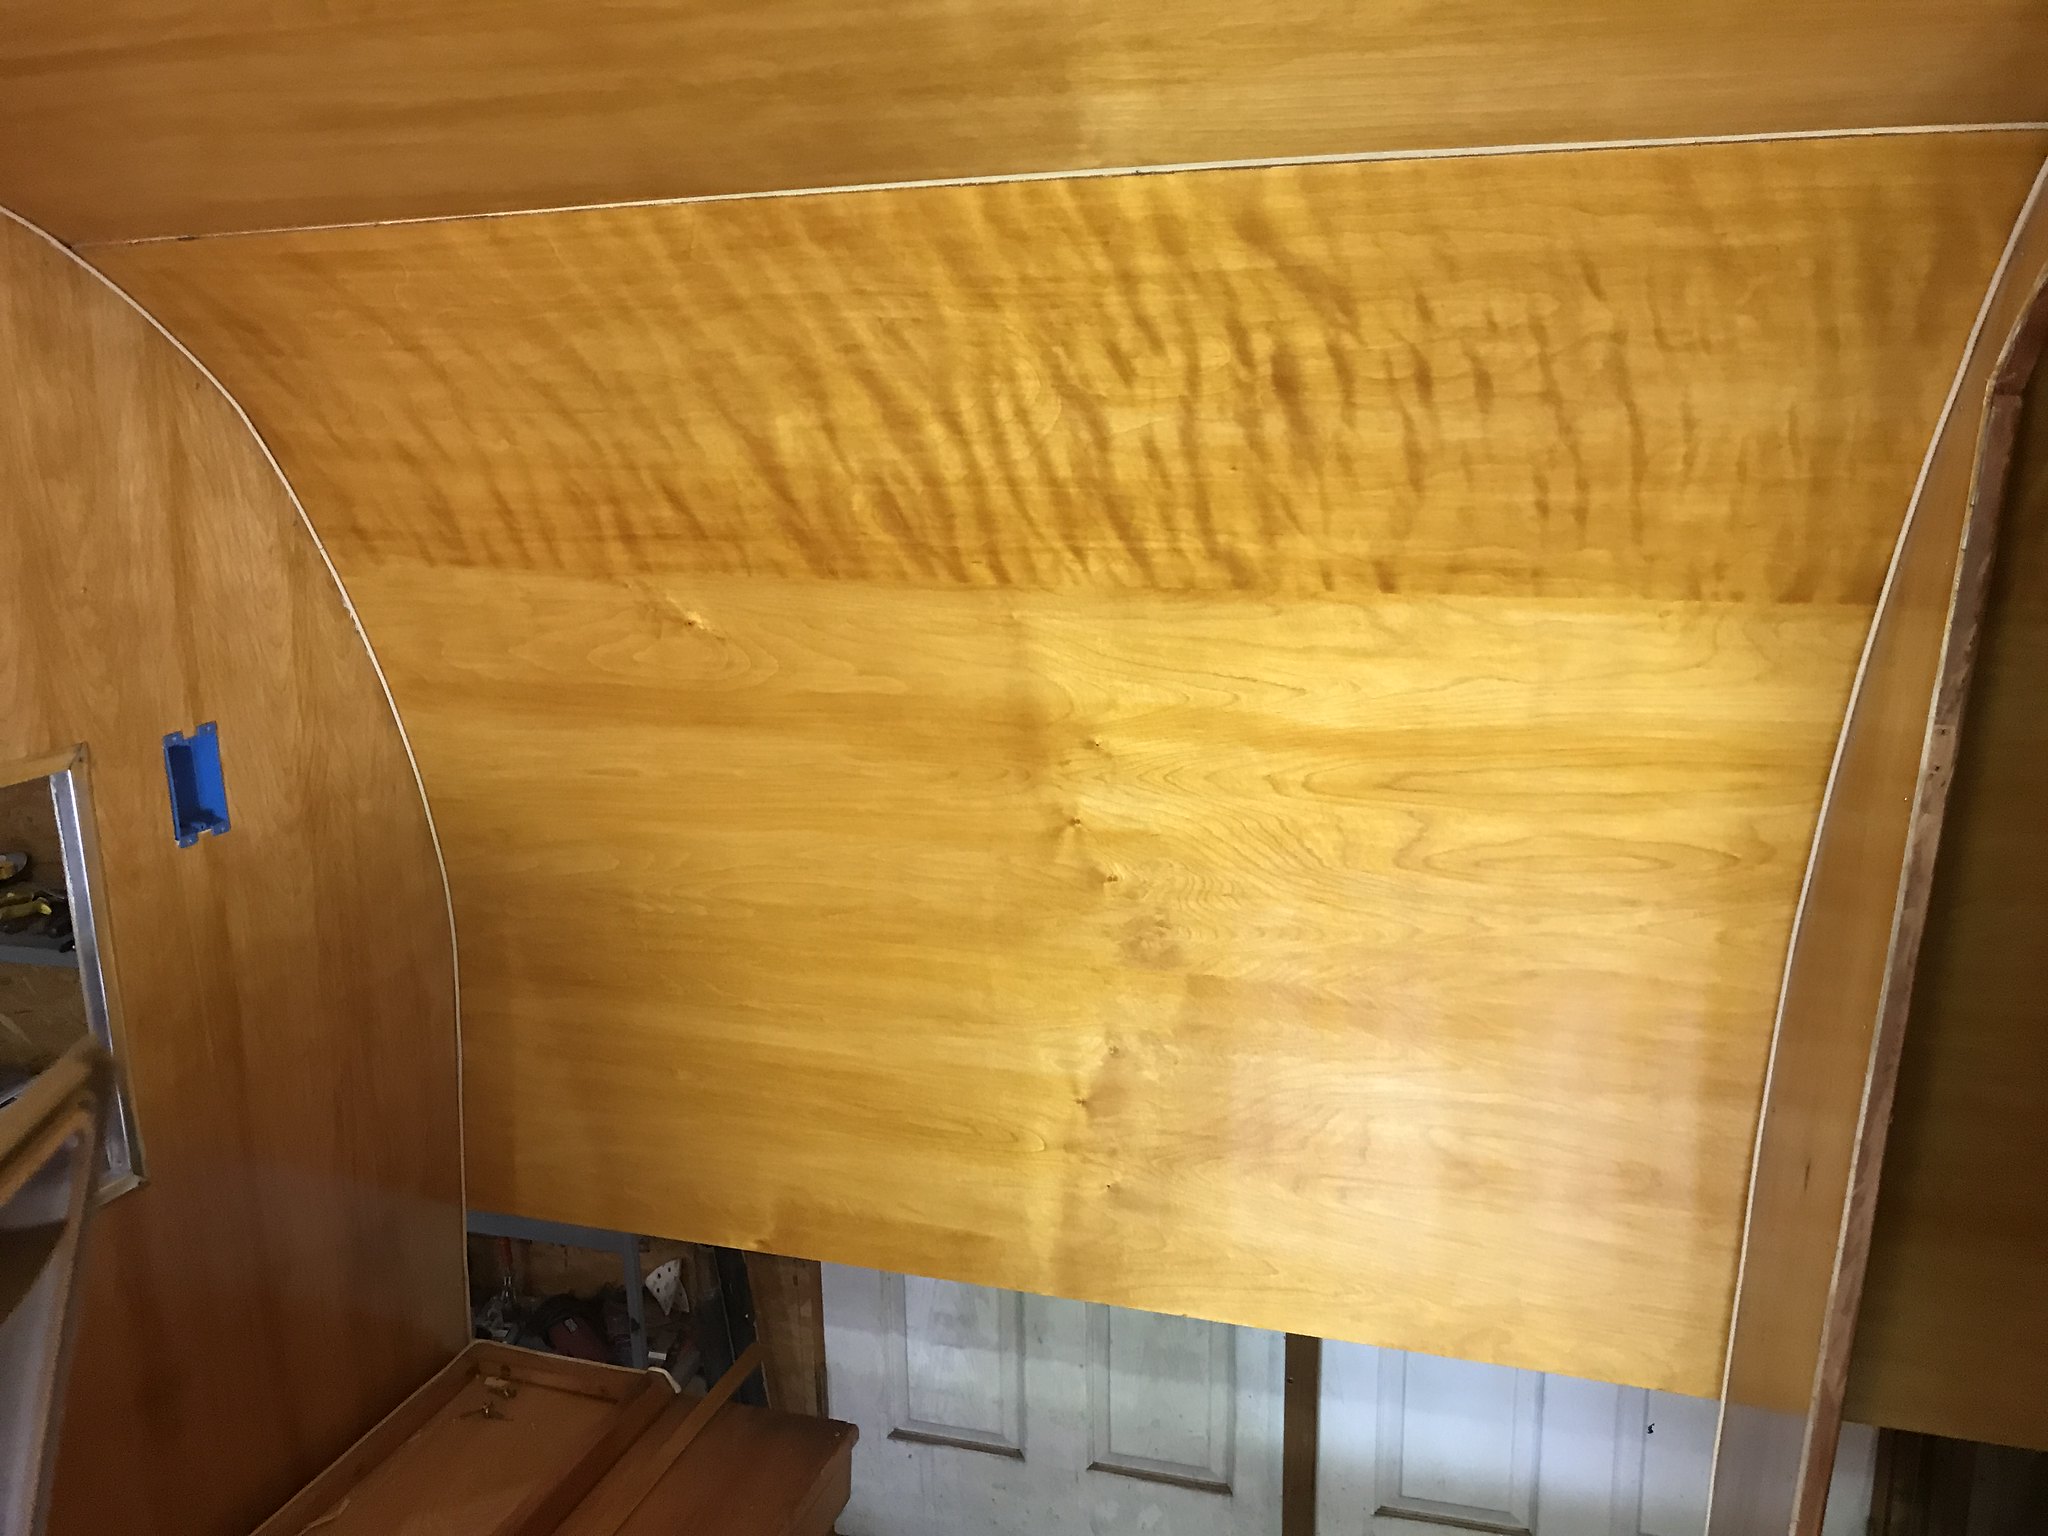 I did run into some issues- mainly due to things not being perfectly square. I needed to let that idea go- as NOTHING on this camper was PERFECTLY square to begin with. With some problem solving- the ceilings panels are all up and flush with the walls, and I am happy I also have worked on the bathroom. I had a plumber remove the old drain and fit a new drain valve on the bottom of my black tank. I then was able to install the tank, build the floor and tile it off. I will be installing the toilet soon- and then the bathroom will be mostly complete ! 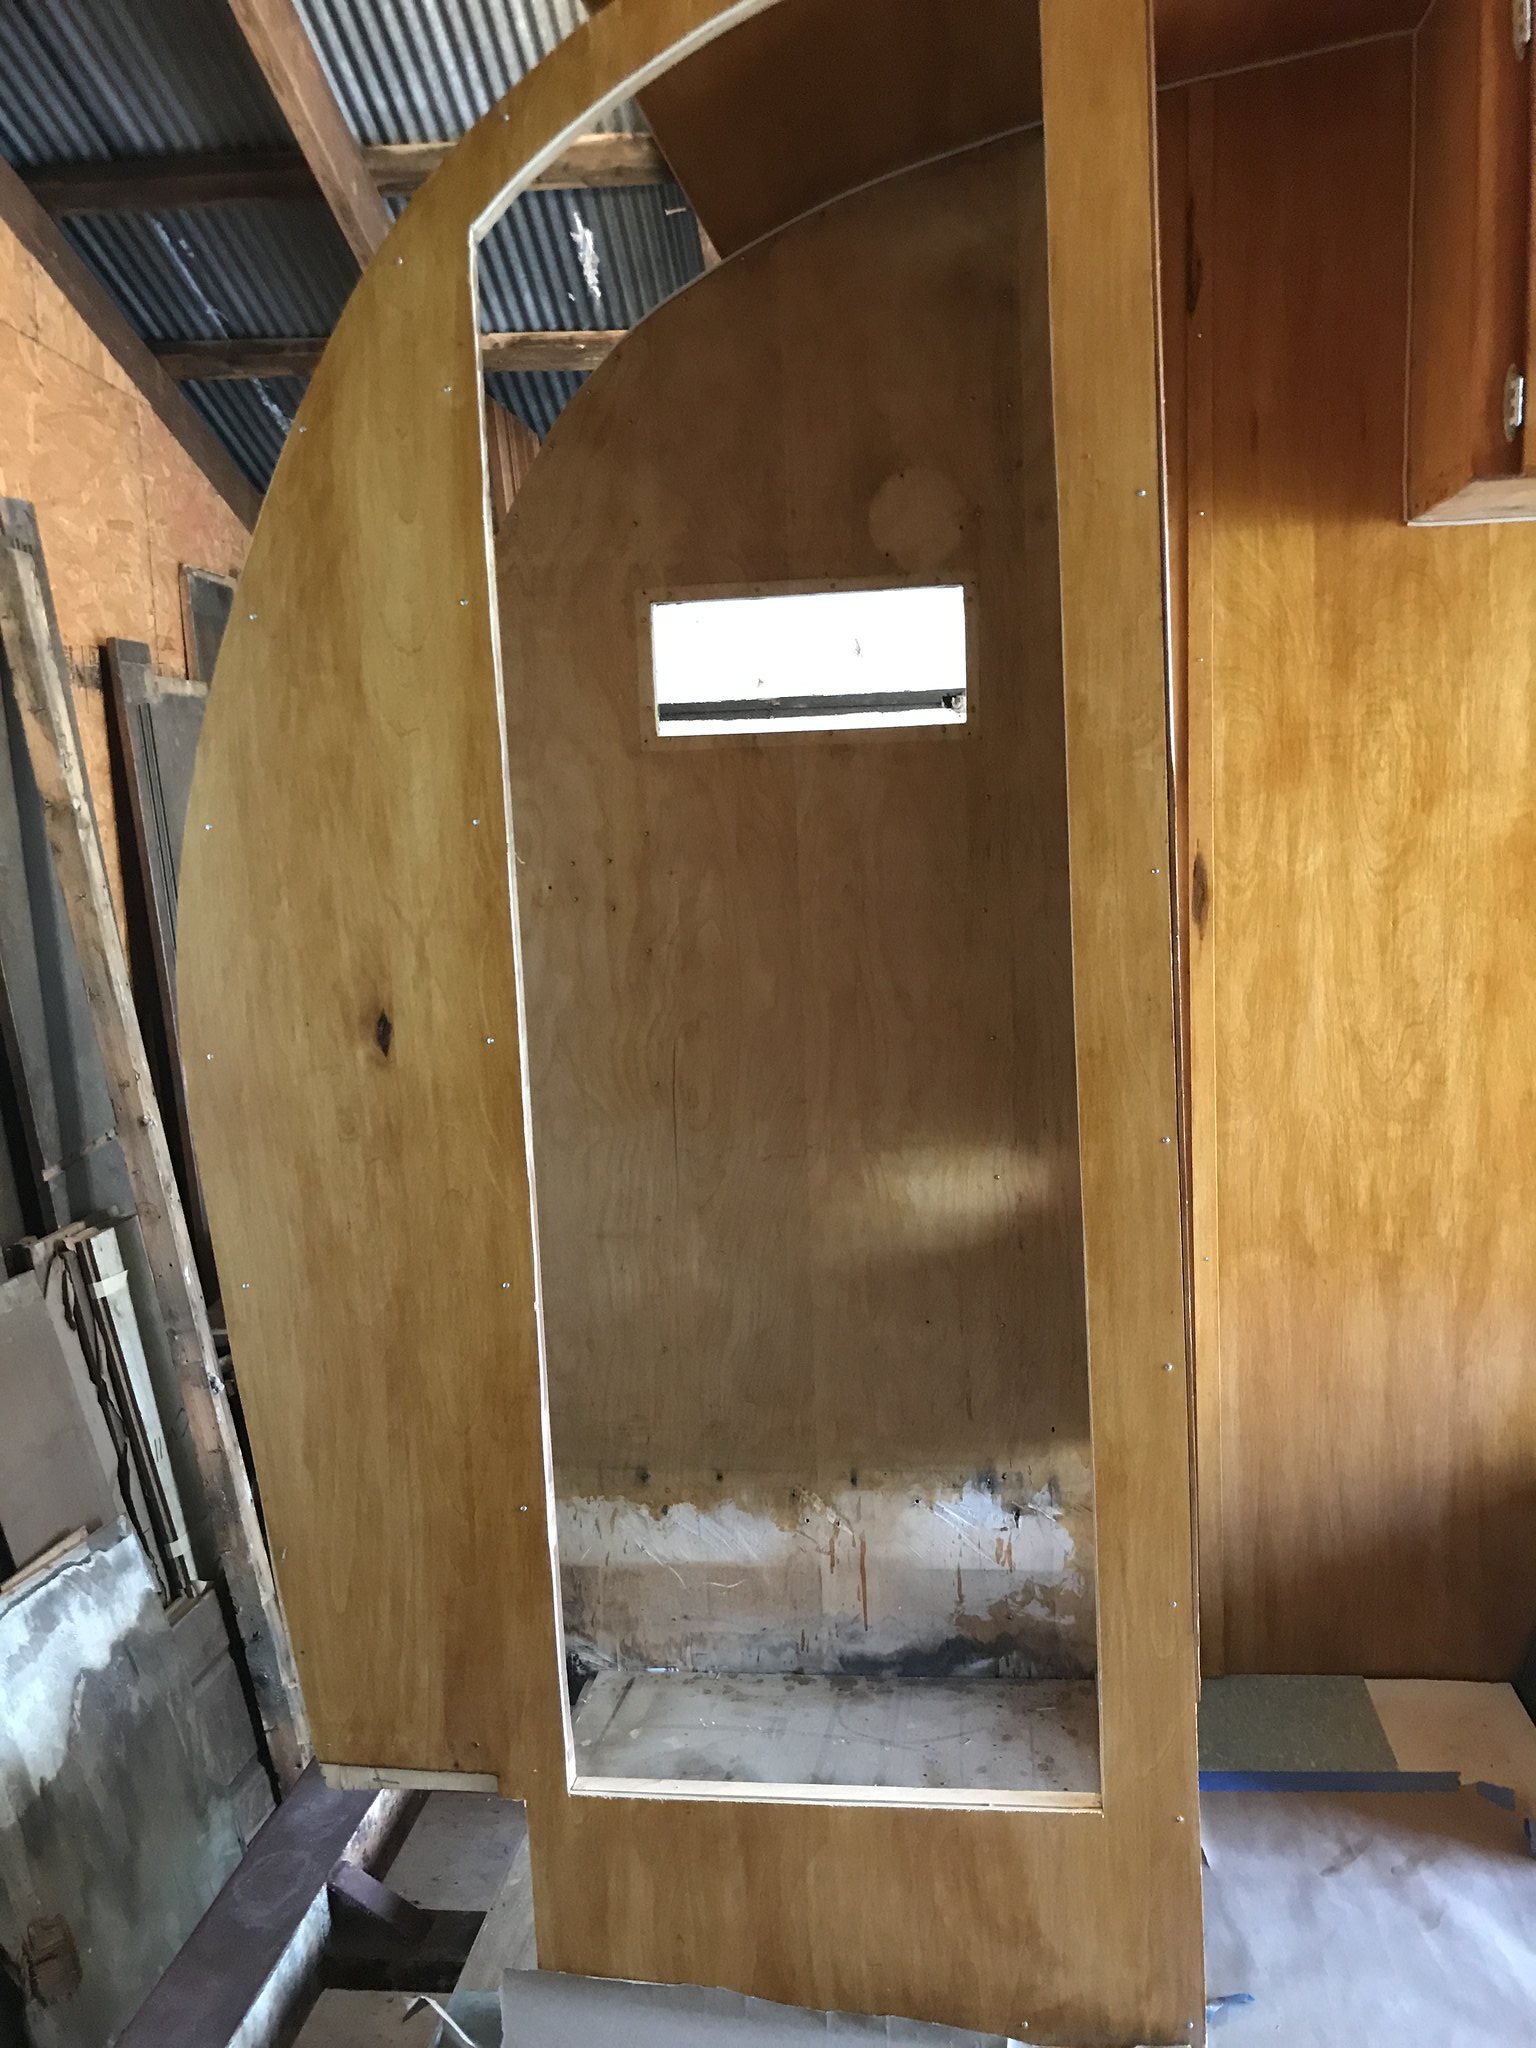  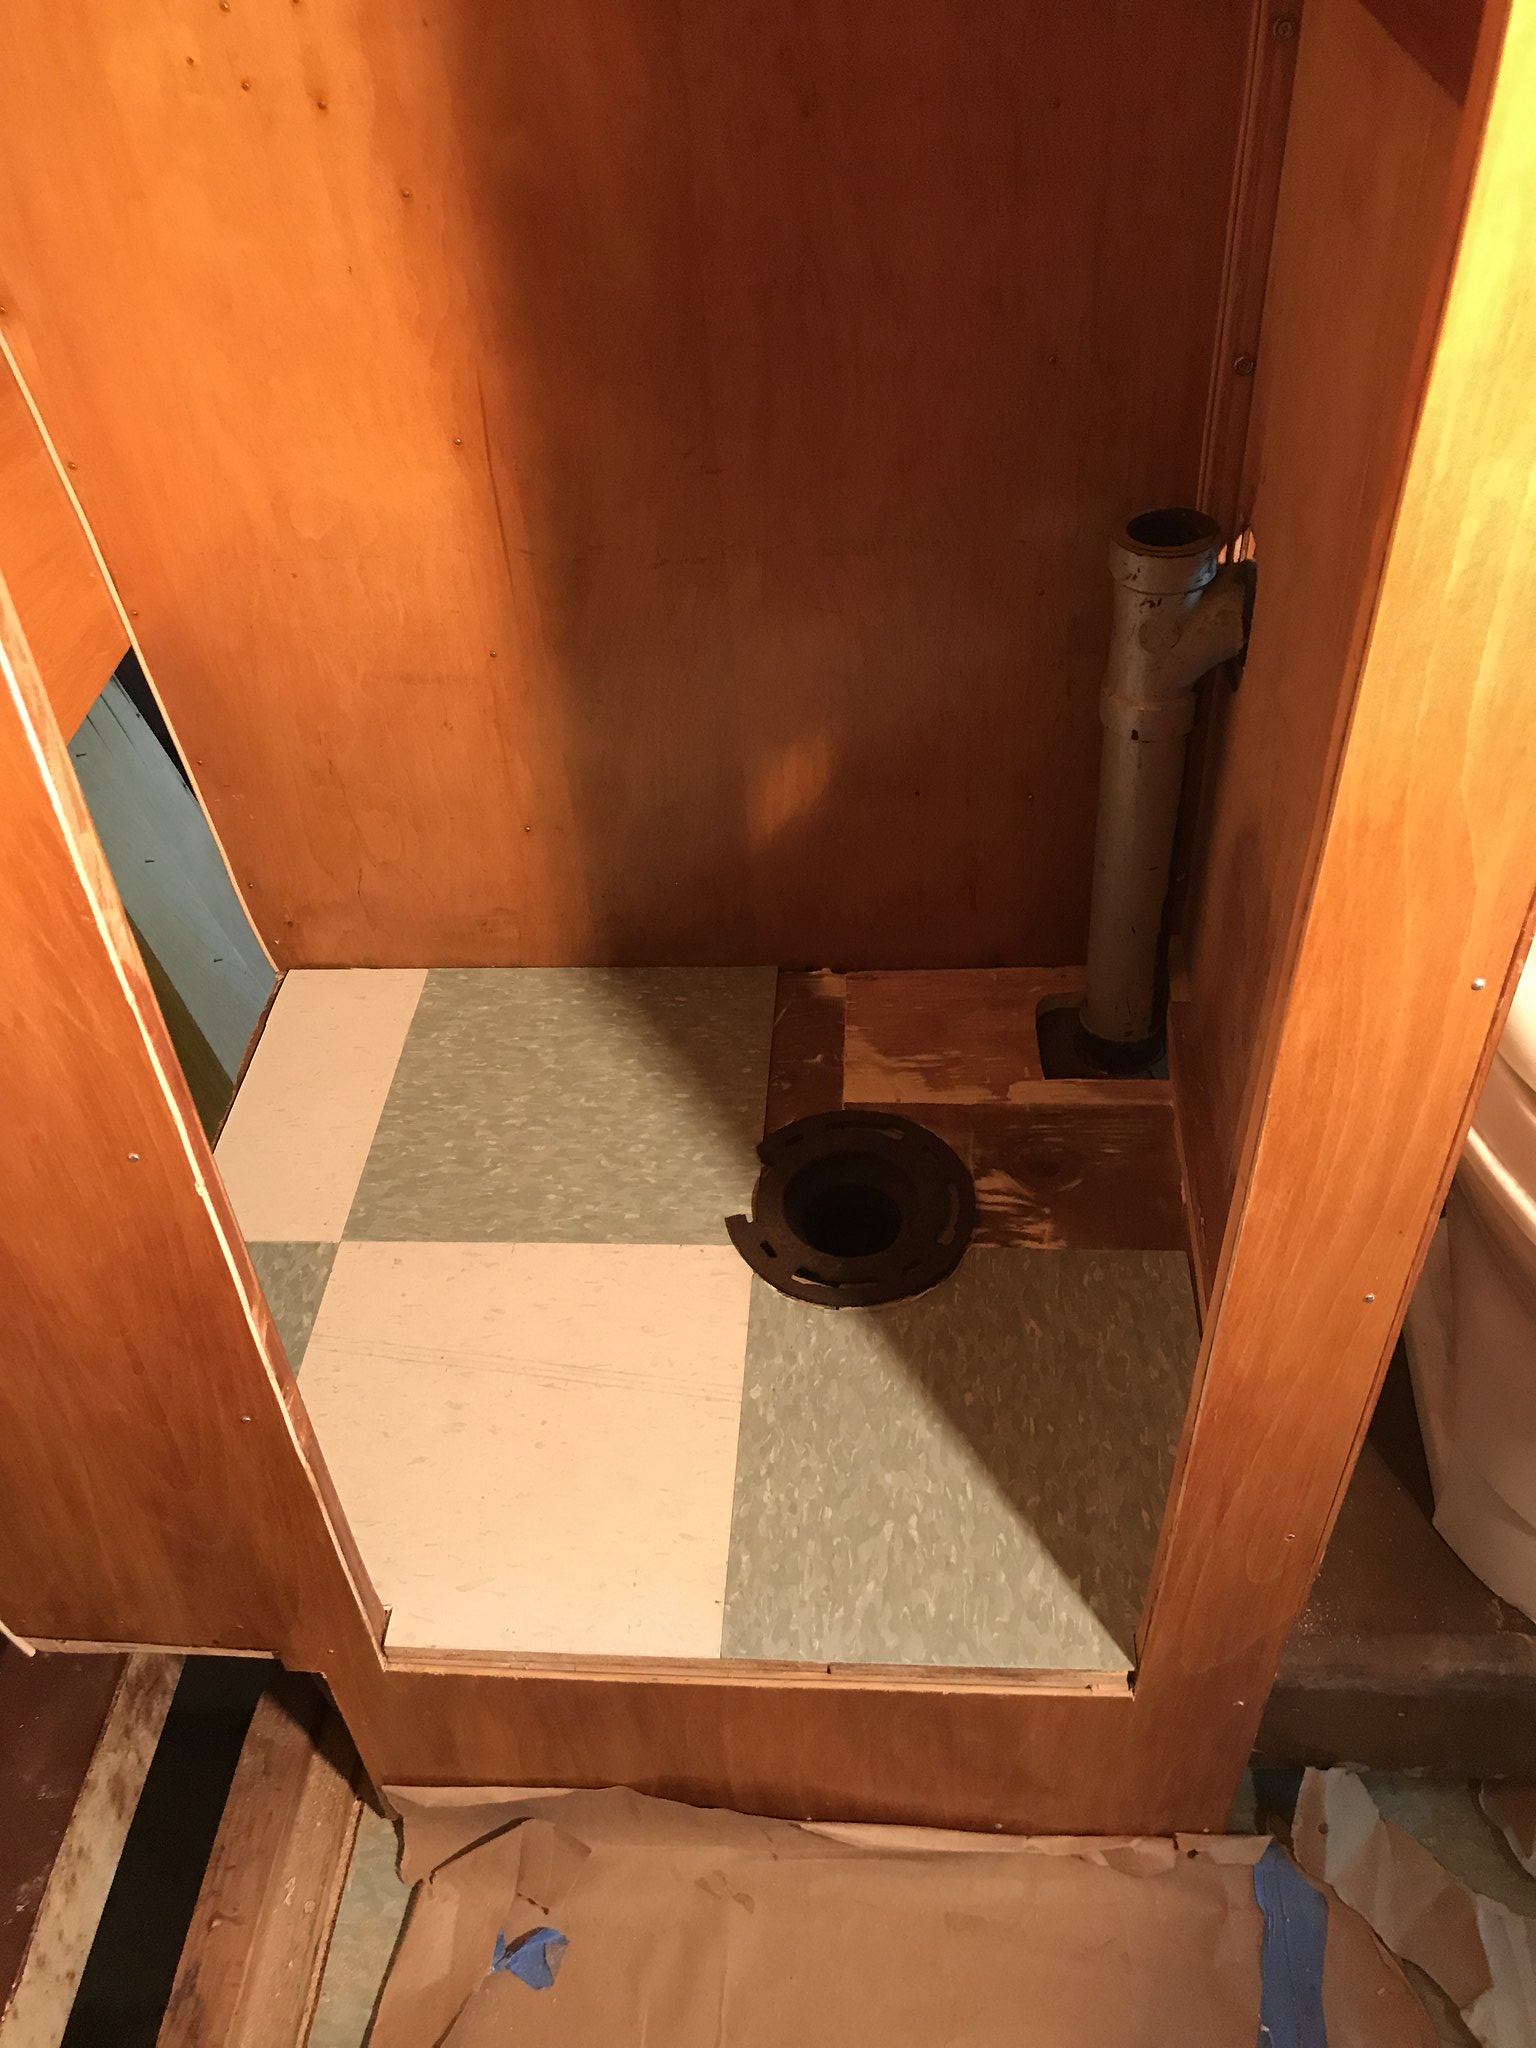 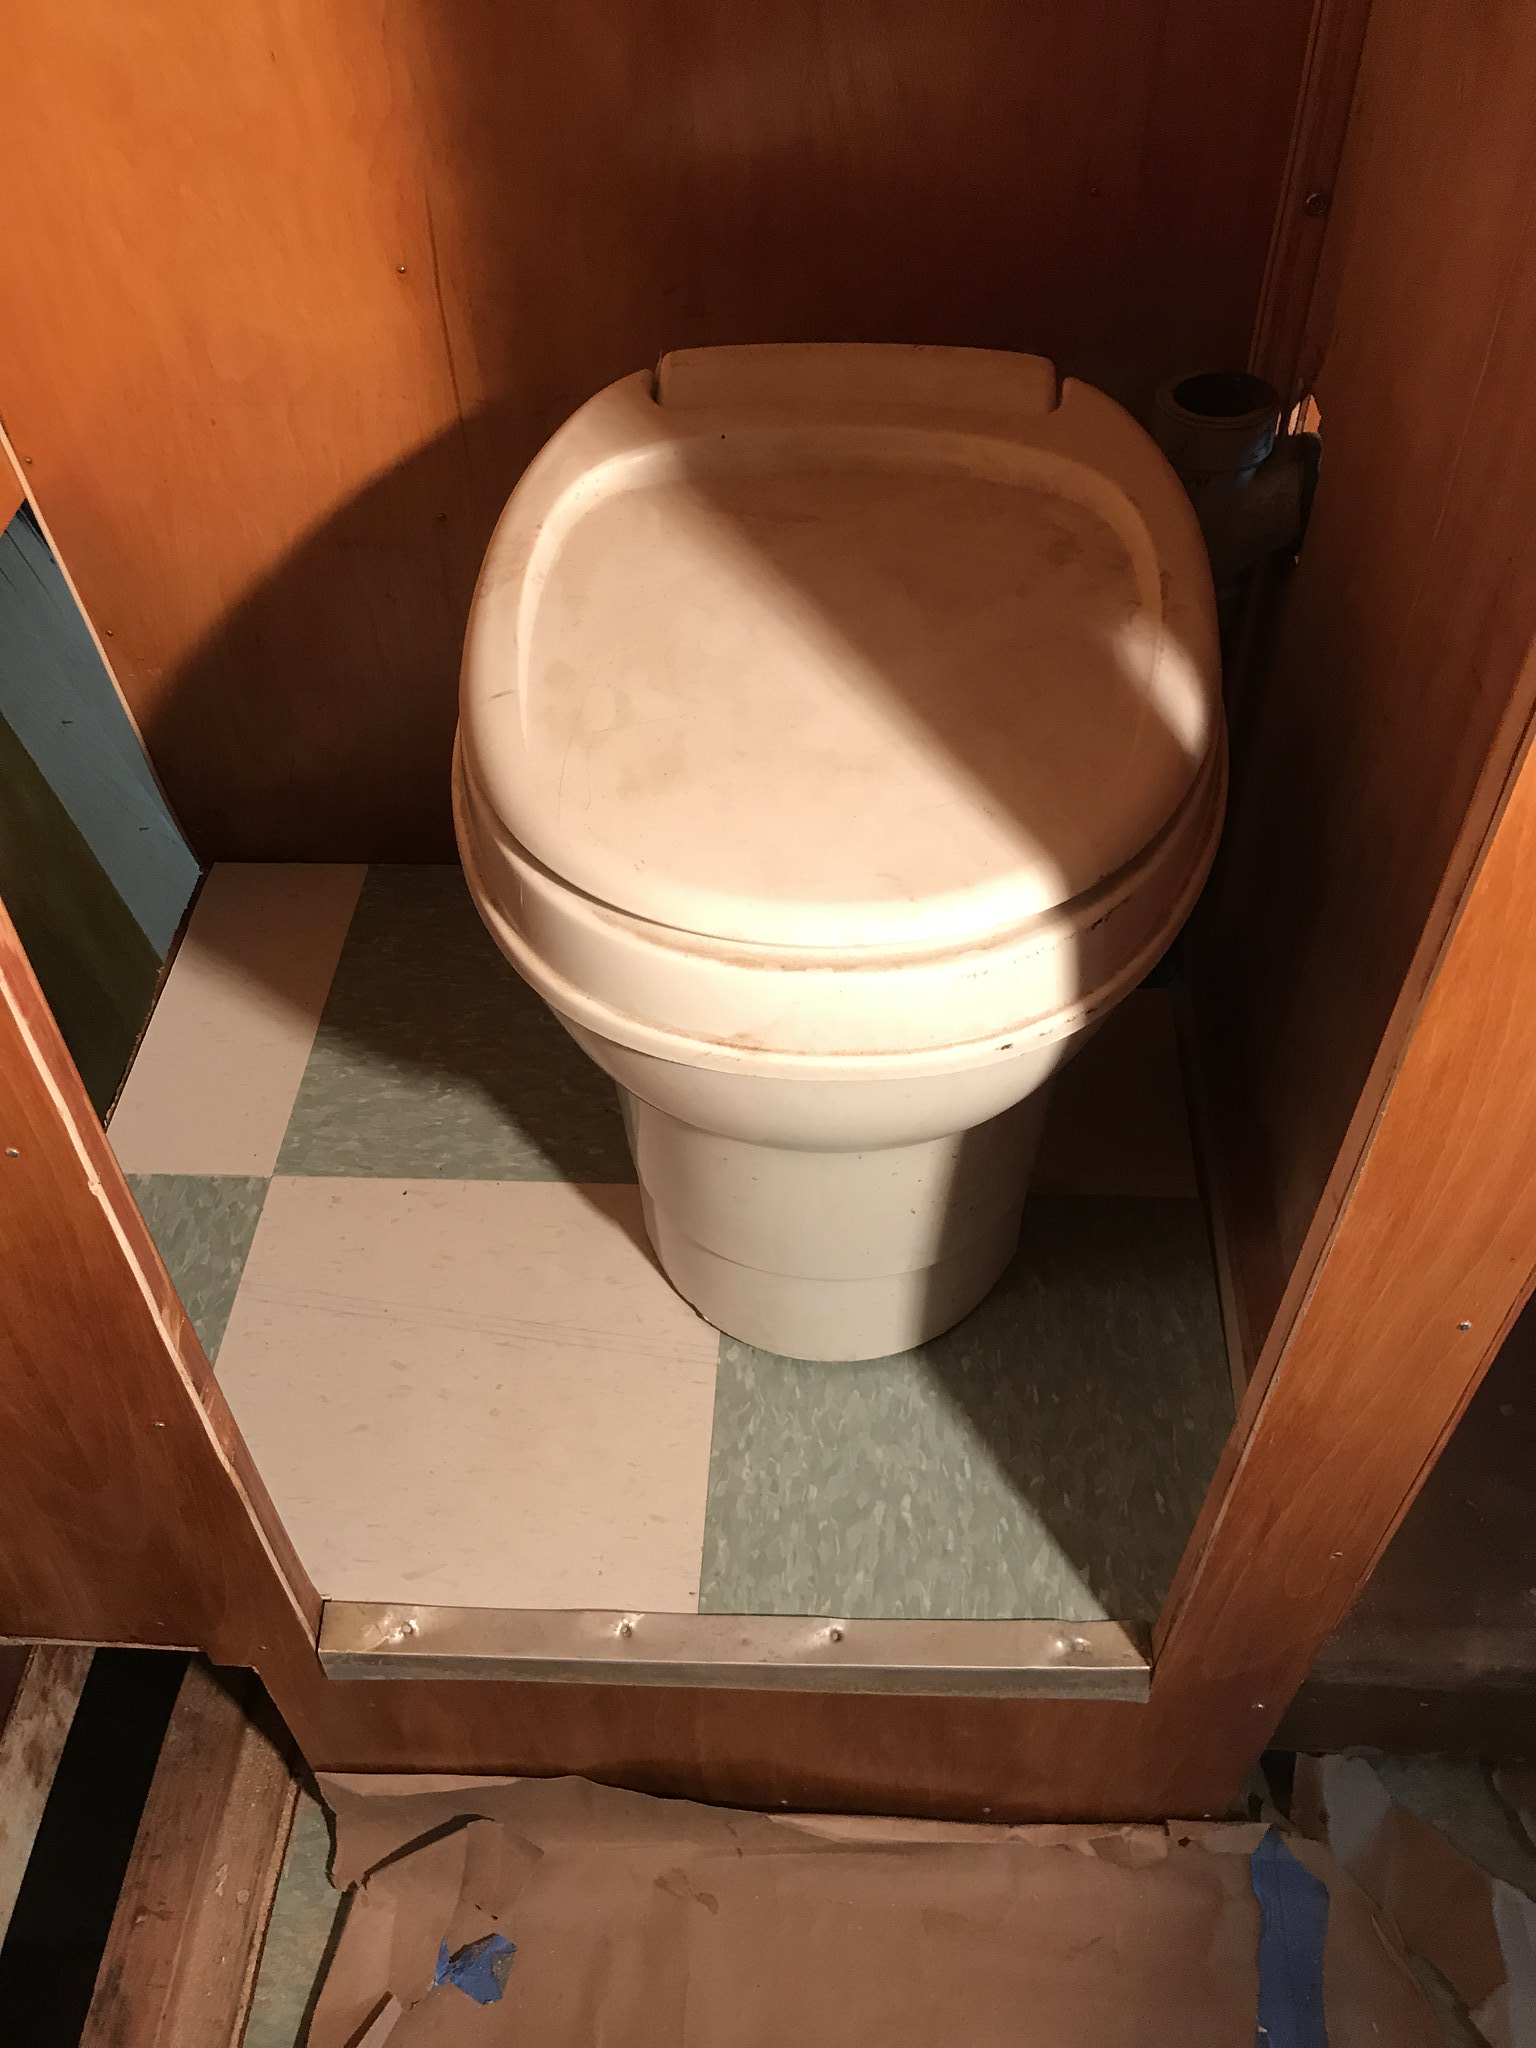 A few other things: Had to put in some windows- to show off how great they look after being cleaned. Love them!! 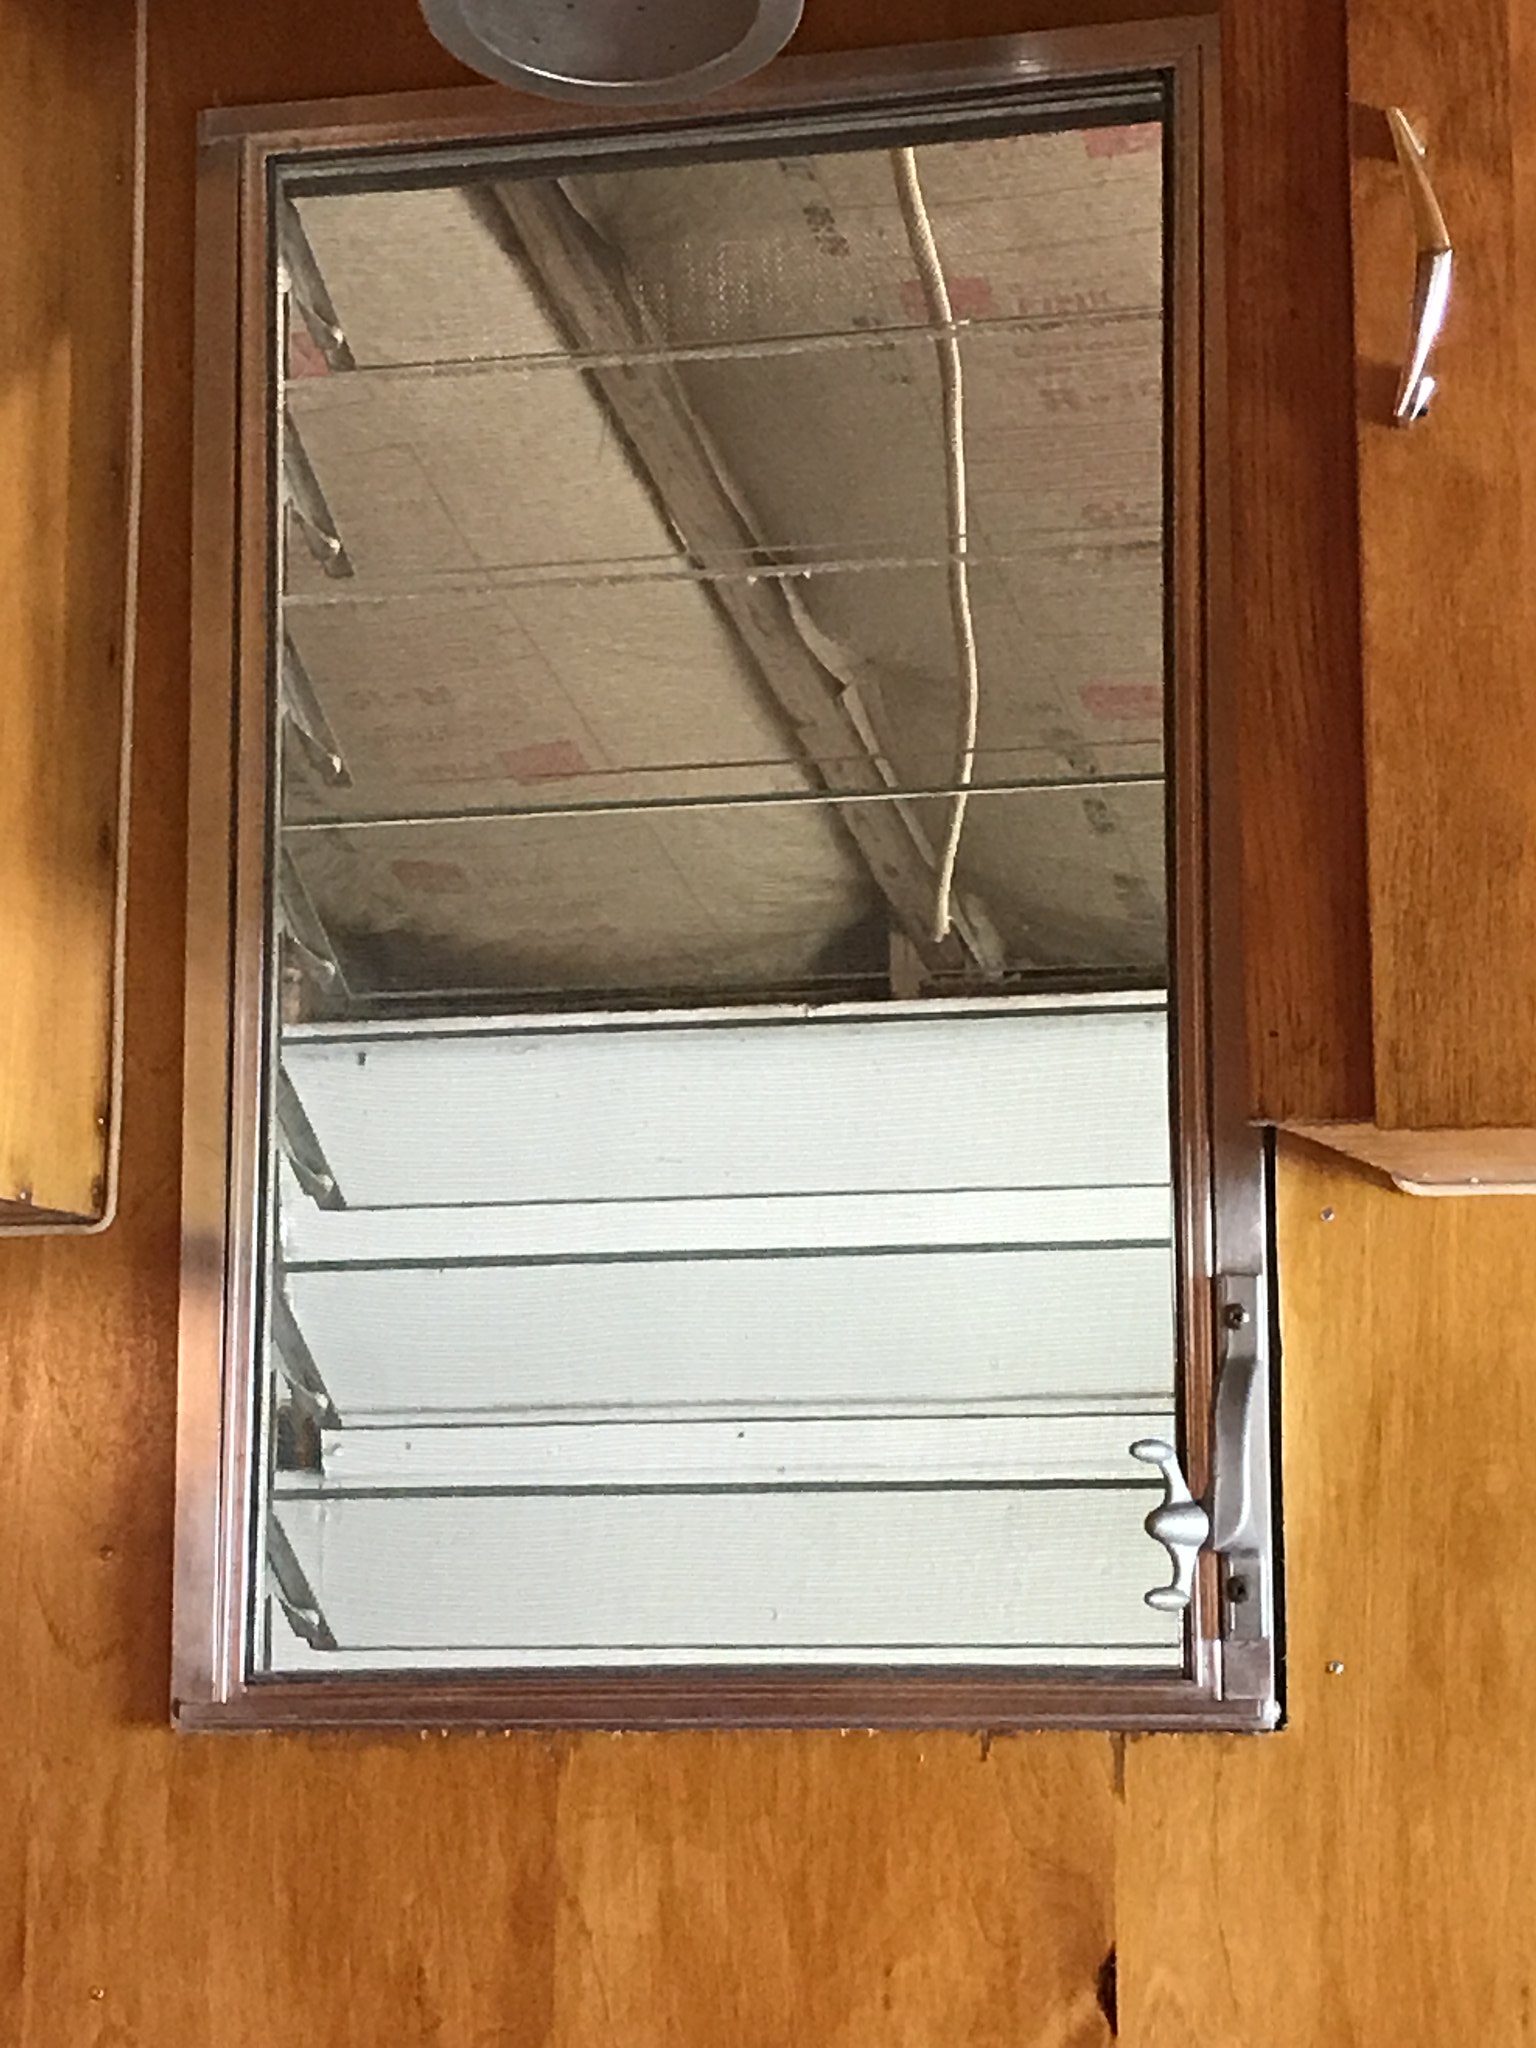 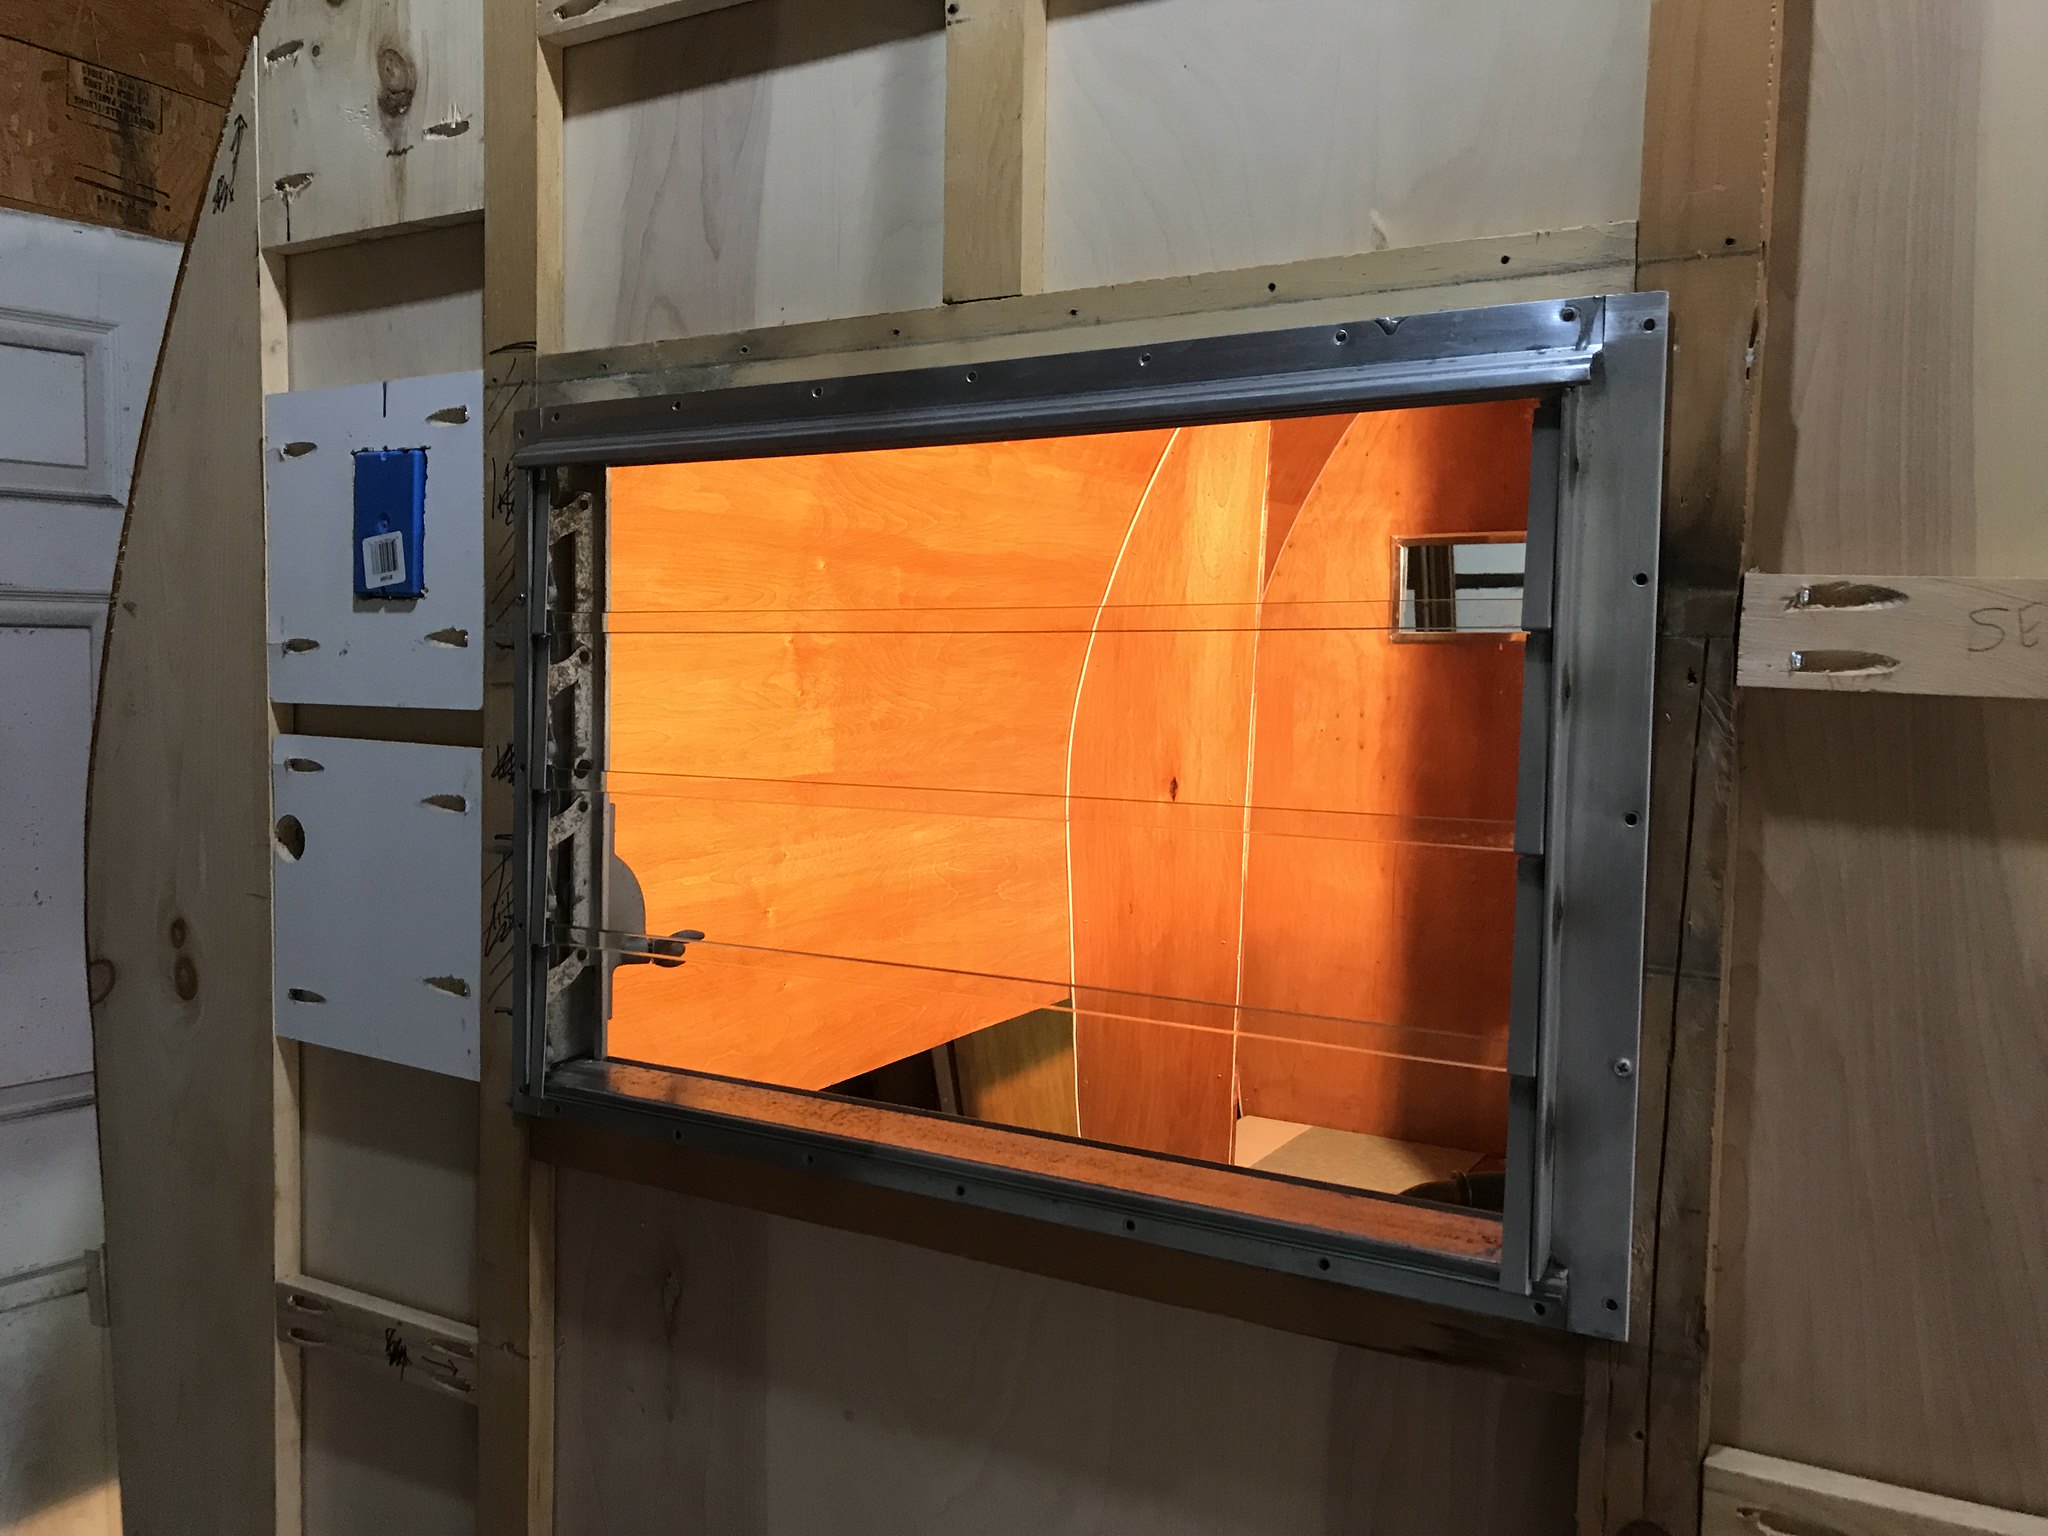 Made new doors for the cabinet above the dinette- but might change them to match the countertop when I get it:  Finally got the shelf above the gaucho up and fit correctly. I will NOT mess with the closet and this again- as it had some issues that drove me MAD.....but were able to be fixed without too much problem. Thank the Lord !! 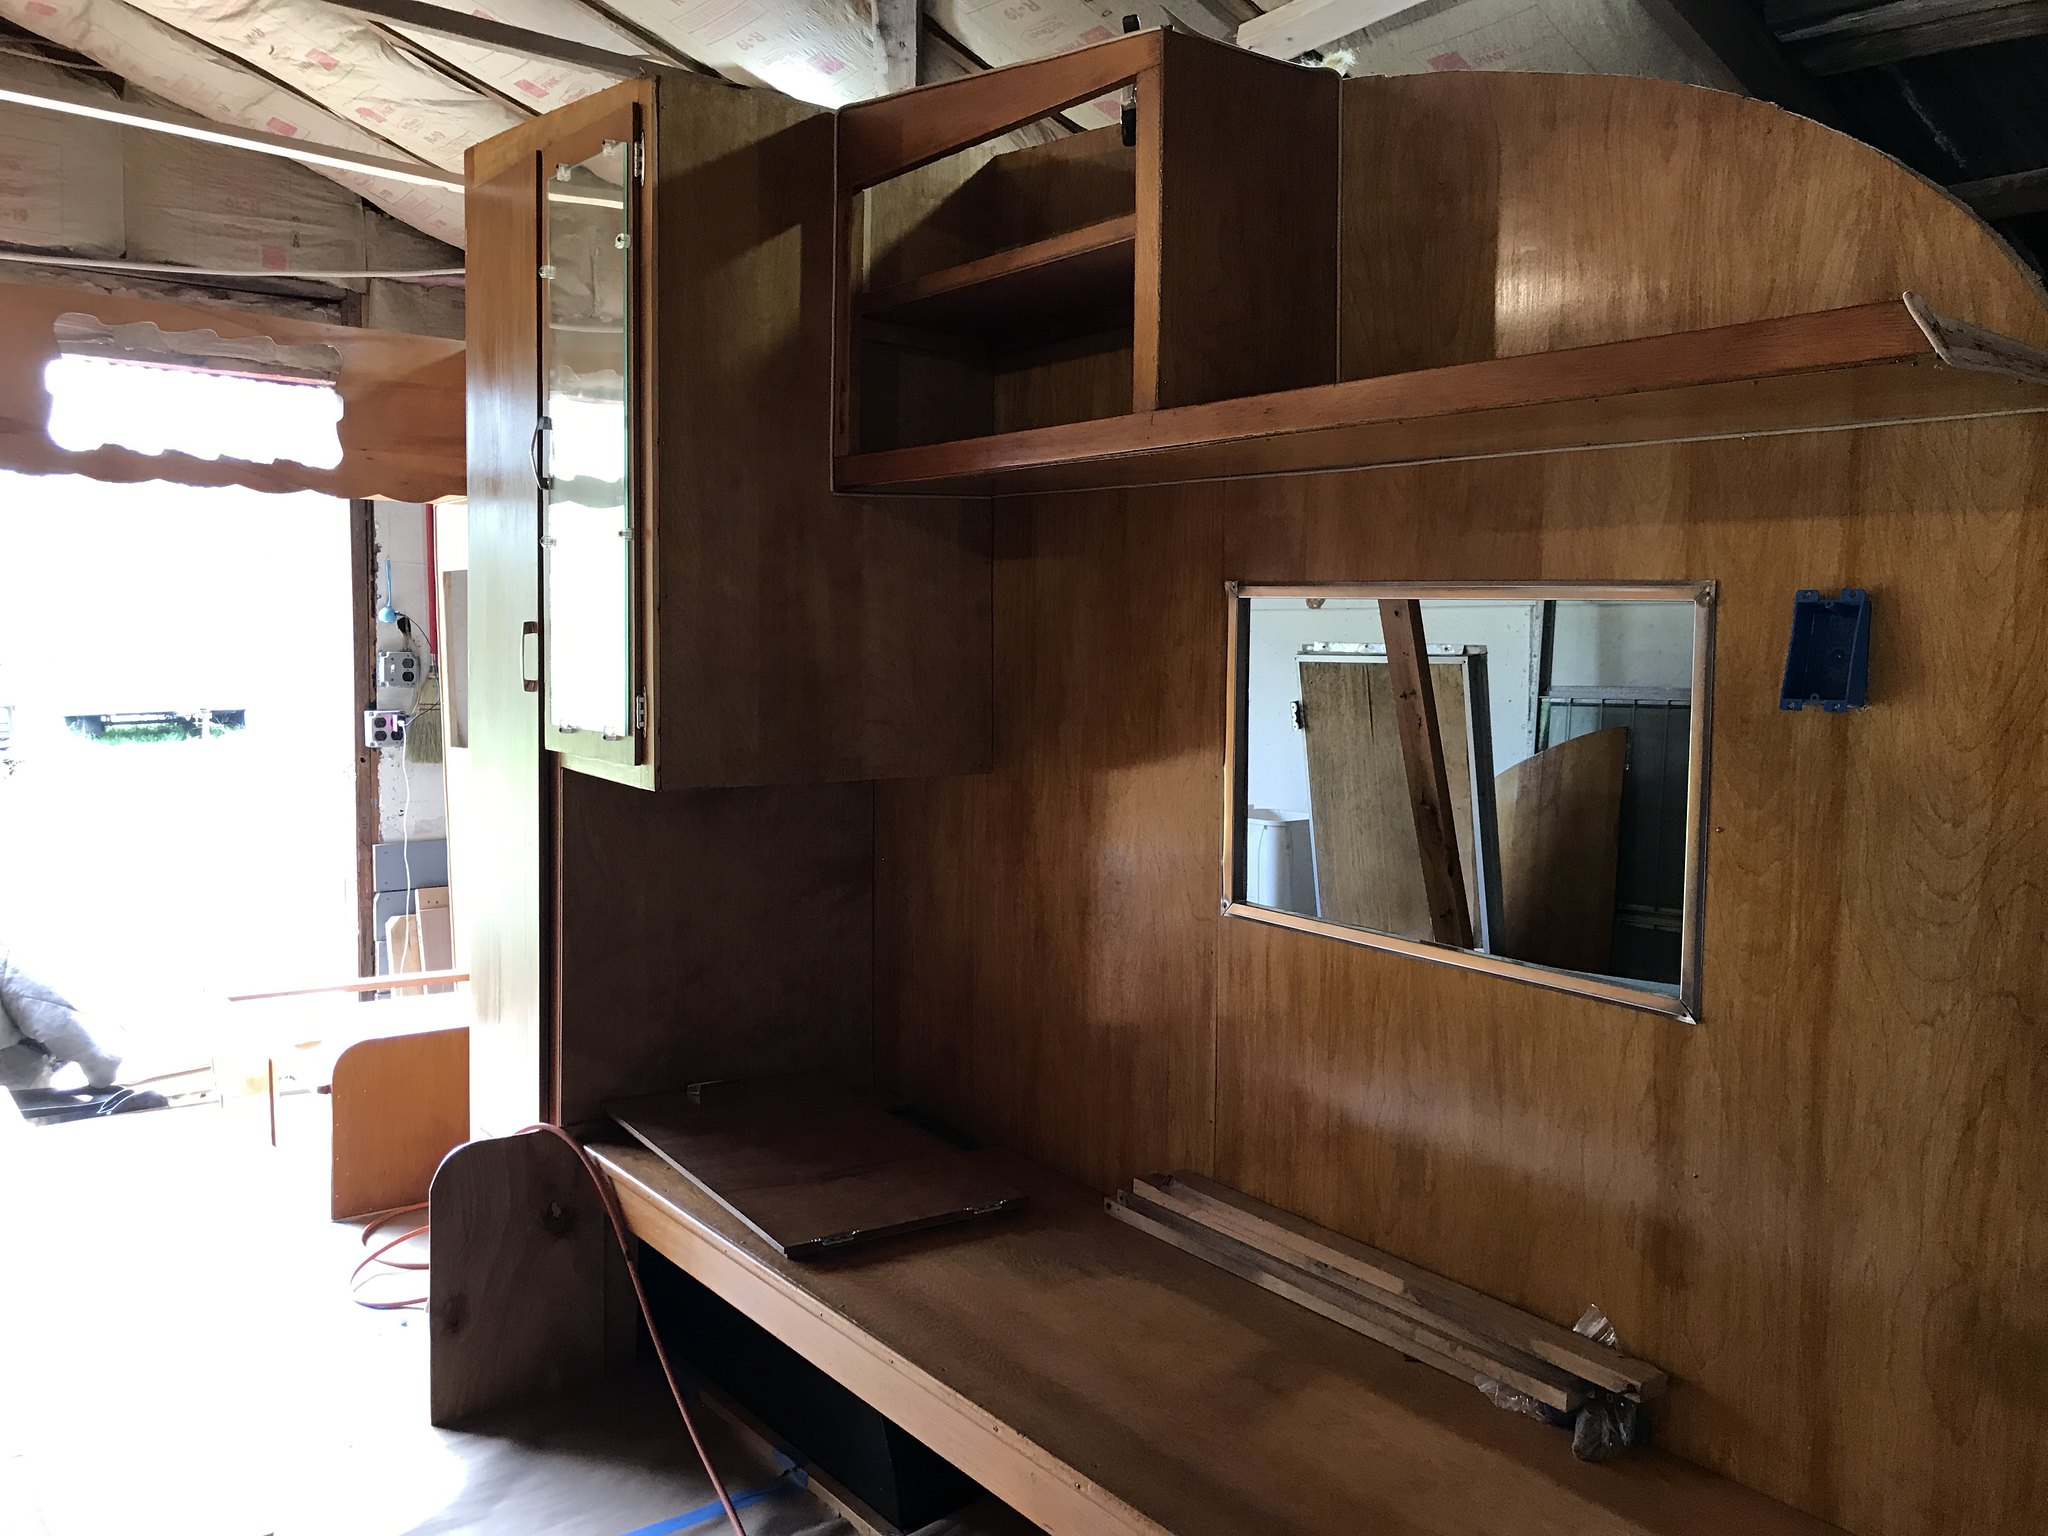 One issue: the placement of my roof rafters did not match up to the old ones ( I used 4X8 panels vs the old 3X8- which made me have to reconfigure the ceiling panels). Luckily- when I added backers and screwed the ceiling to the top of the shelf, it pulled in easily. I reinforced it good just to be sure 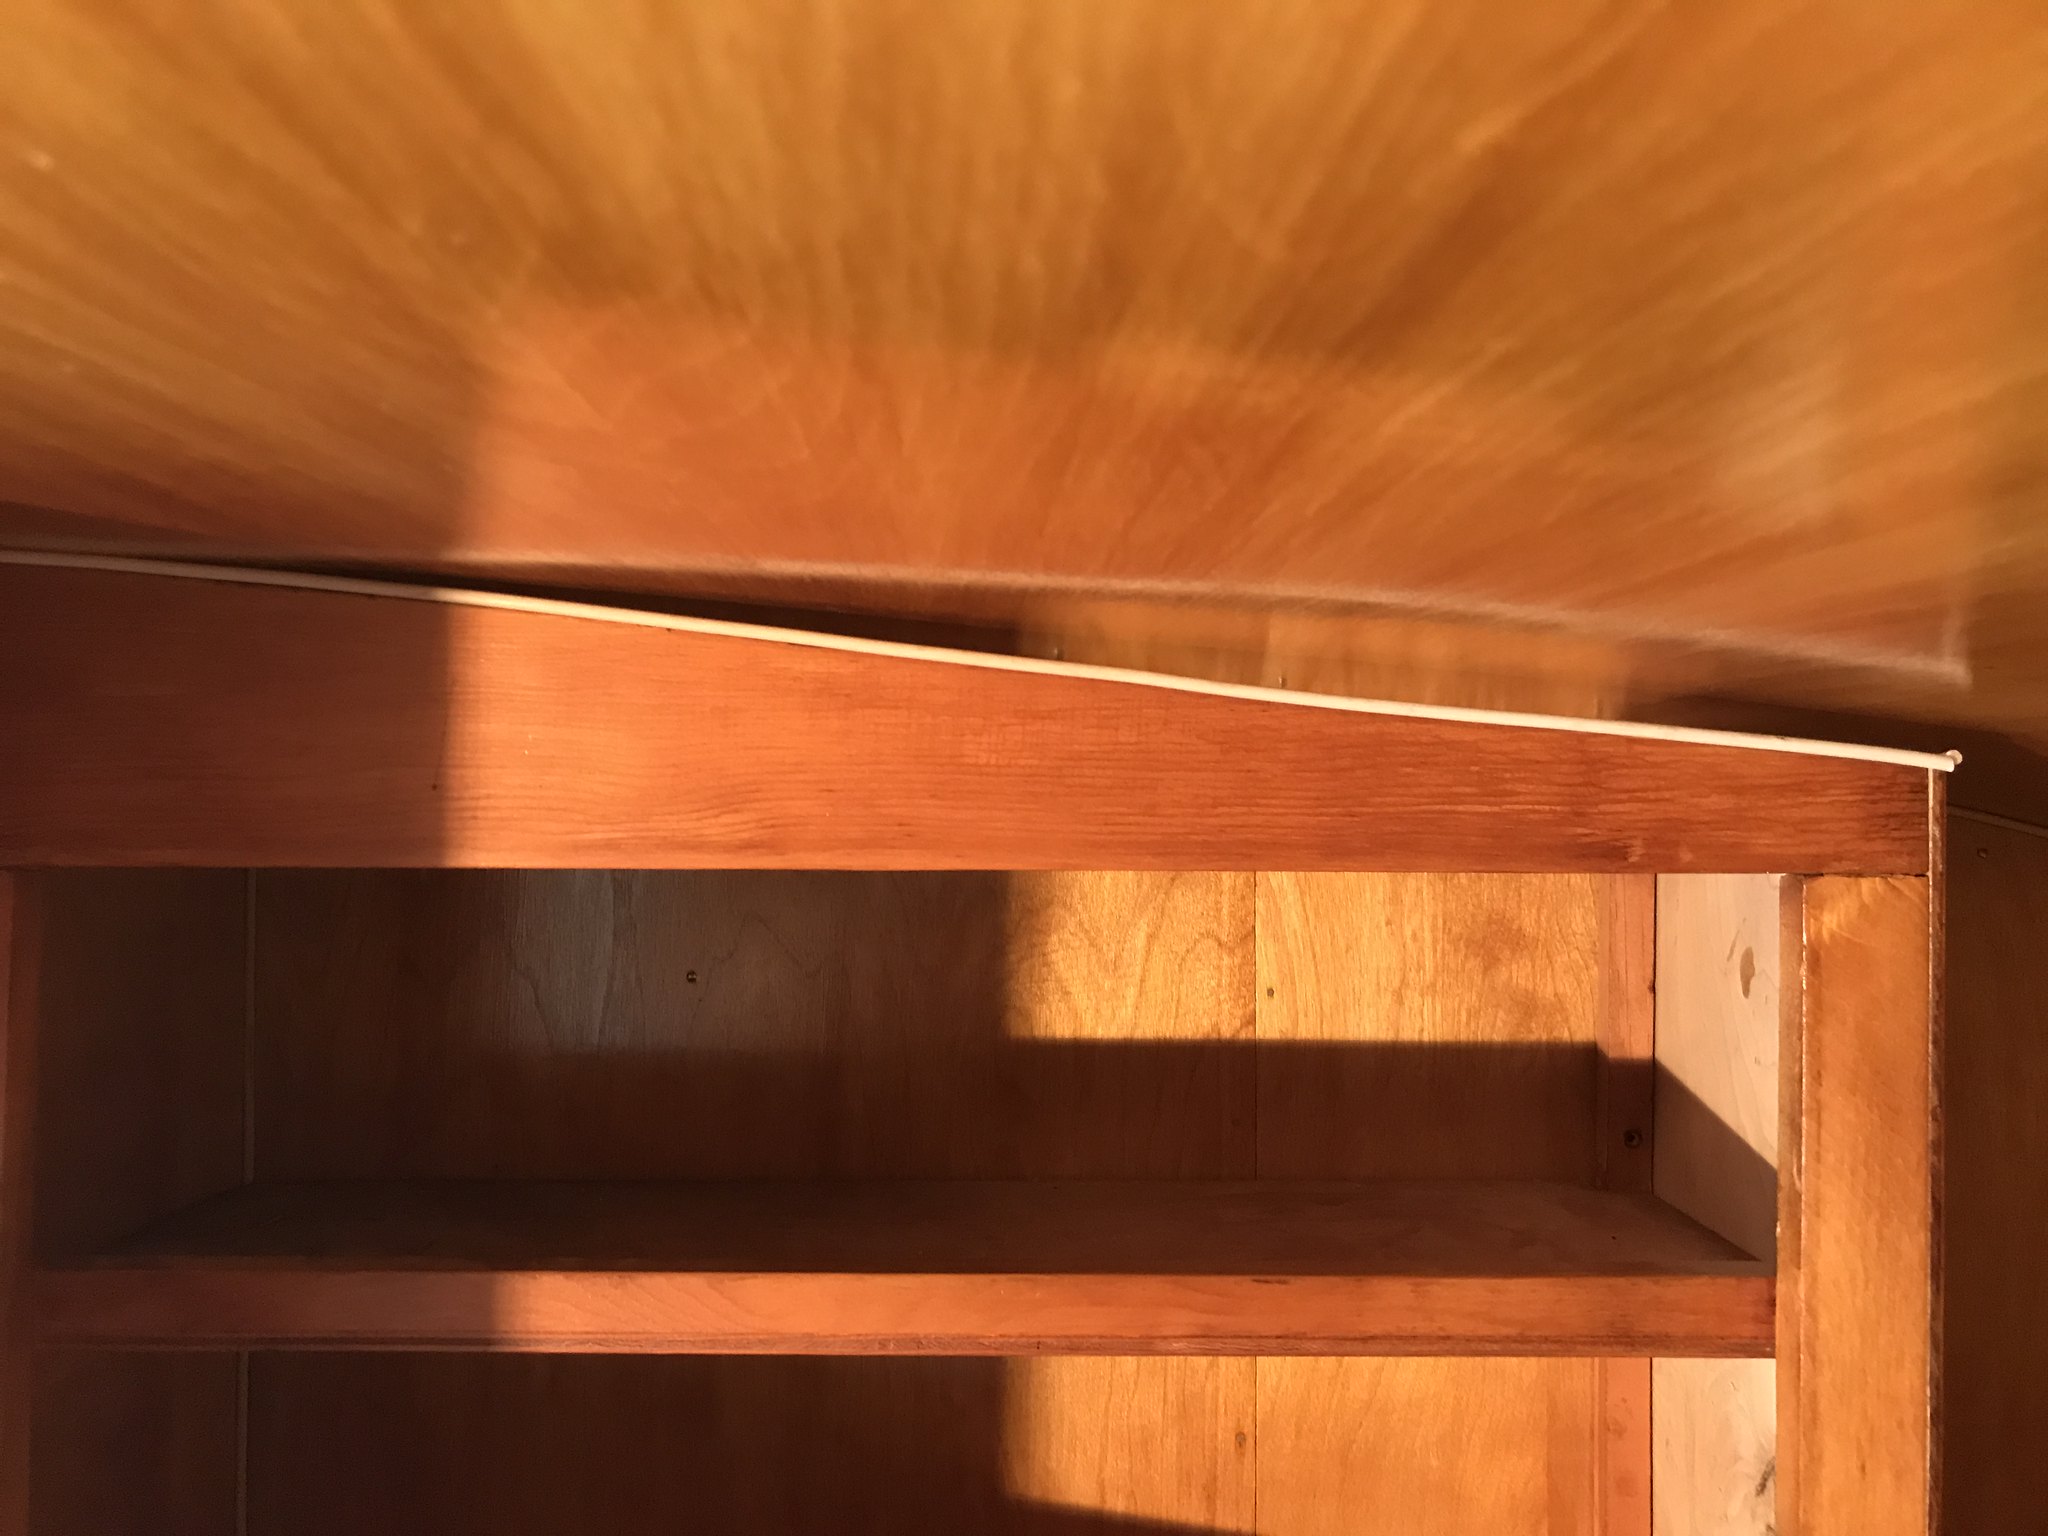 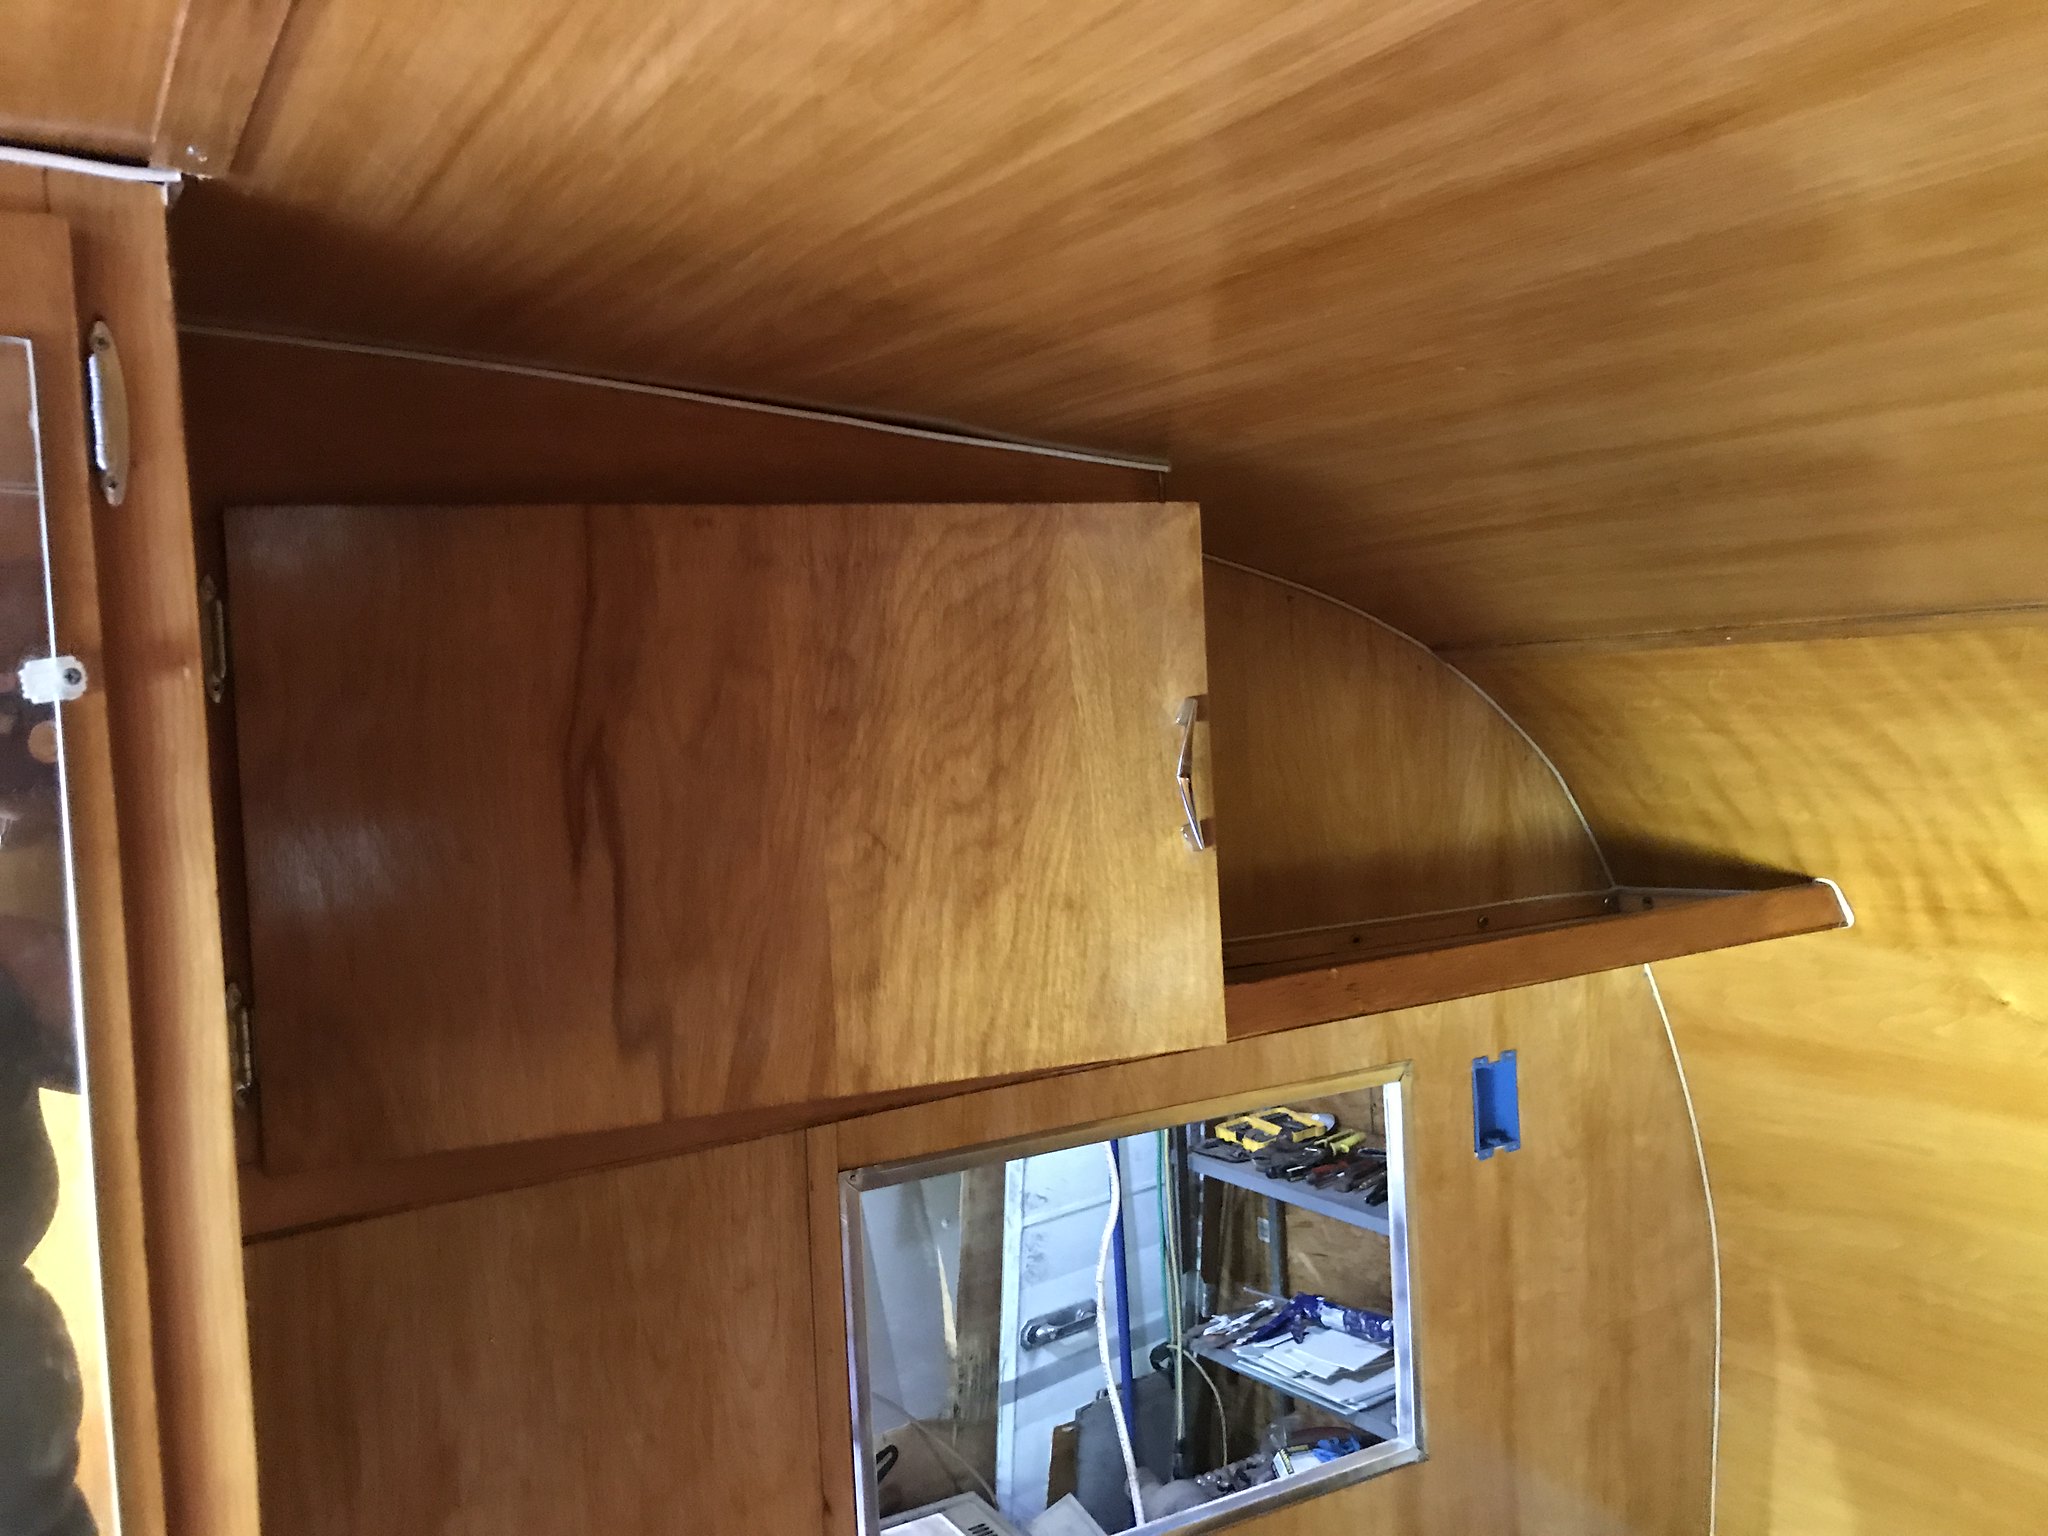 That's my update for now....still lots to do, but I am THRILLED to look back and see how far I have come. Onward I go.... |
|
mel
Senior Member
1964 Shasta Airflyte
Posts: 1,729
Likes: 523
Currently Offline
|
Post by mel on Jun 9, 2018 8:08:08 GMT -8
Looks awesome!
|
|
Poquito
Active Member
Posts: 231
Likes: 62
'68 10' Serro Scotty Sportsman
Currently Offline
|
Post by Poquito on Jun 9, 2018 9:16:30 GMT -8
Wow! Fantastic job Kaffi! Your going to have a blast traveling in your camper, love the selfie with Molly! Maybe we should have a thread for camping dogs! LOL! Keep us posted,
Poquito
|
|
kaffi311
Active Member
Posts: 283
Likes: 98
1963 Shasta 16 SC
Currently Offline
|
Post by kaffi311 on Jun 11, 2018 18:38:10 GMT -8
Been plugging away..and loving it as it is really coming together! I took the face off of the drawer that was under my bench seat, added a hinge, and now it's an access door to the area where my electric will be. Think it looks good! 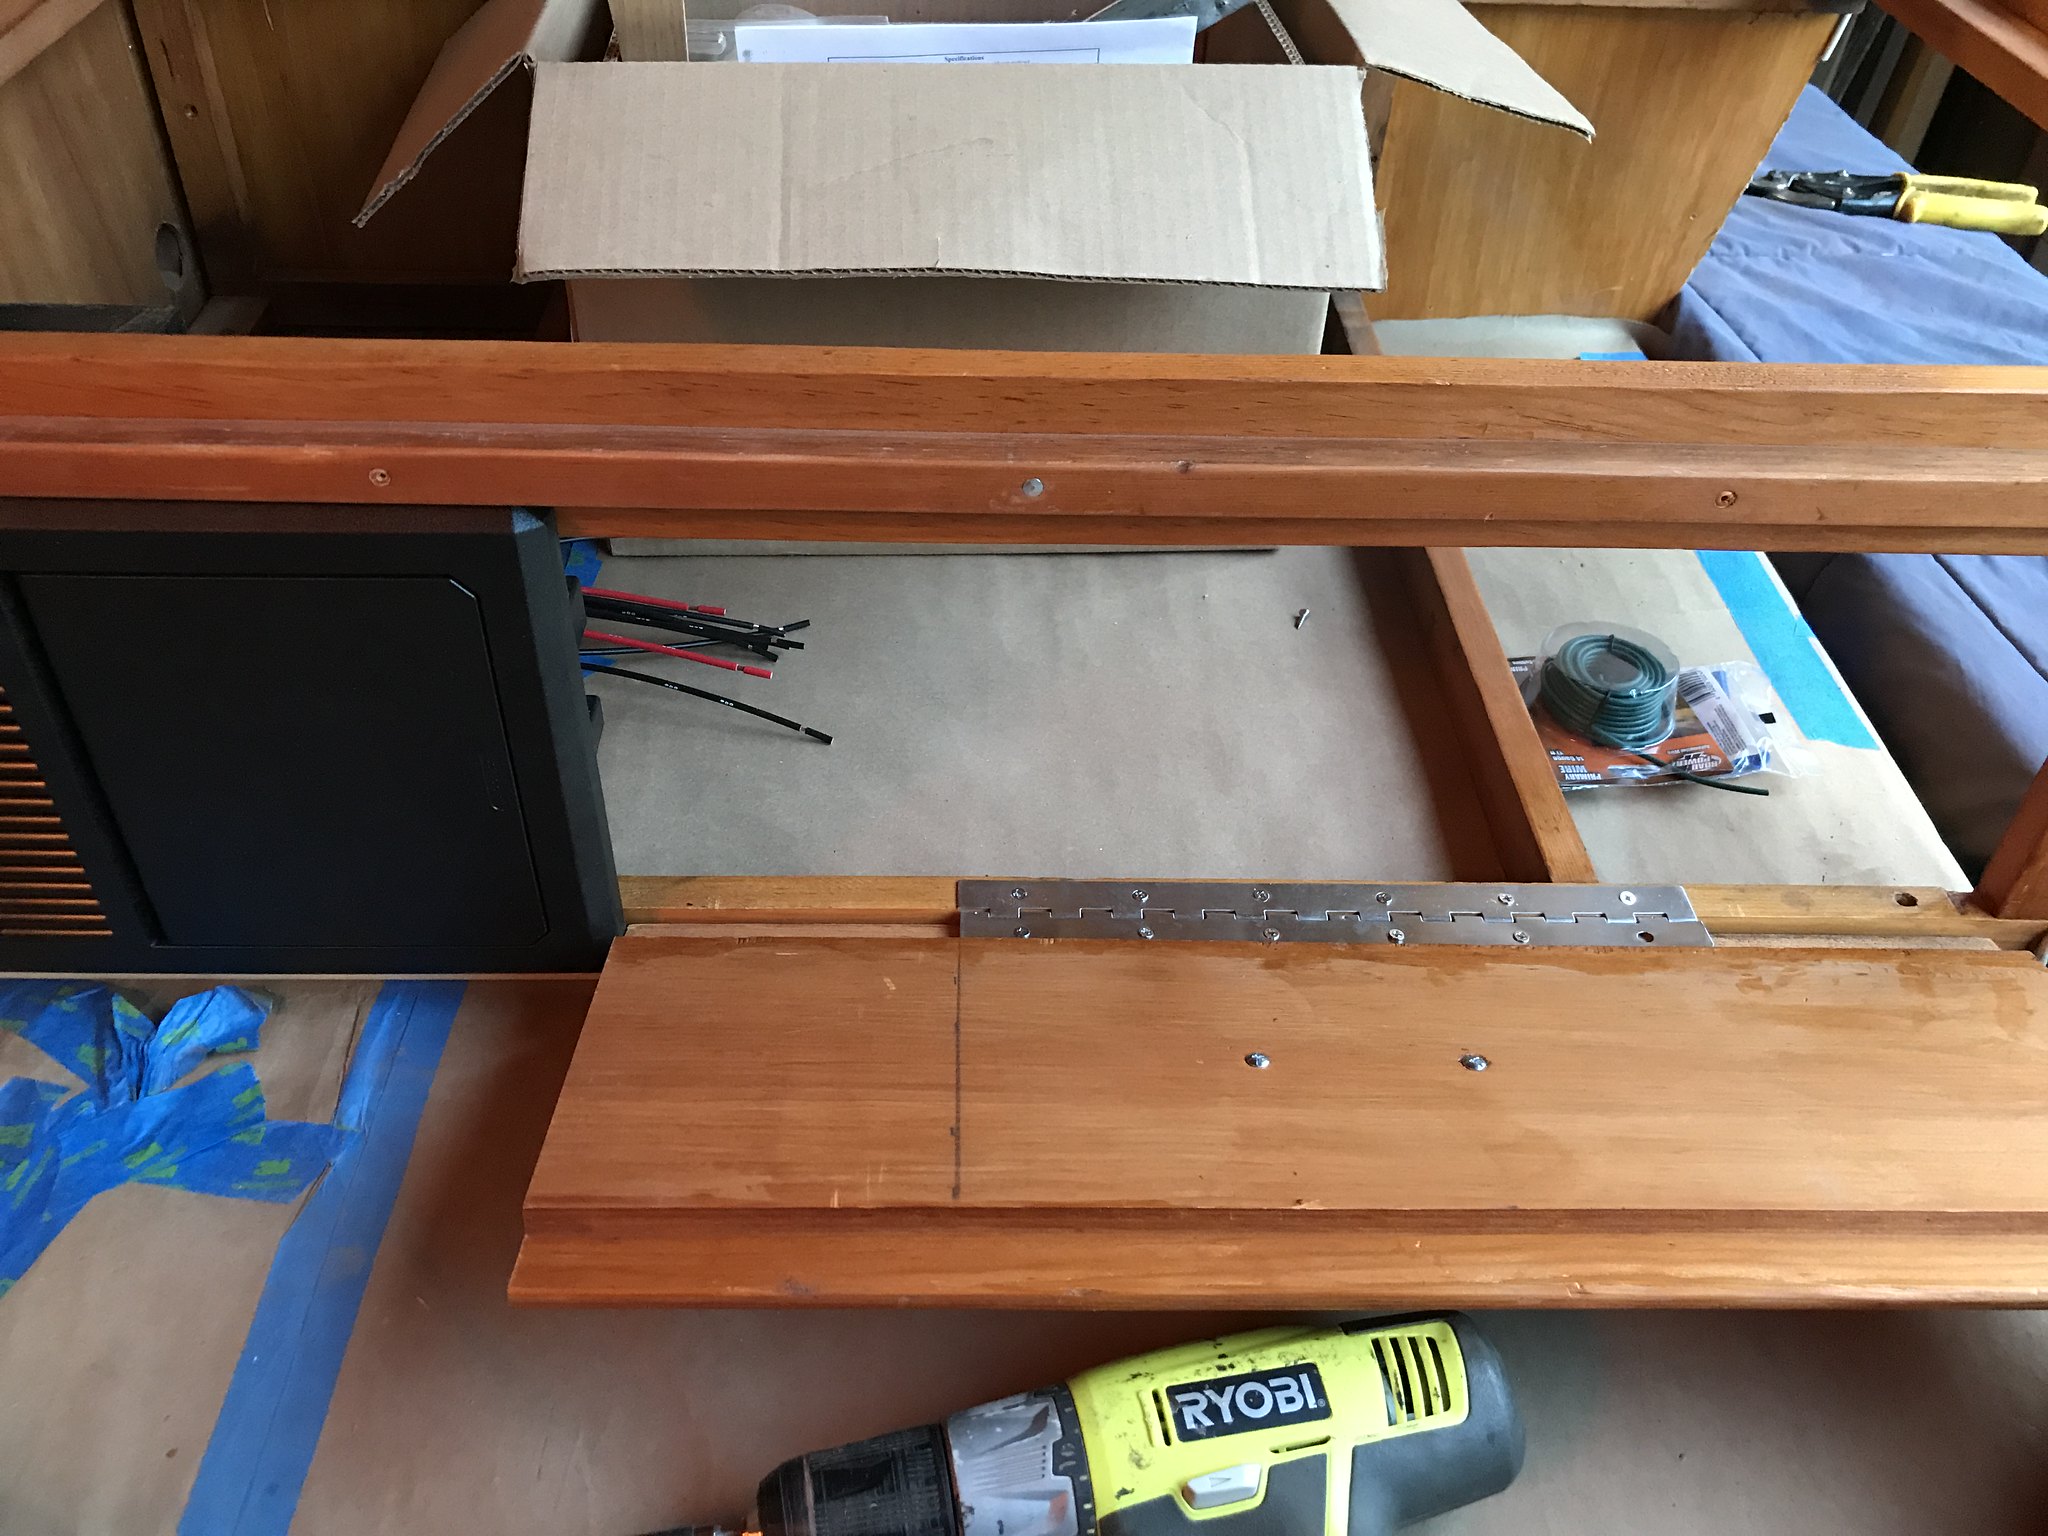 IMG_3489 IMG_3489 by kathy, on Flickr  Got the back frame for the window made and tacked up. Still want to recheck it's correct with the skin on- I get so nervous things won't line up when I go to put all the skins on! Rechecking tomorrow :}  Installed the small cabinet near the bathroom. It fit well- which made me so happy!  Finally, working on the gaucho bed. It was not complete- but I get the idea. Added the supports tonight- and will add the legs tomorrow. Need another piece of plywood to finish off the top..and she will be done. Oh...and need to get foam to make the cushions. Mom's gonna help with that ! 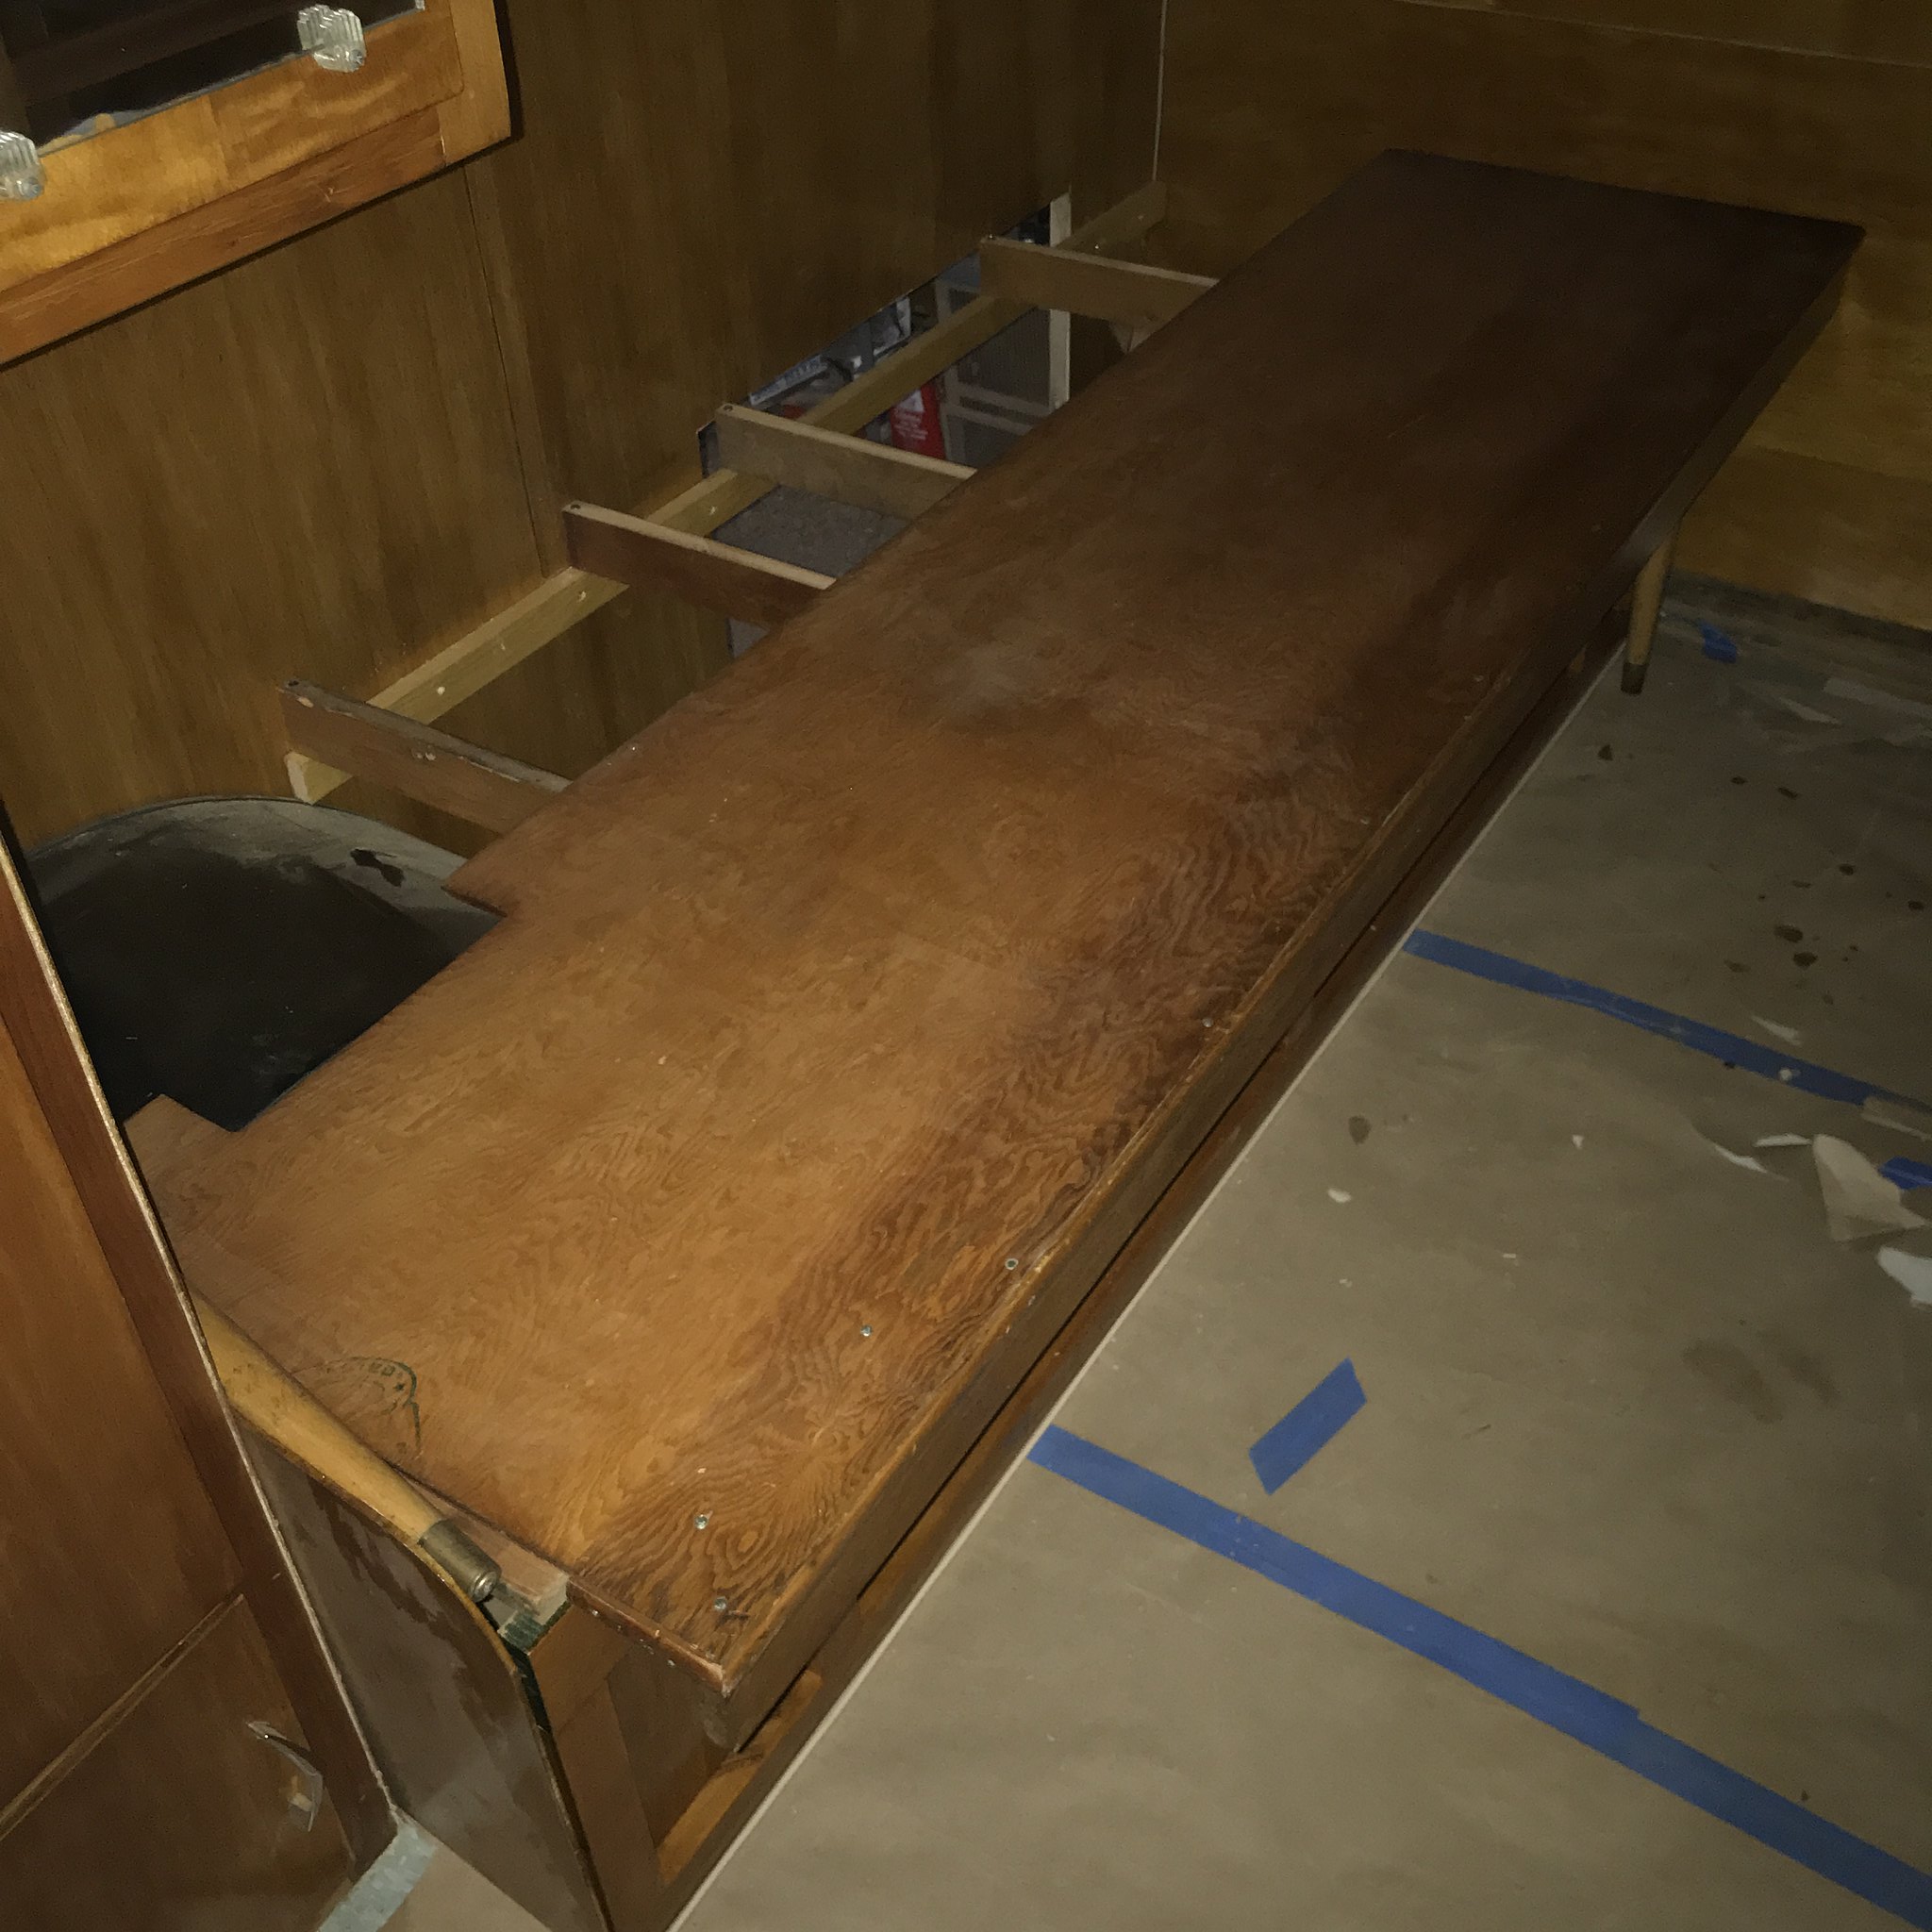 A good few days...she's getting there !! |
|
kaffi311
Active Member
Posts: 283
Likes: 98
1963 Shasta 16 SC
Currently Offline
|
Post by kaffi311 on Jun 25, 2018 19:30:45 GMT -8
As always...doing lots and lots of little things that only I will know I did....but it all will matter in the end! -I am not reusing my stove- so went from this opening: 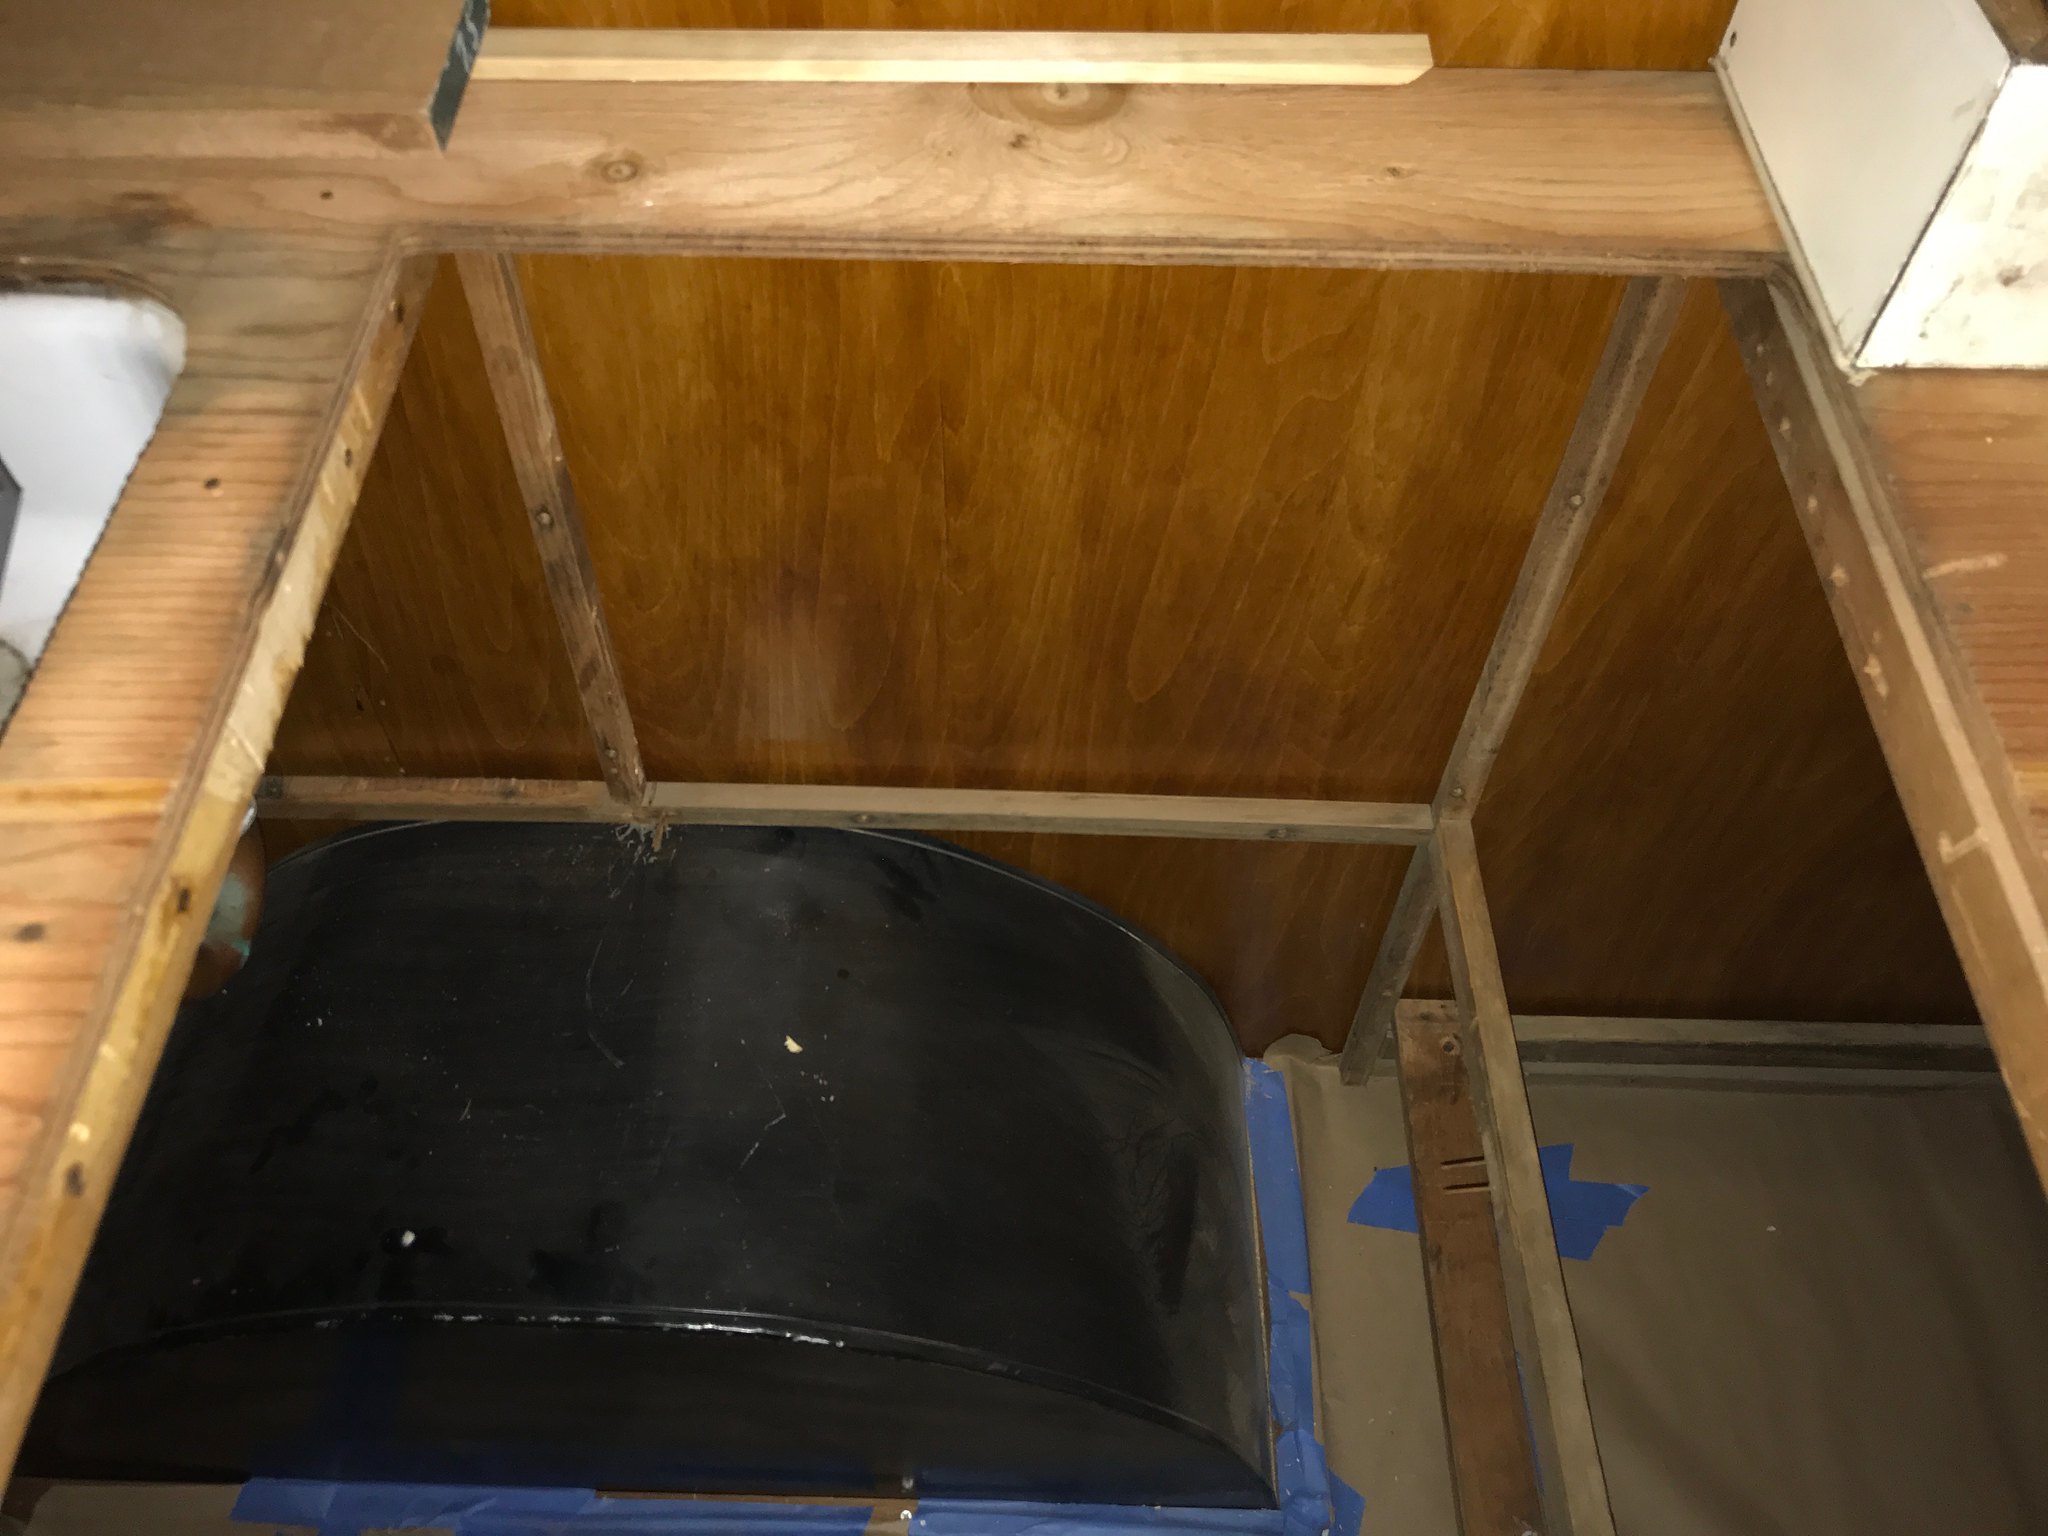 IMG_3514 IMG_3514 by kathy, on Flickr To this to accommodate my new 2 burner cooktop. 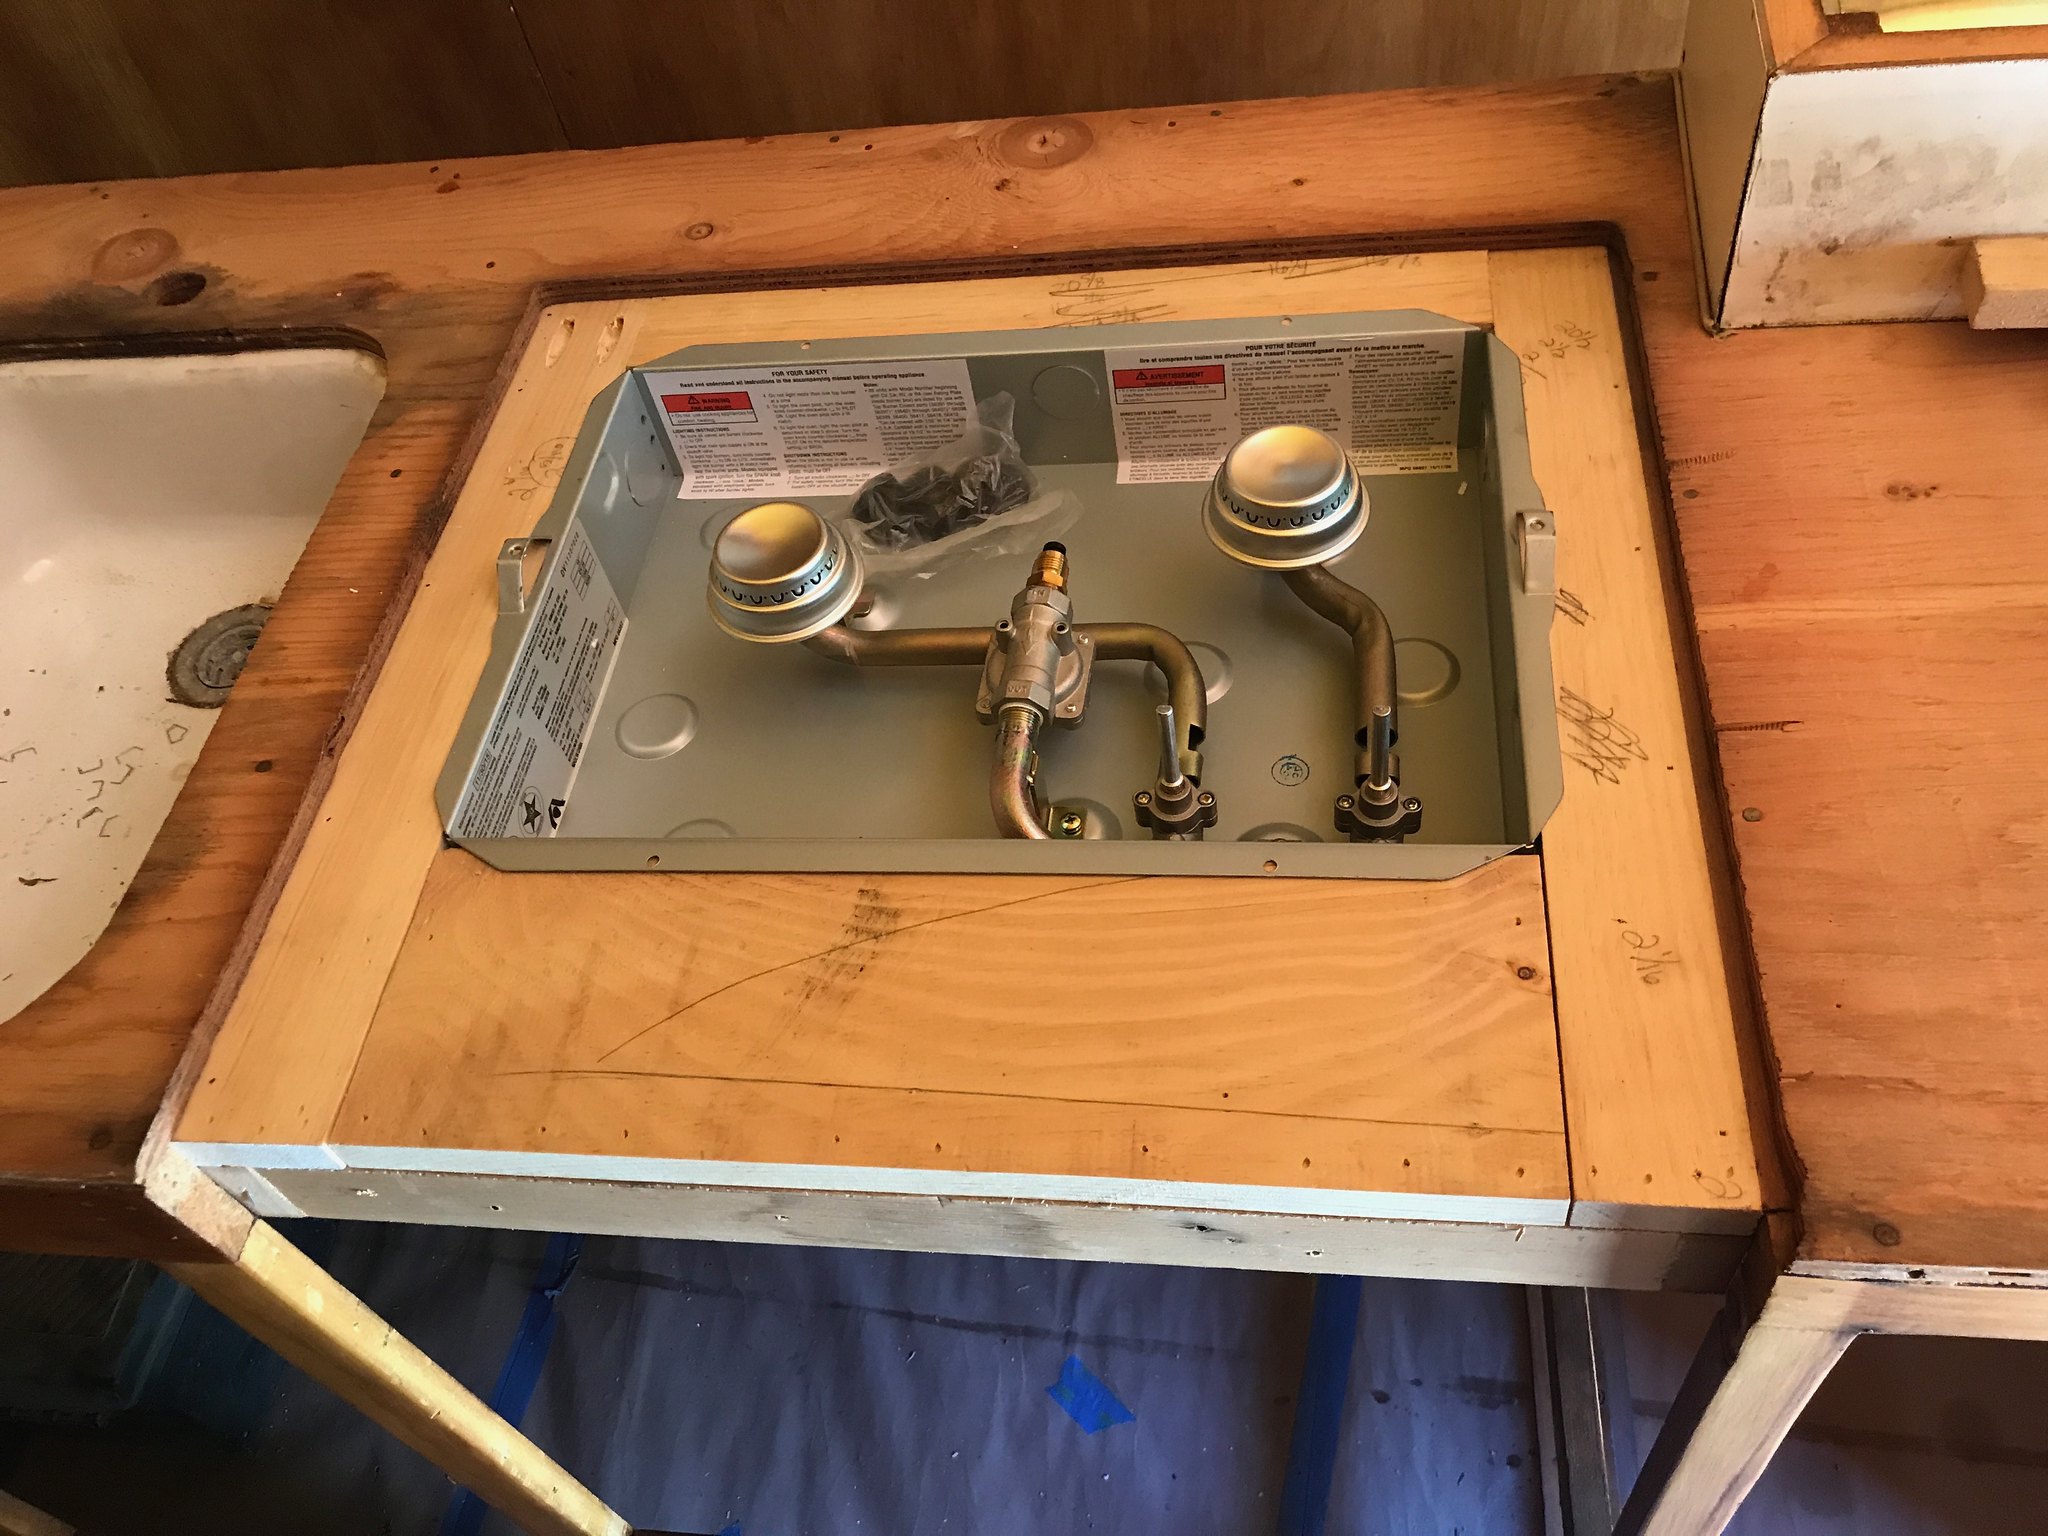 IMG_3523 IMG_3523 by kathy, on Flickr I will add plywood and then install my laminate ! Im happy how I figured out how to fix that- and it is solid for sure. - I put a shelf in where the stove was to fit a small microwave, and rebuilt the side walls and small shelf under the sink. My wood all seems to be different colors- especially in this photo- but it actually looks nice in person !  IMG_3556 IMG_3556 by kathy, on Flickr -My brother cleaned up my water fill in his glass bead machine, and it is sweet! Love the brass - and although it won't match anything else on the exterior- I think I want to leave it unpainted as it looks nice. 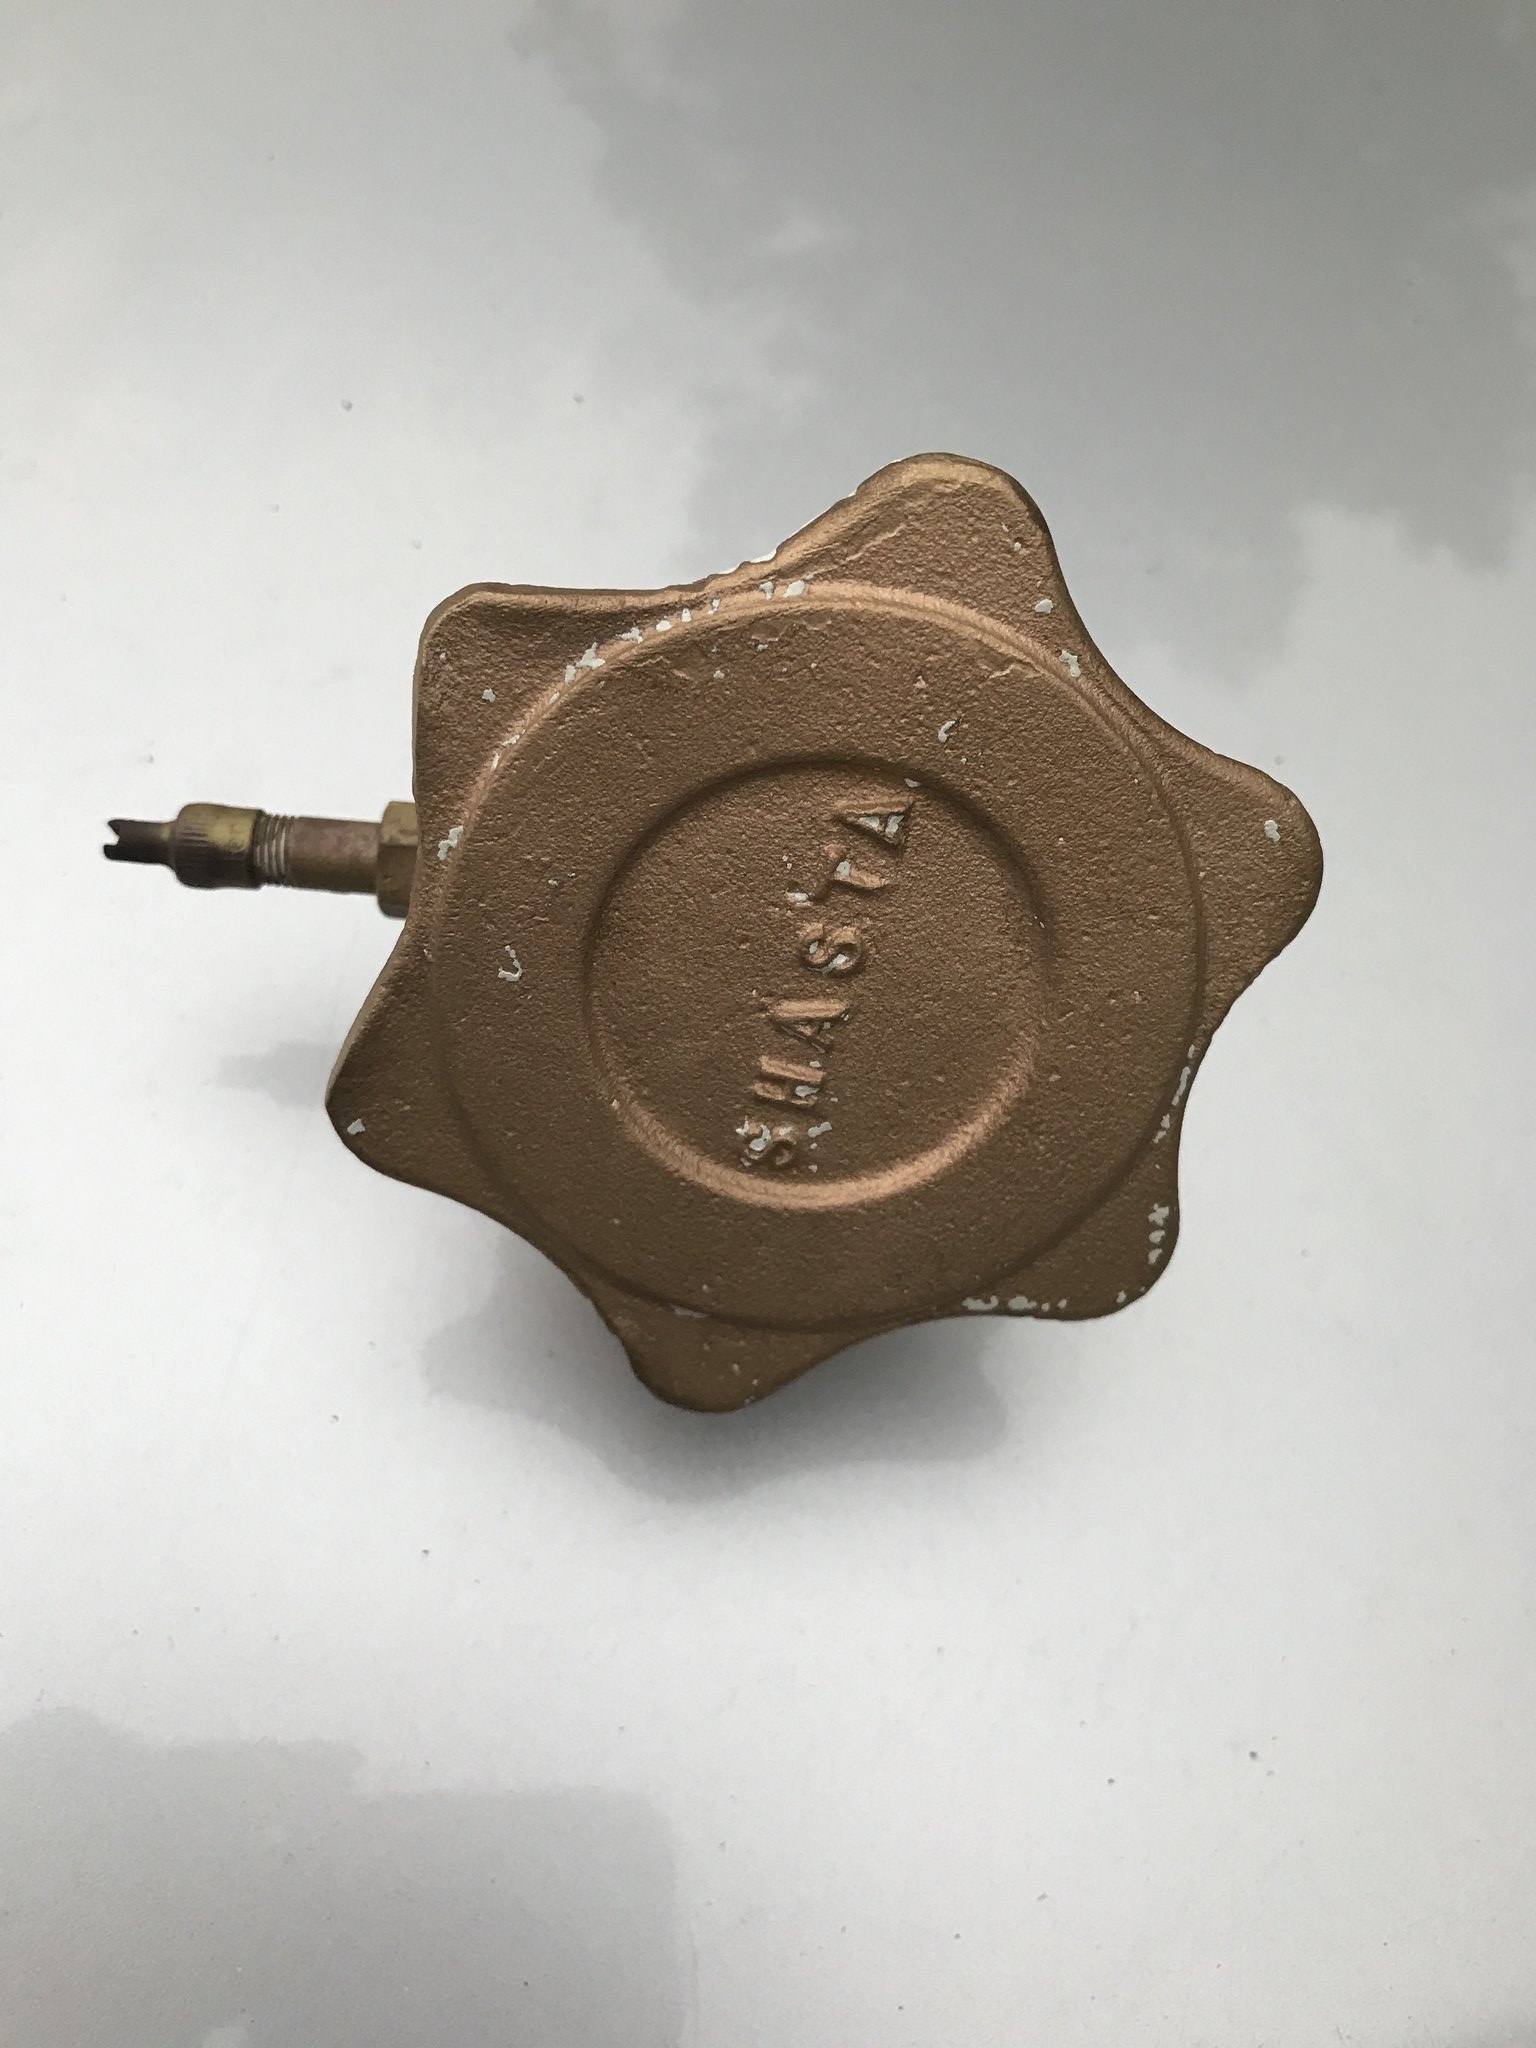 IMG_3563 2 IMG_3563 2 by kathy, on Flickr  IMG_3562 2 IMG_3562 2 by kathy, on Flickr -The new water tank that the PO gave me (never installed) is just a tad too high for my bench seat frames and does not allow them to sit correctly on the floor. Sooo....I took apart what I thought was finished and am now trying to figure out how to best fix. The cross boards need to be higher- so that the water tank does not touch. Gotta try a few things to get this figured out. Oh how I wish I was better at cabinetmaking !!!  IMG_3619 IMG_3619 by kathy, on Flickr -I added wider 'trim boards' to the inside tops of my closet walls- as the ones I had installed were not wide enough to hold screws when attaching to the ceiling panels/roof rafters. The new wood did the job- and pulled things together really nicely.  IMG_3626 IMG_3626 by kathy, on Flickr -I remade the tunnel that is in front of my gaucho- as my first attempt really looked crappy. I am much happier with this last attempt- and will finish the edge up with metal banding when it arrives. 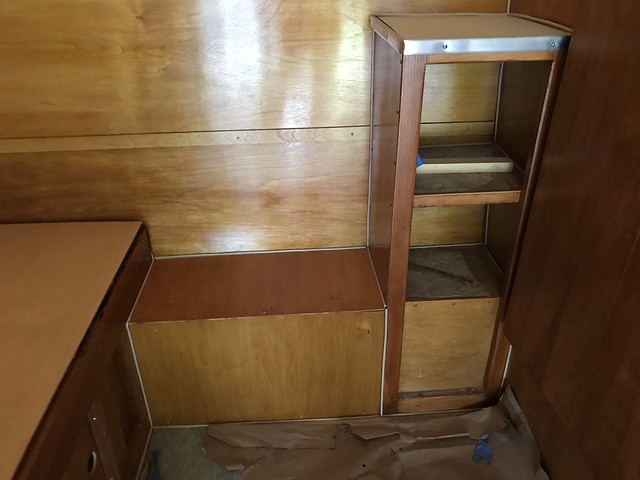 IMG_3629 IMG_3629 by kathy, on Flickr -Finally- I just had to get one of my benches and put it in place to admire it. The po had reupholstered them- and I just LOVE the green color. So many more things to do- but this helped me remember just how awesome things will look when everything is done ! 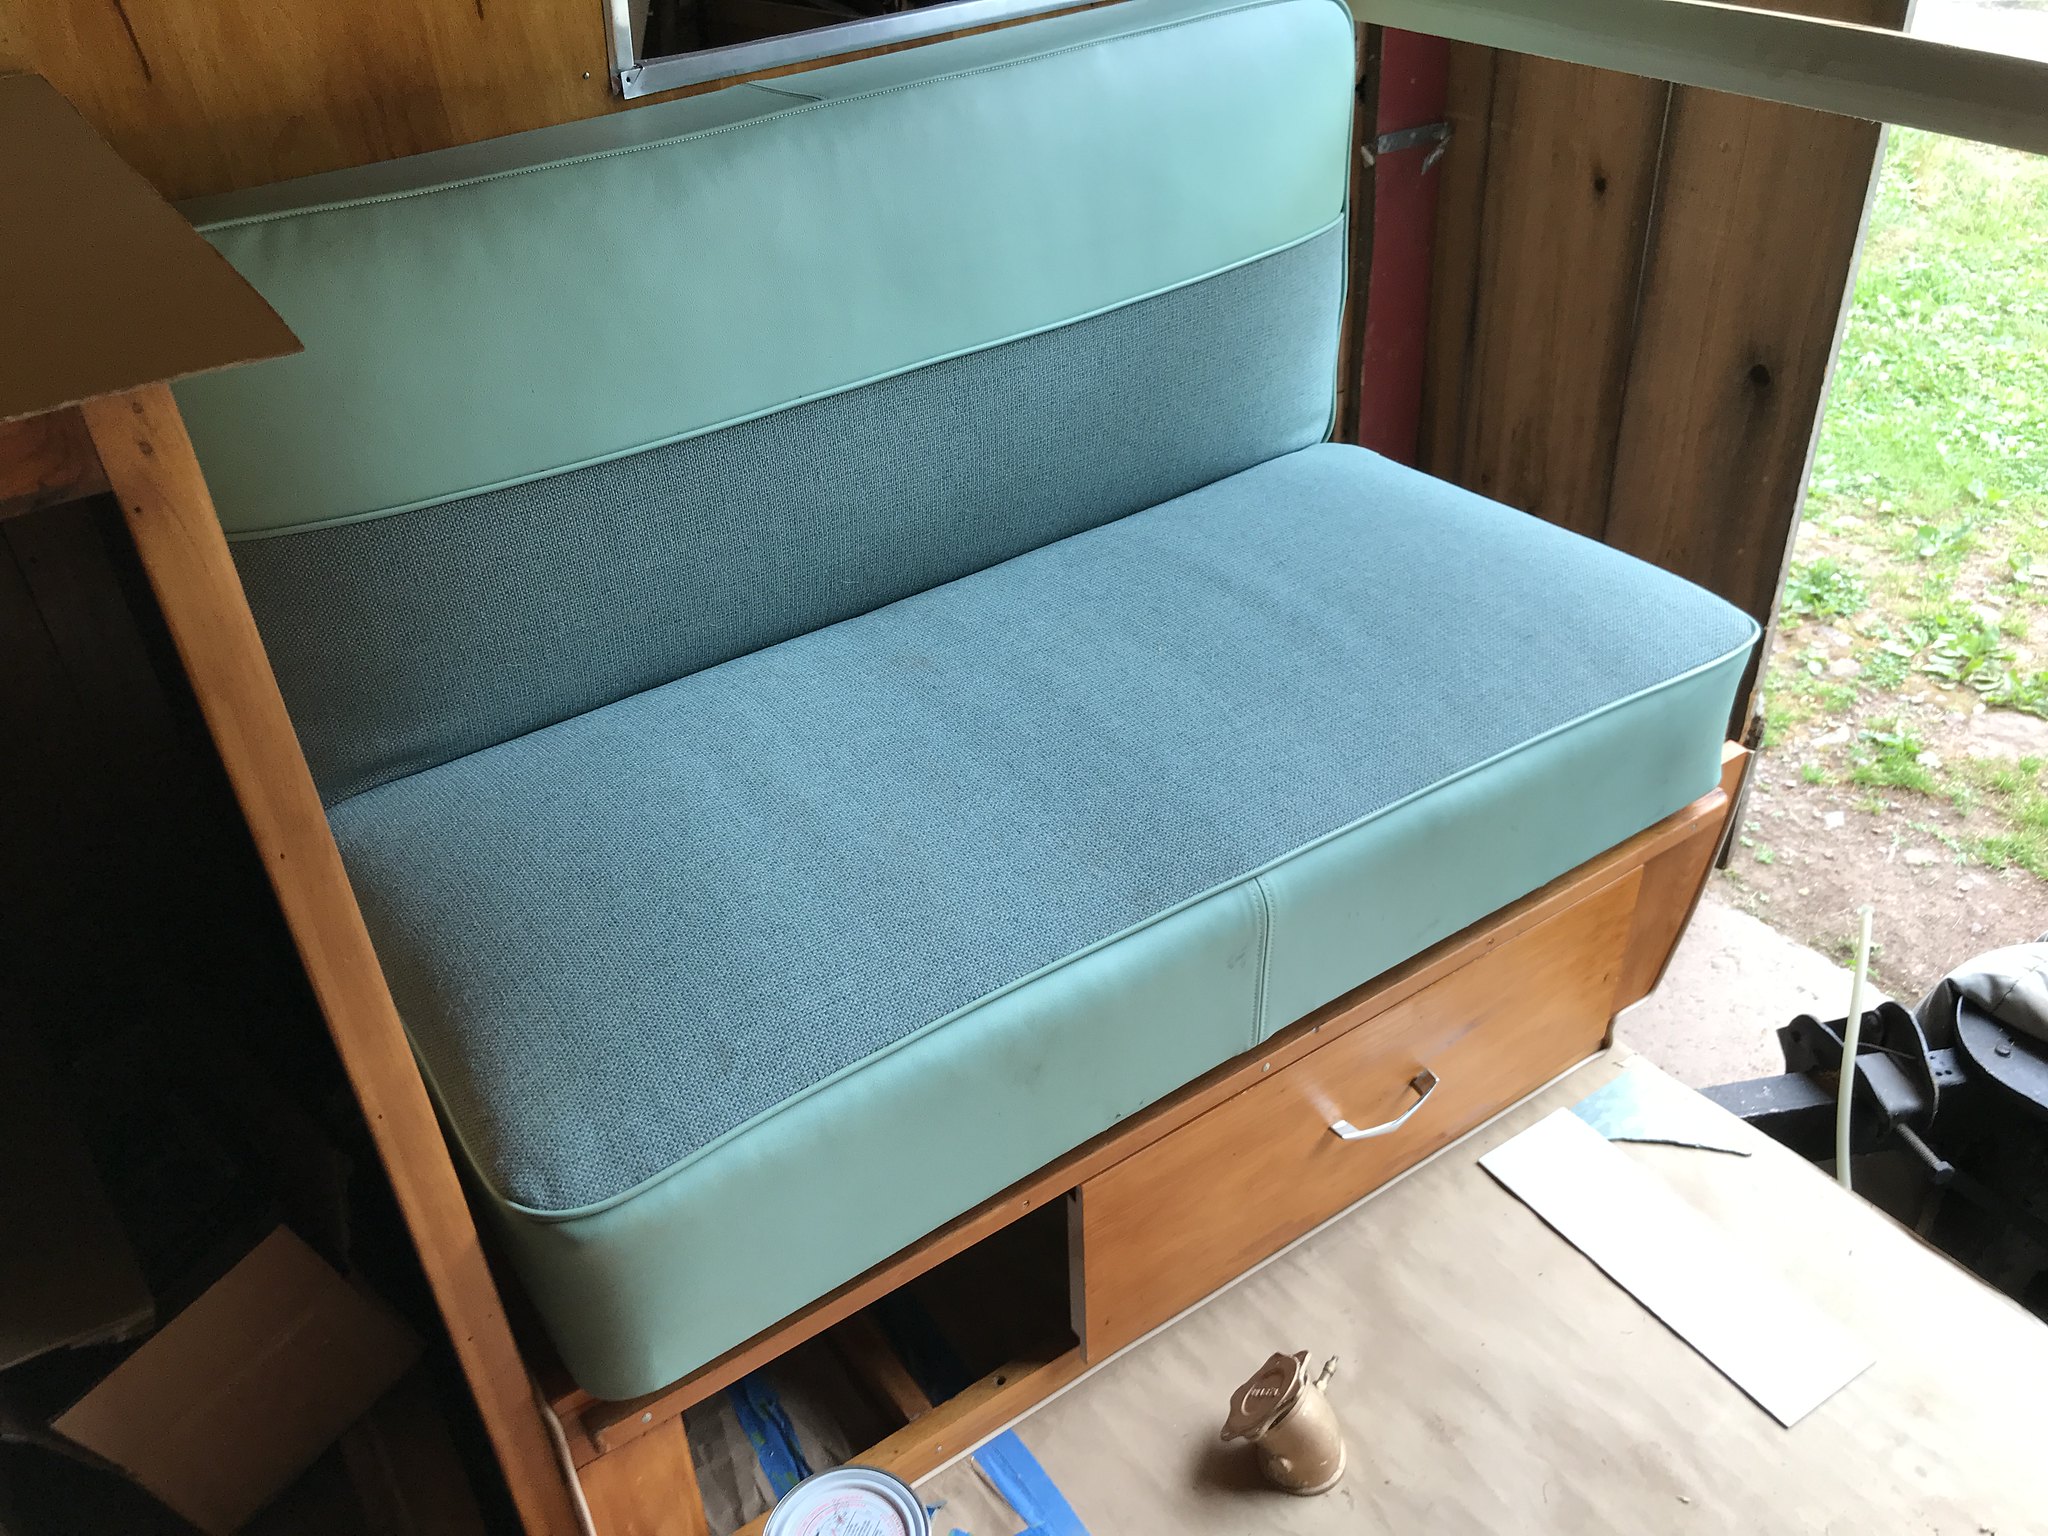 IMG_3631 IMG_3631 by kathy, on Flickr Till next time.... |
|
theresa
1K Member
from Northern Maine ~ Proud new owner of Lola, a 1960 Shasta Airflyte and Pearl, a 1962 Mobile Scout
Posts: 1,055
Likes: 347
Currently Offline
|
Post by theresa on Jun 26, 2018 5:43:56 GMT -8
You're doing great! And I agree... cabinet making is the WORST!
|
|
kaffi311
Active Member
Posts: 283
Likes: 98
1963 Shasta 16 SC
Currently Offline
|
Post by kaffi311 on Aug 16, 2018 18:19:32 GMT -8
Wow- my last post was from June 25- is it really August 16 already?? Well, I am back to work which of course limits my time on the camper. In addition, heat has been too bad in the barn to work for too long- its like an oven during the day back there! But I have been plugging away at lots of things. Here's an update: I'm just about finished installing the water tank. I figured out how to make it fit by cutting the support beams a little where the tank sat too high. I also strapped down the tank- so it is finally secure. I then added a hinged plywood top- as added support for the benches. Re: the 12v pump- I have visited the hardware store so many times in order to get the right fittings it is actually funny ( first time working on plumbing- I am surely learning a lot)- but it is just about all plumbed in! No electric run yet- but I am getting close! 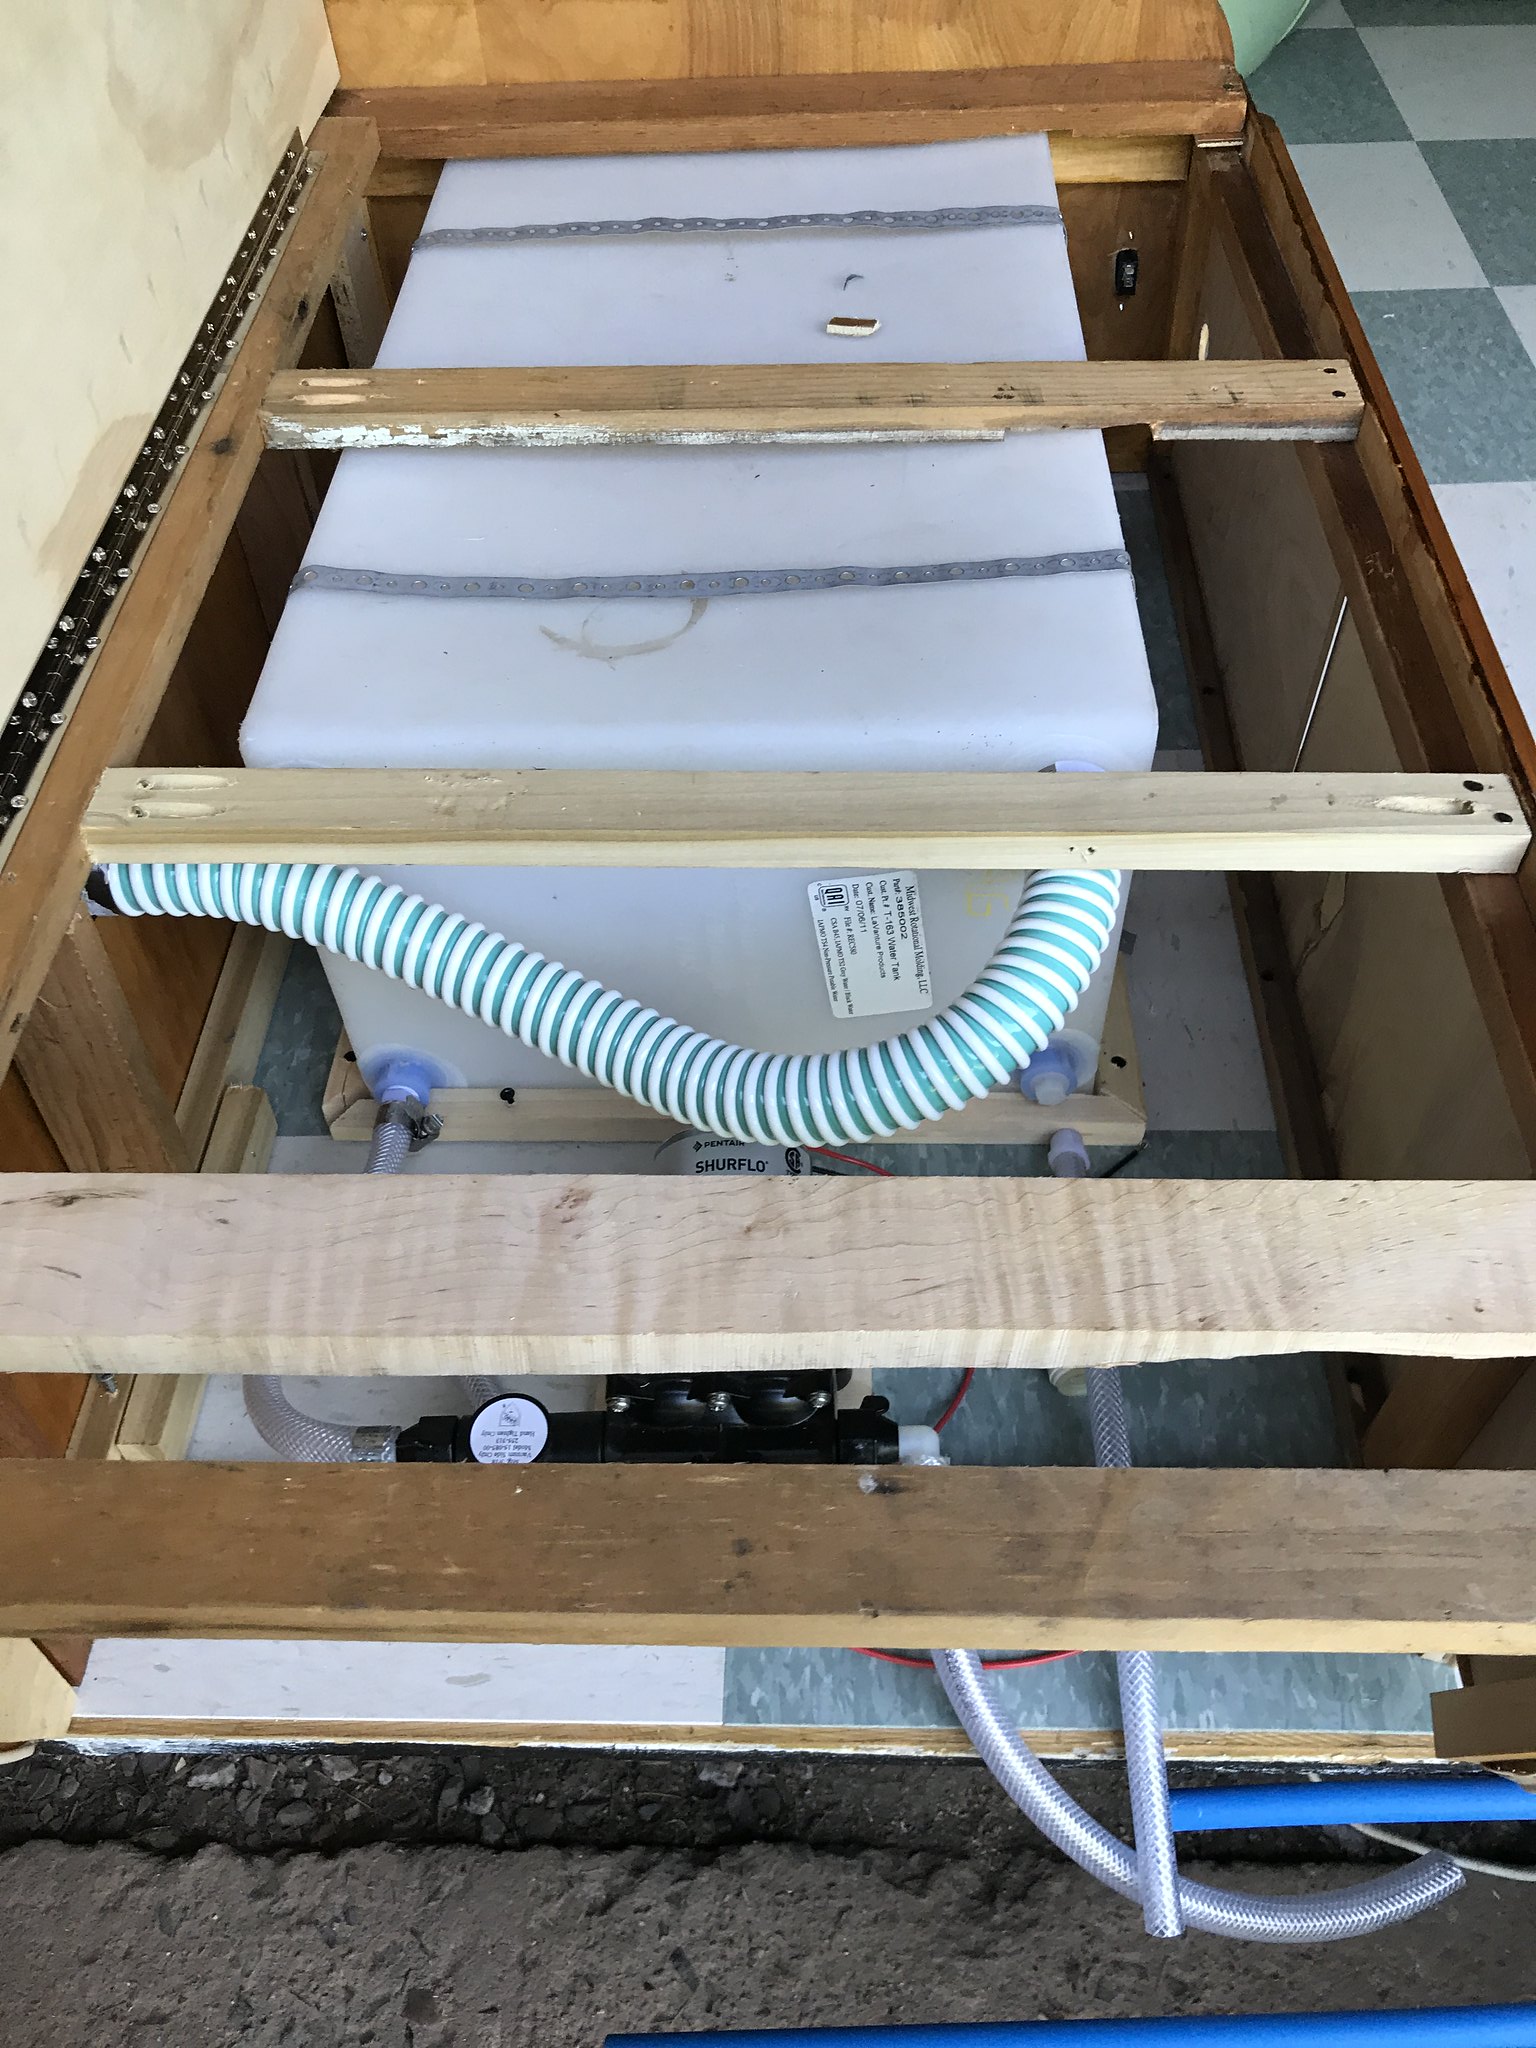 IMG_3787 IMG_3787 by kathy, on Flickr 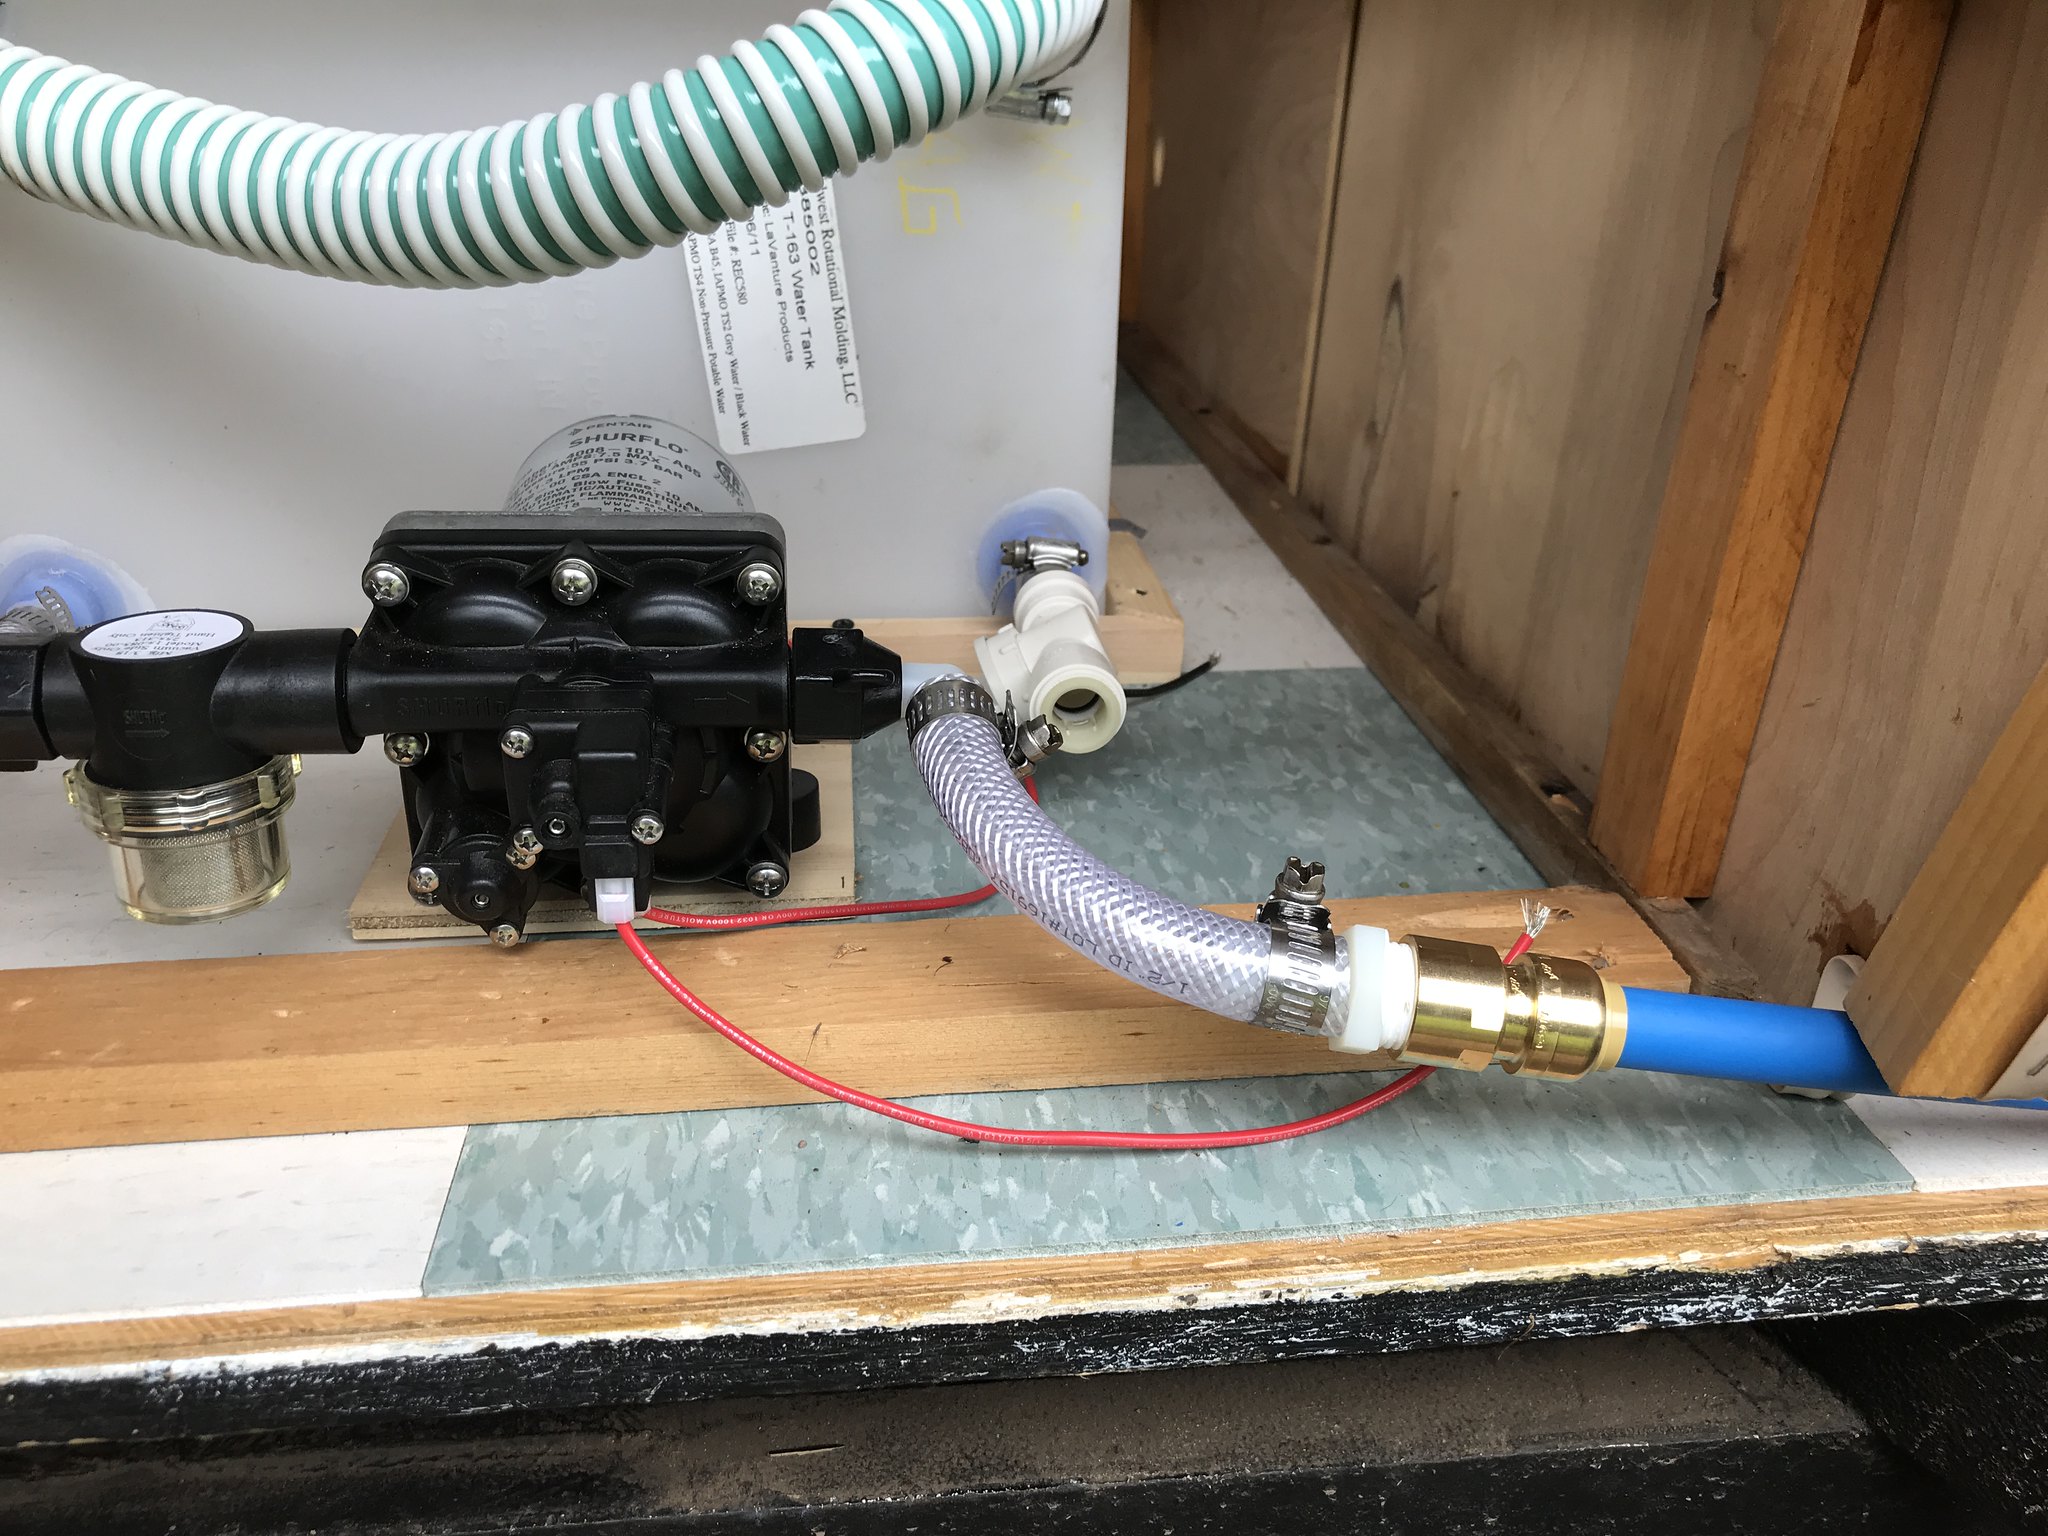 IMG_4312 IMG_4312 by kathy, on Flickr 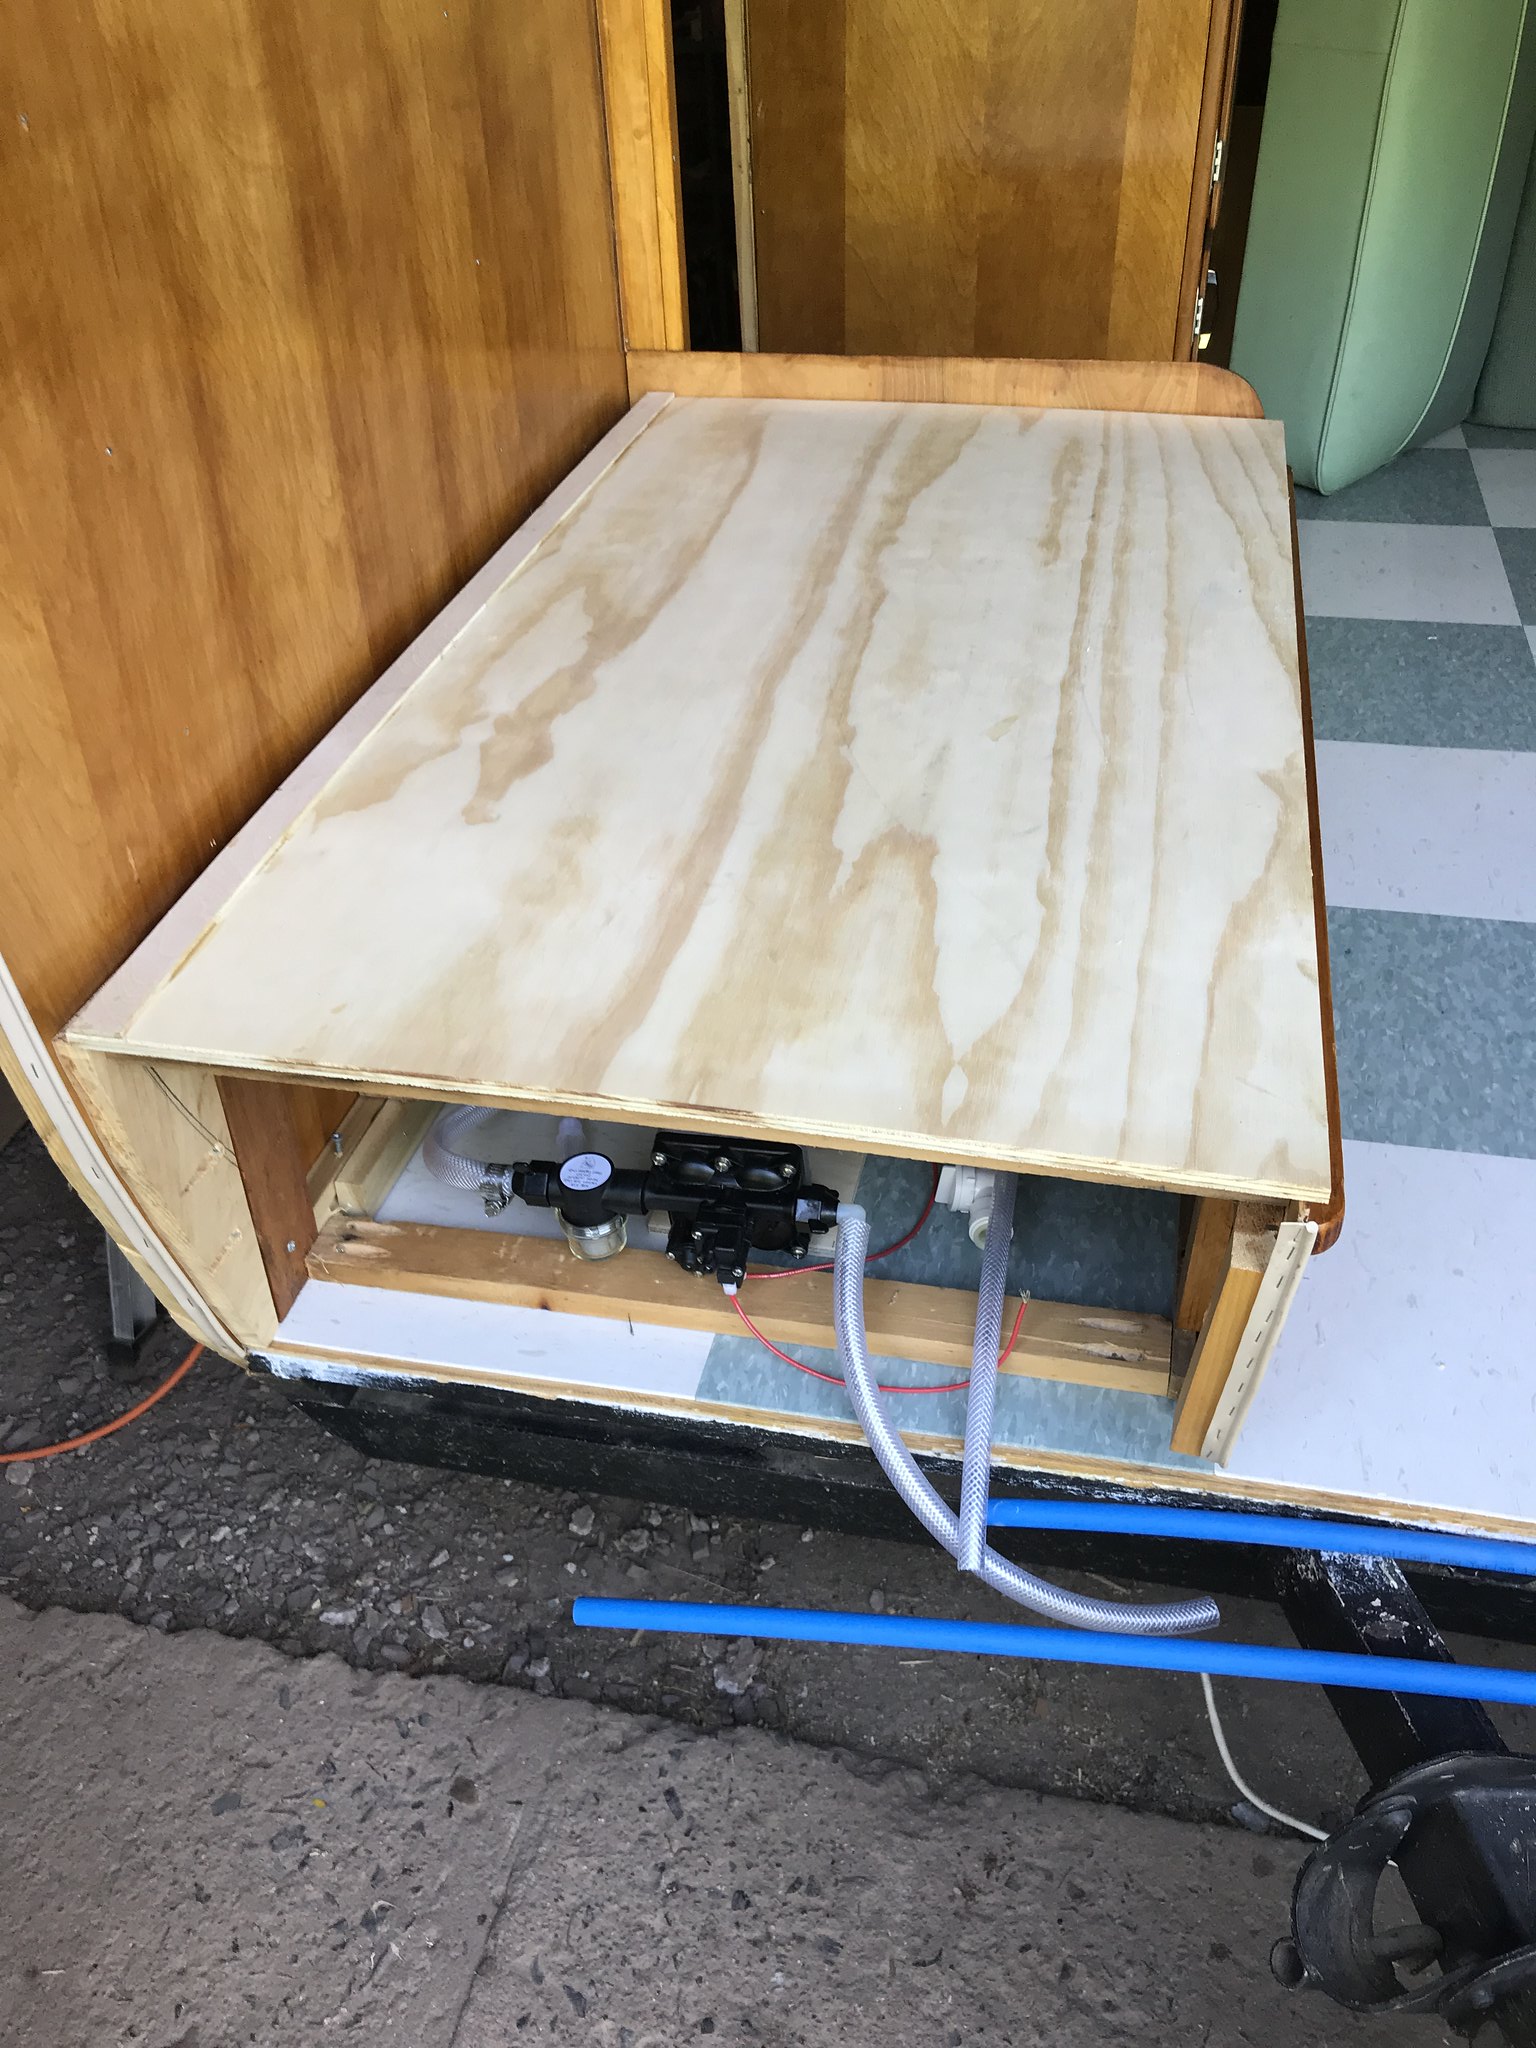 IMG_3790 IMG_3790 by kathy, on Flickr I have run most of the 120V wiring - I decided to replace all the old wiring in addition to adding new circuits for a few things (outlets, microwave, outside outlet, refrig, etc.). In another day, I will begin to replace the 12v wiring as well. The old wiring looked ok, but I just feel better putting in all new- and I had almost a full roll here to use, so no $ was spent. Yahoo! 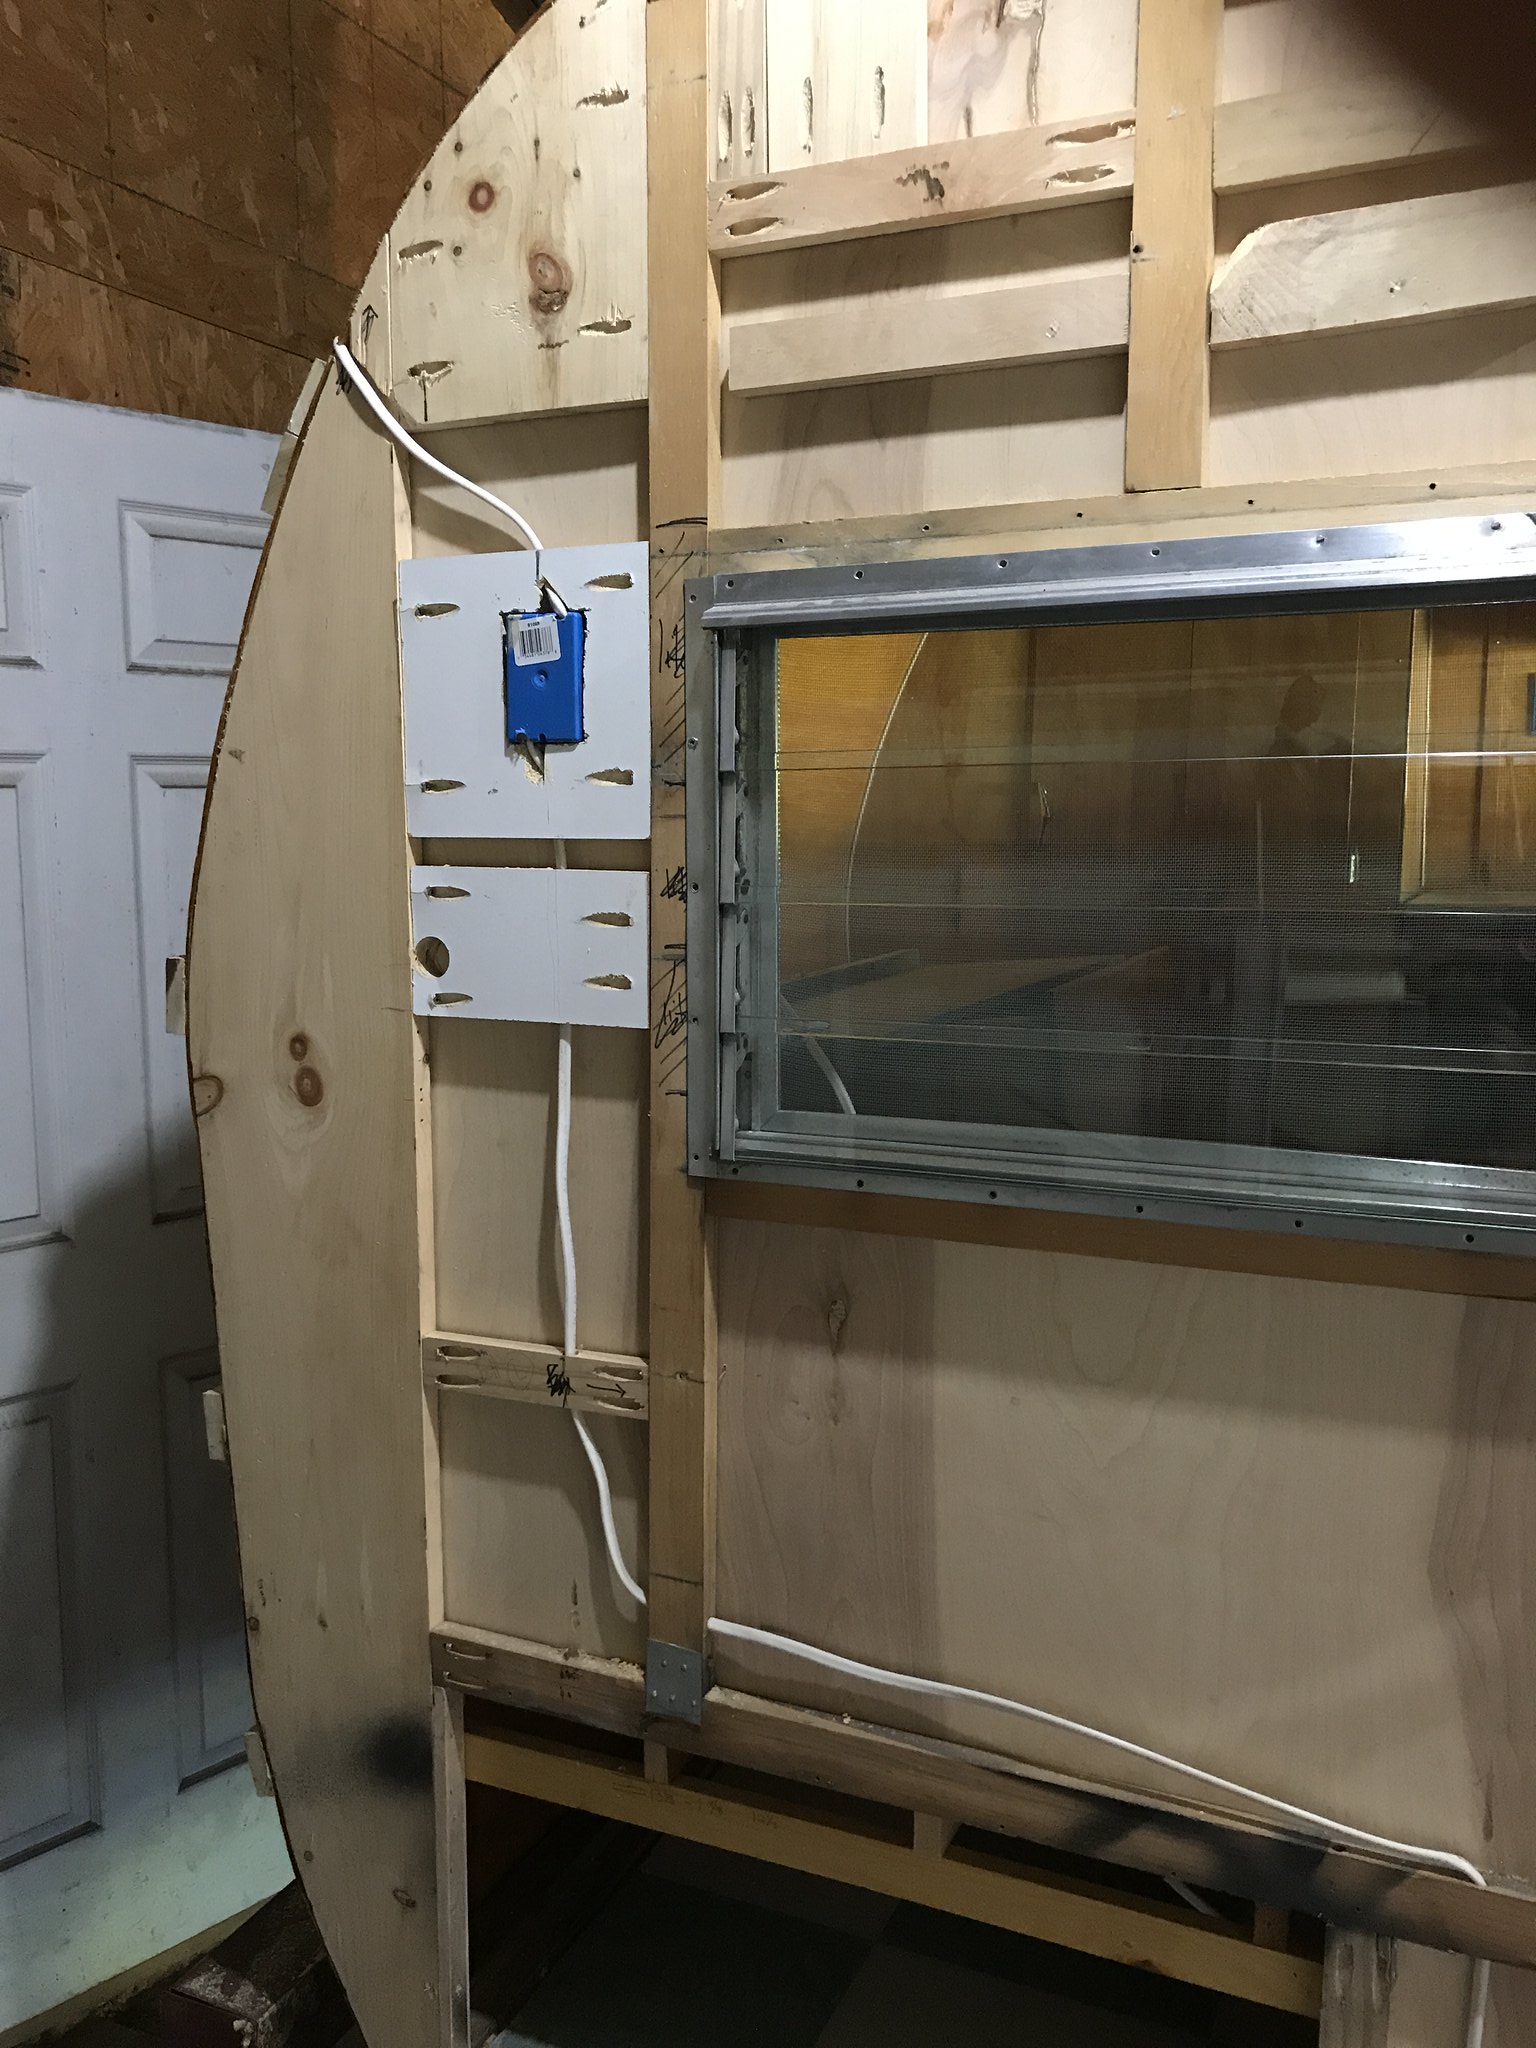 IMG_3794 IMG_3794 by kathy, on Flickr 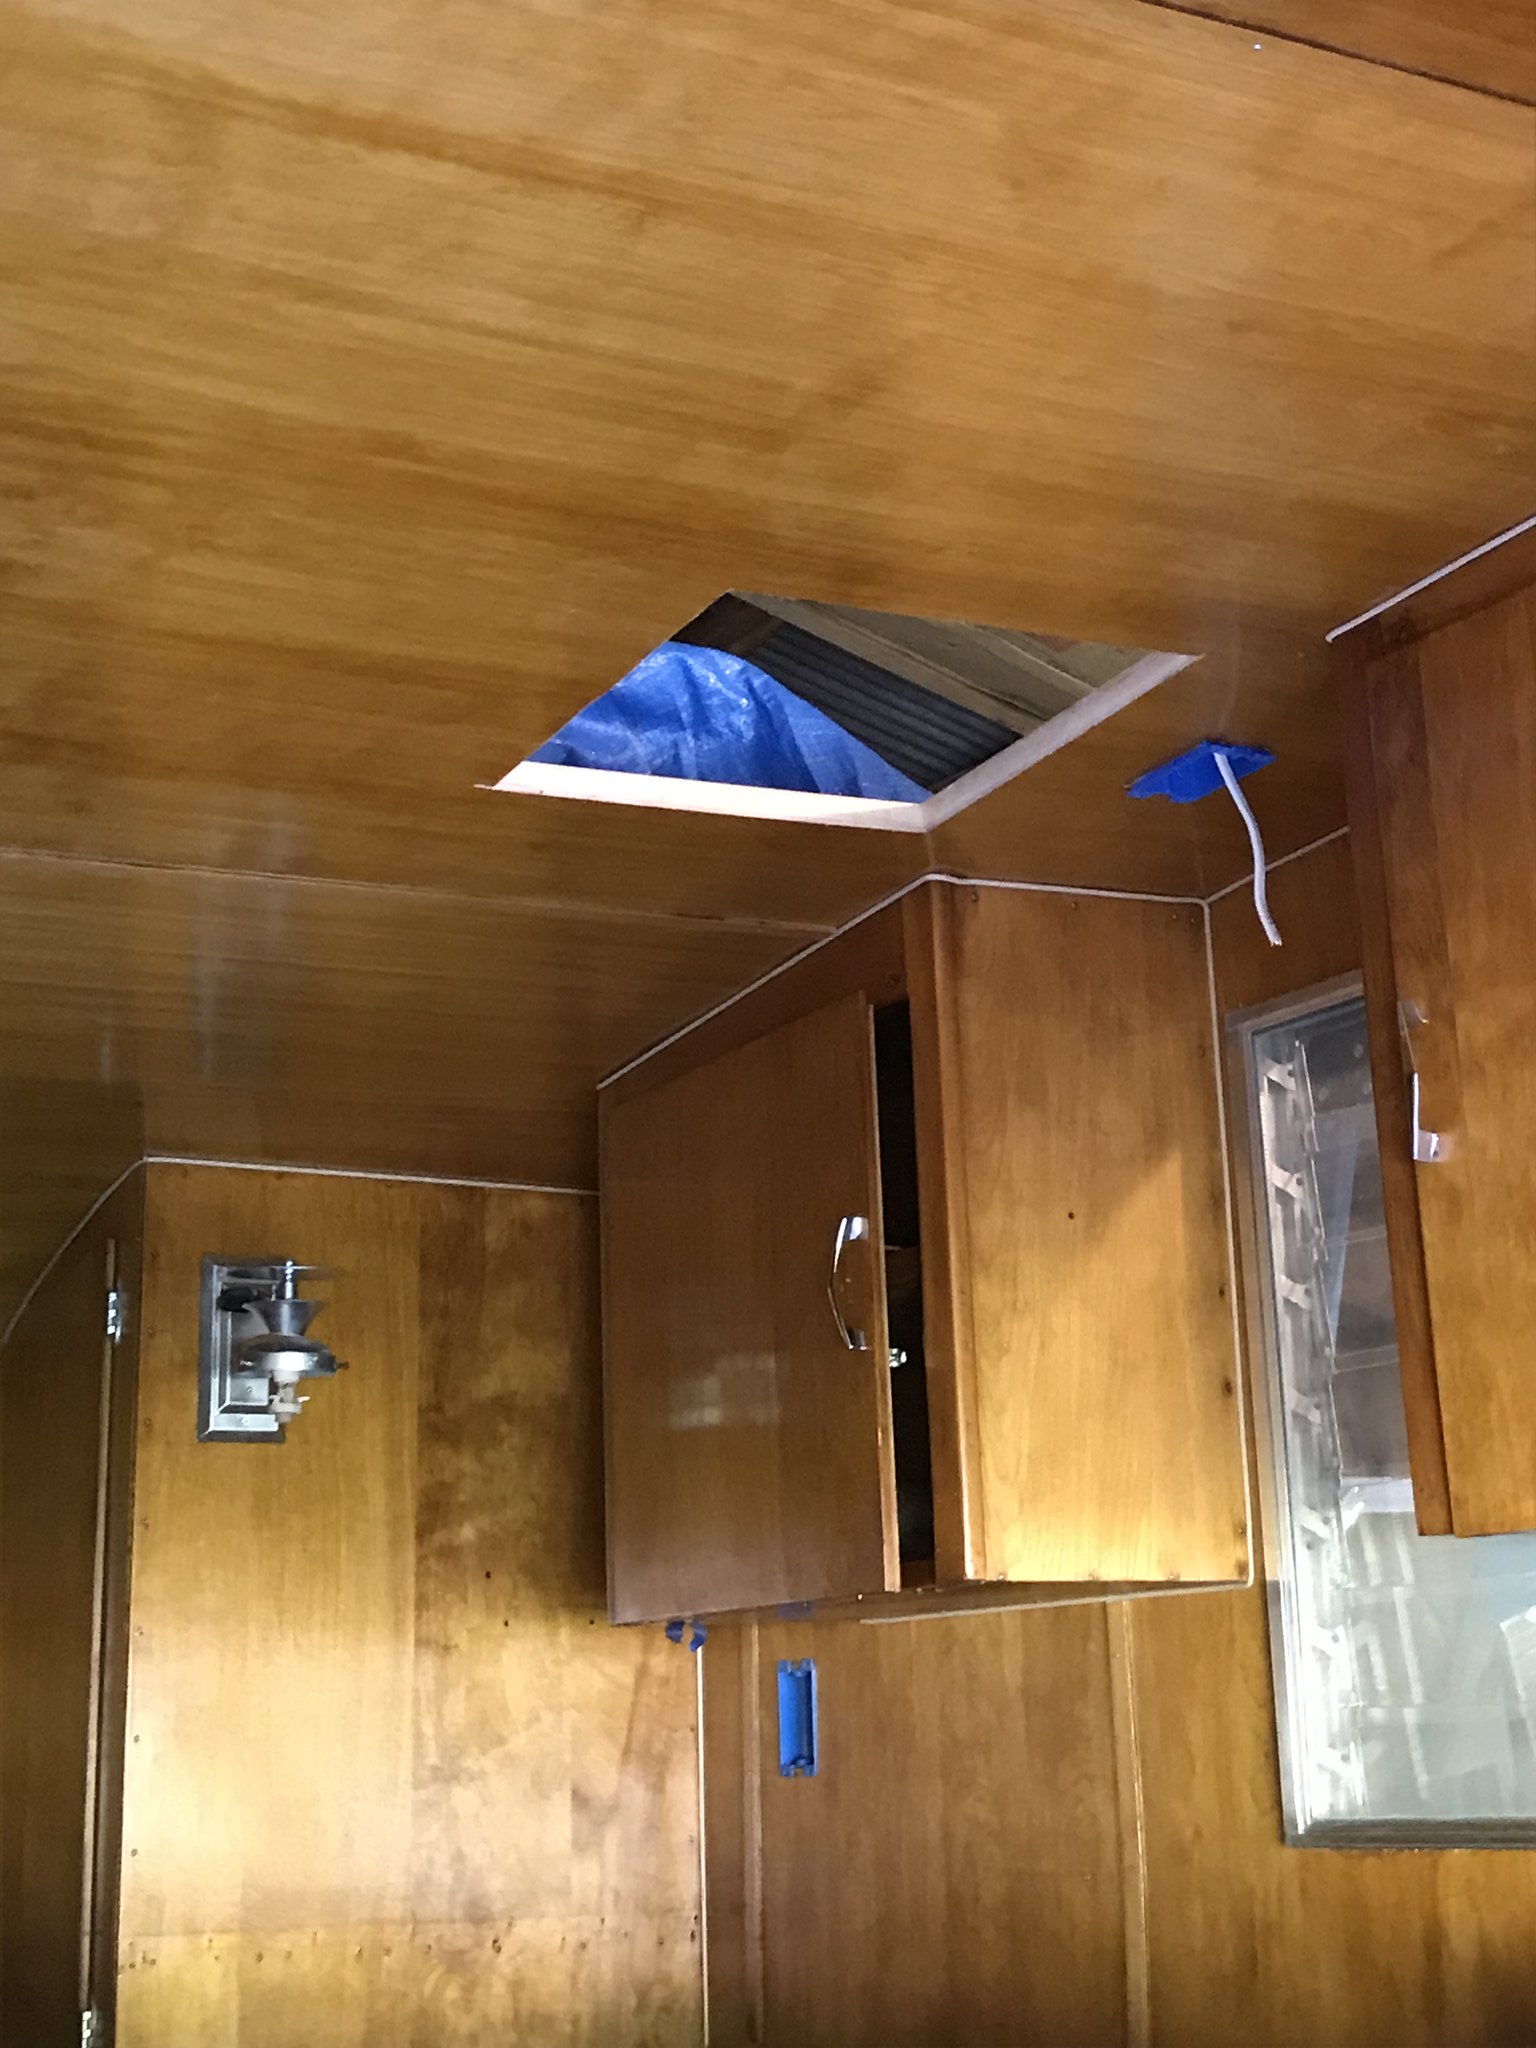 IMG_3792 IMG_3792 by kathy, on Flickr I drilled through my 3/4" framing for some wiring, but that wasn't always easy to do ( almost drilled right through my beautiful birch wall once- ugh!). So, where needed, I made a channel in my framing to accommodate the wire. I will cover these with cover plates when I am done with wiring. 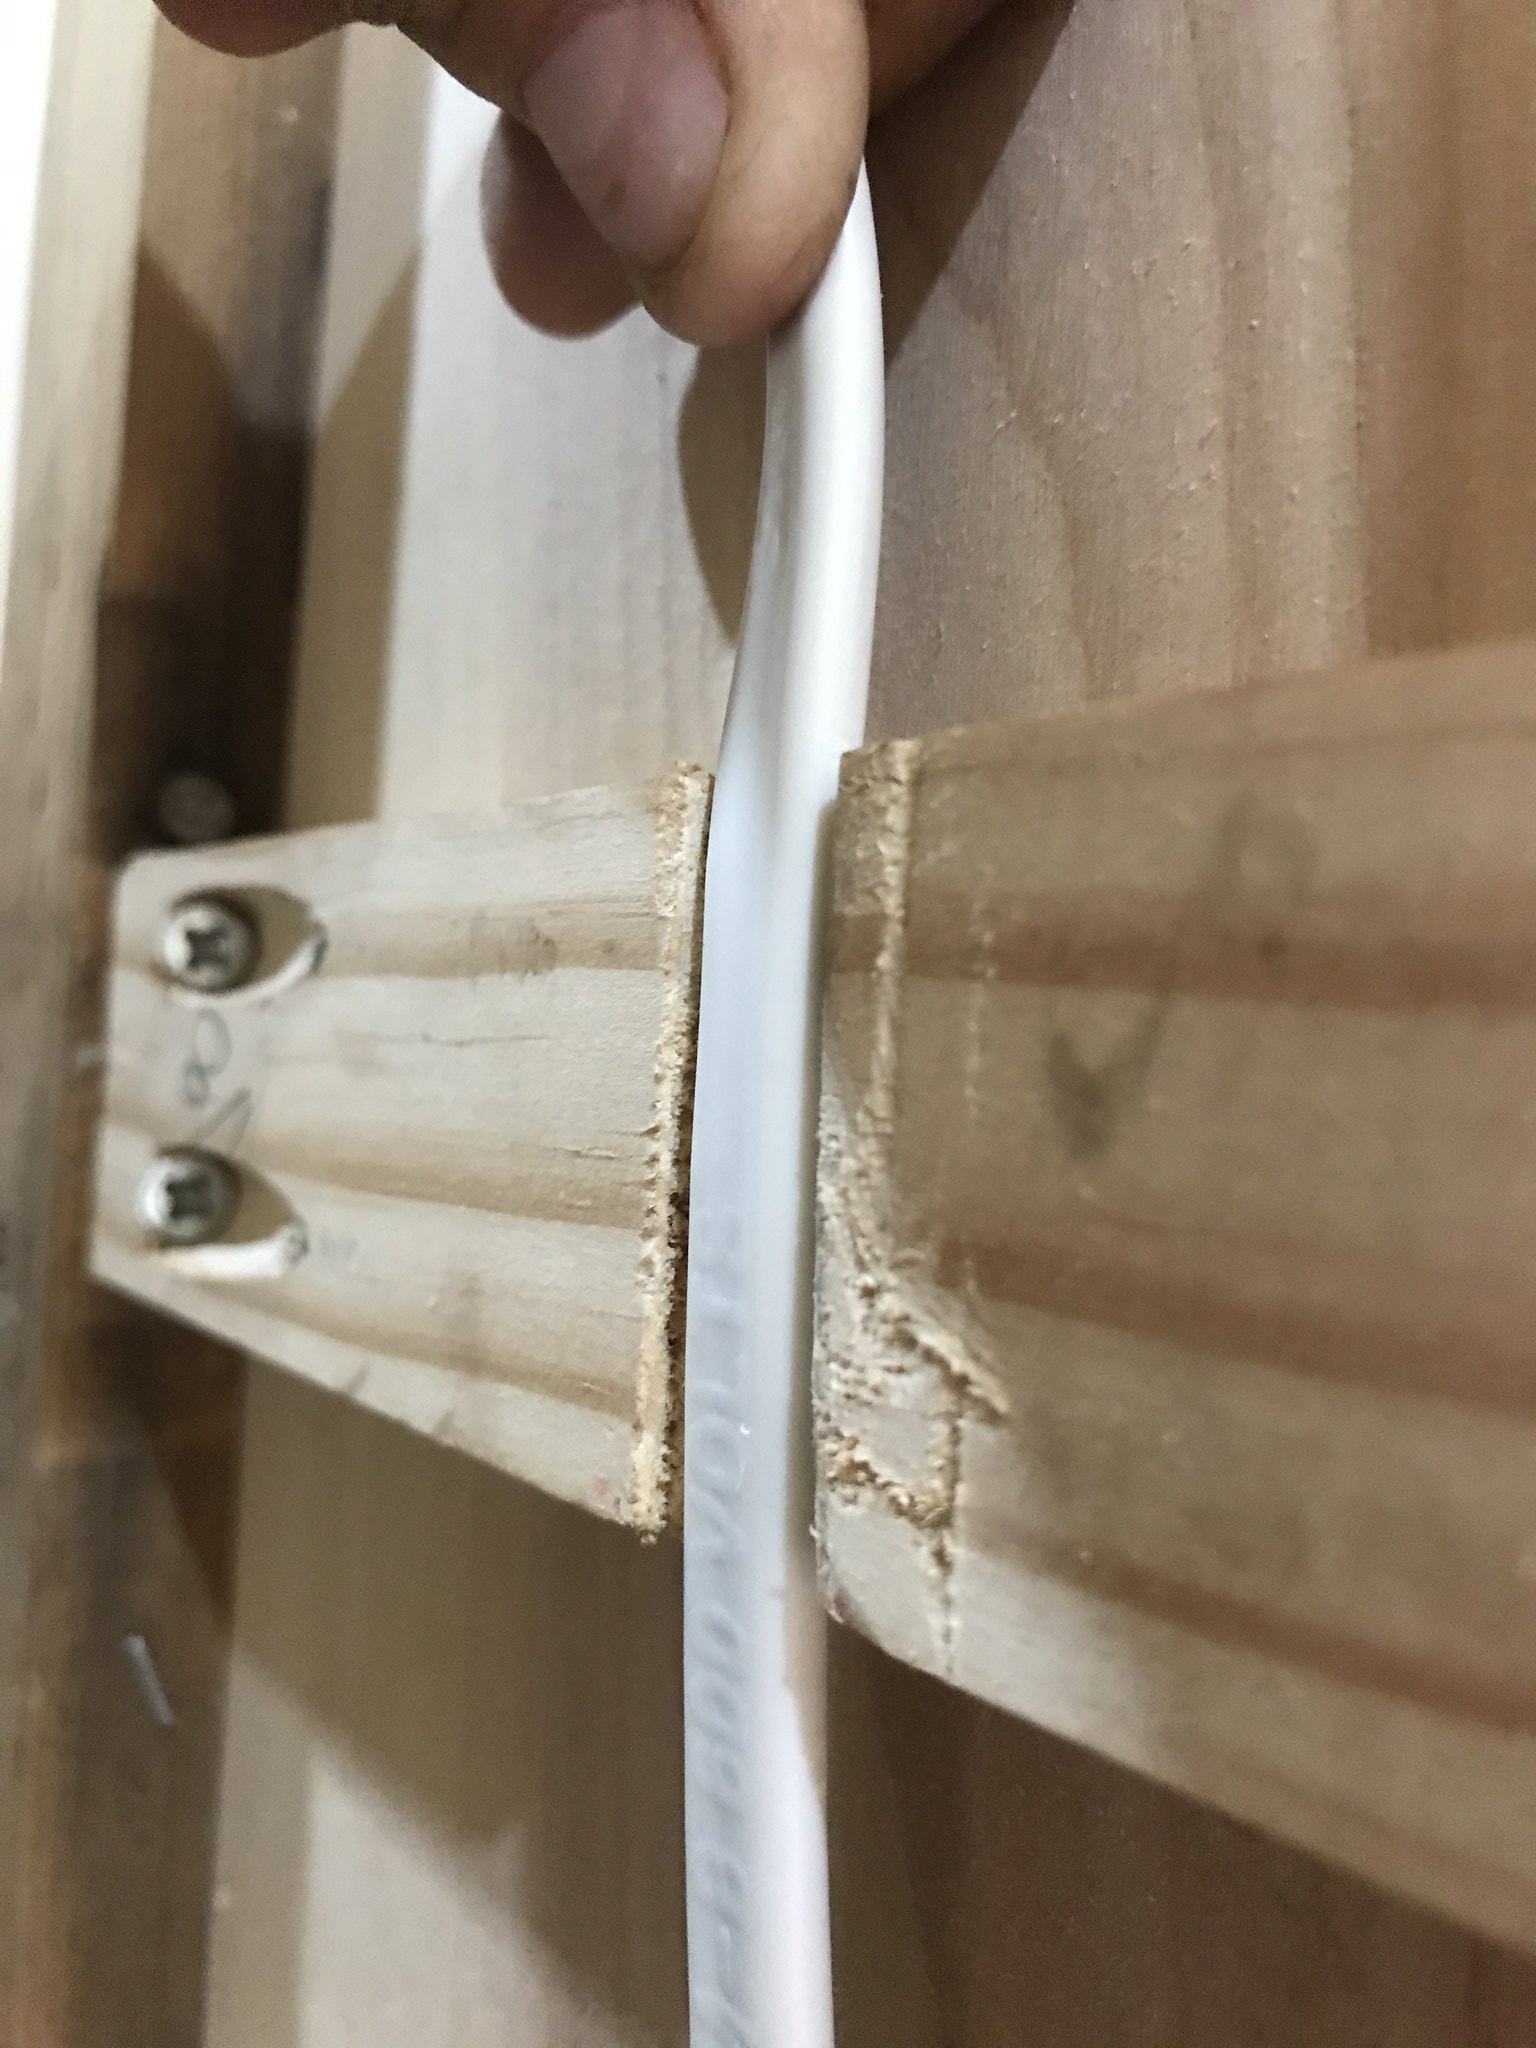 IMG_3777 IMG_3777 by kathy, on Flickr In the last few days, I have worked to get the kitchen finished. The laminate turned out great- so now I am installing a backsplash and metal trim around it. My camper has a 'box' that sits on the counter and covers the refrig upper vent- so I added laminate to that too- and trim- and it turned out great. Just need to add my cove moulding where the backsplash meets the counter and I am all done! Oh- my laminate is rather thin- so I had to glue the backsplash pieces to a piece of 1/8" wood so that the top trim fit correctly. I am quite proud of this- as I have never done laminate/trim before. Think it turned out pretty sweet!!  IMG_3708 IMG_3708 by kathy, on Flickr 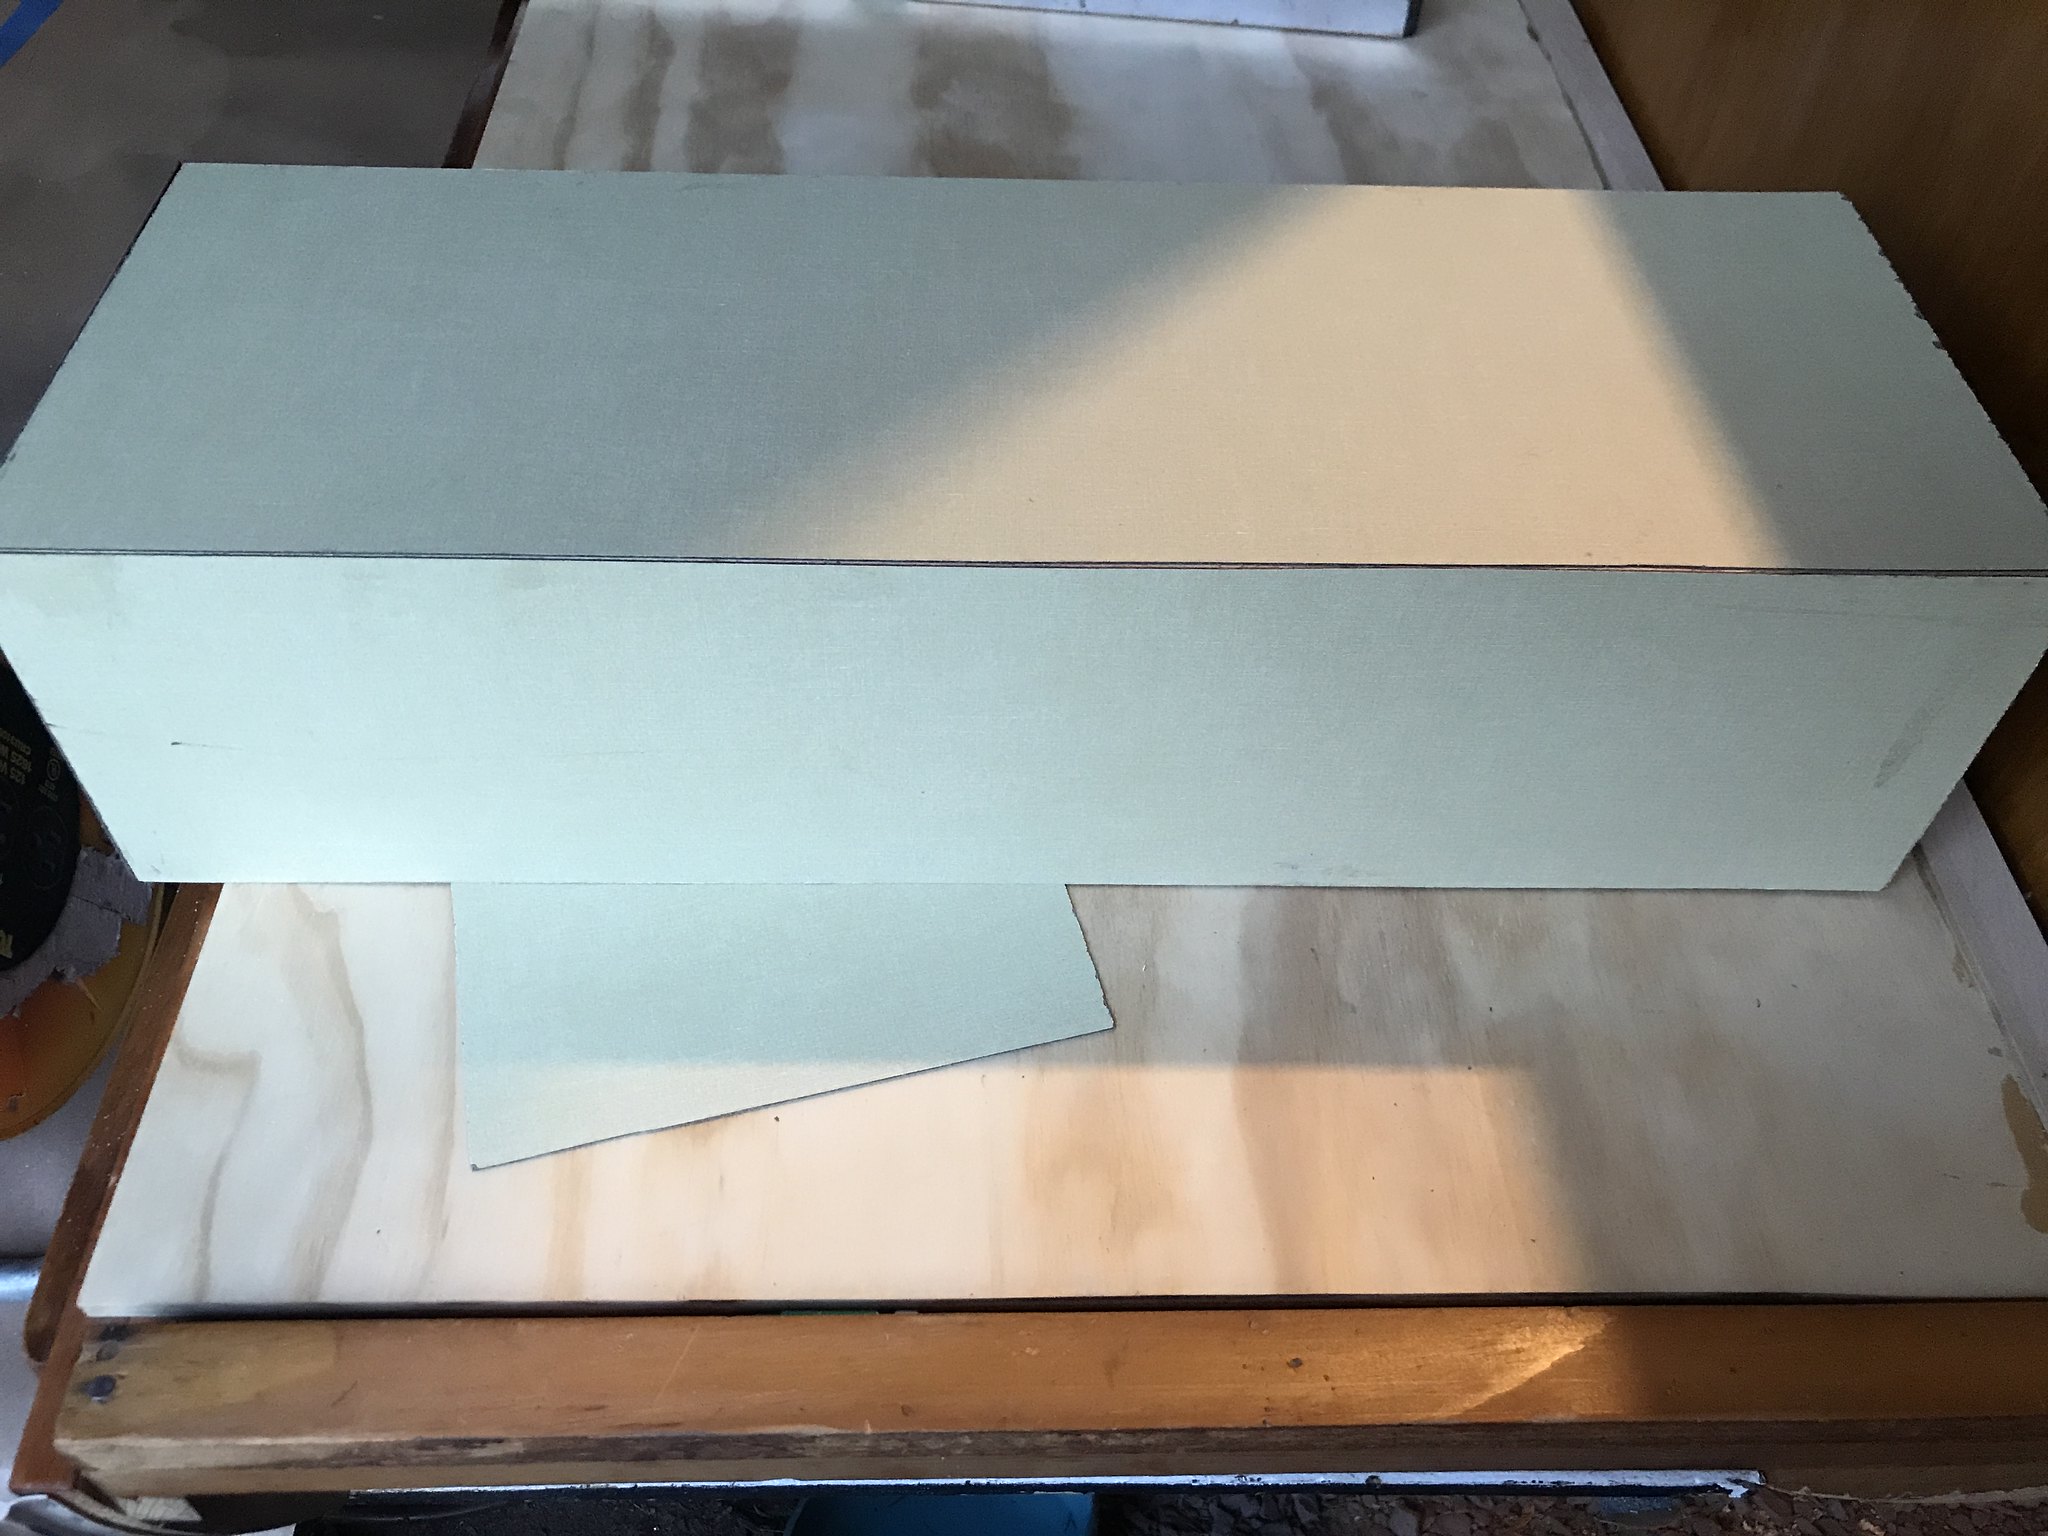 IMG_4342 IMG_4342 by kathy, on Flickr  IMG_4343 IMG_4343 by kathy, on Flickr 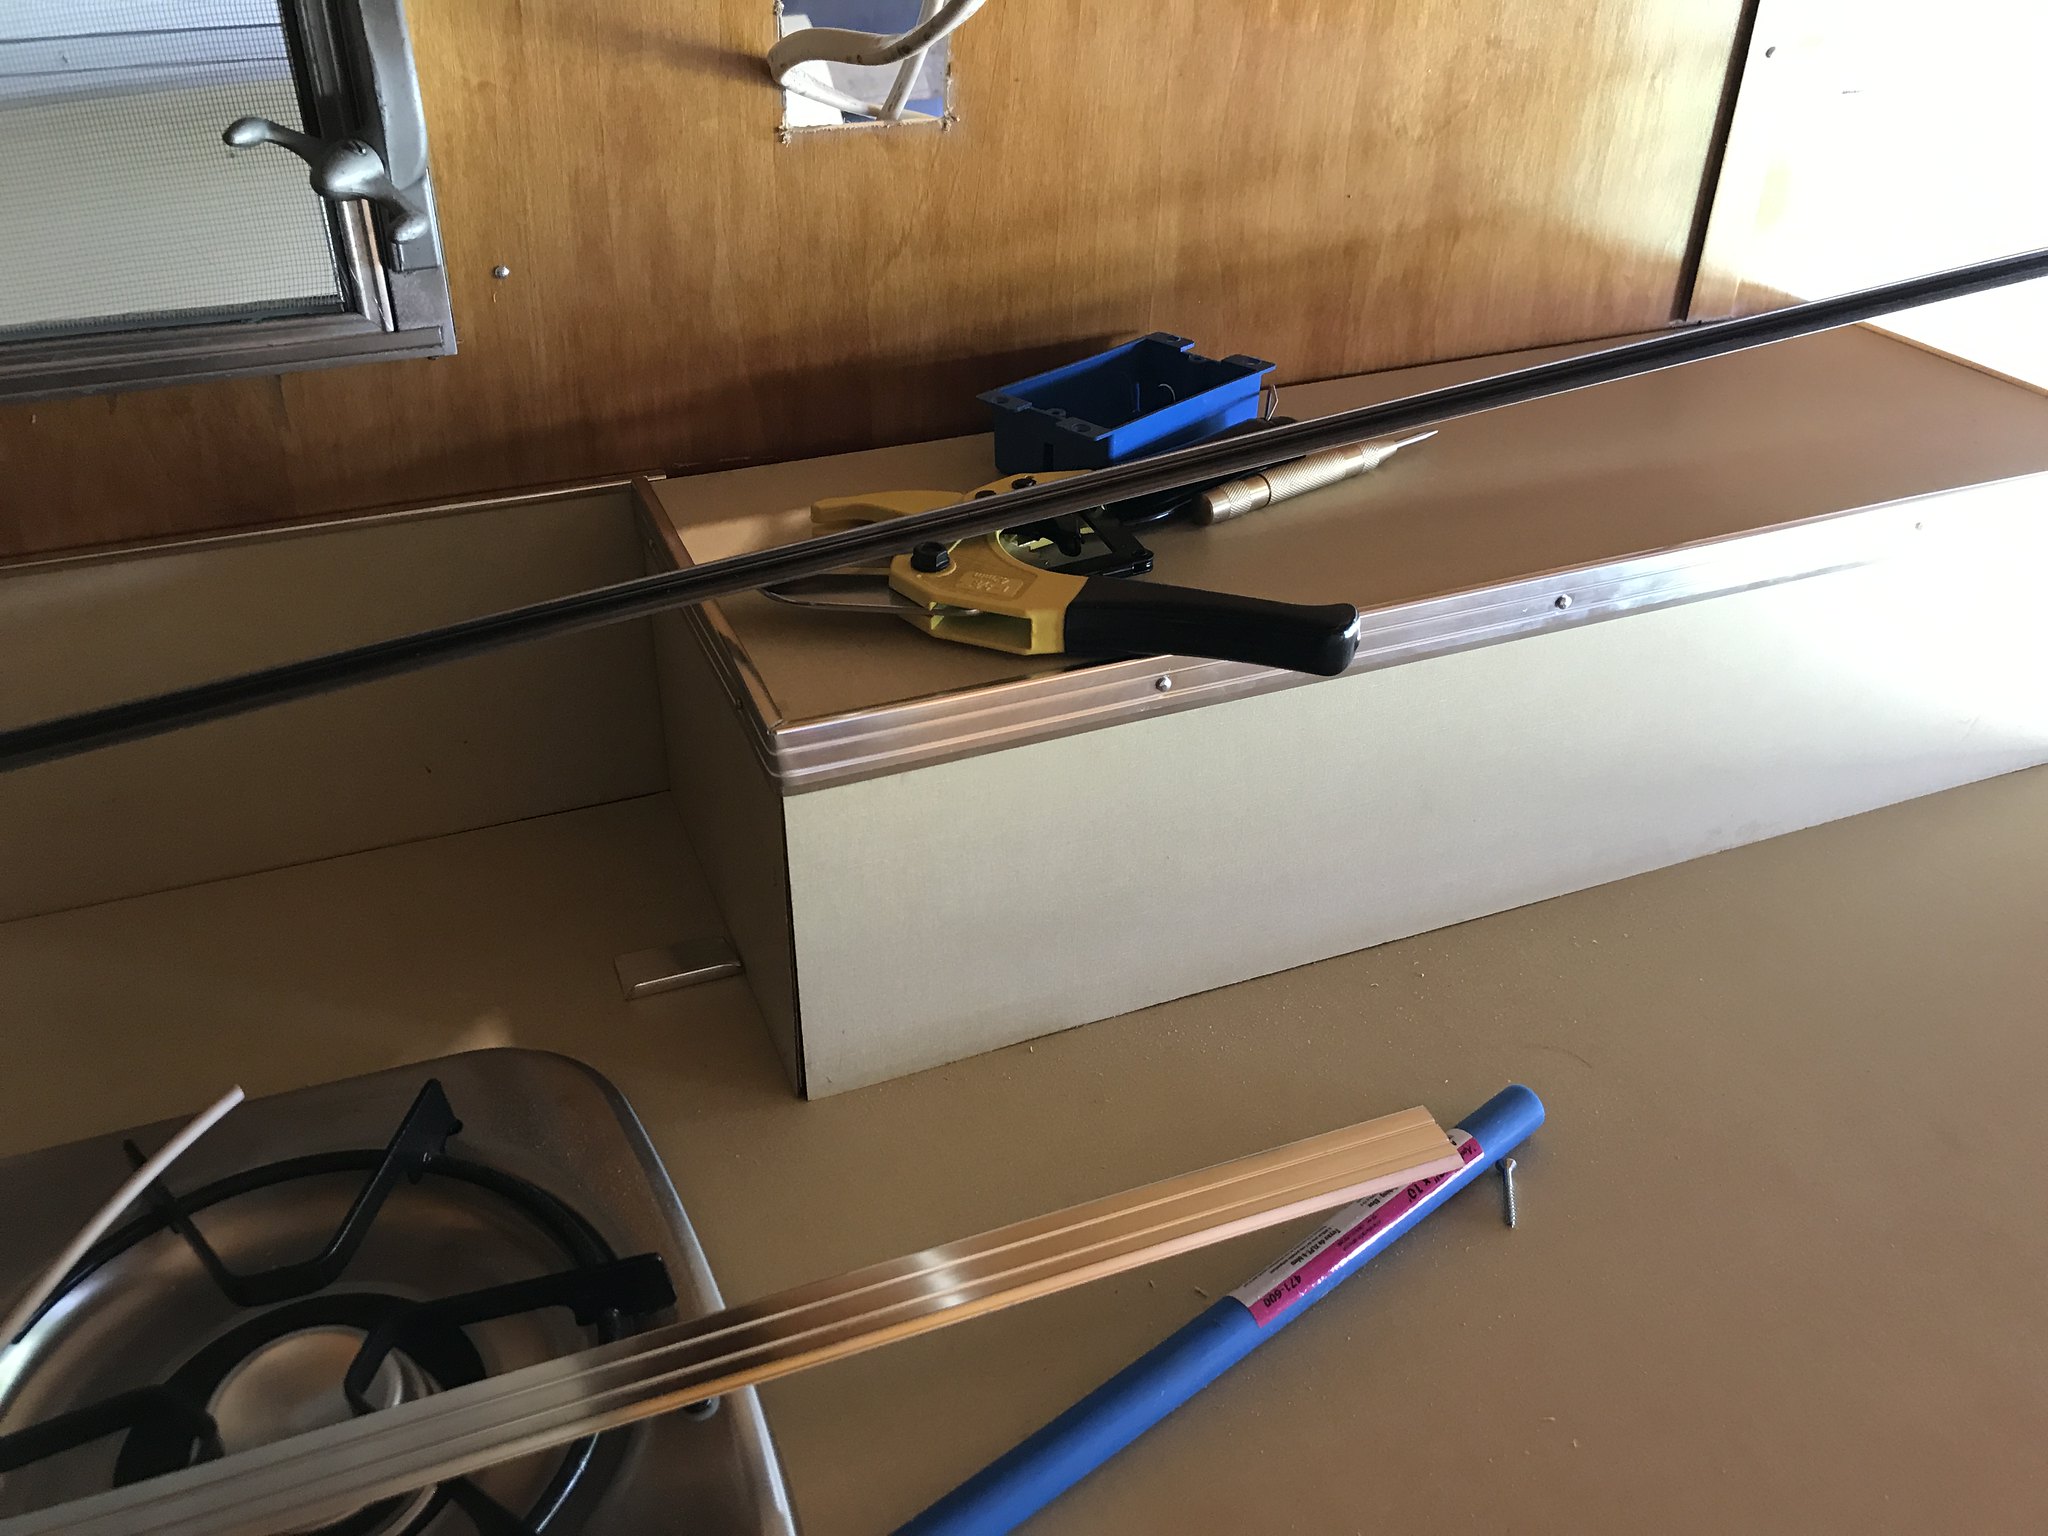 IMG_4345 IMG_4345 by kathy, on Flickr 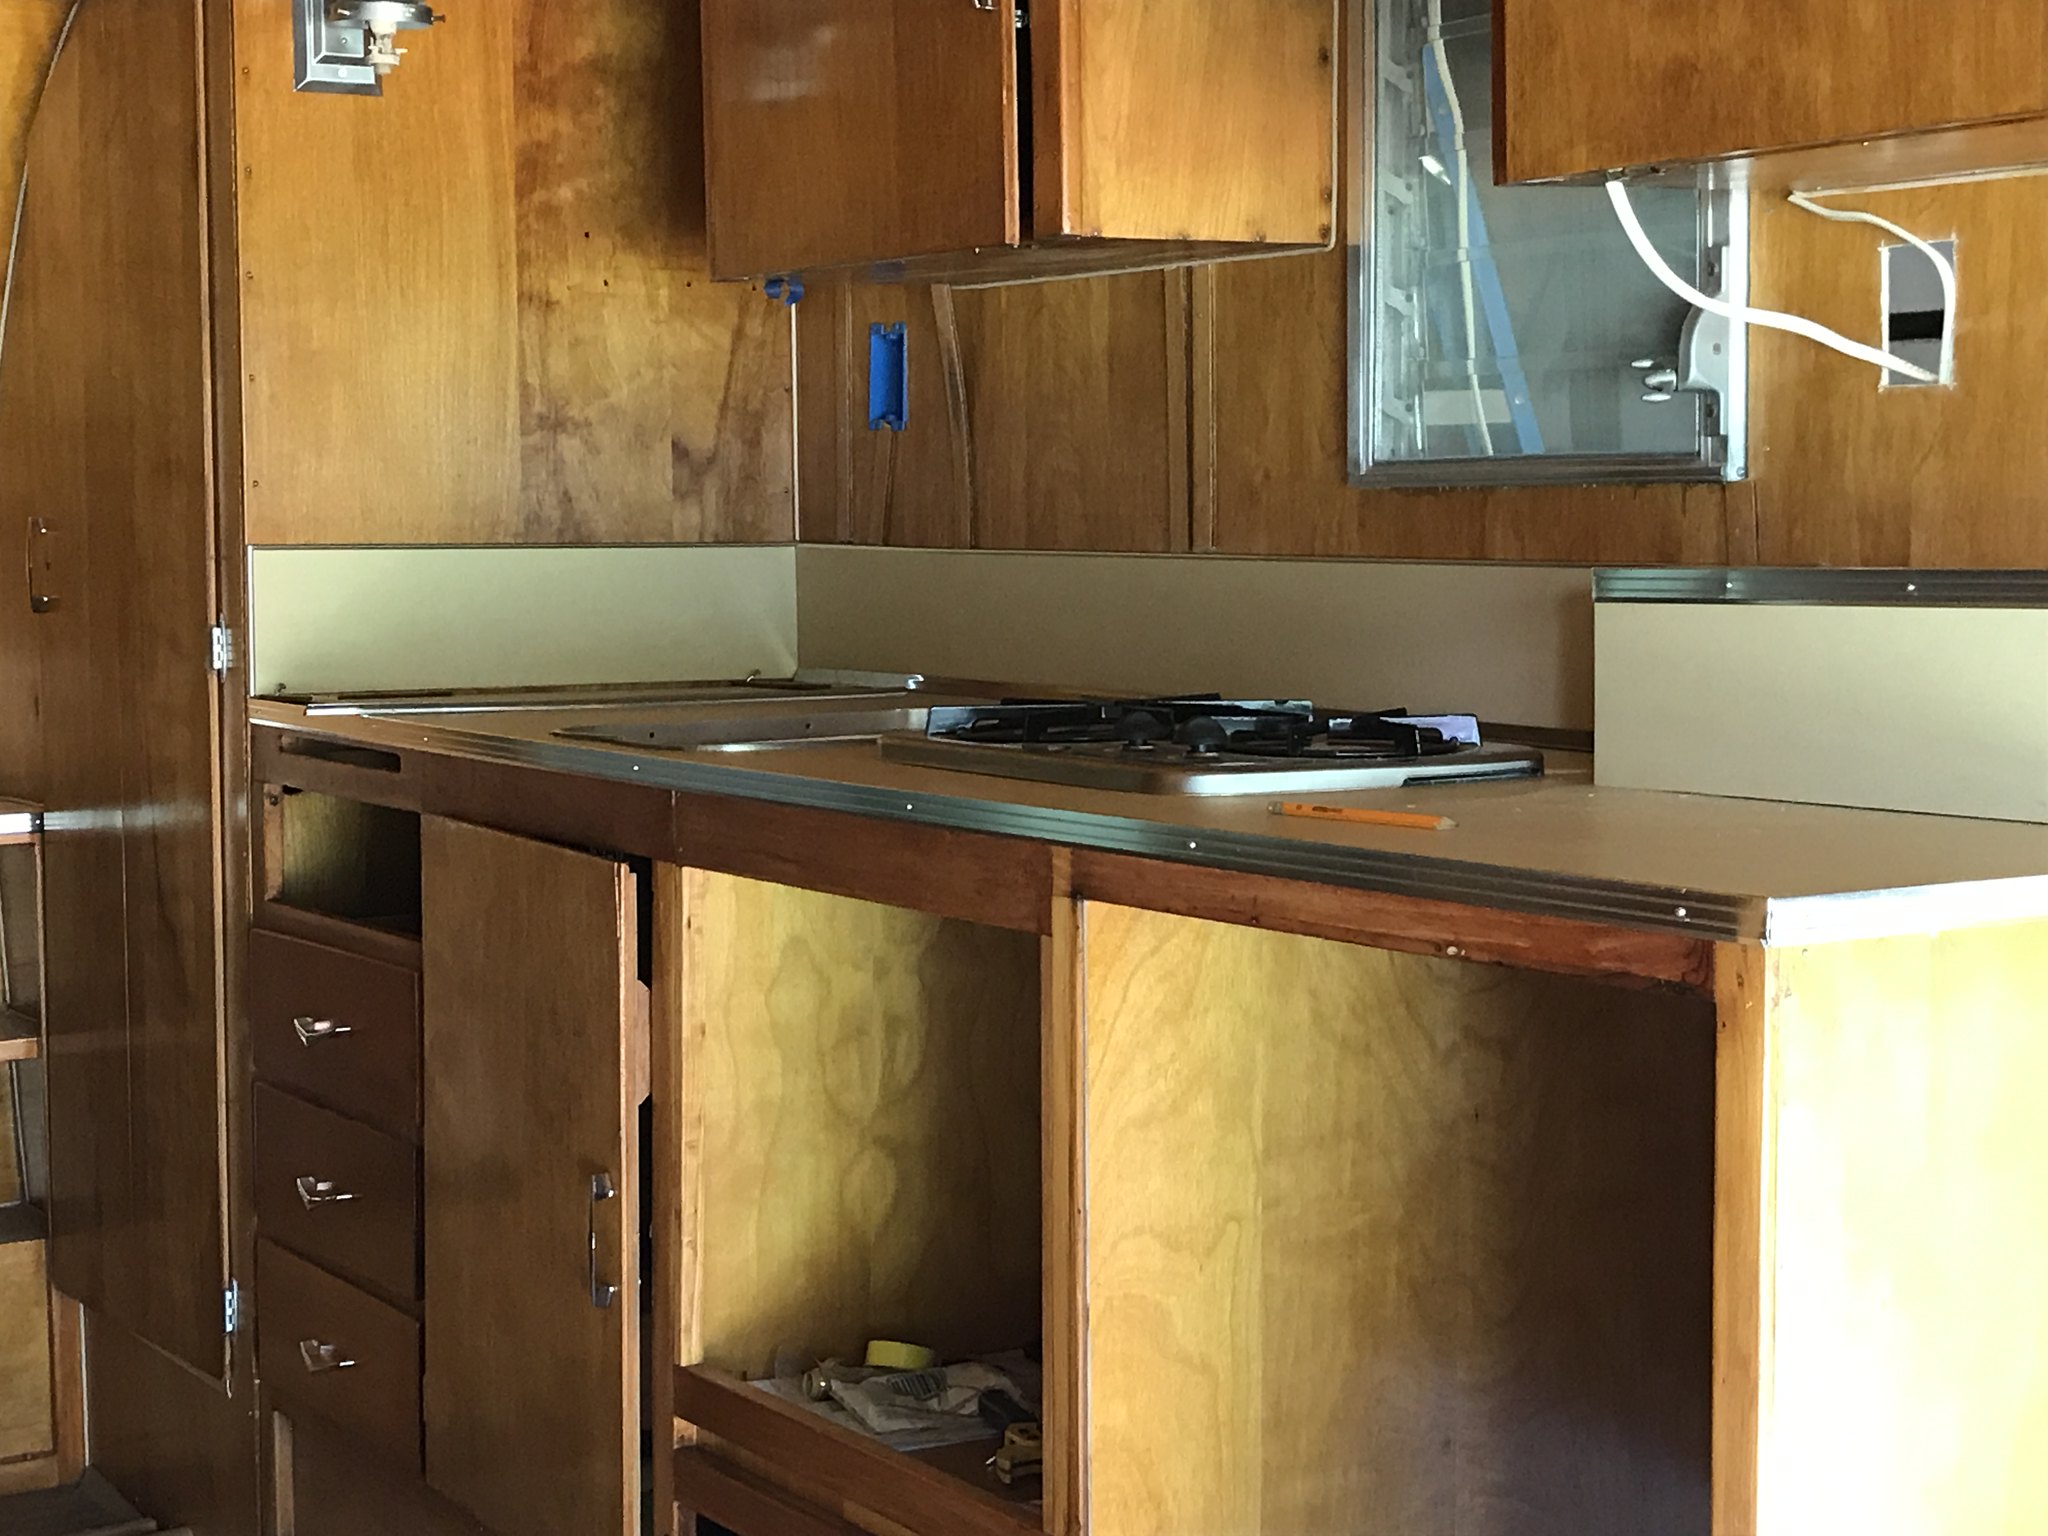 IMG_4346 IMG_4346 by kathy, on Flickr I'm getting there! School starts Monday- so once again my time with the camper is going to be shortened, but that's ok! I am in no hurry- and it's gonna be beautiful when I am done. So happy |
|
|
|
Post by vikx on Aug 16, 2018 19:33:10 GMT -8
Looks good, Kathy!
Be SURE you take lots of photos with a measuring tape of your wiring locations. Also, paint red after insulation helps. I use red masking tape just before the skin and trim (Jrail) go on in any areas I might 'forget' a wire.
|
|
troyt8pdx
New Member
adventure seeker, life liver, Jesus believer
Posts: 5
1971 Shasta 16SC
Currently Offline
|
Post by troyt8pdx on Aug 17, 2018 13:51:42 GMT -8
wow! Seeing your pics is super encouraging. The work you've done is nothing short of fabulous, it'll be so great when you take your camper out that you've completely restored. Wonderful work.
|
|
kaffi311
Active Member
Posts: 283
Likes: 98
1963 Shasta 16 SC
Currently Offline
|
Post by kaffi311 on Aug 17, 2018 18:57:24 GMT -8
wow! Seeing your pics is super encouraging. The work you've done is nothing short of fabulous, it'll be so great when you take your camper out that you've completely restored. Wonderful work. Thanks so much. I am also amazed at how much I have done...but do get discouraged at how much there still is to do. Luckily- I am not setting a time limit- when it is done, it will be done. I am so enjoying the process though- despite my screw ups here and there. Looking forward to the finish line - thats for sure !! |
|


