nate
Active Member

Posts: 112 
Likes: 15
1963 Comet 17'
Currently Offline
|
Post by nate on Nov 28, 2017 11:20:30 GMT -8
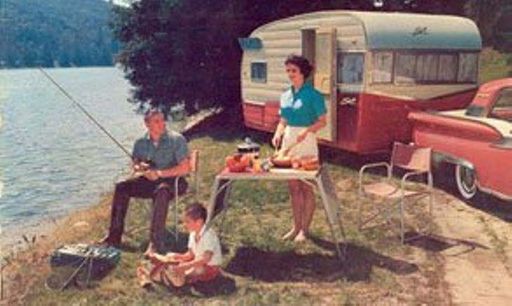
Hello, I decided to start a thread on my camper rehab. This is my first ever camper. I have never even slept in one before! I've spent many nights in my Eureka A-Frame tent, but now with a 2 year old, we want some creature comforts. We like the vintage campers because they are more compact and interesting than the new ones and we're trying to save a buck (foregone thought). 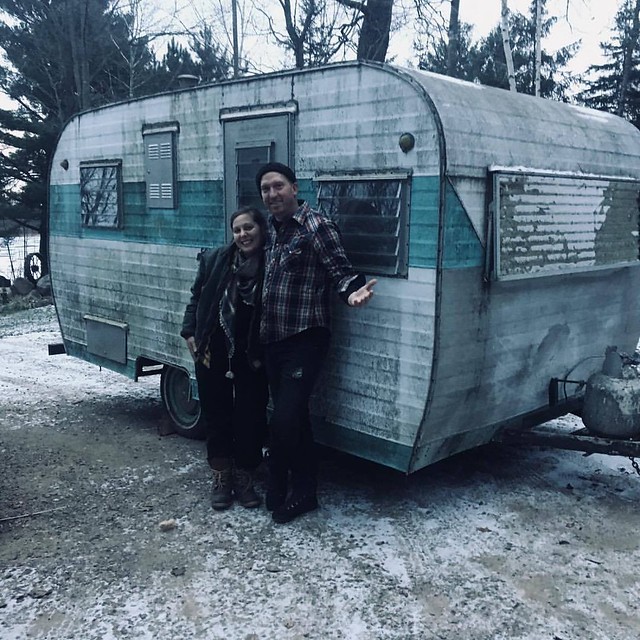 F5CBE6AE-A612-4E04-AA1C-439993CE8D5E F5CBE6AE-A612-4E04-AA1C-439993CE8D5E by nate kastle, on Flickr 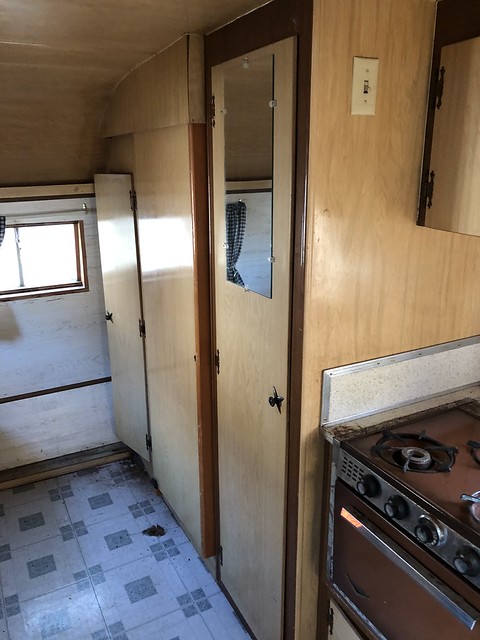 4E7C1824-40EE-4DB9-823E-2A87CC3F1FD0 4E7C1824-40EE-4DB9-823E-2A87CC3F1FD0 by nate kastle, on Flickr 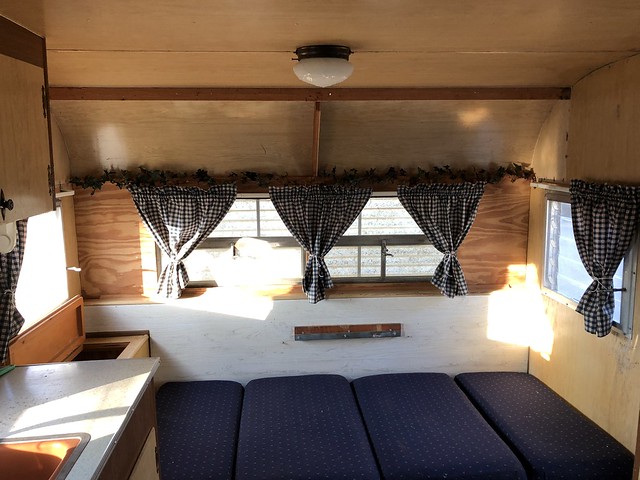 35A634B7-0FCF-4024-85EC-A9FBAD096EB8 35A634B7-0FCF-4024-85EC-A9FBAD096EB8 by nate kastle, on Flickr  09438F87-91E9-43B5-9CB8-C6BC1A66486C 09438F87-91E9-43B5-9CB8-C6BC1A66486C by nate kastle, on Flickr Fast forward to now. We have all the siding off and we plan to take it down to the frame. I found some previous changes to the trailer frame that need to be addressed. I also want to weld on some additional supports (outriggers?) and paint it. 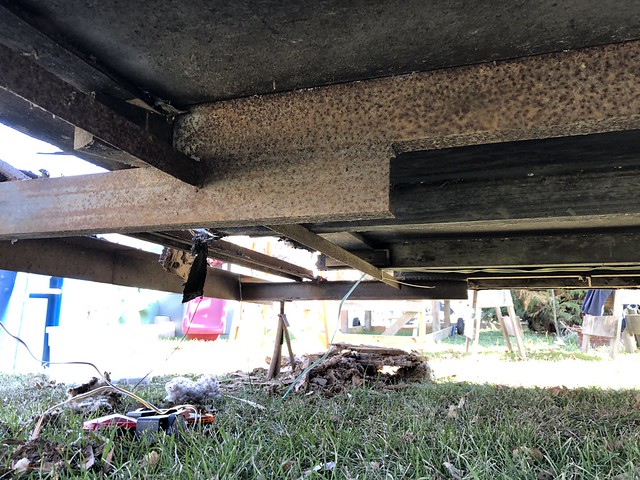 3D502ADD-E433-420F-B7D9-41585E134E97 3D502ADD-E433-420F-B7D9-41585E134E97 by nate kastle, on Flickr I'm in MN so I'm trying to get it deconstructed by the time it really snows. I have all the skins off and am trying to decide how to proceed from here. All the cabinetry is still in the trailer. I was planning on starting at the front part of the roof and start taking panels off going towards the back. I want to keep the sidewalls intact to work on them. Should I repair the sill boards before taking them down? All the framing is stapled together. I could also join them with pocket screws before proceeding, if that were necessary. I'm not sure how much paneling I'm going to be able to save. Not much. I just want to keep as much of the 'template' intact. 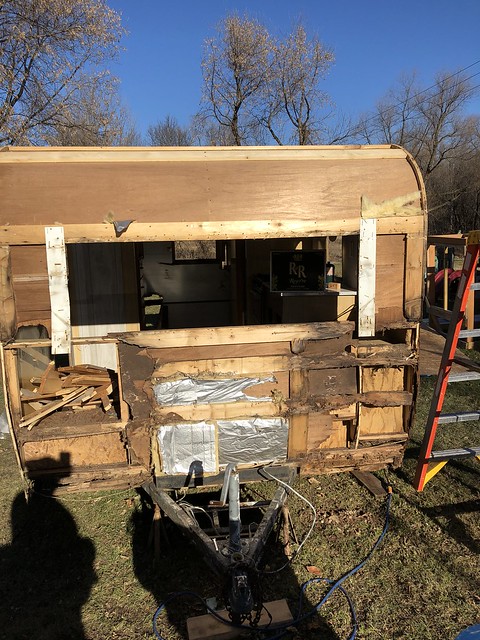 988C26E1-1F57-482B-828C-BE25D4CC7036 988C26E1-1F57-482B-828C-BE25D4CC7036 by nate kastle, on Flickr  6E0AF9B9-4274-4C21-8A70-5F20019C391B 6E0AF9B9-4274-4C21-8A70-5F20019C391B by nate kastle, on Flickr  IMG_0570 IMG_0570 by nate kastle, on Flickr I wasn't anticipating a full tear down right away but now I've committed to it. Crossing my fingers that it goes back together. I know it will be a process. I've purchased Vikx's book, watched a bunch of Mobiltec's vids, and studied many threads here, especially RinTin's Aloha resoration. That camper seems somewhat similar to my setup. I hope to copy many of his ideas and techniques. I've learned a lot from this forum and really appreciate all the wisdom and efforts provided on this site. Cheers to everyone for sharing. |
|
roadtripper
Active Member
Posts: 311
Likes: 116
Currently Offline
|
Post by roadtripper on Nov 29, 2017 6:57:30 GMT -8
Welcome to the gang. You are definitely in the right place to get the job done. And plenty to keep yourself busy for awhile. Best wishes.
|
|
nate
Active Member
Posts: 112
Likes: 15
1963 Comet 17'
Currently Offline
|
Post by nate on Nov 29, 2017 9:59:26 GMT -8
Welcome to the gang. You are definitely in the right place to get the job done. And plenty to keep yourself busy for awhile. Best wishes. Thank you! And, yes, I hope to camp in it at SOME point next year... |
|
nccamper
Administrator 
Posts: 7,743
Likes: 2,870
1962 Forester- 1956 Shasta
Currently Offline
|
Post by nccamper on Nov 29, 2017 10:21:32 GMT -8
Welcome!
"We like the vintage campers because they are more compact and interesting than the new ones and we're trying to save a buck"
My father once told me, make a careful estimate before starting a project...then double it.
|
|
nate
Active Member
Posts: 112
Likes: 15
1963 Comet 17'
Currently Offline
|
Post by nate on Nov 29, 2017 10:54:04 GMT -8
Welcome! "We like the vintage campers because they are more compact and interesting than the new ones and we're trying to save a buck" My father once told me, make a careful estimate before starting a project...then double it. Those are good words to live by. Good thing is, even if (when) that estimate is doubled I'll have a camper that's much better than any newer one at that rate, and with no surprises! |
|
nate
Active Member
Posts: 112
Likes: 15
1963 Comet 17'
Currently Offline
|
Post by nate on Dec 2, 2017 18:41:27 GMT -8
Got some more tear down done. Looks like I'll get the trailer in the garage before the snow flies here in MN. Glad to be mostly done removing rusty staples and nails. 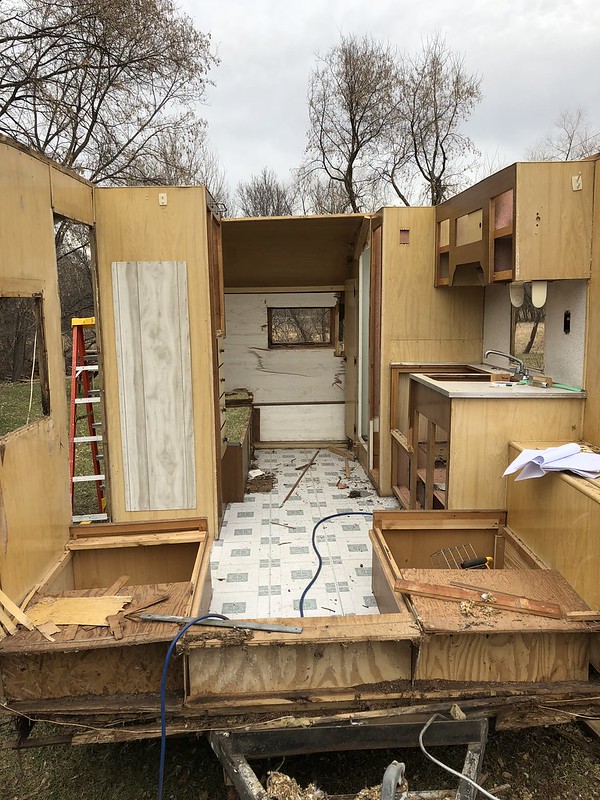 C51B5CA0-0C5A-4C2B-B1B2-A41A7AD002F6 C51B5CA0-0C5A-4C2B-B1B2-A41A7AD002F6 by nate kastle, on Flickr 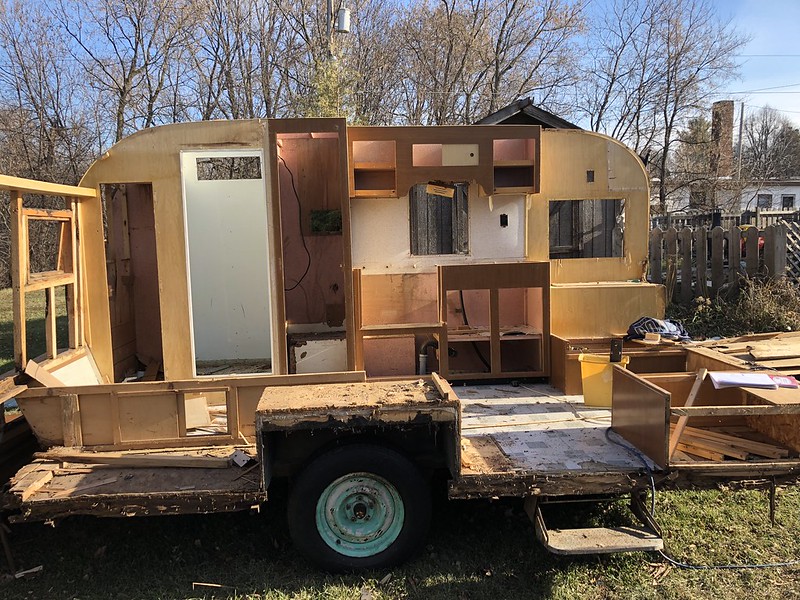 A4C52C78-C32A-4338-BD0C-6E40CFFBA498 A4C52C78-C32A-4338-BD0C-6E40CFFBA498 by nate kastle, on Flickr 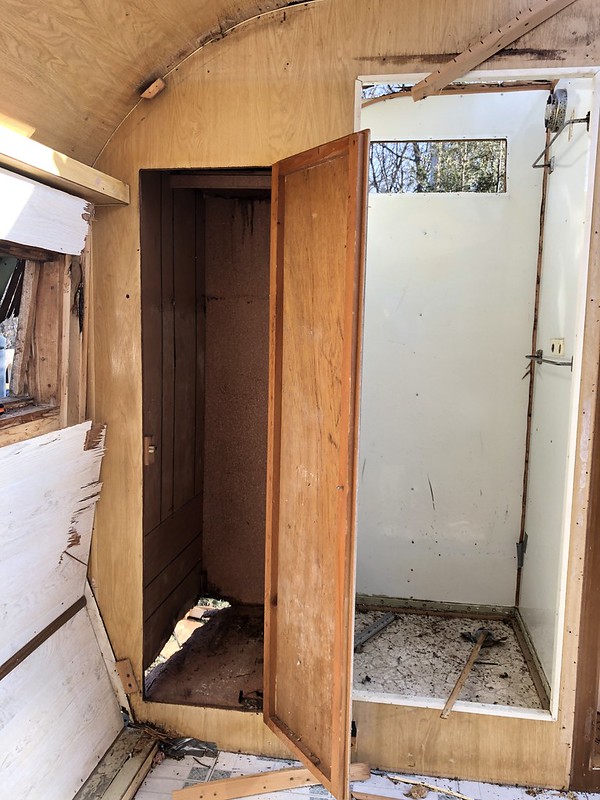 822624E3-215F-4955-A9B6-941F966B2B5C 822624E3-215F-4955-A9B6-941F966B2B5C by nate kastle, on Flickr I'm trying to figure out the original layout. The shower room has aluminum sheeting on the wall and a galvanized floor pan. There are two holes so I assume the toilet was also in there? There is a closet to the right of the shower that housed the fuse panel and I think the old water heater; and to the left, at the rear of the trailer, which had some modifications done when the rear wall rotted out. We don't plan to re-install a shower and will likely just use a portable camper toilet. We won't be using the stove/oven either. I like to cook outdoors and we'll use a induction unit when 120v hookup is available. I understand that taking out cabinets and such is a big no-no due to compromising the strength of the trailer. I plan to beef up walls, replace framing staples with pocket screws, and use 1/4" plywood for the sidewalls (1/8" is currently used). Are there any suggestions how to make the interior more user friendly? As of now, we plan to put things back the way they were but are interested in different ideas since I'll be rebuilding most of the cabinets. Next step is to address the trailer frame and do some welding and painting. |
|
nate
Active Member
Posts: 112
Likes: 15
1963 Comet 17'
Currently Offline
|
Post by nate on Dec 4, 2017 8:34:05 GMT -8
Got it down to the flooring and trailer frame. Floor is 5/8" plywood and surprisingly solid except for the very edges and the front and rear. I think I'll replace the whole floor instead of dealing with the tile that may have asbestos, unless someone here knows otherwise. As you can see, they only put vinyl where it shows. 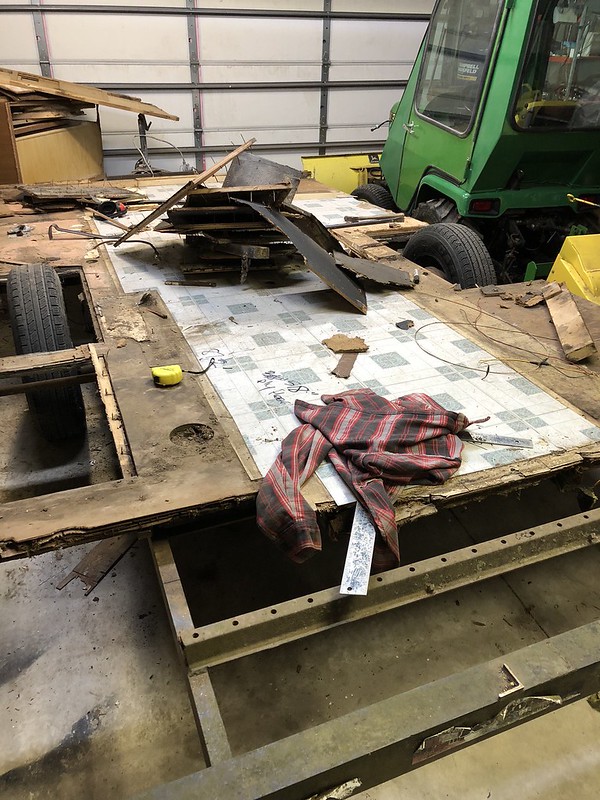 IMG_0769 IMG_0769 by nate kastle, on Flickr The wheel wells are plywood with black asphalt? paint on them. They were dry as a bone with no water damage. That stuff must work very well. I will be using it on my sill and skirt boards and to seal up the edge of the plywood flooring. I will just re-use this system since it worked so well for this long. I thought I would be putting in metal fenders. 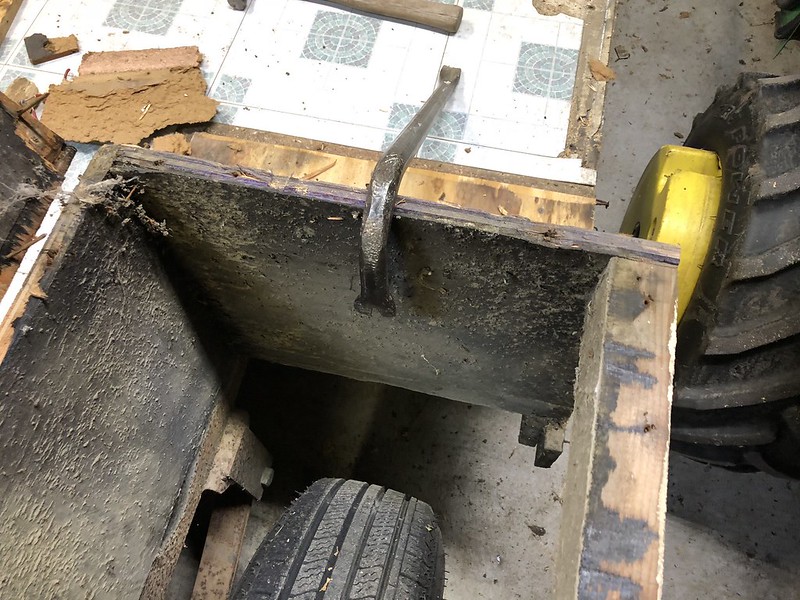 IMG_0767 IMG_0767 by nate kastle, on Flickr 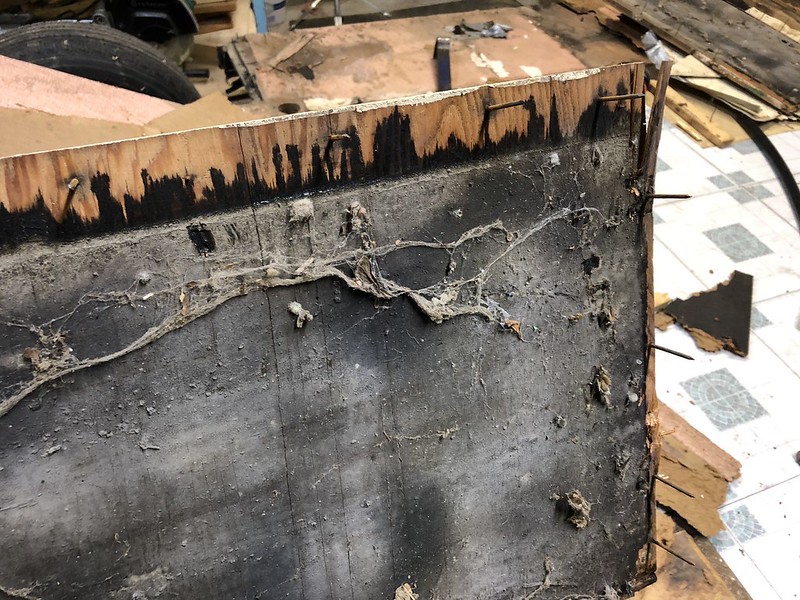 IMG_0766 IMG_0766 by nate kastle, on Flickr Next I'll take the floor off and see about this trailer frame. |
|
mrmarty51
Leading Member

Posts: 1,787
Likes: 423
1972 HOMEMADE
Currently Offline
|
Post by mrmarty51 on Dec 4, 2017 11:49:52 GMT -8
I too figured it to be easier to replace the entire floor structure, rather than patching the old.
|
|
nccamper
Administrator
Posts: 7,743
Likes: 2,870
1962 Forester- 1956 Shasta
Currently Offline
|
Post by nccamper on Dec 4, 2017 12:35:24 GMT -8
Since you have it down to the frame, I'd replace the floor and avoid the asbestos issue.
Thanks for the photos.
|
|
nate
Active Member
Posts: 112
Likes: 15
1963 Comet 17'
Currently Offline
|
Post by nate on Dec 26, 2017 9:44:38 GMT -8
Replacing the floor. I had to cut some old metal off the rear of the frame and re-weld on an outrigger. Welding on some support pieces in front too. Before I paint, I want to change the leaf spring bushings. Are these easy to find for these old trailers? The leaf springs look to be in pretty good condition so I think I'll reuse them. I'll replace the u-bolts for good measure. 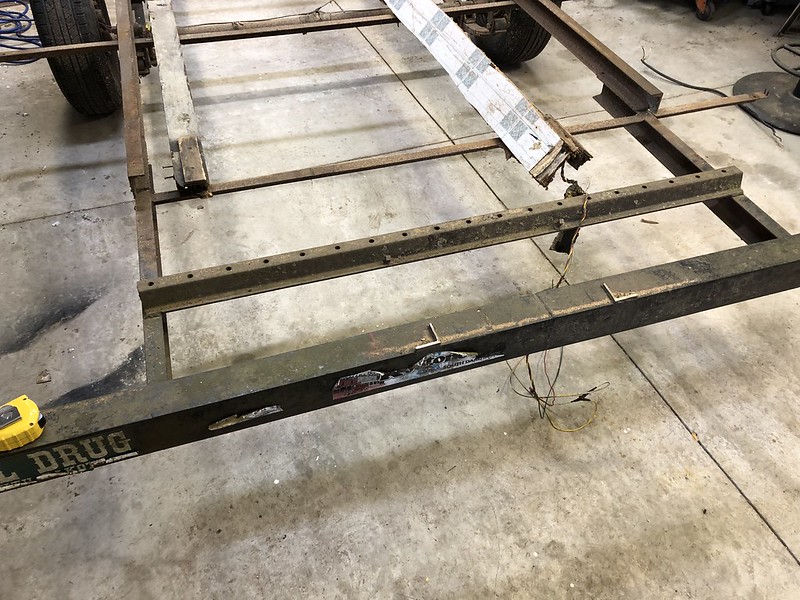 BBA24165-3BC2-47CE-BFB7-A832C3495577 BBA24165-3BC2-47CE-BFB7-A832C3495577 by nate kastle, on Flickr 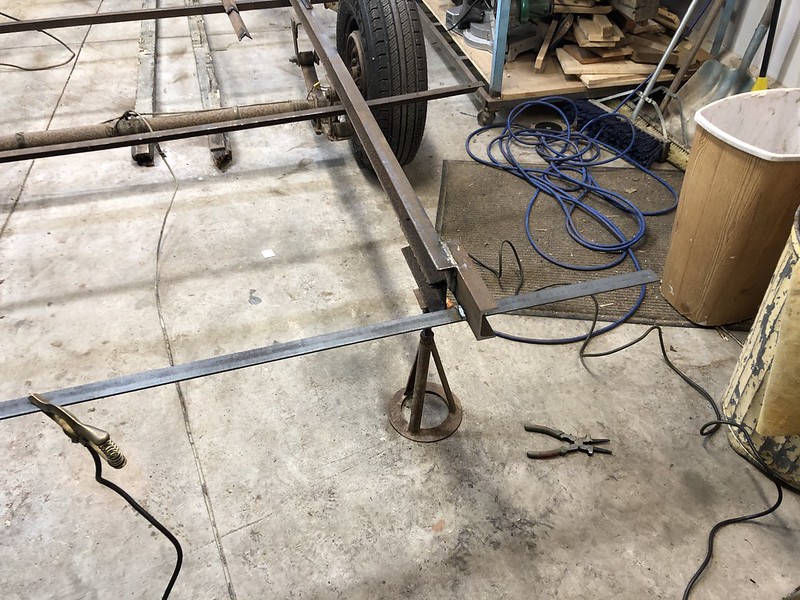 IMG_0902 IMG_0902 by nate kastle, on Flickr 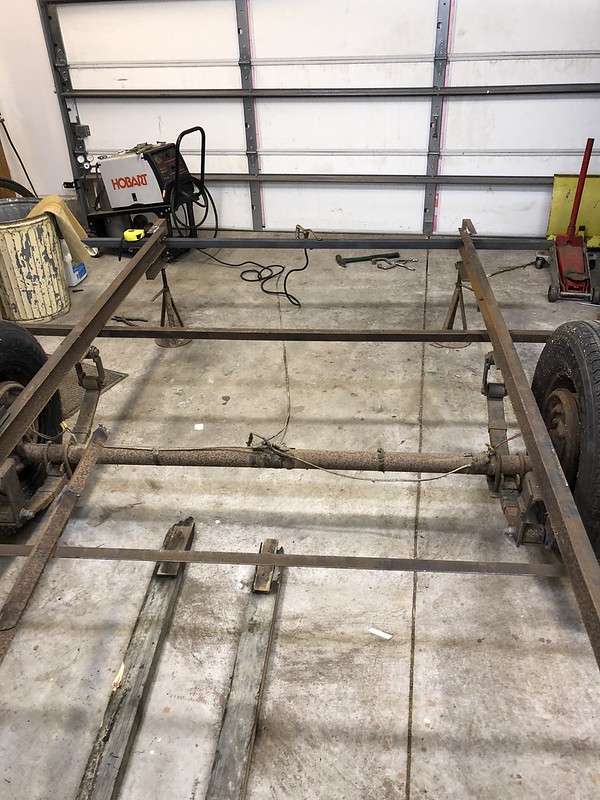 IMG_0905 IMG_0905 by nate kastle, on Flickr 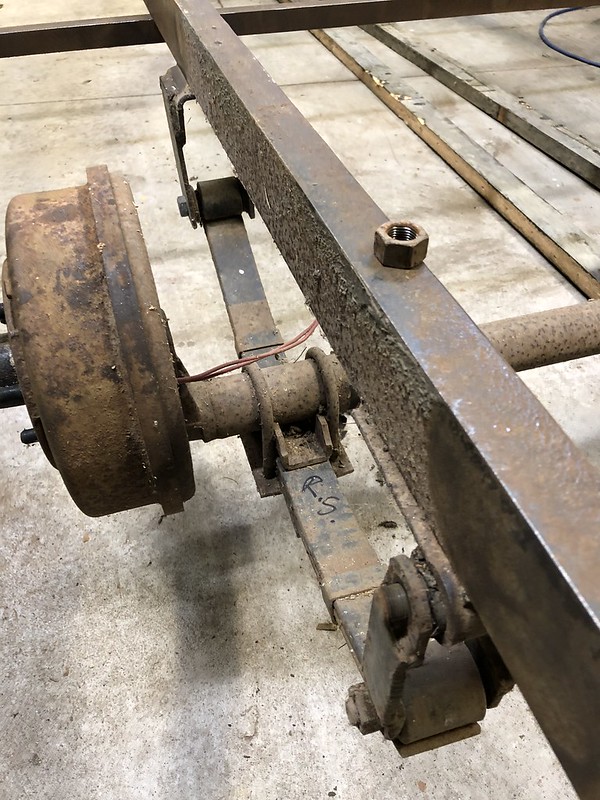 IMG_0934 IMG_0934 by nate kastle, on Flickr |
|
mrmarty51
Leading Member
Posts: 1,787
Likes: 423
1972 HOMEMADE
Currently Offline
|
Post by mrmarty51 on Dec 26, 2017 10:01:35 GMT -8
While the leaf springs are off, replace the center bolts too.
The bolt that holds them all together.
I have also made spring pads, to fit between each spring from plastic milk containers.
dont know why, just seems newer vehicles all comes with a piece of plastic between the springs. LOL
|
|
skipnwendy
Active Member
Posts: 109
Likes: 22
Currently Offline
|
Post by skipnwendy on Dec 27, 2017 5:06:10 GMT -8
Wow you really got into it  thanks for sharing, love to see what everyone does. |
|
silvertonguedevil
Member
1958 Shasta ~ 1959 Windsor
Posts: 47
Likes: 9
Currently Offline
|
Post by silvertonguedevil on Dec 28, 2017 14:57:58 GMT -8
Awesome! Looking forward to watching your progress!
|
|
banman
New Member
Posts: 4
Likes: 2
Currently Offline
|
Post by banman on Jan 21, 2018 11:30:07 GMT -8
While the leaf springs are off, replace the center bolts too. The bolt that holds them all together. I have also made spring pads, to fit between each spring from plastic milk containers. dont know why, just seems newer vehicles all comes with a piece of plastic between the springs. LOL The "proper" plastic would be nylon or teflon. This allows the leaves to move over each other more easily as the spring flexes. I've seen old springs where a leaf has actually worn a groove into the longer leaf over it. At some point the spring will break (at that groove) when that happens... |
|
banman
New Member
Posts: 4
Likes: 2
Currently Offline
|
Post by banman on Jan 21, 2018 11:40:36 GMT -8
Nate,
Thanks so much for posting the pix!
I've got a '62 Meteor so it's almost the same trailer as yours -- 2' longer but the layout is very similar.
It's really great to see how my trailer is constructed (by virtue of yours!) before I "tear into it" like you have.
I absolutely can tell you that your trailer did have 9" armstrong asbestos tiles. You won't miss them... ;-)
I simply encapsulated my tiles with latex paint and covered with carpet when I lived in my trailer.
From your pix I see you have the same brown stove as mine and the same robinegg green wheels. What color is your sink? Mine matches the wheels and I always wondered just what was original and what was not
I look forward to seeing how this goes back together! Good luck and enjoy the process!
|
|


 thanks for sharing, love to see what everyone does.