gonekayaking
Active Member
 enjoying using my camper and not working on it anymore!
Posts: 410 
Likes: 75
1956 Shasta 1500
Currently Offline
|
Post by gonekayaking on Jun 18, 2013 15:56:14 GMT -8
|
|
|
|
Post by vikx on Jun 18, 2013 23:03:17 GMT -8
Try to rescue this GoneKayaking... VSTF is closed. Wonderful story, by the way!
|
|
gonekayaking
Active Member
enjoying using my camper and not working on it anymore!
Posts: 410
Likes: 75
1956 Shasta 1500
Currently Offline
|
Post by gonekayaking on Jun 19, 2013 9:37:11 GMT -8
I have copied every post from the old forum and will take some time to try to re-post the whole thing. It is STILL possible to see the thread on the old forum. So check it out while it's still there. Most of this is also on my blog aguadream.blogspot.com
|
|
gonekayaking
Active Member
enjoying using my camper and not working on it anymore!
Posts: 410
Likes: 75
1956 Shasta 1500
Currently Offline
|
Post by gonekayaking on Jun 19, 2013 10:13:54 GMT -8
Feb 26,2011 "I purchased what I thought was a 1956 1500 from a woman in Oregon. She had indicated that the trailer had belonged to the family of the original owner until she had recently acquired it. She has a bit of a business of sprucing up trailers and reselling. Claimed this one was in amazing original condition...she'd clean it up for me --fix a bit of water damage to paneling, put in a new floor and sew up some curtains, install a new vent and re-seal all seams. Assured me that there were no current leaks. Happy Camper I, ready for a trailer I could camp in and slowly upgrade along the way. Well after our first rainstorm, sure enough, noticed water stains at the roof vent, and damp wood in all four corners. Guessing I better have a closer look. What I found I was not ready for. The PO had paneled over but not fixed anything.  Not a happy camper was I. She had put in a new roof vent but failed to properly seal the opening. So now I'm doing a partial re build. And now that the anger has subsided I'm getting into it. So far have removed the area around the roof vent, and torn off the back of the trailer down to the frame. All of this WILL get fixed by April 10, our trip to Kernville for our annual spring kayaking week and whitewater festival. Along with that, will flip the ubolt on the axle, install a fantastic fan (might as well right?), make sure the wiring is all good, install a battery and new fuse box, and add a water tank. Gonna be a busy 6 weeks! Hoping to barter some help from friends with skills. I'll be asking lots of questions. 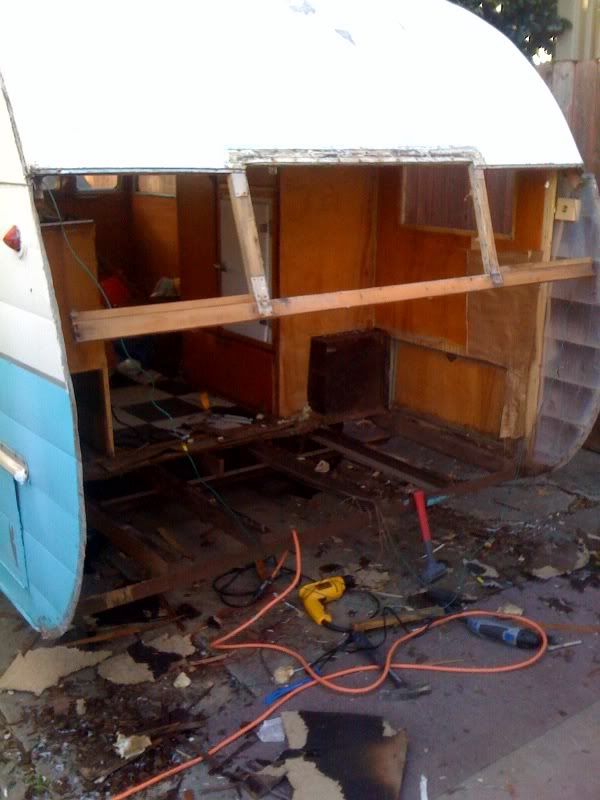 Link to the tear down is at s96.photobucket.com/albums/l189/benmy/Shasta%20Restoration%20pics/" |
|
gonekayaking
Active Member
enjoying using my camper and not working on it anymore!
Posts: 410
Likes: 75
1956 Shasta 1500
Currently Offline
|
Post by gonekayaking on Jun 19, 2013 10:14:28 GMT -8
"More work completed yesterday.  Wondering whether to pull all the bottom panels, cabinets, and just fix everything for once and for all. First though gotta make sure I have a good template for the back, since it wasn't a systematic demo. Have a shelter on order so I don't have to tarp up everyday. The subfloor under that nice new checkerboard vct tile that the po put in is sagging beneath the plywood sheeting......decisions decisions..... pictures when I have em" |
|
gonekayaking
Active Member
enjoying using my camper and not working on it anymore!
Posts: 410
Likes: 75
1956 Shasta 1500
Currently Offline
|
Post by gonekayaking on Jun 19, 2013 10:15:10 GMT -8
Well I made some headway over the weekend. My kreg jig got it's first workout framing in the new ceiling supports. I almost finished skinning the trailer all along the bottom half. The damage is not as bad as I'd feared along the sides, and I'm not all the way around to the front to see how bad it is up there. I'm remaining optimistic that I'll be able to get it done in time for the Kern River Festival trip April 11. Joe K came over on Saturday and gave it a look too, and confirmed that it's not so bad. I'll have some more pics up soon.
|
|
gonekayaking
Active Member
enjoying using my camper and not working on it anymore!
Posts: 410
Likes: 75
1956 Shasta 1500
Currently Offline
|
Post by gonekayaking on Jun 19, 2013 10:15:29 GMT -8
3/13/2011 " Update on progress over past couple of weeks!! ;DTore off rest of the skin...Good news, no new surprises. Will replace frame around wheel wells with single 1x12 pine cut to fit. Replace framing at corners at front. Here she is without her skin from the neck down. 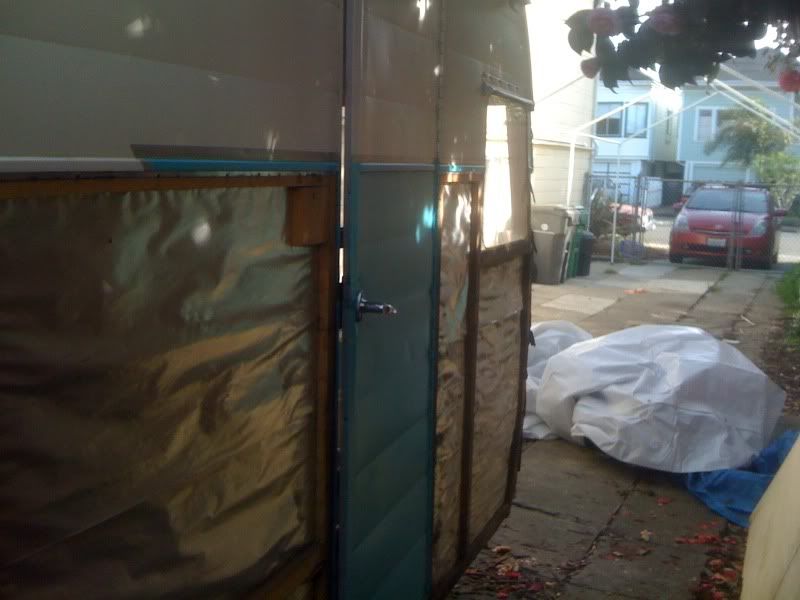 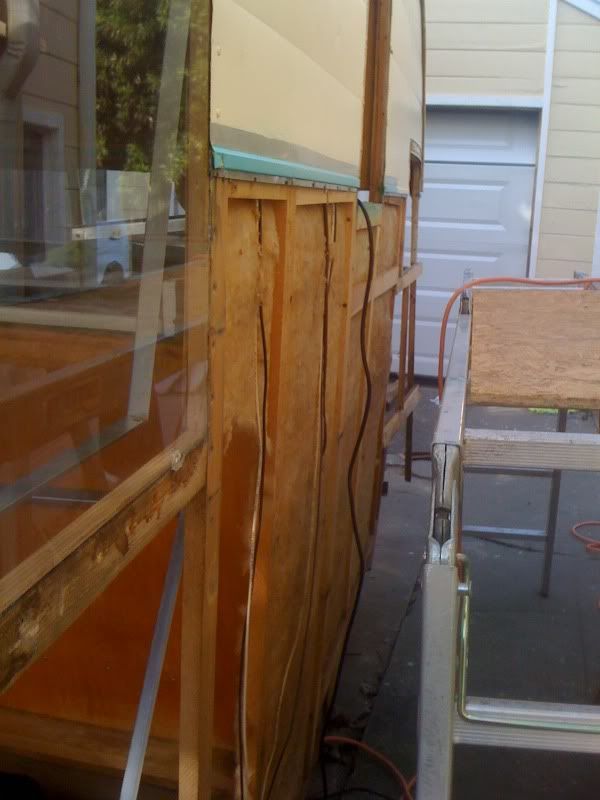 my new view out the front! 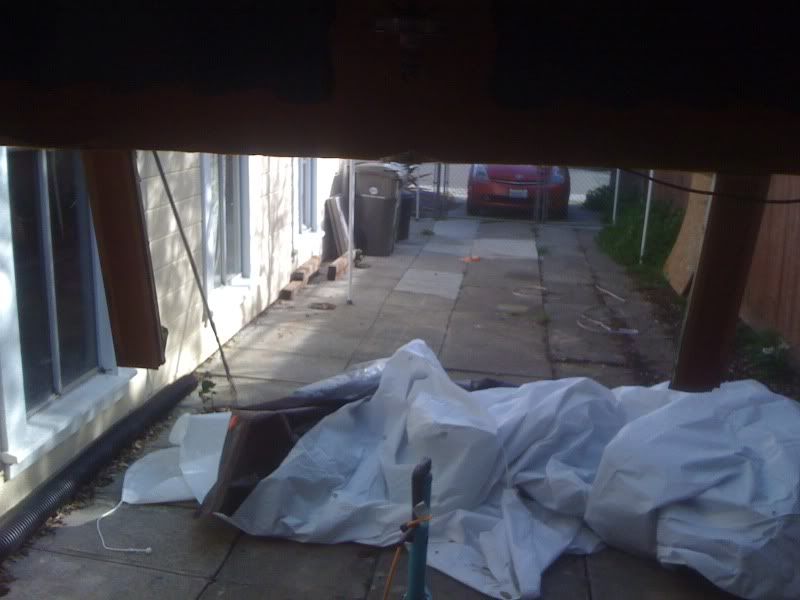 close ups of the conditions 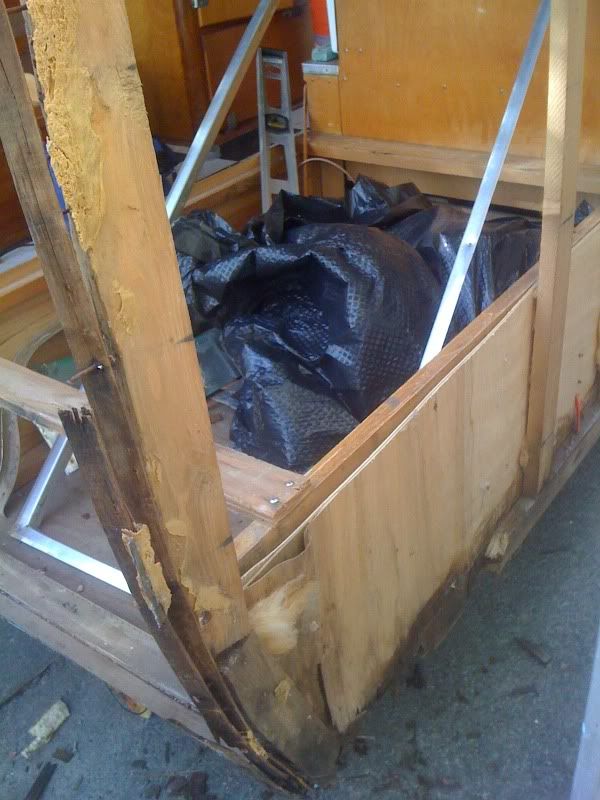 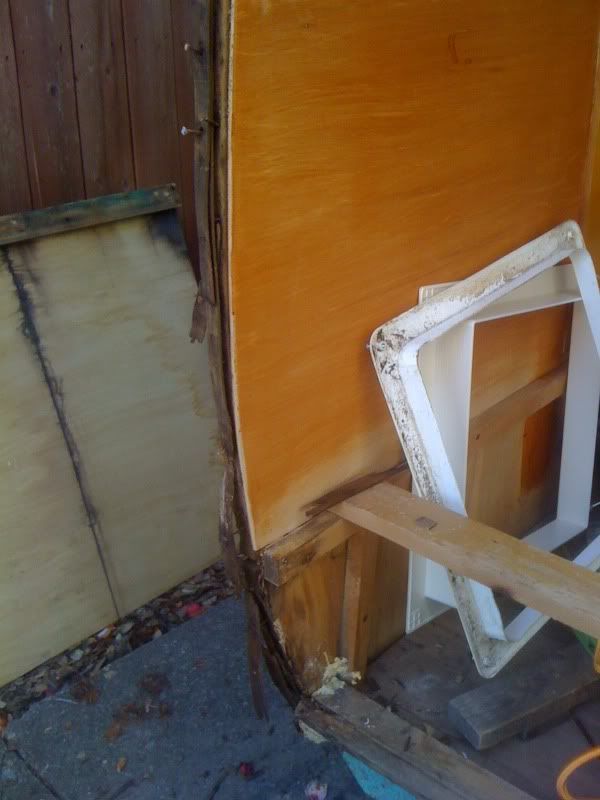 Floor in front. Not planning to replace. will reinforce from below as it's holding together just sagging and well because if I did that it would be a TOTAL REBUILD and I'm just not ready for that. we need to go camping this summer. 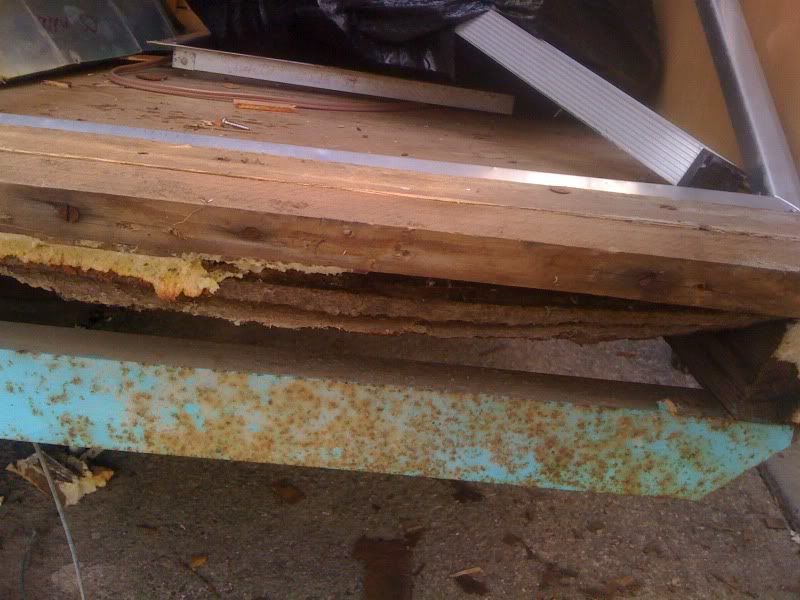 " |
|
gonekayaking
Active Member
enjoying using my camper and not working on it anymore!
Posts: 410
Likes: 75
1956 Shasta 1500
Currently Offline
|
Post by gonekayaking on Jun 19, 2013 10:15:52 GMT -8
" FANTASTIC FAN INSTALLED!! with new ceiling supports inside. PO who sold me the trailer had installed a new vent, but oops didn't seal it properly so guess what had been leaking and rotting for a few months. I was able to pick up a deal on a NEW 3 spd fantastic fan with reverse for $100 from someone on TCT. Installed new oak 1x2s for strength and aluminum bars on sides for overkill. Here are pics. First outing with Kreg jig. Didn't realize the screws were coarse thread...and got some splits...but not so bad I had to start over. This was all very easy and gave me a lot of confidence that I can do this. Not finding the pics of the framing will take more, but here it is installed from the inside 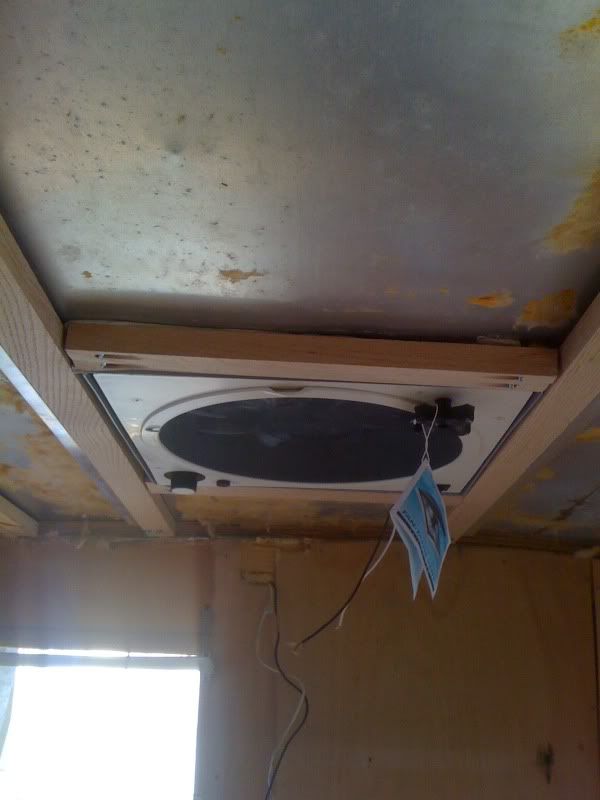 and outside. butyl putty under, vulkem around the seam, and on top of screw heads. I'm not planning on removing this EVER!! 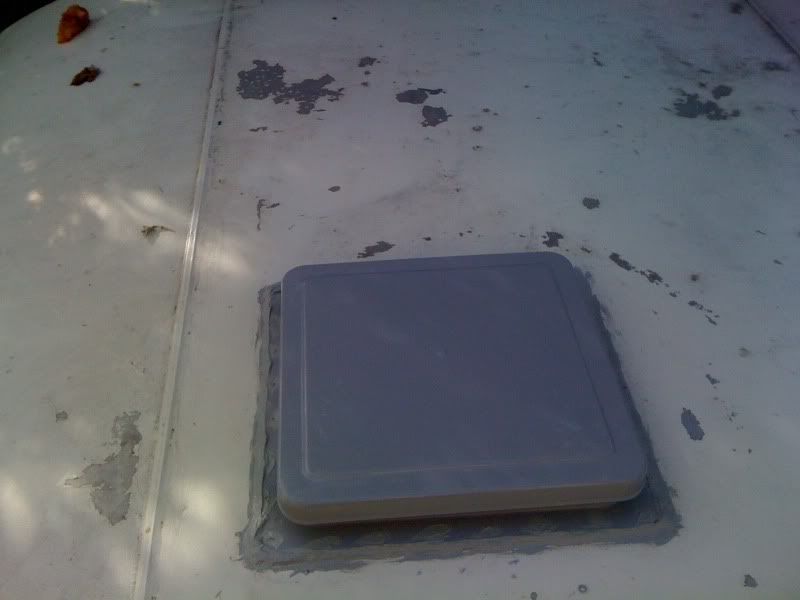 " |
|
gonekayaking
Active Member
enjoying using my camper and not working on it anymore!
Posts: 410
Likes: 75
1956 Shasta 1500
Currently Offline
|
Post by gonekayaking on Jun 19, 2013 10:16:16 GMT -8
Oak was 1x2 lengths purchased from Local lumber yard...sure seemed to me that the grain was going the right way (lengthwise). And that's how I've got the framing planks marked. Or do you mean when I buy it select pieces that really have the grain running longwise...I can see where you are talking about that it looks a bit diagonal
|
|
gonekayaking
Active Member
enjoying using my camper and not working on it anymore!
Posts: 410
Likes: 75
1956 Shasta 1500
Currently Offline
|
Post by gonekayaking on Jun 19, 2013 10:16:43 GMT -8
3/17/2011
More progress today.... I am officially taking sick days when it's not raining cause it's making me sick to see my poor trailer naked! Anyhow, got lots of Kreg jig work done on the back today, and just a little more demo (street side wheel well). Does anyone have a thought about whether using these pocket screws which makes everything so solid is actually making the trailer too stiff to handle the bumps etcs of actually going somewhere. It struck me that the rather loose assembly technique employed at the factory might have been intentional. But I am perfectly willing to continue to believe that the guys at the factory just not that exact about anything. pics tomorrow--forgot to take any.
|
|
gonekayaking
Active Member
enjoying using my camper and not working on it anymore!
Posts: 410
Likes: 75
1956 Shasta 1500
Currently Offline
|
Post by gonekayaking on Jun 19, 2013 10:17:17 GMT -8
"Survived the windstorm last night (mostly) and beefed up anchoring for the shelter, No building today I tweaked my back yesterday. But did some measuring, and went to the lumberyard to look at subfloor options -- homasote, celetex, rigid foam, and plywood.
Homasote-- is much denser than celetex.
Celetex-- looks like it would fall apart easily.
Flyingham I know you used celetex for the subfloor in yours but jeez that stuff really seems like it would fall apart when it gets wet.
Rigid Foam (the kind with the aluminum on both sides) my yard doesn't carry 1/2 inch and they were skeptical about this application
3/4 inch cdx plywood....
The area I need to cover is smaller than 4x8 so one piece would do it. No seams, except where it connects to the old stuff.
As you can see I am still debating what to put down on the floor first. I'm leaning back towards straight CDX plywood now with somehting like truck bed liner sprayed on the bottom. Suppose I could spay that on the bottom of the celetex too.
My April 11 deadline is seeming sketchy unless I take some sick days and get some help."
|
|
gonekayaking
Active Member
enjoying using my camper and not working on it anymore!
Posts: 410
Likes: 75
1956 Shasta 1500
Currently Offline
|
Post by gonekayaking on Jun 19, 2013 10:17:43 GMT -8
"Yeah I had/have the same stuff under mine, and then the ply on top. Except taht it looks like it was impregnated with some kind of tar or oil to resist water. The new celetex doesn't have that. I agree it held up a long time. Mine was pretty degraded though and why I had to tear it out.
I think the moisture that built up on the inside from leaks is worse on the wood than whatever happens on the outside, as that has a chance to dry out pretty quickly."
|
|
gonekayaking
Active Member
enjoying using my camper and not working on it anymore!
Posts: 410
Likes: 75
1956 Shasta 1500
Currently Offline
|
Post by gonekayaking on Jun 19, 2013 10:18:14 GMT -8
4/3/2011 "A little more progress. Subfloor has been dryfit front and back. Will add butyl based flashing to underside before it's attached. 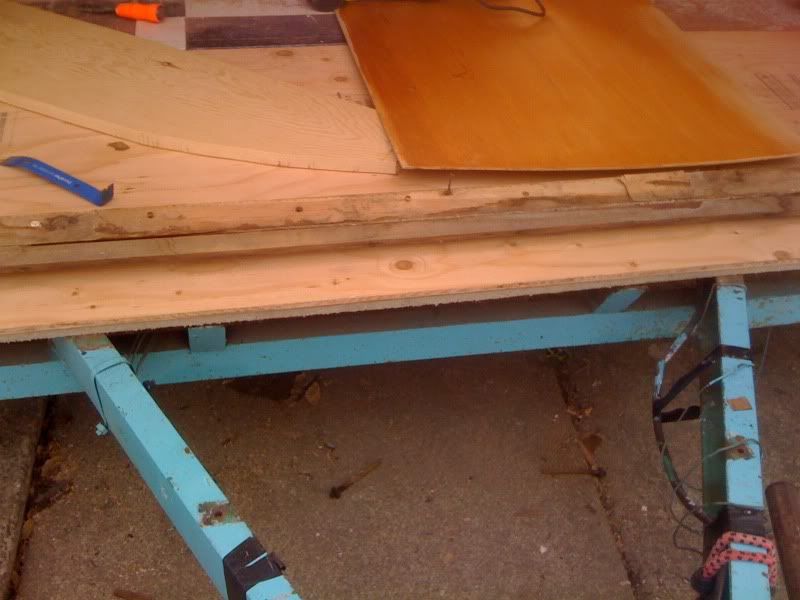 Went with the homasote. Bought foam insulation, and birchply too. Trying to figure out how exactly the get back to the way things are supposed to fit together given the modifications/""repairs"" made by the previous owner (not the seller). bit by bit. Also got the quilt back from the quilter. 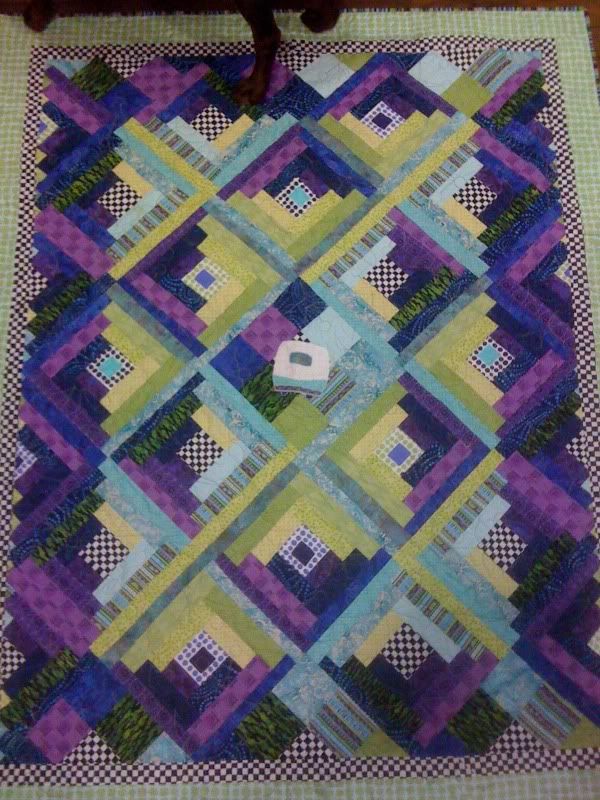 " |
|
gonekayaking
Active Member
enjoying using my camper and not working on it anymore!
Posts: 410
Likes: 75
1956 Shasta 1500
Currently Offline
|
Post by gonekayaking on Jun 19, 2013 10:18:35 GMT -8
Thanks Bruce, Well, now I've just realized that something is wrong with the frame in the back. I went to line up the curbside skin to make sure that it was all lining up and have realized that curbside is about 3/4 of an inch higher that the streetside, and it's all out of kilter. This would explain why i couldn't open the baggage door when I was doing demo. I'm going to have a friend who is a welder come by and take a look. I'm hoping it is something stupid that I'm overlooking.
|
|
gonekayaking
Active Member
enjoying using my camper and not working on it anymore!
Posts: 410
Likes: 75
1956 Shasta 1500
Currently Offline
|
Post by gonekayaking on Jun 19, 2013 10:18:55 GMT -8
"  Thanks for the words of encouragement....that's what they were right, lol. I just need to figure out how to deal with it...and get a friend to help me figure it out....cause I am no carpenter. I can make things fit when I sew...and I know that this is basically the same thing. I moved on to insulation in the areas that I've reinforced and will wait till I get some helpful eyeballs on the whole thing." |
|


 Not a happy camper was I. She had put in a new roof vent but failed to properly seal the opening.
  Wondering whether to pull all the bottom panels, cabinets, and just fix everything for once and for all. First though gotta make sure I have a good template for the back, since it wasn't a systematic demo.
  Thanks for the words of encouragement....that's what they were right, lol. I just need to figure out how to deal with it...and get a friend to help me figure it out....cause I am no carpenter. I can make things fit when I sew...and I know that this is basically the same thing.