


Post by Dad Rambles on Oct 30, 2016 5:57:05 GMT -8
A little background before i get started on things. This is my first restoration, but not my first experience with trailers. I have build a teardrop(ish) trailer for the family of 4. If interested you can see that here.
Also, I am almost complete with a teardrop for my mom and dad. We need to put the skin on it and finish things up with the galley. I have a full youtube video series on that here.
Having said that, there is going to be a point where the teardrop is too small for us, and we really like vintage trailers... so I went on the casual search for something mid 60's or older and a good candidate for restore popped up back in March. Long story short, we brought it home from about 6 hours away (looking back that trip was terrifying compared to the way my current trailer pulls).
I've just not gotten the time to work on it. I don't have a cover, building, or other way to work inside, so everything will happen mobiltec style under a tarp, wrapped up like a diaper at the end of the day.
Yesterday we got to work on demo on the back. There are 3 areas that need work, the front - L and R, from the windows down. The back, curb side mainly. The roof vent panel above the stove (I hope that's all).
I have't gotten into the floor yet, so that's another ballgame, but if i have to replace that I will do what I have to to make it right.
Here's some photos of yesterday.
Awning and J rail off.
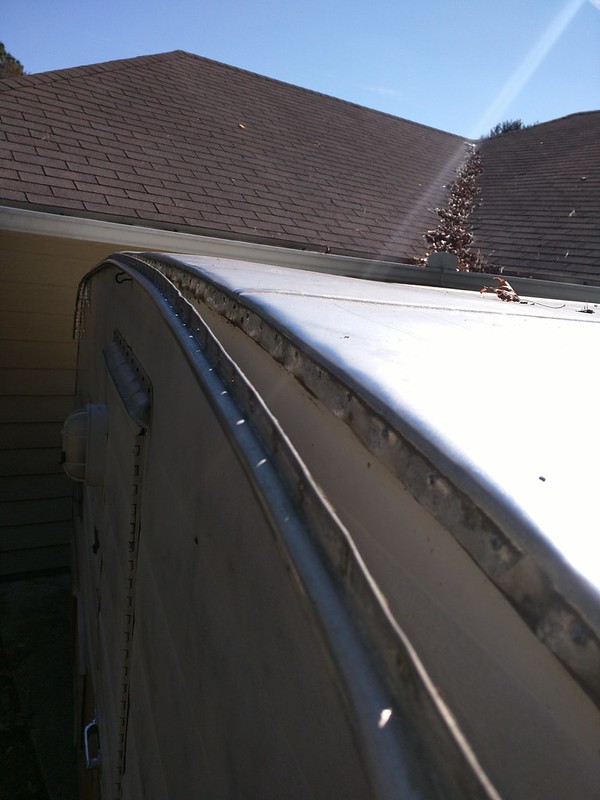 IMG_20161029_122738 by gunguy05, on Flickr
These ARE PRICELESS! I pulled all of the nails on the edge of the skin out easy peasy.. and they worked great for the 5 % or so of the screws that were stripped.
 IMG_20161029_133259 by gunguy05, on Flickr
took the tire off
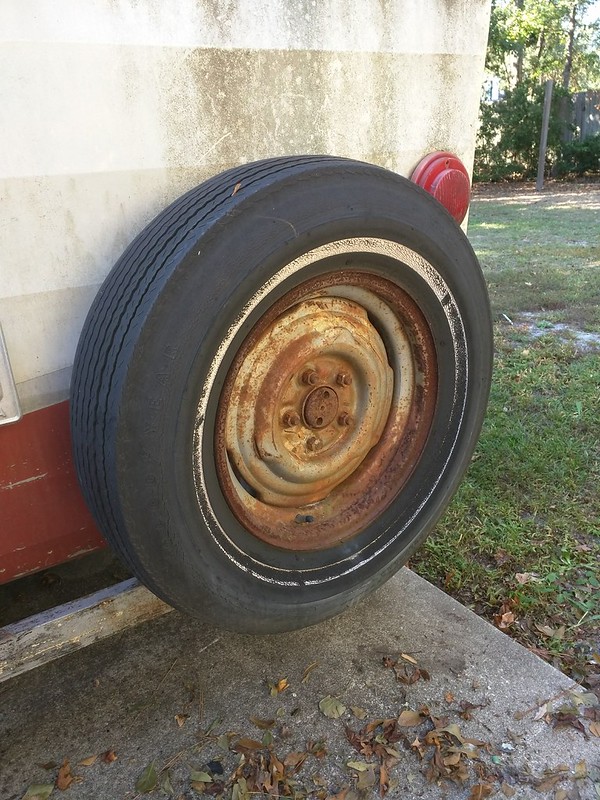 IMG_20161029_153631 by gunguy05, on Flickr
Took the lights and plate bracket off
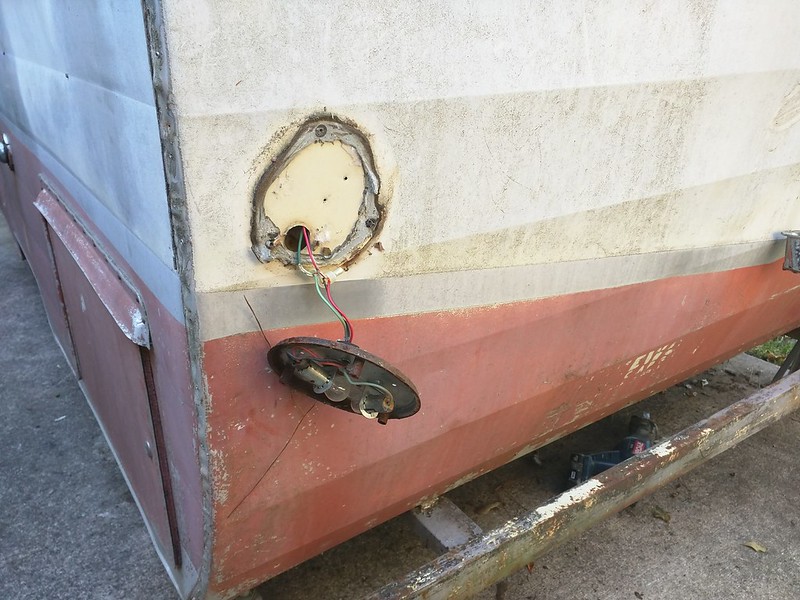 IMG_20161029_160010 by gunguy05, on Flickr
Back window off
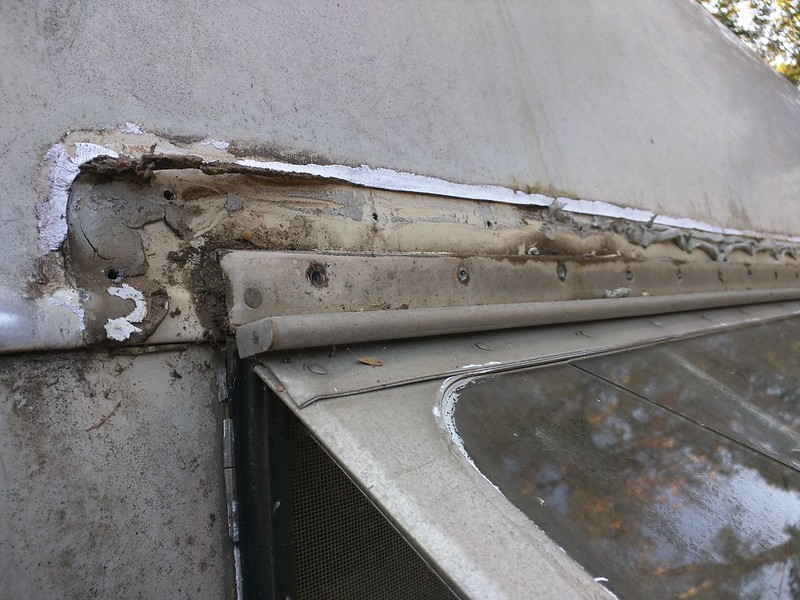 IMG_20161029_162154 by gunguy05, on Flickr
Don't forget these screws
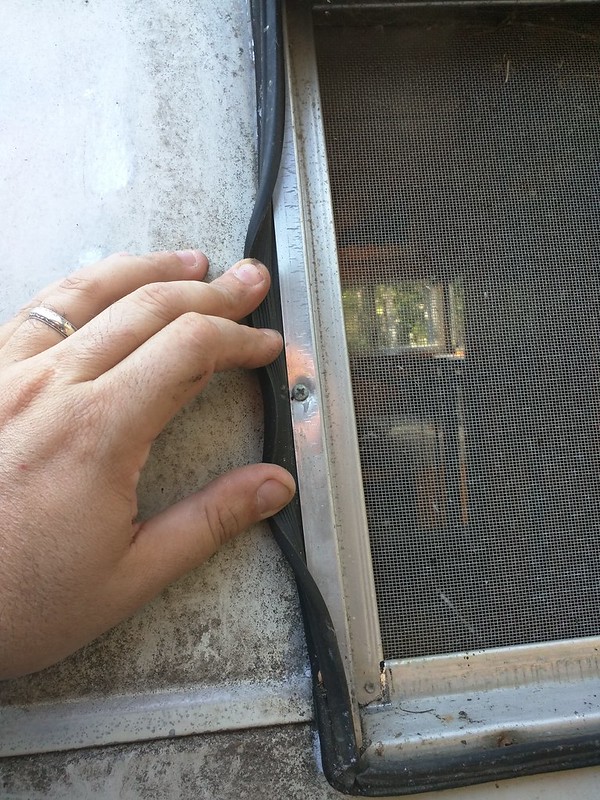 IMG_20161029_162200 by gunguy05, on Flickr
The back middle/lower panel only have 3 nails holding it on. It practically fell off.
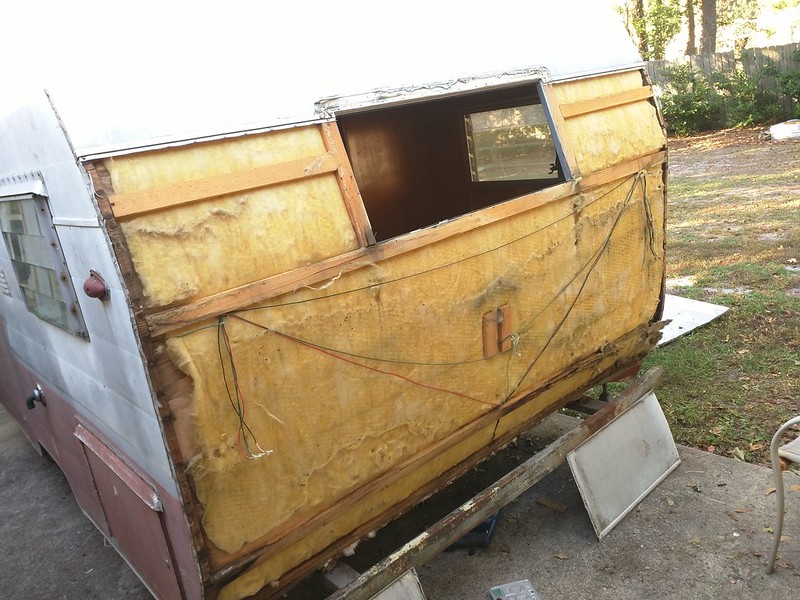 IMG_20161029_163142 by gunguy05, on Flickr
Another view. The lower right panel is the worst of it.
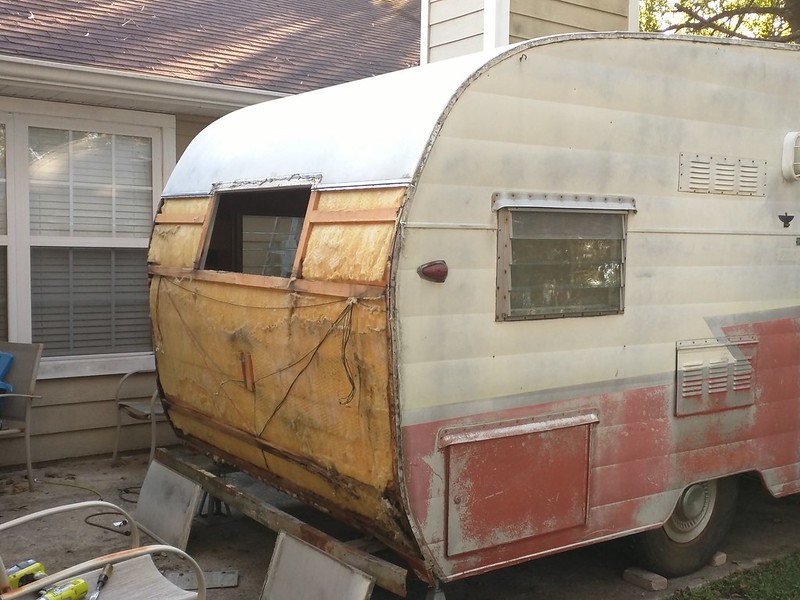 IMG_20161029_163835 by gunguy05, on Flickr
That's it for now. I spent about 4 hours getting to this point yesterday. I will be starting a write up on my blog pretty soon (if I can find the time) about the entire process. Also, video of a good part of it on my youtube channel.
Also, I am almost complete with a teardrop for my mom and dad. We need to put the skin on it and finish things up with the galley. I have a full youtube video series on that here.
Having said that, there is going to be a point where the teardrop is too small for us, and we really like vintage trailers... so I went on the casual search for something mid 60's or older and a good candidate for restore popped up back in March. Long story short, we brought it home from about 6 hours away (looking back that trip was terrifying compared to the way my current trailer pulls).
I've just not gotten the time to work on it. I don't have a cover, building, or other way to work inside, so everything will happen mobiltec style under a tarp, wrapped up like a diaper at the end of the day.
Yesterday we got to work on demo on the back. There are 3 areas that need work, the front - L and R, from the windows down. The back, curb side mainly. The roof vent panel above the stove (I hope that's all).
I have't gotten into the floor yet, so that's another ballgame, but if i have to replace that I will do what I have to to make it right.
Here's some photos of yesterday.
Awning and J rail off.
IMG_20161029_122738 by gunguy05, on FlickrThese ARE PRICELESS! I pulled all of the nails on the edge of the skin out easy peasy.. and they worked great for the 5 % or so of the screws that were stripped.
IMG_20161029_133259 by gunguy05, on Flickrtook the tire off
IMG_20161029_153631 by gunguy05, on FlickrTook the lights and plate bracket off
IMG_20161029_160010 by gunguy05, on FlickrBack window off
IMG_20161029_162154 by gunguy05, on FlickrDon't forget these screws
IMG_20161029_162200 by gunguy05, on FlickrThe back middle/lower panel only have 3 nails holding it on. It practically fell off.
IMG_20161029_163142 by gunguy05, on FlickrAnother view. The lower right panel is the worst of it.
IMG_20161029_163835 by gunguy05, on FlickrThat's it for now. I spent about 4 hours getting to this point yesterday. I will be starting a write up on my blog pretty soon (if I can find the time) about the entire process. Also, video of a good part of it on my youtube channel.


 :thumbup: :thumbup: :cool:

