Make Door Frame Without Metal Brake
Oct 23, 2016 16:04:10 GMT -8
vikx, nccamper, and 1 more like this
Post by PT on Oct 23, 2016 16:04:10 GMT -8
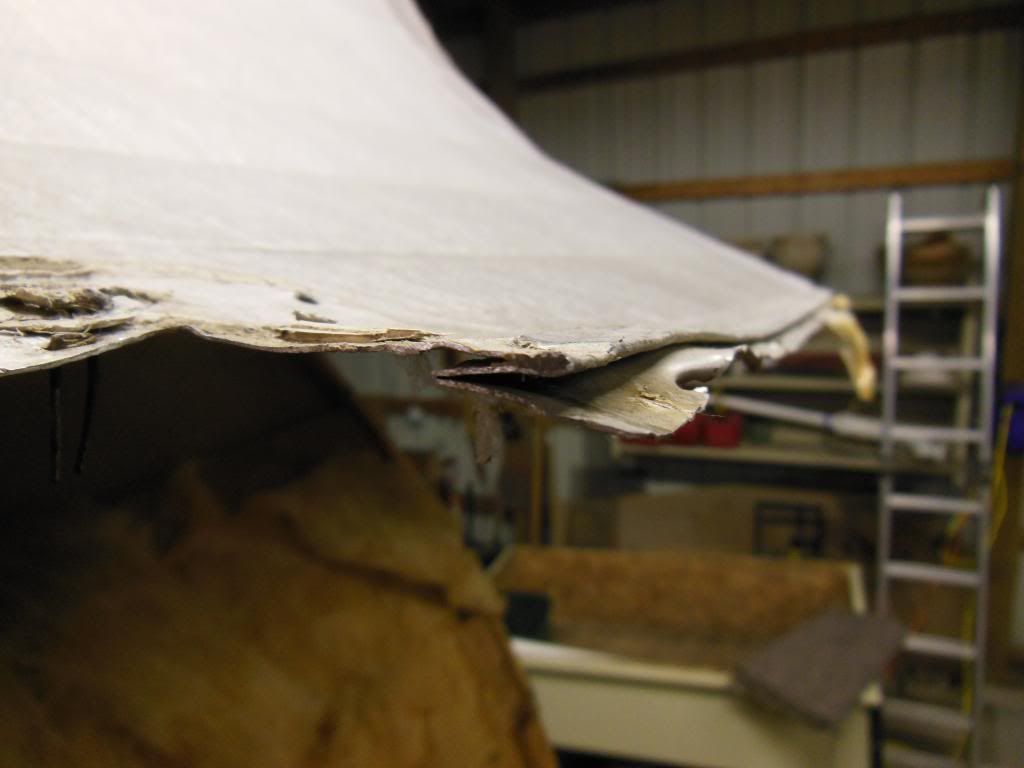
Hi folks… So one side of my door frame was split and the PO had a million holes drilled in it – time for a new one. Having watched/helped my dad make a home-built airplane out of sheet aluminum, I’m fairly comfortable working with it. I figure if he made a plane without a brake - I could make half a trailer door frame. A brake will do cleaner work, but if you want to save money and have a perfectly good end product with an hour or two of effort here’s how you can do it. Some tools/materials you’ll need - including a regular hammer.

IMPORTANT NOTE - The edge on aluminum sheeting can be razor sharp (or have slivers sticking out) especially on freshly cut edges. CAREFULLY inspect the sheet for slivers sticking out first and then run sandpaper or a metal finishing pad over edges to dull them prior to handling
Any sizeable city should have a metal supply shop. Home Depot has smaller aluminum sheets and might even have aluminum in the size I needed – but in Southern California there’s a place called Industrial Metal Supply where I got a .024 12”x72” piece of aluminum for around $15. Much more than needed - but I wanted extra in case I screwed up.
Get measurements for the bends off of your existing piece and right them down or even better take a picture to help you remember the orientation of things.

A workbench long enough to handle the workpiece is your best bet for this job - but you could also work off the edge of a 4”x4” or similar if needed. You will be bending the aluminum over the edge of a wood board – so the first order of business is to get a straight piece of wood long enough to handle the job – or if your bench has a clean edge with a lip you might just be able to use it. Also, inspect the piece you are recreating and note the sharpness of the bend. My door frame had crisp 90 degree bends so I got a piece of select pine with sharp corners to match the bend I needed.
An easy way to get the proper shape cut in the new aluminum is to pound the old piece flat (after you’ve taken your measurements) and use it as a template.

Clamp the old flattened piece to the new sheet using the factory edge for one side and scribe around the shape with a nail.

You can cut with shears up to about .024 but use a jigsaw for anything thicker. If you use shears the piece will curl but don’t worry – it will straighten as you form it into the new shape.

Attach your straight-edge to the work surface with drywall screws. Leave an approximate 1.25” lip underneath for clamping. Sandwich your aluminum piece with another piece of wood on top even with the one below (take your measurements from the board underneath the aluminum) and tightly secure with C-clamps.


With downward glancing blows use your rubber mallet every inch or two and work your way down the piece of aluminum in the same direction all the way to the end (pivot c-clamps to get access to the aluminum around them). Take your time and hit with equal force to minimize ripples. On your first pass you might bend it about 1/3 the way to 90 degrees. Go back to the beginning and repeat down the full length of the piece a time or two until you’re at 90 degrees. I’ll then take a regular hammer and go down the entire piece to sharpen the angle of the bend and minimize ripples.

To do a second bend you’ll need to flip the piece, change the top board based on the dimensions of the piece you’re working with and repeat the earlier steps.

After cleaning up the piece further with a pair of wide-mouth pliers the end result for me had the right dimensions, looked good and once painted to match the other frame parts will look better than the remaining original parts.

I saw a similar description using a vice and wood outlined on VTT to make an aluminum threshold and wanted to build on that for ways to work with larger pieces of aluminum as well. Hope it helps another trailer junkie or two in the future.