davek
Active Member

Posts: 173 
Likes: 94
Currently Offline
|
Post by davek on Mar 28, 2016 20:19:43 GMT -8
I need to rebuild this front window and not sure on how to take out the seals and replace the screens. Here is the window I am speaking of.  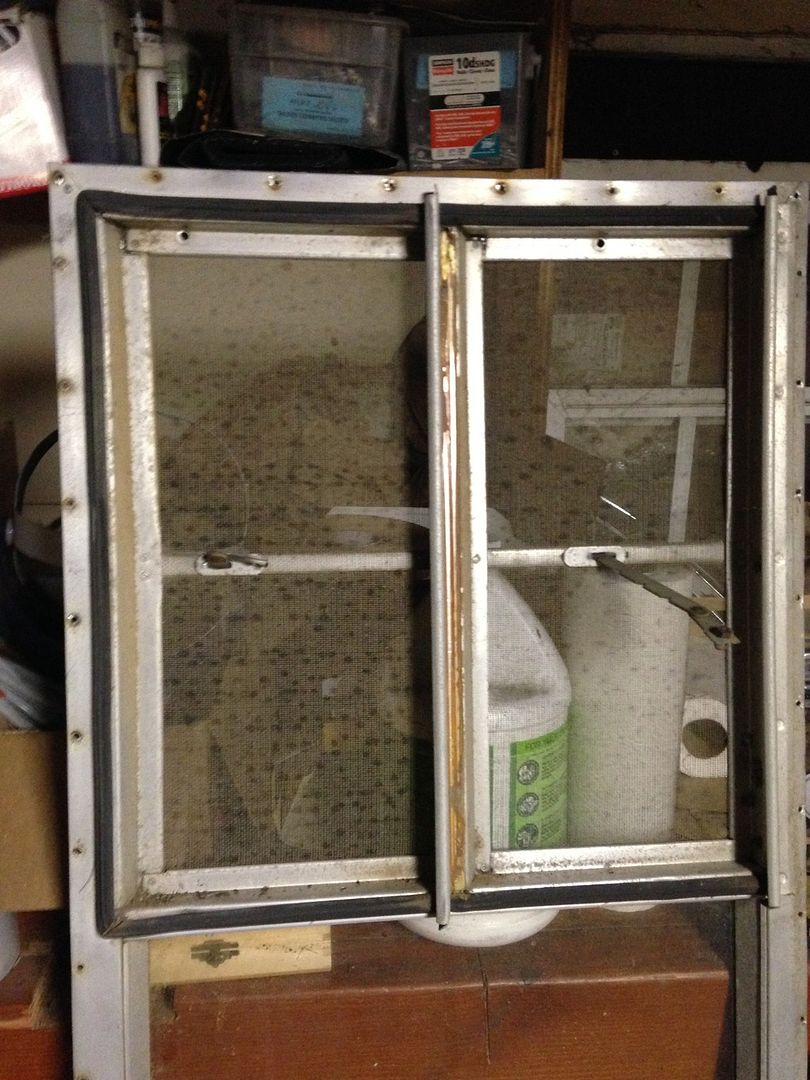 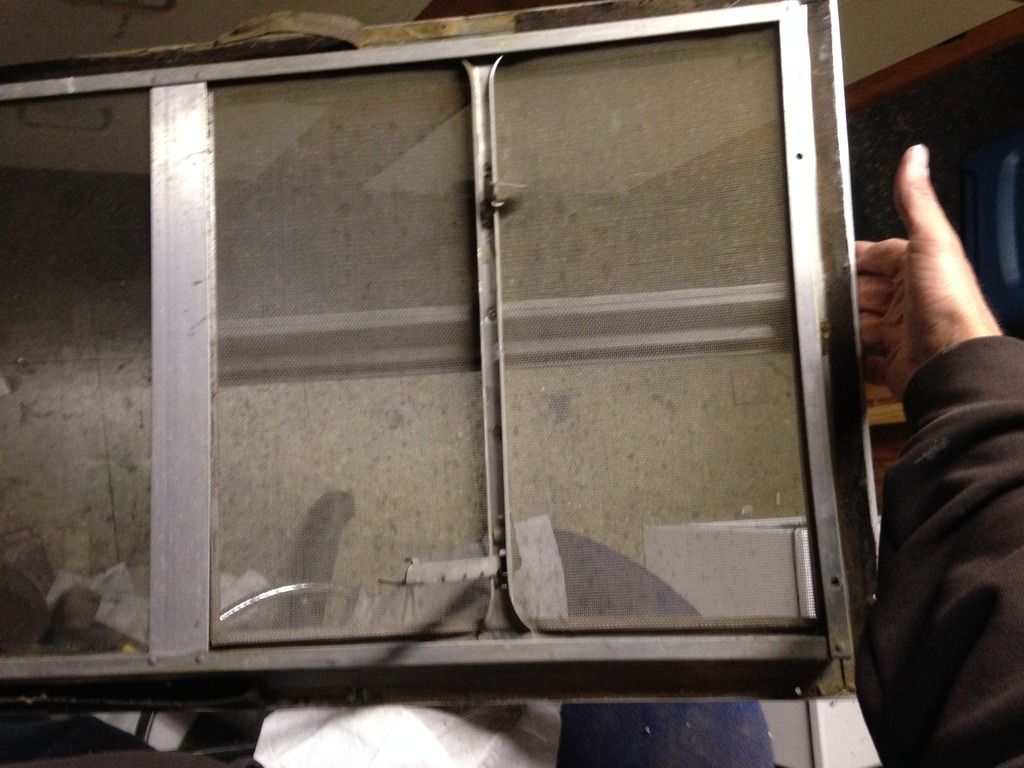 Already removed screws that look like they hold the aluminum frame that keeps the the seals in place?  Look like to free the top of the frame I will have to drill out these rivets to remove it? Front side 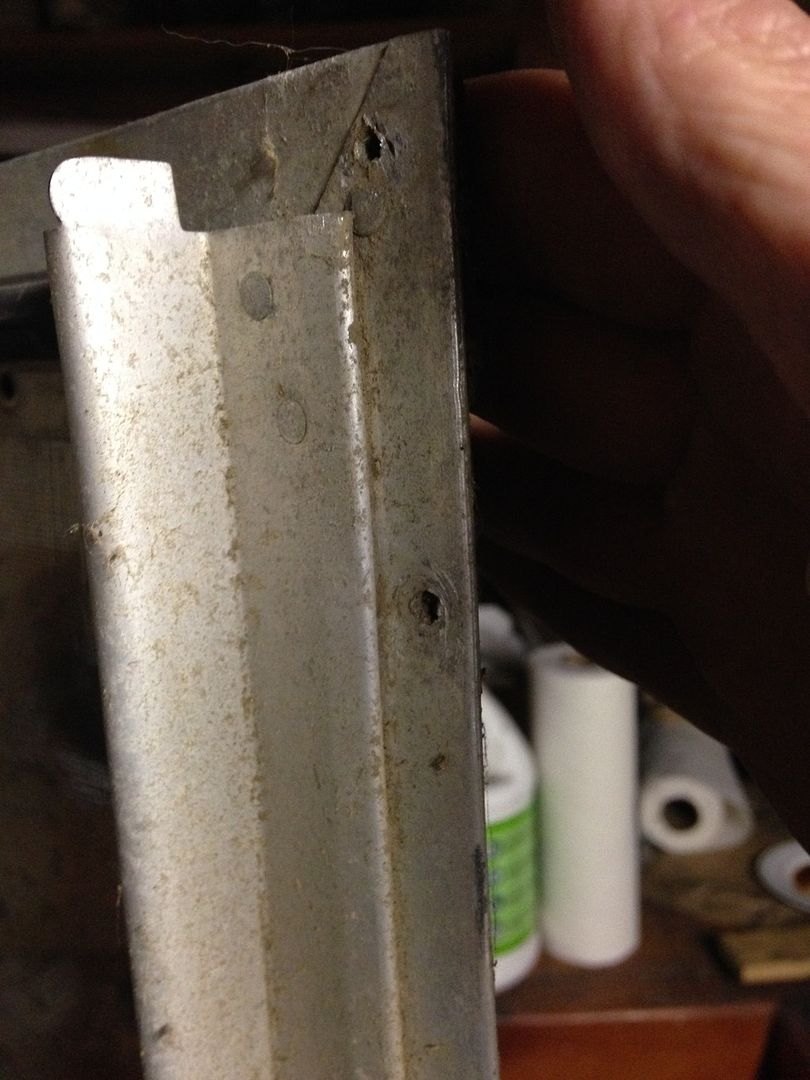 Back side of rivet 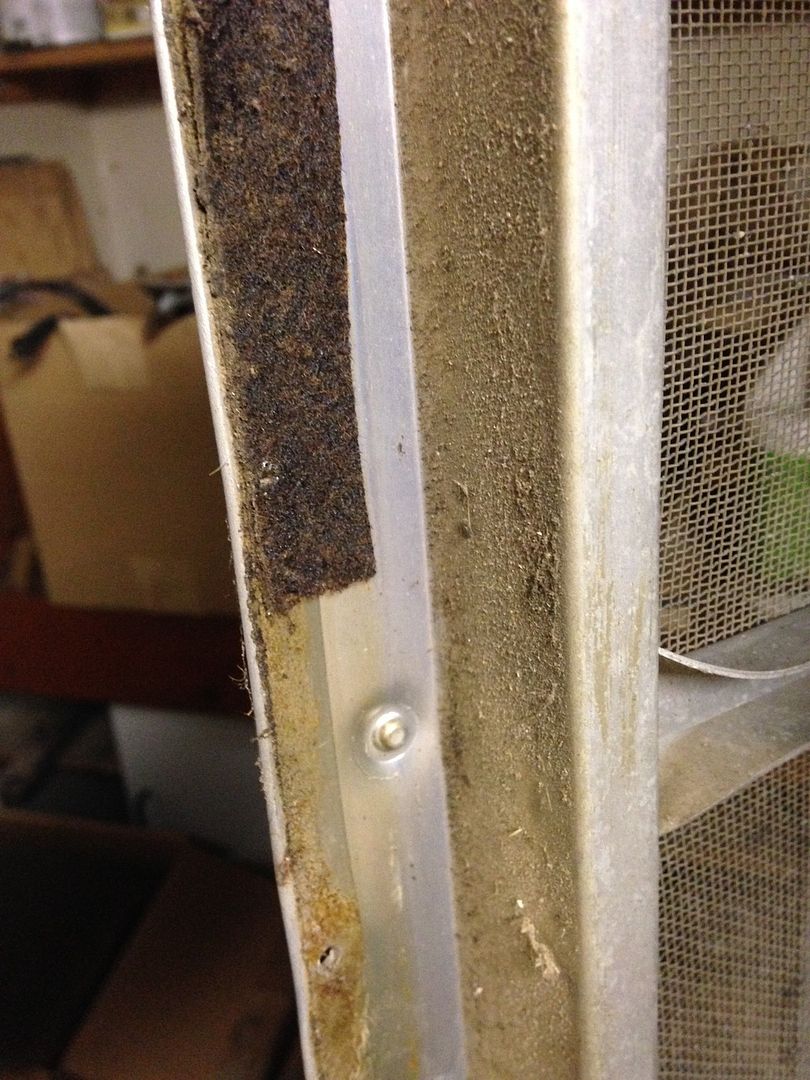 Am I missing something or is it really this difficult to take these apart? Sorry my pictures and description are not great but hopefully if you have experience with these windows you know what I am talking about. Thanks for any help. |
|
|
|
Post by vikx on Mar 28, 2016 22:24:45 GMT -8
Dave, it appears your windows are set into the larger frame. They are actually smaller windows? The black rubber may be back frame gasket (VTS). It depends on how the whole is put together...
The glass should come out by loosening little screws holding the keepers. Standard glass seal (VTS) is the grey or black glass seal. The seal goes around the metal before the glass is set.
I don't have a lot of photos of window repair but if you PM me I'll try to email a few.
|
|
|
|
Post by trailertrasher on Mar 28, 2016 23:54:58 GMT -8
Dave,
Underneath the back-frame gasket you will find some screws opposite the side you already took out. In order to remove these you may need to remove the finish panel from the interior. That's the panel that separates the open portion from the fixed. This just snaps on,but is very easy to damage,so use care. Once those are out,you could change the back frame gaskets,but not the screen. In order to change the screen you will need to drill out those top rivets as you suspect,however do not drill the one that's closest to the outer edge on each side (sits a bit lower then others) as that is part of the window unit to be removed and not necessary .
Have fun !
|
|
davek
Active Member
Posts: 173
Likes: 94
Currently Offline
|
Post by davek on Mar 29, 2016 6:57:47 GMT -8
Looks like I saved the best window for last. Can't believe they made it that hard to change the screens (the screen on the other side is destroyed or I would just leave the originals in). I guess I will drill out the rivets then put them back together with aluminum twist nails in the same holes so they will look riveted.
Thanks for the input.
|
|
davek
Active Member
Posts: 173
Likes: 94
Currently Offline
|
Post by davek on Mar 29, 2016 21:38:22 GMT -8
Took less then 30 minutes drill out all the rivets and pry the frames out. Found nice soft puddy under the window frames. 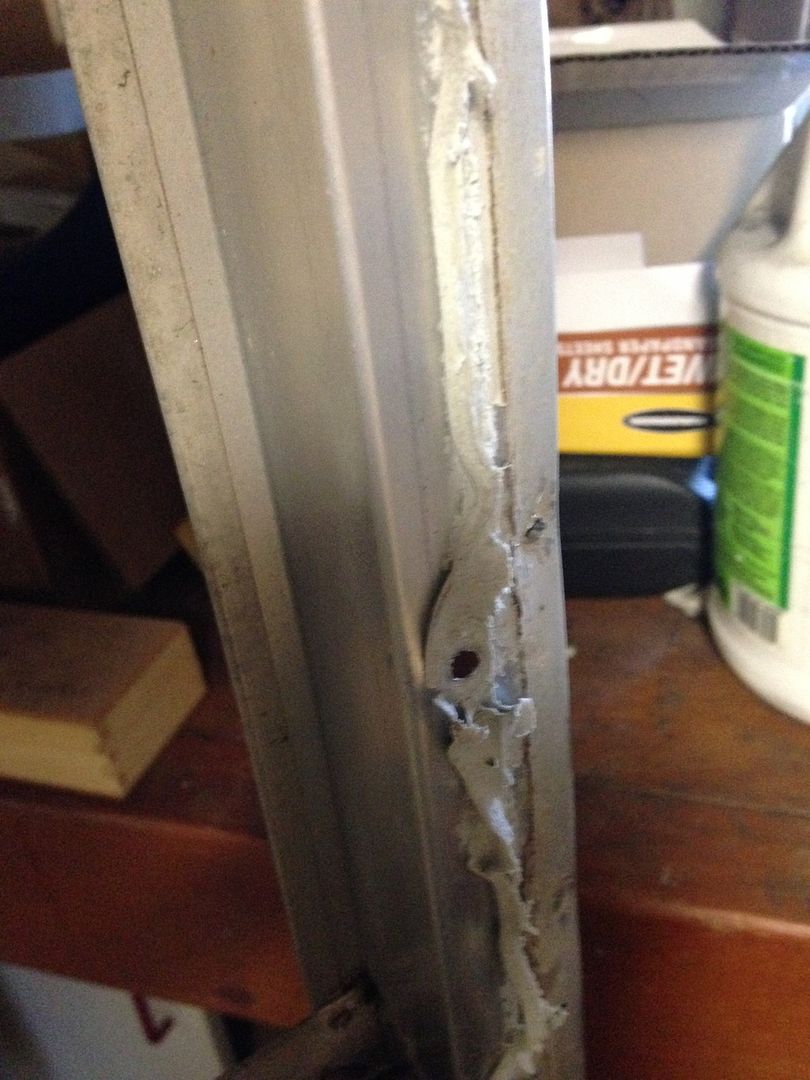 Moving along with polishing the frame. I would have left it unpolished but it was very corroded and ugly. 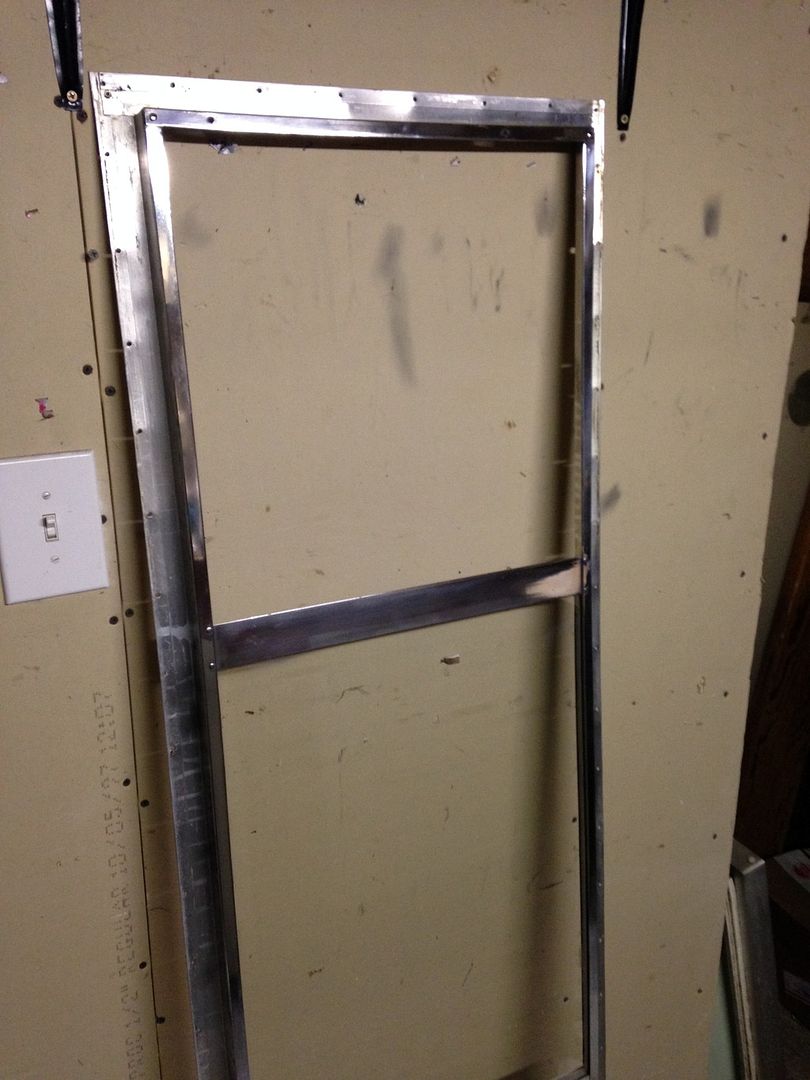 |
|
Ten
3K Member

Posts: 3,432
Likes: 1,467
70 Shasta 16SC + 1964 Airflyte
Currently Offline
|
Post by Ten on Mar 30, 2016 4:12:58 GMT -8
There is a real sense of satisfaction that comes with polishing these window frames. It seems like such a small decision until you begin to see what a difference the effort makes. The shiny frames and parts and pieces, along with the easy-working mechanics, really make everything around them sparkle as well. It can turn into a career move depending on the number of windows and doors, the types of mechanics, and the tools and methods at your disposal. But worth all the carpal tunnel!
|
|


