windborn
Active Member
  
Posts: 341 
Likes: 70
1957 Sportcraft 15
Currently Offline
|
Post by windborn on Jun 2, 2016 5:03:33 GMT -8
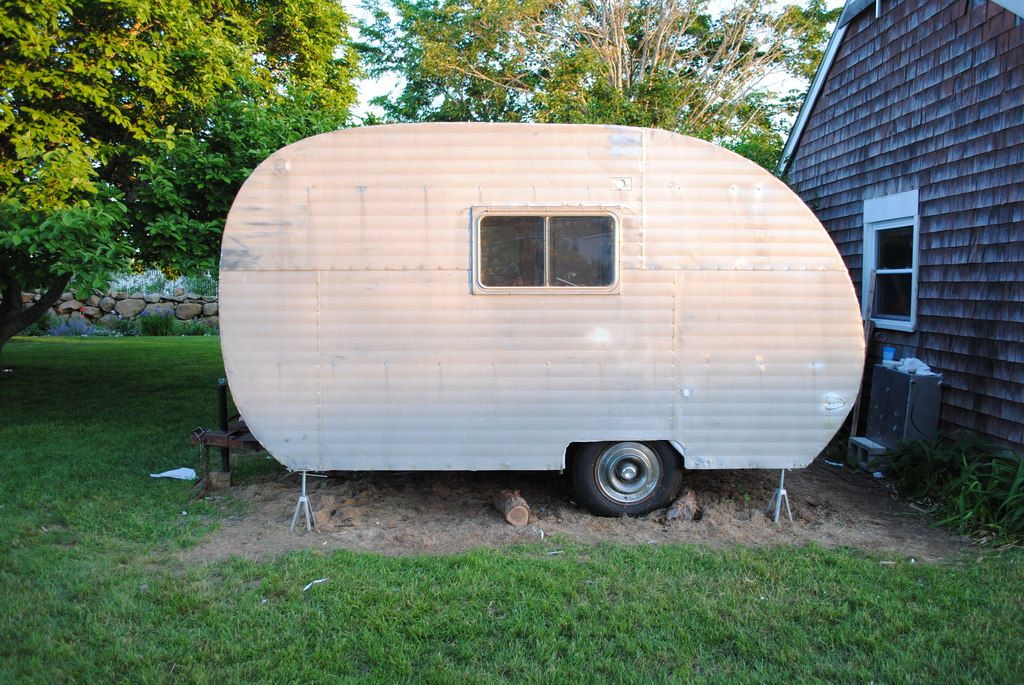
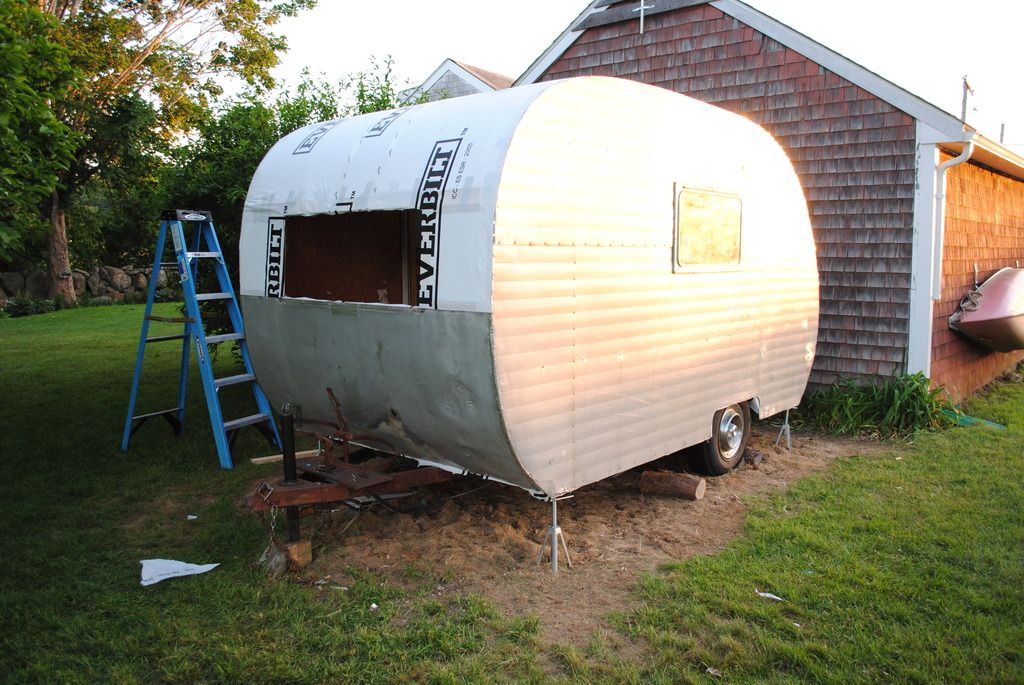
We put in another long day yesterday -- a full 12 hours! But we got so much done. We woke in the morning to even more ripples in the ceiling, which was disheartening. But after a long, sunny, dry day, it started to look nearly perfect. 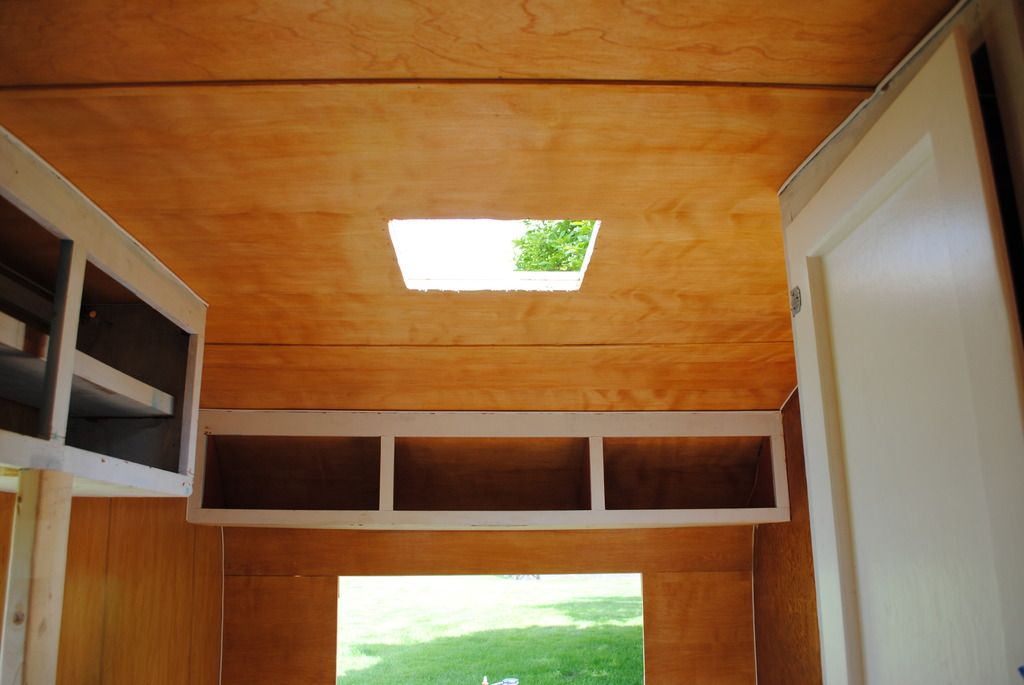 Somehow we got the curbing done in just 3.5 hours, with a snack break. I was planning on that taking at least a full day, if not more. I think the new air stapler had a lot to do with our speed, but we also had a good rhythm going. While my dad cut the plywood into 1in strips, I went and measured all the lengths between the bracing, and wrote that measurement on the wall below it. We then cut 3 strips to size with a handsaw: one that was that measurement, then two more that added 1/16" and 1/8" to account for the curve. I measured while my dad cut. Then he stapled the smallest one on while I applied glue to the second one. I handed that to him to staple and added glue to the third. He stapled that in and then we repeated for all the sections. We also just used ripped 1x3s for the 6 flat sections on the roof. 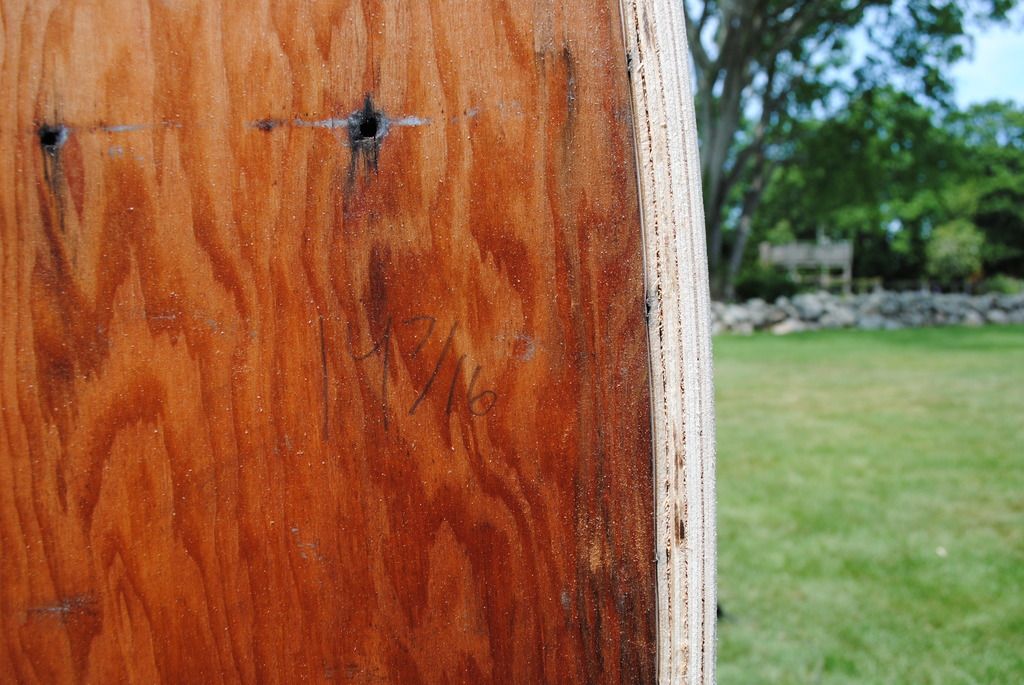 With the curbing done we finished up the last structural things, like screwing the upper cabinets to the ceiling and adding some bracing for the tail lights. Then we moved on to insulation. Willie didn't come with anything between the 1/8in and the aluminum, but we figured it couldn't hurt to throw some 3/4in styrofoam between the bracing. 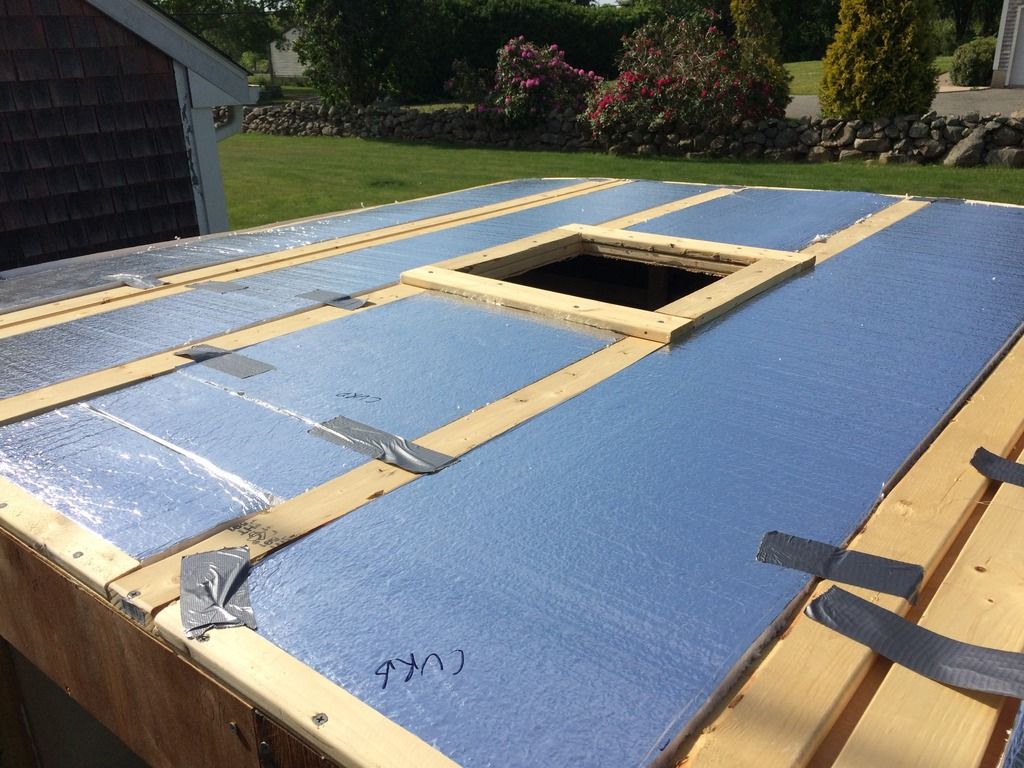 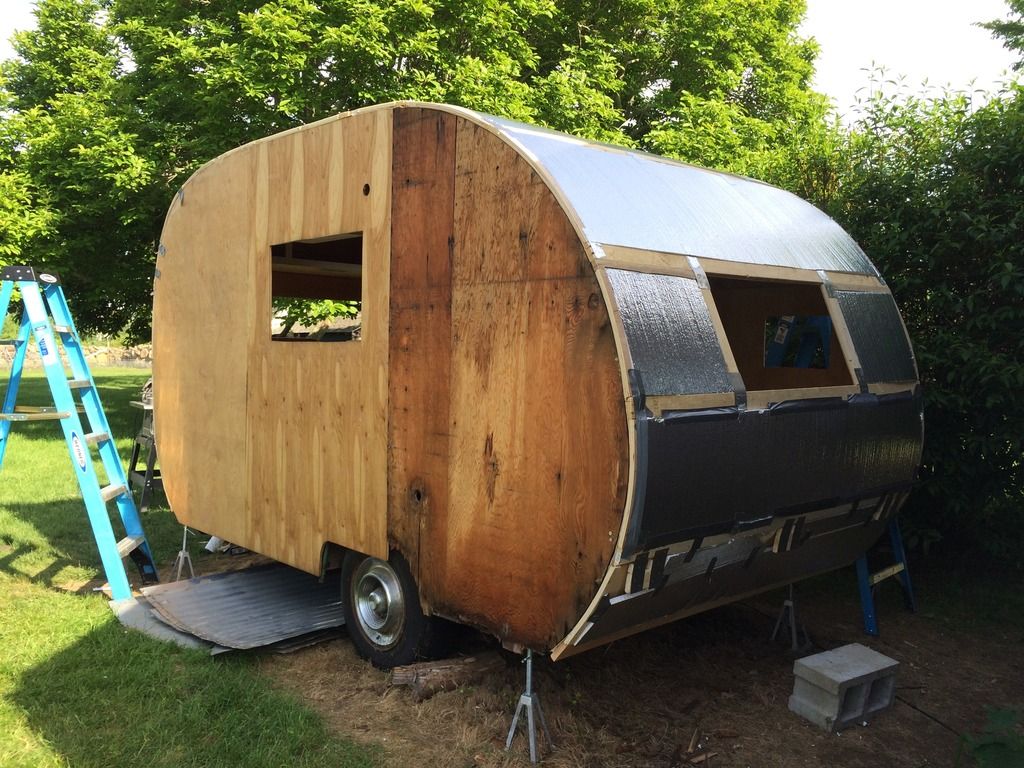 It was NOT easy to get the styrofoam around the tight radius in the front. The duct tape we were using stuck well to the foam, but not the wood. We ended up stapling the duct tape to the wood.  Not the most elegant solution, but it kept it down until we got the vapor barrier on. 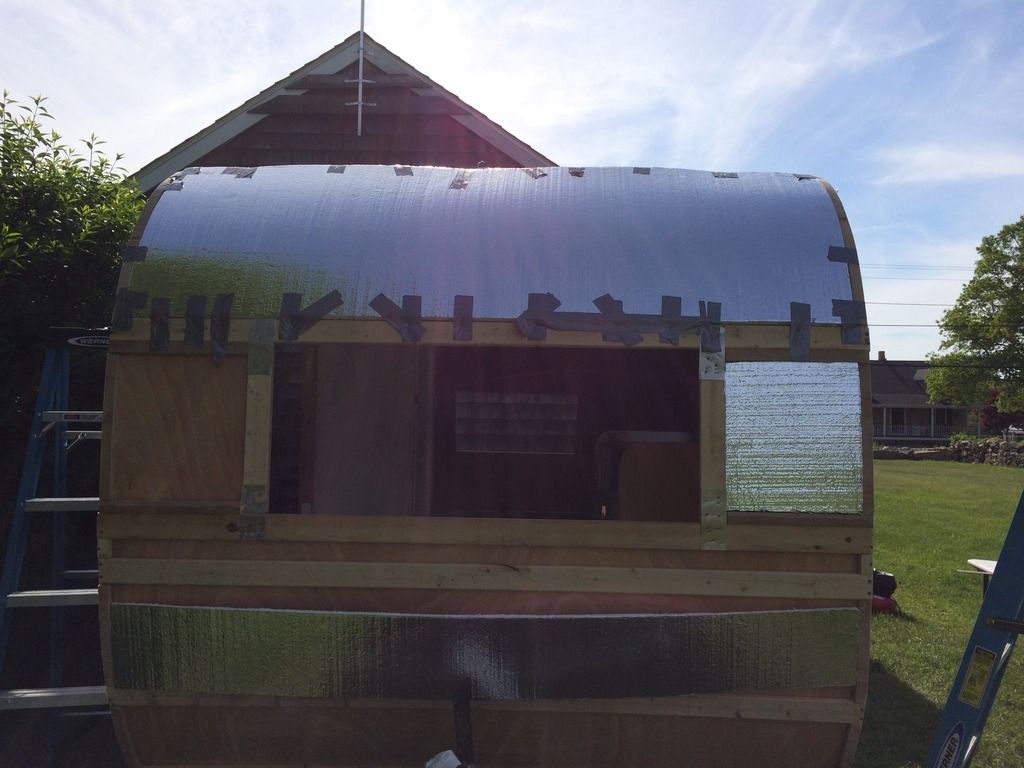 And here she is all wrapped up! This felt oddly like a big moment. No going back and making structural changes now I guess. 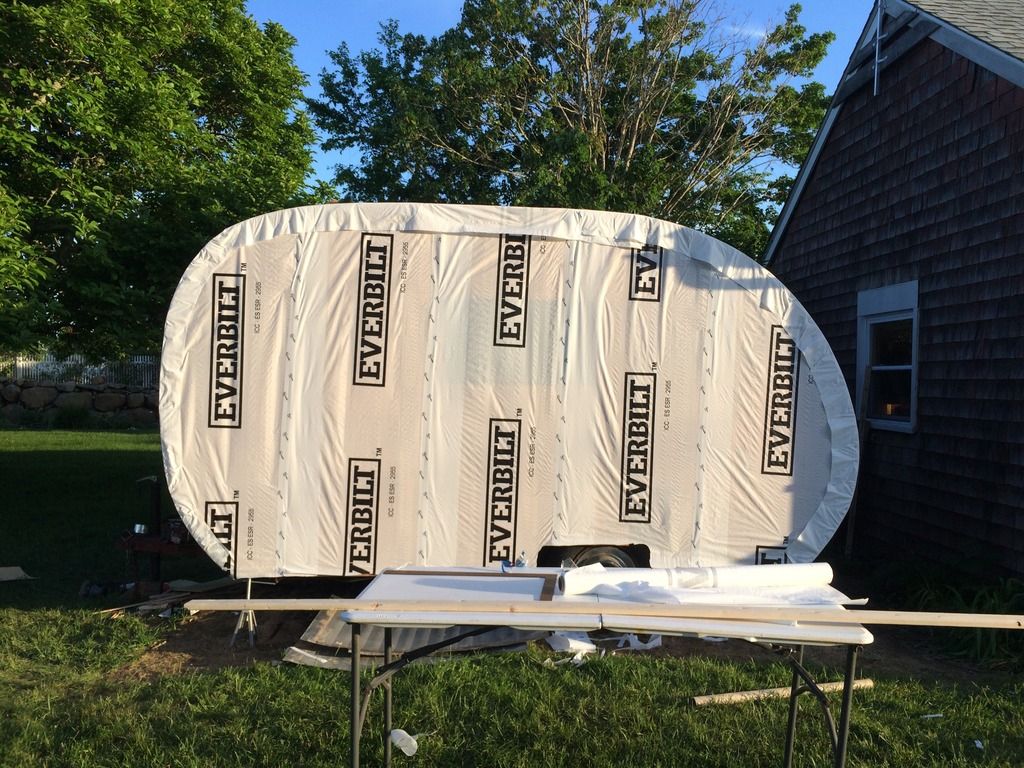 We learned our lesson this time and tented big time. 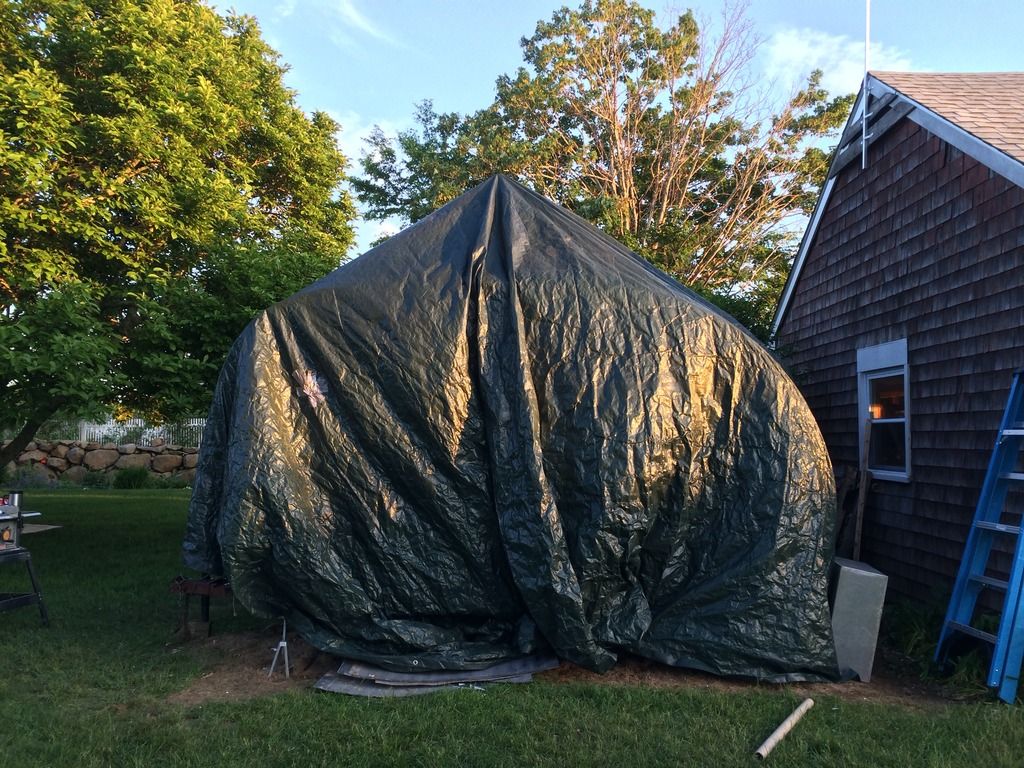 Now I need to rush around making sure I have everything I need because my dad and I are both taking all of next week of to get this on the road! I'm feeling really fortunate that we both have flexible schedules and the means to give this the time it needs. Though it's a little stressful not having the weeks in between to over-think every step.  |
|
mobiltec
5K Member
     I make mistakes so you don't have to...
Posts: 9,880 
Likes: 3,803
1954 Jewel In Progress...
Currently Offline
|
Post by mobiltec on Jun 2, 2016 6:20:36 GMT -8
That's how you bag up a trailer. I used that method for 17 days in Colorado. It rained nearly every single afternoon. Never for very long but enough to do damage if I wasn't quick to roll the tarp back into place. I would just roll it forwards or back far enough to work on the part of the trailer I was dealing with at the time and when it started to rain it took less than a minute to cover it up again.
|
|
windborn
Active Member
  
Posts: 341 
Likes: 70
1957 Sportcraft 15
Currently Offline
|
Post by windborn on Jun 2, 2016 9:34:12 GMT -8
That's how you bag up a trailer. I used that method for 17 days in Colorado. It rained nearly every single afternoon. Never for very long but enough to do damage if I wasn't quick to roll the tarp back into place. I would just roll it forwards or back far enough to work on the part of the trailer I was dealing with at the time and when it started to rain it took less than a minute to cover it up again. The rolling is key. We roll it off and on every time so that any water left on the tarp never touches the trailer. This tarp I have now is pretty much toast after sitting outside in a very windy yard all winter. Which is a shame because I thought I had invested in a good one. I guess if you're spending $100/year on tarps a trailer port makes even more sense. |
|
mobiltec
5K Member
     I make mistakes so you don't have to...
Posts: 9,880 
Likes: 3,803
1954 Jewel In Progress...
Currently Offline
|
Post by mobiltec on Jun 2, 2016 12:54:37 GMT -8
That's how you bag up a trailer. I used that method for 17 days in Colorado. It rained nearly every single afternoon. Never for very long but enough to do damage if I wasn't quick to roll the tarp back into place. I would just roll it forwards or back far enough to work on the part of the trailer I was dealing with at the time and when it started to rain it took less than a minute to cover it up again. The rolling is key. We roll it off and on every time so that any water left on the tarp never touches the trailer. This tarp I have now is pretty much toast after sitting outside in a very windy yard all winter. Which is a shame because I thought I had invested in a good one. I guess if you're spending $100/year on tarps a trailer port makes even more sense. I worked under tarps for 10 years before I finally bought the metal trailerport. Wish I had done it 10 years ago. |
|
windborn
Active Member
  
Posts: 341 
Likes: 70
1957 Sportcraft 15
Currently Offline
|
Post by windborn on Jun 7, 2016 3:35:02 GMT -8
|
|
|
|
Post by danrhodes on Jun 7, 2016 6:13:44 GMT -8
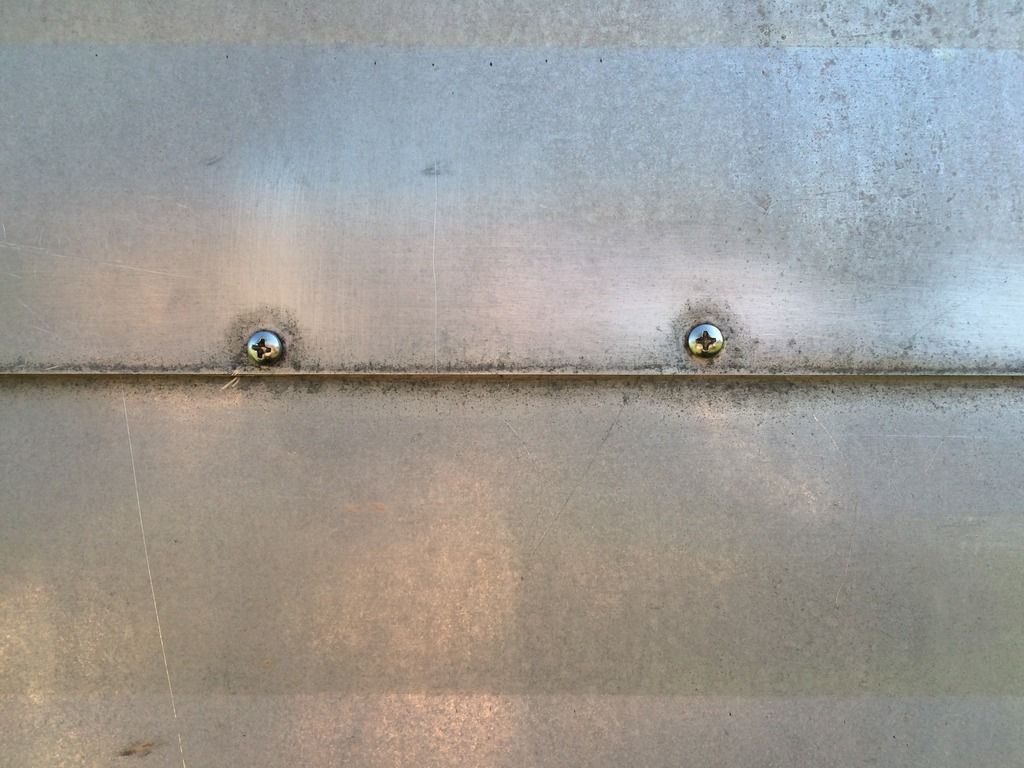
Did you buy the screws online? What size?
|
|
mobiltec
5K Member
     I make mistakes so you don't have to...
Posts: 9,880 
Likes: 3,803
1954 Jewel In Progress...
Currently Offline
|
Post by mobiltec on Jun 7, 2016 7:26:39 GMT -8
NICE!
|
|
windborn
Active Member
  
Posts: 341 
Likes: 70
1957 Sportcraft 15
Currently Offline
|
Post by windborn on Jun 7, 2016 16:23:45 GMT -8
Did you buy the screws online? What size? I got them at boltdepot.com because I saw they shipped from a town near me and I needed them quick. They came about 36 hours after I ordered them! I bought #8 philips panhead sheet metal screws in various lengths: 1/2in, 3/4in, 1in, and 2in. We've used the 1/2in for screwing into the 1/2in ply walls, 3/4in for screwing the windows on those walls, and 2in into the chassis. We'll use the 1in to screw the drip rail into the curbing. So far we've been very happy with them. They go into the metal and the wood equally well. Here's the link:https://www.boltdepot.com/Sheet_metal_screws_Phillips_pan_head_Stainless_steel_18-8_8.aspx |
|
windborn
Active Member
  
Posts: 341 
Likes: 70
1957 Sportcraft 15
Currently Offline
|
Post by windborn on Jun 8, 2016 13:39:48 GMT -8
We have a new roof! Yesterday was a long, strenuous, tedious day. We drove a half hour away to pick up some tractor-trailer roofing material. Then we managed to get it up on top of the camper and strap it down. We were on edge through all of that, especially with the wind, but once we had a few straps in place and screws along the edge it felt pretty good.  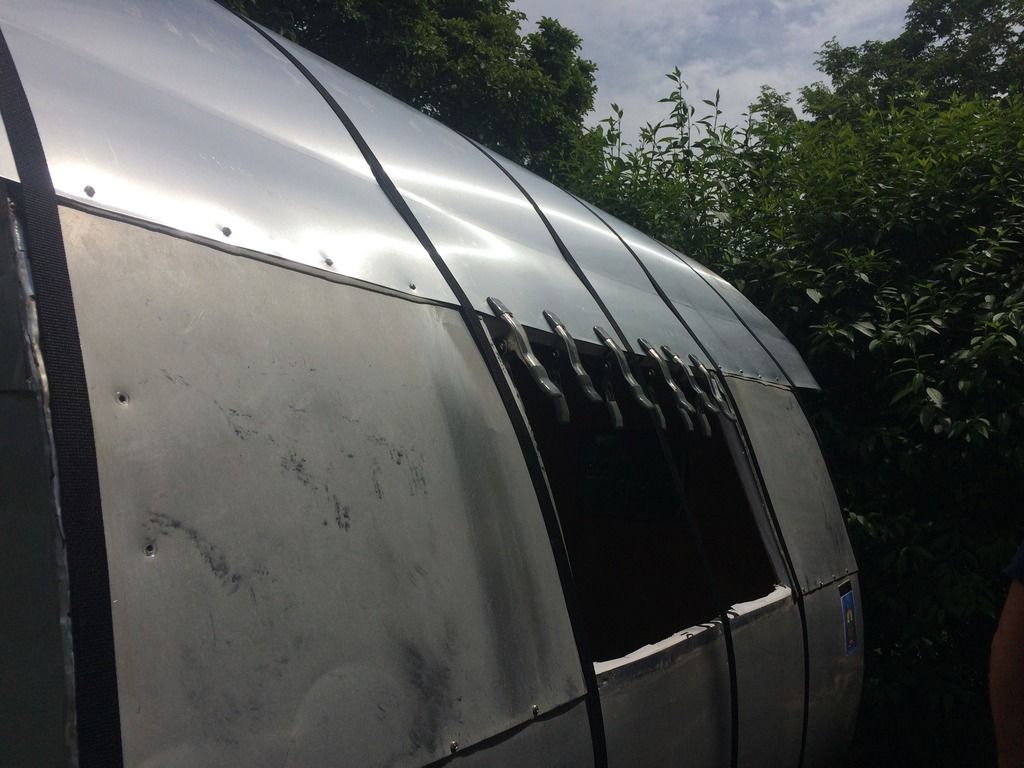 Then we got to trimming with tin snips. It was very, very difficult. The place I got the metal from only had a handful of sizes to choose from, so the width was a full 2ft wider than what we needed for my camper. And I've never worked with a smaller gauge of aluminum, but I think the .040 is just really tough. Our cuts were jagged, but we did manage to trim it down to 1/2in. 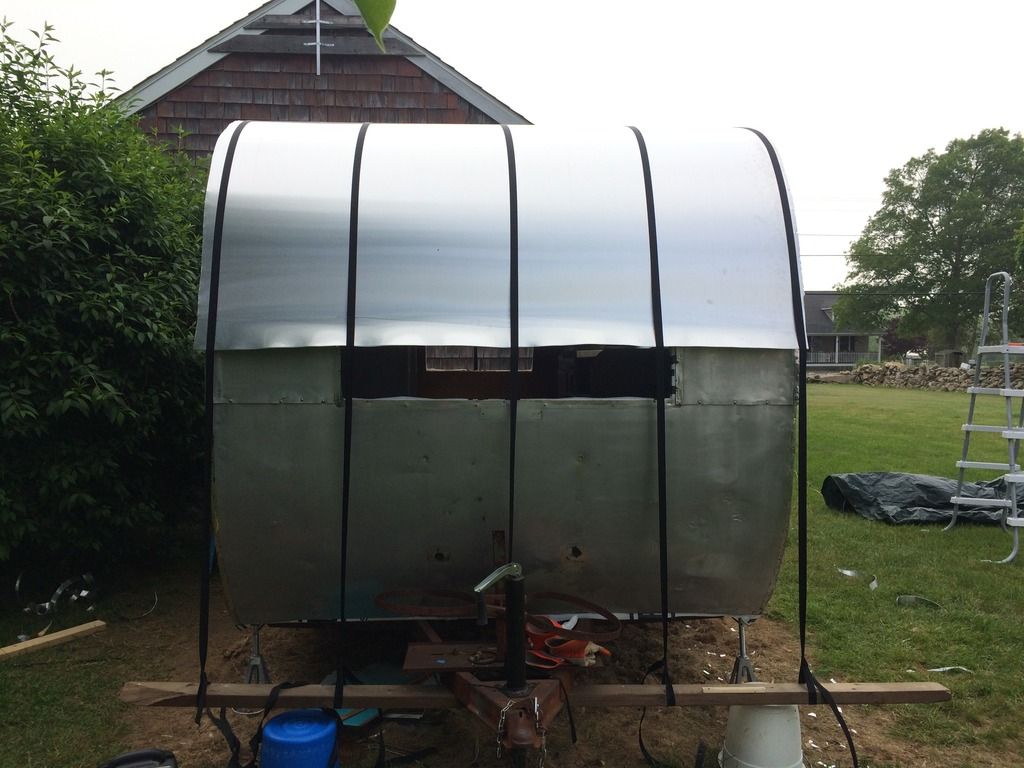 Today went a lot better. The folding over of the edges went smoothly, and I actually enjoyed it. It was helpful having four hands. My dad held the block against the edge while I went at it with a rubber mallet. Then I'd go over again with a small hammer to smooth things out. When it was good and in place, he'd put a few staples in it. Unfortunately our stapler couldn't quite get through the thick metal. Or maybe it was the staples? I never took mobiltec's advice to order some Porter-Cable staples. So we ended up putting two crumpled staples in there to hold it in, then replaced those with carpet tacks afterward. We didn't have any big issues with buckling. Around the vent we just used the "split the difference" method and it worked like a charm. The trailer gods were similing on us, because on the way to pick up the roofing, we found this for free on the side of the road. Perfect for two people working on the same spot. 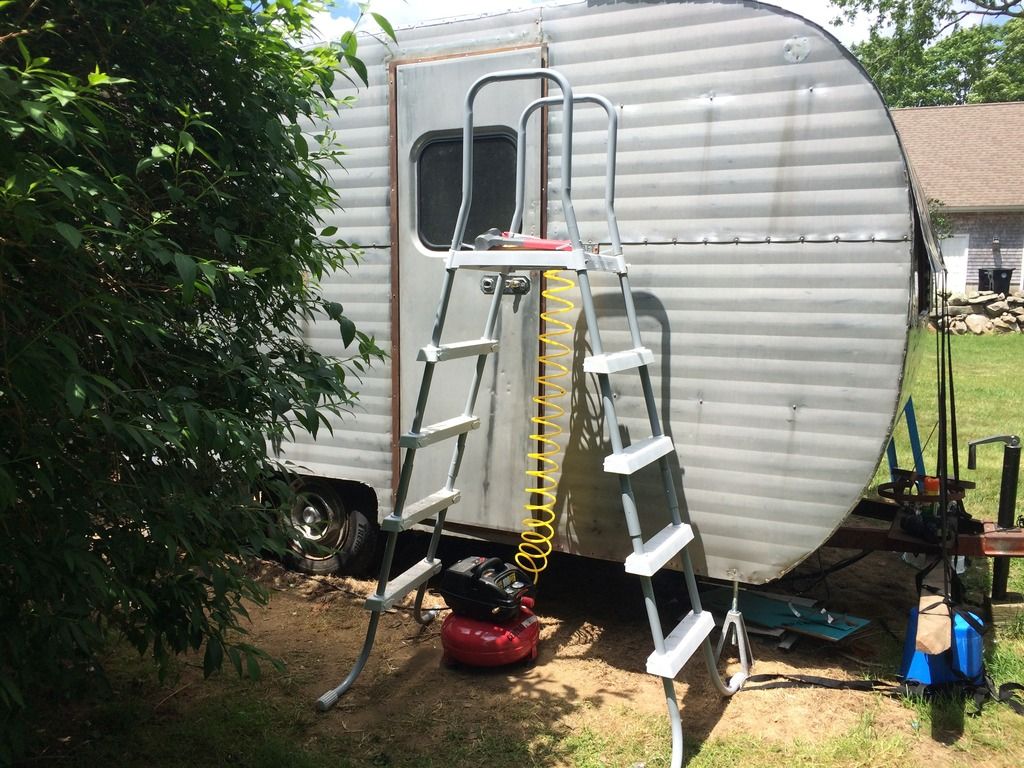 Turns out it's really hard to take pictures of a super shiny roof, but here are a few:  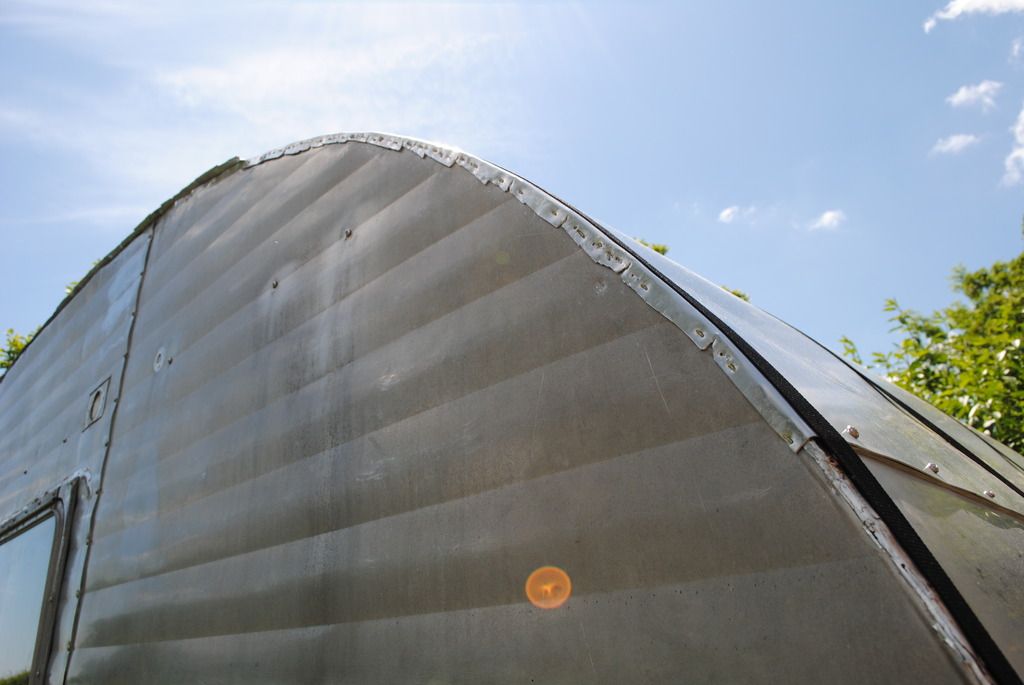 Unfortunately the metal wasn't the best quality, and came with a dent all the way across what's now above the back window. It's not that noticeable, and picking this metal up instead of having it delivered saved me more than $300, so I'm ok with it. 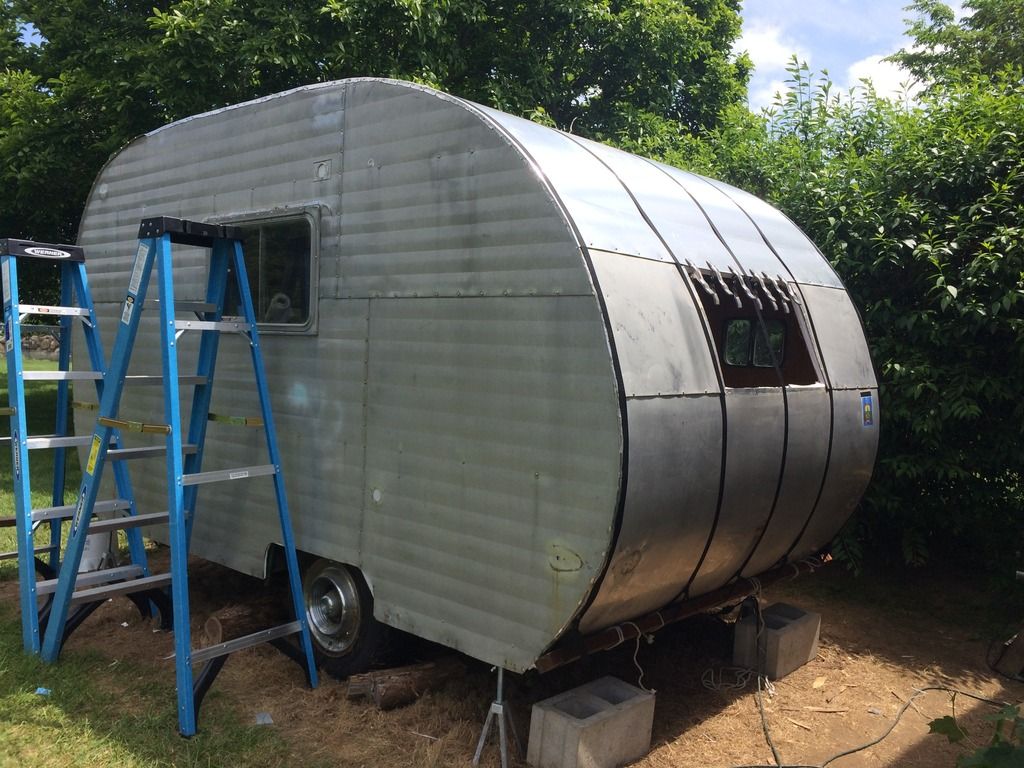 We also had time to fix up a few things here and there around the camper and install the front an back windows (temporarily for now, until I figure out the gasket situation) before the thunderstorms rolled in.  Feels so good to have this step done! There's definitely a lot I would do differently next time: maybe pay more for the right material and a better stapler, a few of our braces got in the way, etc. But overall I'm pleased. Tomorrow we're going to put in the vent, then clean out the disaster that my dad's garage has become with all this fast work we're doing, then if there's time I'm towing it home!! |
|
mobiltec
5K Member
     I make mistakes so you don't have to...
Posts: 9,880 
Likes: 3,803
1954 Jewel In Progress...
Currently Offline
|
Post by mobiltec on Jun 8, 2016 16:30:54 GMT -8
Good job you guys and it's really great to see that my videos pay off for people who watch them. I always feel like I've left something out but it looks like you guys watched every one of them and did just fine. Yep no other staples will work except the Porter-Cable ones because they are "Chisel Tipped"... And the electric shears would have made trimming your edges SOOOOO much easier. Next time...
Congrats on a successful roof change.
|
|
windborn
Active Member
  
Posts: 341 
Likes: 70
1957 Sportcraft 15
Currently Offline
|
Post by windborn on Jun 9, 2016 15:46:38 GMT -8
Good job you guys and it's really great to see that my videos pay off for people who watch them. I always feel like I've left something out but it looks like you guys watched every one of them and did just fine. Yep no other staples will work except the Porter-Cable ones because they are "Chisel Tipped"... And the electric shears would have made trimming your edges SOOOOO much easier. Next time... Congrats on a successful roof change. Thanks mobiltec. We really wouldn't have been able to do it without your videos. When I realized I needed to replace my roof I almost gave up on this project before I even started. Then I found your 4 part series on putting on a new roof (several times) and realized we could probably get it done. A donation is certainly on the way, once I stop spending my whole paycheck on my rebuild  |
|
windborn
Active Member
  
Posts: 341 
Likes: 70
1957 Sportcraft 15
Currently Offline
|
Post by windborn on Jun 9, 2016 16:01:36 GMT -8
Today was a milestone day: I towed Willie home! It was nervewracking at first, but she did beautifully. First we got the vent on. I know I'll need to replace it eventually, but I went with the plastic cover because I love having a little skylight. I still need to seal it up. 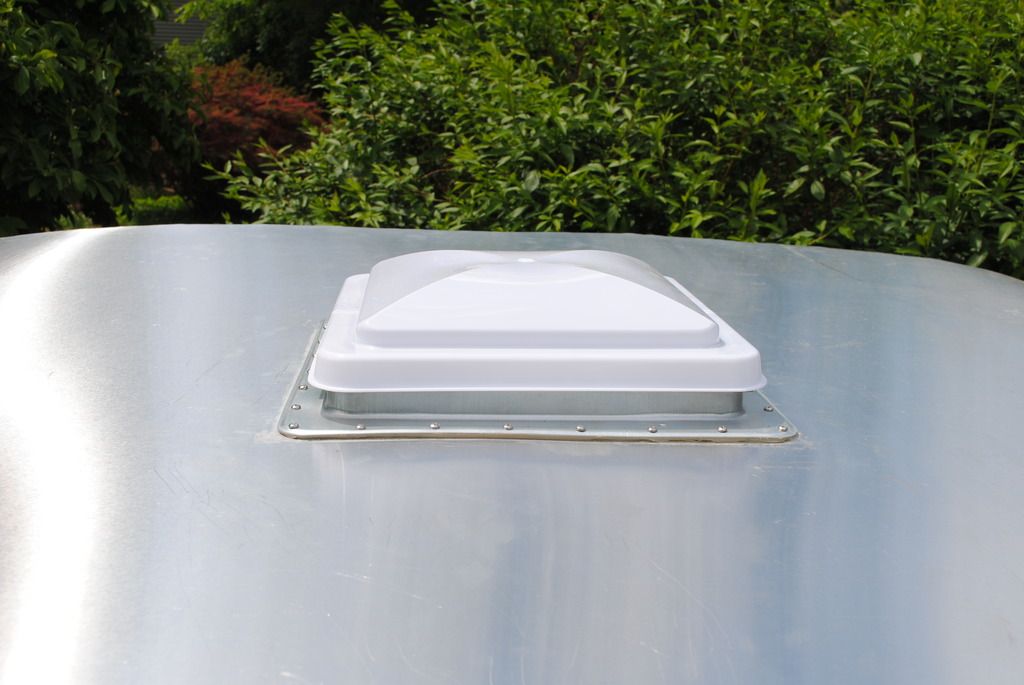 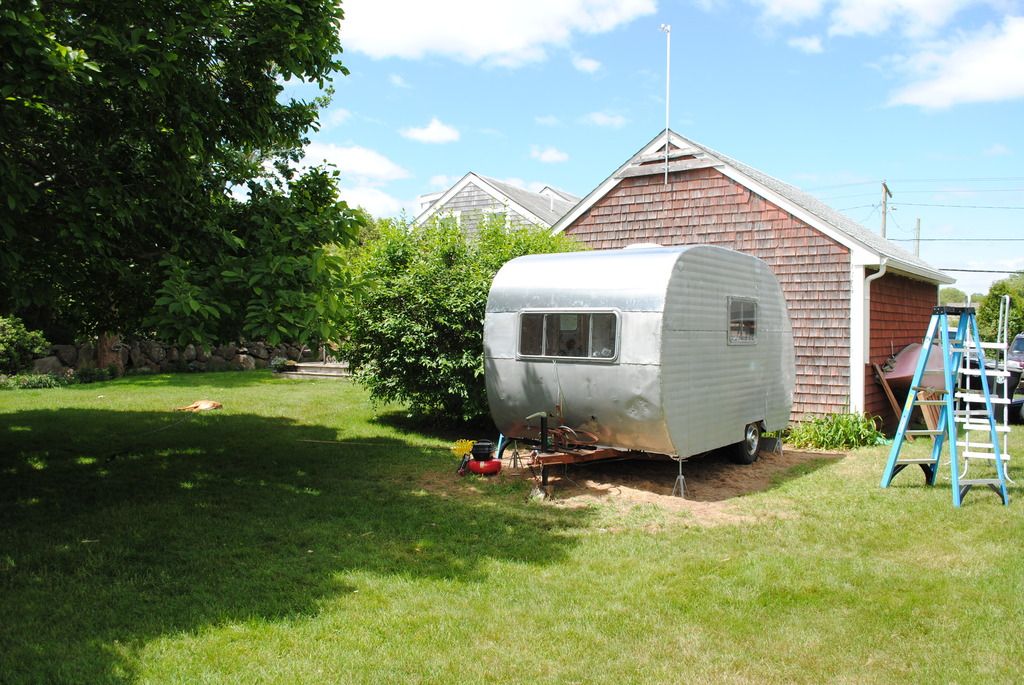 After that we did tons of little things to get her road-ready: fixed a bent window, attached temporary brake lights, filled the tires, attached the license plate, etc. Then we cleaned out my dad's garage, which had become a big tangled mess of tools, scrap wood, rotten wood, etc. We made a dump run with the old roof and everything else. And then I packed up and towed her home! 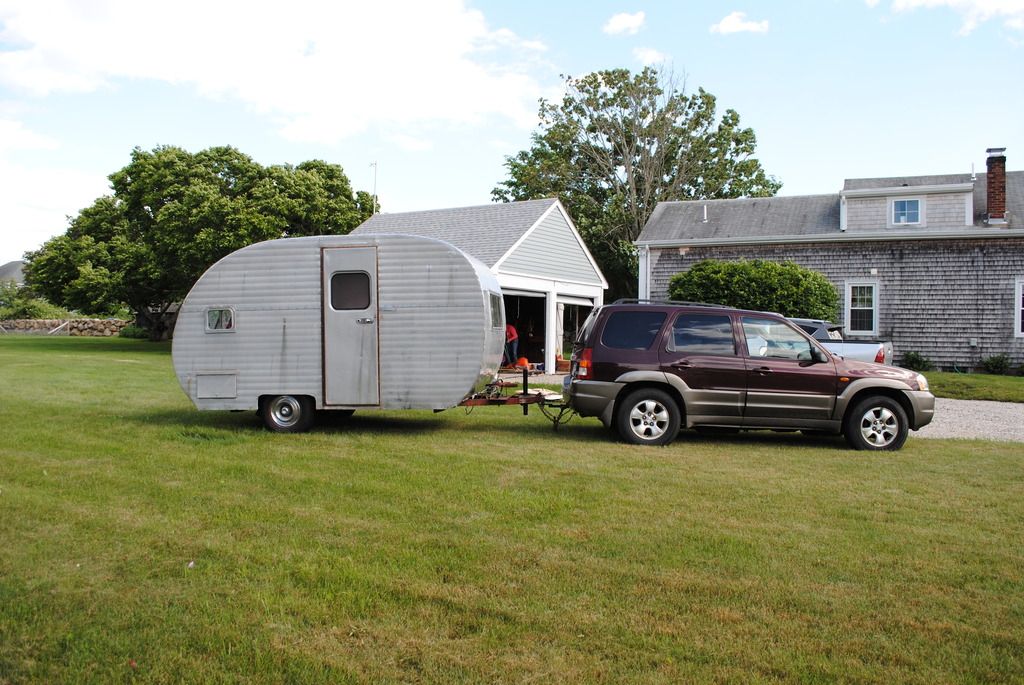 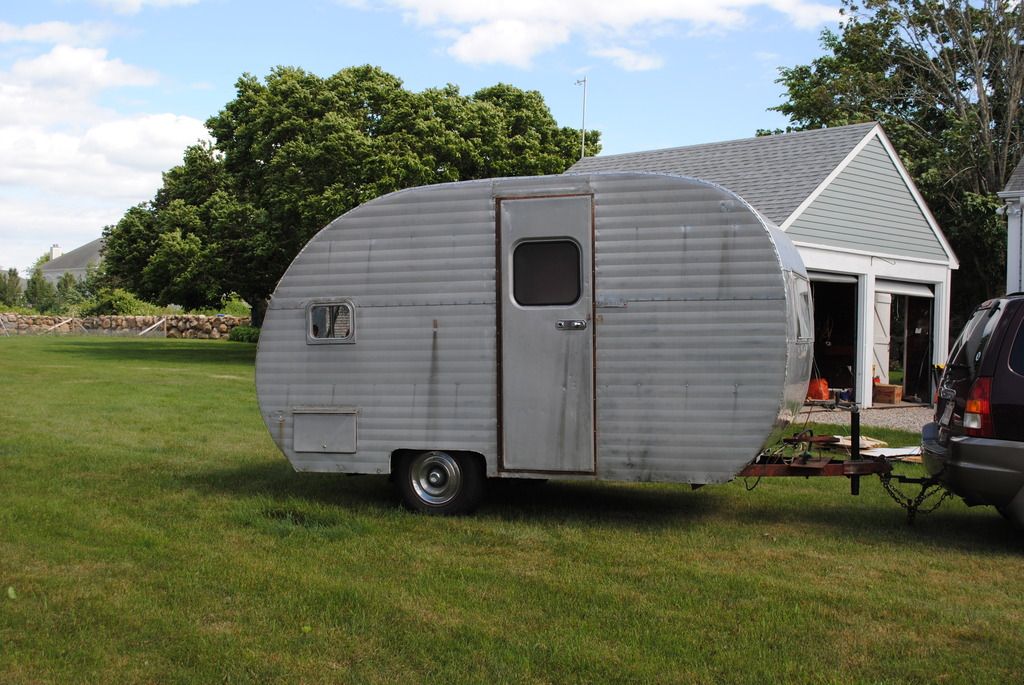 There's still a lot to do to get her waterproof. But I'm hoping I'll be able to work more consistently now that she's home. Not having to wrangle a tarp before and after every work session will be a good incentive to keep moving. |
|
windborn
Active Member
  
Posts: 341 
Likes: 70
1957 Sportcraft 15
Currently Offline
|
Post by windborn on Aug 17, 2016 16:30:32 GMT -8
It's been a long time since I updated this thread so I thought I'd check in (mostly for my own sake -- it's nice to have it all in one place). I haven't been putting in full days now that the trailer's parked at my house, just a few hours here and there. But I'm moving ahead slowly... The first thing I did when I brought Willie home was to put up a tarp tent since she's not watertight yet.  Then I worked on sealing up little holes with JB Weld and screws, gutter seal-ed all the staple holes on the roof fold-over, sealed the vent, etc.  I cleaned up the eyebrows, which were SO dirty. Still need to pop out a few dents 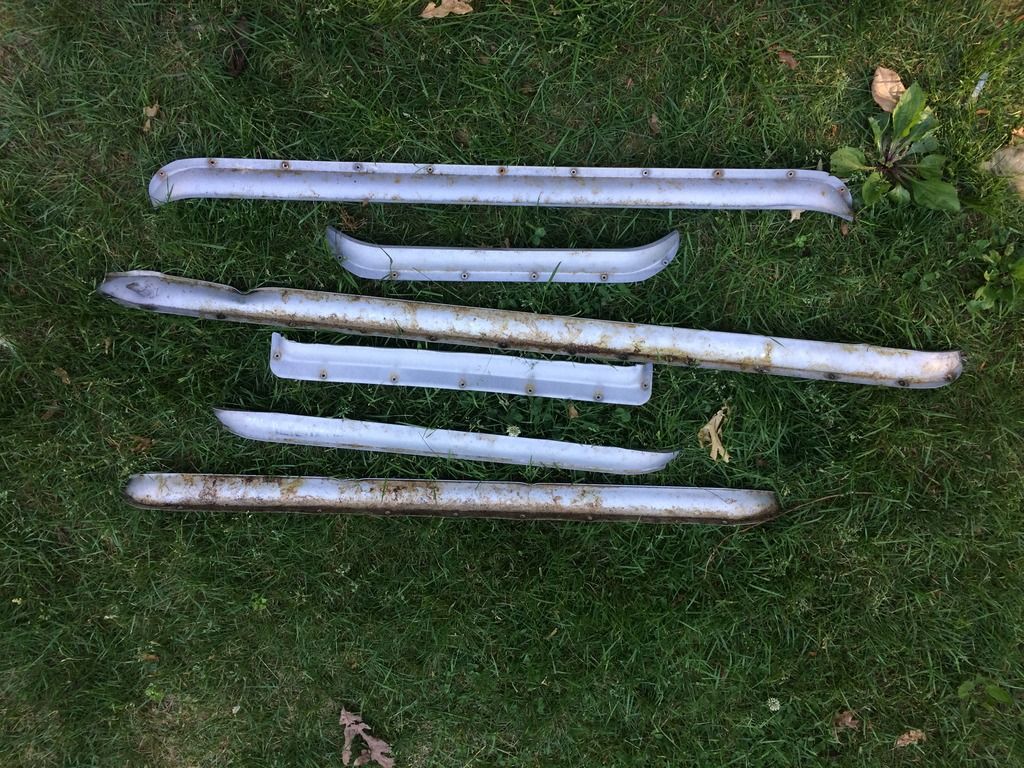  Rebuilt the bench and installed the bunk. Still need to recover the cushions, but it's nice to have them in. 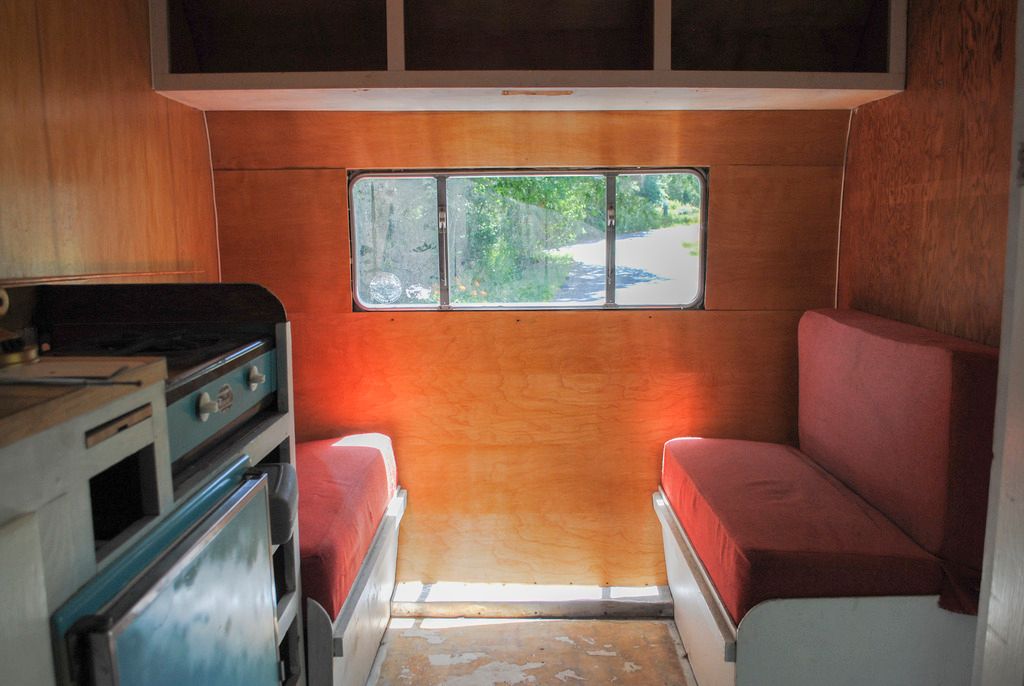 Fixed up some rusty light fixtures with Rub n Buff, my new favorite thing 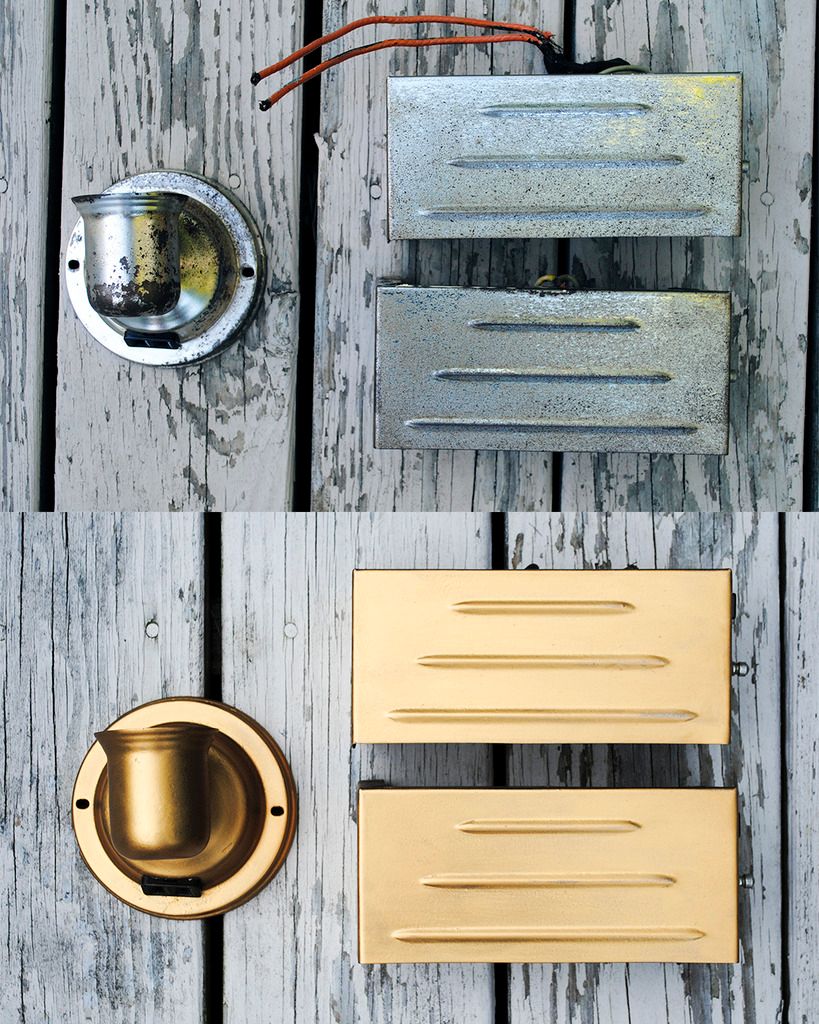 I painted the inside of the icebox with Appliance Epoxy. The dust from this stuff went EVERYWHERE. In hindsight, I should have done this earlier in the process (before I put new walls in). Luckily nothing's too bad except the stovetop, which I stupidly had on the floor next to the icebox, and it seems as if mineral spirits will do the job there. It's hard to see in the photos, but the spray paint made the icebox so much more inviting for food. It was looking pretty nasty before.   And today I finished up painting the rusty old doorframe. It's a tiny detail but I'm really happy with the way it looks. 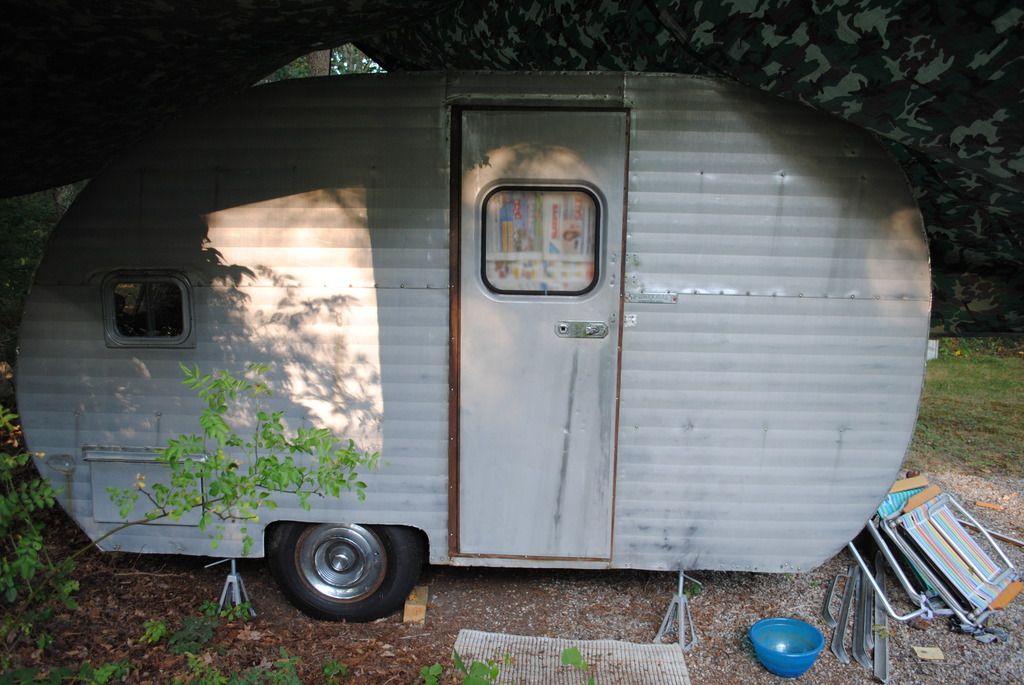  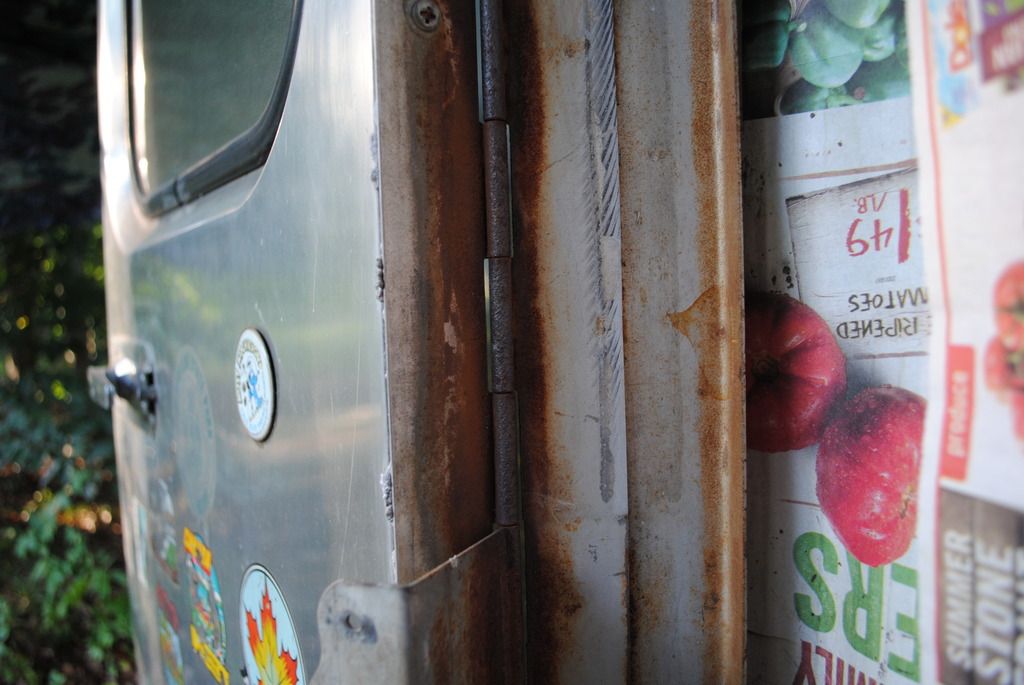
 |
|
turbodaddy
1K Member

Posts: 1,094 
Likes: 468
17' 1965 Fan "Sunseeker"
Currently Offline
|
Post by turbodaddy on Aug 17, 2016 18:10:32 GMT -8
Lookin' good windborn! Thanks for the update.
|
|
nccamper
Administrator     
Posts: 7,813 
Likes: 2,927
1962 Forester- 1956 Shasta
Currently Offline
|
Post by nccamper on Aug 17, 2016 18:53:56 GMT -8
You are really rolling right along. Excellent.
|
|


 Not the most elegant solution, but it kept it down until we got the vapor barrier on.


 Not the most elegant solution, but it kept it down until we got the vapor barrier on.


