windborn
Active Member
  
Posts: 341 
Likes: 70
1957 Sportcraft 15
Currently Offline
|
Post by windborn on May 15, 2016 16:04:33 GMT -8
My whole rebuild album is here:https://plus.google.com/photos/+SheaCadrin/albums/6139514703966025521 though there are a lot of photos there since that album is mostly for my reference.
|
|
windborn
Active Member
  
Posts: 341 
Likes: 70
1957 Sportcraft 15
Currently Offline
|
Post by windborn on May 23, 2016 17:15:01 GMT -8
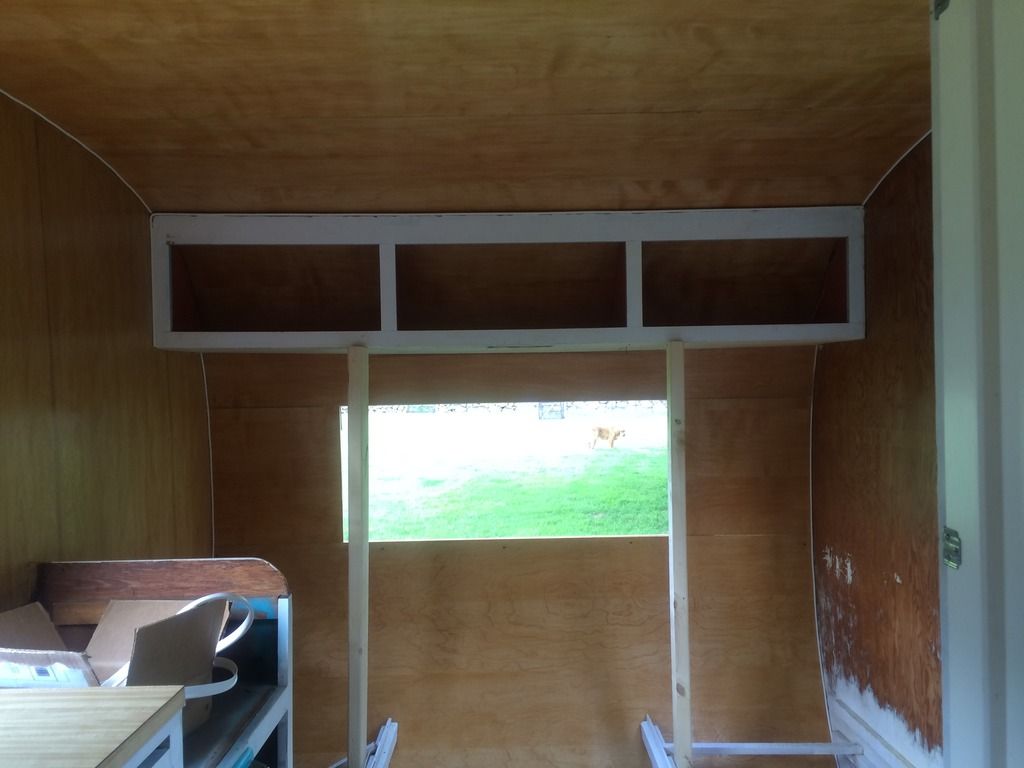
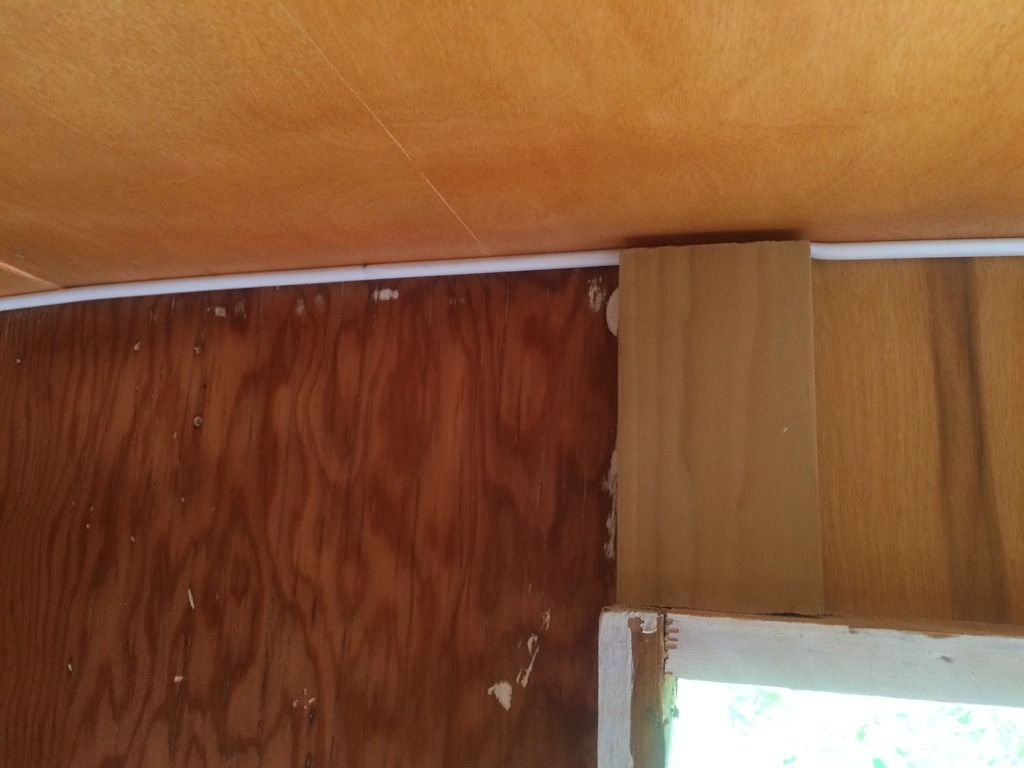
We put in two very full days and got the ceiling up! We added the supports to the 1/8in birch and shellacked them all. We probably should have looked at the panels a little more closely when we bought them because one had much different grain than all the other ones. But it actually helped out in blending all the mixed woods we have going on, so I'm happy with how it turned out  One panel on:  Two panels on:  Three panels on:  The last tiny panel:  And it's all in! You can see here how the different grains all kind of blend into each other down at the end. It's different but I love it.  We also got the little front window panels on but need to do the back next time.   We also have the bracing ready for the vent which is on its way  It feels so good to have this part done! The mix of woods of quirky but I'm into it. It doesn't look as bad as the photos make it out to be, but this little corner above the door might make nccamper puke:  |
|
|
|
Post by vikx on May 29, 2016 19:52:45 GMT -8
So nice to see your project Windborn. And seeing it done right!
Hint: take a belt sander and curve the vent shim corners a little bit; it prevents creases in the roof metal. I use 40 grit. You could also use a heavy wood file if you don't have a sander...
|
|
nccamper
Administrator     
Posts: 7,813 
Likes: 2,927
1962 Forester- 1956 Shasta
Currently Offline
|
Post by nccamper on May 29, 2016 20:06:21 GMT -8
"...this little corner above the door might make nccamper puke"
Not so!
If the wood is all sanded, solid and finished it's all good.
Eclectic: deriving ideas, style, or taste from a broad and diverse range of sources.
|
|
windborn
Active Member
  
Posts: 341 
Likes: 70
1957 Sportcraft 15
Currently Offline
|
Post by windborn on May 30, 2016 5:43:54 GMT -8
So nice to see your project Windborn. And seeing it done right! Hint: take a belt sander and curve the vent shim corners a little bit; it prevents creases in the roof metal. I use 40 grit. You could also use a heavy wood file if you don't have a sander... Thanks, vikx. Do you just round them out a bit or do you try to make them more "dome"-like? I just looked through your photos and found this. Is the sanding already done here?  |
|
|
|
Post by vikx on May 30, 2016 11:38:06 GMT -8
That vent shim is not mounted yet, but it is rounded, more than the photo shows. I try to leave the inside fairly flat for the vent flange, then taper down as it goes away from the flange. Just easier on the roof metal...
|
|
windborn
Active Member
  
Posts: 341 
Likes: 70
1957 Sportcraft 15
Currently Offline
|
Post by windborn on May 31, 2016 18:16:38 GMT -8
So when I started this project with my dad I warned him that it was going to be difficult and frustrating and that I fully expected to cry at least once. Now when people ask how the rebuild is going he always replies, "It's great, Shea hasn't cried yet." But I came pretty close today. The only thing is, I realized that under pressure I don't cry. I just curse really loud. After waiting for some clouds to roll away my dad and I pulled off the tarp ready for a beautiful day of work. Instead we found a 3 inch puddle of water from yesterday's storm and our newly installed birch panel sagging heavily. The things nightmares are made of. Although we had tented the tarp when we had no ceiling, without the vent hole, we didn't think to tent it the last time we wrapped it up. Big oops. I took this picture after we frantically sopped the water up with towels and poured it out through the seams. (I took a break from yelling the f word to shoot it.)  Then we went to work trying to get that sag out. It took us about 2 hours, but it's *almost* ok now. We had to put some nails into the bracing for the vent and a ton of staples in places that would be hidden. (What a great test for my new compressor! We probably would have needed to scrap this panel without it.) And we also put up some 2x4 braces to hold the plywood up while it was drying. It's still ripple-y in places, but overall I'm amazed with the recovery. There isn't even a spot of water damage on the shellac!  The red here is the light shining through   The rest of the day got a lot better and we checked a lot of small woodworking tasks off our list. We got the bunk supports on, the back window panels on and structurally sound. We got the upper kitchen cabinets installed:  The molding for the edges on:  And the vent opened up!! Now we can put that pole in before we tarp again.  Here's how the ceiling looked at the end of the day. It's not perfect but nothing in this camper really is haha.  We're letting it dry out tonight and then I'm going to squirt some bleach up there to get rid of the mildew. I think (fingers crossed) that we may have saved it. |
|
nccamper
Administrator     
Posts: 7,813 
Likes: 2,927
1962 Forester- 1956 Shasta
Currently Offline
|
Post by nccamper on May 31, 2016 19:18:44 GMT -8
Wow, that's depressing. I worked on my first camper without a trailerport and hated it. Rain is a nightmare. In NC we get several inches a day when it's really coming down.
With that said, you made an excellent save.
|
|
|
|
Post by danrhodes on May 31, 2016 19:23:05 GMT -8
Driveway rebuilders unite! You are very fortunate about the shellac... The heat under a tarp ruined my new finish, the wind destroyed my carport, but I put it back up this week with another tarp as the May Grey/June Gloom mist was puddling on the roof too.
|
|
|
|
Post by vikx on May 31, 2016 20:03:09 GMT -8
Windborn, sorry to hear of the puddle. It looks OK now. I suggest that you paint some screws to match and use them in the "field" to help support the ceiling panels. I use them at every rafter. Larry uses twisty nails and a palm nailer, your choice.
|
|
windborn
Active Member
  
Posts: 341 
Likes: 70
1957 Sportcraft 15
Currently Offline
|
Post by windborn on Jun 1, 2016 2:38:49 GMT -8
Thanks y'all. I'm seeing the benefits of a trailer port more every day. Though if we stay on schedule I'll have the roof on next week so I'm hoping I won't even need a tarp soon!
Dan, the tenting really worked for us prior to this. We just worked a little too long before we wrapped it up last time and weren't thinking things through. Though if you have a carport, that's probably preferable.
Vikx, we used some finish nails all over that seem to be doing to trick. You can't see them in the vent photo but they run parallel to the seams along the edges of the vent. We decided to give it a little more time to dry before going too nuts on the bulges
|
|
mobiltec
5K Member
     I make mistakes so you don't have to...
Posts: 9,880 
Likes: 3,803
1954 Jewel In Progress...
Currently Offline
|
Post by mobiltec on Jun 1, 2016 8:15:43 GMT -8
I like the name "Trailerport"... The money I spent on mine was worth every single penny... Your project is looking good.
|
|
windborn
Active Member
  
Posts: 341 
Likes: 70
1957 Sportcraft 15
Currently Offline
|
Post by windborn on Jun 1, 2016 17:31:21 GMT -8
I like the name "Trailerport"... The money I spent on mine was worth every single penny... Your project is looking good. Thanks mobiltec. I can see how the trailerport makes sense for people who are working on multiple trailers. There were so many "ifs" that could have cost us so much time and money, and probably enthusiasm, with that leak. (If we had waited one more day to open it up, if we had gone with cheaper plywood, etc.) I wouldn't want to risk it. Maybe I'll get a port for my next trailer  |
|
mel
Senior Member
   1964 Shasta Airflyte
Posts: 1,729 
Likes: 523
Currently Offline
|
Post by mel on Jun 1, 2016 17:45:38 GMT -8
Looks great so far, love seeing your progress
|
|
windborn
Active Member
  
Posts: 341 
Likes: 70
1957 Sportcraft 15
Currently Offline
|
Post by windborn on Jun 2, 2016 4:39:15 GMT -8
Looks great so far, love seeing your progress Thanks, mel! |
|