|
|
Post by vikx on Sept 21, 2015 21:04:21 GMT -8
I really like the retro stars! Very classy.
|
|
kasiden
Junior Member

Posts: 71 
Likes: 39
Currently Offline
|
Post by kasiden on Nov 2, 2015 4:40:47 GMT -8
 Wilsonart laminate installed on the back counter. |
|
kasiden
Junior Member
Posts: 71
Likes: 39
Currently Offline
|
Post by kasiden on Dec 6, 2015 5:06:52 GMT -8
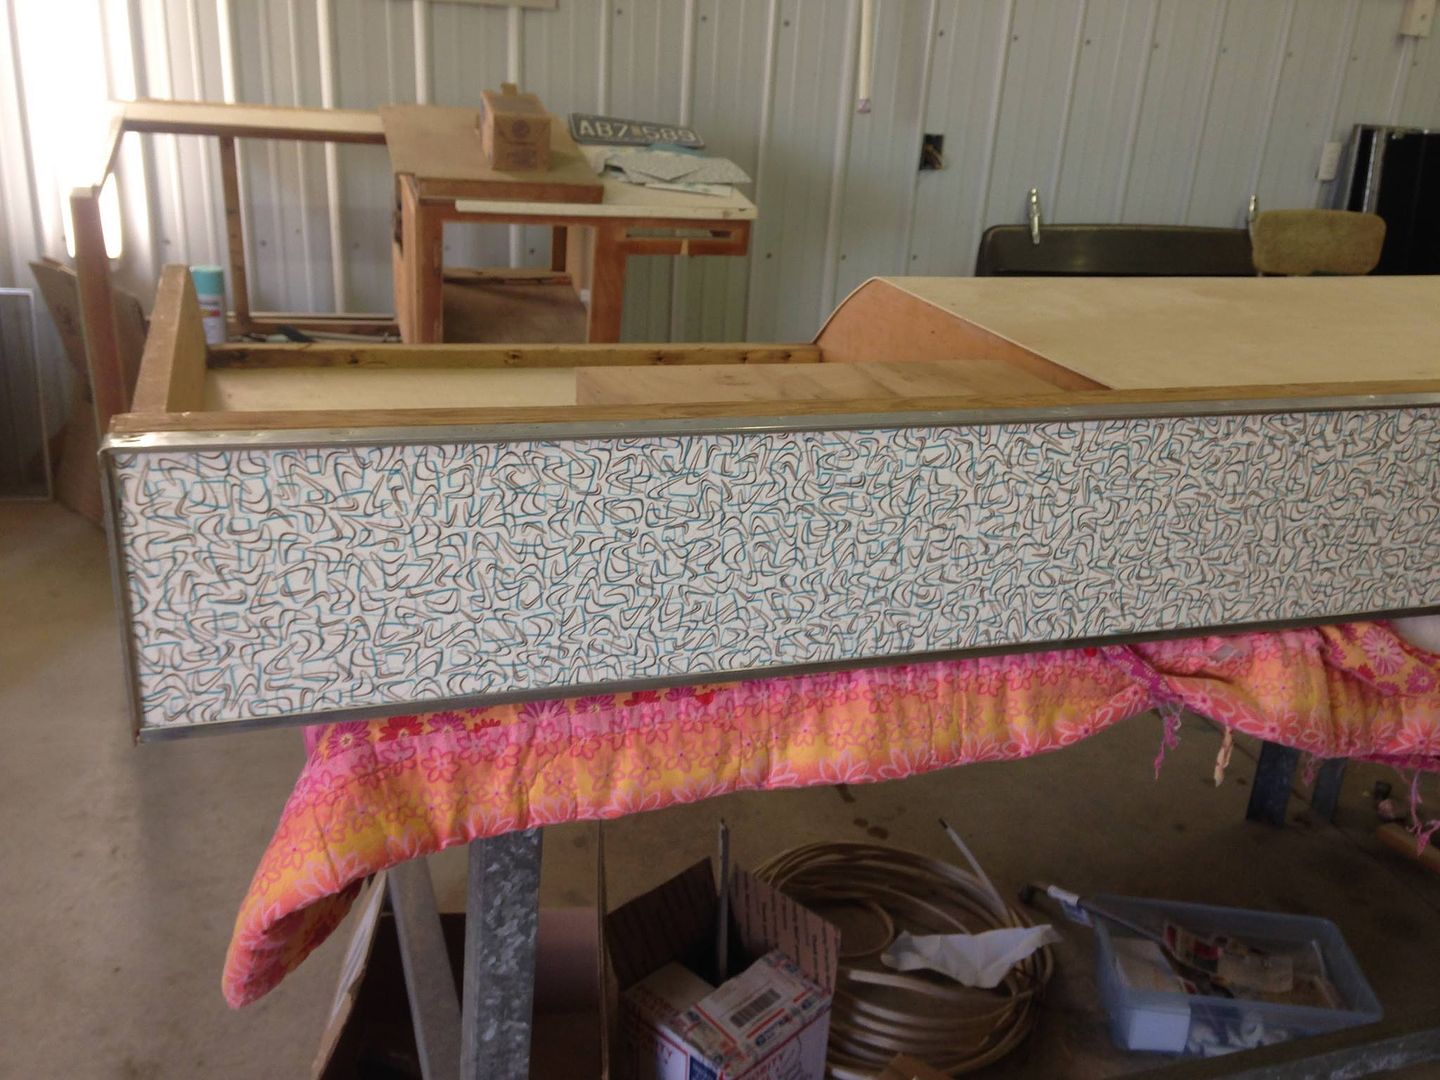
 We have hung all of the upper cabinets. I am working on the doors now. 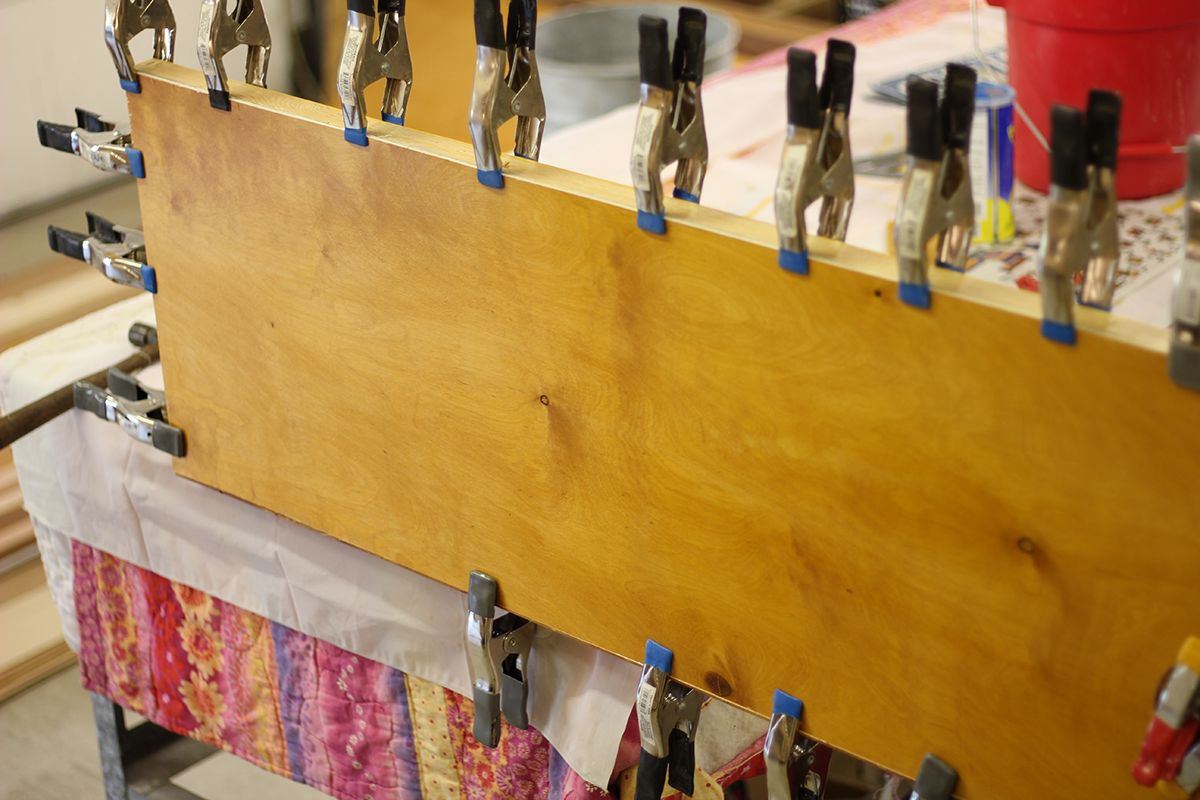 This is the front of the lower bench. 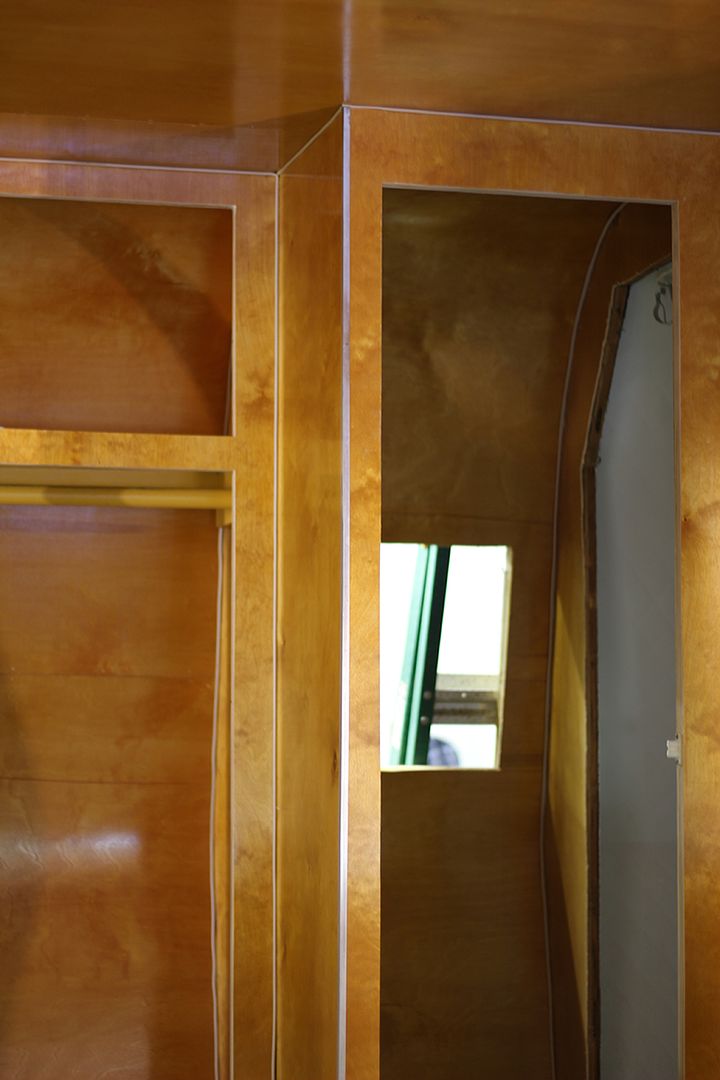 We are using the original aluminum corner trim. Ordered some extra trim from Eagle Aluminum |
|
RinTin
Full Member
Posts: 760 
Likes: 292
Currently Offline
|
Post by RinTin on Dec 6, 2015 6:44:09 GMT -8
Good to see you plugging away, one of my favorite threads. If your spring clamps are leaving marks on your finished wood, place strips of scrap 1/8" plywood between them.
|
|
Monabones
Active Member
Posts: 129
Likes: 81
1966 Aristocrat Land Commander
Currently Offline
|
Post by Monabones on Dec 6, 2015 8:41:42 GMT -8
Birch is so rich looking. Excellent work on this restoration. How did you apply the shellac?
|
|
kasiden
Junior Member
Posts: 71
Likes: 39
Currently Offline
|
Post by kasiden on Dec 9, 2015 6:42:05 GMT -8
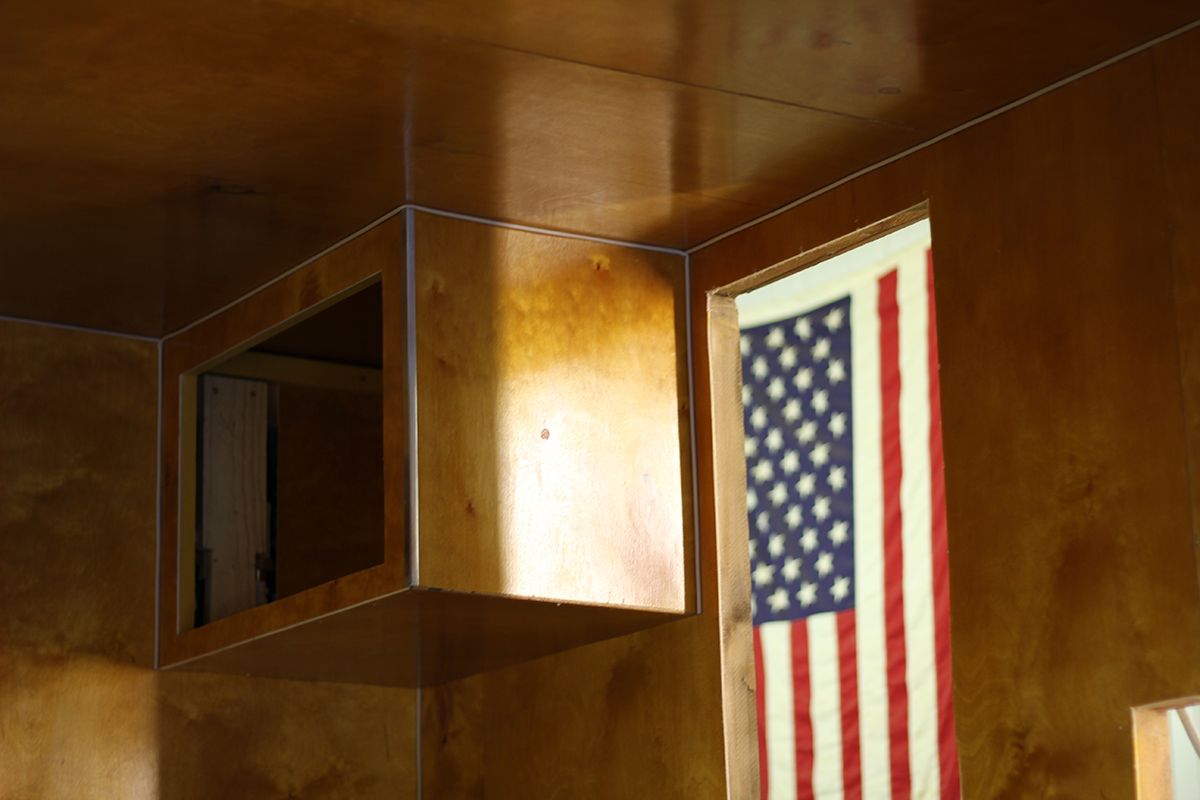
Birch is so rich looking. Excellent work on this restoration. How did you apply the shellac? I applied three coats of amber shellac with a good brush, sanding between each coat. The shellac is very thin and dries fast in warm weather so it makes it hard to go back and touch up a missed spot or run. I am working on the cabinet doors right now. It is a bit hard to control the runs in the beveled part of the door. When the amber shellac pools it is dark. I left the original veneer on the cabinet doors and it is darker than my new birch so I am putting one coat of amber shellac and two coats of clear on them. When I stained the large pieces I should have paid more attention to the factory edges, wiping them with a rag or brush. In some cases (bottom of cabinets) the factory edge shows, it would have been nice to have a more even finish. |
|
kasiden
Junior Member
Posts: 71
Likes: 39
Currently Offline
|
Post by kasiden on Dec 9, 2015 6:45:09 GMT -8
Good to see you plugging away, one of my favorite threads. If your spring clamps are leaving marks on your finished wood, place strips of scrap 1/8" plywood between them. Thank you RinTin. My clamps have good tips and did not leave any marks. I redid the clamps that have the blue tips. Bought a tool dip (coating) on Amazon. It worked very well. We were gone over Thanksgiving and just now got back on the camper. We are going to have some 60-70 degree days here in Missouri and I am going to take advantage of the weather while it lasts! I love to have the doors of the shop open while I work instead of listening to the heater run. |
|
kasiden
Junior Member
Posts: 71
Likes: 39
Currently Offline
|
Post by kasiden on Dec 13, 2015 14:09:05 GMT -8
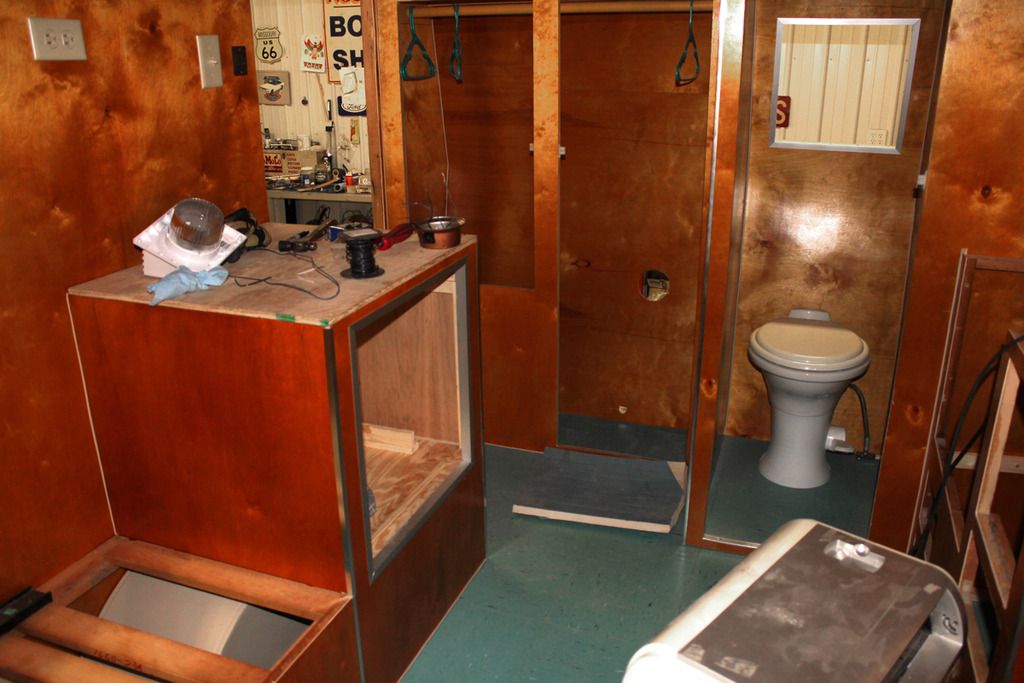
Here are a few pictures of our progress. 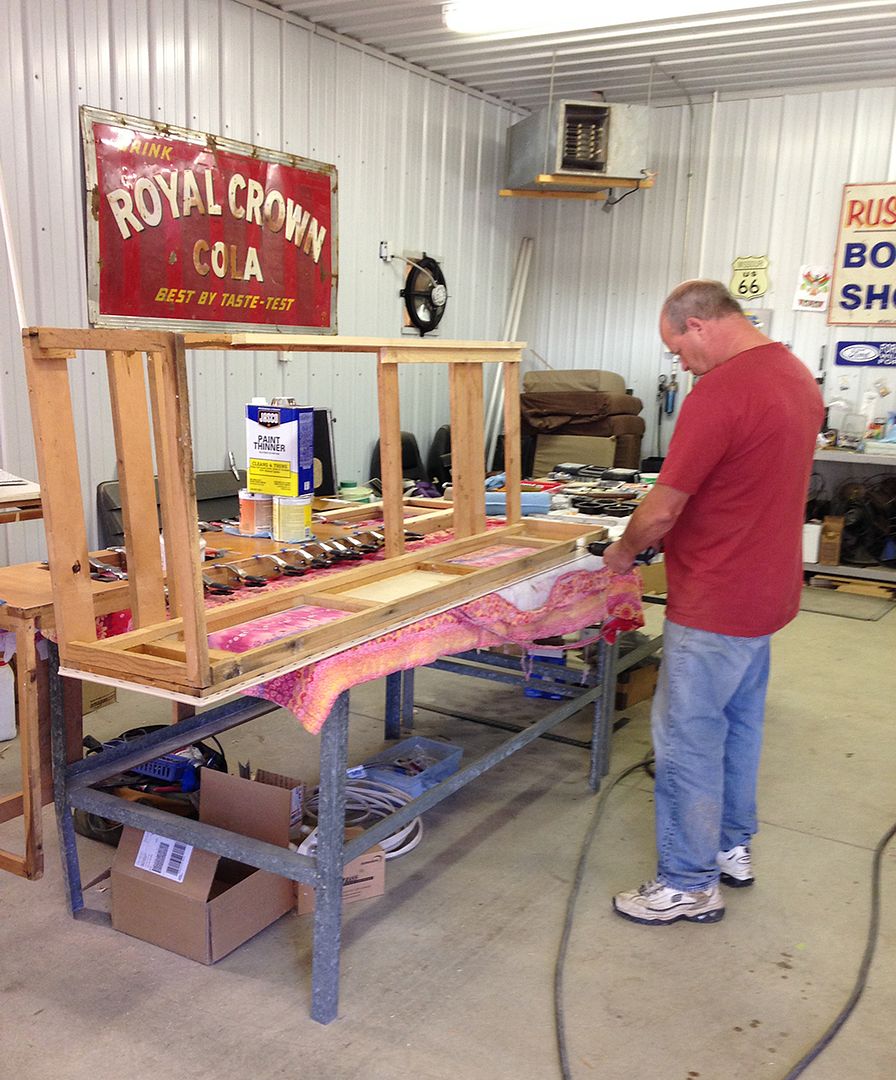 Working on the bench seat frames. 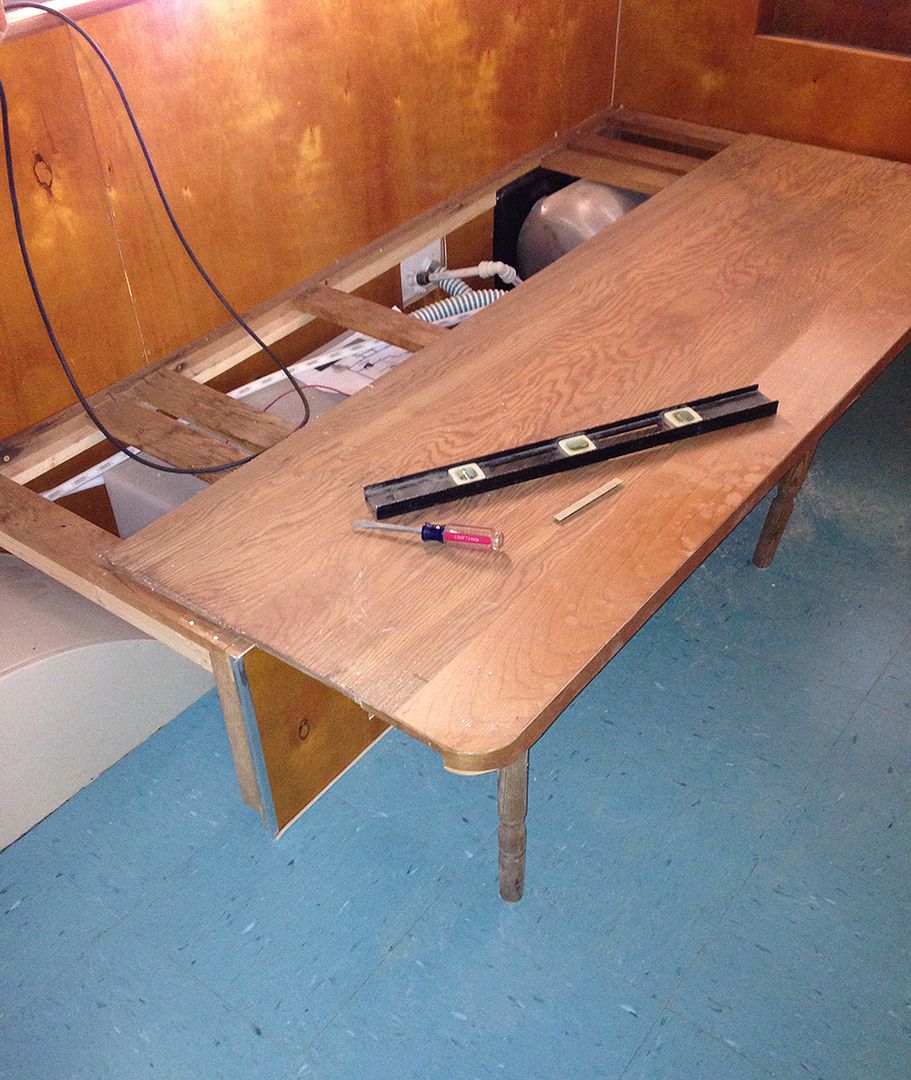 Mock up for the pull out bench. 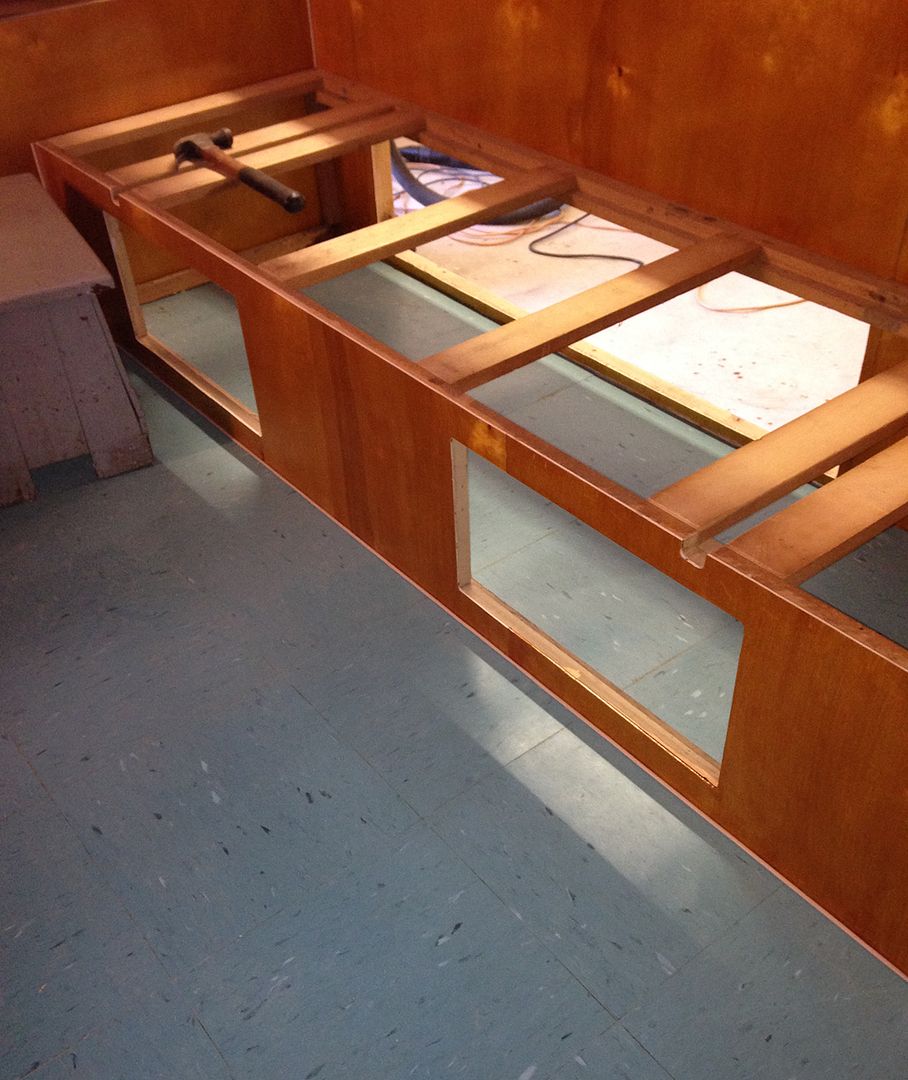 Here is the other side. 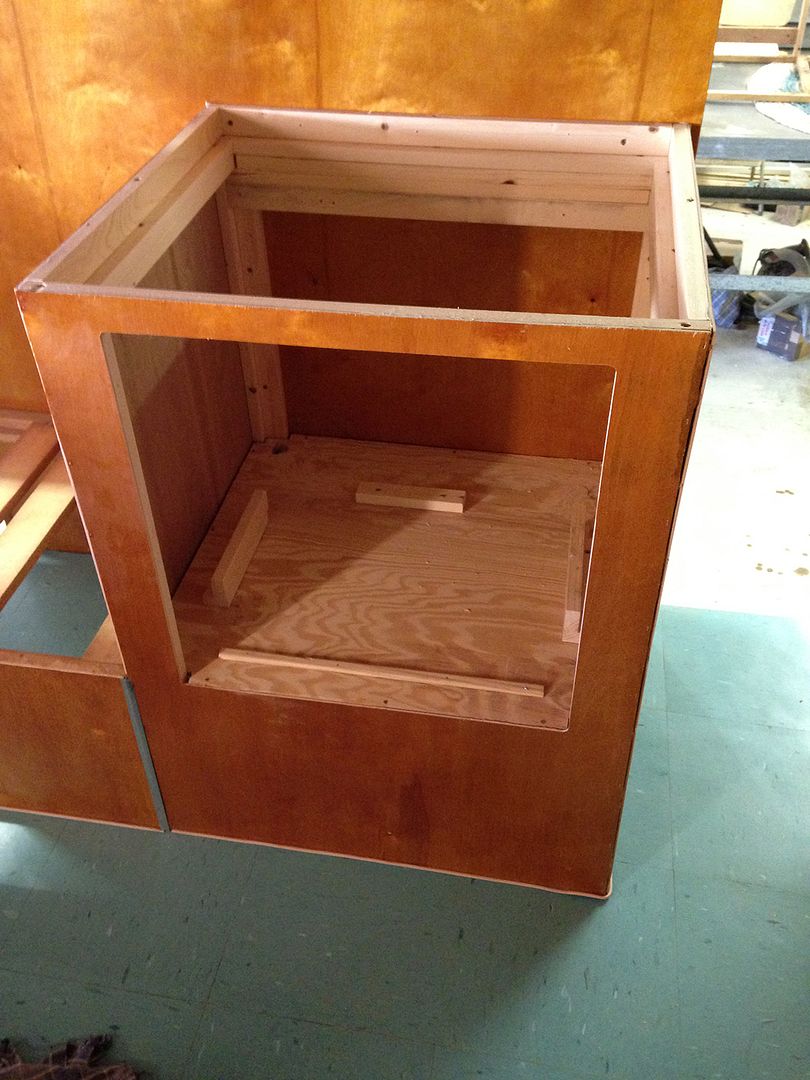 We built a new cabinet for the refrigerator similar to the original. We are going to use a modern apartment size refrigerator. 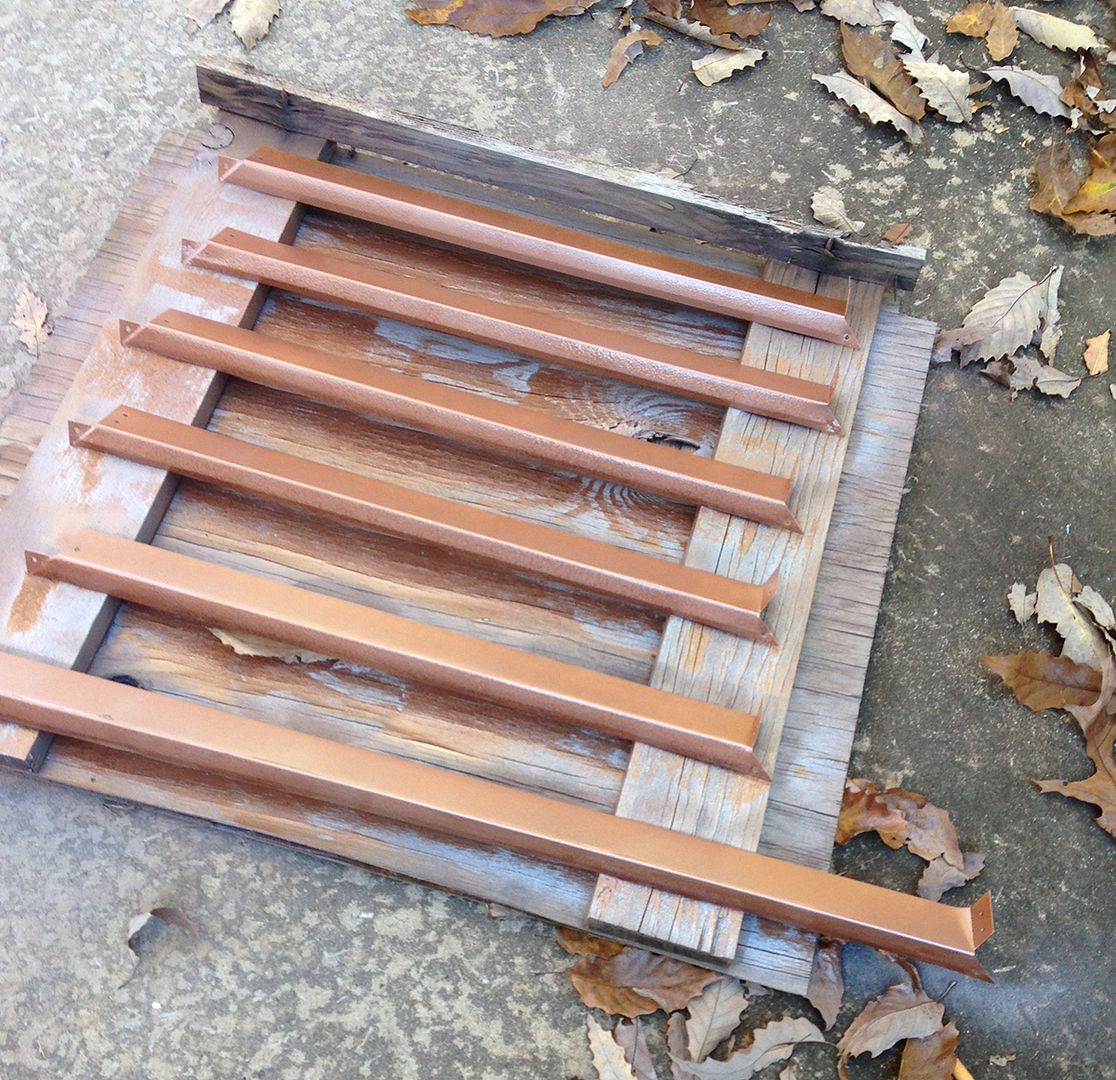 I painted the window trim with a hammered copper paint. The camper has copper cabinet hinges and handles. The original metal trim had a faux woodgrain pattern that had worn away. 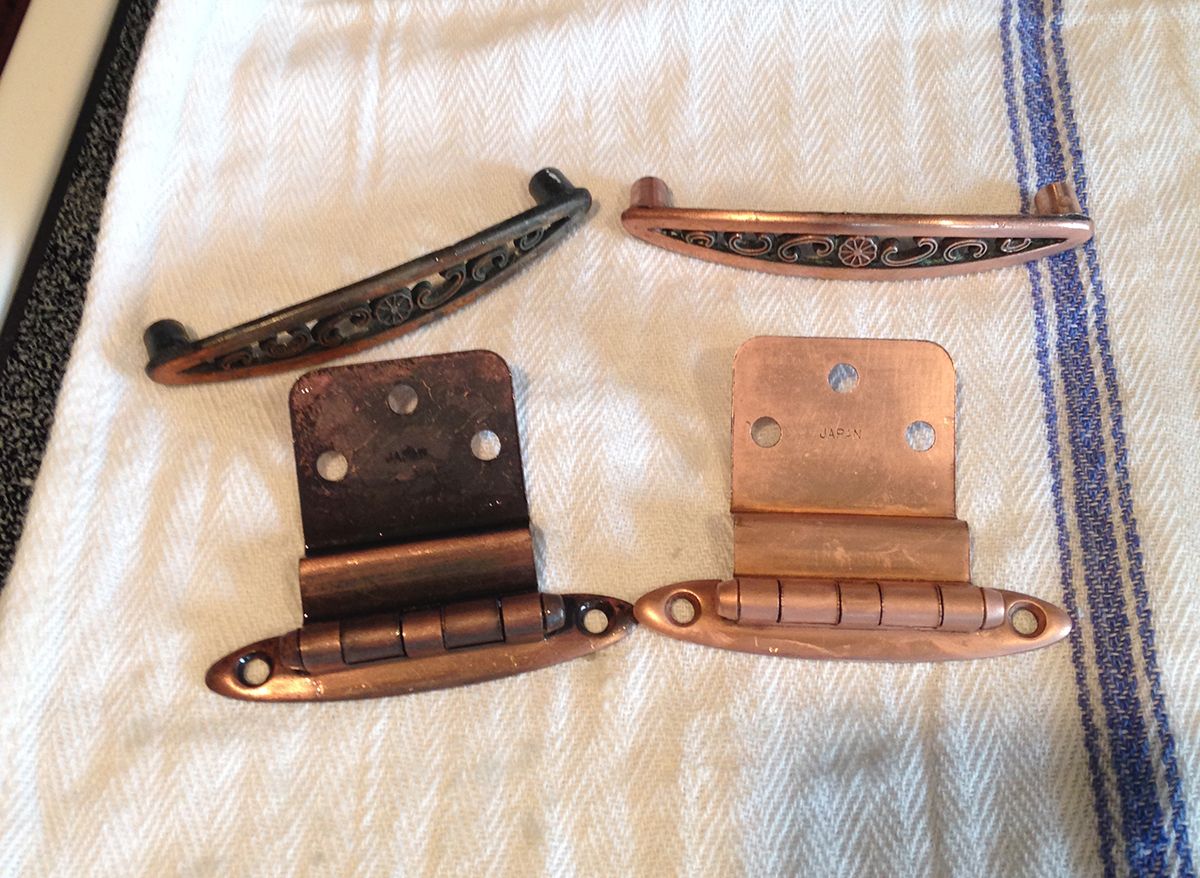 Before and after. Boy I have a bunch of these to clean up. 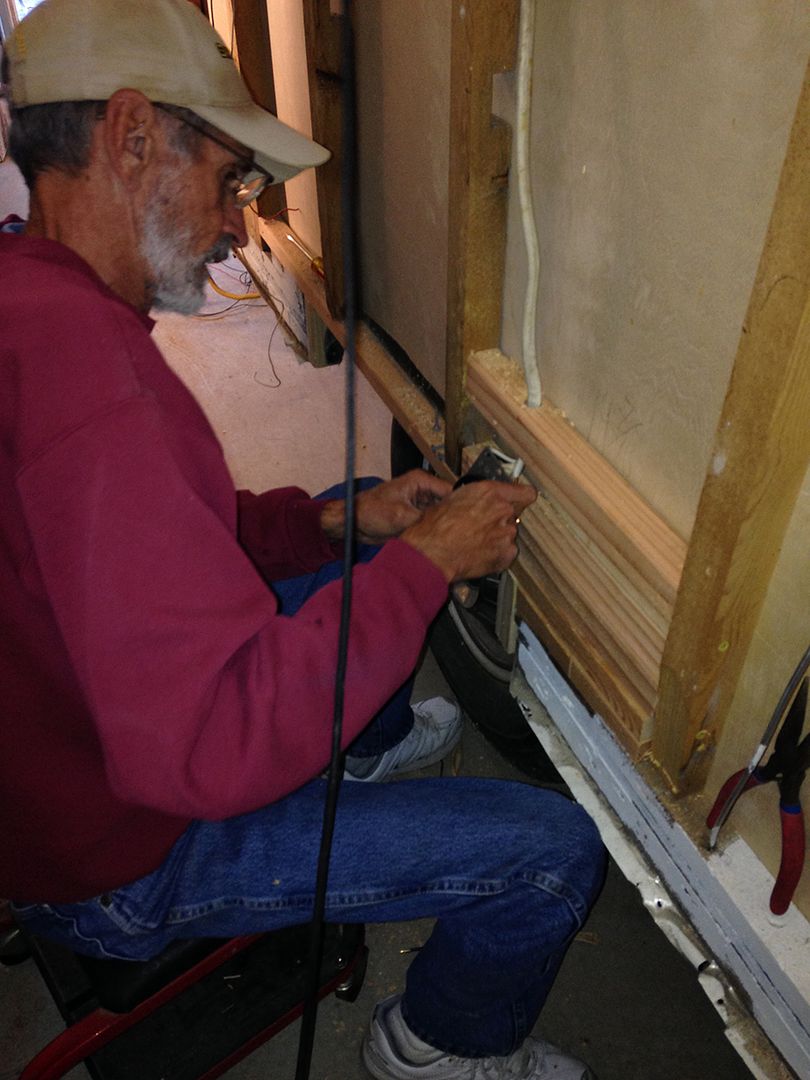 Our cousin came over to help with the electrical. 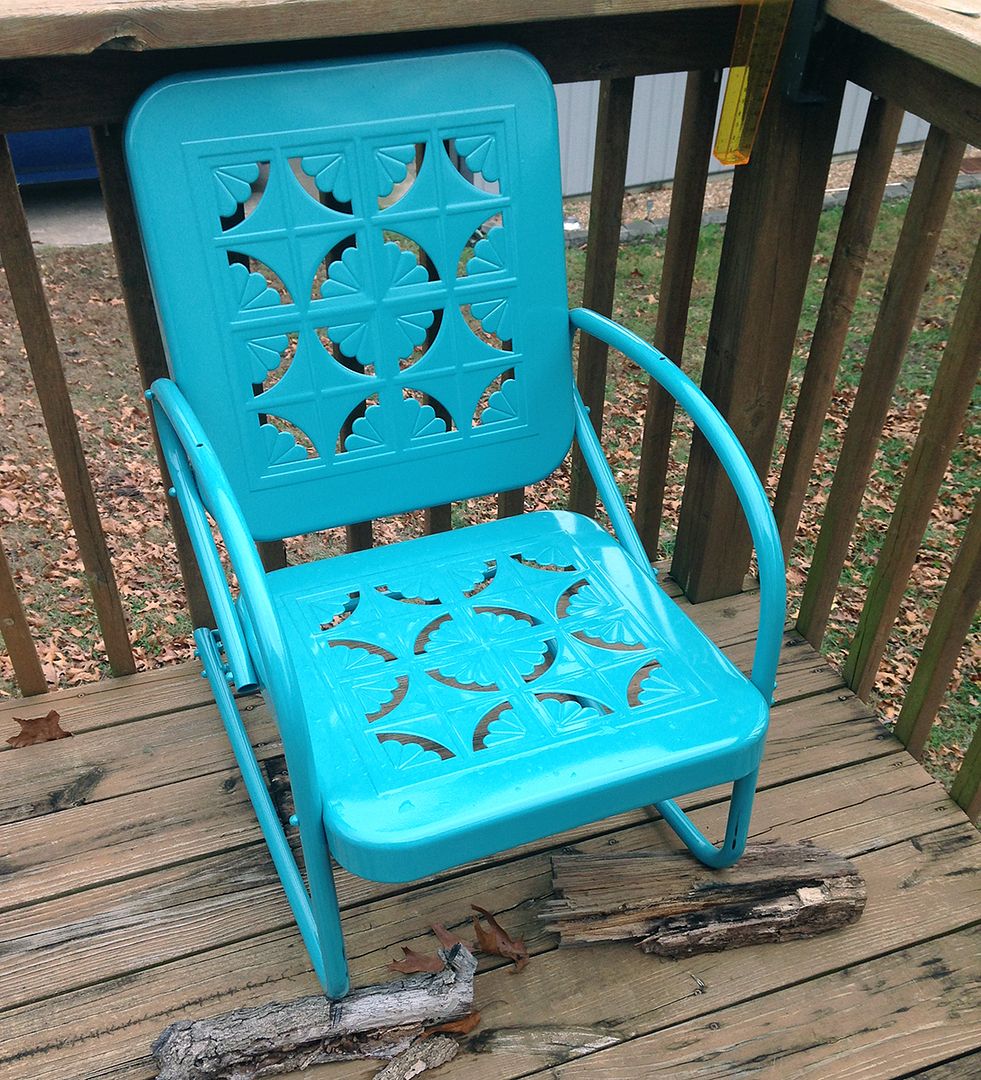 I have had this chair for 25 years. Recently took it to be sand blasted and powder coated. The legs were so slick that it was sliding around on the deck when it was windy--hence the wooden blocks. The color is more turquoise than pictured. 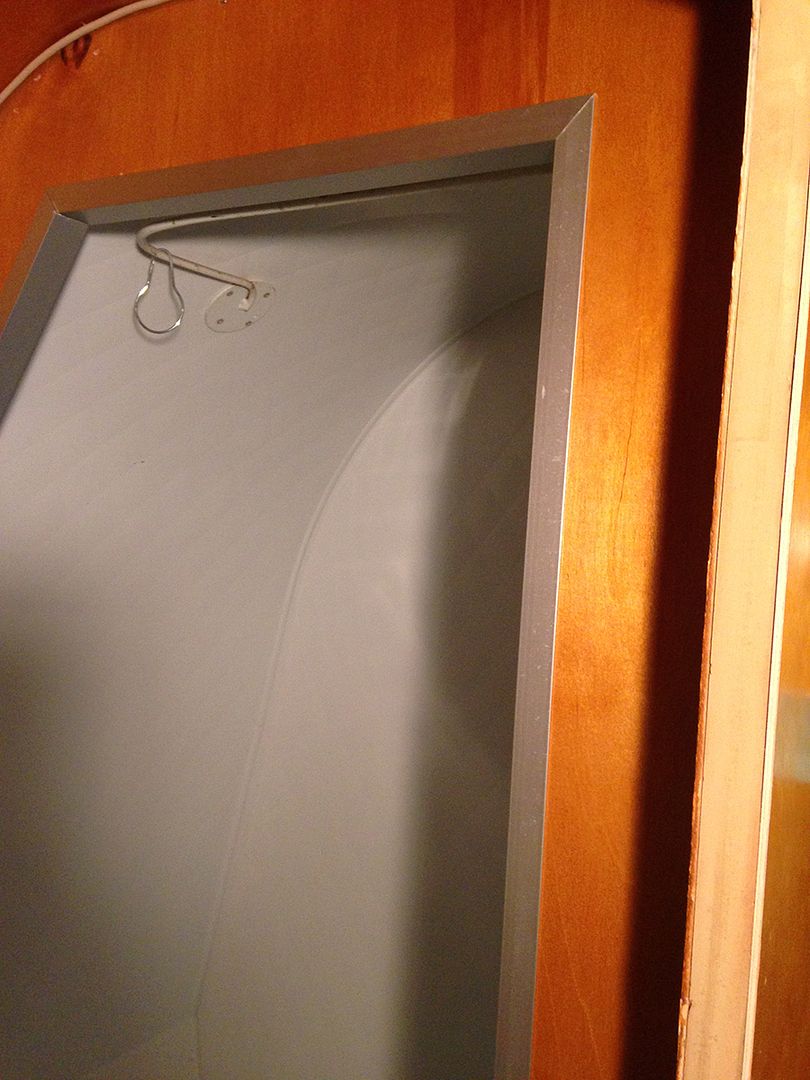 Trimmed the shower door. The former owner had damaged the original trim. We ordered 1" aluminum C channel from Eagle Moldings. It worked well. Still needs cleaning. |
|
|
|
Post by vikx on Dec 13, 2015 22:01:48 GMT -8
Love the copper idea and that CHAIR!!! wow...
|
|
mobiltec
5K Member
 I make mistakes so you don't have to...
Posts: 9,822
Likes: 3,749
1954 Jewel In Progress...
Currently Offline
|
Post by mobiltec on Dec 14, 2015 15:24:48 GMT -8
Hey nice RC Cola sign on the wall. Do you have the works of the goucho all figured out now? I noticed the notches in the front panel. Was that original or did you do that?
|
|
kasiden
Junior Member
Posts: 71
Likes: 39
Currently Offline
|
Post by kasiden on Dec 14, 2015 23:50:49 GMT -8
Hey nice RC Cola sign on the wall. Do you have the works of the goucho all figured out now? I noticed the notches in the front panel. Was that original or did you do that? I believe the notches allow the goucho to drop down level when pulled out. |
|
mobiltec
5K Member
I make mistakes so you don't have to...
Posts: 9,822
Likes: 3,749
1954 Jewel In Progress...
Currently Offline
|
Post by mobiltec on Dec 15, 2015 8:44:27 GMT -8
Hey nice RC Cola sign on the wall. Do you have the works of the goucho all figured out now? I noticed the notches in the front panel. Was that original or did you do that? I believe the notches allow the goucho to drop down level when pulled out. Well if you get in trouble just contact me. The way those work are a little tricky if you haven't worked with them before. The levelness is actually achieved by another piece of plywood that sets on top of the pull out piece and drops into place behind that. I've seen others who have lost that drop down piece over time and tried to make it work in other ways which is why I asked. |
|
kasiden
Junior Member
Posts: 71
Likes: 39
Currently Offline
|
Post by kasiden on Dec 17, 2015 6:05:59 GMT -8
I believe the notches allow the goucho to drop down level when pulled out. Well if you get in trouble just contact me. The way those work are a little tricky if you haven't worked with them before. The levelness is actually achieved by another piece of plywood that sets on top of the pull out piece and drops into place behind that. I've seen others who have lost that drop down piece over time and tried to make it work in other ways which is why I asked. We do not have that extra piece. I wonder if the previous owner changed the setup? He messed up a lot of the original camper trying to fix it up. Thank you for bringing it to our attention. We will take a closer look. Unfortunately the notches have been cut. |
|
mobiltec
5K Member
I make mistakes so you don't have to...
Posts: 9,822
Likes: 3,749
1954 Jewel In Progress...
Currently Offline
|
Post by mobiltec on Dec 17, 2015 8:11:38 GMT -8
Well if you get in trouble just contact me. The way those work are a little tricky if you haven't worked with them before. The levelness is actually achieved by another piece of plywood that sets on top of the pull out piece and drops into place behind that. I've seen others who have lost that drop down piece over time and tried to make it work in other ways which is why I asked. We do not have that extra piece. I wonder if the previous owner changed the setup? He messed up a lot of the original camper trying to fix it up. Thank you for bringing it to our attention. We will take a closer look. Unfortunately the notches have been cut. That's kinda what I thought. Happens all the time. |
|
kasiden
Junior Member
Posts: 71
Likes: 39
Currently Offline
|
Post by kasiden on Feb 17, 2016 10:13:13 GMT -8
 Progress is slow but sure. We have been working on the 12V wiring and insulation. 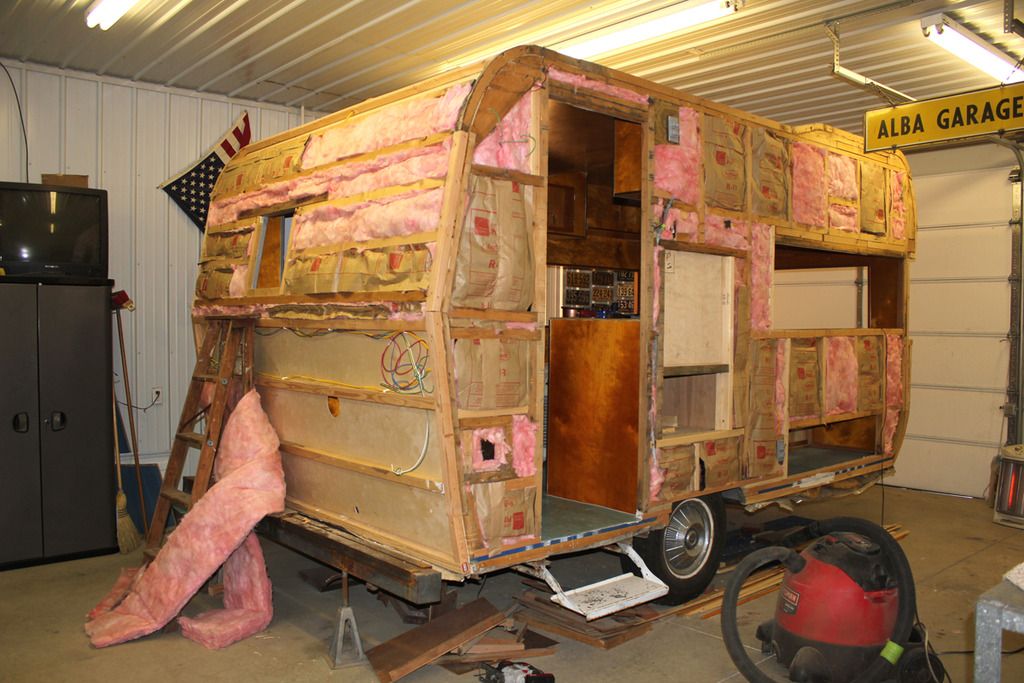 I am going to have a 12v porch light. I think that I am going to put the license plate light/holder on the passenger side instead of the middle. I plan on adding a receiver to haul my bike. |
|


