|
|
Post by davesshasta16sc on May 4, 2023 12:16:57 GMT -8
Hello everyone. Thank you for such a great forum. I purchased a 72 Shasta 16-SC about the time I discovered this site. I got the book, TY for the resource. It stopped me in my tracks from the inside out repair to the outside in repair. The rear end was pretty much rotted out with the rear 2 feet of the floor and entire back wall needing to be replaced. I repaired the floor from the inside before I got the book and changed directions. That in mind I pulled up the skins on the front of the trailer (pics attached) and it needs to be rebuilt. I have a good grip on that. The front sill board was rotted and I removed that. On the curb/door side the sill board was in bad shape too so I replaced that today, The issue now is after replacing the board and vertically leveling the front vertical stud, the door is now out of square. The vertical stud At the door frame is a good 1 inch above the sill board. The walls, roof and rear walls behind the door are in good shape and I do want to pull up the skins in those sections if I can avoid it. Wondering if I can remove the metal door frame and replace the left sided vertical ![]()  |
|
|
|
Post by vikx on May 4, 2023 13:20:01 GMT -8
If the framing is actually "good" behind the door, you should be able to add the stud. If you remove the J and awning rail, you can usually tell new edge wood is needed if the screws are very rusty or spinning in place.
I always suggest removing all of the skins and roof. There IS rot there; might as well address it all now. The main rot will probably be in the edge wood (curbing) and ends of the rafters.
Be careful trying to square the door at this stage. The non fitting pieces may be due to rot above and sagging. I've built more than one non-square door to accommodate odd doorways...
Also measure the size of the walls. One side may be higher than the other. These vintage trailers are full of all sorts of surprises.
|
|
|
|
Post by davesshasta16sc on May 4, 2023 14:31:38 GMT -8
Thanks for the quick reply. I do not have a large shop to do this in. I am working in my driveway, so pulling up that roof seems a bit overwhelming.
On a side note, how do I post pics. I could not get them to upload.
Thanks in advance
|
|
|
|
Post by Teachndad on May 4, 2023 18:37:28 GMT -8
|
|
tpcm5000
Junior Member

Posts: 84
Likes: 45
Yellowstone 1966
Currently Offline
|
Post by tpcm5000 on May 5, 2023 6:44:20 GMT -8
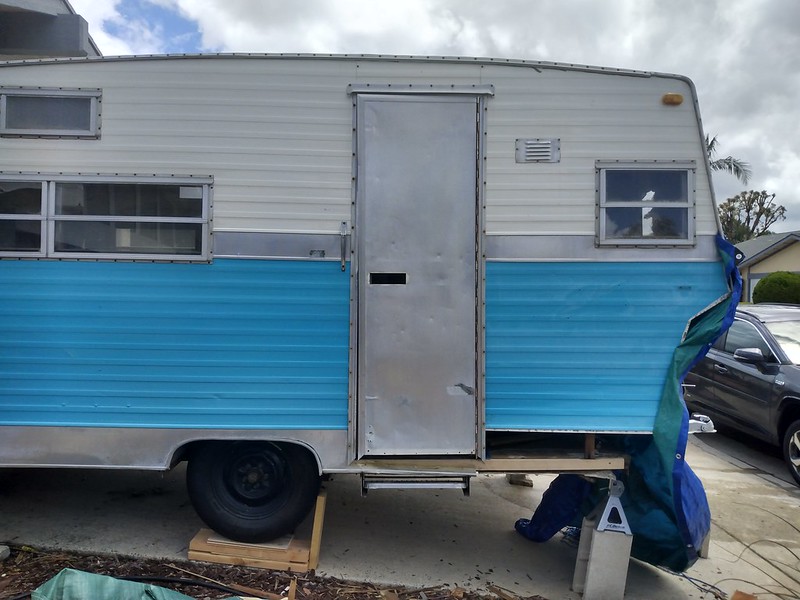
I'm a few weeks away from dealing with a 'non-square door to accommodate an odd doorway' situation too so hope its OK to hop in on this thread. The door fits:  curbside curbside by Tom Myers, on Flickr But when I rebuilt the sill, which turned out great: 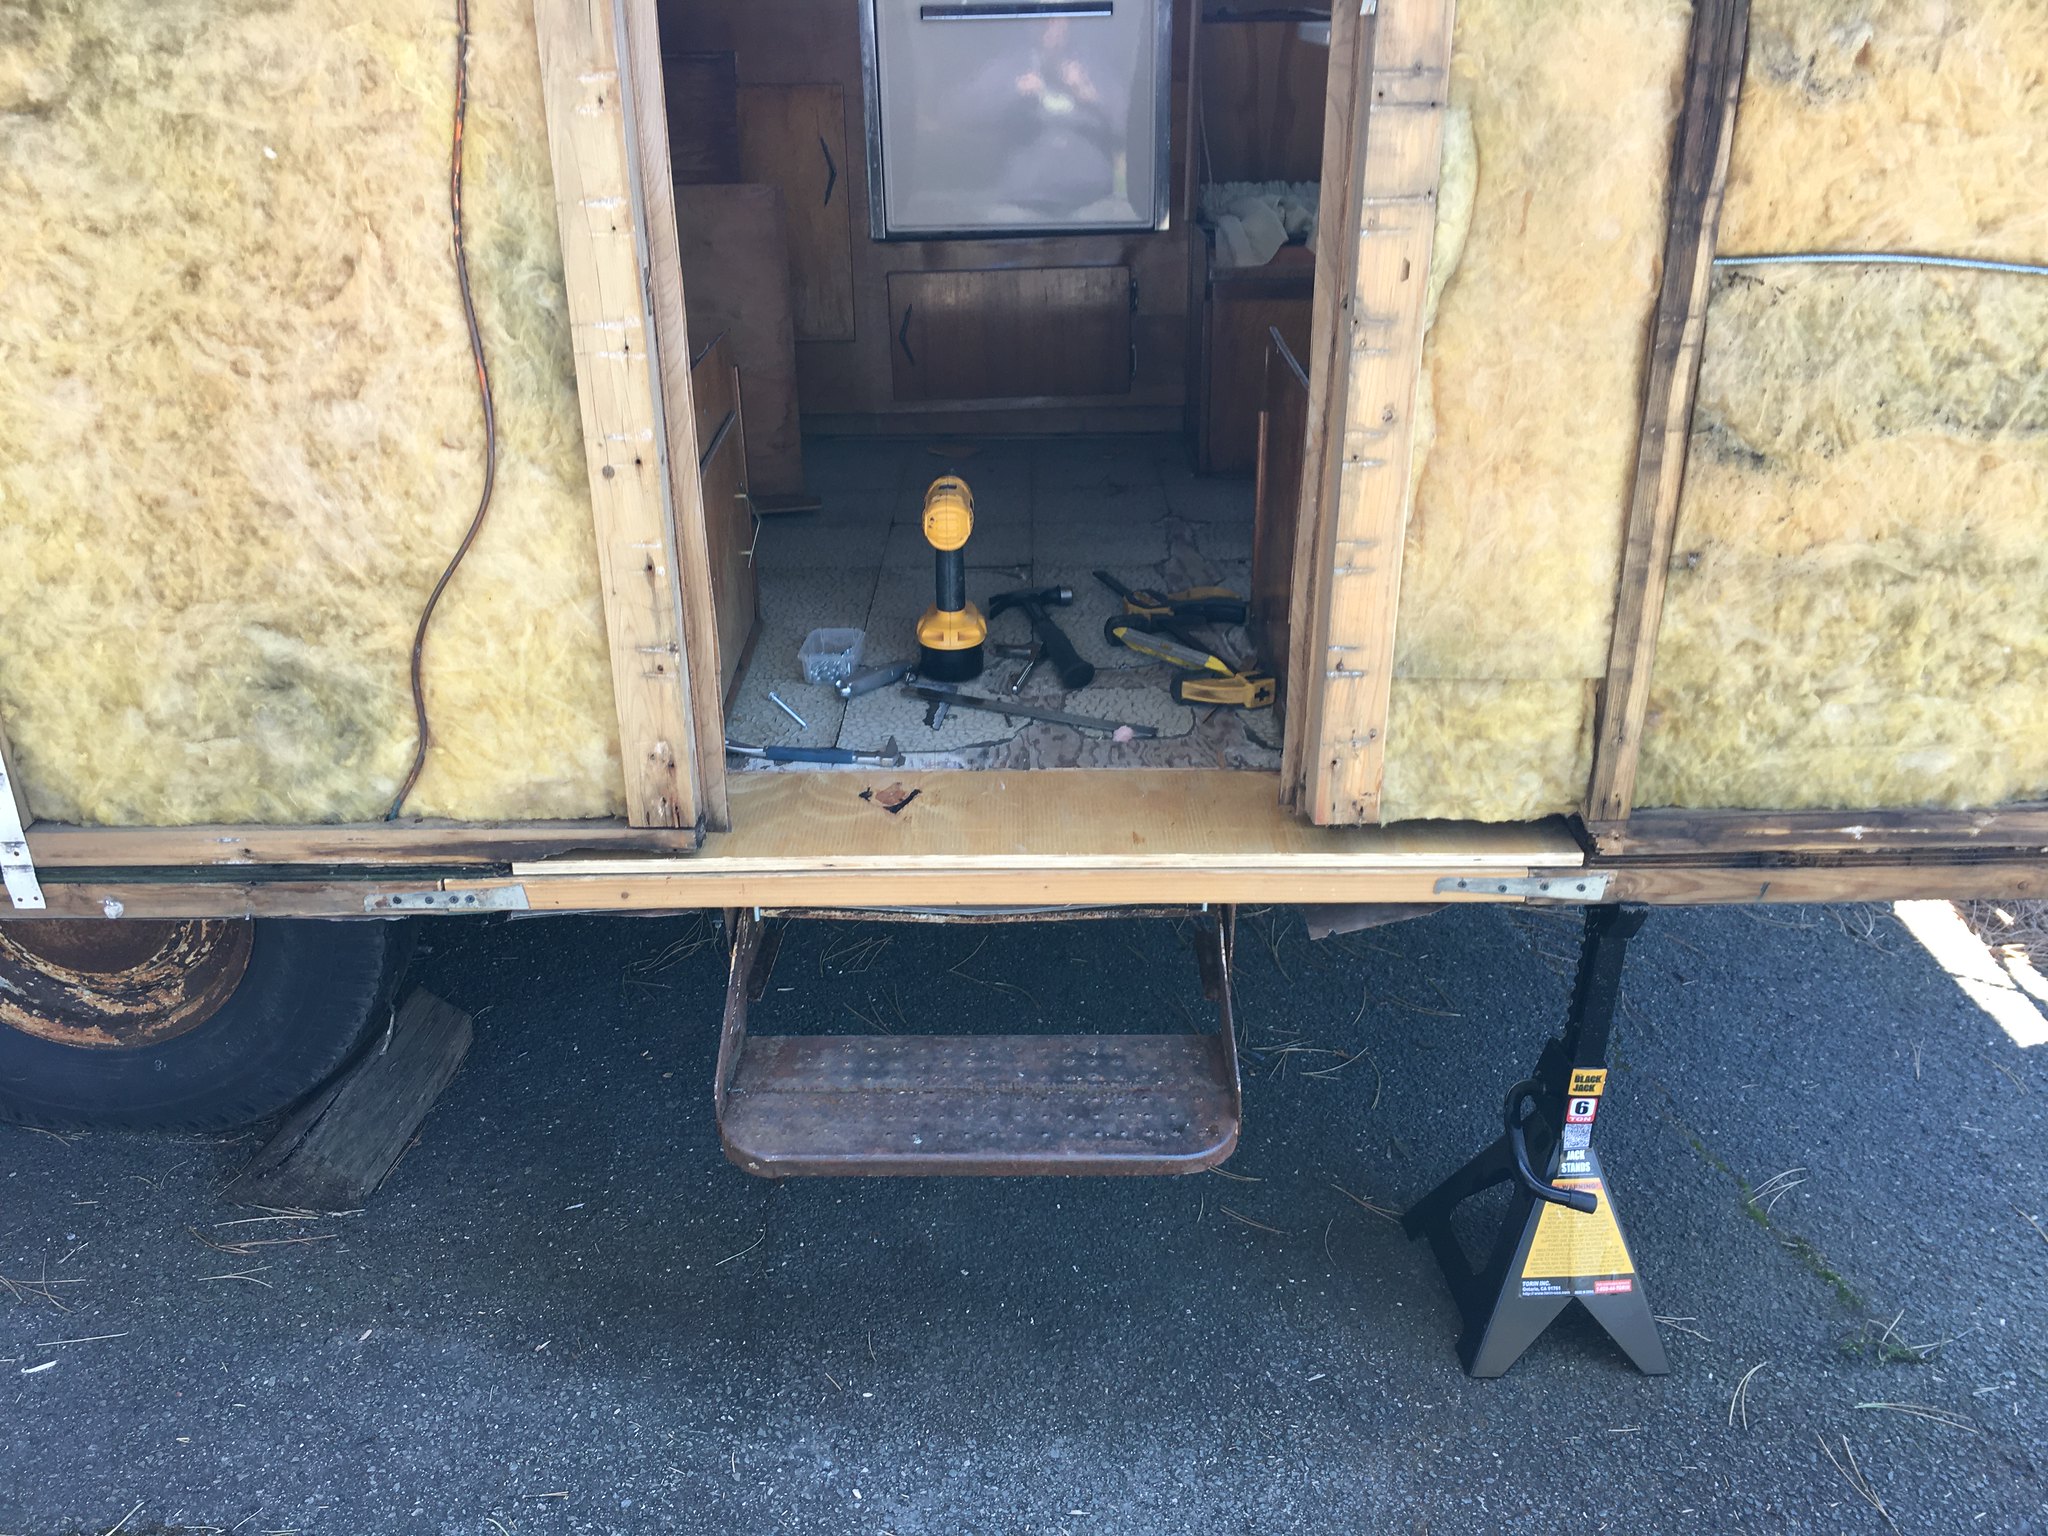 Untitled Untitled by Tom Myers, on Flickr It threw off the door frame screw holes, right side, with the camper screw holes. Guessing after sagging for many years, me bringing back to square threw it off: 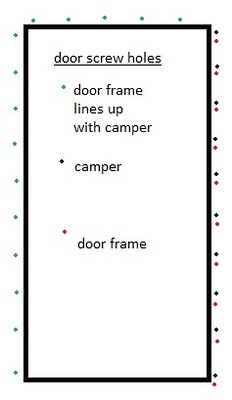 door screws door screws by Tom Myers, on Flickr The door will open and close, but it scrapes the frame some which I assume should not happen, it should swing freely (that's how so many door windows are broken  ). Are there any specific techniques and steps to take for addressing this? I take it however I address, when I reattach, it will be OK to predrill new holes in the camper that line up with the door frame? And jumping ahead, when I reattach, any recommendations on butyl tape, like 1/16" x 1"? Thanks! |
|
|
|
Post by vikx on May 5, 2023 11:02:19 GMT -8
If the door fits properly at the sides and top, you should be able to adjust the sill to allow the door to swing freely. A multitool may come in handy, or belt sander. The door can be adjusted by removing the bottom metal (if possible) and cutting to fit.
I would try to use the original holes to re-attach the door. If the wood is original, gluing toothpicks in the old holes will insure a tight grip. I usually use 2 half picks per hole and gently tap in. The ends are easily trimmed flush with the multitool after the glue dries.
Depending on the fit of the door, I use different putties. Judging by the pattern of your metal, I think RV putty (a butyl mix) might work best; 1/8 x 3/4 or 1". (add extra in each pattern dip) I'm thinking 1/16 just isn't thick enough to seat and ooze correctly. Because you are there you will see what works the best.
|
|
|
|
Post by davesshasta16sc on May 5, 2023 18:33:46 GMT -8
|
|
|
|
Post by davesshasta16sc on May 5, 2023 18:40:06 GMT -8
|
|
|
|
Post by davesshasta16sc on May 5, 2023 18:42:07 GMT -8
Is the sill supposed to be flush with the floor? I tipped the board to the exact dimension with my table saw and it looks right. You can see the door is higher on the left
|
|
|
|
Post by davesshasta16sc on May 5, 2023 18:45:59 GMT -8
I did pull the skin today from the door to rear and need to replace that sill too. I am going on work on that this Sunday.
Where should I post some pics of the roof to get input on that part of the project??
|
|
tpcm5000
Junior Member
Posts: 84
Likes: 45
Yellowstone 1966
Currently Offline
|
Post by tpcm5000 on May 6, 2023 2:37:14 GMT -8
As it would be a completely different subject I would suggest starting a new post with a descriptive title as you did here, that makes it easier for others to find in a search if they have the same question. If you come across a post on the same topic that gets you say 80% of the way there, I think replying to that with photos and a question works well too as it broadens the thread and again makes it easier for folks to find all they need when they go searching.
|
|
|
|
Post by Teachndad on May 6, 2023 5:22:28 GMT -8
|
|
tpcm5000
Junior Member
Posts: 84
Likes: 45
Yellowstone 1966
Currently Offline
|
Post by tpcm5000 on May 6, 2023 5:49:25 GMT -8
Thanks Rod for the reply. I did not have a jack on the other side, but that aside, you may be right that the jack I used threw the right side off. I just measured and the holes are 1/8 - 3/16 off which the jack may have caused. The sill I replaced sits on a steal plate that runs the length of the step, the plate has carriage bolts on either end. To be able to tie the new sill to the wood framing, I didn’t need to tweak the left side, but I had to jack the right for the new sill to meet the framing squarely. Doing this would explain thing’s being off a touch.
|
|
|
|
Post by davesshasta16sc on May 6, 2023 8:12:57 GMT -8
Rod,
I think you may have the simple solution. Unfortunately, the city I am in is not having trailers on the street for extended periods of time.
I could cautiously and carefully lower the whole thing and pull it onto the street and try re-leveling there. What are anyone's thoughts on the fact the rear and front have no framing. Will it be okay to move?
I could try and do this first thing in AM tomorrow. The trailer is level side to side and back to front where is stands now. The jack stands were not used to level it, just support once I found level.
You are right about the driveway. It is not level in multiple planes.
Maybe this is a simple solution for a simple problem.
Thanks in advance
|
|
|
|
Post by davesshasta16sc on May 6, 2023 8:14:49 GMT -8
I could always get it on the street and wait for the letter from the City. That may take long enough for me to get the framing done and siding back on and then back into my driveway with rube golberg leveling.
Thanks again.
|
|


 ).
).