|
|
Post by Teachndad on Mar 21, 2020 5:59:51 GMT -8
Hi, Currently working on my galley jalousie window and piecing it back together. The window crank operator was never bolted to the window frame. So, I have always just had empty mounting holes. How do I mount the operator to the window frame? I am assuming a bolt with a thin nut. If that's the case, do I use Locktite blue or just a washer and a nut and hope it doesn't come loose? The clearance is tight. Also, while I have your ear. Internally, do we grease the cog drive teeth on the handle, or just oil it? The operator looks like this one but I have the original version. This is a modern version. 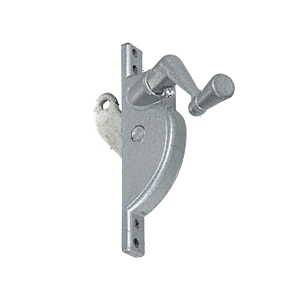 Thanks, Rod |
|
|
|
Post by vikx on Mar 21, 2020 11:08:13 GMT -8
Do you have a photo of the jalousie and crank you have? There are a lot more parts on a jalousie than just the crank. Need a photo to help you.
|
|
|
|
Post by Teachndad on Mar 21, 2020 12:30:31 GMT -8
|
|
|
|
Post by vikx on Mar 21, 2020 21:02:29 GMT -8
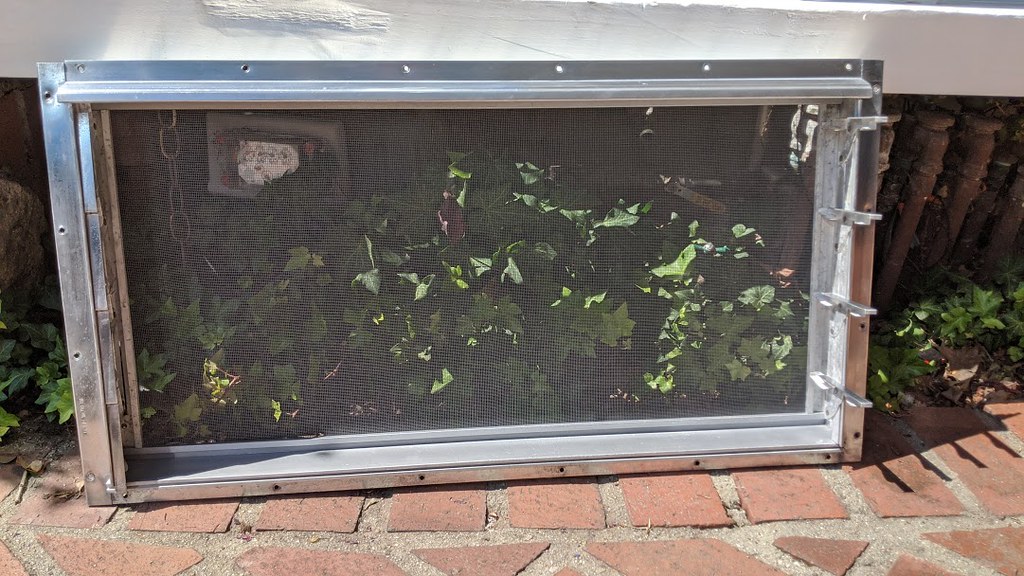
It looks like the up and down sliders are there. Be sure to oil them well and have them working freely before attaching the crank. The crank should have an arm that attaches to the slider on one side. I don't have a photo of my old window and that crank is a different style. The arm is pretty visible, what's on the underside of your crank? Any other pieces to the window?
The crank is usually screwed into the window frame with sheet metal screws. They thread themselves into the aluminum. Wait until we figure out what you've got before attaching the crank.
|
|
|
|
Post by Teachndad on Mar 24, 2020 13:34:59 GMT -8
|
|
|
|
Post by vikx on Mar 26, 2020 10:47:44 GMT -8
Thanks Rod. Can you turn the crank around so that the rusty piece is closer to the visible screw? I need more pictures of the underside of the crank showing the rusty piece in and out. It "looks" like there may be a broken screw (or dead rivet) in/on the rusty piece?
While cranking the mechanism in and out, see what it actually does. The mechanism should be fully extended when the window sliders are in the open position and retracted when the sliders are closed.
I'm really trying to help but it's hard to visualize how this type of crank works.
|
|
|
|
Post by Teachndad on Mar 27, 2020 21:23:04 GMT -8
Vikx, Here is the interior of the crank arm operator housing showing the teeth and some others that I hope will help. I am not seeing any thread marks in the mounting holes. 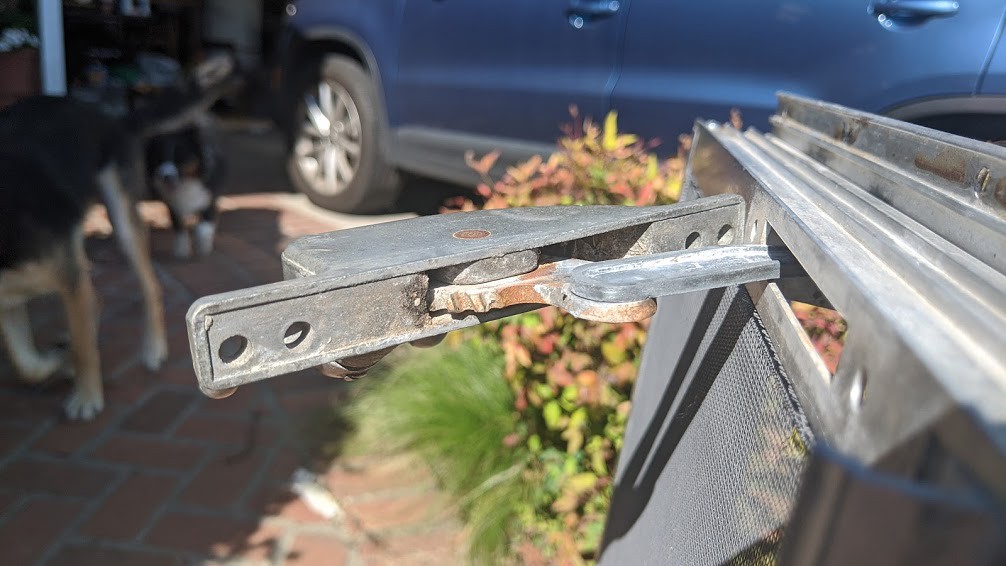 interior cog area interior cog area by Scott W, on Flickr    Cheers, Rod |
|
WhitneyK
Active Member

Posts: 492 
Likes: 169
'67 Shasta Compact
Currently Offline
|
Post by WhitneyK on Mar 28, 2020 17:53:31 GMT -8
Rod, Finally got down to the barn today and while self-isolating, I thought of you, lol. Here's the pics of my Jalousie window crank in my '67 Shasta Compact. The crank mechanism is held in with 2 short screws, appear to be sheet metal type and not just a threaded bolt. Hope this helps. If need be, I can go remove a screw and get you some better pics and dimensions.    |
|
|
|
Post by vikx on Mar 28, 2020 20:08:56 GMT -8
As above: "The crank is usually screwed into the window frame with sheet metal screws. They thread themselves into the aluminum. Wait until we figure out what you've got before attaching the crank."
The arm mechanism should move in and out when the handle is turned. Test before screwing the crank in place.
Is the arm attached to anything? It should be easy enough to add a new arm and/or screw the existing arm to the window slider bar. There should be a hole in the end of the arm. It may be already attached? When you are screwing the crank onto the window, go slowly with the correct size sheet metal screw. I'm guessing an 8. You don't want to strip the holes.
Worse, case scenario: the crank is frozen in time and may have to be replaced. Be careful and don't force things on your window.
|
|
|
|
Post by Teachndad on Apr 2, 2020 13:46:34 GMT -8
Hi Friends, Thank you Vikx for your constant efforts to get me an answer to even going out to the barn! Thank you for thinking of me, Oh Garsh.  I have been so busy with the complications of remote teaching, that it seems like it took even longer to get this done. So, here’s what happened. The mounting holes are larger than they look. I went all the way up to #12 screws and they still floated in the holes. I don’t go out much these days because of the Corona Virus, so I try to make every trip count. While down at HD, I bought various sized screws and even some nuts and bolt sets. The screws didn’t fit, so I tried the nuts which were #12 bolt and nut sets. They were a smidge too small, so I reamed out the mounting holes with a drill bit so the bolt could go down and seat smoothly. Not really wanting to use bolts because they can come loose, I grabbed some Loctite blue, coated the threads on the bolt, and tightened the bolt through the nut. It’s not original, but I was done and didn’t want to go out again. I can always run another larger screw in there later, but it’s done for now. There are no clearance issues and the crank operator arm and all the jalousie arms work just fine with a little oil.  Crank operator top view  Underside view with nuts tightened  Cheers, Rod |
|


/Campers/67%20Shasta?preview=2019-02-03+18.01.00.jpg)


