kaffi311
Active Member

Posts: 283 
Likes: 98
1963 Shasta 16 SC
Currently Offline
|
Post by kaffi311 on Apr 26, 2018 15:16:04 GMT -8
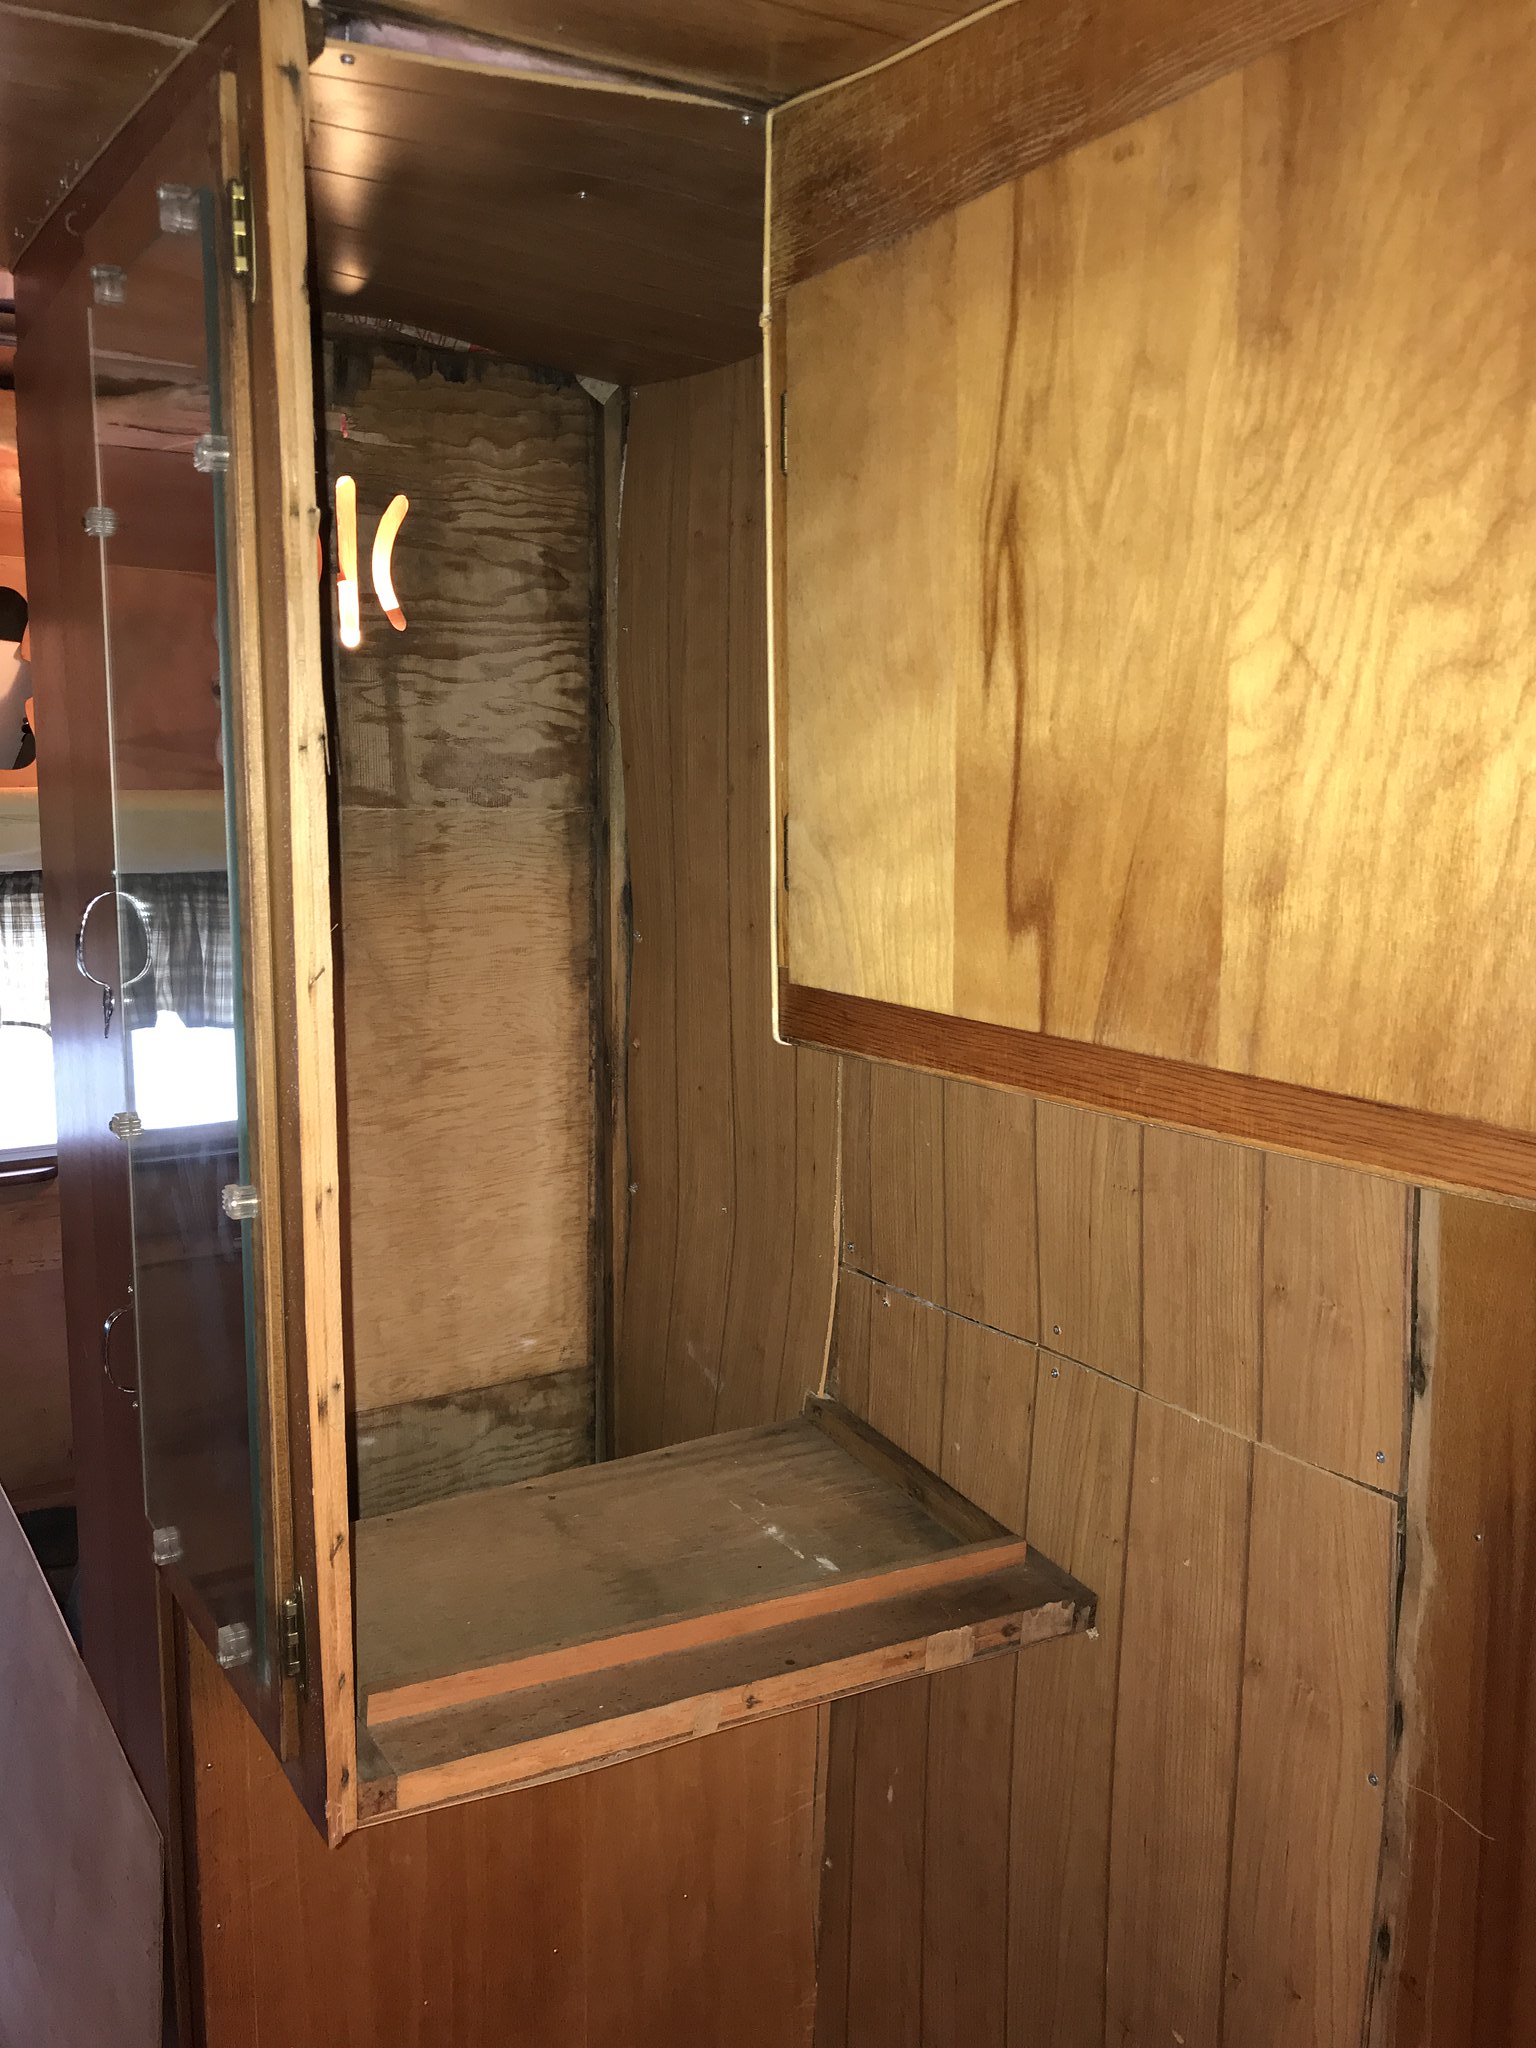
Thought I'd start a thread specific to my camper. I have posted all over the board, but this is my spot for my journey  Will try to keep it condensed.. ha ha ha Got my Shasta from a friends' mom who had it sitting outside. I love to camp, and actually have a 29' Class C Jayco that I love. However, since I travel solo now with my son grown, it really is too big. So, I decided to try something new and fix up an old camper. I am adventurous- so why not? Then I plan to retire from teaching and tour the county...just me and my dog Molly.  IMG_9020 IMG_9020 by kathy, on Flick ( That us on Lake Superior- we toured Michigan and the Great Lakes this summer ) The interior was mostly original, and I love it! The walls and ceiling were very damaged from water. The floor was soft in many spots and had been covered with plank flooring. 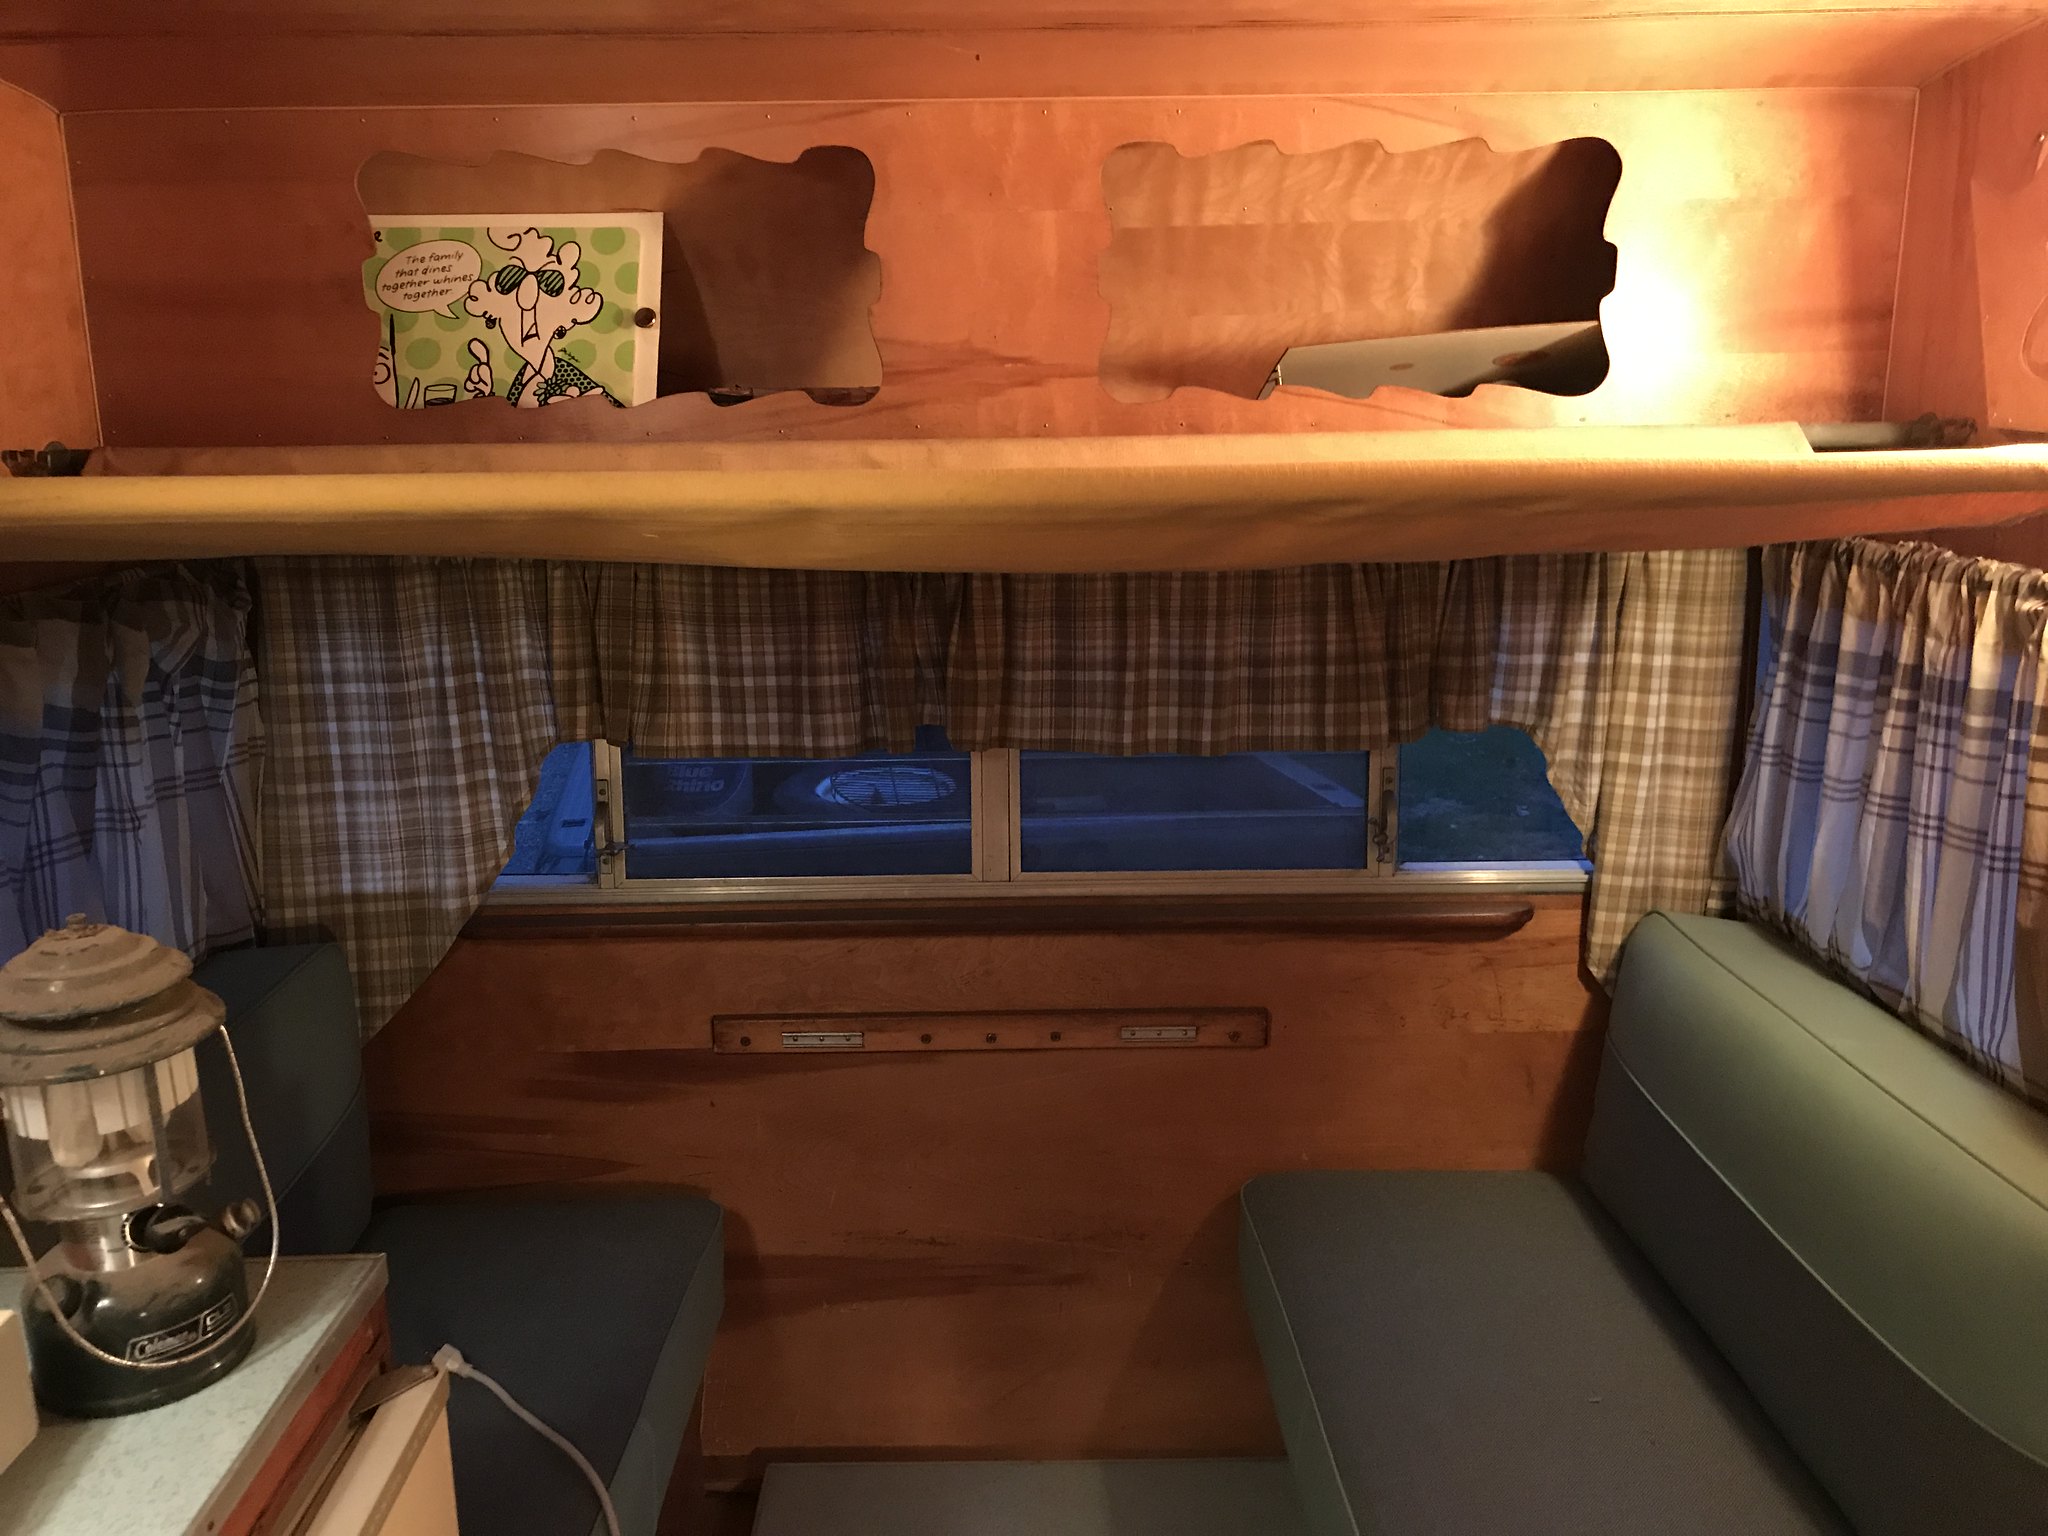 IMG_0159 IMG_0159 by kathy, on Flickr  IMG_0157 IMG_0157 by kathy, on Flickr 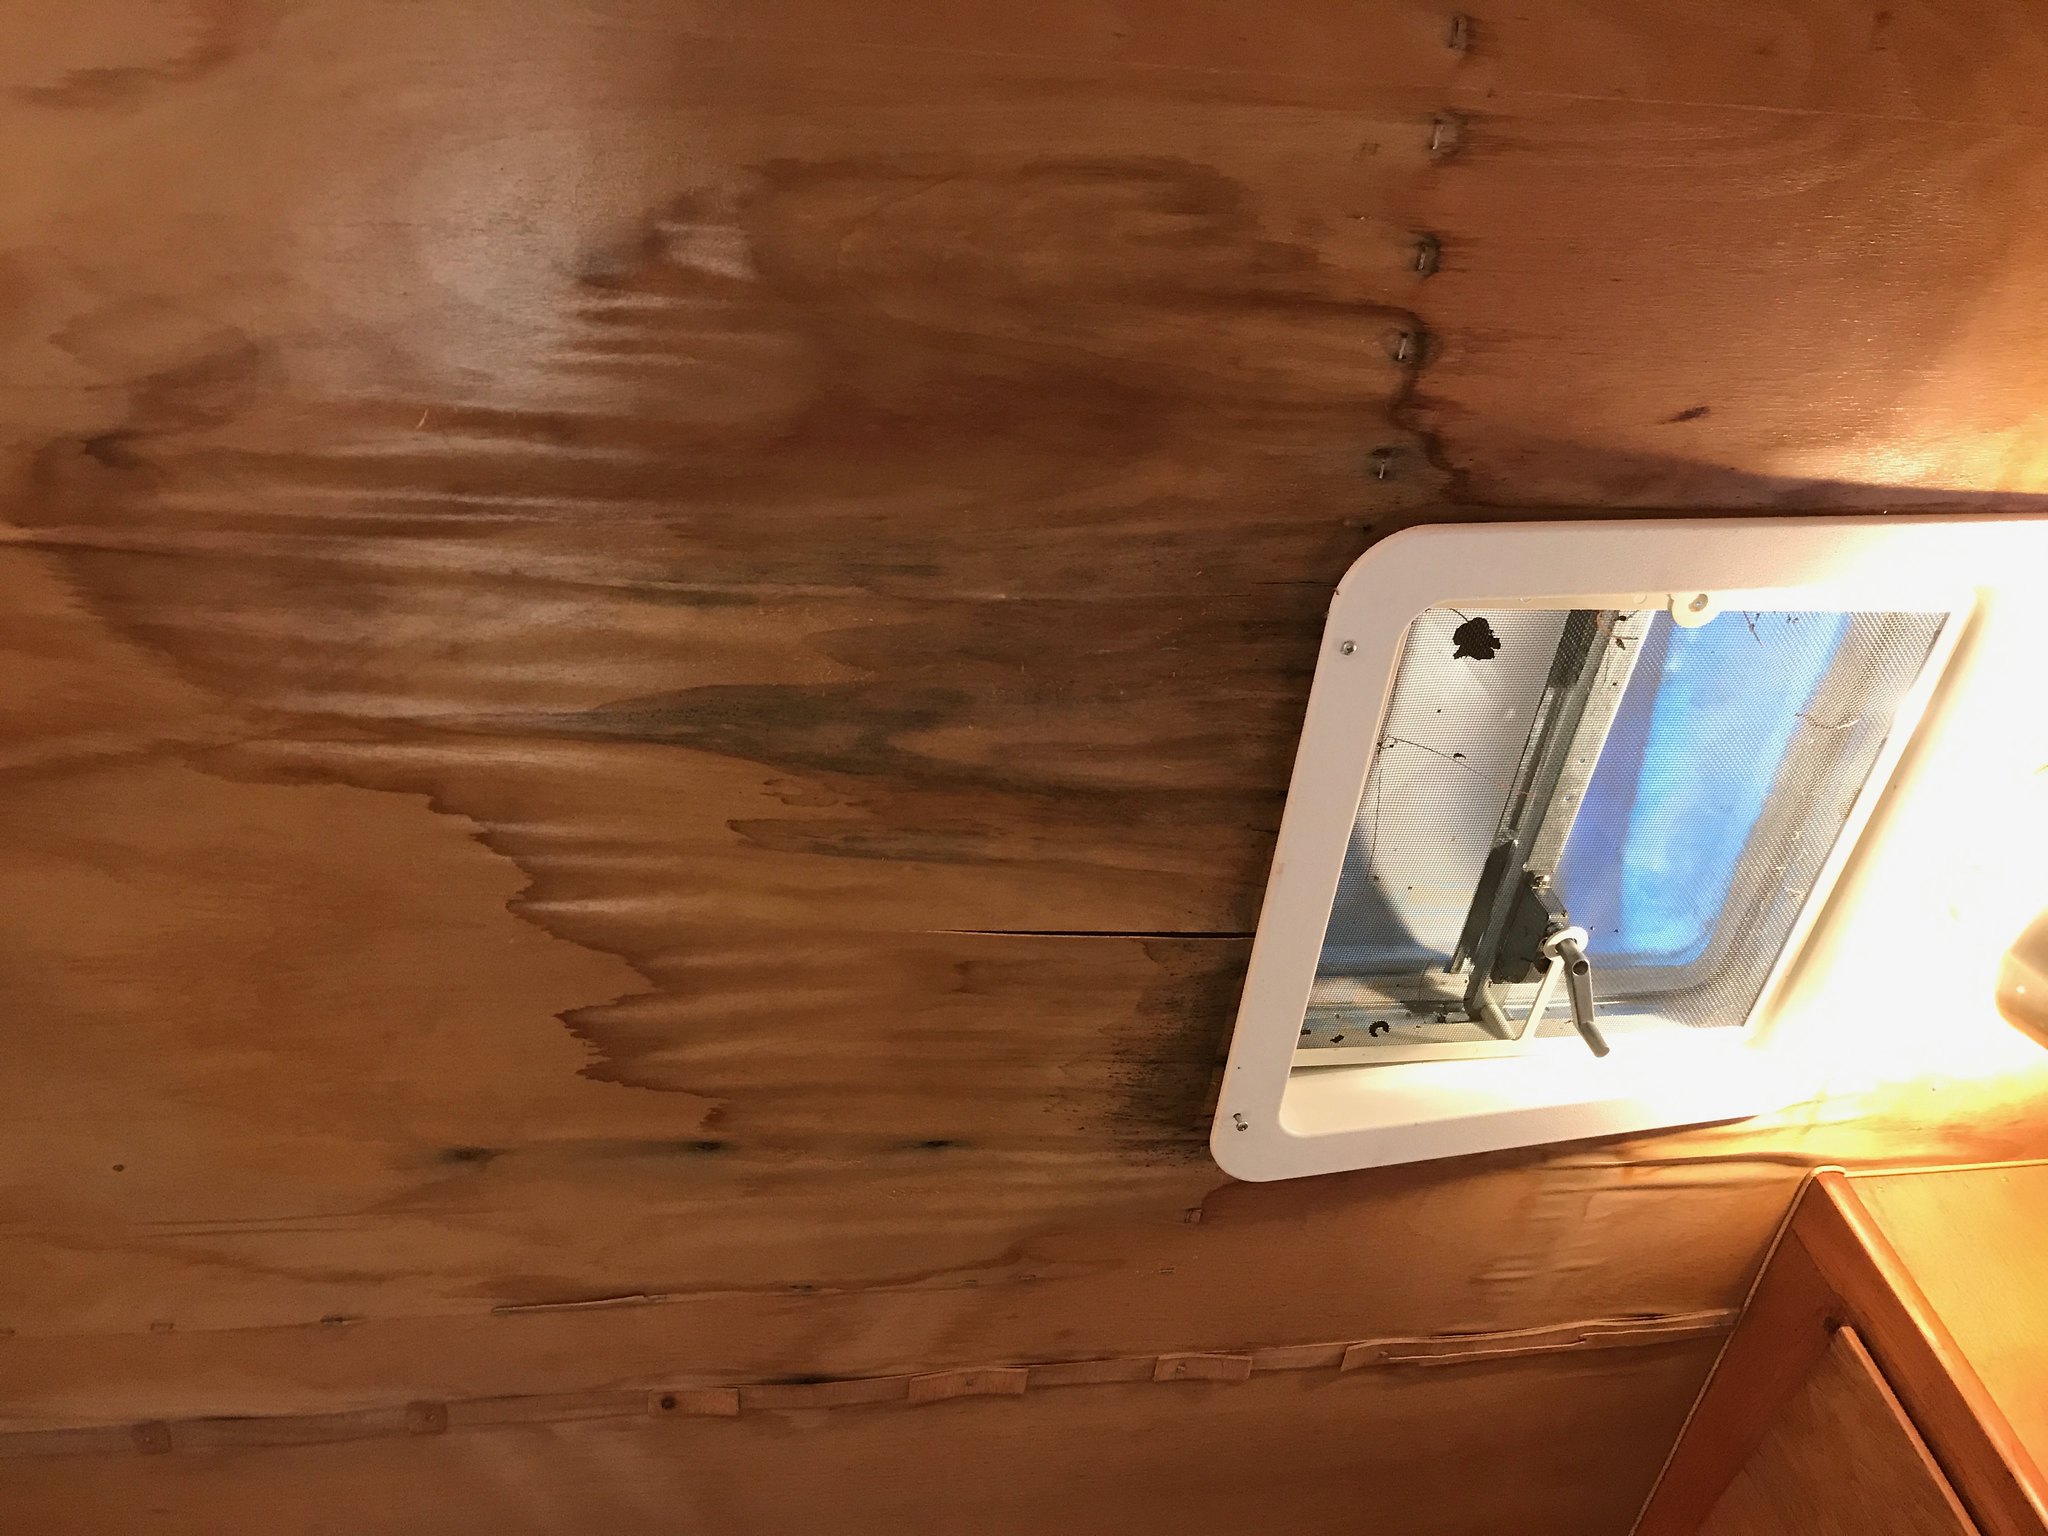 IMG_0197 IMG_0197 by kathy, on Flickr 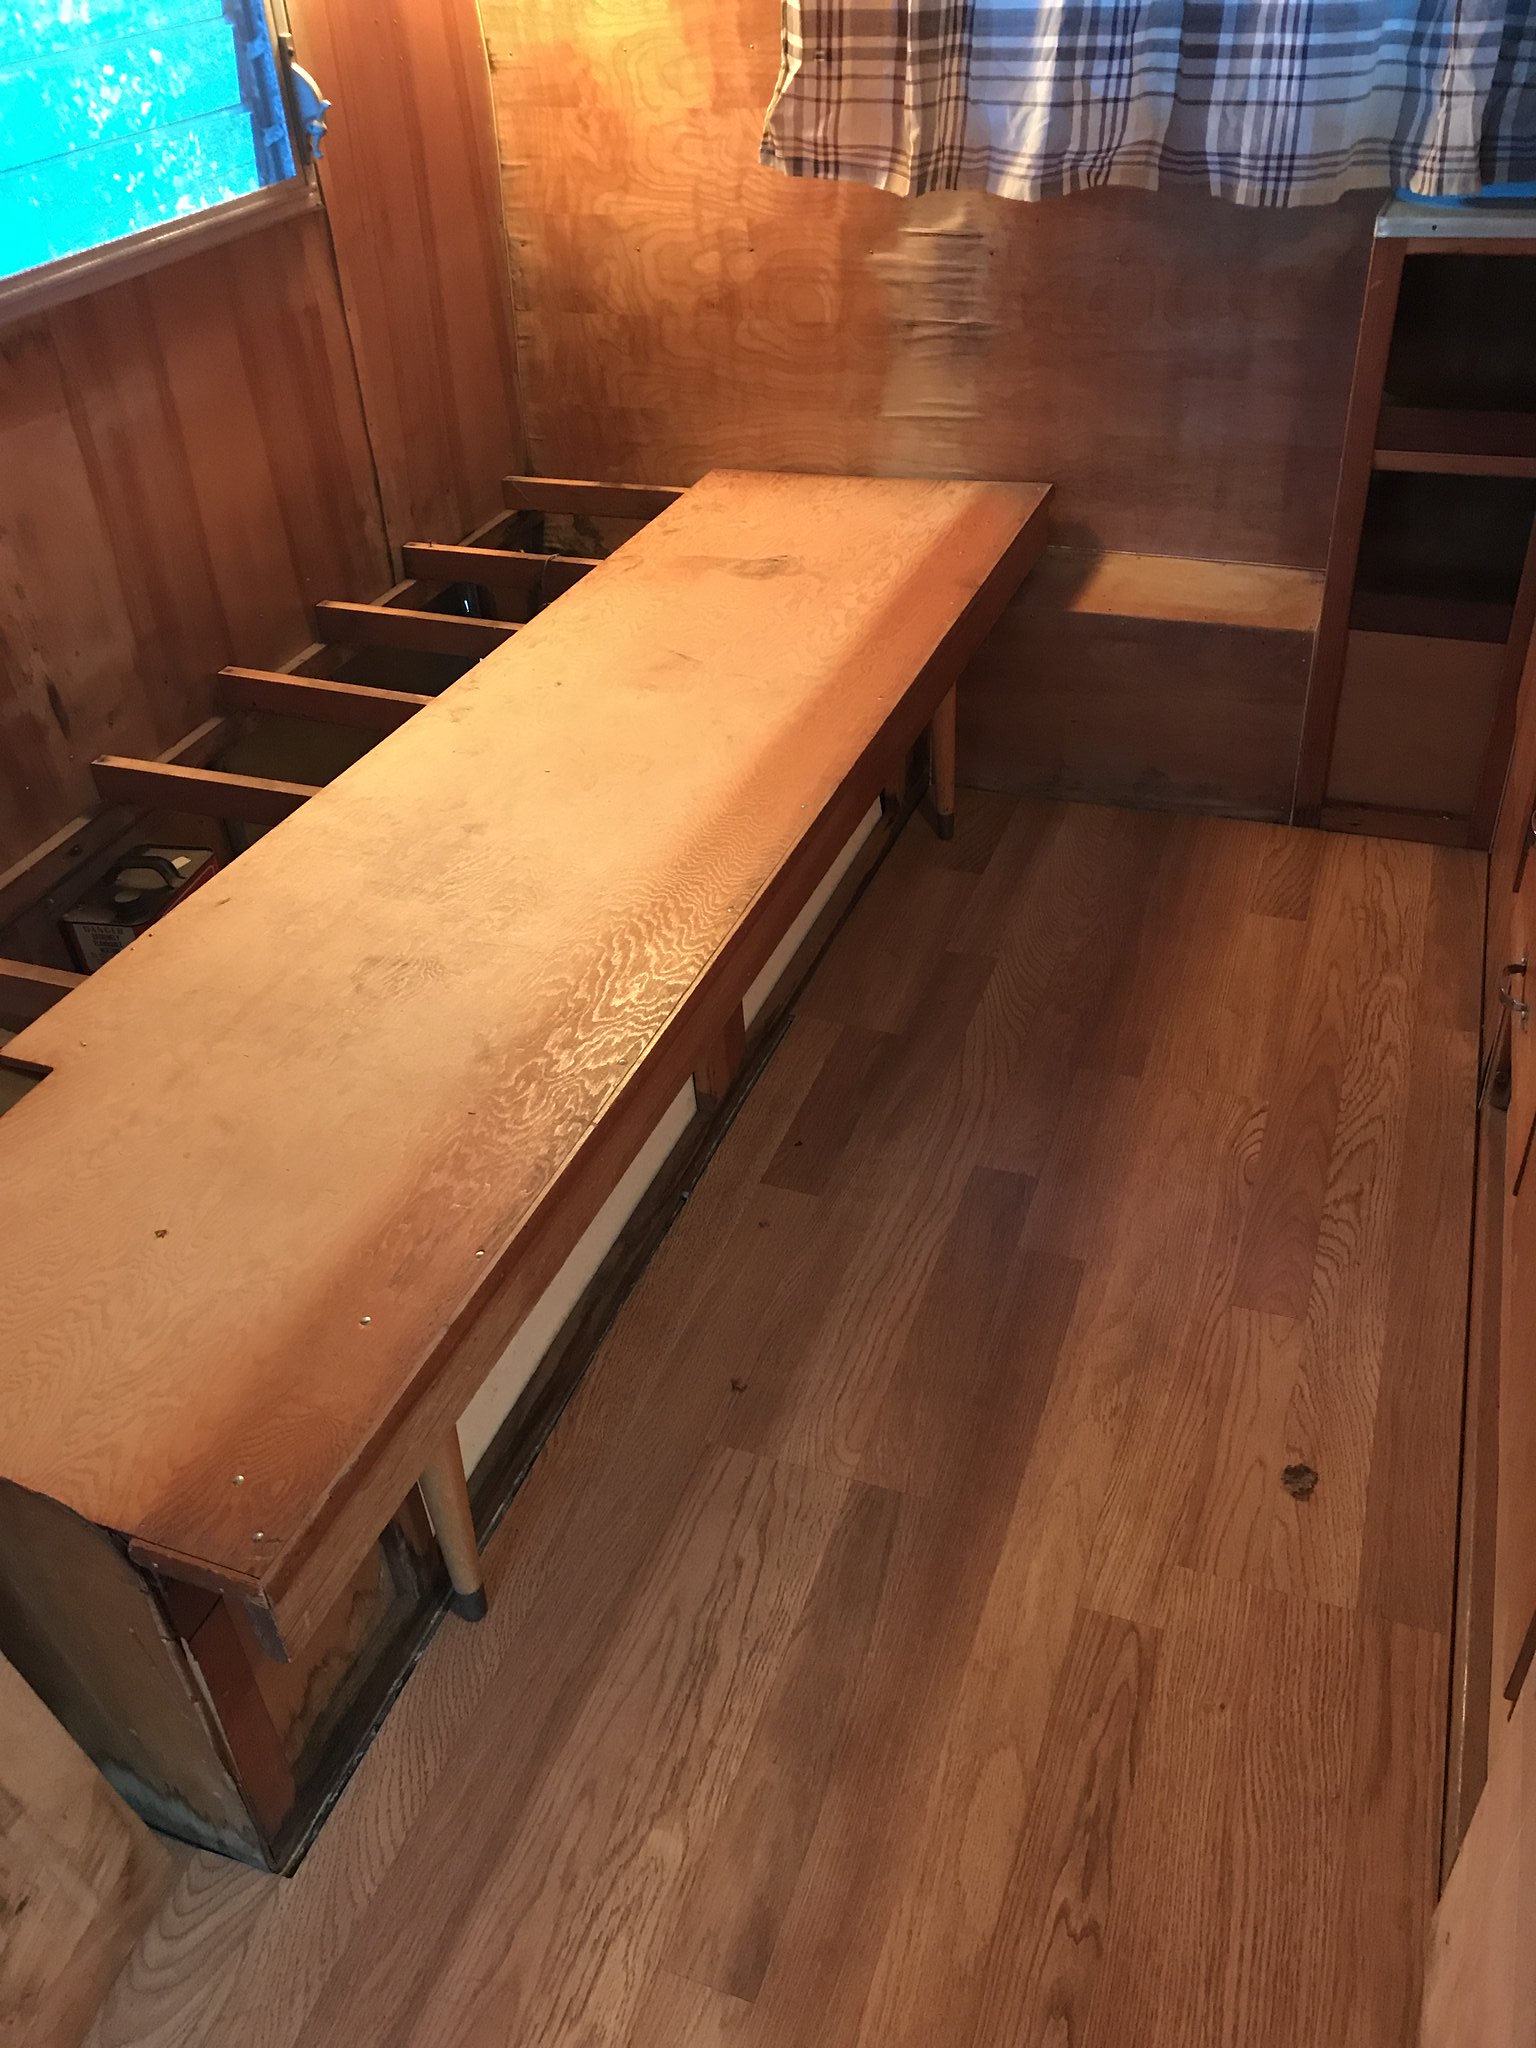 IMG_0207 IMG_0207 by kathy, on Flickr The PO had run into some trees - and the curbside wall was repaired. The closet was in pieces- with a new piece of skin slapped on the exterior. 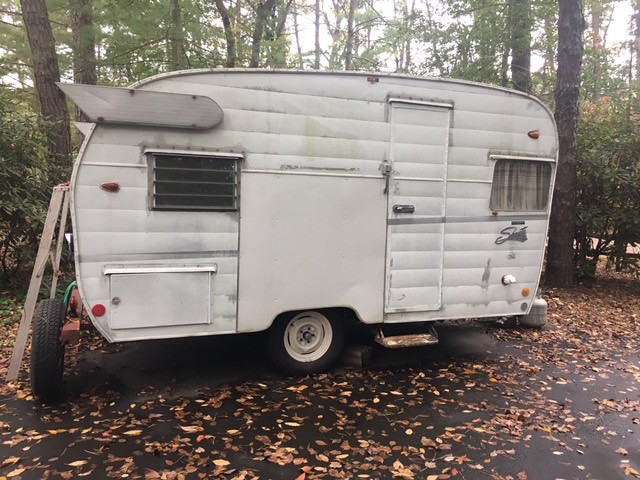
 IMG_0210 IMG_0210 by kathy, on Flickr I found Mobiltec and his many videos first, and then joined this forum. I read tons, took copious notes, and hundreds of pictures. Let the dismantling begin ! |
|
kaffi311
Active Member
Posts: 283
Likes: 98
1963 Shasta 16 SC
Currently Offline
|
Post by kaffi311 on Apr 26, 2018 16:00:49 GMT -8
Taking off the skins was a job- but it revealed the typical rot that I would not have found otherwise. 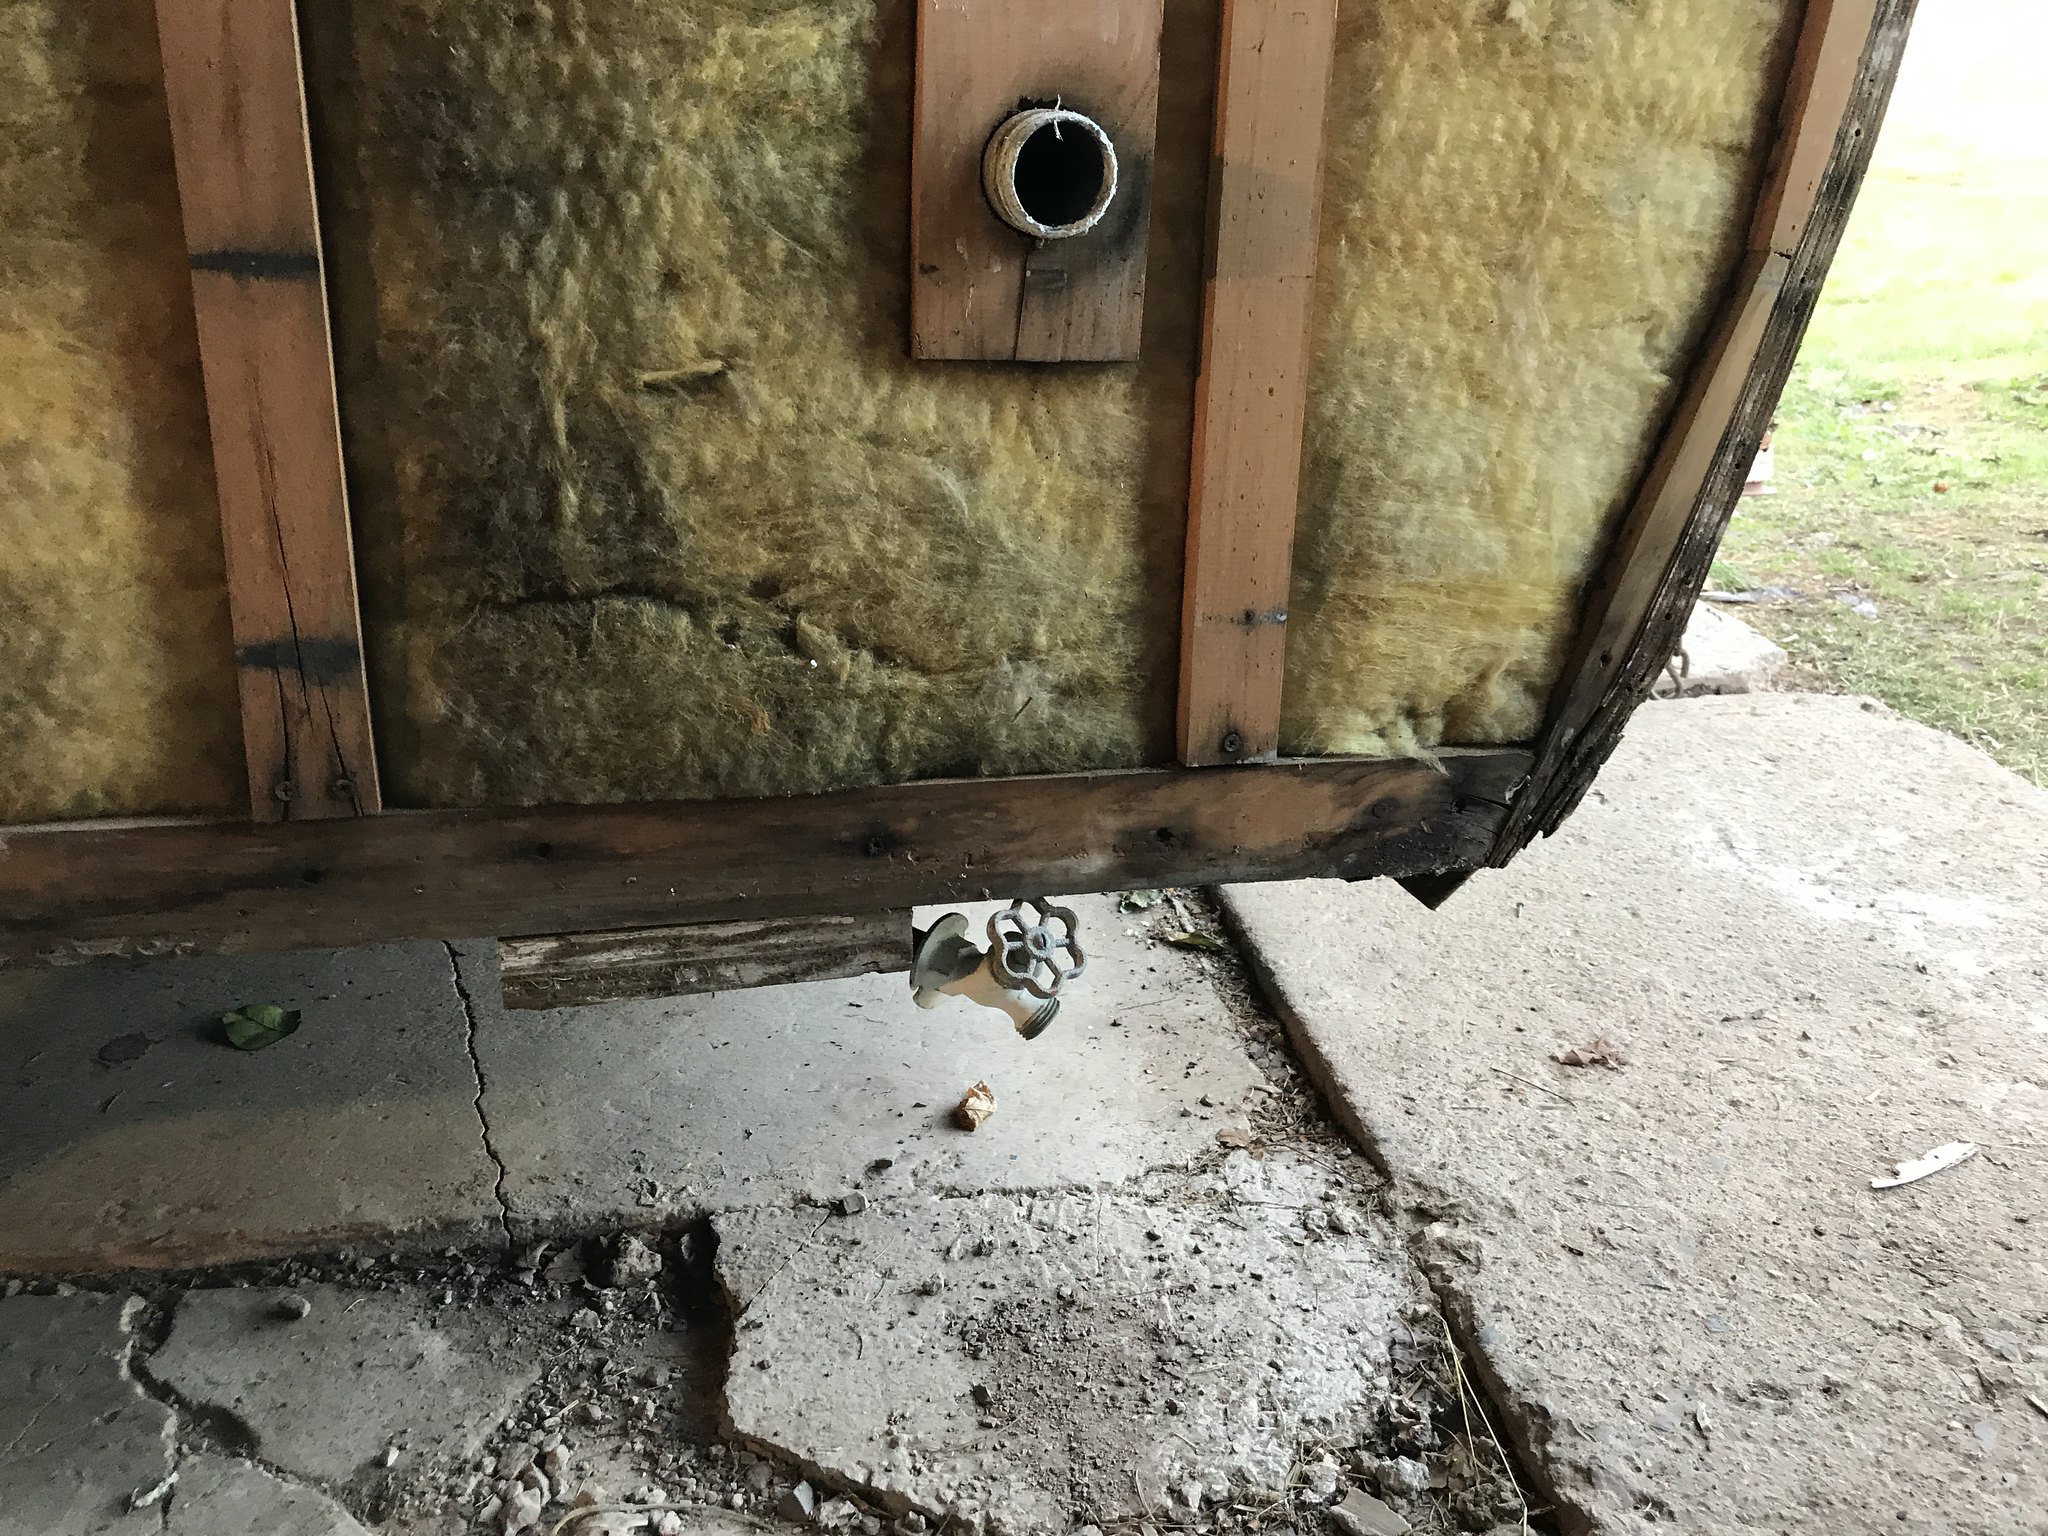 IMG_0555 IMG_0555 by kathy, on Flickr 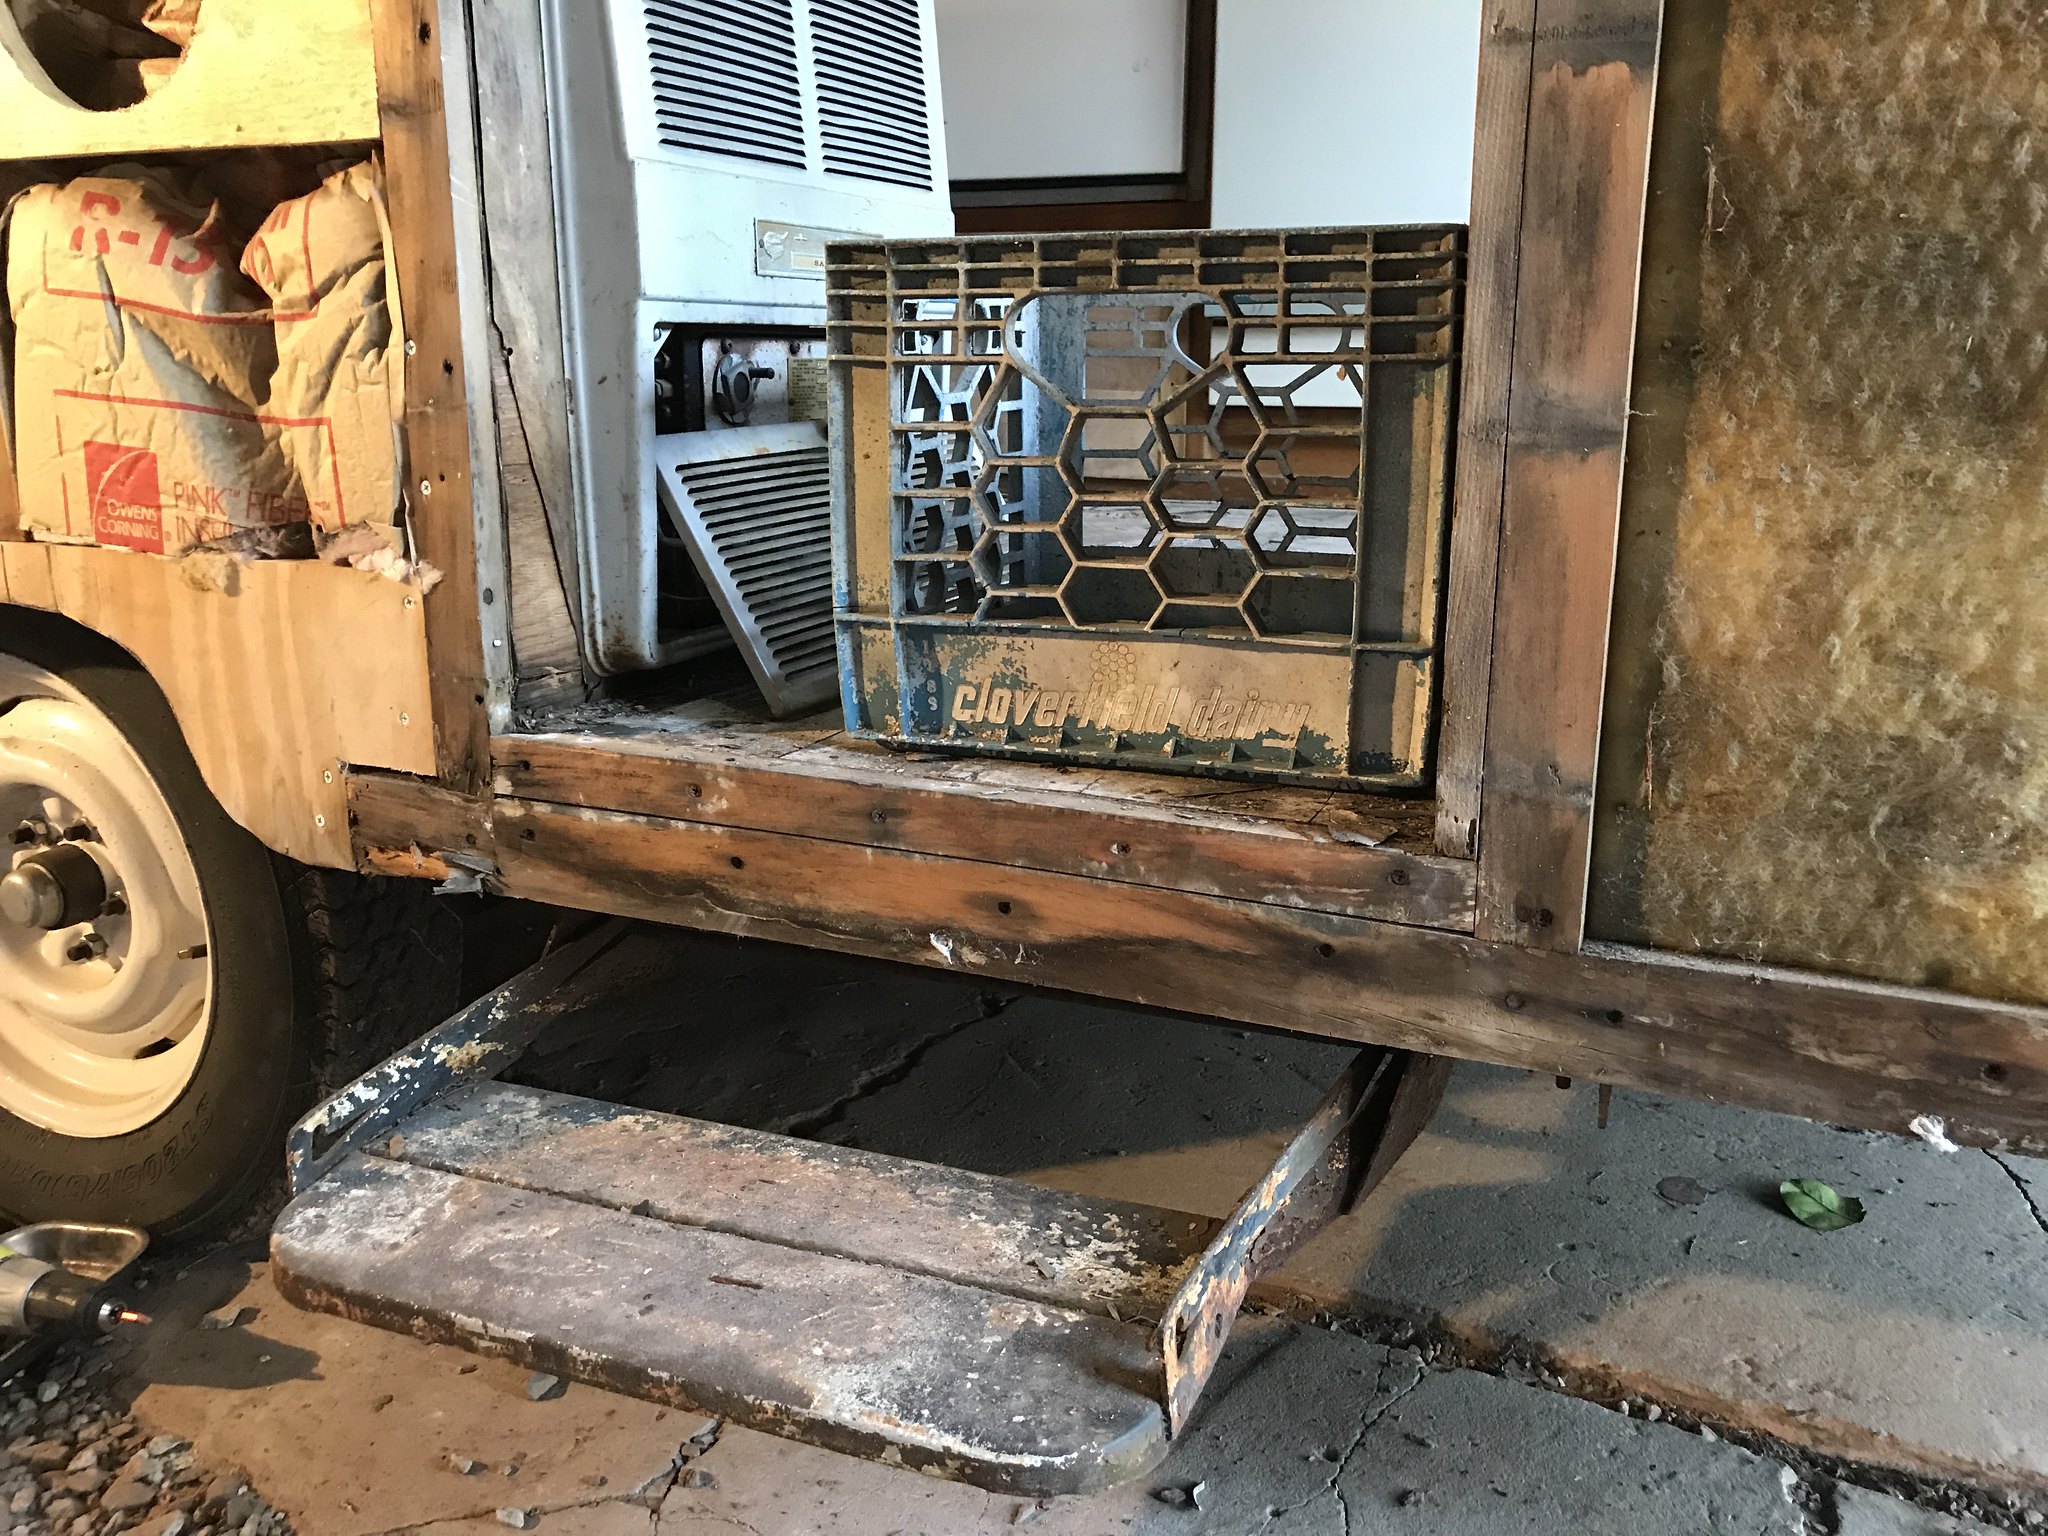 IMG_0557 IMG_0557 by kathy, on Flickr 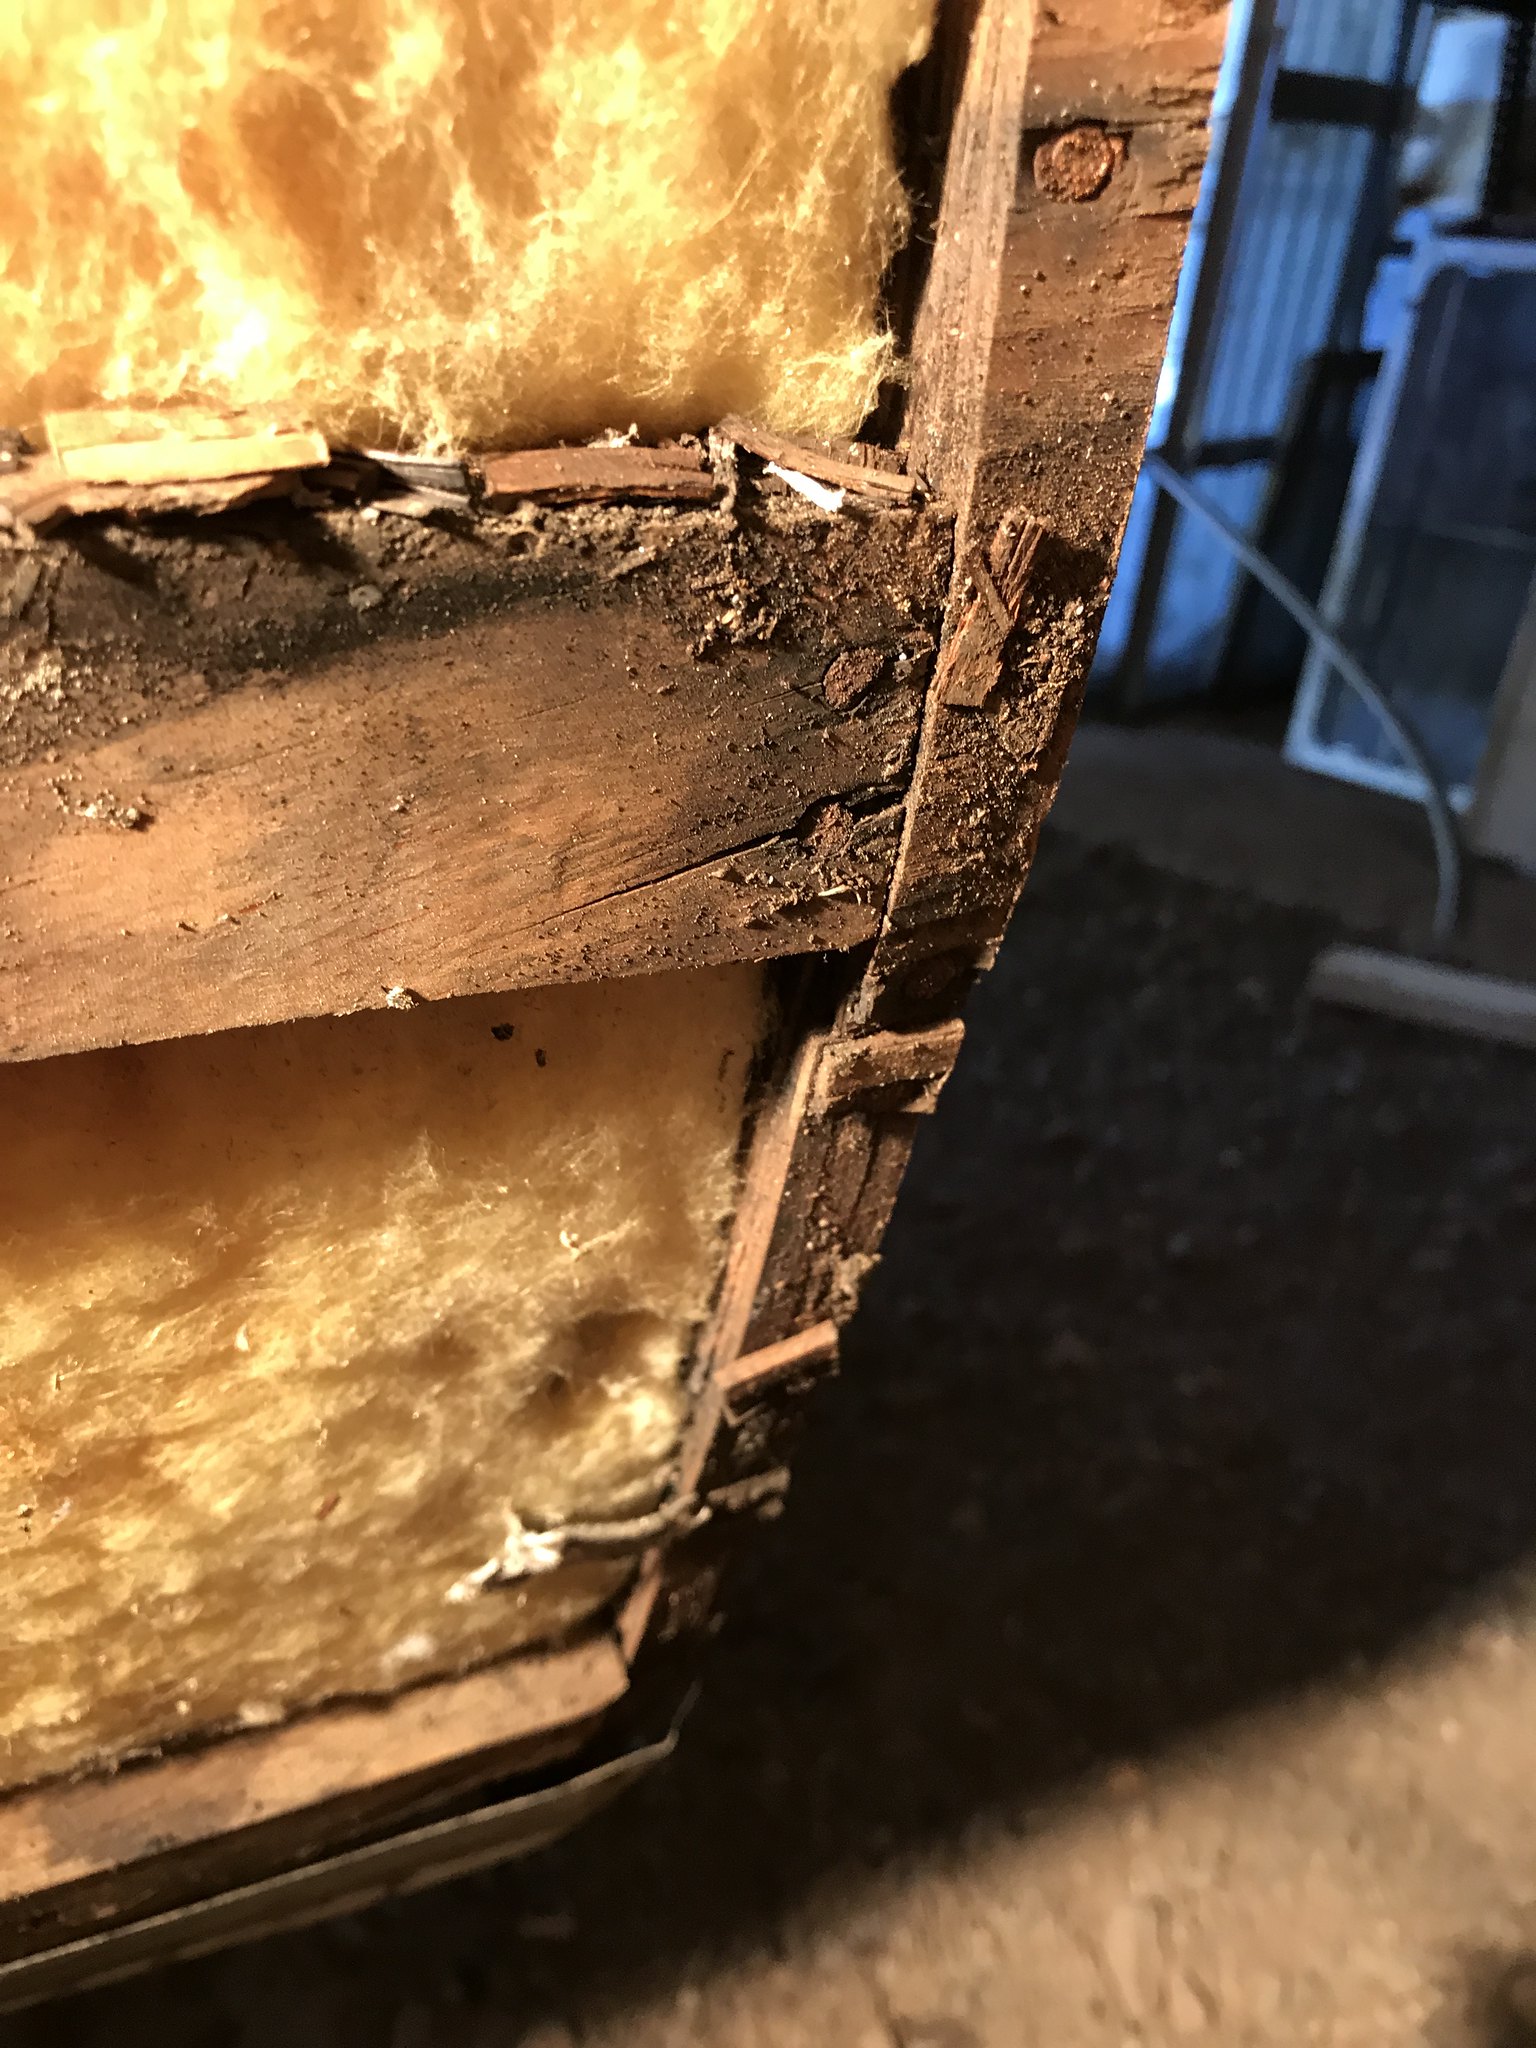 I started on the curbside- removing and replacing rotted wood and adding to framing where needed. 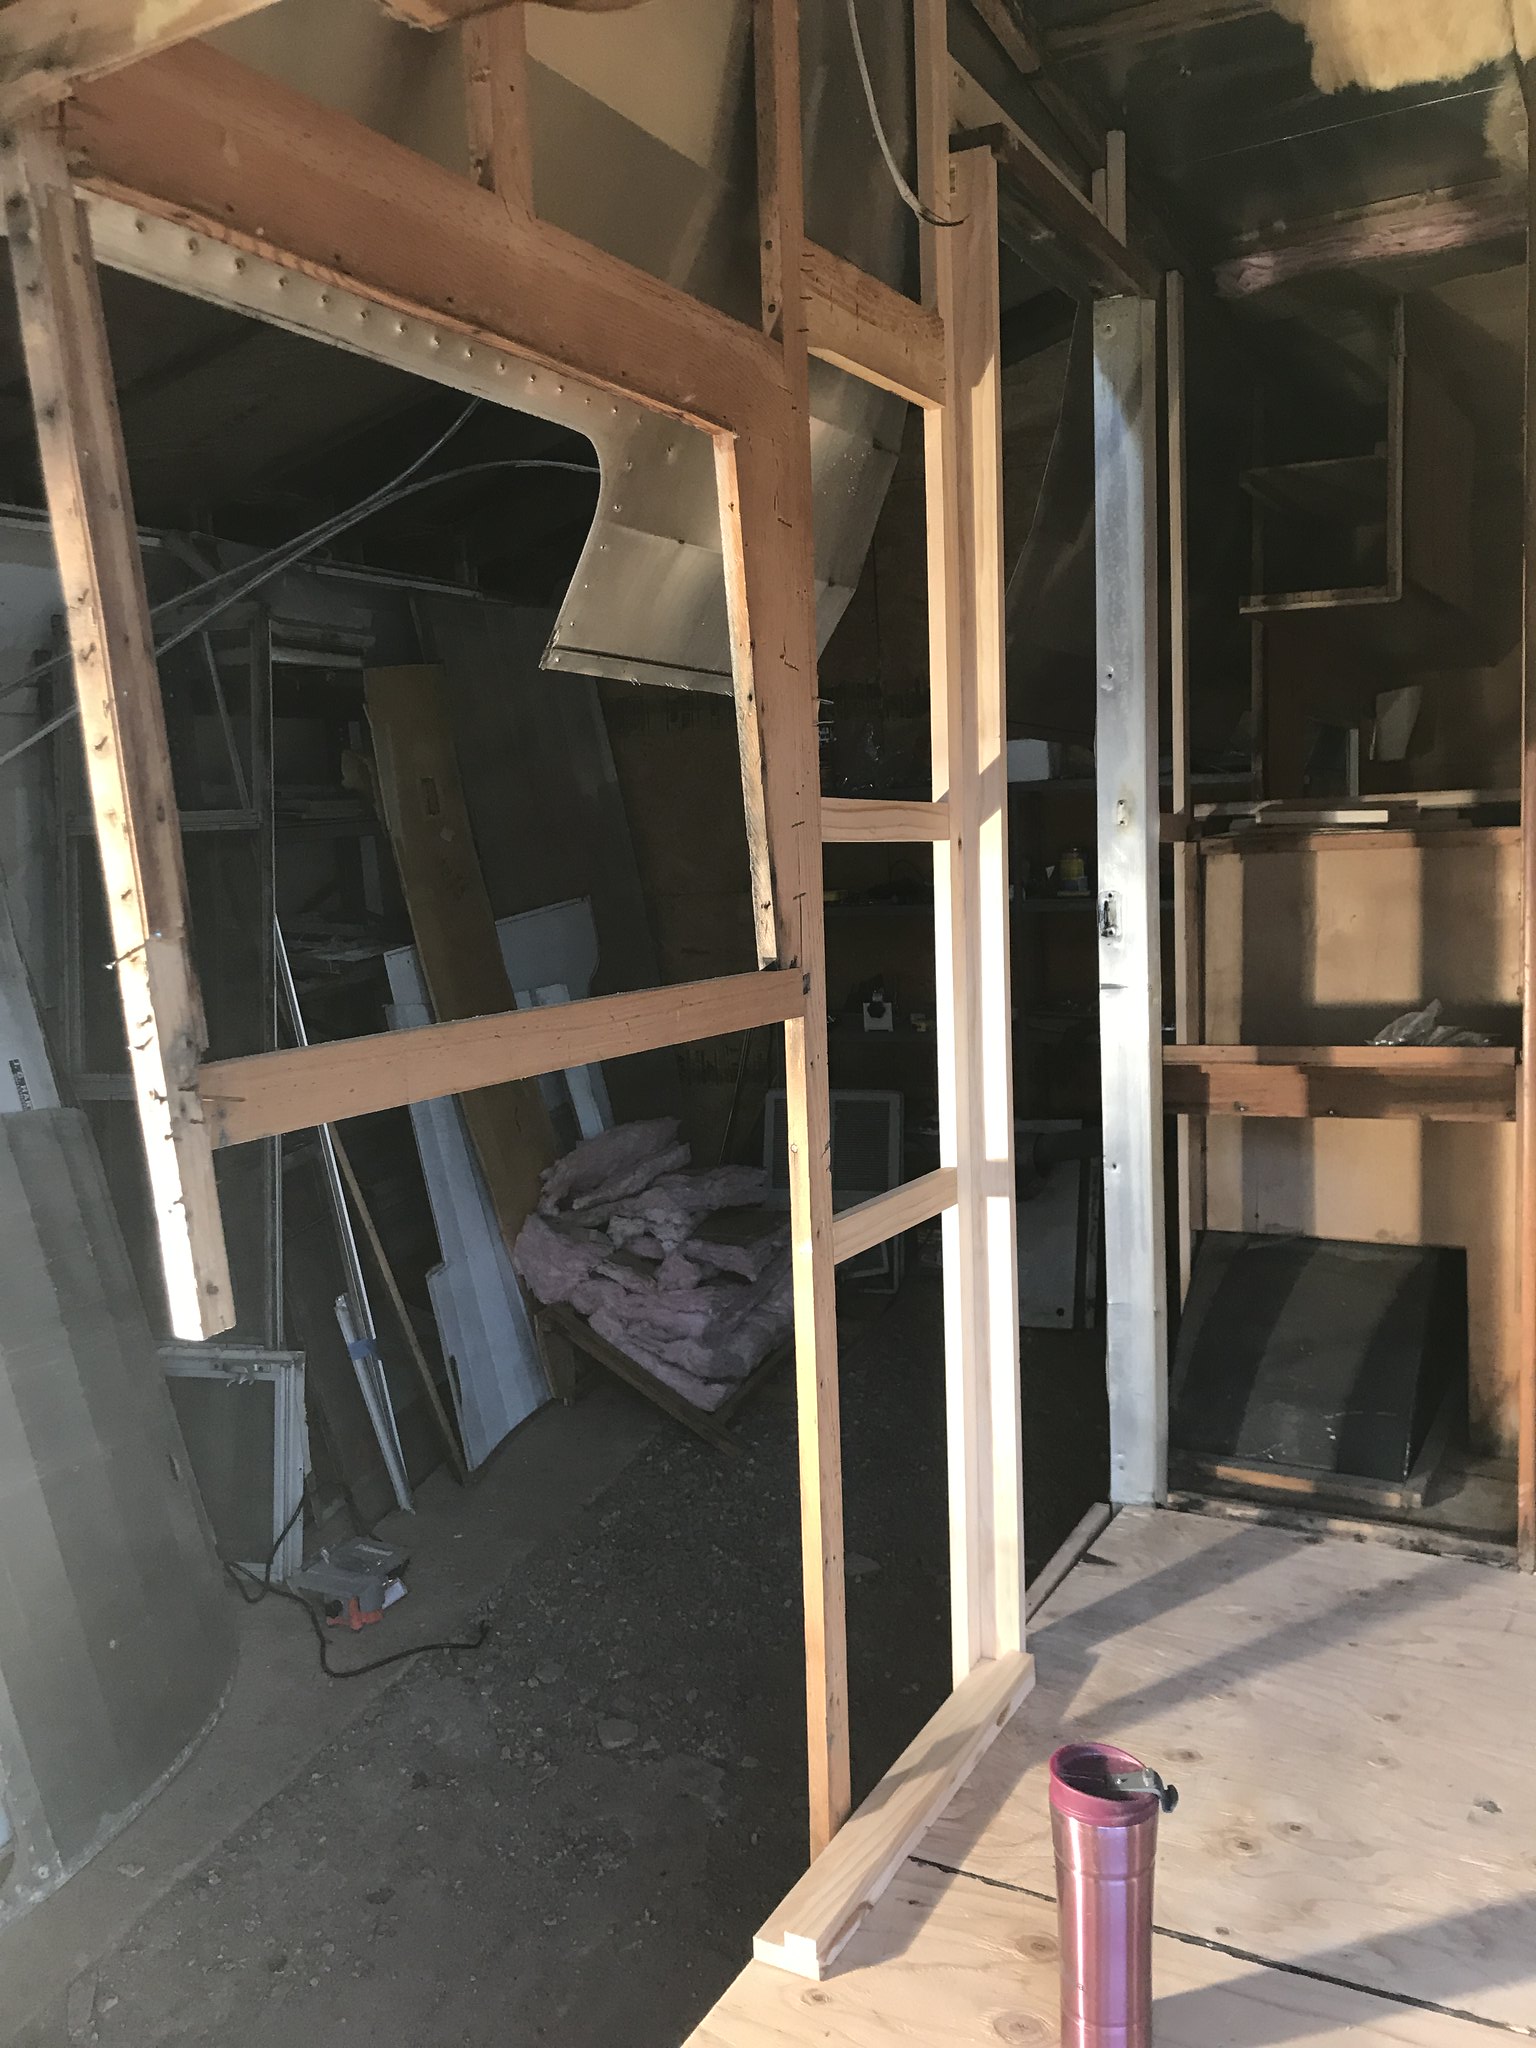 IMG_1876 IMG_1876 by kathy, on Flickr 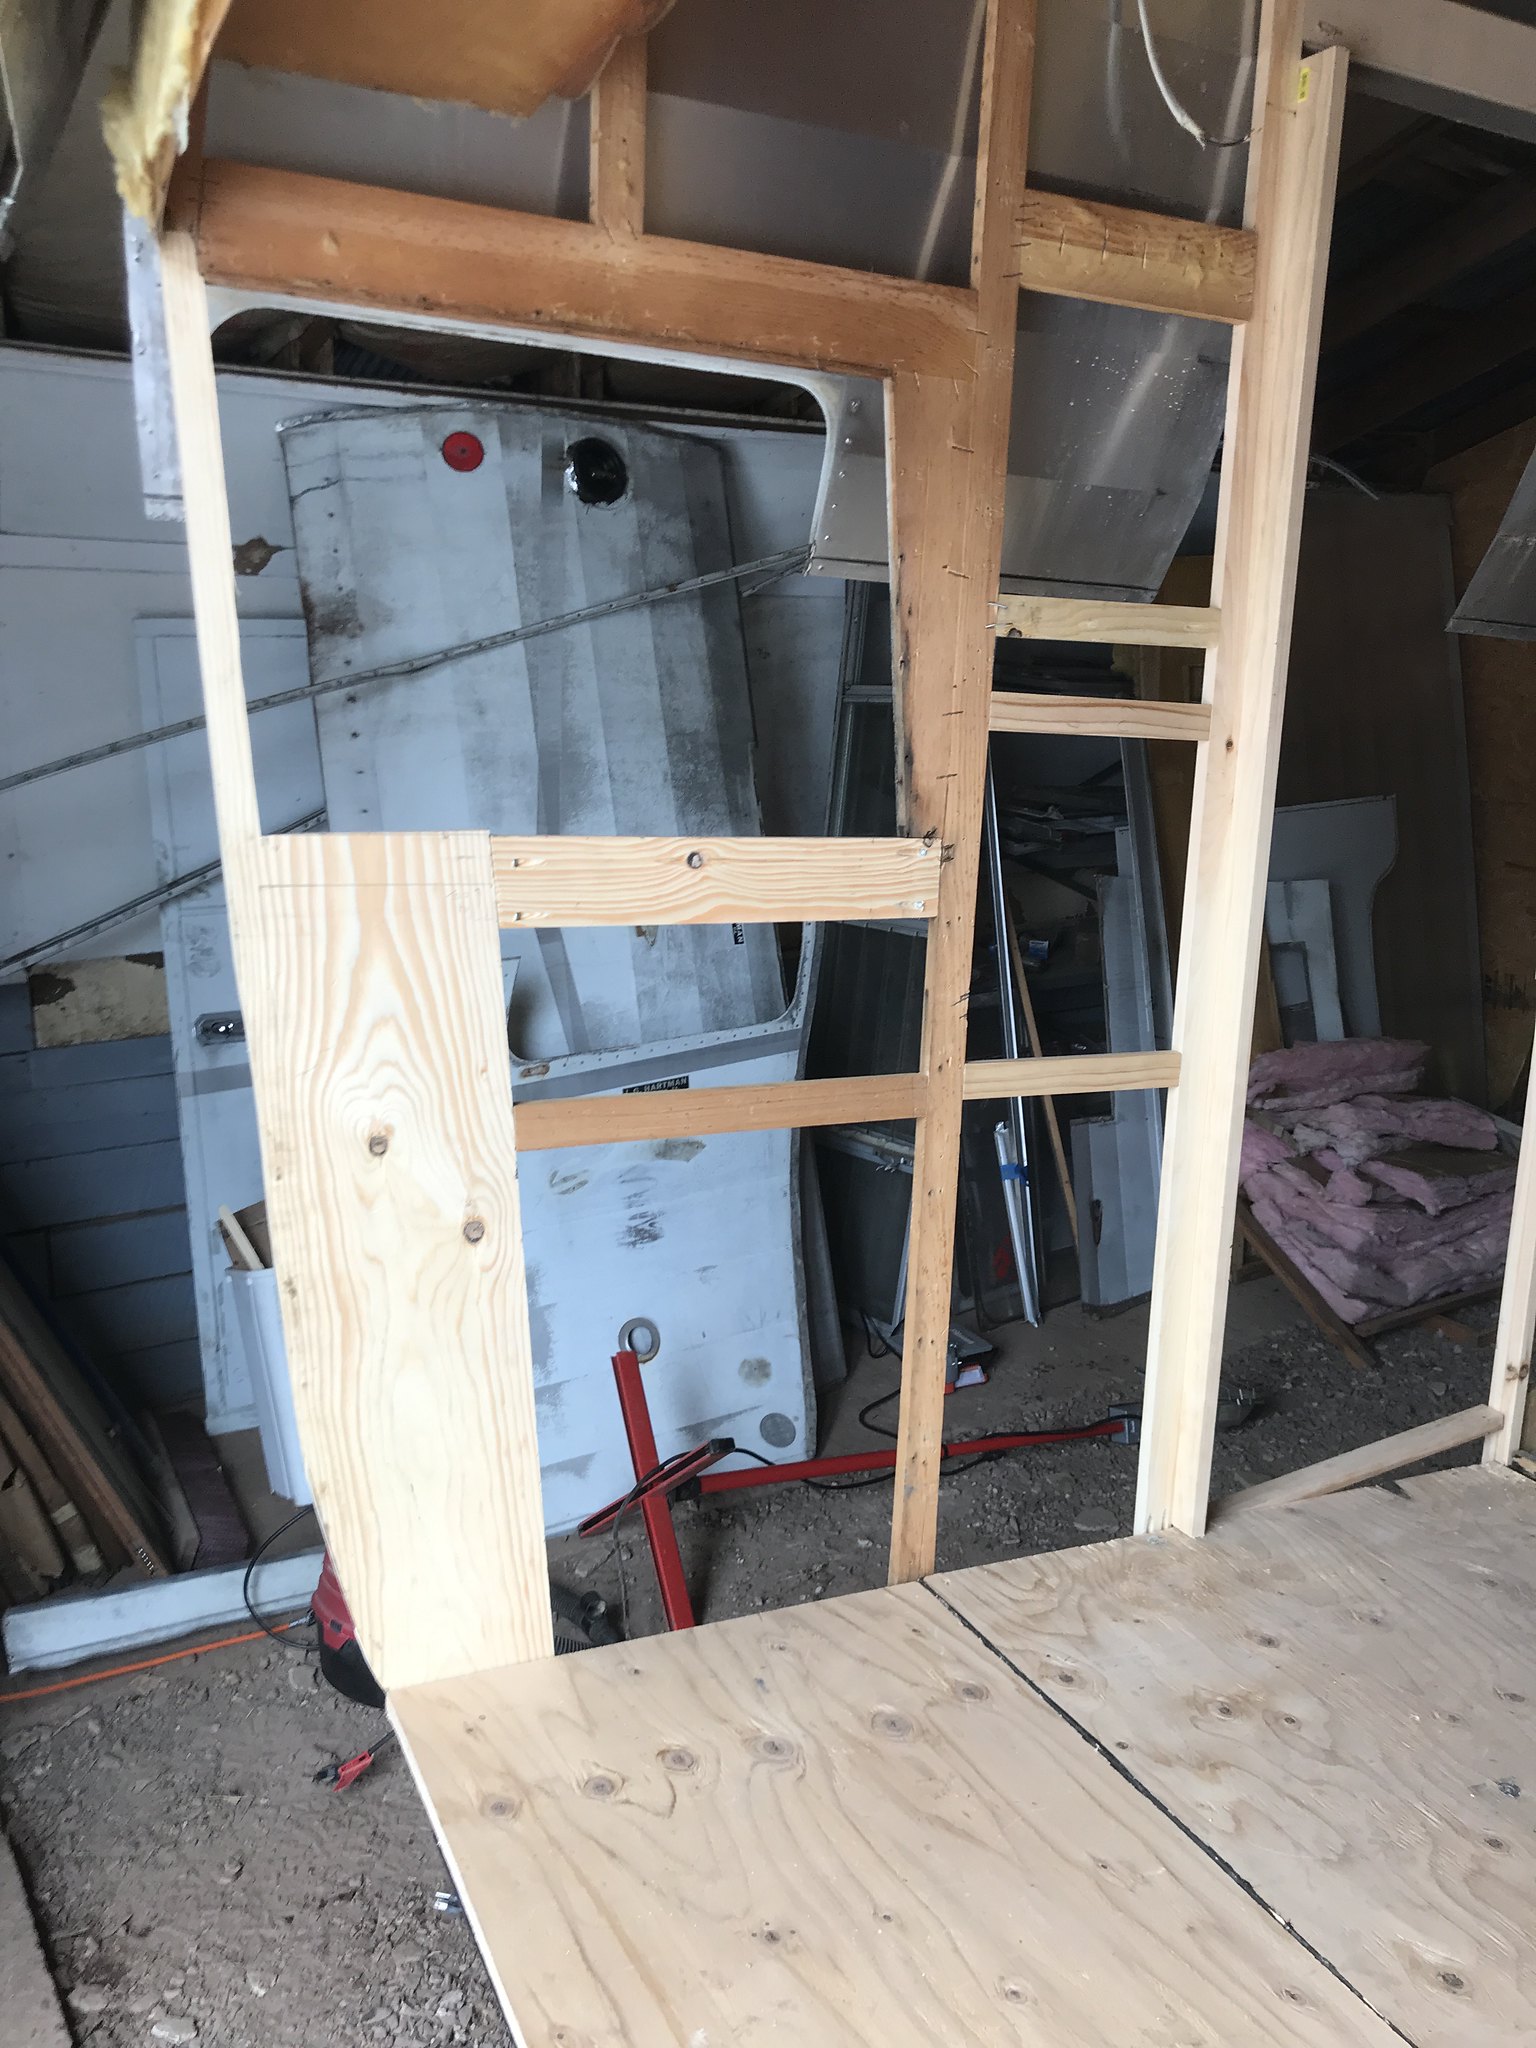 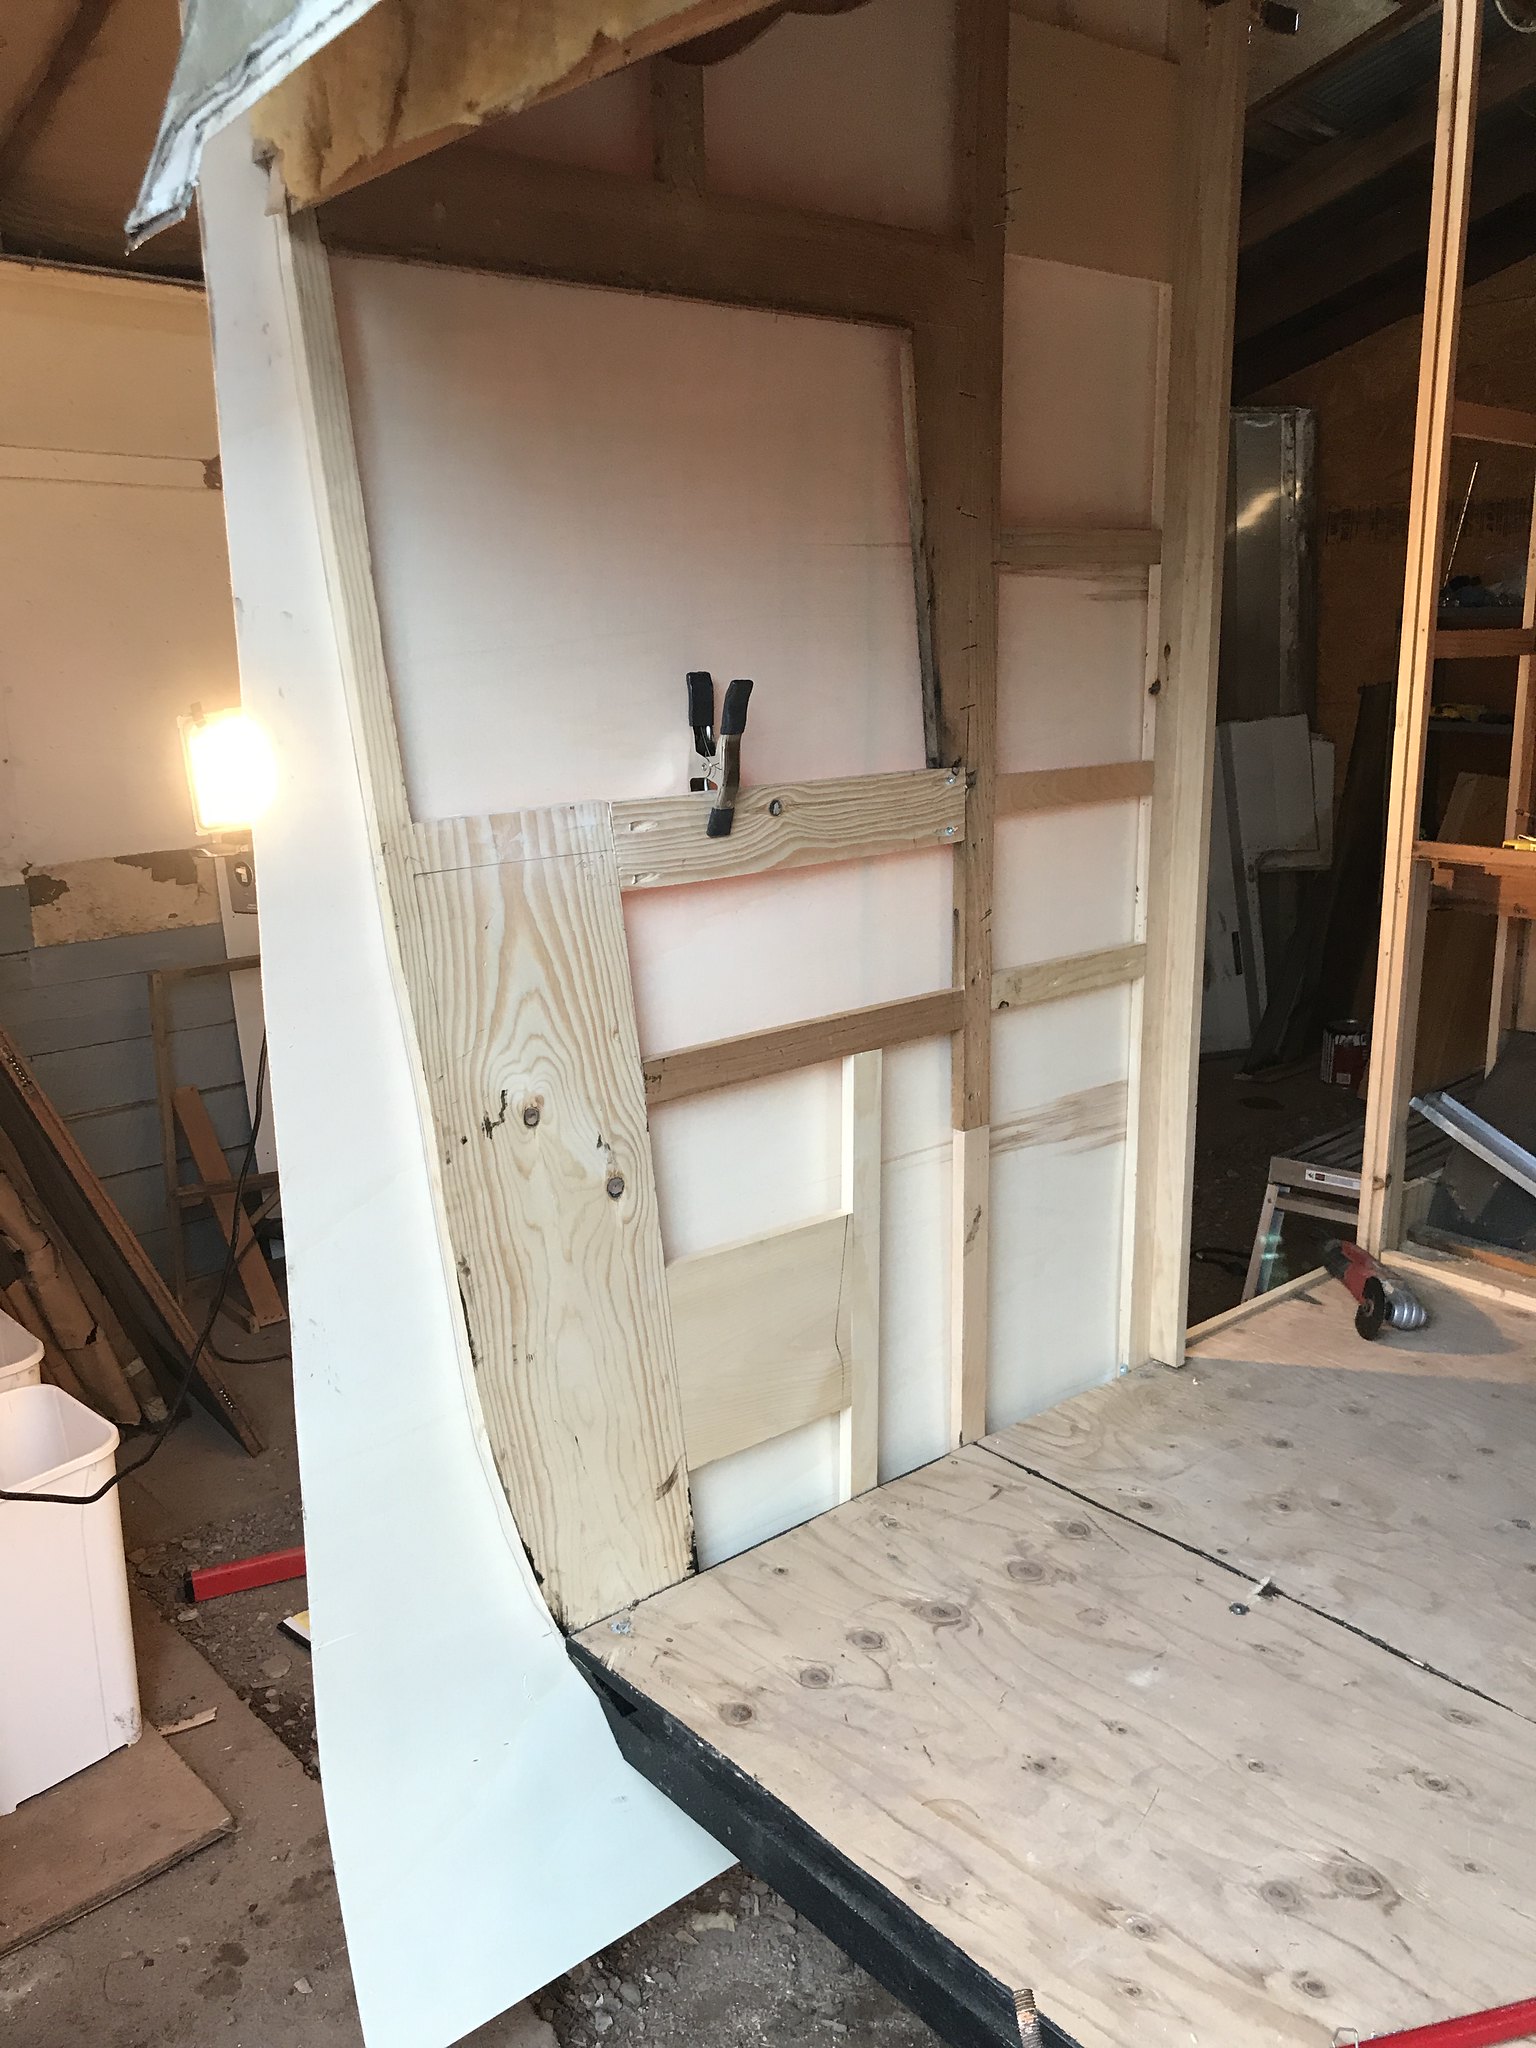 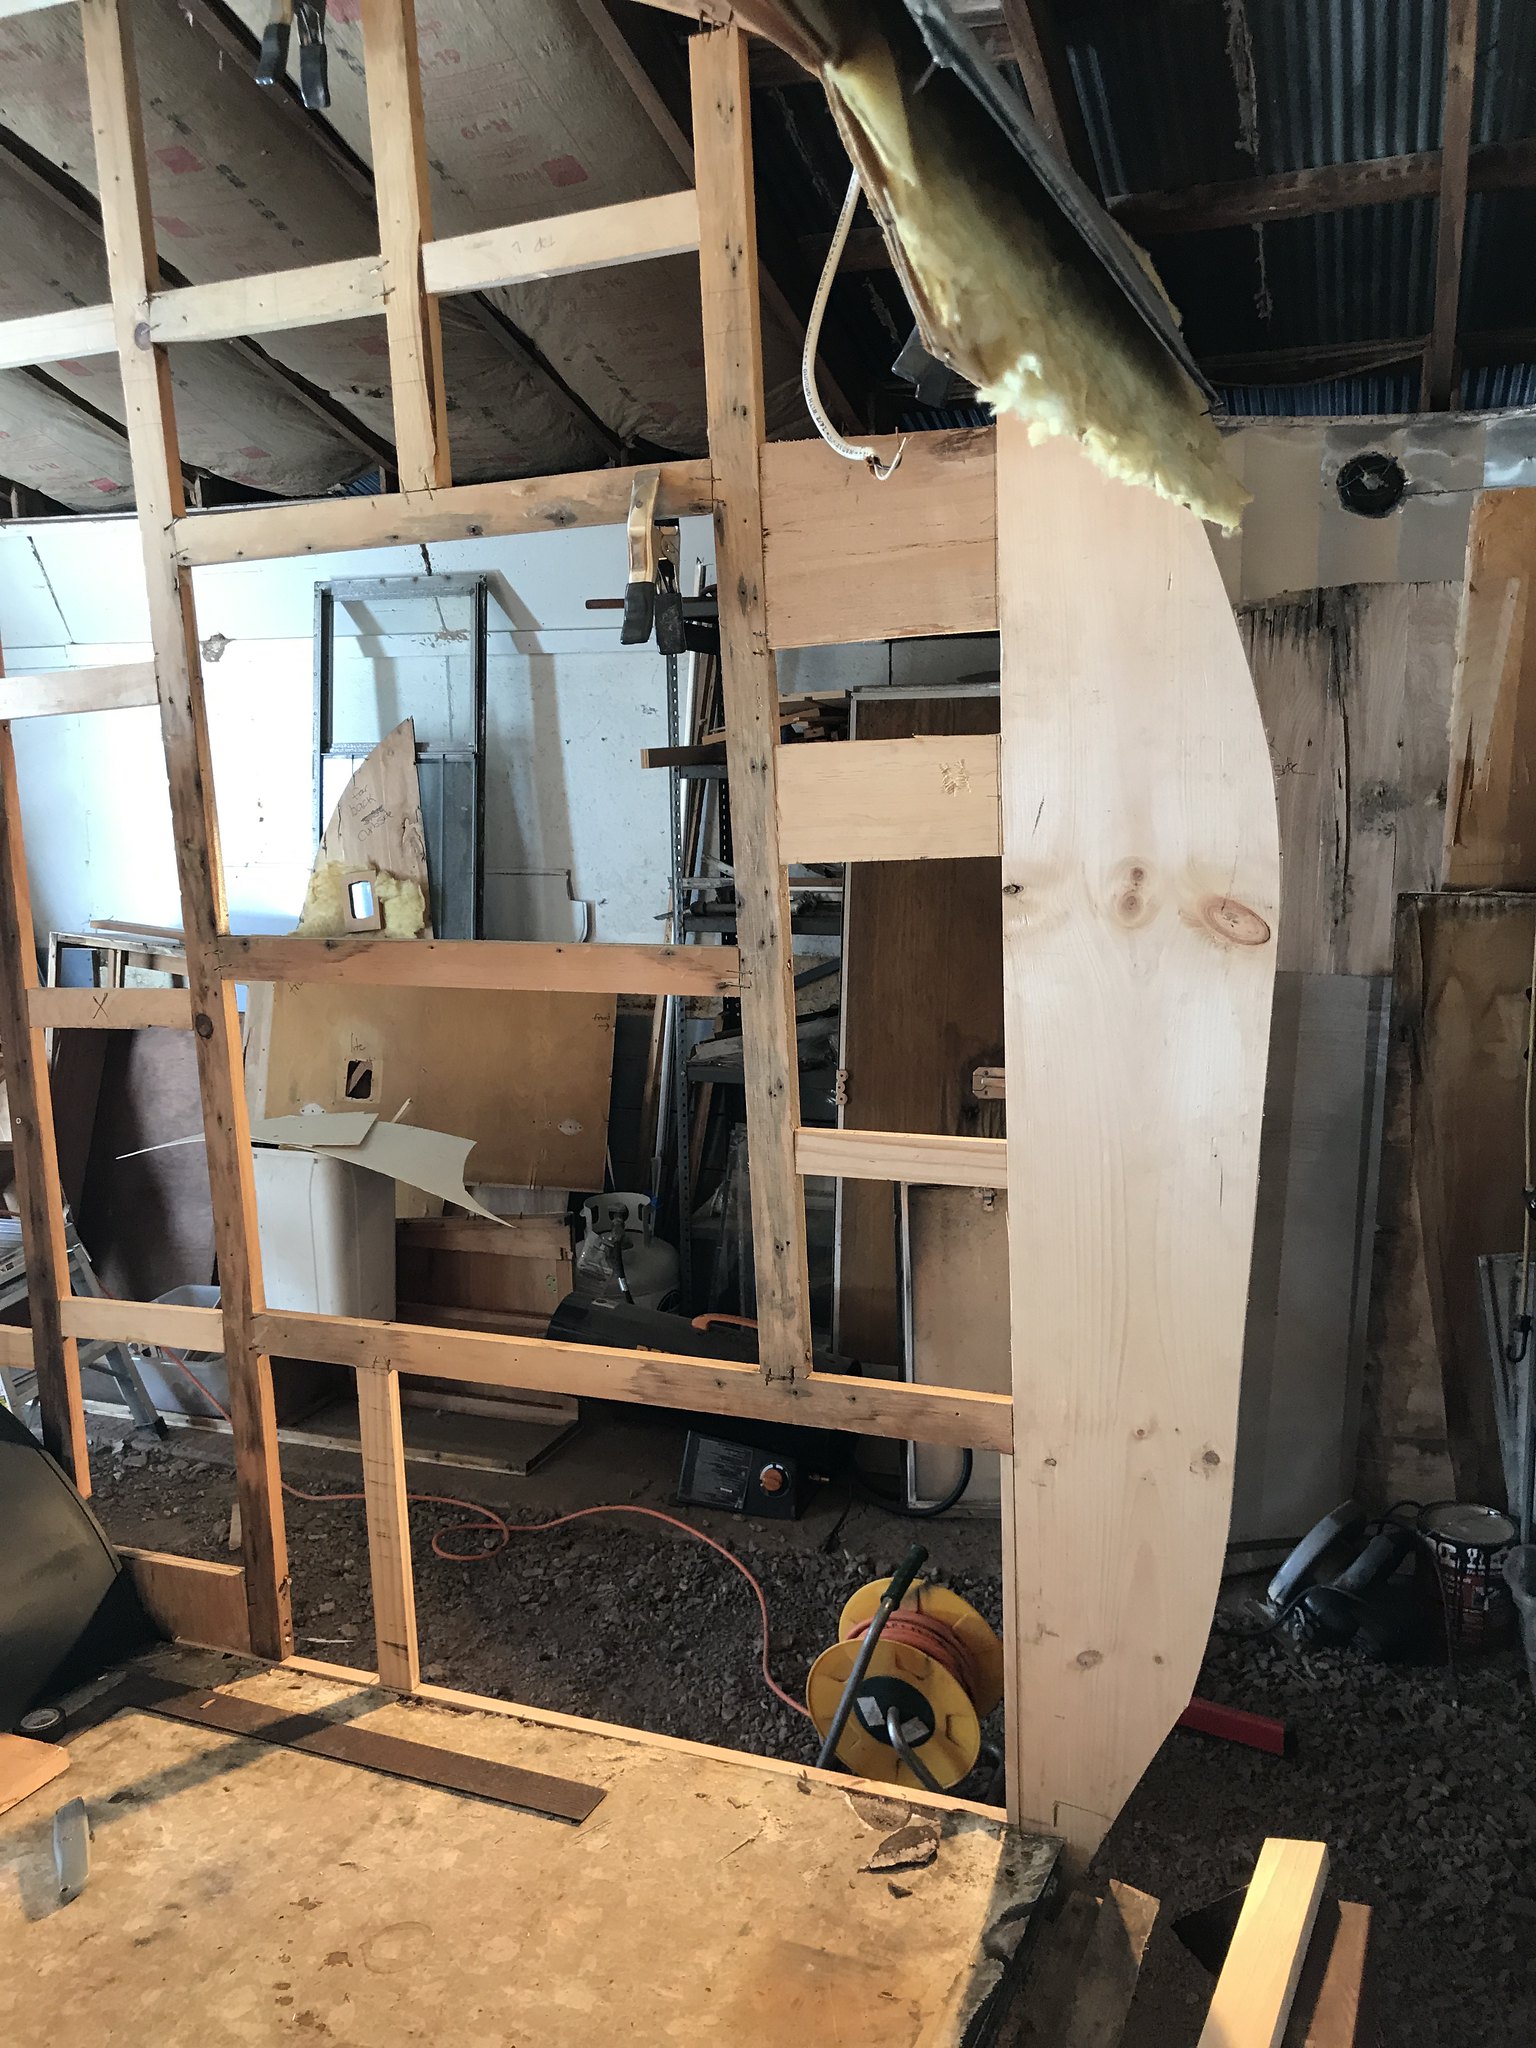 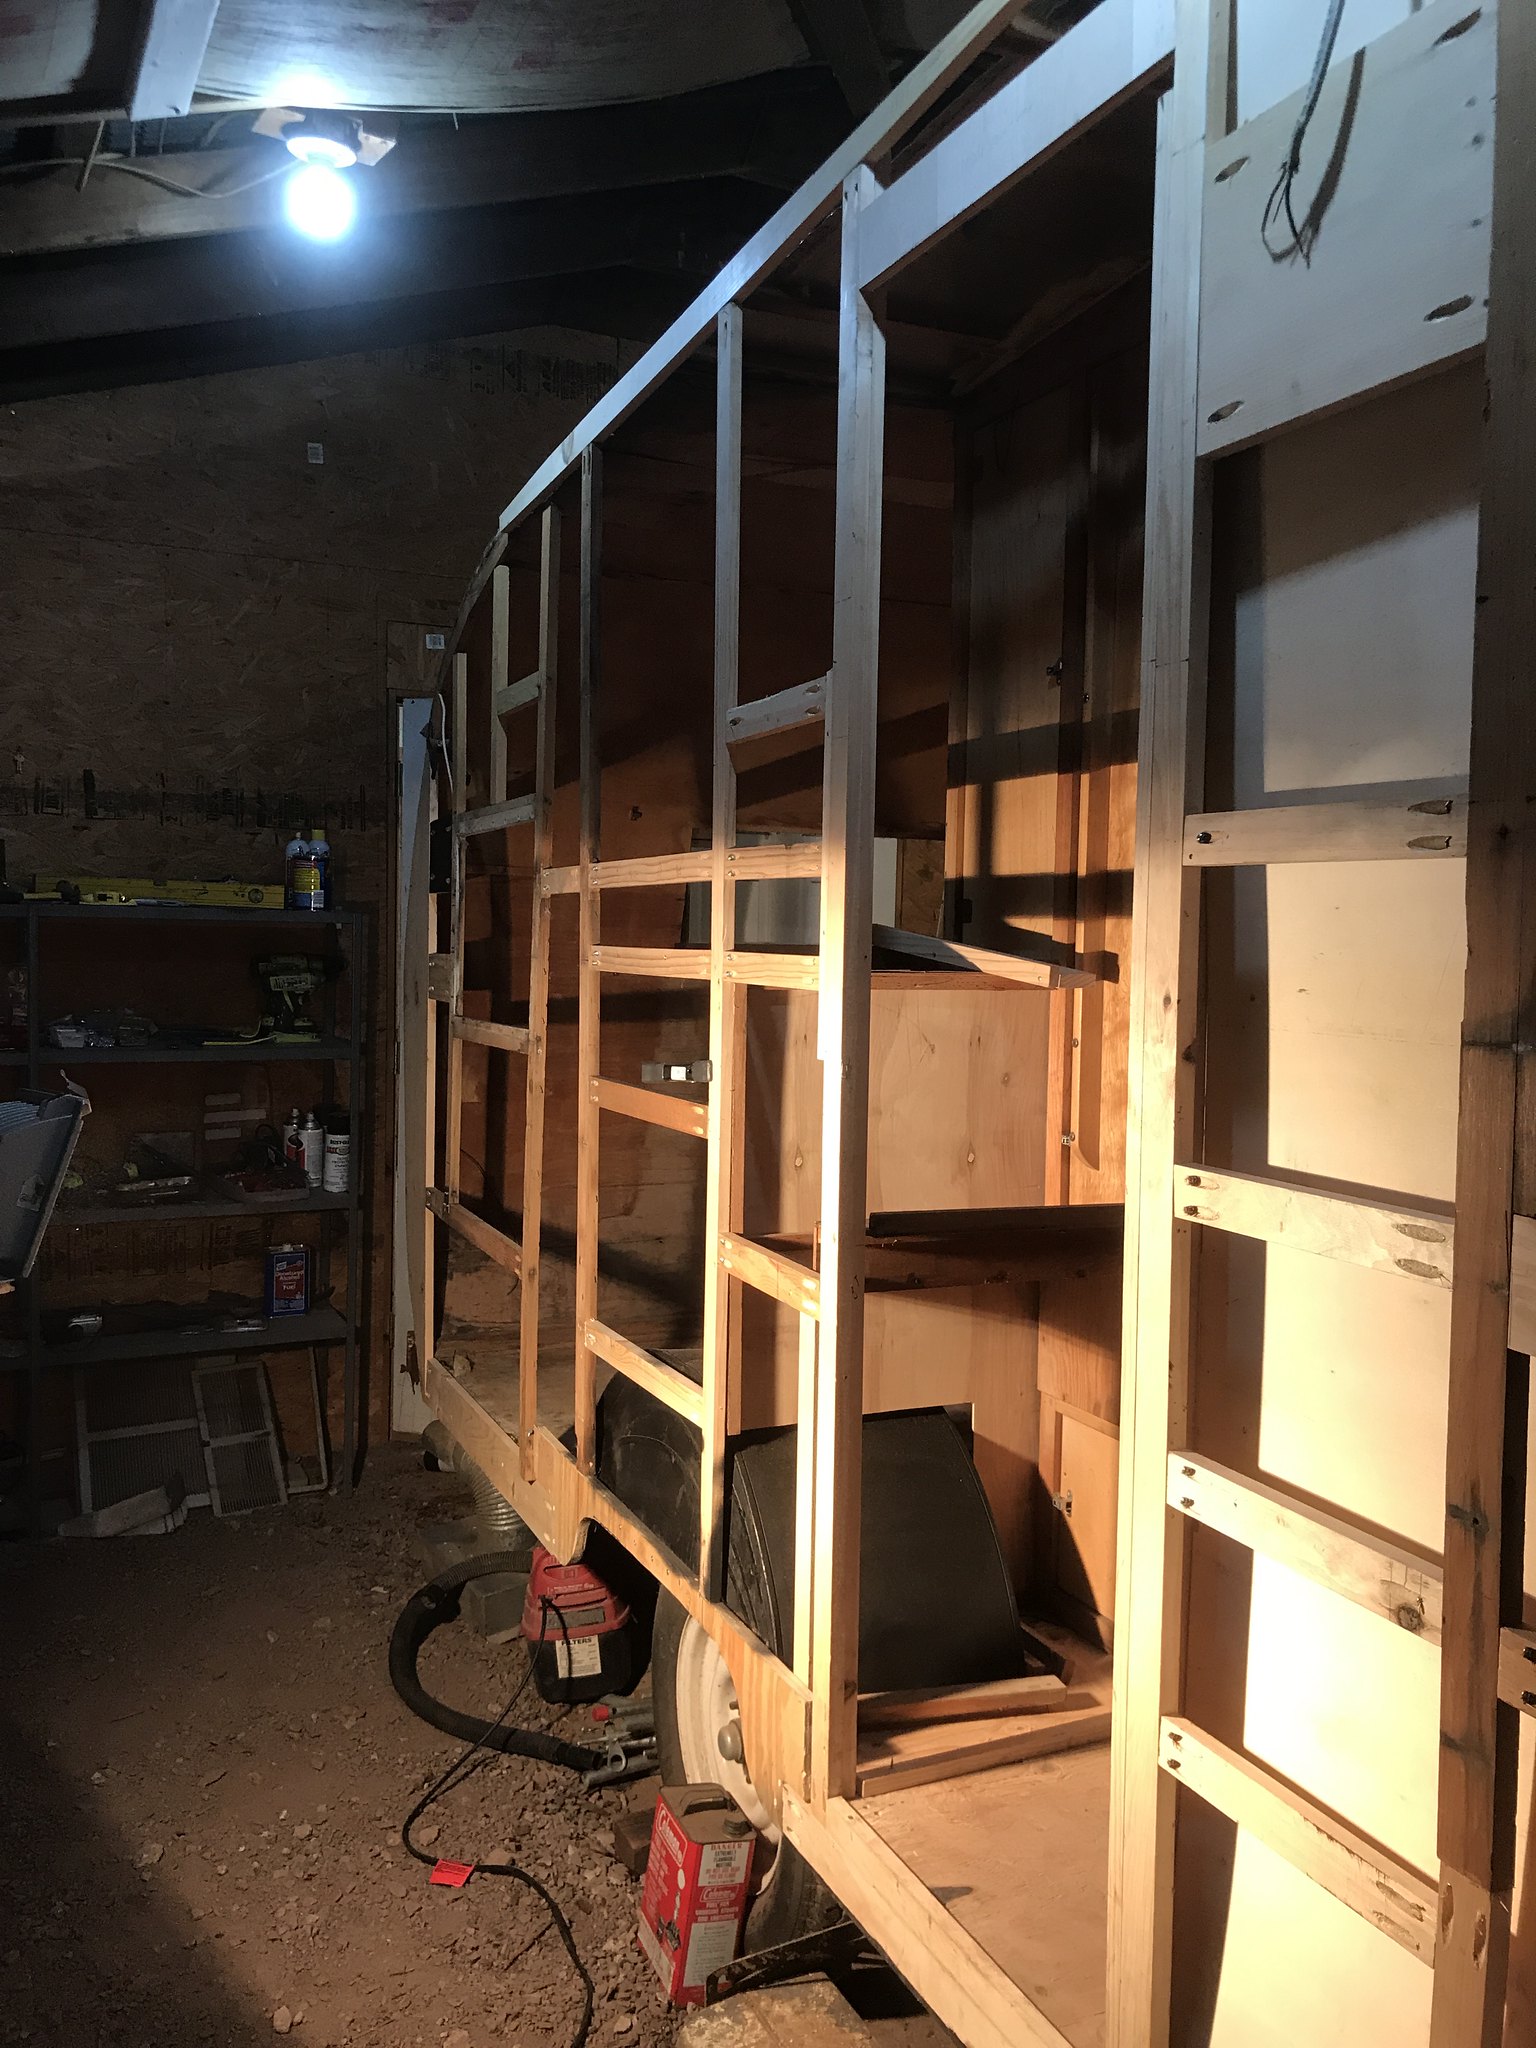 IMG_2128 IMG_2128 by kathy, on Flickr 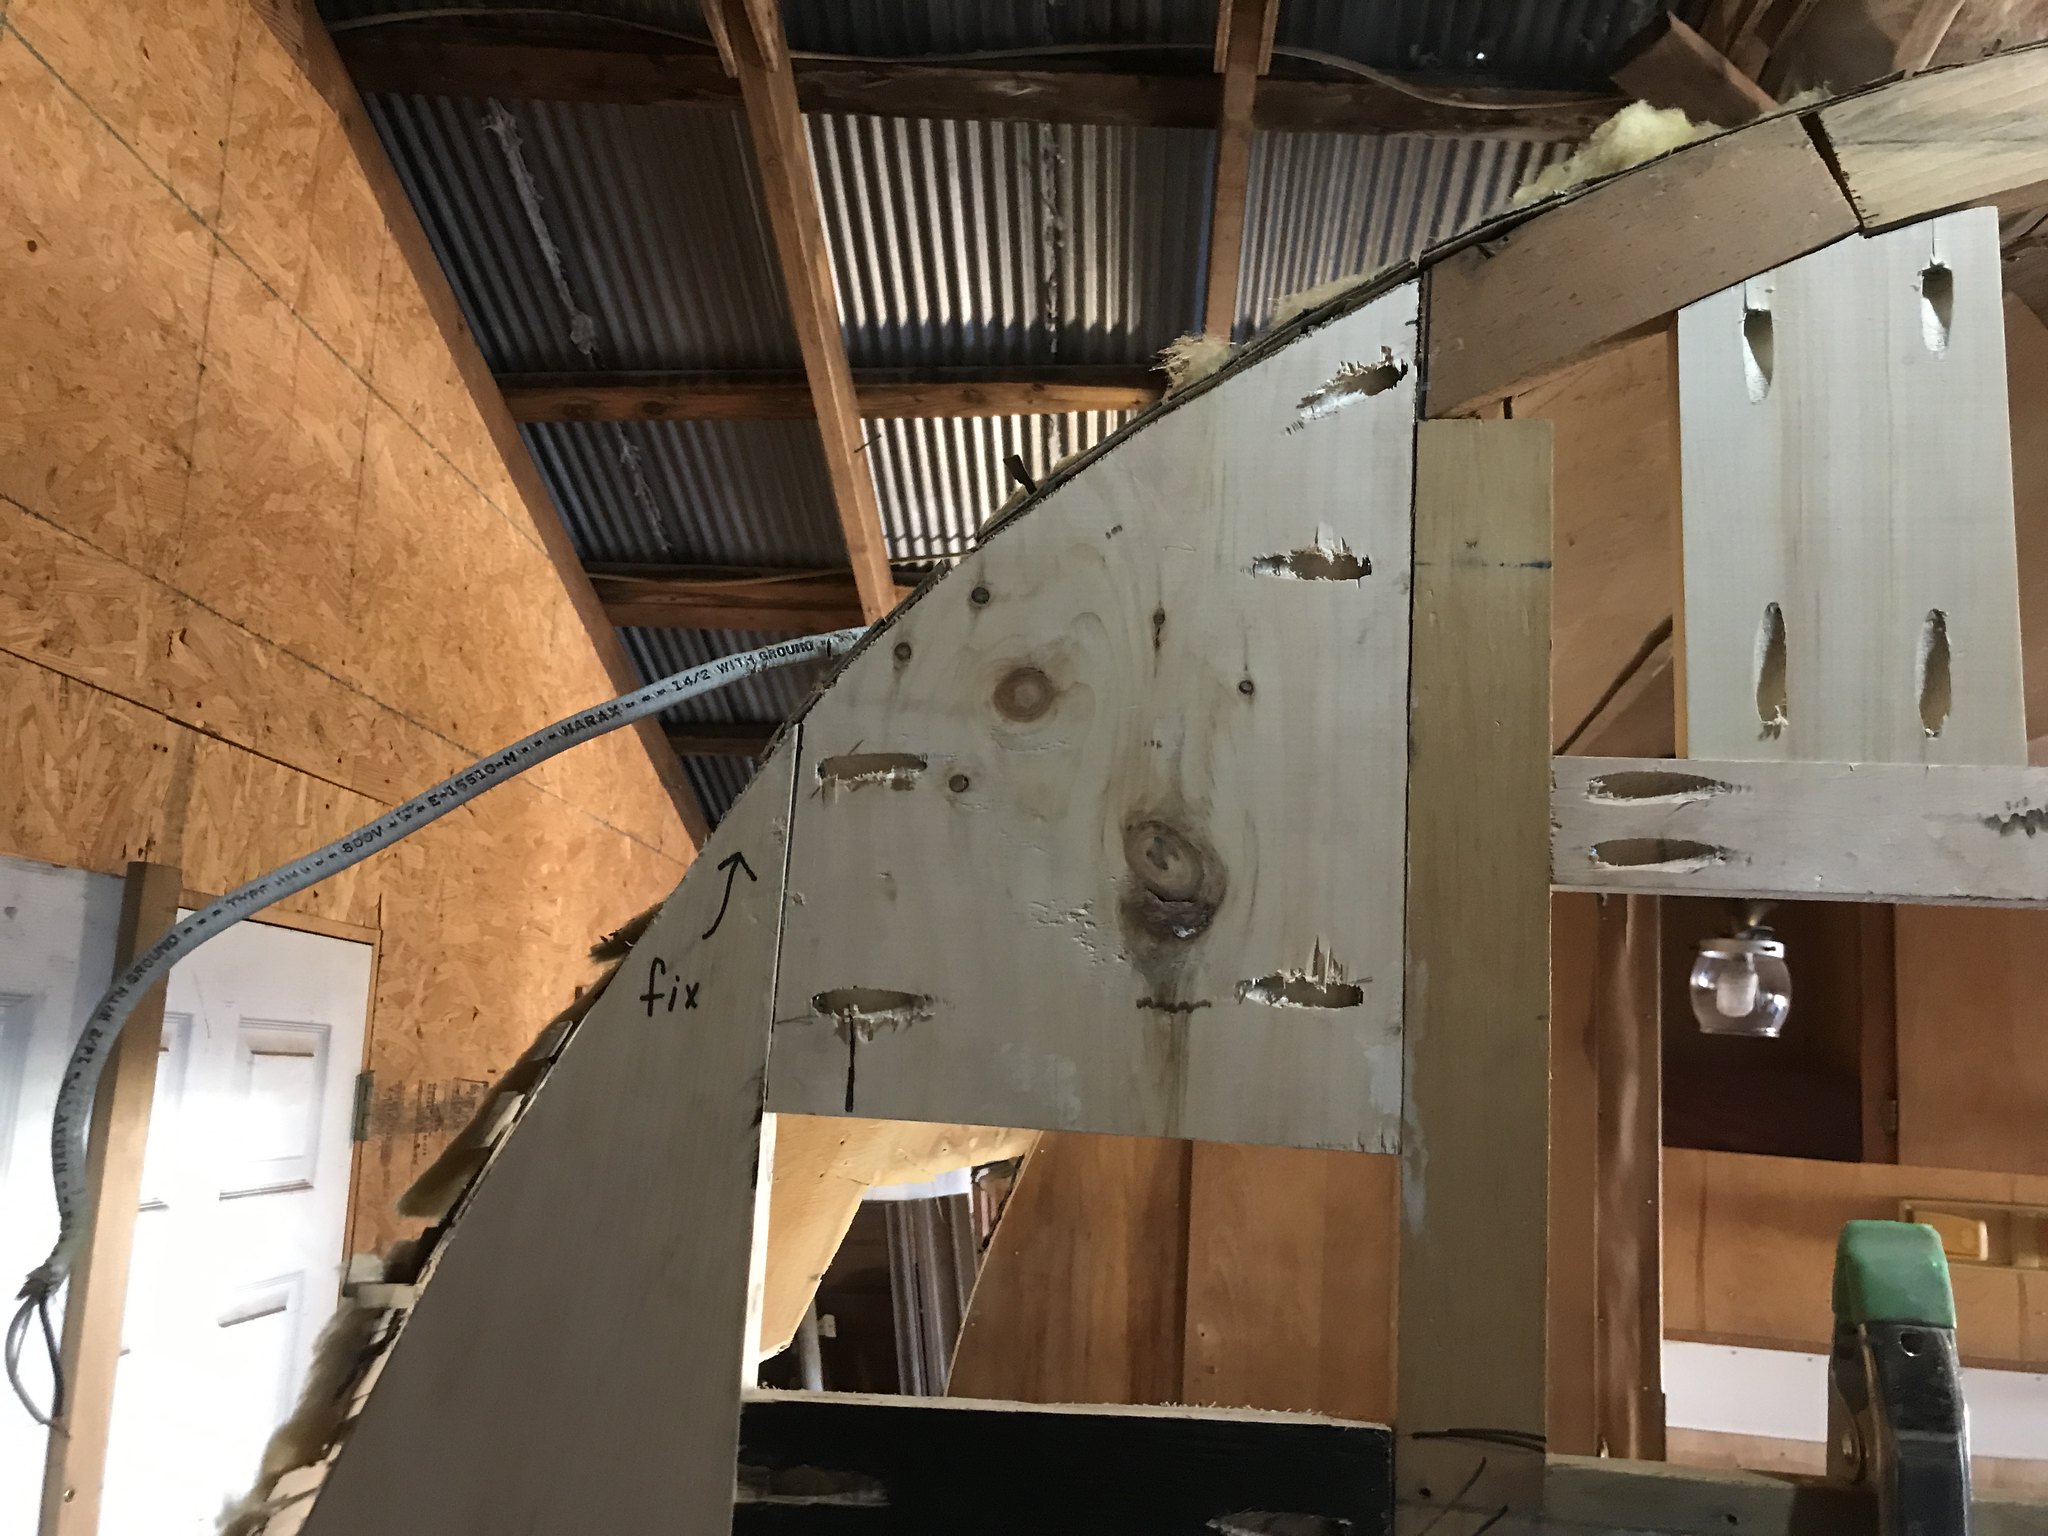 I also took out the old floor and subfloor since it was a mess. Painted the frame with fence post paint, added some support to the chassis frame, and installed new plywood. Will eventually tile it. 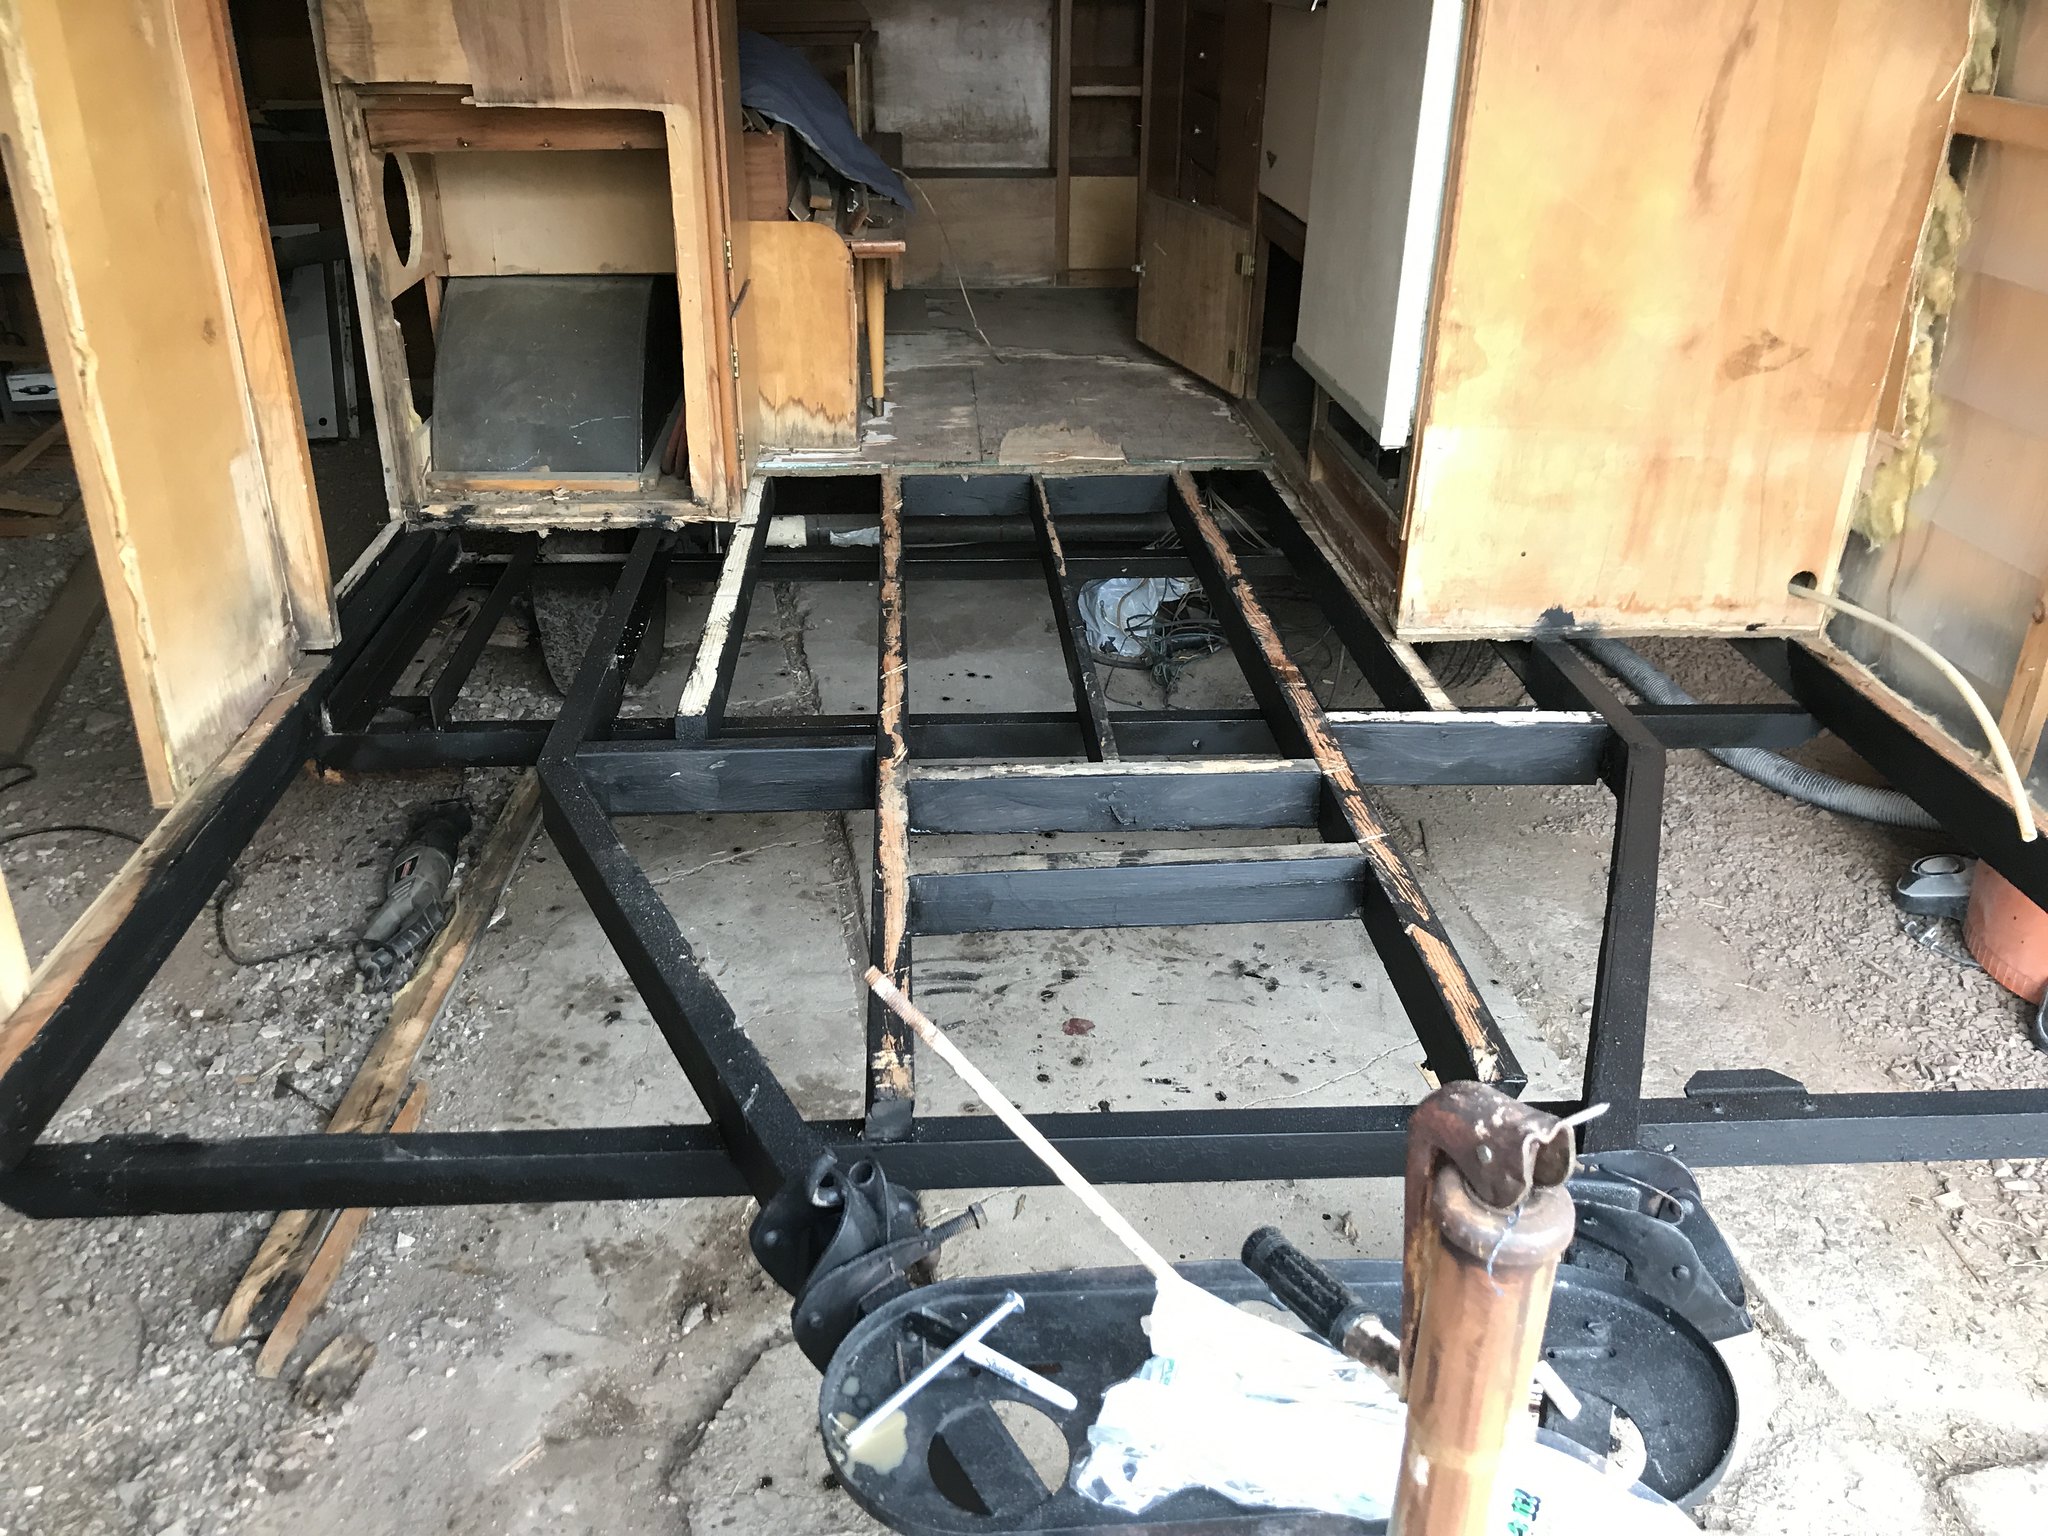 IMG_1827 IMG_1827 by kathy, on Flickr 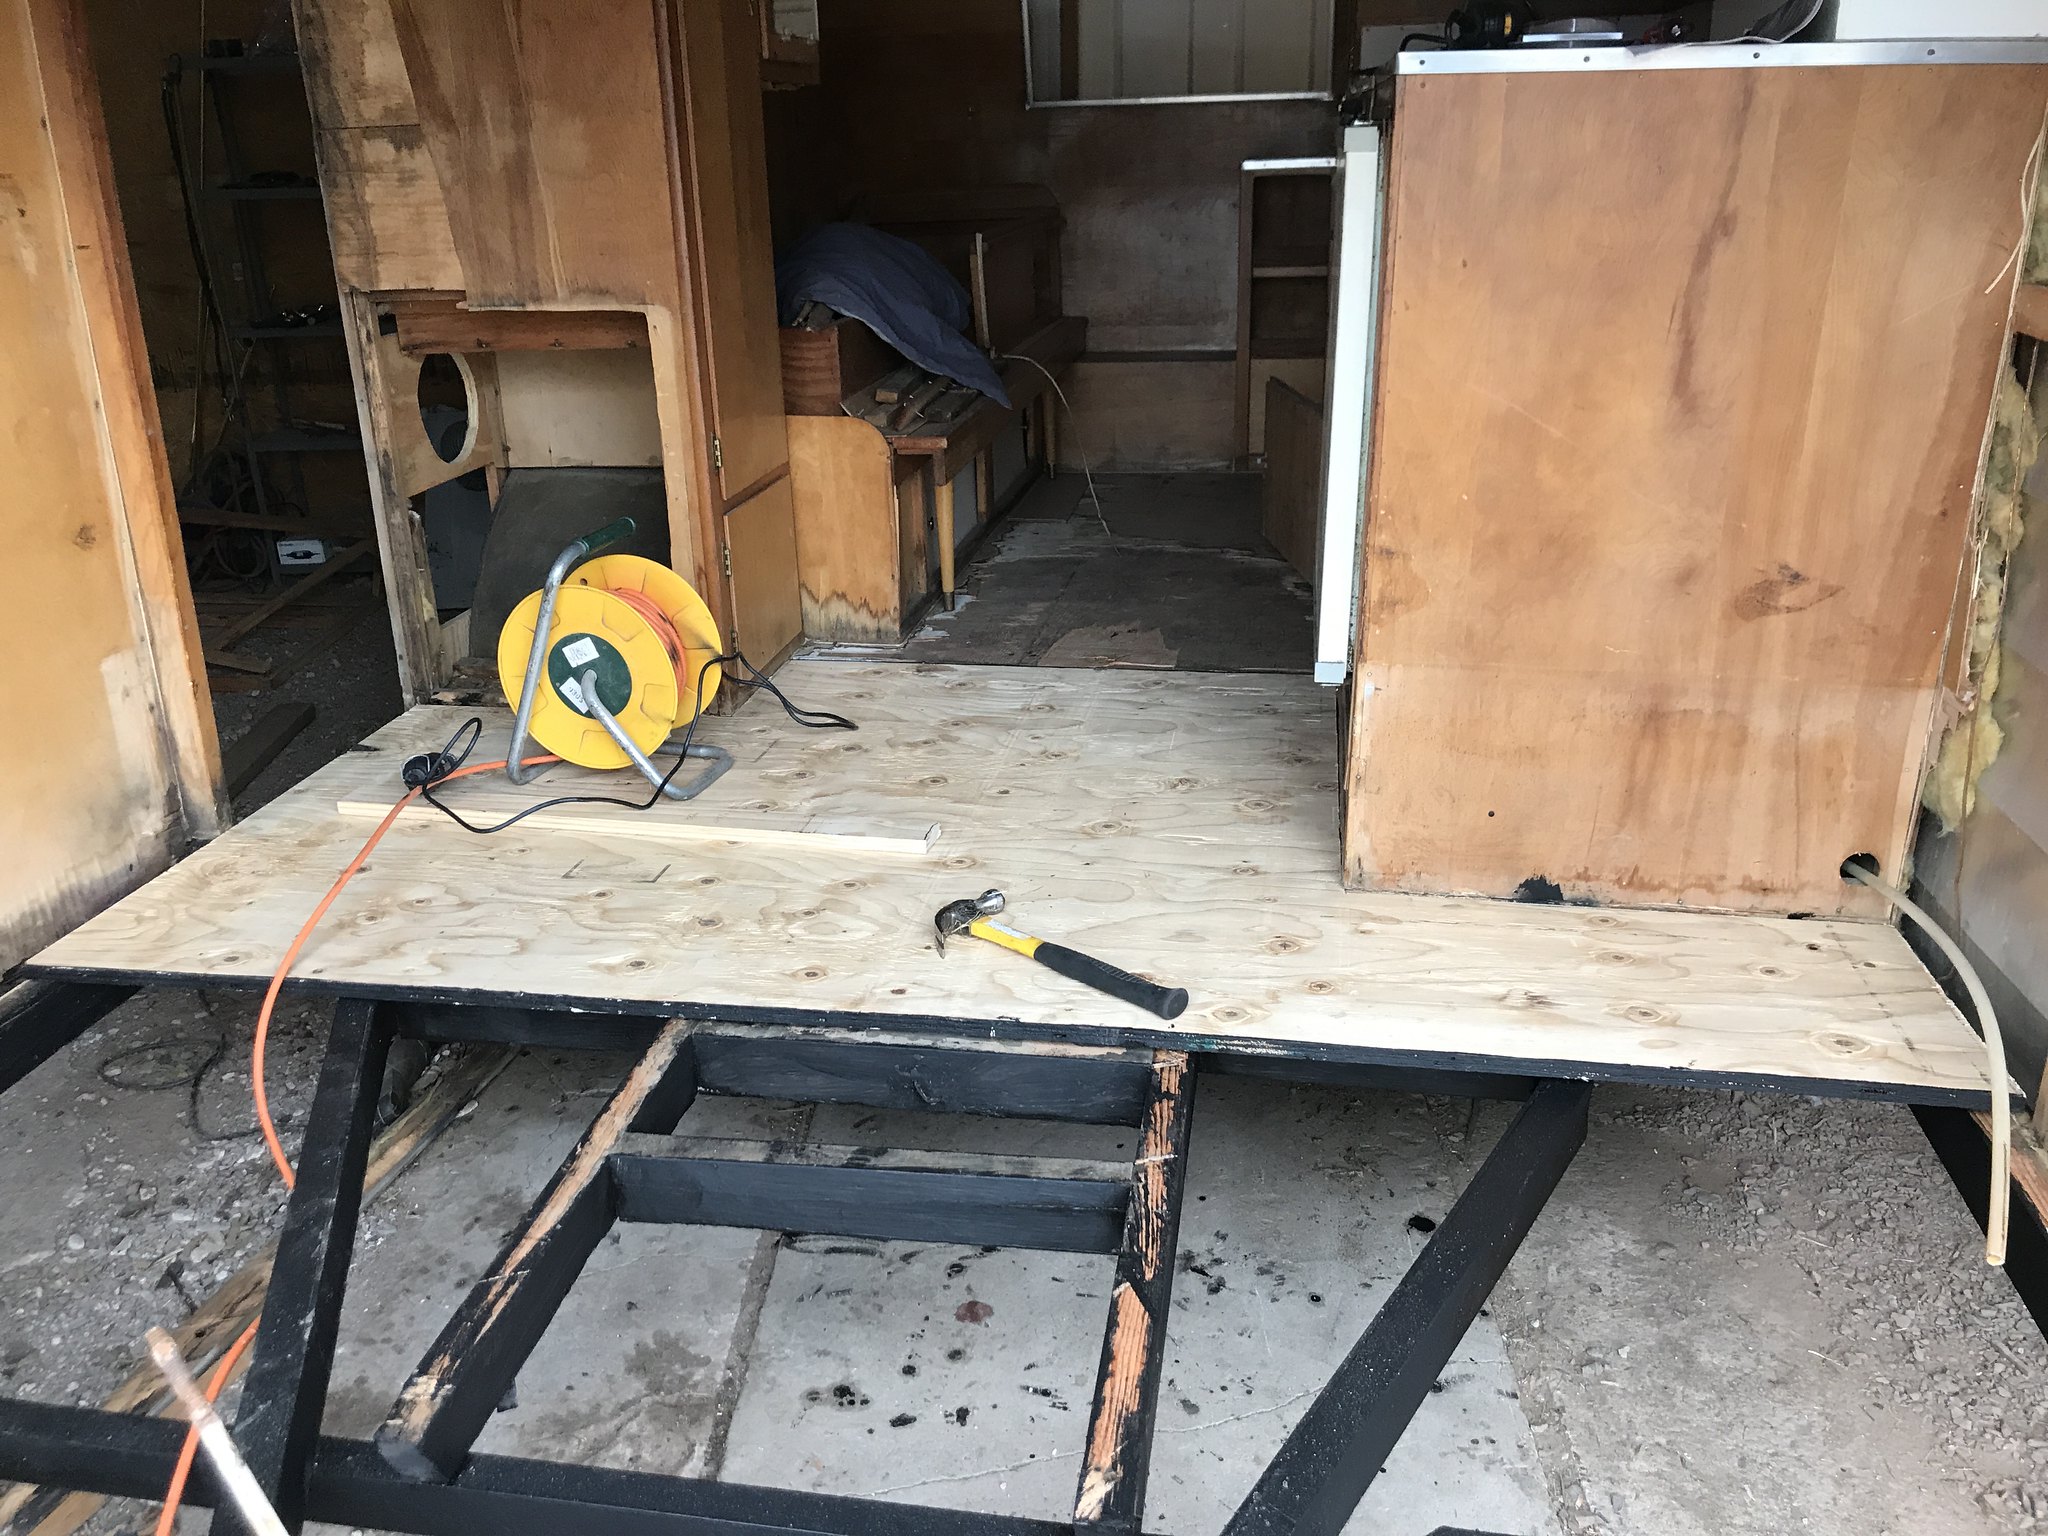 I had originally wanted to just leave the kitchen cabinets in and just replace the plywood around them- as it seemed such a daunting job for little old me to remove them all. Well, things didn't end up that way- as my wheel wells were shot and needed to be replaced. After whining on this forum, and getting some much needed support, I faced the fact that the kitchen needed to come out. Sooo...they came out too. 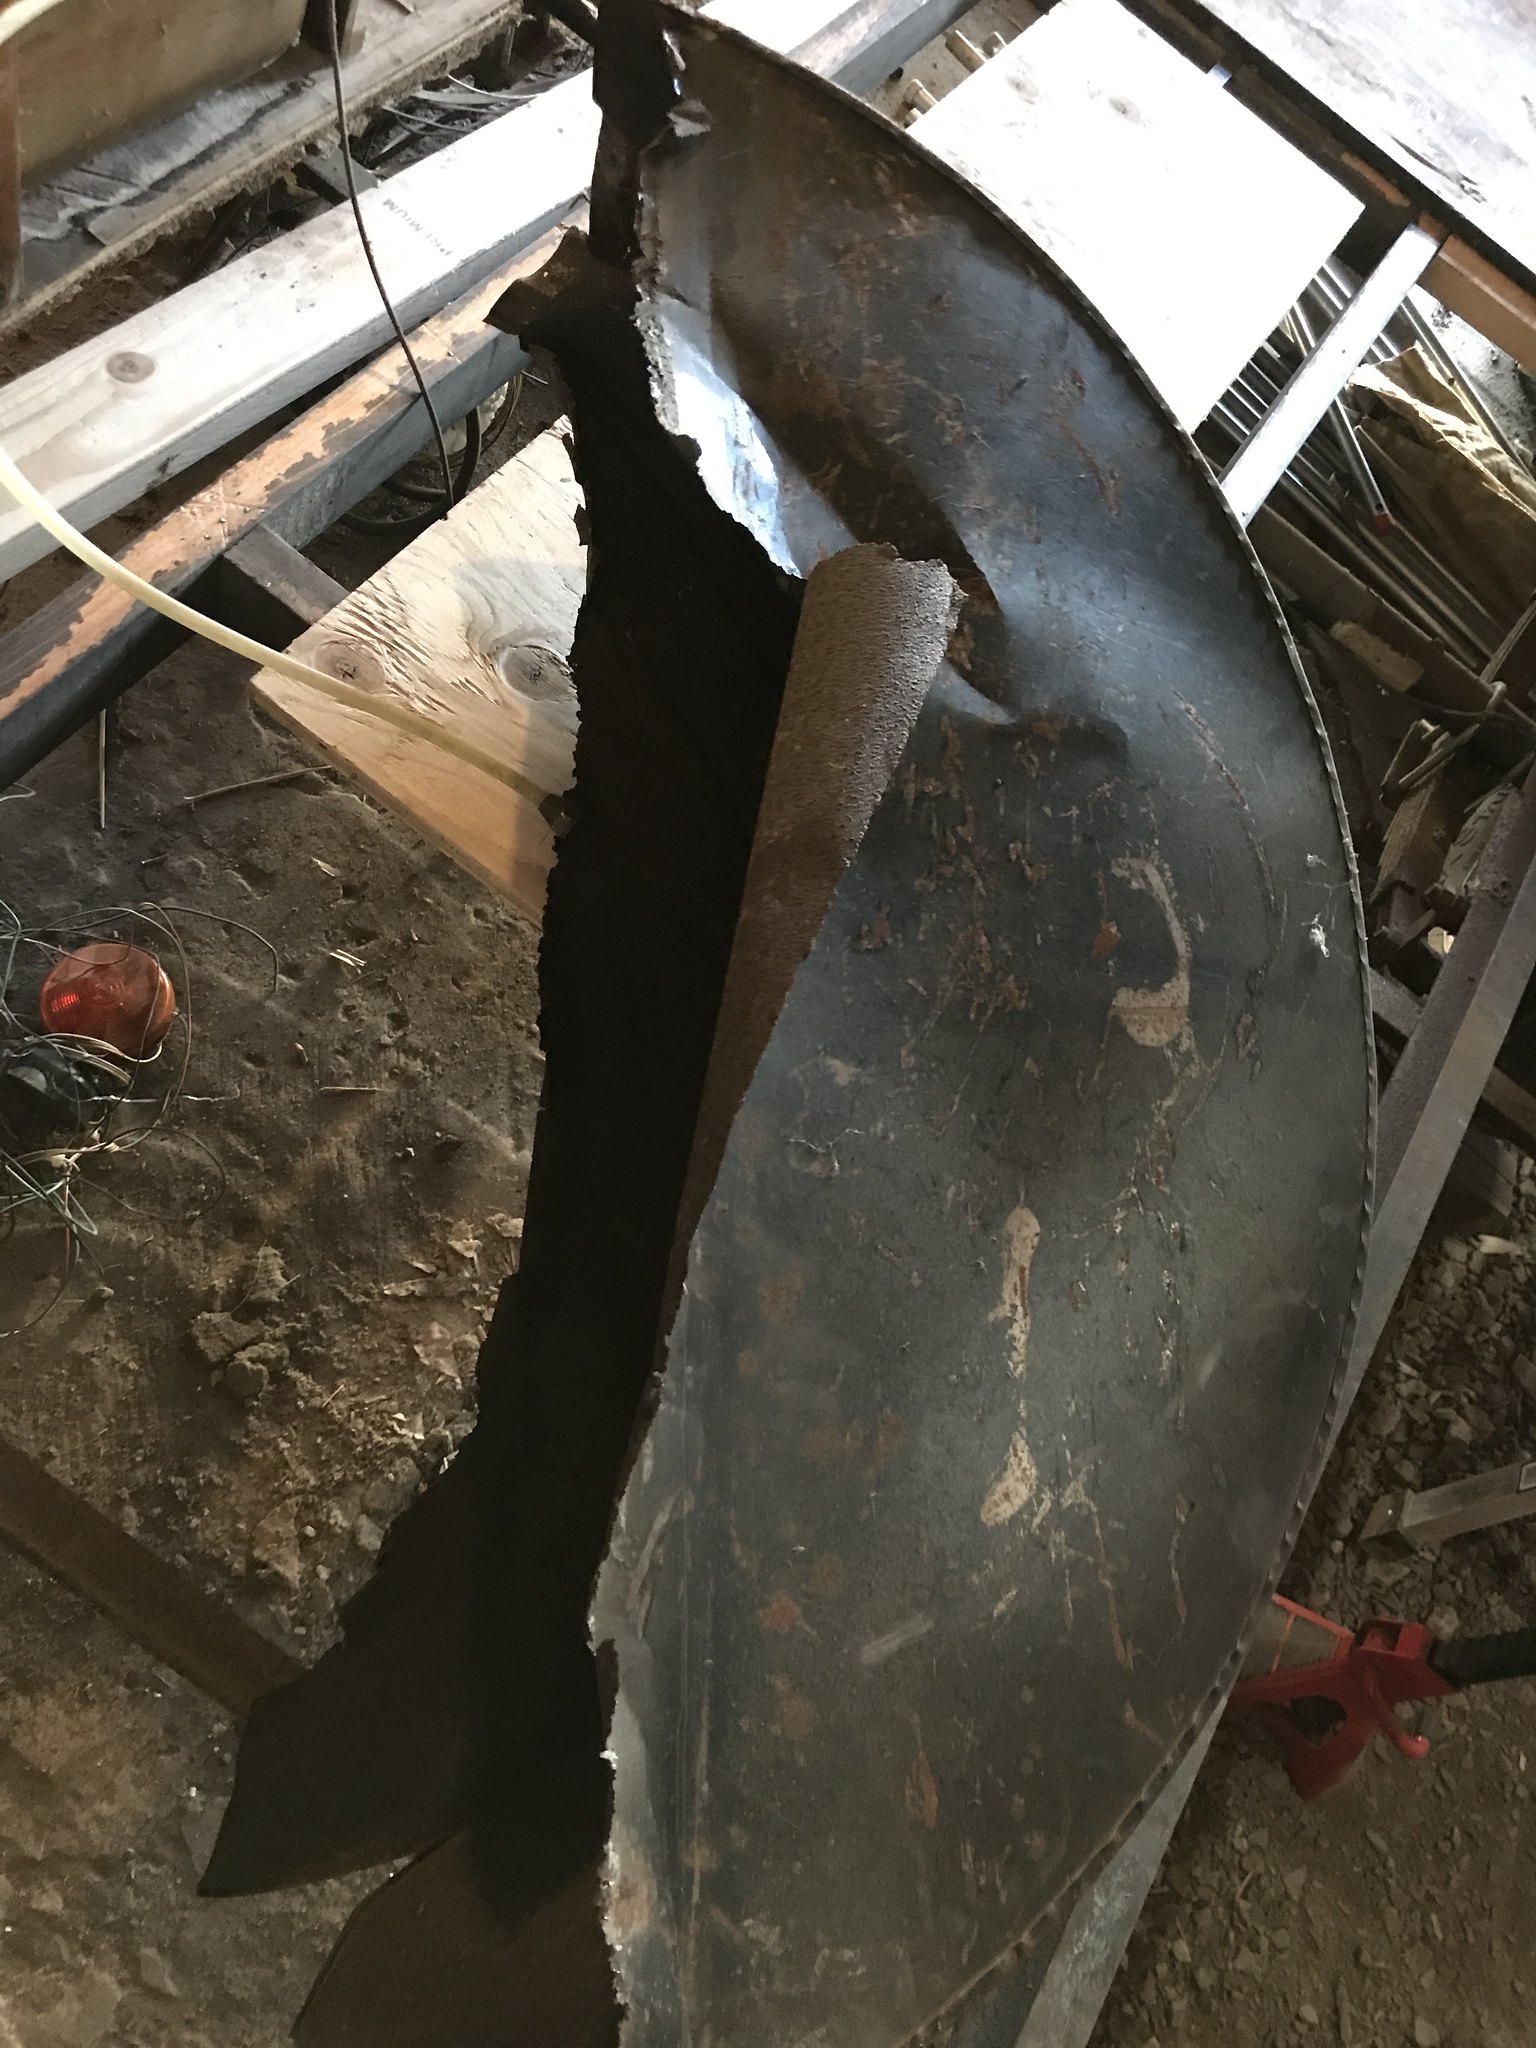 IMG_2288 IMG_2288 by kathy, on Flickr  IMG_2319 IMG_2319 by kathy, on Flickr I had new wheel wells fabricated- and onward we go ! 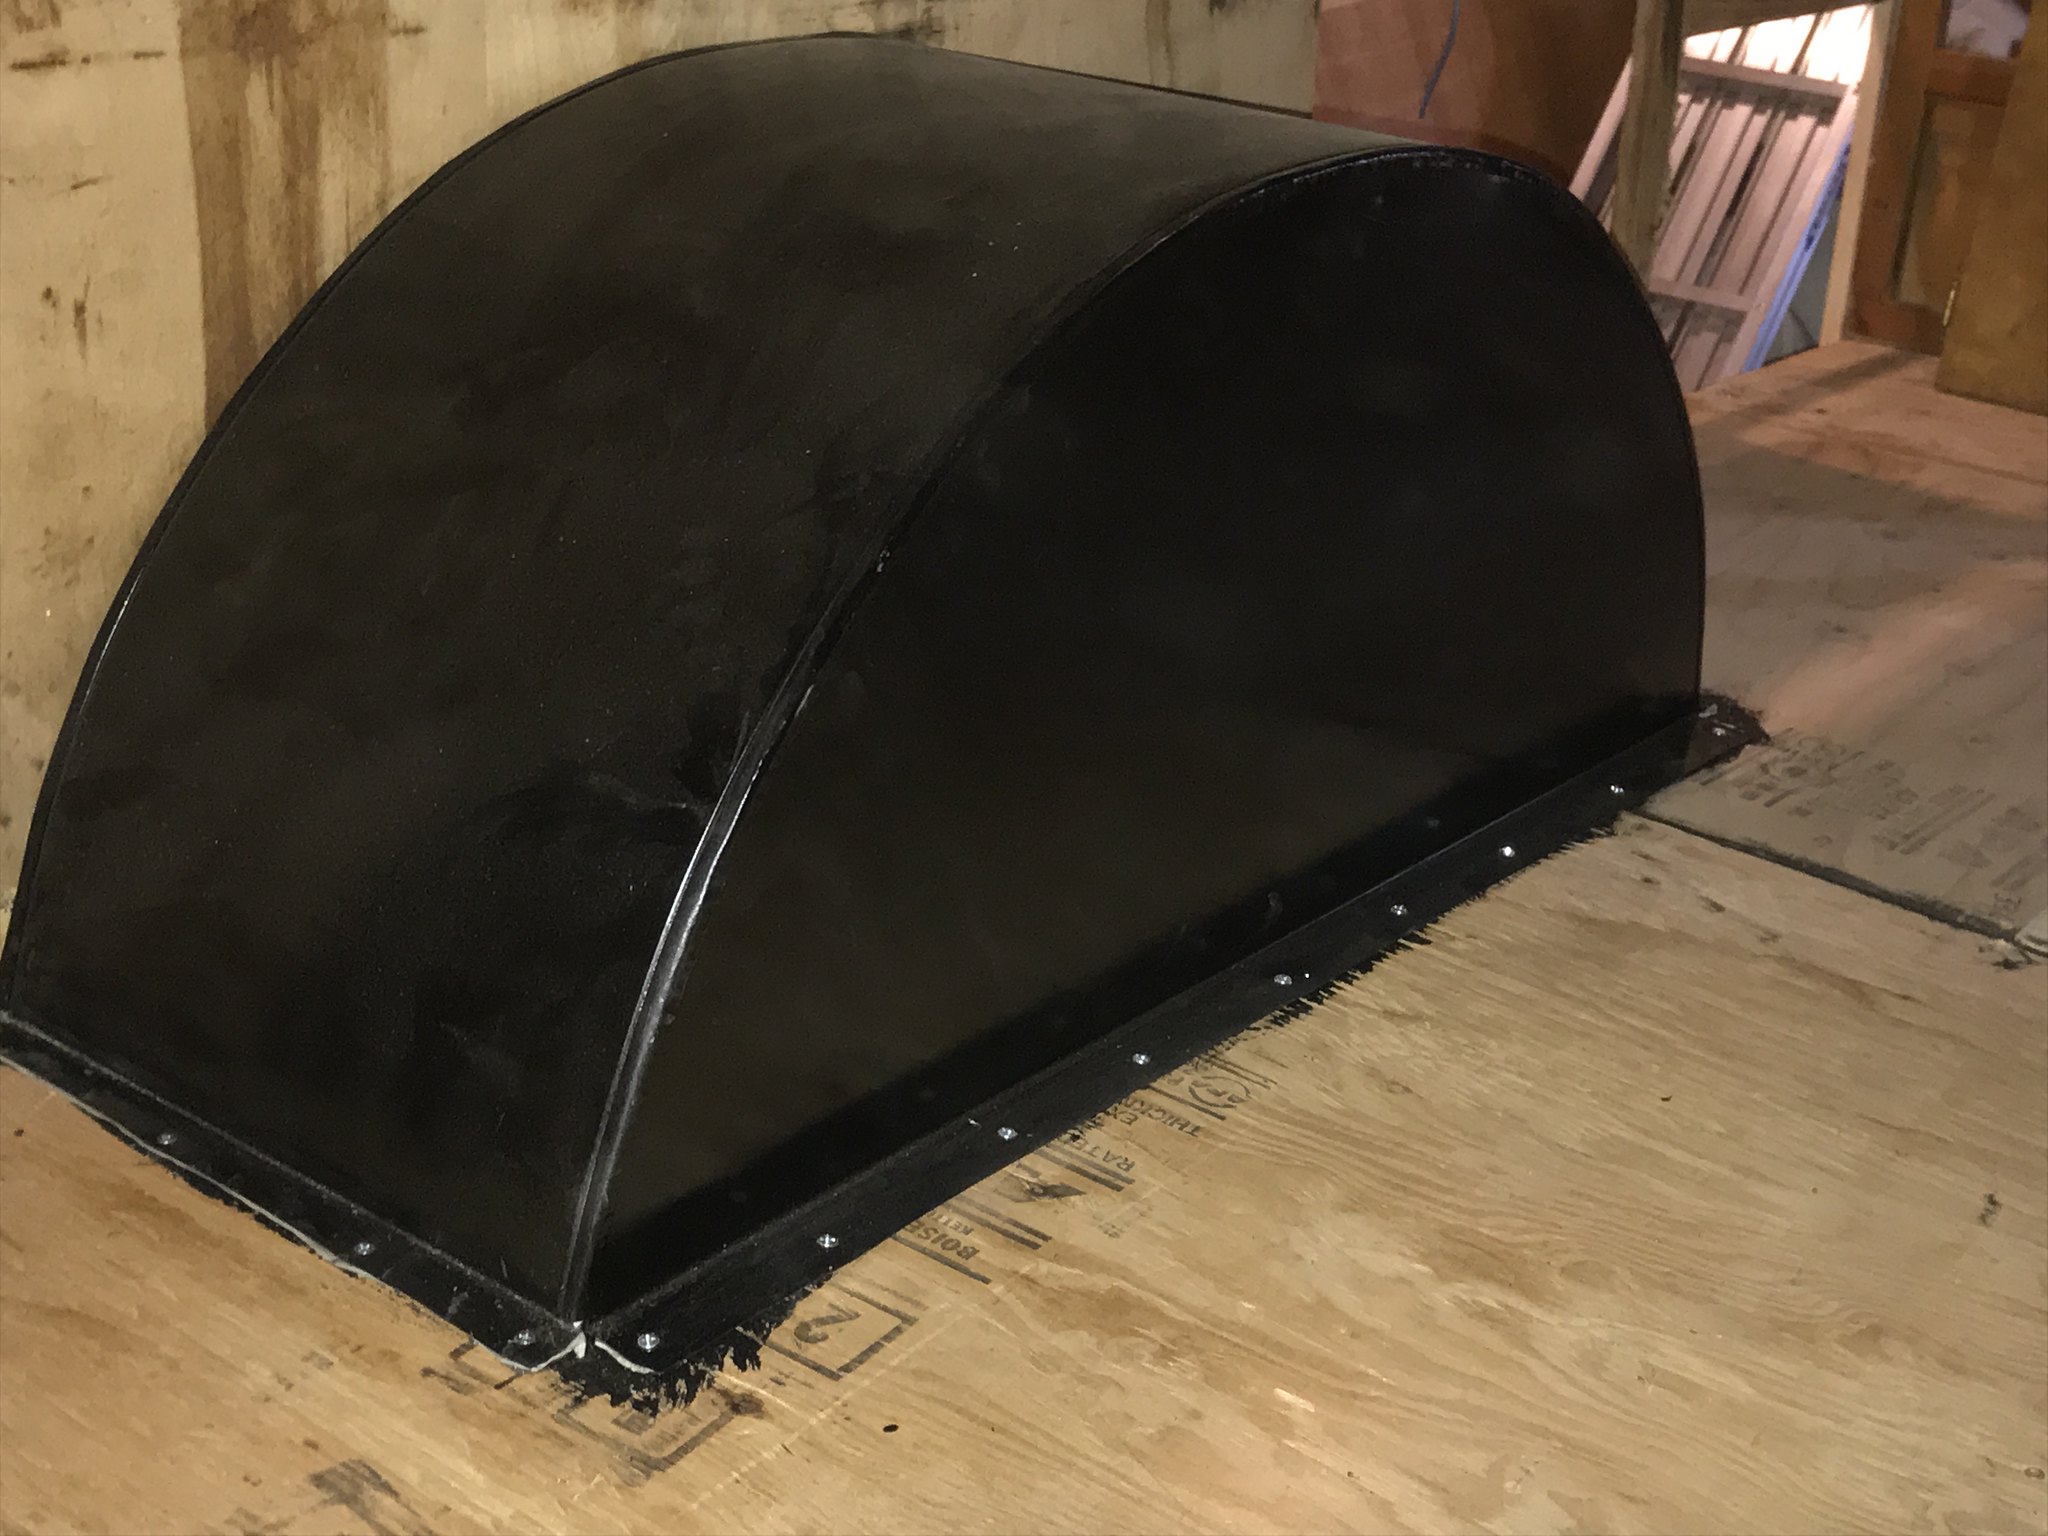 IMG_2452 IMG_2452 by kathy, on Flickr |
|
kaffi311
Active Member
Posts: 283
Likes: 98
1963 Shasta 16 SC
Currently Offline
|
Post by kaffi311 on Apr 26, 2018 16:22:40 GMT -8
I am on a 6 month sabbatical after teaching Deaf preschoolers for the last 28 years. The perfect time to start this project- as it definitely requires lots of thinking- and I can truly say I have not thought about my 'real job' once ! Just what I needed! In addition to the repair of my framing and floor, I have kept busy at night doing the million other things needed. I can't thank Mobiltec enough for his videos and online class I have joined that have guided me through these projects. He ROCKS!! Lol Window repair and cleaning: 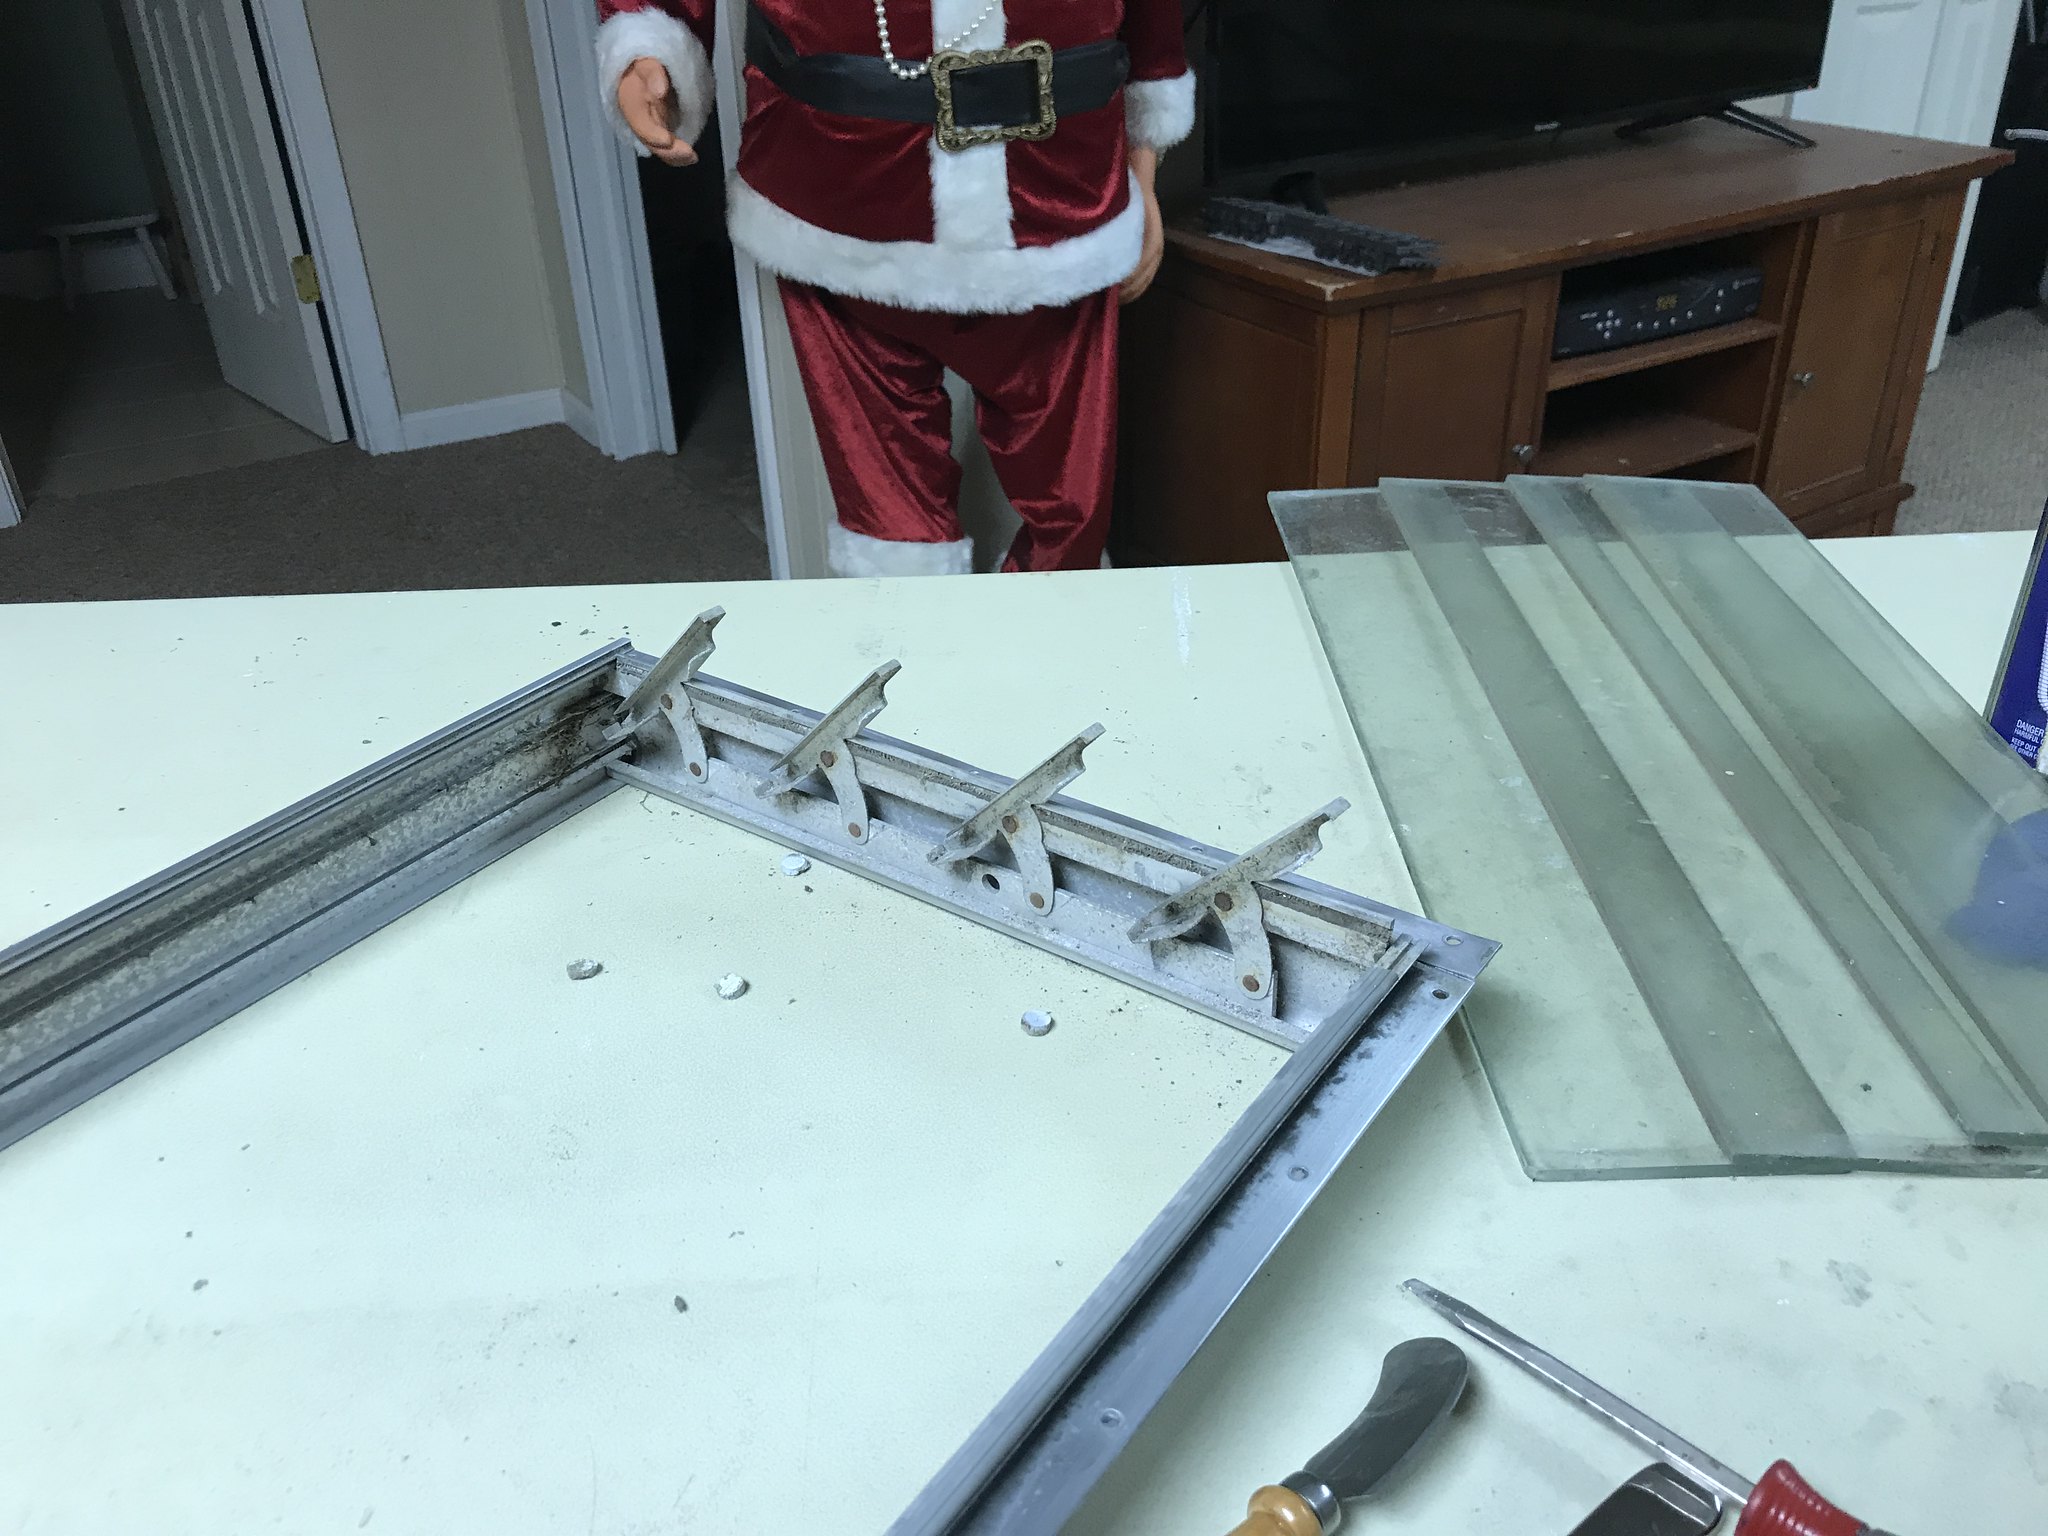 IMG_2025 IMG_2025 by kathy, on Flickr Rescreening windows and the door: 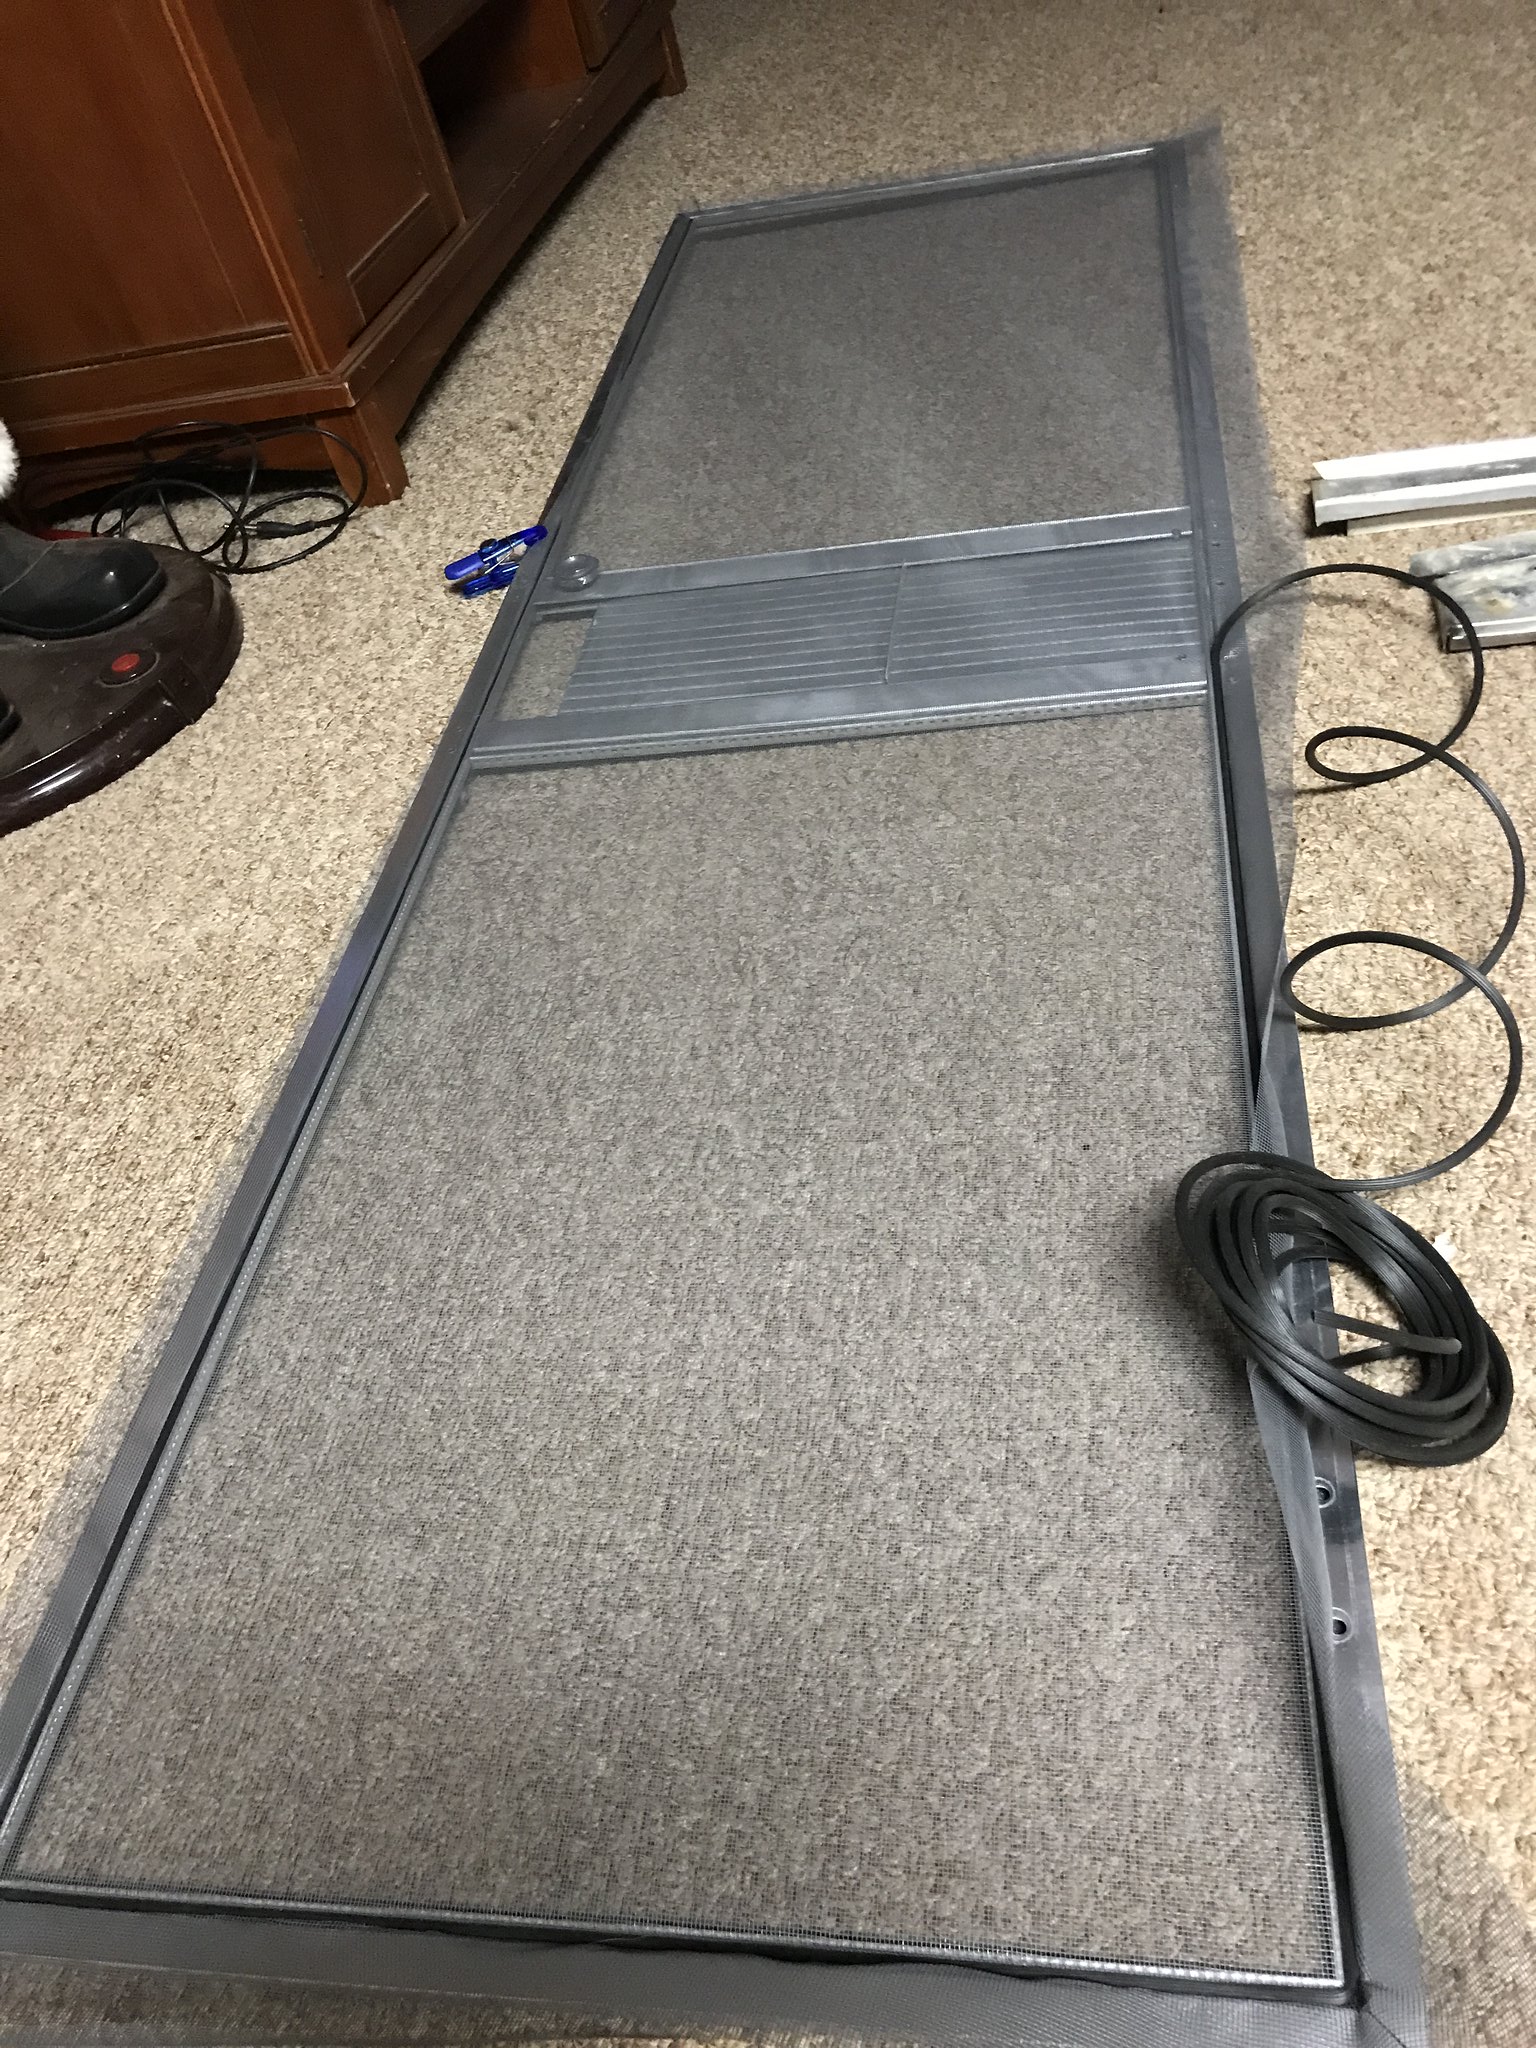 IMG_1957 IMG_1957 by kathy, on Flickr Cutting and shellacking new interior pieces, and sanding and refinishing original ones: 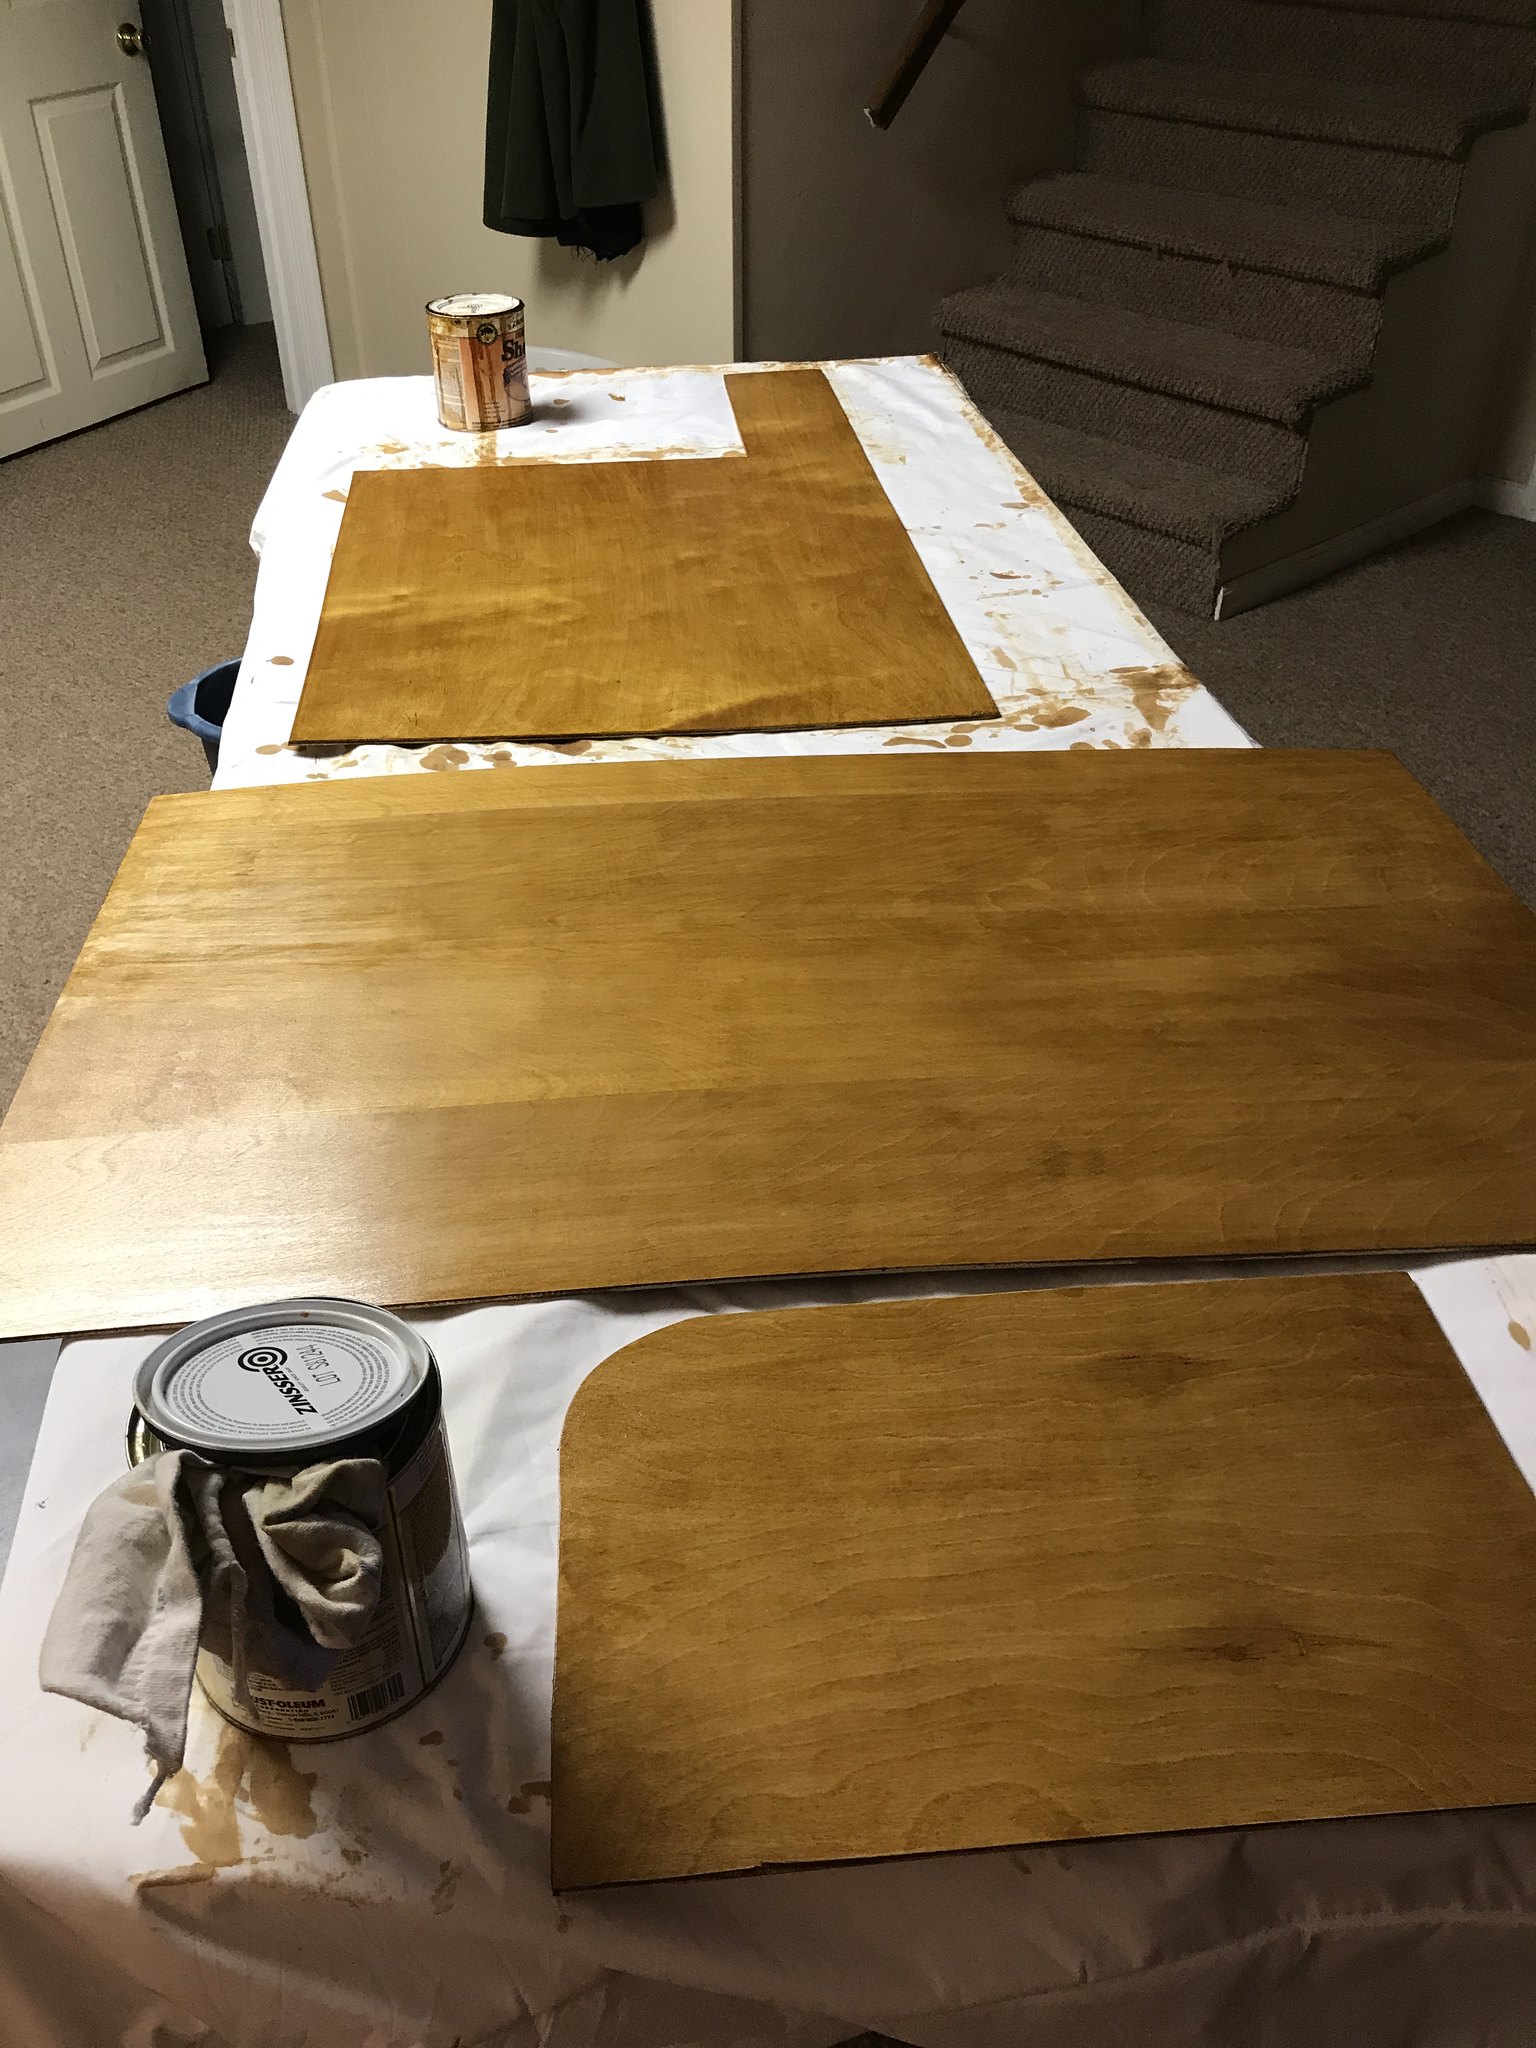 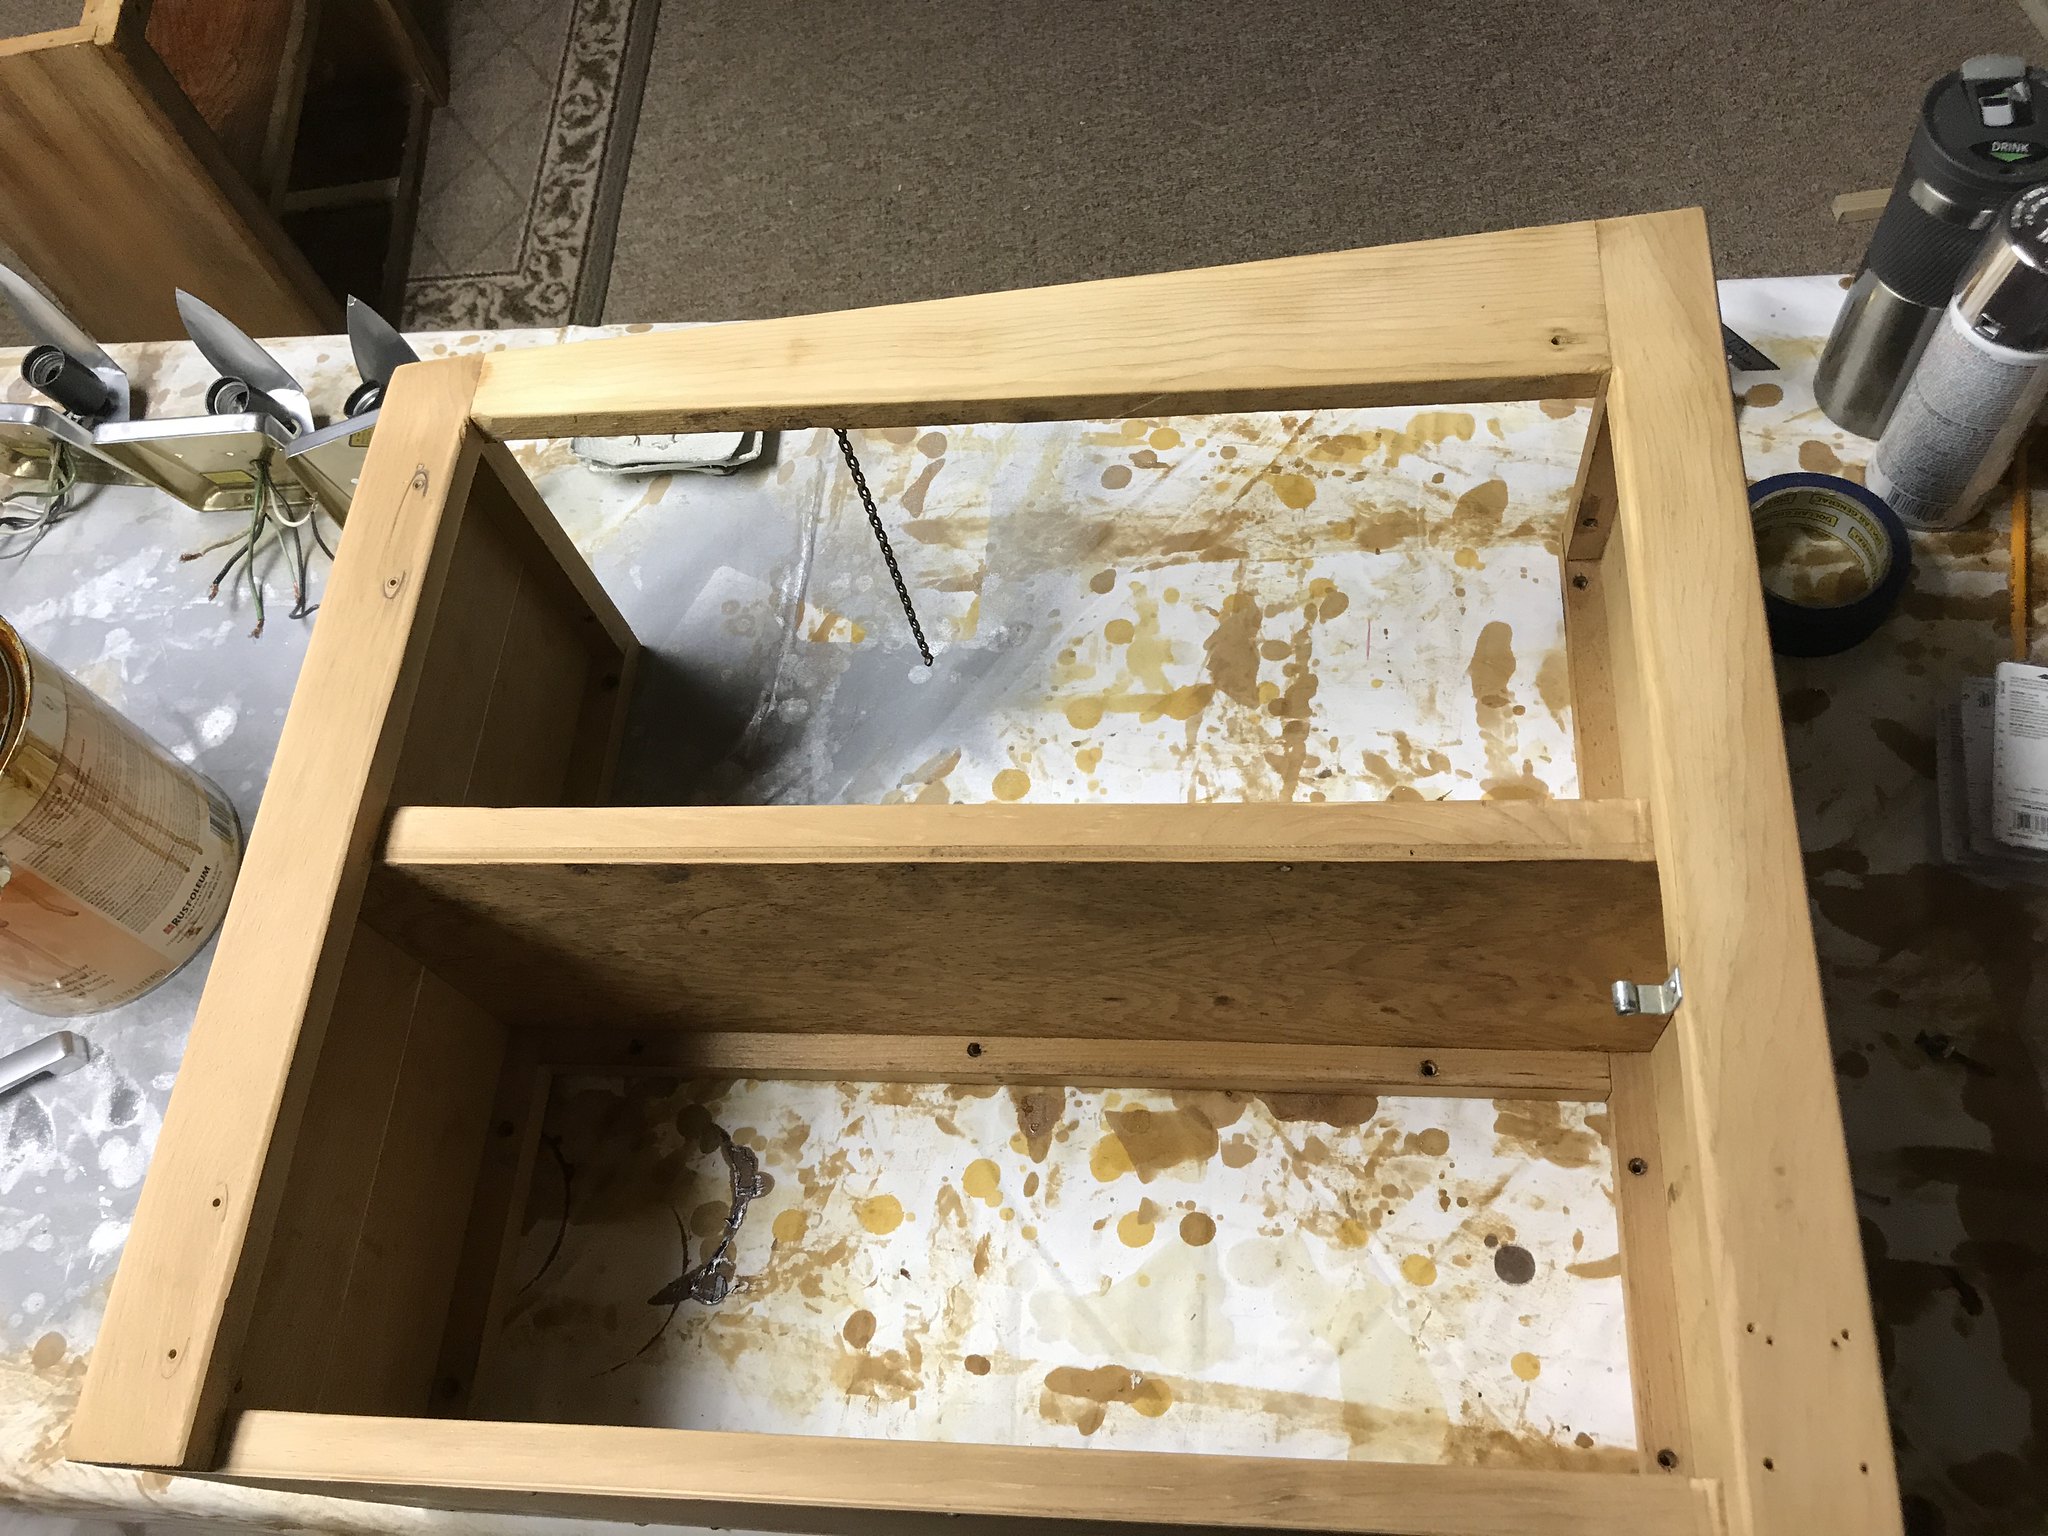  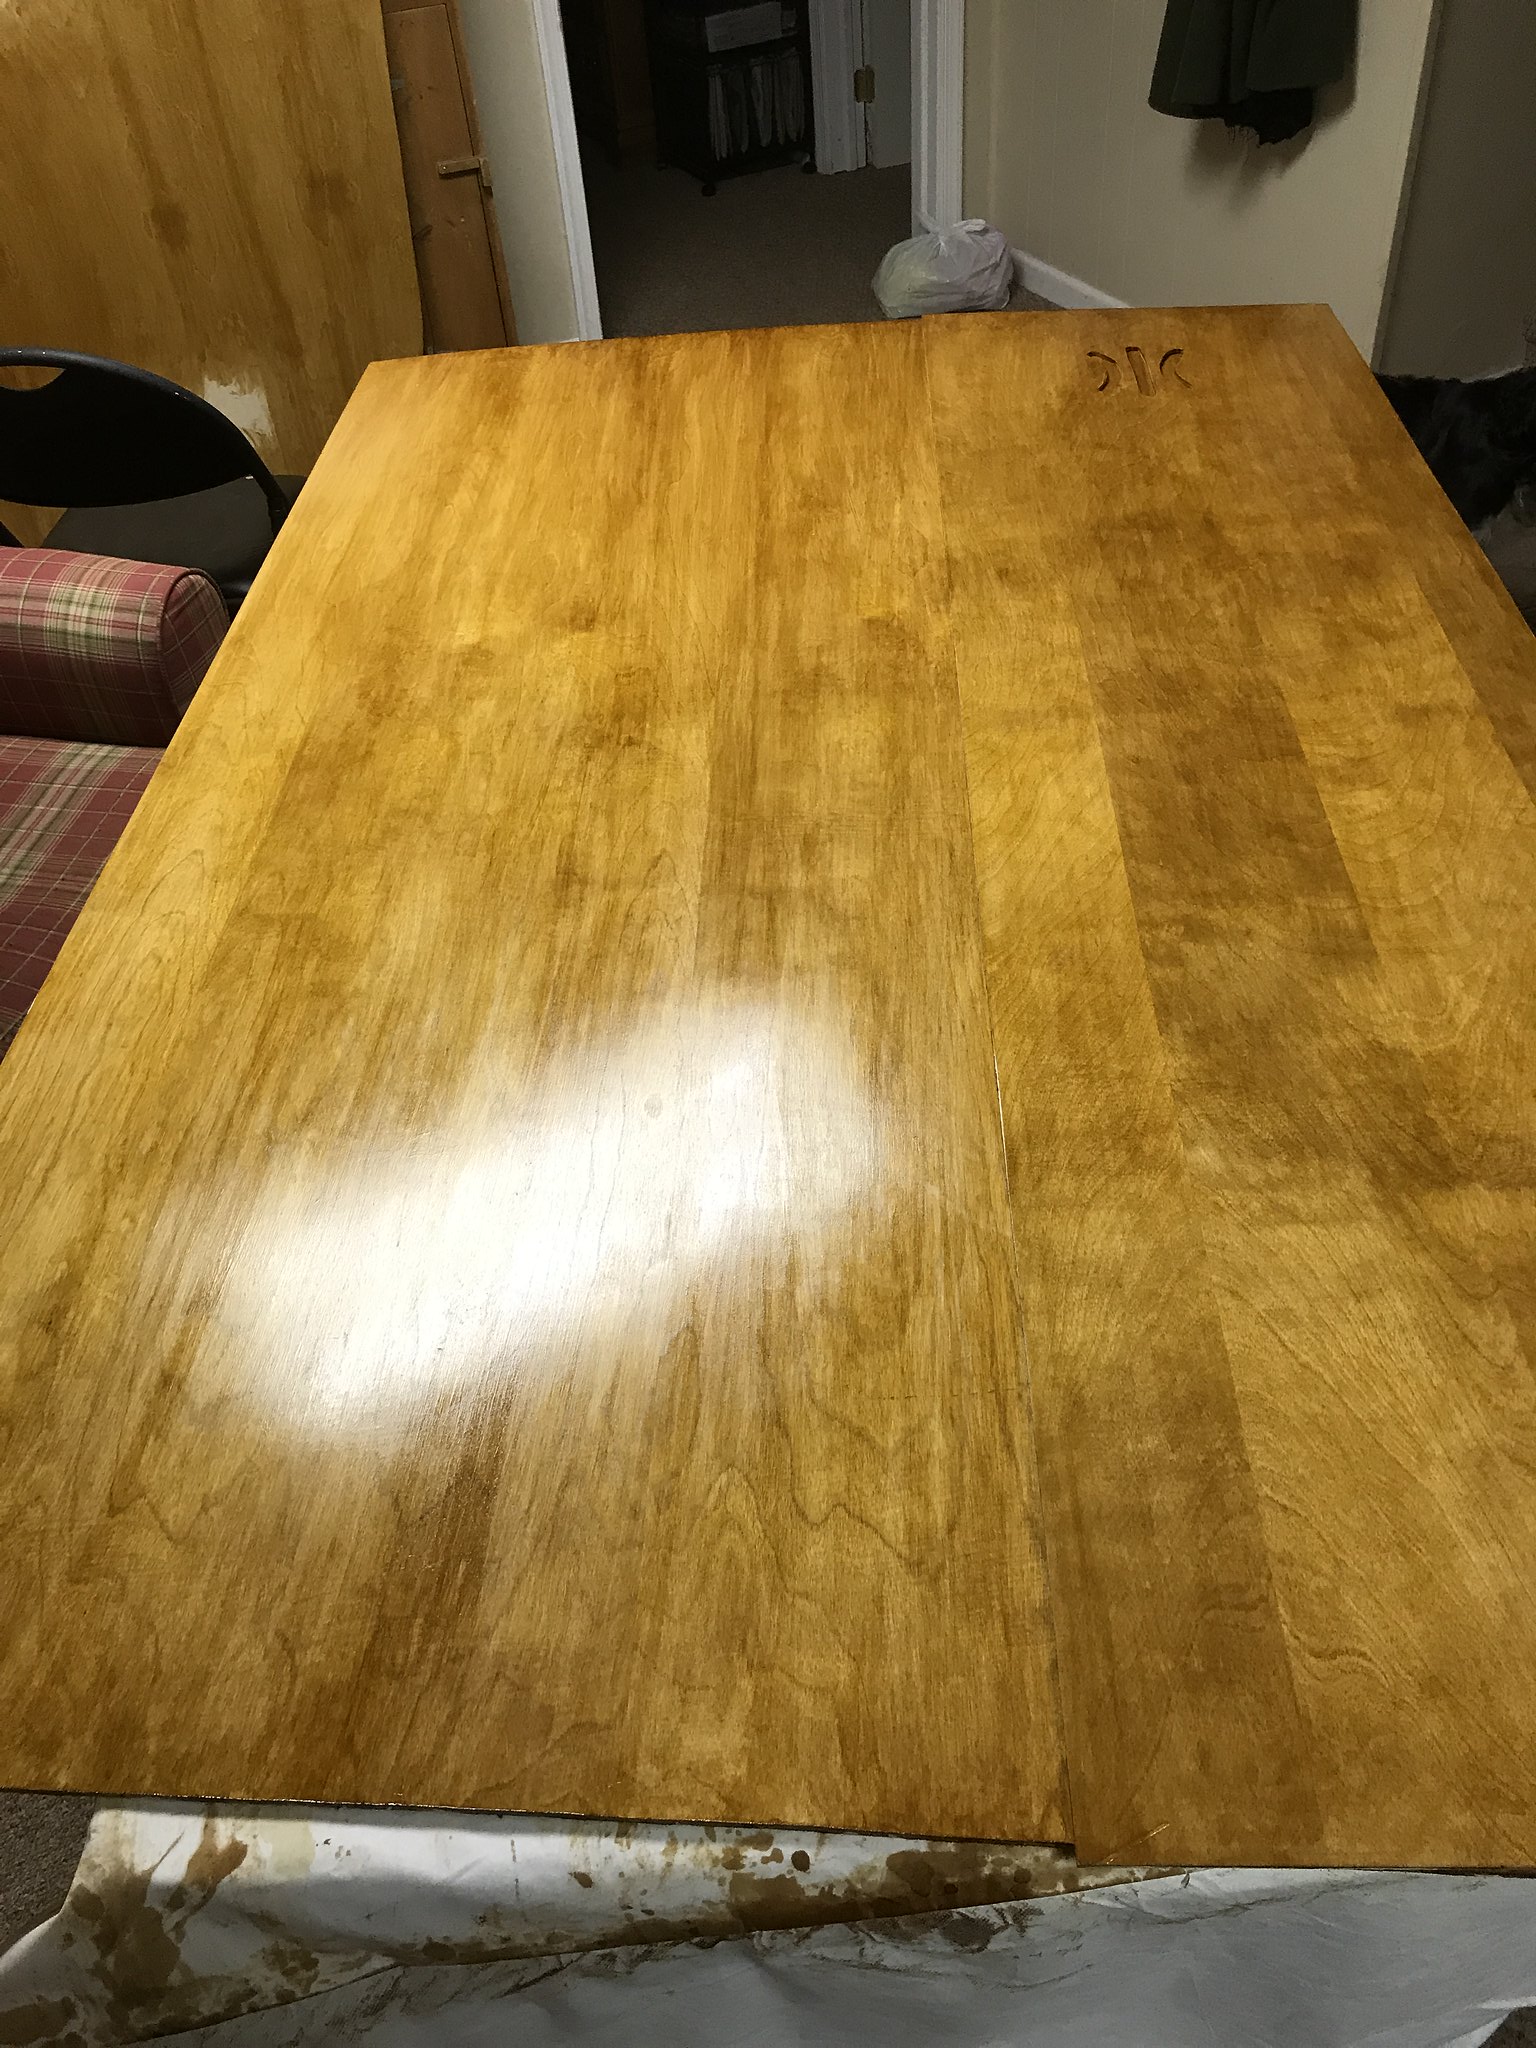 IMG_2486 IMG_2486 by kathy, on Flickr ( LOVE the new walls. I have replaced all but one due to their condition. Talk about Shellac!! Ahhhh ! Spray Painting lights and hardware ( I like silver vs the original gold): 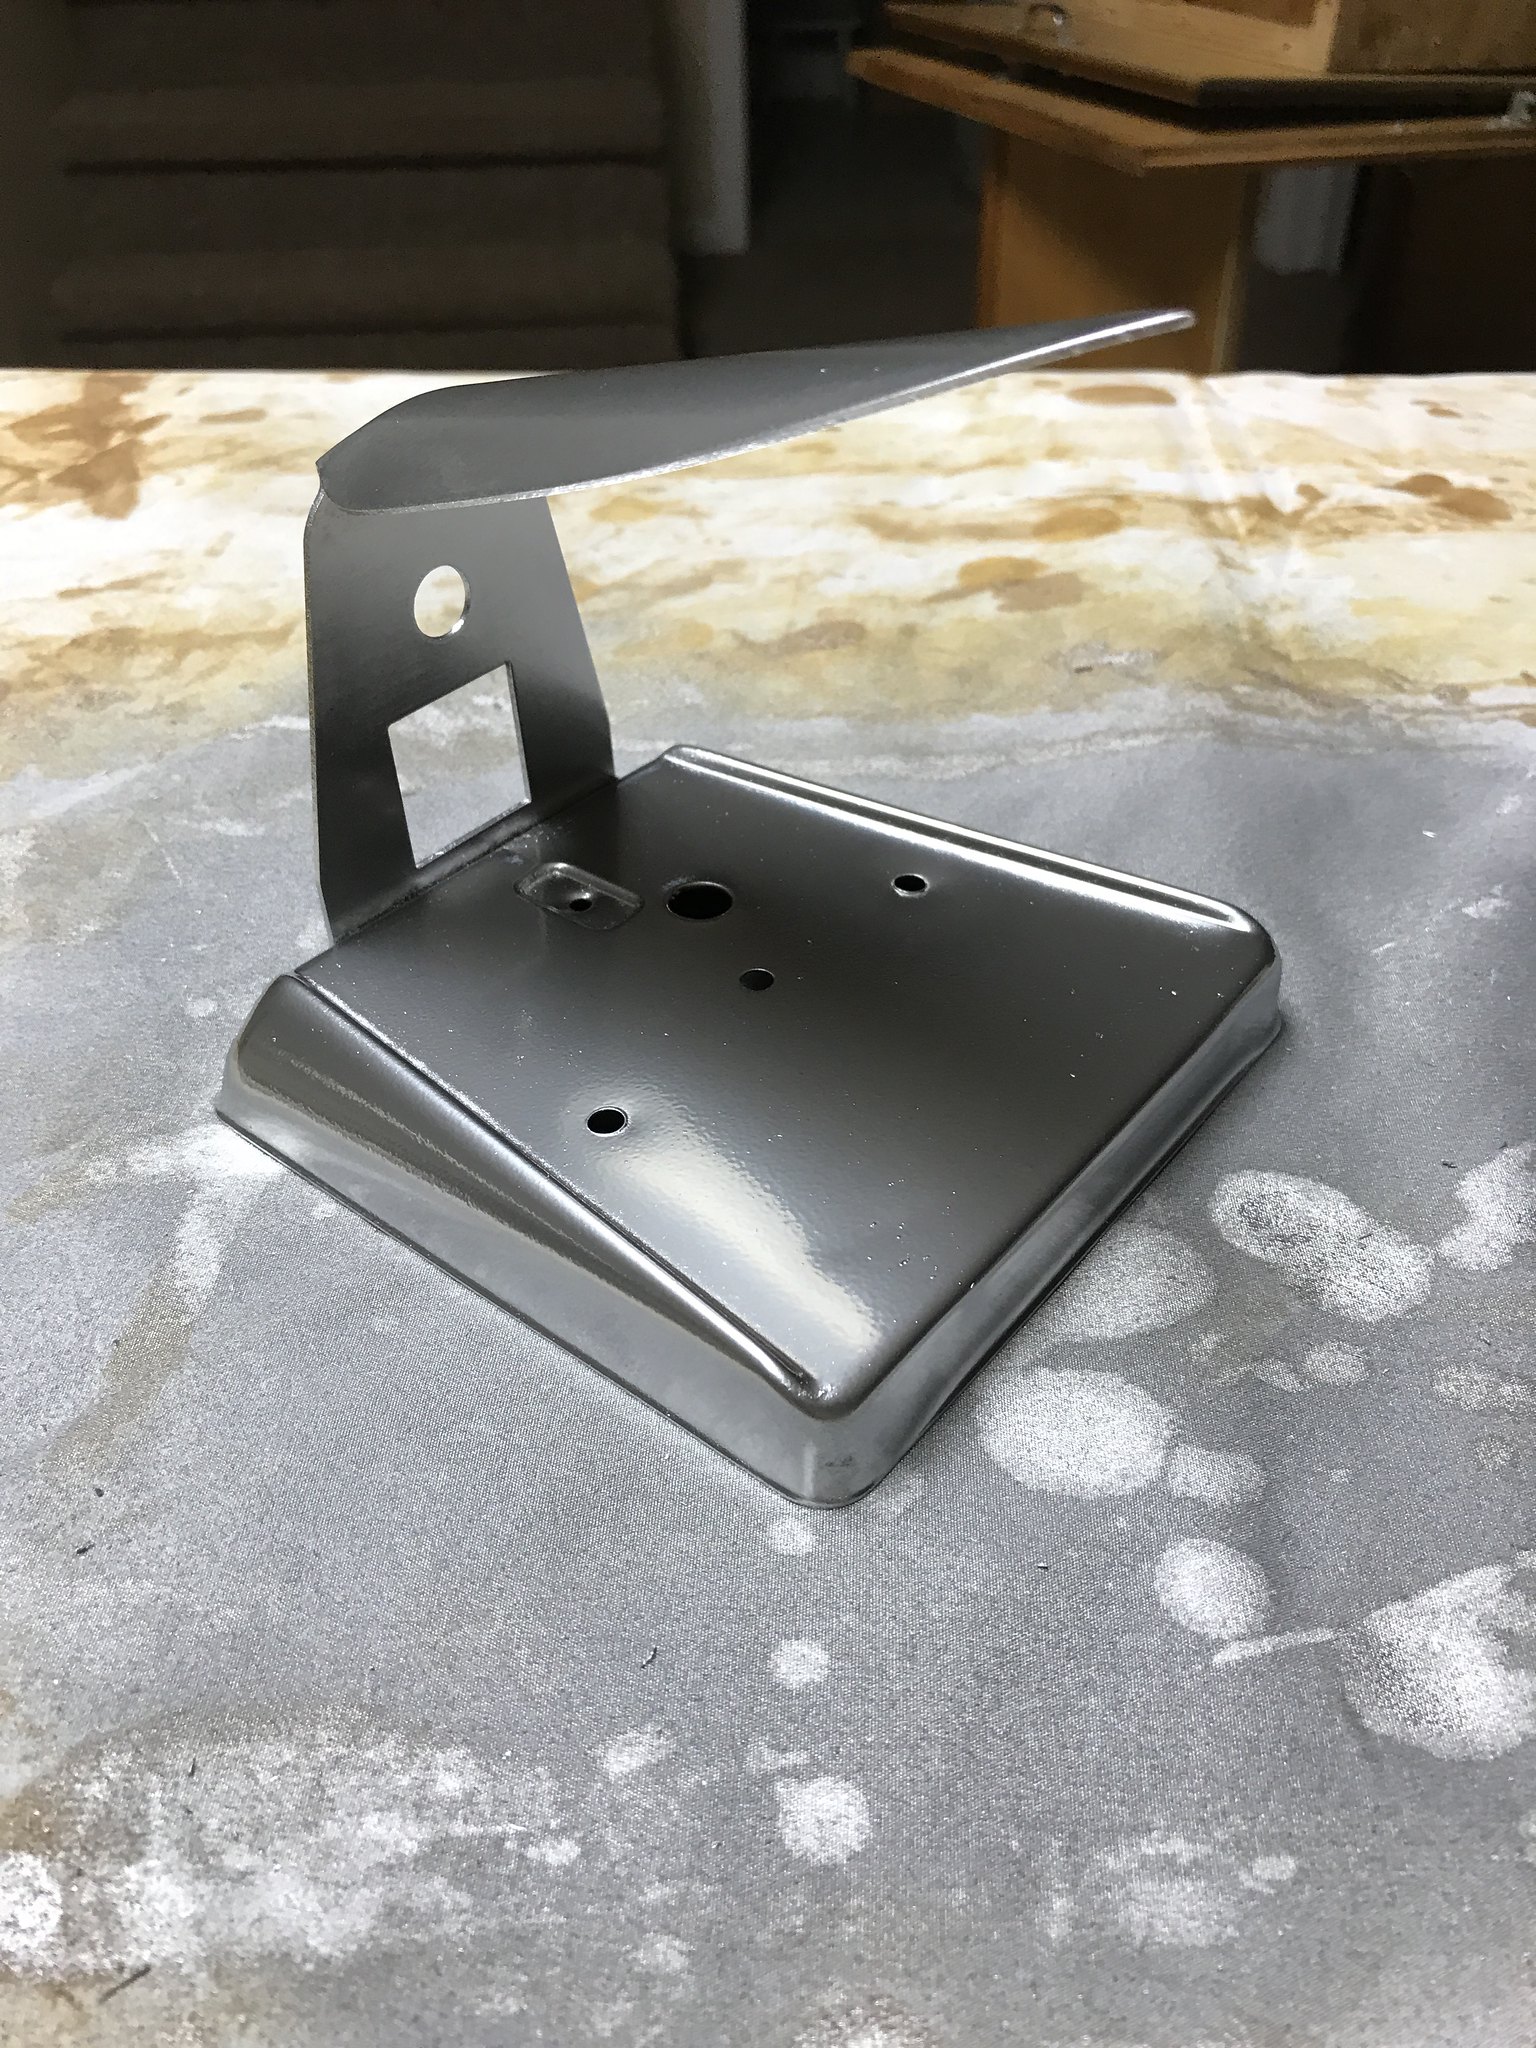 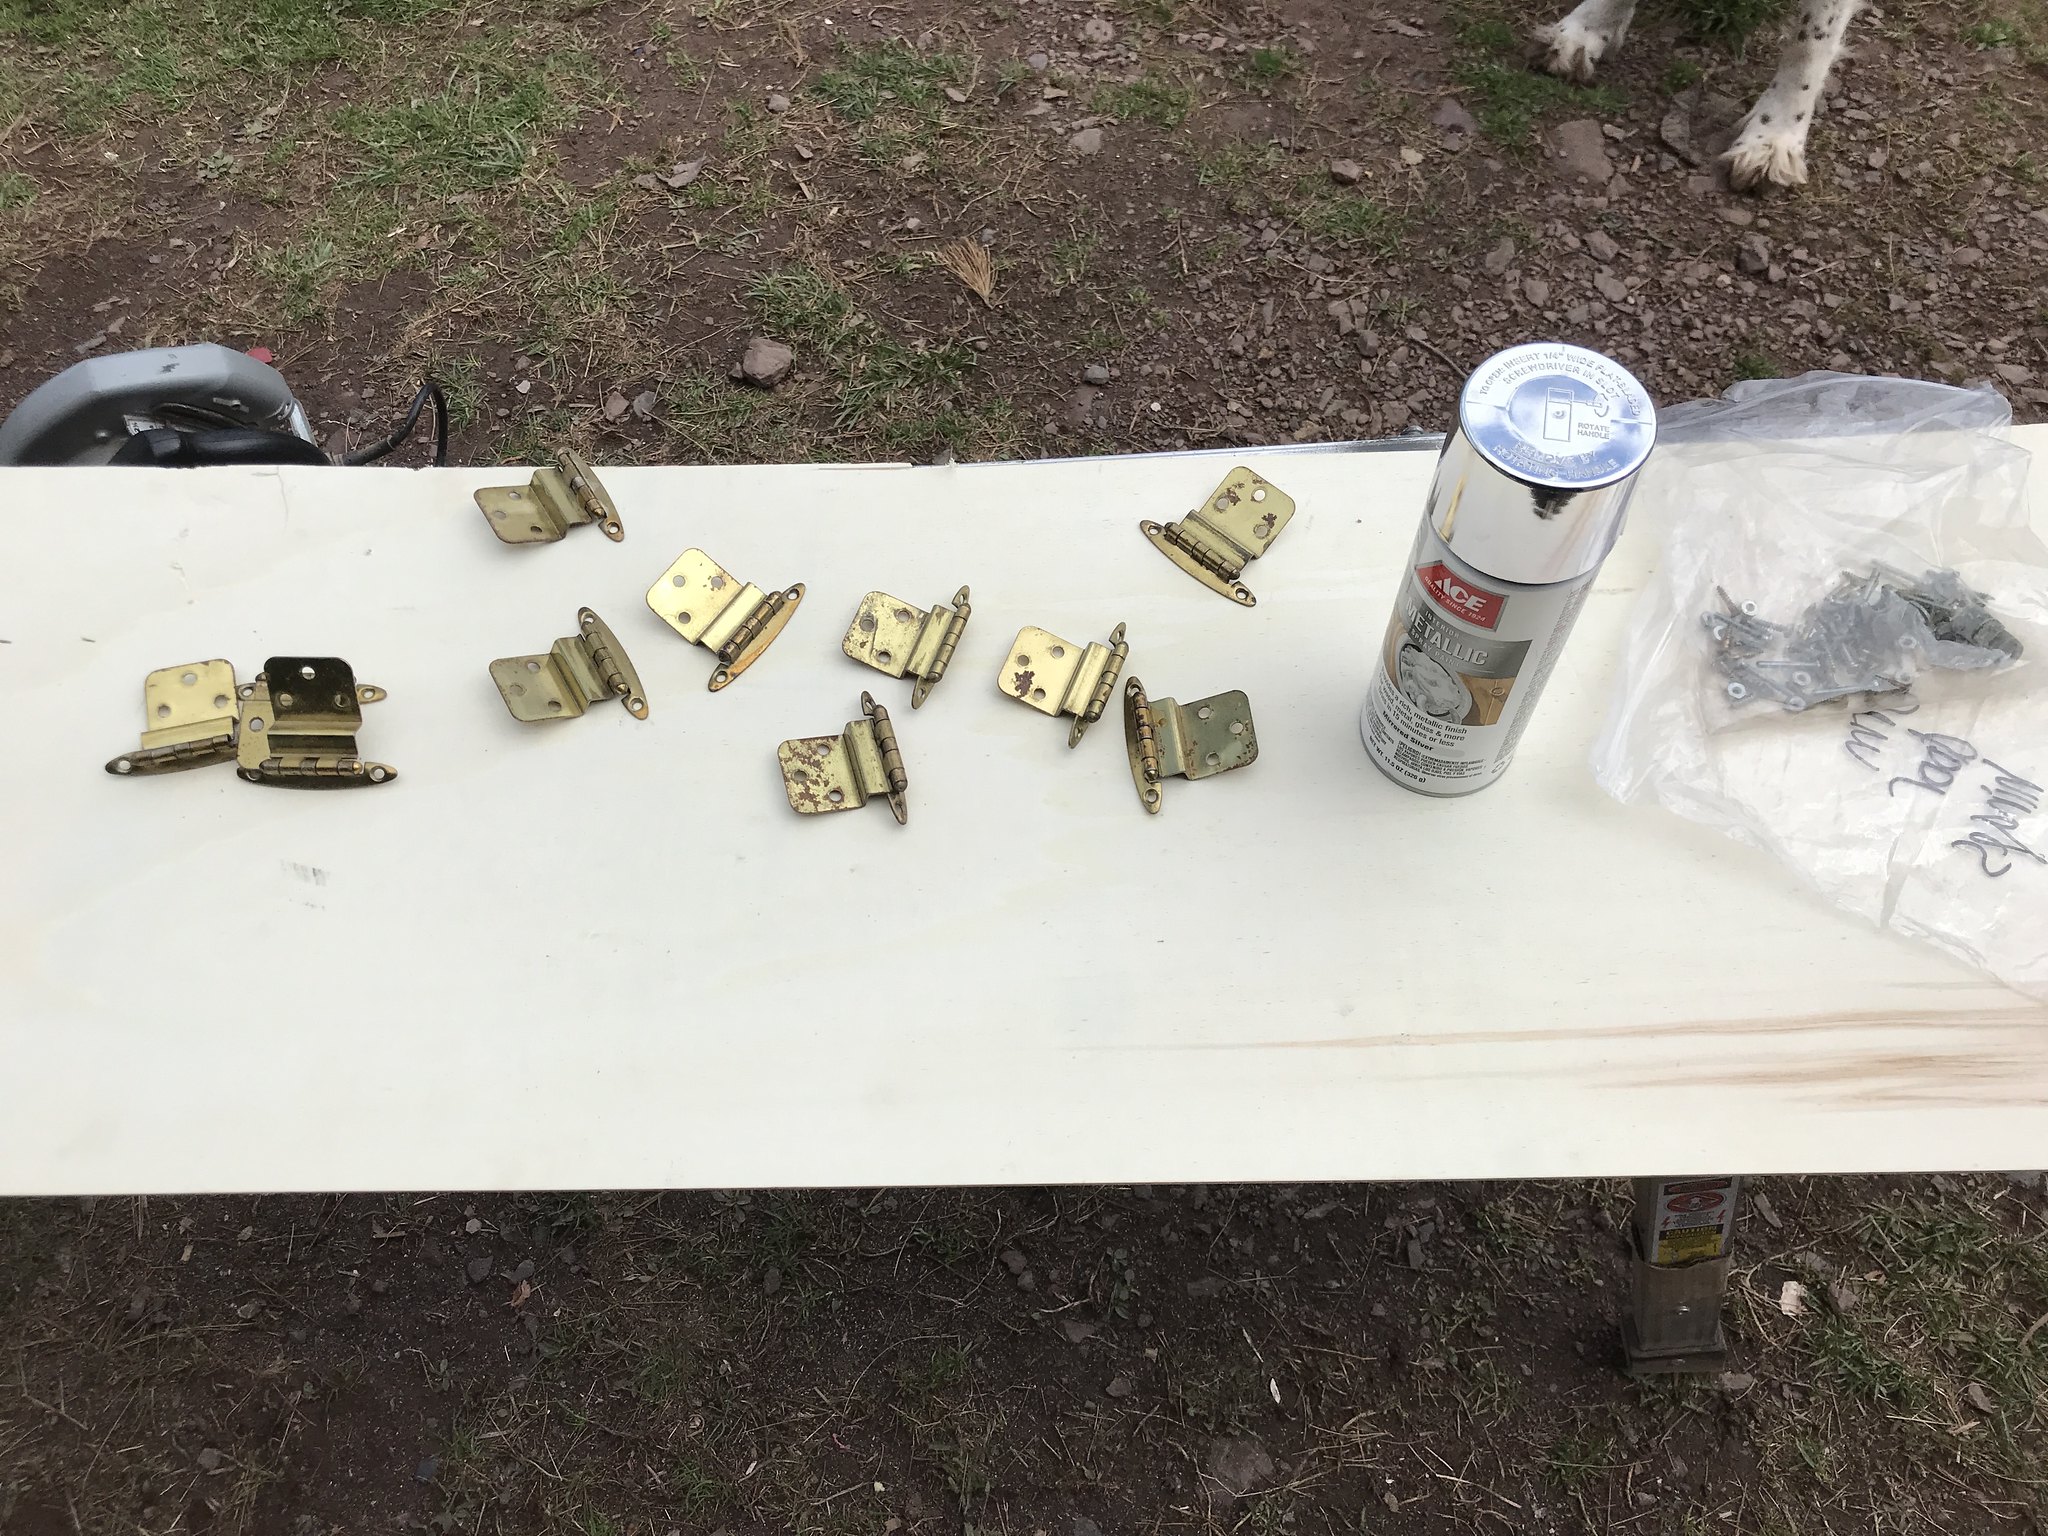 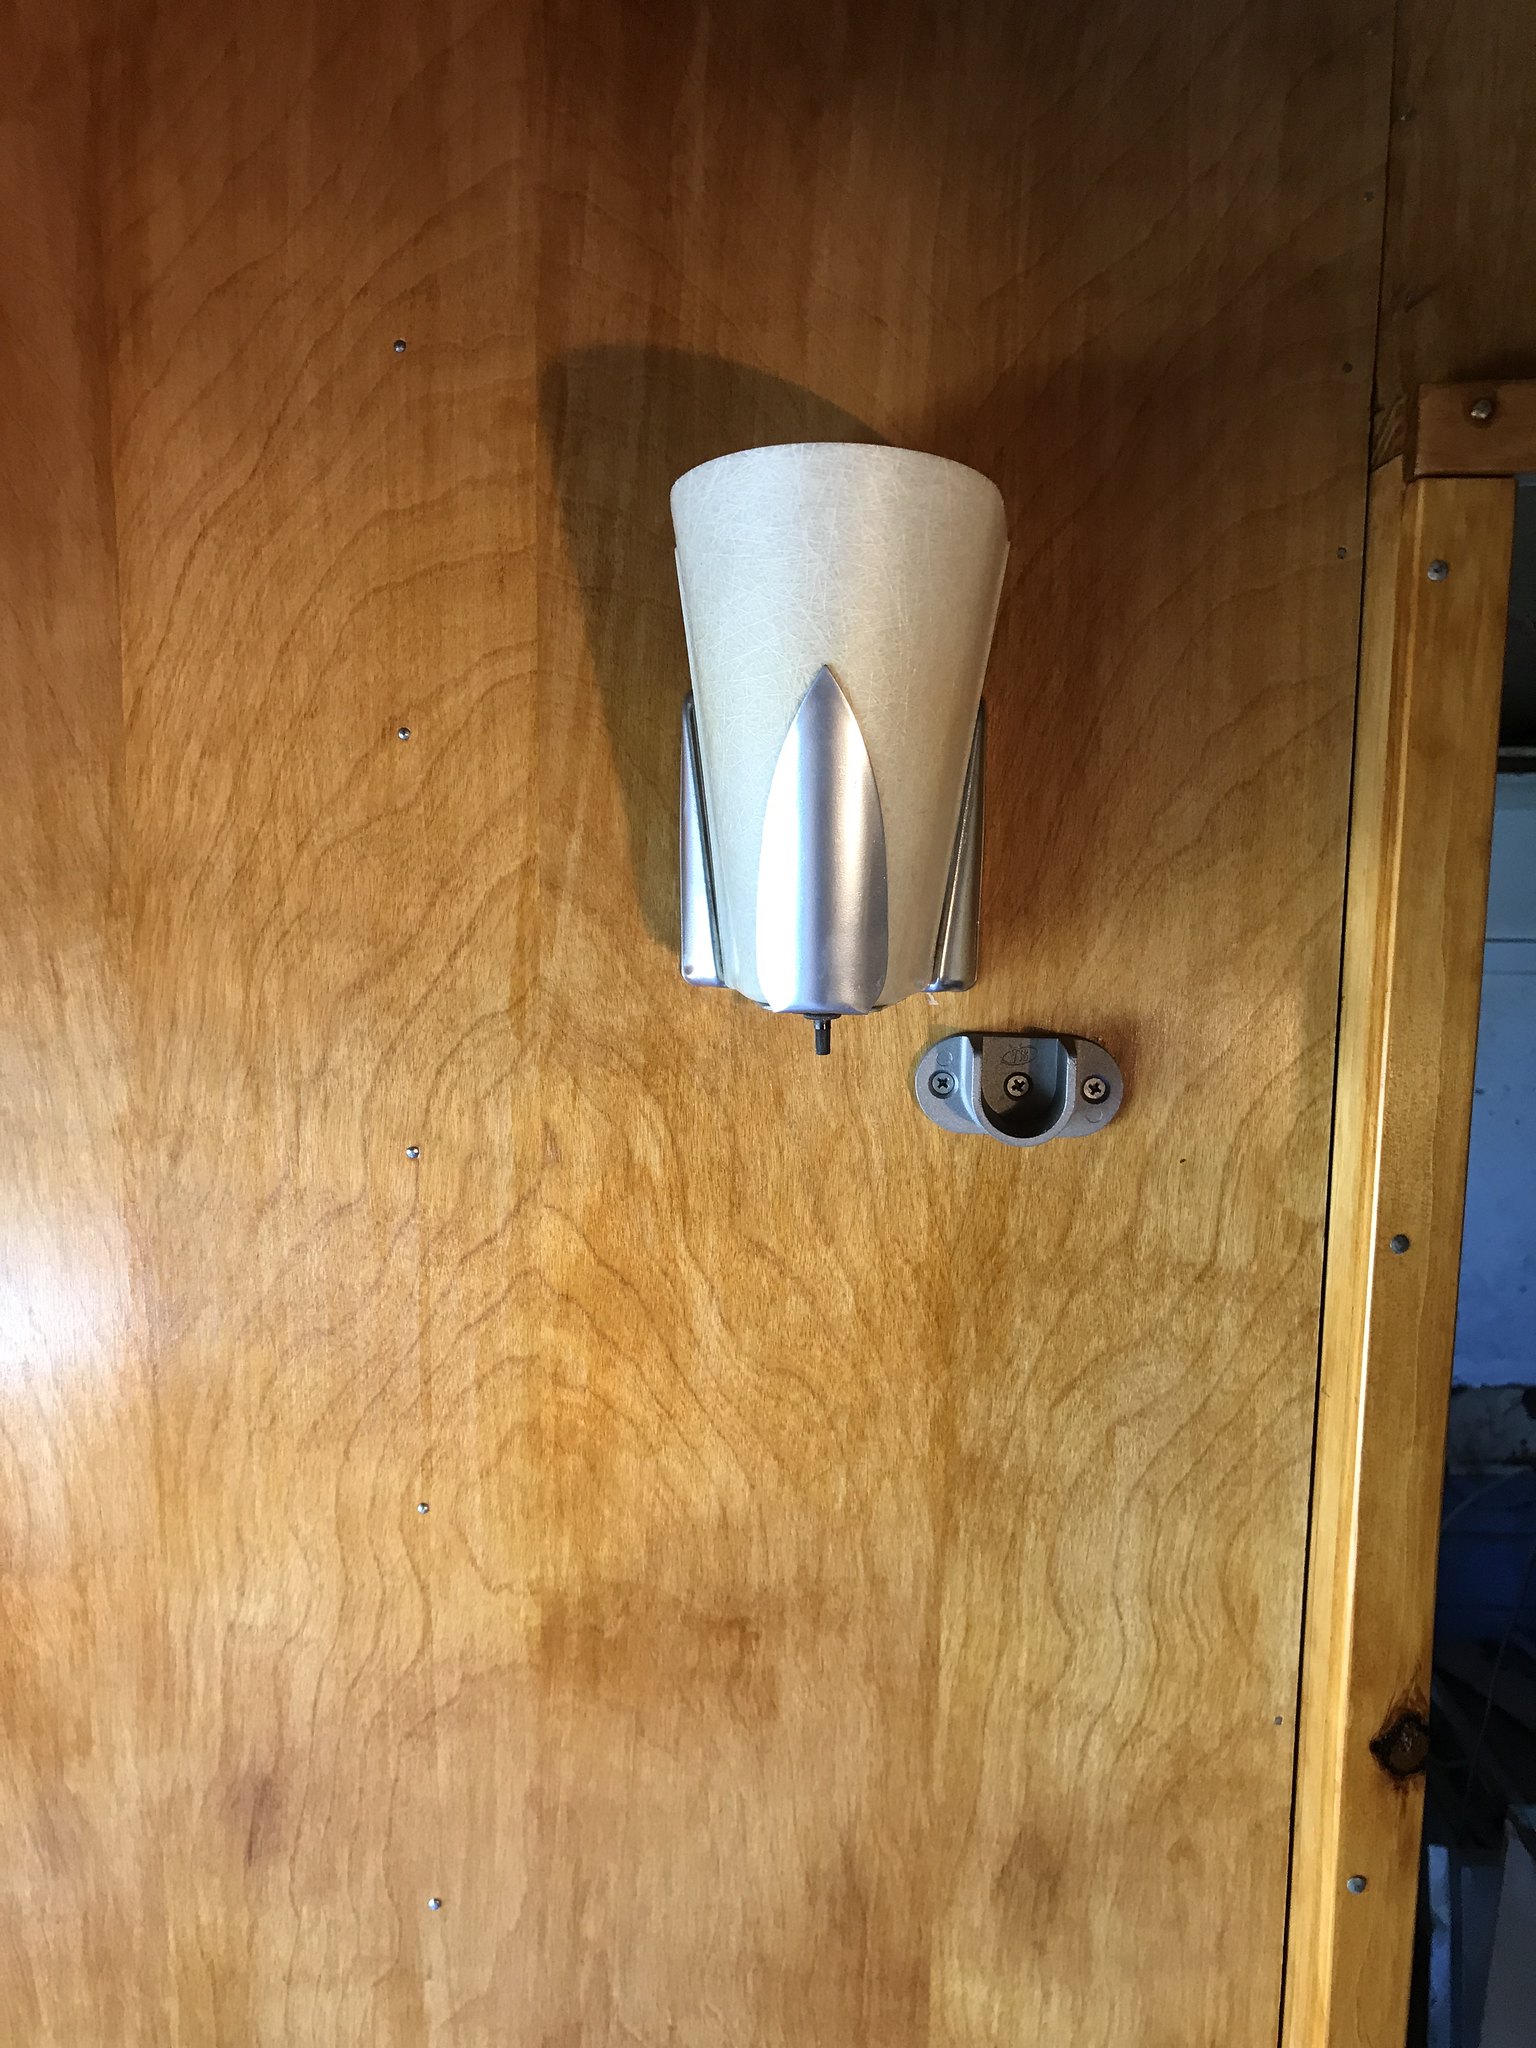 (I had to install one just to admire it ! Lol) And, of course, picking out new colors! The PO had reupholstered the original bench seats to a lovely green- which is my Fav't color! Yahoo !!! 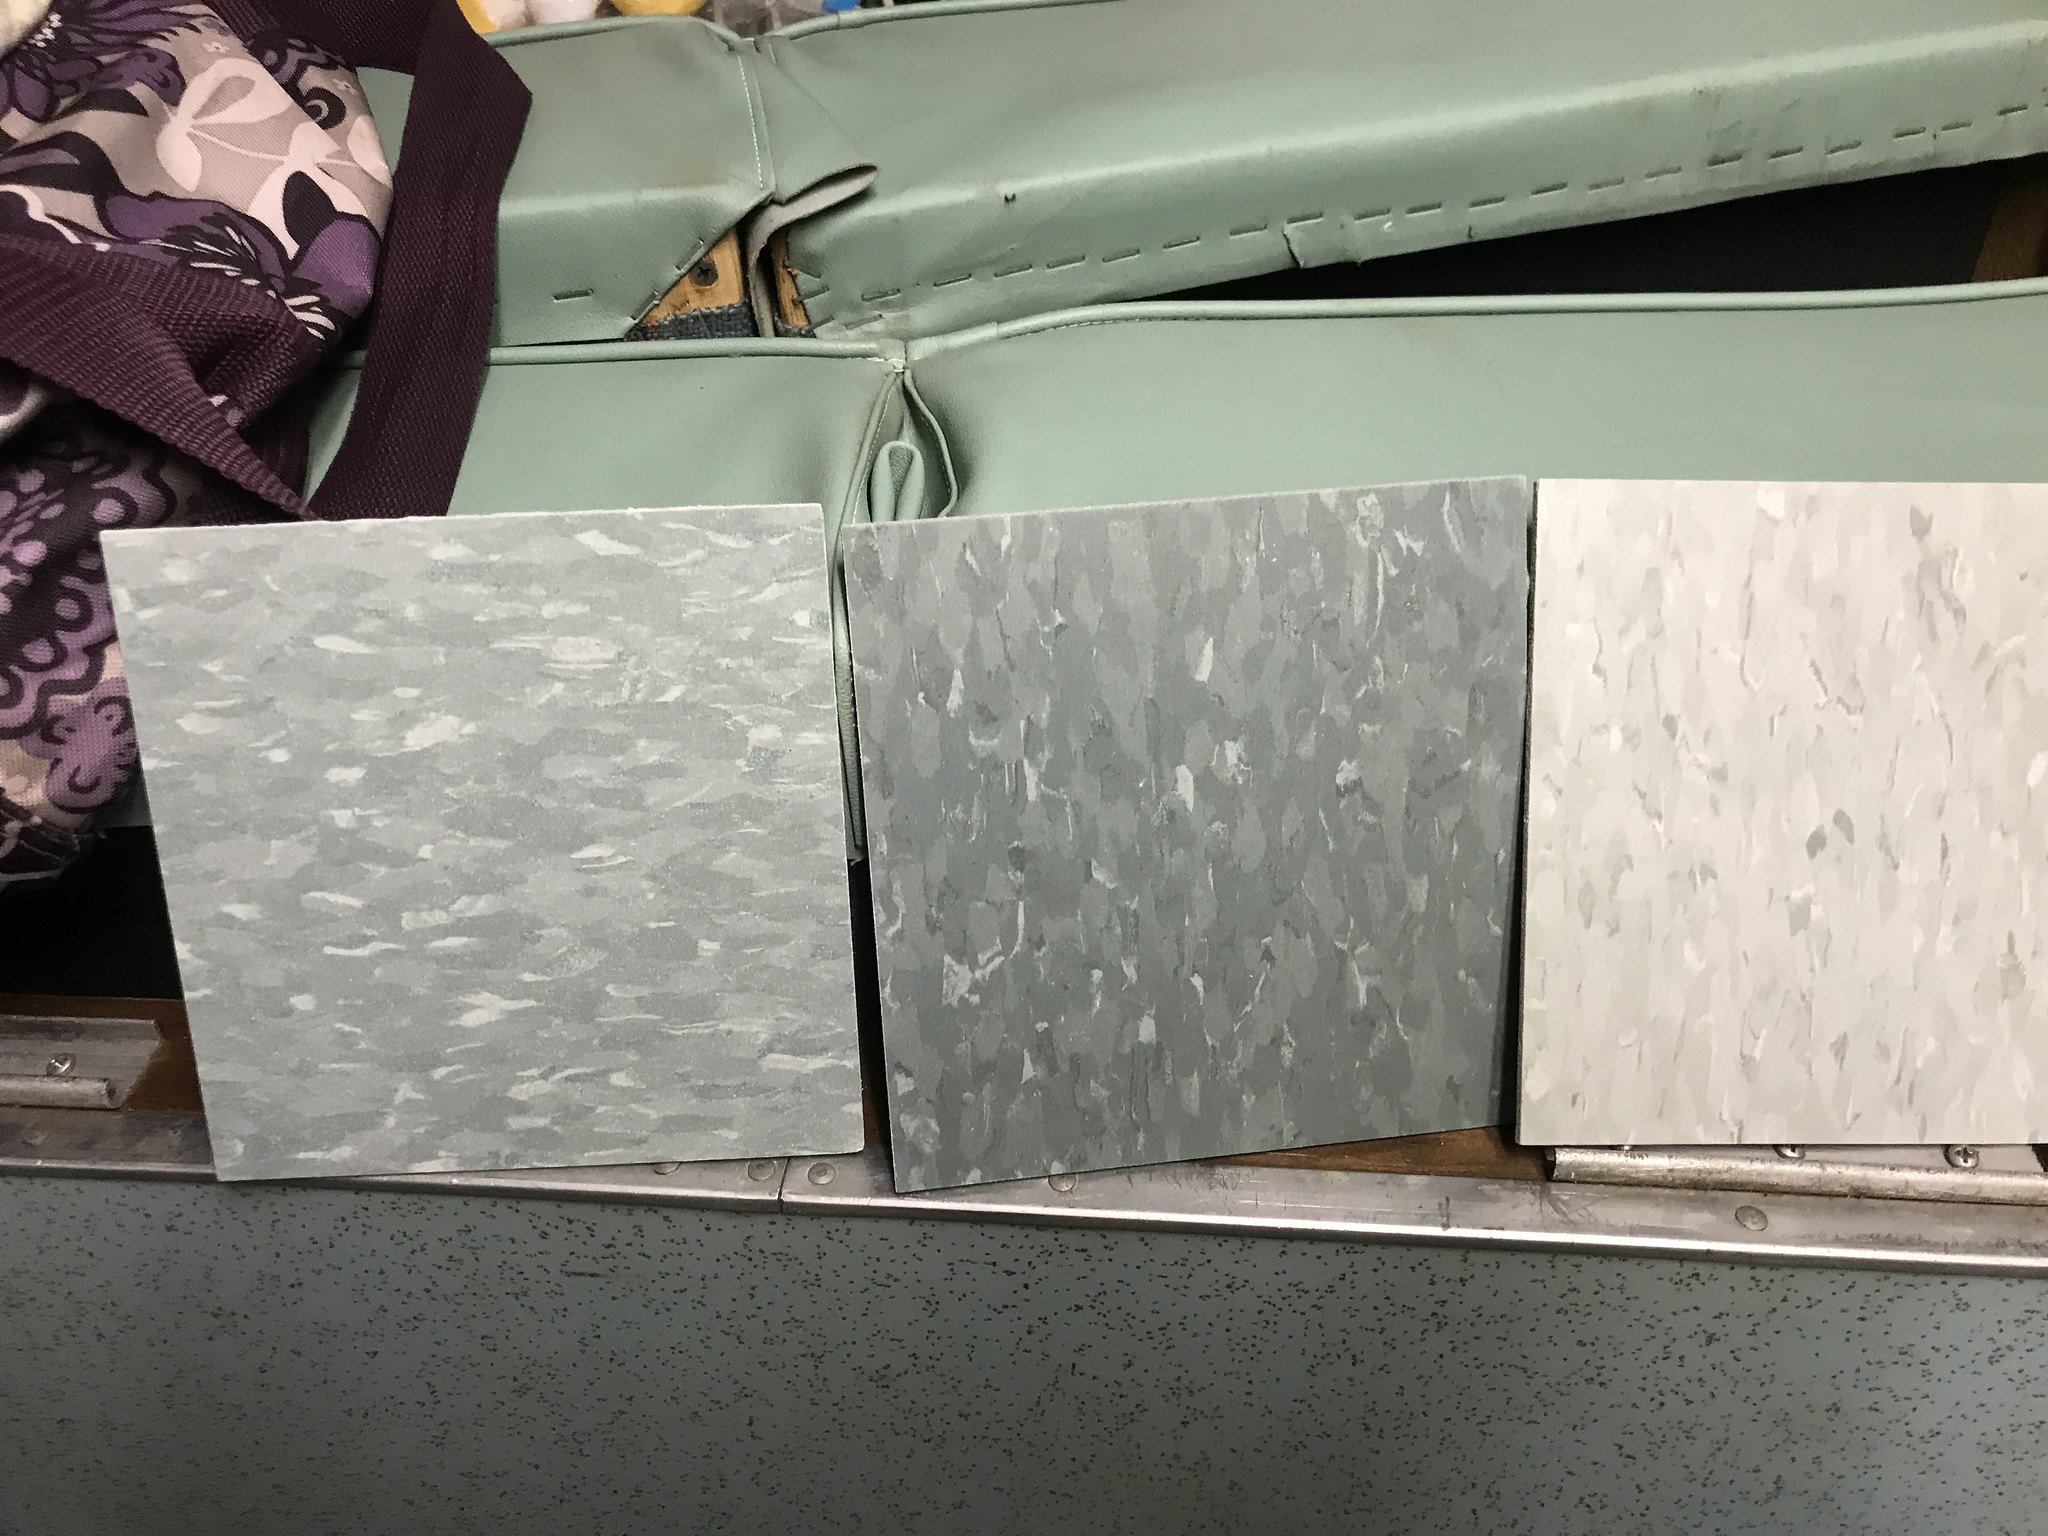 IMG_2360 IMG_2360 by kathy, on Flickr |
|
kaffi311
Active Member
Posts: 283
Likes: 98
1963 Shasta 16 SC
Currently Offline
|
Post by kaffi311 on Apr 26, 2018 16:49:53 GMT -8
I've learned ( and am still learning) so many new things during this project! Learned what GIMP is (lol): 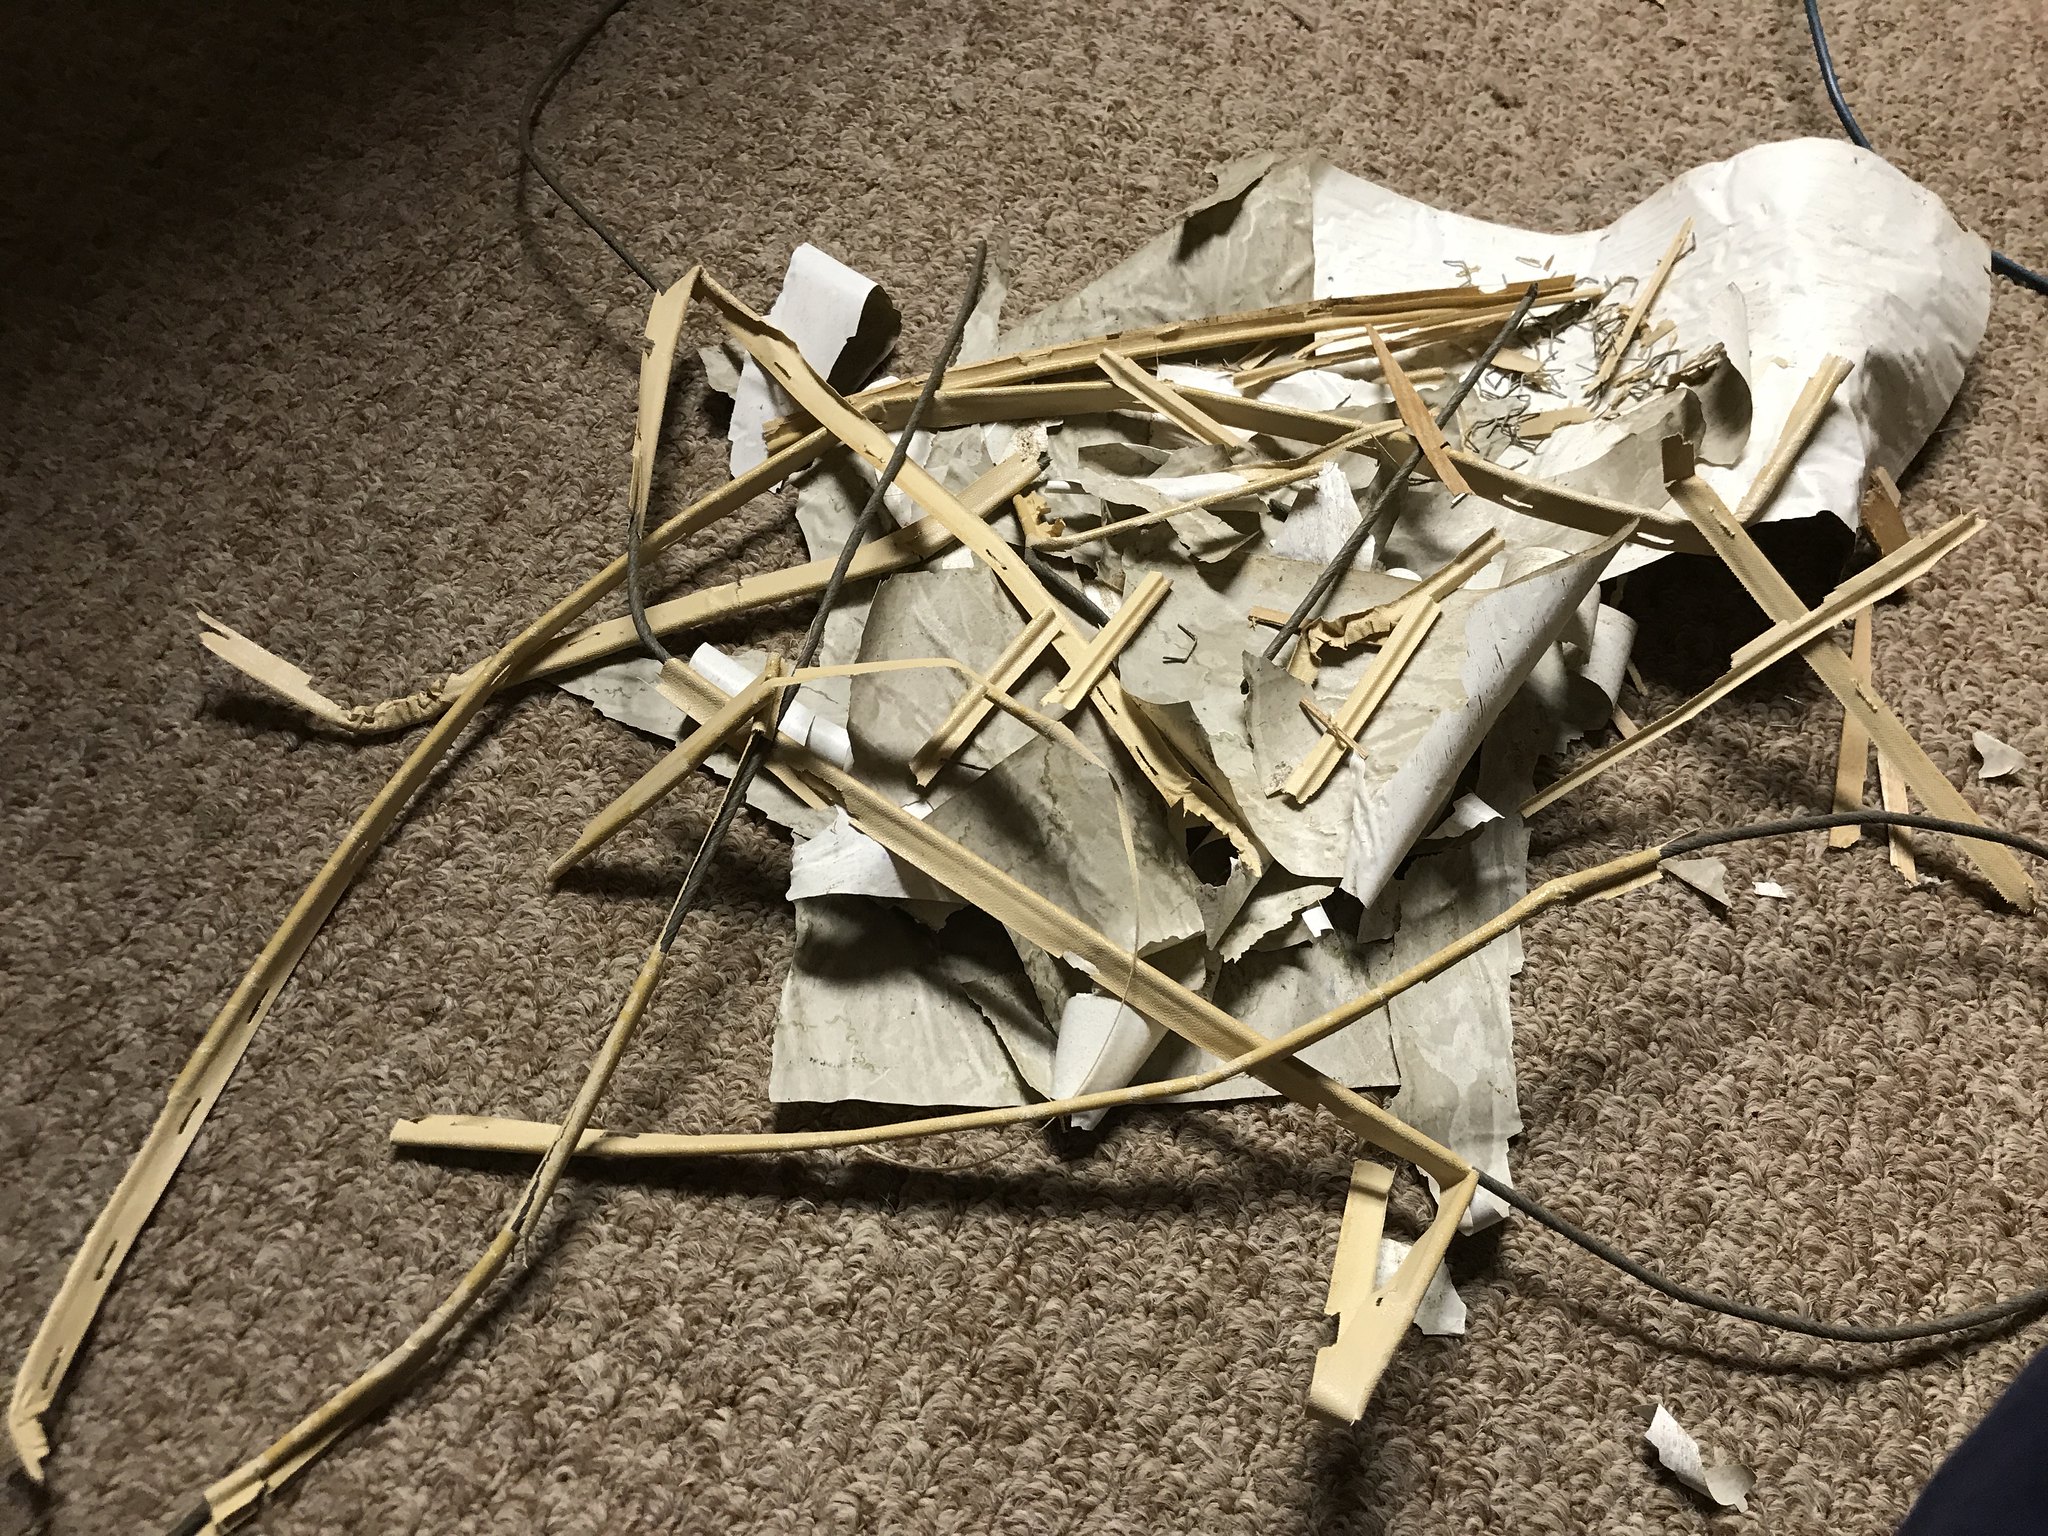 Learned what 'backers' are, and how to install electric boxes: 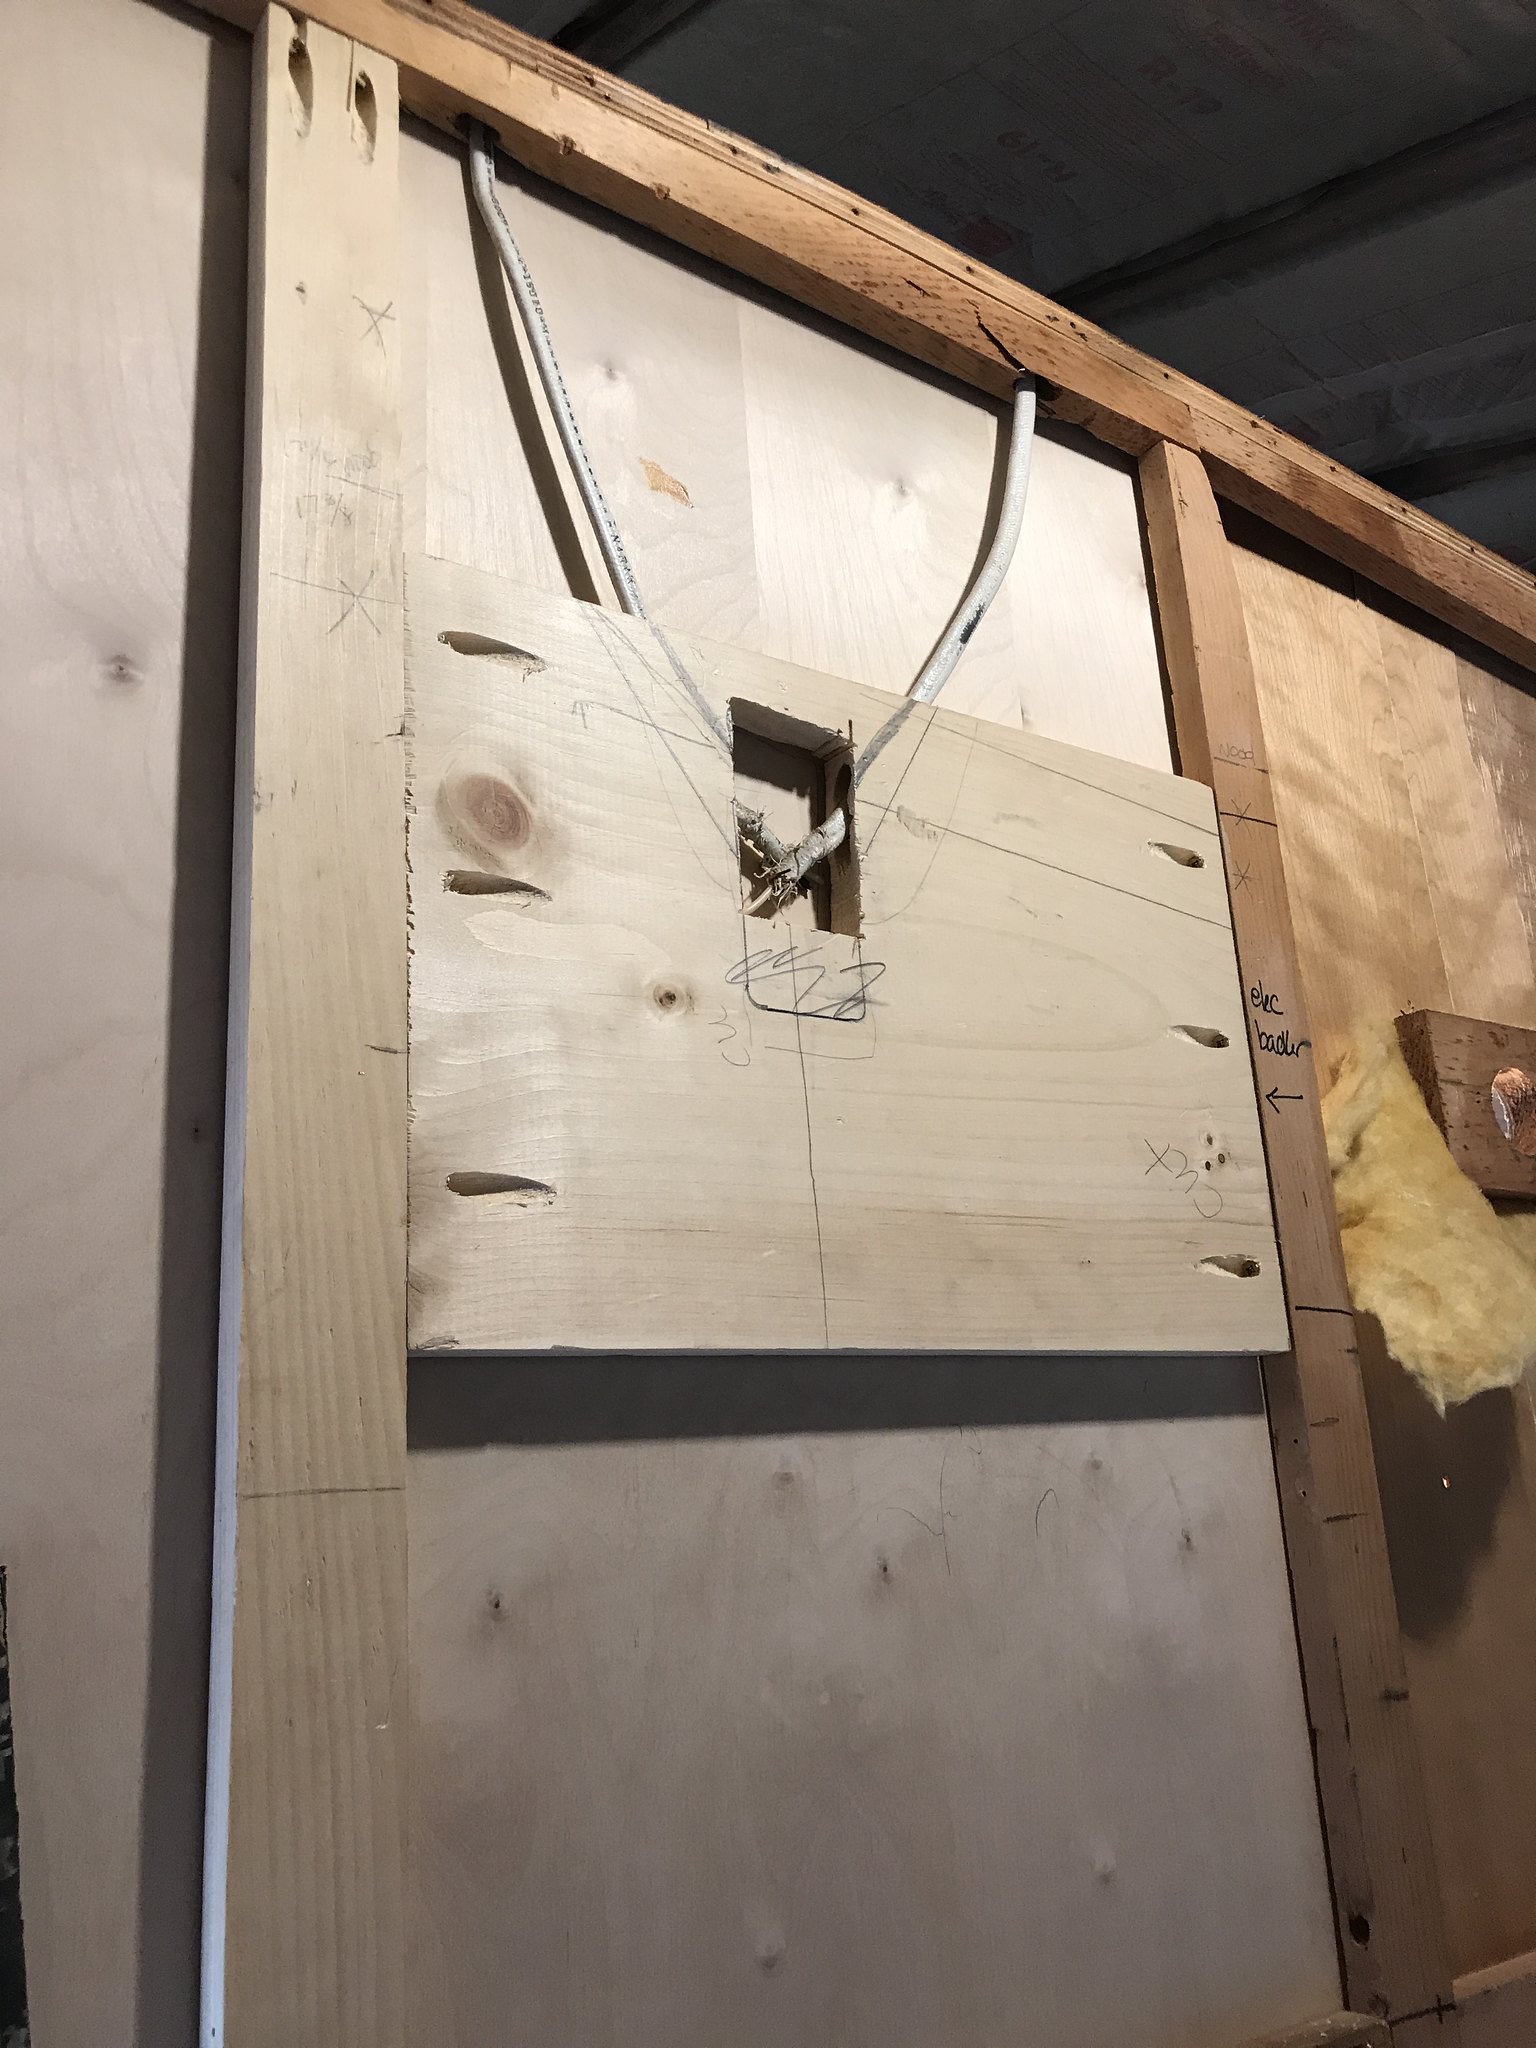 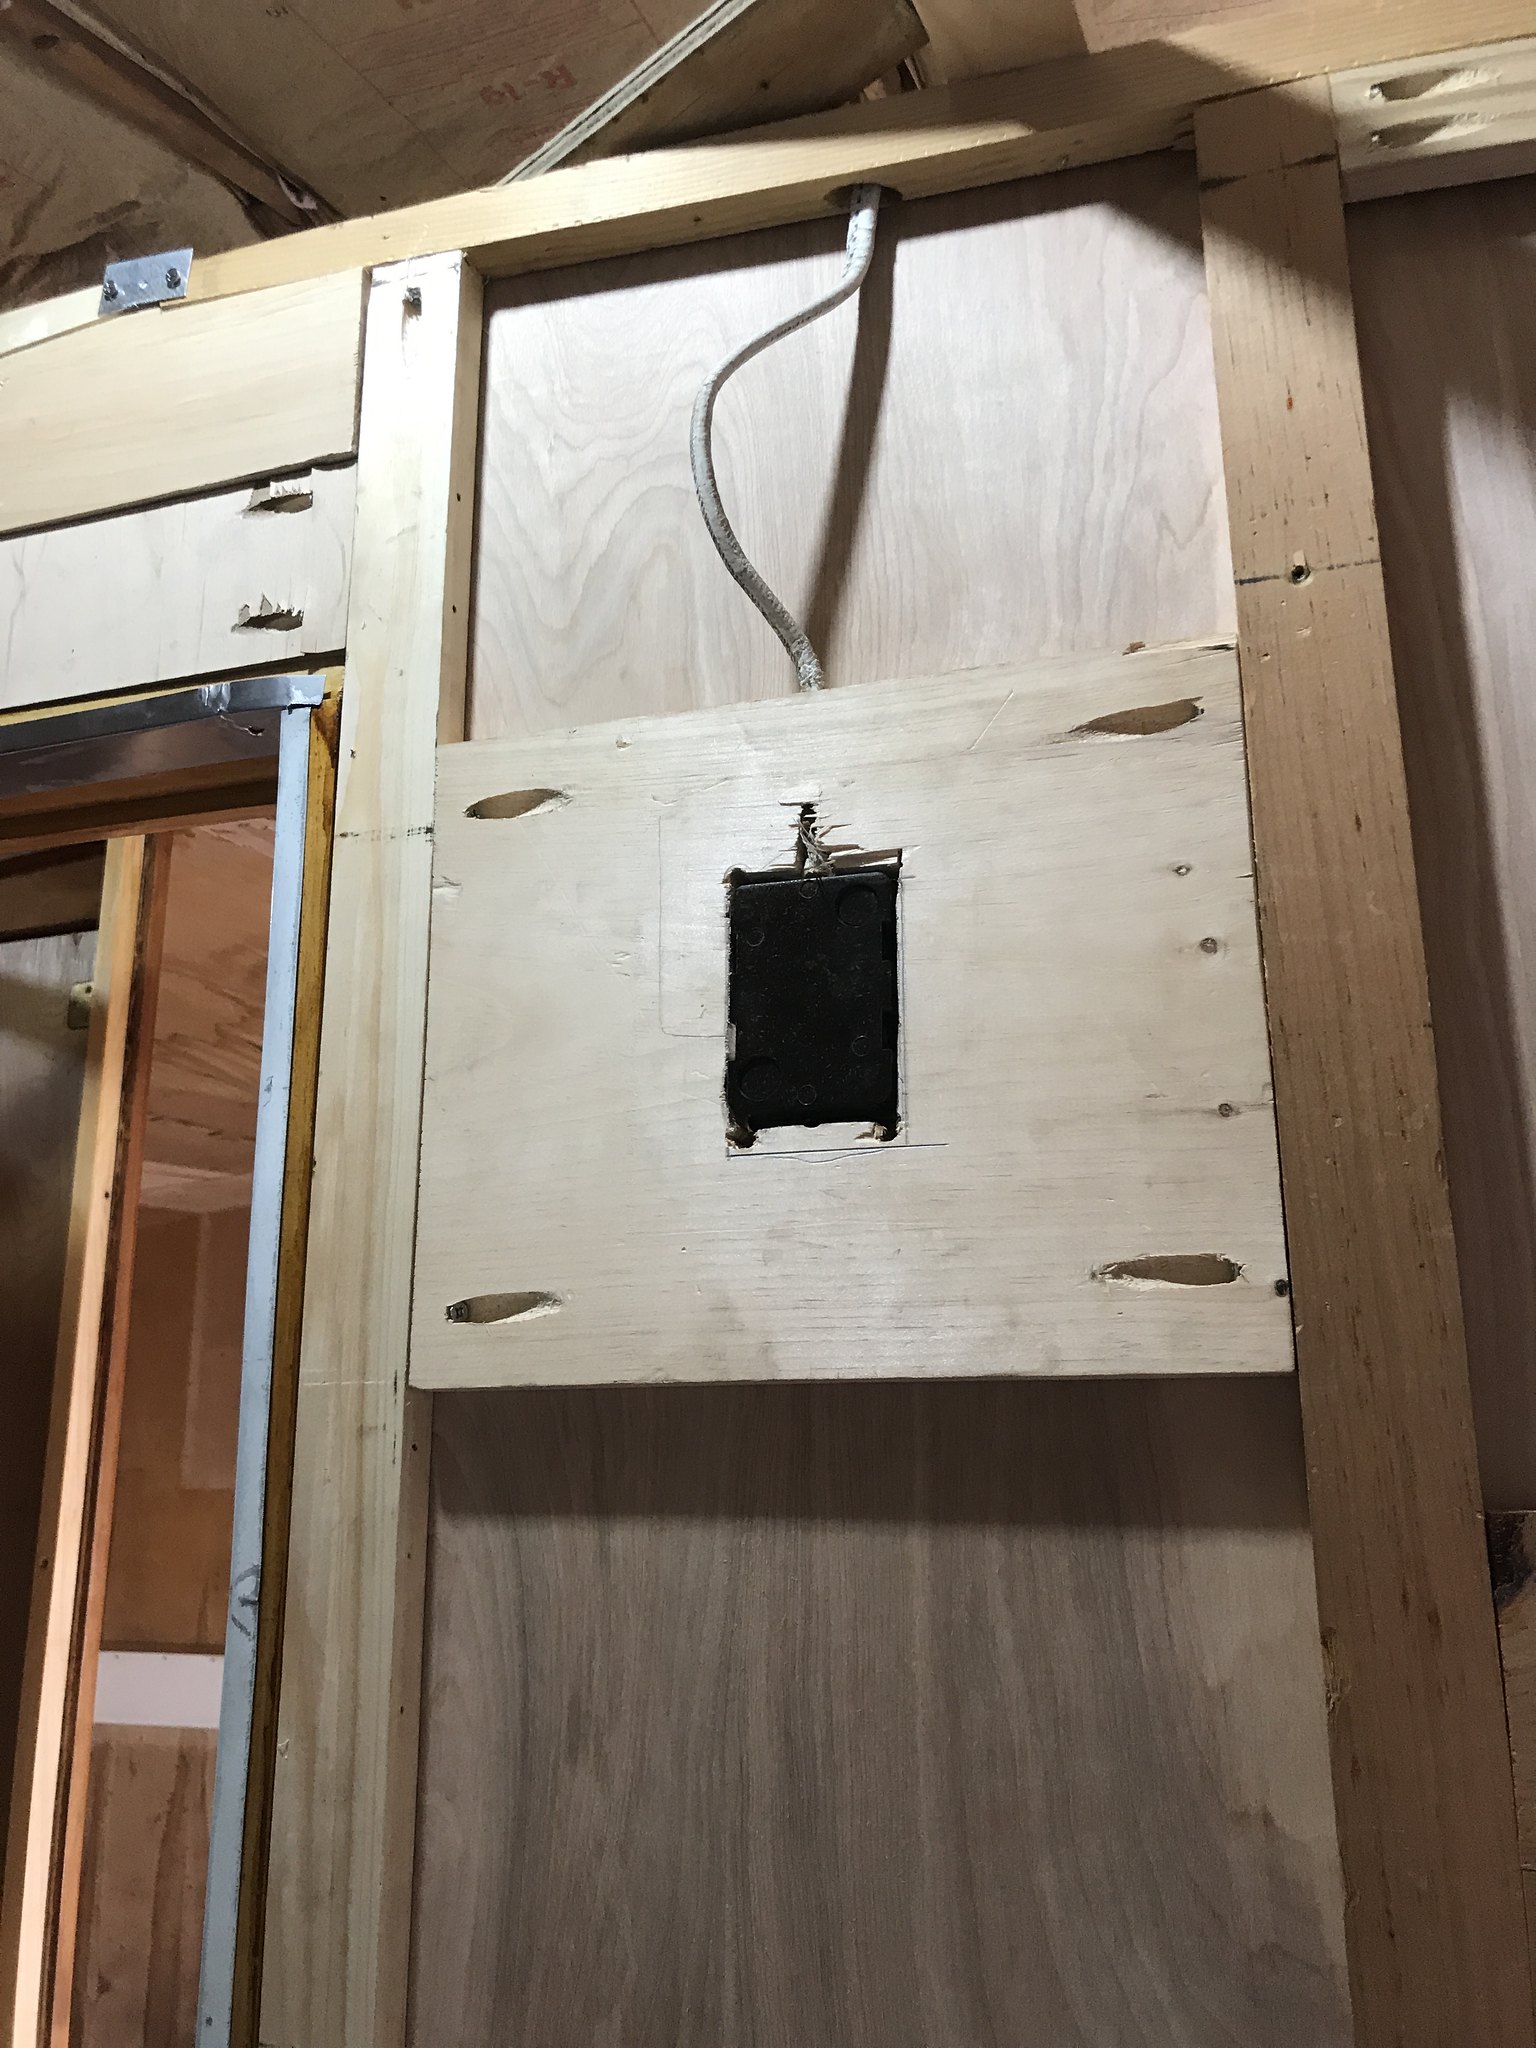 Learned how to use TONS of new tools: circular saw, table saw, chop saw, dremel, reciprocating saw, multitool ( Love it too!), cat's paw / nail remover, and of course the pocket-hole jig. Thank the lord my brother is a cabinetmaker- and his shop is through the doors of the barn where my camper is stored! 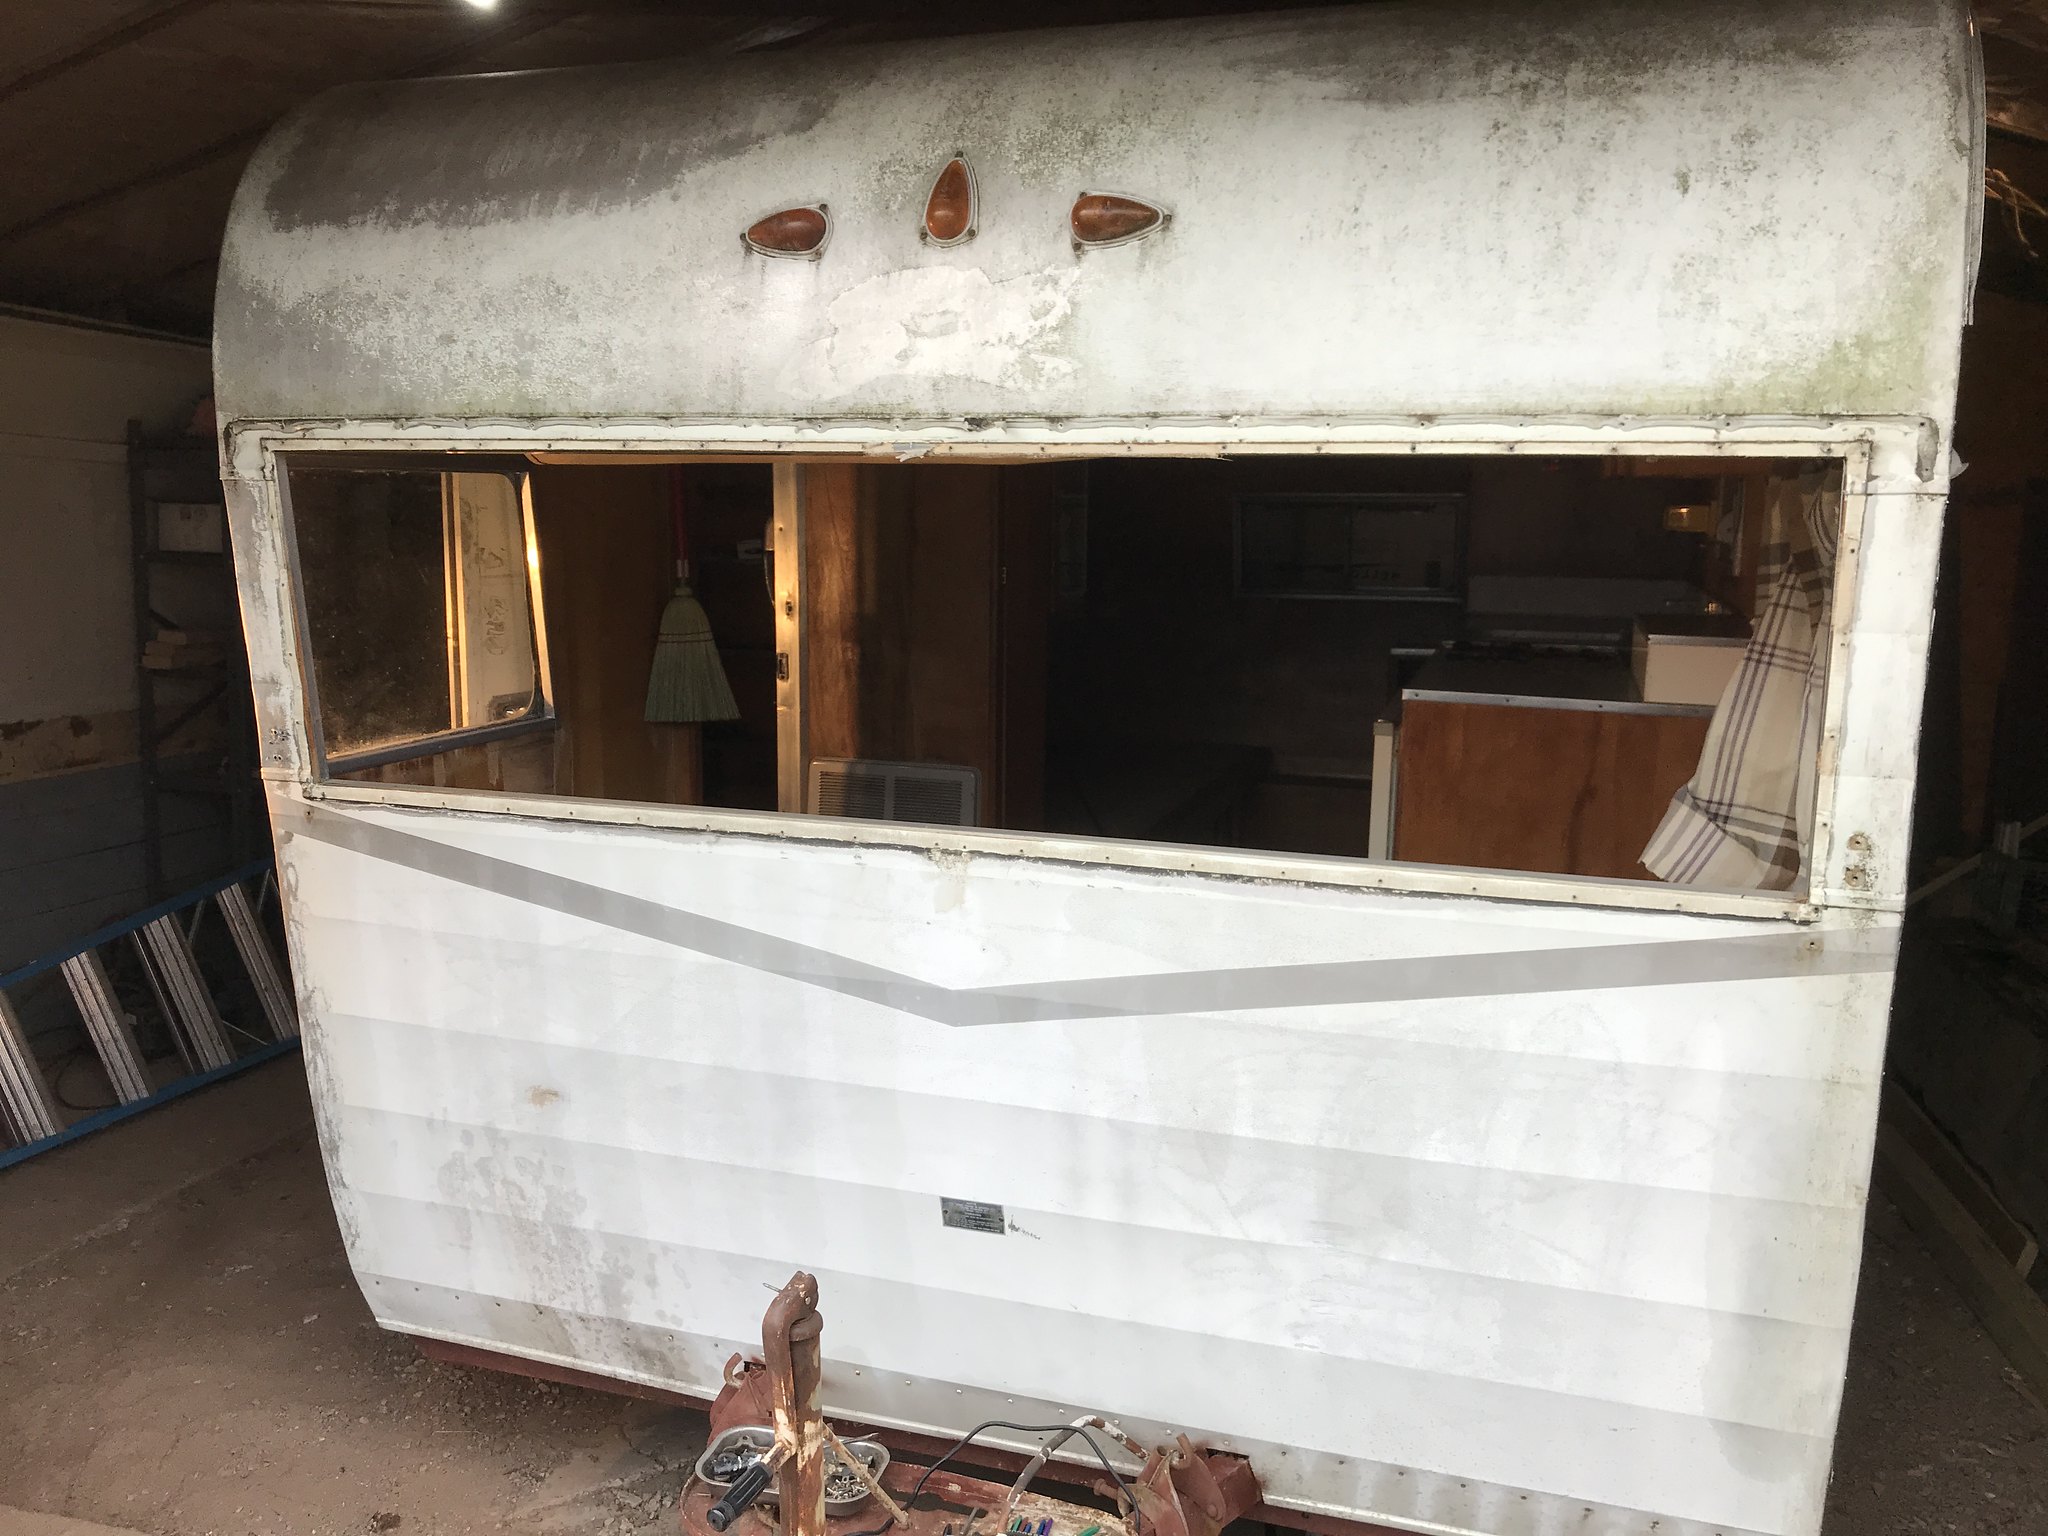 Learned to measure twice/cut once- actually I find I measure about 5 times and then cut due to some screw ups early on! ha ha  Learned that clamps are my friend: 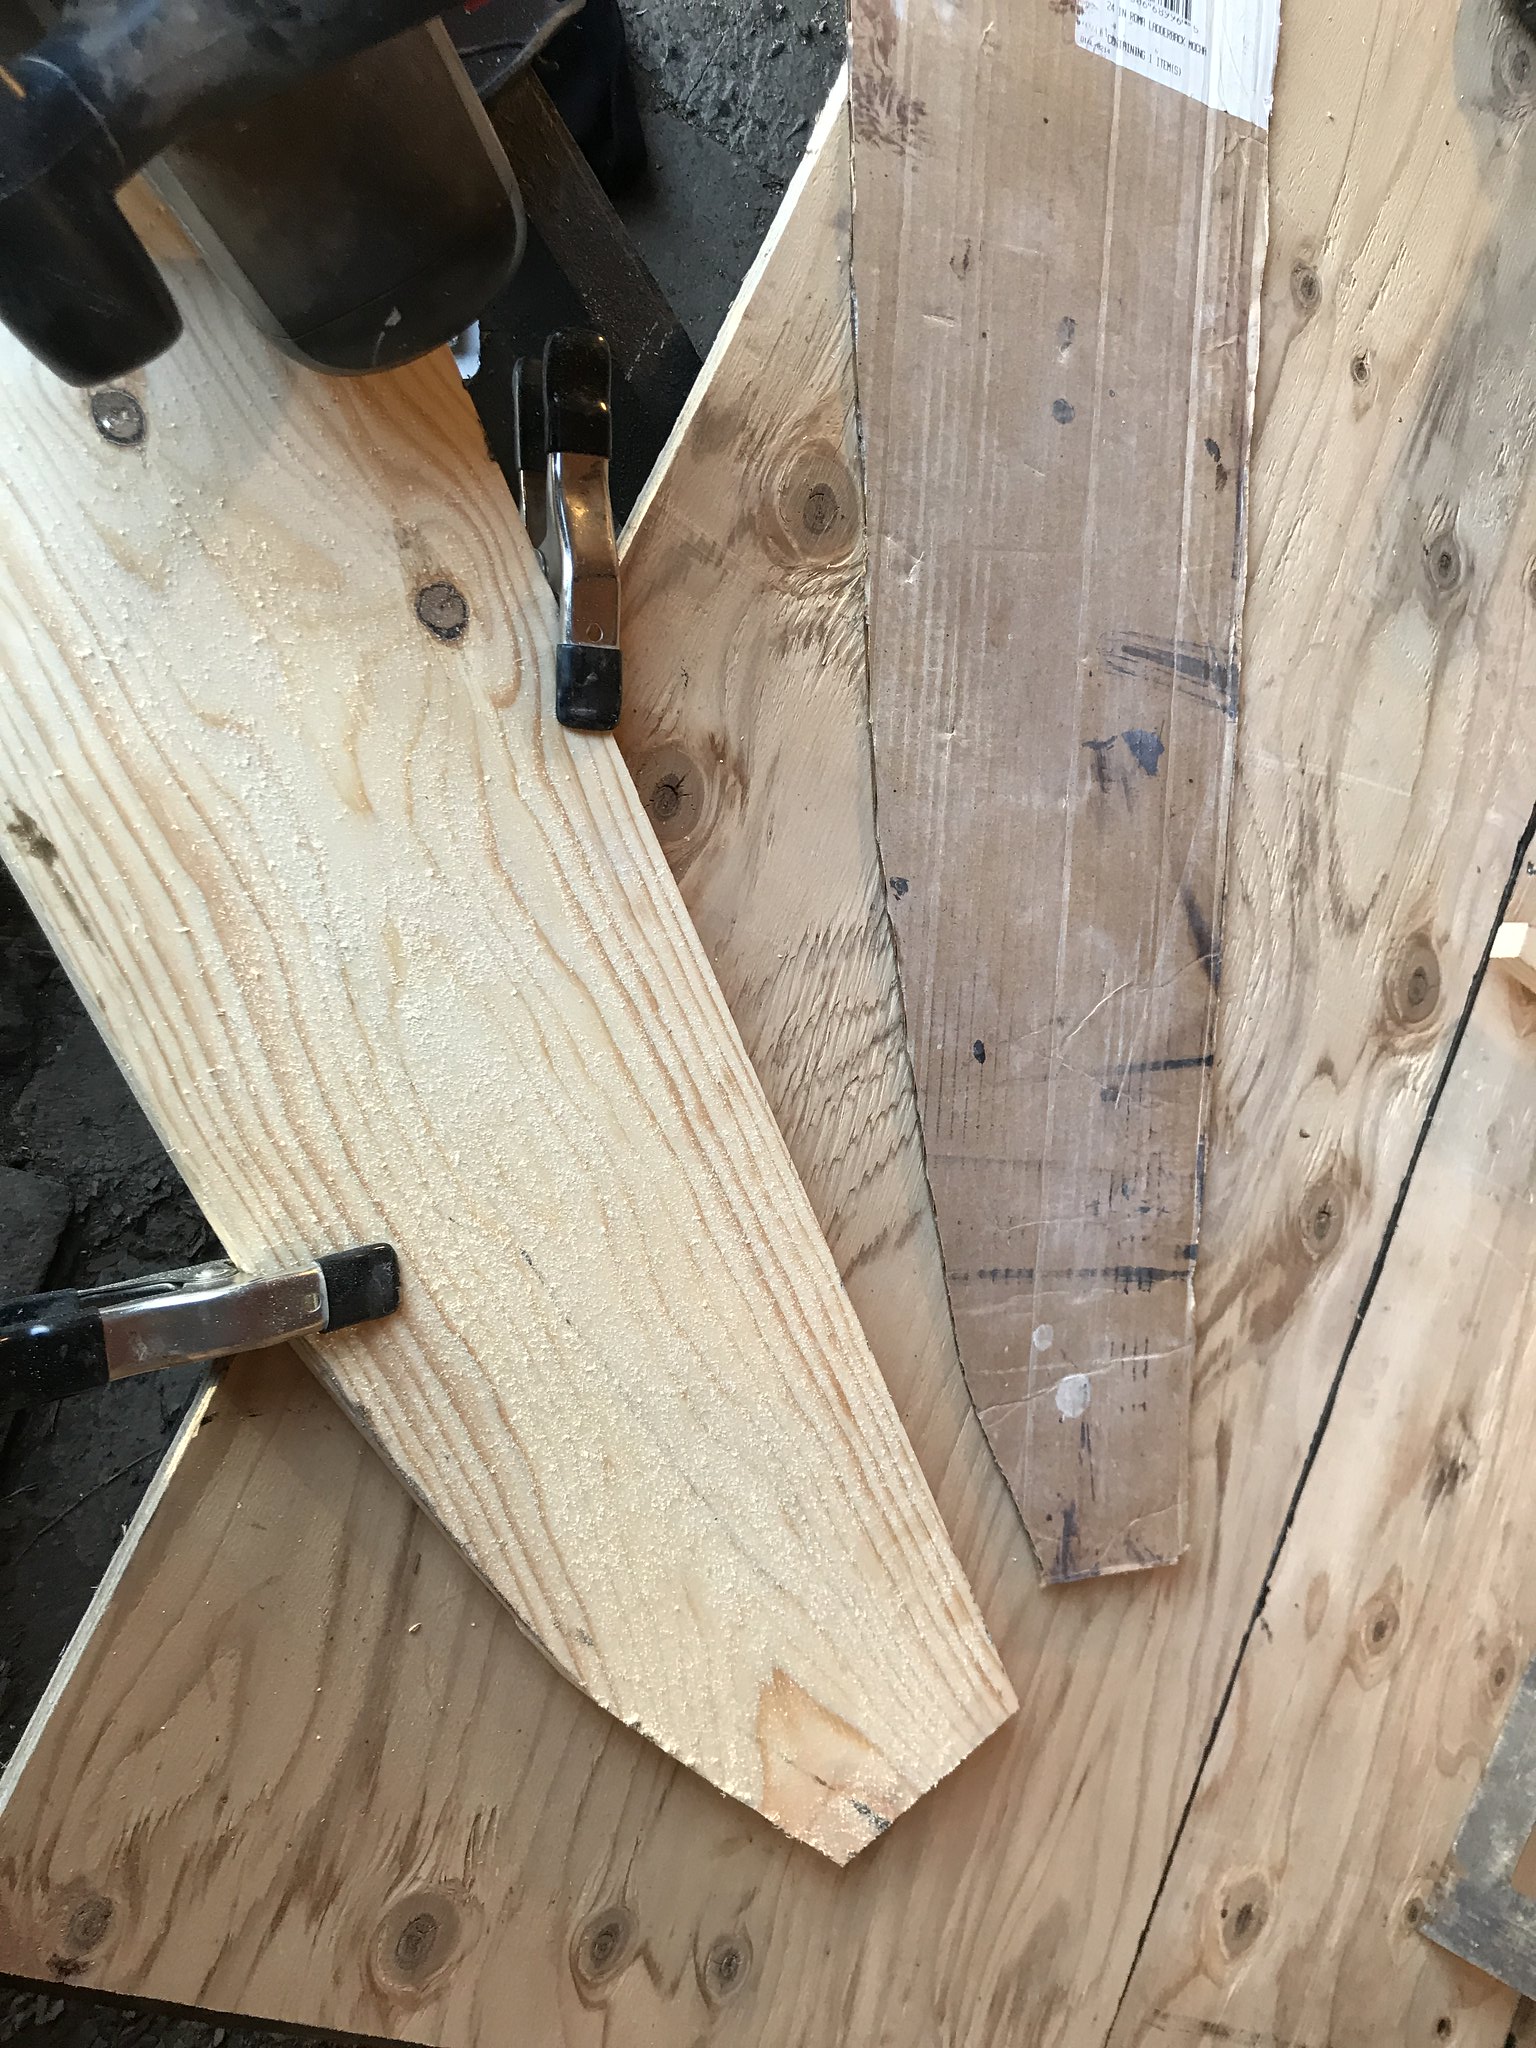 IMG_1895 IMG_1895 by kathy, on Flickr Learned that some things just can't be saved and need to be bought new (my brother tried to clean the rust off this light in his glass bead parts cleaner. Not gonna work  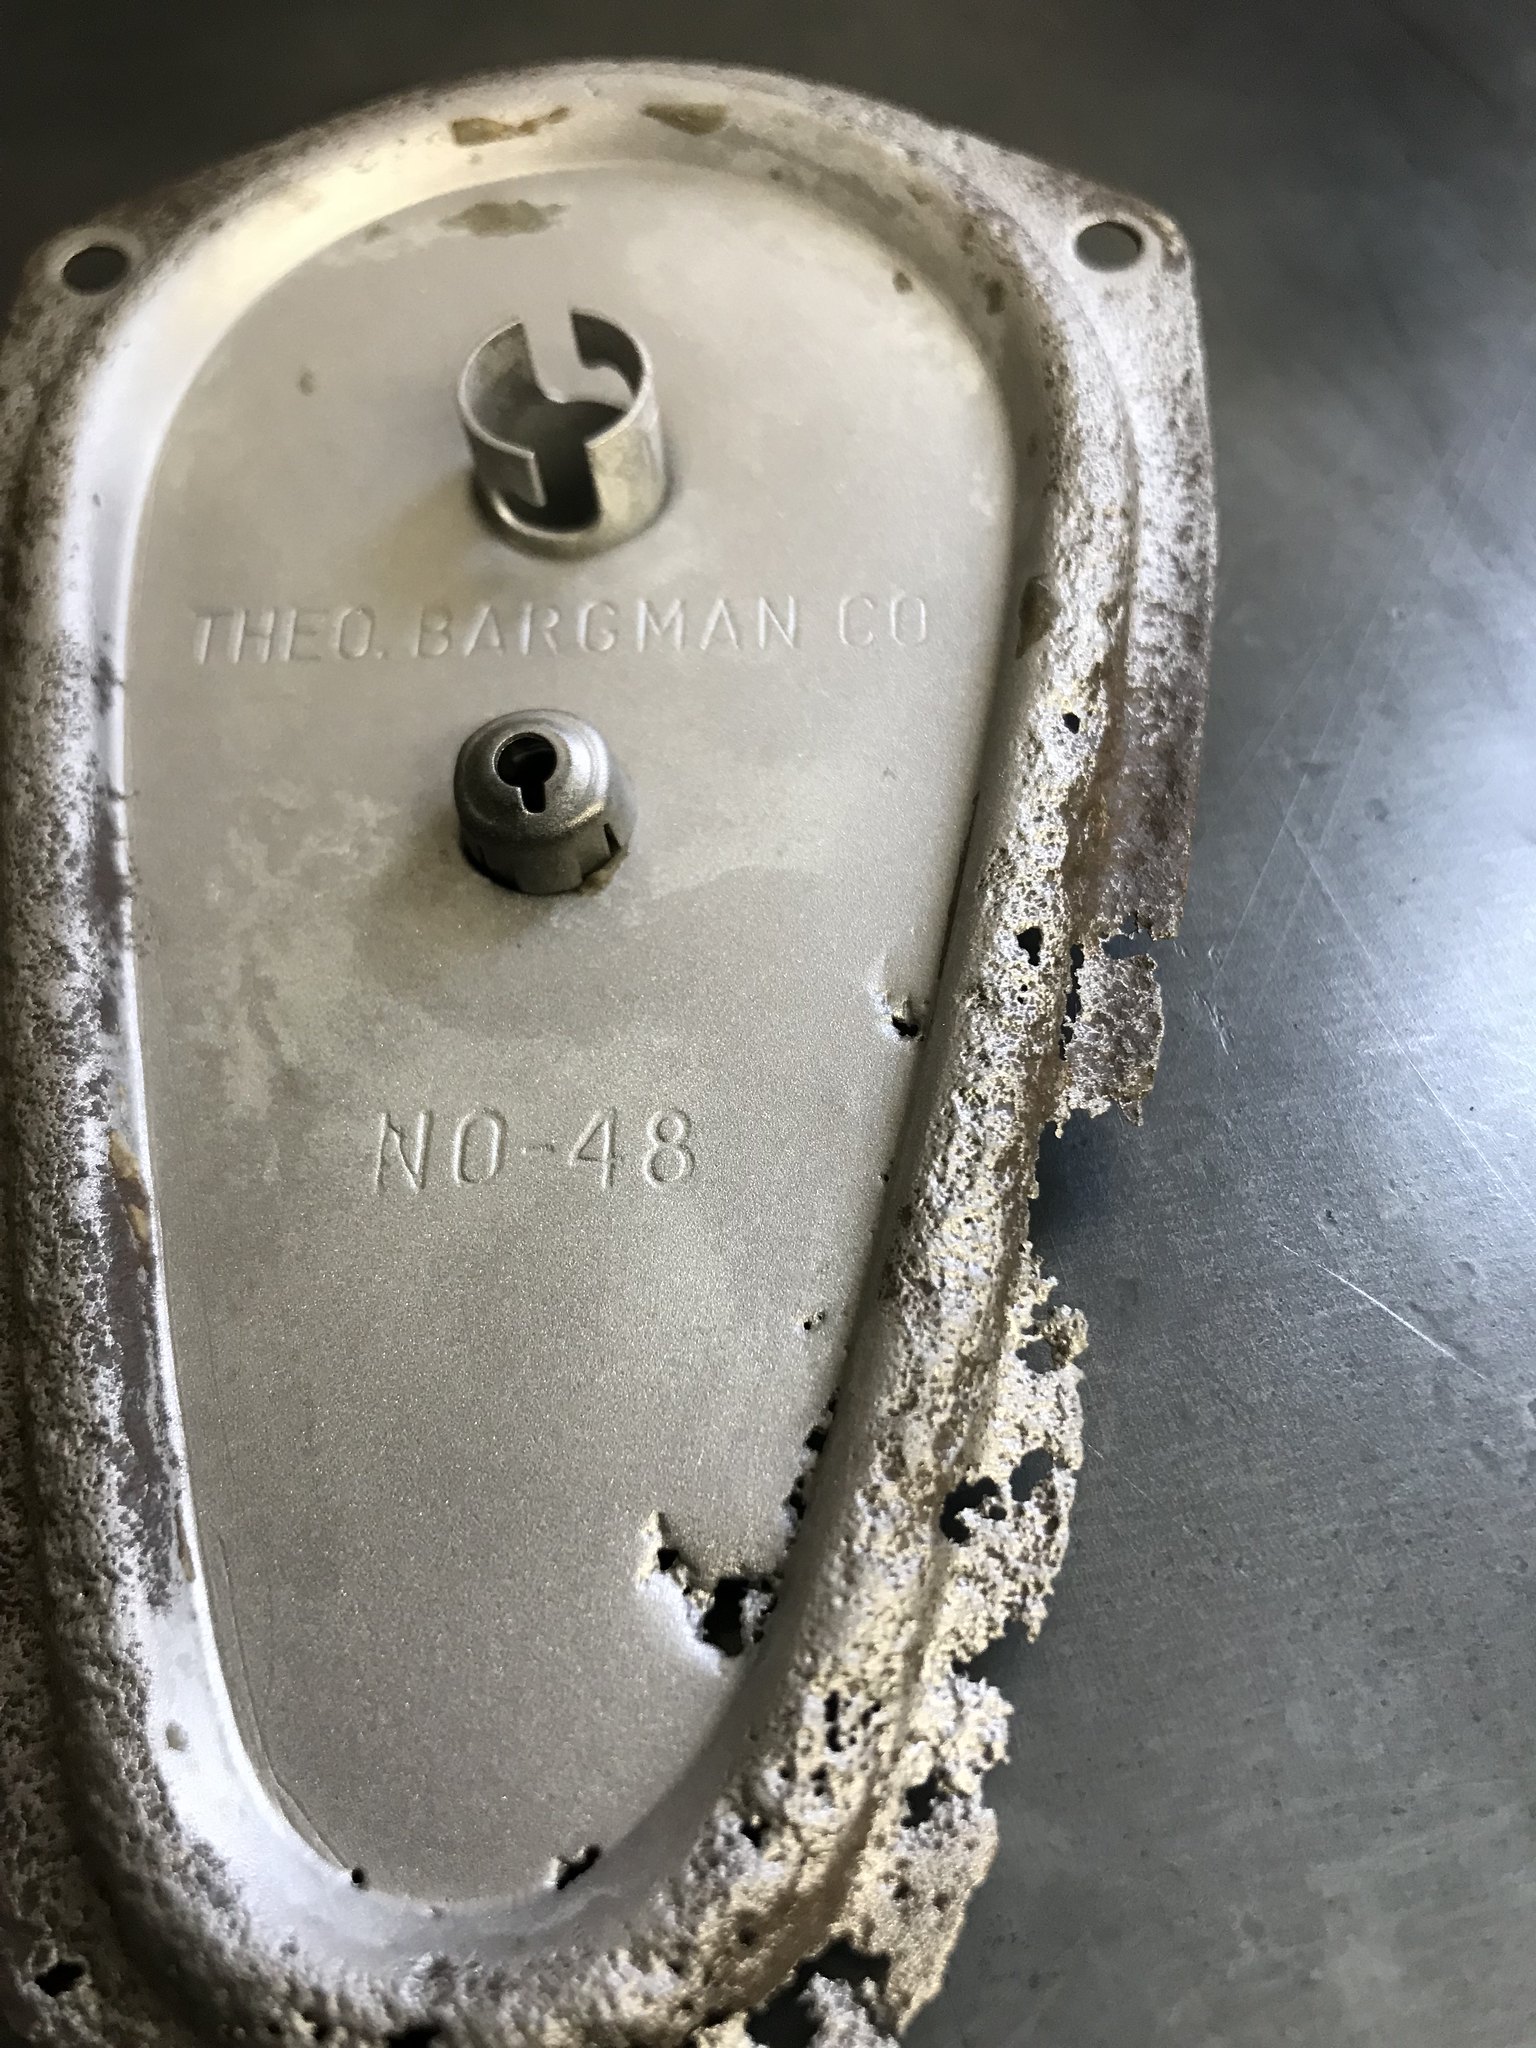 Learned that some things just refuse to come out easily- and the saw-zall can solve those issues rather easily: 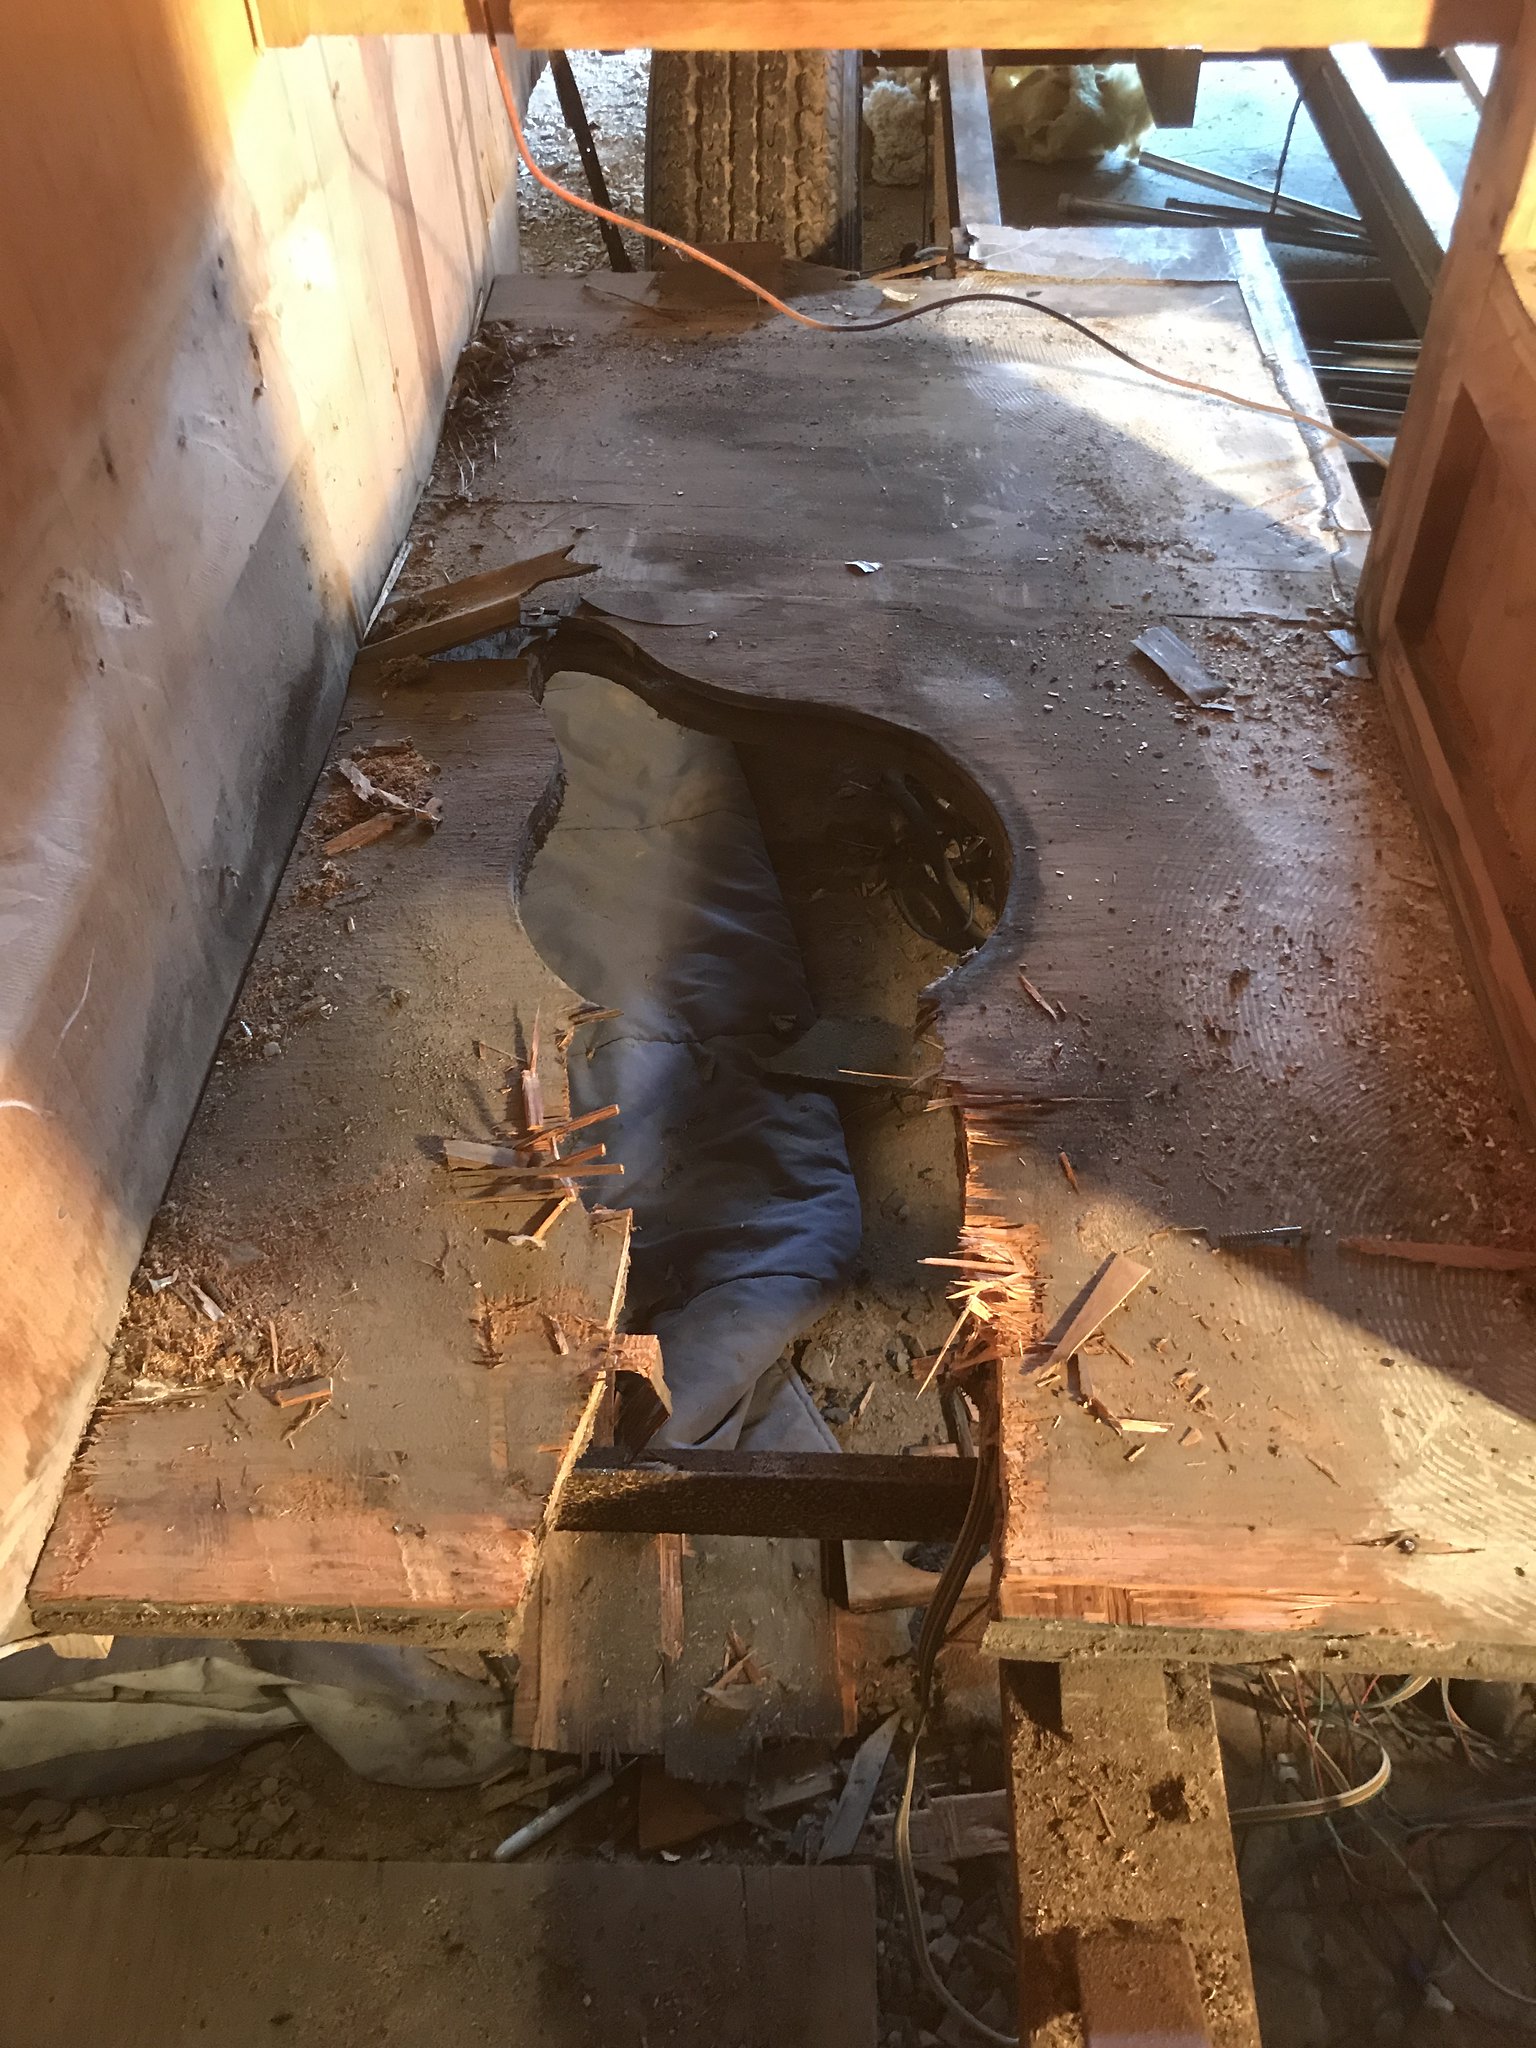 Learned that I CAN rebuild a cabinet and seat- even though it took me a long time! 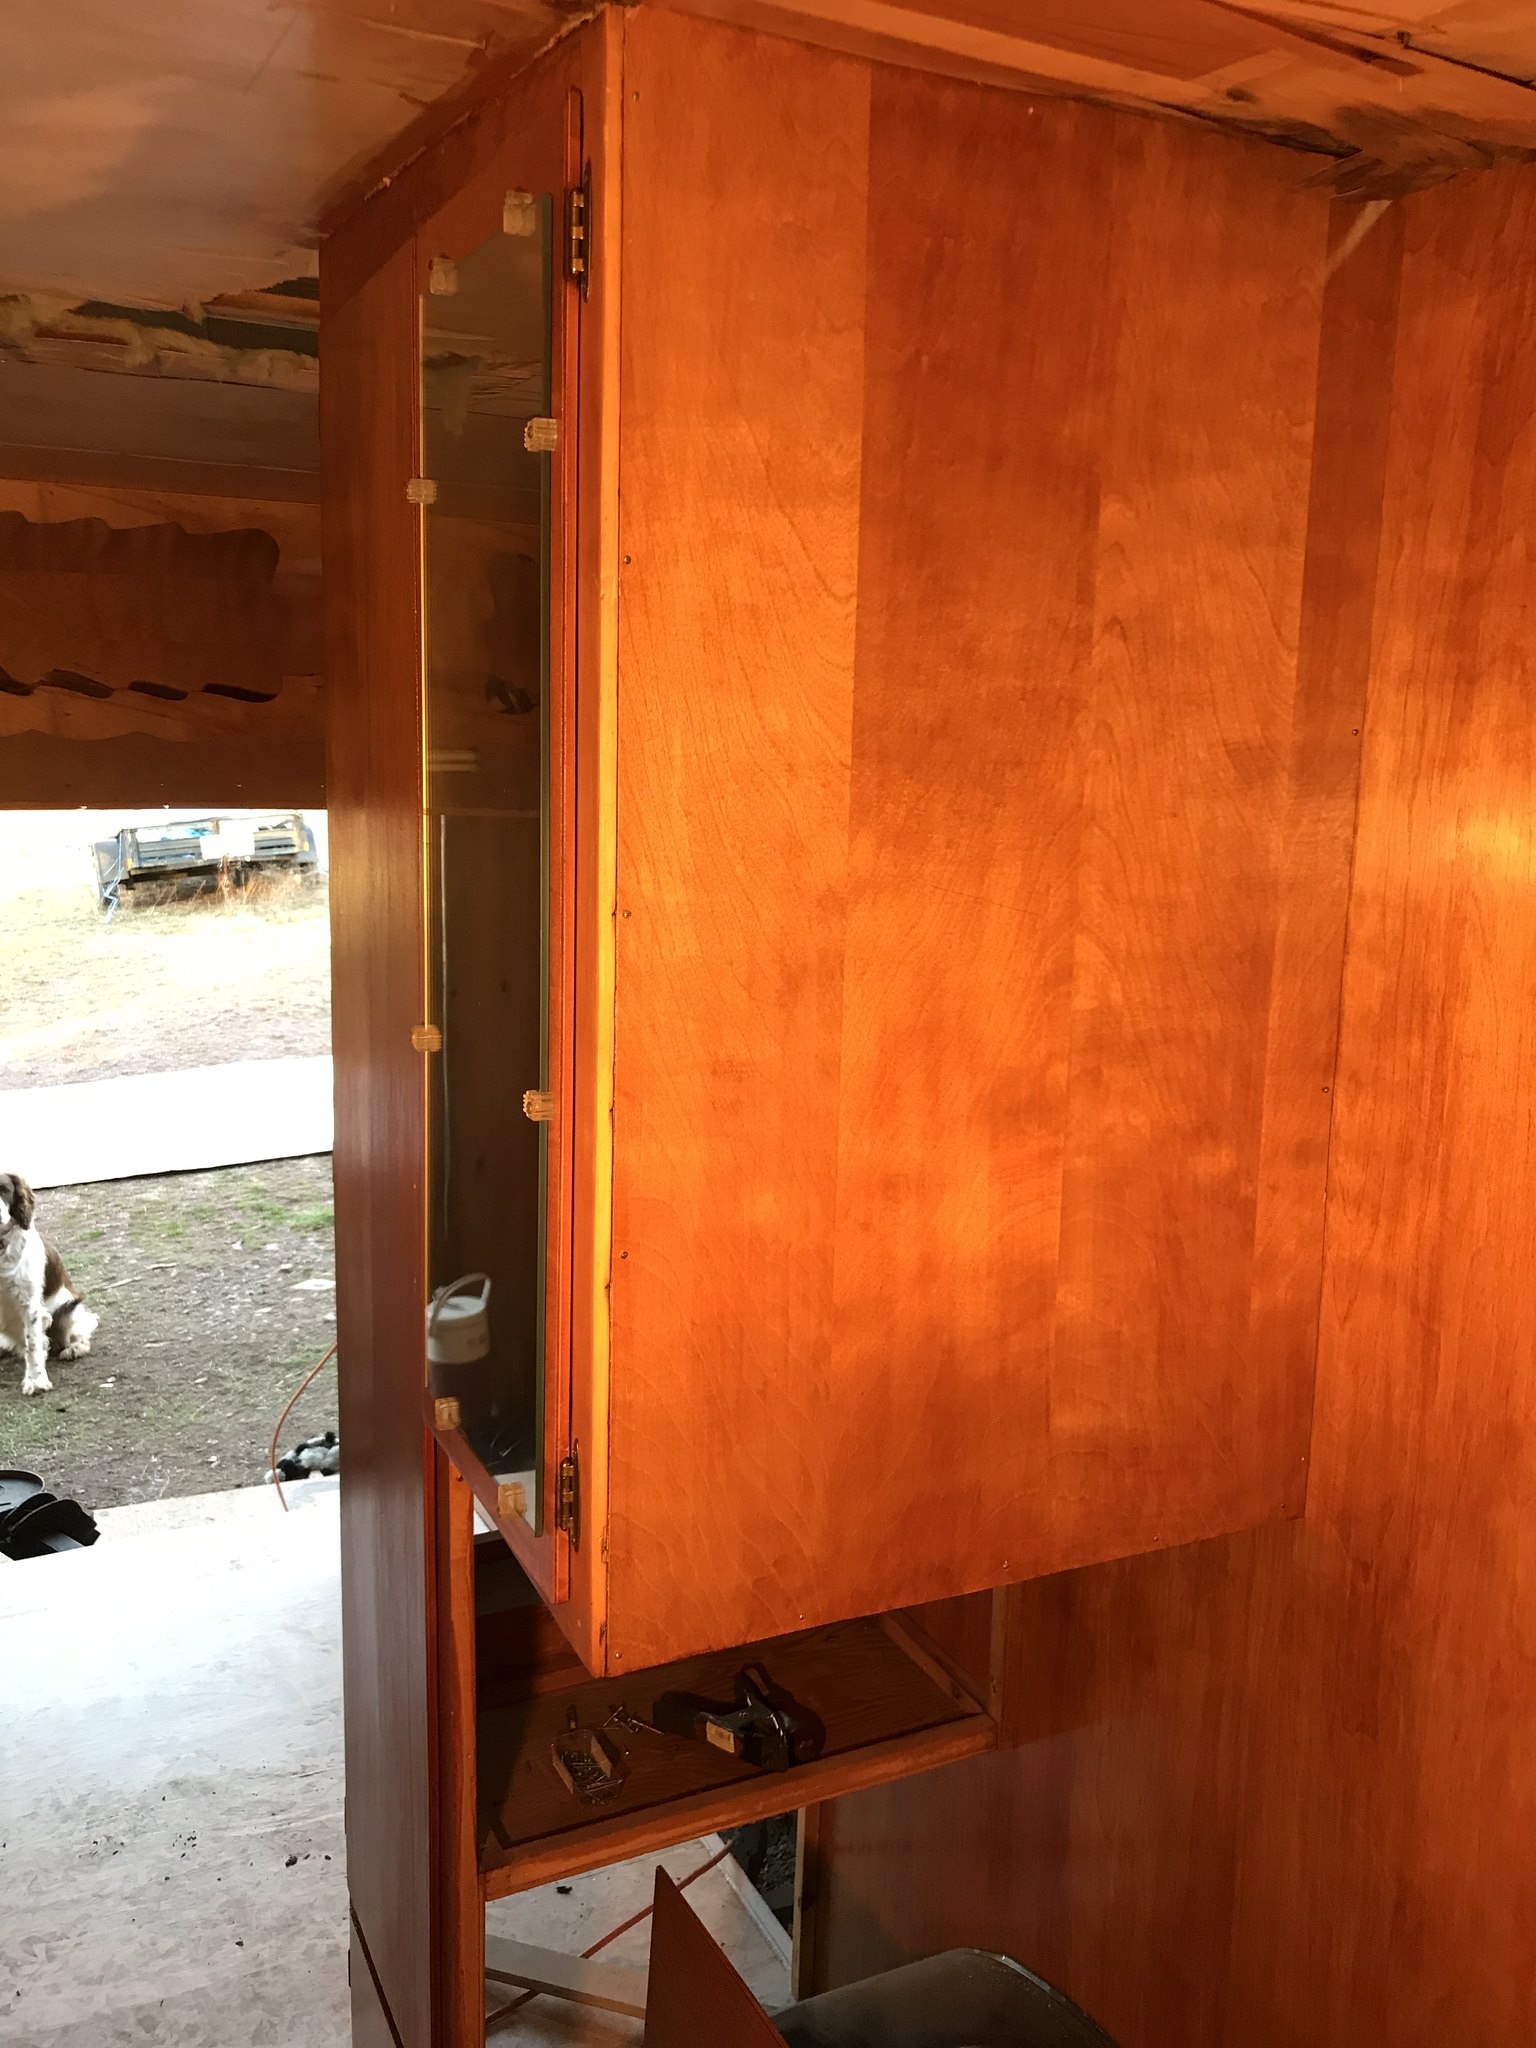 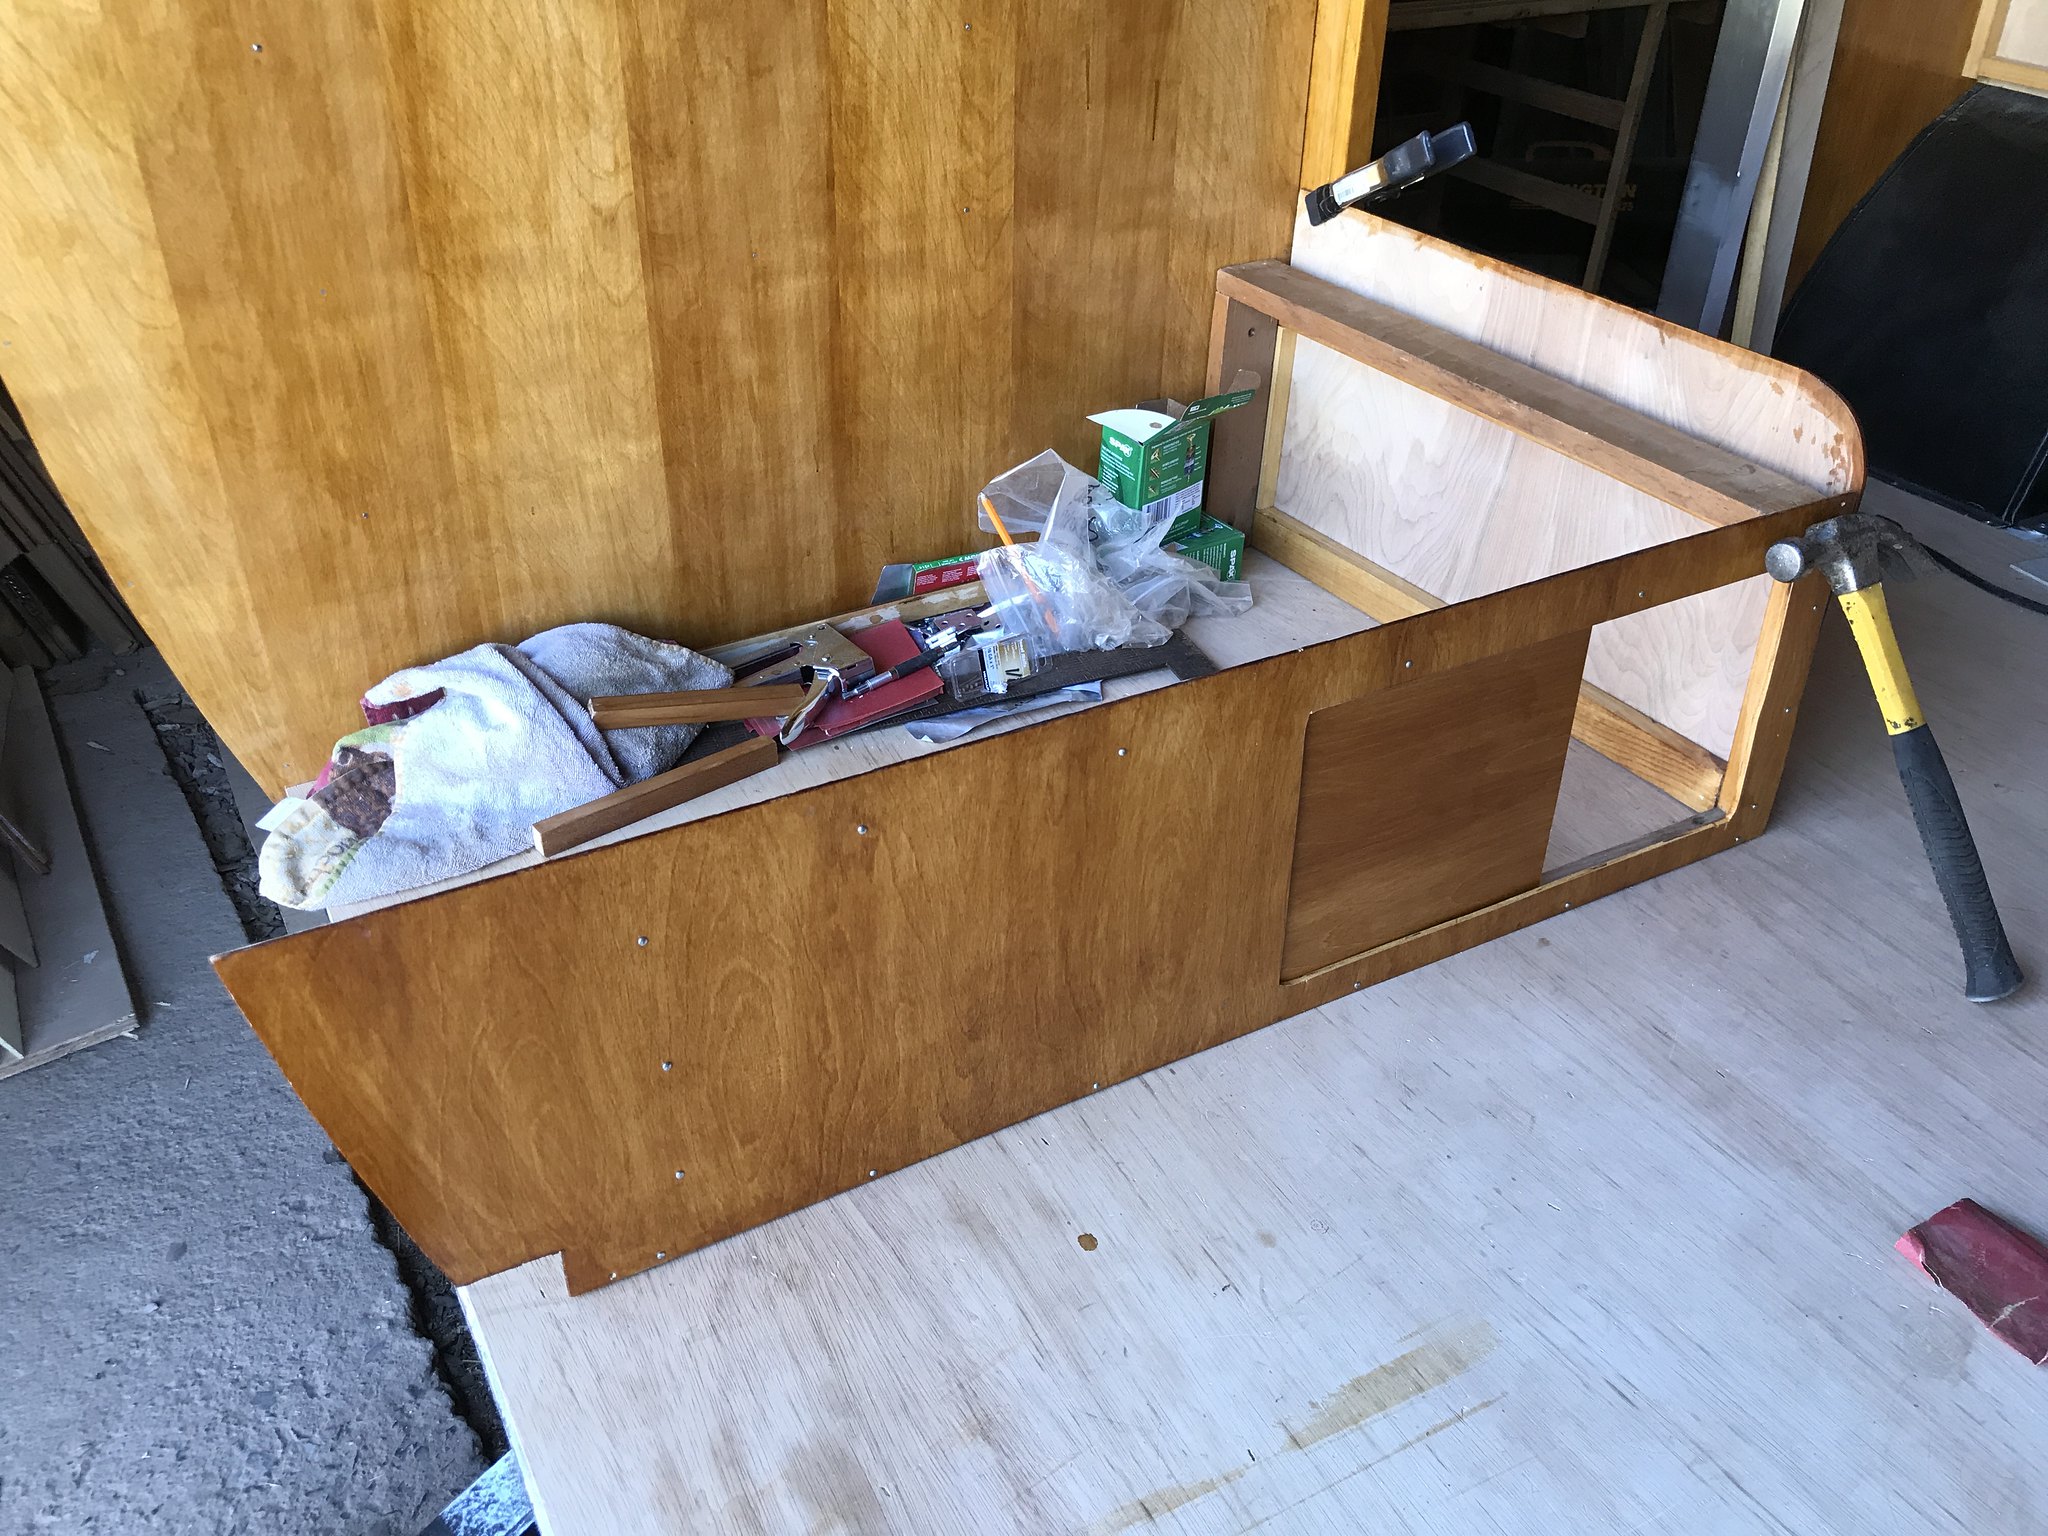 Learned that I can cut holes into my beautiful new walls and they can actually look good: 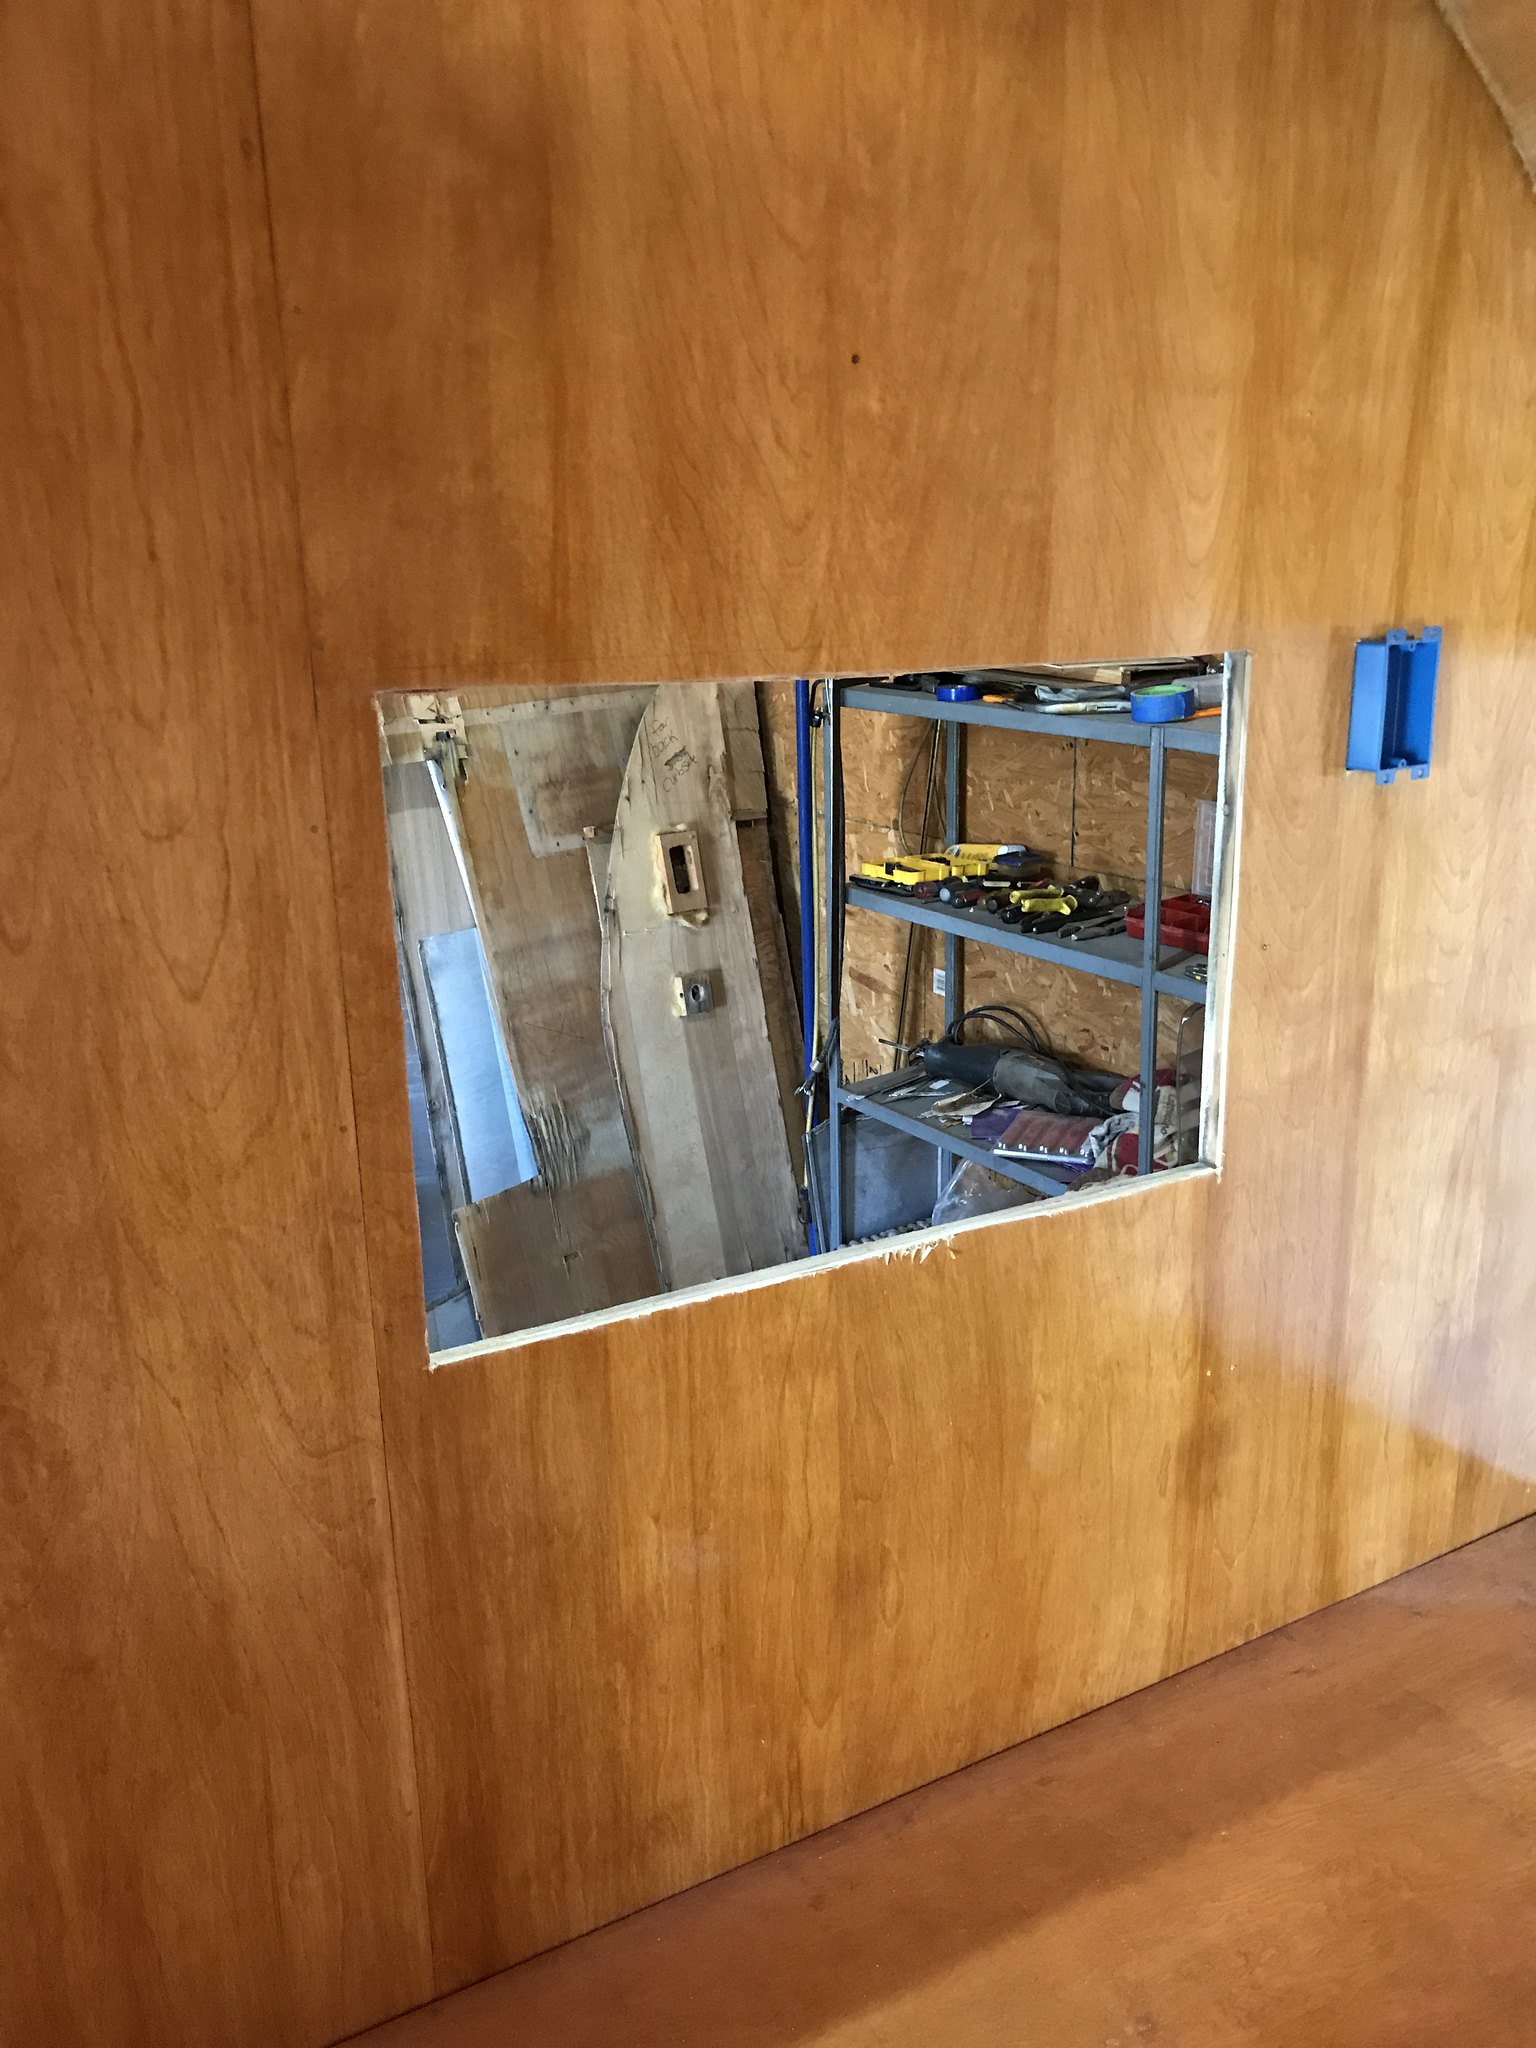 And FINALLY...just today...learned that I can TILE a floor and it is beautiful!!! I am so happy!! 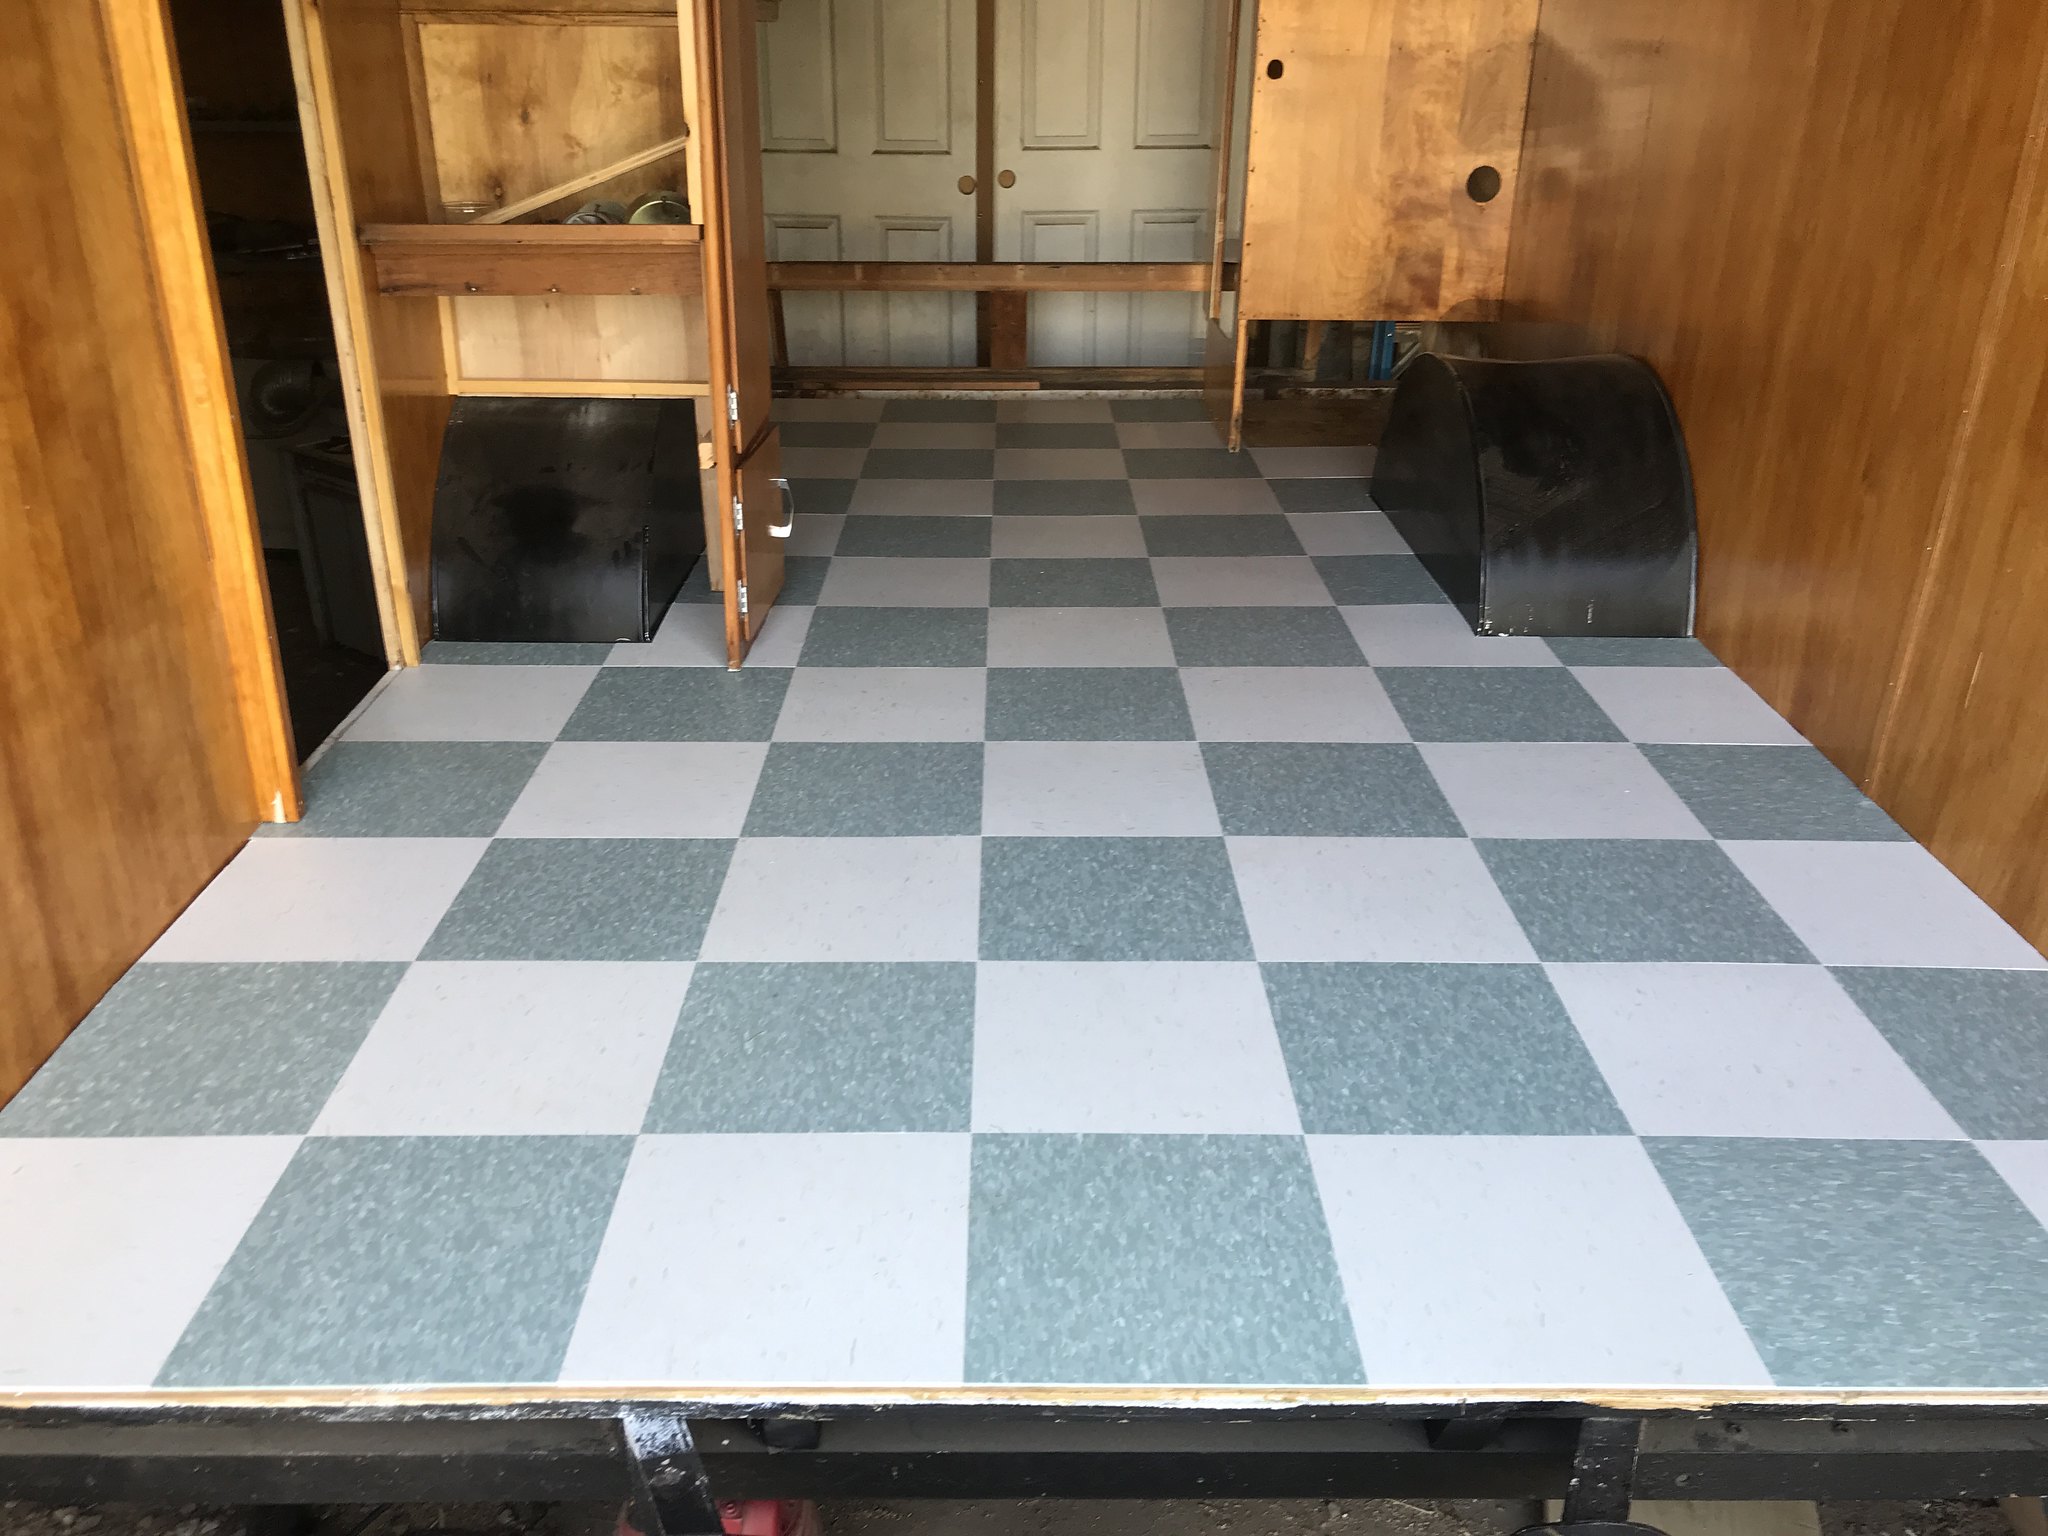 So...to anyone who doubts they can do something new and daunting even at 53....let me be the proof that with determination, lots of support, and some elbow grease...you can do ANYTHING! I know...I have a lot more to do...but the road has been such a great experience...I am ready to tackle what comes next. Onward we go.... |
|
theresa
1K Member
 from Northern Maine ~ Proud new owner of Lola, a 1960 Shasta Airflyte and Pearl, a 1962 Mobile Scout
Posts: 1,055
Likes: 347
Currently Offline
|
Post by theresa on Apr 26, 2018 18:22:28 GMT -8
Your progress is admirable, I love your floor (VERY similar colors as mine) and your enthusiasm is infectious. Great job! Looking forward to watching you move forward.
|
|
kirkadie
1K Member
Posts: 1,156 
Likes: 556
'69 Serro Scotty Hilander
Currently Offline
|
Post by kirkadie on Apr 26, 2018 20:25:37 GMT -8
This post put a great big smile on my face.
|
|
mel
Senior Member
1964 Shasta Airflyte
Posts: 1,729
Likes: 523
Currently Offline
|
Post by mel on Apr 27, 2018 2:49:41 GMT -8
Your doing awesome and your floor looks great! I love when people have a thread for just their camper, love to watch |
|
RinTin
Full Member
Posts: 760
Likes: 292
Currently Offline
|
Post by RinTin on Apr 28, 2018 6:16:58 GMT -8
Enjoyed your post, thanks for sharing!
|
|
smccusk
Active Member
63 SC Restoration in progress
Posts: 202
Likes: 41
1963 Shasta SC
Currently Offline
|
Post by smccusk on Apr 28, 2018 6:48:12 GMT -8
|
|
ktsame
New Member
Posts: 8
1969 Frolic
Currently Offline
|
Post by ktsame on Apr 28, 2018 9:22:12 GMT -8
looks great - nice work!!
|
|
kaffi311
Active Member
Posts: 283
Likes: 98
1963 Shasta 16 SC
Currently Offline
|
Post by kaffi311 on Apr 28, 2018 14:22:17 GMT -8
UGH- I'd love to see these- but the photos are not coming up because of the photobucket issue. Do you have another way to access them>? Thanks! |
|
smccusk
Active Member
63 SC Restoration in progress
Posts: 202
Likes: 41
1963 Shasta SC
Currently Offline
|
Post by smccusk on Apr 29, 2018 6:36:27 GMT -8
There is a fix for the photobucket issue, below is a link.
vintagetrailertalk.freeforums.net/thread/9220/photobucket-fix-cost-dime?page=1&hotlinkfix=1525012190678&scrollTo=90245
I have some of my pictures on a blog but haven't got around to completing it. The blog is
stufffromtheshop.blogspot.com/p/the-camper-project.html
|
|
kaffi311
Active Member
Posts: 283
Likes: 98
1963 Shasta 16 SC
Currently Offline
|
Post by kaffi311 on Apr 29, 2018 18:32:42 GMT -8
There is a fix for the photobucket issue, below is a link. vintagetrailertalk.freeforums.net/thread/9220/photobucket-fix-cost-dime?page=1&hotlinkfix=1525012190678&scrollTo=90245 Wowza..thanks!!! Now I can actually SEE the photos from the threads I bookmarked. Awesome!!!! THanks a ton |
|
kaffi311
Active Member
Posts: 283
Likes: 98
1963 Shasta 16 SC
Currently Offline
|
Post by kaffi311 on Apr 29, 2018 18:38:39 GMT -8
Finally was able to get my closet finished- I've been waiting to put this piece up until floor was in. Love it.  Also, worked on refinishing street side bench - although may not use the drawer as my electric may go there.  IMG_2974 IMG_2974 by kathy, on Flickr And...started work on the gaucho. The whole front face/framing needs to be remade- but the wood is cut and ready to be put together tomorrow. 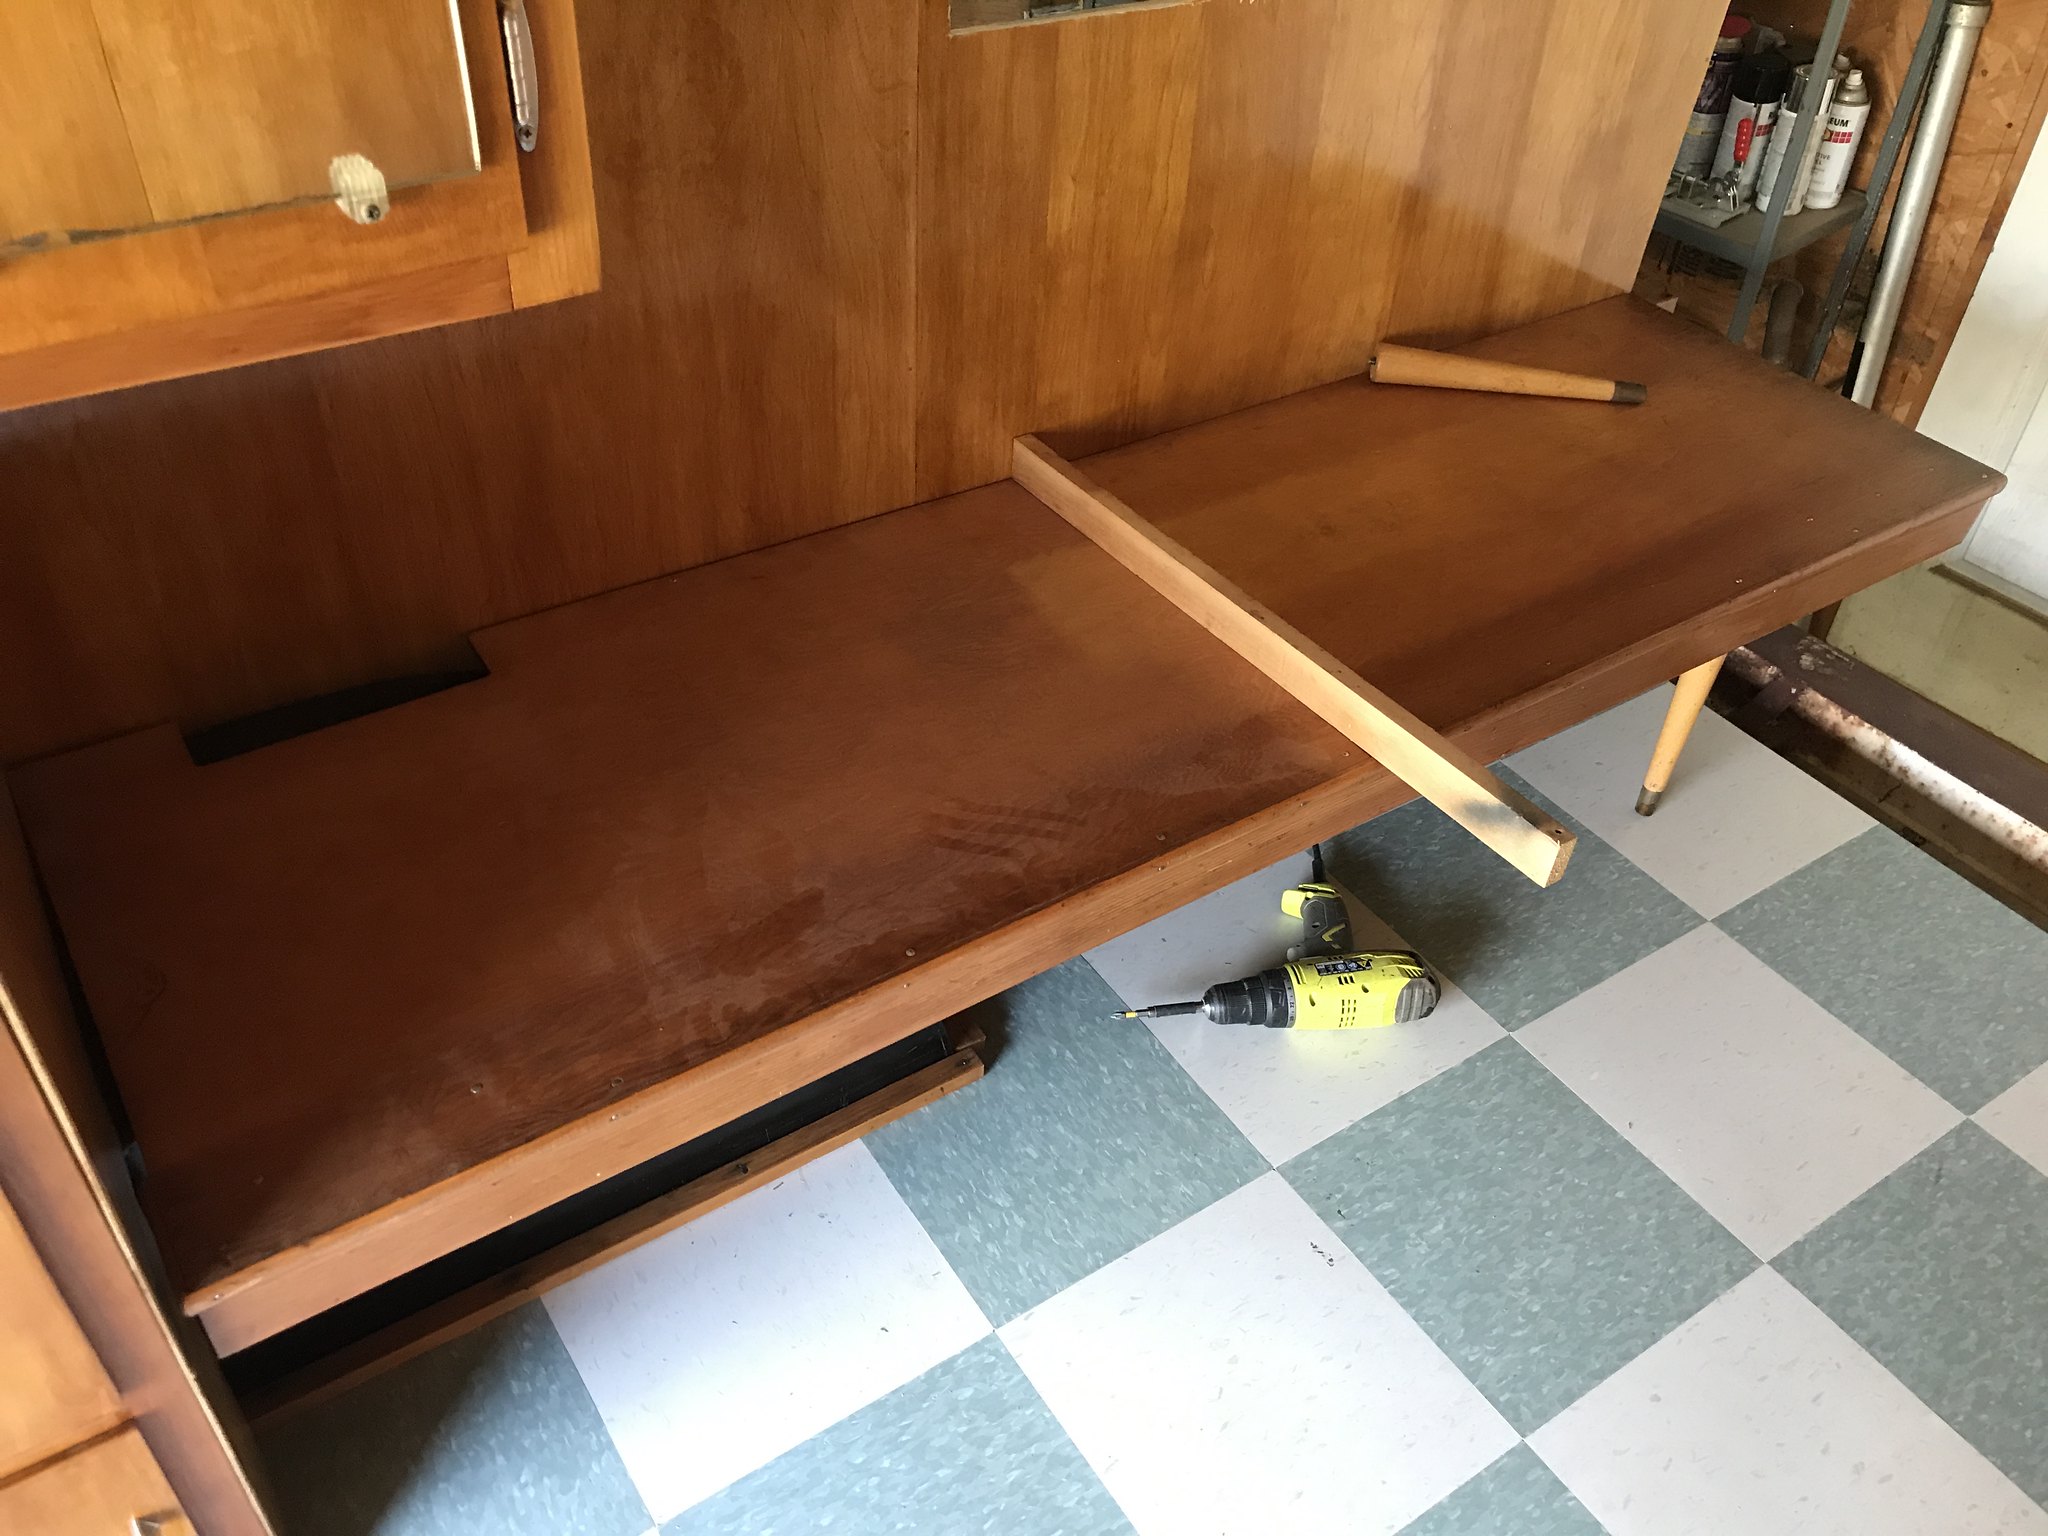 I love seeing progress |
|
|
|
Post by vikx on Apr 29, 2018 19:37:29 GMT -8
Lookin' good!
|
|


