|
|
Post by vikx on Oct 20, 2017 22:03:04 GMT -8
My belly sheets were 1/8, but those seem similar. I used 1/8 to keep the "squish factor" down... I've switched from Henrys Damp Proofer to Tractor Supply's Black fence paint to coat the under side. (rough side). It seems to be the same stuff. The belly will never be completely water tight, it's meant to protect and hold insulation above.
For a non-insulated floor, you can use black roofing paper under plywood. My 54 Bellwood has lasted many moons with a good, solid floor...
Your wheel wells don't look that bad. Can you clean and paint? I coat the under side with the same goop above.
|
|
flameout
Active Member

Posts: 149 
Likes: 23
1968 Shasta StarFlyte
Currently Offline
|
Post by flameout on Nov 13, 2017 12:06:40 GMT -8
I got a little more done. The biggest pain was building wheel wells. I bought a kit from SummitRacing, and with a little cutting, bending, welding, swearing etc, I have them done. I'll just need to cut the outside when I can figure out how in the heck it's supposed to go. Hopefully after I put the wall up I'll have a better idea. I used the 1/8" hardboard painted with that fence post stuff from Tractor Supply. Rather than 2x4 for the floor framing, I just stuck with 2x2. It sure seems sold enough. Should I use tongue and grove for the floor, or doesn't it really matter. Just some good 1/2" plywood? Also, can I just bolt the 2x2 wood framing to the trailer frame, or wait until I install plywood, and run the bolts through that too? I was just wondering about the bolt head for when I install a new vinyl floor that the heads would cause a problem Frame all cleaned, then I just used that POR-15 stuff. Seems to be ok 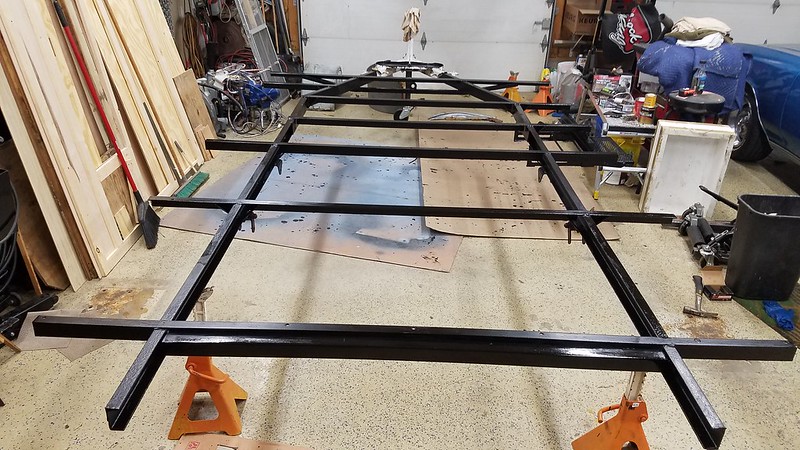 Shasta Shasta by Bill, on Flickr 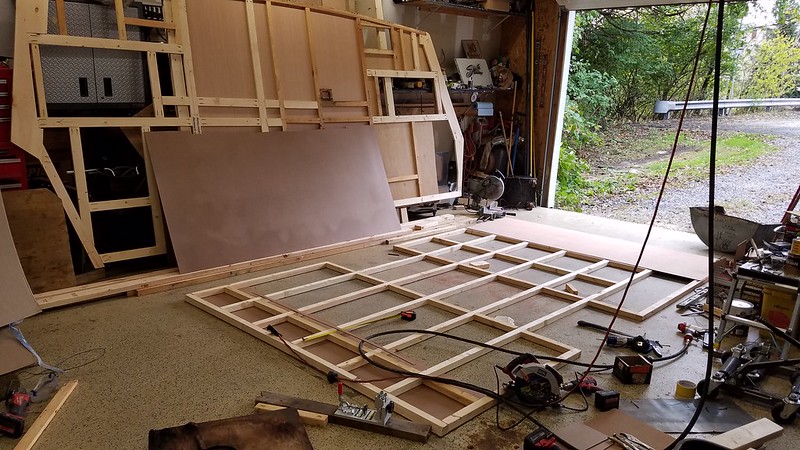 Shasta floor Shasta floor by Bill, on Flickr 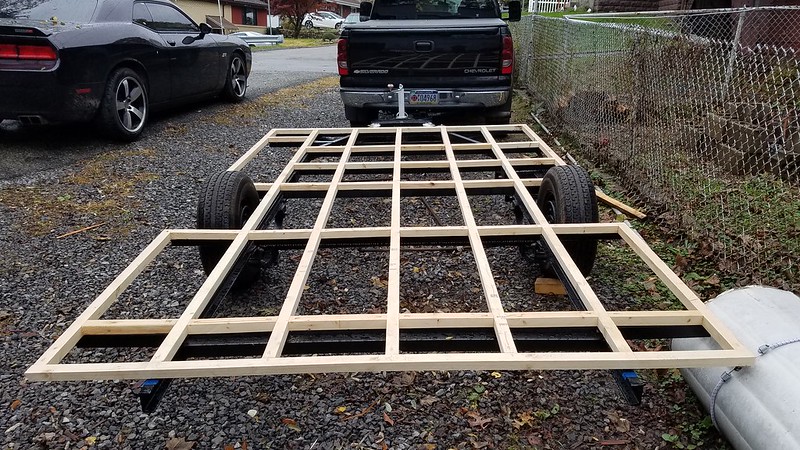 Shasta floor Shasta floor by Bill, on Flickr Wheel tubs all primed and painted and sealed up with seam sealer 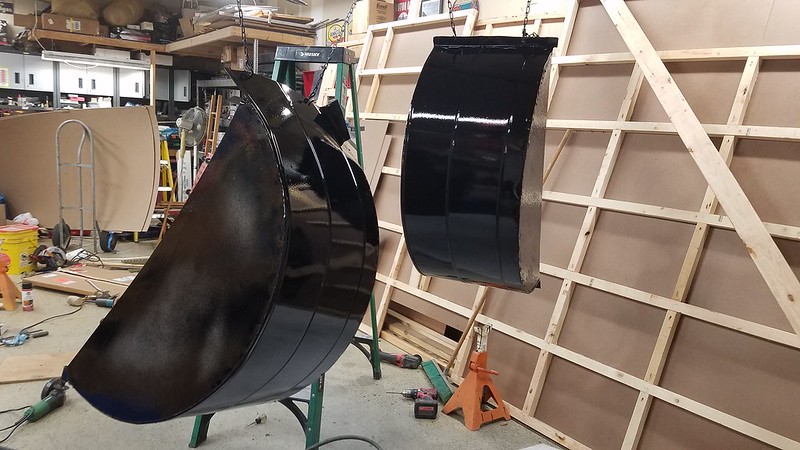 Shasta Floor Shasta Floor by Bill, on Flickr Floor all sealed. I hope this works! 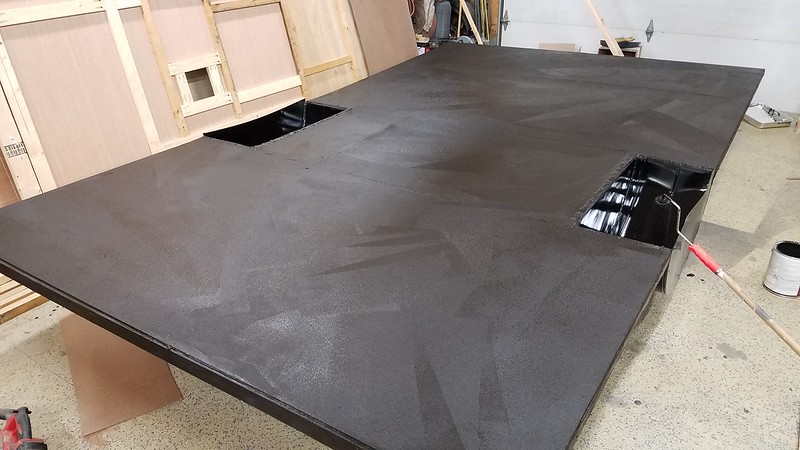 Shasta Floor Shasta Floor by Bill, on Flickr I hope this was the right stuff 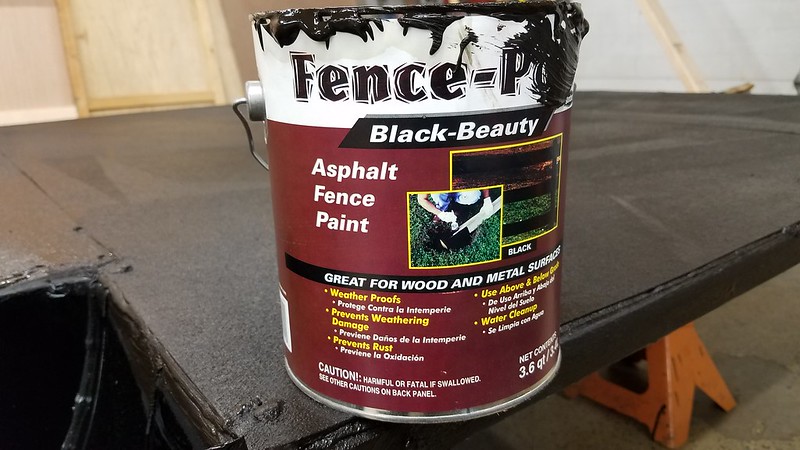 Shasta Floor Shasta Floor by Bill, on Flickr 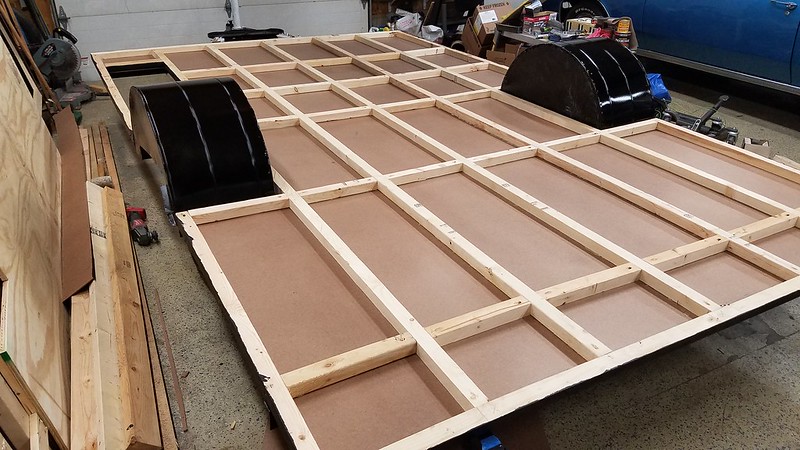 Shasta Floor Shasta Floor by Bill, on Flickr I used 1-1/2" foam insulation for the floor. I had to make a little change after this photo. I forgot to frame where the shower drain goes 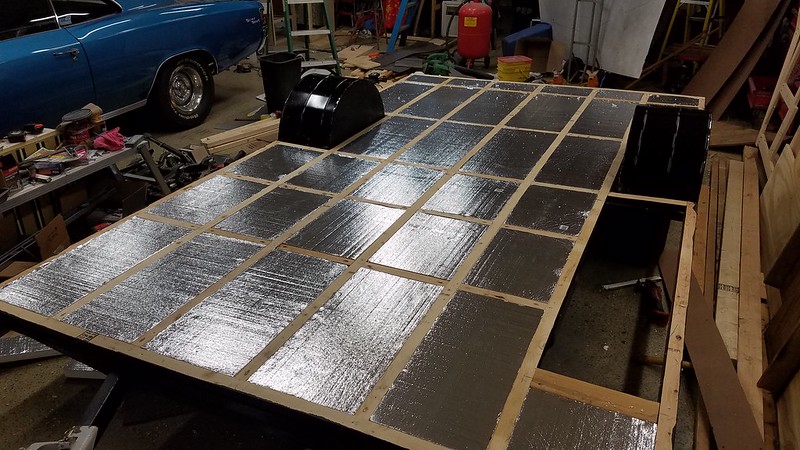 Shasta Floor Shasta Floor by Bill, on Flickr  Shasta Floor Shasta Floor by Bill, on Flickr |
|
Deleted
Posts: 0
Currently Offline
|
Post by Deleted on Nov 13, 2017 18:05:58 GMT -8
Hi Flameout...your work looks really good. I'm new to this, but my plan when I get to the point you are is to use 3/4" tongue and groove plywood. I think 1/2" would be a little light and the tongue and groove would help to insure flatness better than butt joints. I plan to install the plywood to the 2x2 wood framing, counter bore for the bolts, then fasten the whole works to the frame. My 2 cents anyway.
|
|
Deleted
Posts: 0
Currently Offline
|
Post by Deleted on Nov 13, 2017 18:12:42 GMT -8
Also, I plan to use LVP (luxury vinyl plank) flooring instead of vinyl sheet flooring. This stuff is completely waterproof, easy to repair, and installs like a dream. Anyone out there have experience using this product in campers?? They also make an LVT version that closer replicates tiles versus planks.
|
|
|
|
Post by vikx on Nov 16, 2017 20:47:19 GMT -8
I've used the planks in a friend's trailer. Unfortunately, a lot of vintage charm was lost with them. JMO
|
|
flameout
Active Member
Posts: 149
Likes: 23
1968 Shasta StarFlyte
Currently Offline
|
Post by flameout on Nov 17, 2017 7:51:21 GMT -8
I've used the planks in a friend's trailer. Unfortunately, a lot of vintage charm was lost with them. JMO I was hoping to stay with the vintage look, but having a hard time finding similer color paneling and a similer color stain for the birch. My original colors seem to have a little yellow, white and green. I've tried a few different stains, tried amber schellac, pickled whitewash stain with polyurethane coat. Nothing is coming close. I have the plywood floor down, but can't find any similer vinyl flooring to cover it . I'm kind of at a standstill I guess 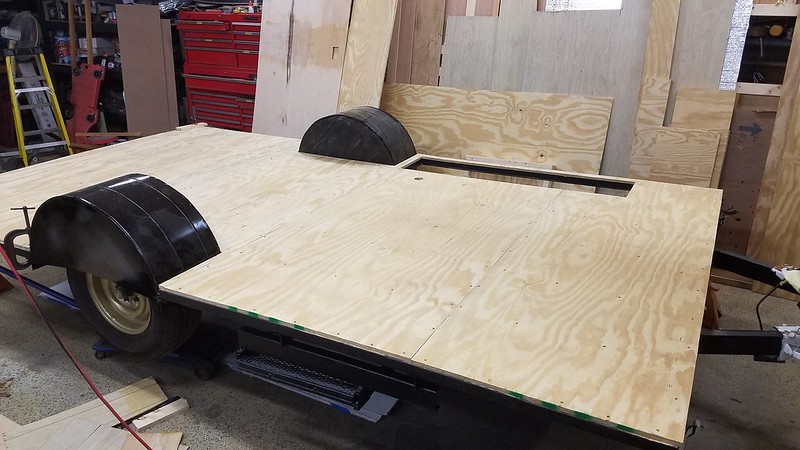 Shasta Floor Shasta Floor by Bill, on Flickr |
|
|
|
Post by vikx on Nov 17, 2017 13:00:42 GMT -8
Why not go with birch stained as you like it? Real wood is very popular and you can't fail with it. The blond panels are "newer", impossible to replicate and not as pretty. When I'm confused about flooring, I try to stay neutral. That way, curtains/pillows/decor can go any direction. Another option which is really fun is big polka dots in retro colors or Marmoleum with cool insets.
Google retro flooring, retro vintage floor, vintage trailer floors, etc. Lots of great ideas.
I don't enjoy black and white squares, nor the planks.
|
|
flameout
Active Member
Posts: 149
Likes: 23
1968 Shasta StarFlyte
Currently Offline
|
Post by flameout on Nov 17, 2017 15:17:03 GMT -8
I was mainly trying to get the new wood as close to original because I'm keeping my sink/stove cabinet as well as the fridge/bathroom/storage cabinets. They are still in very good condition and I was hoping not having to rebuild them if I can avoid it
|
|
Deleted
Posts: 0
Currently Offline
|
Post by Deleted on Nov 17, 2017 18:27:40 GMT -8
You might want to consider taking a piece of new wood and a sample of the old wood you'd like to match to Sherwin Williams. They've done stain matching for me in the past and have done a great job. It will likely be a custom blend to get it correct.
|
|
mrmarty51
Leading Member

Posts: 1,787
Likes: 423
1972 HOMEMADE
Currently Offline
|
Post by mrmarty51 on Nov 17, 2017 18:46:24 GMT -8
You might want to consider taking a piece of new wood and a sample of the old wood you'd like to match to Sherwin Williams. They've done stain matching for me in the past and have done a great job. It will likely be a custom blend to get it correct. YUP, I have been working for an interior decorator the last several months, staining and clear coating thousands of feet of baseboard, trim and 23 doors. He talked about having Sherwin Williams match stain, said they do a pretty good job. He also has a lot of different shades and colors of stain on hand and sometimes He will mix to match and it always comes out very close and nice. This is the same guy that helped me with My camper. |
|
|
|
Post by vikx on Nov 17, 2017 21:00:28 GMT -8
Another option is to panel with birch, stained as you like and possibly stain the cabinets as well. They are easy to re-skin as well. I've even seen cabinets tastefully painted with wood walls and it worked:
<a data-flickr-embed="true" href="https://www.flickr.com/photos/53634851@N03/37778581194/in/dateposted-public/" title="1959 Pathfinder (1)"><img src="https://farm5.staticflickr.com/4525/37778581194_34a4448462.jpg" width="500" height="375" alt="1959 Pathfinder (1)"></a><script async src="//embedr.flickr.com/assets/client-code.js" charset="utf-8"></script>
<a data-flickr-embed="true" href="https://www.flickr.com/photos/53634851@N03/37778580094/in/dateposted-public/" title="1959 Pathfinder (4)"><img src="https://farm5.staticflickr.com/4569/37778580094_7050f8d362.jpg" width="500" height="375" alt="1959 Pathfinder (4)"></a><script async src="//embedr.flickr.com/assets/client-code.js" charset="utf-8"></script>
<a data-flickr-embed="true" href="https://www.flickr.com/photos/53634851@N03/26718090199/in/dateposted-public/" title="1959 Pathfinder (3)"><img src="https://farm5.staticflickr.com/4535/26718090199_ae968dbb85.jpg" width="500" height="375" alt="1959 Pathfinder (3)"></a><script async src="//embedr.flickr.com/assets/client-code.js" charset="utf-8"></script>
Above is a 1959 Pathfinder, the ceiling panels are all original. I thought the kitchen turned out very nice, in spite of the paint. Opinions??
|
|
flameout
Active Member
Posts: 149
Likes: 23
1968 Shasta StarFlyte
Currently Offline
|
Post by flameout on Nov 18, 2017 7:38:13 GMT -8
I'm going to give the stain matching thing a shot. There is also a local woodworking place, www.rockler.com/ that sells birch veneer, so maybe I could redo all cabinets, if it comes down to that. I don't want to paint anything, except as a last resort |
|


