papamike95
Member

Posts: 30 
Likes: 13
1954 Terry - 16'
Currently Offline
|
Post by papamike95 on Apr 15, 2018 7:59:43 GMT -8
I feel like I'm finally really starting to make progress... which is nice considering I'm trying to be done by our vacation this summer (August 5)! I tried keeping the door intact, but after seeing the rot around the door handle, I decided to pull it apart: 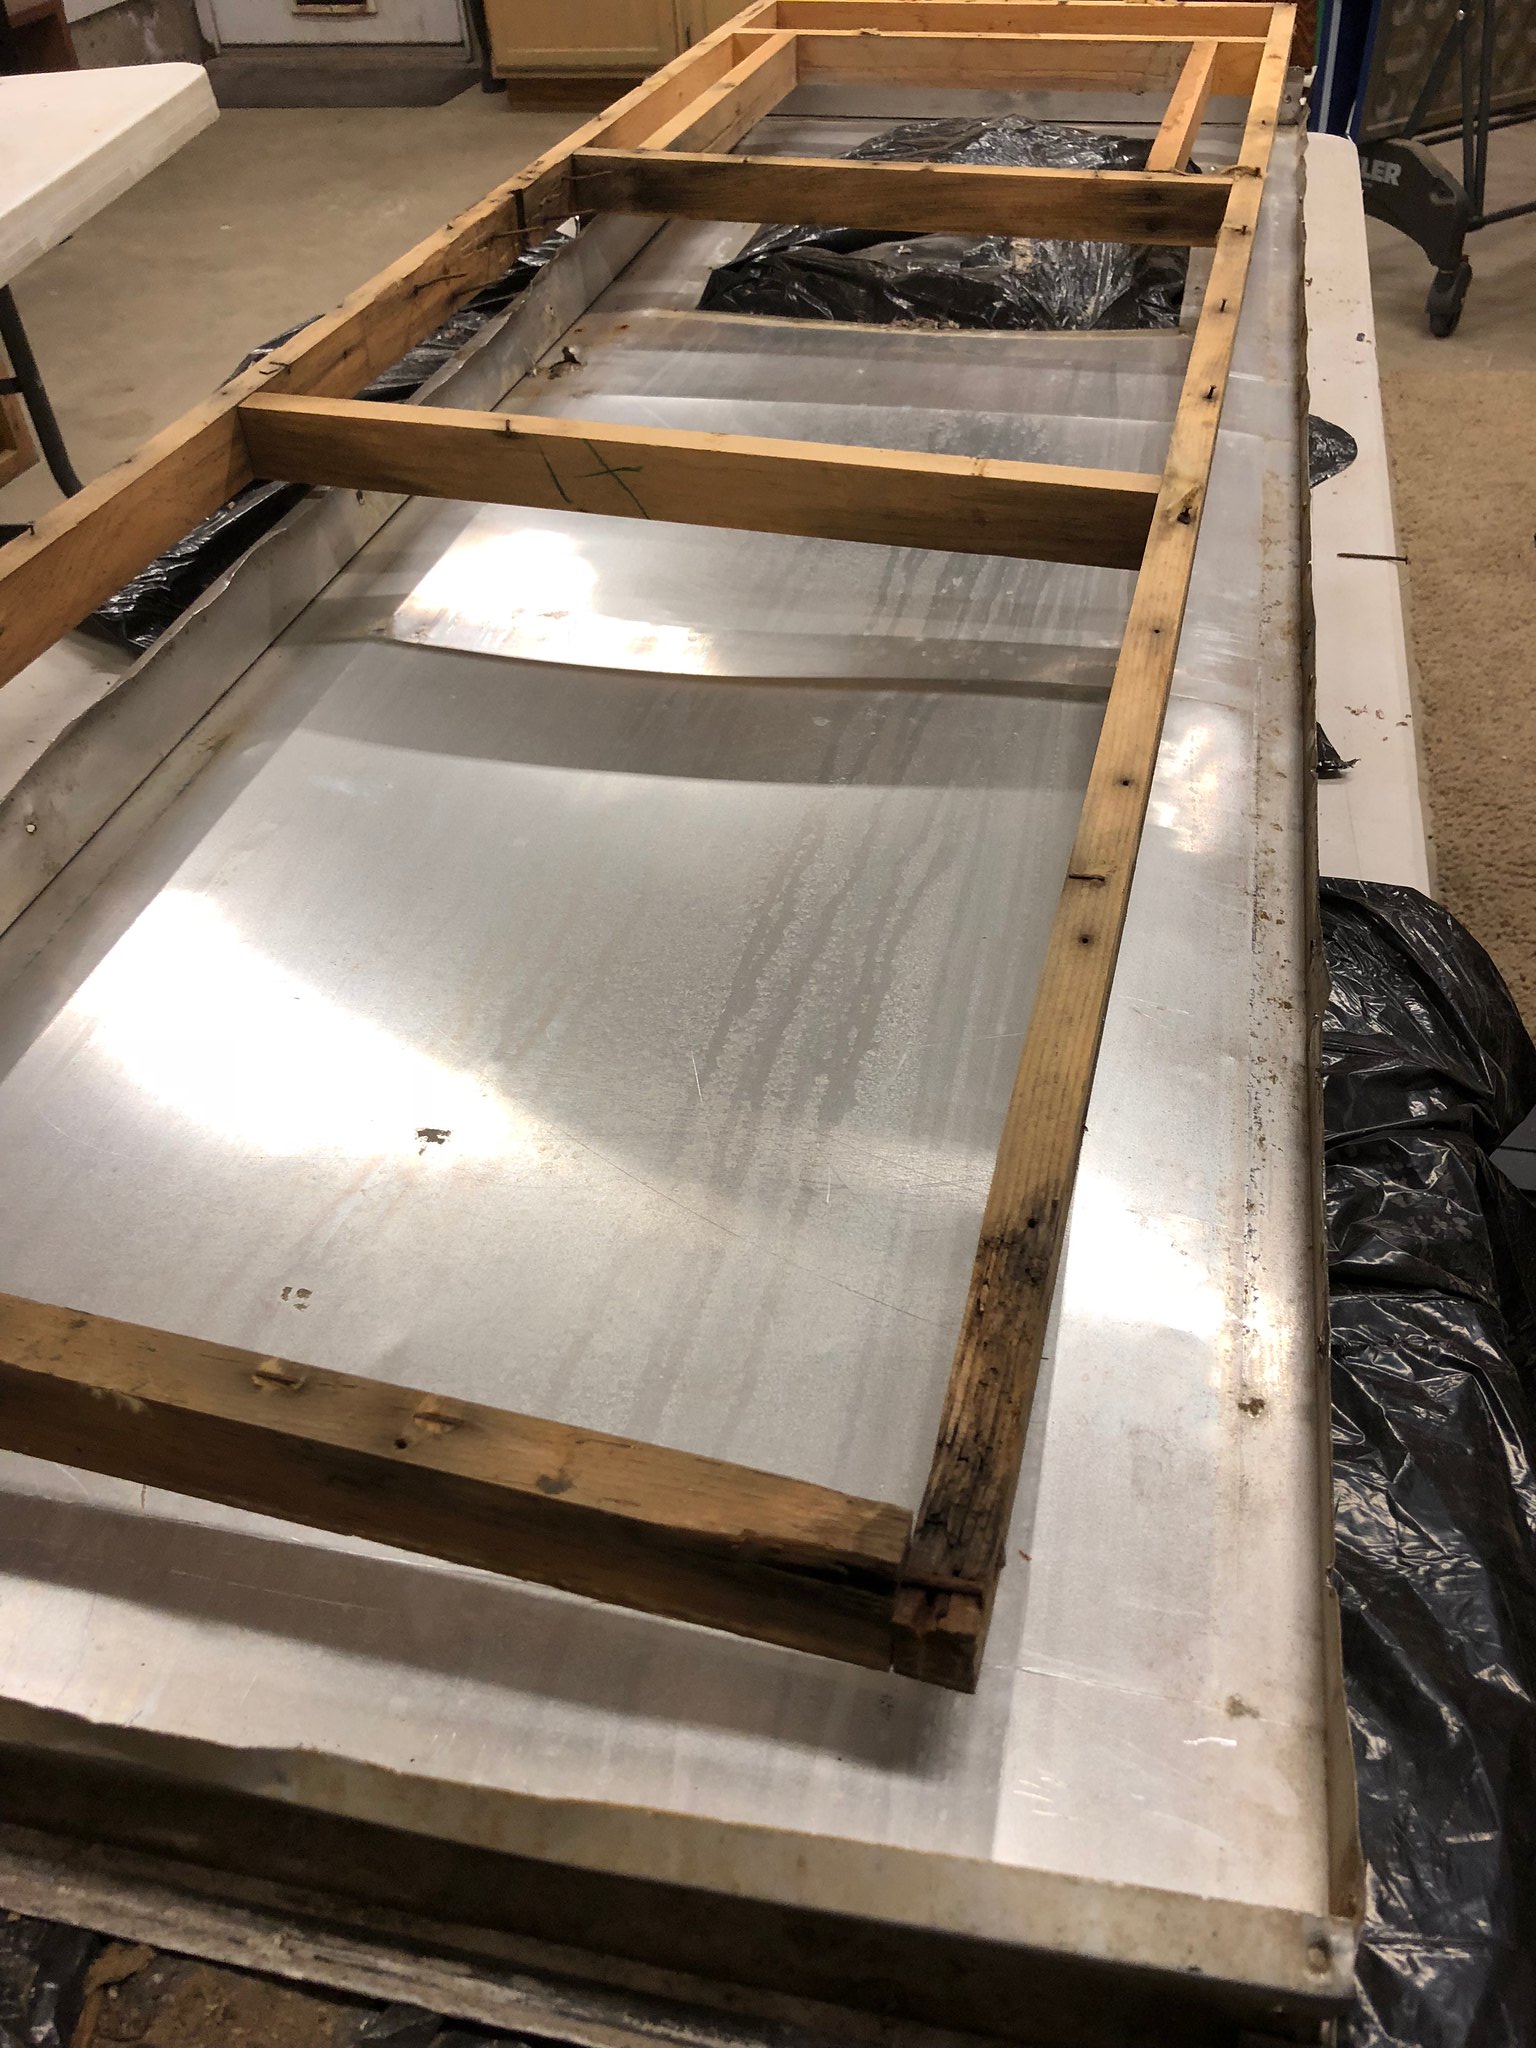 Untitled Untitled by Mike Estrada, on Flickr I really hope I can get it back together with it still looking ok. I haven't done anything further on the door; instead opting to move on to the cabinets.  Untitled Untitled by Mike Estrada, on Flickr 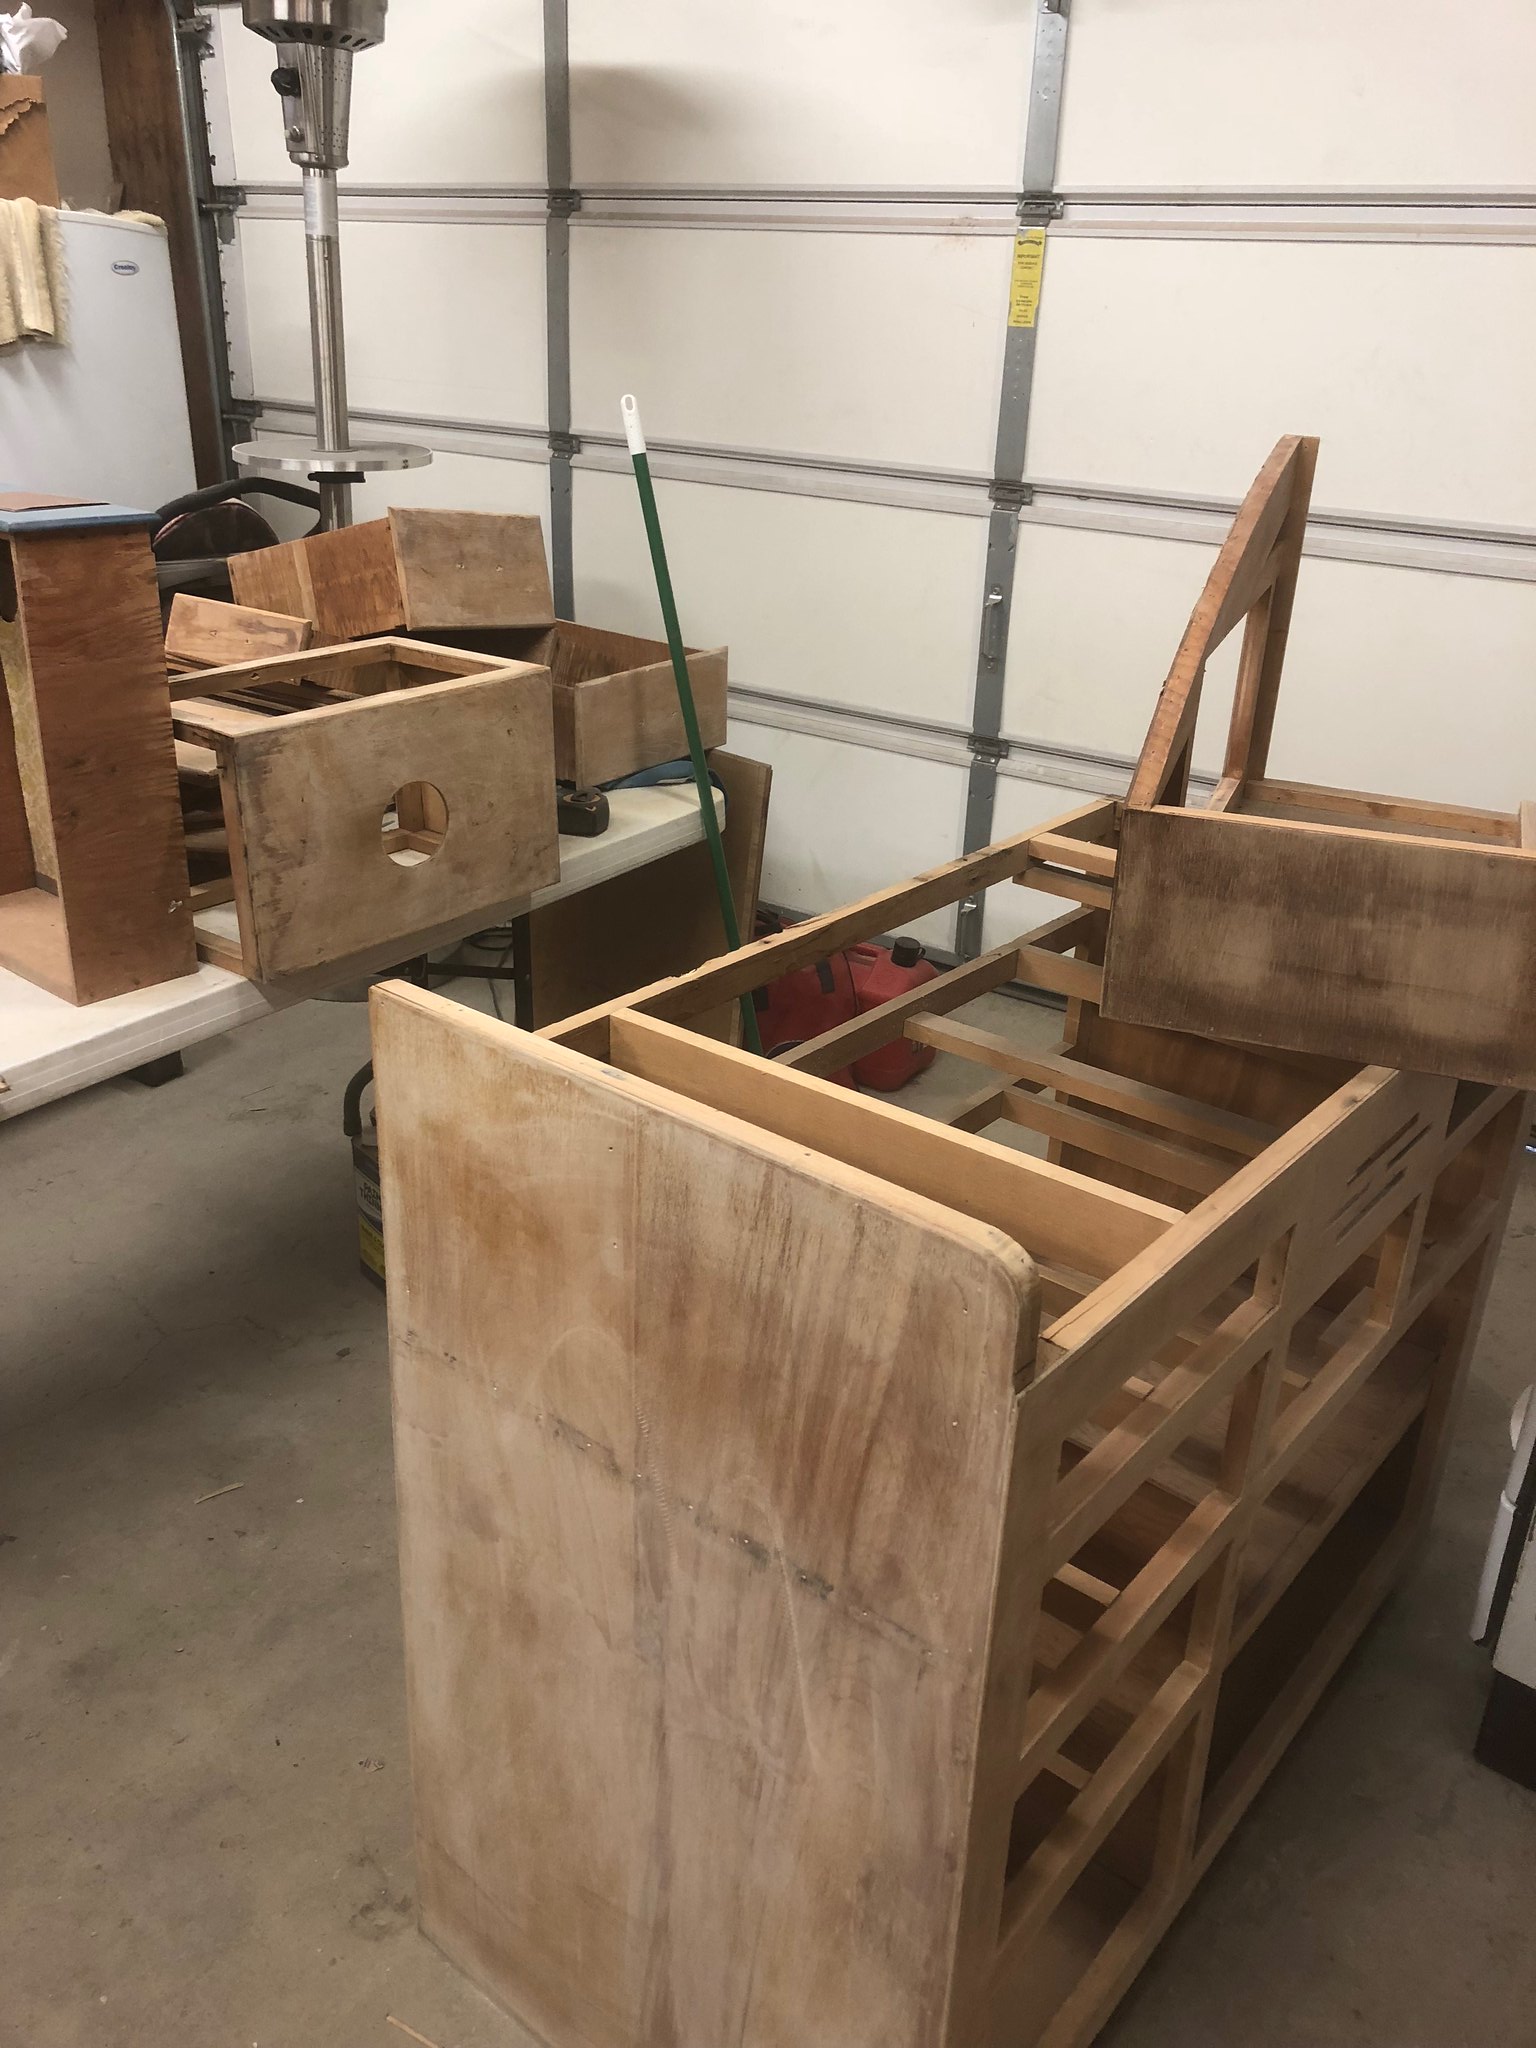 Untitled Untitled by Mike Estrada, on Flickr 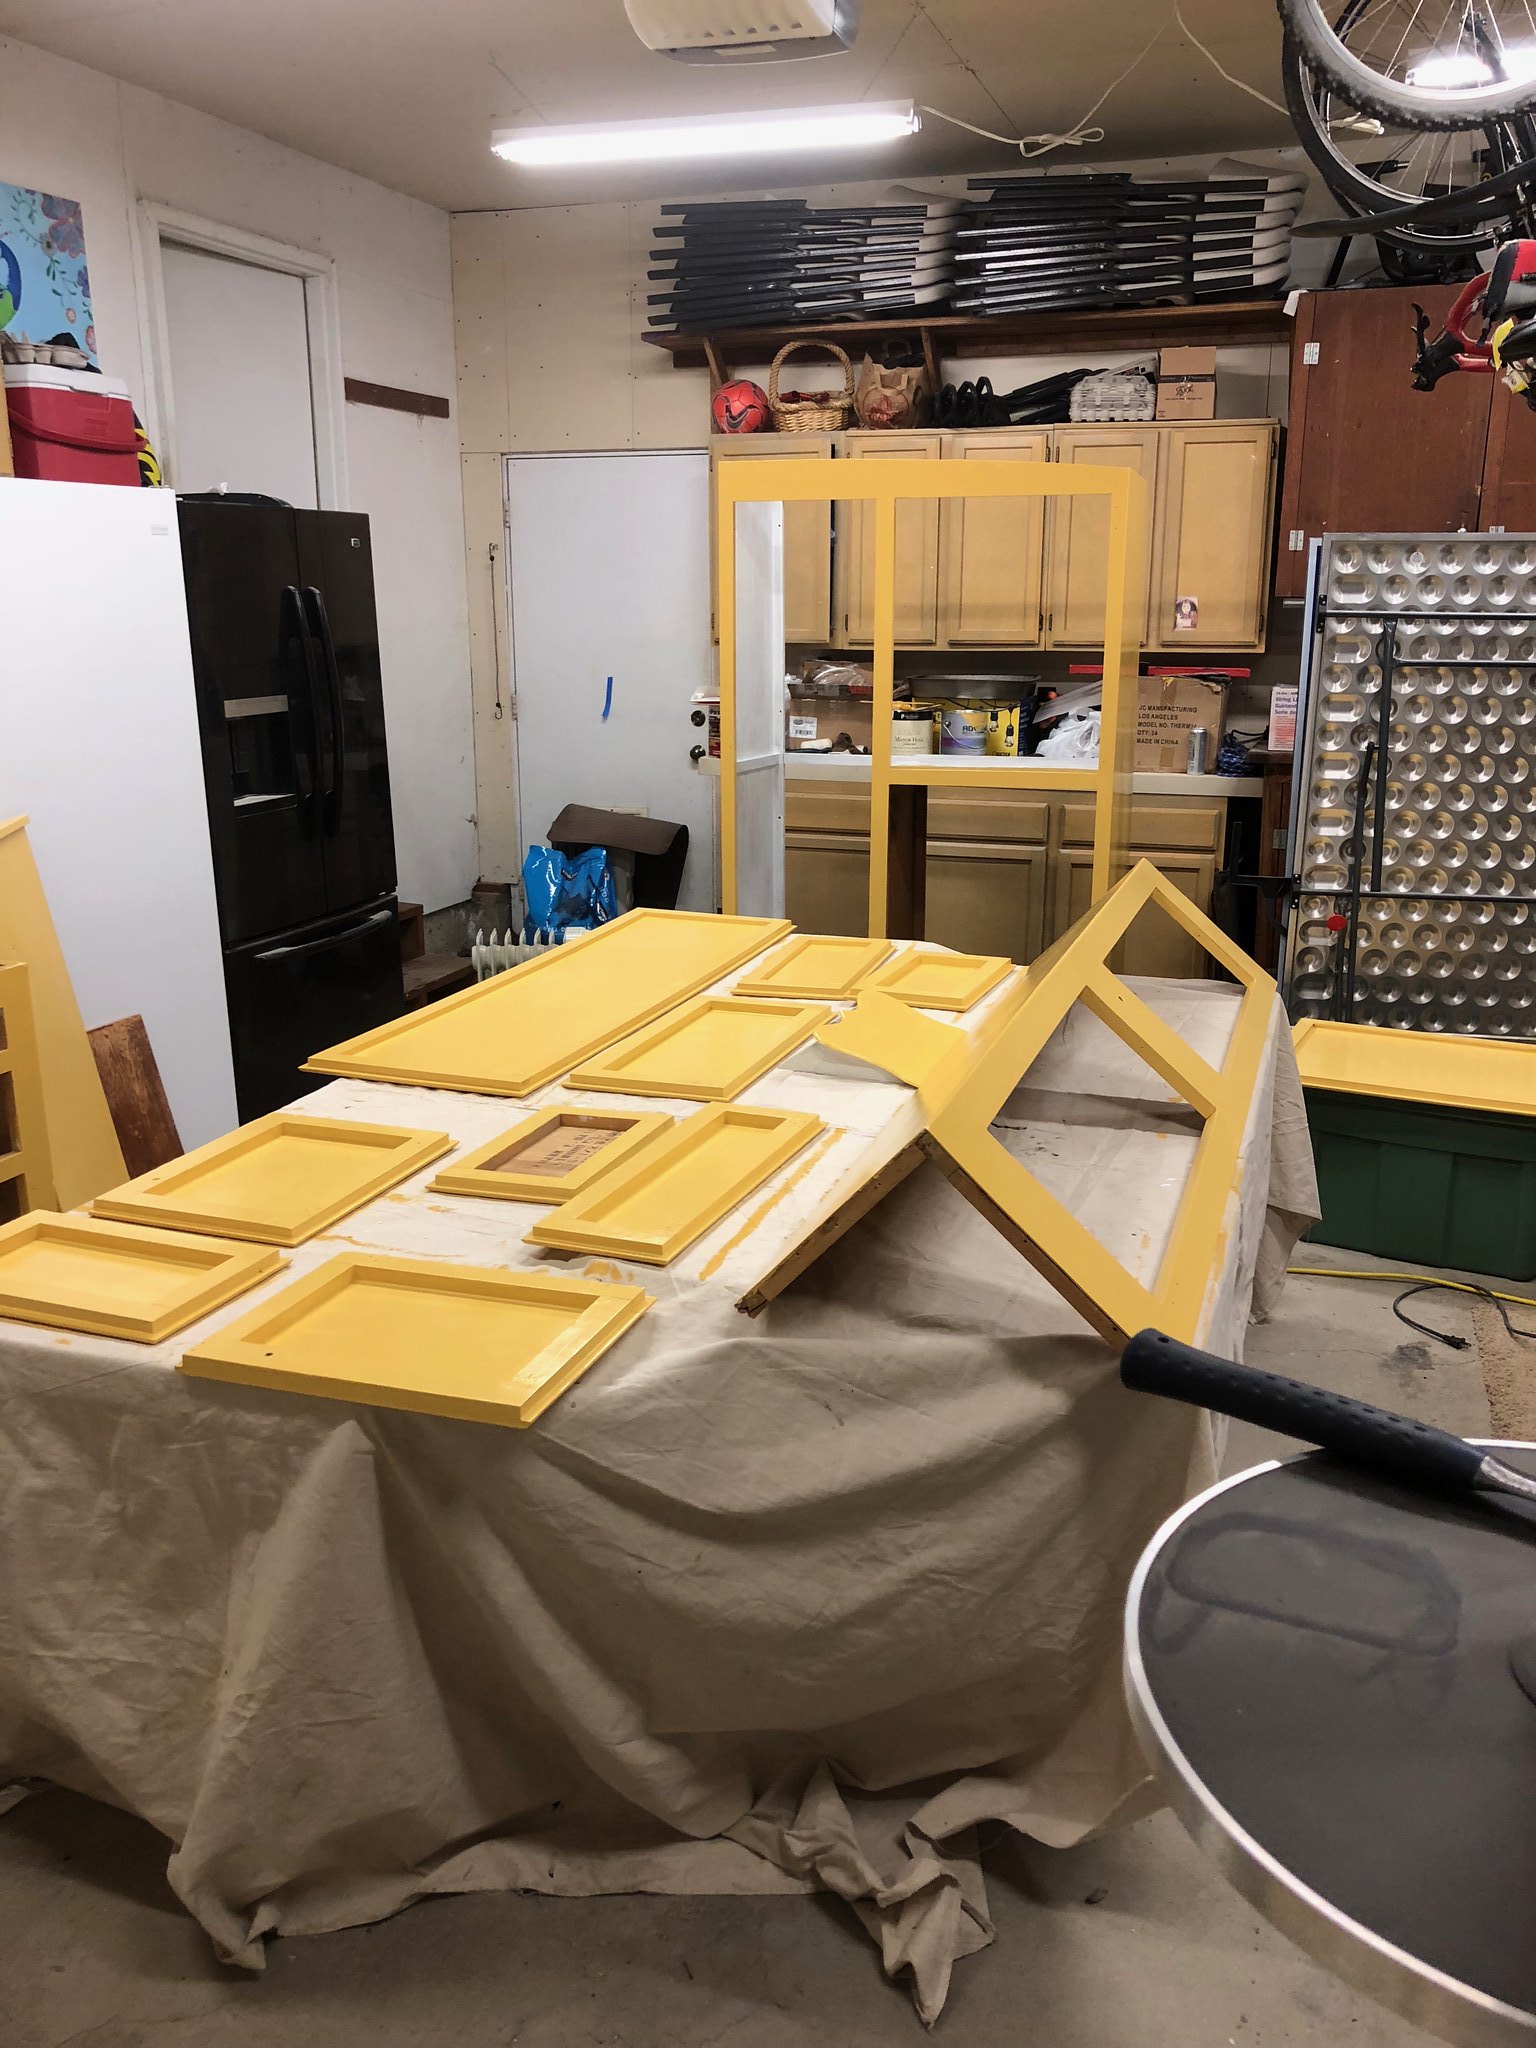 Untitled Untitled by Mike Estrada, on Flickr  Untitled Untitled by Mike Estrada, on Flickr  Untitled Untitled by Mike Estrada, on Flickr And then working on the walls and wheel wells (which the prior owner hacked with a sawsall). I pop-riveted some of the old roof aluminum to the wheel well so that when I get the walls on, I can cut to exact dimensions:  Untitled Untitled by Mike Estrada, on Flickr And here we go with the actual building! 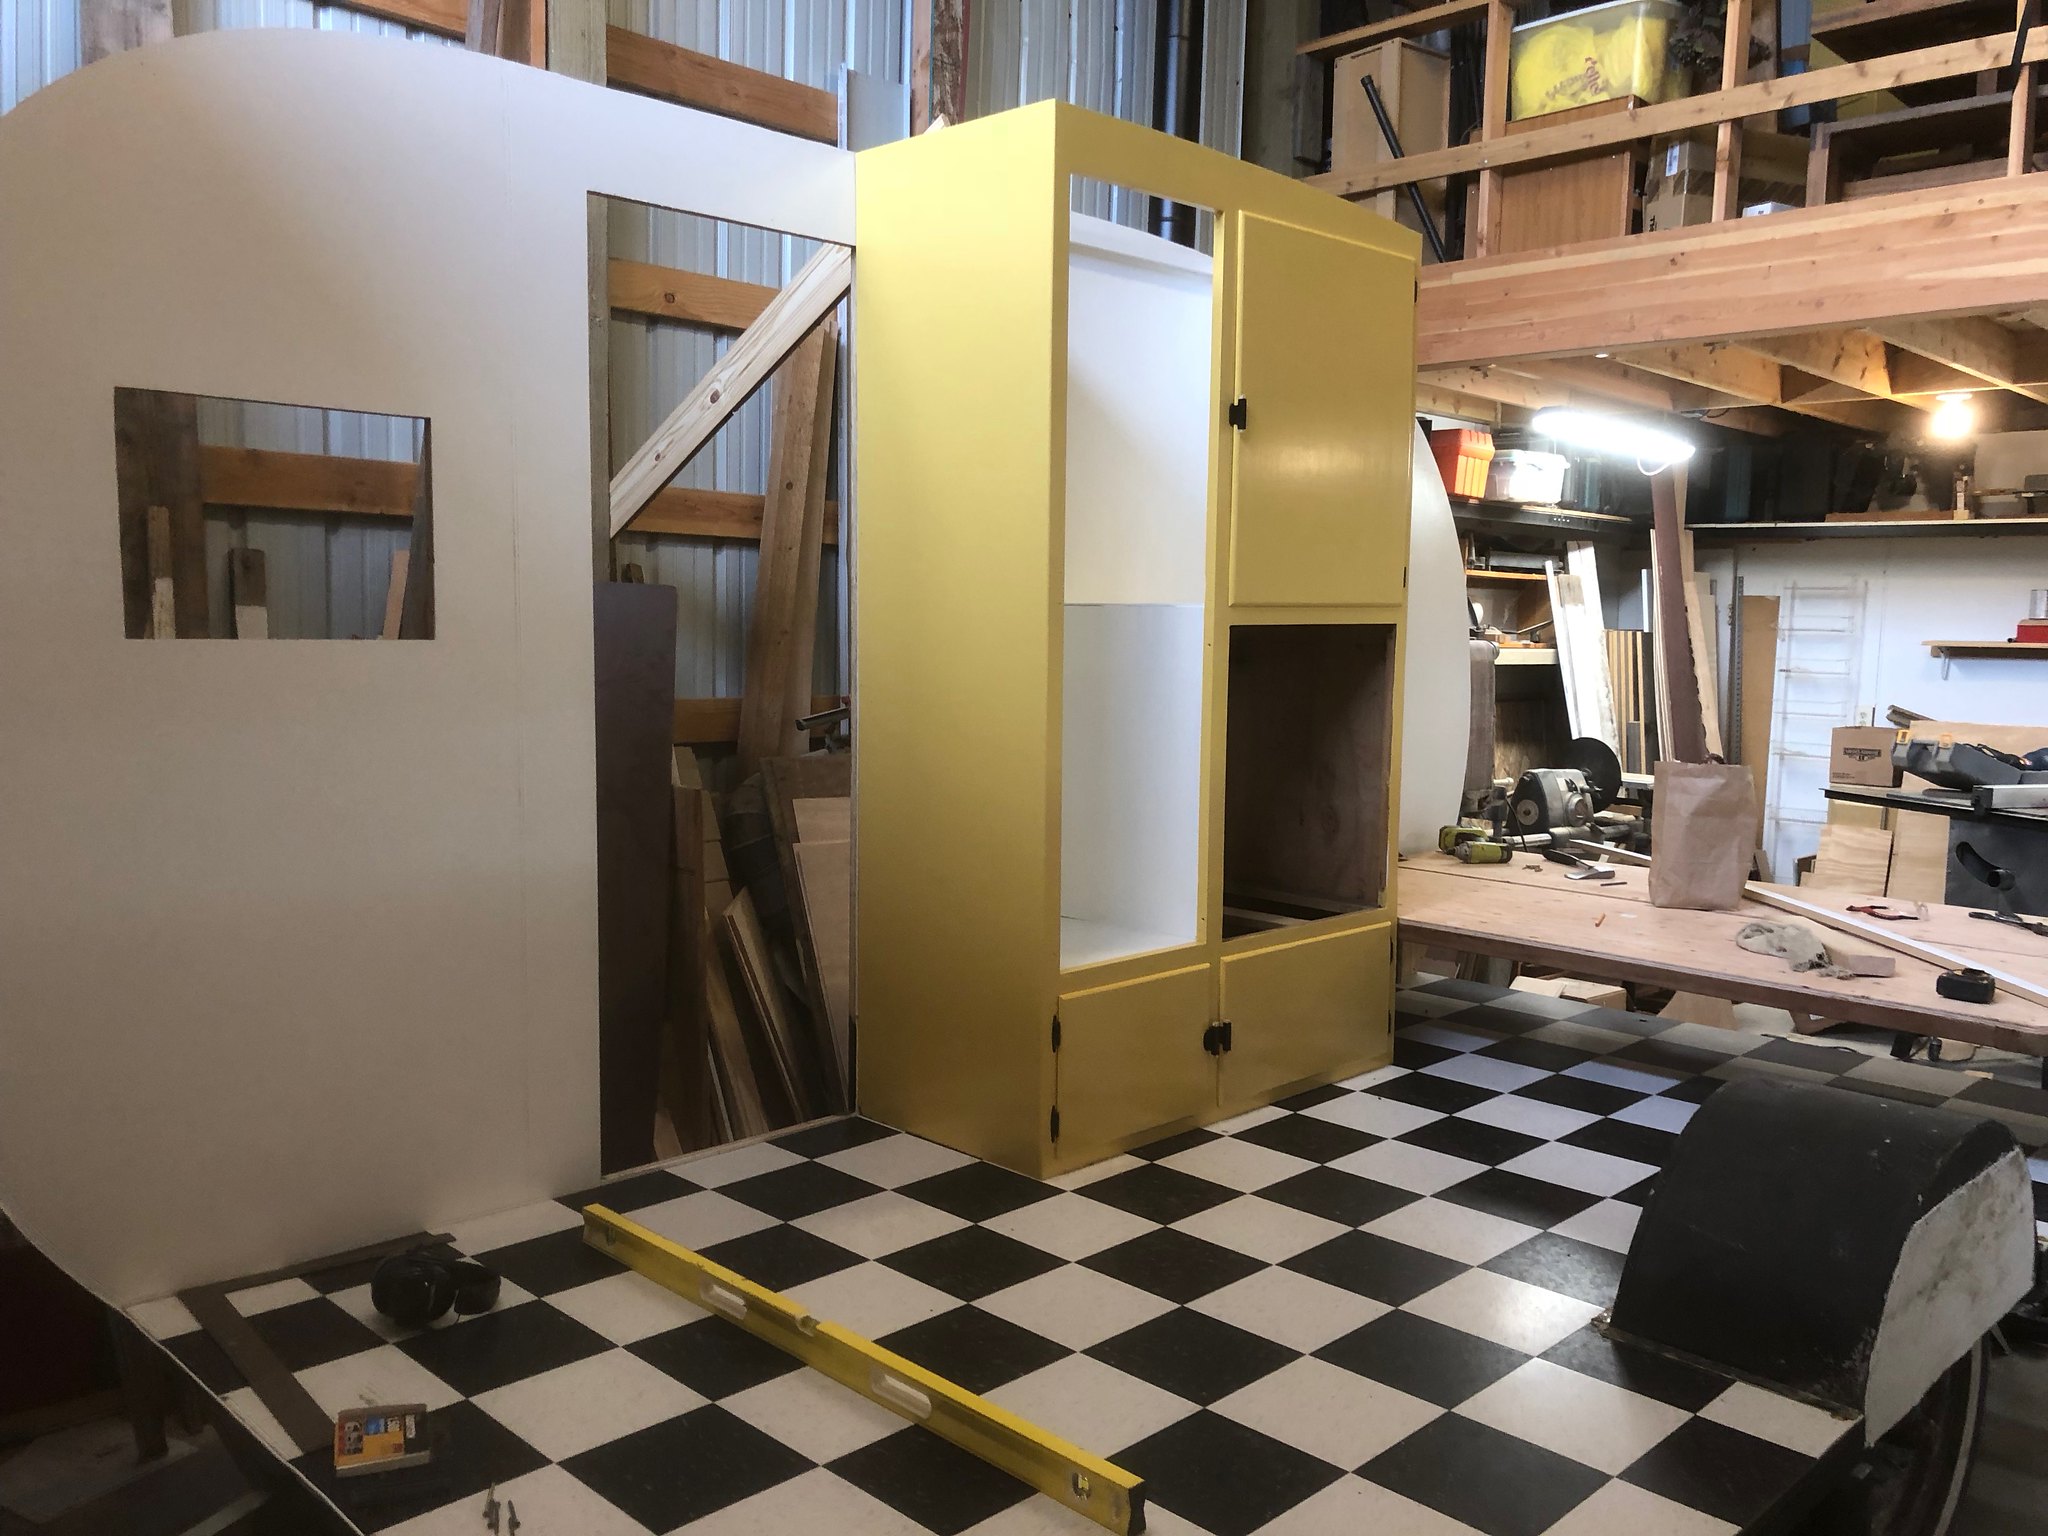 Untitled Untitled by Mike Estrada, on Flickr And the welt goes on... 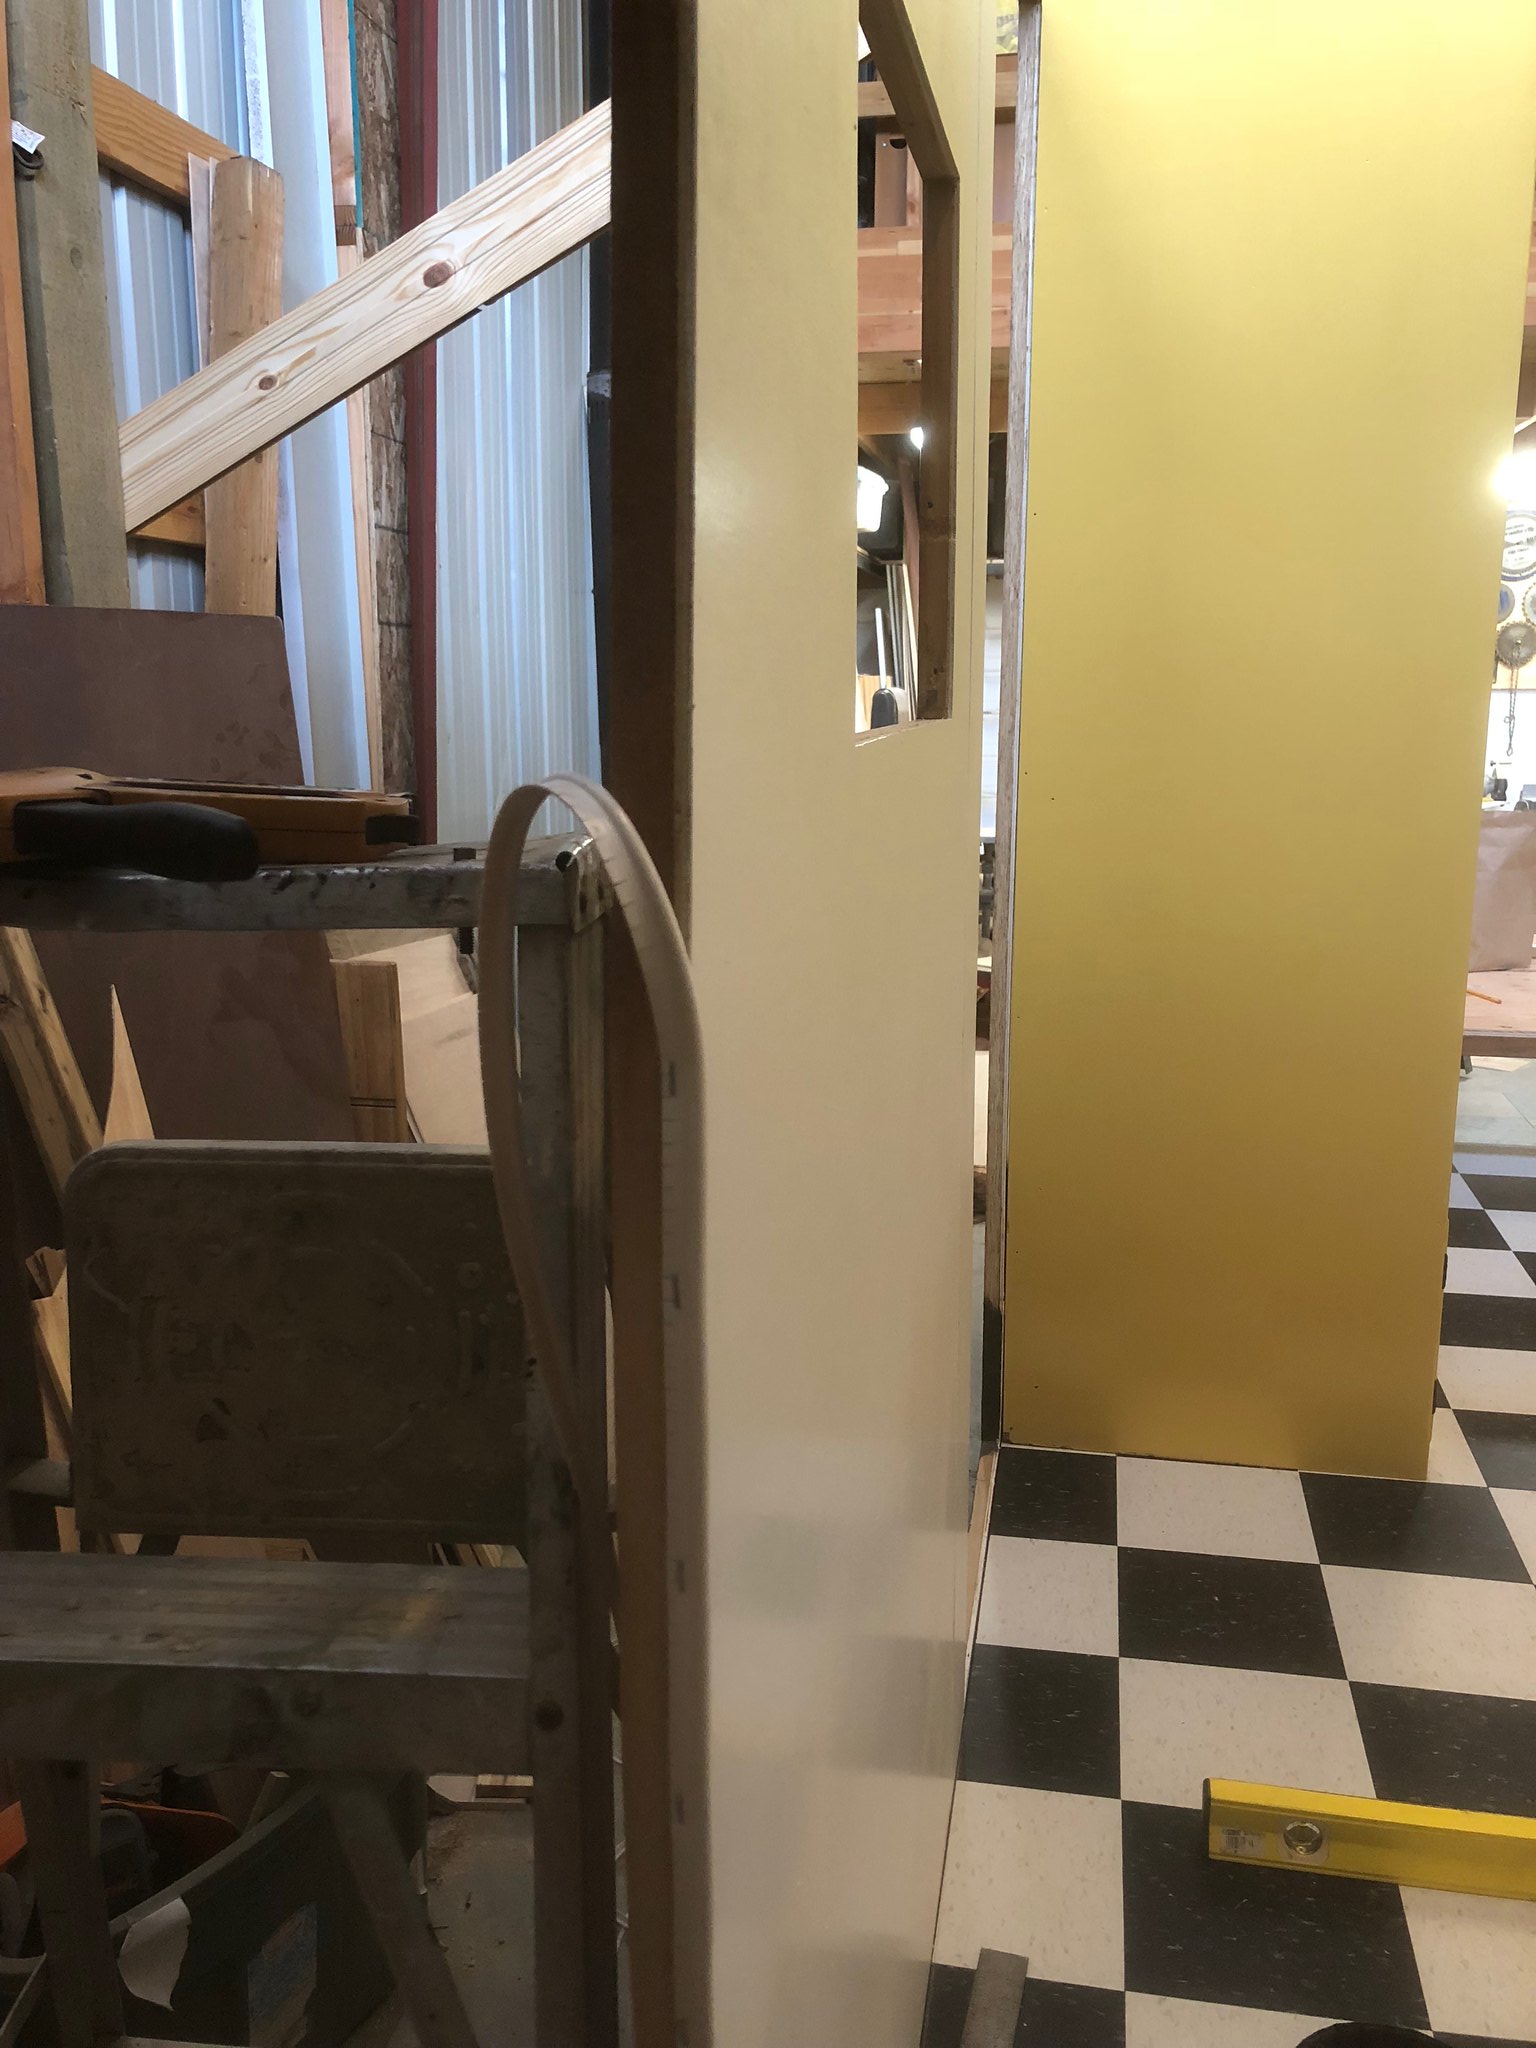 Untitled Untitled by Mike Estrada, on Flickr 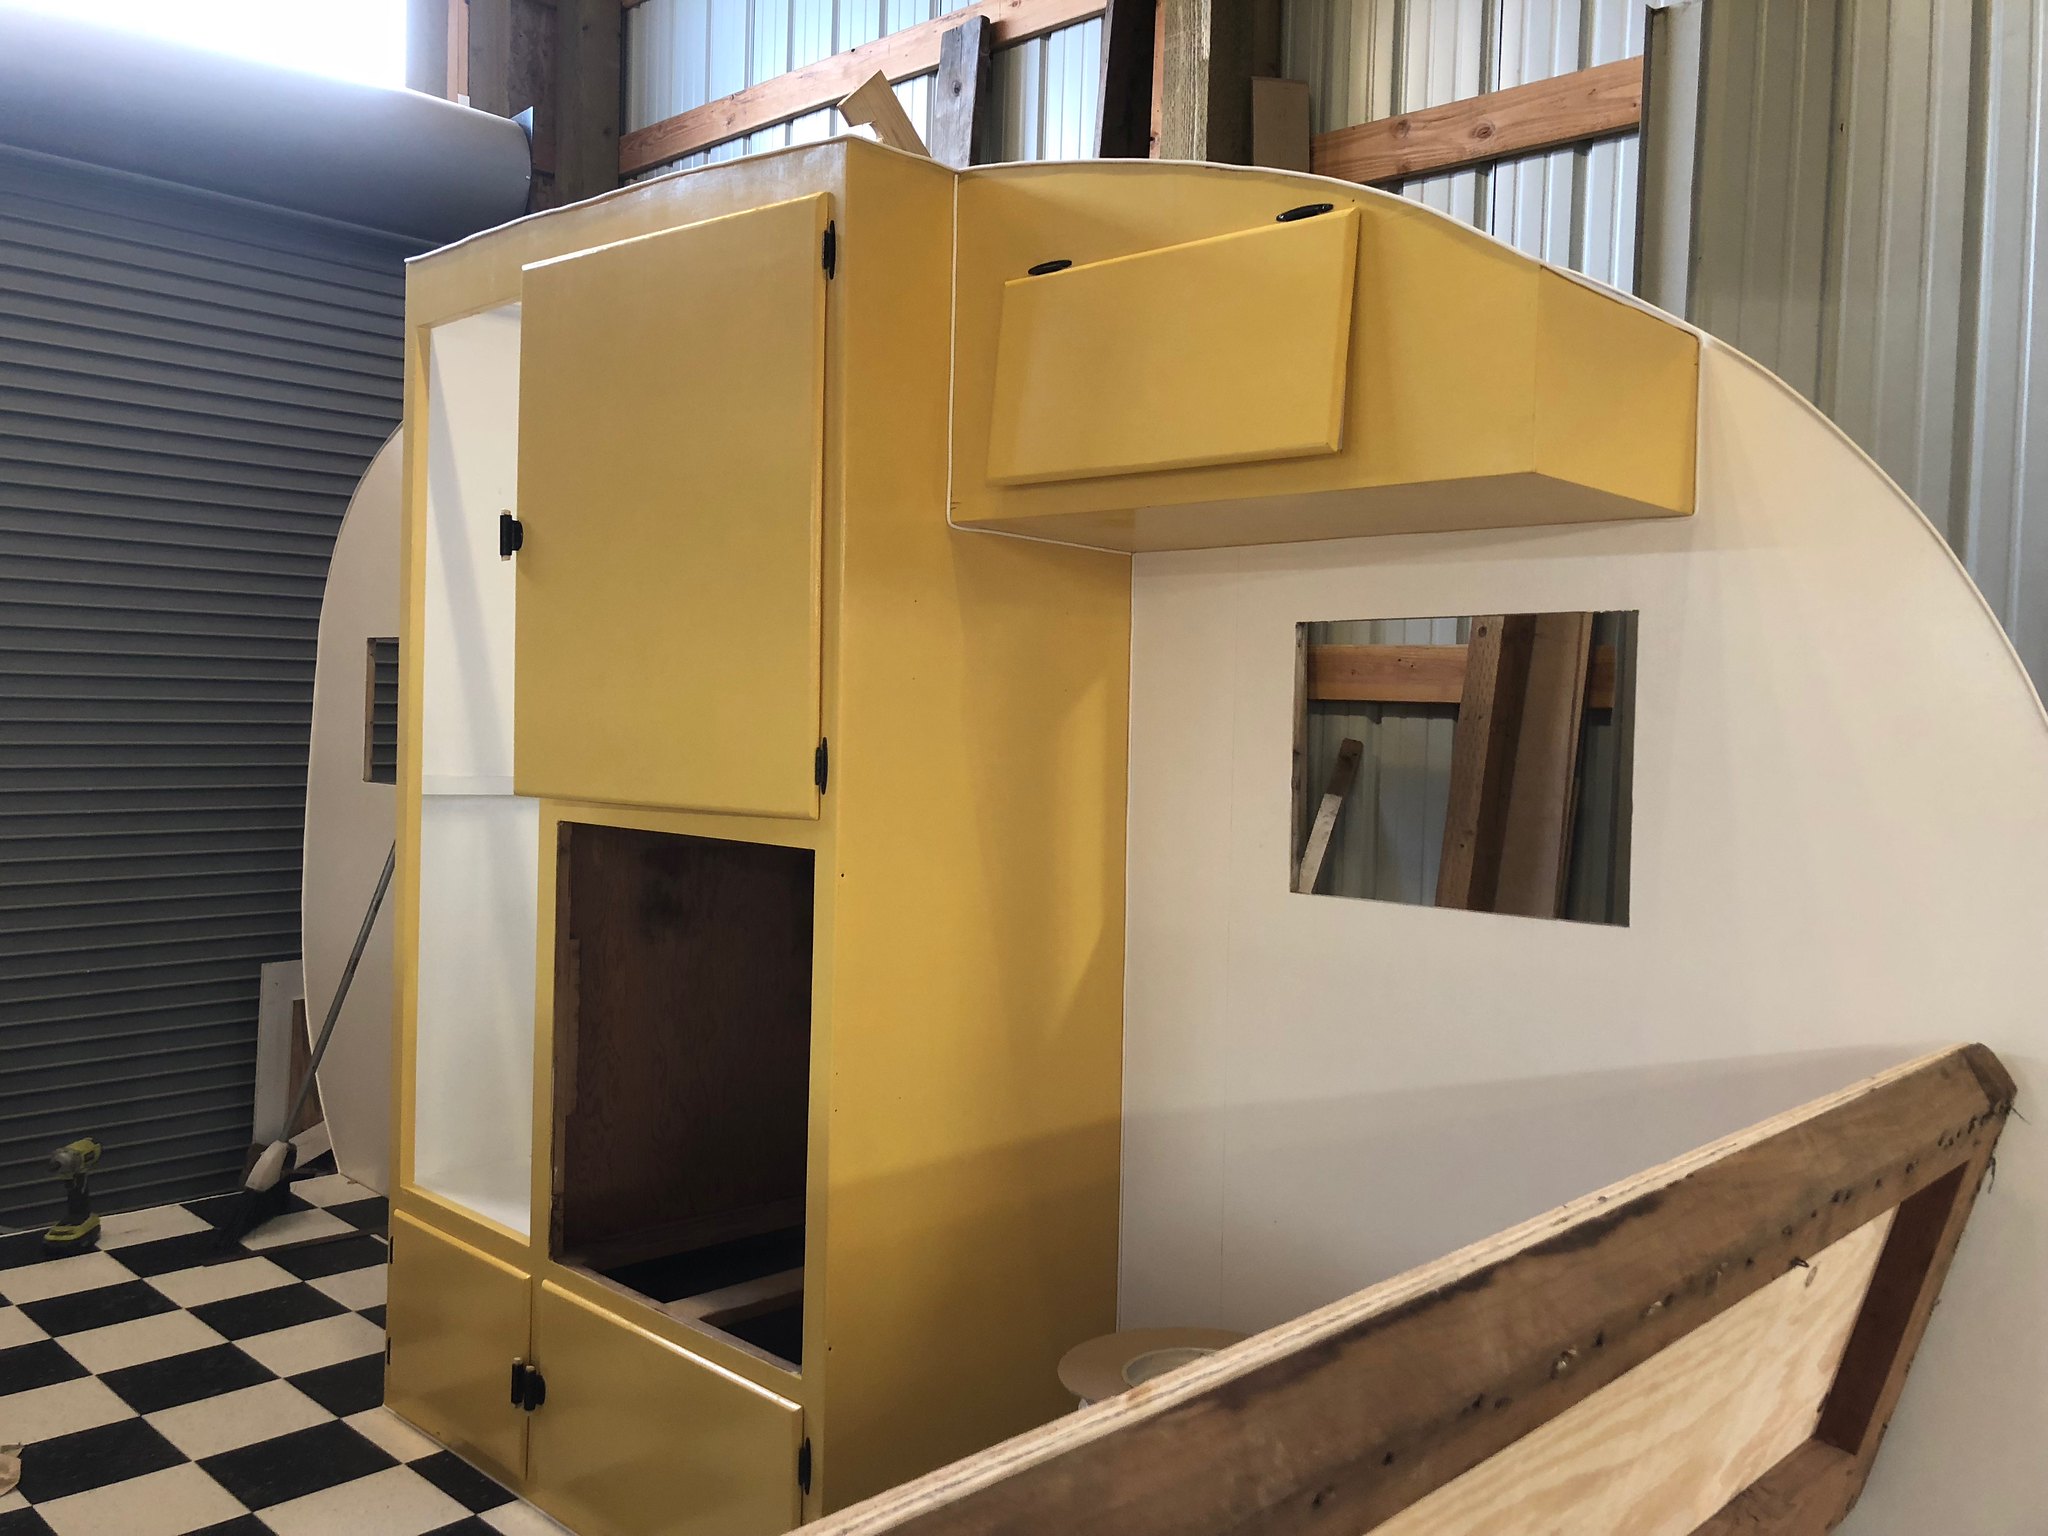 Untitled Untitled by Mike Estrada, on Flickr  Untitled Untitled by Mike Estrada, on Flickr 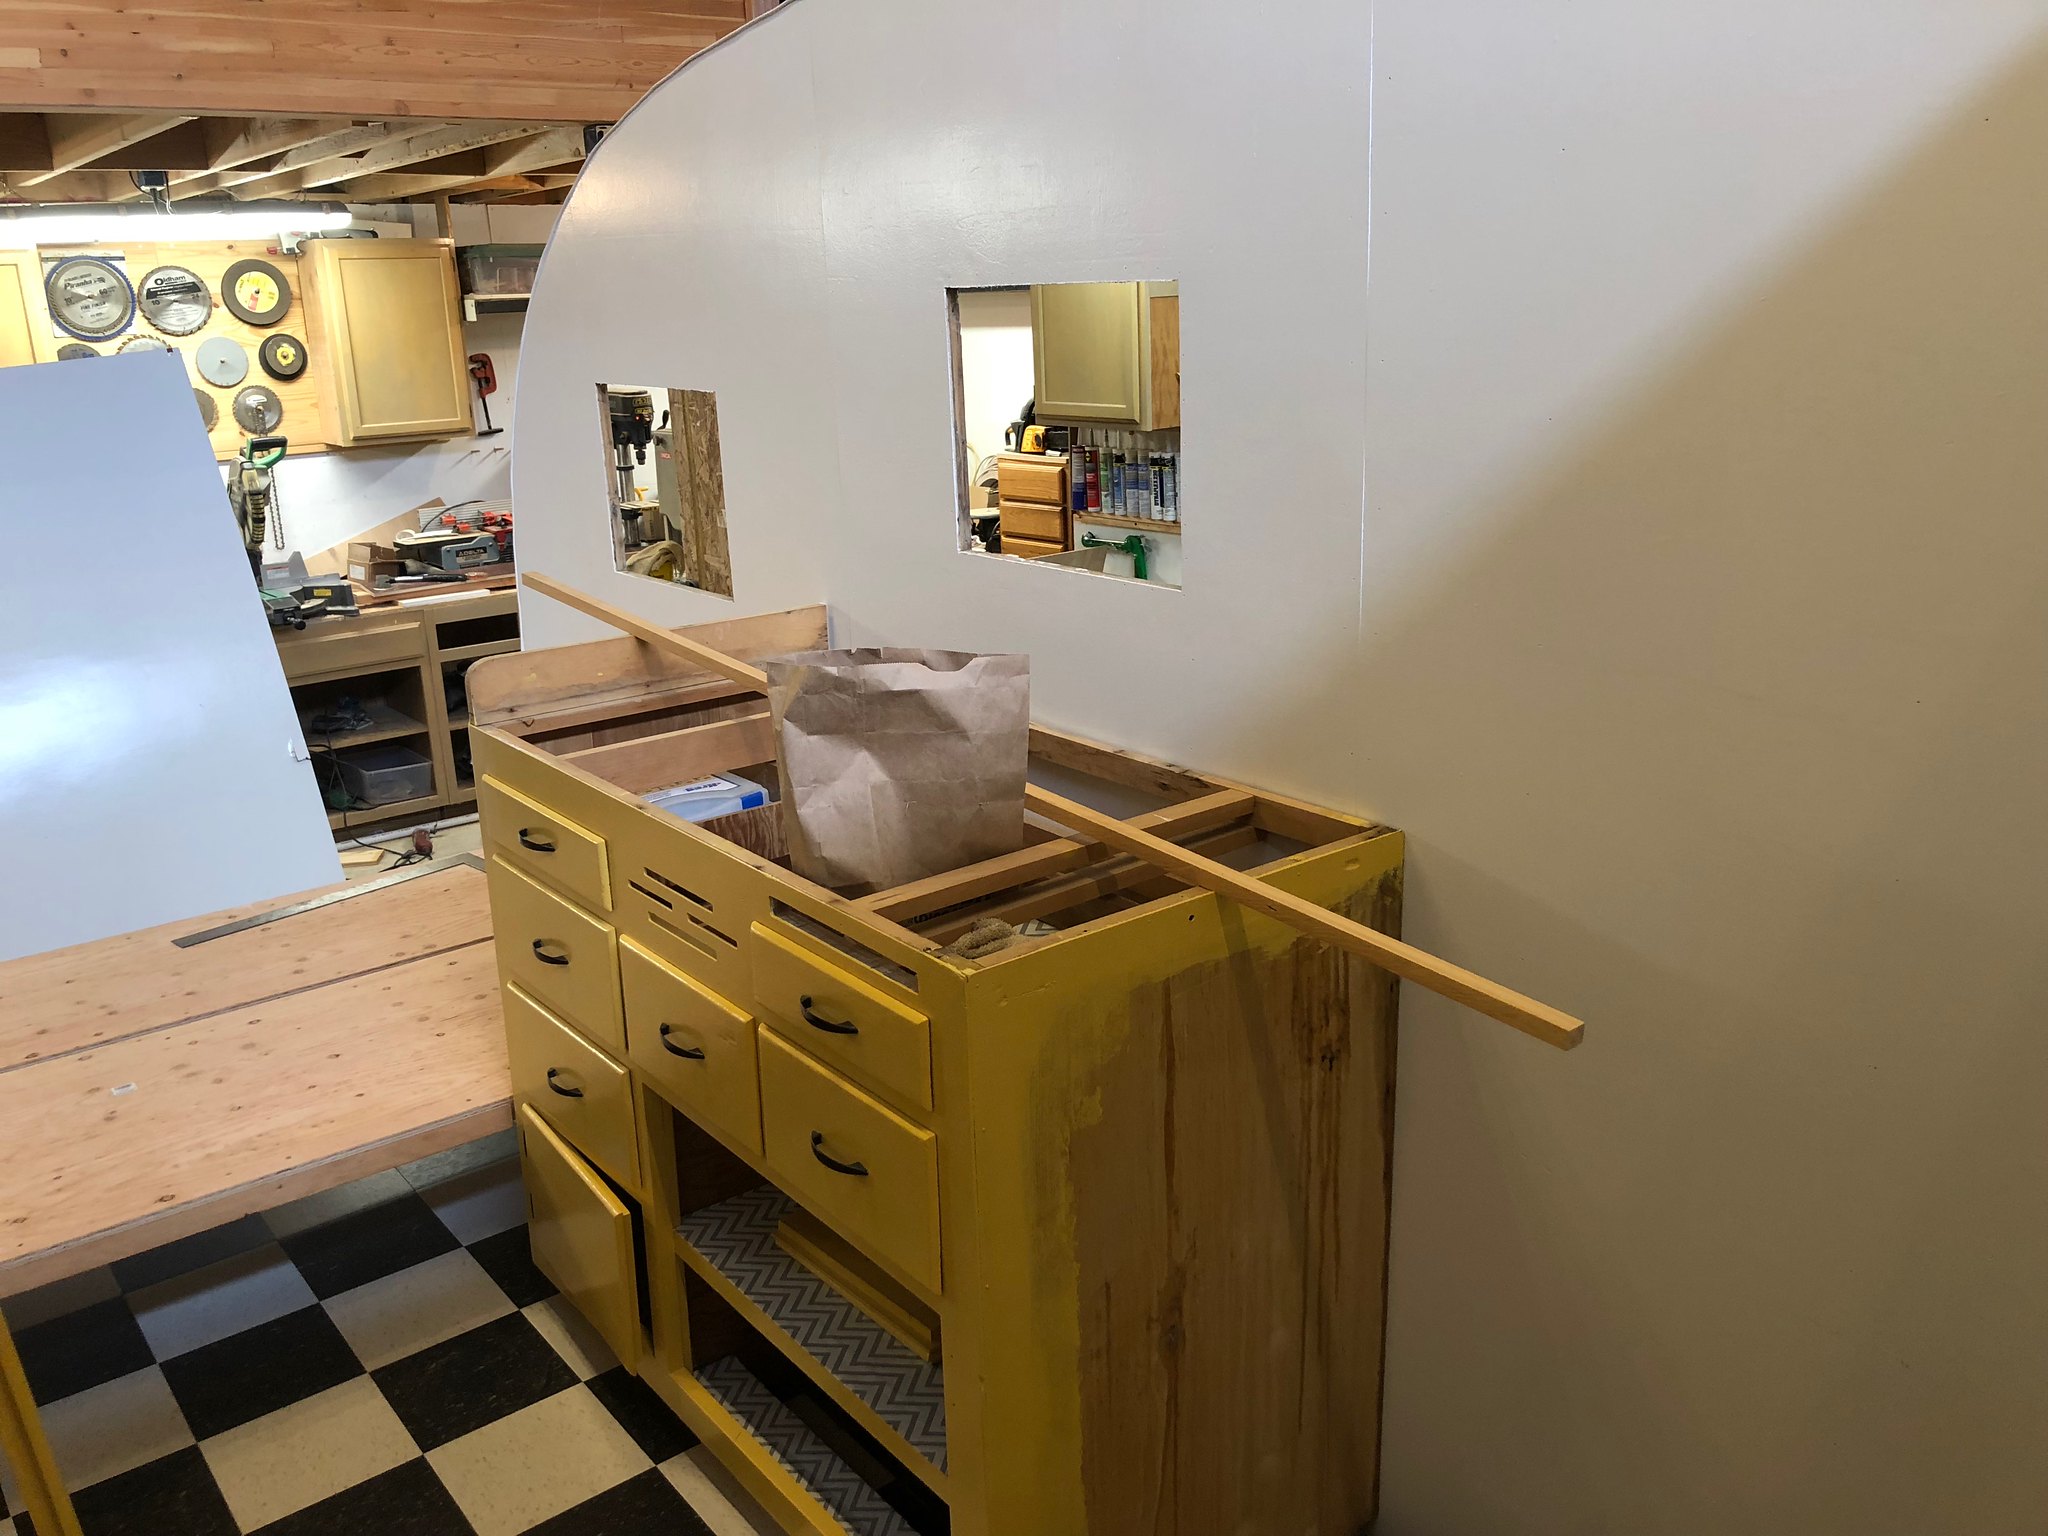 Untitled Untitled by Mike Estrada, on Flickr And, the ceiling panels. The gap in the panels will be fixed by framing and the large front window.  Untitled Untitled by Mike Estrada, on Flickr 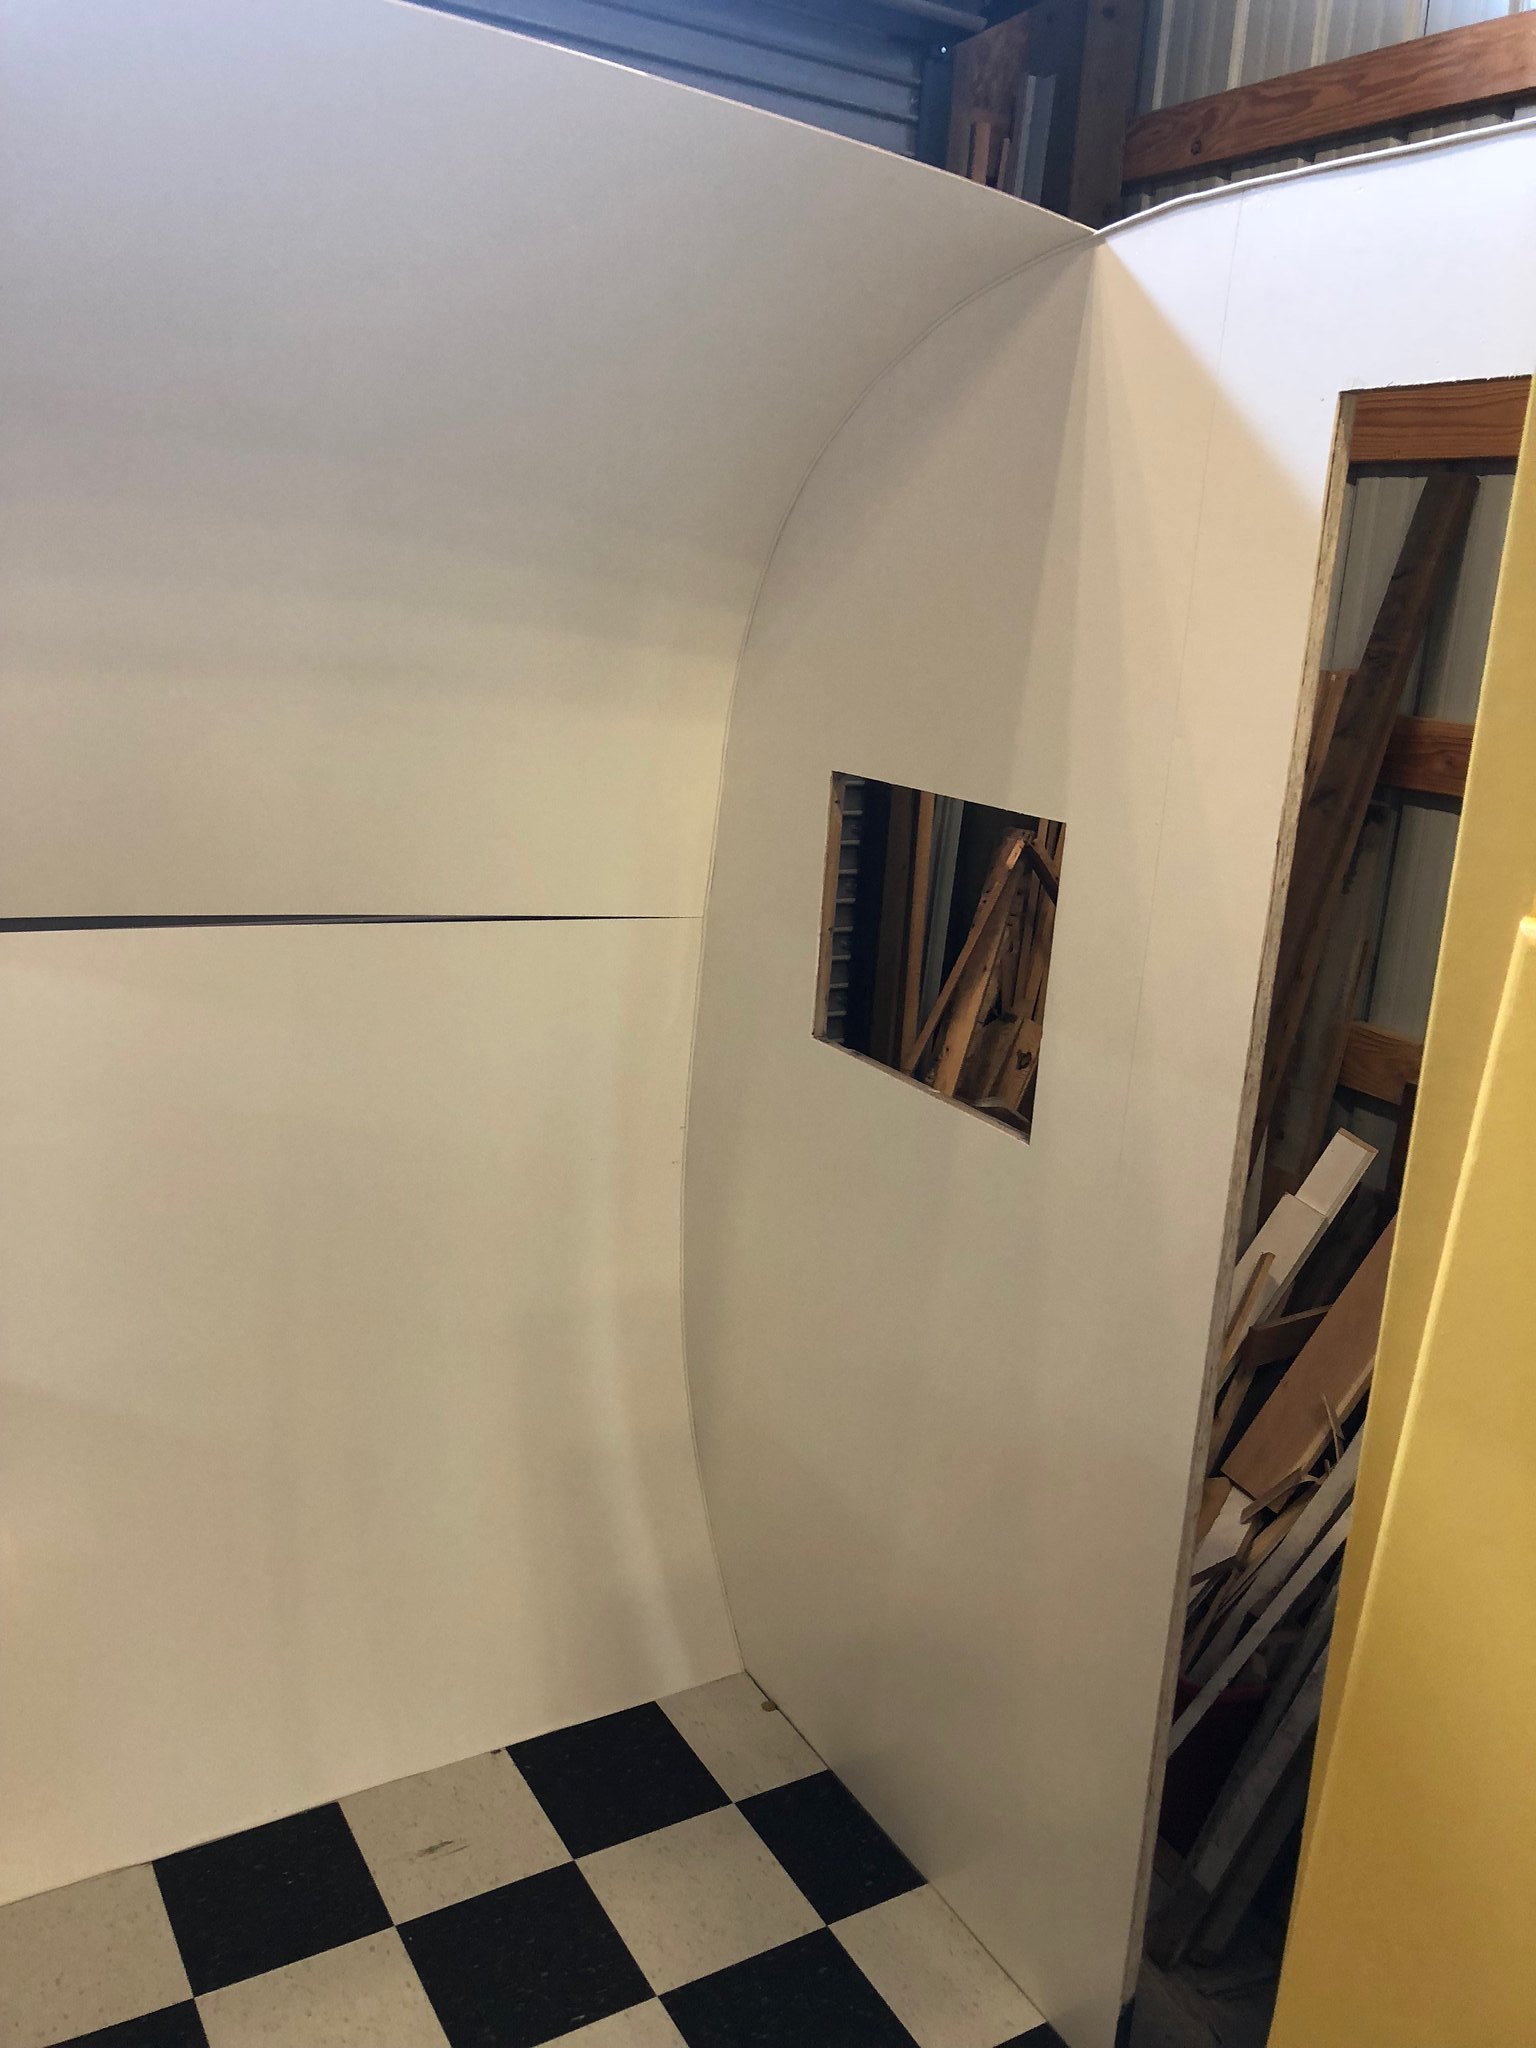 Untitled Untitled by Mike Estrada, on Flickr |
|
strange1
Active Member
Posts: 159
Likes: 103
1965 Shasta Airflyte
Currently Offline
|
Post by strange1 on Apr 15, 2018 10:49:37 GMT -8
Wow...great work. Thanks for sharing...August will be here before you know it.
|
|
papamike95
Member
Posts: 30
Likes: 13
1954 Terry - 16'
Currently Offline
|
Post by papamike95 on May 29, 2018 19:35:17 GMT -8
So much done... so much more to do! August 5th is coming so fast. But, progress continues. Ceiling continues to go around: 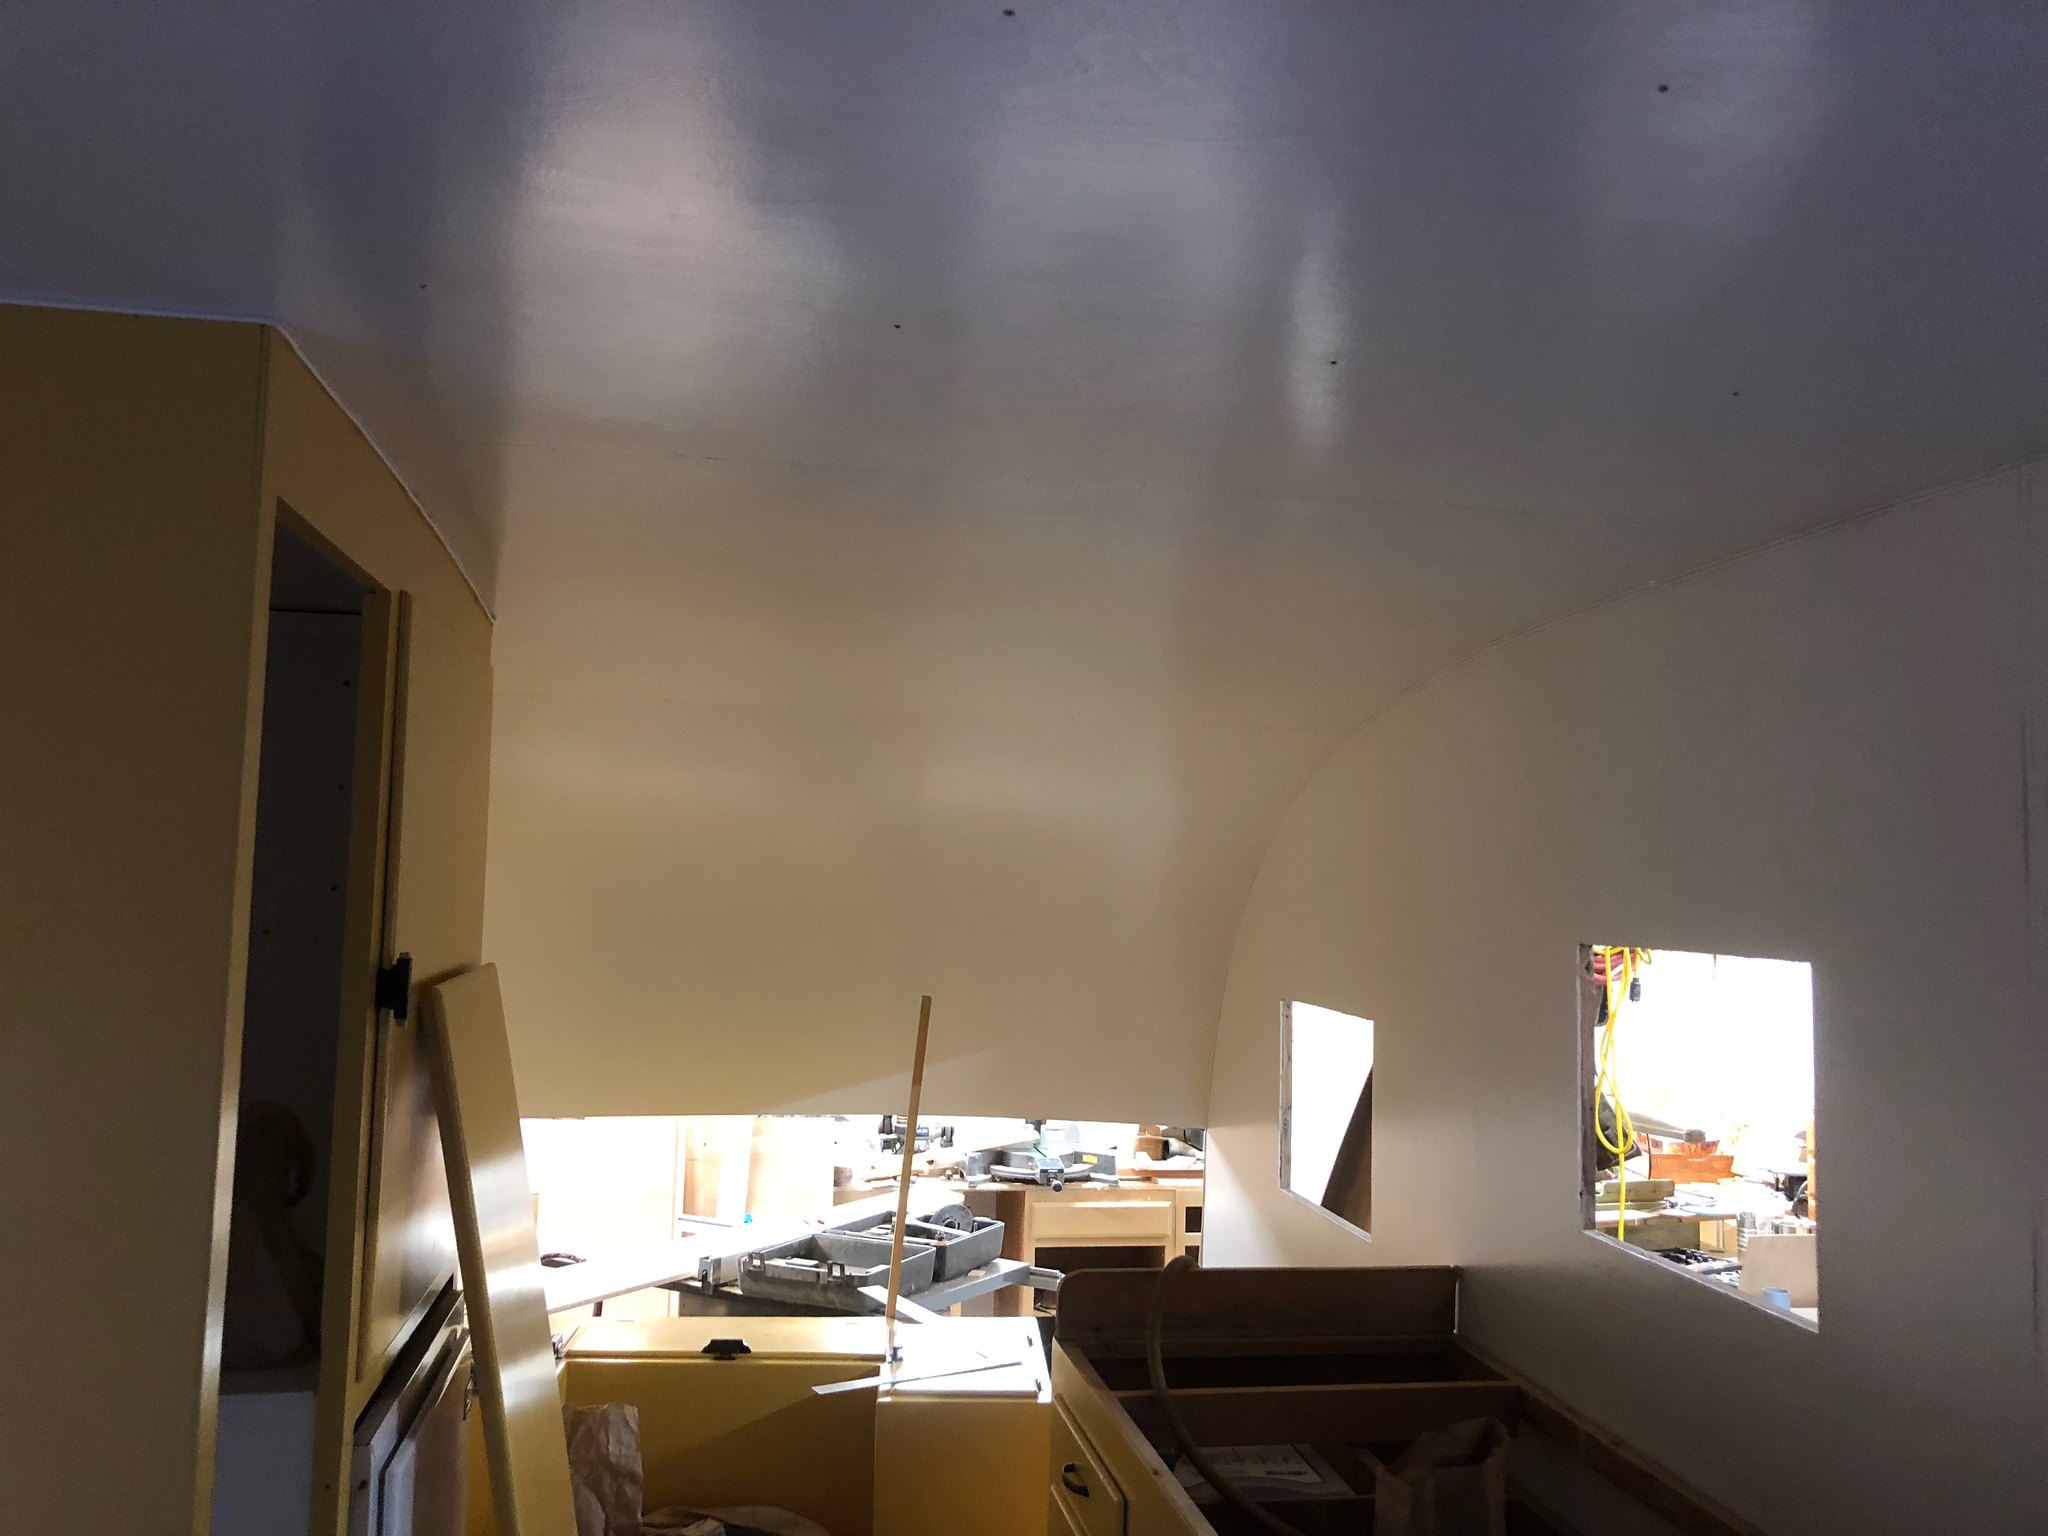 Untitled Untitled by Mike Estrada, on Flickr Front window framed and routered out: 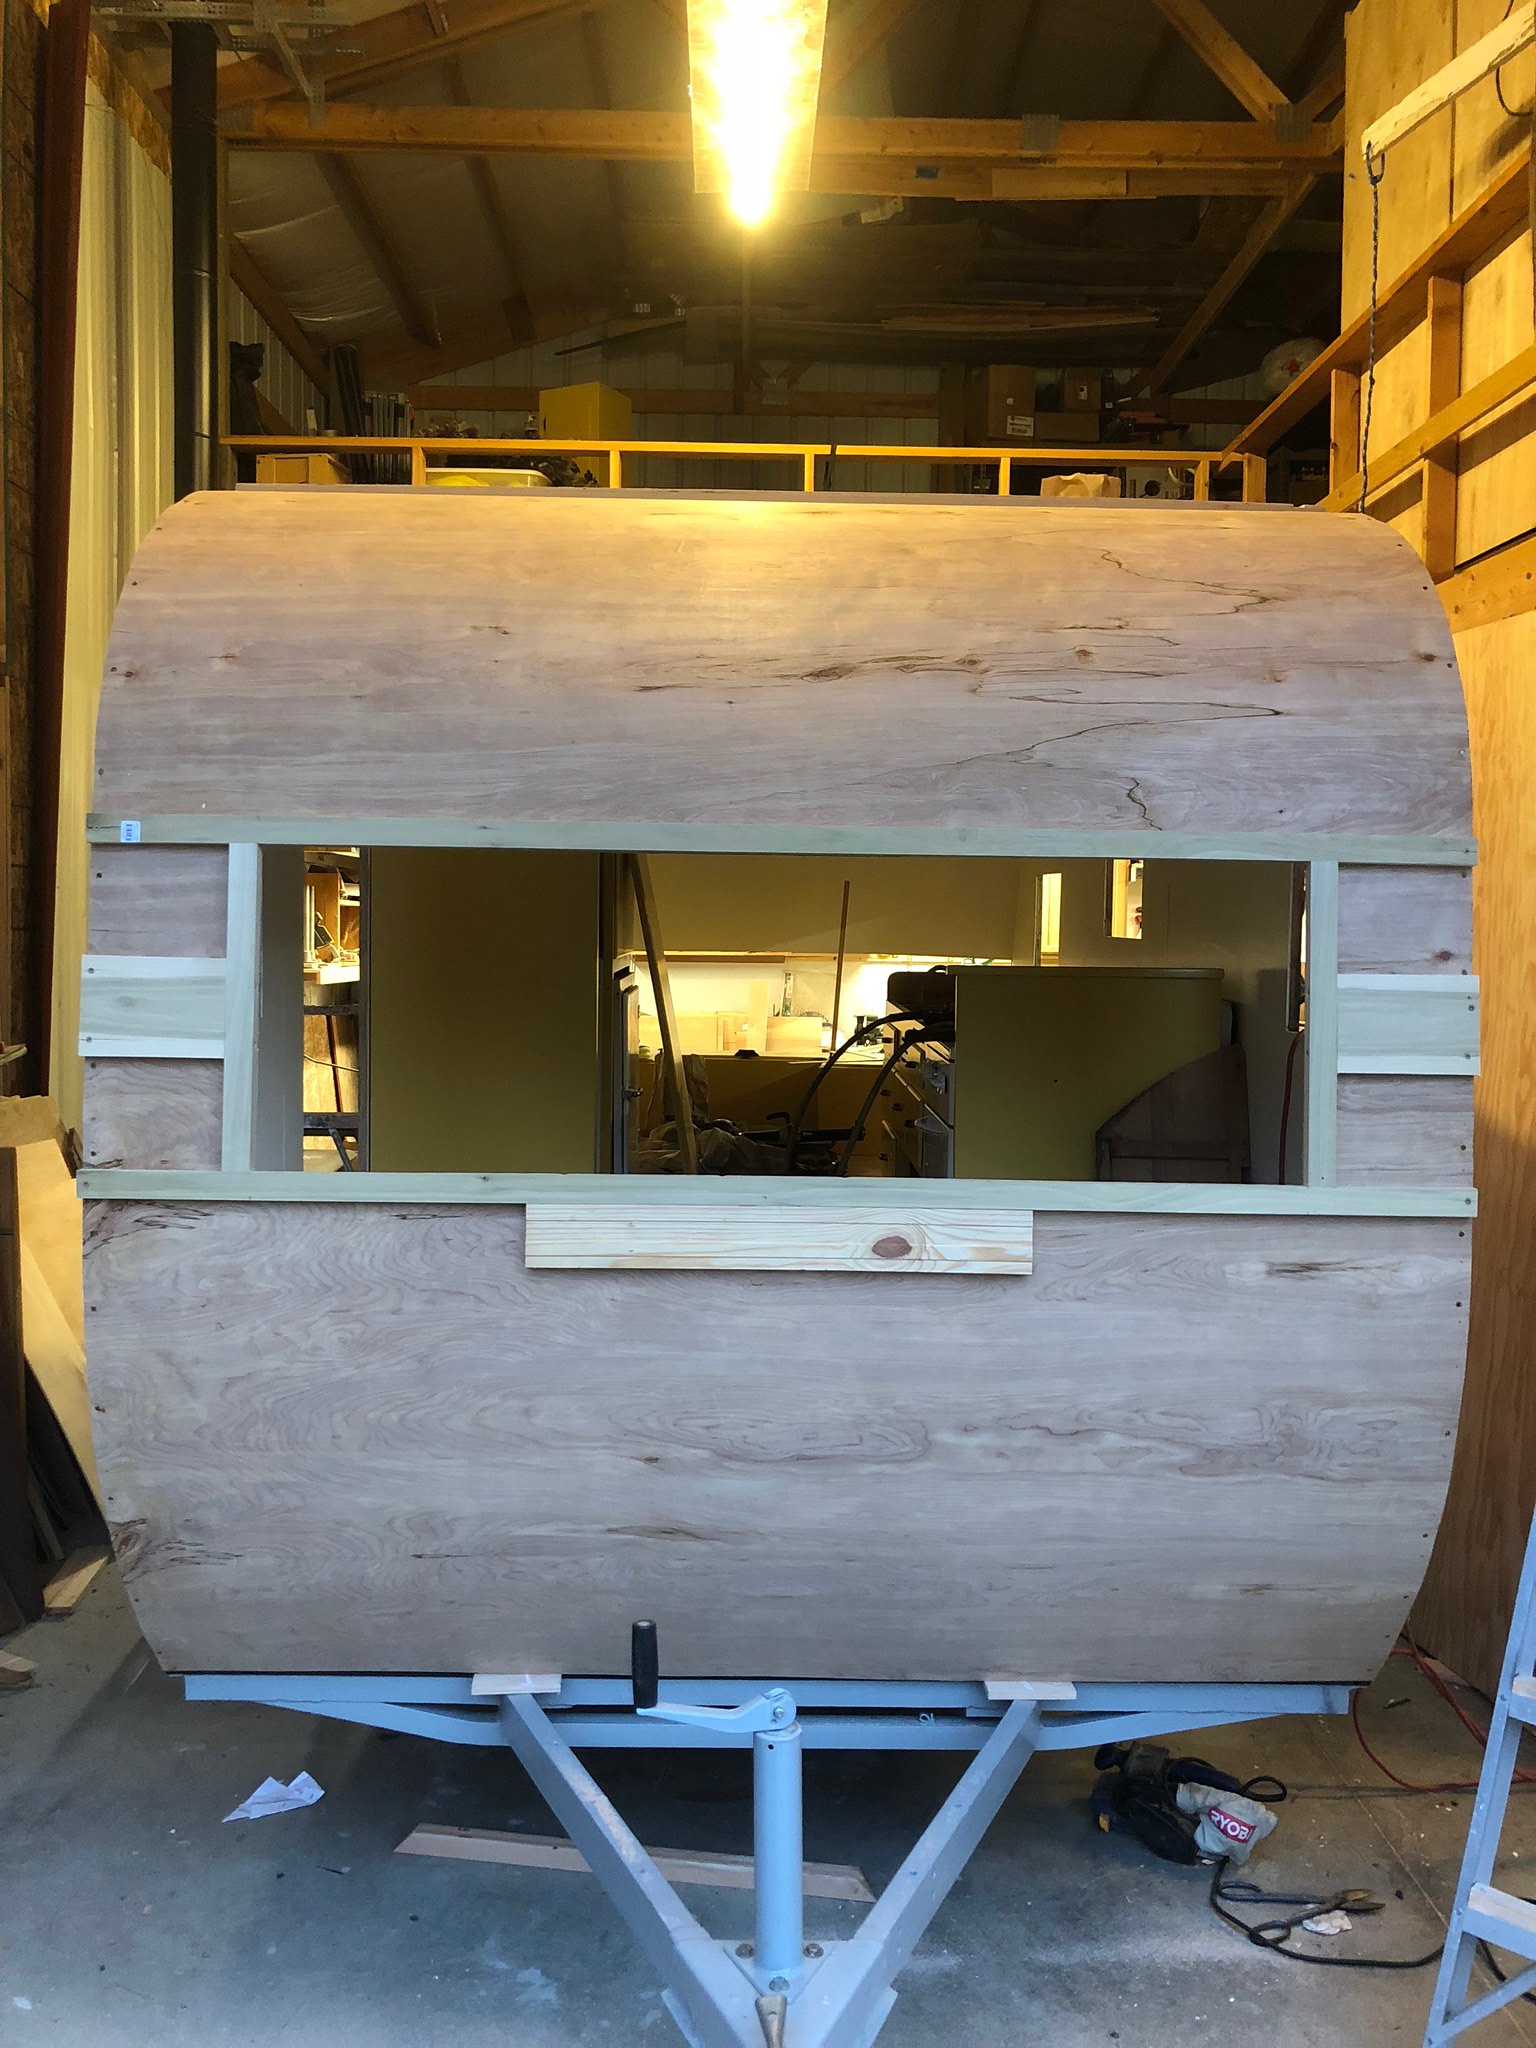 Untitled Untitled by Mike Estrada, on Flickr 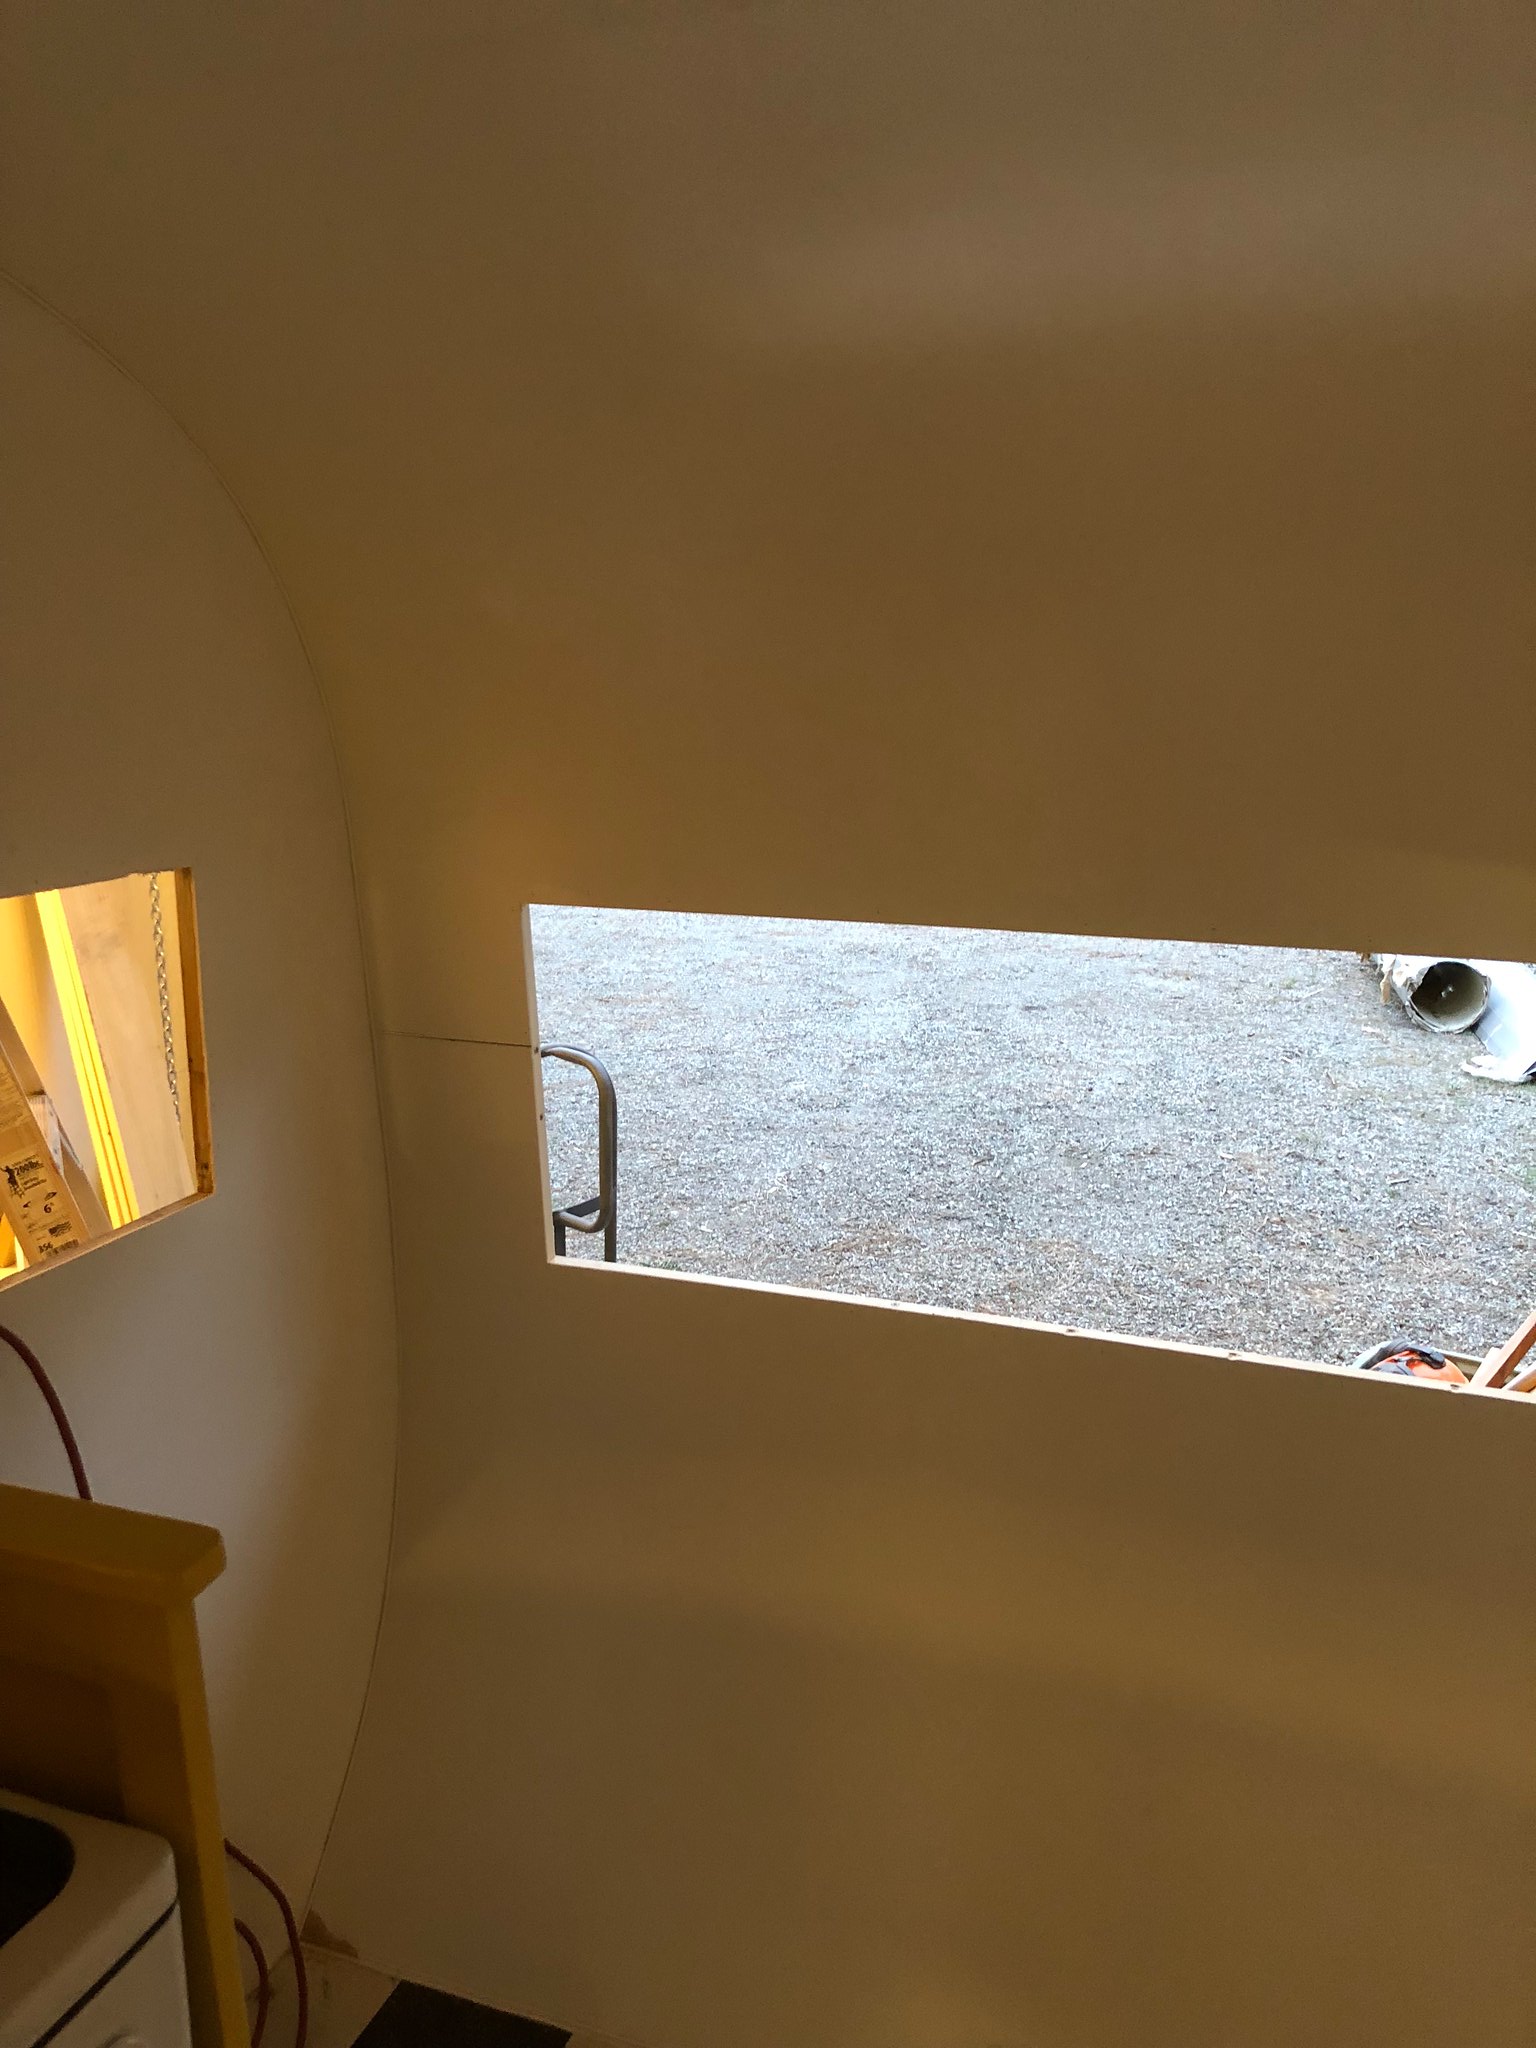 Untitled Untitled by Mike Estrada, on Flickr Top framing... I put in the framing for a vent, though I am going to hold off on cutting it out. I will likely do that at some point down the line if I think it gets too hot and I need it. If I don't have to have it, I'd rather not create the possibility for leaks. 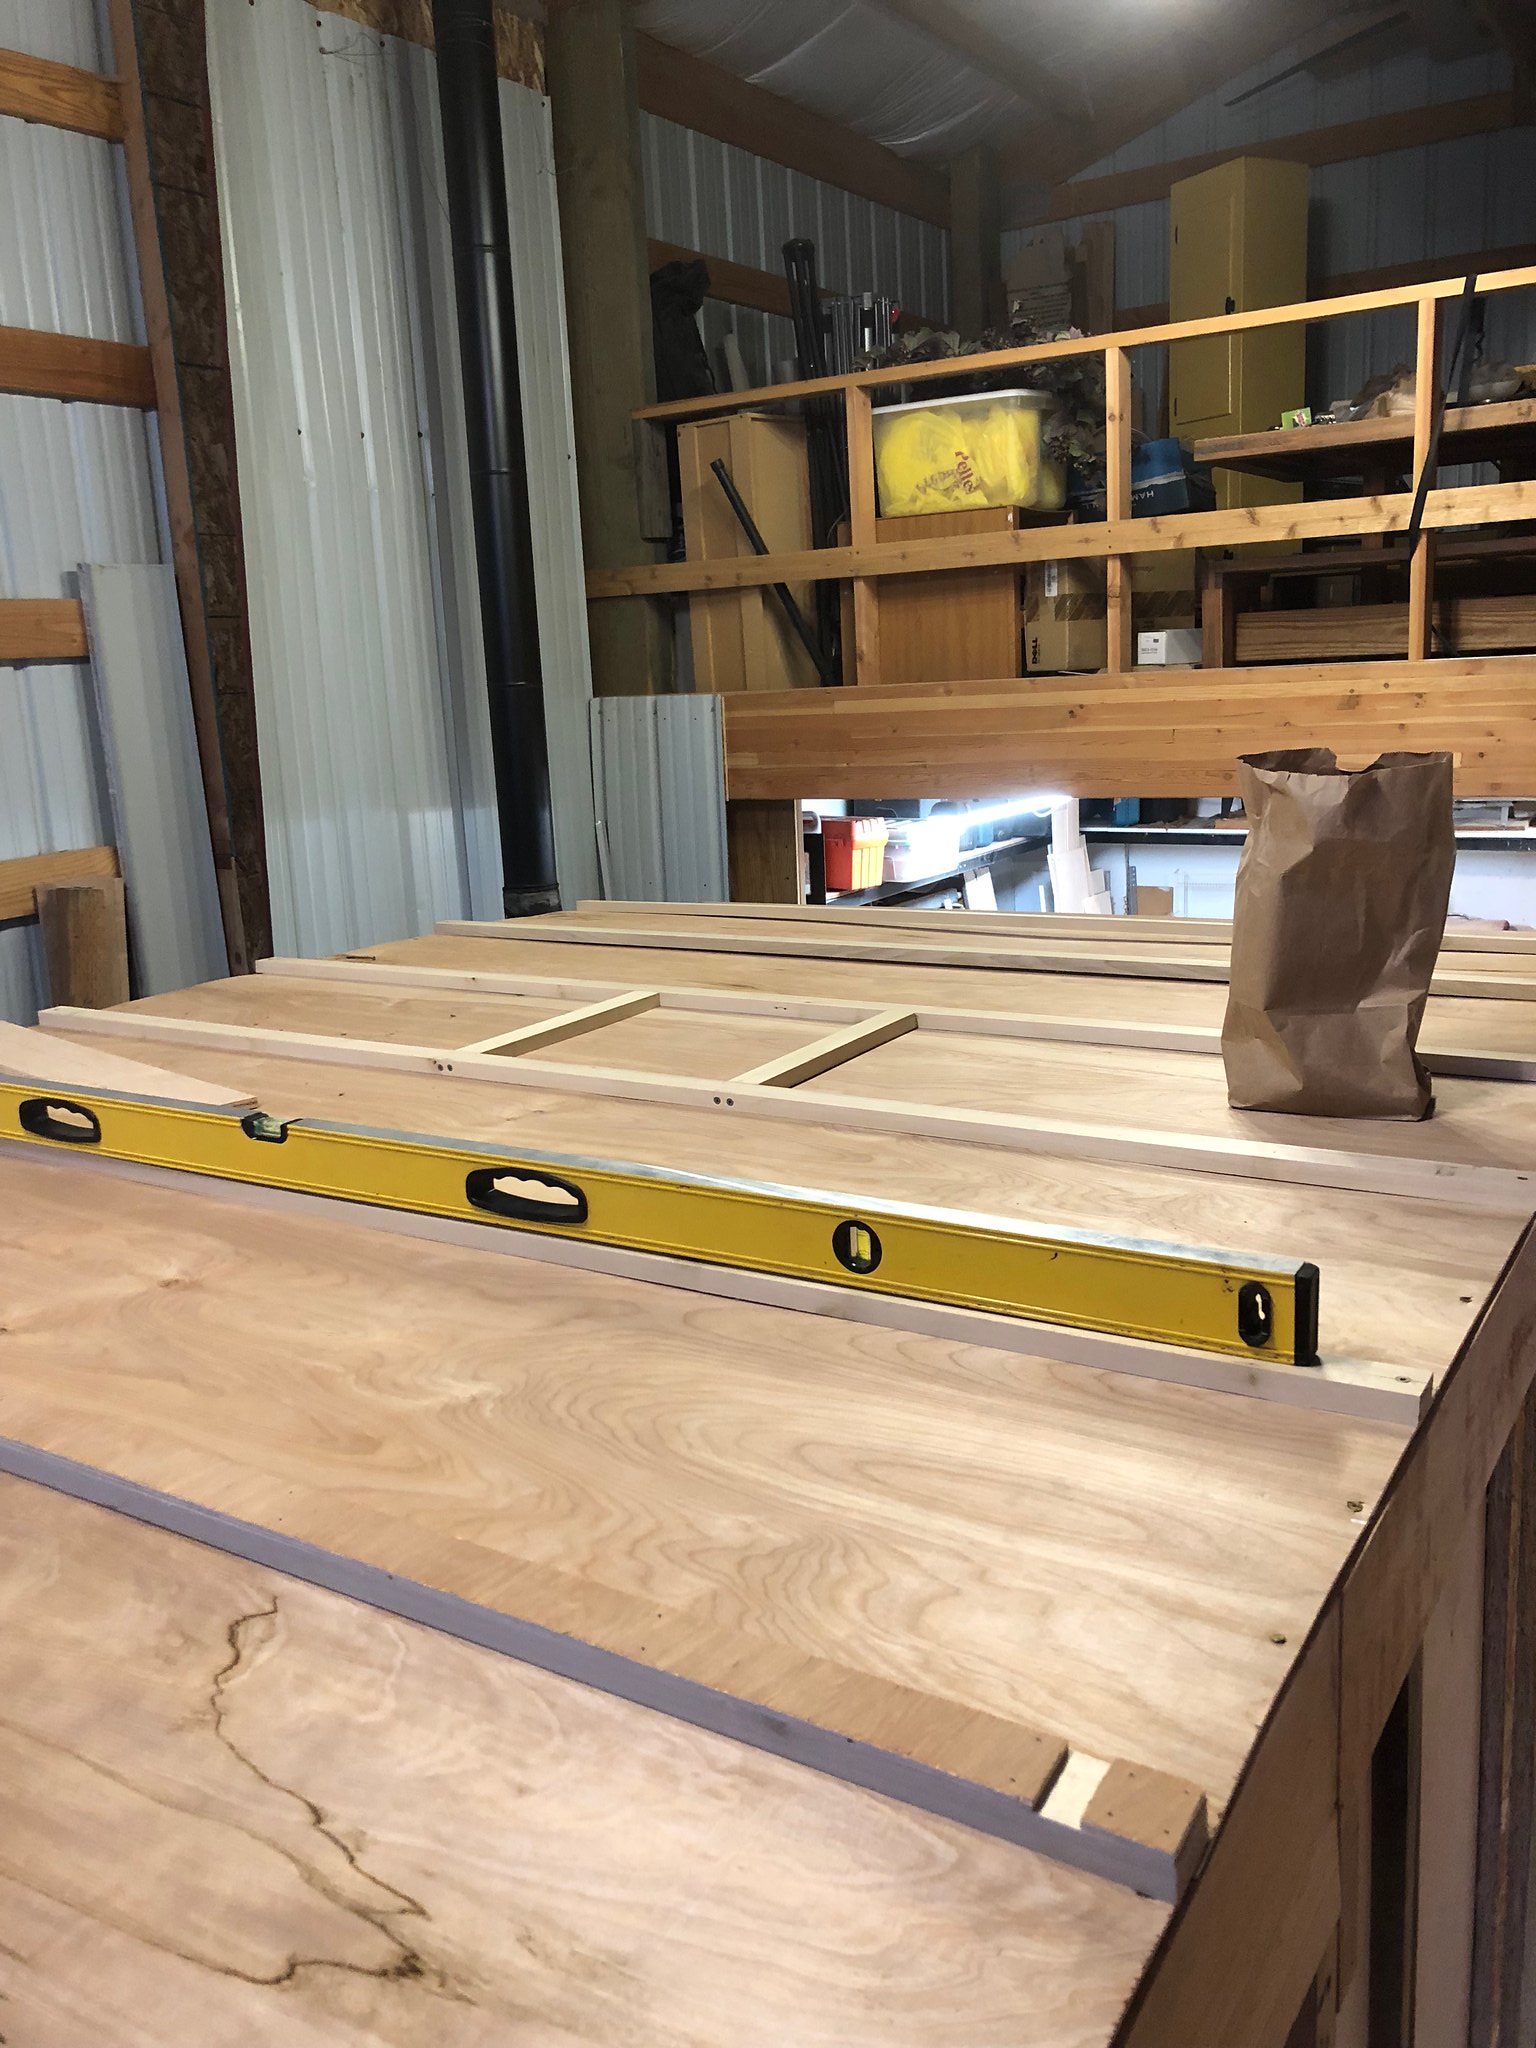 Untitled Untitled by Mike Estrada, on Flickr Rear window framed and routered out: 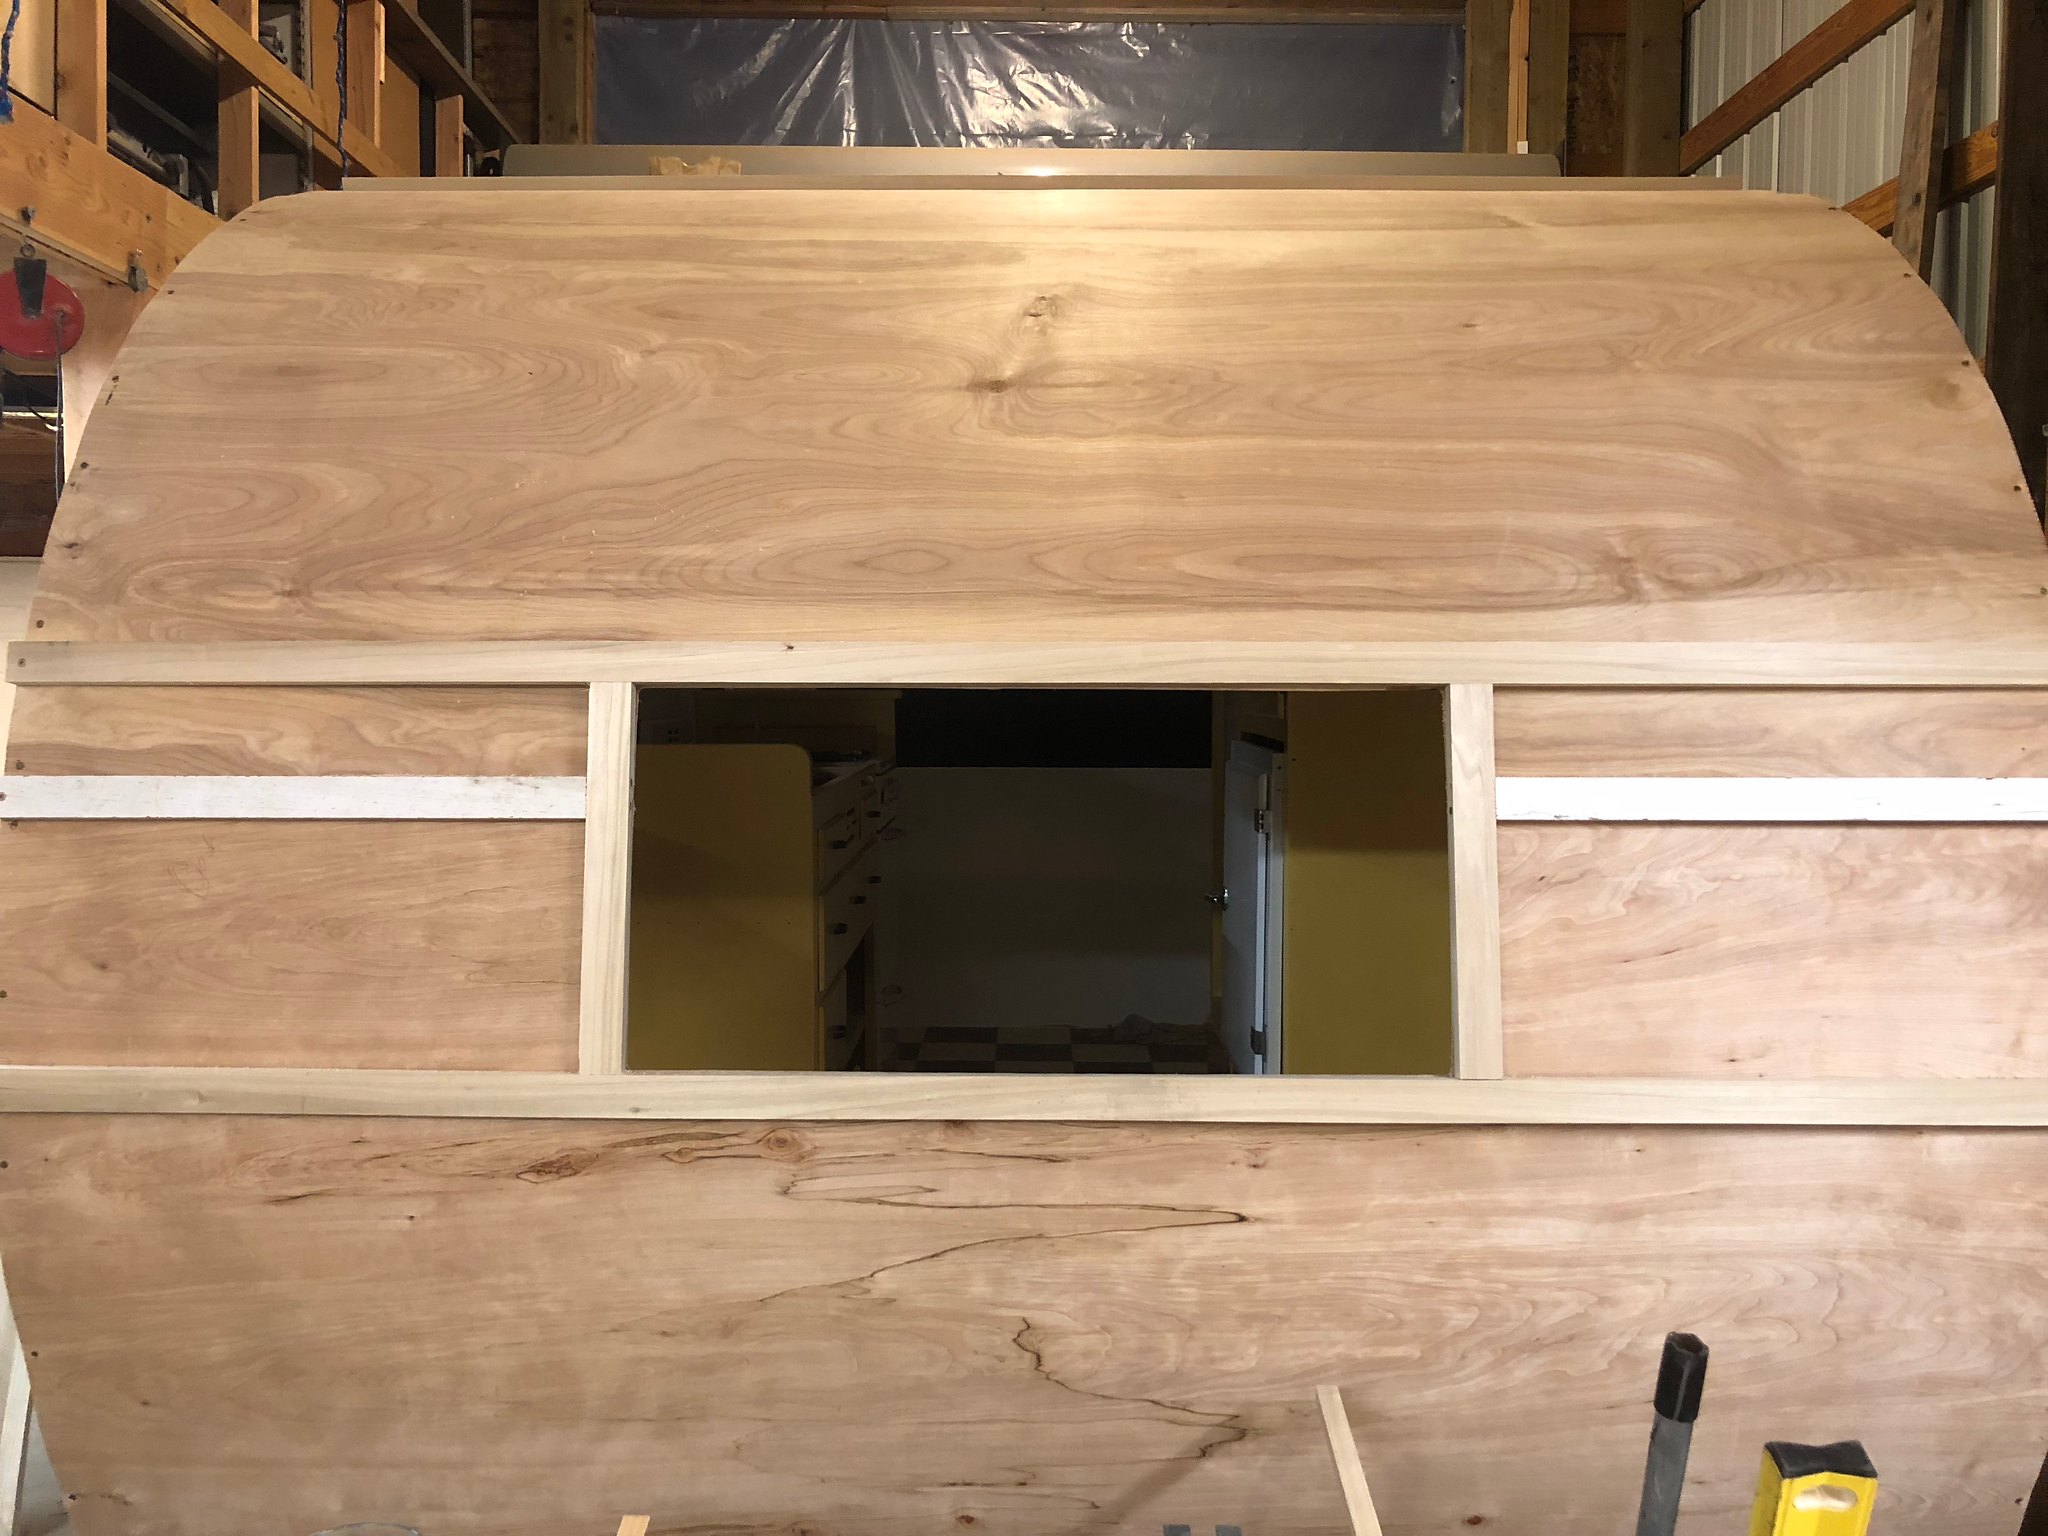 Untitled Untitled by Mike Estrada, on Flickr Kitchen cabinets go in: 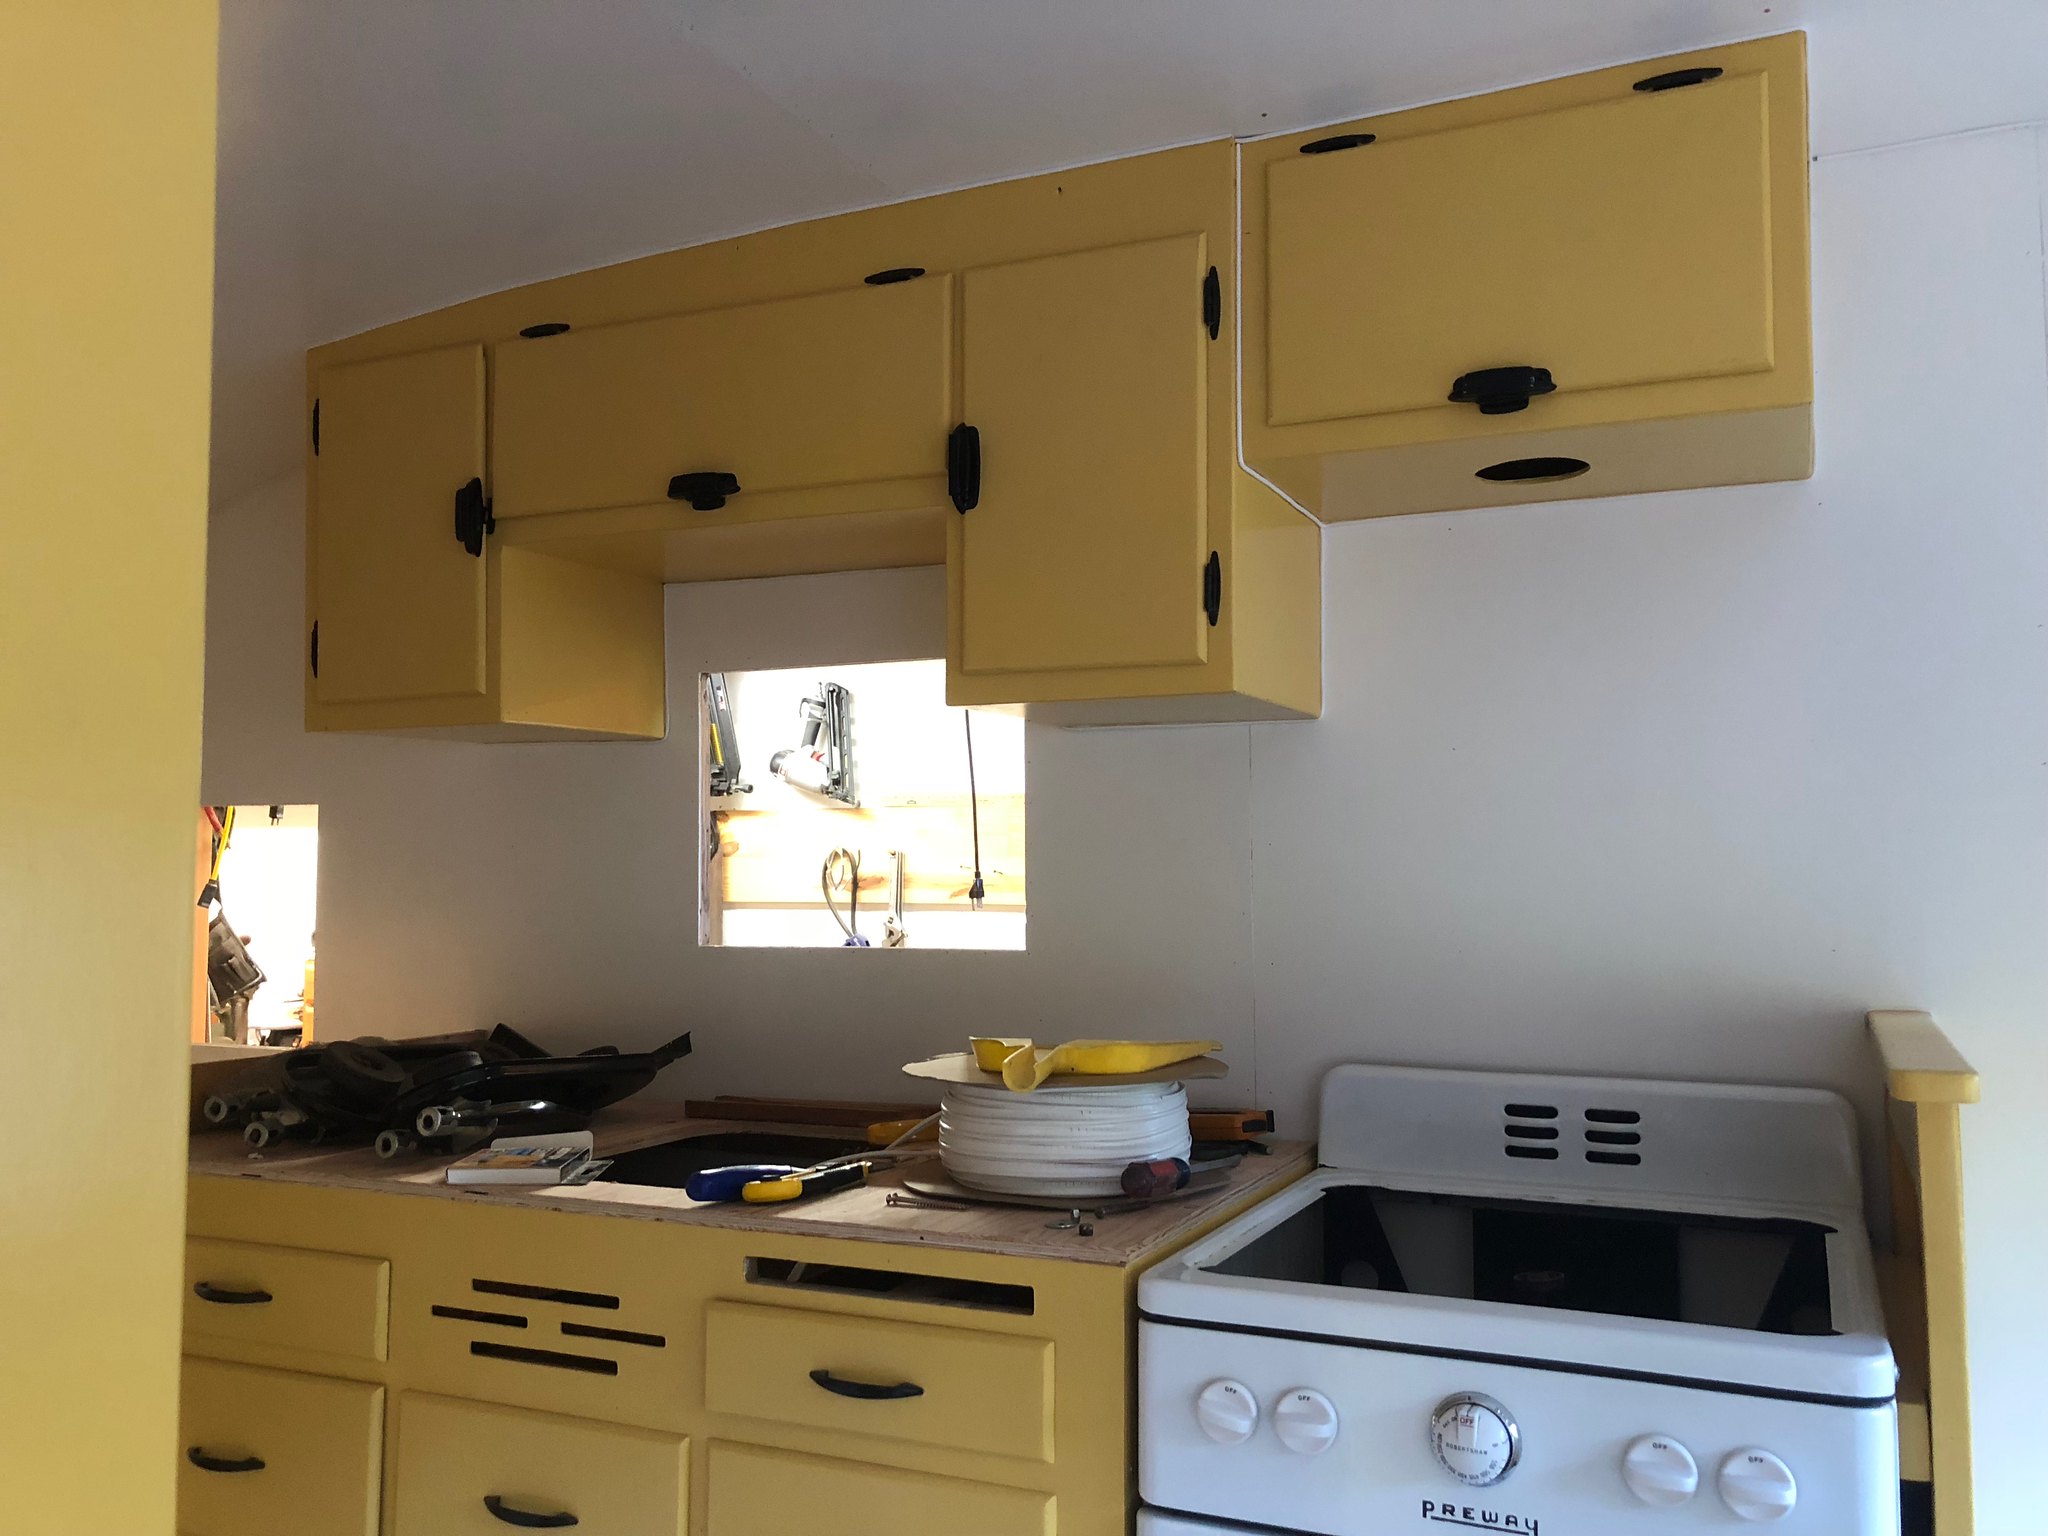 Untitled Untitled by Mike Estrada, on Flickr Construction of dinette begins. Strange1, I borrowed your look with the aluminum edging on the seats, and yes, I ordered the same stuff you posted from Home Depot... Thanks!  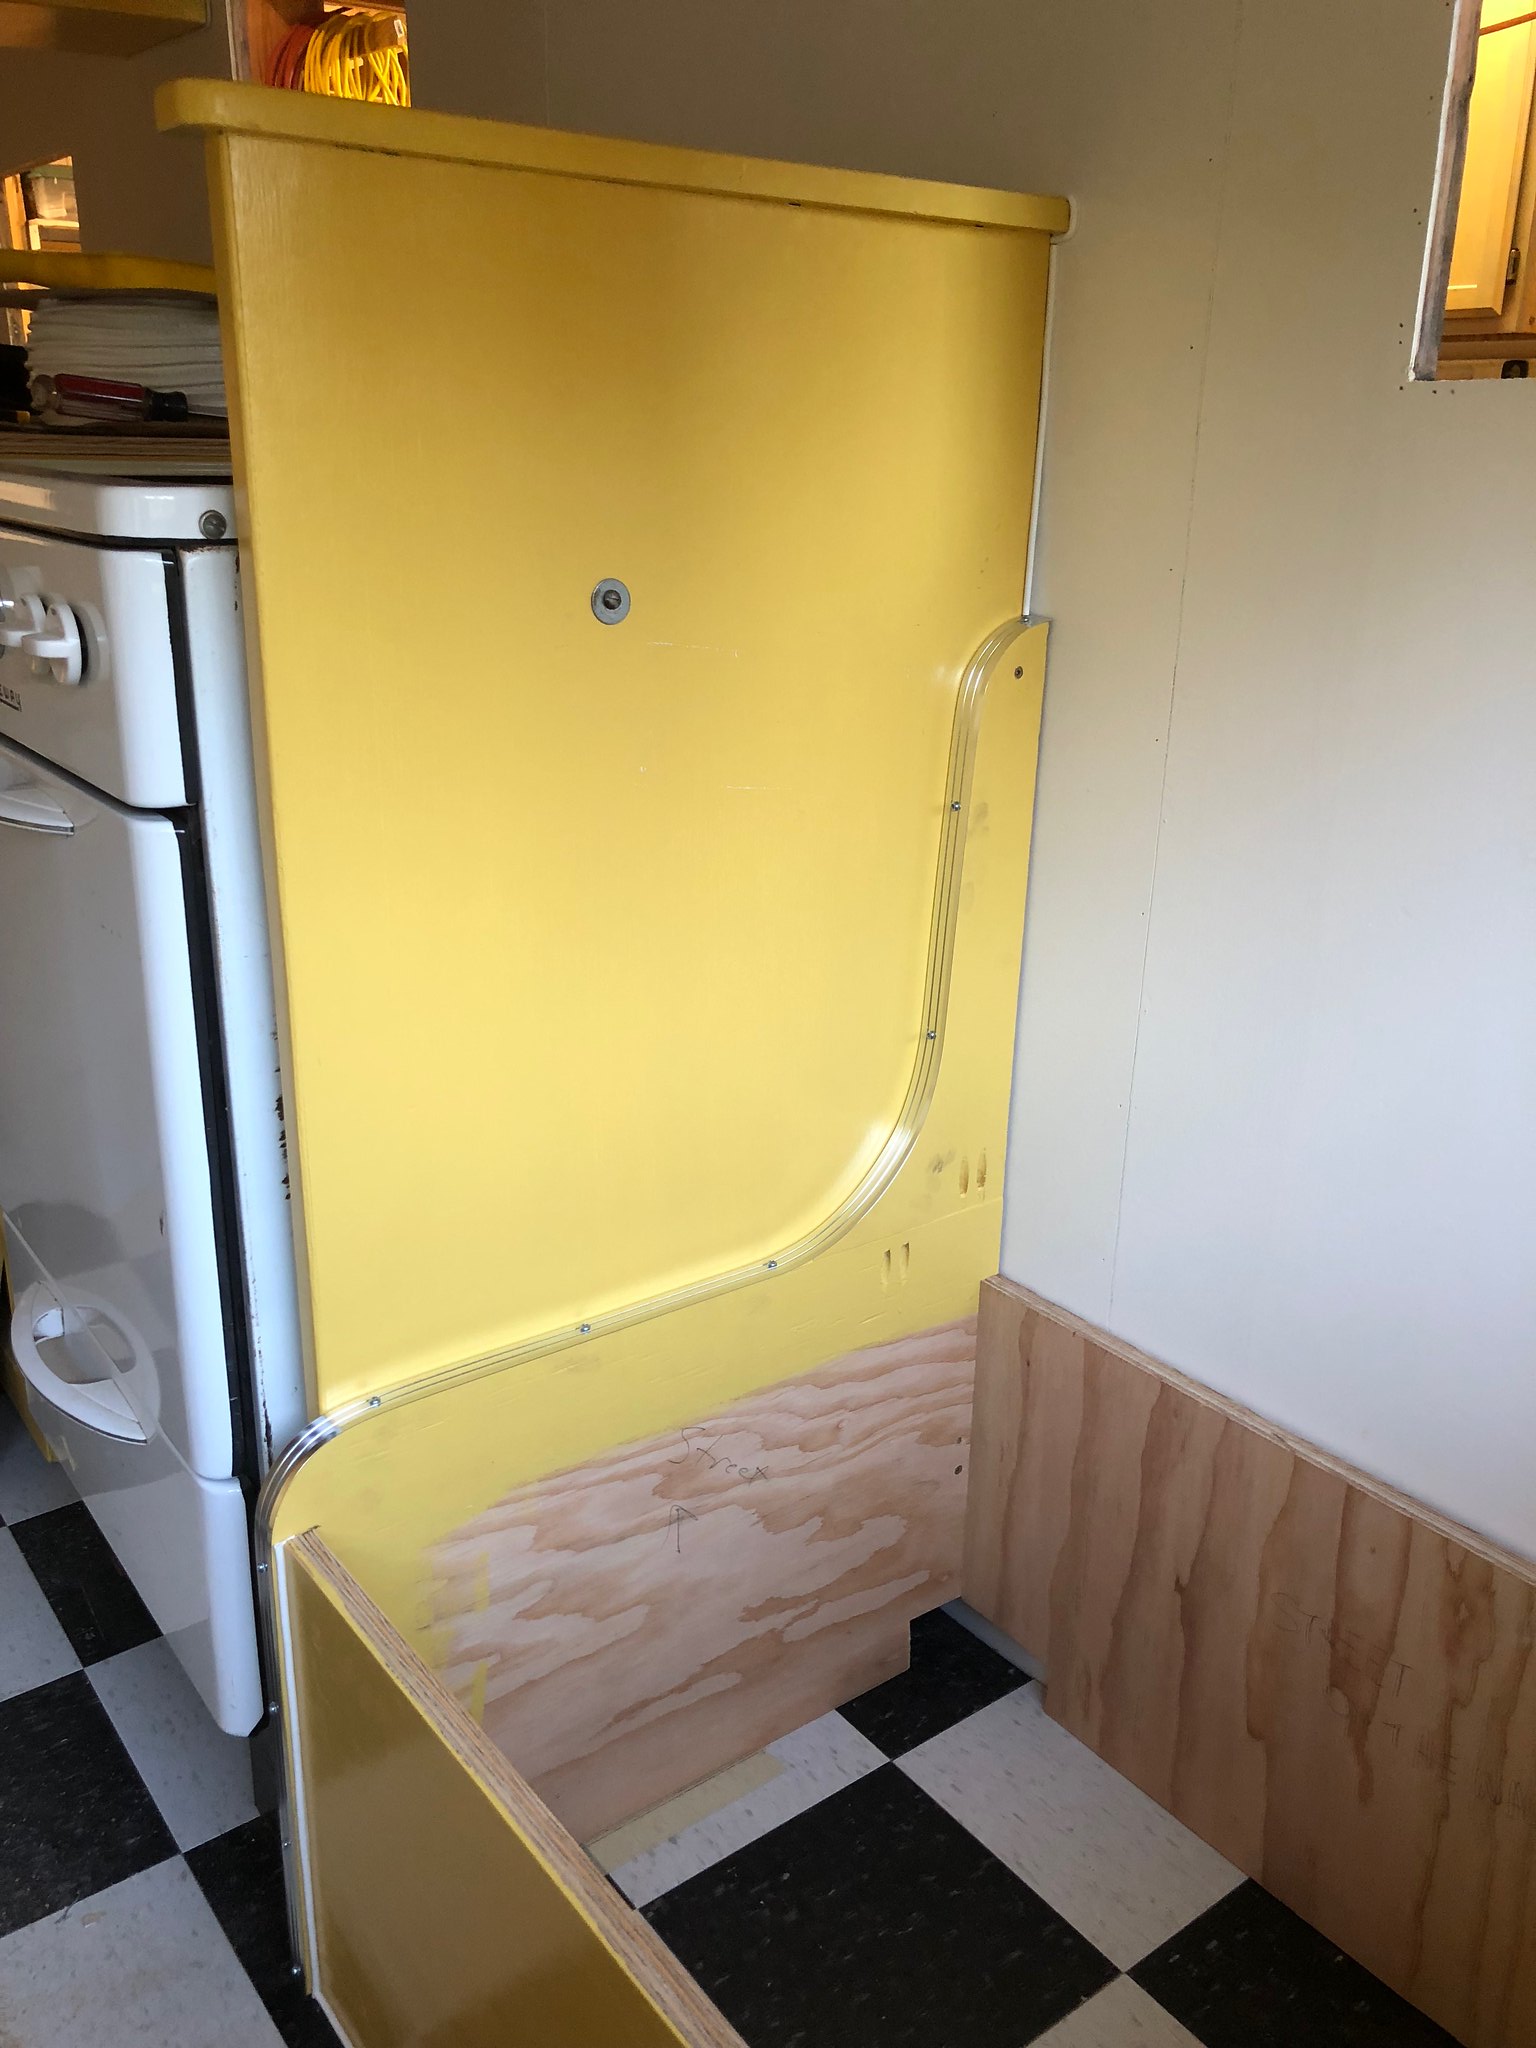 Untitled Untitled by Mike Estrada, on Flickr 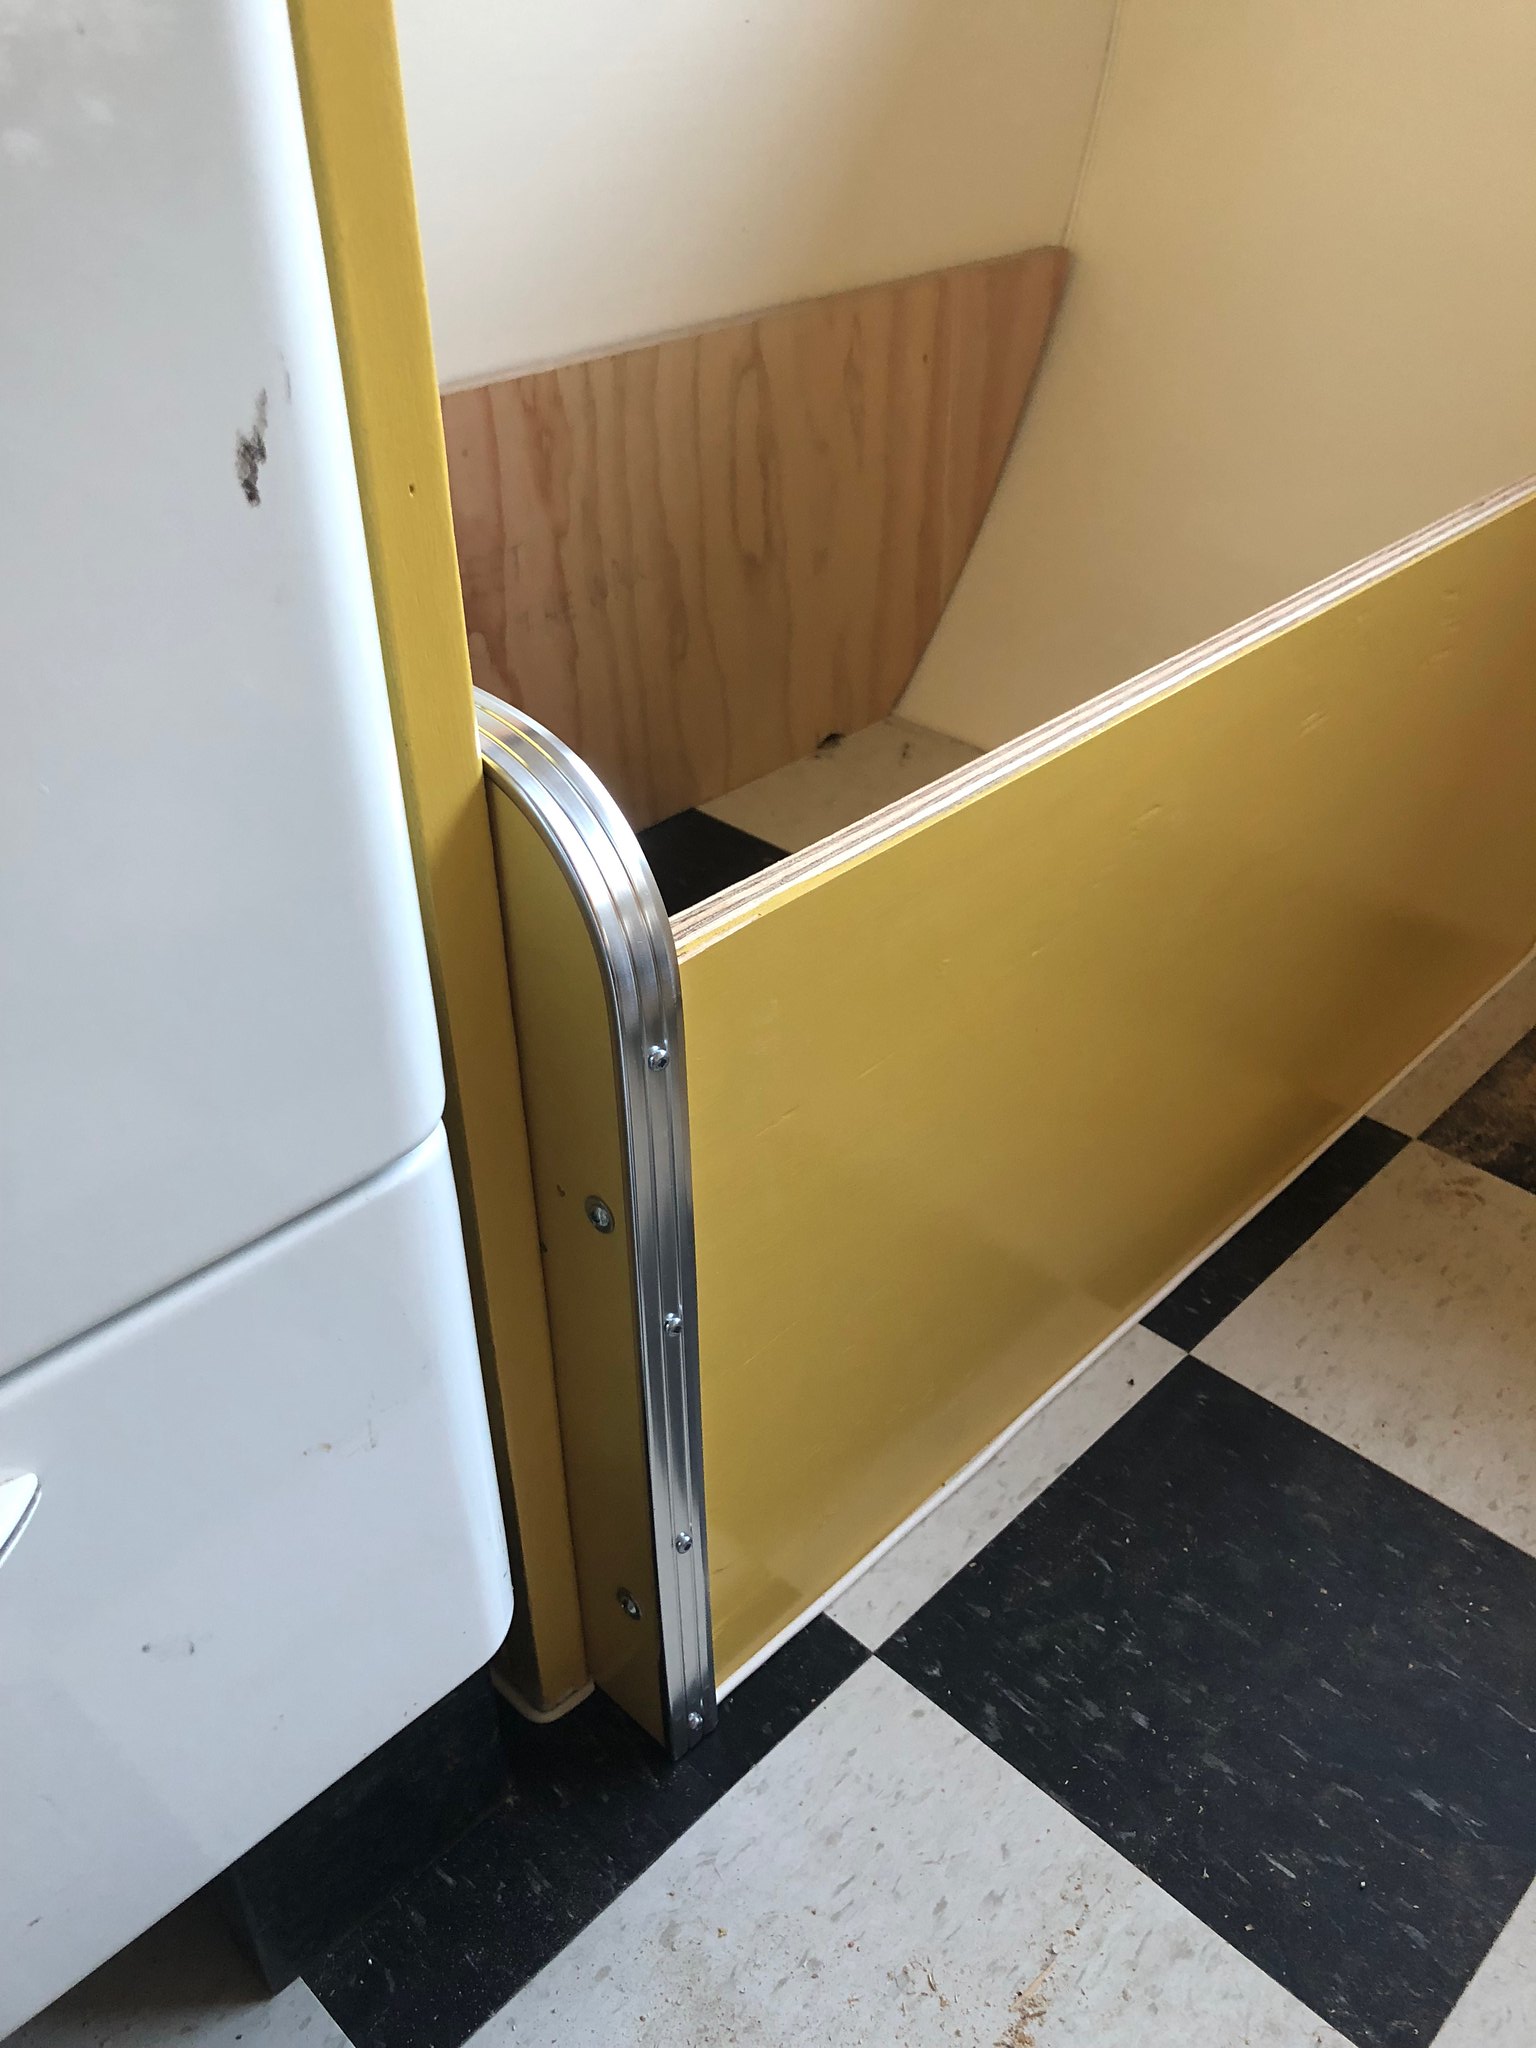 Untitled Untitled by Mike Estrada, on Flickr 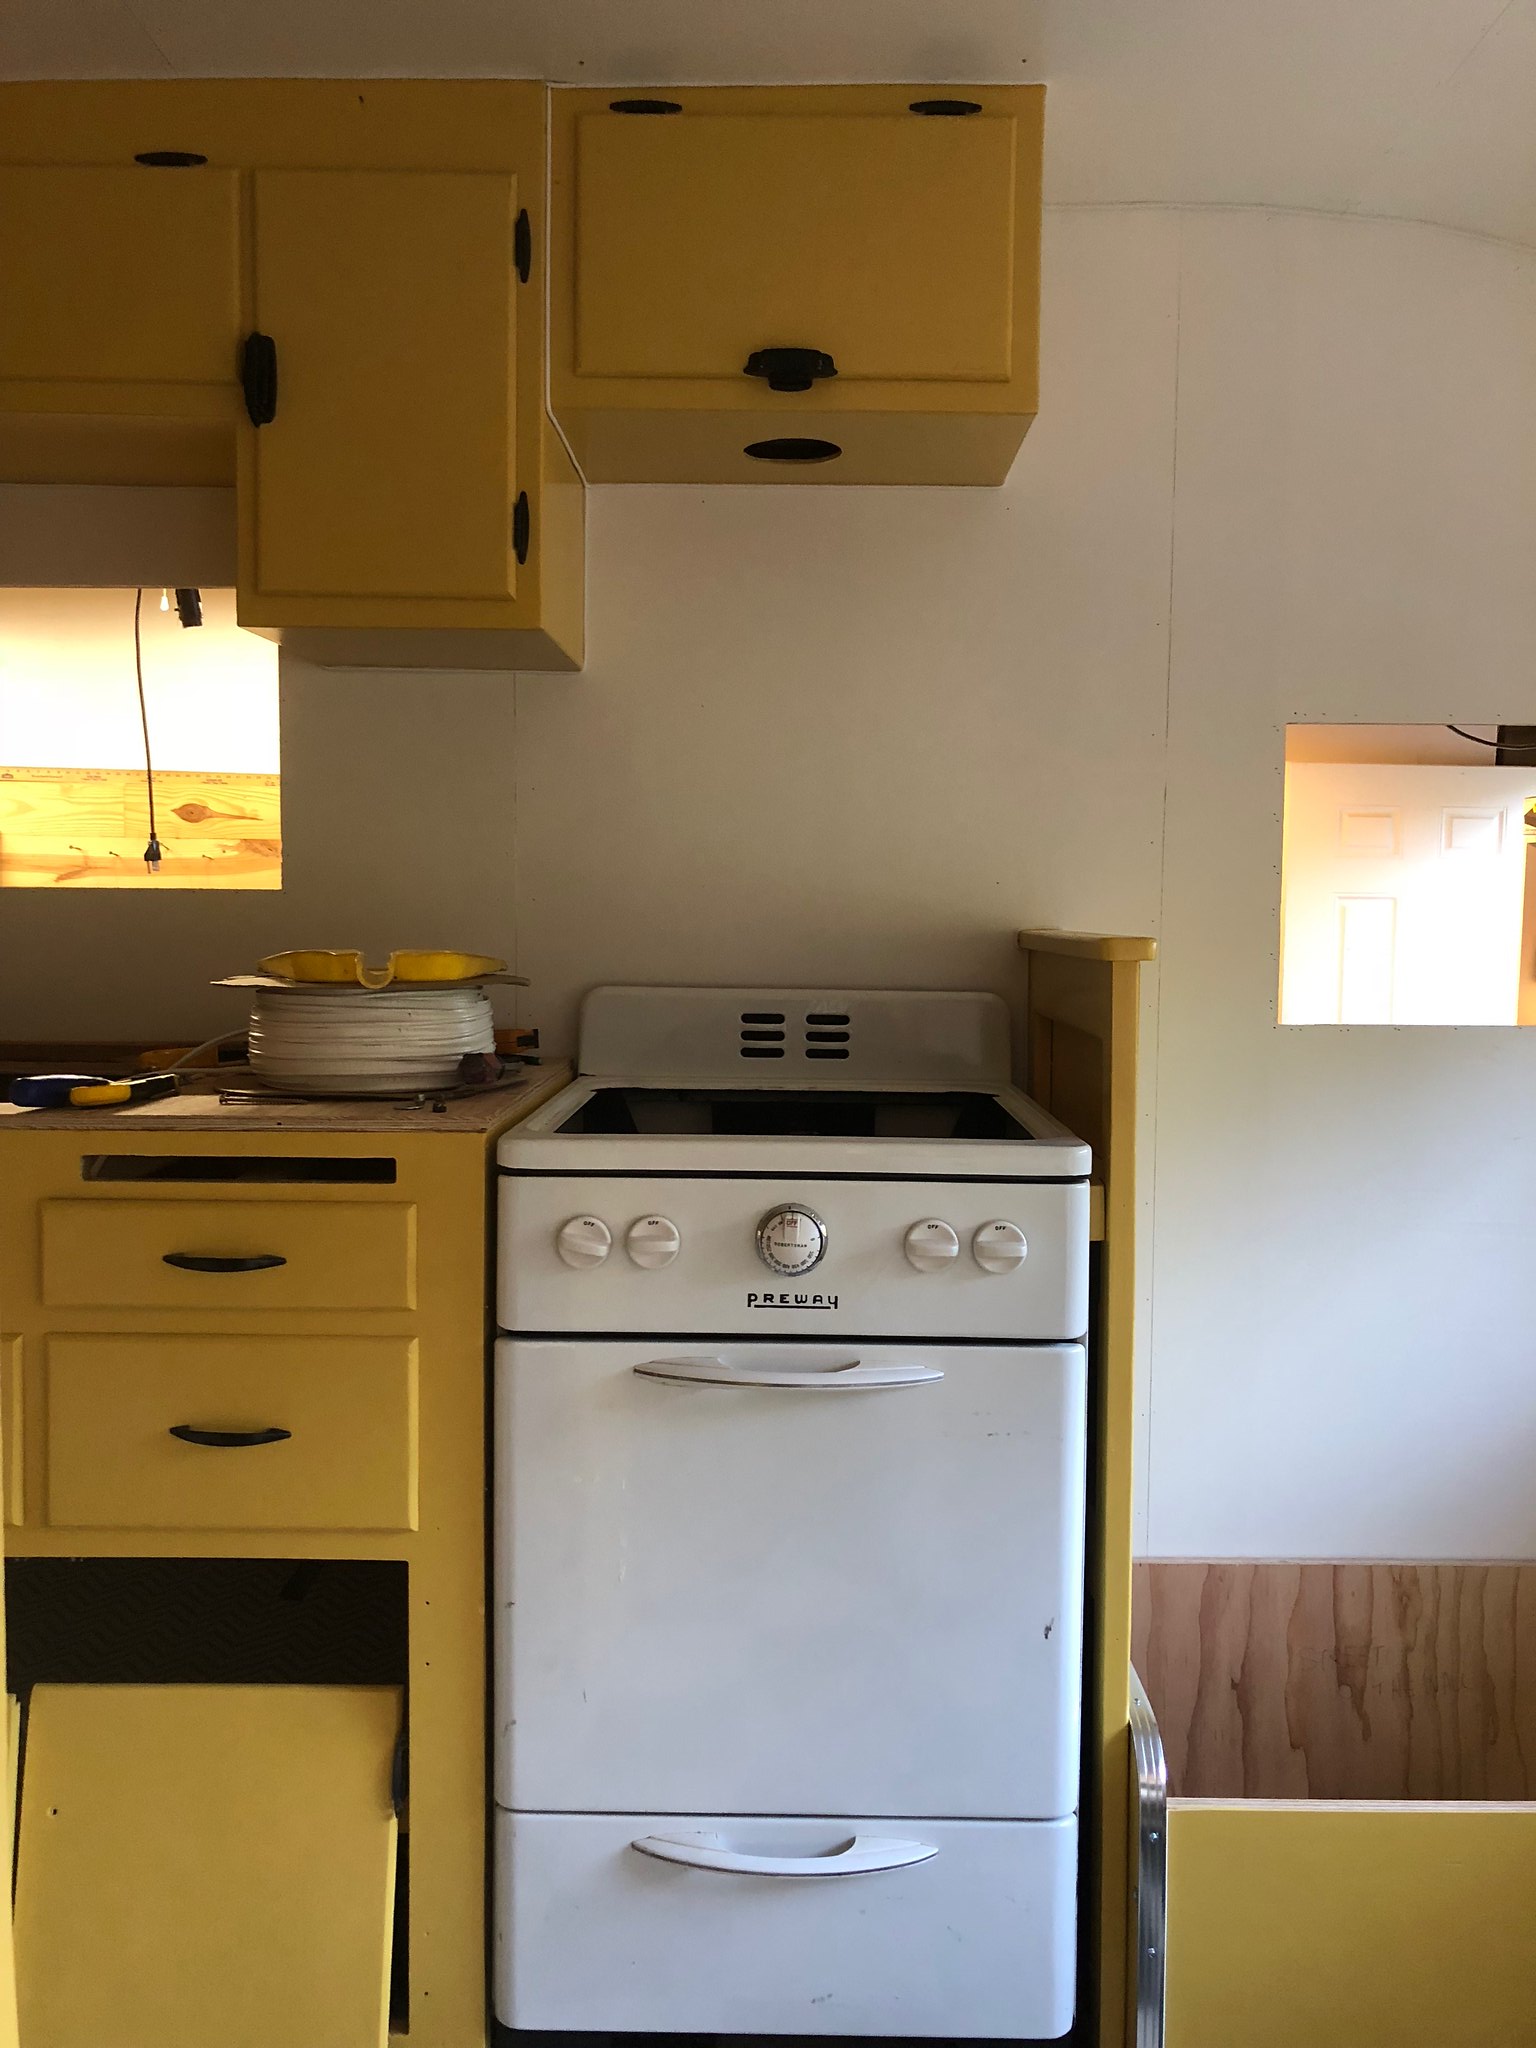 Untitled Untitled by Mike Estrada, on Flickr 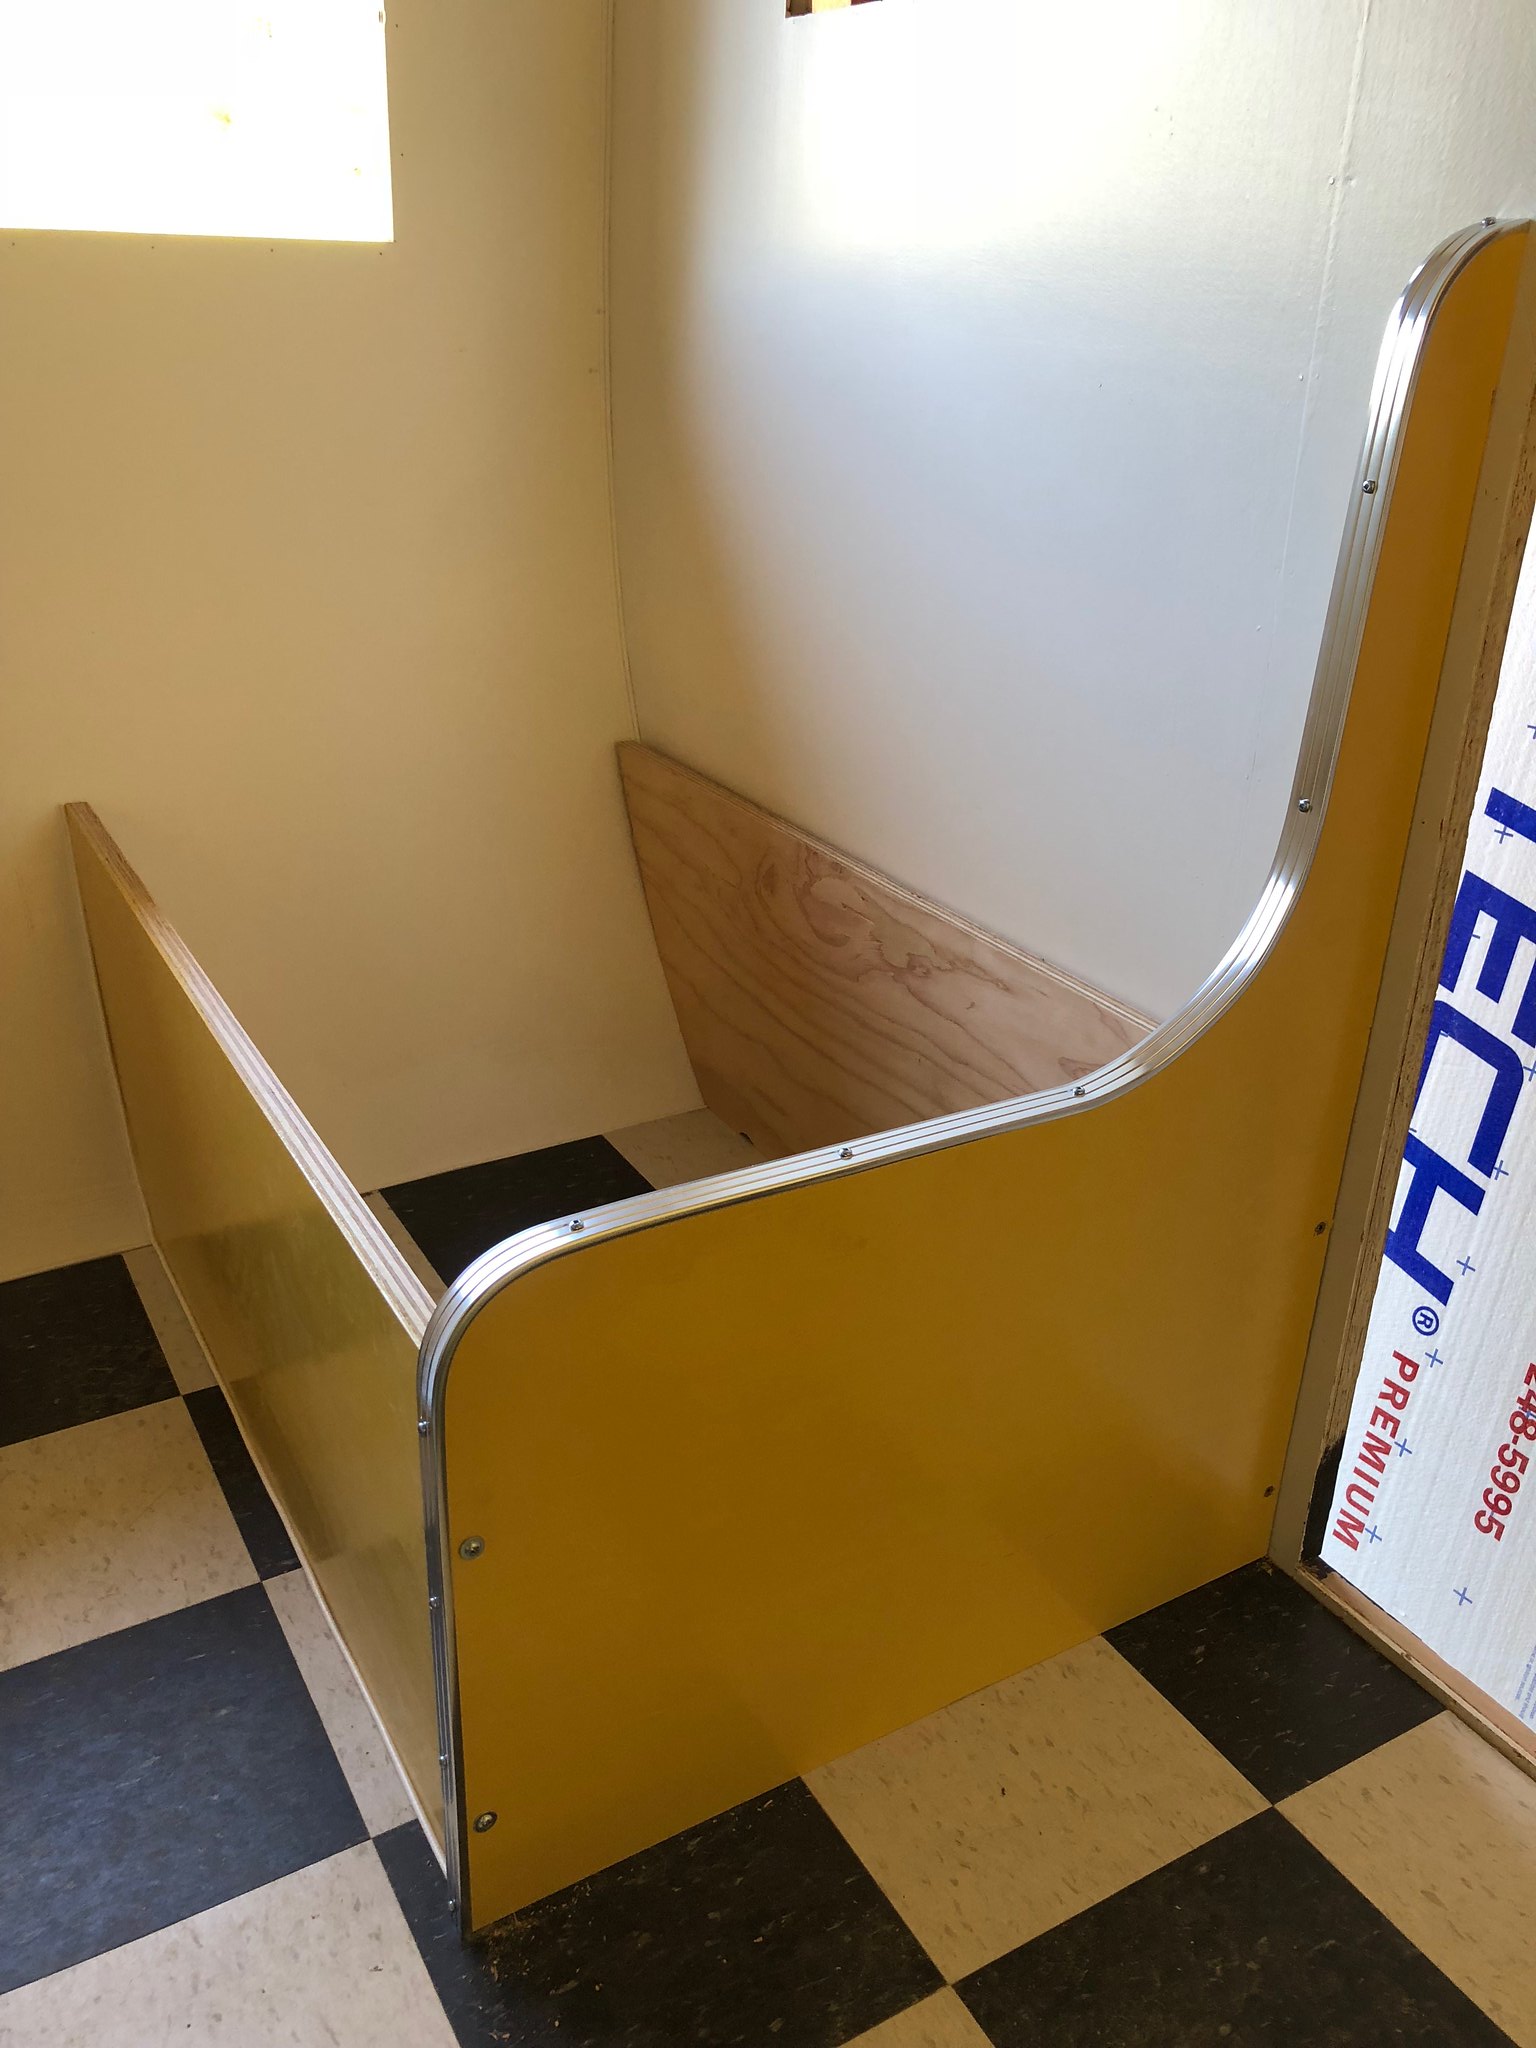 Untitled Untitled by Mike Estrada, on Flickr I created a hold-down structure for the water tank that can be removed easily if the tank needs to be serviced or replaced: 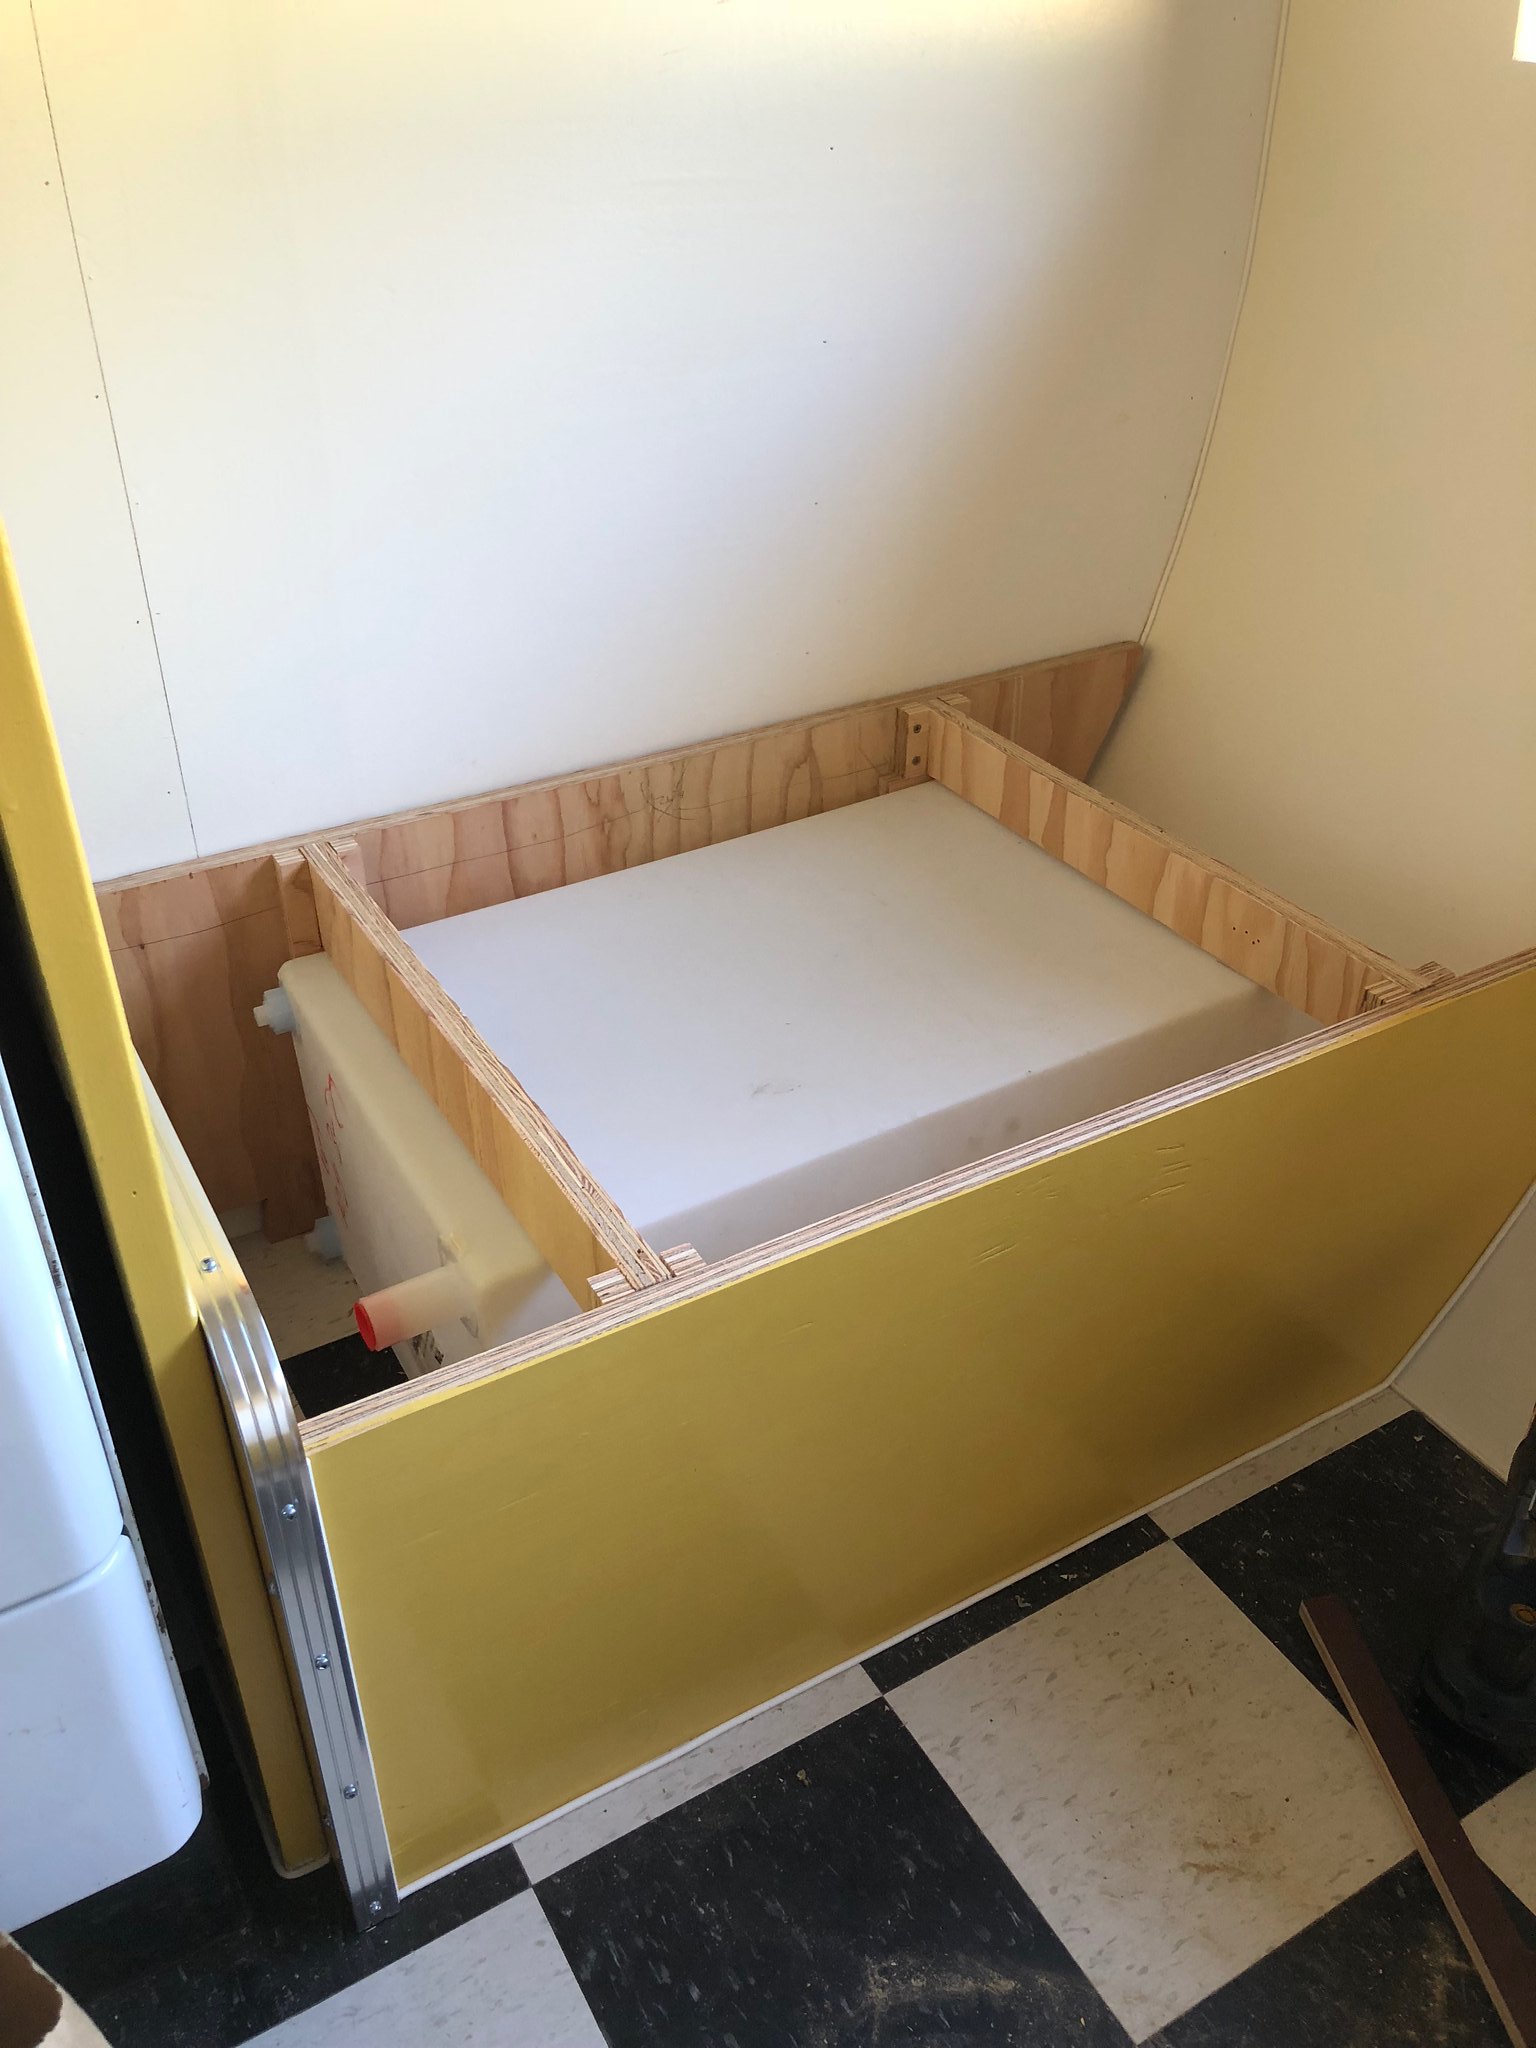 Untitled Untitled by Mike Estrada, on Flickr Aaaand, the upper cabinet over the dinette goes in. 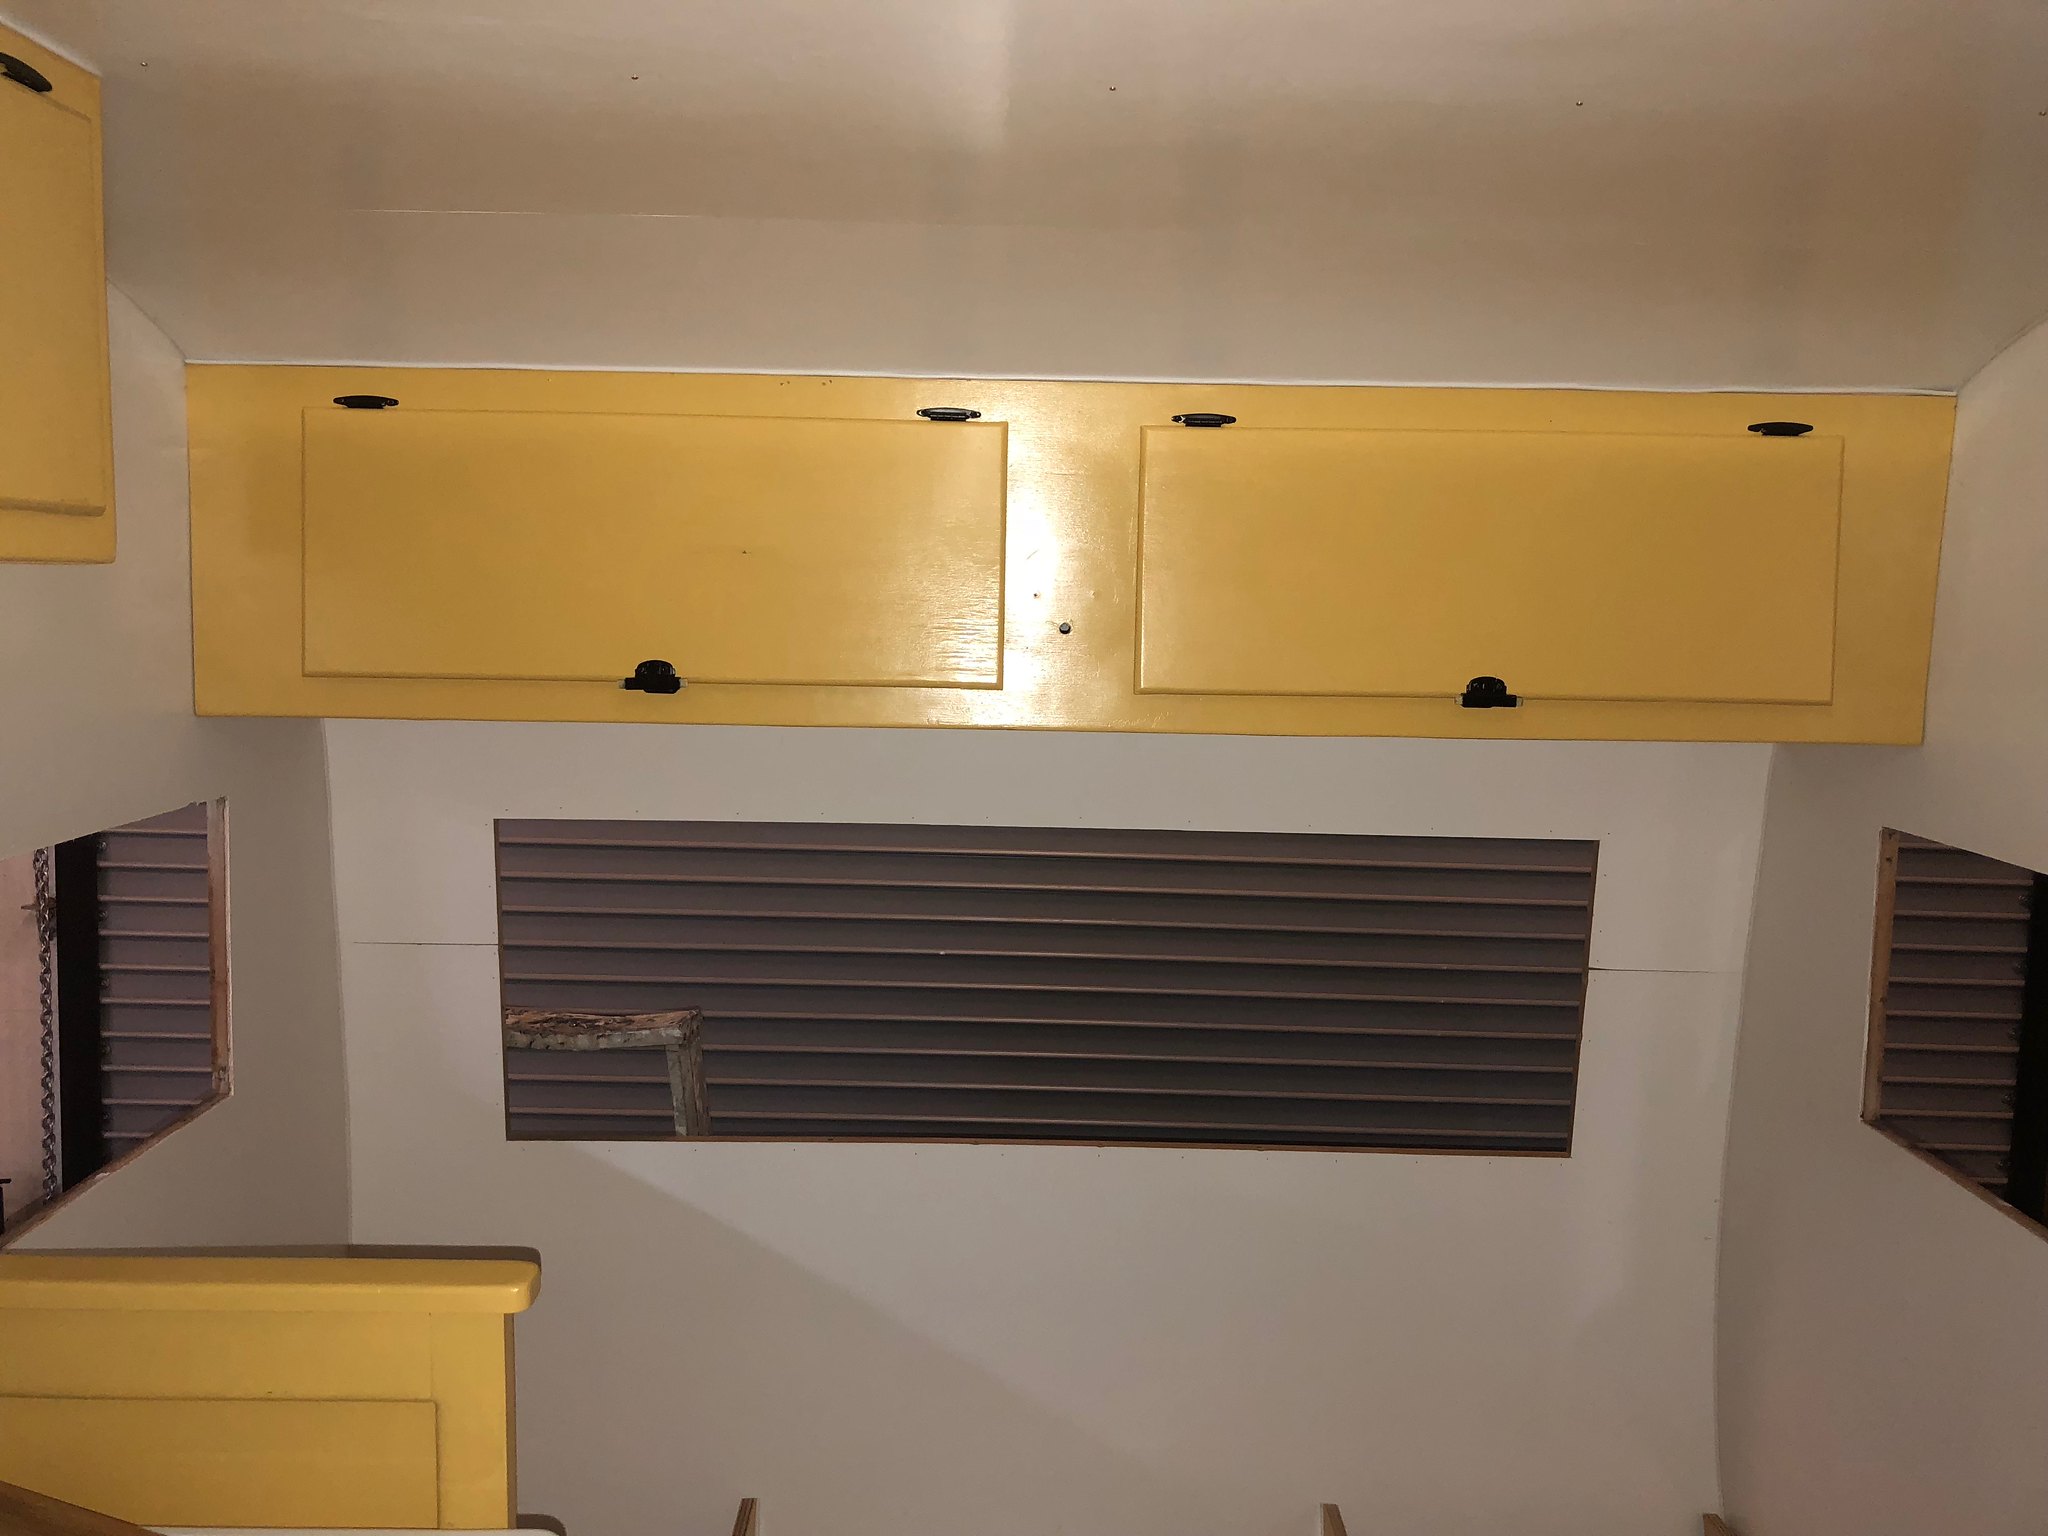 Untitled Untitled by Mike Estrada, on Flickr That is it through Memorial Day weekend. I'm going to have to start putting in serious time in the evenings if I'm going to be done in time. Say a prayer for me! |
|
|
|
Post by vikx on May 29, 2018 19:57:24 GMT -8
Mike, it's really looking great! A couple of ideas for you:
Add cross boards below the front and rear windows if you haven't already. They really help add stability. Also, I suggest you add a tapered riser to the roof vent framing. With the roof off, I believe you could add as much as 3/4". That will insure any water drains away from the vent.
Beautiful dinettes. Congrats.
|
|
mel
Senior Member
 1964 Shasta Airflyte
Posts: 1,729 
Likes: 523
Currently Offline
|
Post by mel on May 30, 2018 3:03:17 GMT -8
Wow, looks awesome! I love the look of your stove!
|
|
papamike95
Member
Posts: 30
Likes: 13
1954 Terry - 16'
Currently Offline
|
Post by papamike95 on Jun 6, 2018 21:27:59 GMT -8
Thank you vikx for the suggestions. I do already have the cross members below the windows and around the rest of the roof. Thanks also for the tip on the roof vent framing... something to seriously consider. I think I should at the very least put in the risers for now while it's open, and add the vent down the line. I think my wife is starting to get concerned over the cost of this project! Thanks mel also for the comment. I can use all the encouragement I can get! So some additional progress over the past couple of weeks... I made the dinette table and cut out and glued the Formica to the counter top and table, and routed them out. I also used the same aluminum edging around the table. 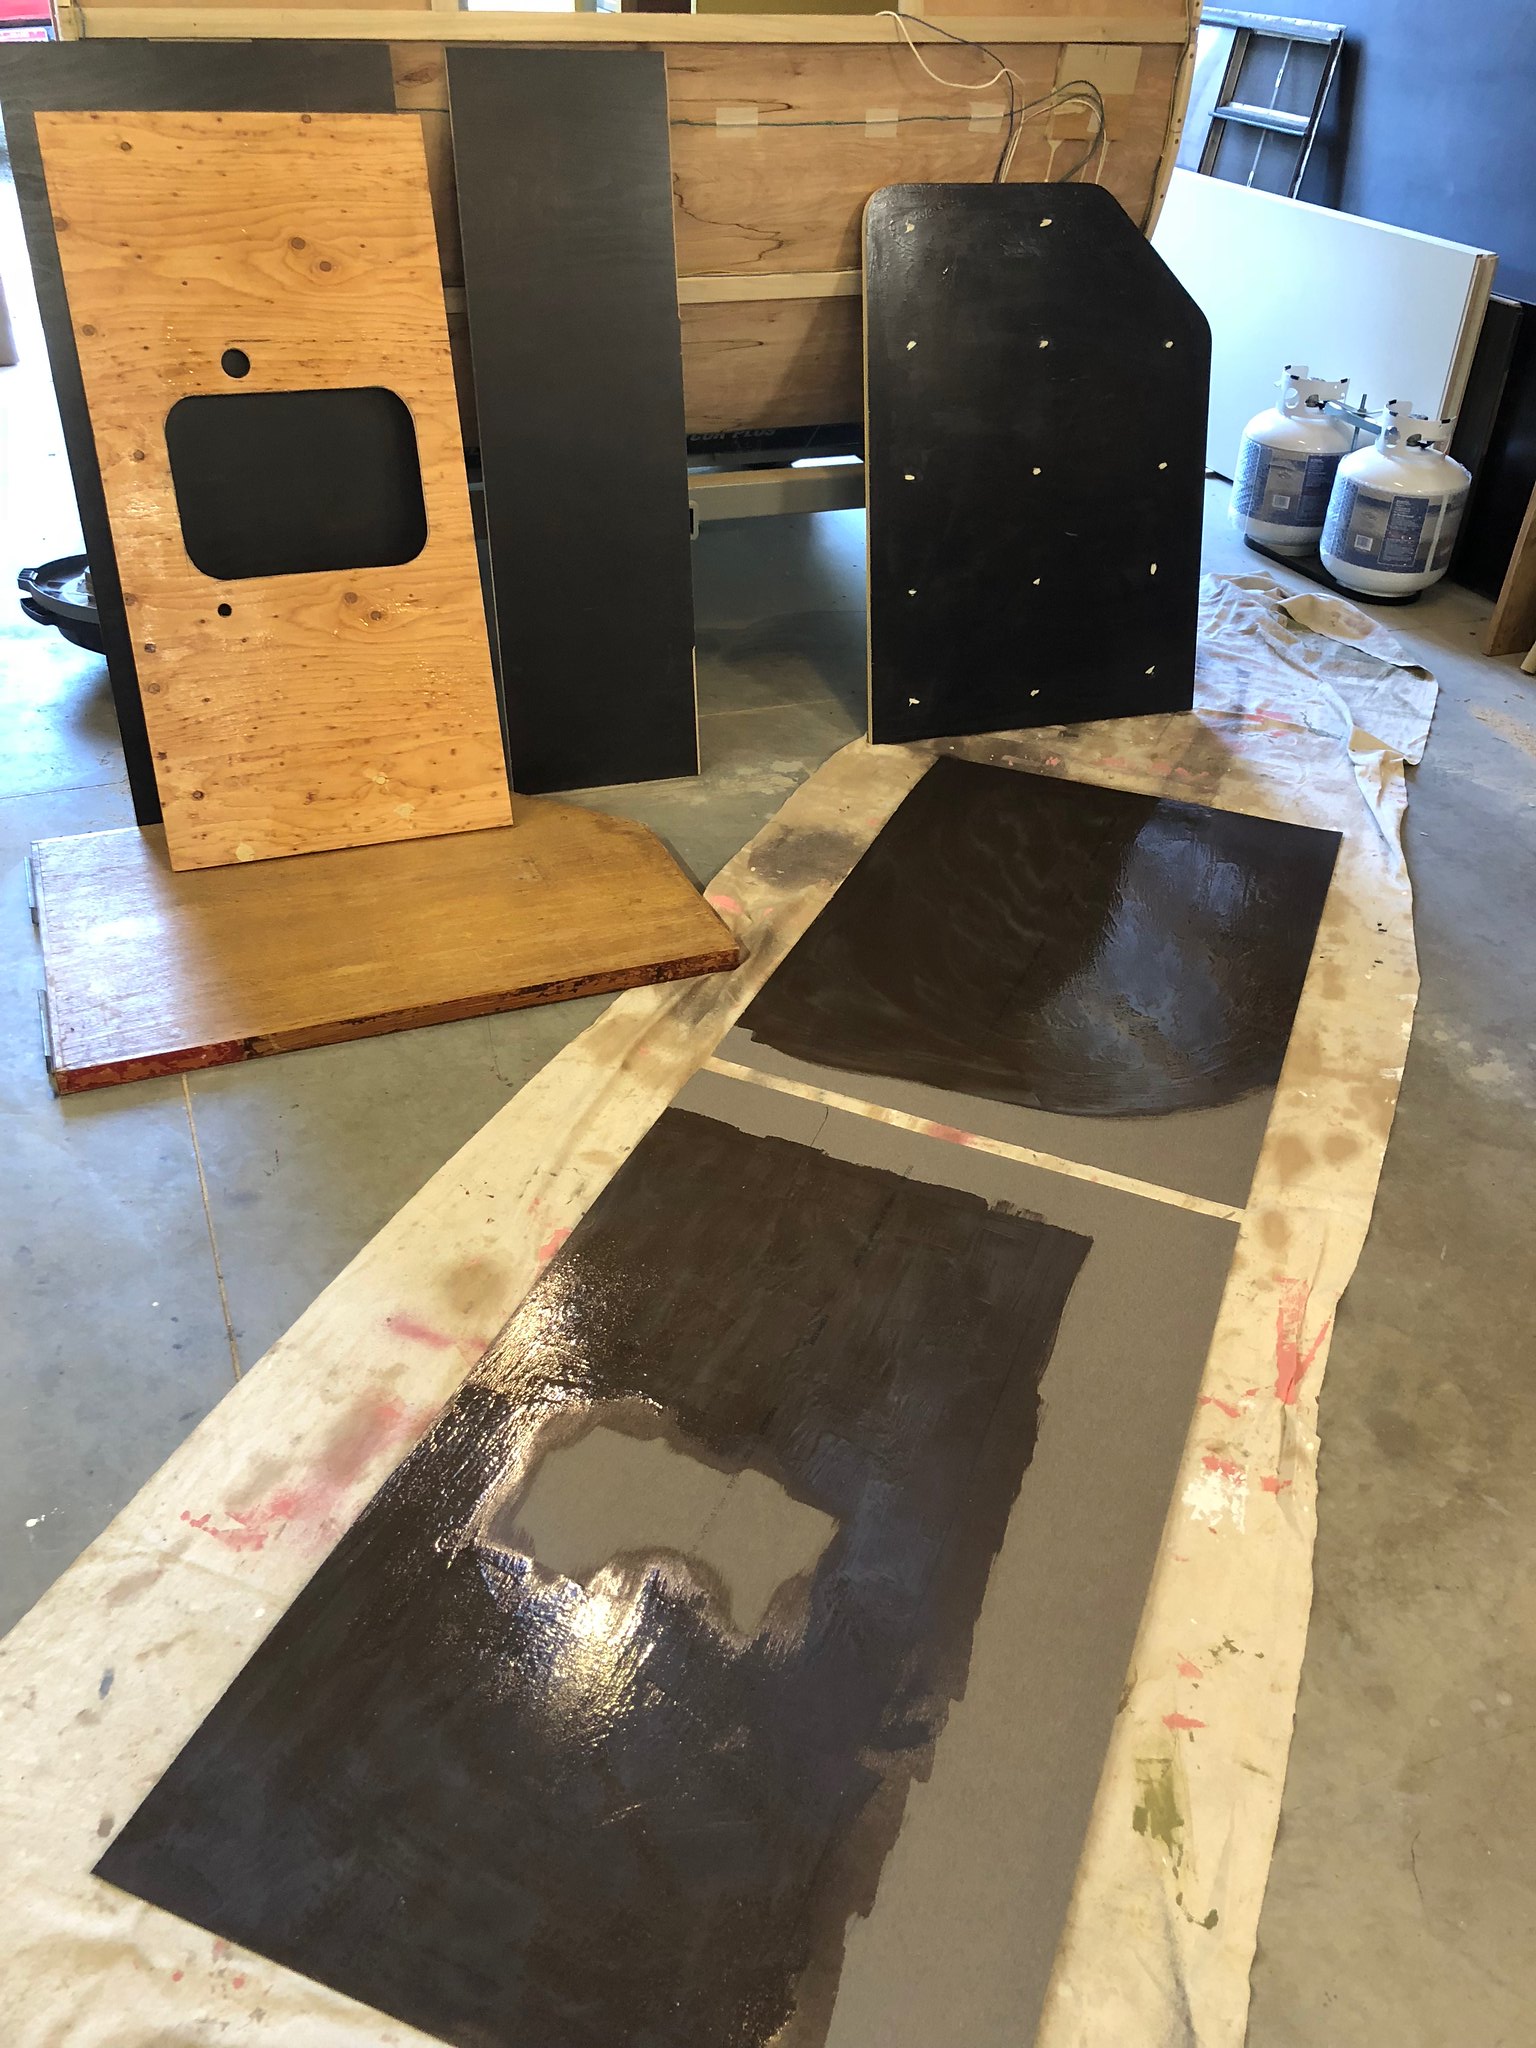 Untitled Untitled by Mike Estrada, on Flickr 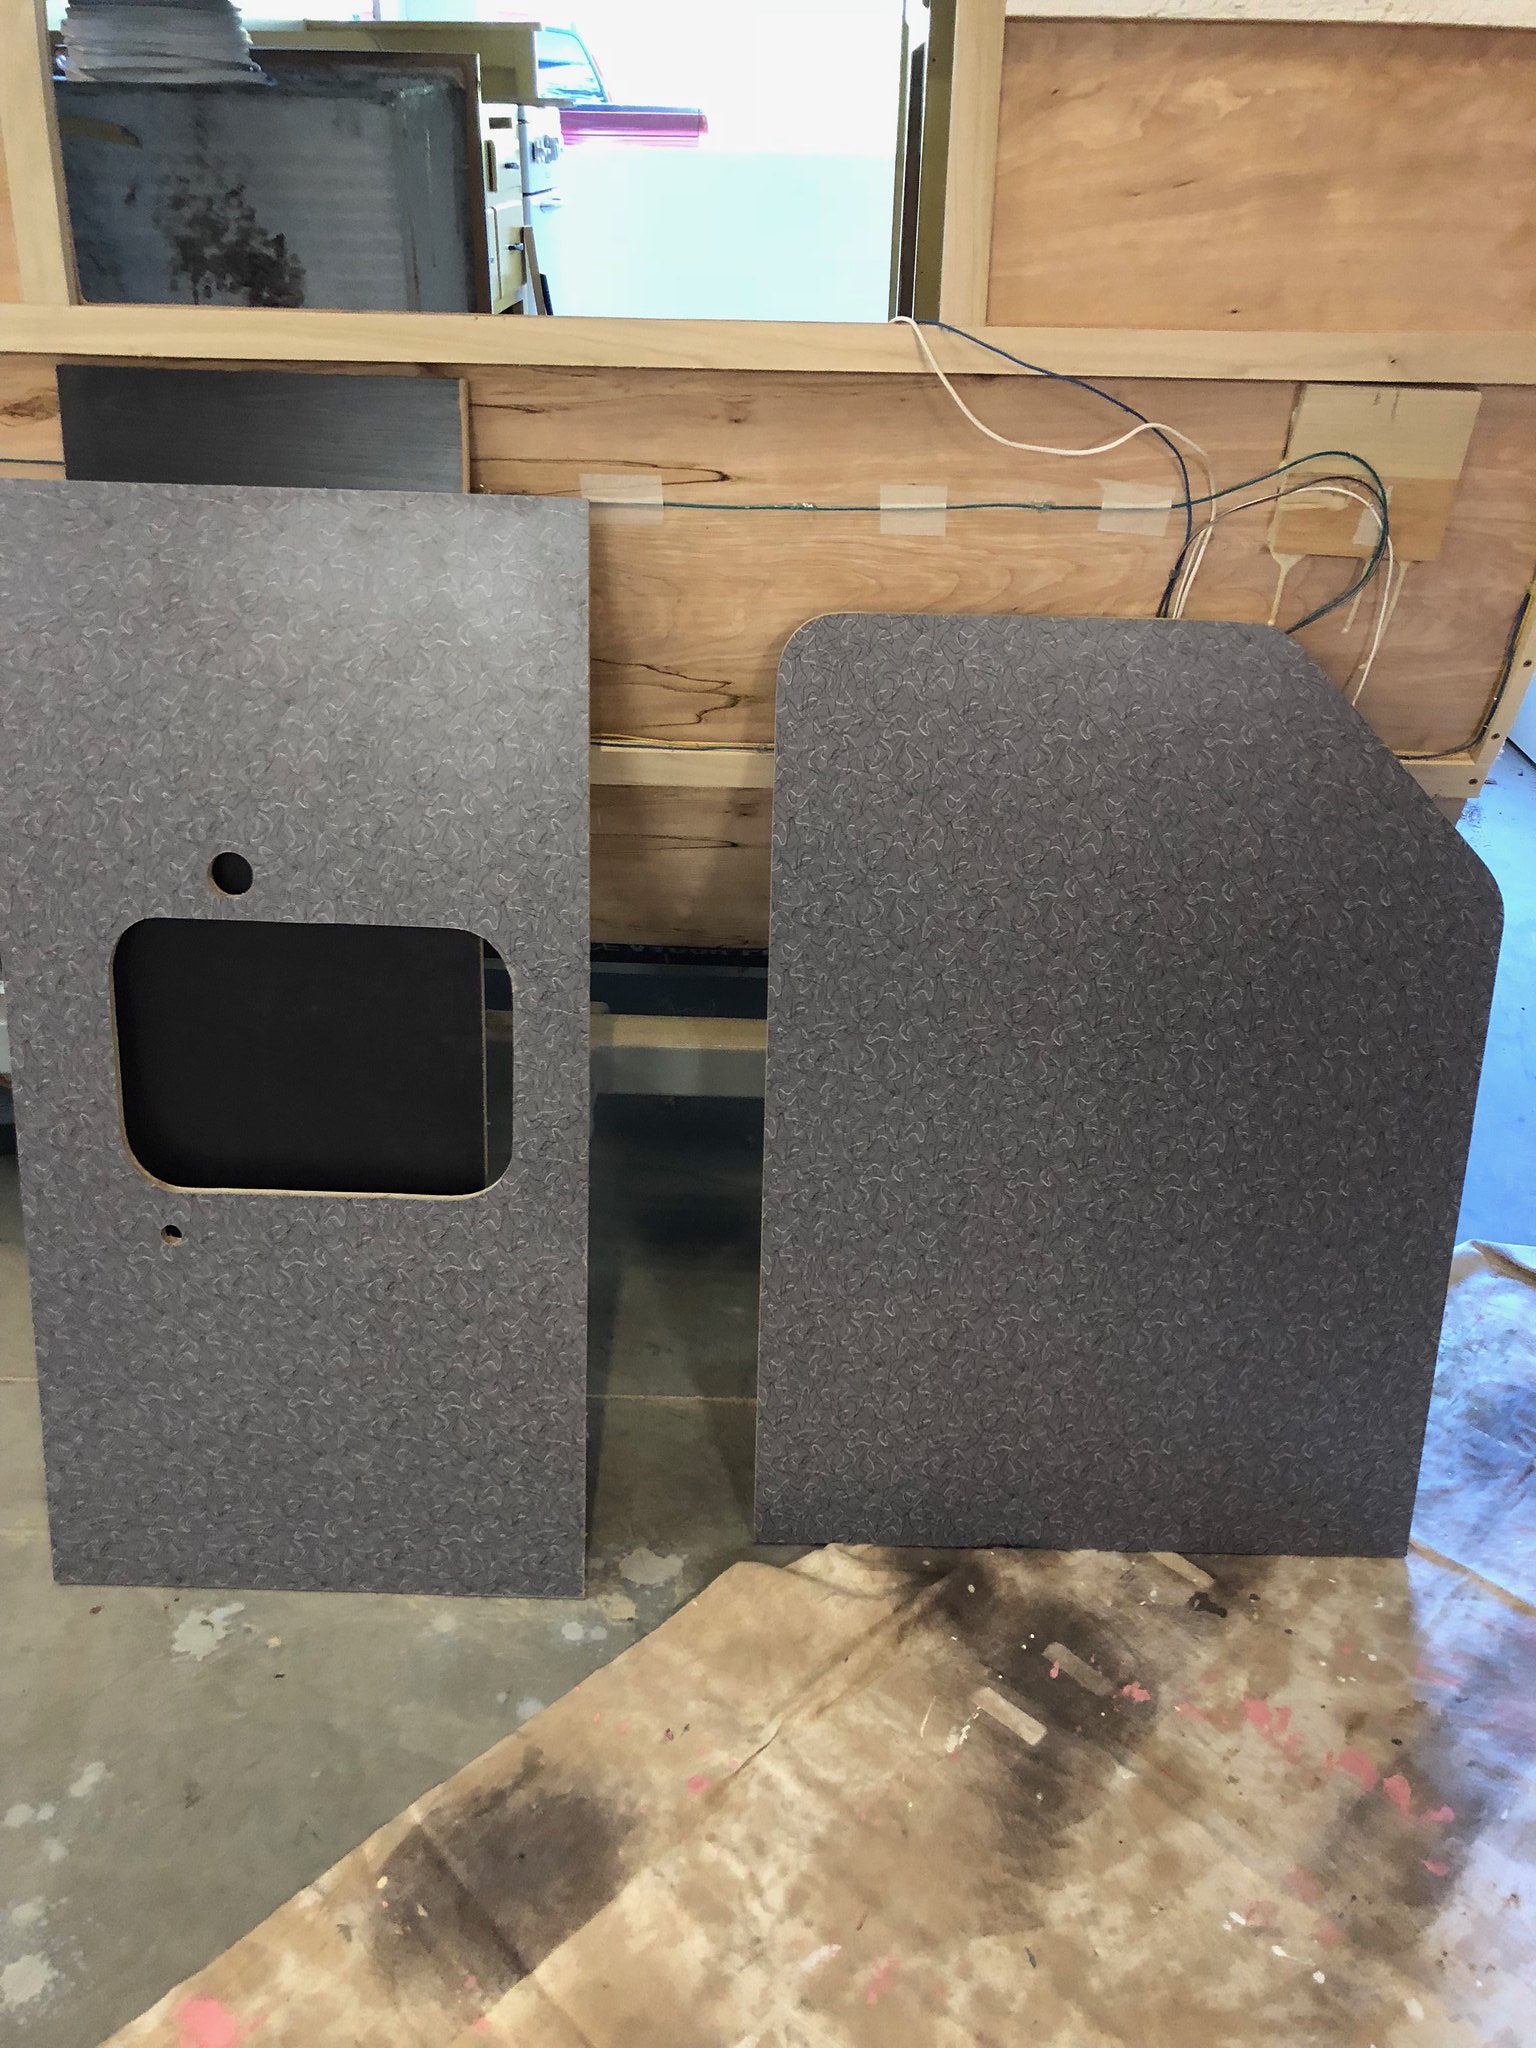 Untitled Untitled by Mike Estrada, on Flickr 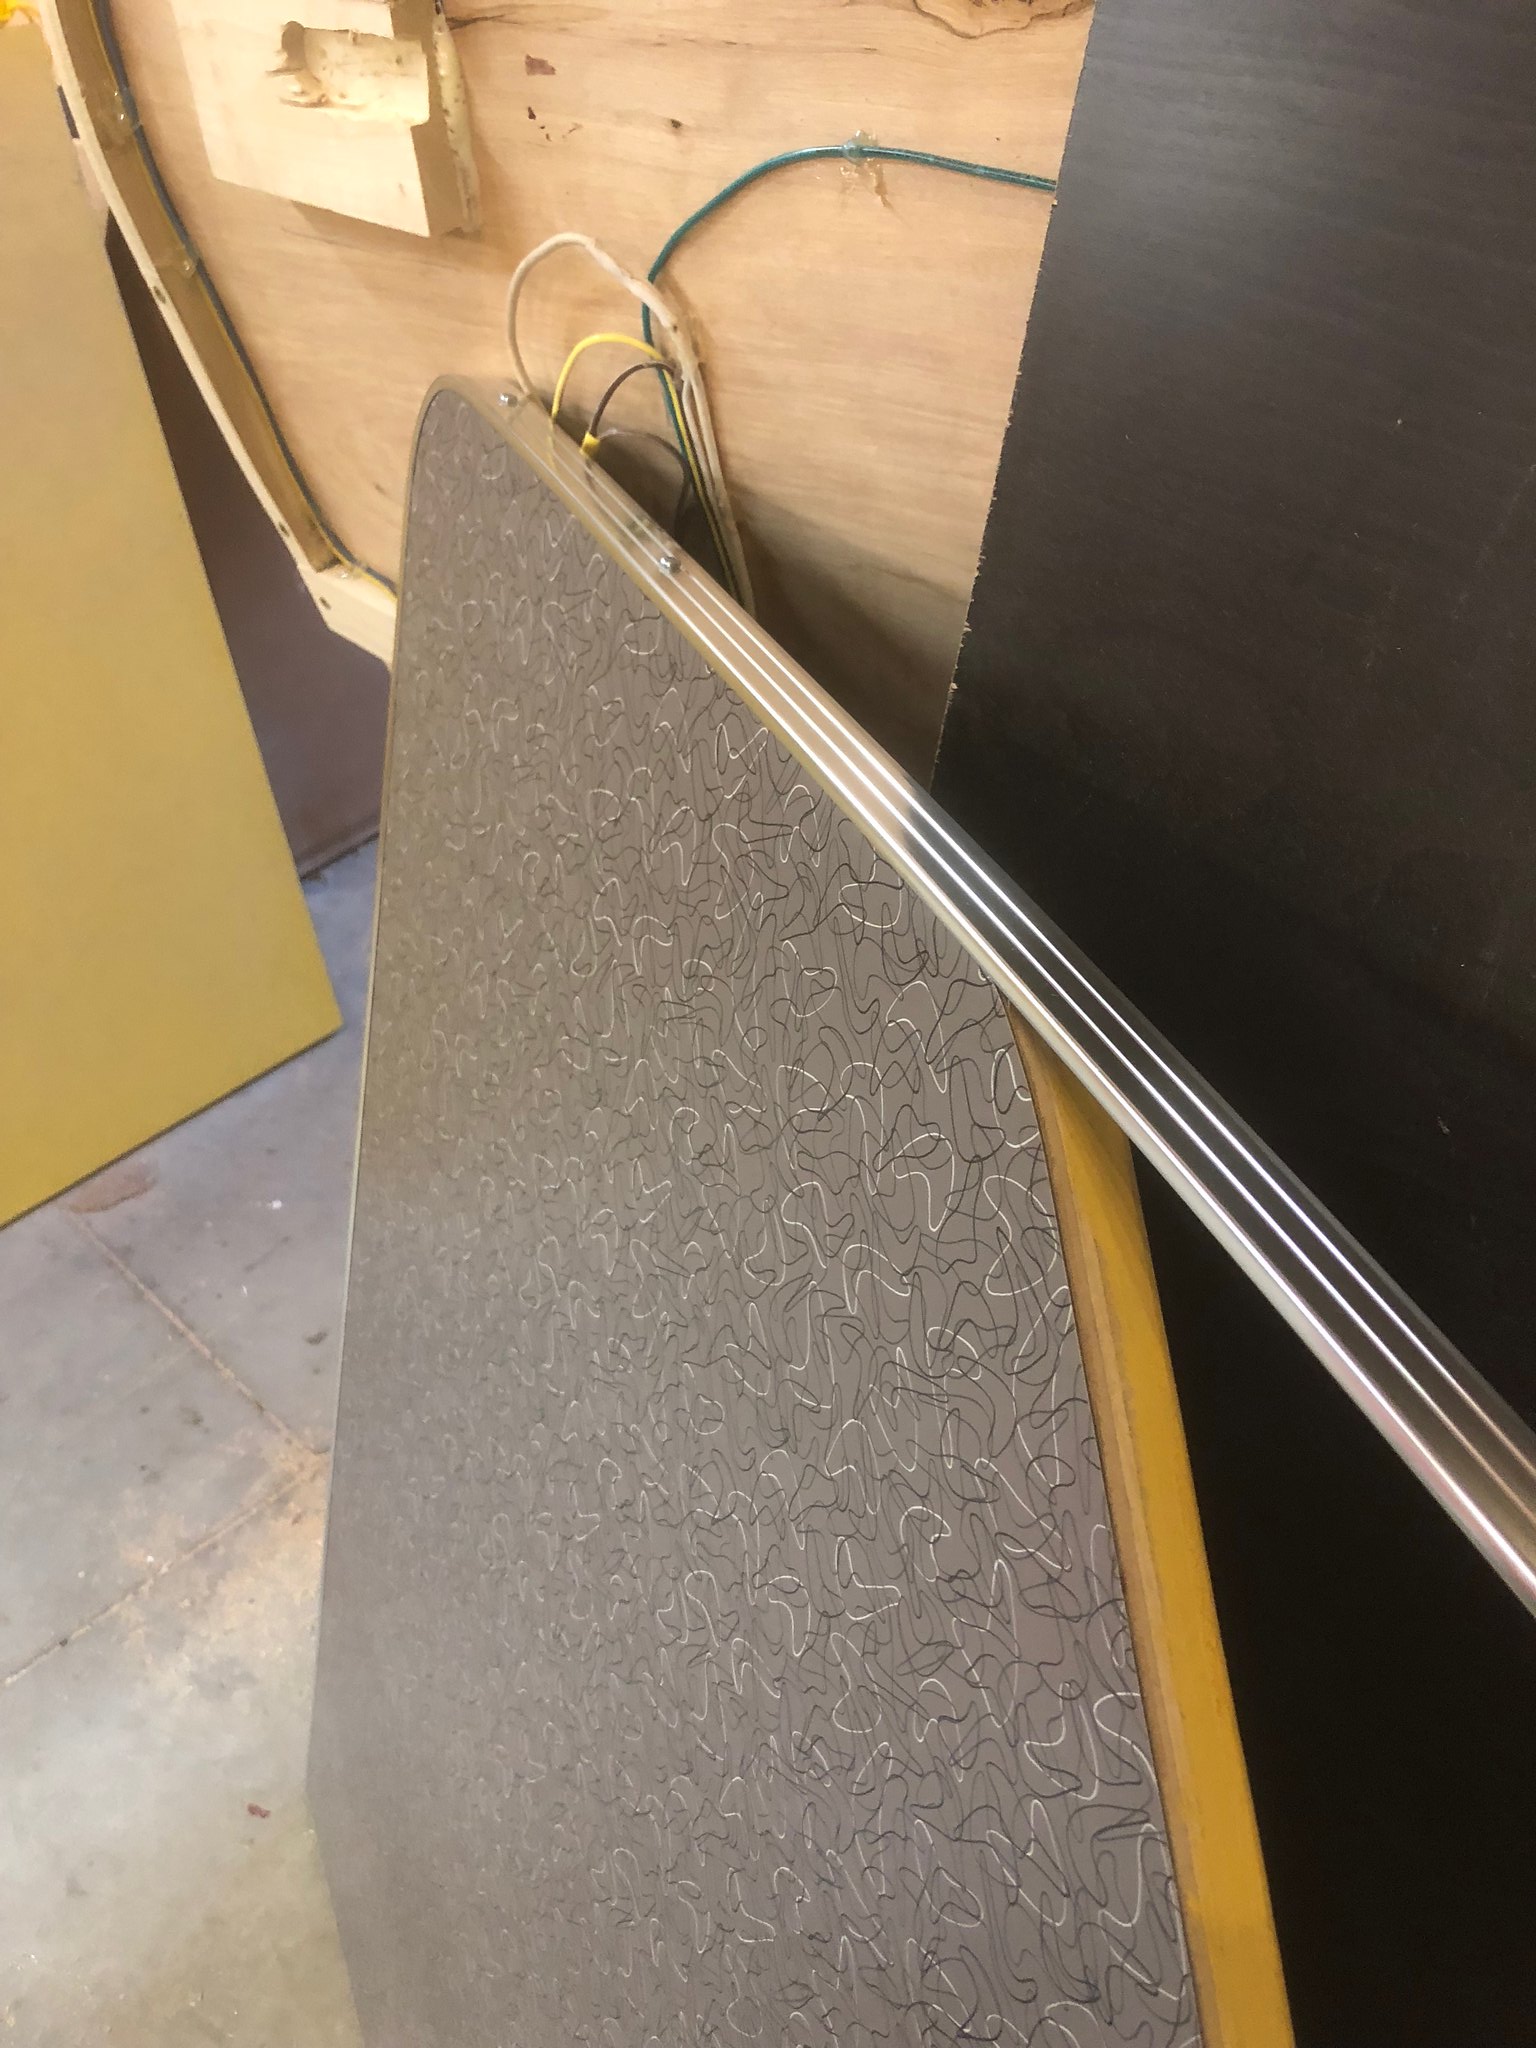 Untitled Untitled by Mike Estrada, on Flickr 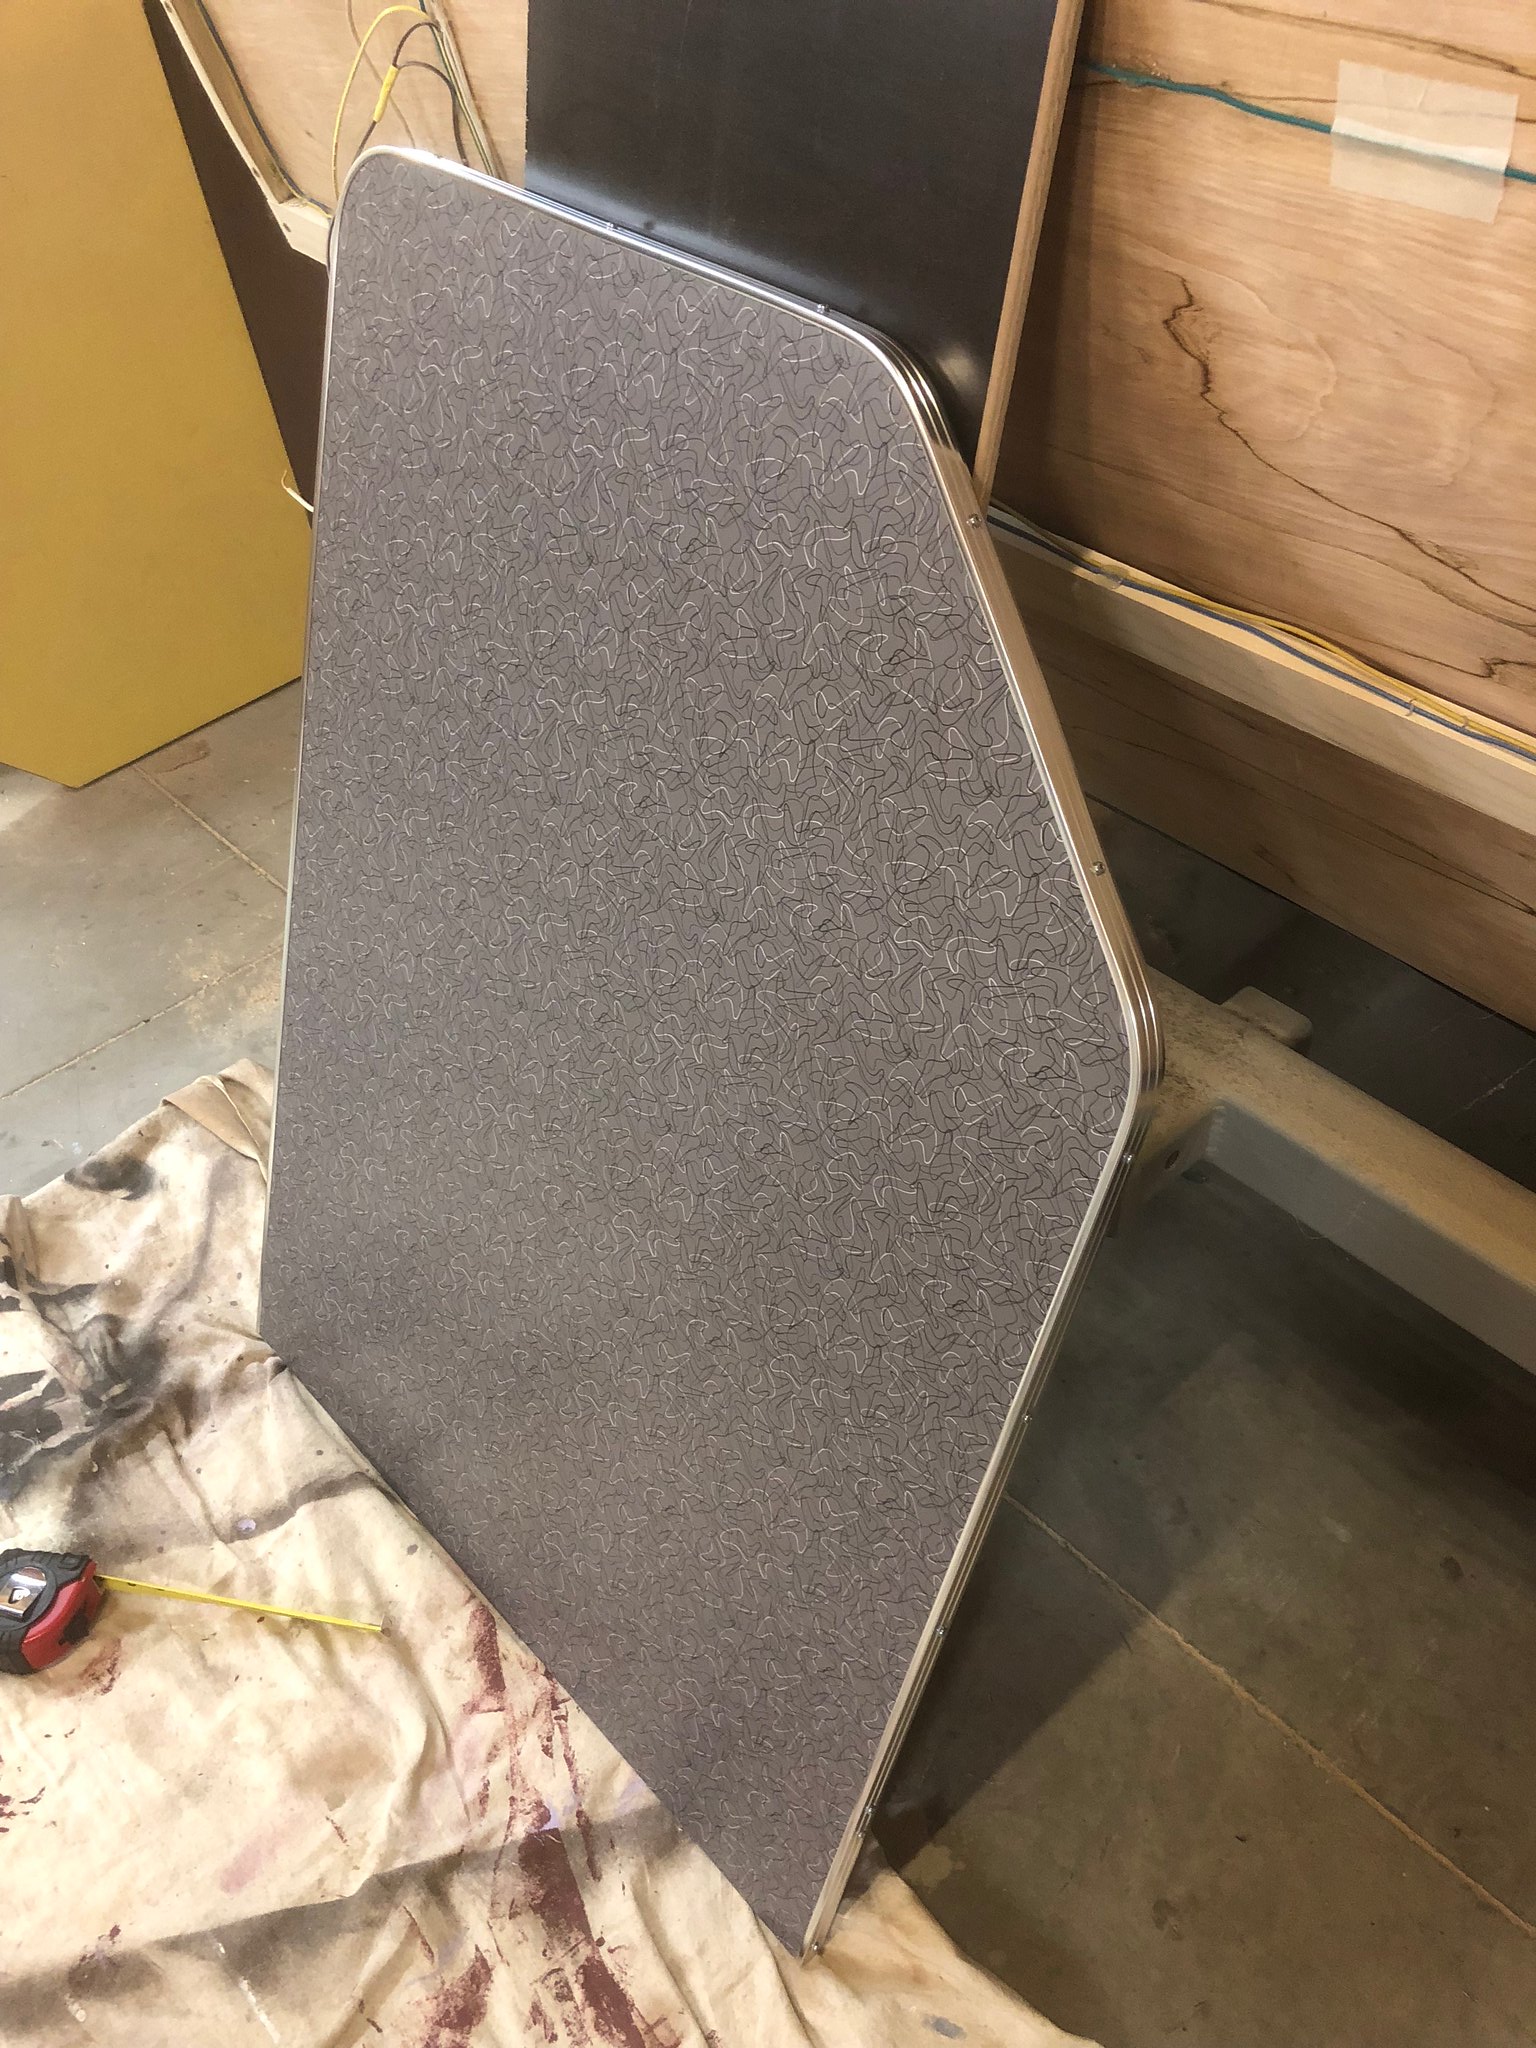 Untitled Untitled by Mike Estrada, on Flickr Then, I cut the plywood for the bench seats and cut the foam that will be used for the kitchen. 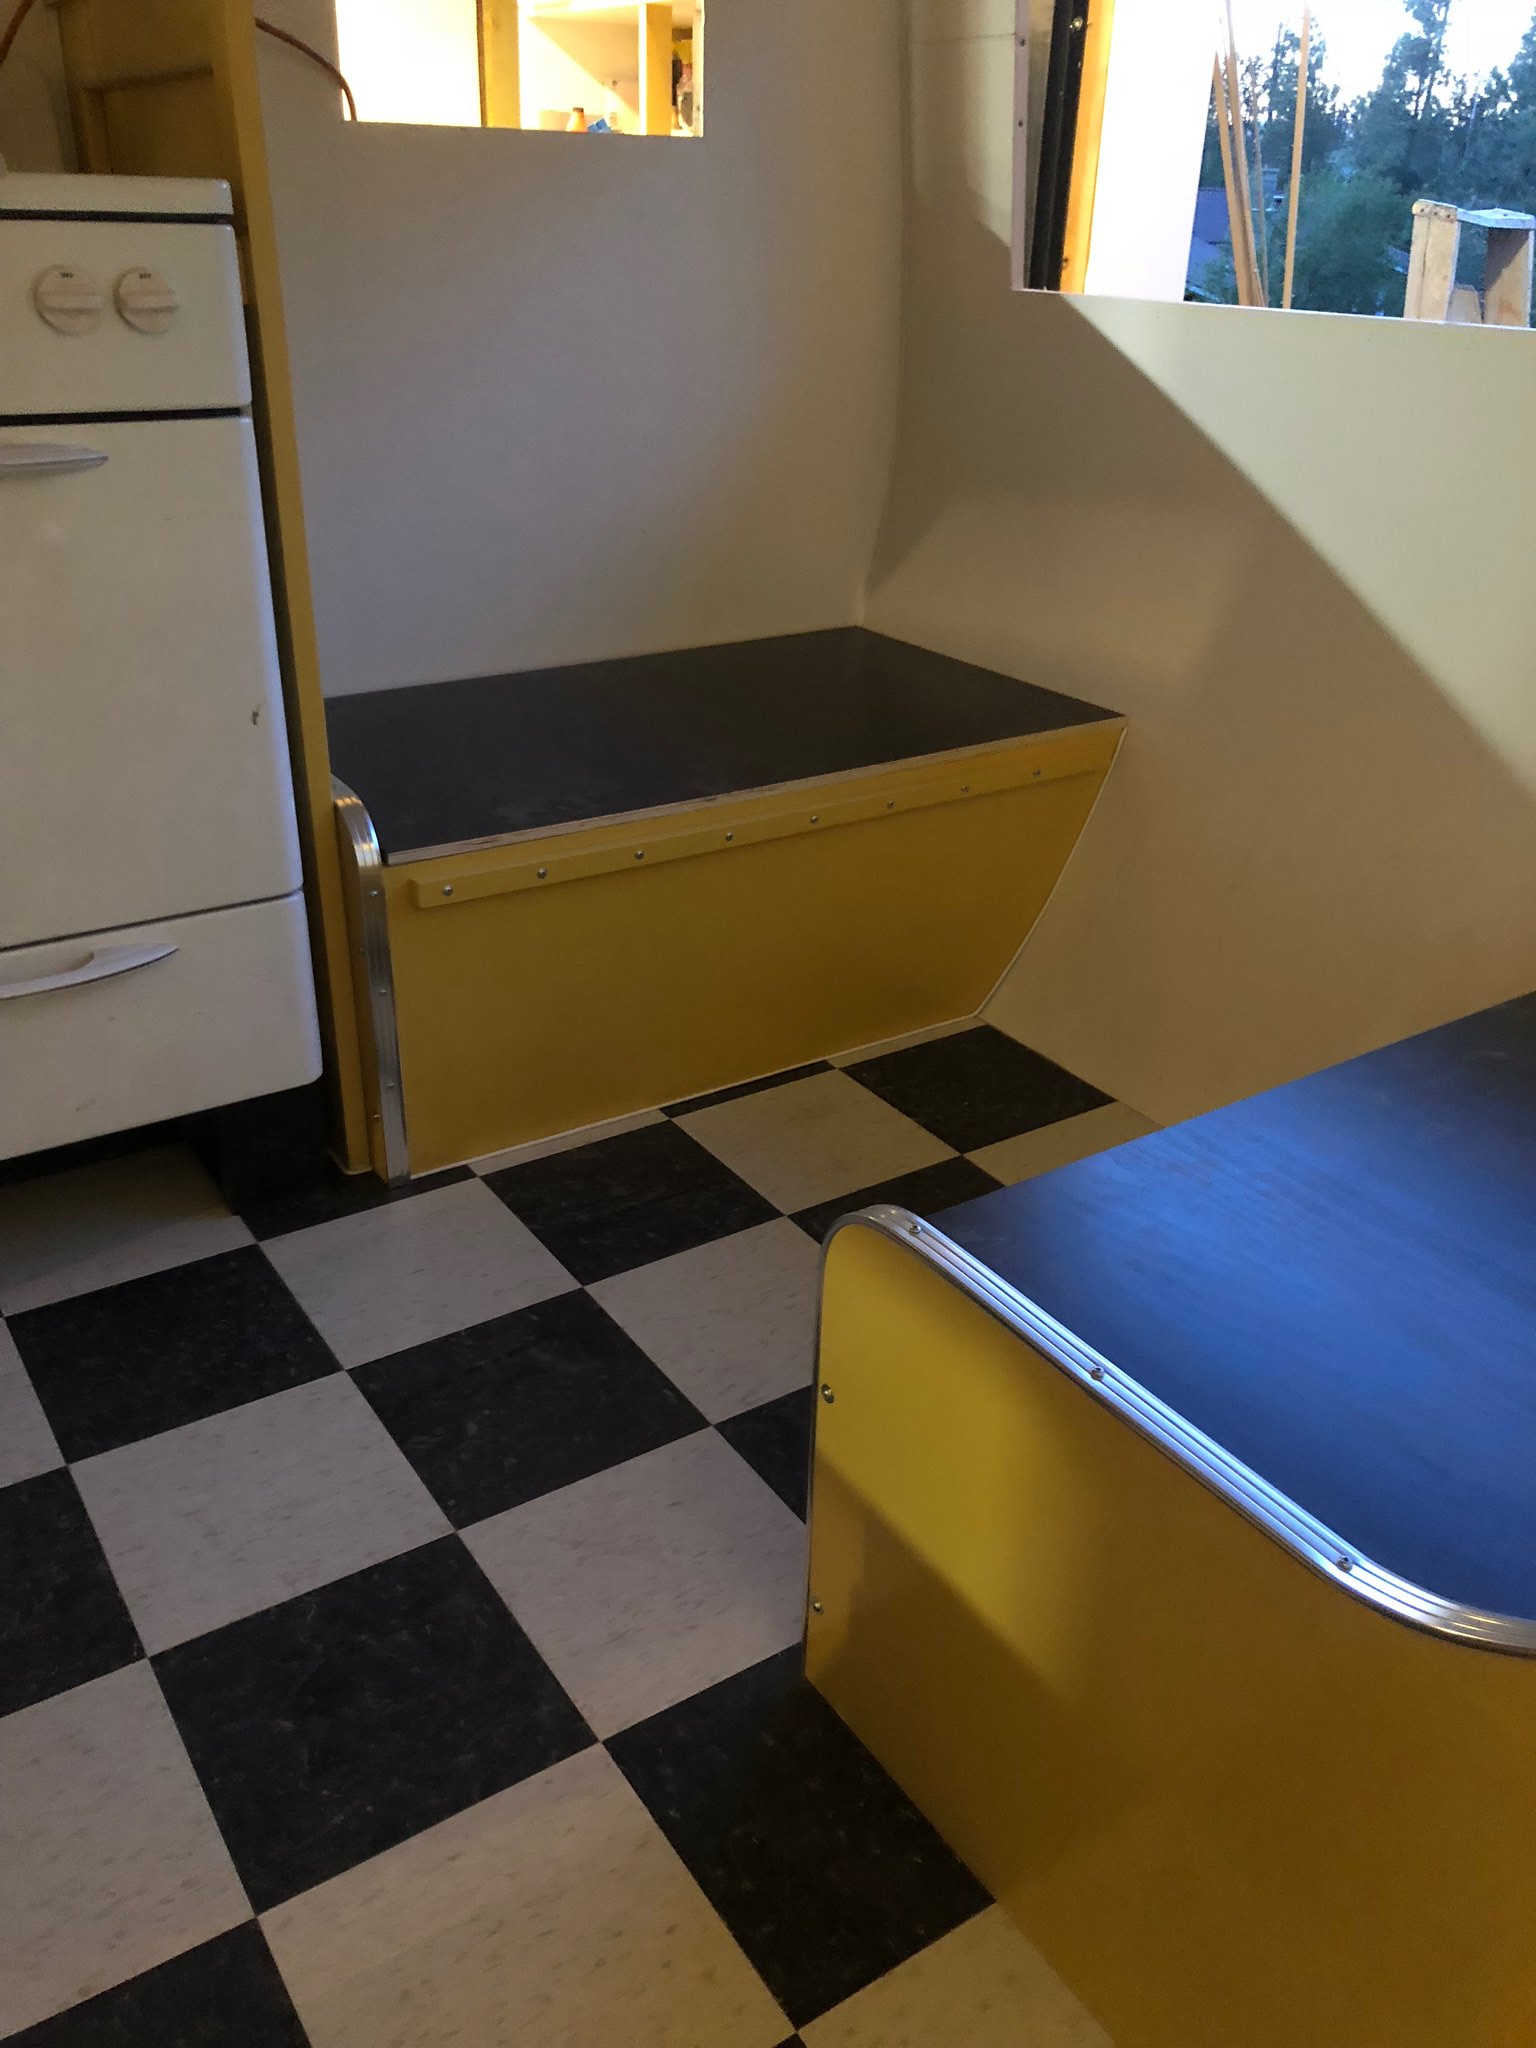 Untitled Untitled by Mike Estrada, on Flickr 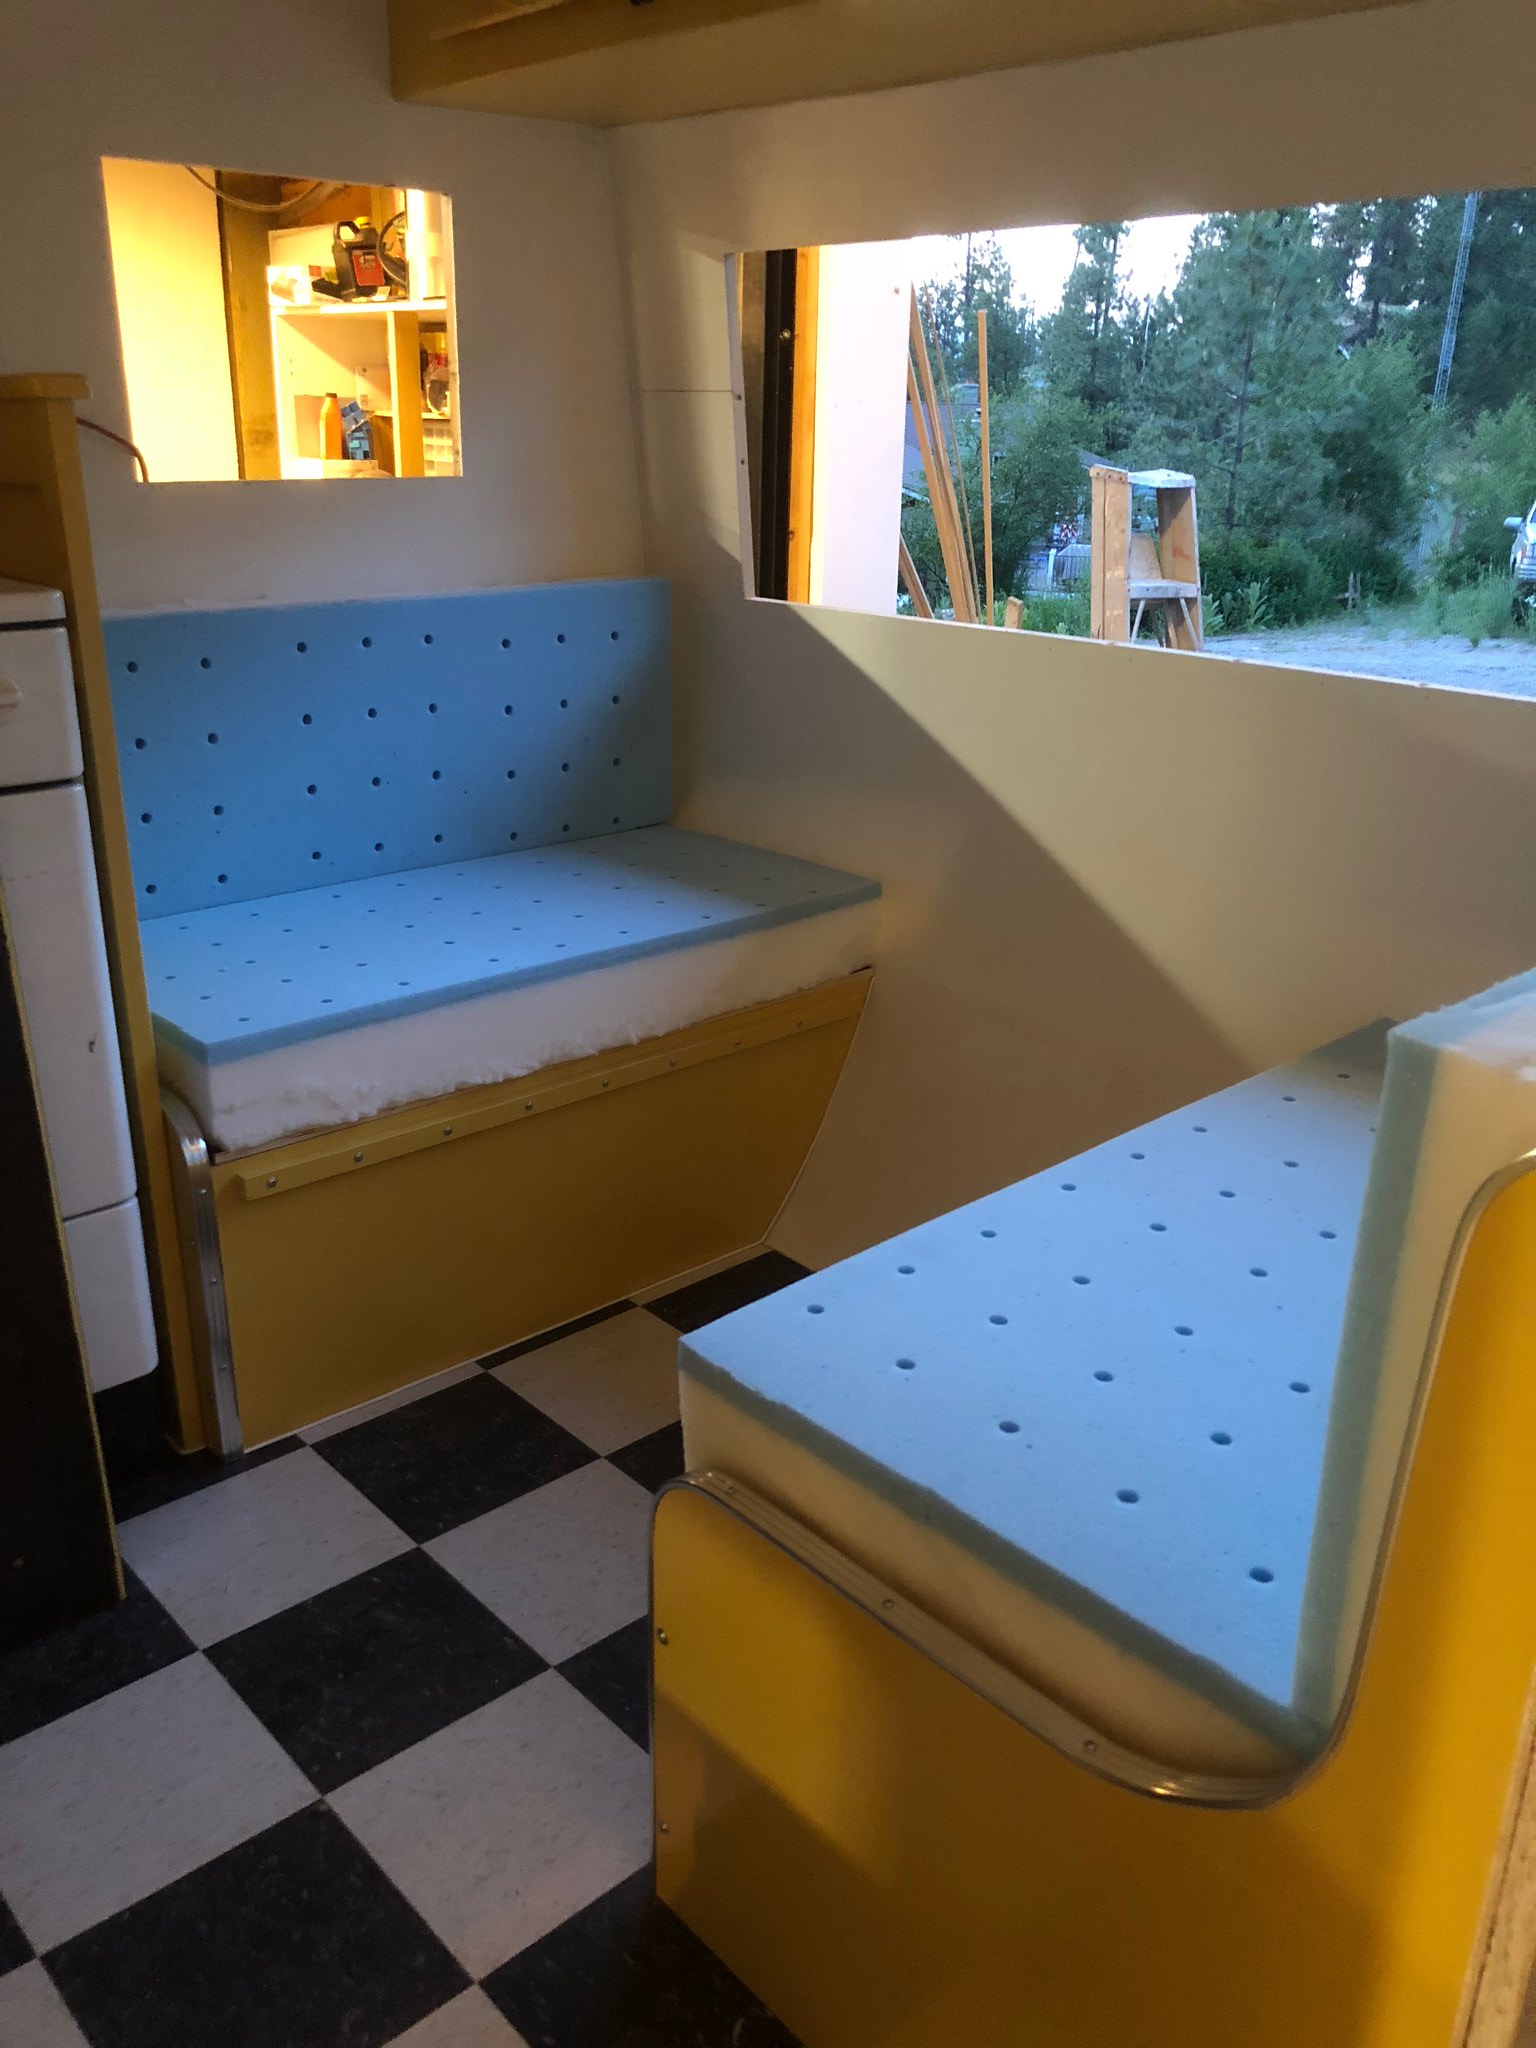 Untitled Untitled by Mike Estrada, on Flickr 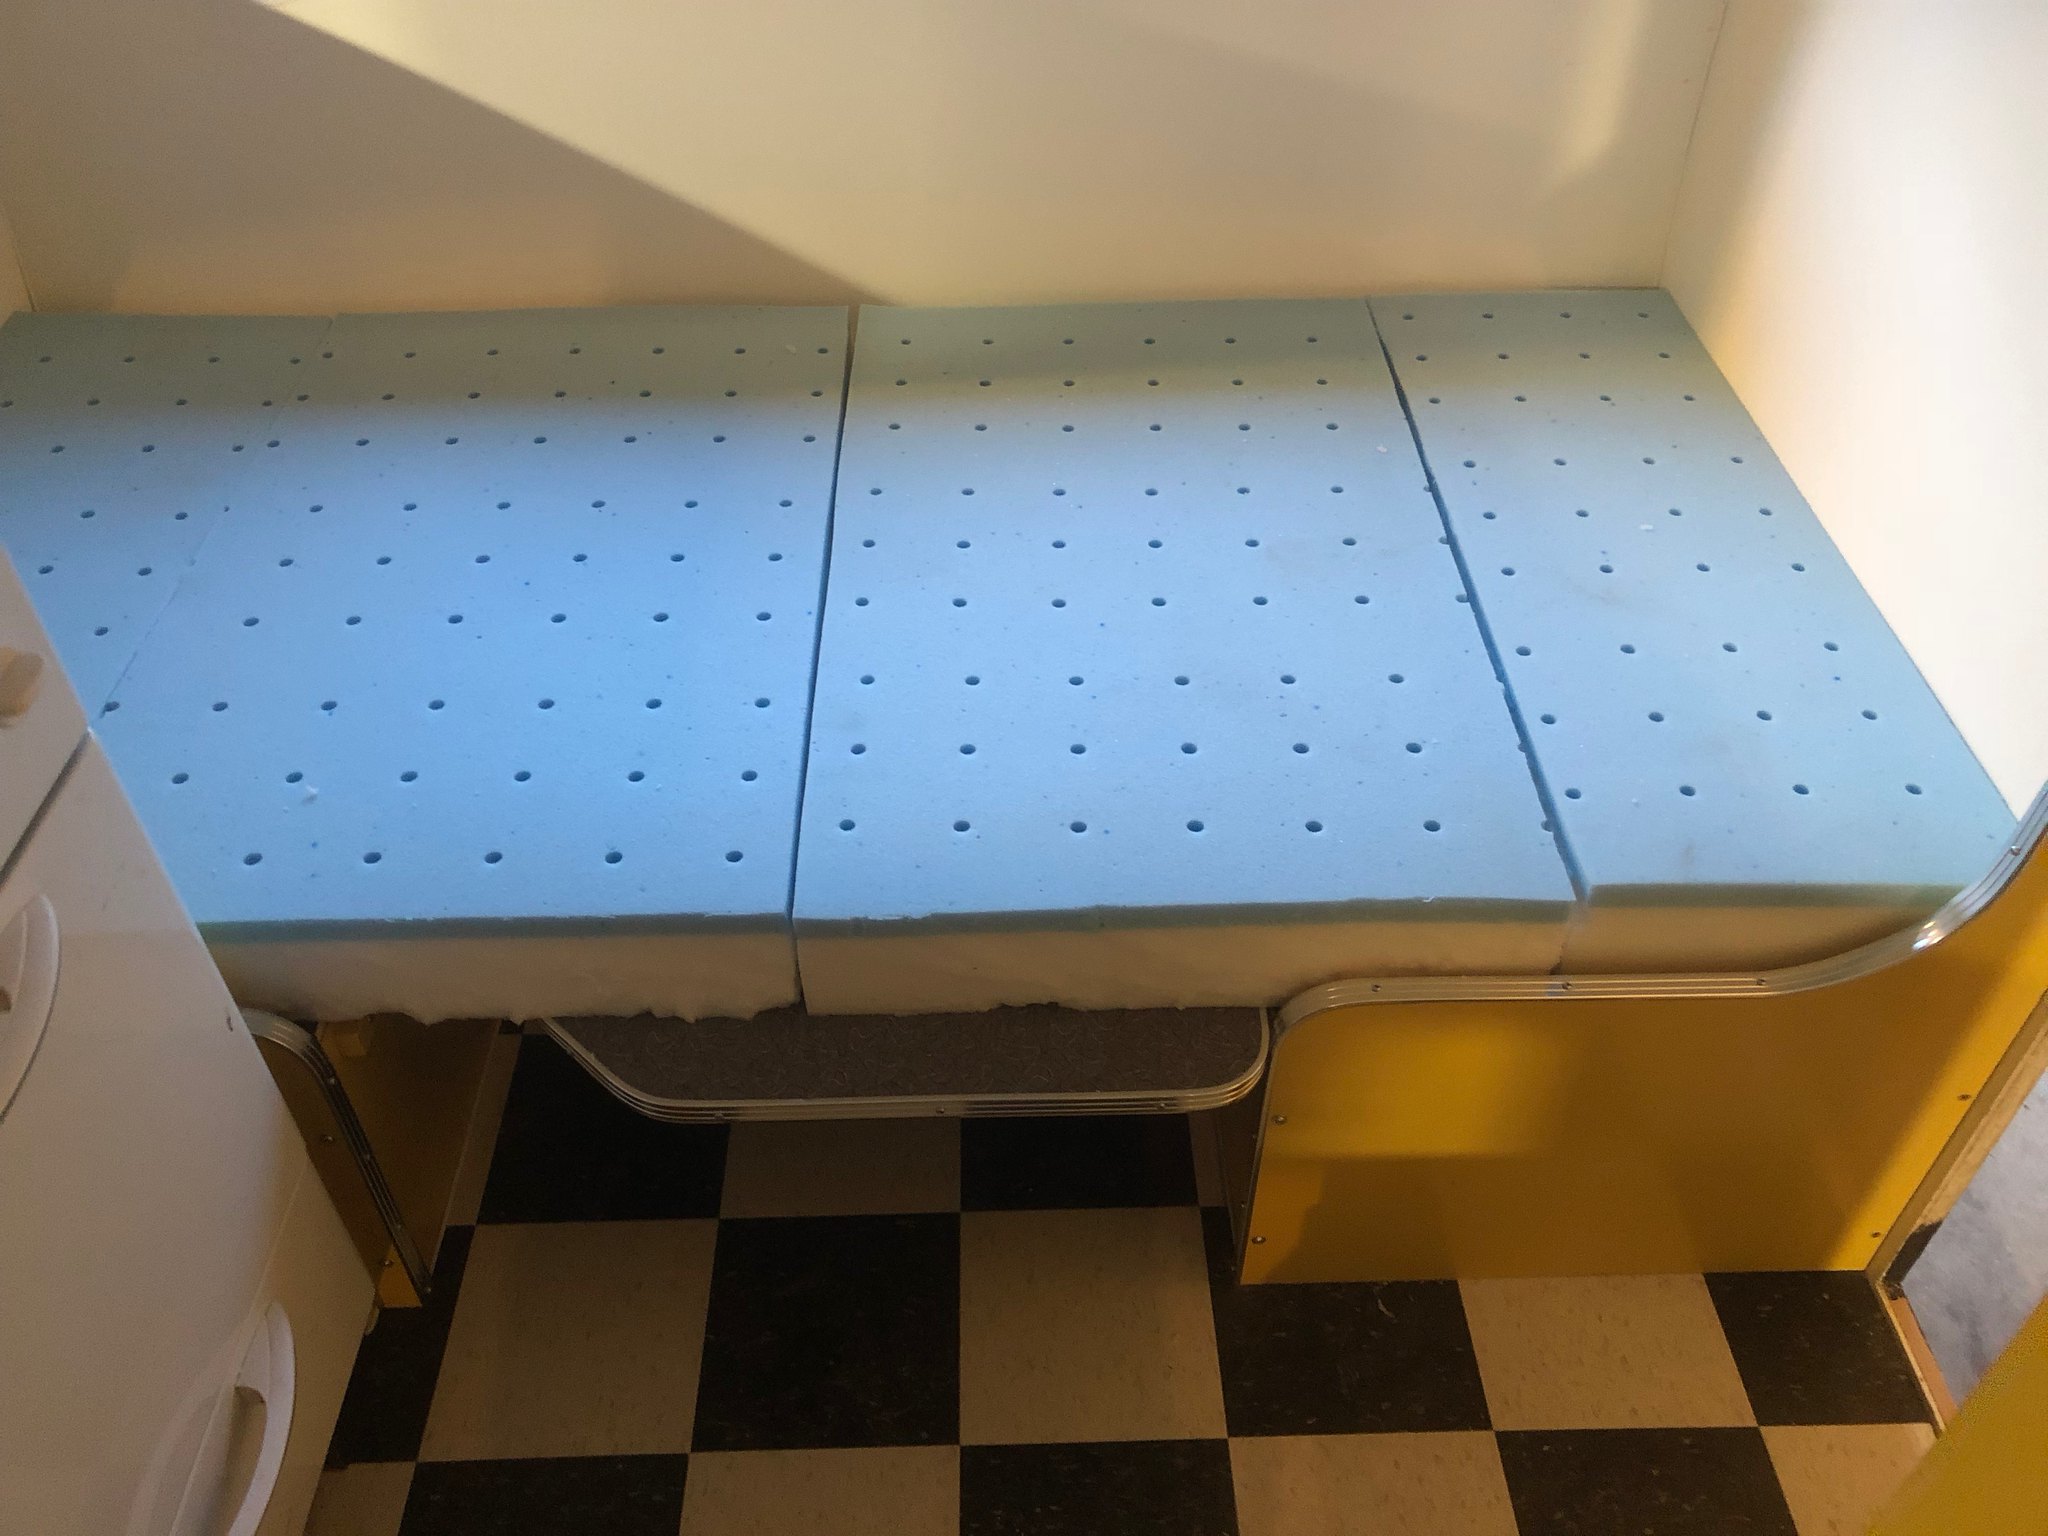 Untitled Untitled by Mike Estrada, on Flickr I have a question about my wheels... for the life of me, I cannot find baby moon hubcaps that are meant for the rims with spring clips, which is what I have. I happened to find a good deal on ebay on a wheel package of Kenda Karrier White Wall tires mounted on 14" rims with the right center bore, offset, and bolt pattern, and which come with the chrome baby moons... all for $175 per wheel set (shipping free)! Here's the link: www.ebay.com/itm/132548124407?ul_noapp=true They are just a hair narrower than what I have now, but I'm okay with that. I want to get them, but my current wheels are 15"... Does anyone see a problem with me going from 15" wheels down to 14"? I think that will drop the trailer by about a 1/2", so I don't think it would be an issue, but I thought I'd put it out there before I order them, just in case I'm missing something. Vintage Trailer Supply carries a similar package, but their 15" rims are a 6x5, and I need a 5x4.5. Besides, VTS's don't come with the hubcaps, and they charge $19/wheel for shipping. Thanks in advance for any comments/suggestions! |
|
papamike95
Member
Posts: 30
Likes: 13
1954 Terry - 16'
Currently Offline
|
Post by papamike95 on Jun 6, 2018 21:32:26 GMT -8
Not sure why I said the foam will be used for the "kitchen"... it's late. Time to go to bed!
|
|
papamike95
Member
Posts: 30
Likes: 13
1954 Terry - 16'
Currently Offline
|
Post by papamike95 on Jul 8, 2018 6:45:30 GMT -8
Another month, and much more progress. I think at least I can get the trailer ready enough for a trip, even if not every detail is done. So in this past month, I led the propane lines, insulated and installed the ice box, built and installed a heat chase for the fridge, insulated the walls and roof and got the skin on everything but the rear end.  Untitled Untitled by Mike Estrada, on Flickr I'll be sure to secure and cover that gas line underneath... 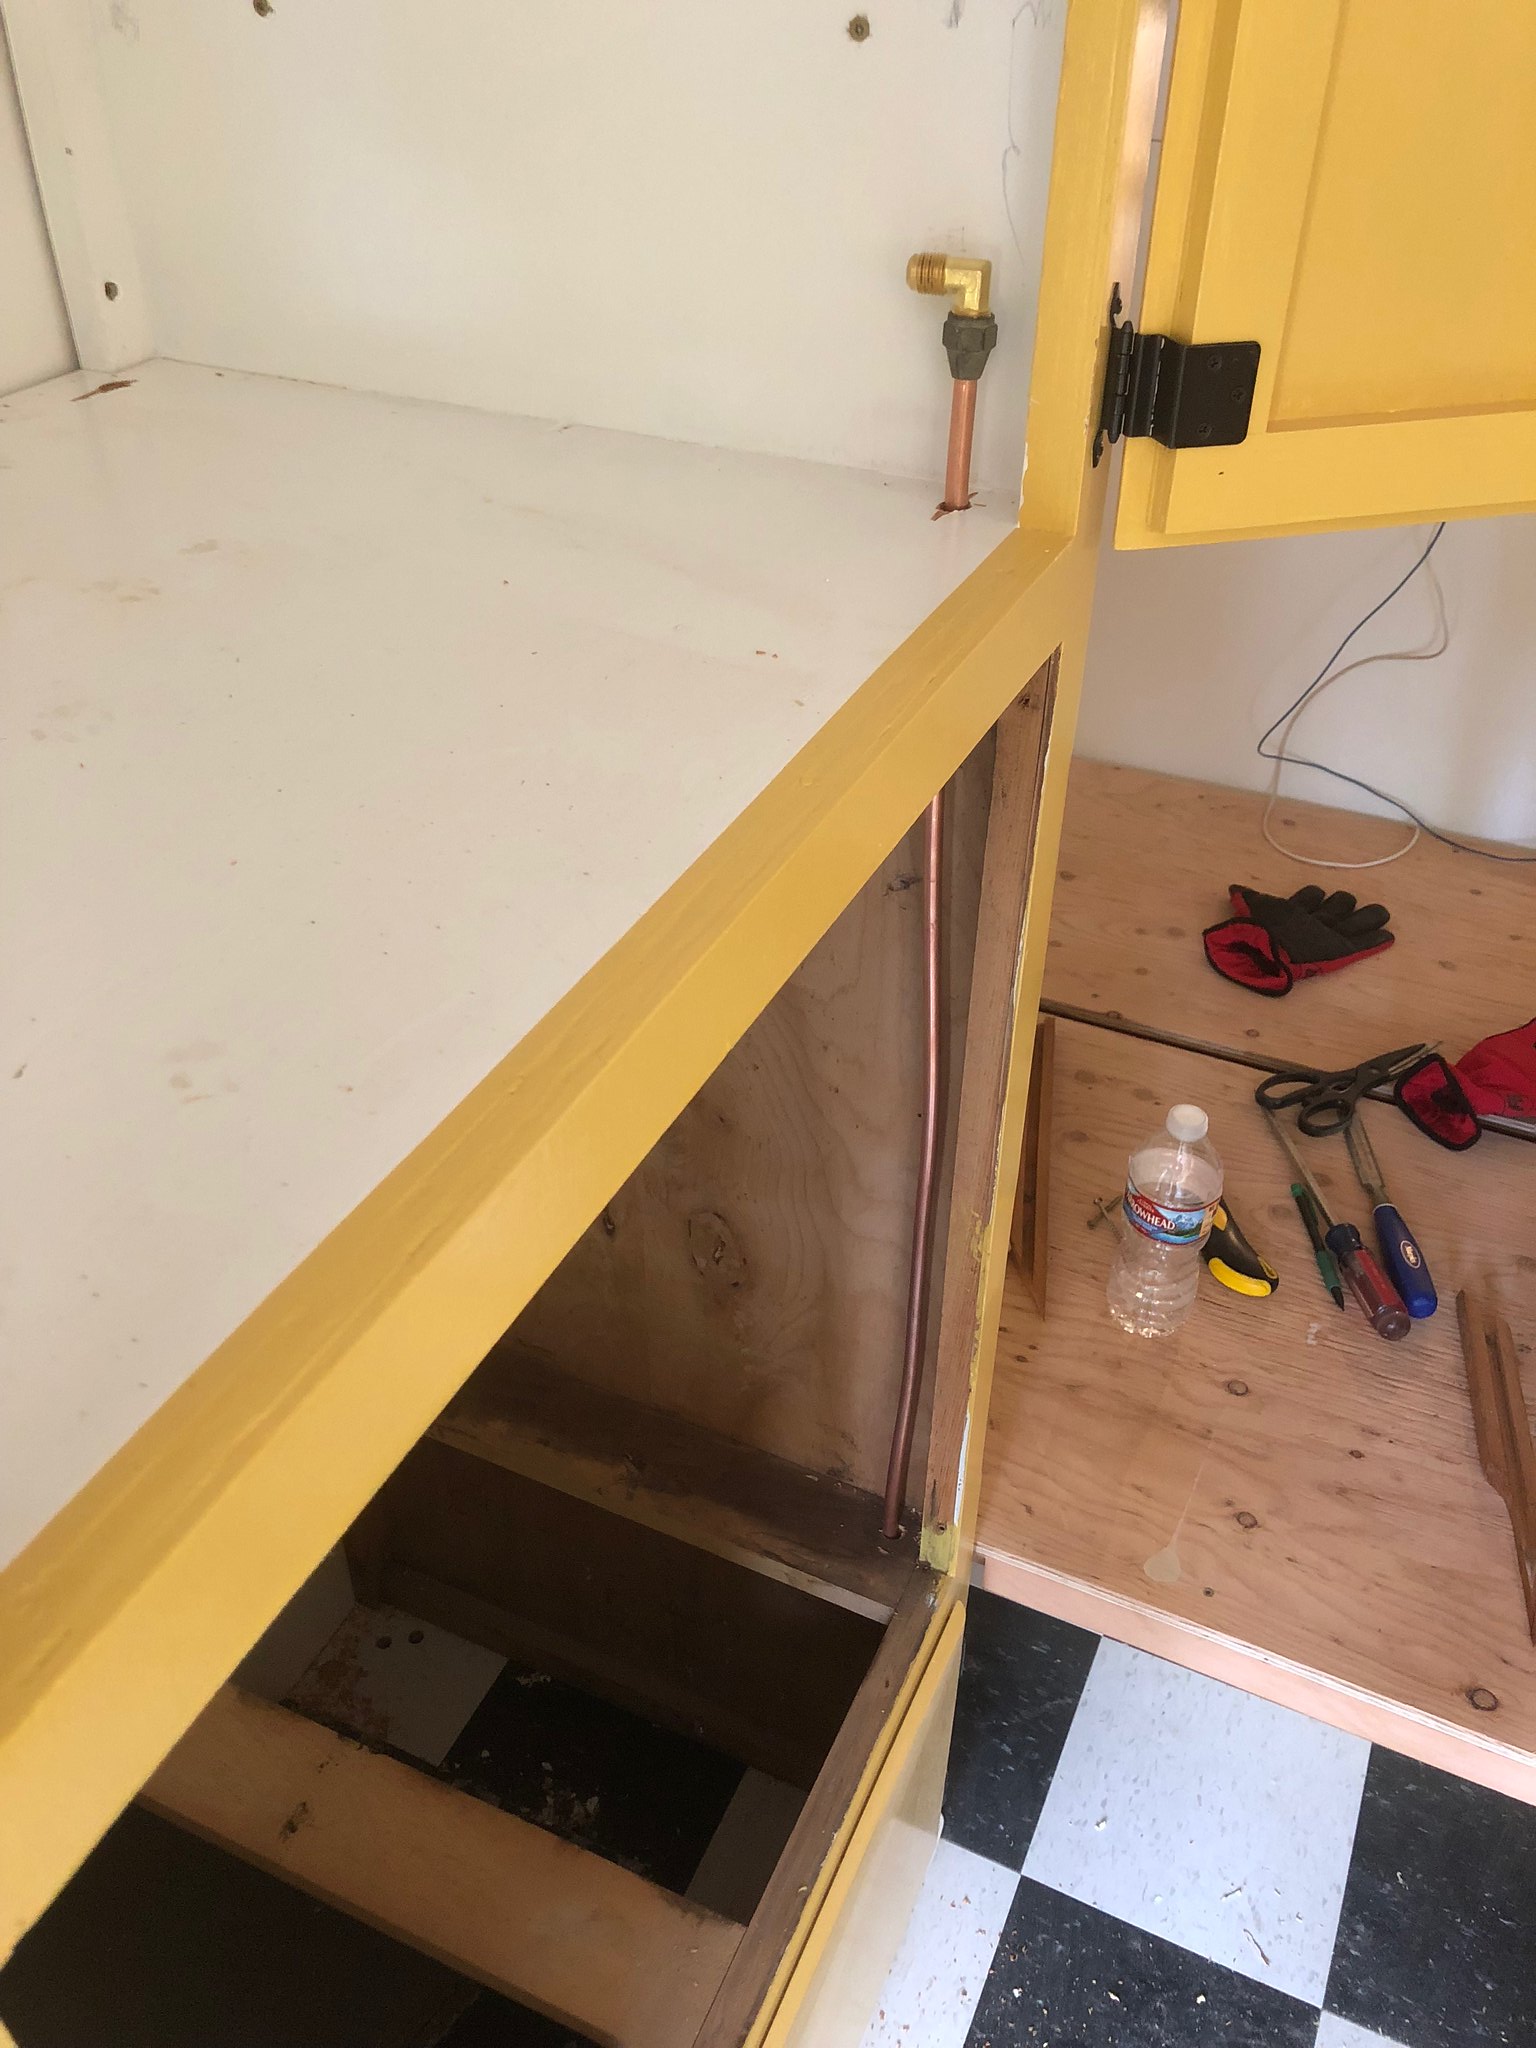 Untitled Untitled by Mike Estrada, on Flickr 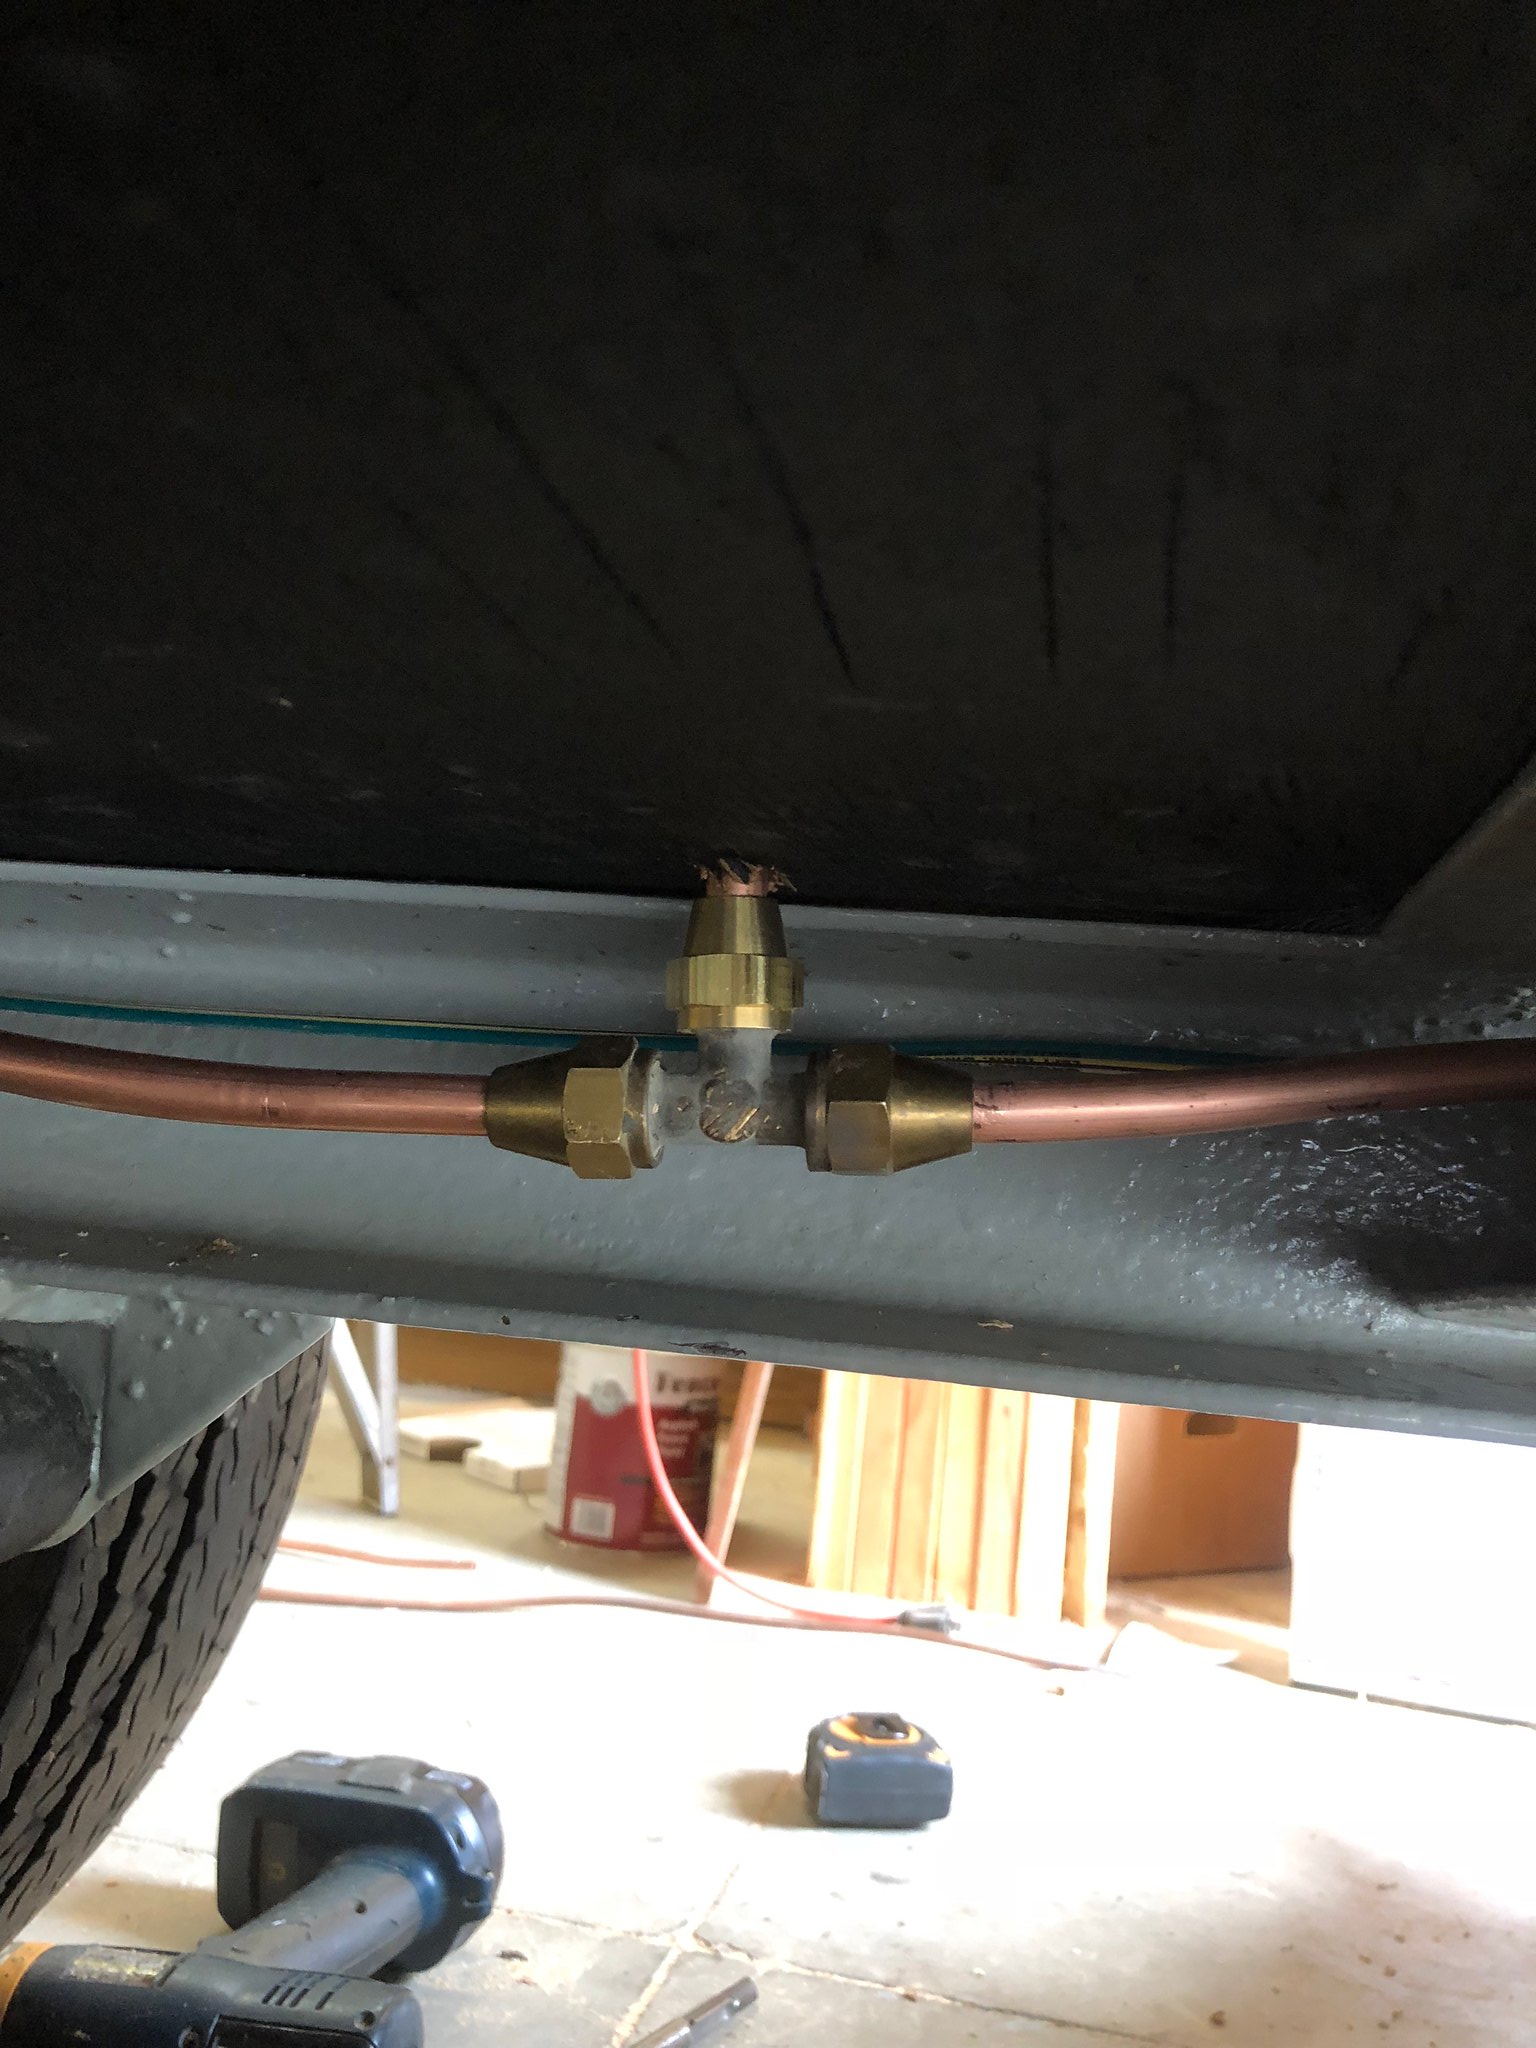 Untitled Untitled by Mike Estrada, on Flickr 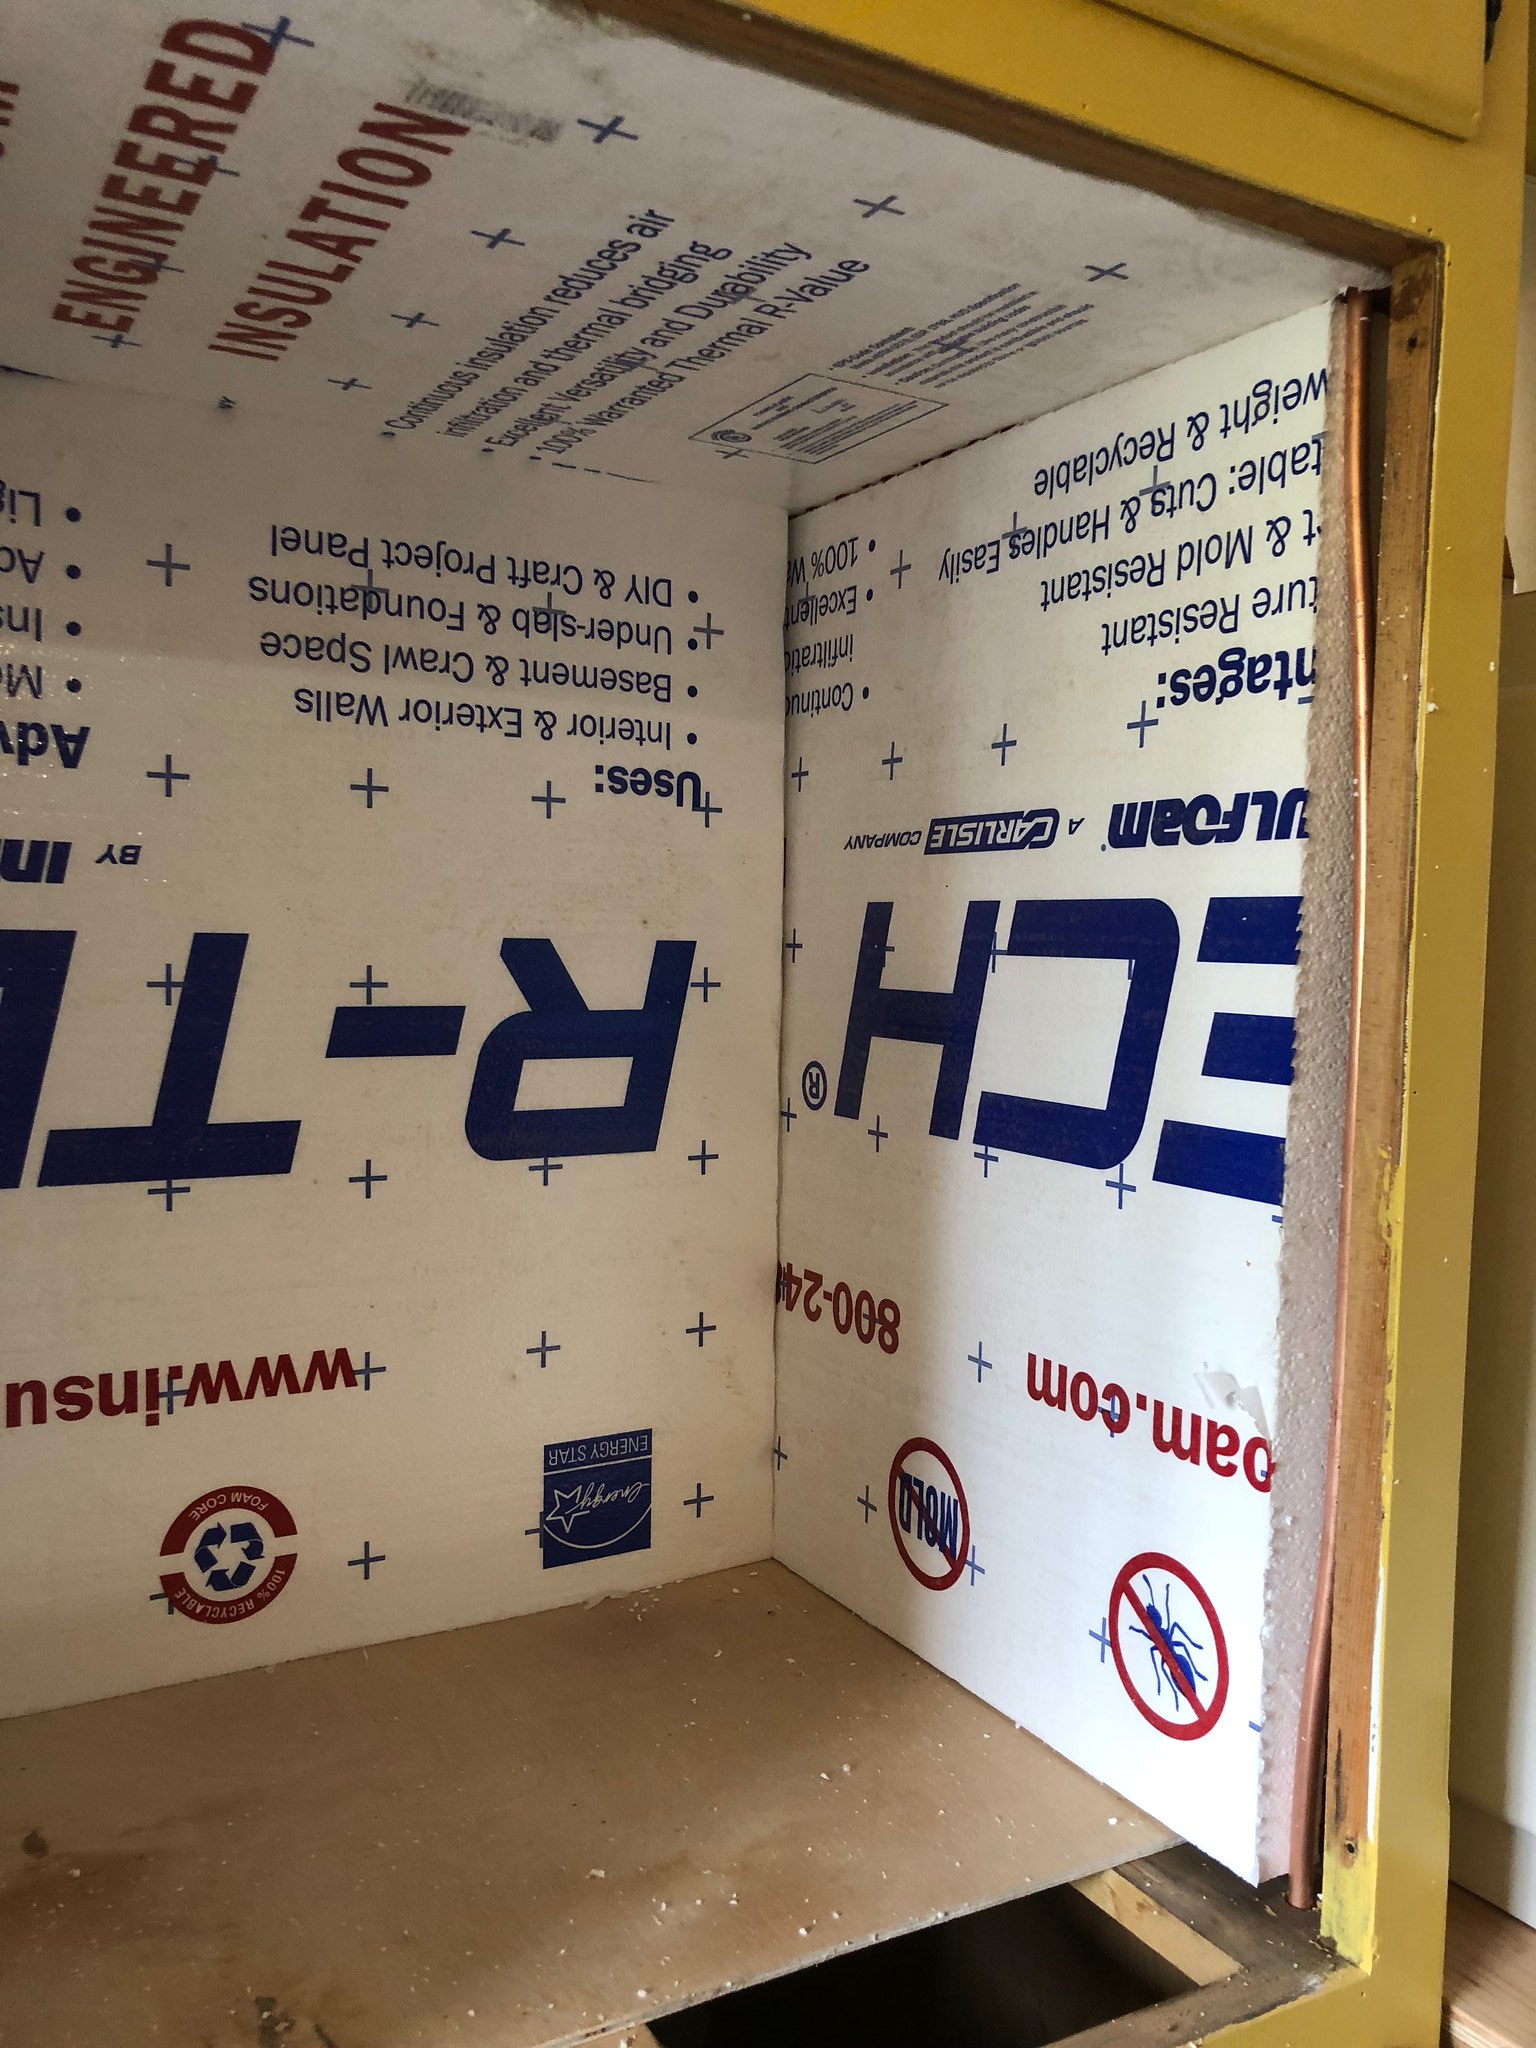 Untitled Untitled by Mike Estrada, on Flickr 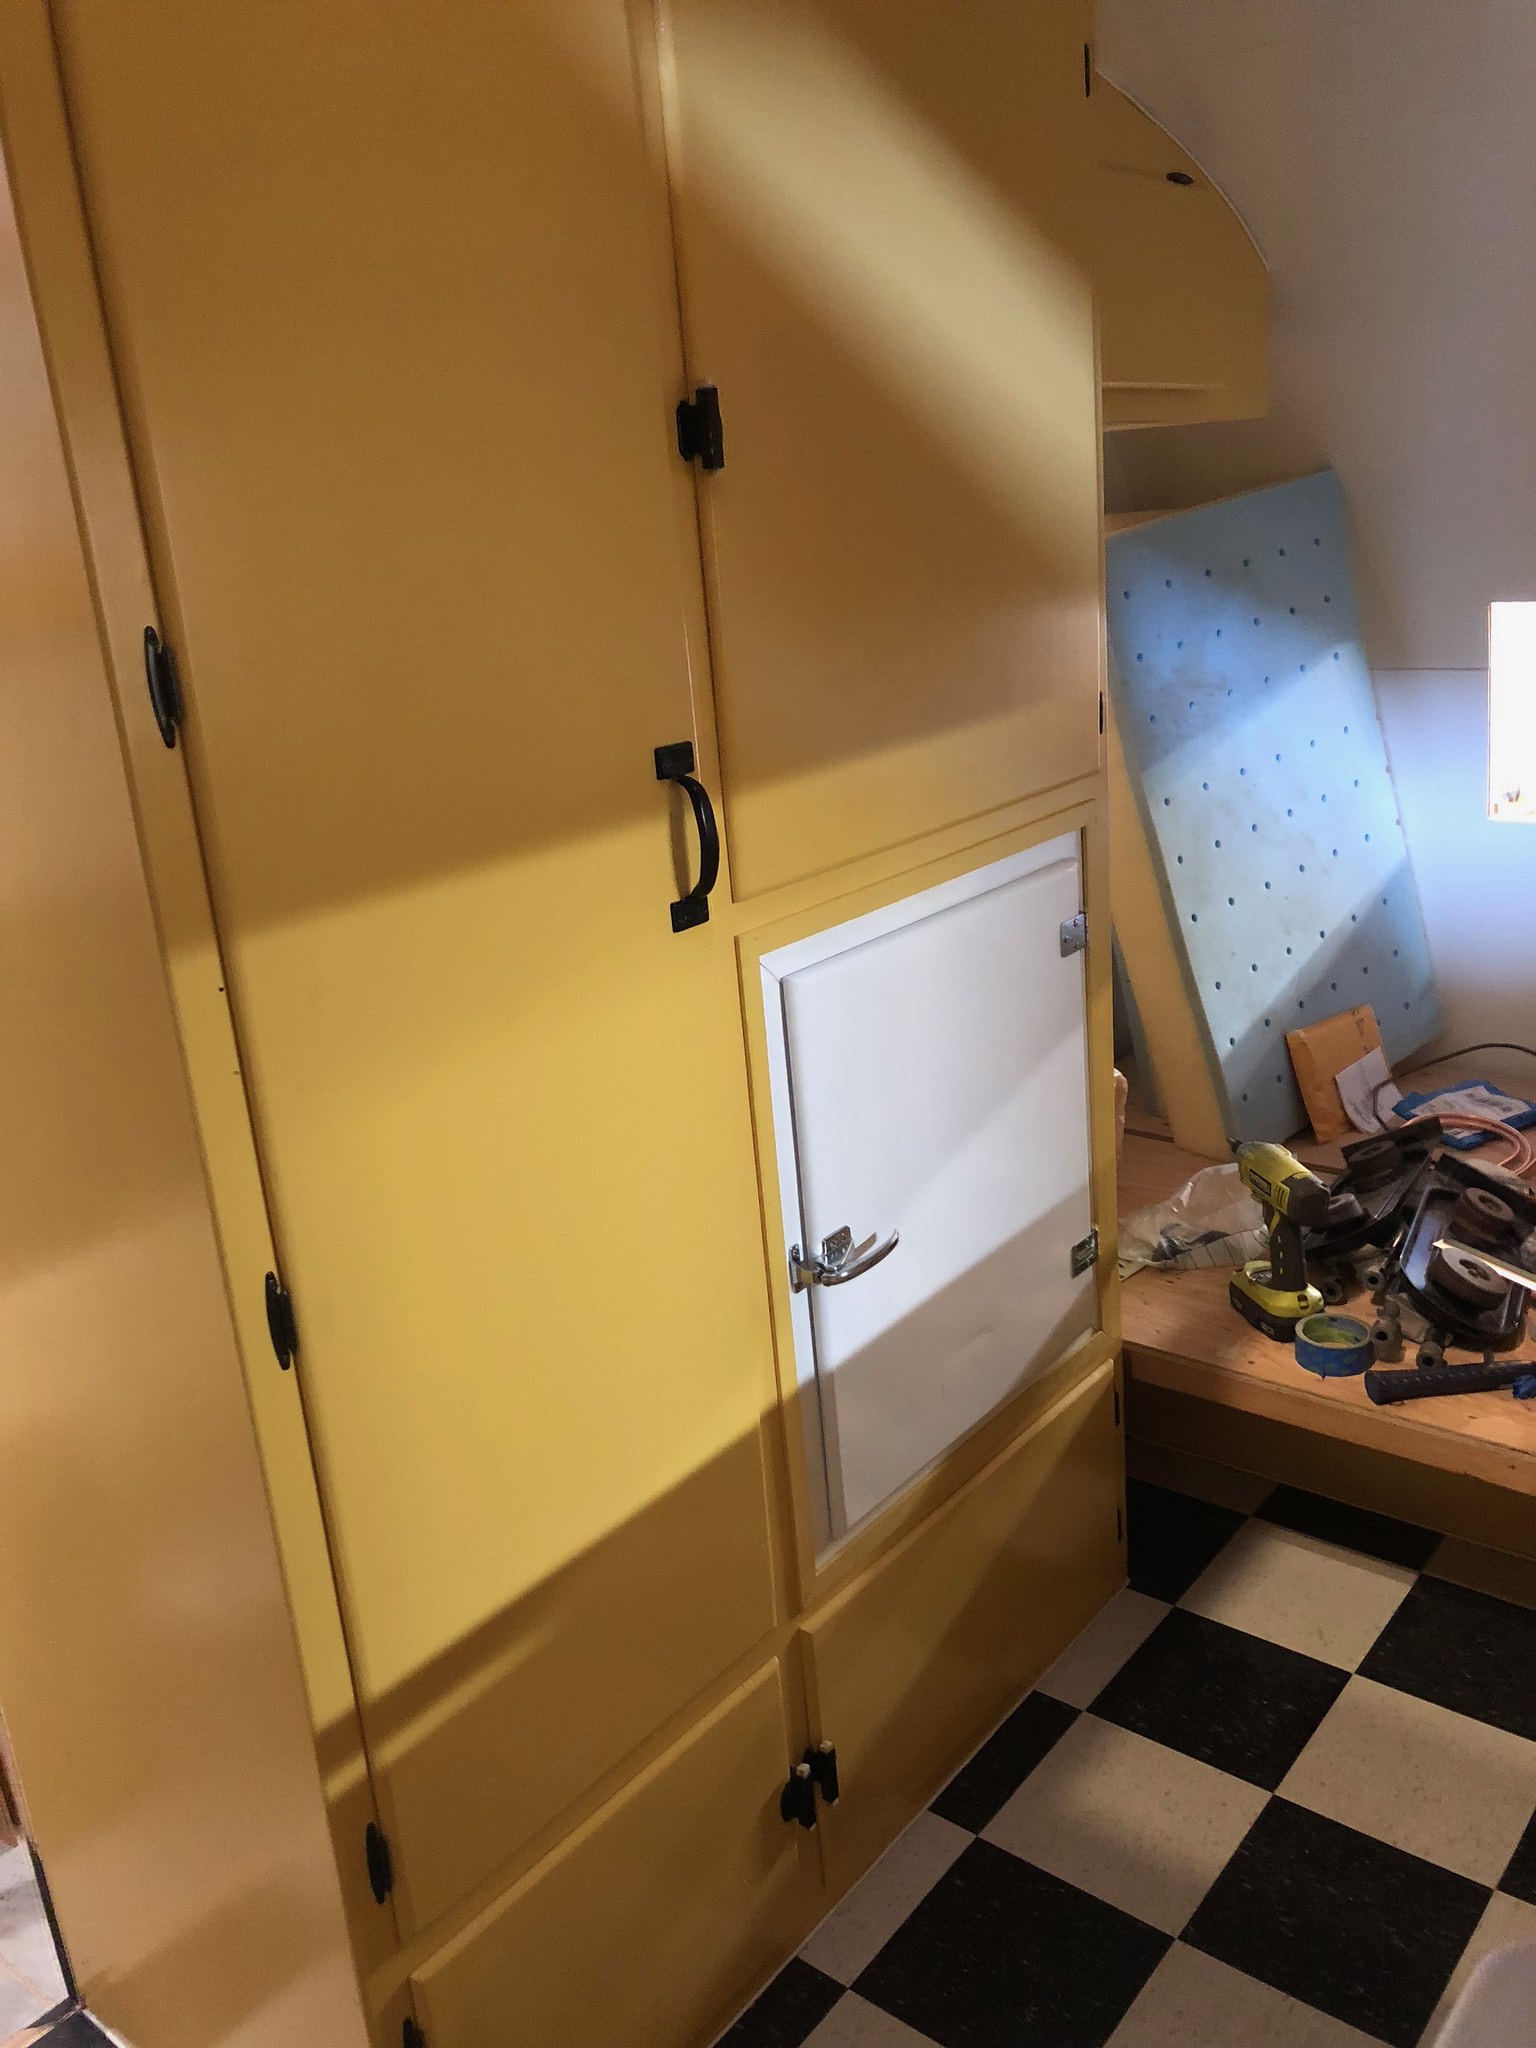 Untitled Untitled by Mike Estrada, on Flickr 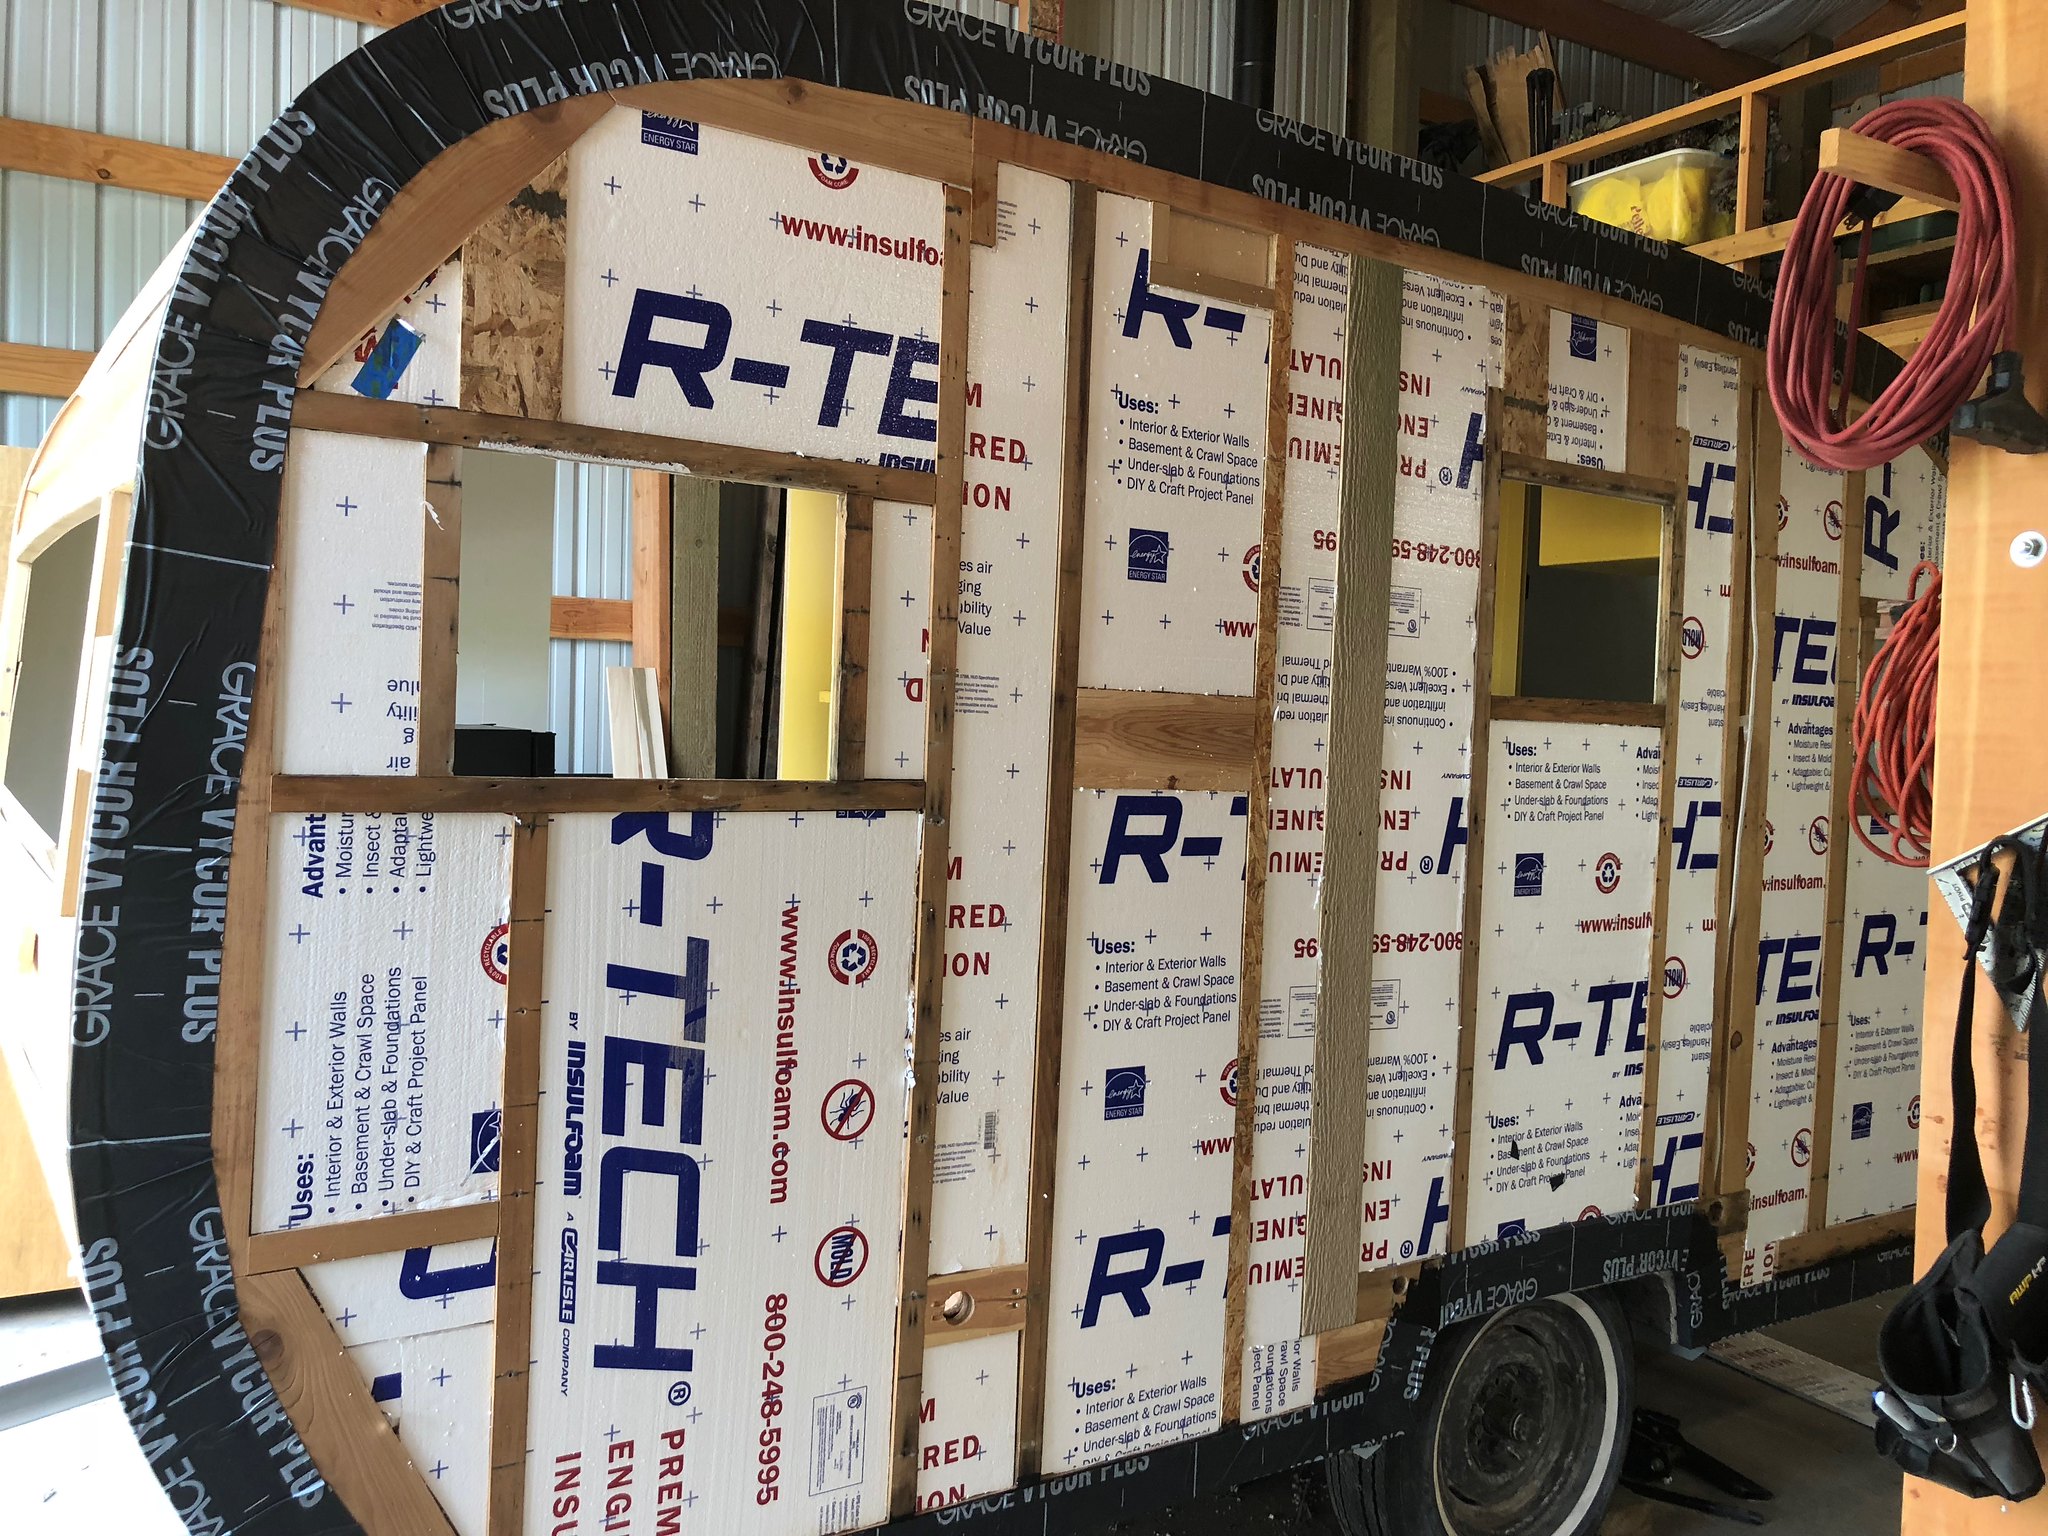 Untitled Untitled by Mike Estrada, on Flickr 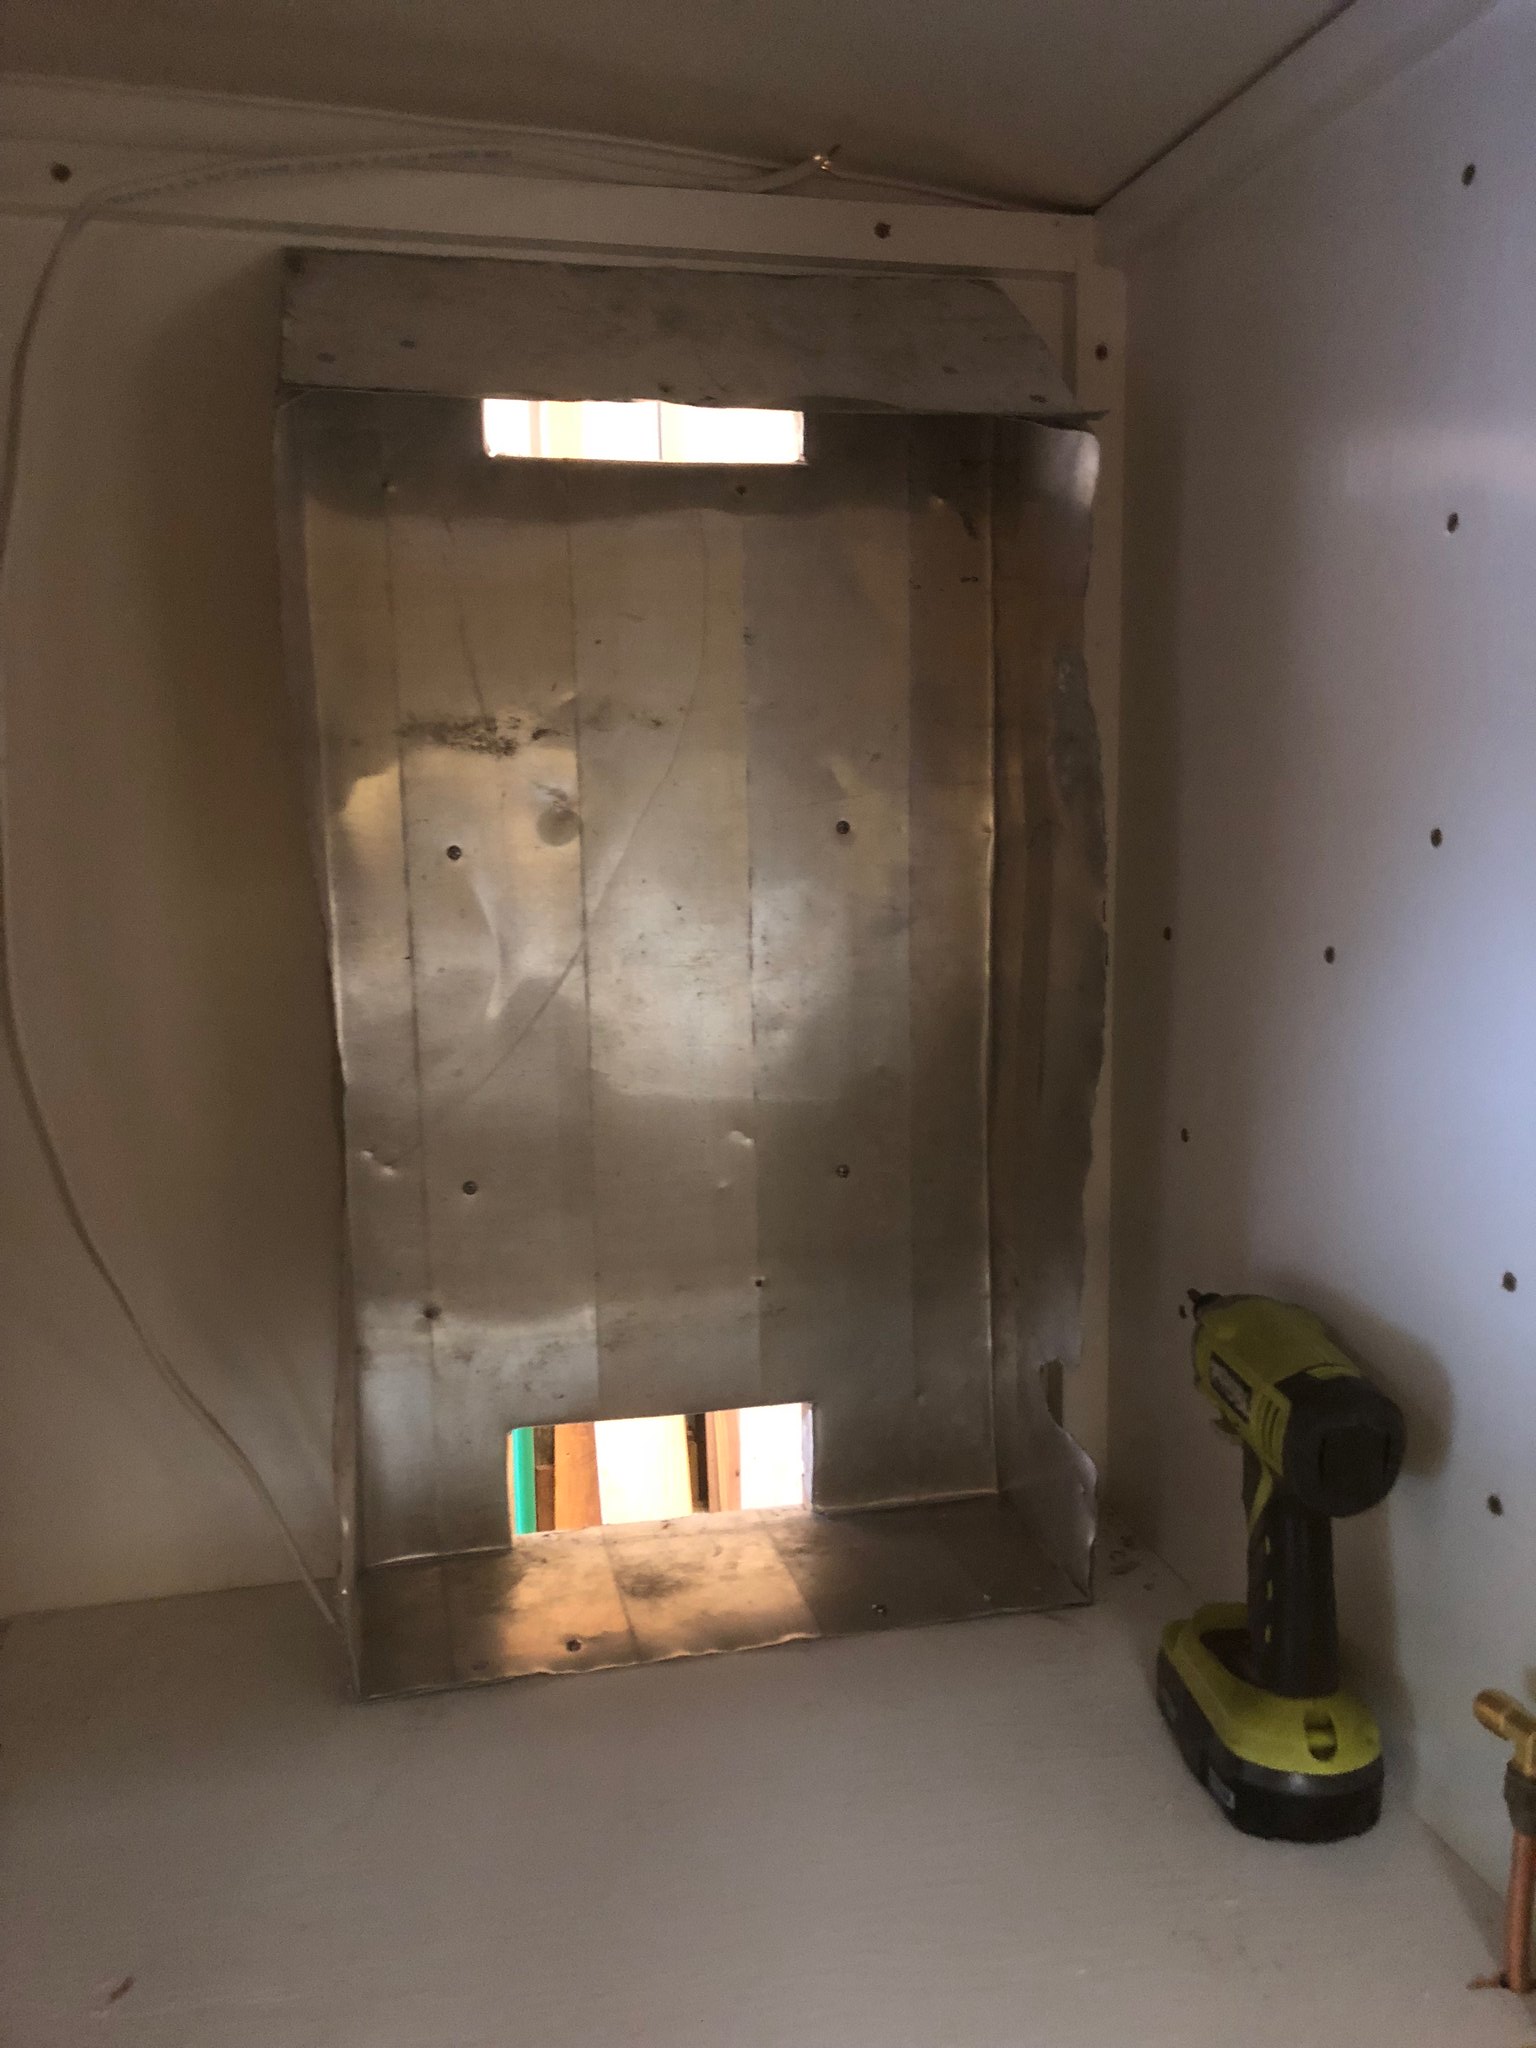 Untitled Untitled by Mike Estrada, on Flickr  Untitled Untitled by Mike Estrada, on Flickr 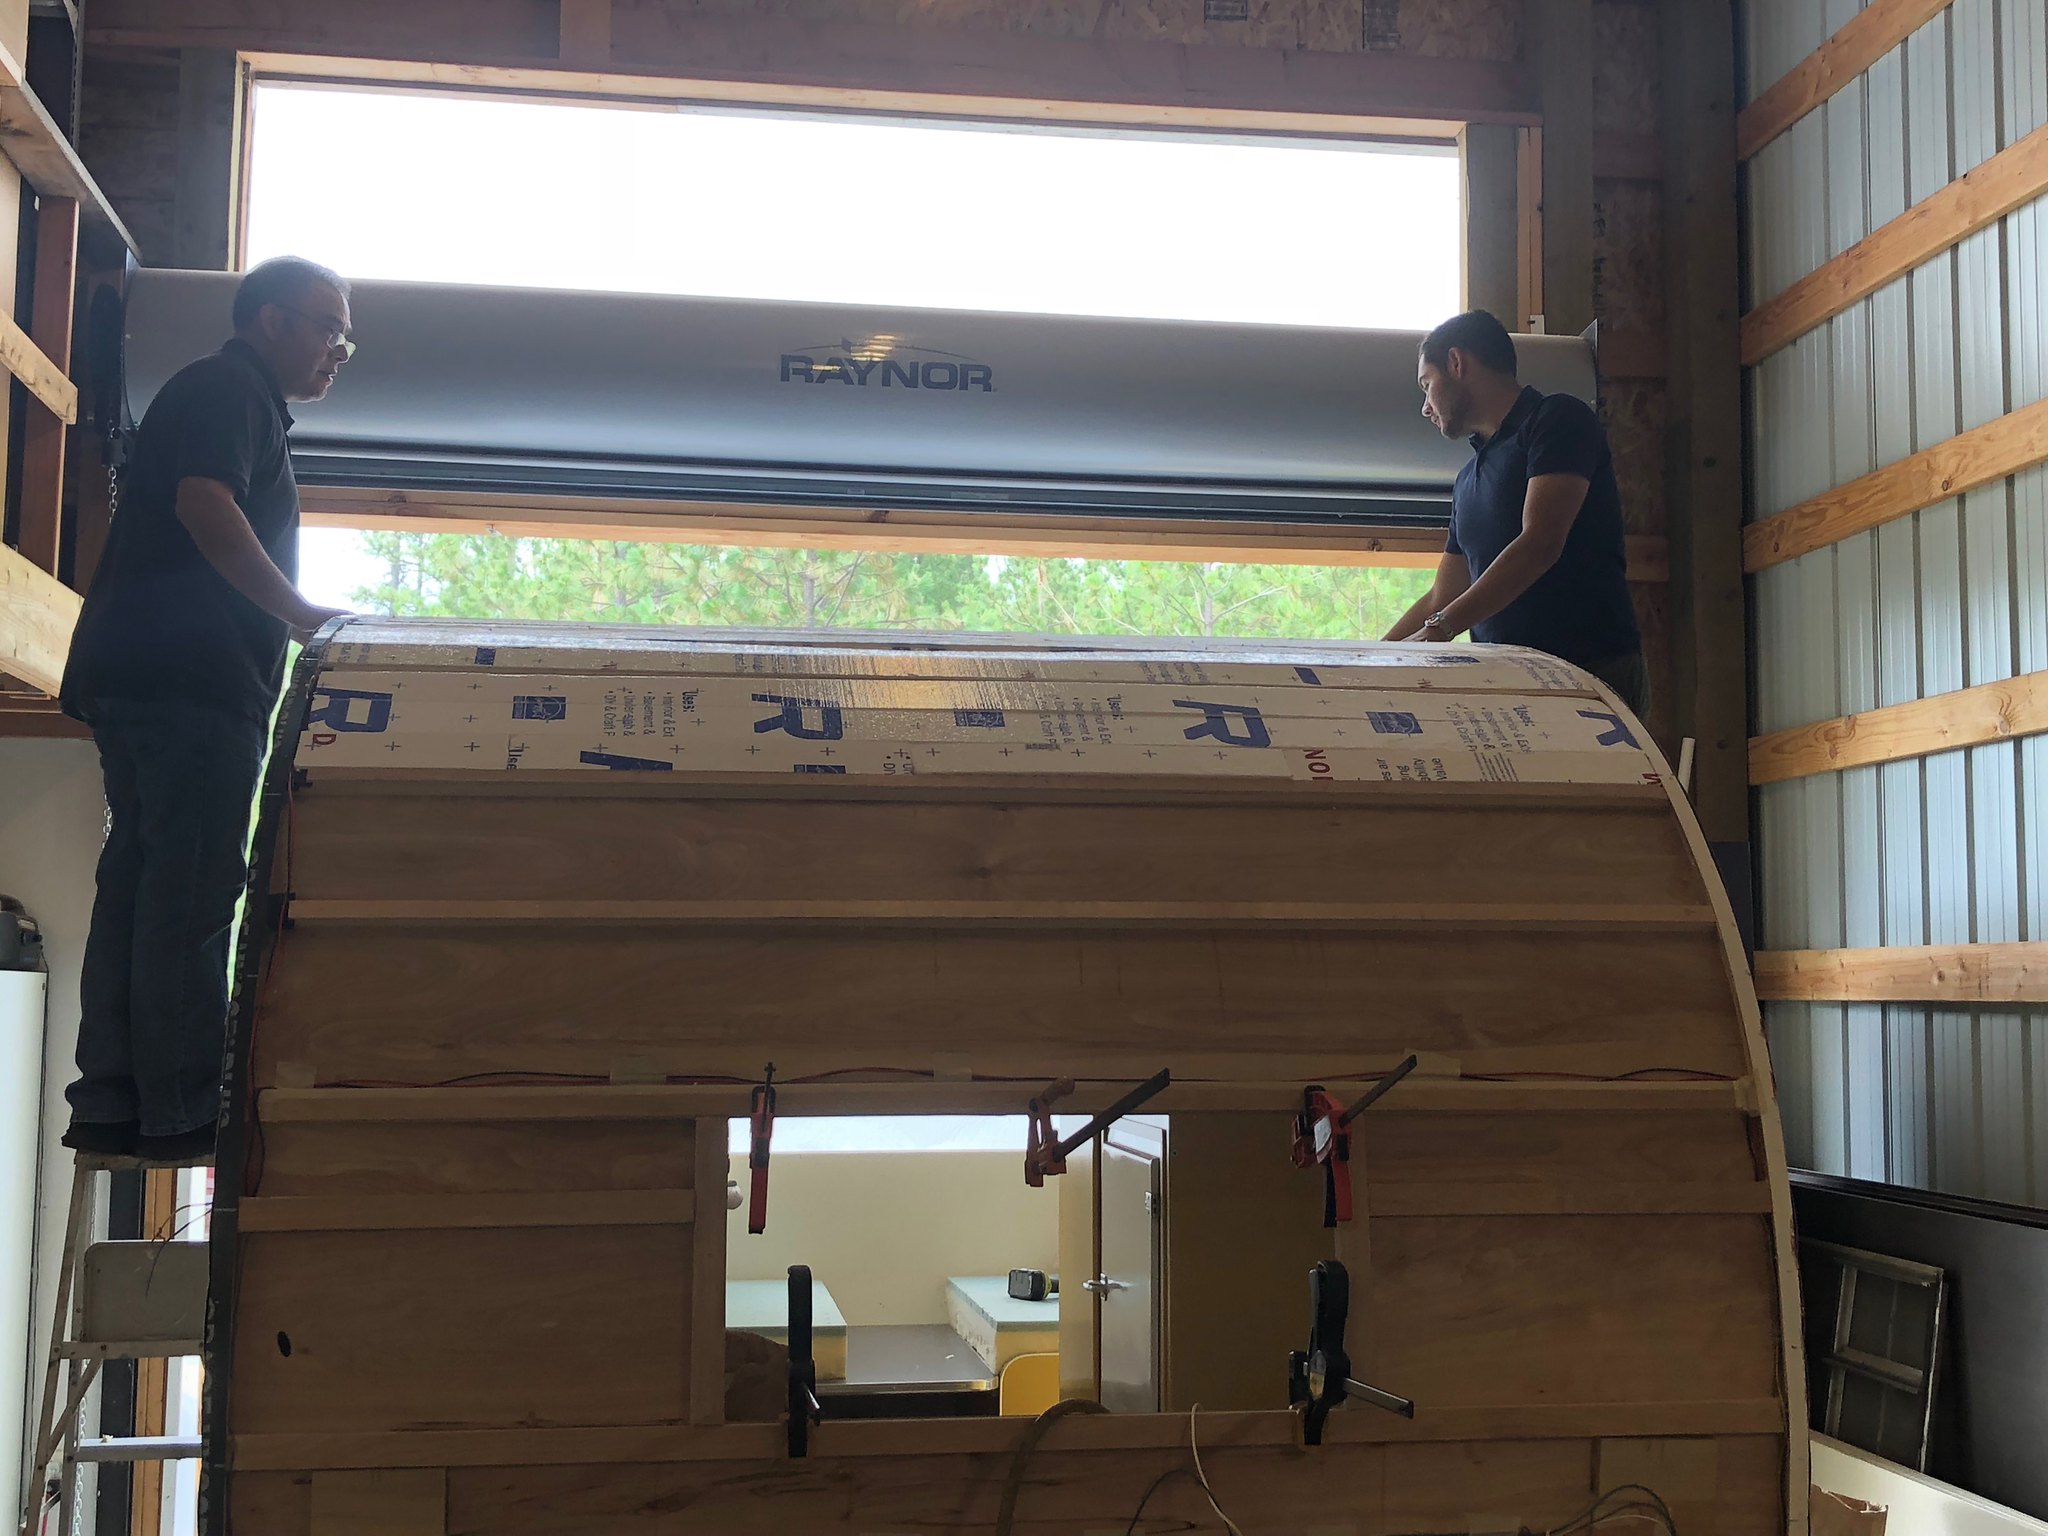 Untitled Untitled by Mike Estrada, on Flickr 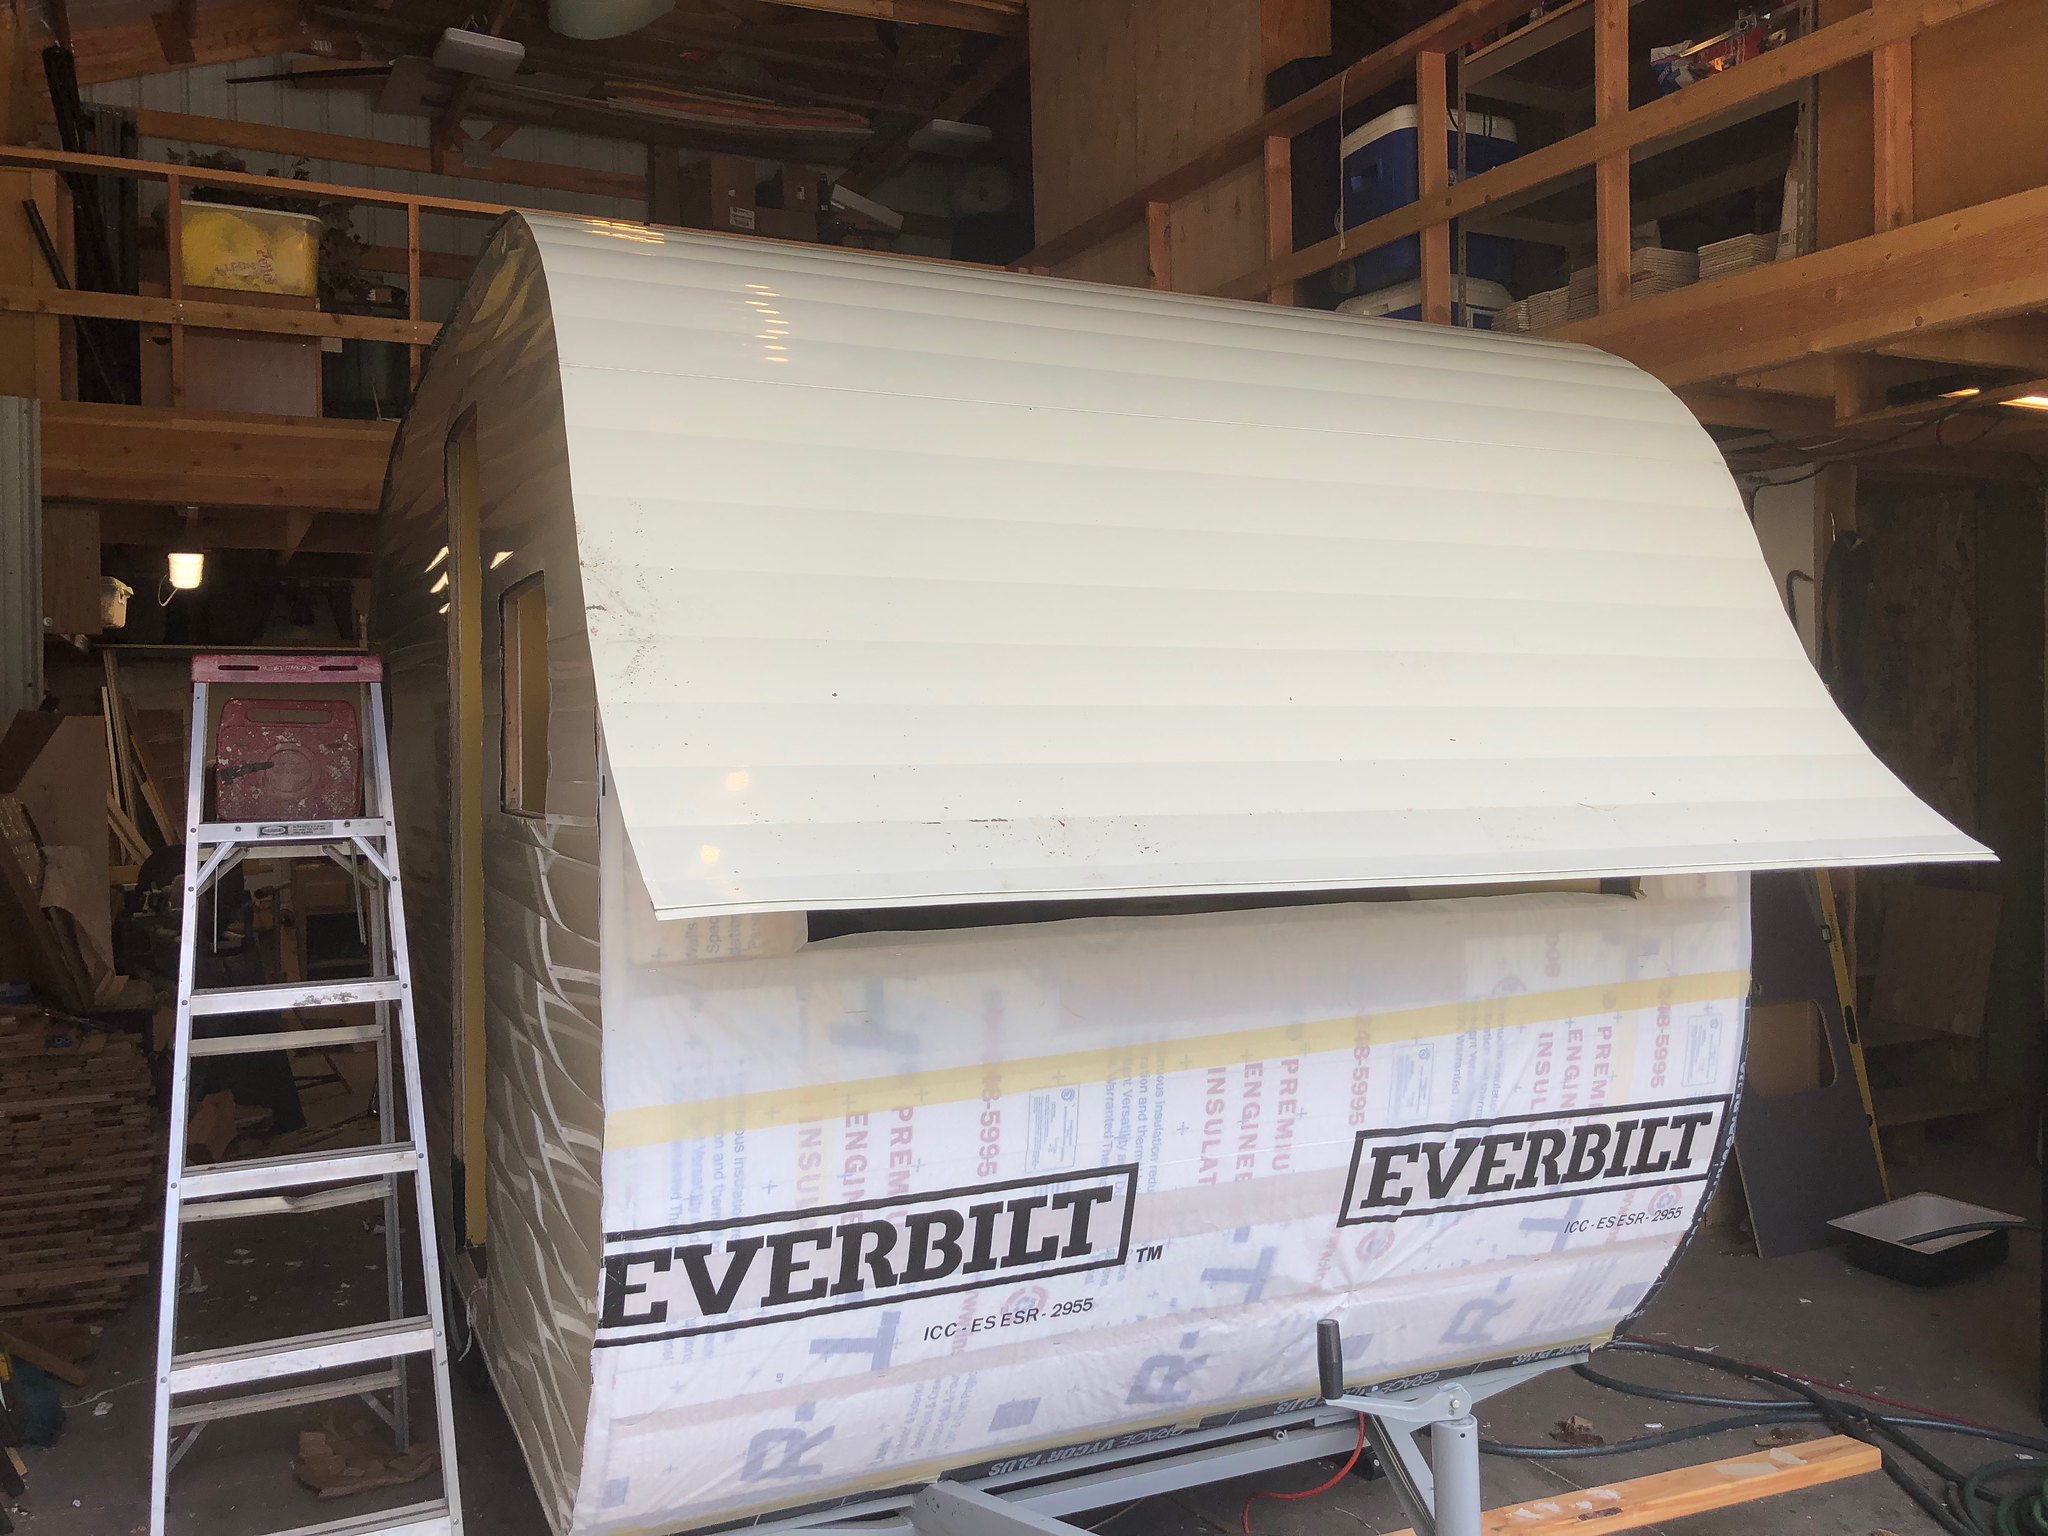 Untitled Untitled by Mike Estrada, on Flickr 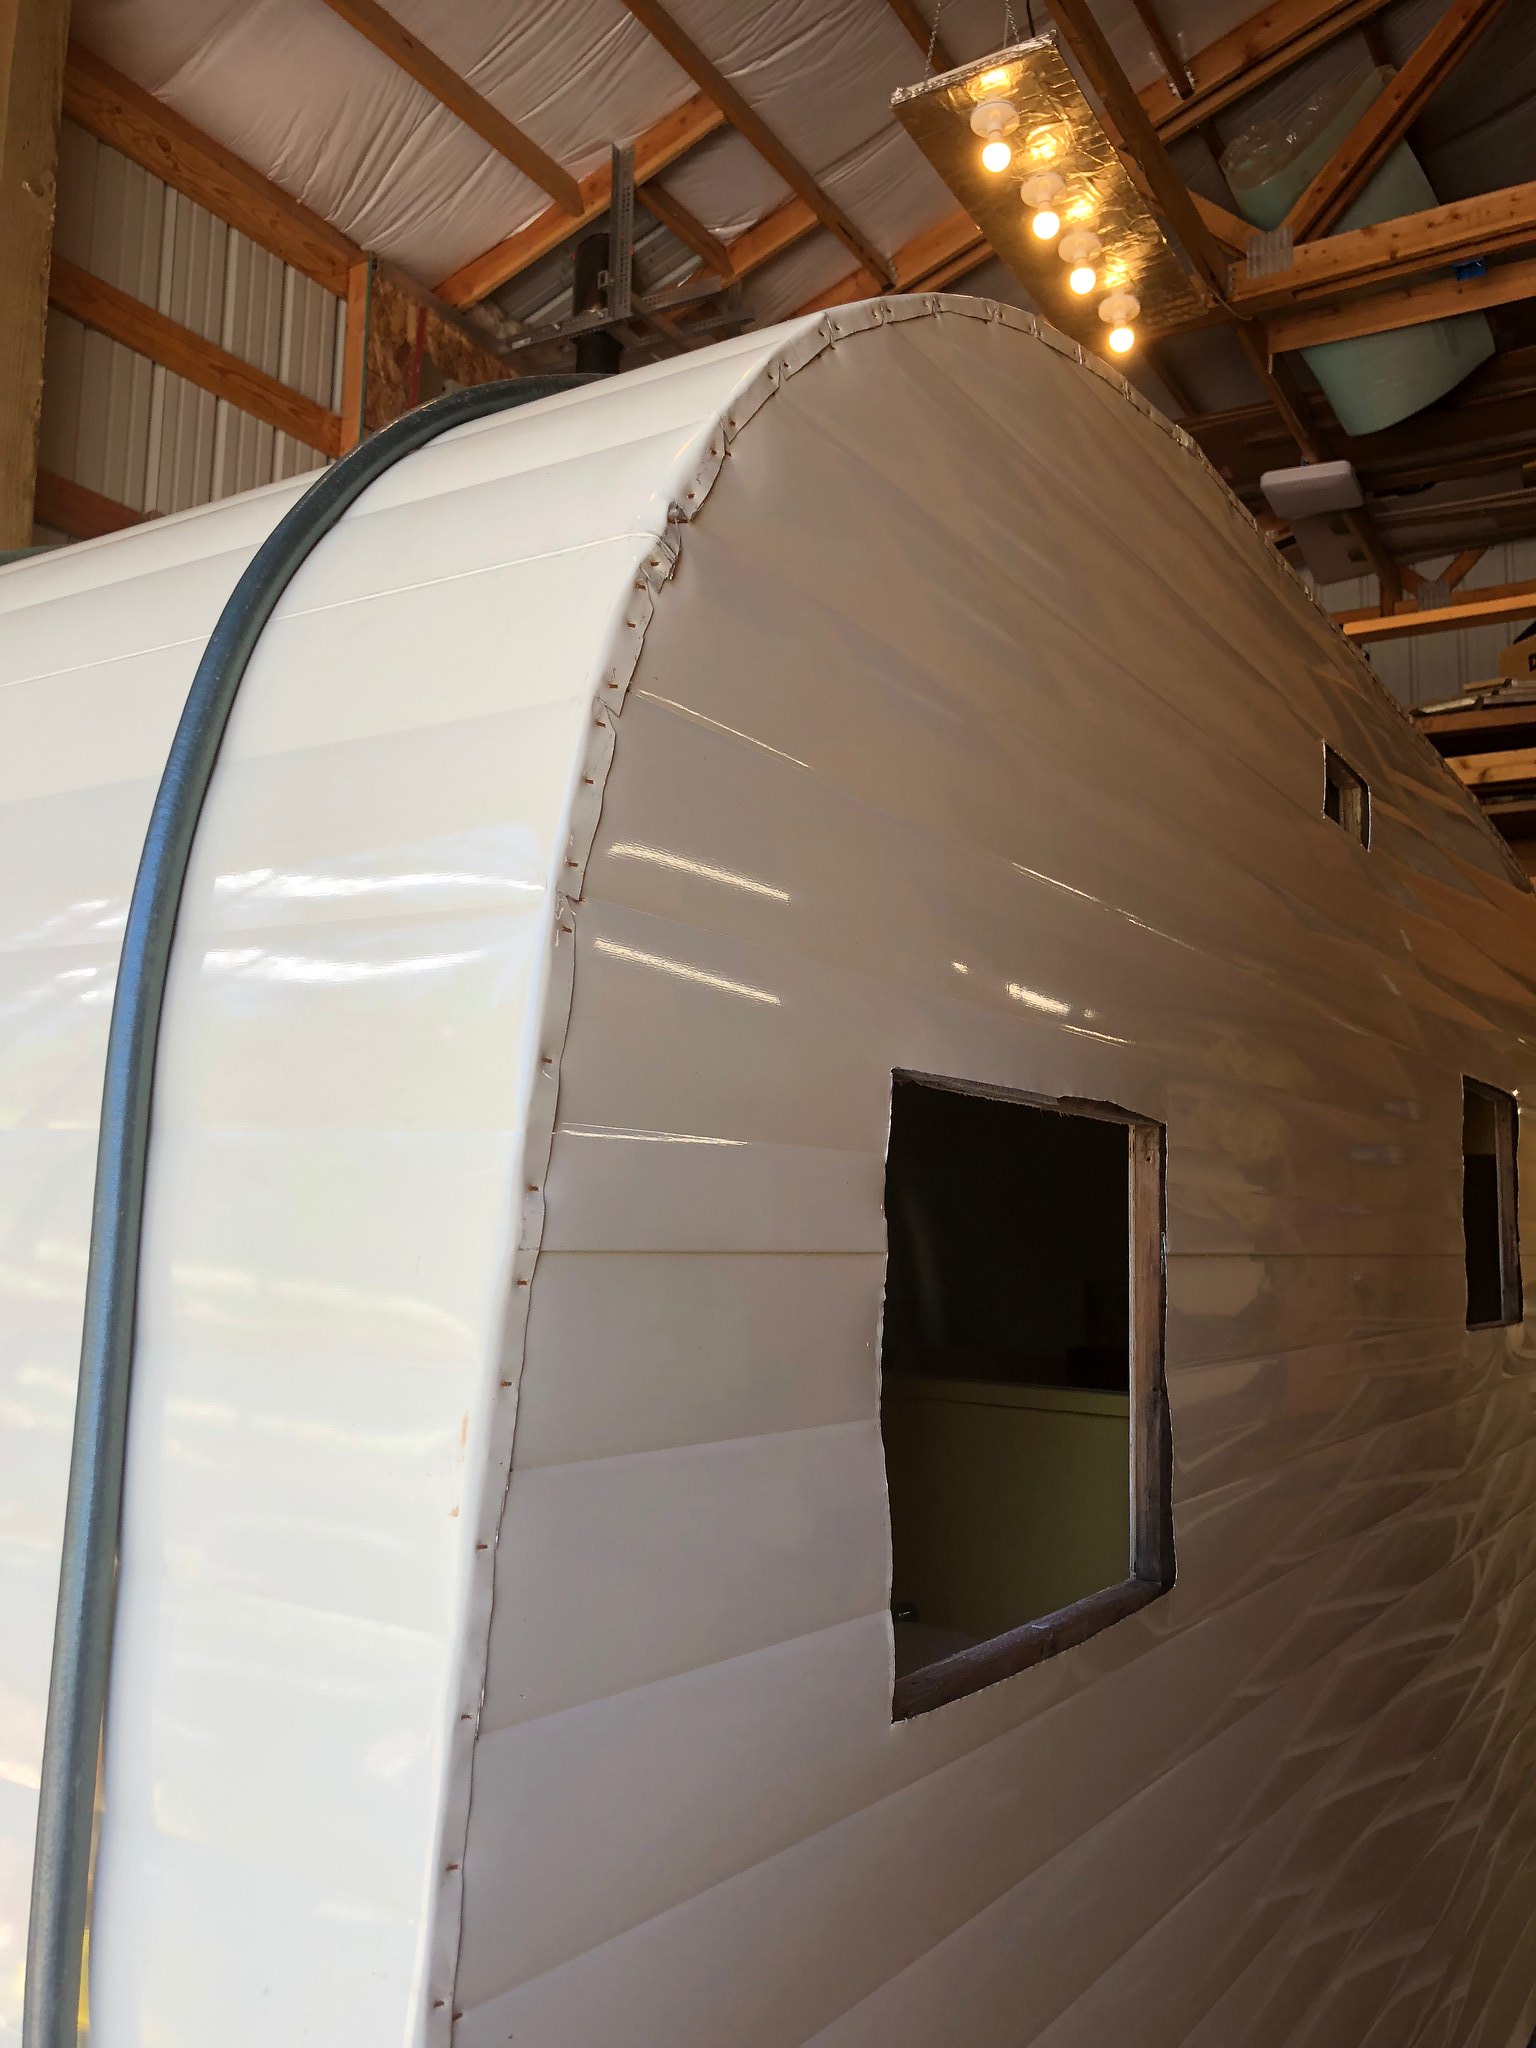 Untitled Untitled by Mike Estrada, on Flickr 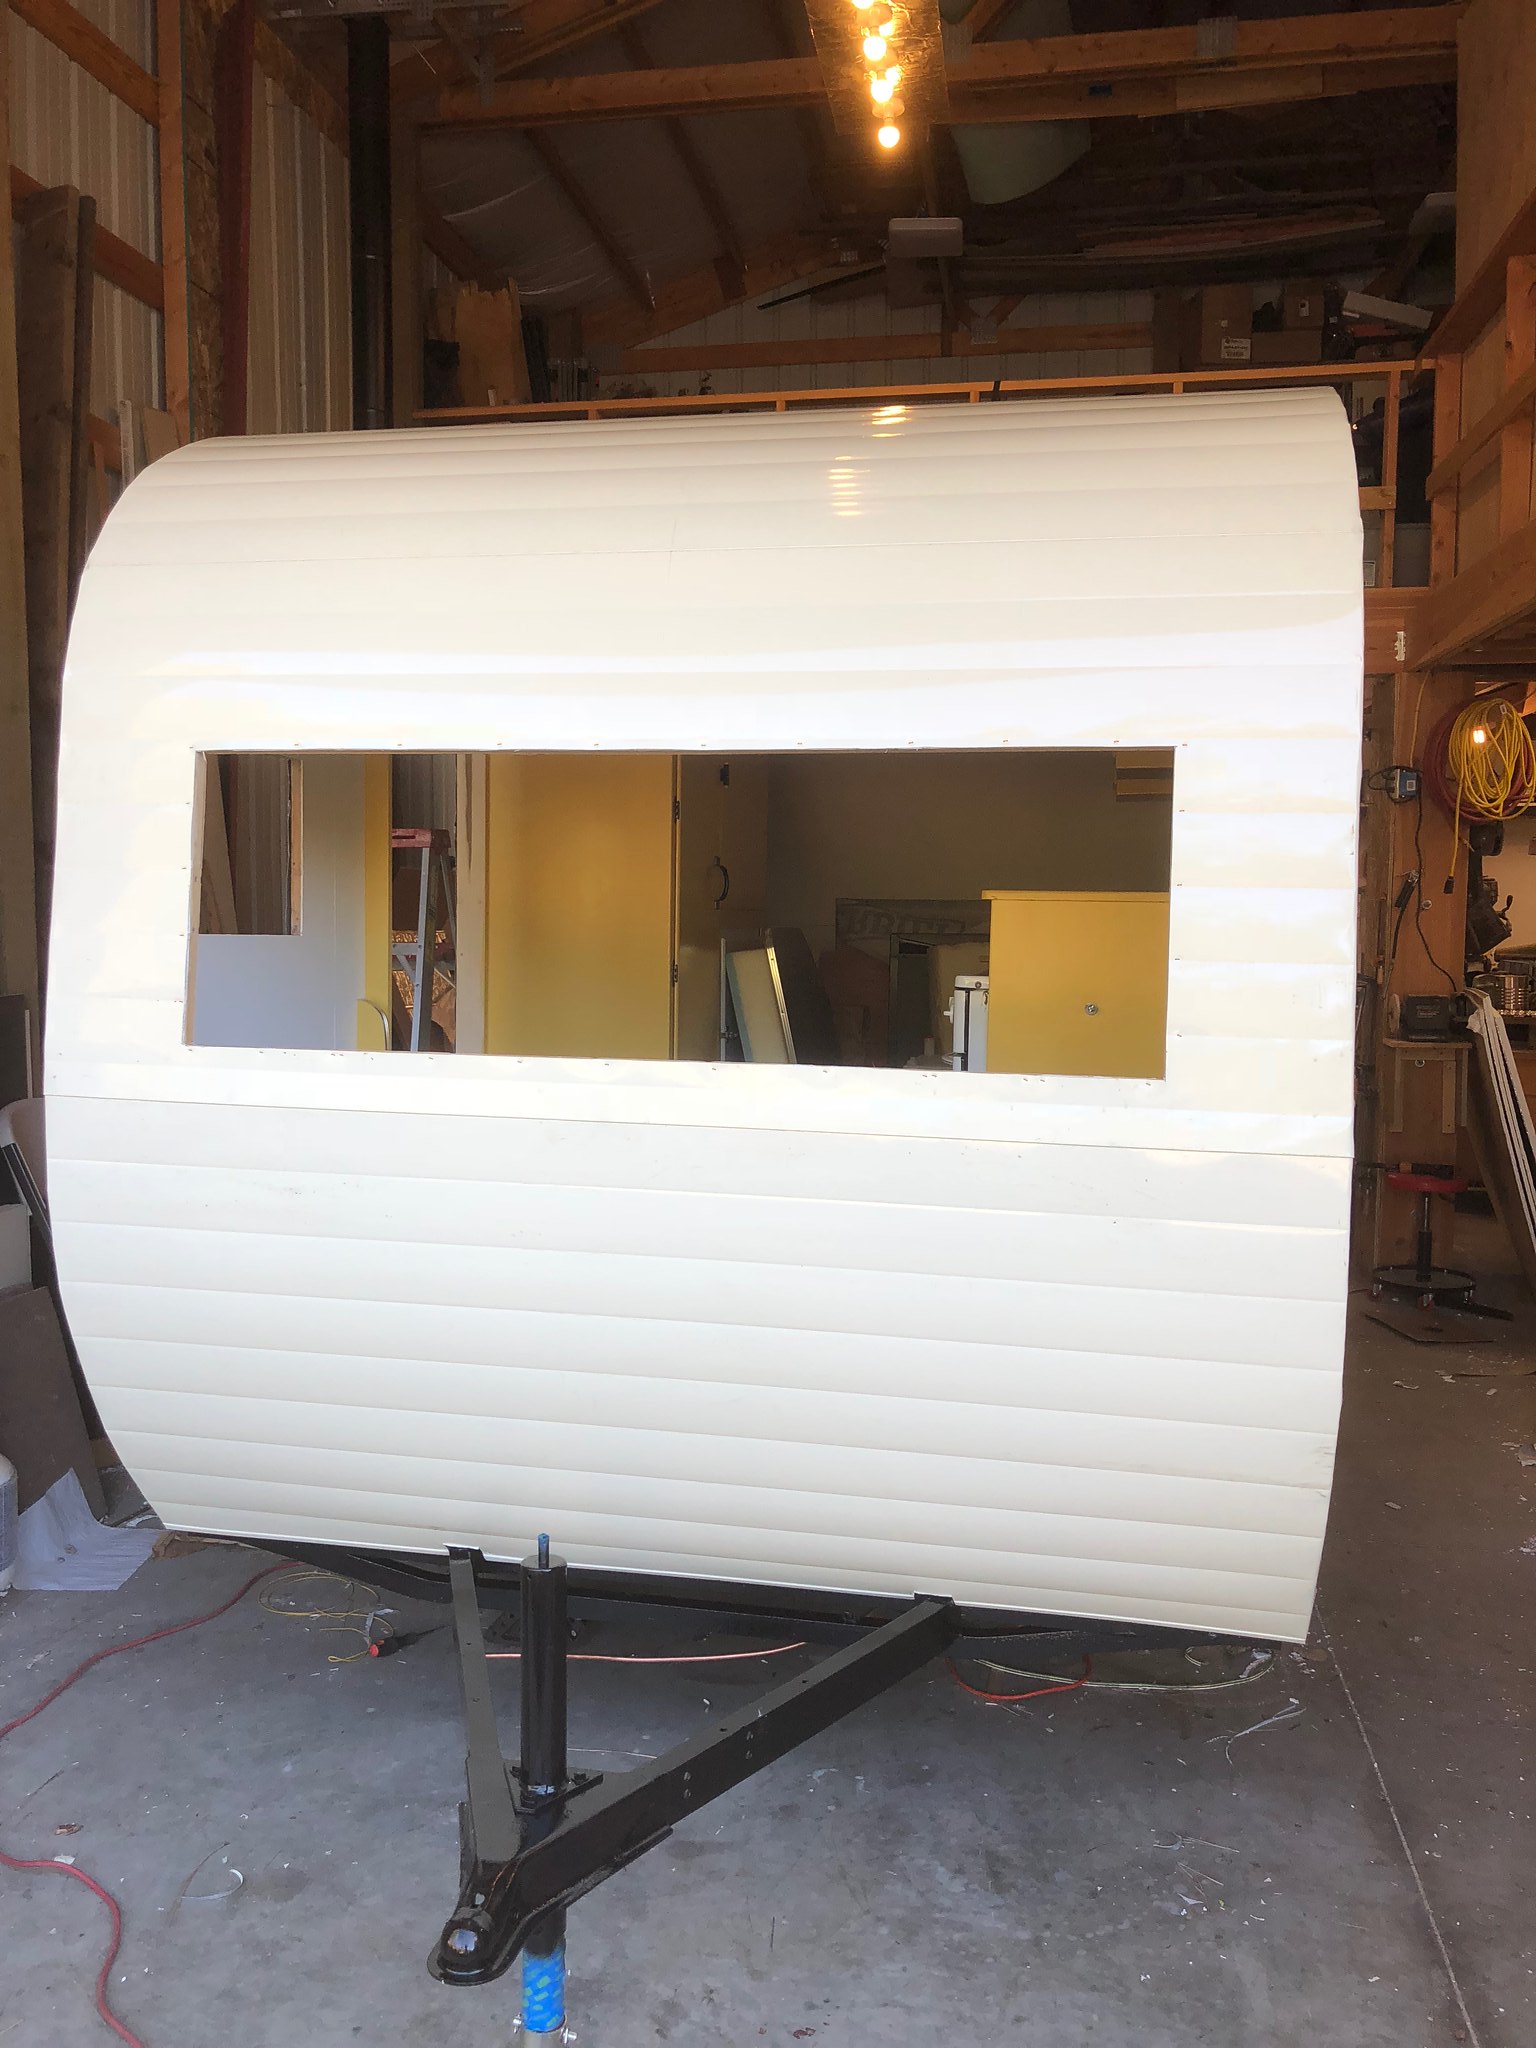 Untitled Untitled by Mike Estrada, on Flickr 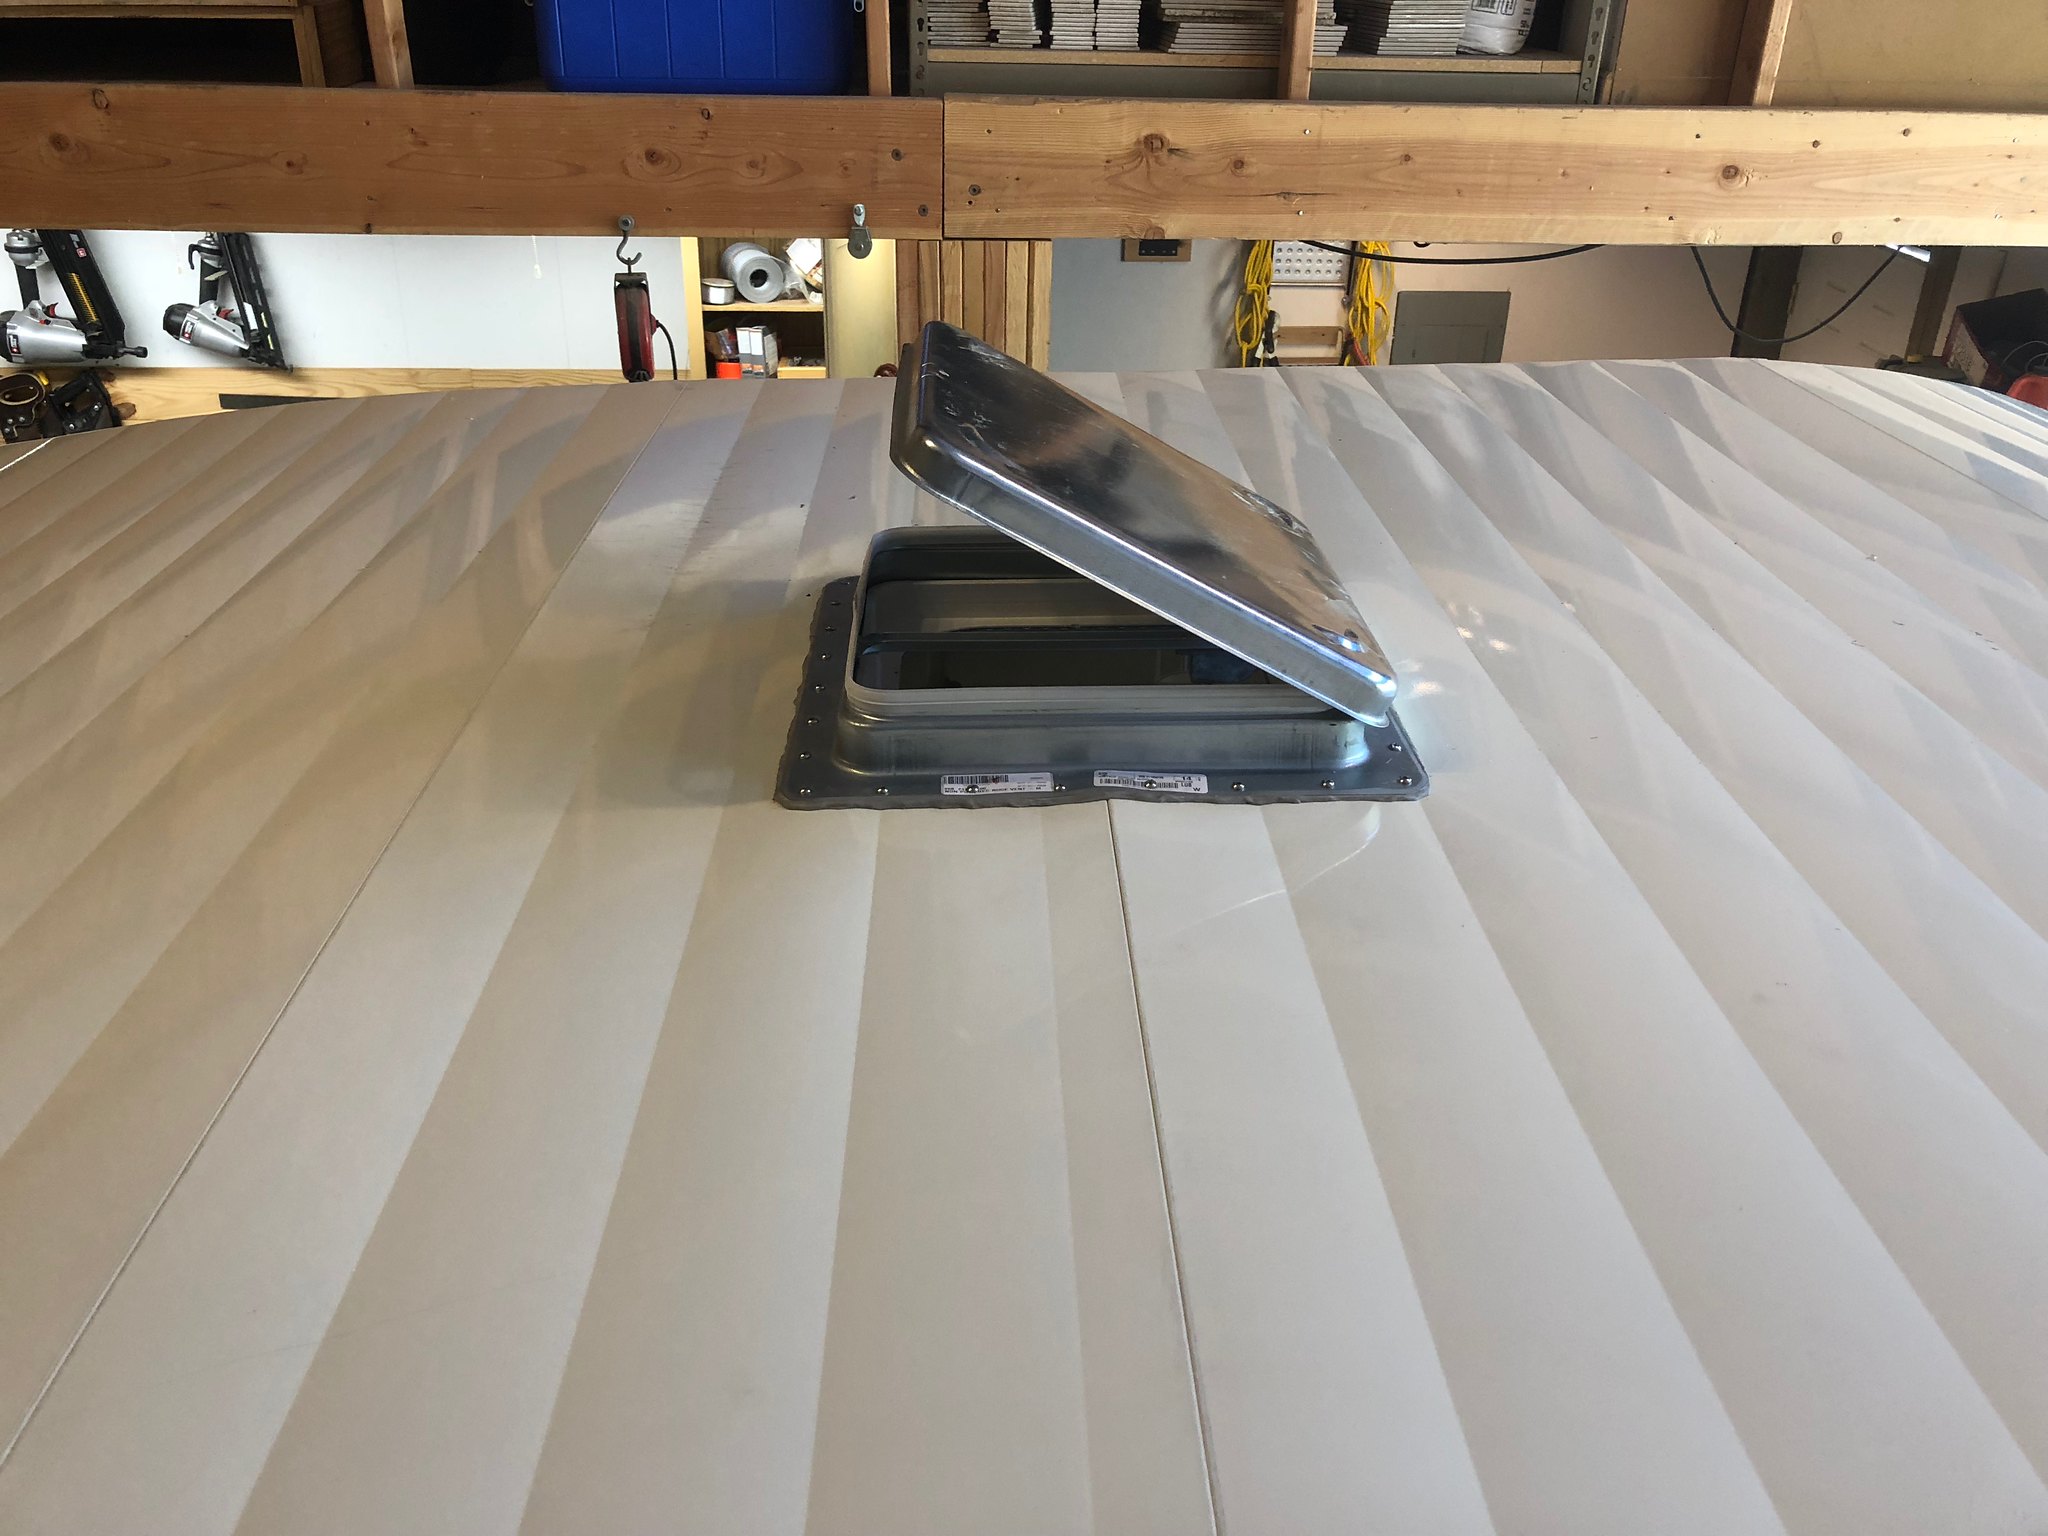 Untitled Untitled by Mike Estrada, on Flickr 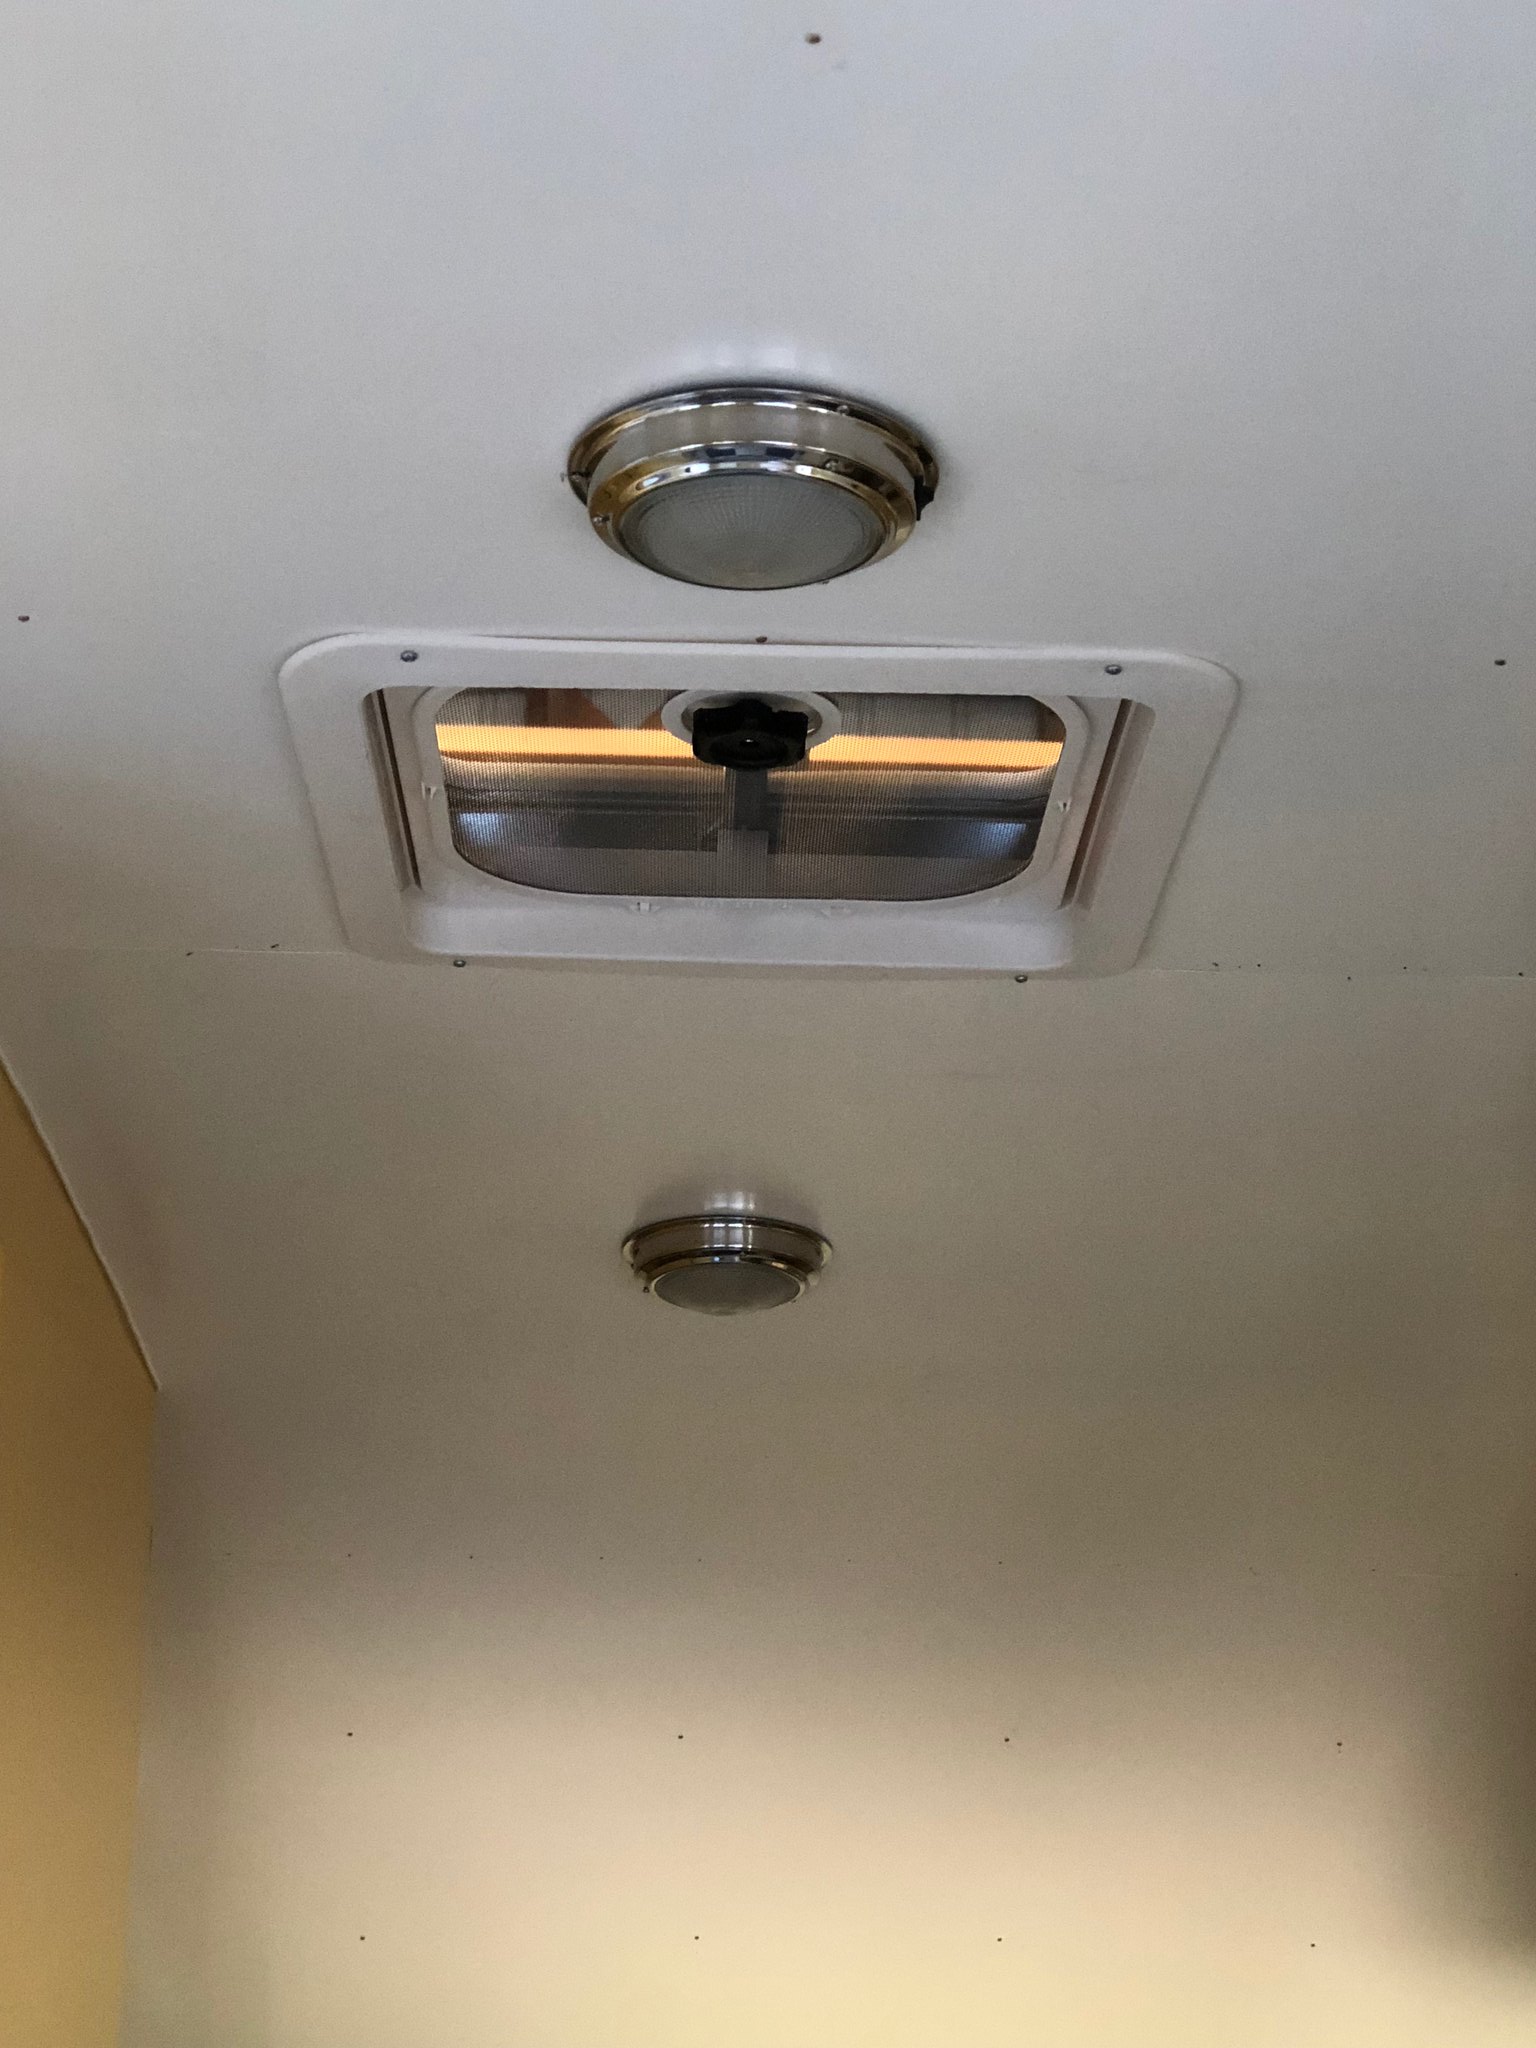 Untitled Untitled by Mike Estrada, on Flickr 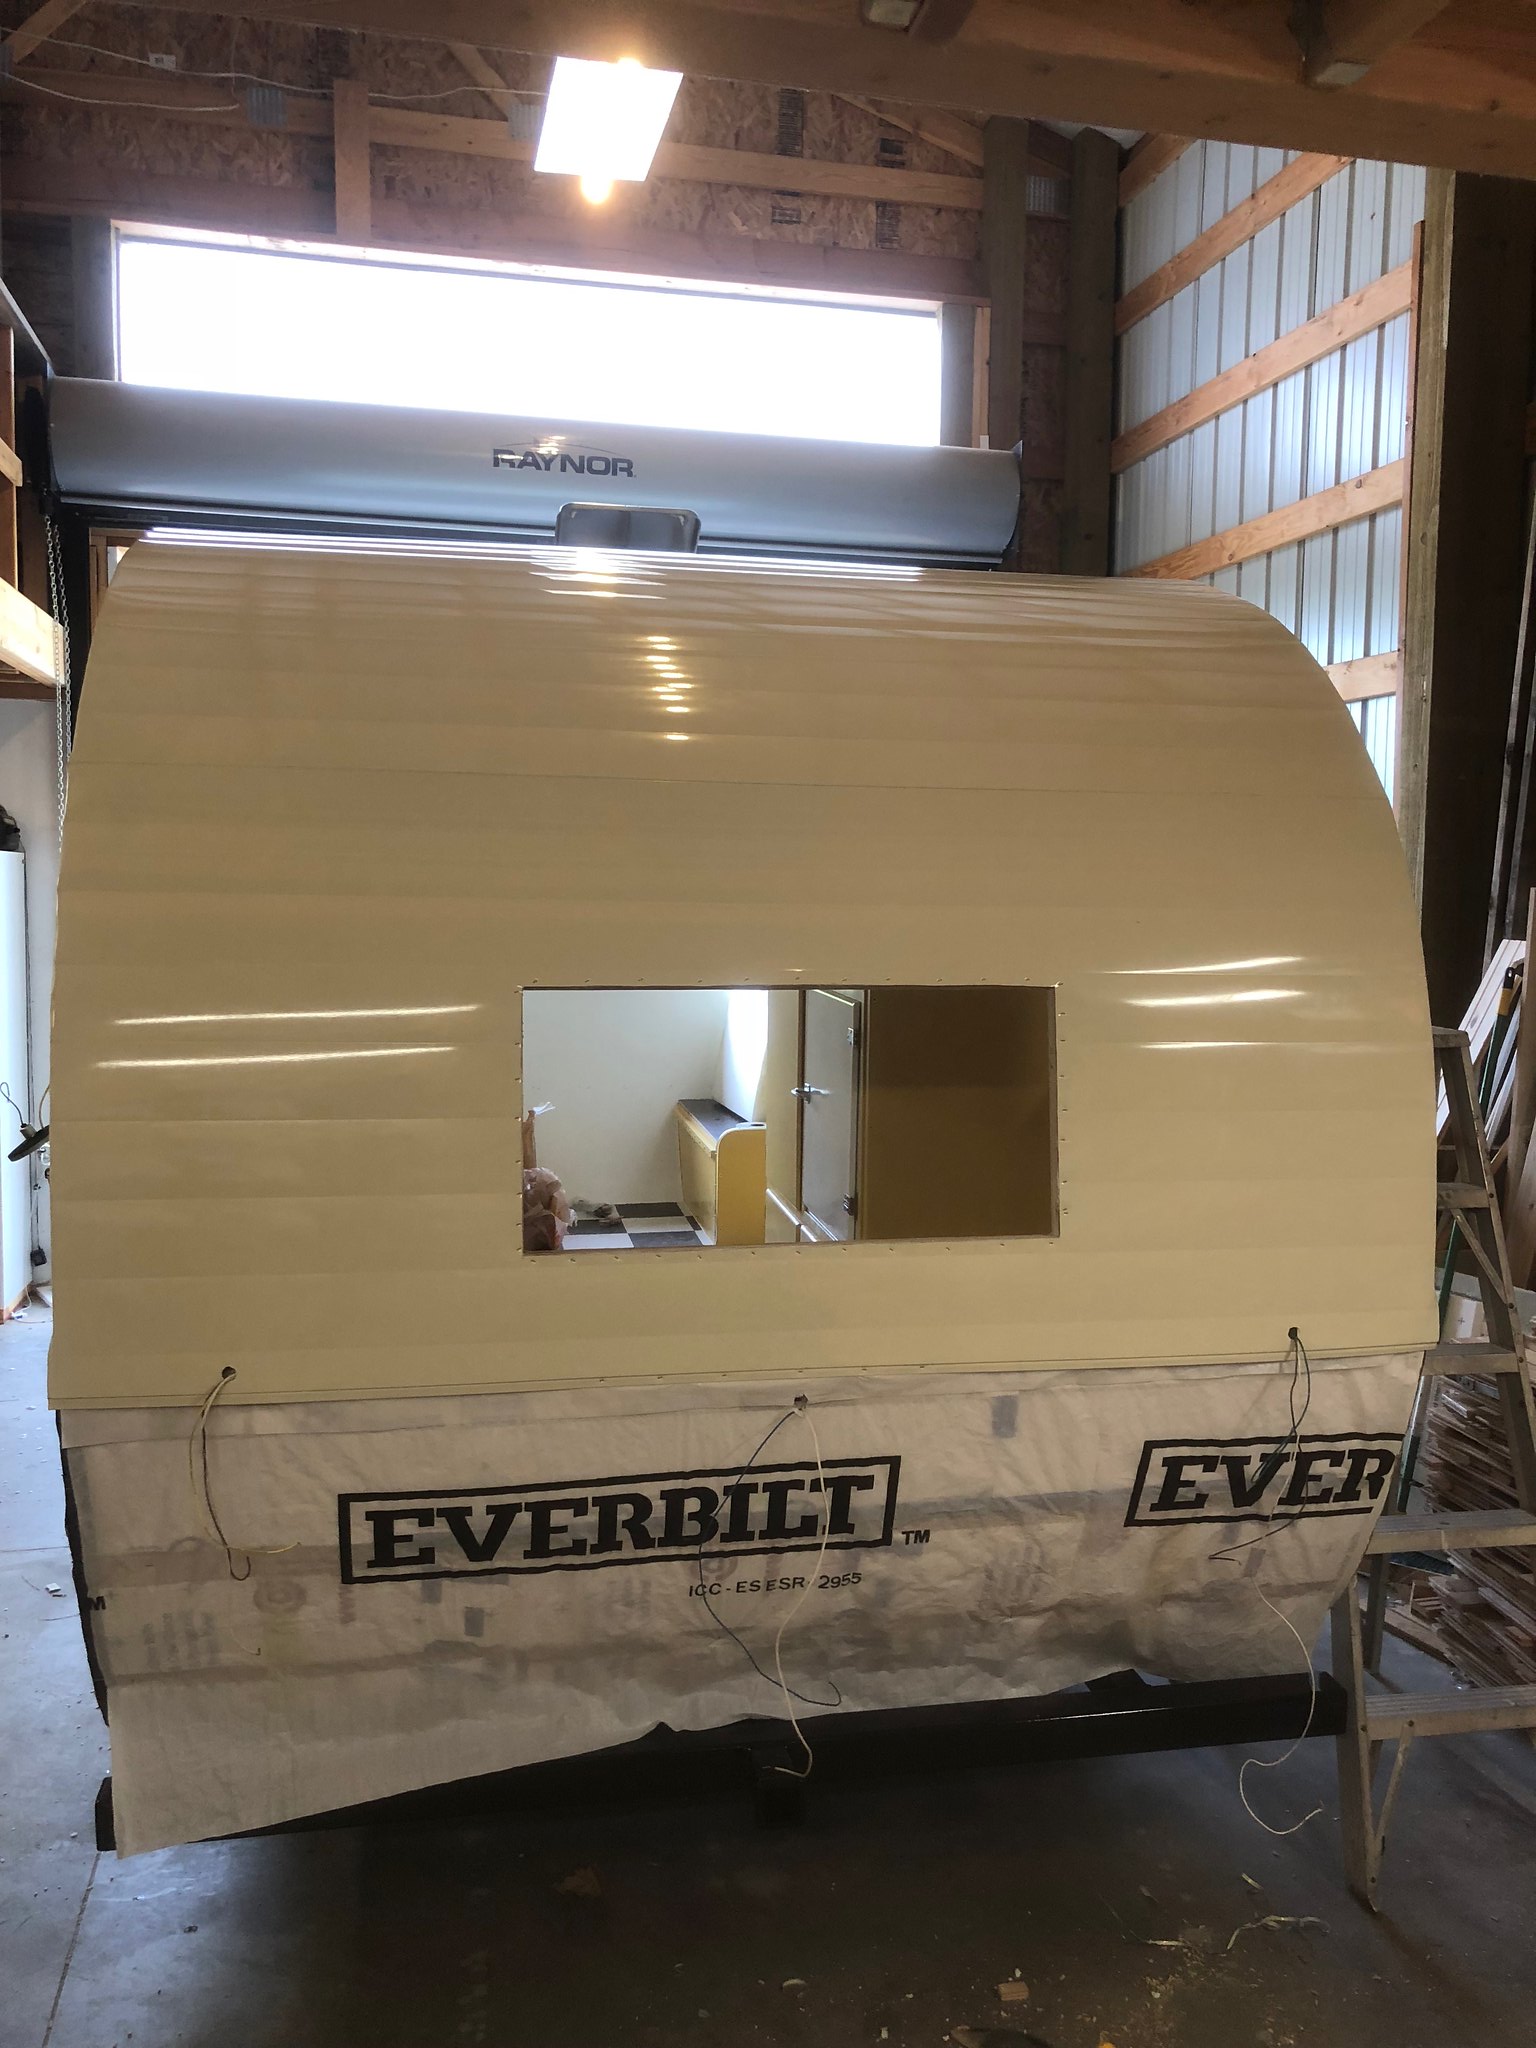 Untitled Untitled by Mike Estrada, on Flickr August 5th approaches... |
|
mrmarty51
Leading Member
Posts: 1,787
Likes: 423
1972 HOMEMADE
Currently Offline
|
Post by mrmarty51 on Jul 8, 2018 8:48:33 GMT -8
That camper is looking very nice. Be sure to secure the copper gas piping with some tubing clamps, like what they sell at the auto parts stores for fuel/brake lines. Don't want the copper pipes vibrating and cracking at the flare fittings. I like to fasten them to the steel trailer framing instead of to the wood under belly. Some people call them P clips or P clamps because the look like a P when the ends are together. Here is a pic on the Dorman website. Click the link below. link |
|
|
|
Post by vikx on Jul 8, 2018 20:28:02 GMT -8
It's just gorgeous, Mike! Feels good to get here, yes?
|
|
papamike95
Member
Posts: 30
Likes: 13
1954 Terry - 16'
Currently Offline
|
Post by papamike95 on Jul 9, 2018 5:13:58 GMT -8
That camper is looking very nice. Be sure to secure the copper gas piping with some tubing clamps, like what they sell at the auto parts stores for fuel/brake lines. Don't want the copper pipes vibrating and cracking at the flare fittings. I like to fasten them to the steel trailer framing instead of to the wood under belly. Some people call them P clips or P clamps because the look like a P when the ends are together. Here is a pic on the Dorman website. Click the link below. linkThanks! Yes, that is what I plan to do. I also plan to find some sort of sleeve or wrap or something to help protect it too. |
|
papamike95
Member
Posts: 30
Likes: 13
1954 Terry - 16'
Currently Offline
|
Post by papamike95 on Jul 9, 2018 5:15:42 GMT -8
It's just gorgeous, Mike! Feels good to get here, yes? Thank you. It is sooo great getting to this point. But lots of busy work ahead. I'm going to try and get to painting the traditional Terry lower half with stripes maybe this coming weekend. In the evenings, I'll be working on the door to get that ready to paint. |
|
SimonTuffGuy
Junior Member
Posts: 53
Likes: 9
1973 Shasta 1400
Currently Offline
|
Post by SimonTuffGuy on Jul 16, 2018 5:45:16 GMT -8
What a transformation. Makes me realize that I need a garage!
|
|
papamike95
Member
Posts: 30
Likes: 13
1954 Terry - 16'
Currently Offline
|
Post by papamike95 on Jul 18, 2018 11:46:13 GMT -8
What a transformation. Makes me realize that I need a garage! Thanks! Yes, I could not have done it without our shop. Our weather in North Idaho is so unpredictable... |
|
papamike95
Member
Posts: 30
Likes: 13
1954 Terry - 16'
Currently Offline
|
Post by papamike95 on Jul 18, 2018 11:59:21 GMT -8
Things are really moving now, and they have to! I have less than 3 weeks to go before our trip. So I finished up the skin, masked for painting, and just finished (last night) painting the lower half. I am not too pleased with how the paint laid on... I went back and forth on whether to use automotive paint, and the advice I received was that this stuff I ended up using (Pitt-Tech) would work fine for my application. It turns out it is pretty rough to the touch, and is not glossy at all, though I requested high gloss. So after my trip next month, I will have to figure out how to smooth that out and possibly put a clear-coat over the whole thing. I should have stuck with my gut. Oh well... live and learn! 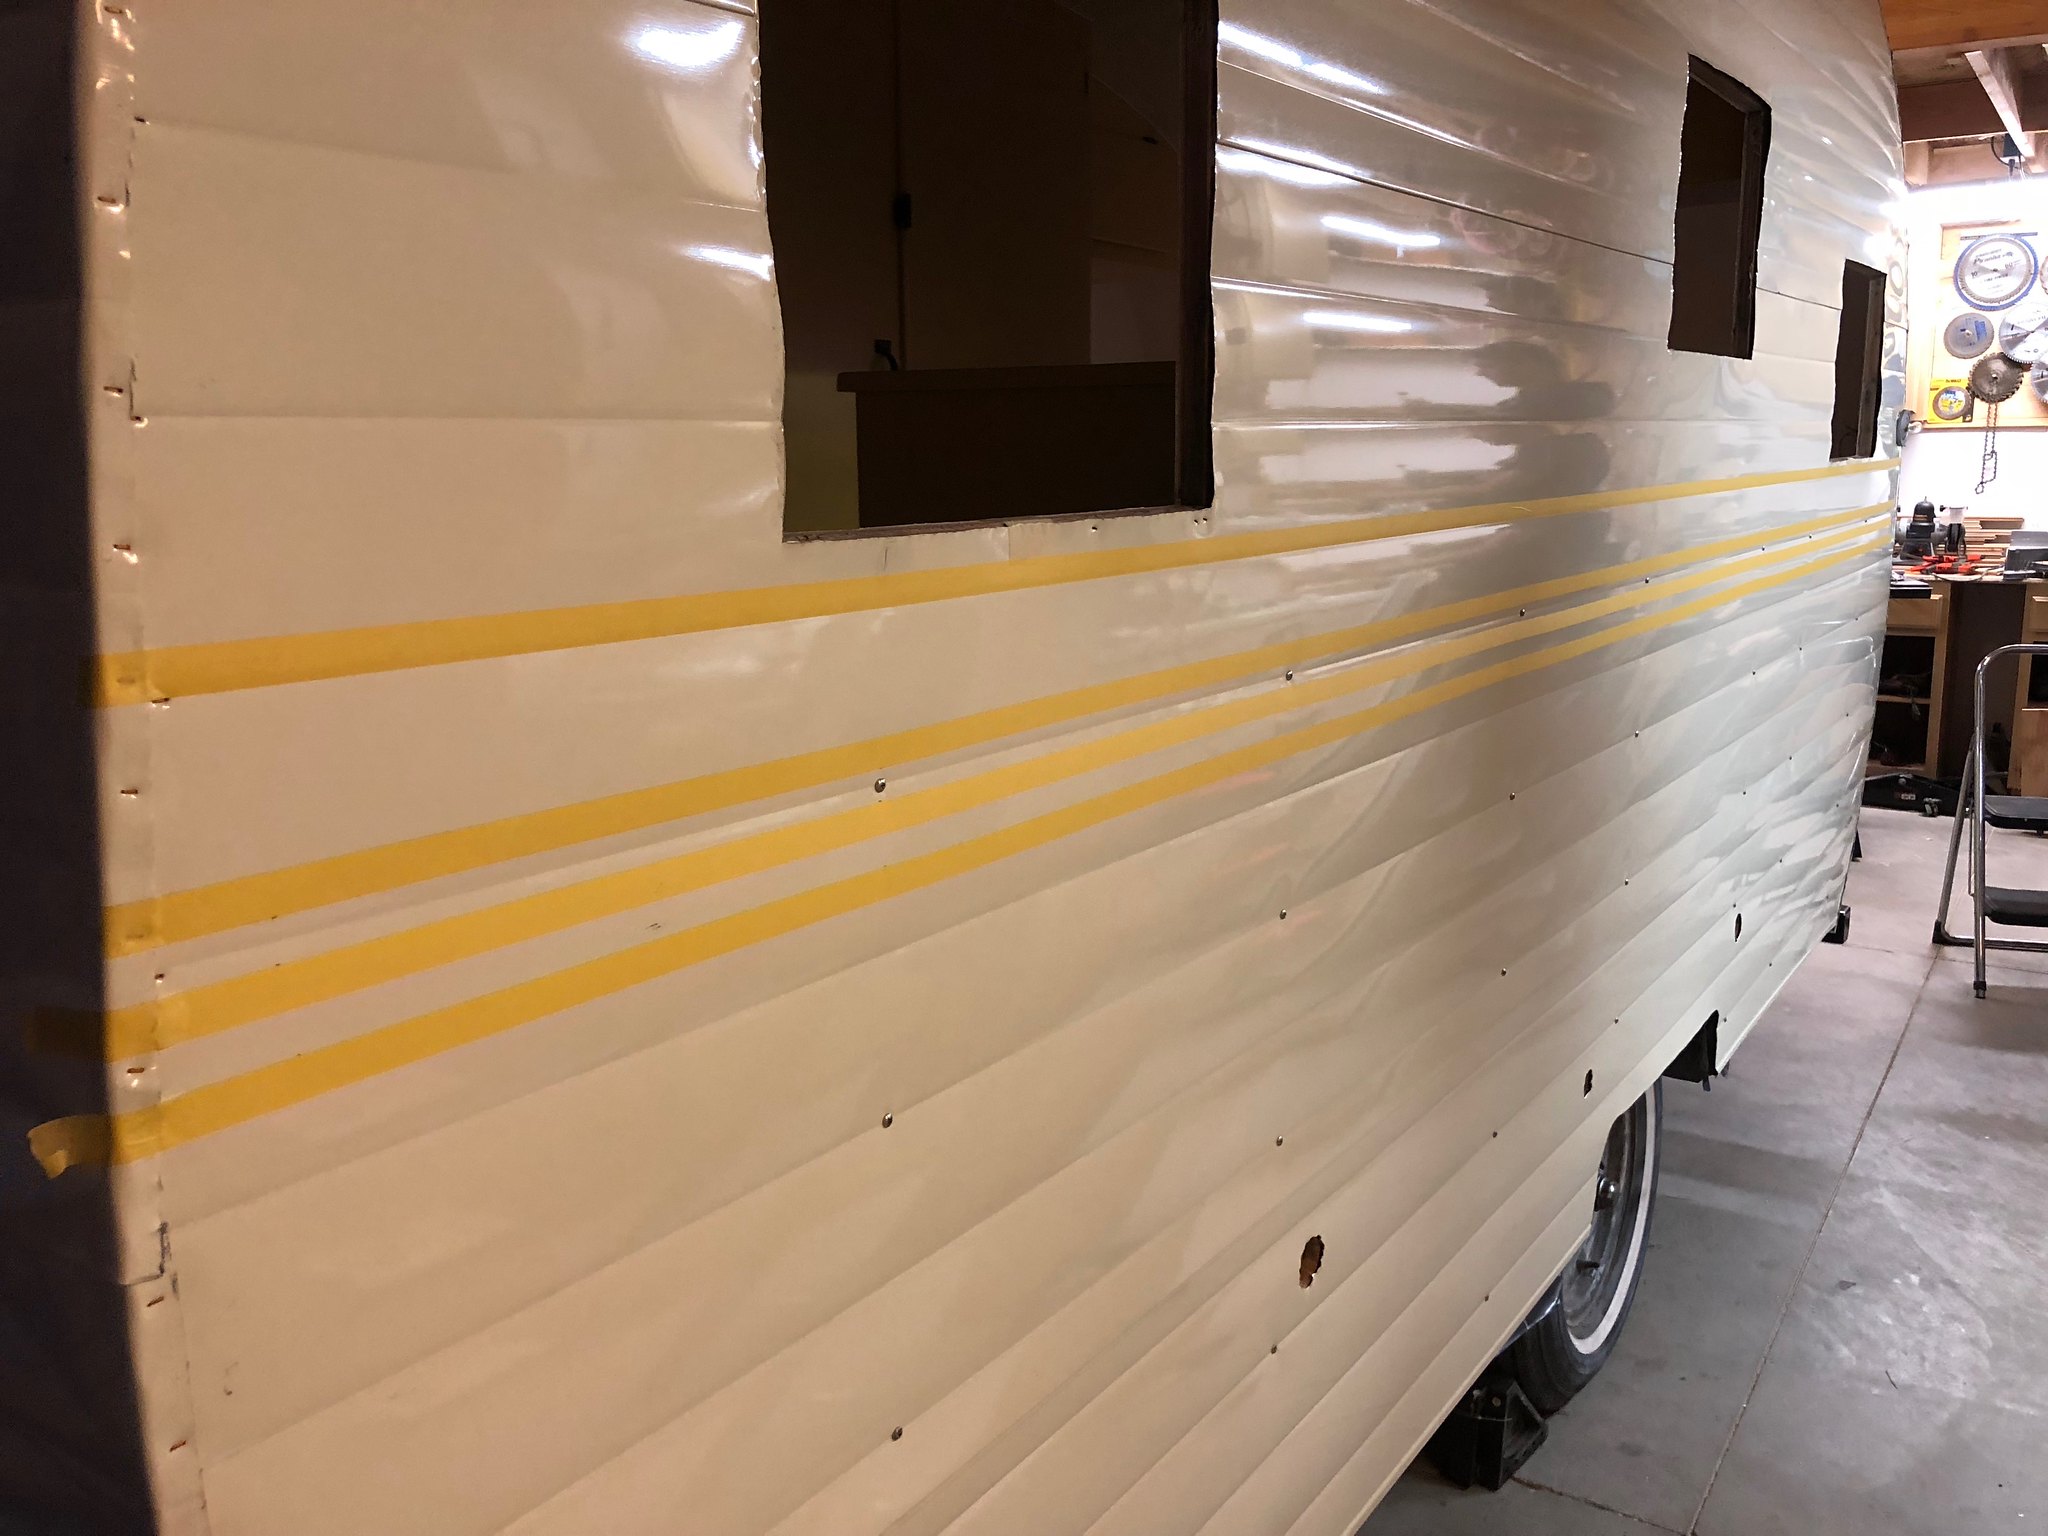 Untitled Untitled by Mike Estrada, on Flickr 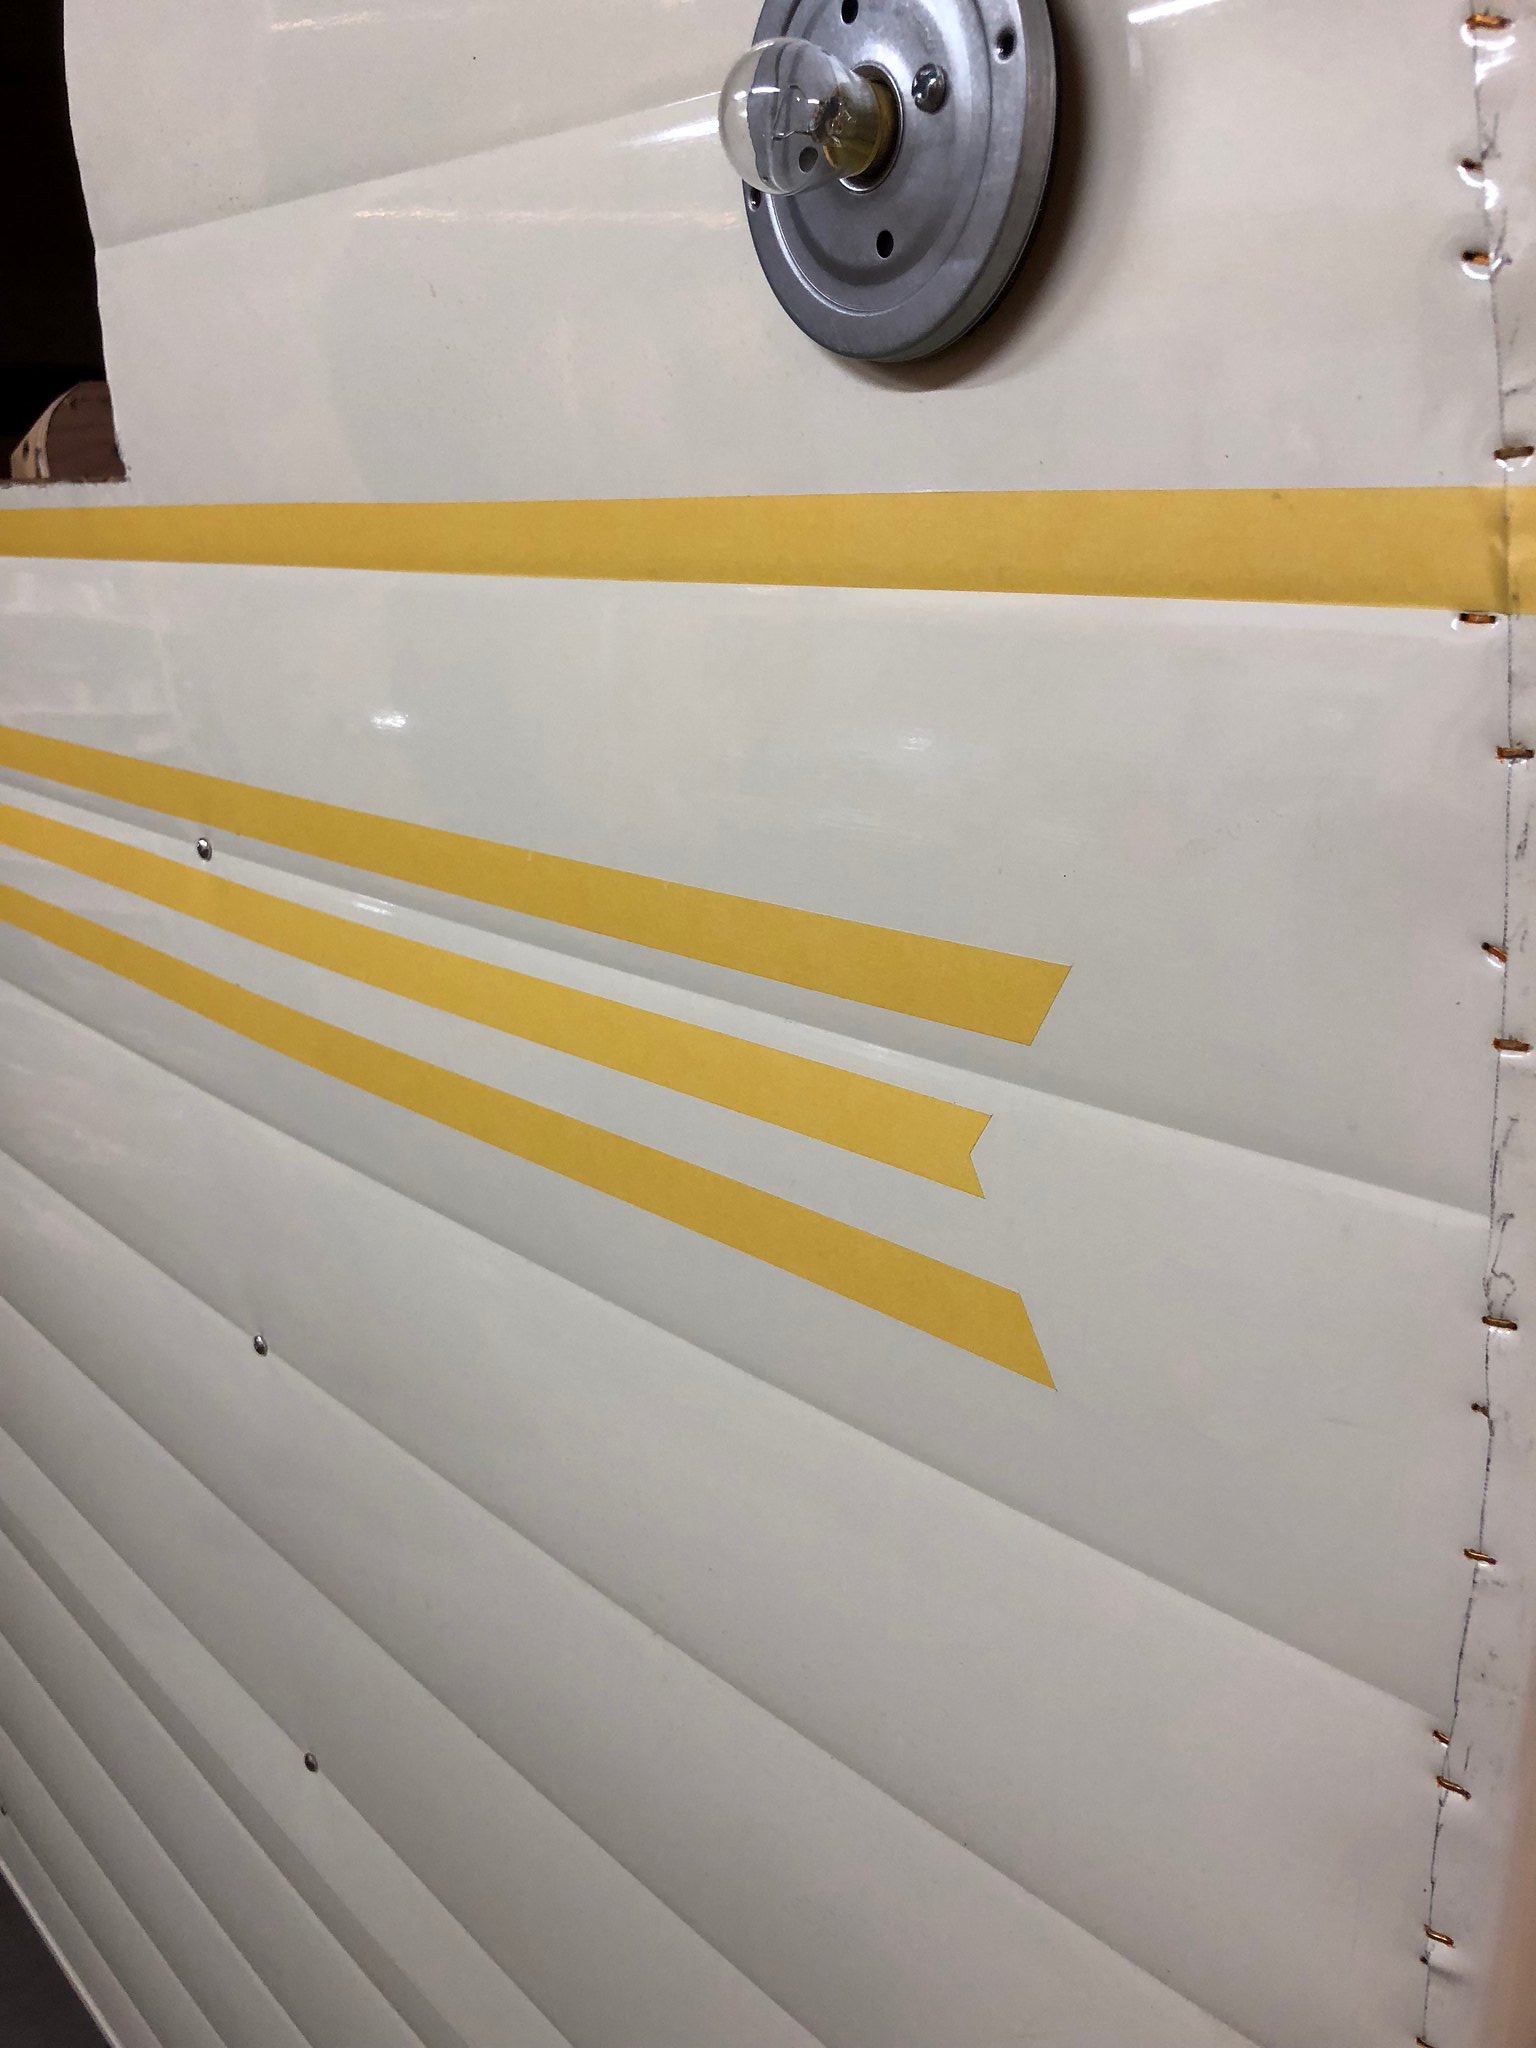 Untitled Untitled by Mike Estrada, on Flickr 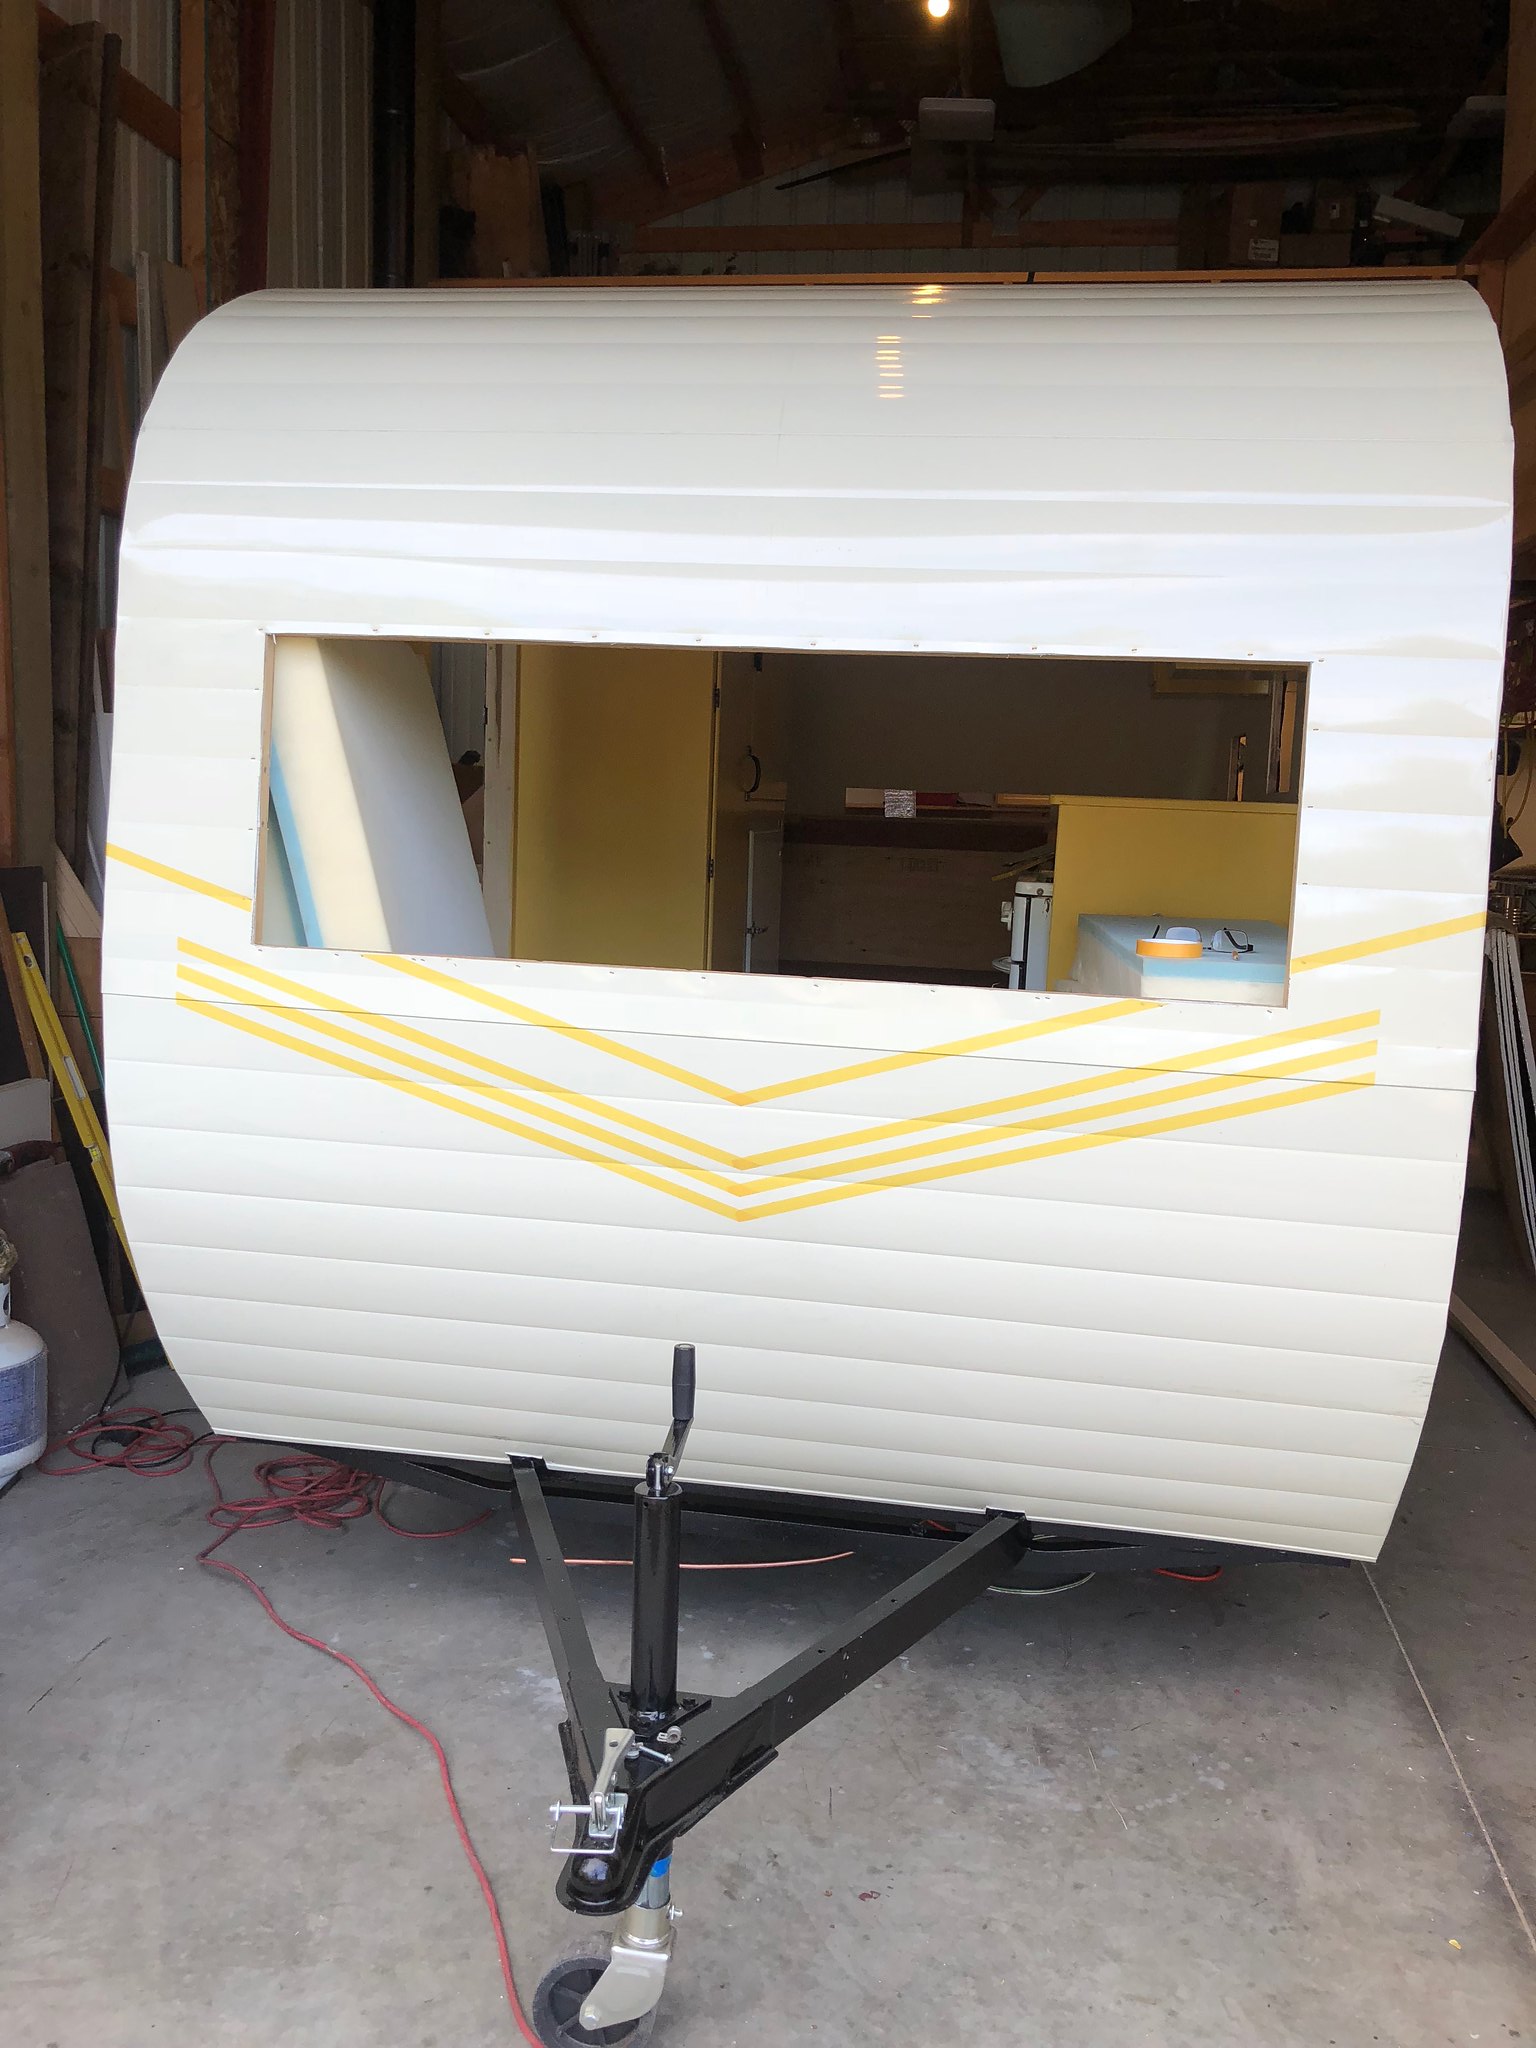 Untitled Untitled by Mike Estrada, on Flickr  Untitled Untitled by Mike Estrada, on Flickr The paint below after 1st coat... I really should have had a deep tint primer underneath... since I had to spray my door the colonial white to match the factory skin, I was given a white primer. I ended up having to put on 4-5 coats of the red to get it to cover... and even then there are uneven spots. 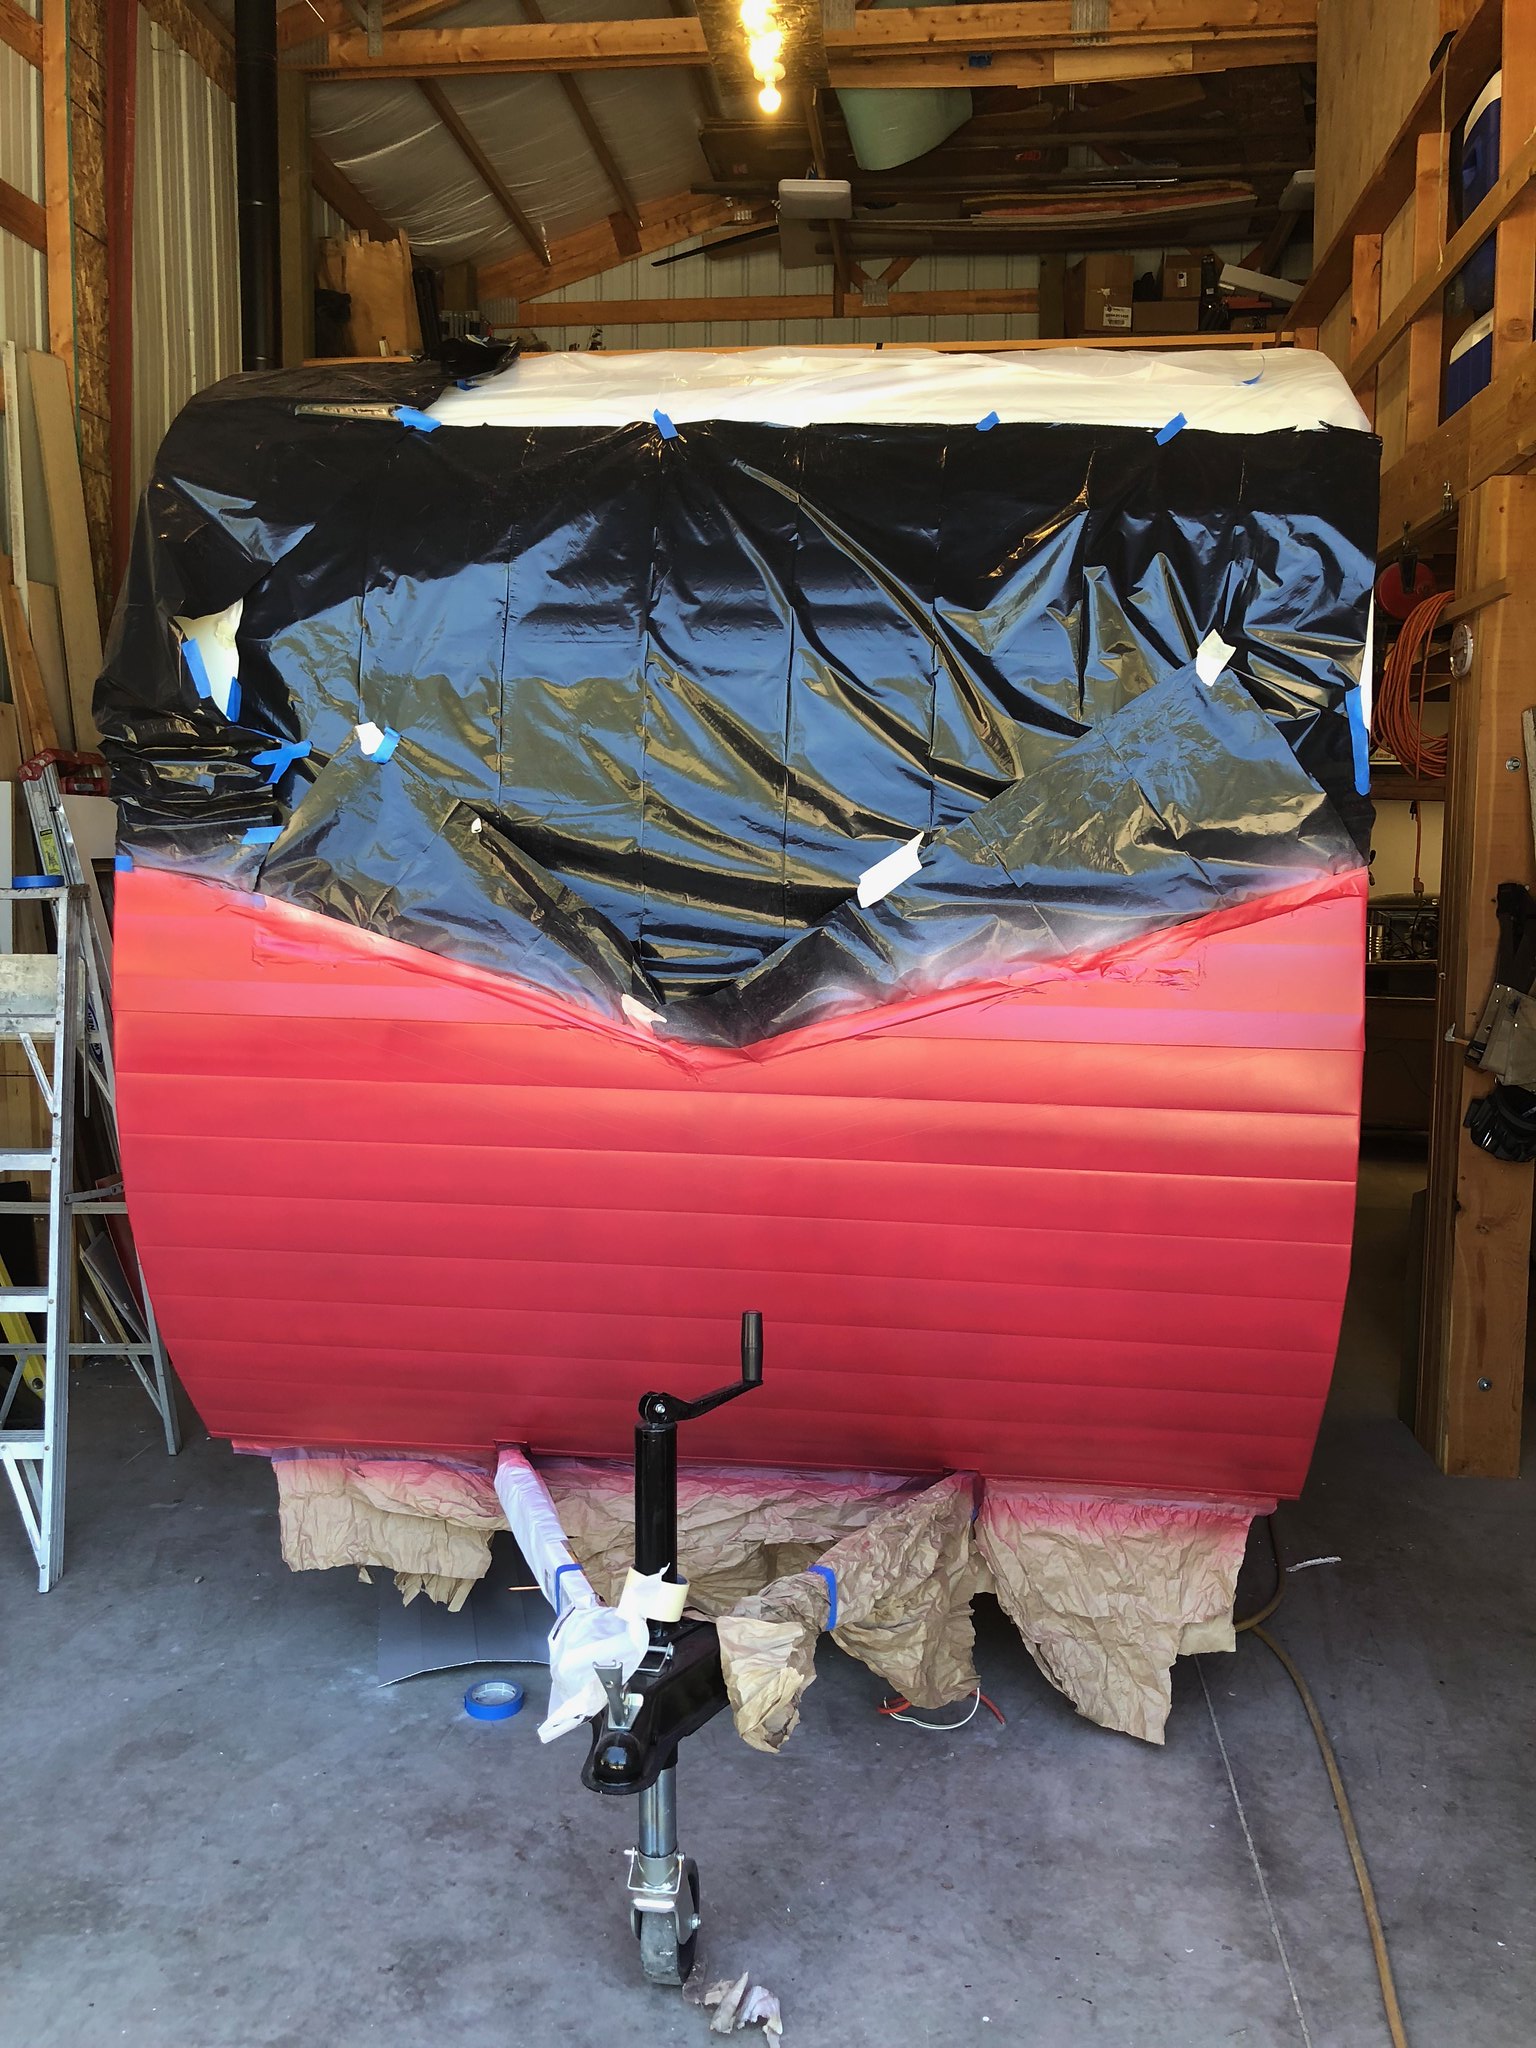 Untitled Untitled by Mike Estrada, on Flickr But I am stoked about how the striping came out! Those are the original Terry 3-stripes. 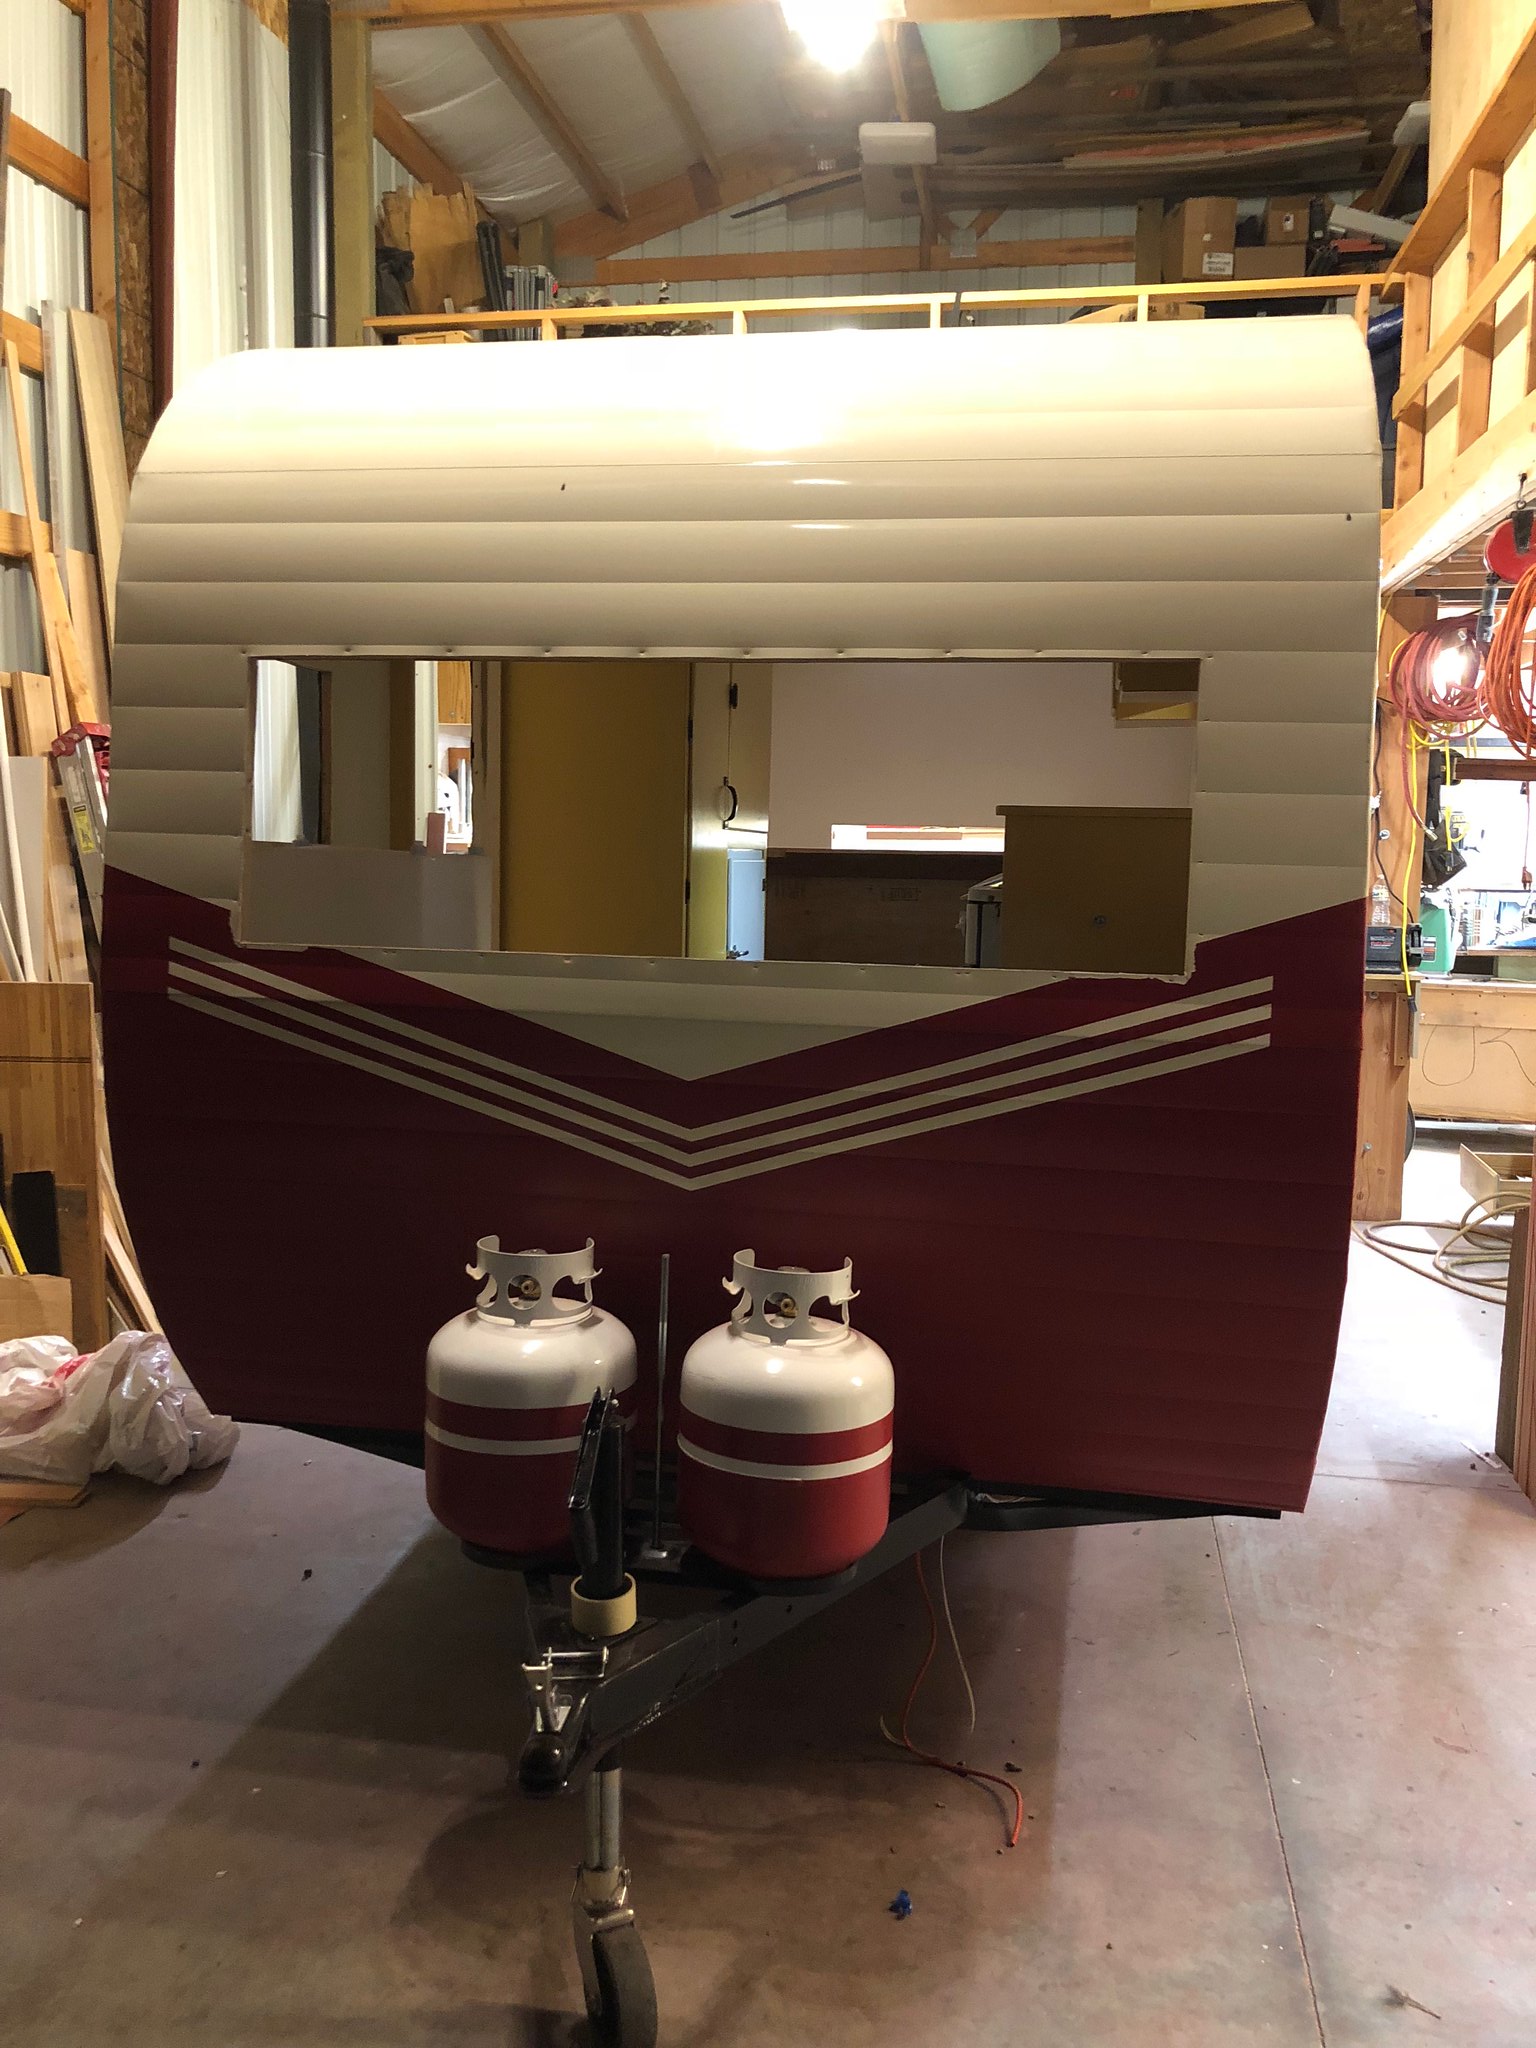 Untitled Untitled by Mike Estrada, on Flickr 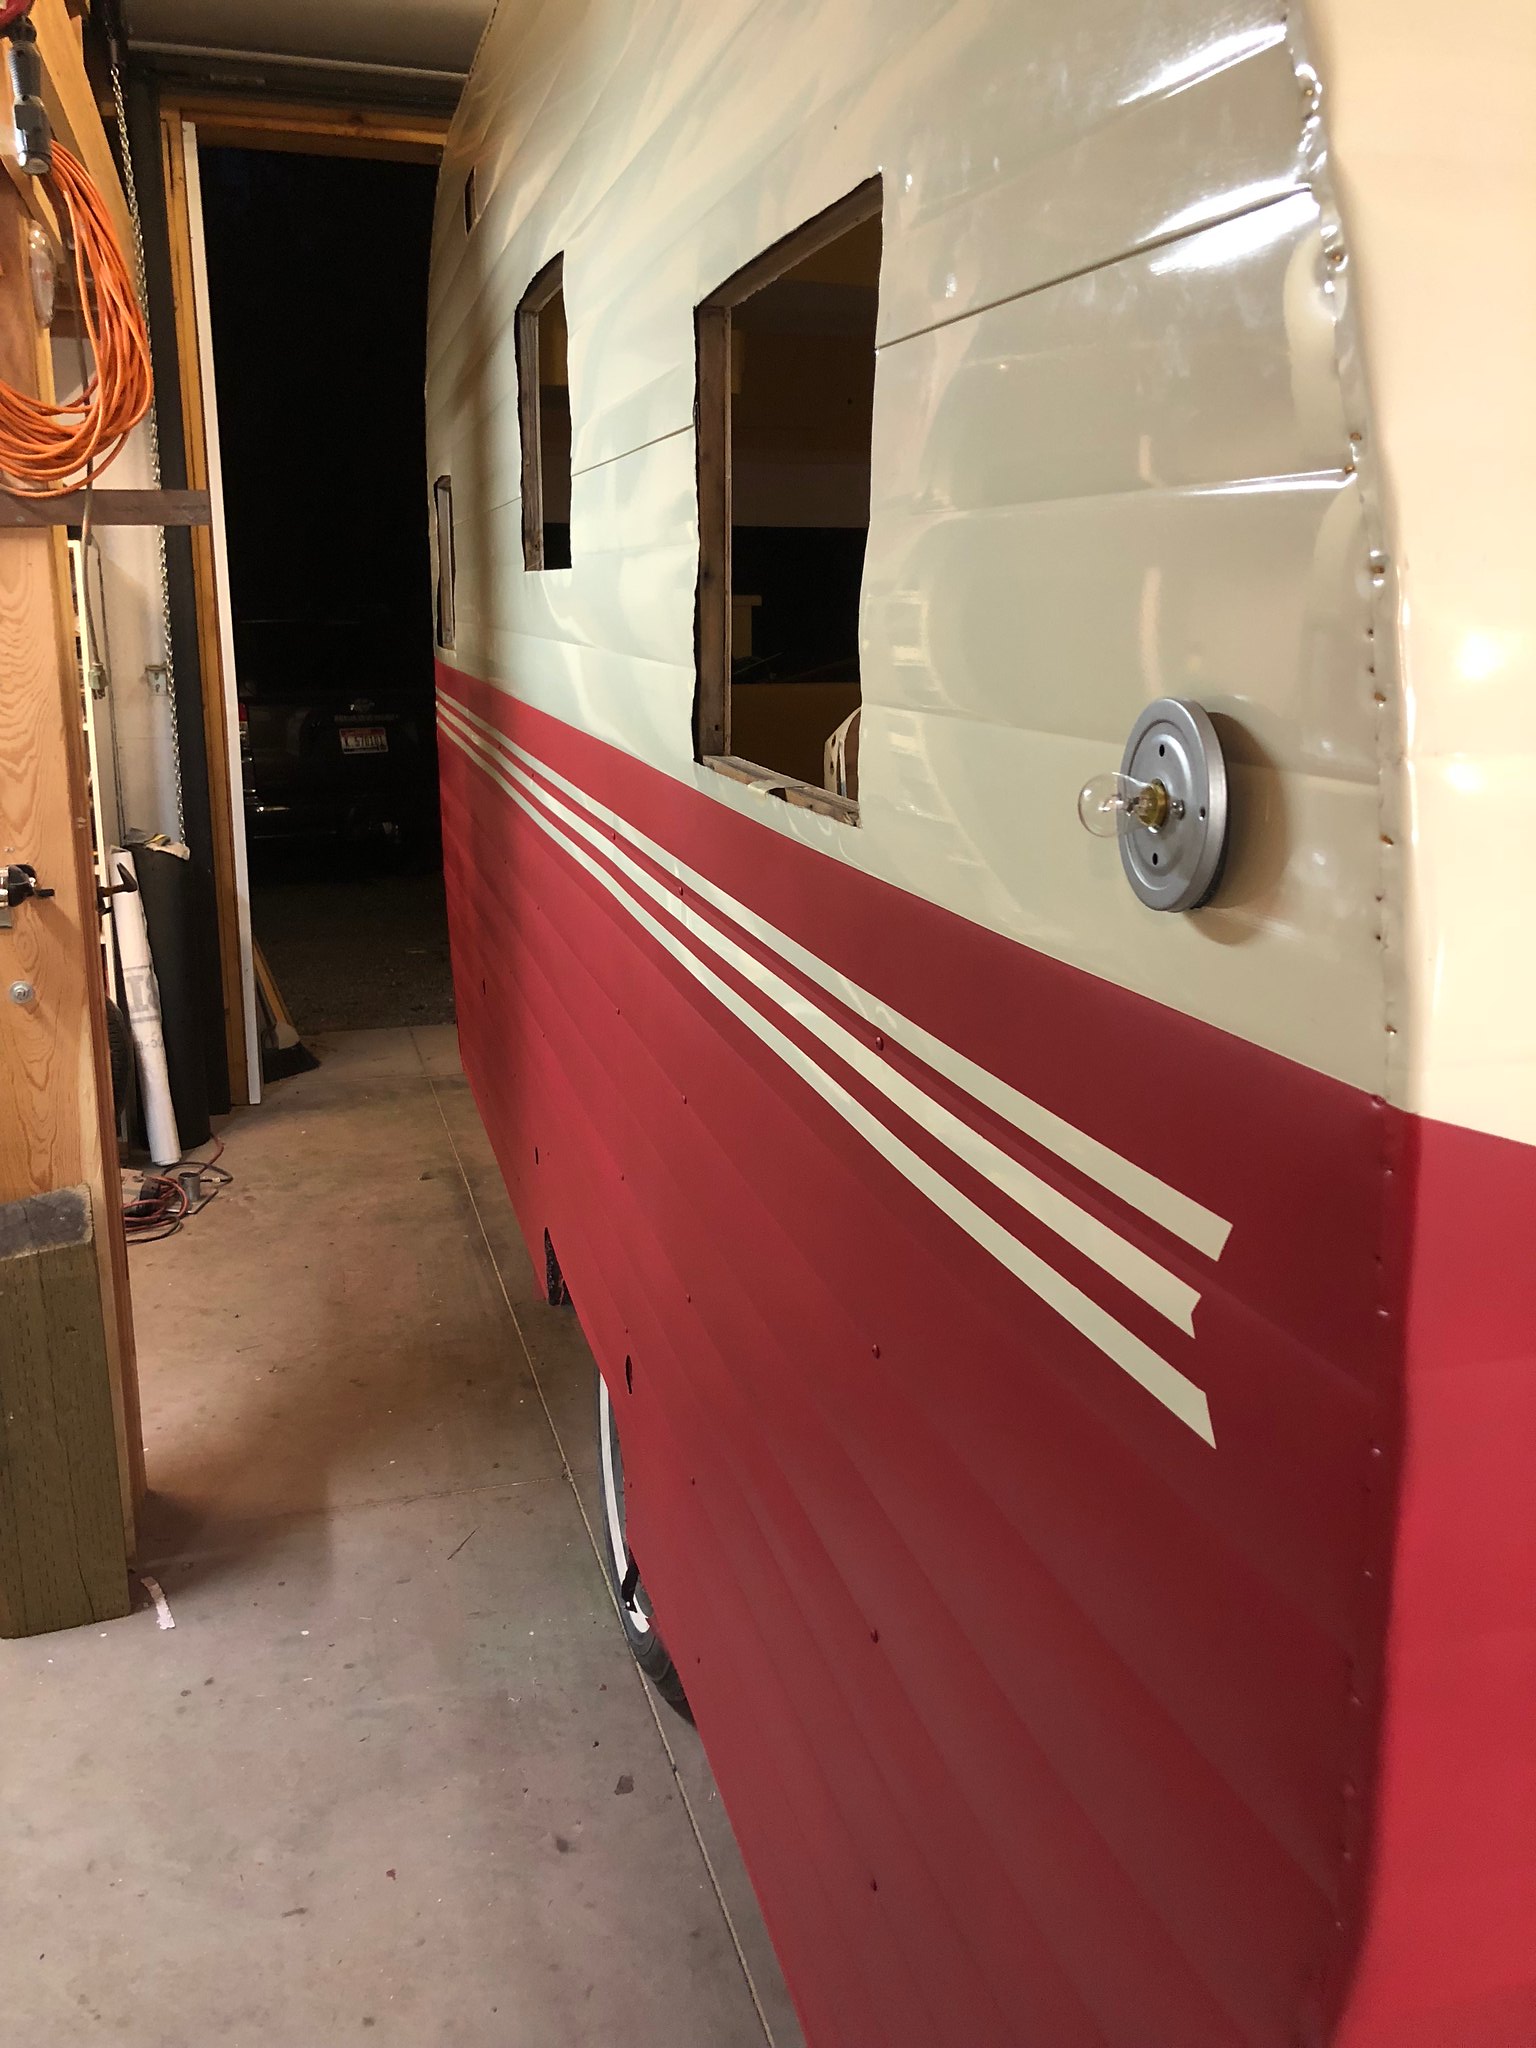 Untitled Untitled by Mike Estrada, on Flickr 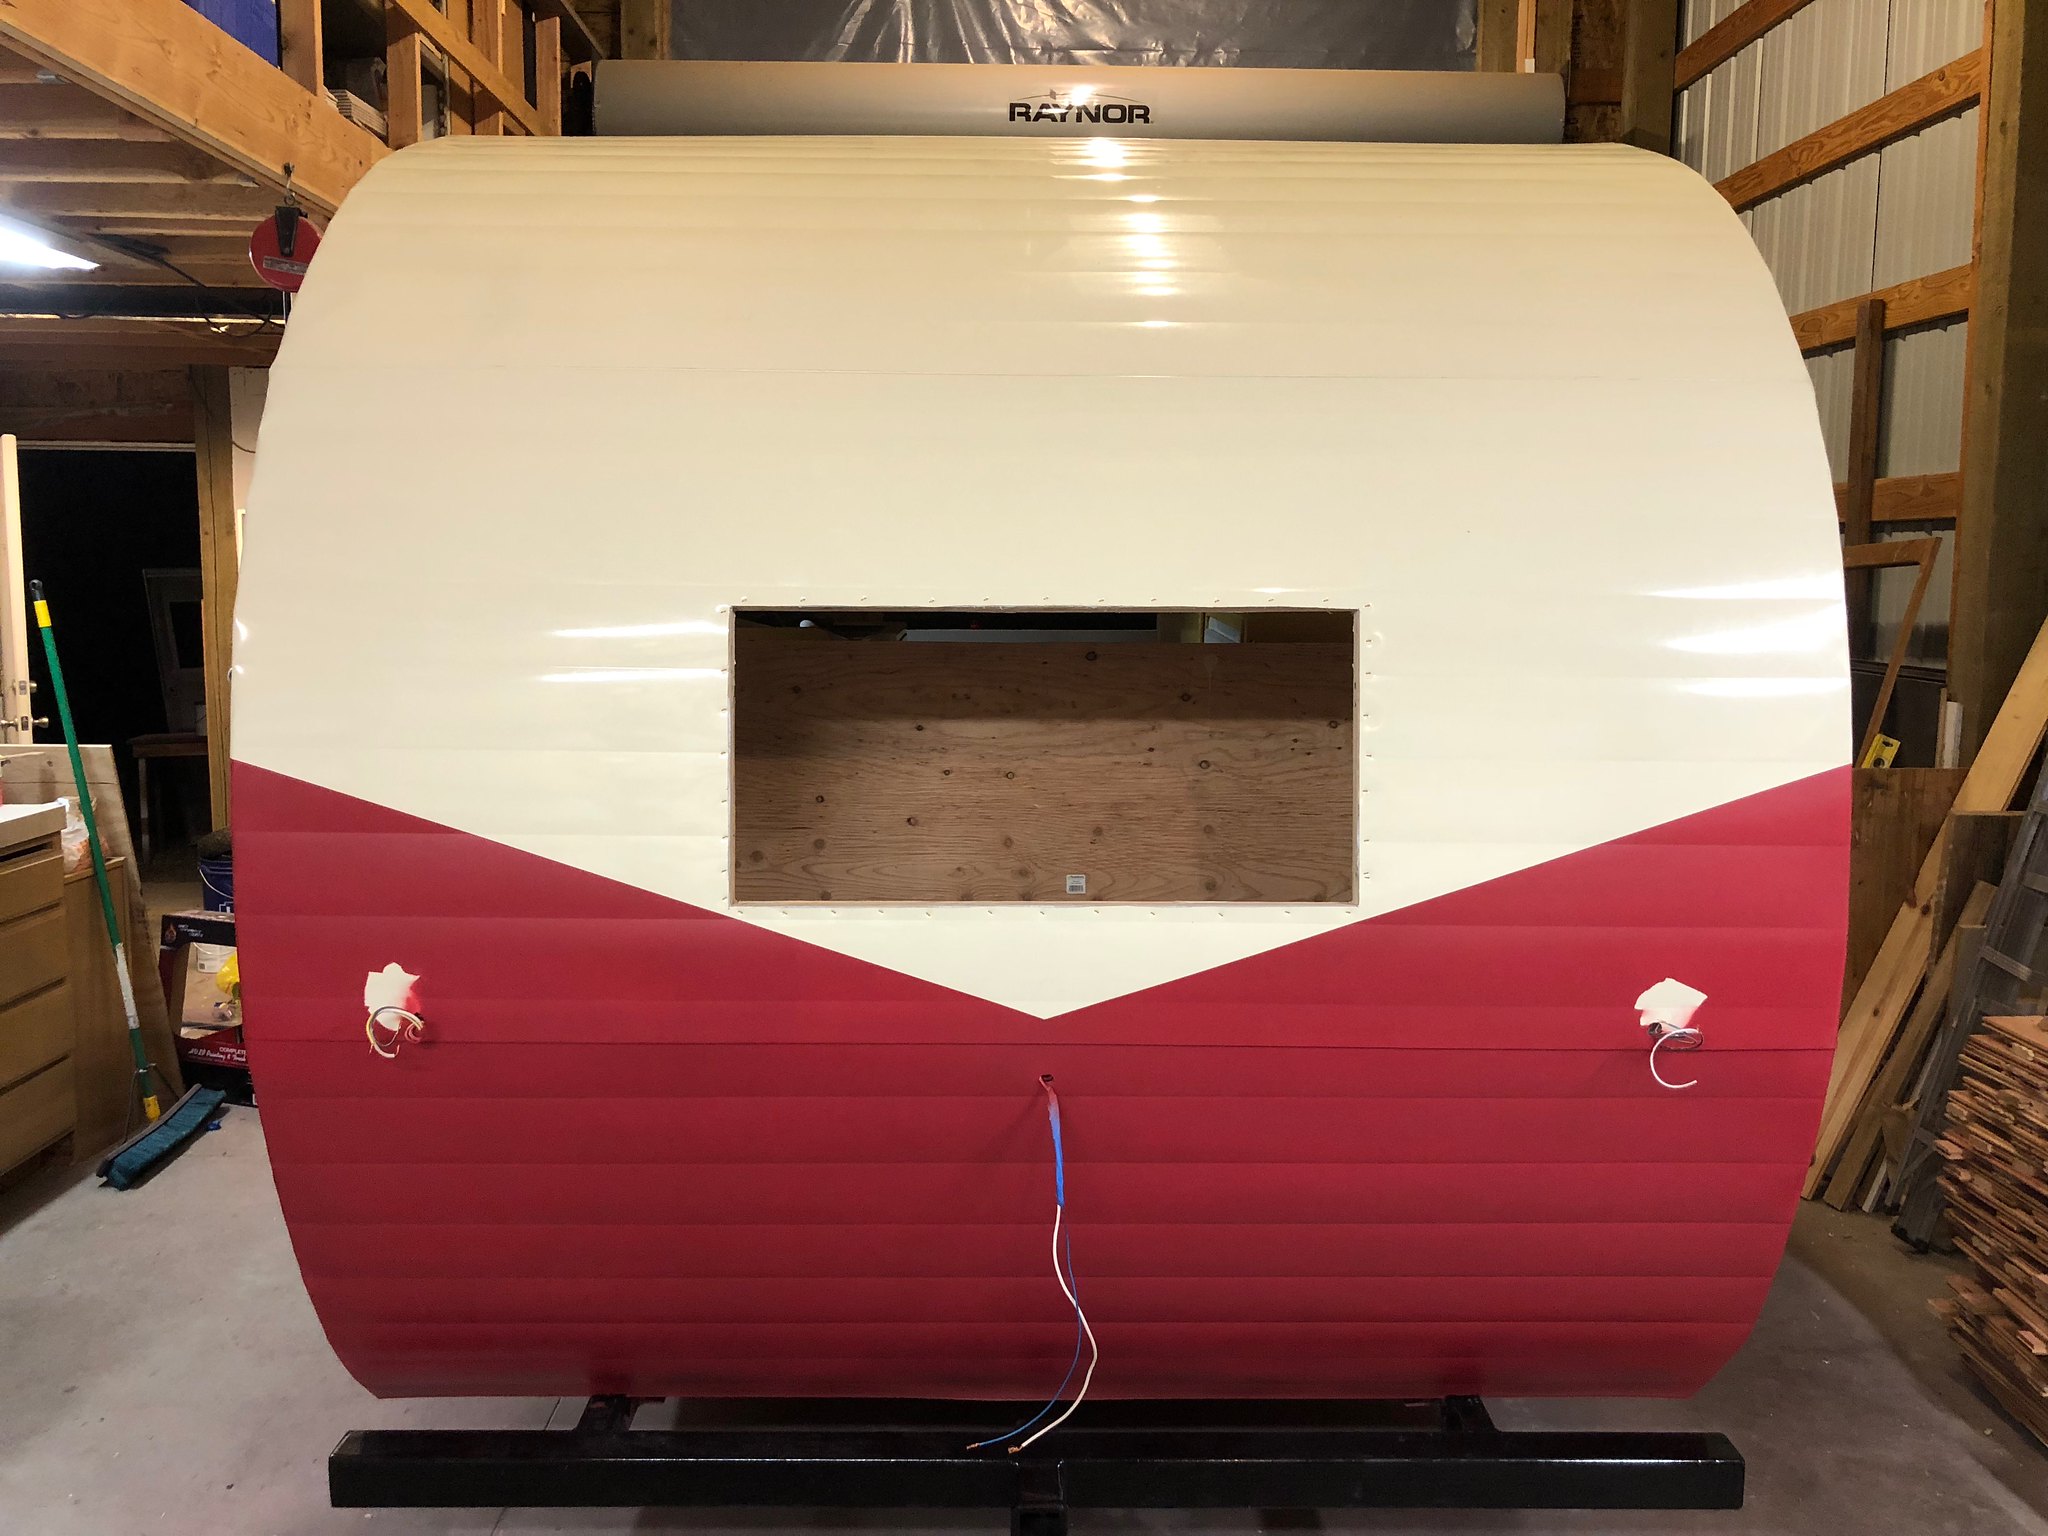 Untitled Untitled by Mike Estrada, on Flickr 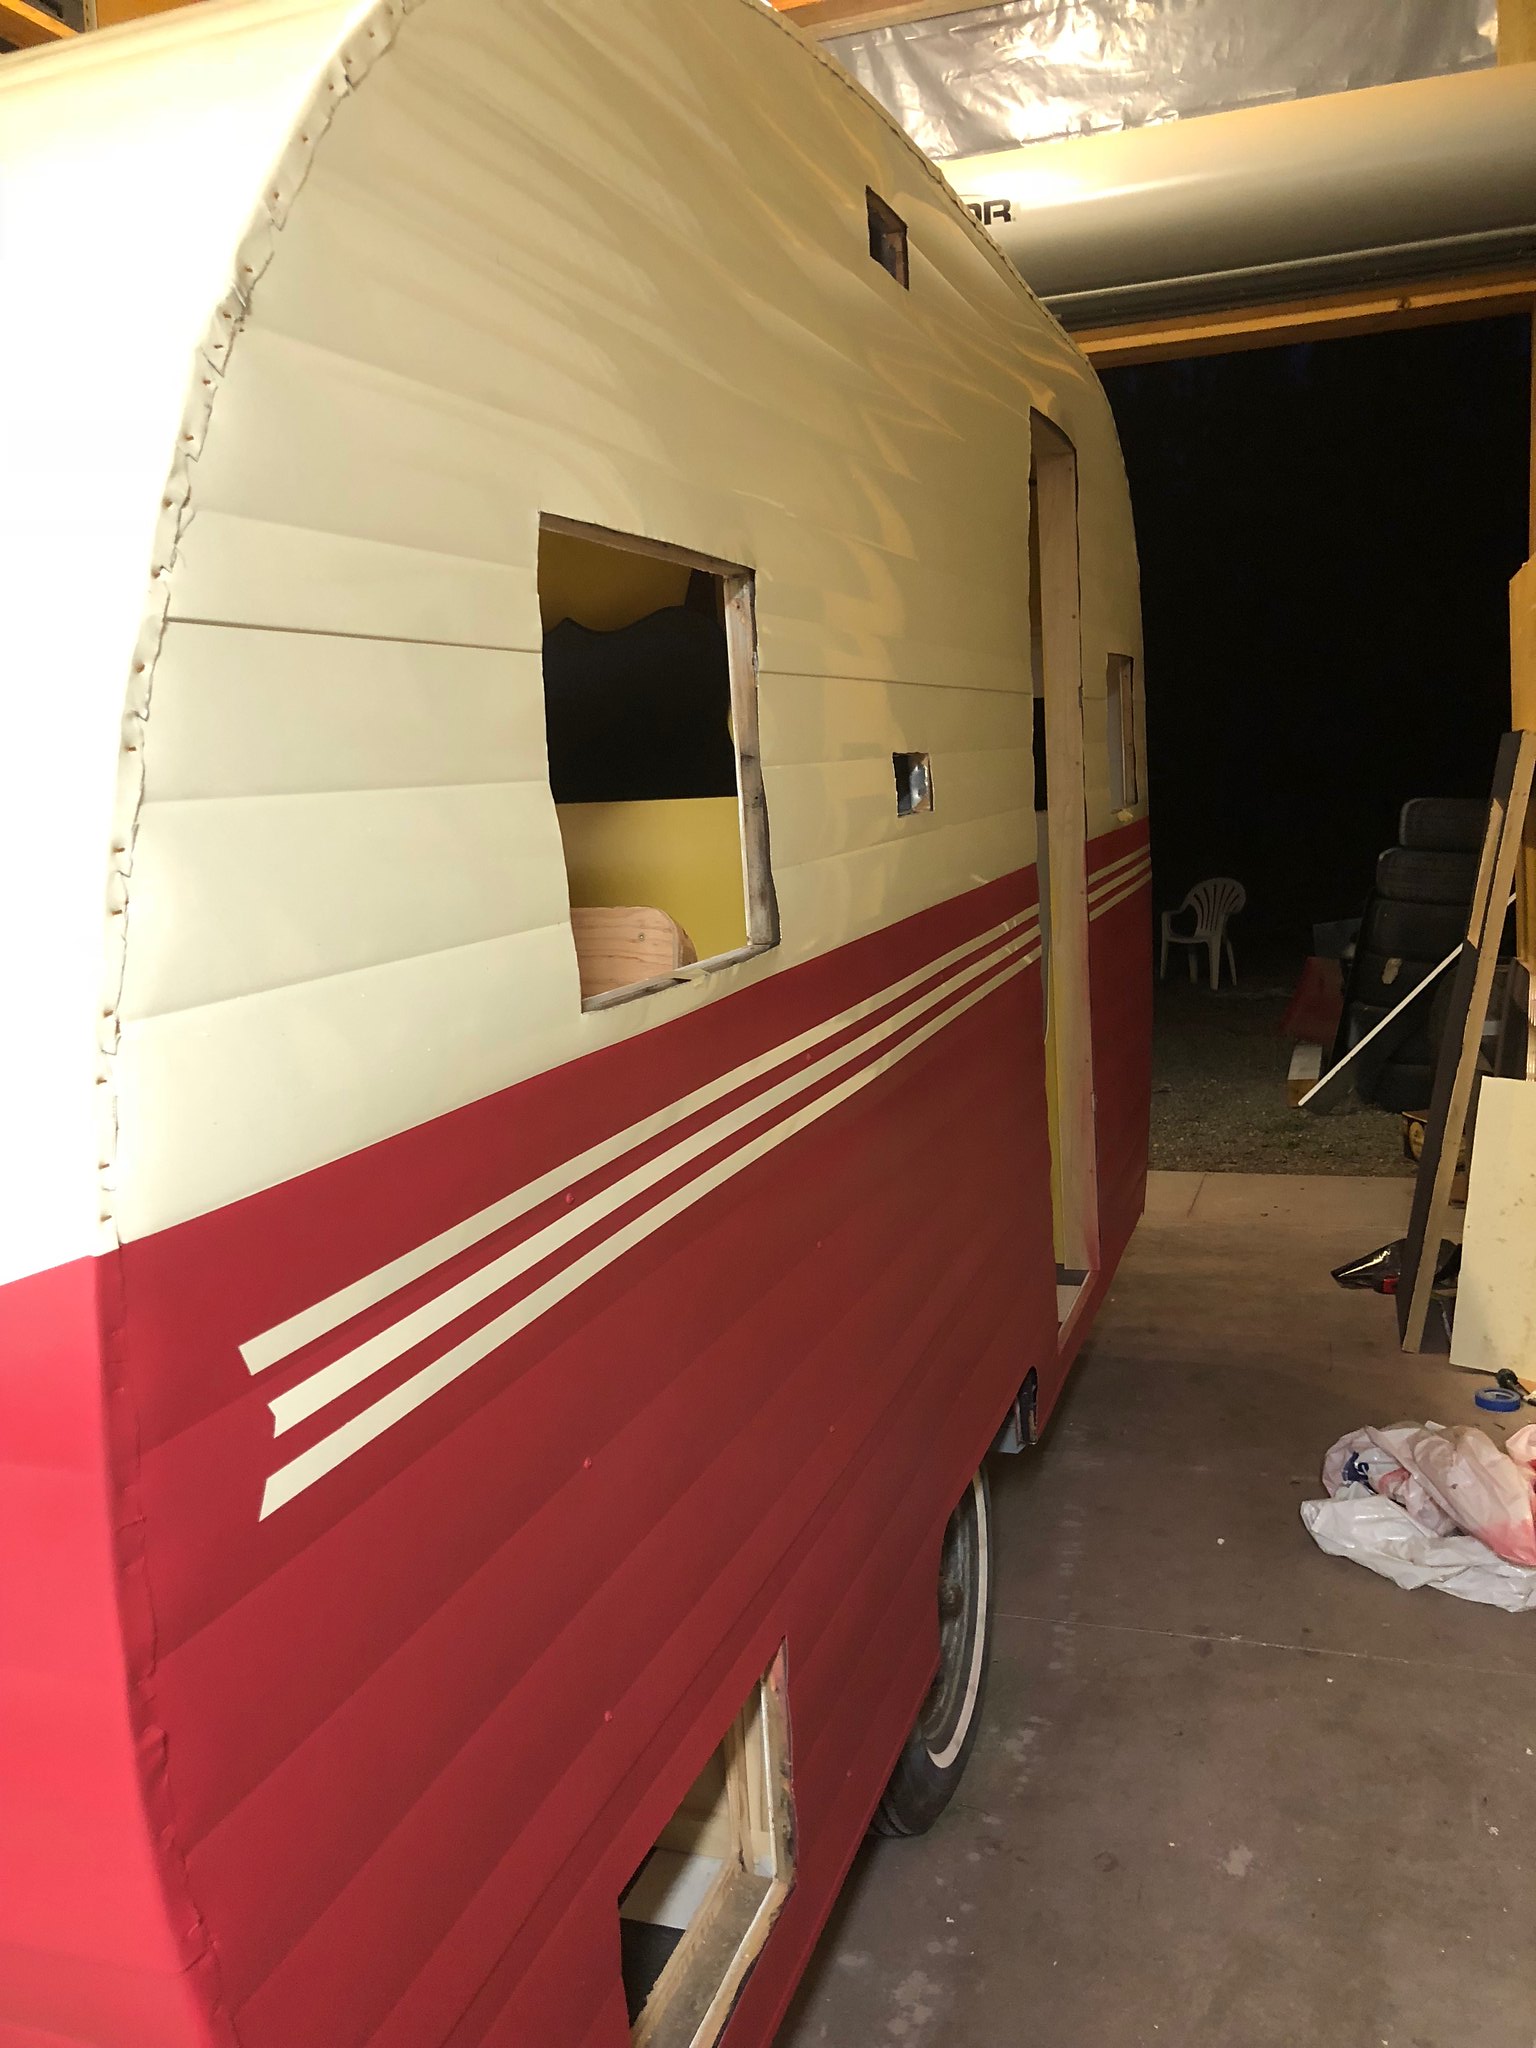 Untitled Untitled by Mike Estrada, on Flickr Aaaand, my new wheels! 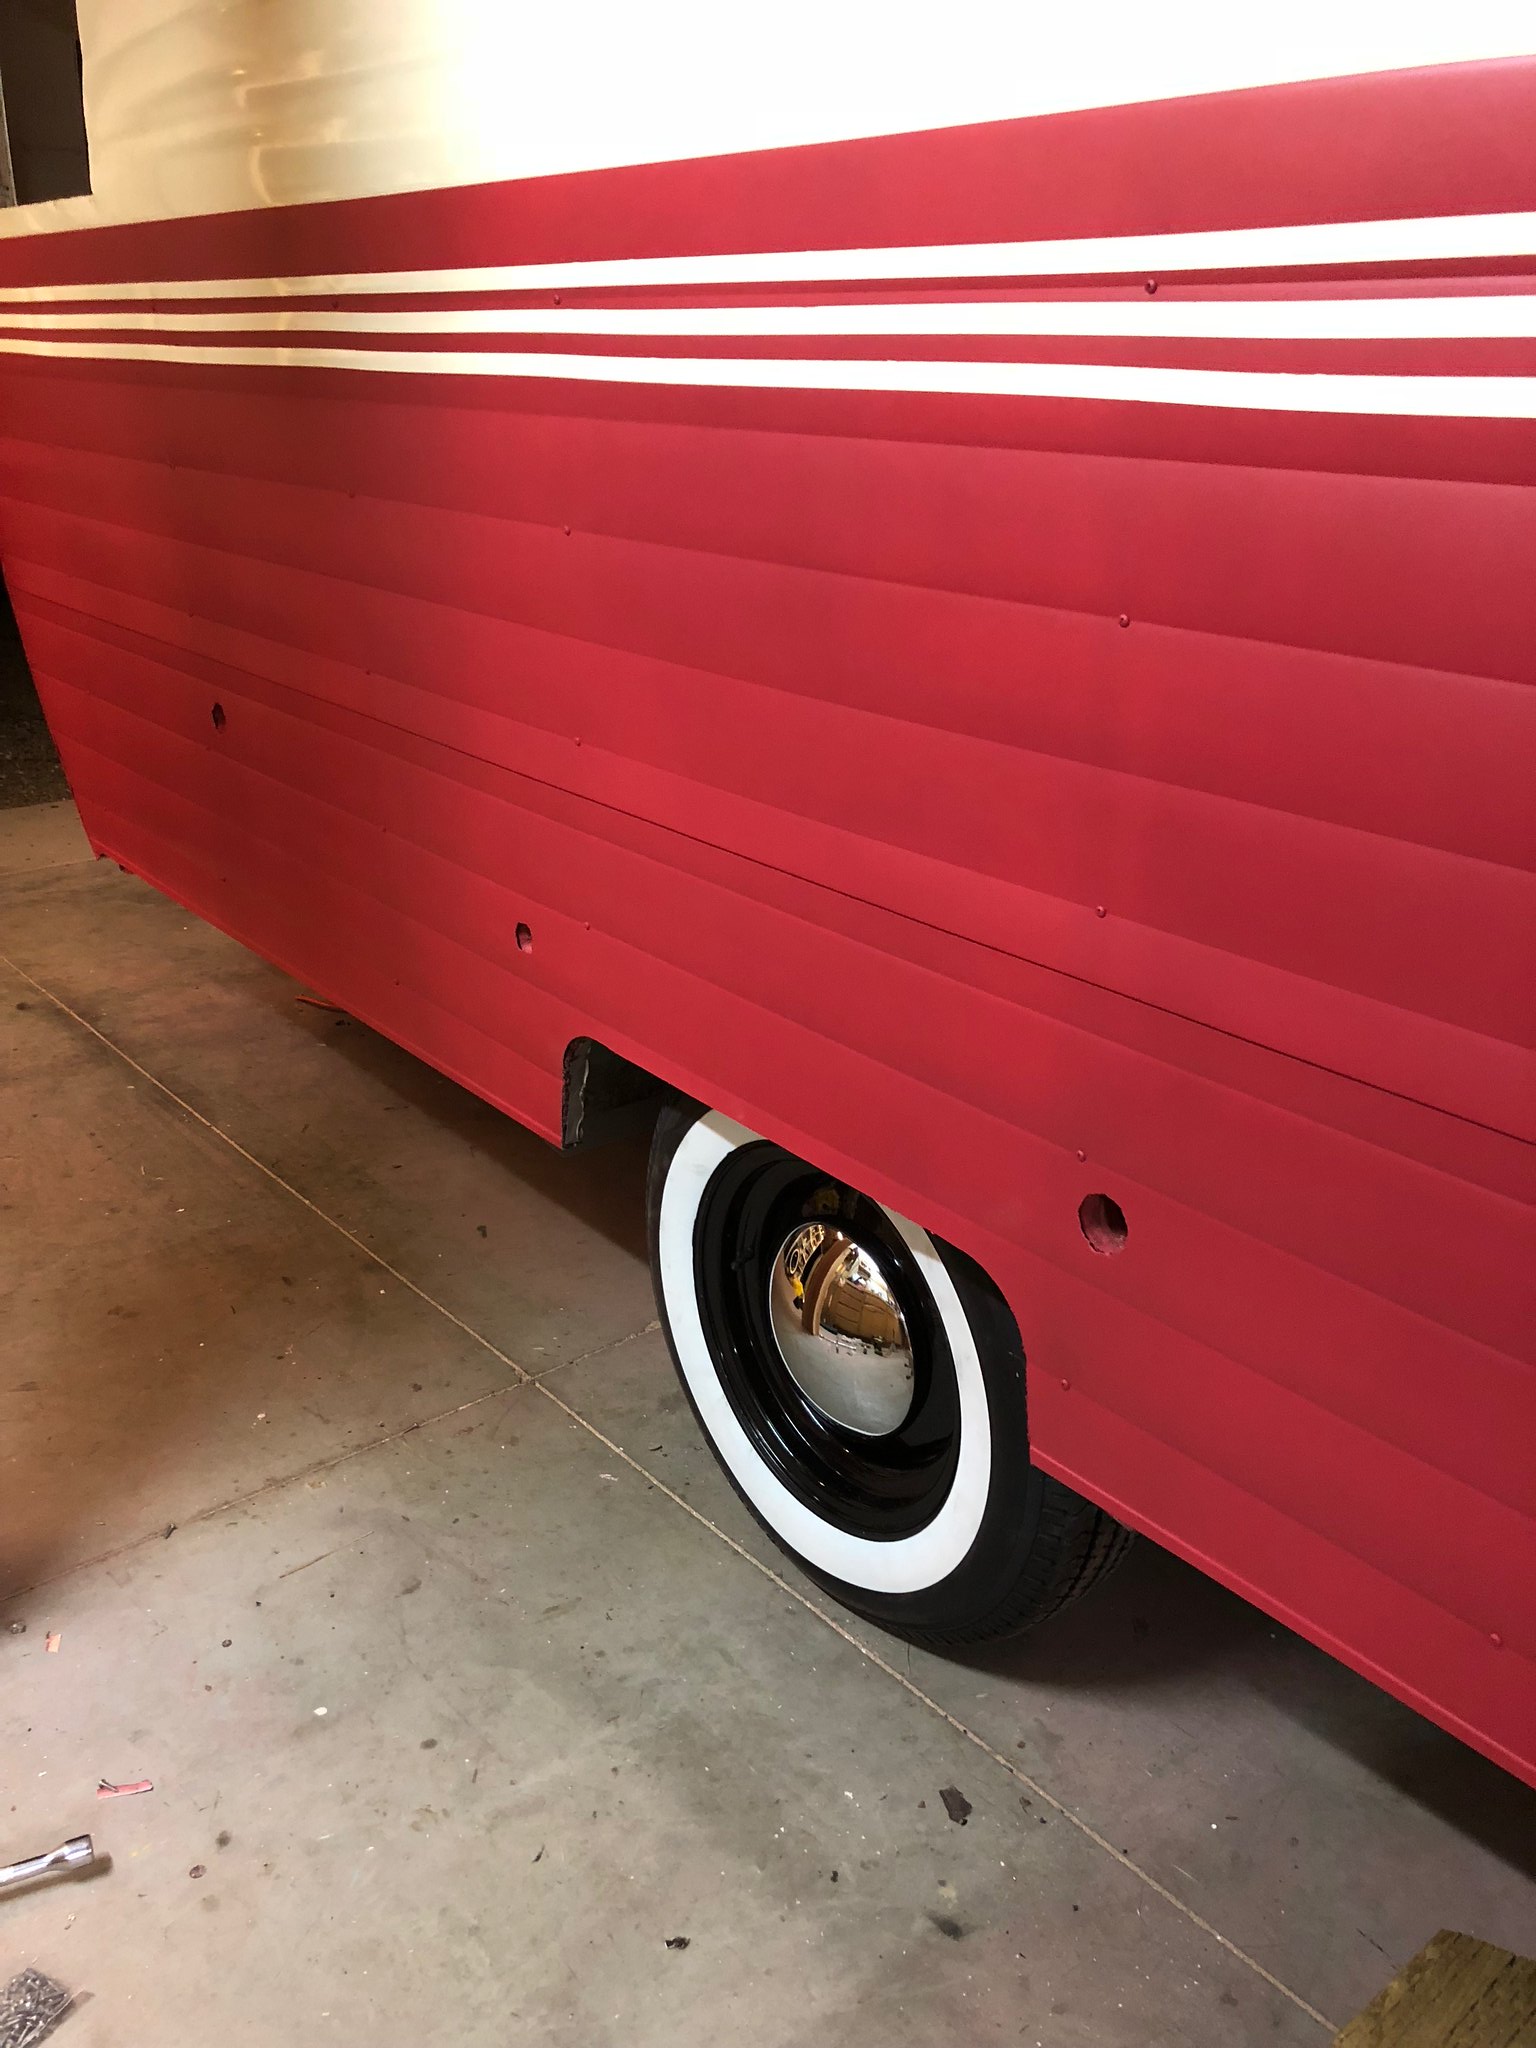 Untitled Untitled by Mike Estrada, on Flickr Now, it's working like mad to get my door done and windows polished and up! |
|


