SusieQ
Global Moderator 
Posts: 4,781 
Likes: 1,197
'62 Shasta Compact
Currently Offline
|
Post by SusieQ on Mar 3, 2014 8:26:47 GMT -8
This not for the veterans but for the first timers. This is what works for me. I was going to wait until I was finished to share but maybe someone could benefit from this now if they are snowed in like me. How I cut foam. After searching for a used electric knife at thrift stores and coming up with nothing, I bought special blades for my jigsaw. Then my MIL gave me a brand new electric knife so I used it. However, if you have to cut curves, the jigsaw blades could come in handy. The store did a terrible job cutting my foam and ended up giving me a discount. They did not cut it on flat surface so here is how I did my own. I put a cutting board underneath the foam and cut all the way through at an angle. The blade touched my cutting board but did not damage it. 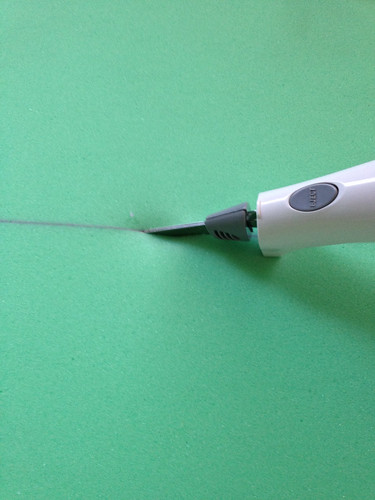 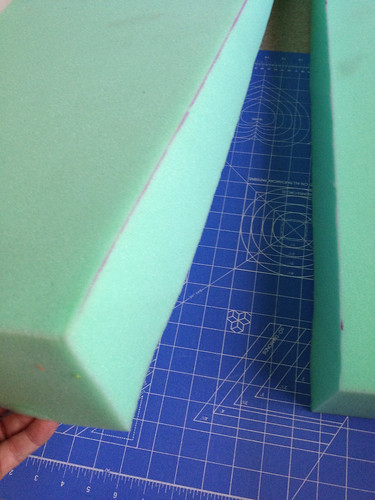 Then I cut a 1 1/2" memory foam with a rotary cutter. I traced my foam outline on top of it first. I used my small rotary cutter but there are larger ones and the foam presses down as you cut and makes a very even cut. 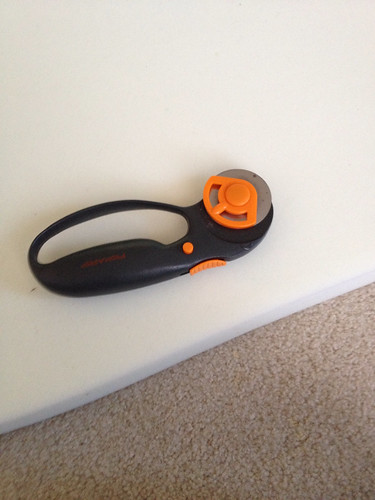 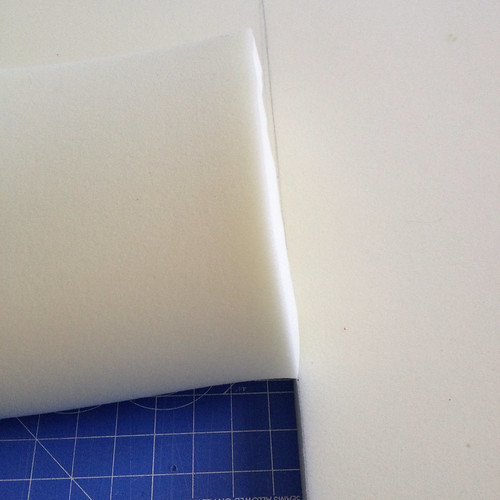 I rolled it back as I cut. IMPORTANT: Do not hold it down with your hand or move the foam because it stretches. I slid my cutting board under it as I went but did not move the foam. 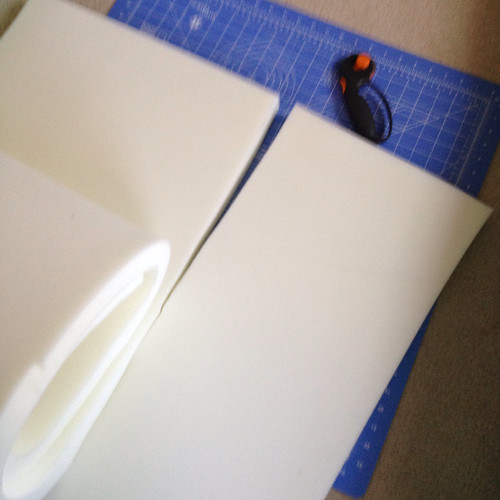 image image by susieqilvu, on Flickr 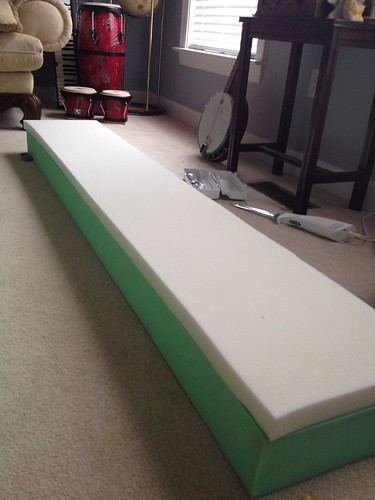 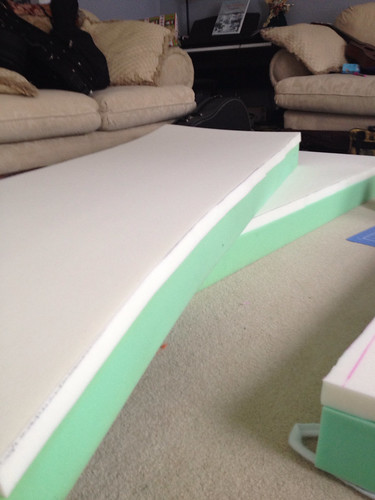 image image by susieqilvu, on Flickr I use an ACID FREE craft glue. It is a temporary/permanent spray adhesive meaning that you have time to reposition before it becomes permanent. Acid free is a good idea to keep the adhesive from deteriorating your foam. 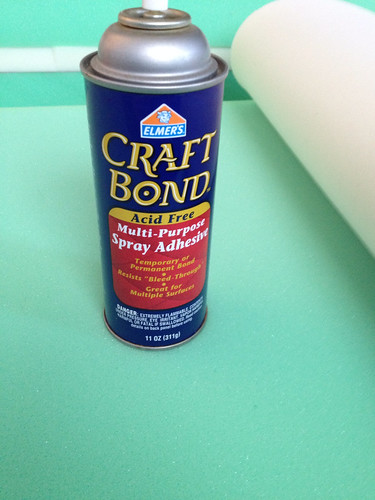 I roll the foam about halfway back and spray the both pieces and roll it back in place. Then I do the other half the same way. It's OK if it doesn't cover every inch all the way to the edge. You just need enough to make it stick and keep it from slipping. 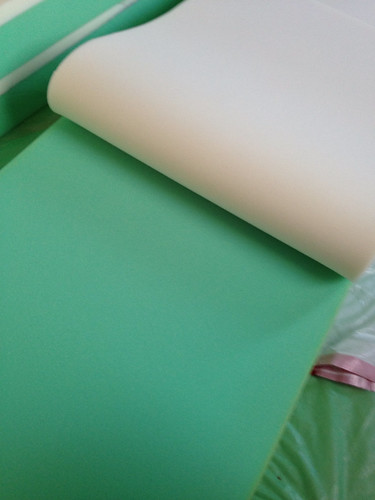 |
|
|
|
Post by vikx on Mar 3, 2014 22:32:55 GMT -8
PLEASE NO DISCUSSION. THIS THREAD WILL BE LOCKED WHEN FINISHED. THANKS!!
Note: The foam source thread is available for discussion...
|
|


