violamomof4
Active Member

Posts: 150
Likes: 21
1954 Jewel
Currently Offline
|
Post by violamomof4 on Jul 24, 2019 7:07:18 GMT -8
I’m getting ready to put the edging on the countertop/sink and install sink and I know I’ve watched the video on Larry’s site but can’t find it for the life of me right now! Do I put the edging around the inside of the sink hole before I put the sink on? Anyone know where that video is located?  |
|
MayBell
New Member
Posts: 19
Likes: 13
1959 DeVille
Currently Offline
|
Post by MayBell on Jul 24, 2019 10:10:08 GMT -8
I think I put the sink on first, then the edging.
|
|
|
|
Post by vikx on Jul 24, 2019 20:28:17 GMT -8
The sink is probably an undermount with that type of trim...
|
|
|
|
Post by Teachndad on Jul 25, 2019 5:18:41 GMT -8
Hi Friends, It is an under mount sink. When installed, it would look like the image below. Click on the photo and then once it opens in Flickr, click again to enlarge it to see it better.  P1070160 P1070160 by Scott W, on Flickr The sink is installed below the plywood that your Formica is glued onto. Someone with more experience will have to tell you how to install it. I made a guess on the installation below. I can look at my pulled out kitchen from my Westerner and take some pictures from underneath later today. Hopefully that will show how to mount it. The holes on each corner of your sink were used for short mounting screws. My guess is that they were screwed UPWARD from underneath through the mounting holes. However, before installing the mounting screws from underneath, I believe you had to lay down some putty tape around the top perimeter of the sink. The screws would squish the putty tape just like it gets squished when you tighten the J-rail to the skin. This would seal your sink from leaks. The aluminum trim/edging was then placed into the opening as you have pictured. Rod |
|
violamomof4
Active Member
Posts: 150
Likes: 21
1954 Jewel
Currently Offline
|
Post by violamomof4 on Jul 25, 2019 6:50:23 GMT -8
Rod,
I believe you’re correct!!! Thanks yet again!!!
|
|
|
|
Post by vikx on Jul 25, 2019 20:41:47 GMT -8
Like I said...
|
|
|
|
Post by Teachndad on Jul 26, 2019 6:01:06 GMT -8
Hi Erin, Below is the image taken of the underside of my sink in my Westerner kitchen cabinet. Note the conical washers under the head of the screws - I don’t know what they are called.  Below is an image showing the trim and what I thought looked like putty tape. This is why I thought the putty tape was sandwiched between the top edge of the sink and the underside of the counter top.  Cheers, Rod |
|
|
|
Post by danrhodes on Jul 26, 2019 6:14:19 GMT -8
I assumed this sink was like any other and used plumbers putty. Mine is not an undermount though.
|
|
|
|
Post by Teachndad on Jul 26, 2019 7:23:50 GMT -8
I assumed this sink was like any other and used plumbers putty. Mine is not an undermount though. Hey Dan, That seems more likely. I never thought of that. I was just guessing on the putty as a gasket. Cheers, Rod |
|
Hamlet
2K Member

Posts: 2,819 
Likes: 925
Currently Offline
|
Post by Hamlet on Jul 26, 2019 7:28:22 GMT -8
I assumed this sink was like any other and used plumbers putty. Mine is not an undermount though. Hmm, not an undermount? If it mounted on top of the Formica, you wouldn’t need the trim piece, would you? |
|
|
|
Post by danrhodes on Jul 26, 2019 9:01:43 GMT -8
I assumed this sink was like any other and used plumbers putty. Mine is not an undermount though. Hmm, not an undermount? If it mounted on top of the Formica, you wouldn’t need the trim piece, would you? You can see the edge in this photo. It mounts from the top and has a flush trim piece. I sealed it all with plumbers putty. 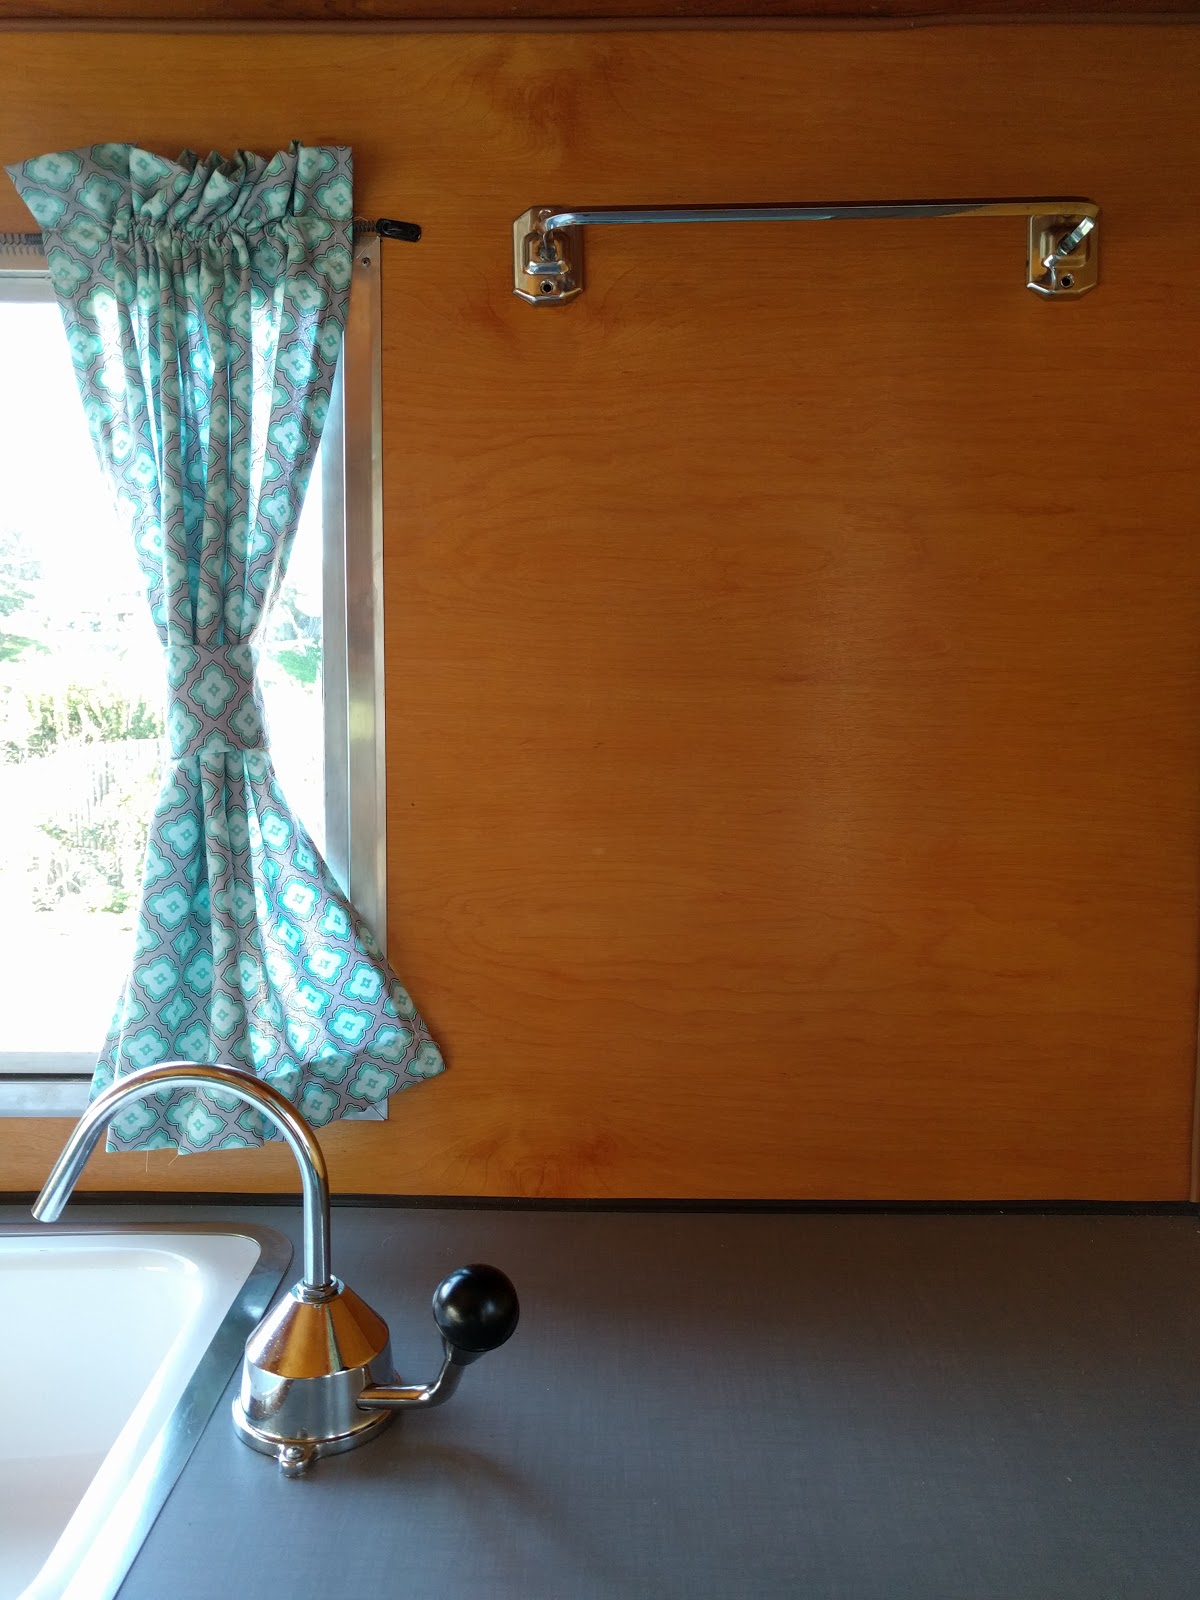 |
|


