Poquito
Active Member

Posts: 231 
Likes: 62
'68 10' Serro Scotty Sportsman
Currently Offline
|
Post by Poquito on Feb 25, 2019 8:36:06 GMT -8
Hi all, I am in the middle of resealing my vent and lifting it with shims, the vent was sitting flat on the framing and I do get some puddling if my camper is level - no leak until this weekend - been good for 10 months and lots of Florida downpours! Anyway, I was camping while it happened so in the middle of the night I took off the interior frame of the vent and could see the water was coming in at the frame on one side. Next day (today) it is going to be sunny all day today but not for the rest of the week - so it all has to be re-done today. I took off the vent and have shims but for the life of me am stuck on if I shim door and curb sides or front and back or all four sides. If anyone can help with this, I sure would appreciate it.
Thanks, I want to clarify that I am shiming with the higher ends of the shims in the middle.
Thanks,
Poquito
|
|
Poquito
Active Member
Posts: 231
Likes: 62
'68 10' Serro Scotty Sportsman
Currently Offline
|
Post by Poquito on Feb 25, 2019 11:08:28 GMT -8
Well, I went ahead and lifted all 4 sides figuring it couldn't hurt. Waiting on the glue to set up with clamps a bit before I screw the vent back in. Using longer screws too. Will post pictures after I'm done today.
Poquito
|
|
nccamper
Administrator 
Posts: 7,744 
Likes: 2,871
1962 Forester- 1956 Shasta
Currently Offline
|
Post by nccamper on Feb 25, 2019 11:15:20 GMT -8
I shim all four sides but I always take the roof off. I assume you're working from the inside?
|
|
Poquito
Active Member
Posts: 231
Likes: 62
'68 10' Serro Scotty Sportsman
Currently Offline
|
Post by Poquito on Feb 25, 2019 11:50:26 GMT -8
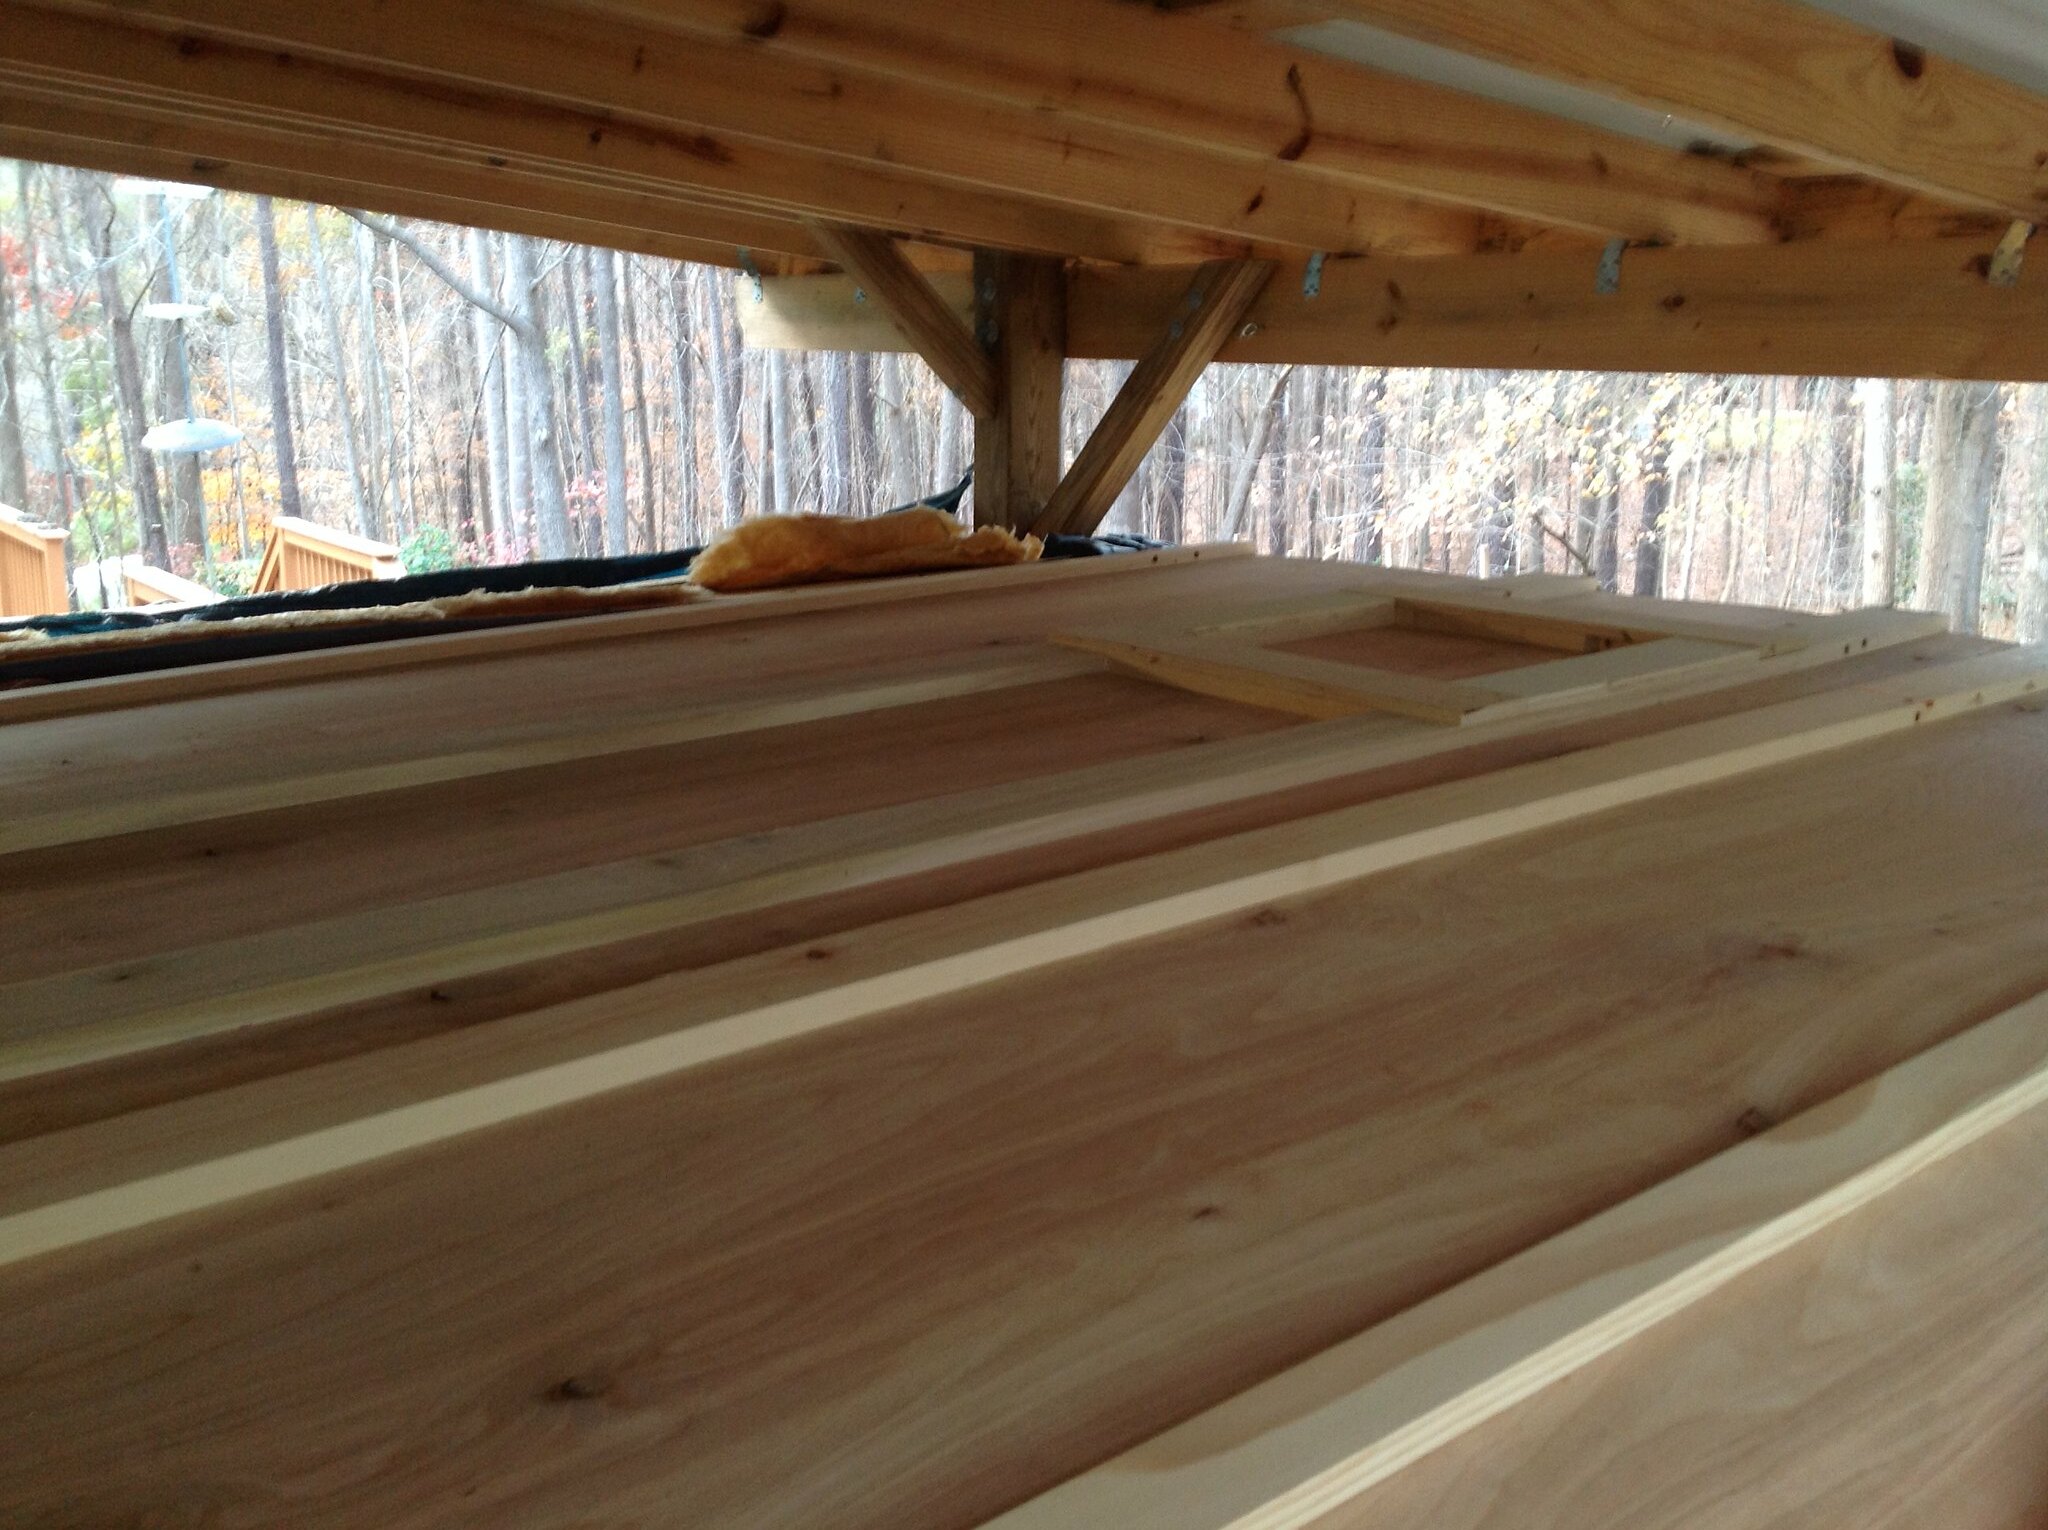
My vent fan is new and not the original vent. Sat night I took off the vent rim from inside, this let the water drip straight down into my lug a loo! I kept the rim off to let the inside dry. Took off the fan vent from the outside on top of the roof. Built the shims (4 sets glued and clamped until dry) and slipped them in between the frame that held the vent and the aluminum roof - I was able to do this part from inside on a step ladder.There was enough room to raise the aluminum about 5/8". BTW, the glued shims have a interior/exterior waterproof glue on the bottoms to hold in place to set until I put new butyl/putty tape back on the top around the vent hole and screw down from the top. I had read on another post that someone had used a sealing tape around the inside of the vent and I have good construction flashing tape but am not sure that I will do that. Seems like this was an easy fix, I just got a little over thinking it a bit. I think I had seen one of Mobiltech's pictures of vent framing with a slope but couldn't find it again...anyway, the view from up on top of the camper is spectacular!
Poquito
|
|
mtpalms
Active Member
Posts: 317
Likes: 125
Currently Offline
|
Post by mtpalms on Mar 4, 2019 7:22:18 GMT -8
I have the same puddling issue, and have kept the trailer tarped because of it. Shimming is on the list, but restoration has been stop and go, mostly stopped, for that last few years.
|
|
mobiltec
5K Member
 I make mistakes so you don't have to...
Posts: 9,822
Likes: 3,749
1954 Jewel In Progress...
Currently Offline
|
Post by mobiltec on Mar 6, 2019 19:40:32 GMT -8
I've done it from the inside and outside a few times. Not really hard to do at all. Just slip the "shims" or "crown" pieces up in there two at a time with glue that will work for metal and wood. Liguid Nails works. Always been plenty of room in there to do it this way. I usually do it from the top though. Just my way.
|
|