Alaska Shasta
Active Member

Posts: 230
Likes: 246
1964 Shasta
Currently Offline
|
Post by Alaska Shasta on Sept 2, 2018 18:37:48 GMT -8
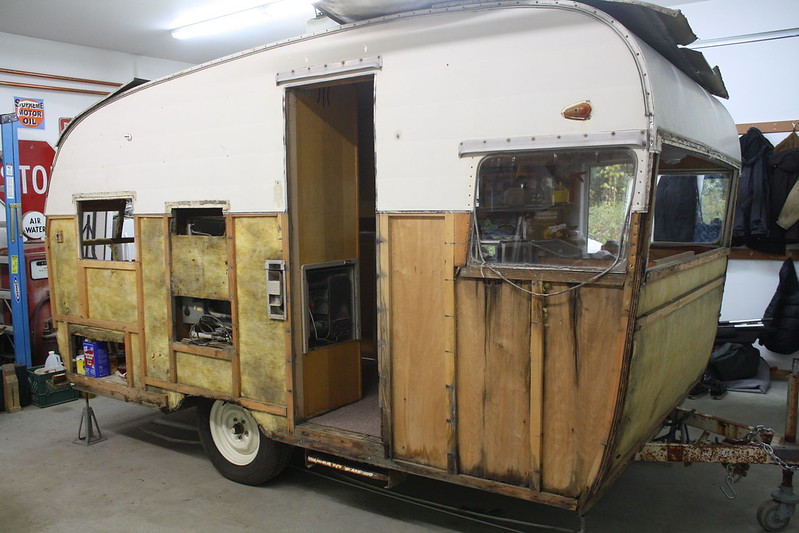
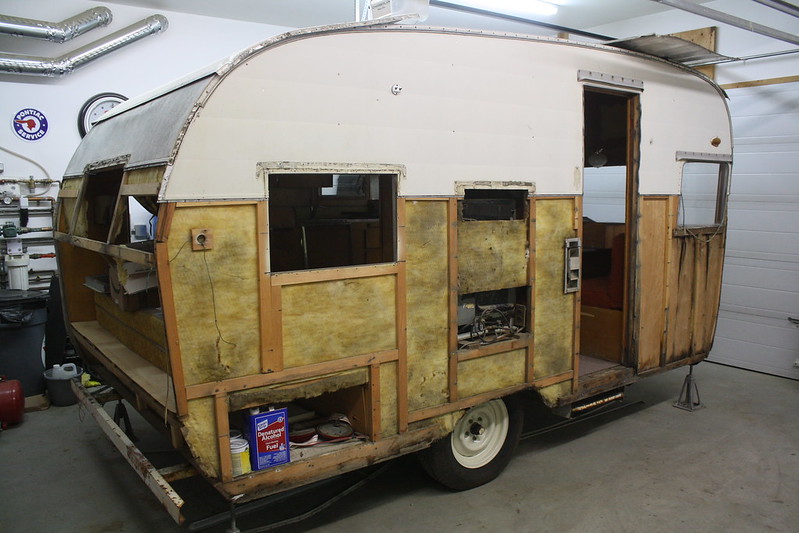
Did some work on the rear area. Also, went to the lumber store and got some cedar to replace the wood with rot. Some new tools to my collection that were invaluable in the demo process. A "cats paw", Vampliers, and a "multi-tool". Thanks Mobiltec Larry for the videos! You are the best.  IMG_2030 IMG_2030 by Bryan Port, on Flickr 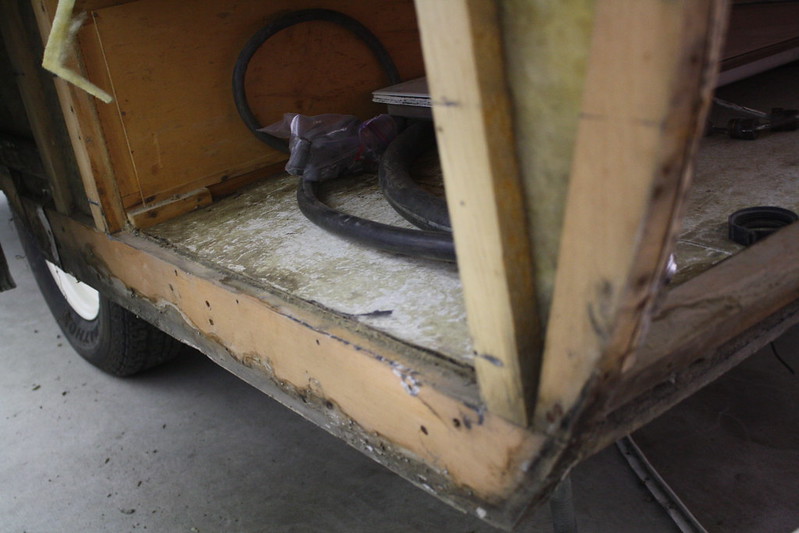 IMG_2035 IMG_2035 by Bryan Port, on Flickr 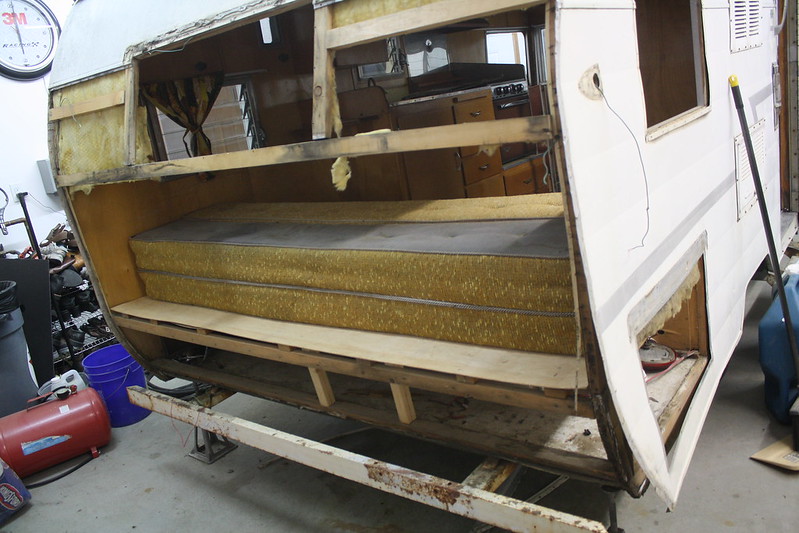 IMG_2033 IMG_2033 by Bryan Port, on Flickr 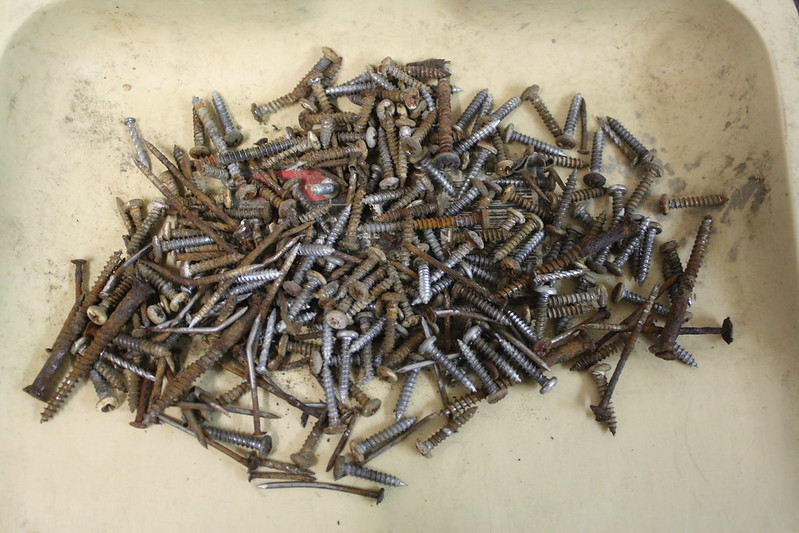 IMG_2034 IMG_2034 by Bryan Port, on Flickr |
|
Alaska Shasta
Active Member
Posts: 230
Likes: 246
1964 Shasta
Currently Offline
|
Post by Alaska Shasta on Sept 3, 2018 16:18:03 GMT -8
|
|
Alaska Shasta
Active Member
Posts: 230
Likes: 246
1964 Shasta
Currently Offline
|
Post by Alaska Shasta on Sept 4, 2018 20:55:59 GMT -8
|
|
RinTin
Full Member
Posts: 760 
Likes: 292
Currently Offline
|
Post by RinTin on Sept 5, 2018 5:16:00 GMT -8
Like opening a Christmas present. You never know what you'll find inside.
|
|
strange1
Active Member
Posts: 159
Likes: 103
1965 Shasta Airflyte
Currently Offline
|
Post by strange1 on Sept 6, 2018 14:58:15 GMT -8
|
|
debranch
Active Member
Wee Camp
Posts: 237 
Likes: 90
71 Shasta Compact
Currently Offline
|
Post by debranch on Sept 6, 2018 16:11:40 GMT -8
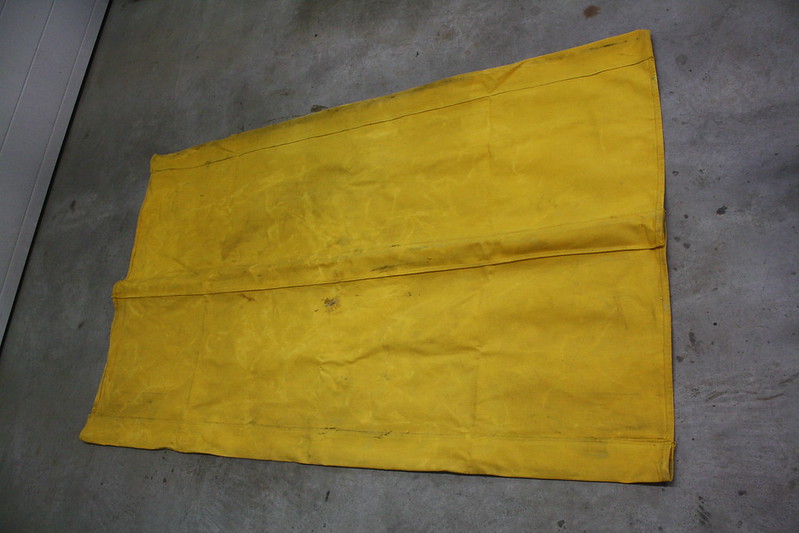
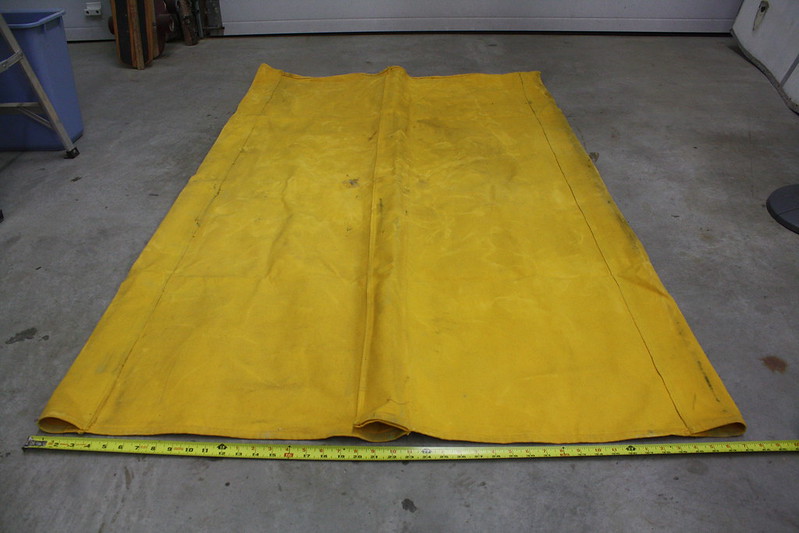
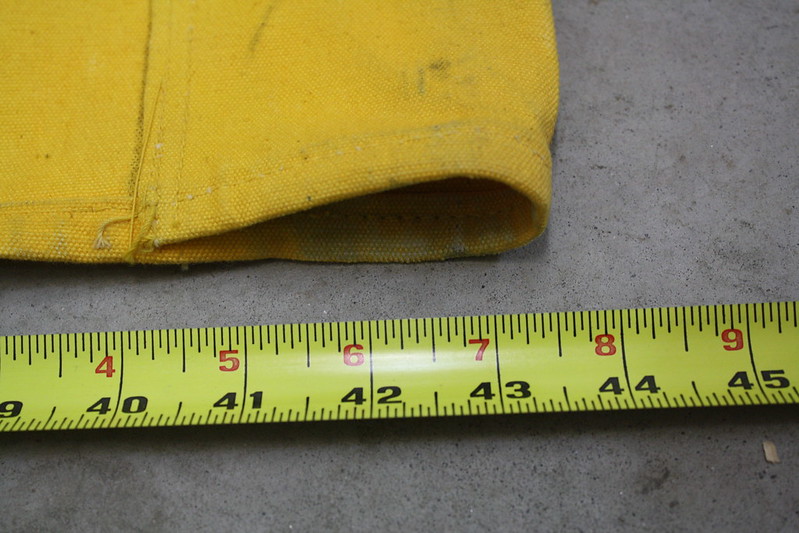
Hi can you post a pic of the canvas bunk I think I’m going to try to make one at some point in the future.
|
|
Alaska Shasta
Active Member
Posts: 230
Likes: 246
1964 Shasta
Currently Offline
|
Post by Alaska Shasta on Sept 9, 2018 15:39:44 GMT -8
|
|
debranch
Active Member
Wee Camp
Posts: 237
Likes: 90
71 Shasta Compact
Currently Offline
|
Post by debranch on Sept 9, 2018 15:56:26 GMT -8
Thanks looks like it would be an easy project to make a new one for one of my rebuilds looks to be made from duck cloth
|
|
Alaska Shasta
Active Member
Posts: 230
Likes: 246
1964 Shasta
Currently Offline
|
Post by Alaska Shasta on Sept 12, 2018 19:19:34 GMT -8
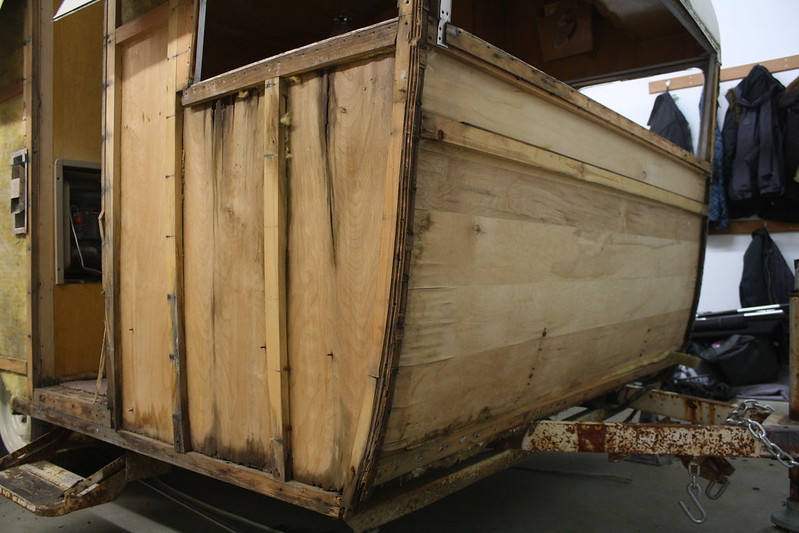
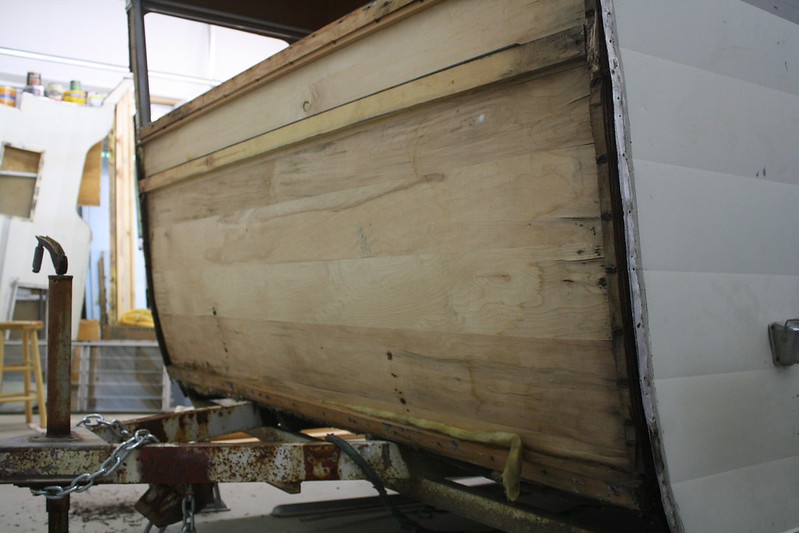
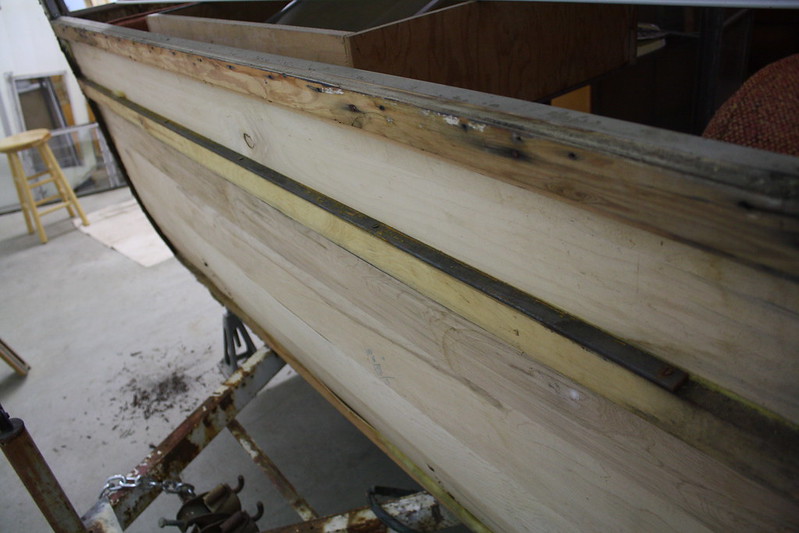
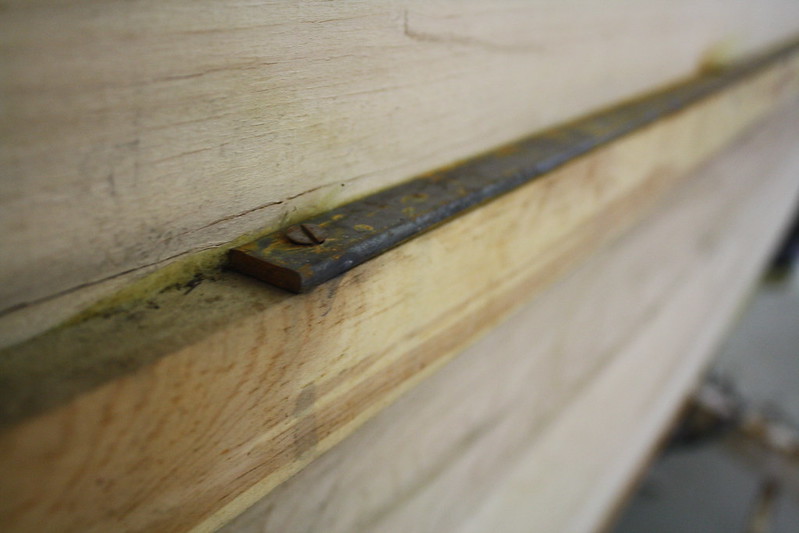
I got some new wood installed tonight to replace the rotten boards. I am pleased with the results. Sure did strengthen things up. 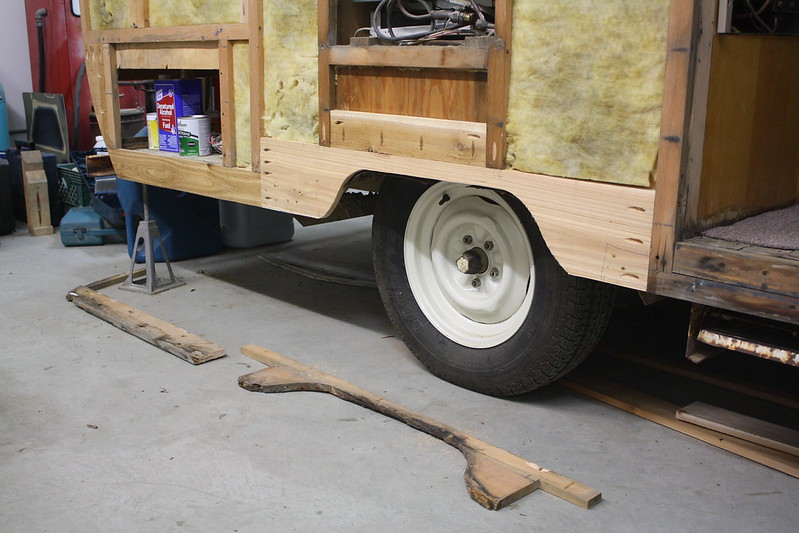 IMG_2055 IMG_2055 by Bryan Port, on Flickr 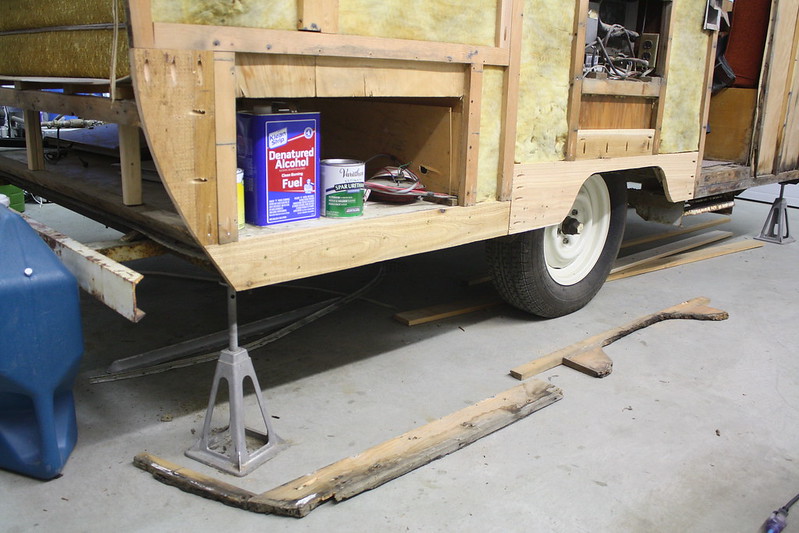 IMG_2056 IMG_2056 by Bryan Port, on Flickr |
|
|
|
Post by vikx on Sept 12, 2018 19:42:26 GMT -8
Wow! Looks like new...
|
|
shastatom
Full Member
I can chase women or fix campers, I choose to fix what I understand........... campers.
Posts: 745
Likes: 419
Shasta 54,57 1500 58 Airflyte
Currently Offline
|
Post by shastatom on Sept 13, 2018 4:05:34 GMT -8
Nice job. It always amazes me that these campers made it more then 10 miles down the road with the way they were built. It is even more amazing that they survived 60+ years. One thing to look at is the bumper. They are a weak point with the way they put them on. You may want to see about strengthening it.
It is fun to watch your progress because I was there a couple months ago with mine.
|
|
Alaska Shasta
Active Member
Posts: 230
Likes: 246
1964 Shasta
Currently Offline
|
Post by Alaska Shasta on Sept 13, 2018 7:11:41 GMT -8
Thanks Tom for the tip on the bumper. I certainly agree on the way they were built. I am having a blast with the restoration. The photos of yours are very helpful to me! Bryan
|
|
Alaska Shasta
Active Member
Posts: 230
Likes: 246
1964 Shasta
Currently Offline
|
Post by Alaska Shasta on Sept 13, 2018 20:46:04 GMT -8
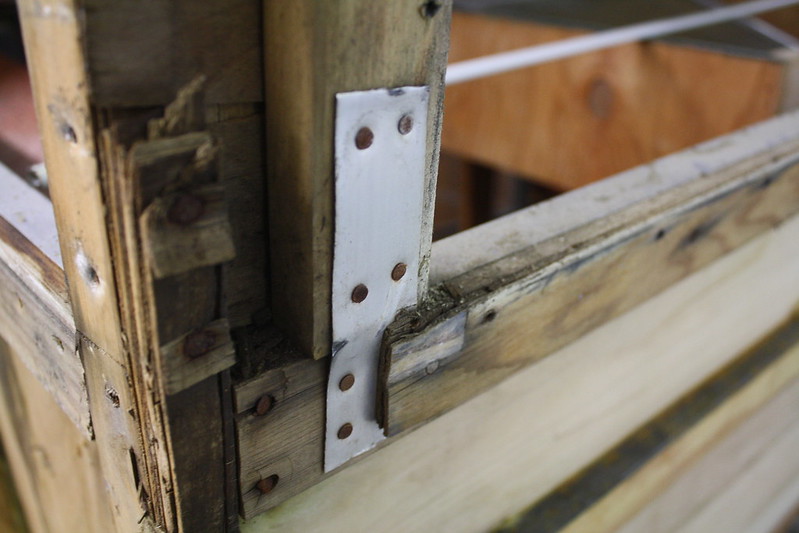
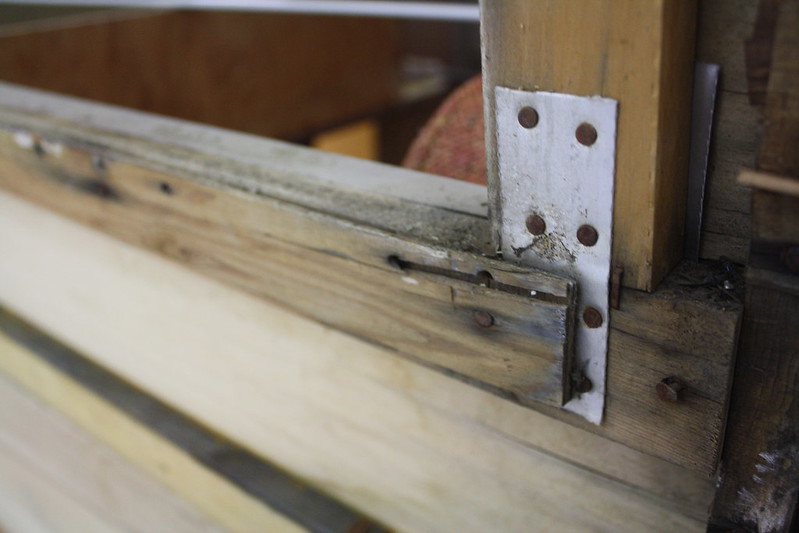
This is how I chose to bolster up the gaucho. A 10 5/8" upright under each horizontal slat. A screw through the board on top, and a pocket screw at the base. I just felt that the original system of screws going through the 1/8" back plywood wall was not sufficient. I realize I may lose a little storage space, but strength is worth it to me. 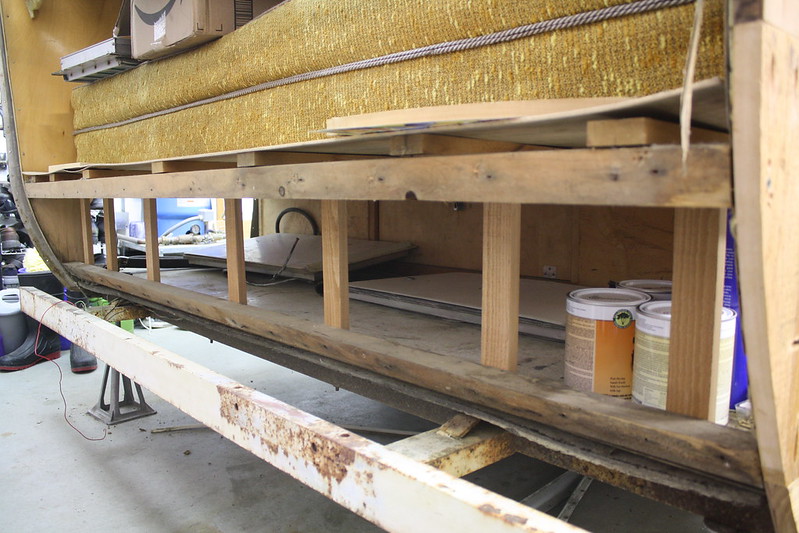 IMG_2058 IMG_2058 by Bryan Port, on Flickr |
|
|
|
Post by vikx on Sept 13, 2018 22:18:17 GMT -8
Strength is what it's all about! You did great with the gaucho.
|
|
shastatom
Full Member
I can chase women or fix campers, I choose to fix what I understand........... campers.
Posts: 745
Likes: 419
Shasta 54,57 1500 58 Airflyte
Currently Offline
|
Post by shastatom on Sept 14, 2018 3:59:18 GMT -8
Bryan, I ruffly did the same thing. I added boards as well underneath. I also plan to add another 1x2x7' board on the outside once I put the plywood on again and then screw them all together.
|
|